

Community Member Credit: D.Mason
Tools Needed:
- 8mm Deep Socket
- Phillips head screw driver
- Flat head screw driver
- Heat Gun
- A metal ruler or some sort of straight edge
- A rotary tool with a cutting blade or soldering iron
- Gloves
- Acrylic fluorescent light cover sheet (Home Depot, Lowes, OSH)
- Pliers
- Hammer
- Knife or prying tool
Estimated time: 3 hours
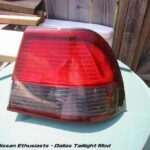
Note: These were the best picture we could get on this one.
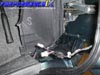
The first step in modifying your taillights is to remove the taillight from the vehicle. Begin by removing the interior lining in the trunk. Some of the tabs that hold the lining in require a flat head screwdriver while others come off with a Phillips screwdriver. There are 2 plugs that need to be unplugged from the tail light. They both have white connectors. There are also some plastic pieces that hold all of the wiring to the nut. These may be tough to yank off. I used a pair of pliers to pull them off. There are 4 8mm nuts that hold the taillight in. Remove these using an 8mm deep socket. The only thing holding the taillight is some black sticky adhesive. There are a few ways to get the taillight out. One method is to gently heat up the adhesive using the heat gun so that the adhesive softens. Then push on the taillight. Another way is to gently tap on the 4 studs that hold the taillight in the vehicle. Lastly you can push the taillight out of you are strong enough. Place the bottom of your palm on the flat part of the taillight and push hard! Be careful of the adhesive so that it does not get on your hands or the taillight.
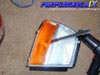
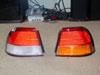
1. Remove the 5 small black Phillips screws that are located around the taillight.
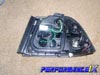
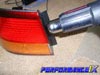
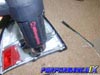
2. To separate the taillight lens from the housing you will need to heat up the glue that holds it together. It will most likely take at least two passes on each side of the taillight to get the glue warm enough.
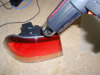
3. Some heat guns only have a ‘low’ and ‘high’ setting. This particular one has 10 different setting. As you can see a setting of 8 was used. The key is to not overheat any one particular spot because it will melt the plastic housing or taillight lens.
4. Pick one side to begin with and hold the heat gun about 1″ away from the black housing. DO NOT HEAT UP THE TAILLIGHT LENS AT ALL! It will begin to fry like an egg. Heat up that spot for 7-10 seconds. Do this on every spot on this particular side of the taillight.

5. Working your way slowly around the tail will ensure no damage to the housing or lens. This is the most time consuming step in the entire process.
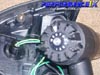
6. One you have gone around the taillight twice, it may be soft enough to pry open. Using a knife or some type of prying tool, try to pry on a corner of the taillight and see if it gives. If it does, slowly pry the tail light open until it separates from the lens. If the glue still seems cold, apply some more heat with the heat gun.
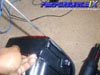
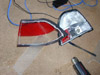
7. Be Careful of the lens beginning to separated.
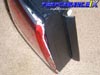
8. The lens is completely separated. Make sure that the glue does not stock to the outside of the lens. It’s quite messy.
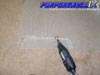
9. Use the knife or pry tool to remove the orange lens. Use some heat if necessary.
10. Cutting the acrylic lens can be a bit frustrating. Don’t let it get you down. Here are some tips on cutting the piece out. Some people use the orange and red lens and trace it out on the acrylic sheet. Others try to make a paper template that will fit in the taillight lens and then use that template to cut the acrylic. Some tools that can be used to cut the acrylic lens are a rotary tool, acrylic cutter, or a soldering iron.
11. Once the lens is cut, you need to wedge it into the taillight lens. Use a bit of heat the curve the lens. Use very little heat or the lens will melt!
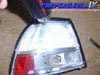
12. Removing the red lens is up to you. I chose to remove it. Some don’t. Your call. Simply remove the Phillips screw.
13. Once the new lens is in, you are ready to put the taillight back together. Reheat the glue until it is soft and then put the lens into the housing. Hold it tight for about 15-20 seconds so that it seals properly. Put the screws right back in so that it helps seal the taillight the way it originally was.
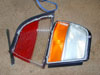
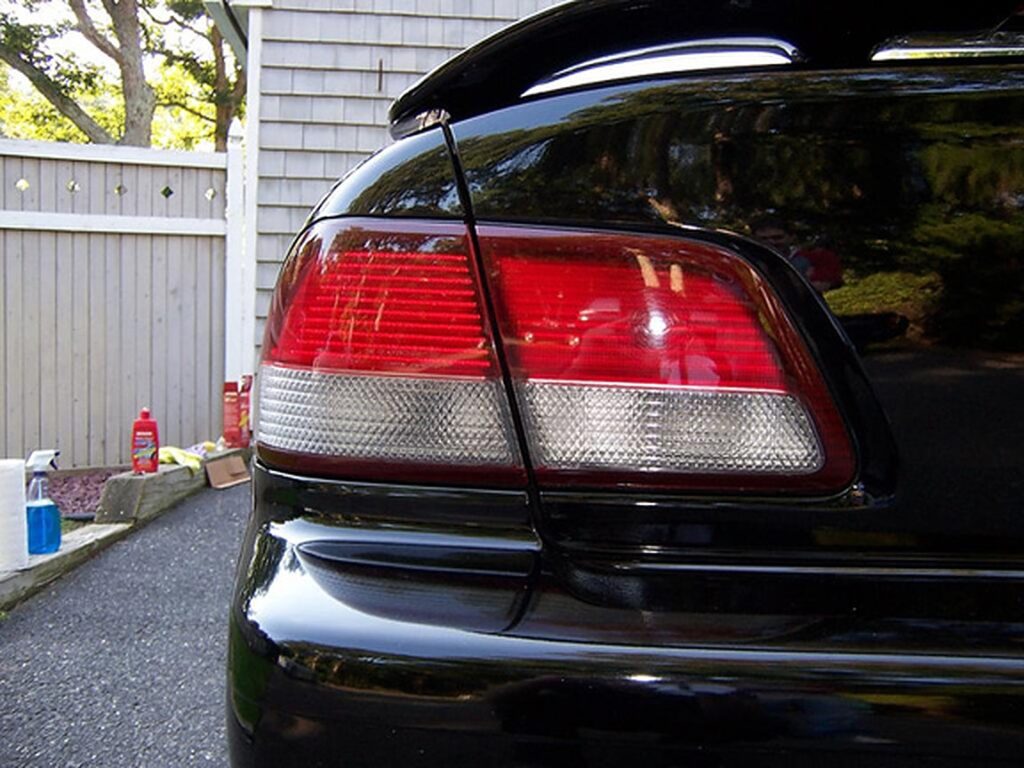
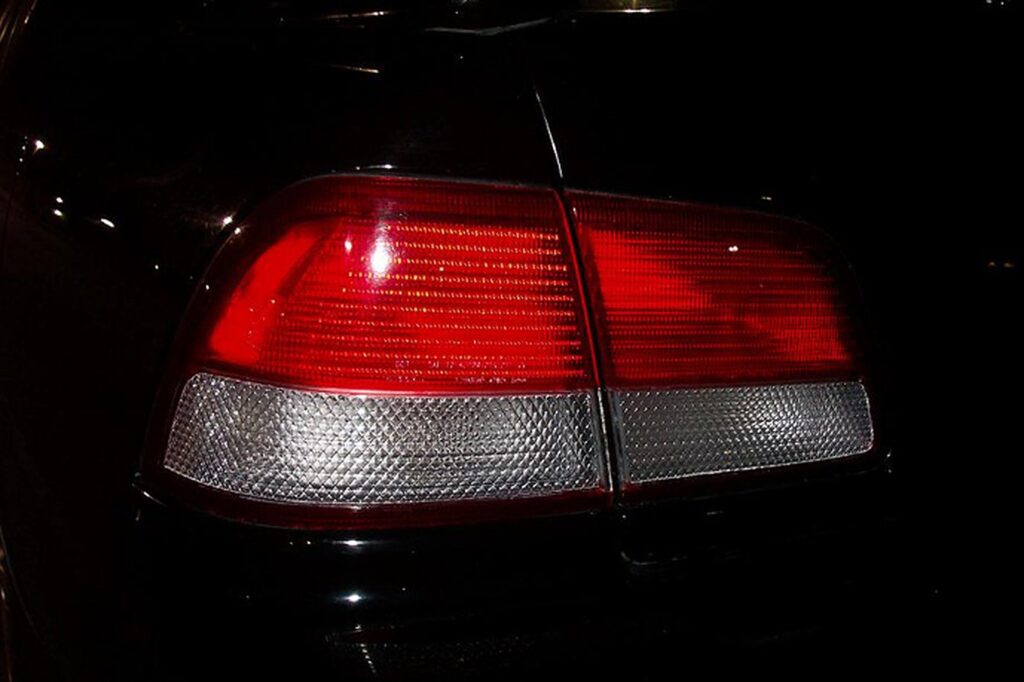
14. Isn’t that beautiful! One note. There is a size #194 wedge bulb behind where that small red lens was. That light is just a driving light that turns on with one turn on the light stalk. I chose to remove the bulb so that it wouldn’t show. Again, user discretion. Put the taillight back in and re-connect everything. Put back lining too!

![]()

Comments are closed.