

Member Credit: tjmoney87
Overall, this is an easy mod if you are careful, but if not, things can get ugly VERY quickly! I would recommend getting a second cluster just to practice…that’s what I did, making sure I was careful enough and to make sure the strip fits. I like it because the cluster lights in ACC mode, but that’s a personal preference (also because the cigarette lighter powers in ACC mode). Also at night, they are BRIGHT (but not bright enough to blind), and do not dim, unless you get a standalone rheostat, I may get one later…I wish I would have got an orange or red one, it would have really nice, but I can always change it out LOL… Also, I would recommend the Maxima’s clear outer cluster cover, http://www.courtesyparts.com/24813-c…3-p-47148.html, our tinted cluster cover would dull things a bit…
Difficulty: 7/10
Pros: LED strip brighter than EL tube, no more dim cluster on one side !
Lights in ACC mode (personal preference). Several colors you could use (again personal preference).
Cons: If you are not careful, things can get ugly quickly! You will have to buy the Maxima’s cluster to enjoy the LED cluster.
Comparisons
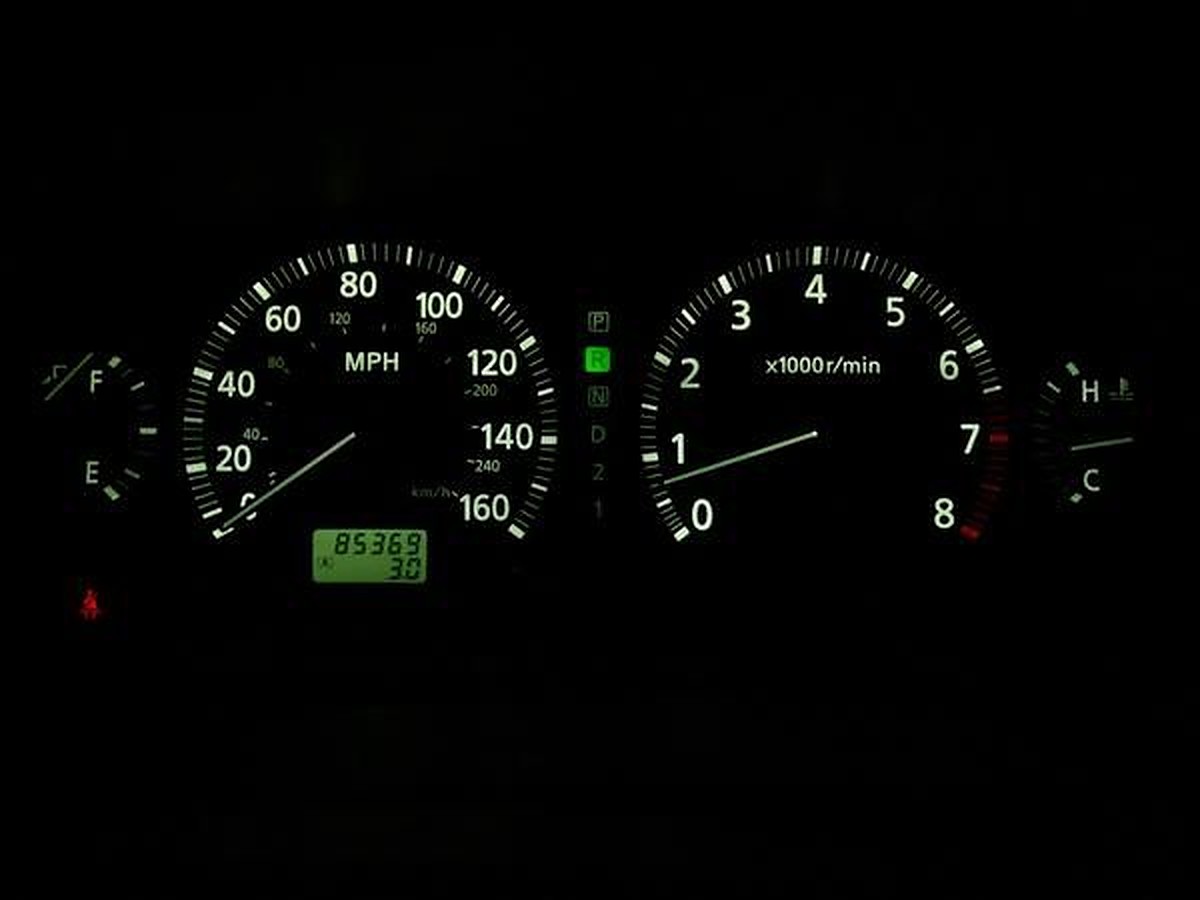
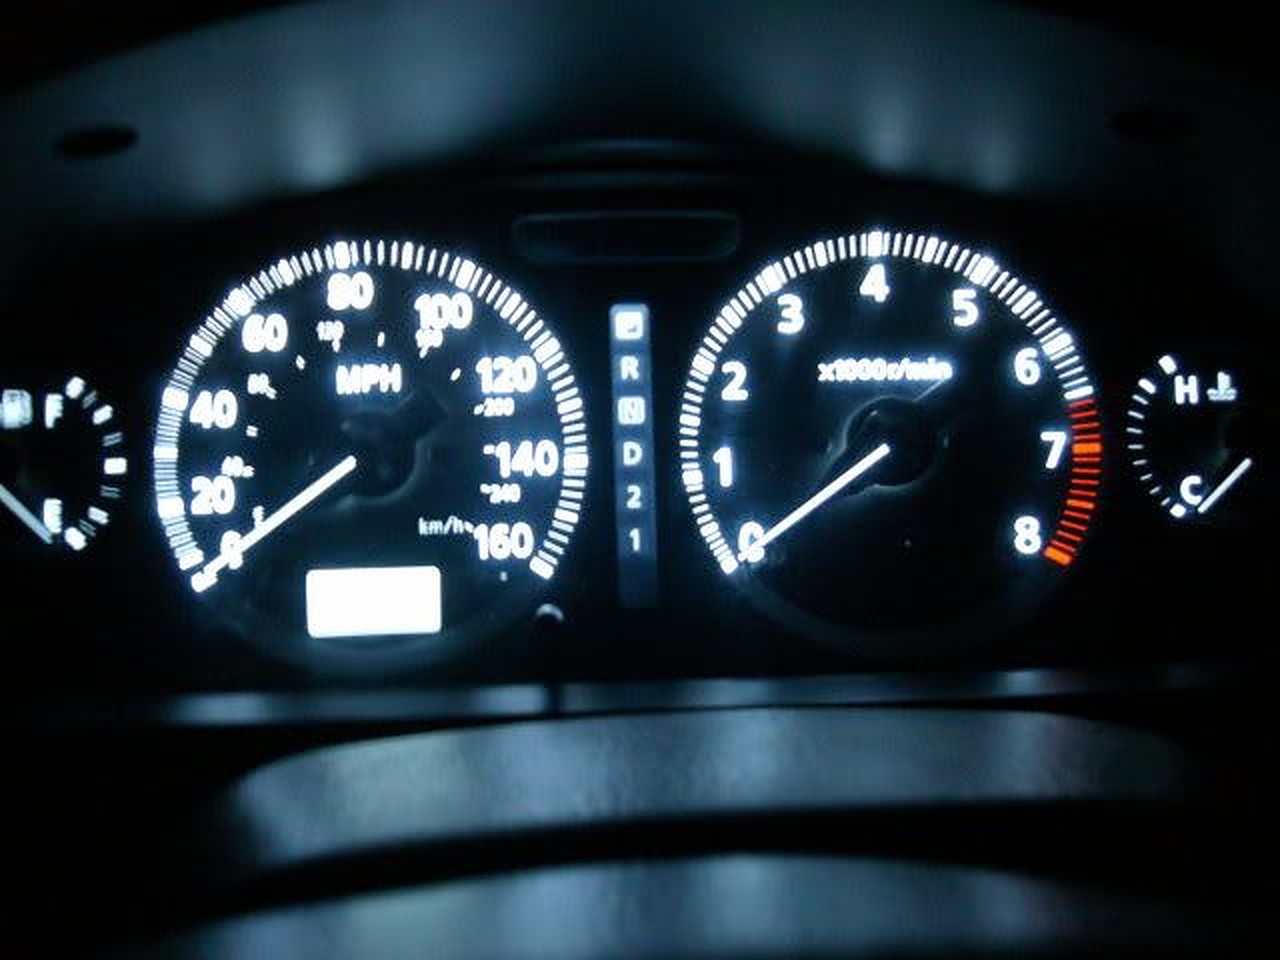
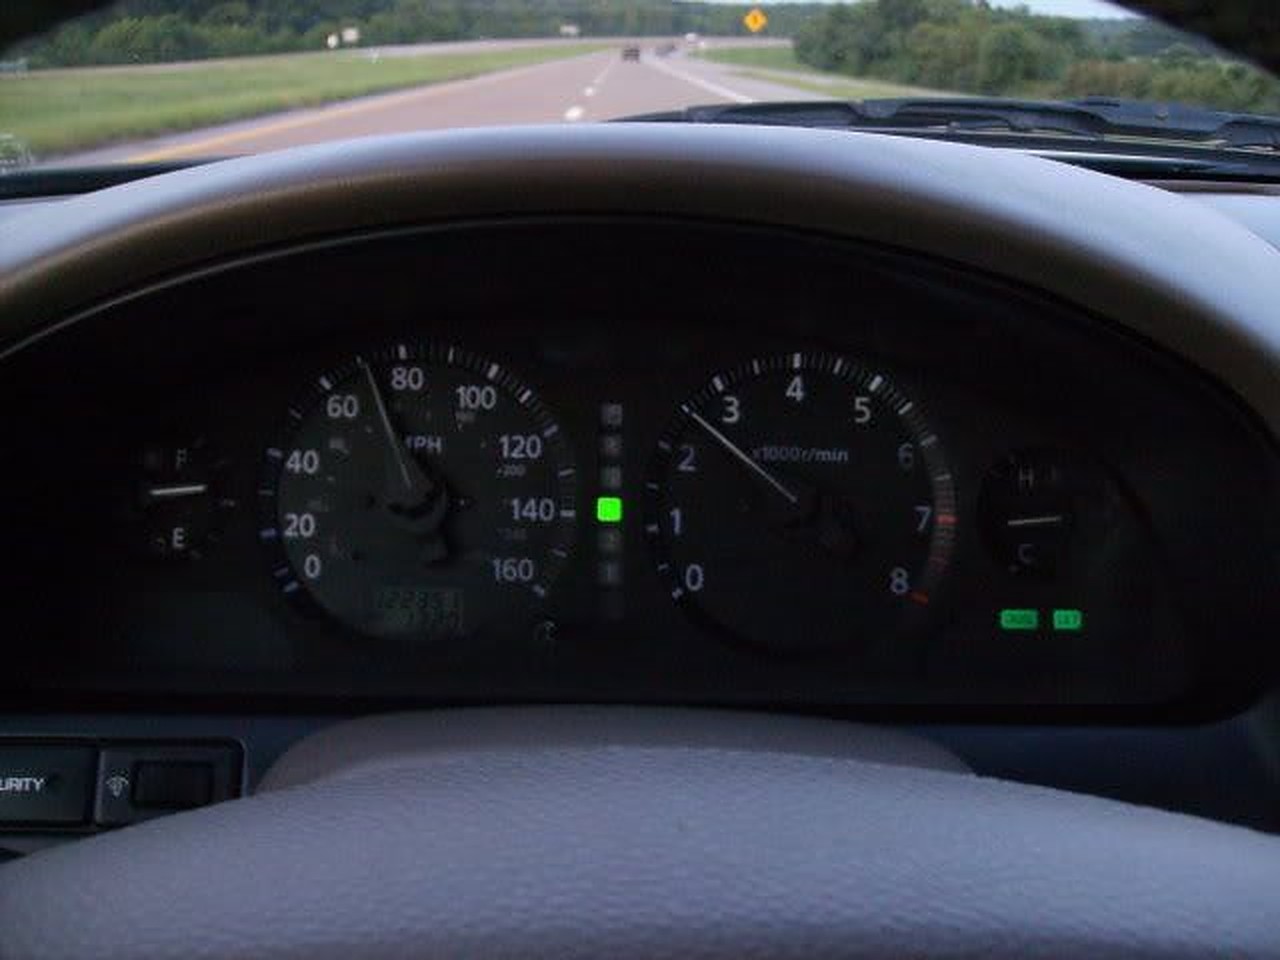
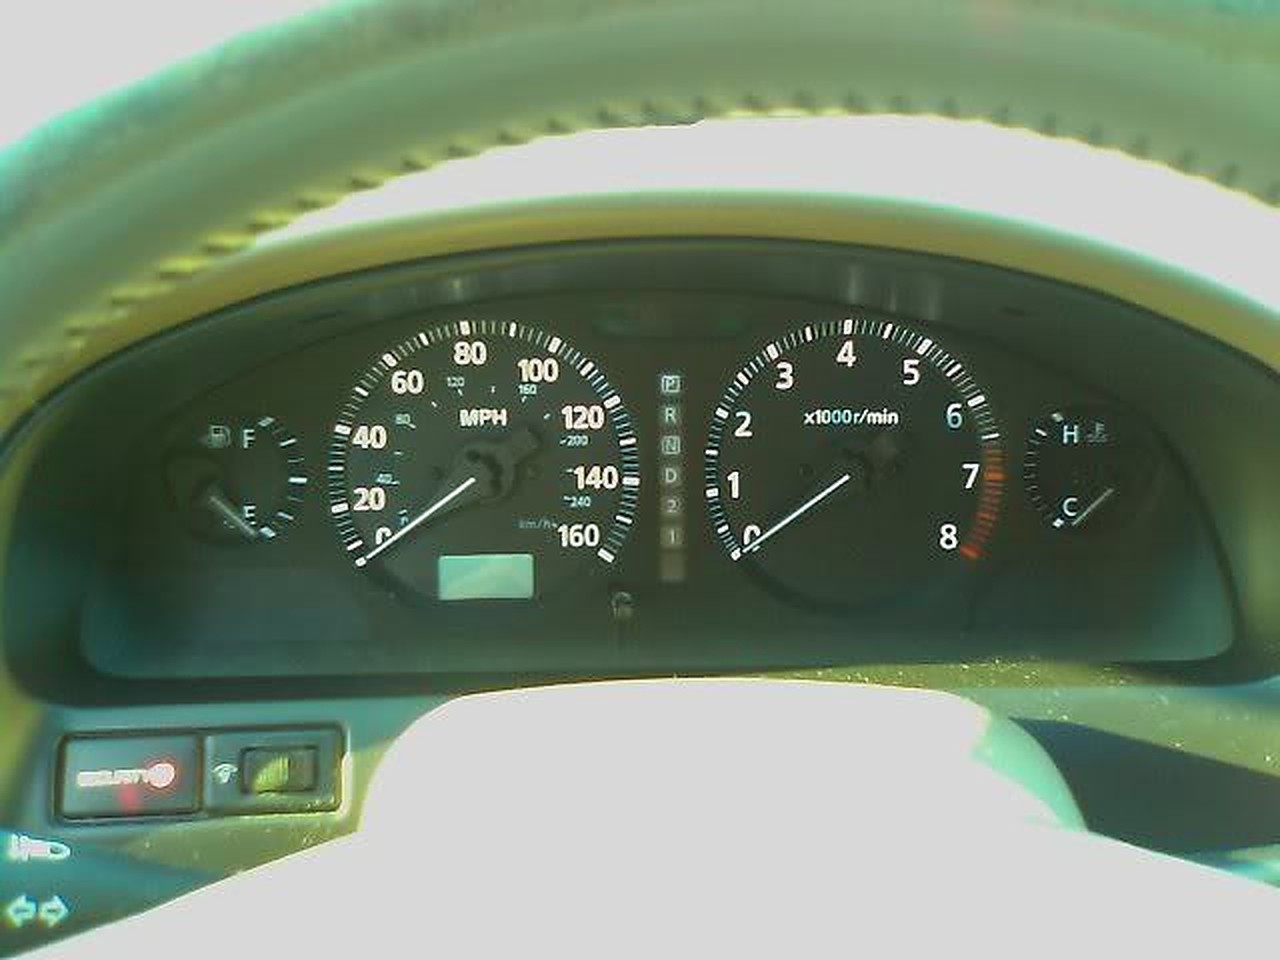
Stock
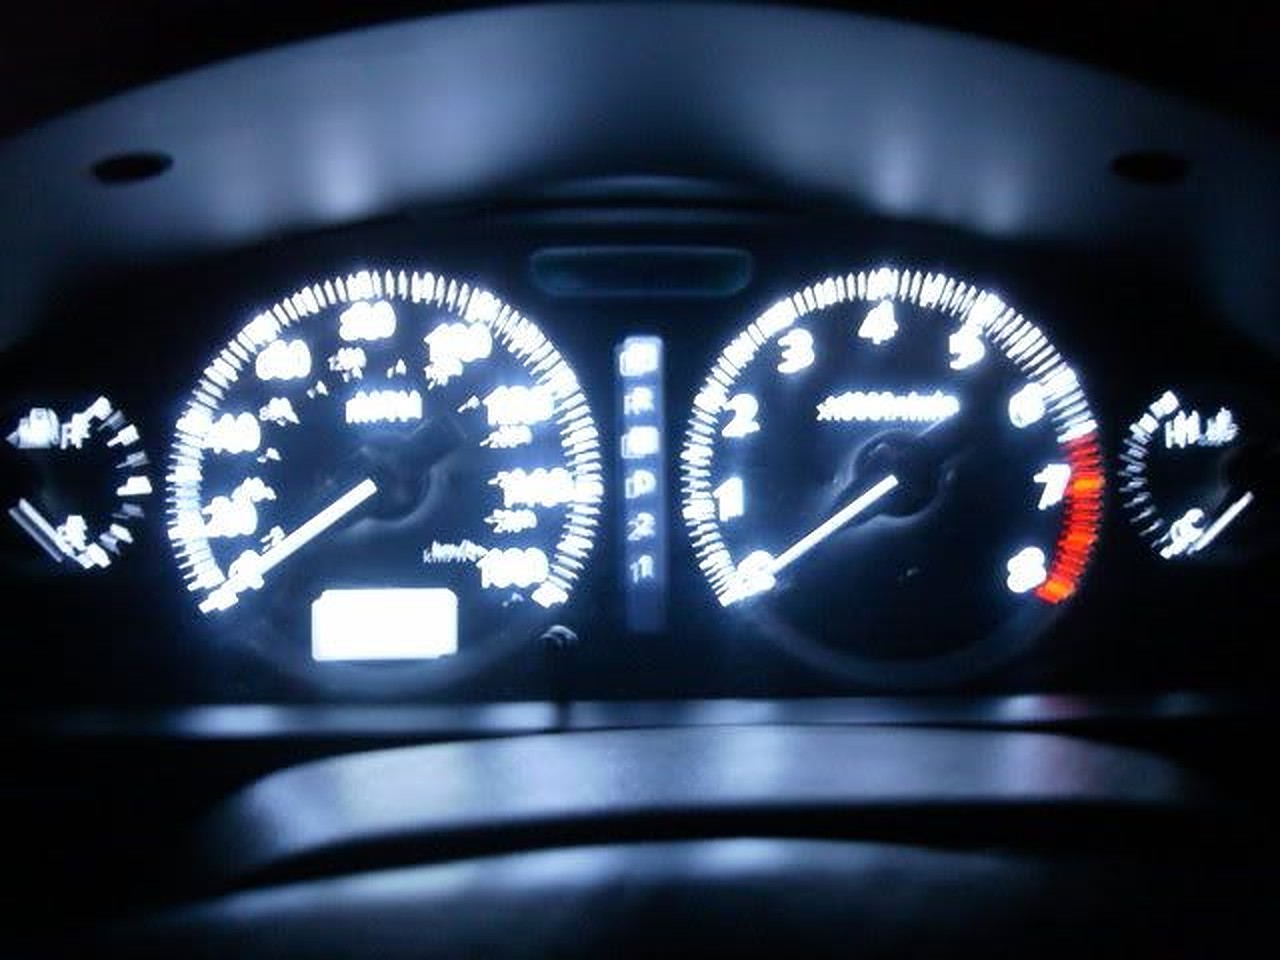
After LED strip swap
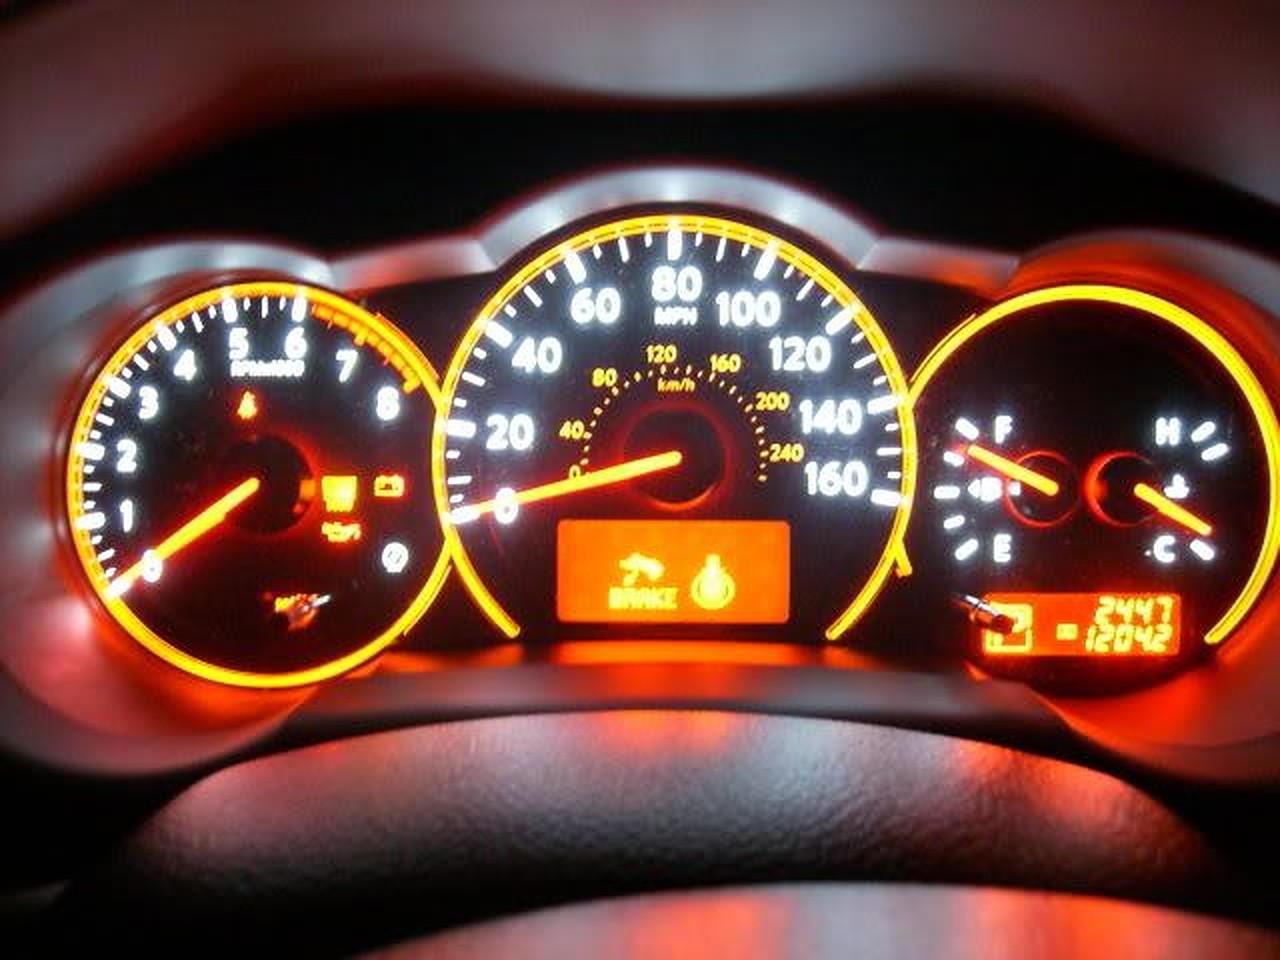
My mom’s ’09 Altima
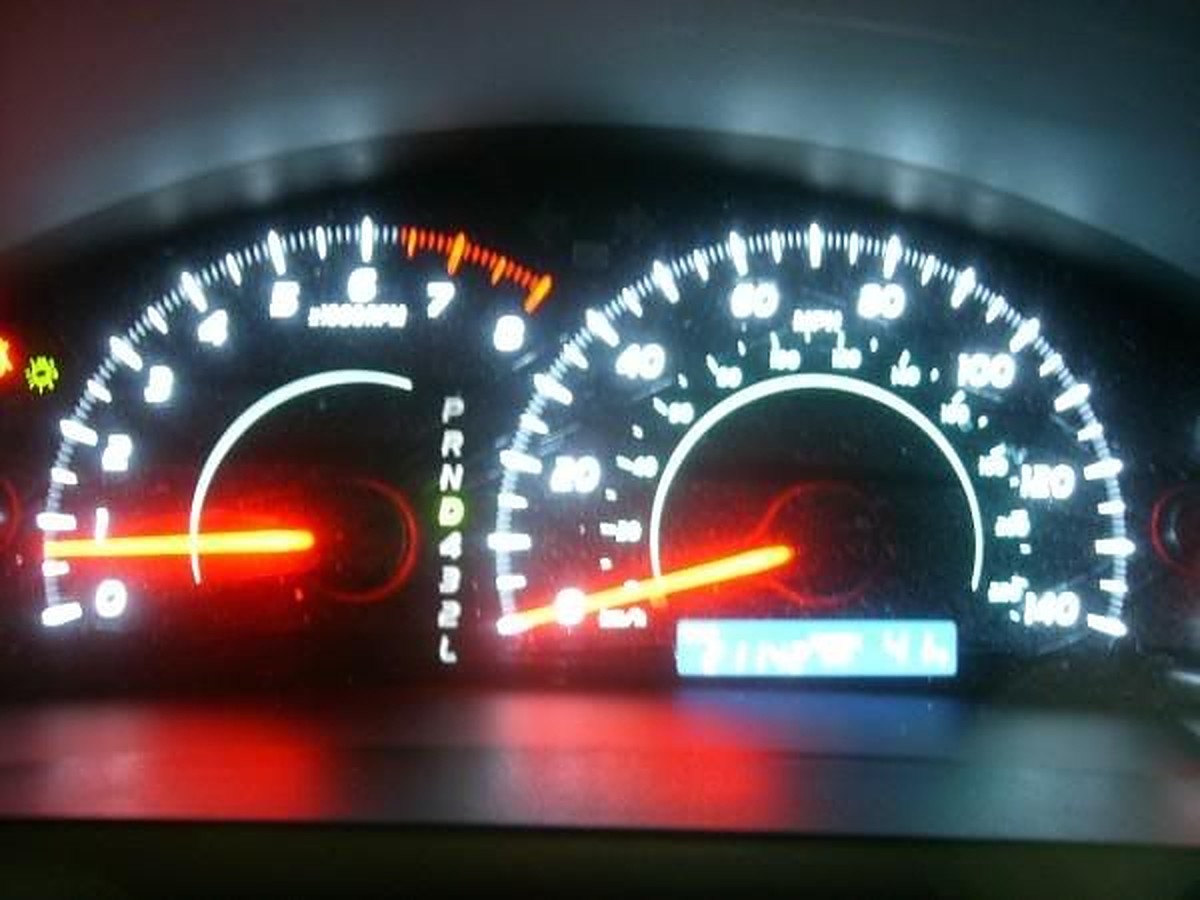
An ’09 Camry
Write-up Instructions
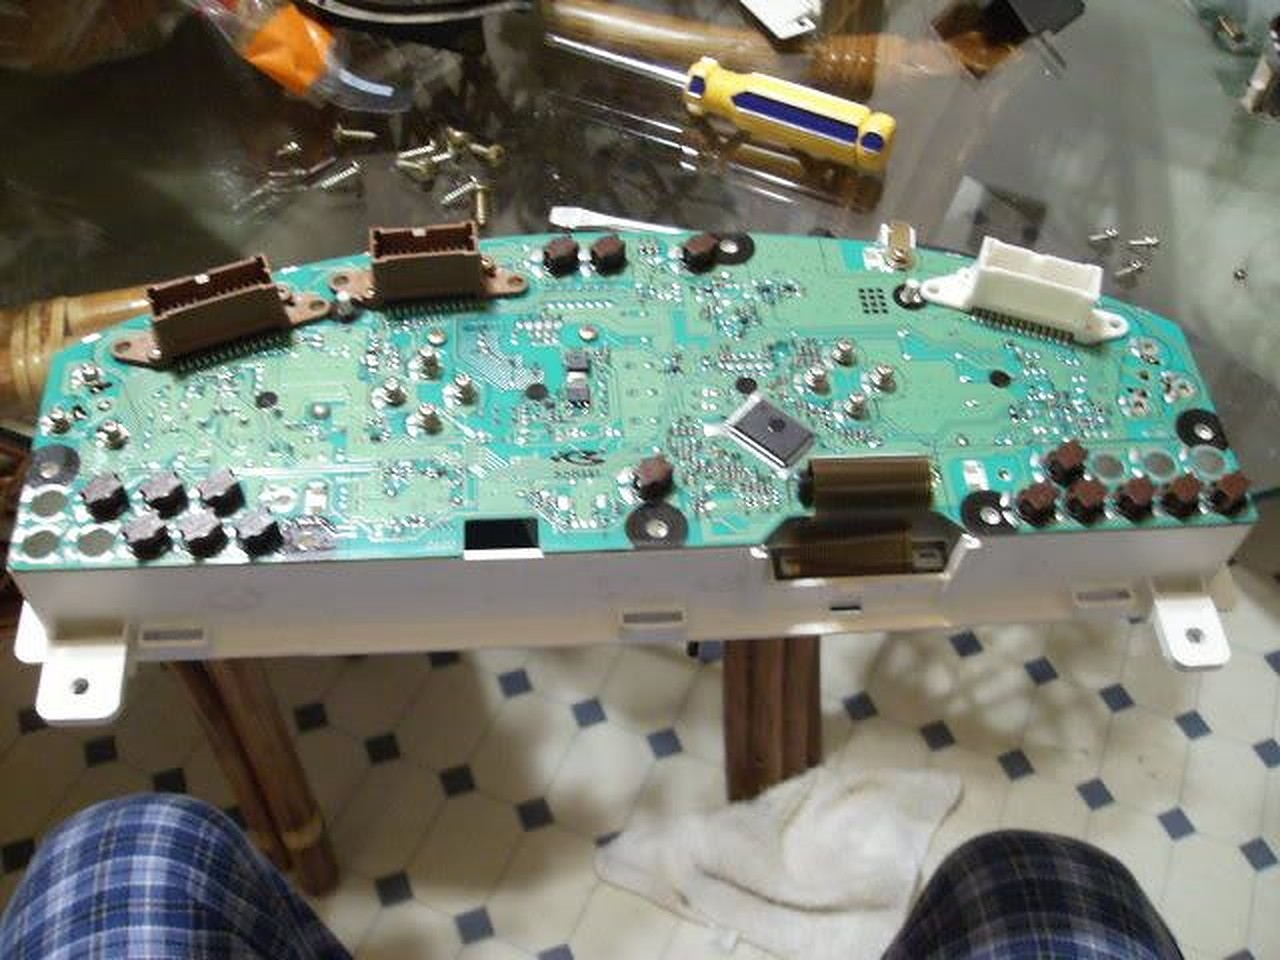
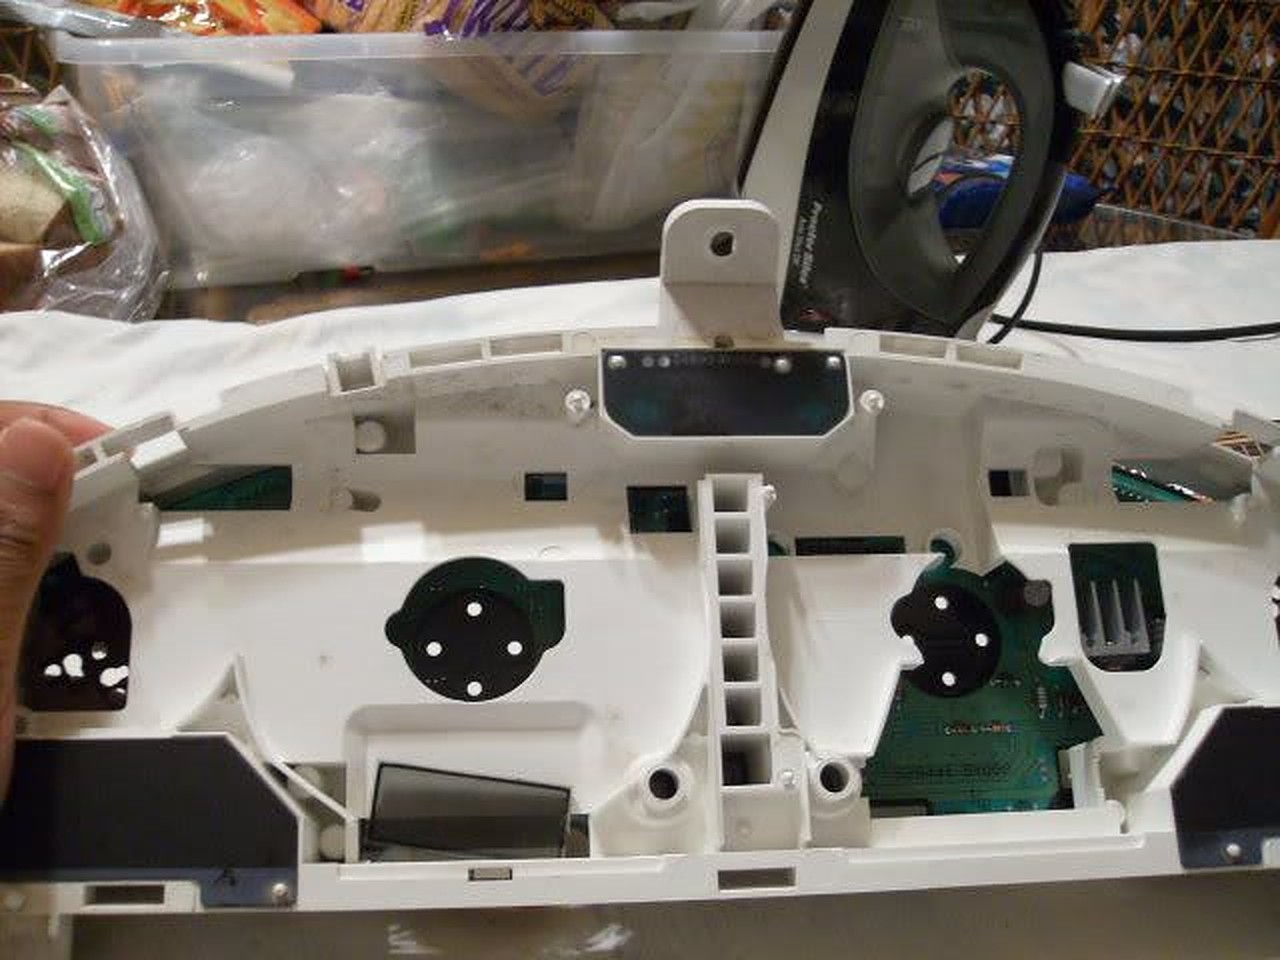
1. Take the cluster out of the car (this should be self-explanatory).
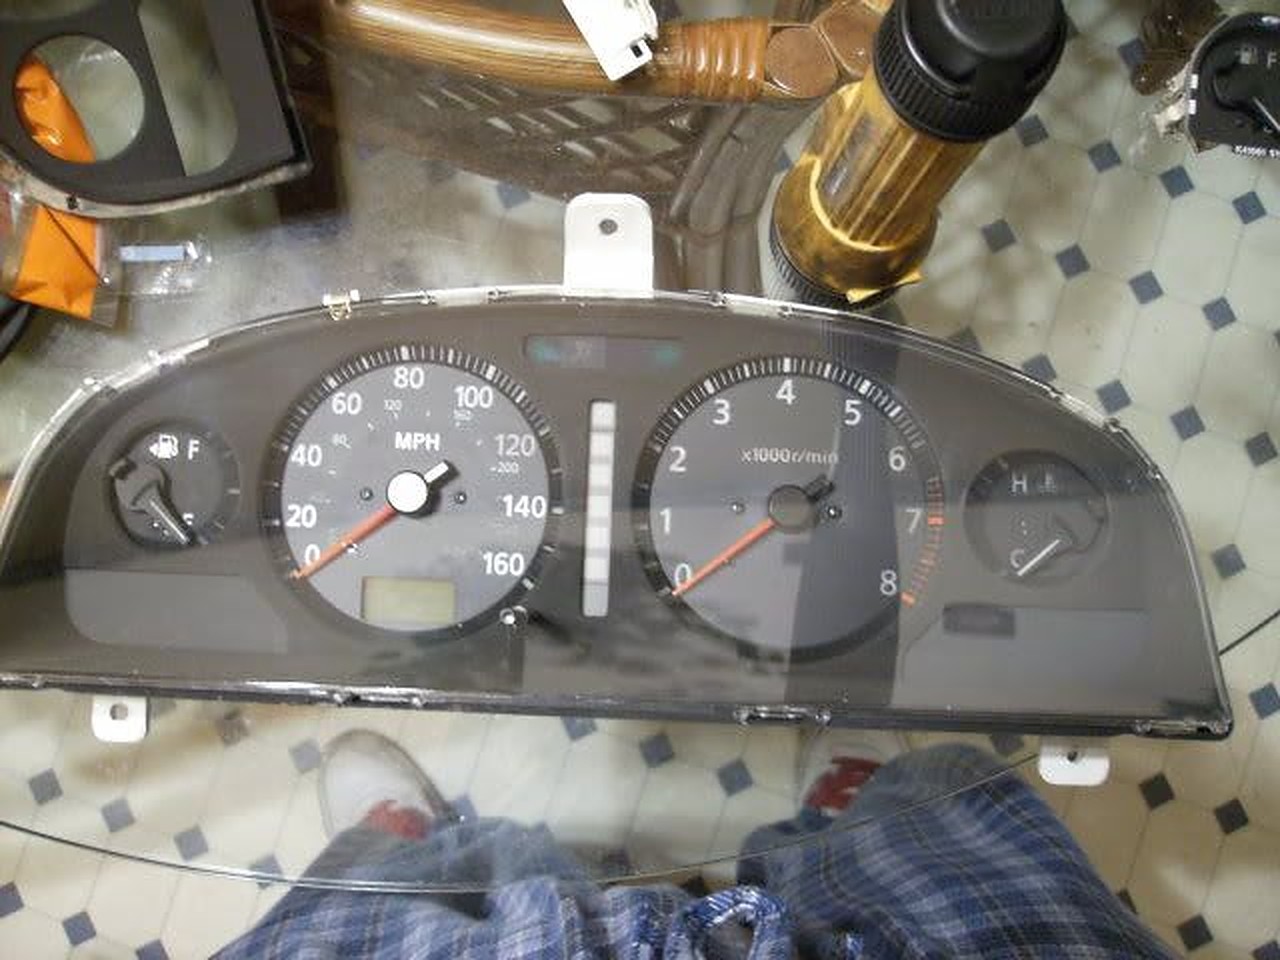
2. Take the outer cover out of the cluster (be careful, it is easy to break!)
3. Remove inner cover (black part) out of the cluster.
4. By now you should see all of the screws to remove the gauges.
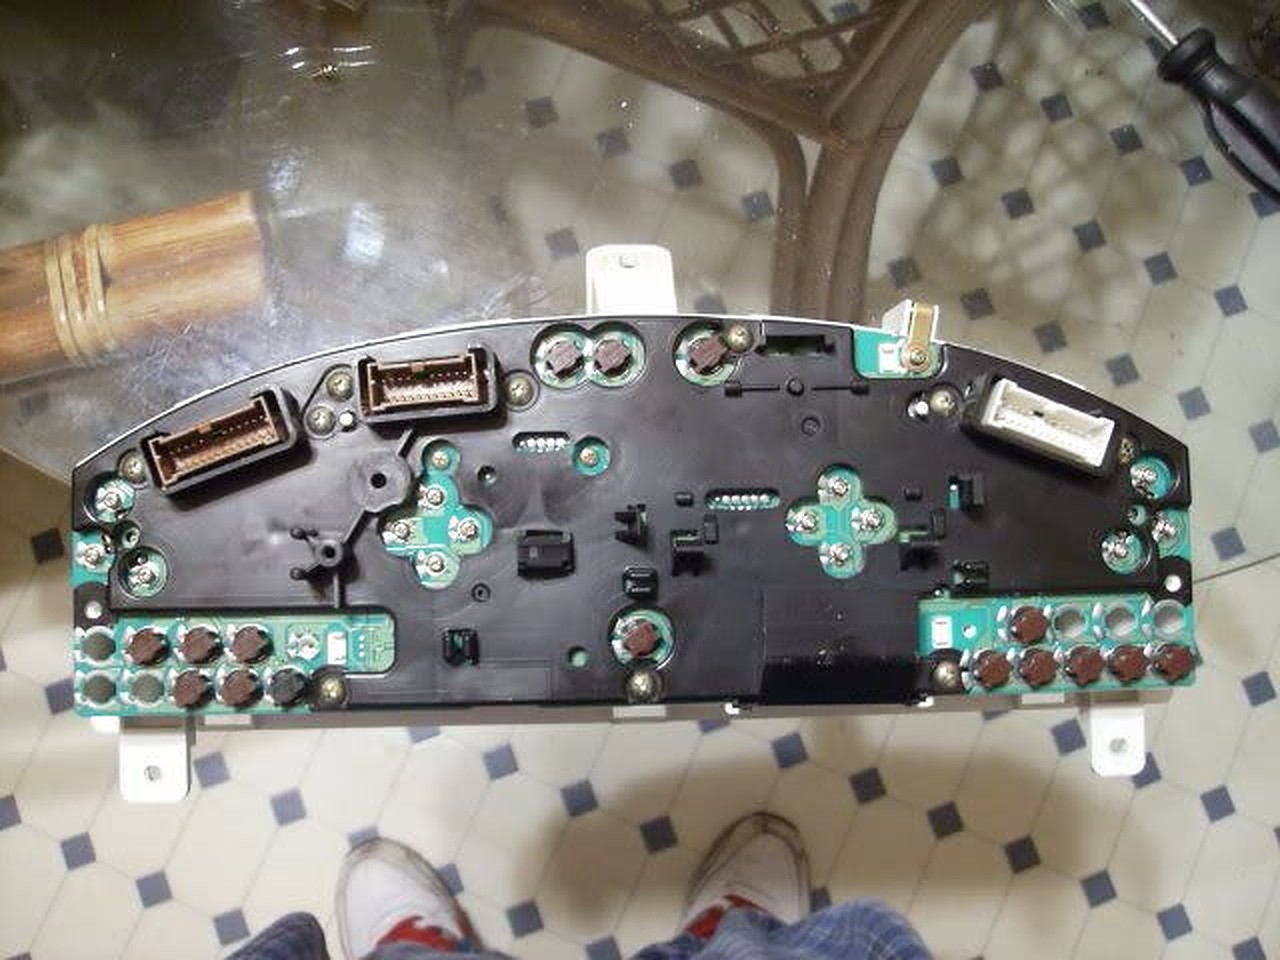
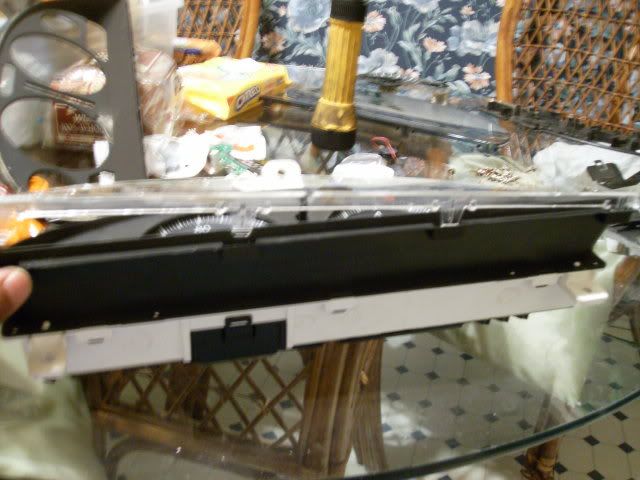
5. Removed the circuit board cover to make everything easier…
6. Here you can keep the gauges together as one after pulling up, or you can have them separated (which I did) by removing screw on the bottom of the speedo and tach.
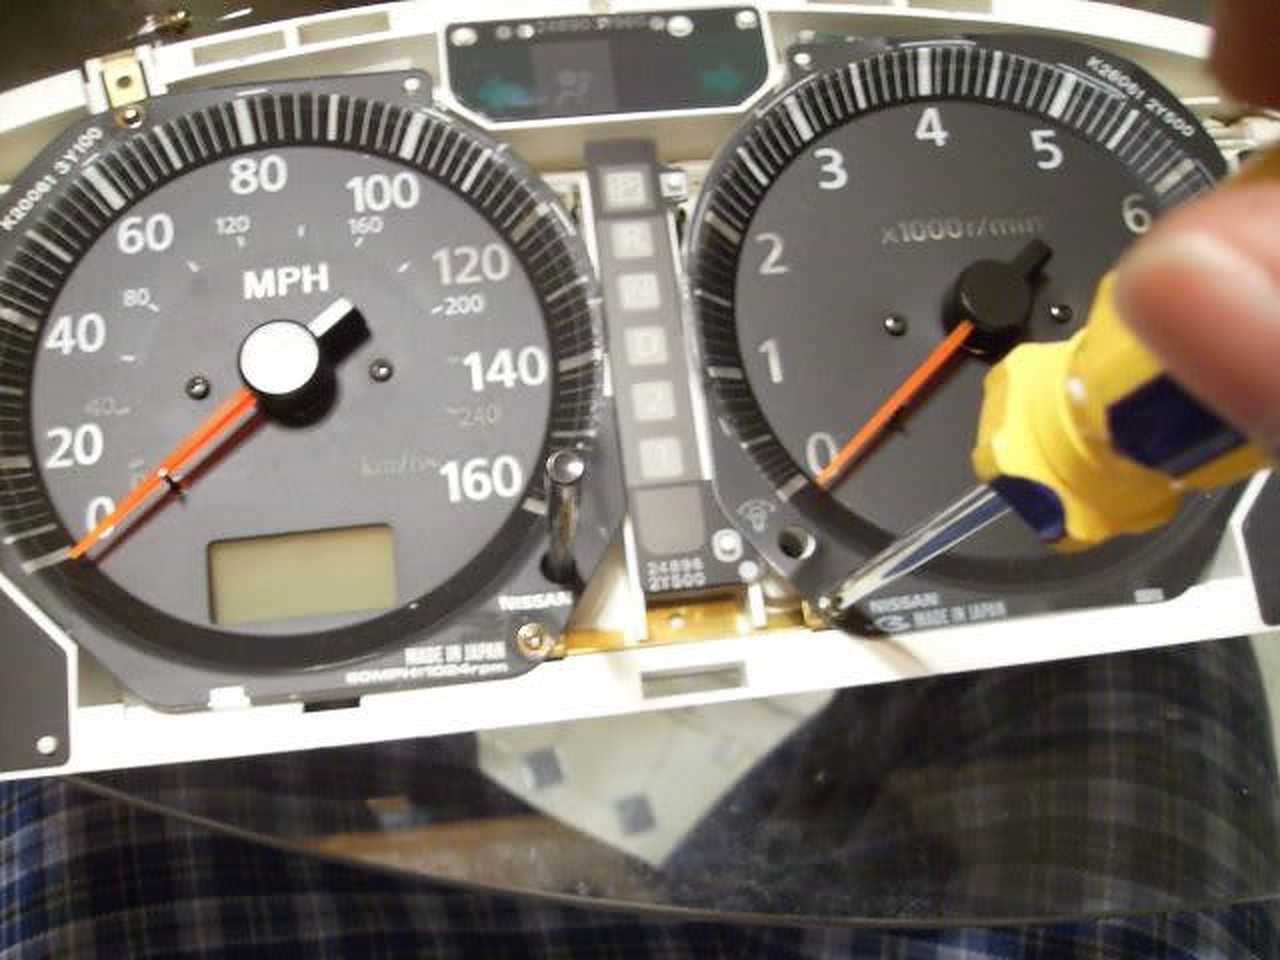
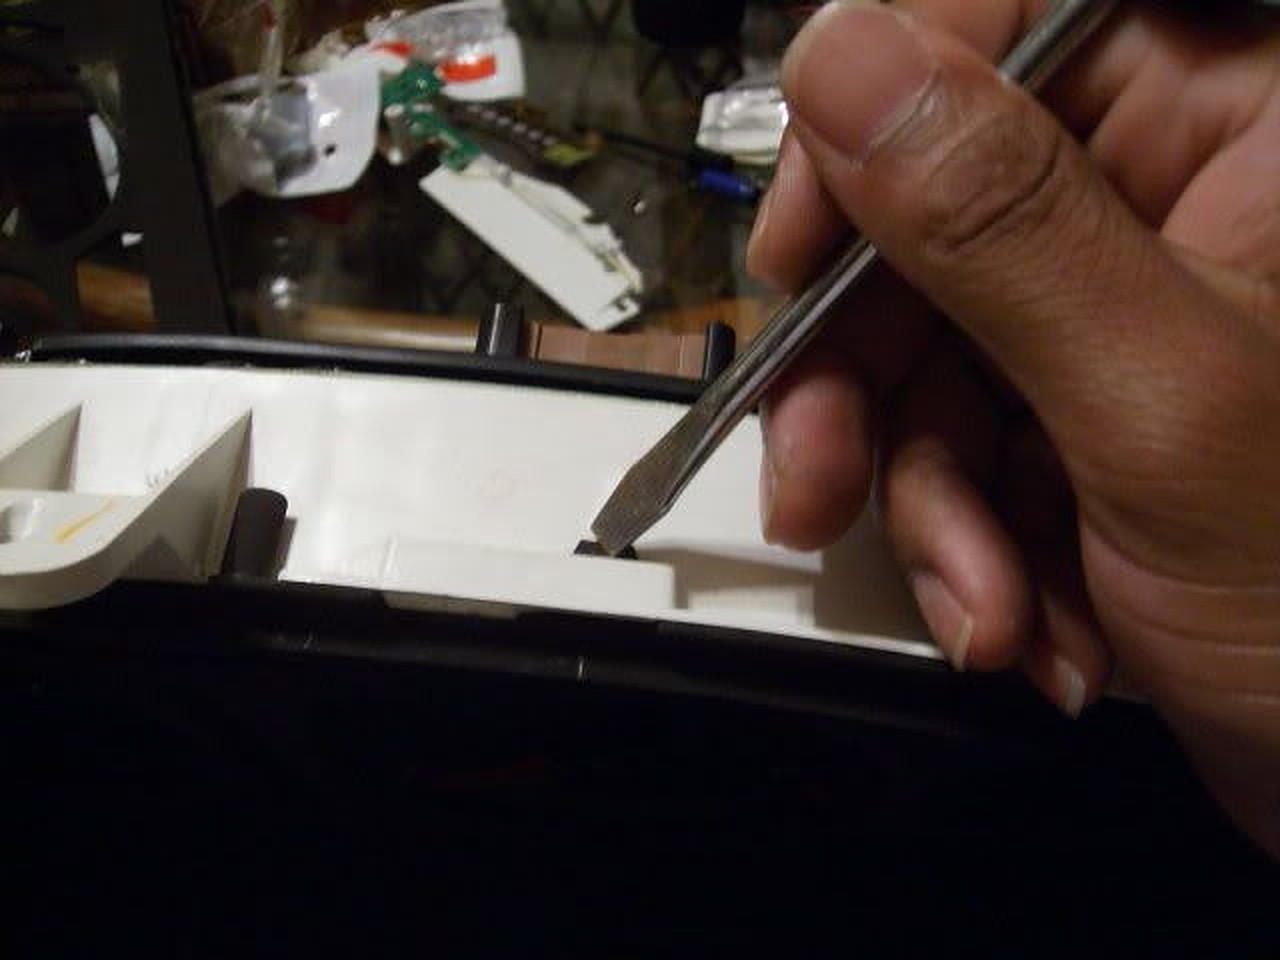
7. Before removing speedo head, remove odometer head. PLEASE be careful, that odo head is on their pretty tough it would be easier to break the tab rather than the odo head!
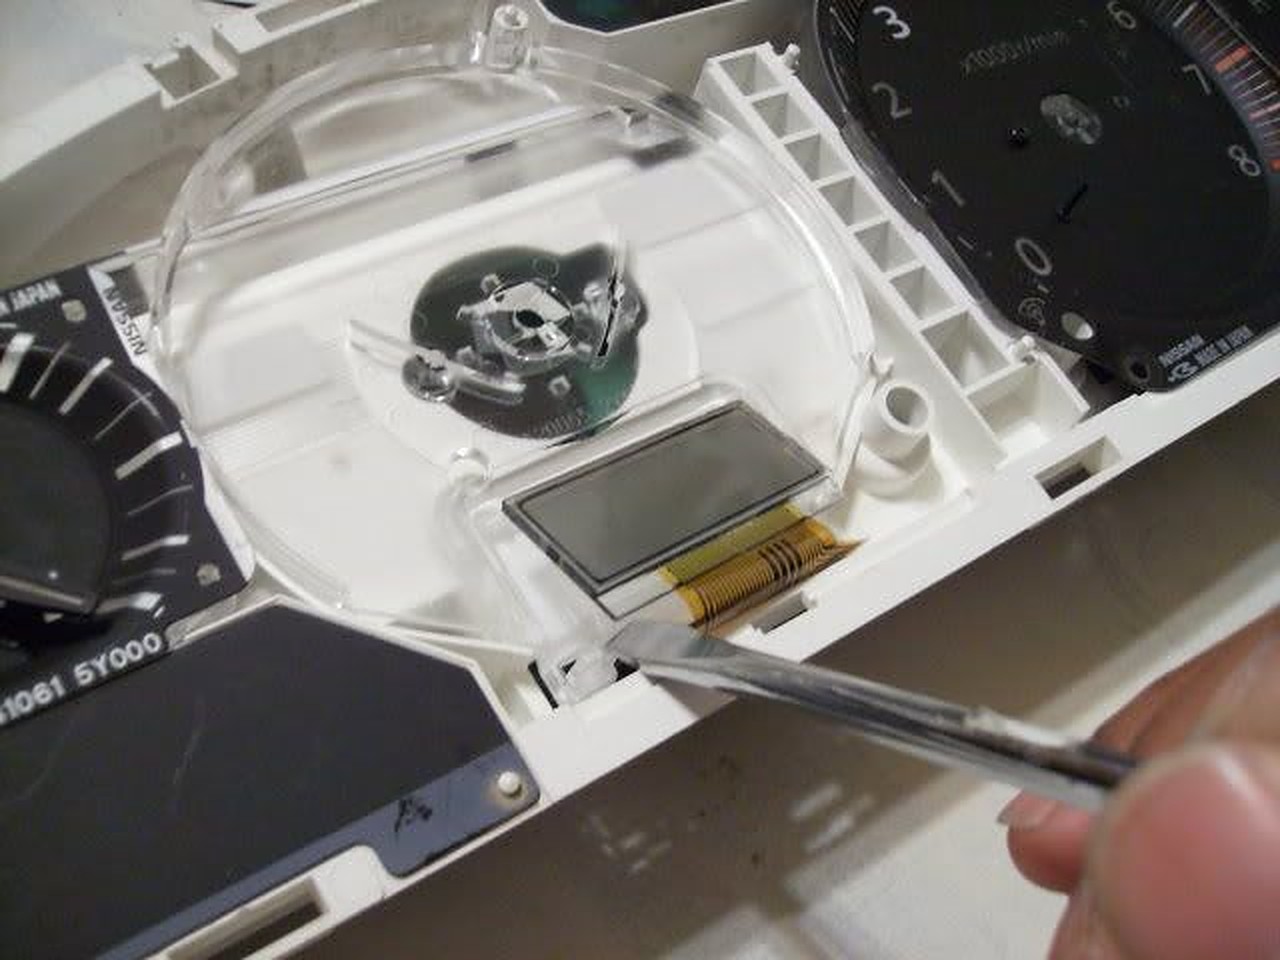
8. Here is the EL tube and all it’s glory…
9. These are the screws to remove the EL tube…

10. Pull up on the tube assembly and it should come out of the cluster’s circuit board.
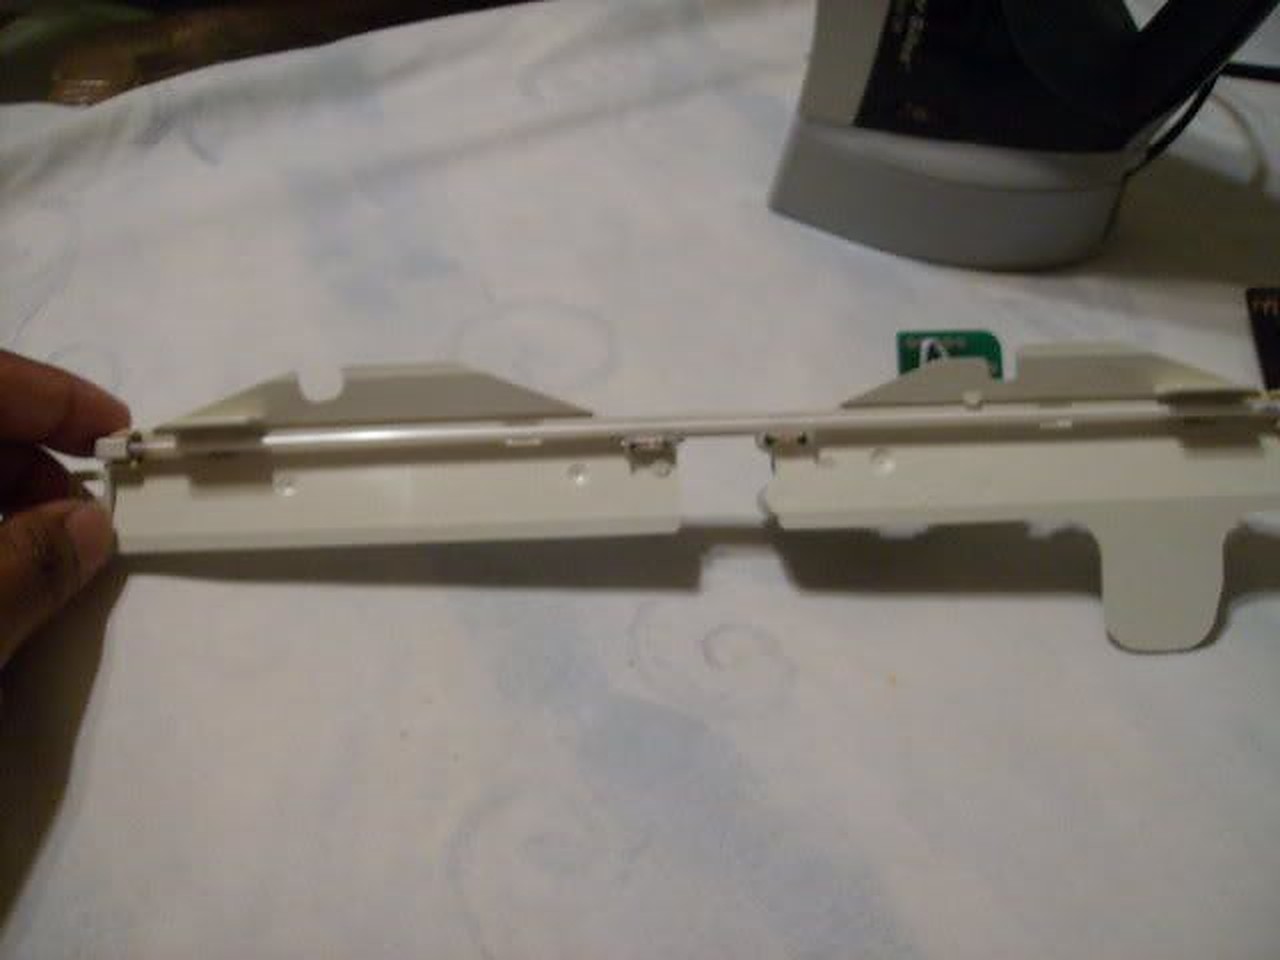
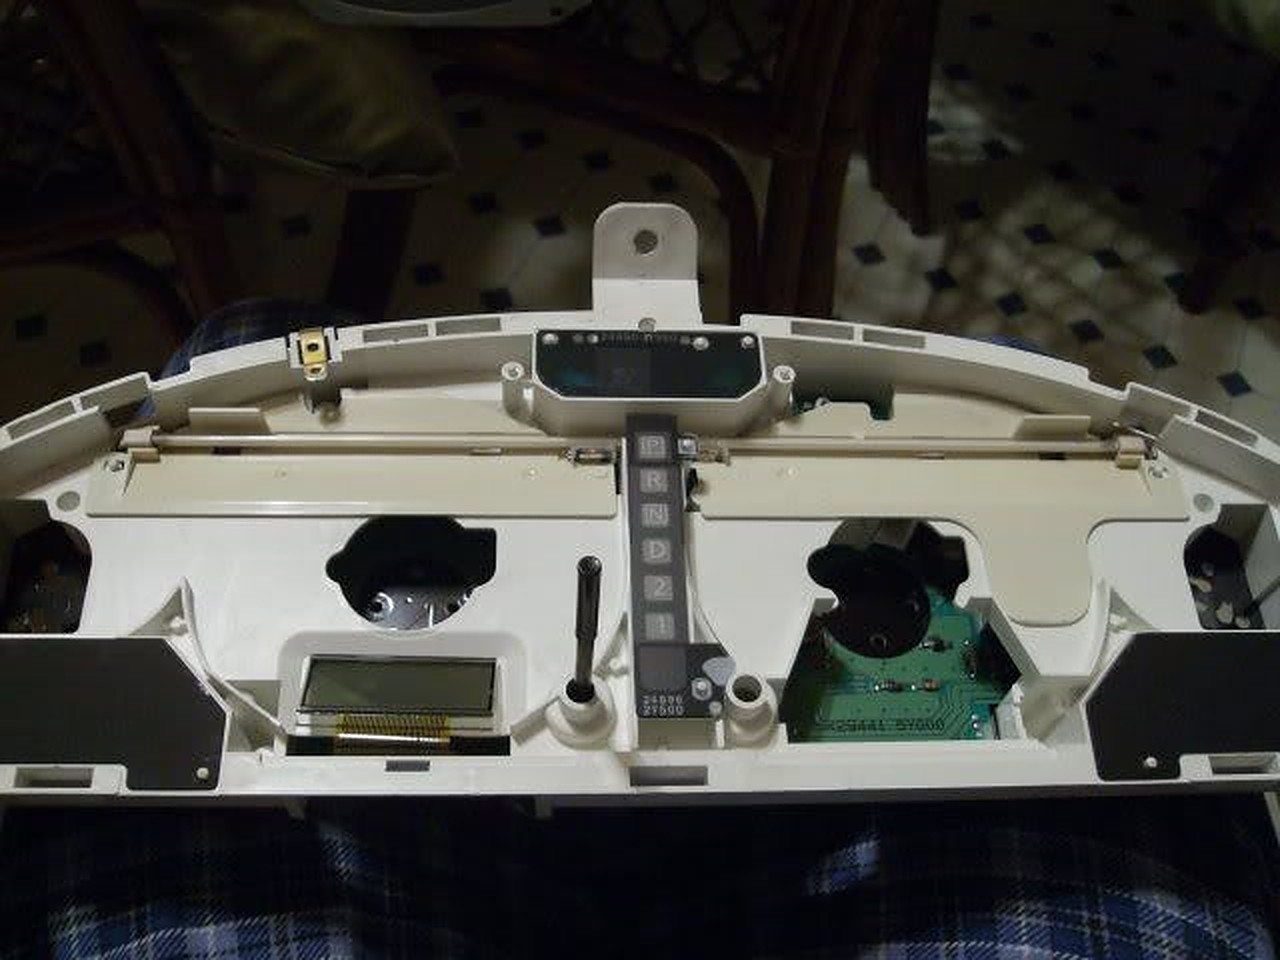
11. Here is the room you have to work with…it’s not much, but the LED strip I ordered from http://www.oznium.com/led-flex-strips fit like a glove. I used super glue to hold it together. Also the wires from the LED strip can be snaked through the holes left from the EL tube screws…
12. Put everything back together and tighten everything up. Use a 9V battery to make sure the strip lights up…

13. With everything back together…
It’s wasn’t bright at all (especially in the daytime) but it was on a 9V battery so…
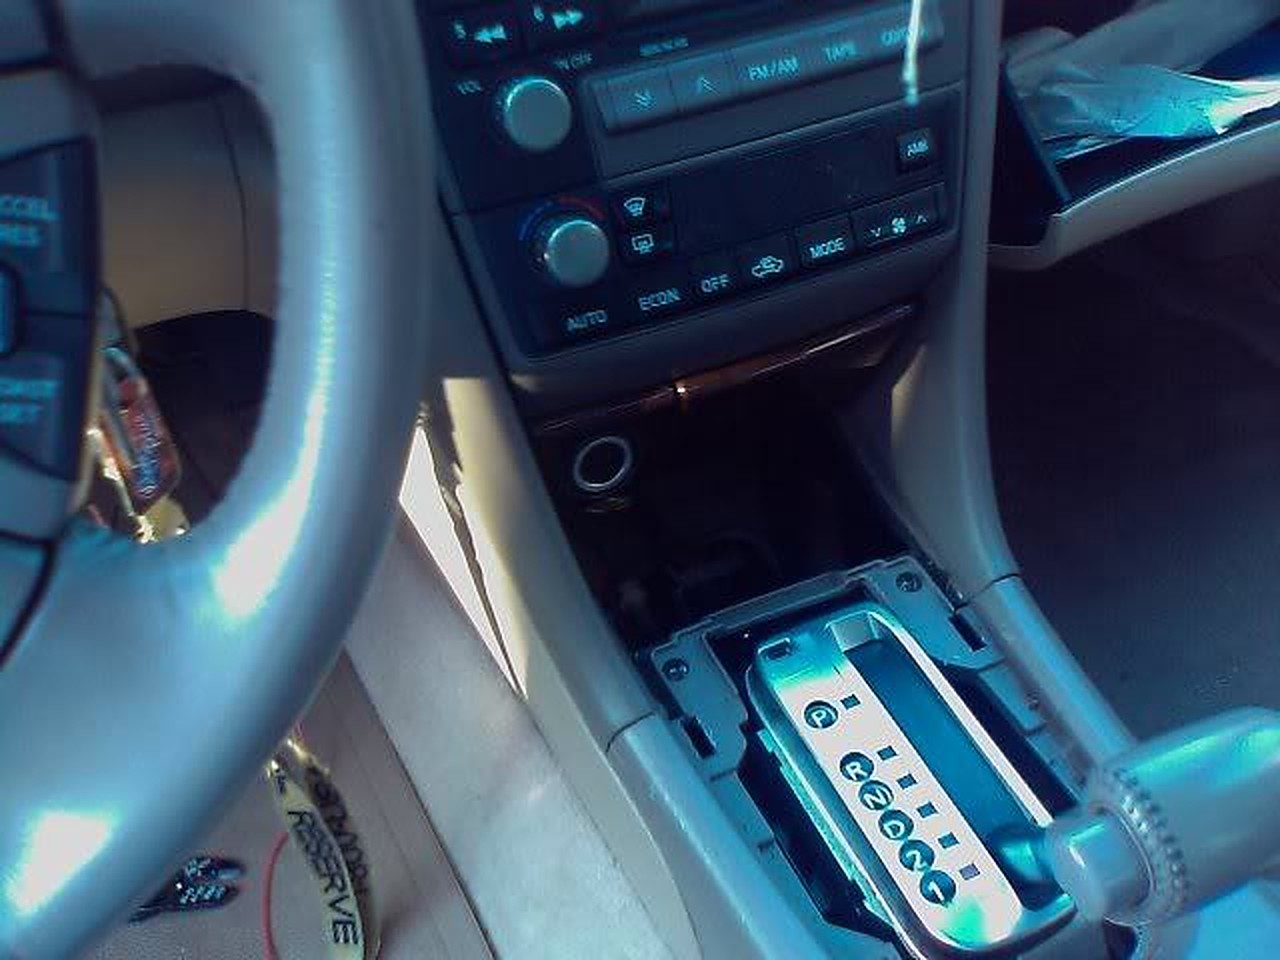
I decided to wire it up to the cigarette lighter…yes the gear shifter surround has to be removed and the radio/ climate control too, or enough to get to the cigarette light wires…
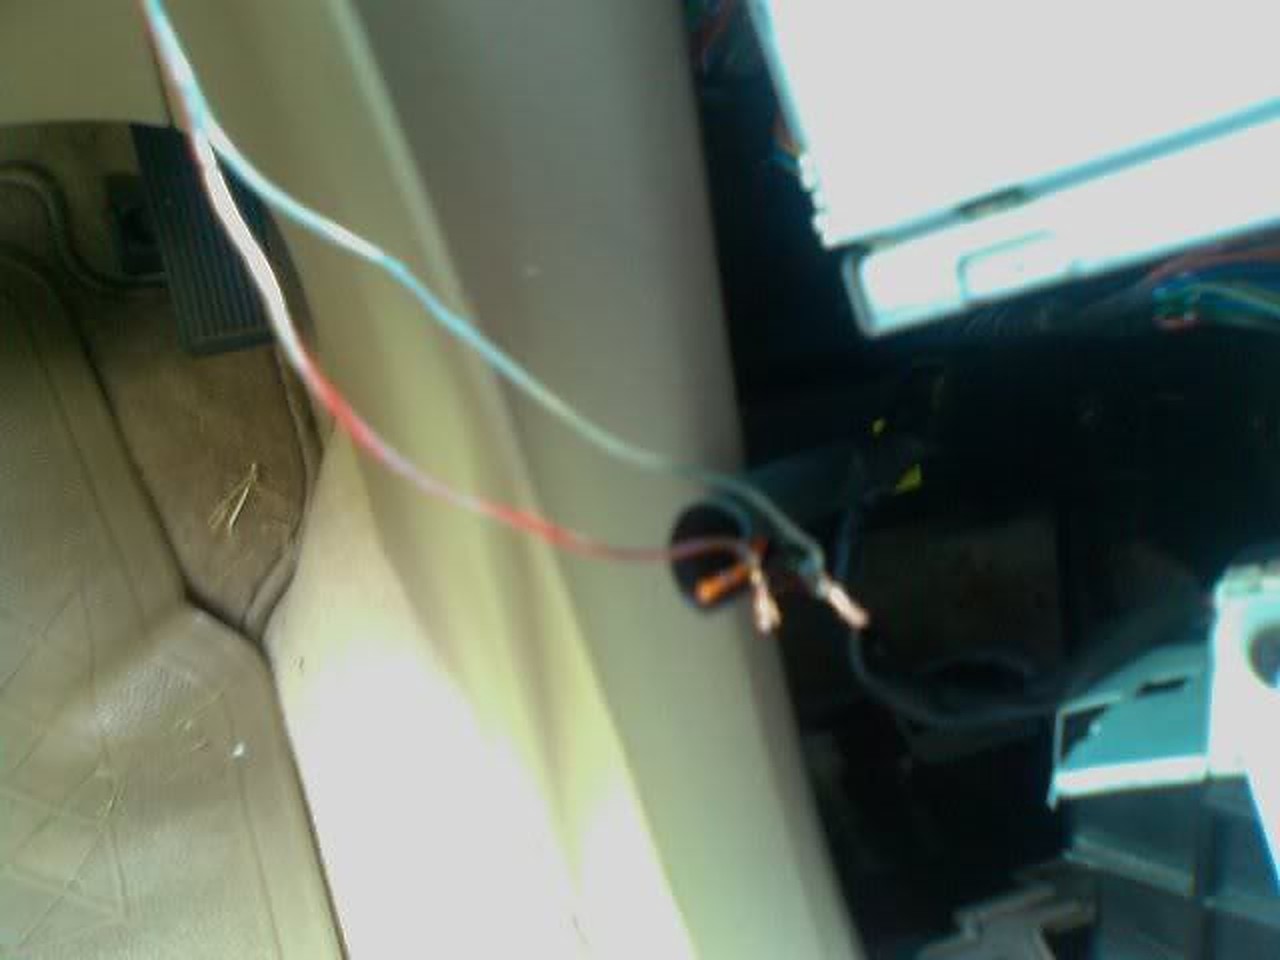
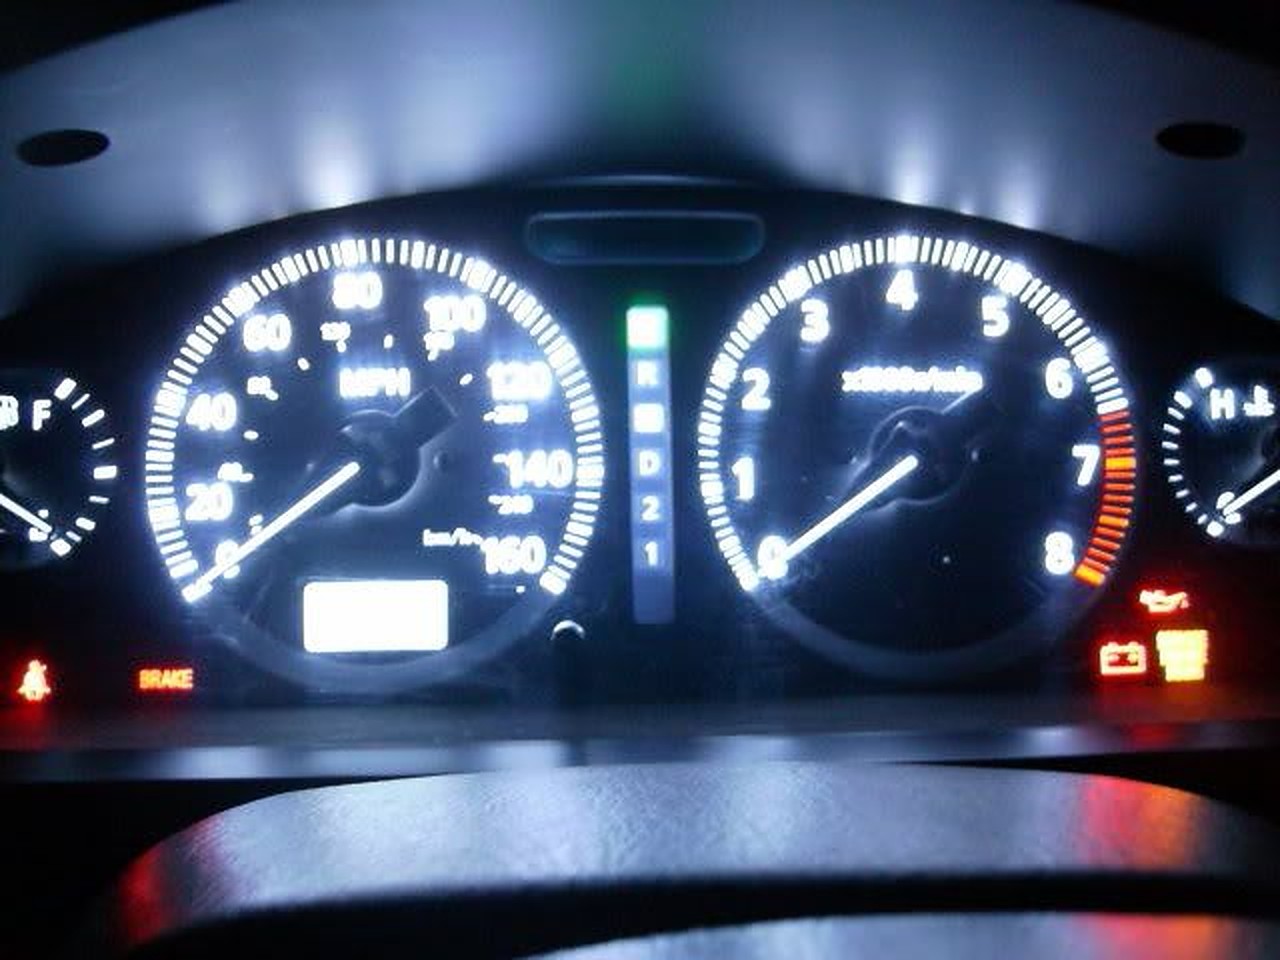
Wire the LED strip wires together with the cigarette lighter and put key in ACC to make sure it lights…it’s very bright in the daytime… Especially at night they are amazingly bright!
Additional Helpful Information by raincity
After only 4 years my replacement CCFL had dimmed to the point that I couldn’t see the display when the car was very cold. It was only poorly visible even when warmed up so I decided to finally install LED’s. I did this with a bit of hesitation because I could not find the cluster wiring points for LED’s posted anywhere, despite hours of searching. With some work I was able to figure it out.
The LED strip and an extra connector was purchased from superbrightleds.com for less than $20 with shipping.
1 – NFLS-NW30X3-WHT Natural White LED Strip (includes 1 connector)
1 – NFLS10-2CPT Pigtail Connector
The LED strip has adhesive backing and can be cut every 2″. I pulled the old CCFL, associated wiring and circuit board and mounted two 4″ strips right to the CCFL plastic mount, one on either side of the transmission display. I placed them as close to the outside edge of the plastic as possible. They fit almost perfectly, only a tiny piece of plastic had to be trimmed from the mount. The wiring from the strips fit into the same run that the CCFL wiring ran through. I soldered the wires together.
I wanted the wiring to remain contained inside the cluster so I spent a few hours examining the schematics in the FSM and found the correct wiring points:
The wiring connection points are on the plug labeled M34, shown on page EL-145 of the FSM. It is fairly easy to solder wires directly to the pins on the base of the connector if you tin both the wire and pin first.
The negative LED wire connects to pin 49. That lead connects directly to the Illumination Control Switch (the dimmer control.) The FSM pages showing the wire endpoints are EL-120 and IL-123. The path of the wire runs across multiple pages of the schematic.
The positive LED wire connects to pin 66. Pin 66 connects to a 12V source that is controlled by the ignition key. It’s shown on manual page EL-147.
The results were well worth the time. For the first time the cluster lights look like they should, clearly visible in bright daylight even with sunglasses on. The odometer is also clearly legible all the time. When the headlights are turned on the cluster LEDs dim exactly as they should. The color of the LED strip is also excellent and lacks the purple hue of the last CCFL bulb I installed.
The only negative is very minor. The lighting across the display isn’t quite as consistent as it was with the CCFL. It is a minor variation and I don’t think I would have noticed it at all if I hadn’t been looking for it.
Good luck.
Update: After driving the car for a few days in the daytime and being very pleased with the brightness of the display, I drove last night after dark. The new LED’s are so bright that to get them down to a reasonable level at night requires turning the dimmer way down, too far down to clearly see the other displays that are also controlled by the dimmer. Unfortunately it won’t be possible to contain fully contain the wiring withing the cluster and maintain the daytime brightness without adding a custom circuit. To allow the independent control of the cluster LED’s I’ve decided to add a 2nd dimmer switch dedicated to the LED lights. Ebay had one for $12 shipped and I have an empty spot in the dash to install it so it looks like a stock control. I’ll post back here with results.
![]()

Comments are closed.