

Credit: michaelm815
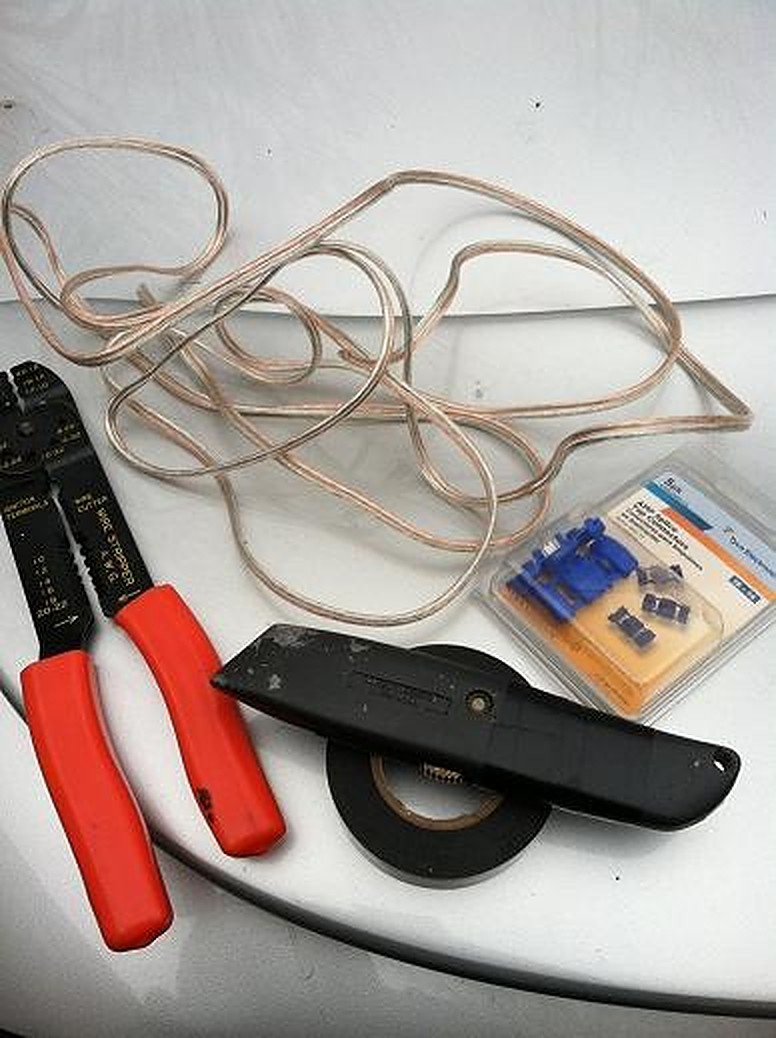
Tools needed:
- 16 Gauge wire (about 2 feet)
- Wire cutters
- Electrical Tape
- 2 Quick Splices (Optional)
- Flat Head Screwdriver
- 10mm Socket (Optional)
Photo’s
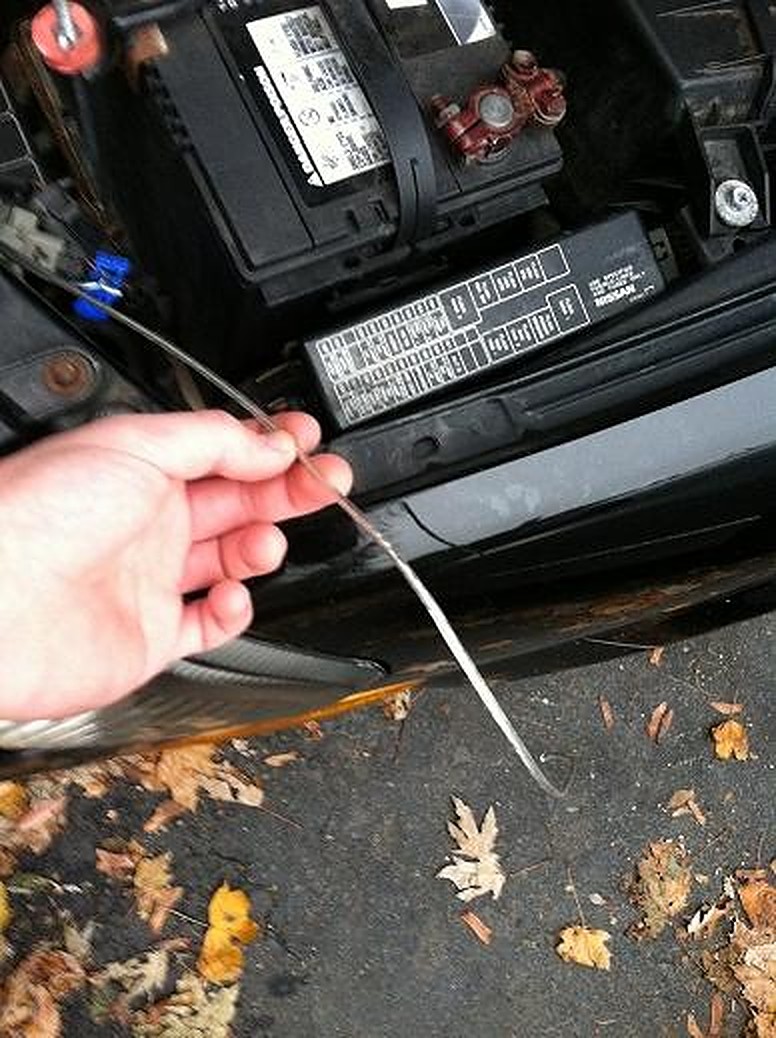
1. Get about 12″ of your new wire.
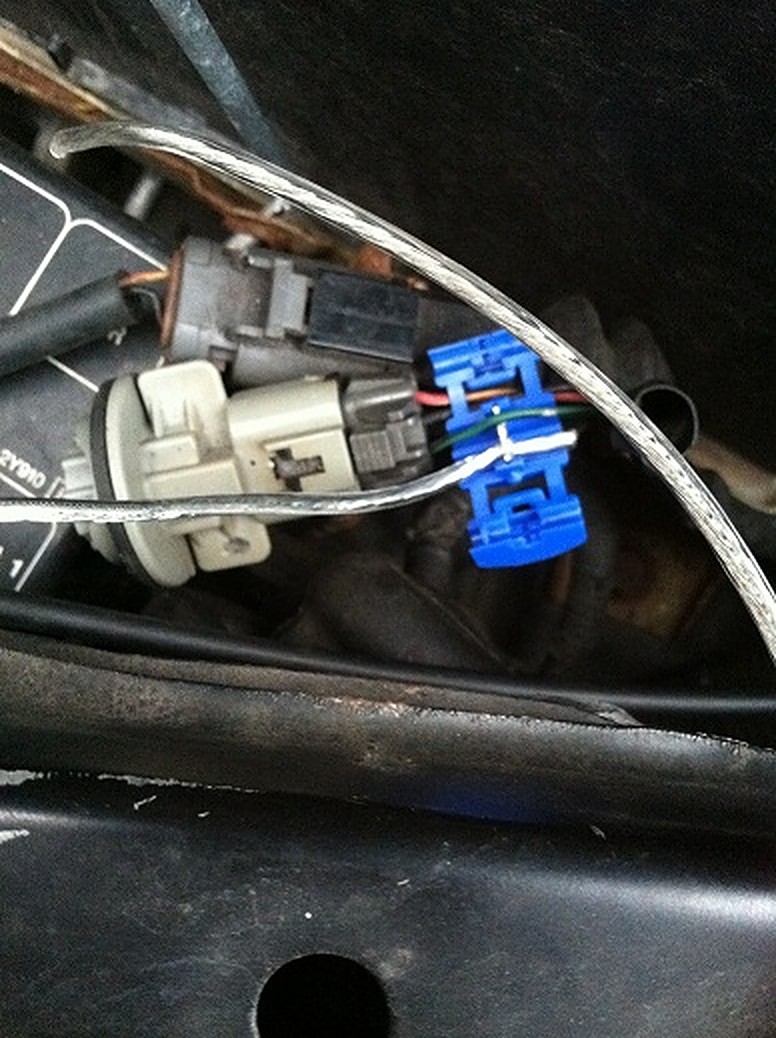
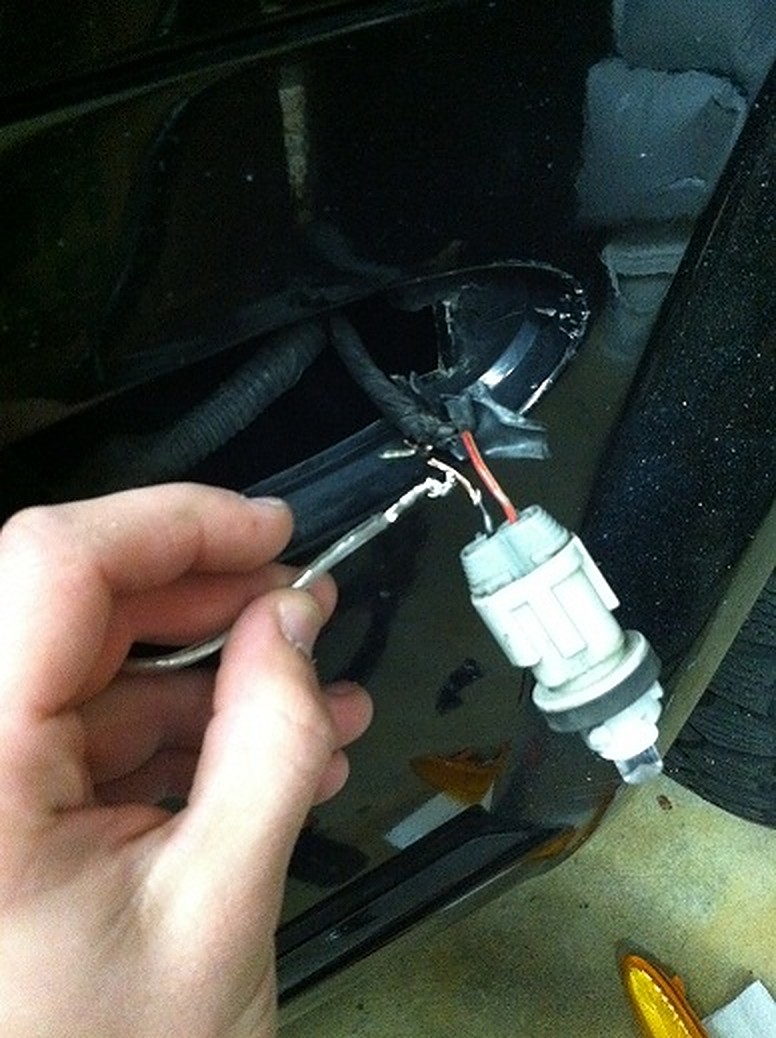
2. Pop out your directional. There will be a red, black, and green wire. Splice your NEW wire with the GREEN wire. If you don’t have quick splices, you can always solder or just tape them together.
3. Pop off your side marker using your flat head. Careful not to crack it, be gentle.
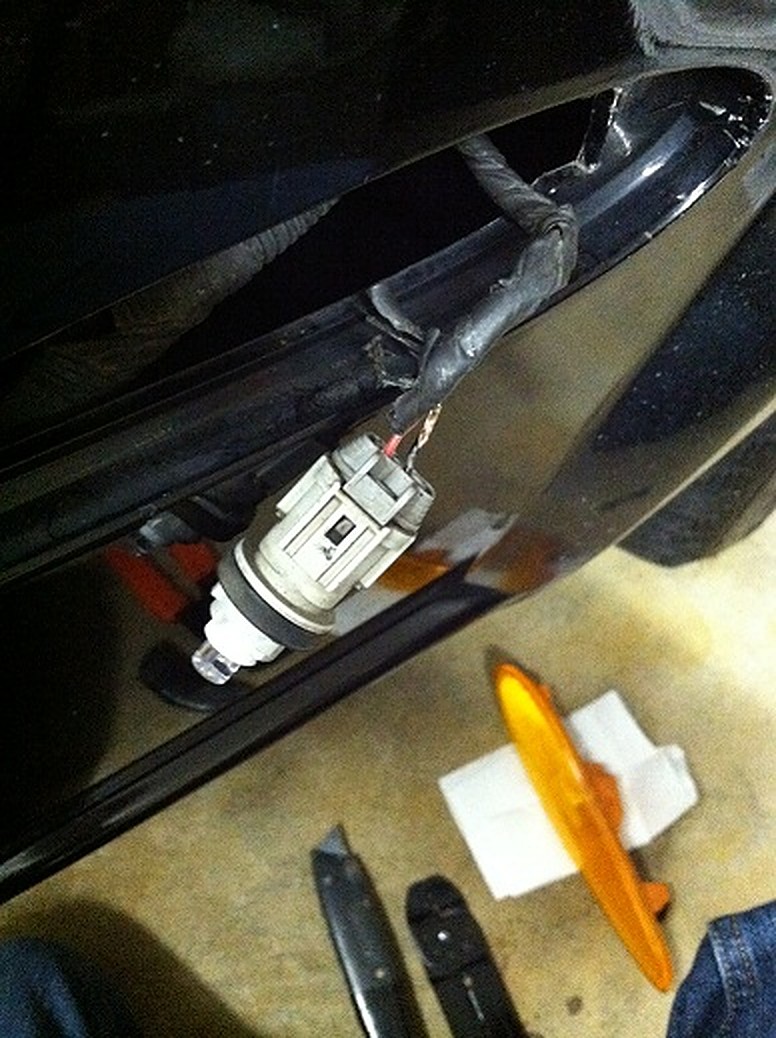
4. Find a hole to run your new wire down into your side marker area. Remove the headlight with your 10mm socket if it will help you do this. I had to with my passenger side one.
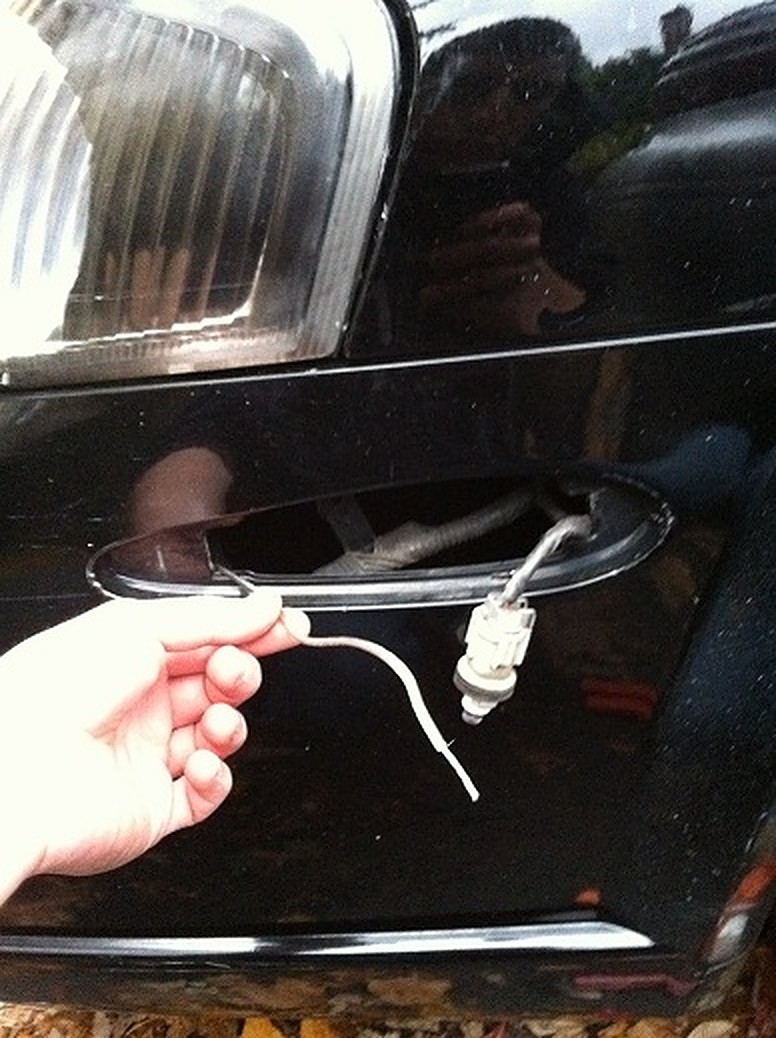
5. Your side marker harness has a black and red wire. Cut the BLACK wire an inch or more up. Wrap and tape your NEW wire with the short BLACK end still hanging off the side marker harness. Tape it up. Dab of solder to ensure a good connection is always optional.
DONE!
Video’s
![]()


Comments are closed.