This describes removing and installing the rear O2 sensor behind the catalytic converter for 95-99 (Federal Emissions) Maxima/I30s.
Items Needed:
PB Blaster (or another rust penetrant)
22mm Wrench
Flat Head Screwdriver
Electrical Tape
Jack and Stands
Work Light
First, you will need to remove the bad O2 sensor. Use generous amounts (frequently) of the rust penetrant on the sensor where it goes into the exhaust pipe (bung).
While allowing the penetrant to work, follow the wire from the back of the sensor to where it goes into the floor panel. Use a screwdriver to pry the large rubber grommet from the floor pan. Once the grommet is loose, disconnect the plug that attaches the sensor to the harness.
Now use the 22mm wrench to remove the bad sensor from the bung. Continue using the penetrant as needed. This is the hardest part of the process (especially if you live in a snow state).
This is what you should be looking at once the bad sensor is removed.
Screw the new sensor into the bung and measure where the grommet will be positioned. Mark this position with a piece of electrical tape, and remove the new sensor from the bung.
Wrap the electrical tape around the wire cover on both sides of where it passes through the grommet. I added tape where the wire come out of the rear of the sensor.
Apply the anti-seize that comes with the new sensor to the threads; use plenty and coat all the threads, you’ll be glad if you have to do this again. Screw the new sensor into the bung and tighten with the wrench.
Attach the sensor clip to the harness.
Push the grommet back into the floor panel until you feel/hear the plastic backing catch, and the grommet is secured.
NEW YORK (April 2, 2015) – The 2016 Maxima is the 8th generation of Nissan’s iconic 4-Door Sports Car (or 4DSC) – though the term wasn’t coined until the 3rd generation 1989 model. The very first model to wear the Maxima name had an “8” in its name – the 1981 Datsun 810 Maxima. Technically, it was the 2nd generation Datsun 810, but the first official Maxima for those keeping score. For the 1982 model year, the 810 badging was removed and Maxima quickly went on to become one of the best known and most popular Datsuns/Nissans for the next three-plus decades. Here we present an infographic showing all Maxima models through the ages.
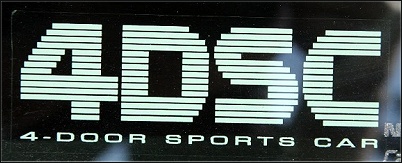
The “4DSC” name was officially designated by Nissan in 1985. The Nissan Maxima has always one of the sportiest midsize sedan offerings. Its roots trace back to the 1976 Datsun 810, which had a fuel-injected straight-six, five-speed manual transmission, and semi-trailing arm rear suspension. Nissan introduced the updated 1985 Maxima as the four-door sports car or 4DSC, forever cementing the car’s position in the minds and hearts of the enthusiastic driver.
MY4DSC= MY 4-DOOR SPORTS CAR
This is our branded name adding “MY” which means showcasing “MY OWN” (aka your own) 4-Door Sports car. This website was officially launched on January 1st, 2017. It’s the #1 educational Nissan Maxima website on the web. We provide the latest and most exclusive content in the Maxima community!
1989 Nissan 4DSC Commercial
Commercial from 1989 for the Nissan Maxima, promoting it as a 4-door Sports Car (4DSC), a naming they put on each car as a sticker. The Maxima was redesigned on October 24, 1988 for the 1989 model year as the J30 series (not to be confused with the unrelated Infiniti J30) model.
Larger dimensions made it the second Japanese sedan sold in North America to qualify as a “mid-size” (after the Mazda 929). Nissan marketed this generation Maxima in North America a four-door sports car and even gave it a “4DSC” window decal showing this. This generation was briefly sold in Japan, replacing the Nissan Leopard sedan at Nissan Bluebird Store locations.
I’ve been wanting to install a carputer on my maxima since a very long time, but I never had the experience or the time/patience to install all the equipment. Finally, starting in mid December, I’ve finished installing my carputer.
I tried to make this as factory finish as possible without fiberglassing. Also, I tried my best to keep everything intact and not create unnecessary holes.
I actually never took a picture before I started this project, but here is the closest picture of the stock picture with the original Bose headunit.
Next, are a few computer setup pictures and also my homebrew shutdown/startup controller for the computer. I’ll post those schematics soon.
SPECS:
HP Pavilion DV2020US laptop stripped
MSNTV box
ELMSCAN Compact OBDII Scanner
Garmin USB GPS 20x
Bluetooth Adaptor
Metra Face plate adaptor
40 GB Hard Drive
2 GB Ram
Centrafuse 2.1
GMPC Plugin
This next picture is my homebrew startup/shutdown controller. You can see that I used a computer power supply box to put my controller and extra wires inside. It just so happened that that psu fits perfectly and flush with my headunit. The red and black rca cable are connections that I’ve made on the computer that connects to my power switch and laptop lid switch respectively. More information about this schematic will be posted later.
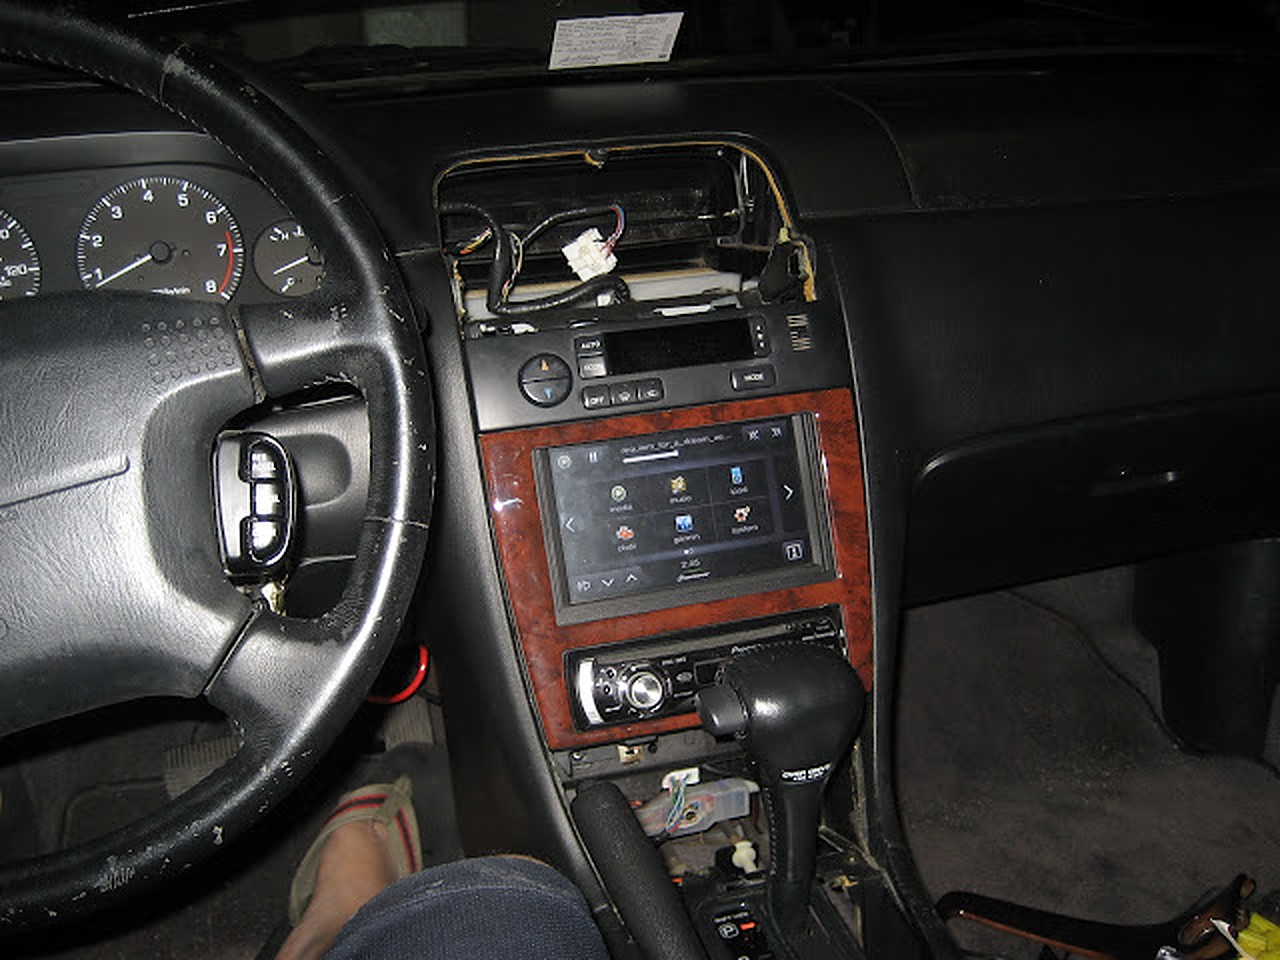
INSTALLATION PICTURES
Here are a few pictures of the install in my car. I decided to put the computer underneath the driver’s side seat. I also pulled the wires through the channel underneath the seat along with the seat warmer and seat belt wires.
This next picture is my obdii connection to the car ecu, followed by gps installation pictures.
Next, my startup/shutdown controller needed someway to determine if the car is on or off. So, luckily I found a telephone acc line that was not being used in the fuse box.
FINISHING UP INSTALLATION
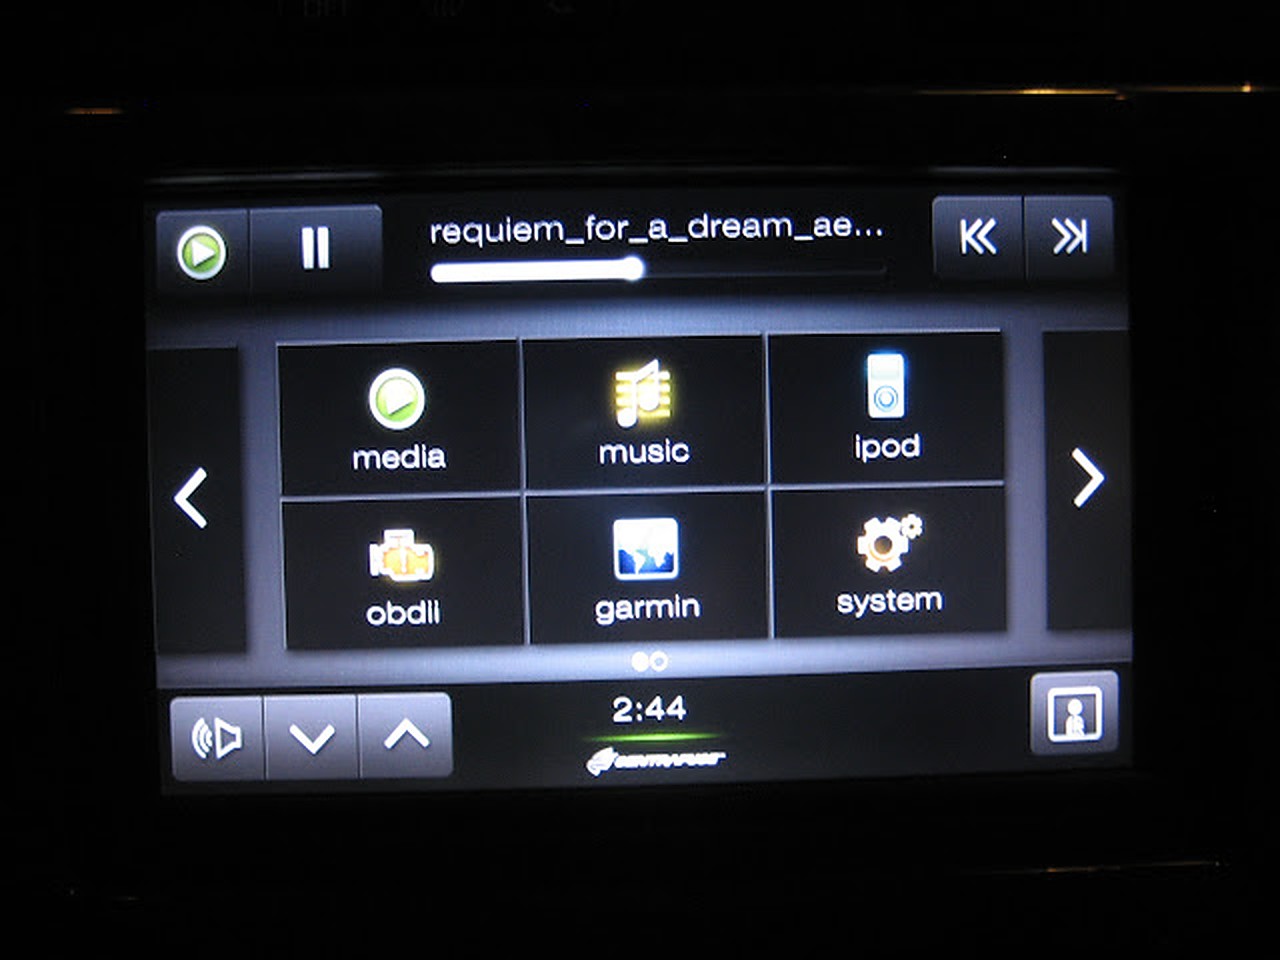
Few Screenshots
CONCLUSION
This project took a while, but I learned that patience is the key. There were a lot of times when I second thought myself if I should continue this project, but I just kept believing in myself. There are still a few small problems that I will fix soon.
PROBLEMS
Need better sound card
New Bluetooth Device
This laptop is actually equipped with a pretty good sound card, but the headphone jack and spdif connection both have a lot of static noise from the hard drive. This is not a grounding issue, but the motherboard fault. I remember when I used to use this laptop, I could hear the static on my headphones as well. I’ll probably just get a new usb soundcard.
Also, the bluetooth device I have is flaky, it works sometimes and sometimes it doesn’t. I’ll prob just get a new one.
Lastly, but none the least, I’m going to continue improving the functionality of my startup/shutdown controller.
So I got rid of the old setup and had the following new components:
Intel D410PT MINI ITX Motherboard w/ Fanless 1.6 GHZ Intel Atom Processor
Corsair 32GB SSD Drive
TUFF N TINY 4GB Flash Drive
Nlite Windows Xp Professional SP2
Custom Plexiglas enclosure designed to fit completely behind the dashboard
M4-ATX Startup/Shutdown Controller
OEM Nissan Heated Switch integrated for on/off purposes
Custom Integrated USB Port in the Ashtray
I still kept the same devices (like the Garmin GPS, OBDII controller) but I decided to store all my music in a flash drive. Since the software I was using was Centrafuse 3.1, it still did not support ipod capibility with iphones and itouches, I decided that there is no point in storing the music on an ipod.
The old setup
So, now the new stuff, the goal of this project was to:
Keep the existing OEM look
Fix all problems from previous setup
Integrate everything behind the dash
Keep the new project on a budget.
Next, I wired my OEM Nissan Heated seat warmer switch. I wired it up for use and then used a 2000 grit wet and dry sandpaper to remove the marking off the switch.
Next, I made my wiring diagram which is shown below.
Installation
Here are some install pictures. Below you will see my plexiglass enclosure. The design came out perfect, I had only a few mm in tolerance around the edges. I also fitted a small fan to blow any heat generated.
Now doing a test run.
Here is the finished setup with everything working, as you can see the new switch at its location.


")


")