![]()


![]()

 Diameters")
The 7thgen Maxima has a very large MAF pipe diameter which is ALMOST as big as the Land Rover. Nissan knew the HR heads flow a lot more air so they adjusted the intake accordingly. Also, the 2009 Maxima comes with 75mm throttle body.
![]()

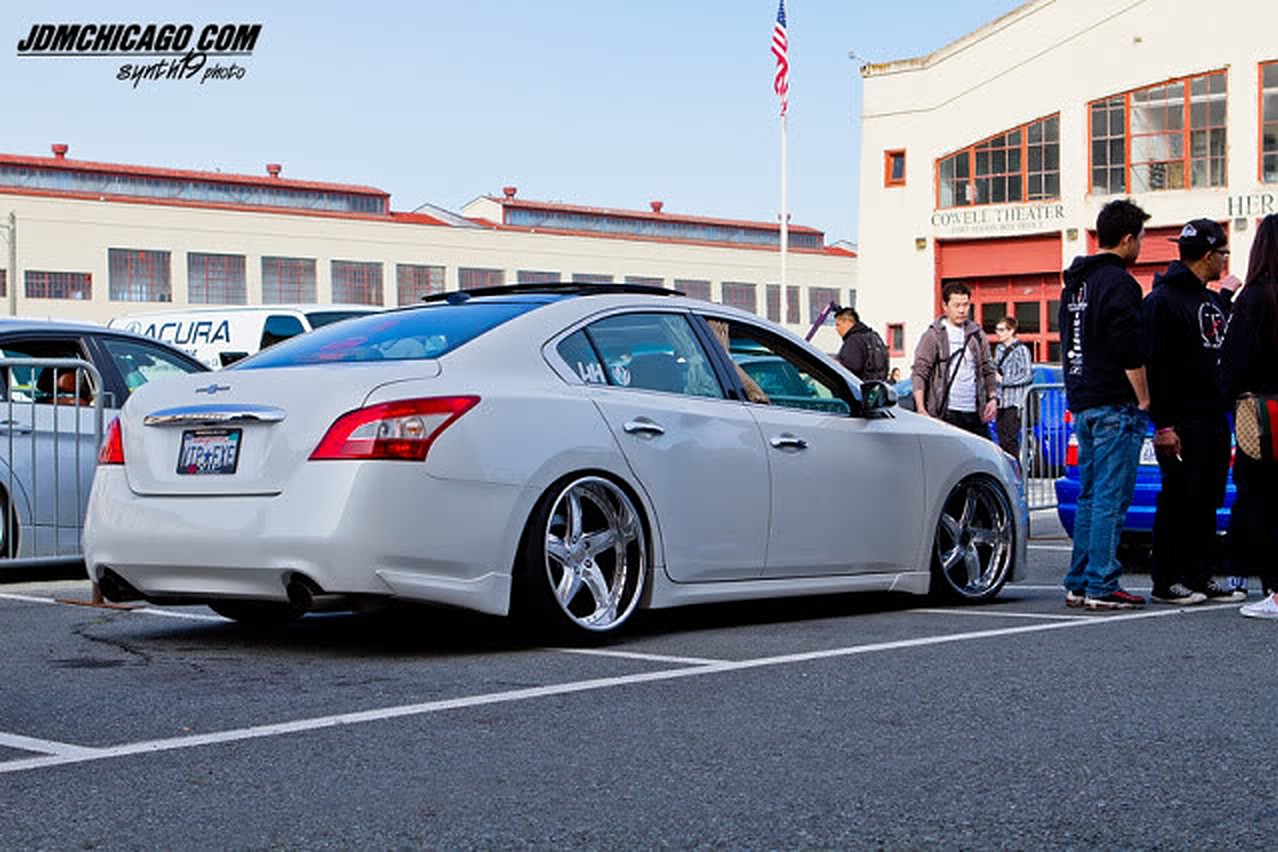
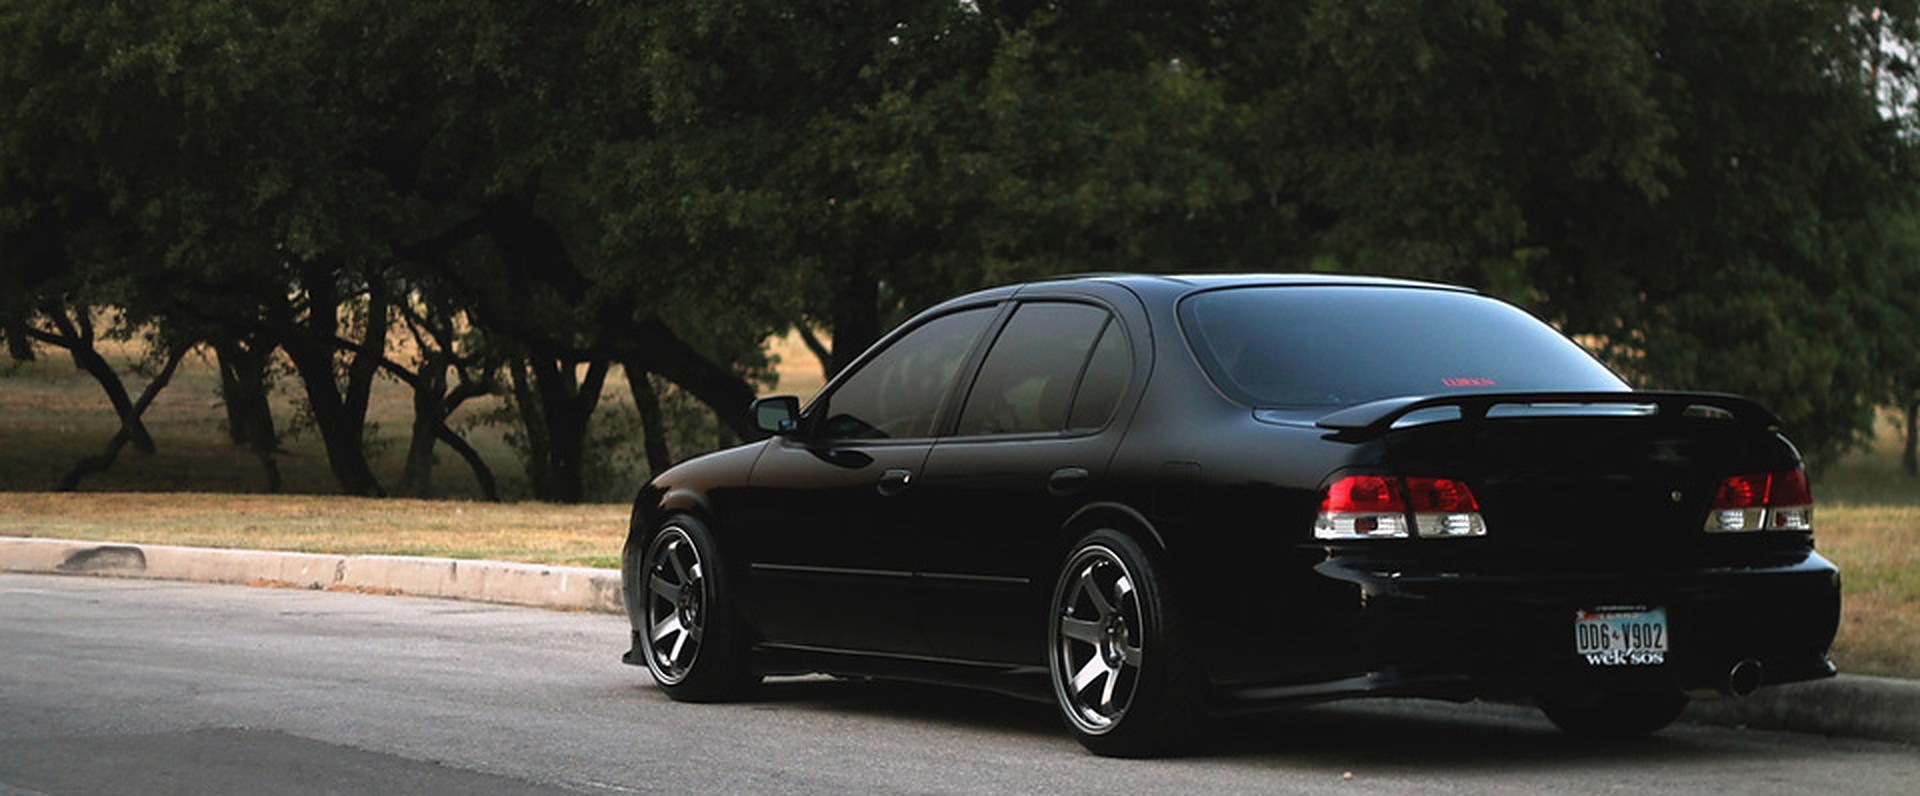
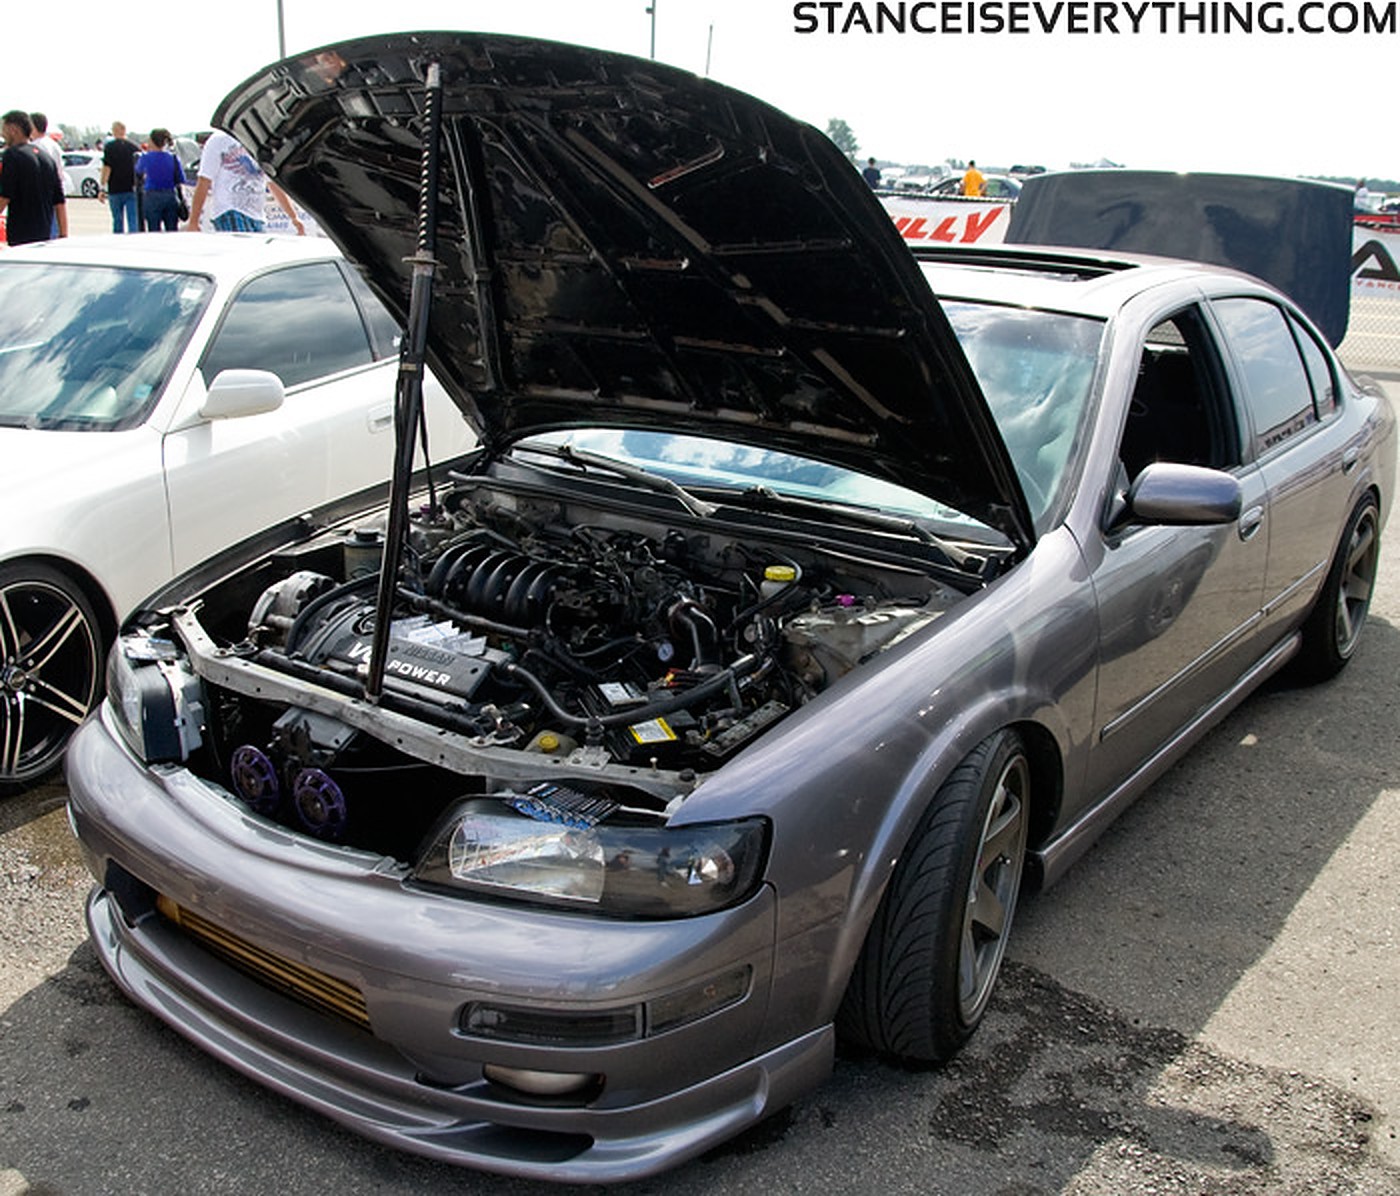
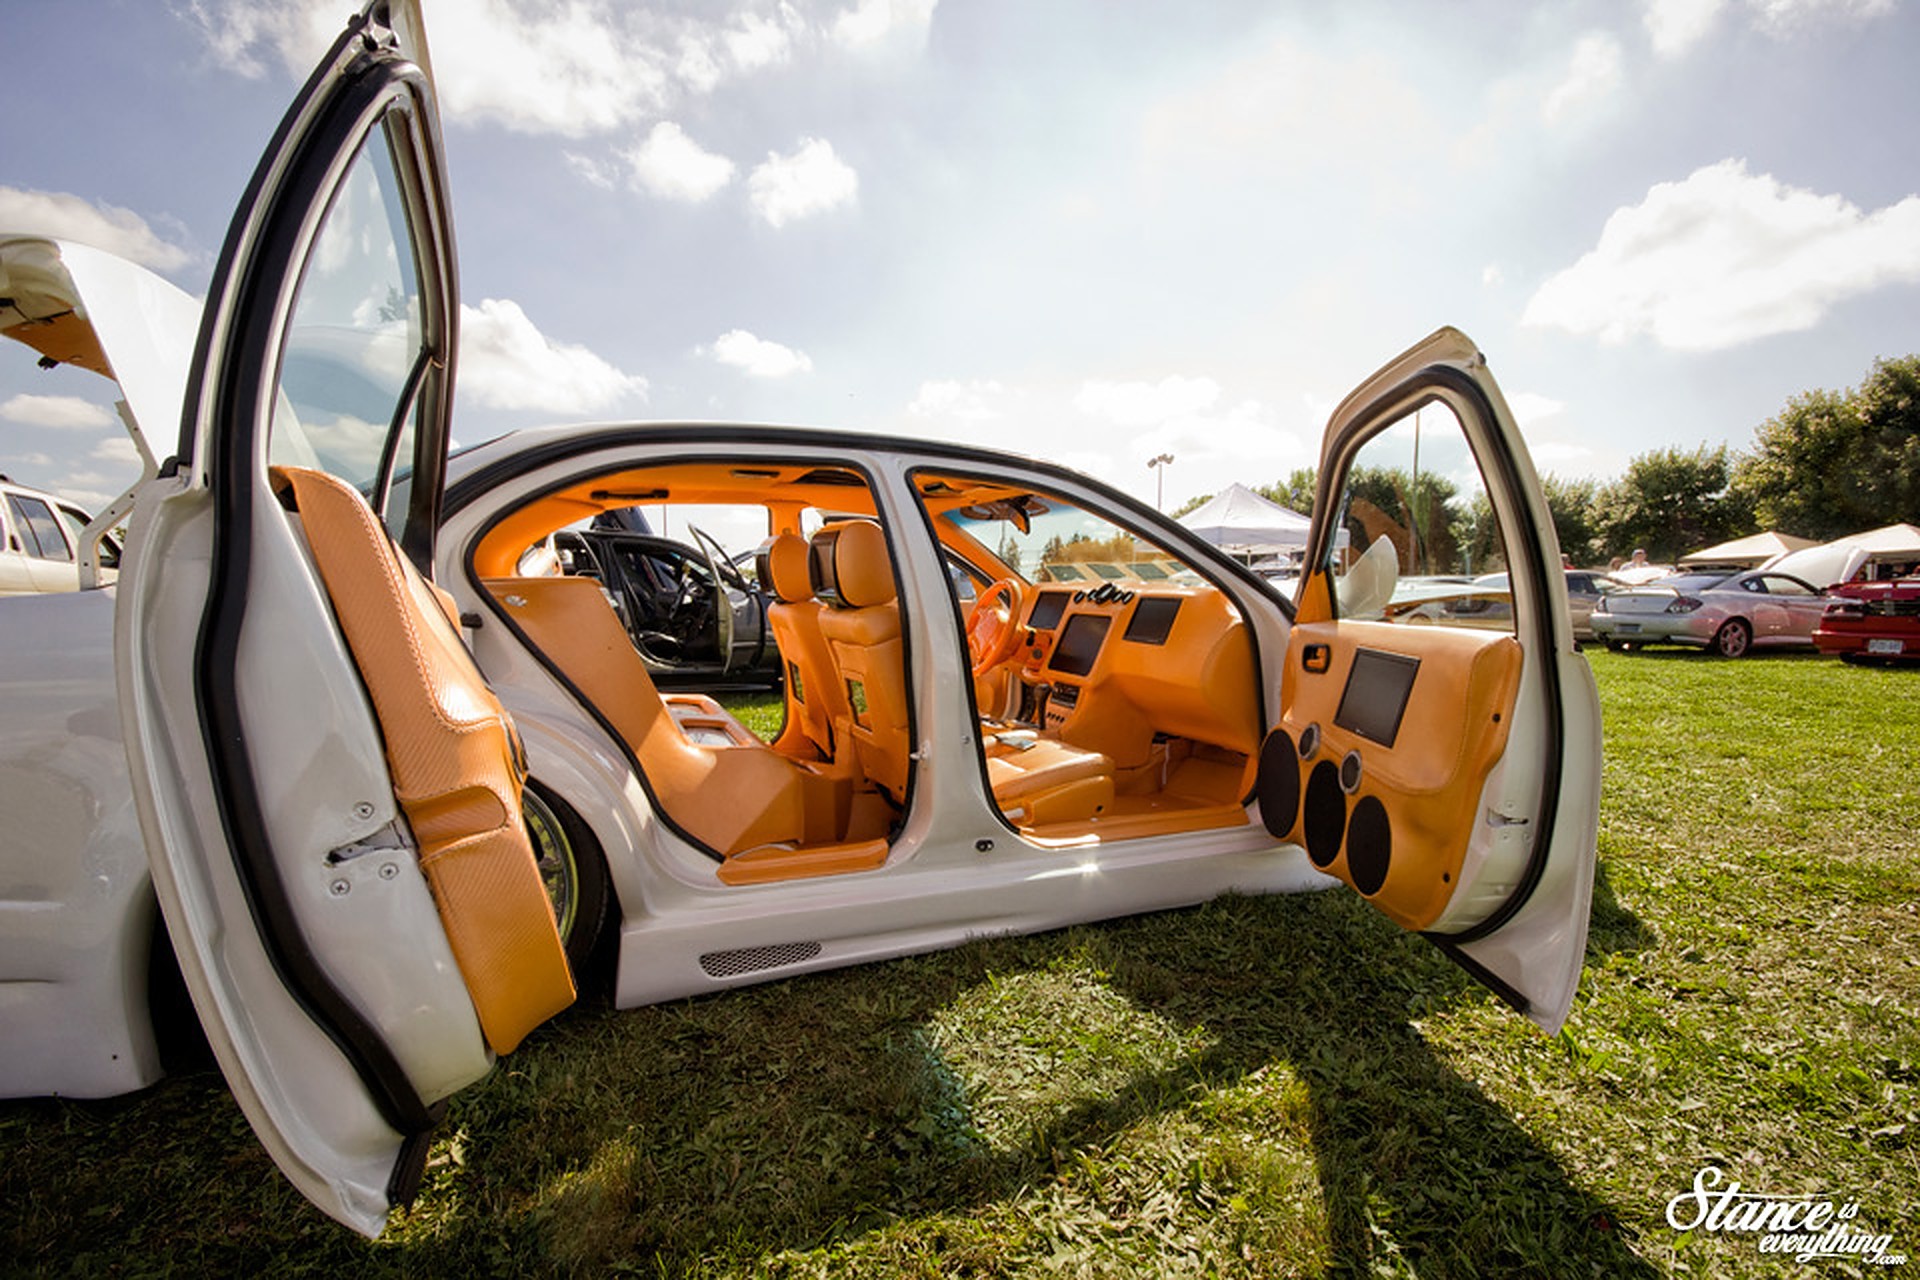
Credit: DaveT via stanceiseverything
I received an email from reader Christian the other day asking if I could do a Theme Tuesday post on Nissan Maximas a car which oddly enough I have yet to do. I say oddly because my dad had a 97 model that I often used as a parts runner for my e30 so I have a lot of exposure to the car.
For the big automatic sedan that it was the car could move pretty well and its size made it pretty great for picking up anything that I might need. With such fond memories of that car it’s a shame it took me this long to dedicate a Tuesday to them.


![]()
")
Manuals don’t have a electronic mount. In an automatic, at idle there is additional vibrations where a manual Maxima (which would be in neutral) would otherwise not experience. Therefore, as mentioned, the electric mounts soften at idle and the actuator will then add pressure to the inner rubber once the throttle increases.
The engine mount (electronic one) is controlled by the ECM. The ECM controls the engine mount operation corresponding to the engine speed and the vehicle speed. The control system has a 2-step control (hard/soft). The motor mounts are supposed to harden up when the RPM’s of the motor goes over about 1000 RPM. When it drops below that, they loosen up. At idle with vehicle stopped the mount is soft and when driving the mount is hard.
Most people disconnect them and cut the wire to avoid ECU shortage. It’s been common in some 5thgens and 6thgens. It will not cause a Check Engine Light (CEL) by disconnecting.
Additional Notes:
![]()
")
Credit: Eddy
OEM Part Number: 21430-7999C
Price: $12-$15.00
While the radiator cap is just a tiny component of your vehicle’s cooling system it plays a critical role in helping the engine keep its cool. If you’re wondering whether a bad radiator cap can cause overheating, the answer is a definite yes.
Air pockets in the cooling system from an ineffective seal (such as one in a bad radiator cap) or a lack of sufficient pressure can cause the engine to overheat. The latter lowers the boiling point of coolant which makes it unable to absorb enough heat from the engine. If you see the temperature gauge on the dashboard rise, it’s wise to stop driving as soon as it’s safe to do so and wait for the engine to cool before continuing (or call a tow truck).
If you notice an unexplained coolant from your vehicle’s cooling system or you find your vehicle’s engine is running a little hotter than usual, there could be a problem with the radiator cap.
Please note: Since the cooling system is hot and under pressure when the vehicle has been running, it is very important that you never open the radiator cap until the vehicle has cooled completely. If you attempt to remove the radiator cap while the engine is warm, the coolant (likely as hot as boiling water) would shoot out and could seriously injure you; third-degree burns are a very real possibility.
Additional Info


![]()
")
Credit: ChrisMan287
Big thanks to JtzMax for helping me out on this. It should be beneficial to others who either have a quad retro or just want the low beams to stay on when they flash their highs with their non-retro’d R34’s.
I know most would prefer it that when you hit the highs, the lows stay on but with our 9004 headlight system, it’s not really an option. Usually it’s either one or the other but with diodes, the job can be accomplished.
Disclaimer:
This modification to your headlights is done at your own risk and can only be done with a R34 set up (as far as I know). I will not be held responsible for any damage that may occur.
The diode that you will need is a 1N4007 diode (1 amp, 1000 volts). From there it’s pretty simple. If you have a quad retro with a relay wiring harness, bridge one diode over the high and low terminals on the driver side harness that is used. If you don’t have a retro, bridge one diode over the high and low terminals on each original harness. You can also solder the diode(s) into the original wiring if you’d like but I didn’t go that route.
IMPORTANT: For either set up, the side of the diode(s) that has the silver stripe goes on the low beam terminal while the other side goes on the high beam terminal.
Now you’re done! Just test your lights to make sure they work properly. If the diode didn’t work, you might have installed it backwards (silver stripe on the high beam terminal instead of the low beam terminal), shorting out the diode and you’ll need a new one. You also might not have inserted it correctly so check that as well.
I really love this quick fix for R34’s (retro’d or not). They now look and perform better than before. Personally, I hooked up the wires from the high beam solenoids in my FX35’s to the J30 high beam bulbs so that when I hit the highs, those bulbs turn on and the cutoff shield in the FX35’s flip down but now my low beams stay on as well so these high beams are serious.
Headlight Setup:
*The only minor negative to this is that when the lows are off and you hit the highs, the lows will turn on along with the highs but it’s not a big deal.*
Enjoy!
![]()

Community Member Credit: Eddy
Nissan and Infiniti engineered their cars to be able to detect and sense when the vehicle is either in PARK or NEUTRAL. This is very important when installing a remote start system in your manual transmission Nissan Maxima or Infiniti to avoid the vehicle staring in gear (and causing an unwanted accident). Many folks (even longtime professional installers) do not know about this and therefore do not install remote start systems on manual cars. This is actually very straight-forward to do.
Please note that the below is for the part where you tap into the Neutral Safety Input on your Remote start unit. You still have to follow the normal directions of installing the alarm or remote start unit.
When the car is in Park or Neutral, the ECU will see 0-volts. If not at 0, the car will not start. You can easily test this with a multi-meter to confirm as we did. The ECU gets its signal from the Park Neutral Safety switch. It also goes by the name Neutral Safety Switch or Inhibitor switch (they essentially work the same).
The Neutral Safety Switch Wire is usually GREEN/ORANGE on Automatic cars, and GREEN/WHITE on 5/6-Speed Manual cars. You just basically tap into this wire and use it to connect to the Neutral Safety Switch Input on your remote start. Most DEI, Viper, Compustar Remote Start and Alarm systems have this. Once this is done, you will now be able to operate your remote start no different than how it’s down on Automatic Transmission cars. It’s very safe and reliable as the signal is coming from the ECU.
NSS Wire – Neutral Safety Switch – Green w/ White Strip – ECM PIN 22

NSS Wire – Neutral Safety Switch – Green w/ White Strip – ECM PIN 44

NSS Wire – Neutral Safety Switch – Green w/ White Strip – ECM PIN 102

NSS Wire – Neutral Safety Switch – Green w/ White Strip – ECM PIN 102 (Same as 6thgen Maxima)
1998 Nissan Maxima
![]()
")
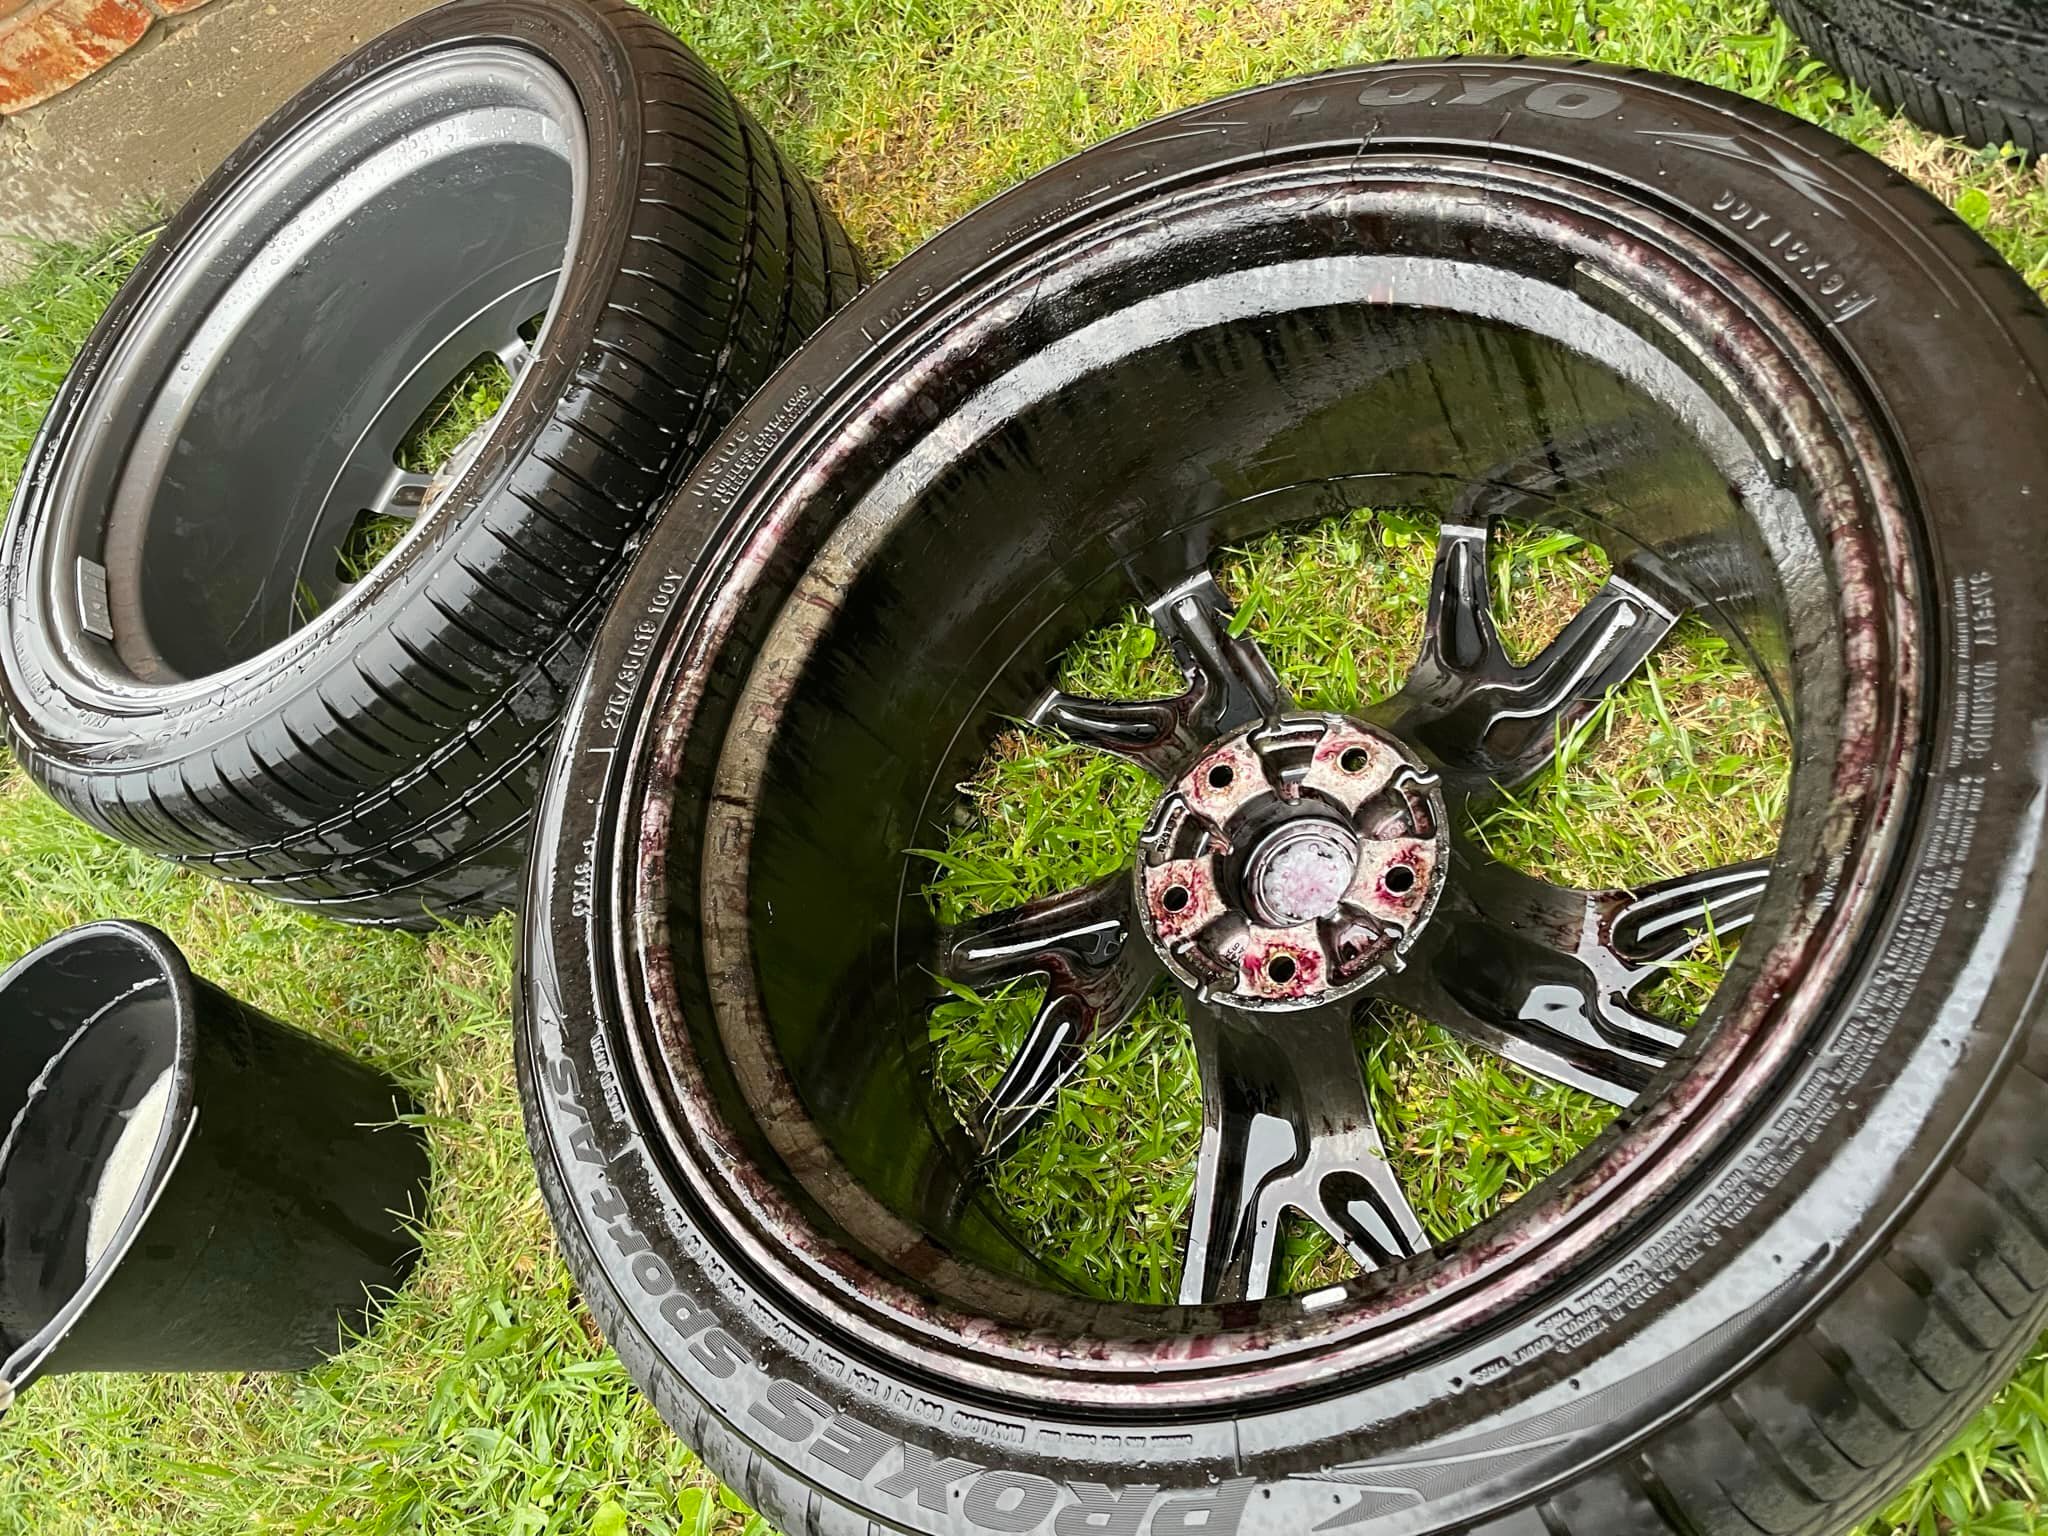
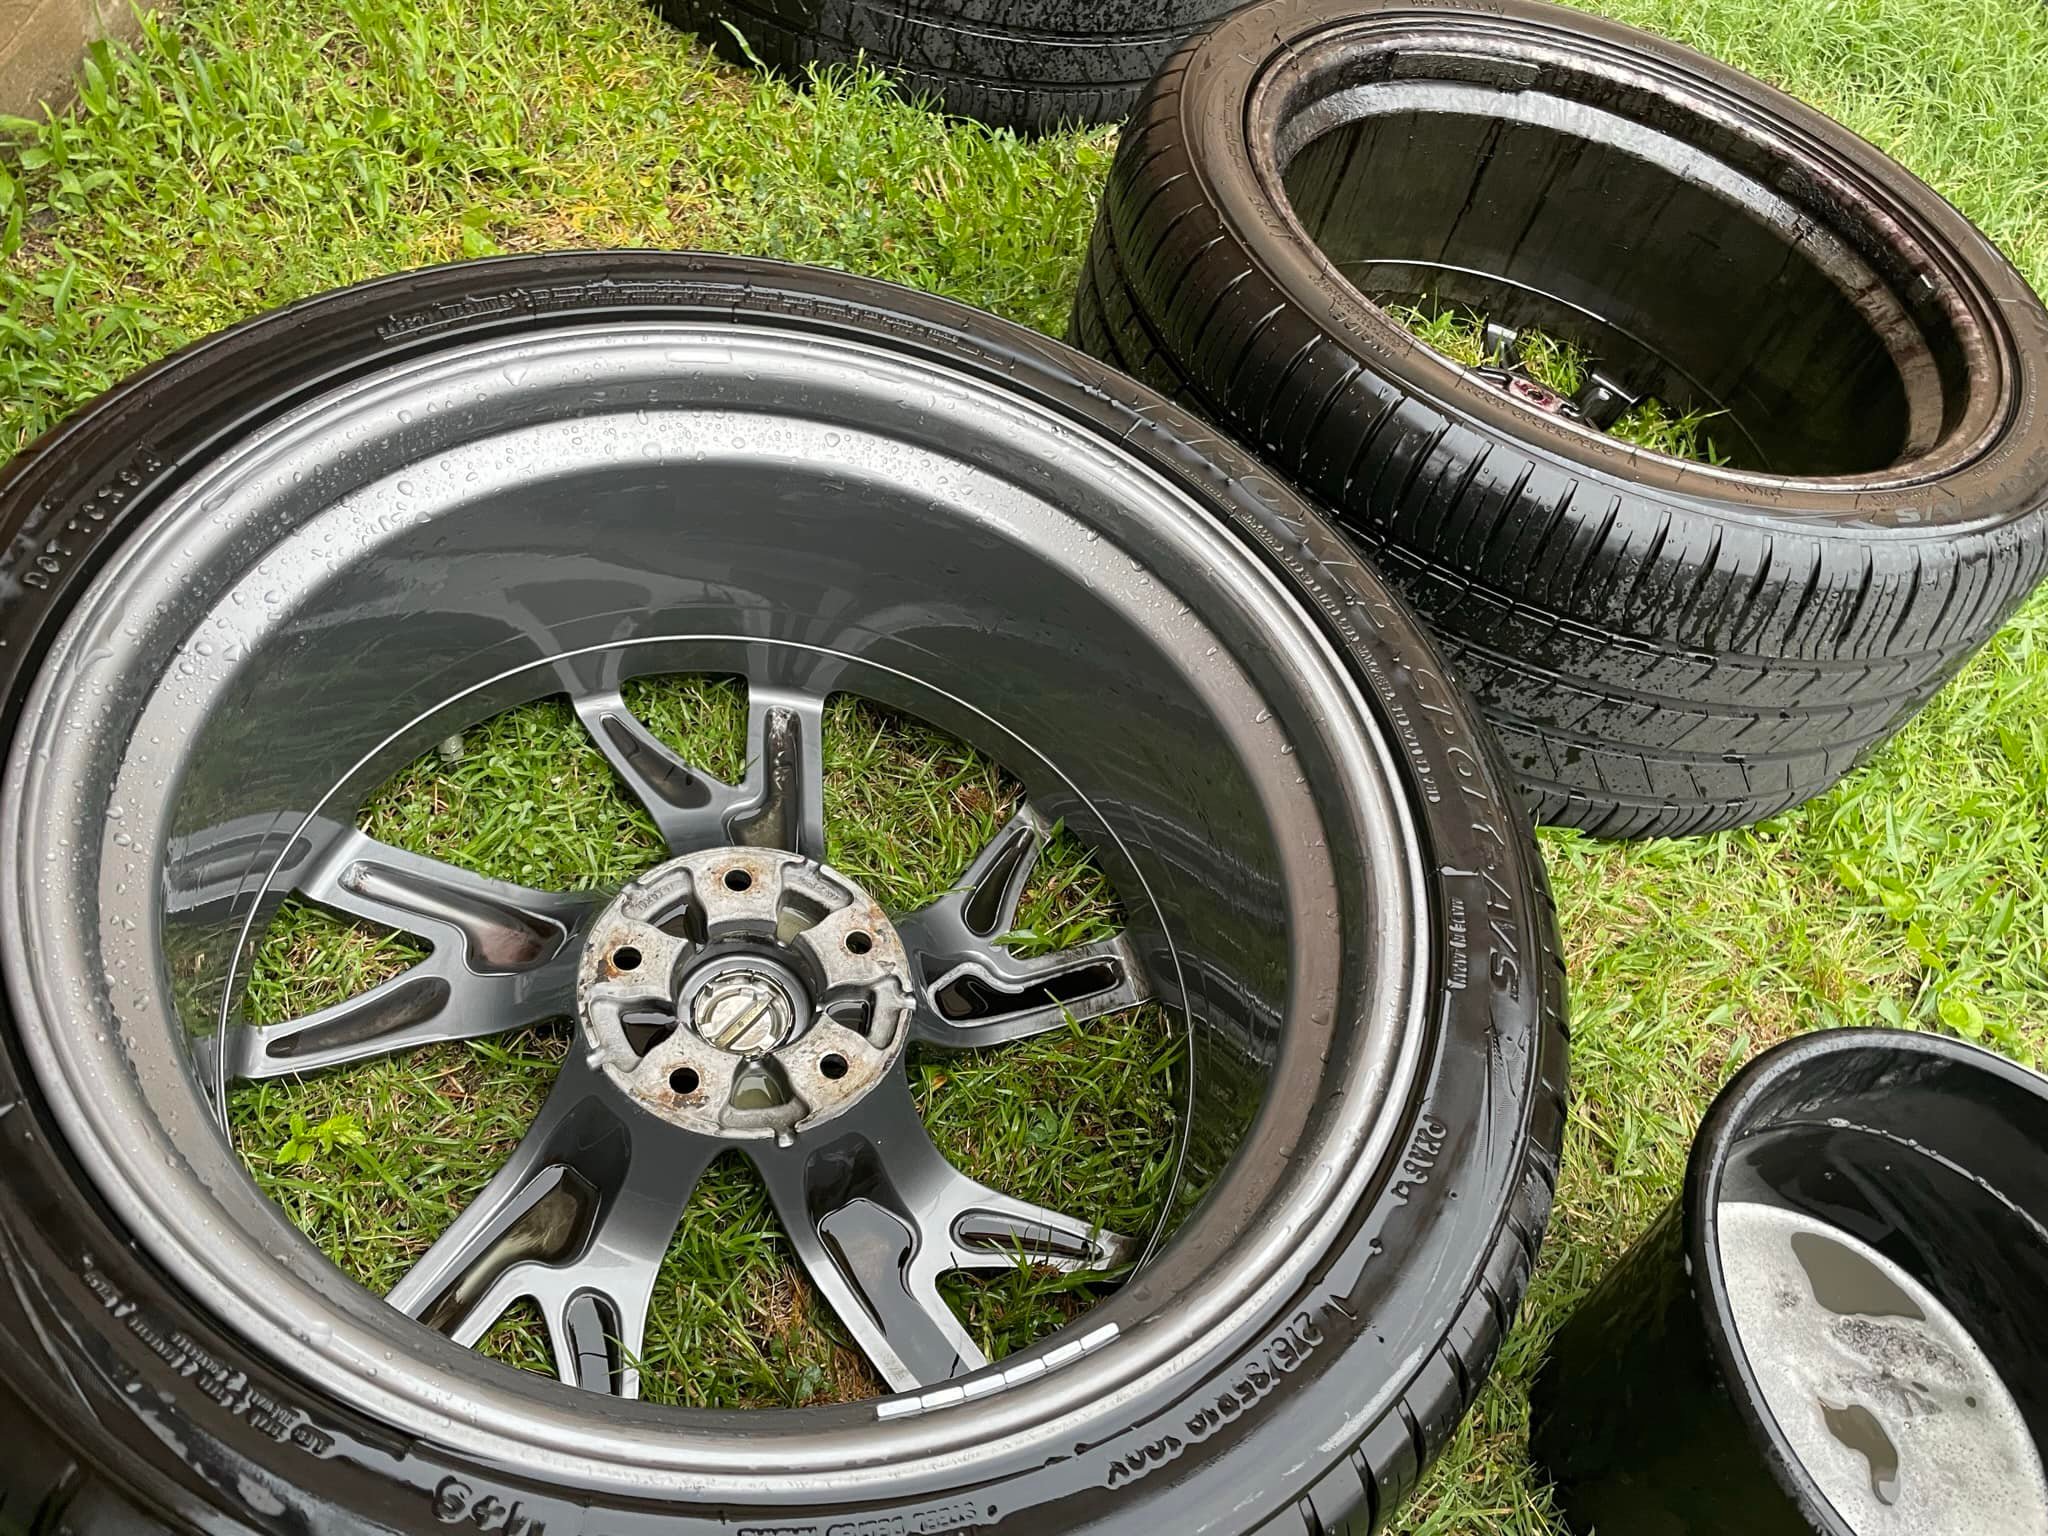
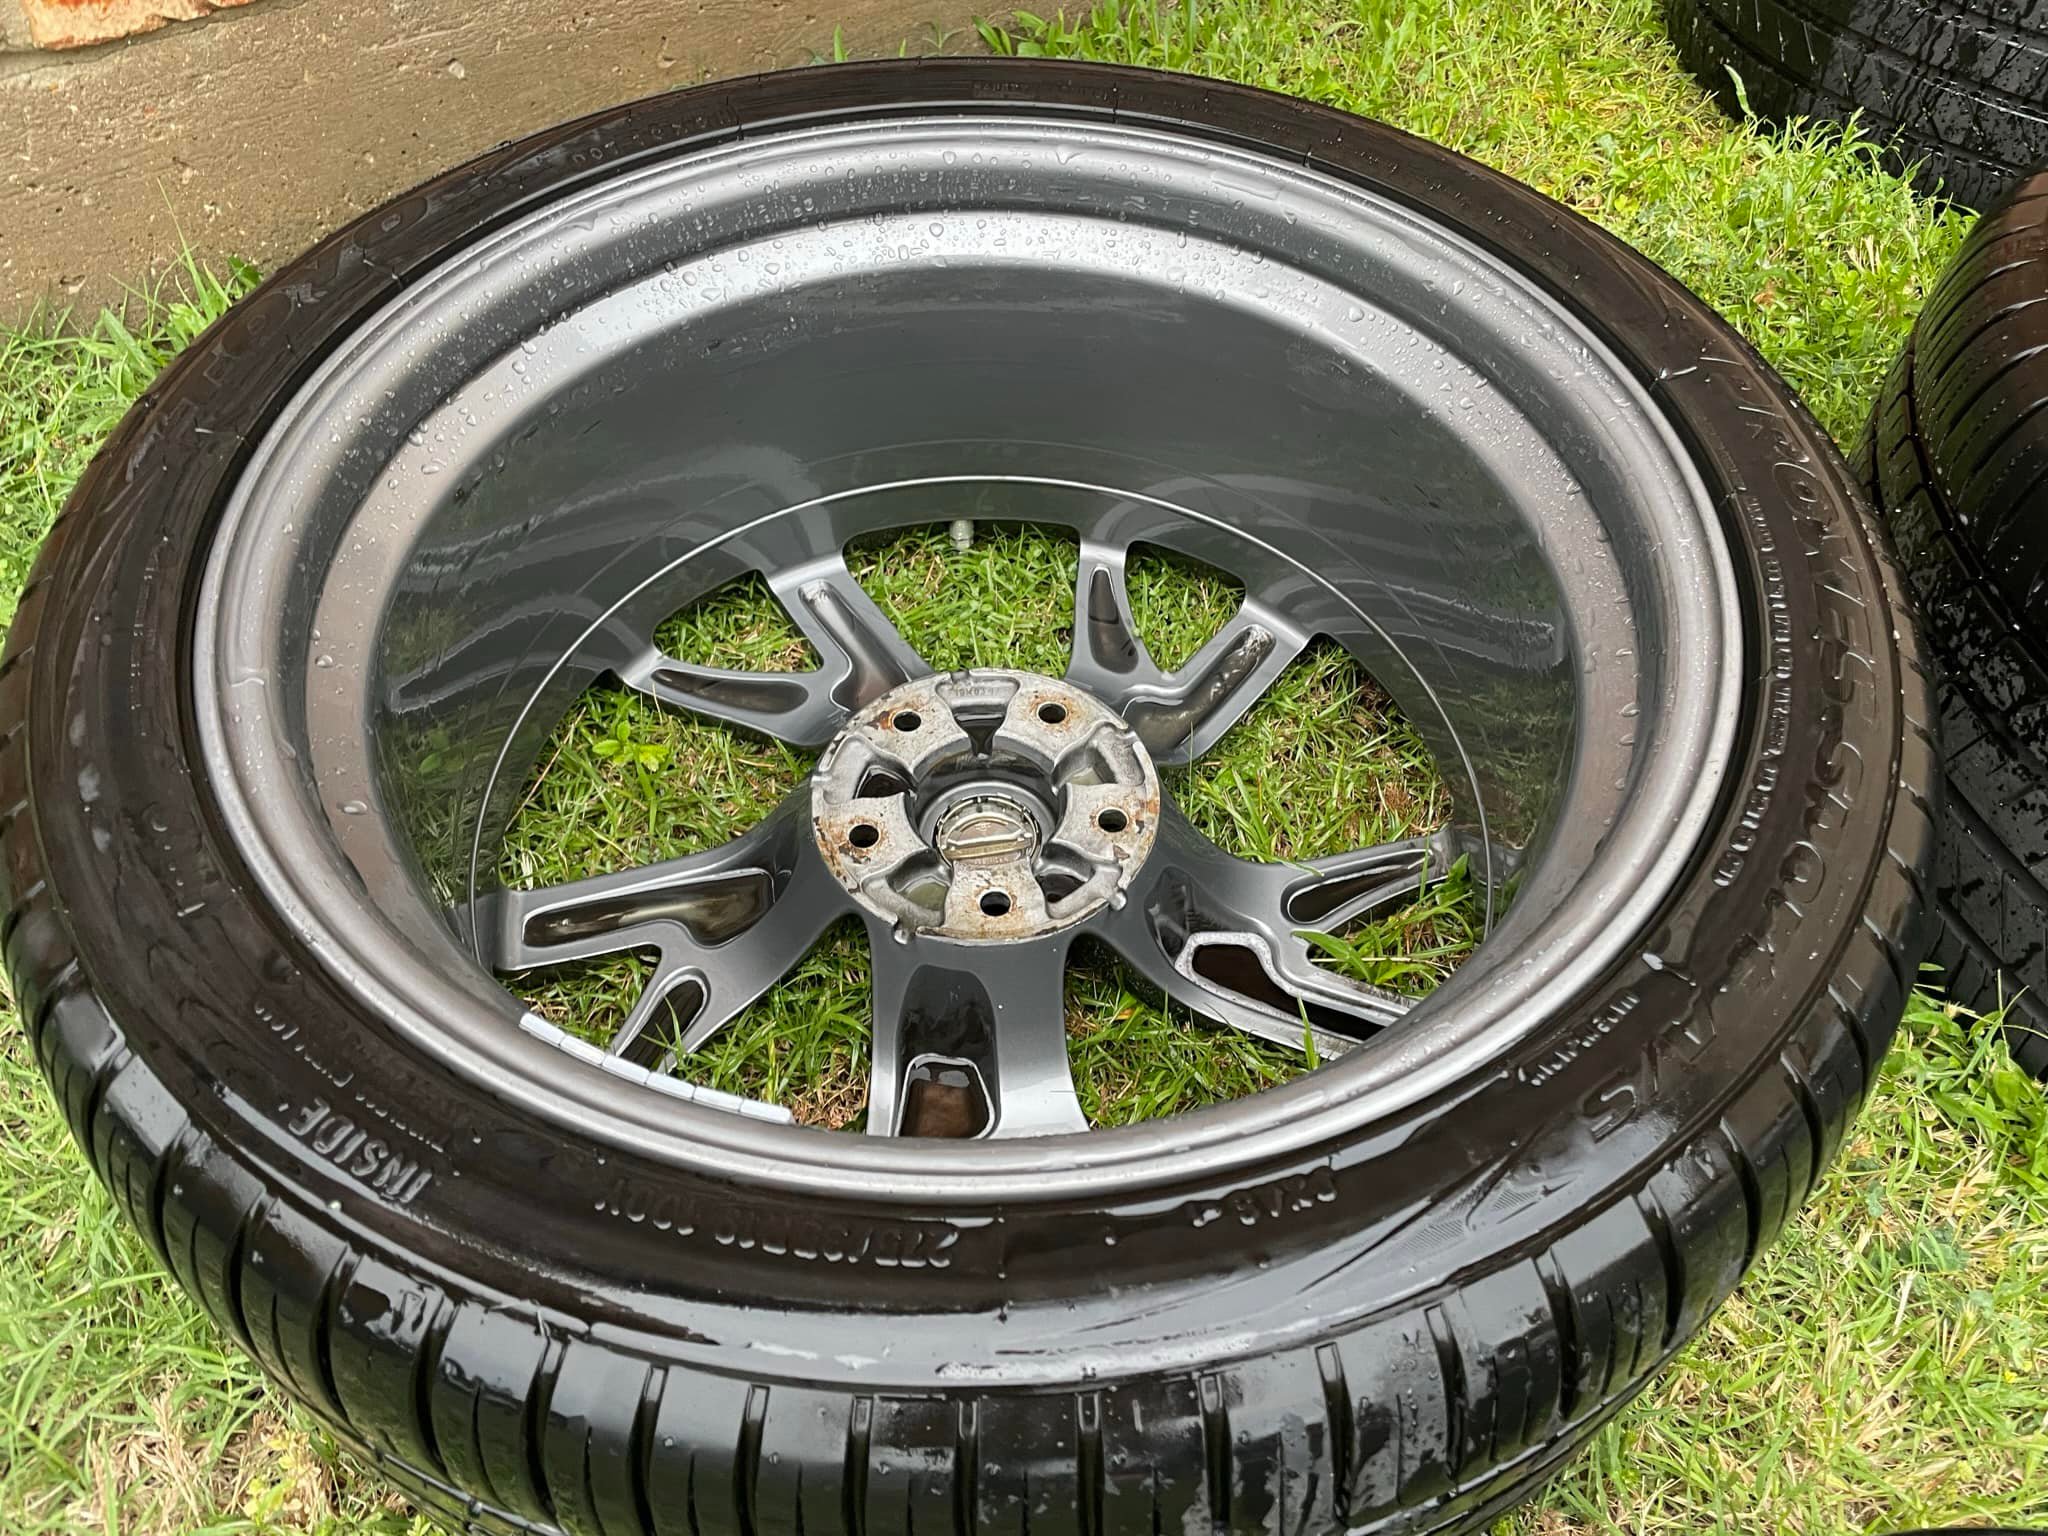
Credit: Voltaire Duran Cacal
If you ever need to dissolve and remove ferrous oxides from wheels and painted surfaces, I highly recommend Optimum FerreX. When I worked at my dad‘s shop, we used some heavy-duty commercial grade stuff. But this works great.


![]()