Credit: Christian S.
![]()


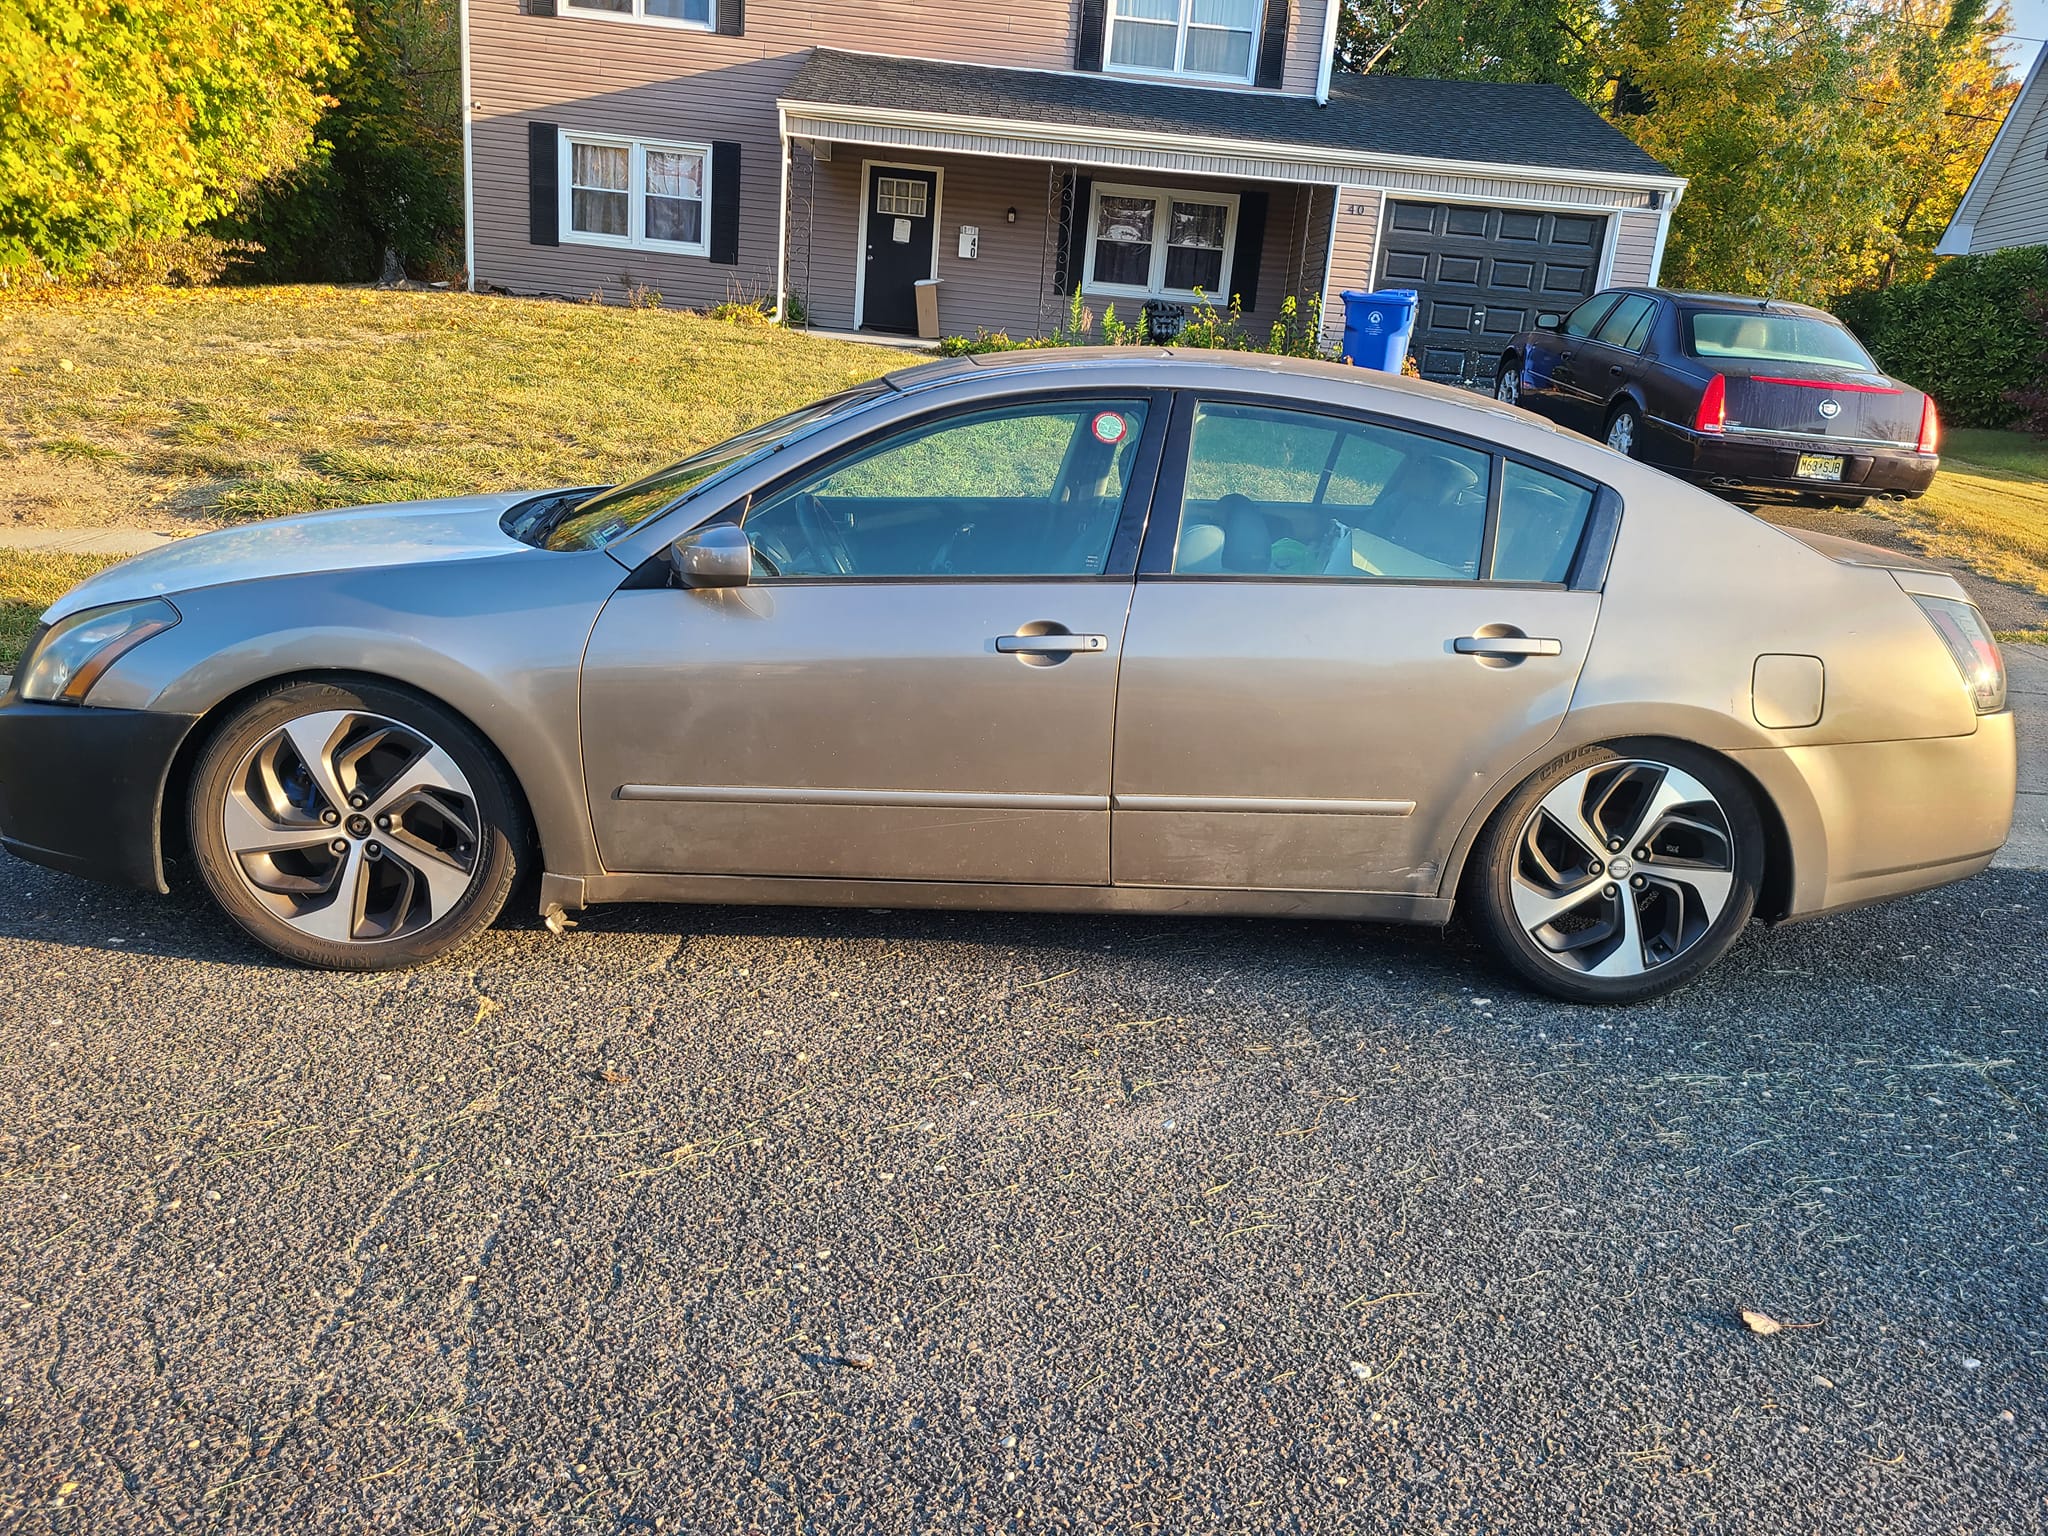
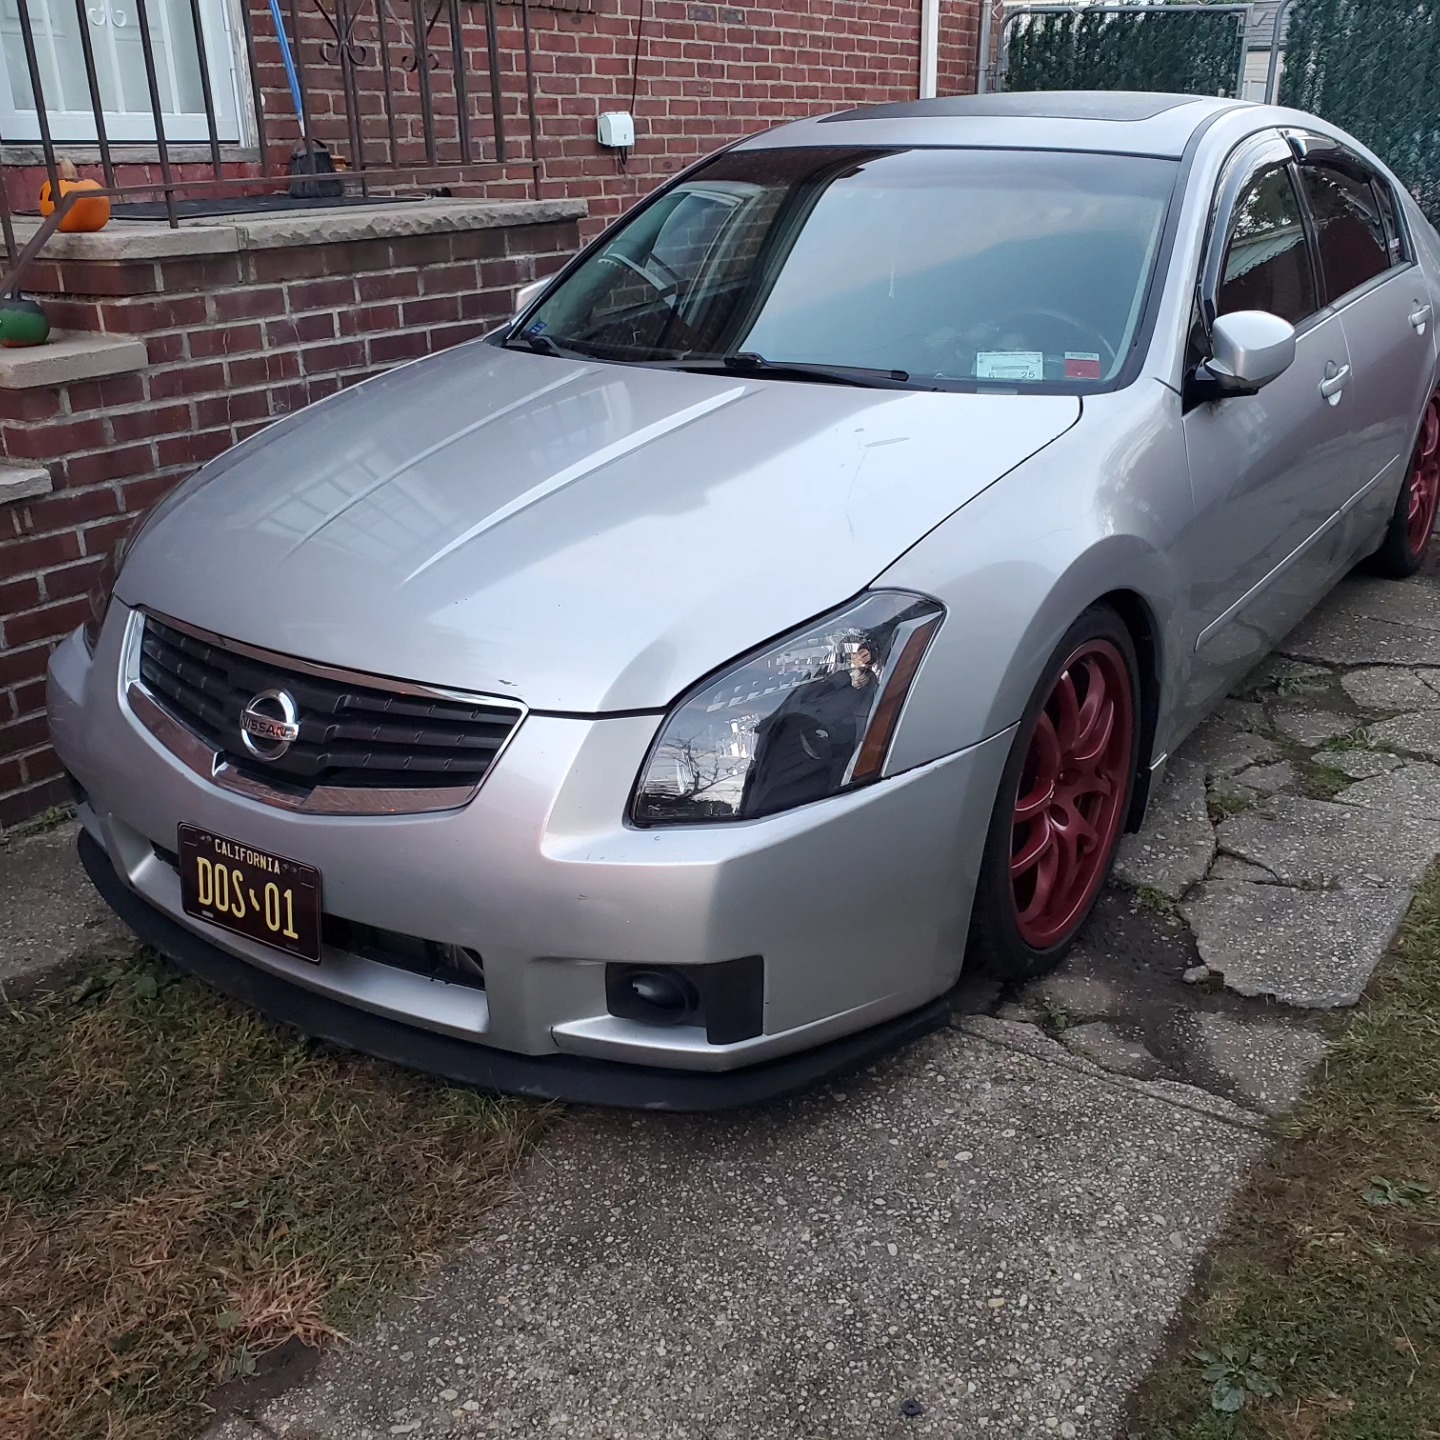
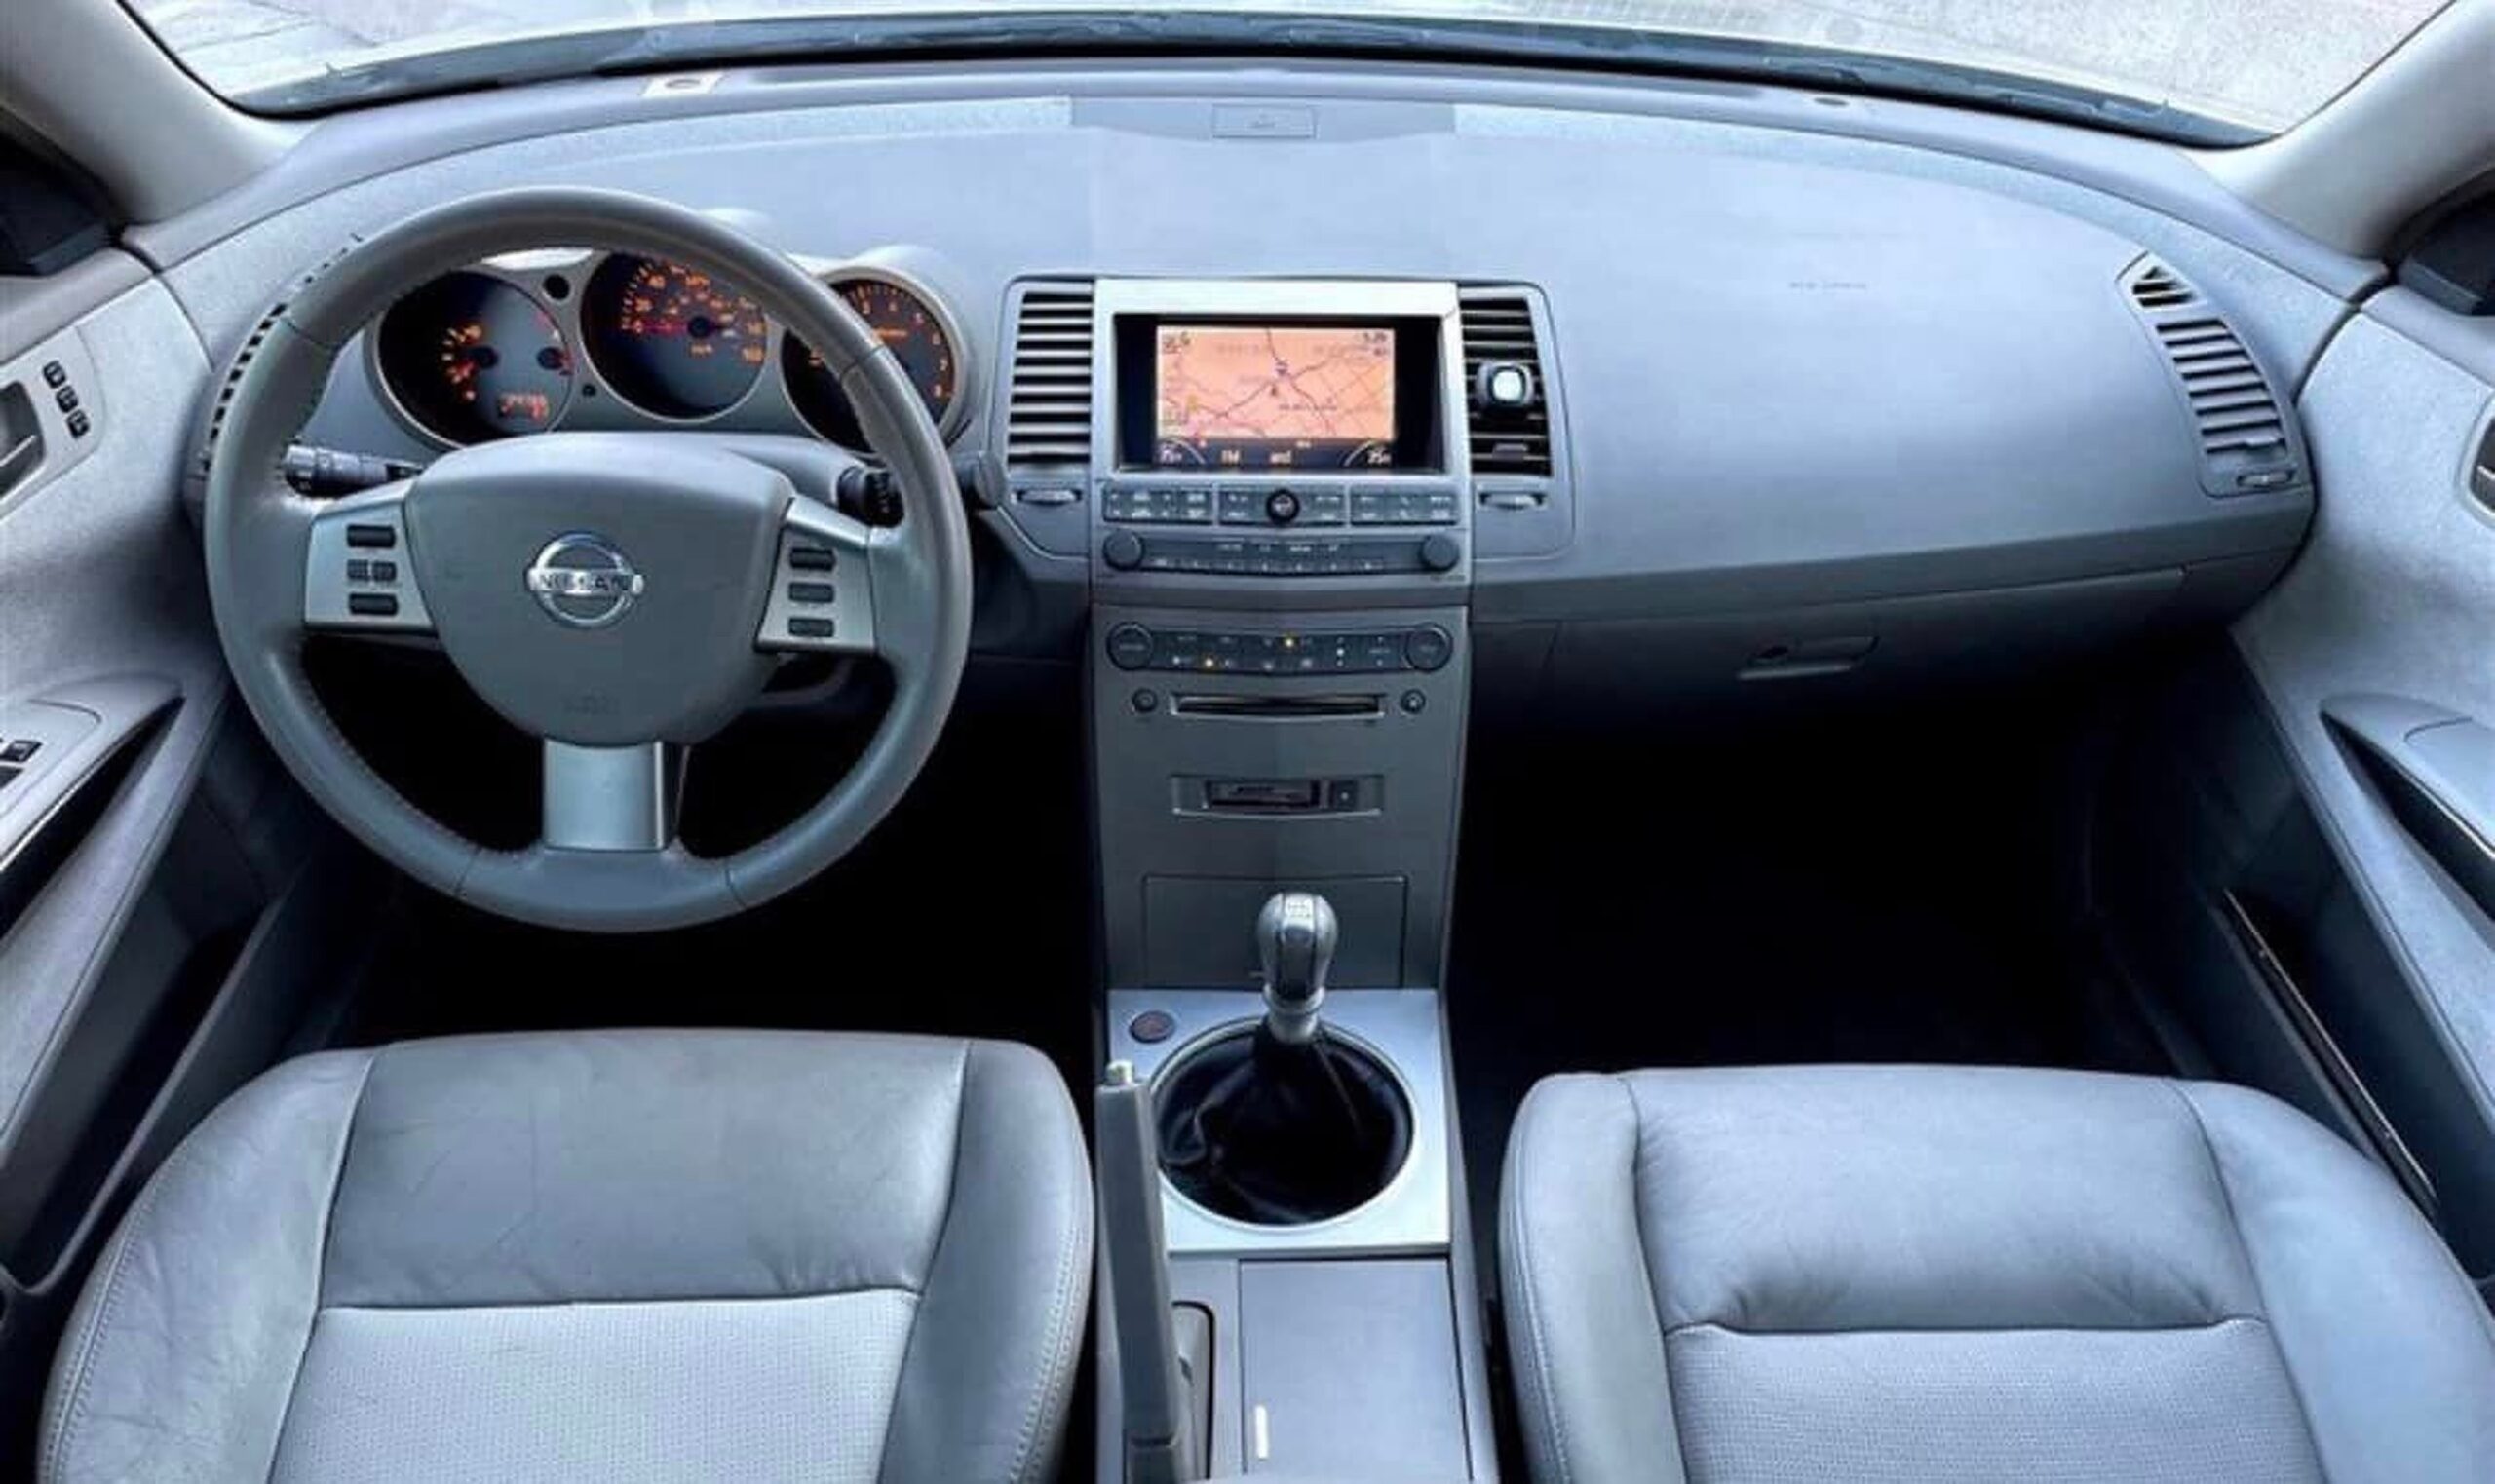
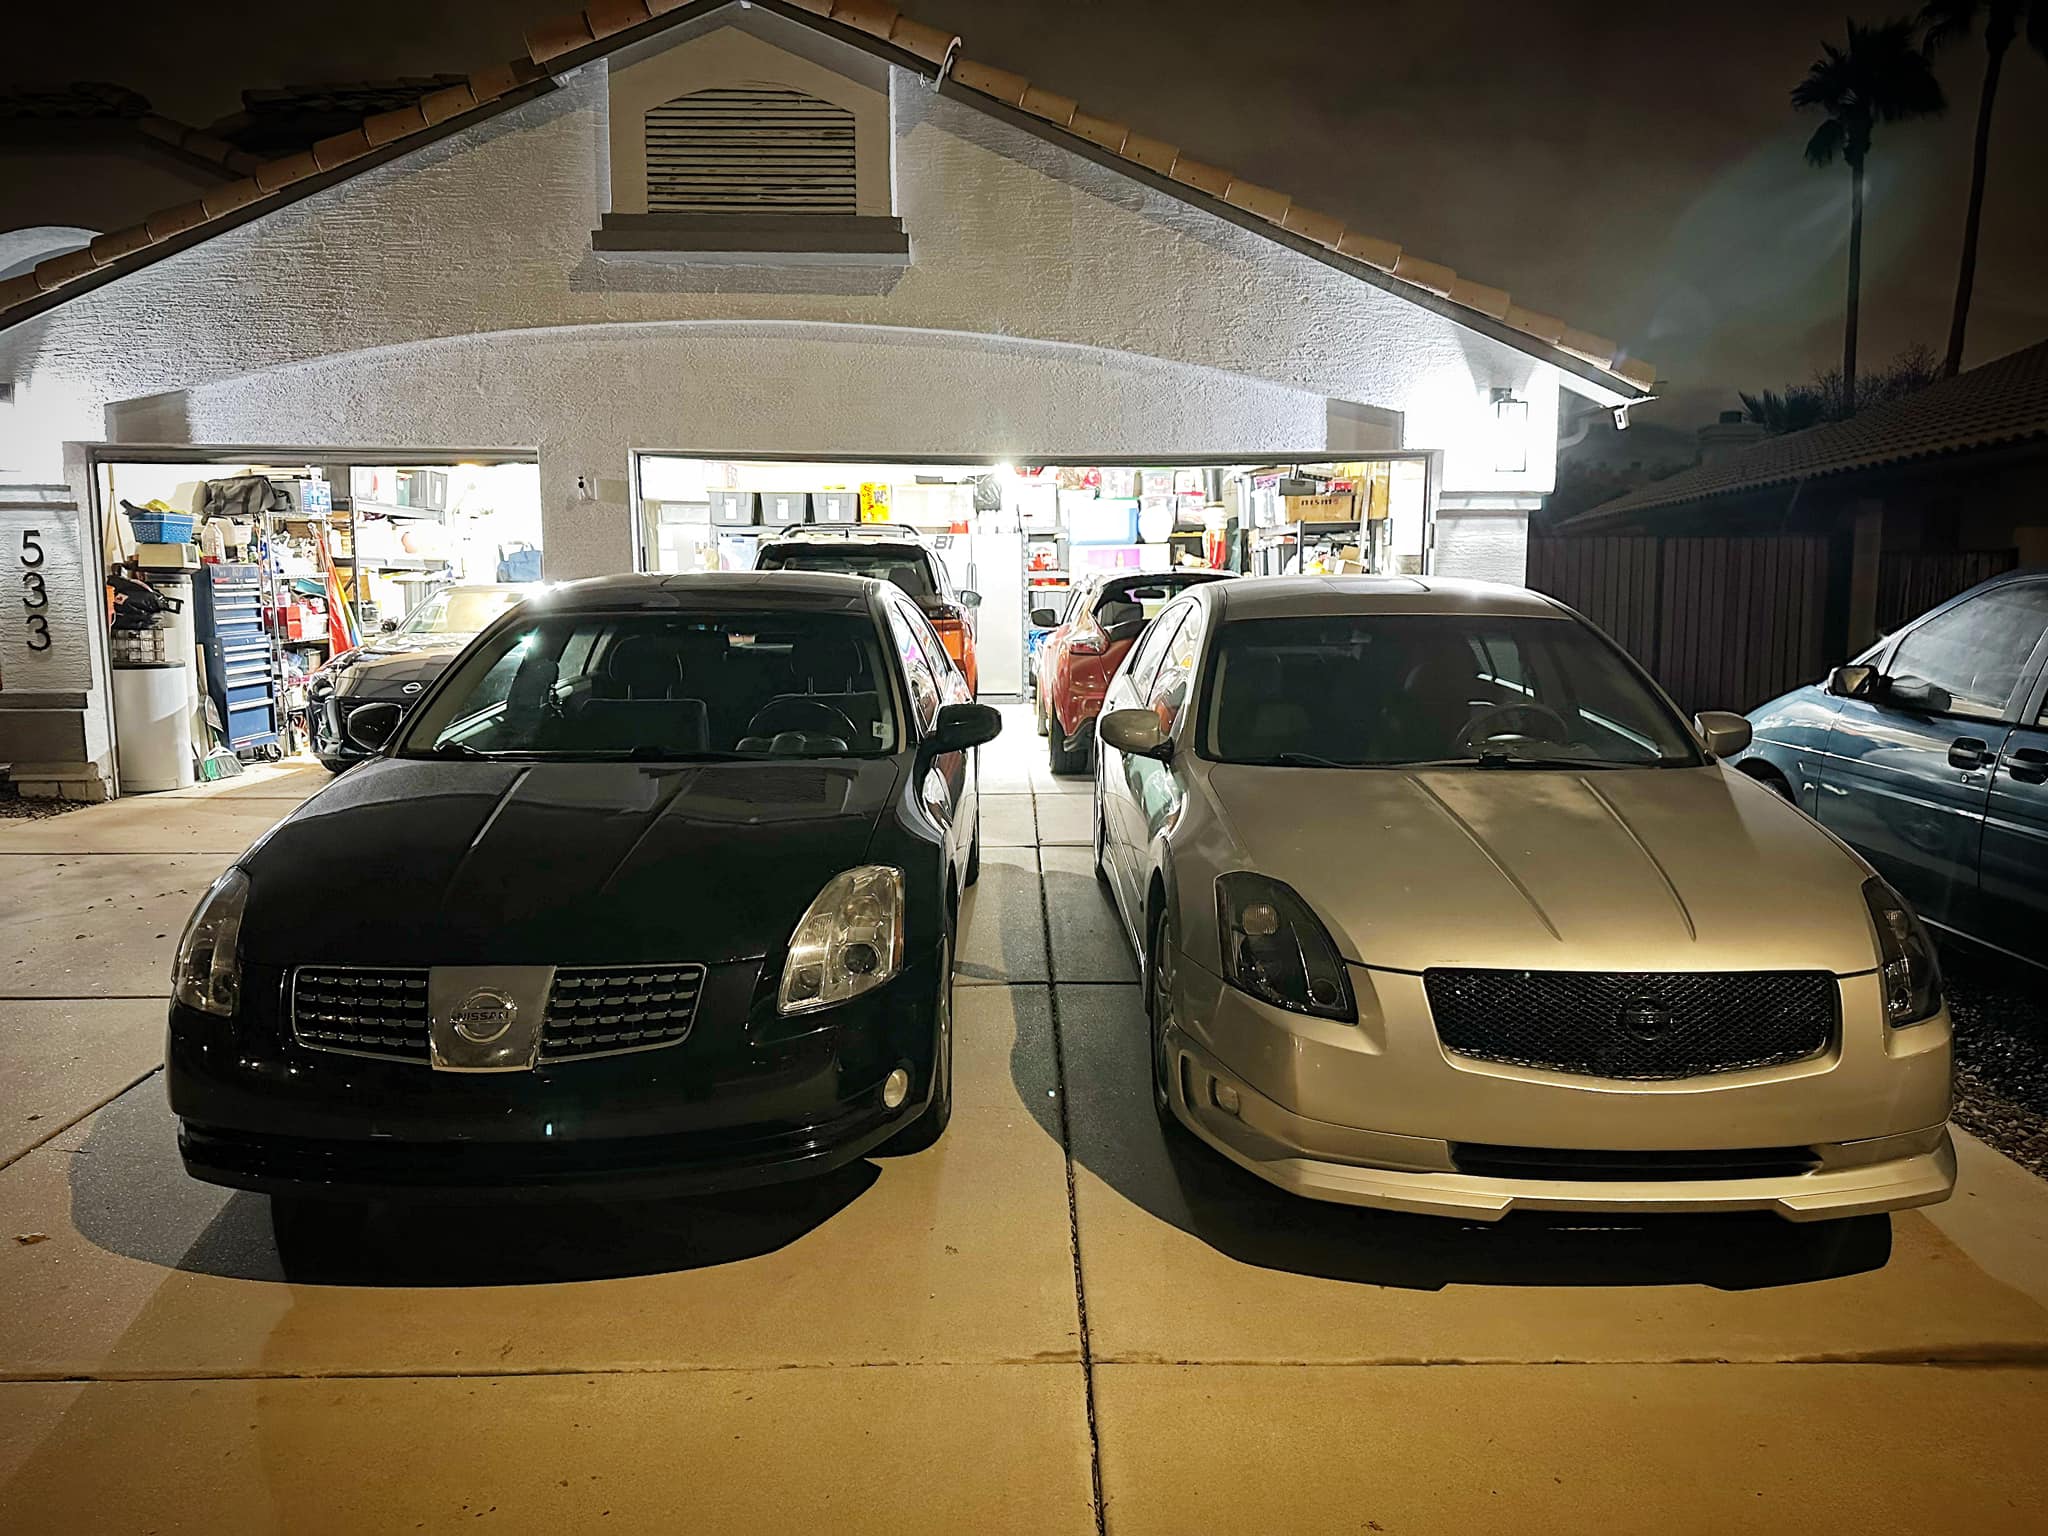
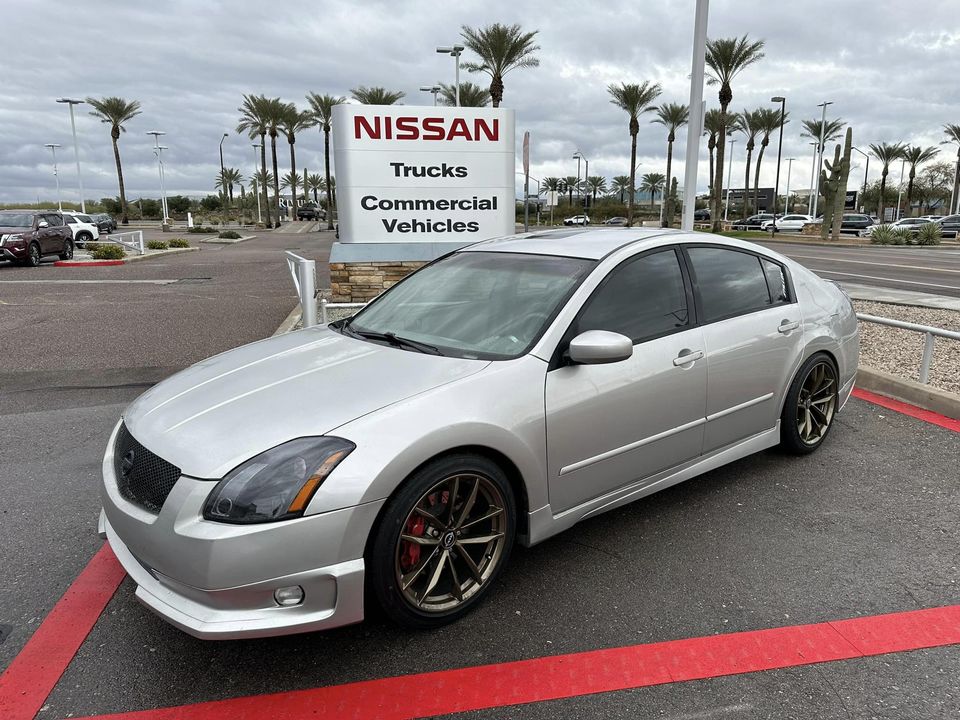
Owner: Aaron Doswell
Year: 2006
Model: Maxima
Color: Silver
Engine: Gen2 VQ35DE
Transmission: 6-Speed Manual
Trim: SE


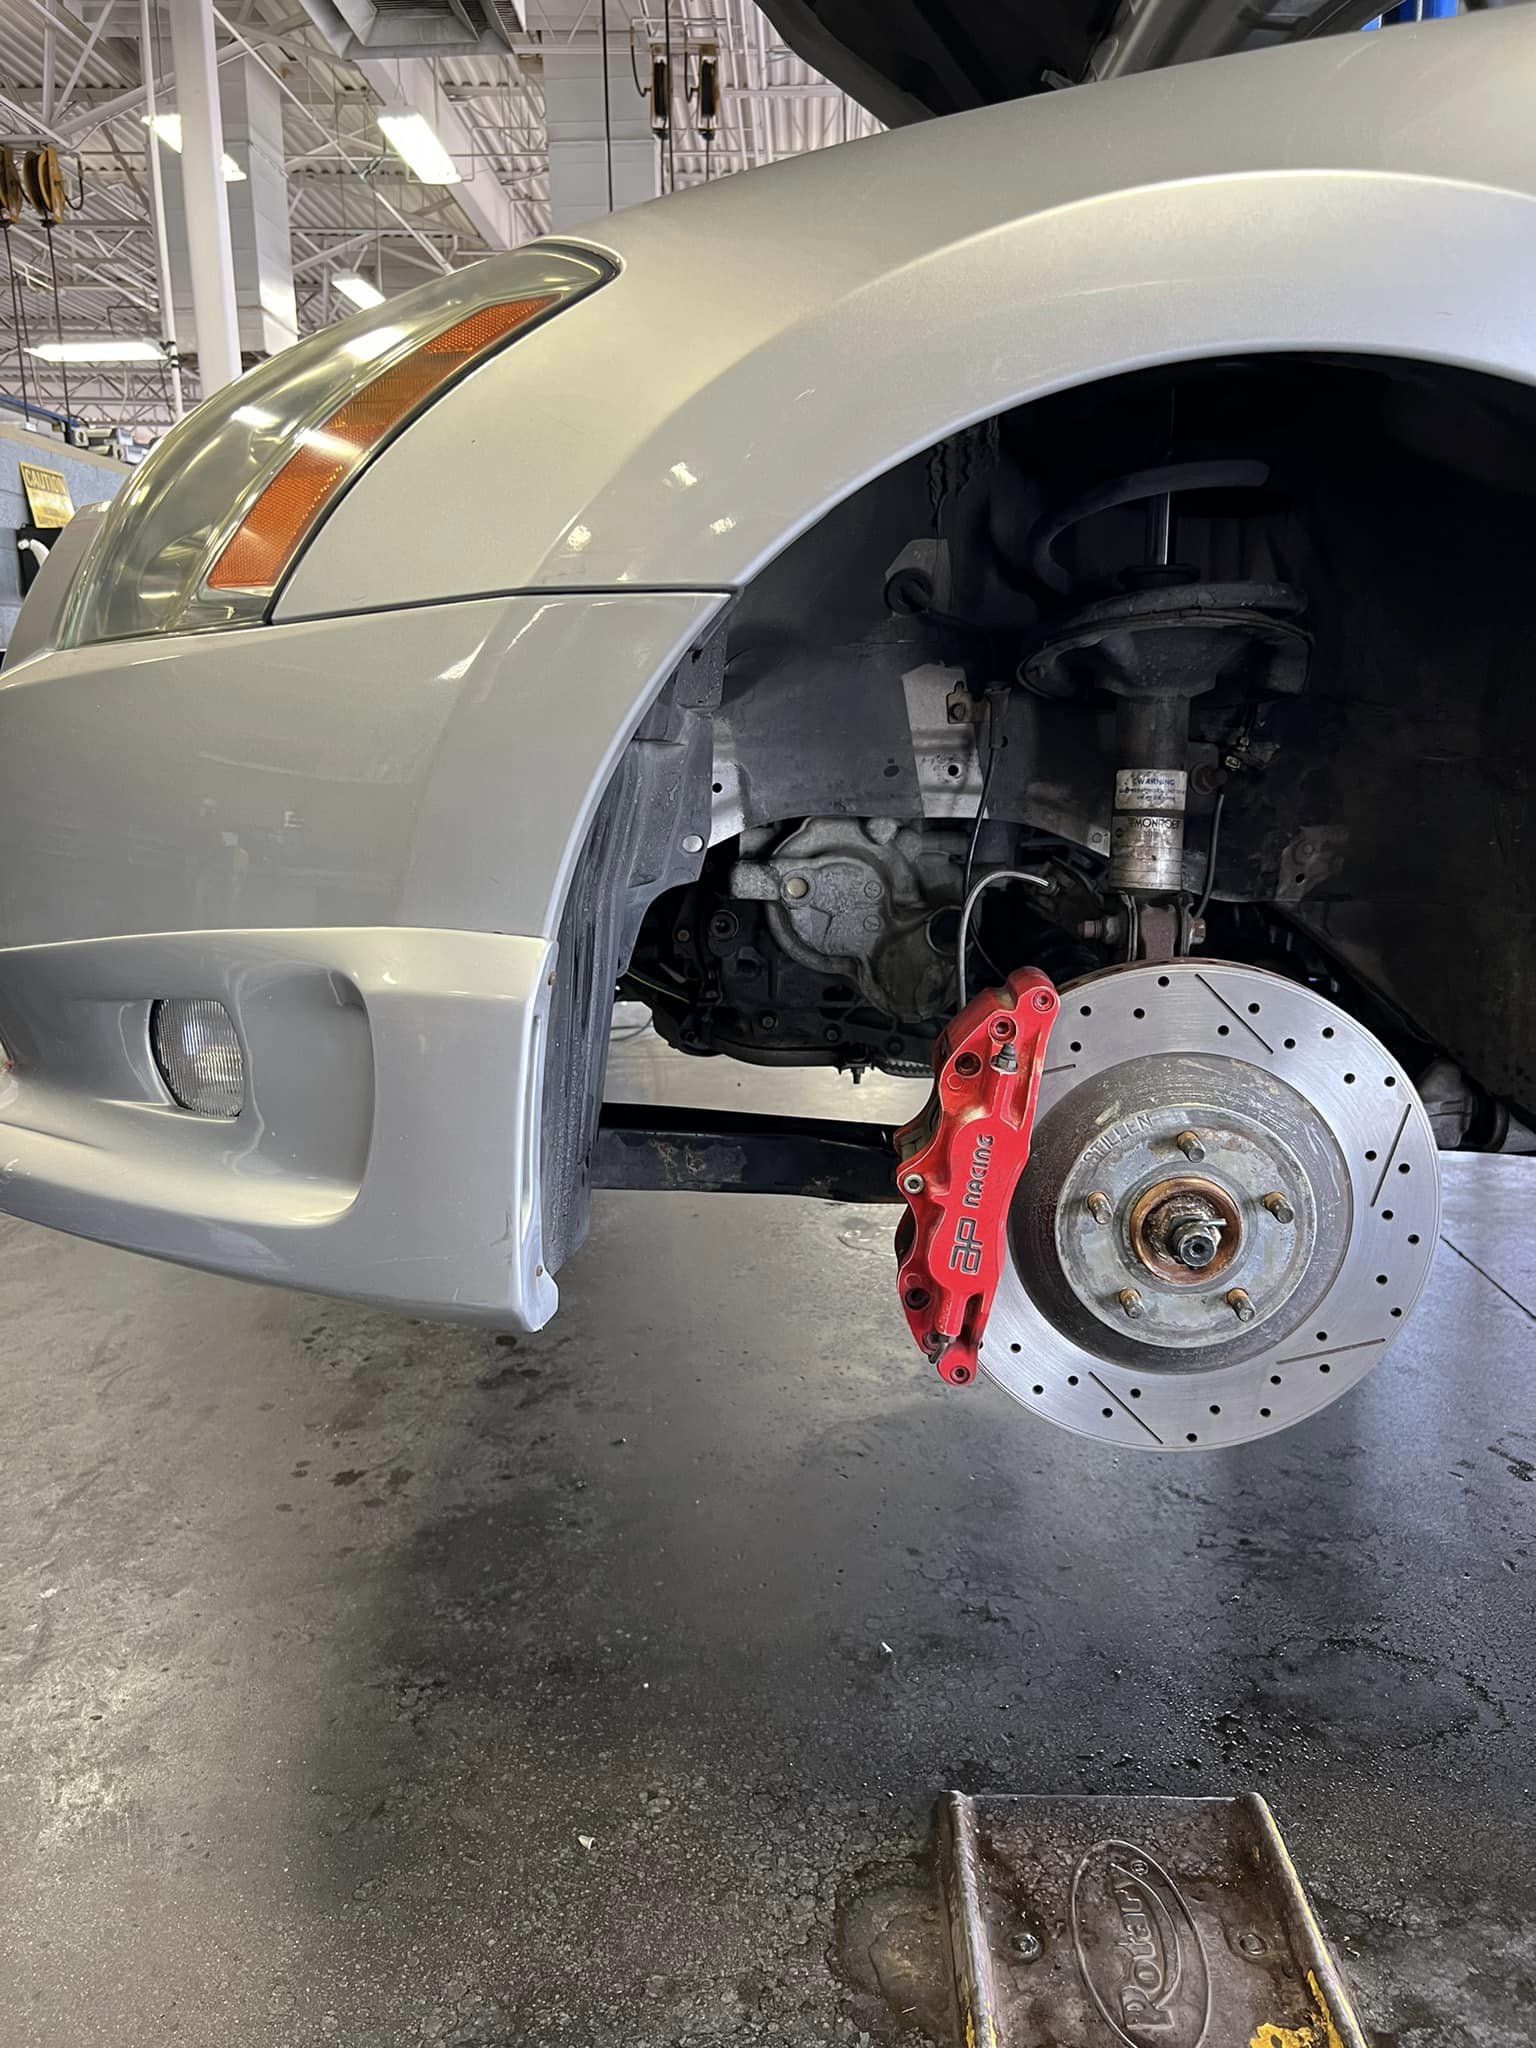
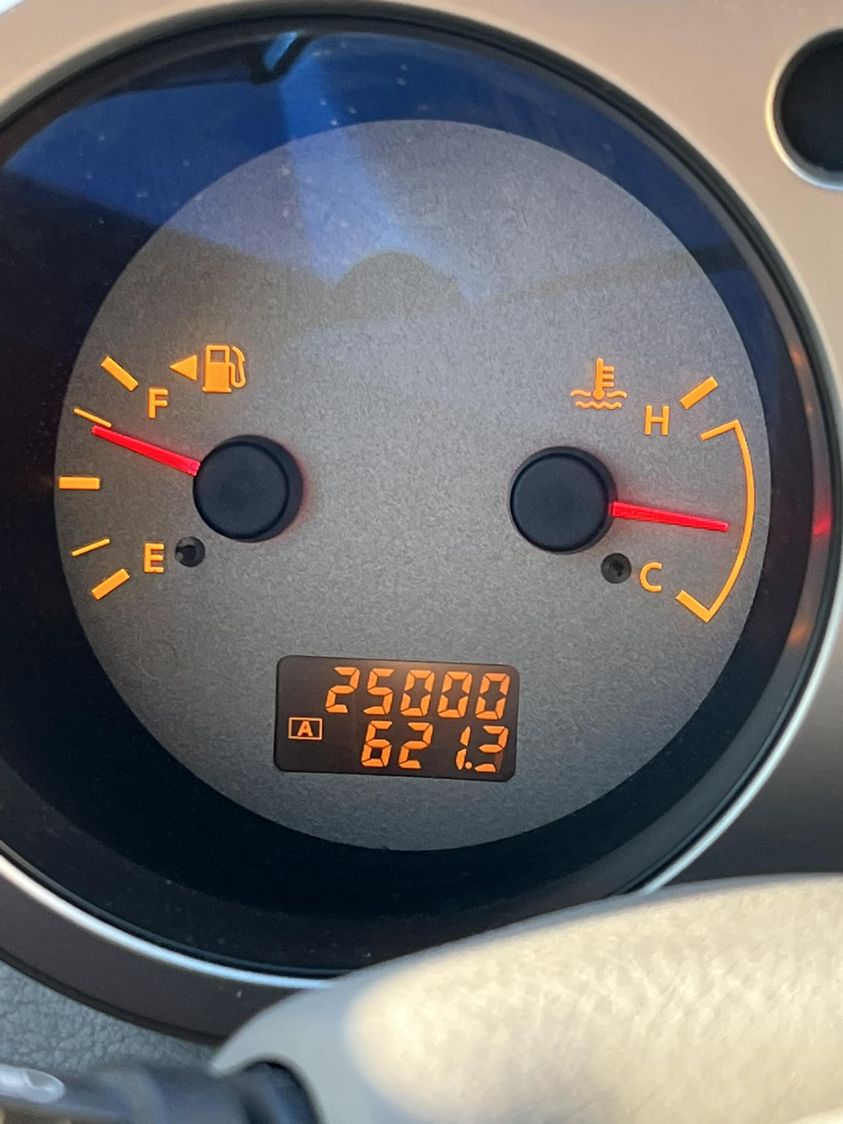
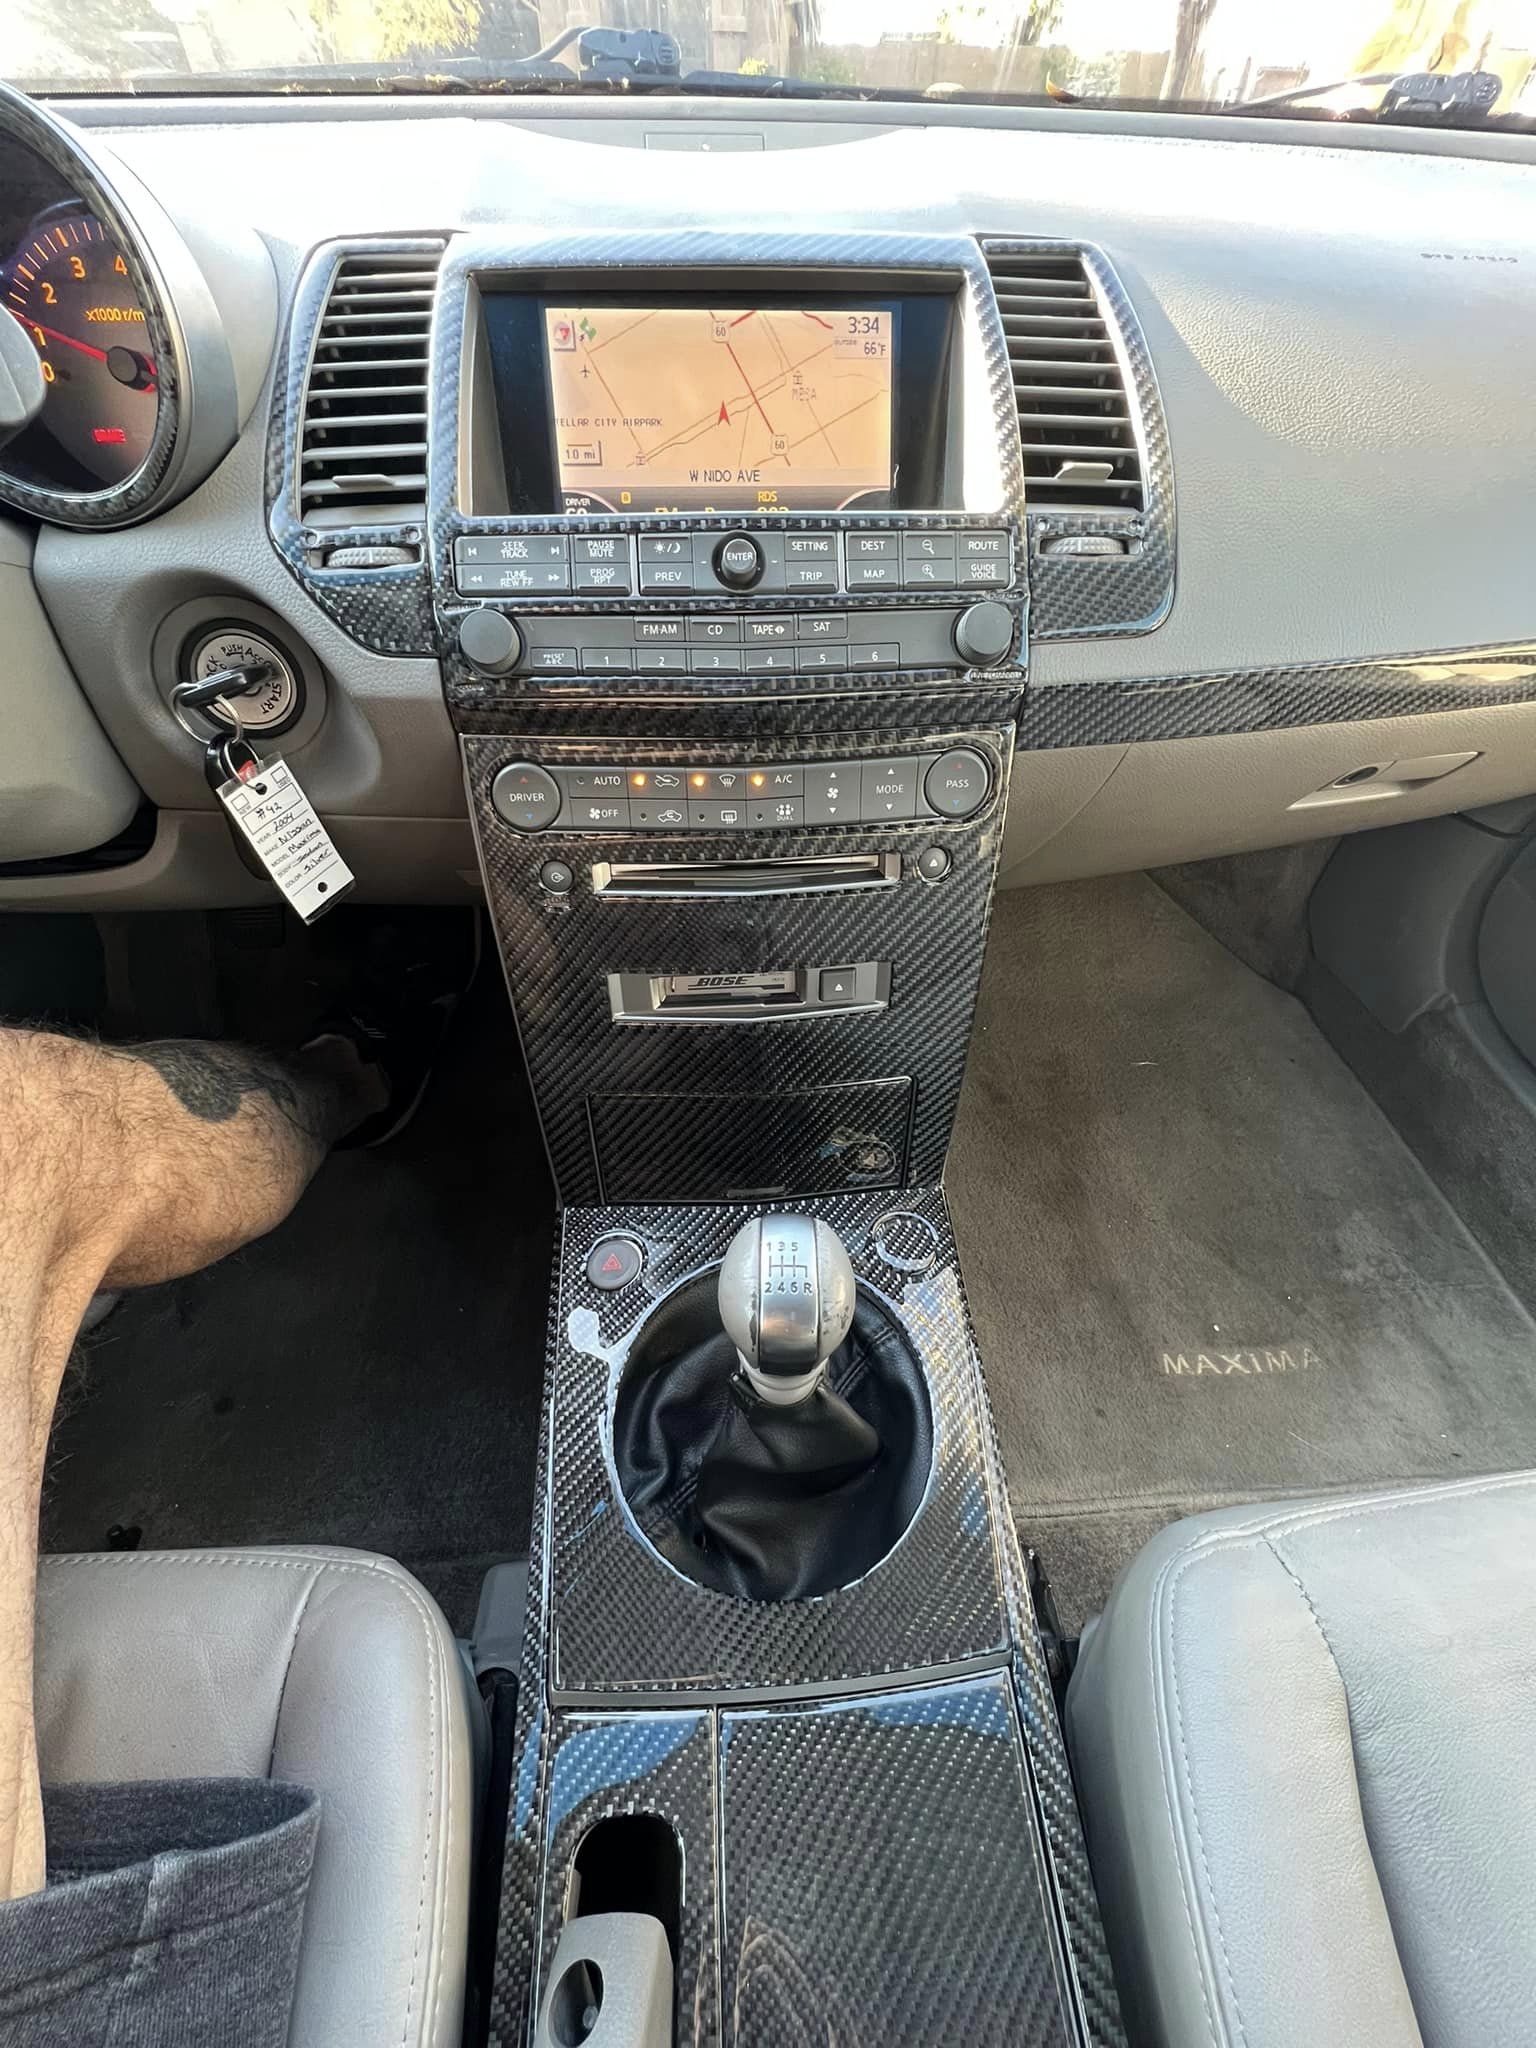
![]()

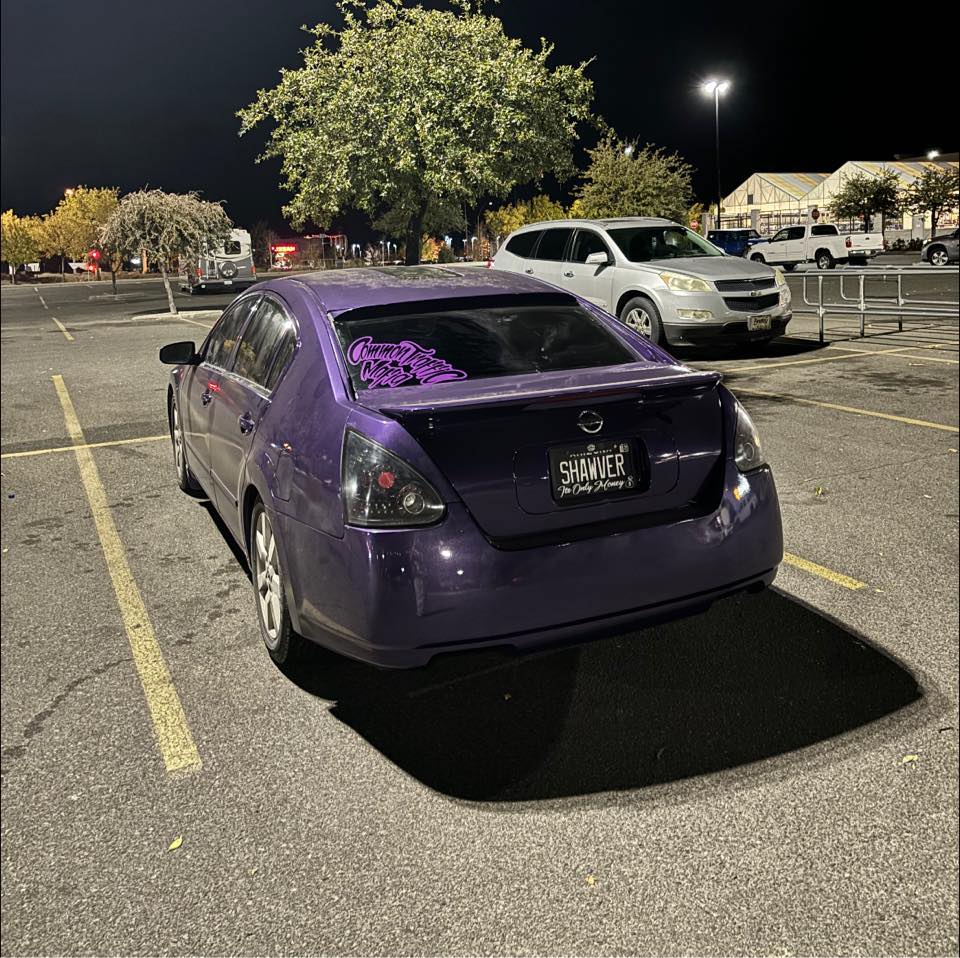
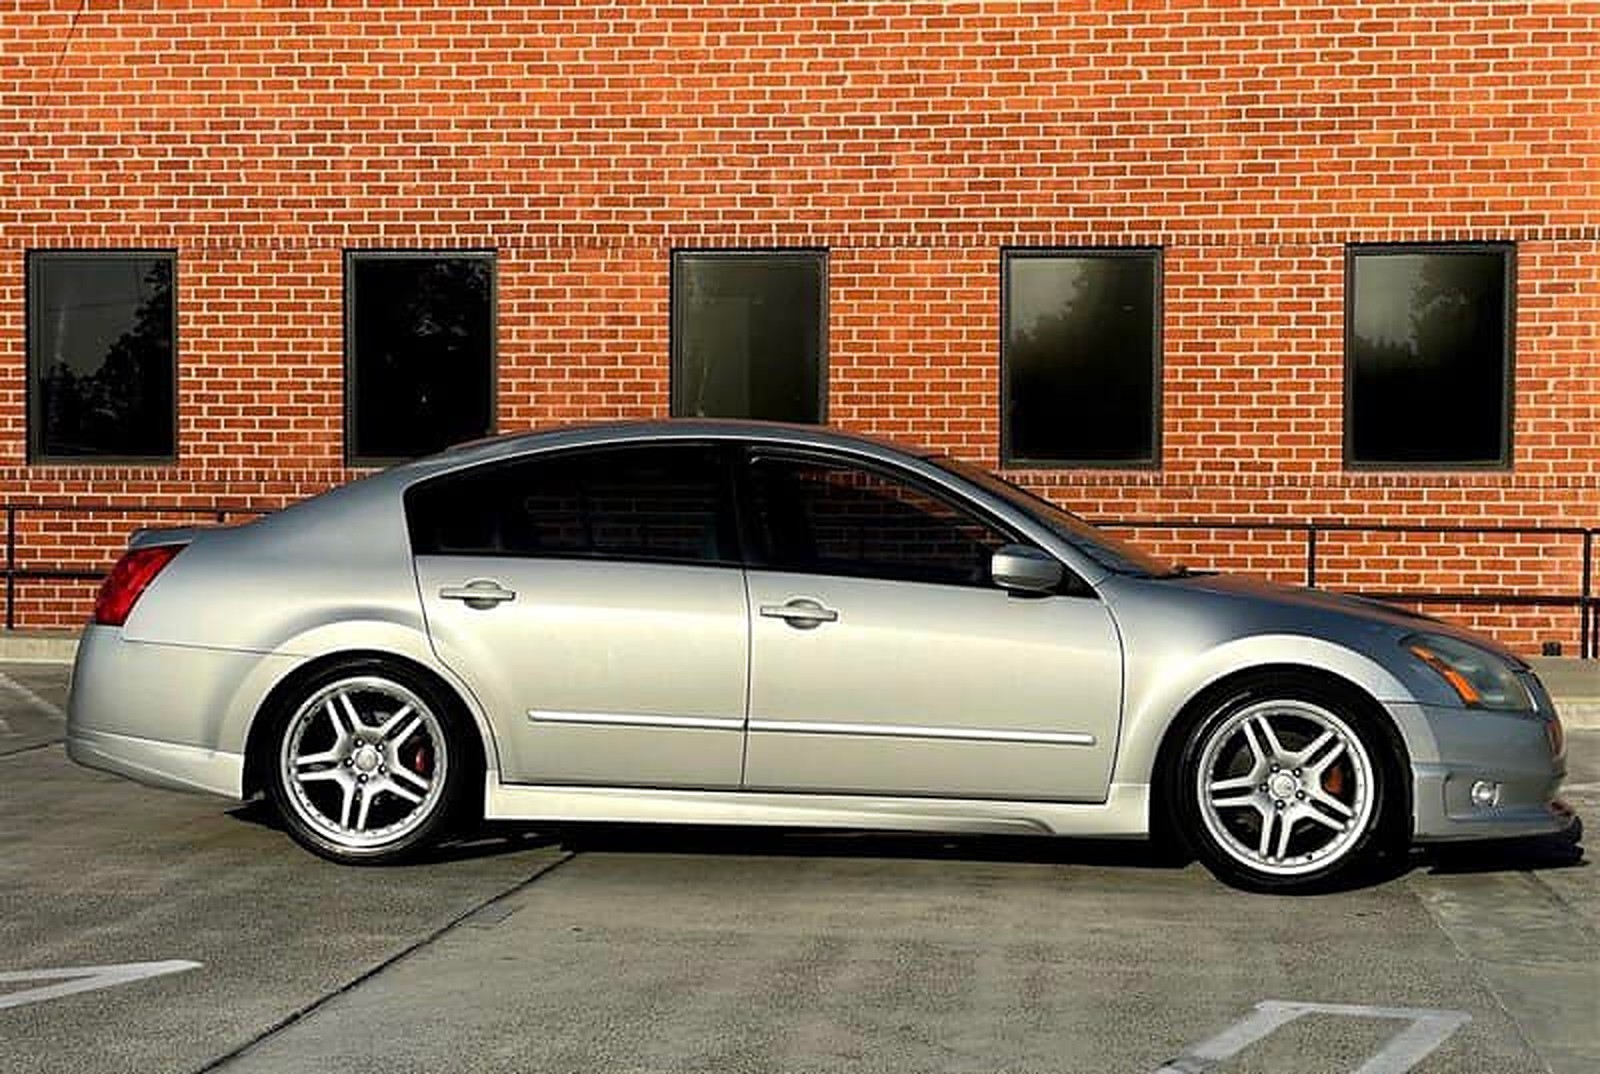
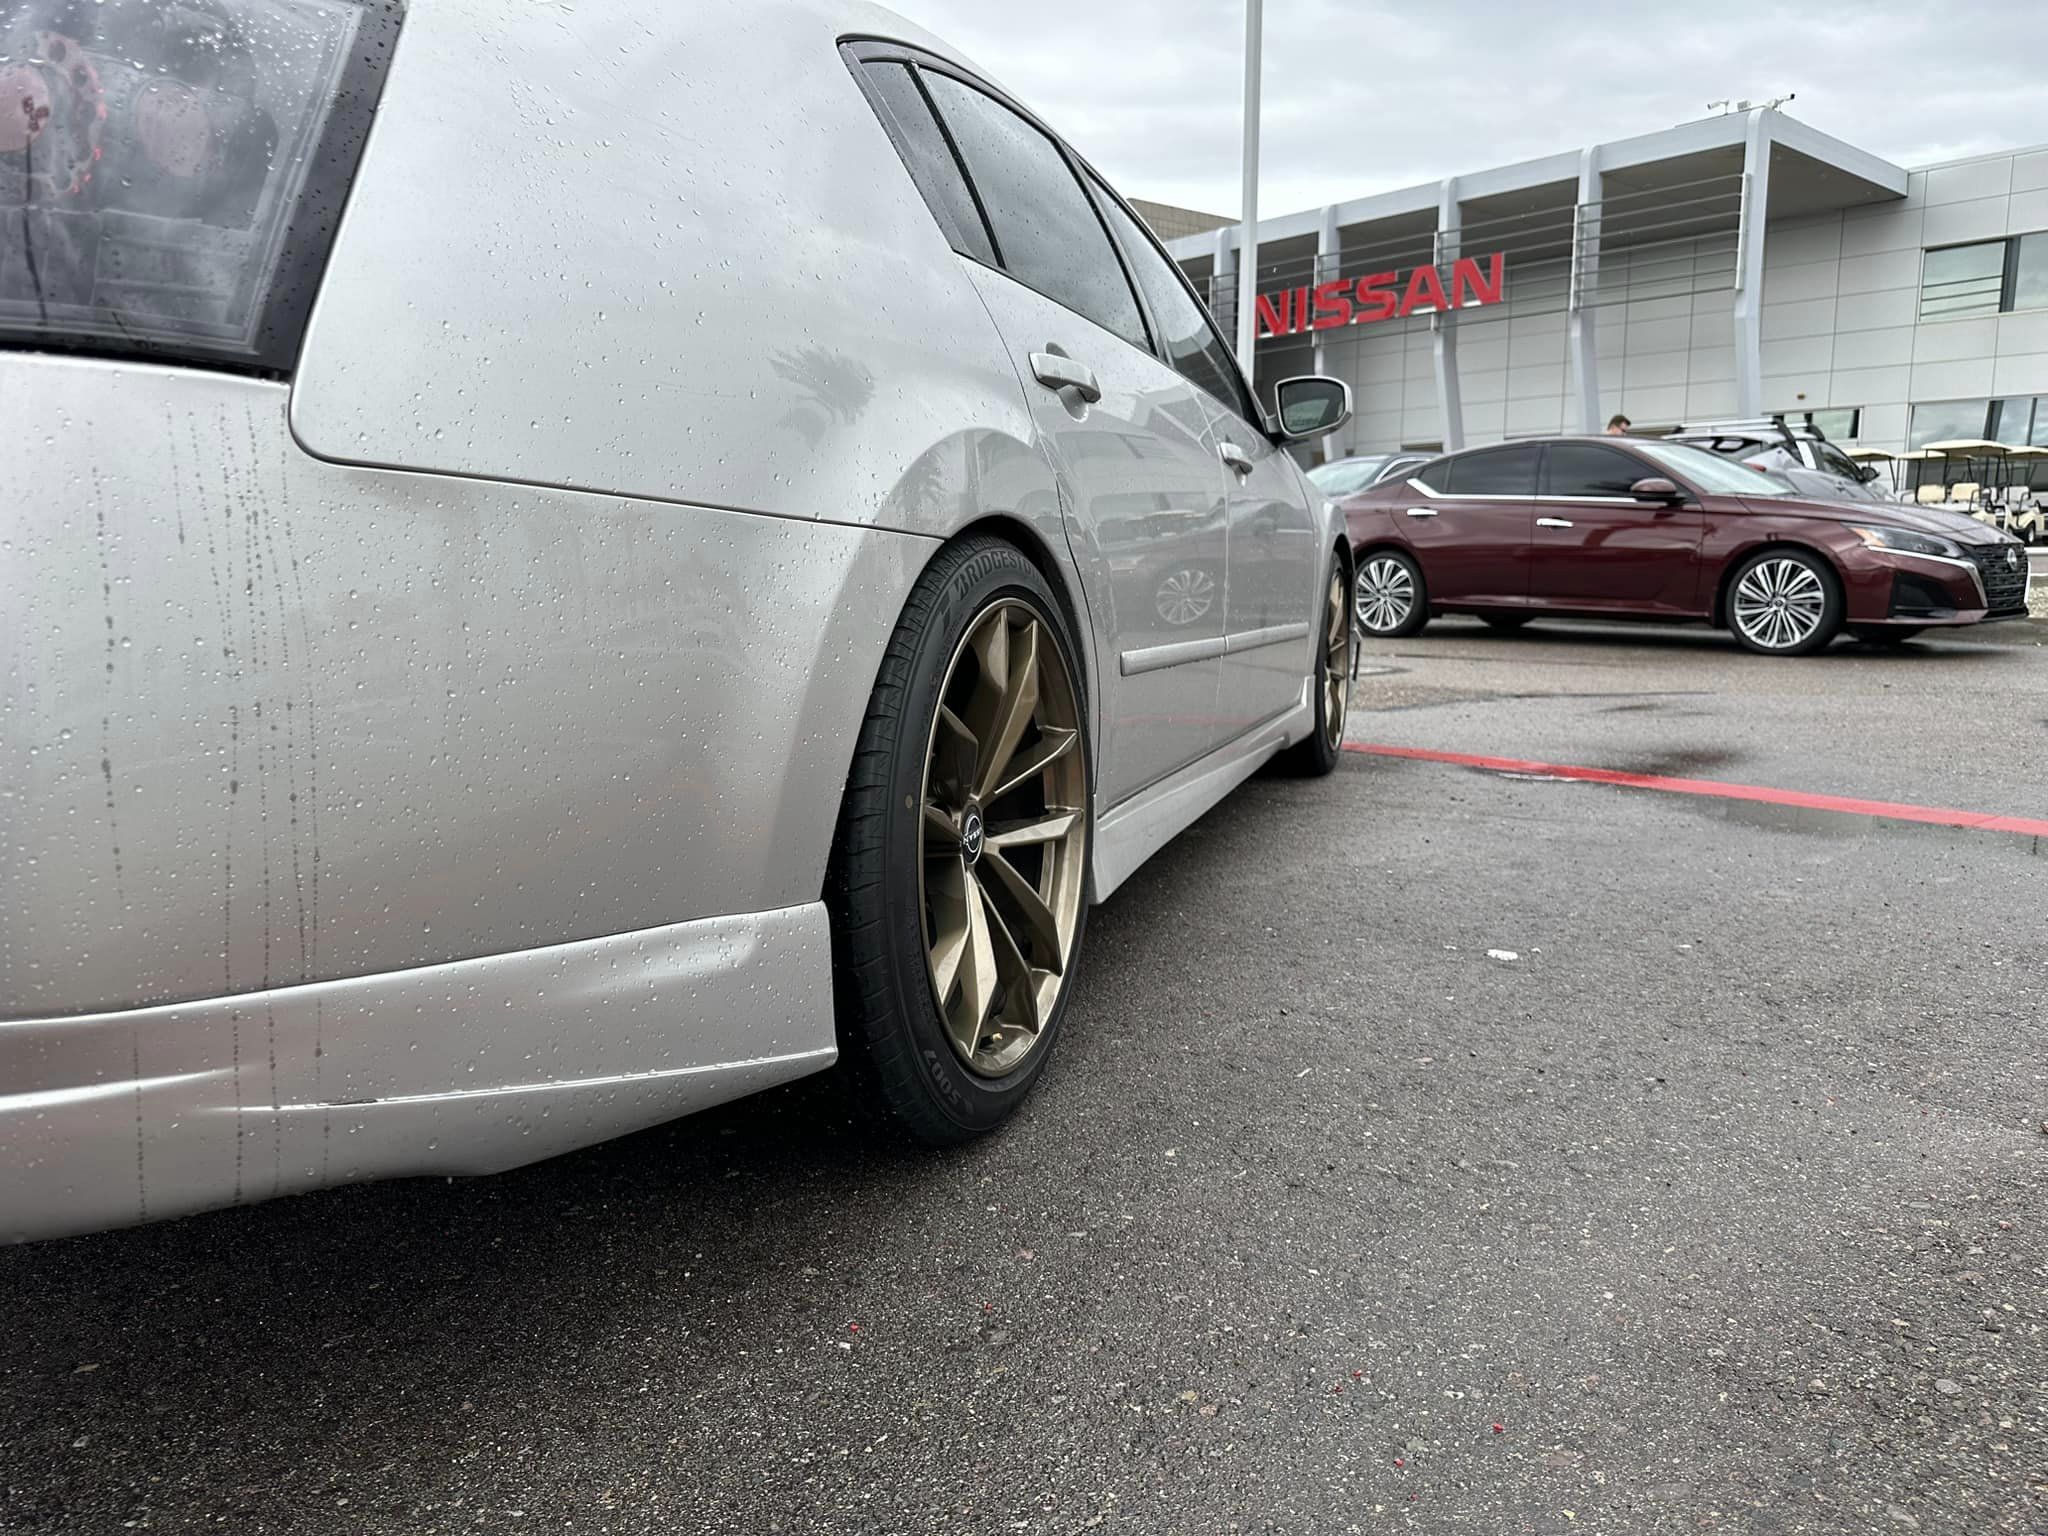
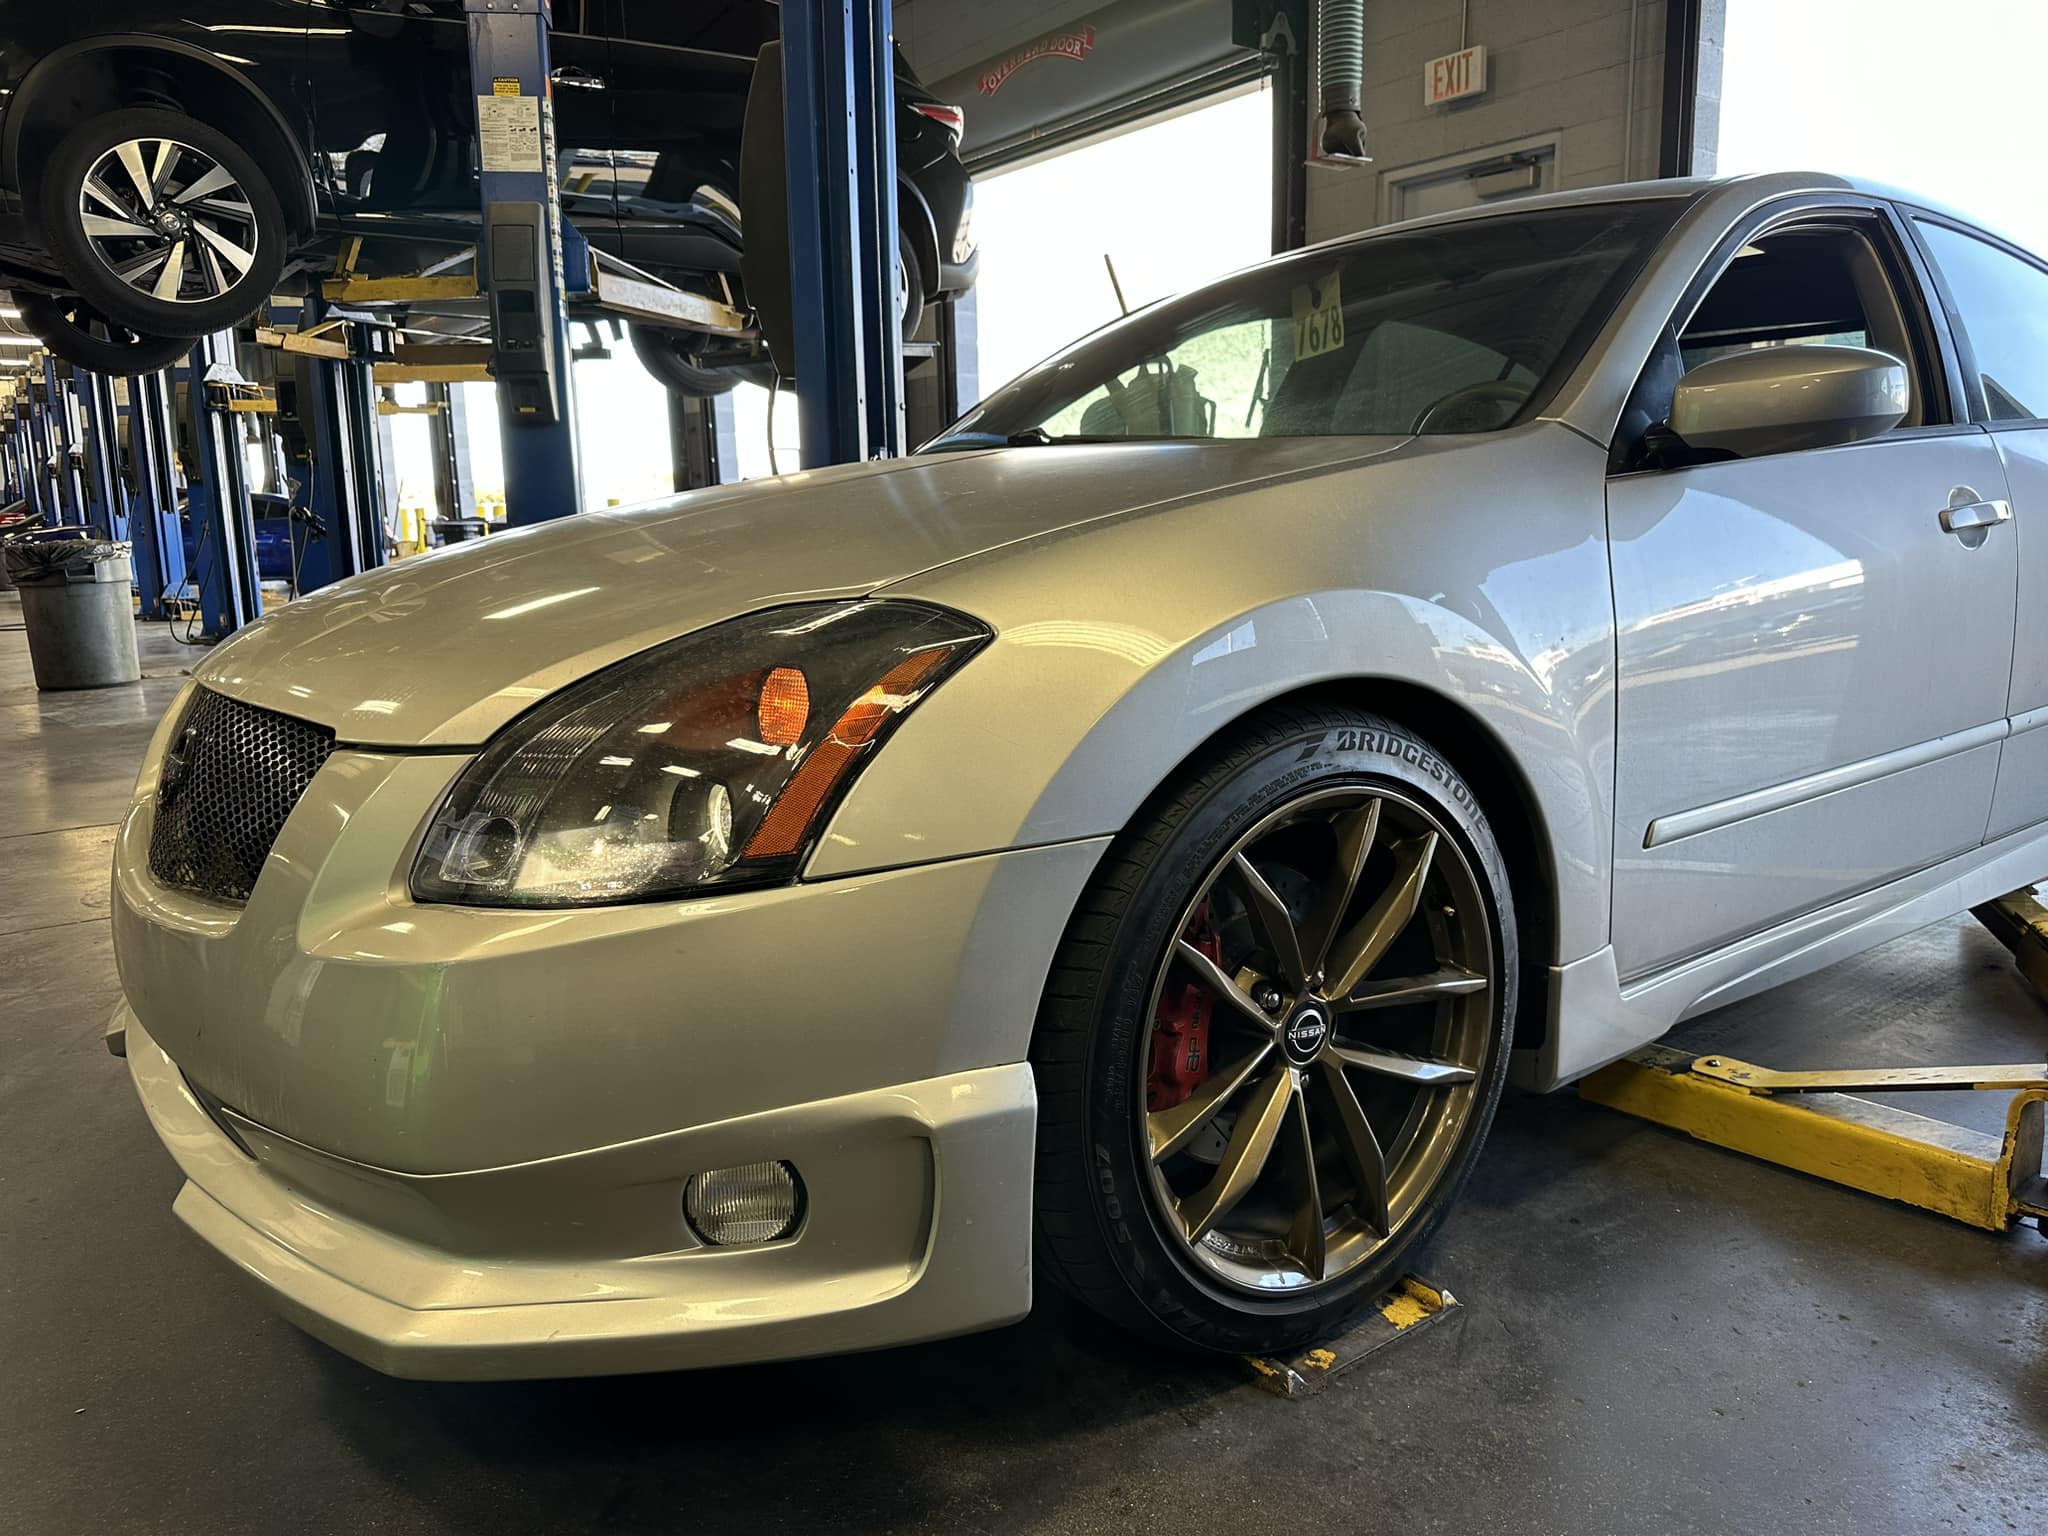
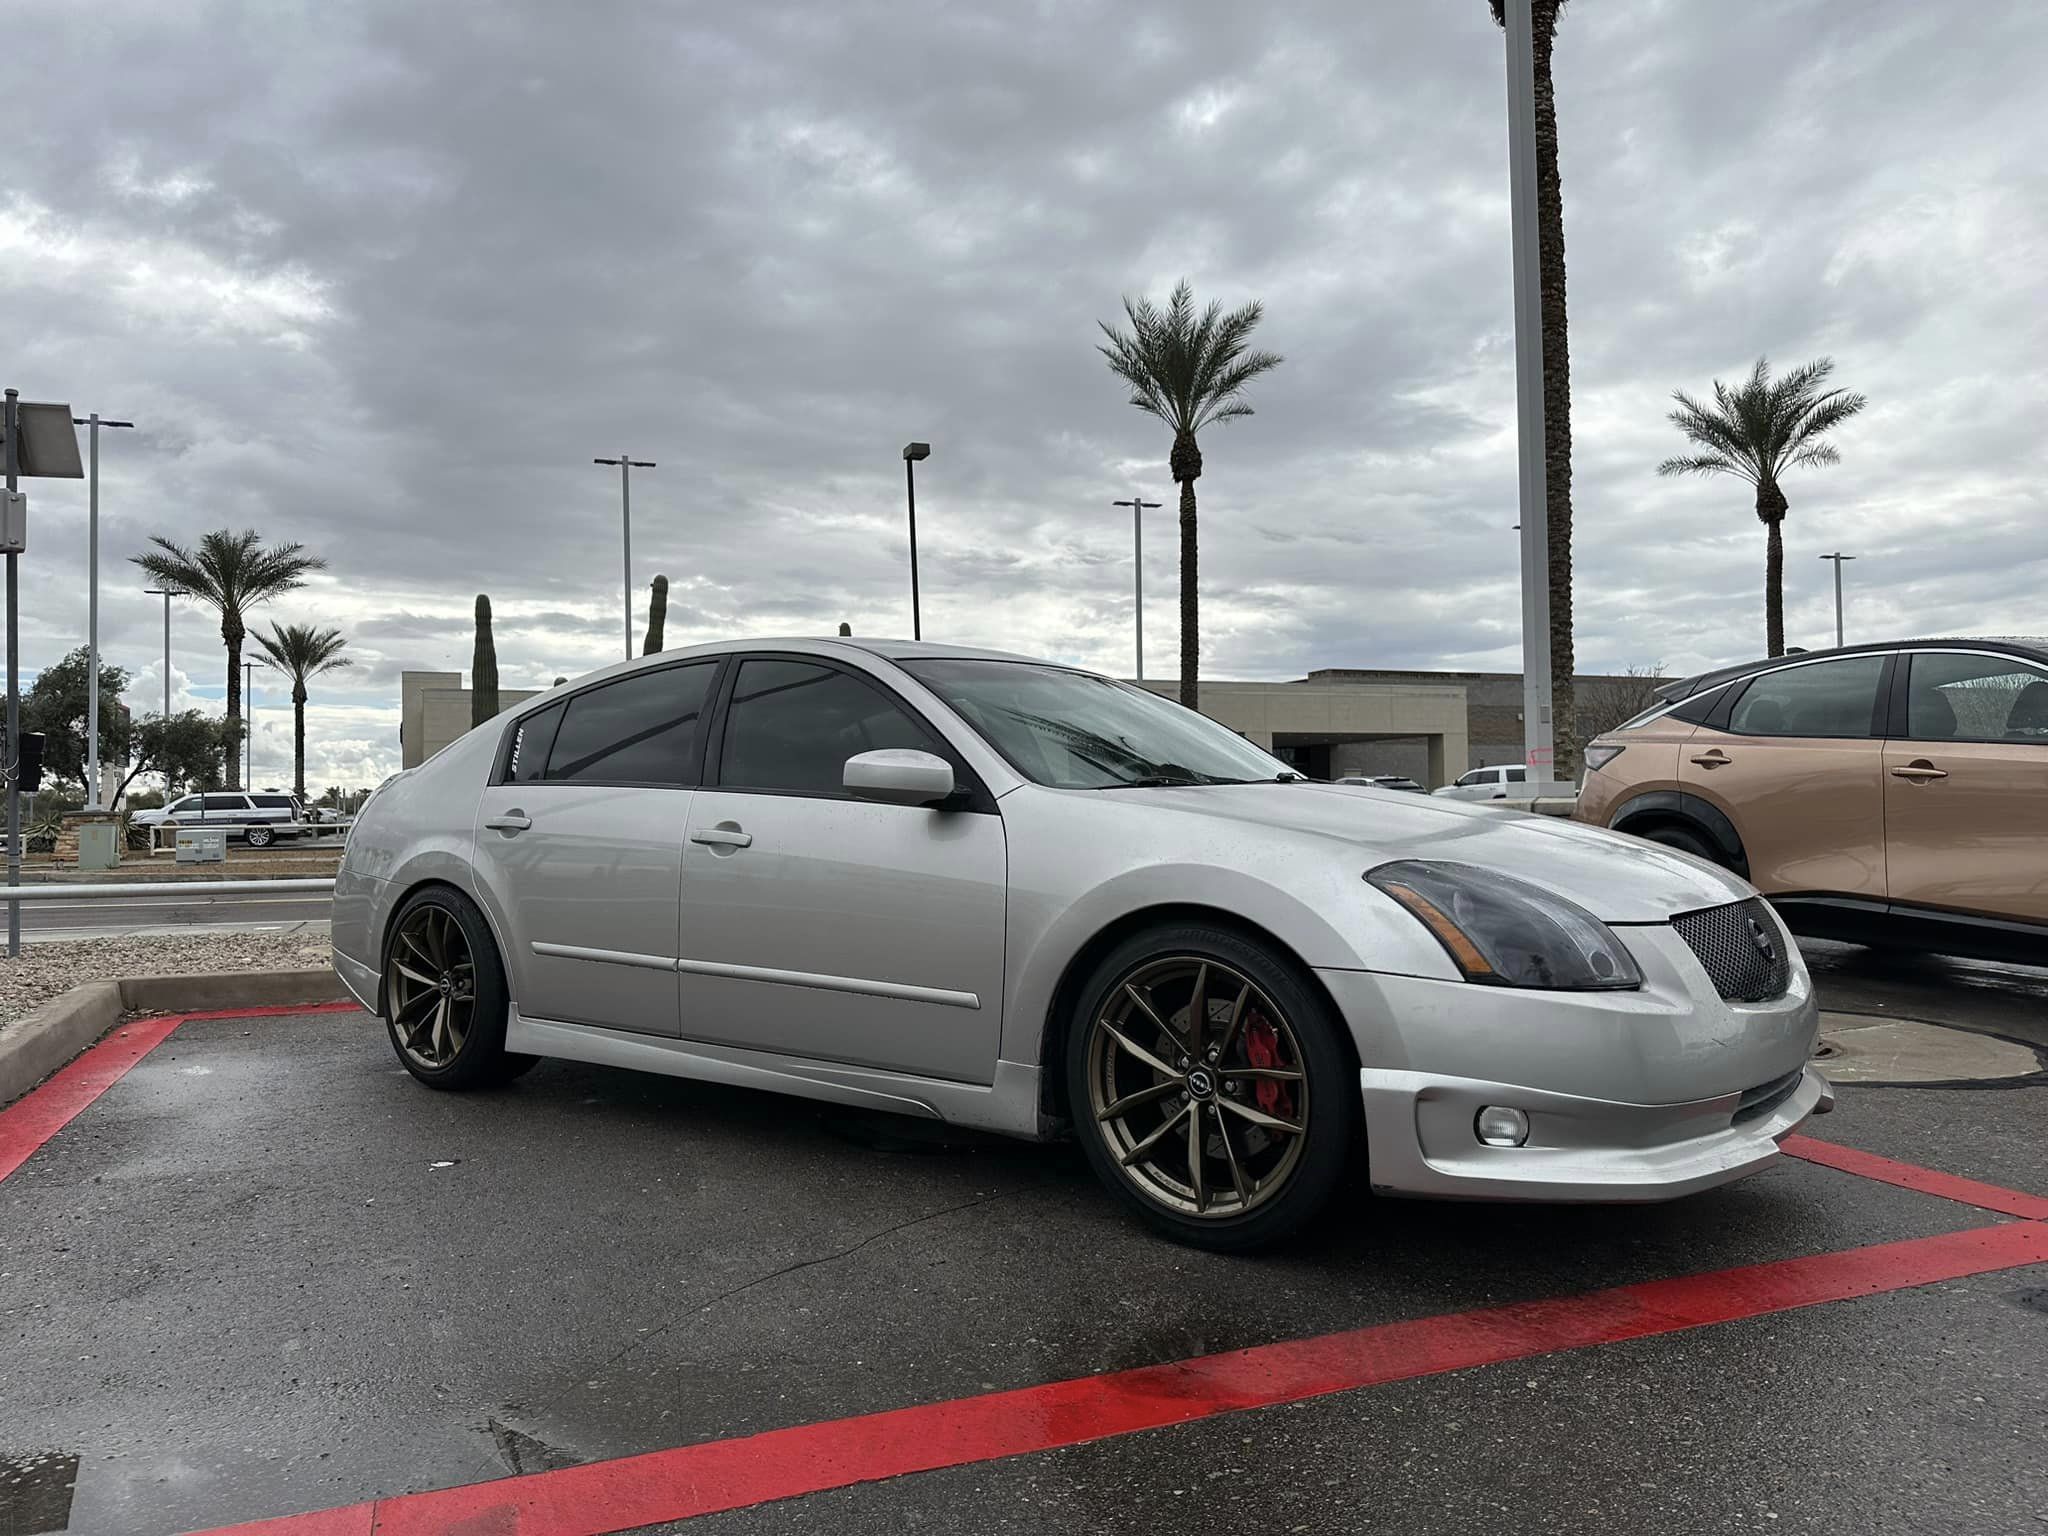
Owner: Nick S.
Year: 2004
Model: Maxima
Color: Silver
Engine: VQ35DE
Transmission: 6-Speed Manual
Trim: SL


![]()


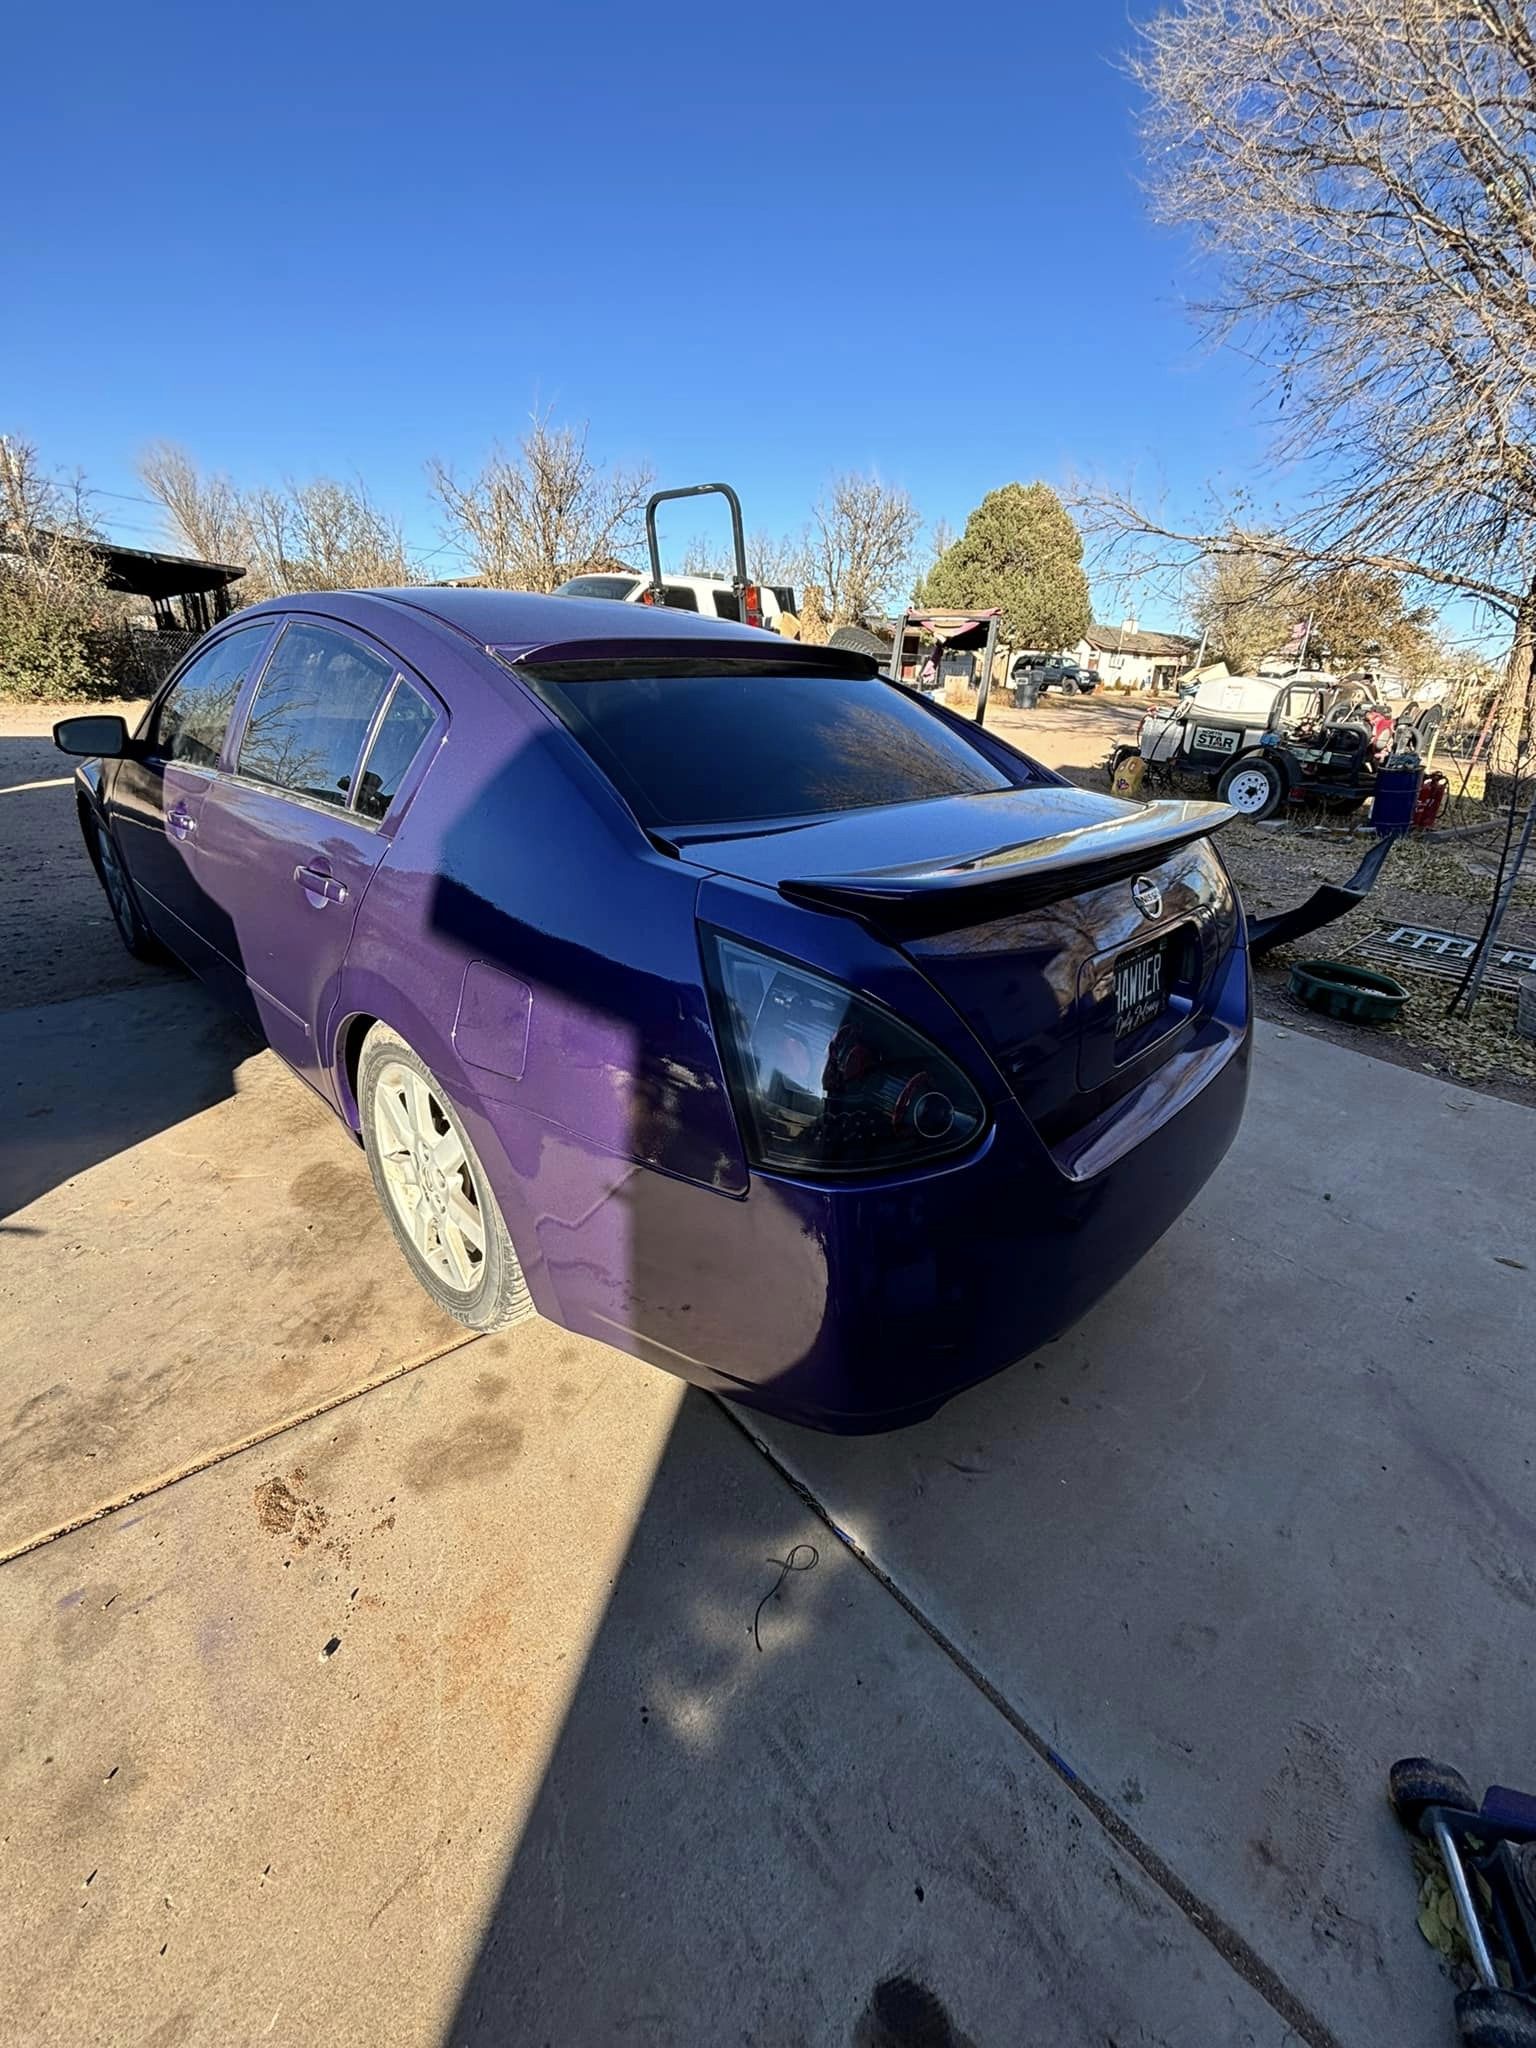
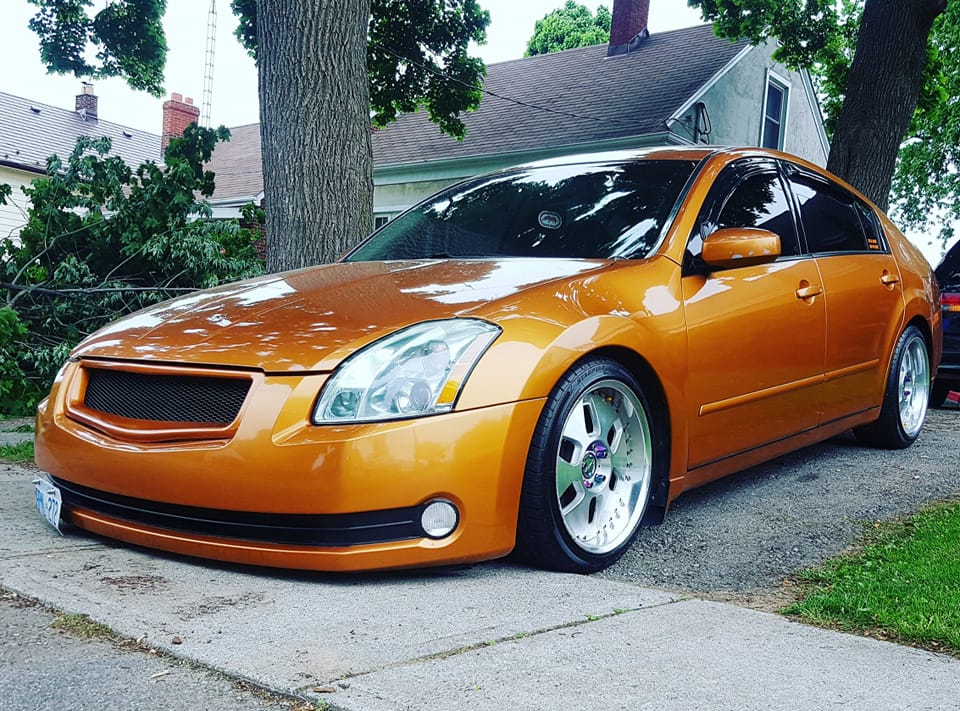
Owner: Chris Toye (Posted)
Year: 2004
Model: Maxima
Color: Burnt Orange
Engine: VQ35DE
Transmission: 6-Speed Manual
Trim: SE
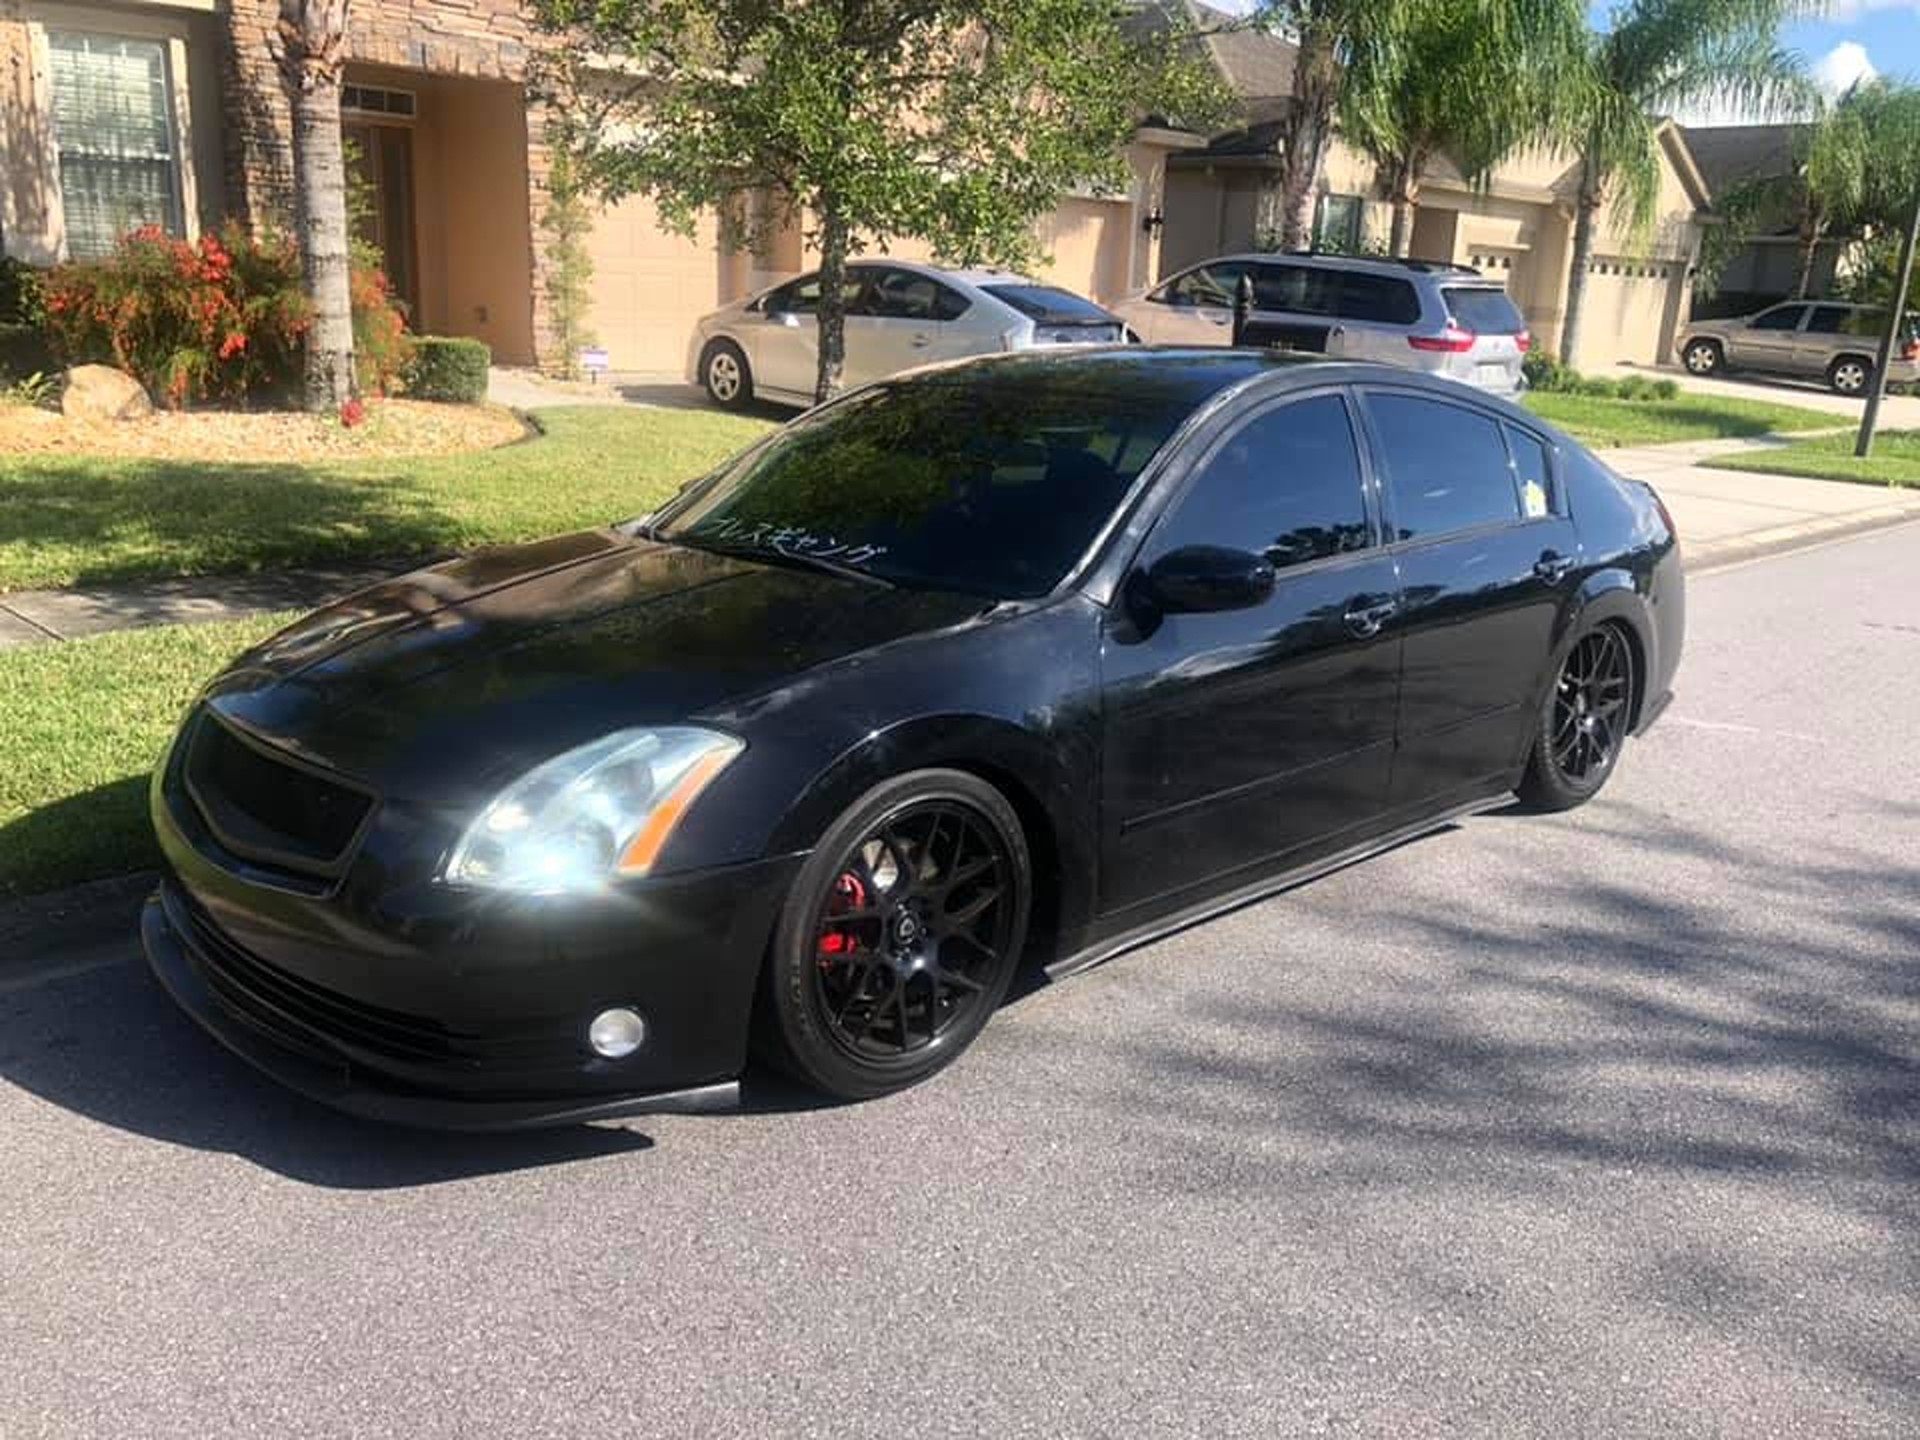
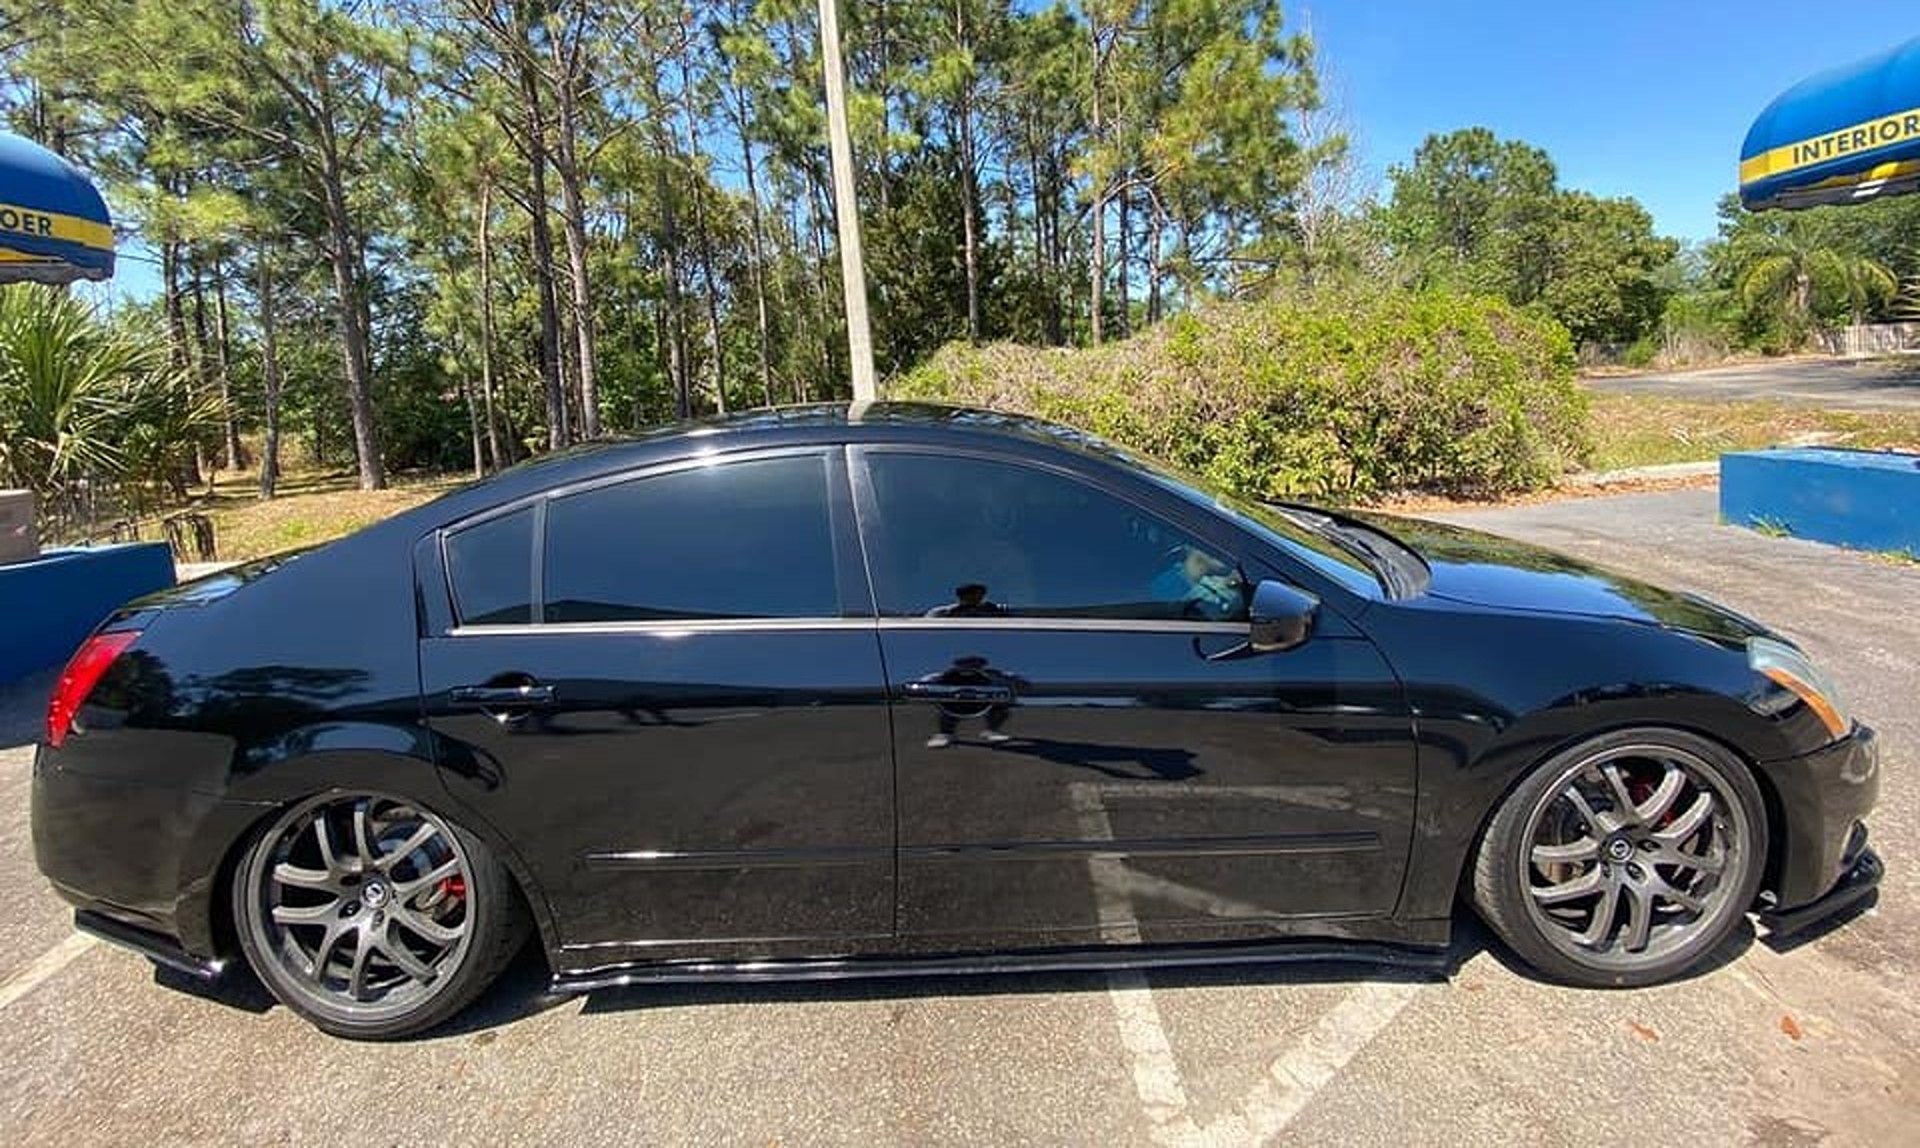
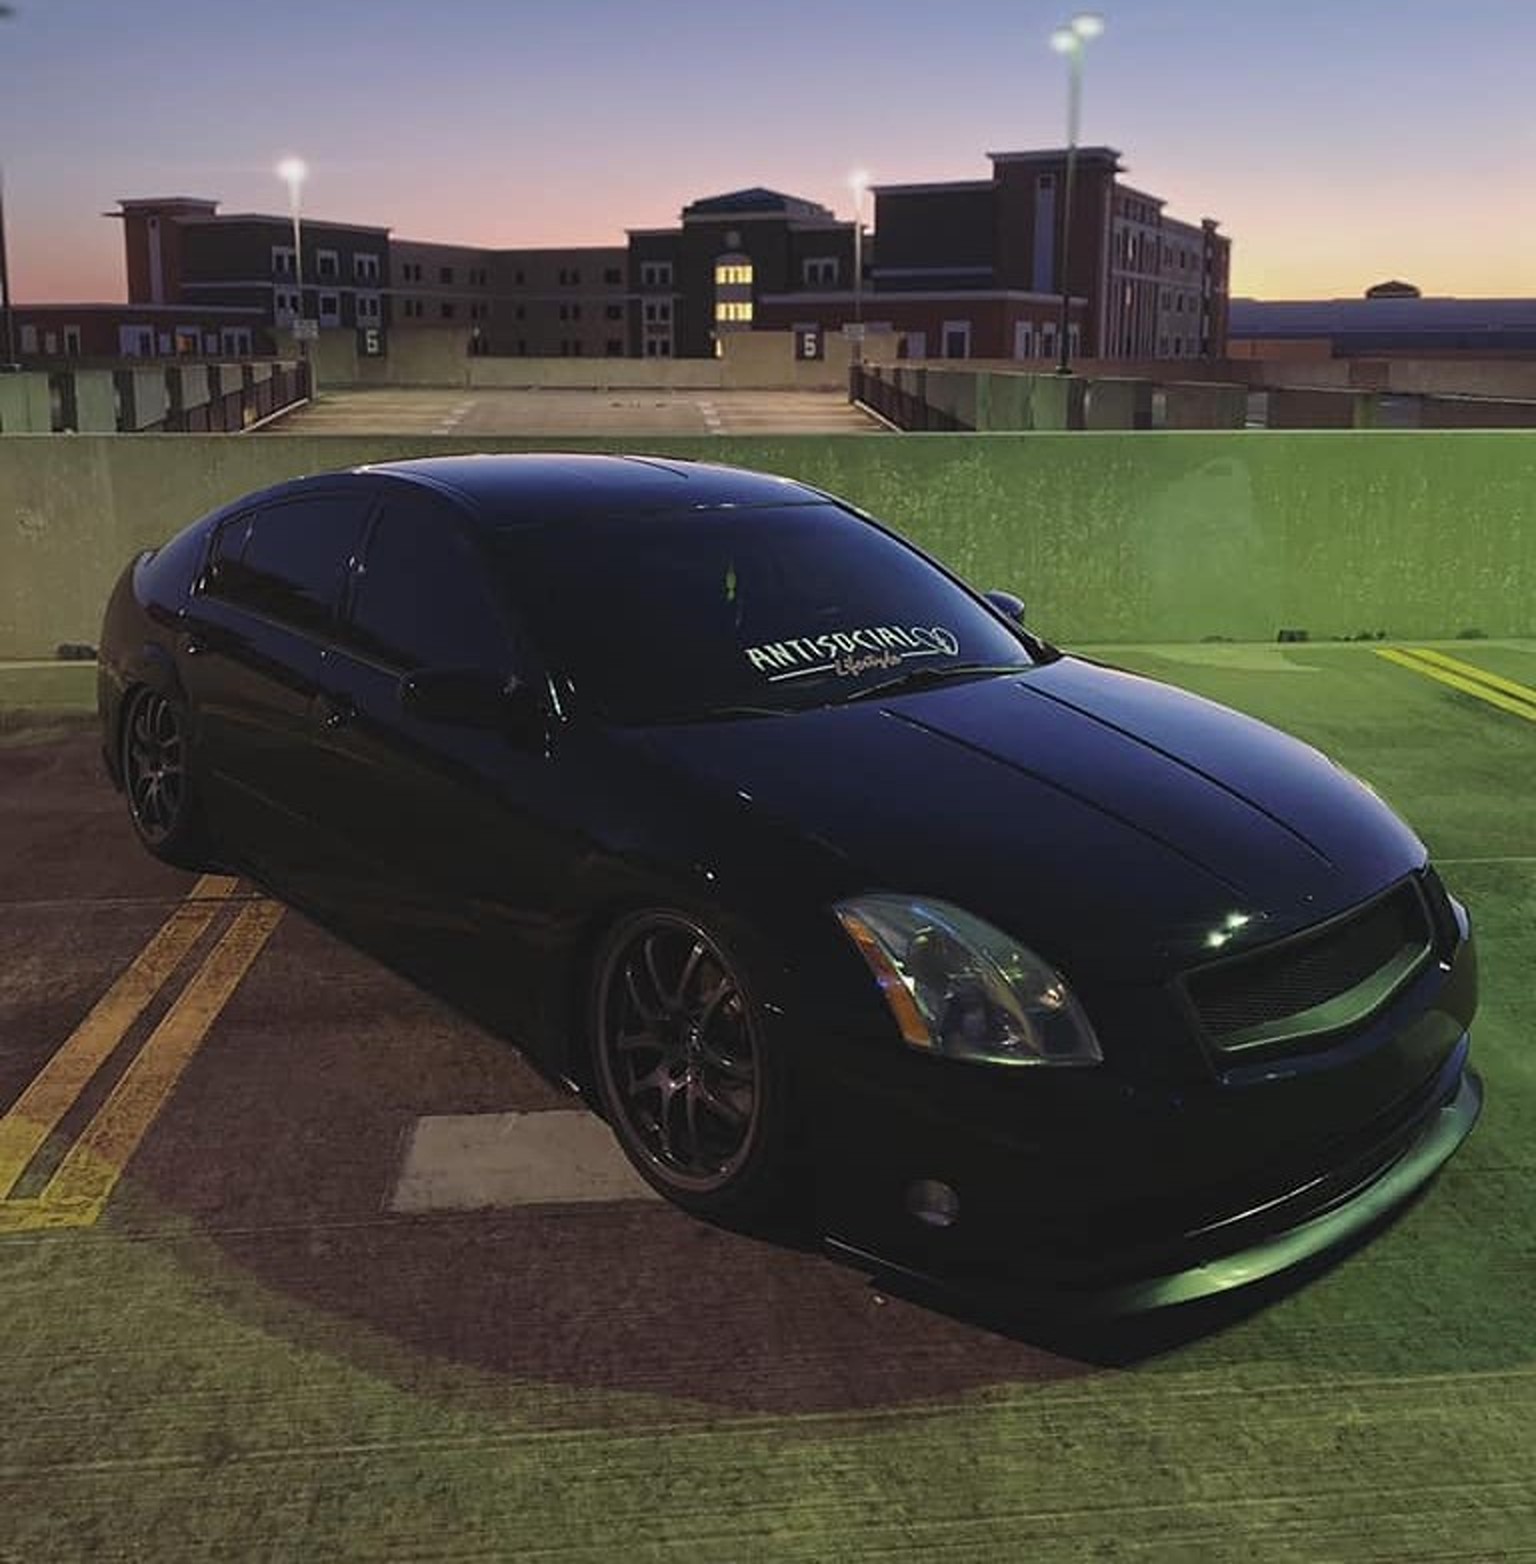
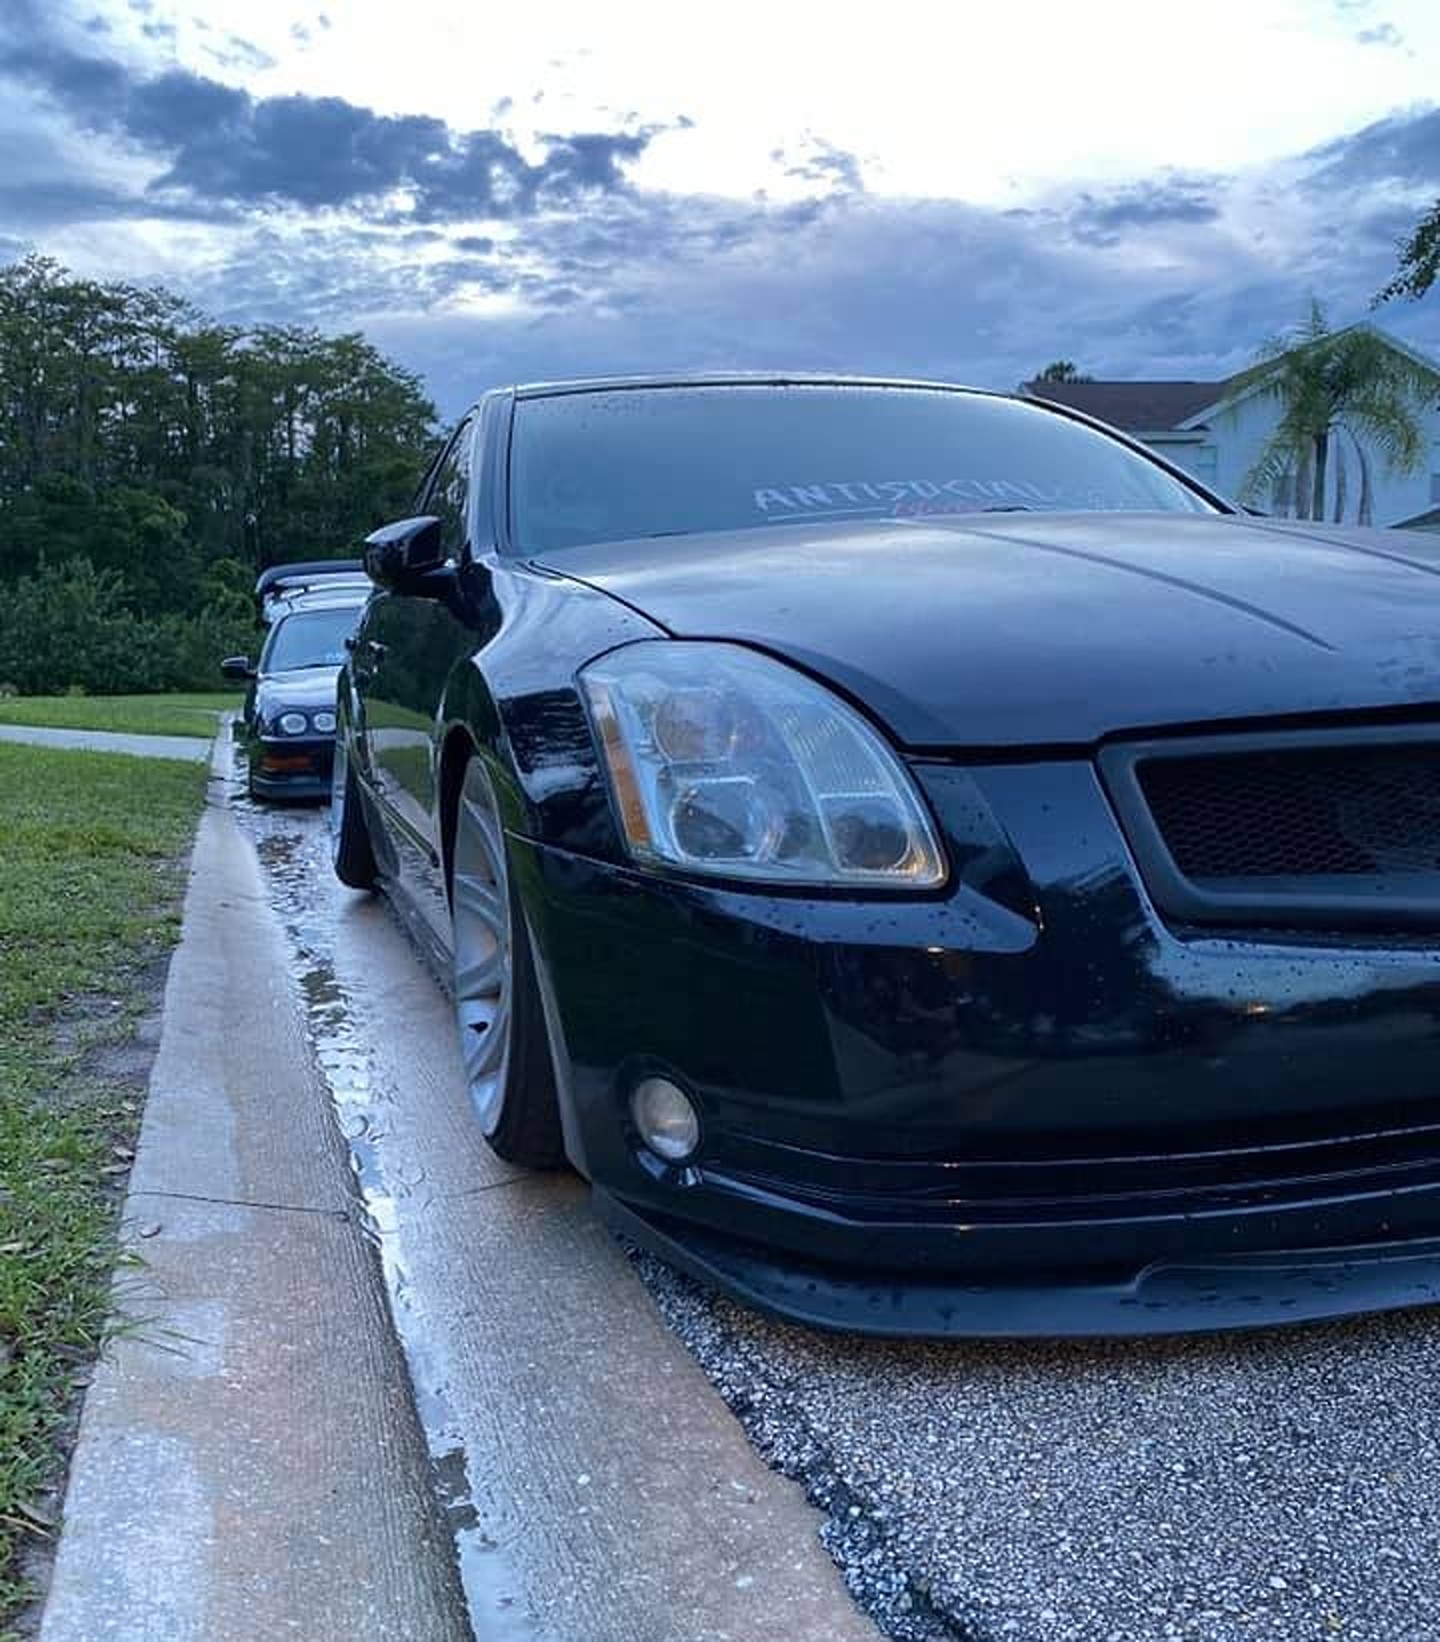
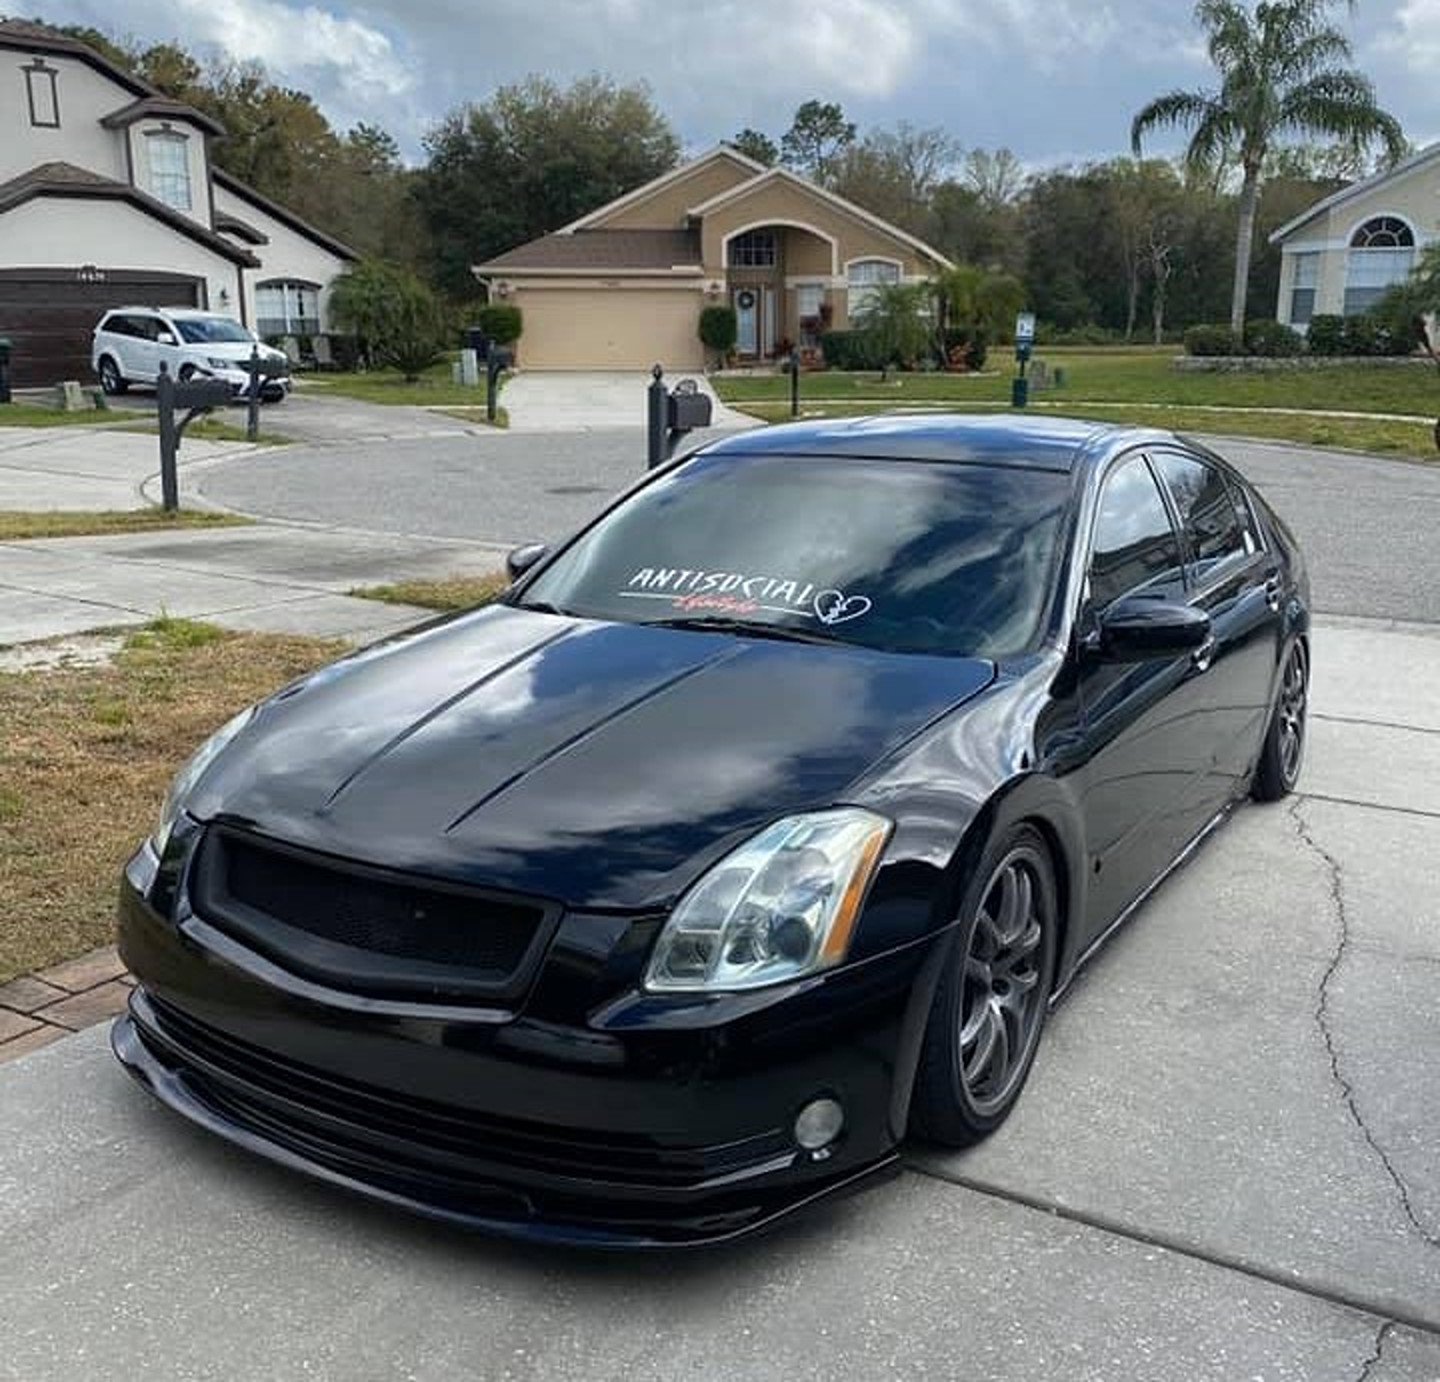
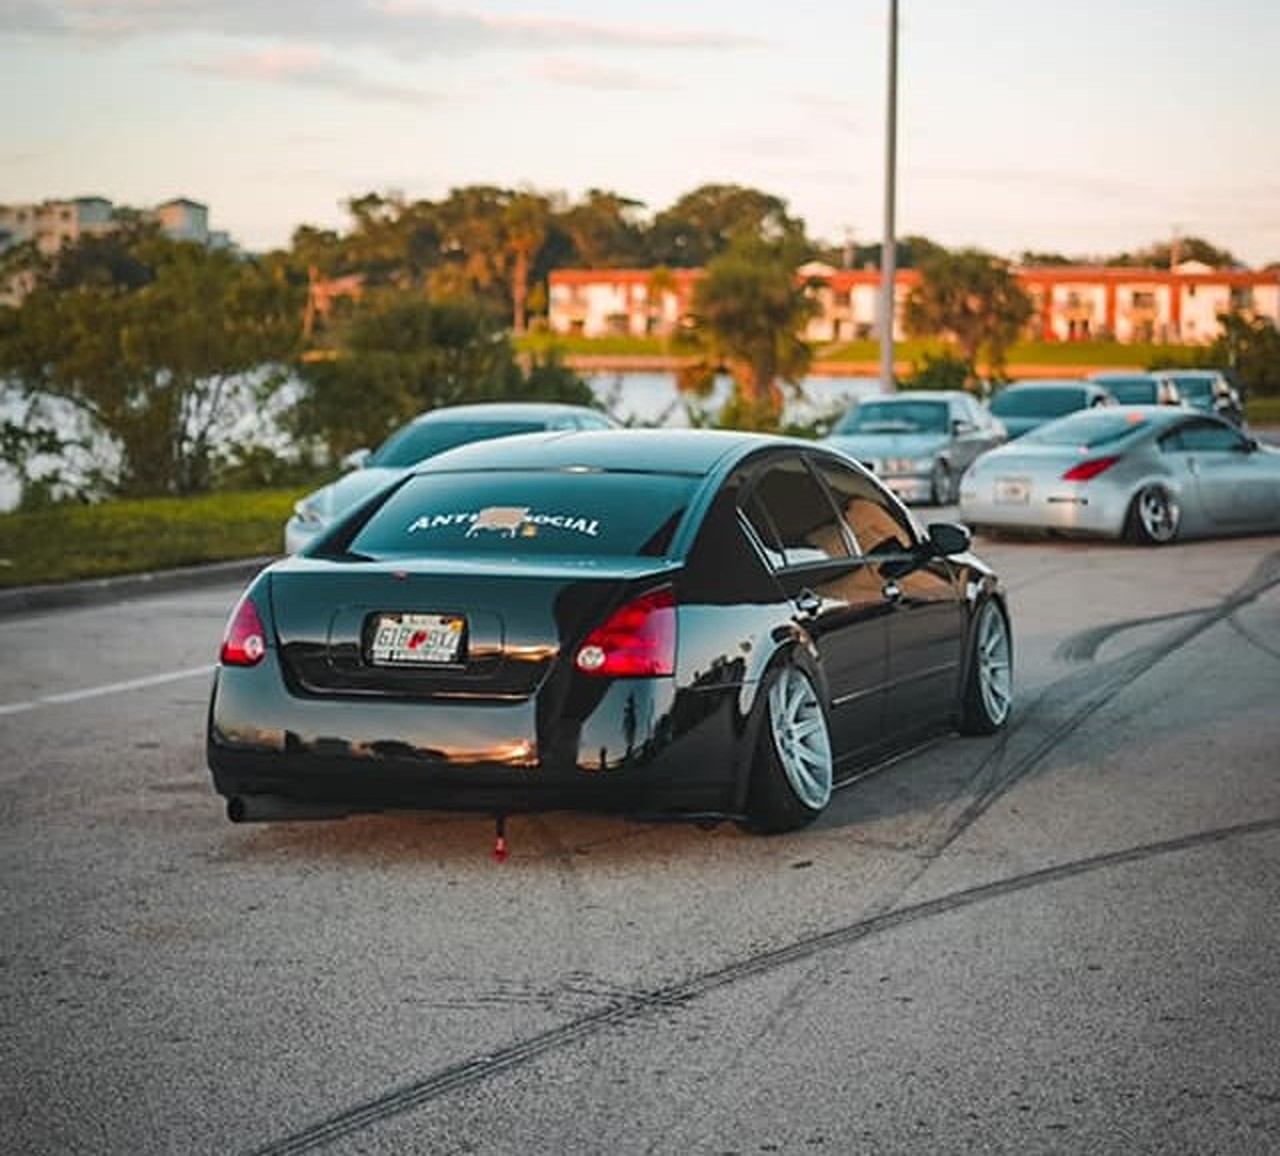
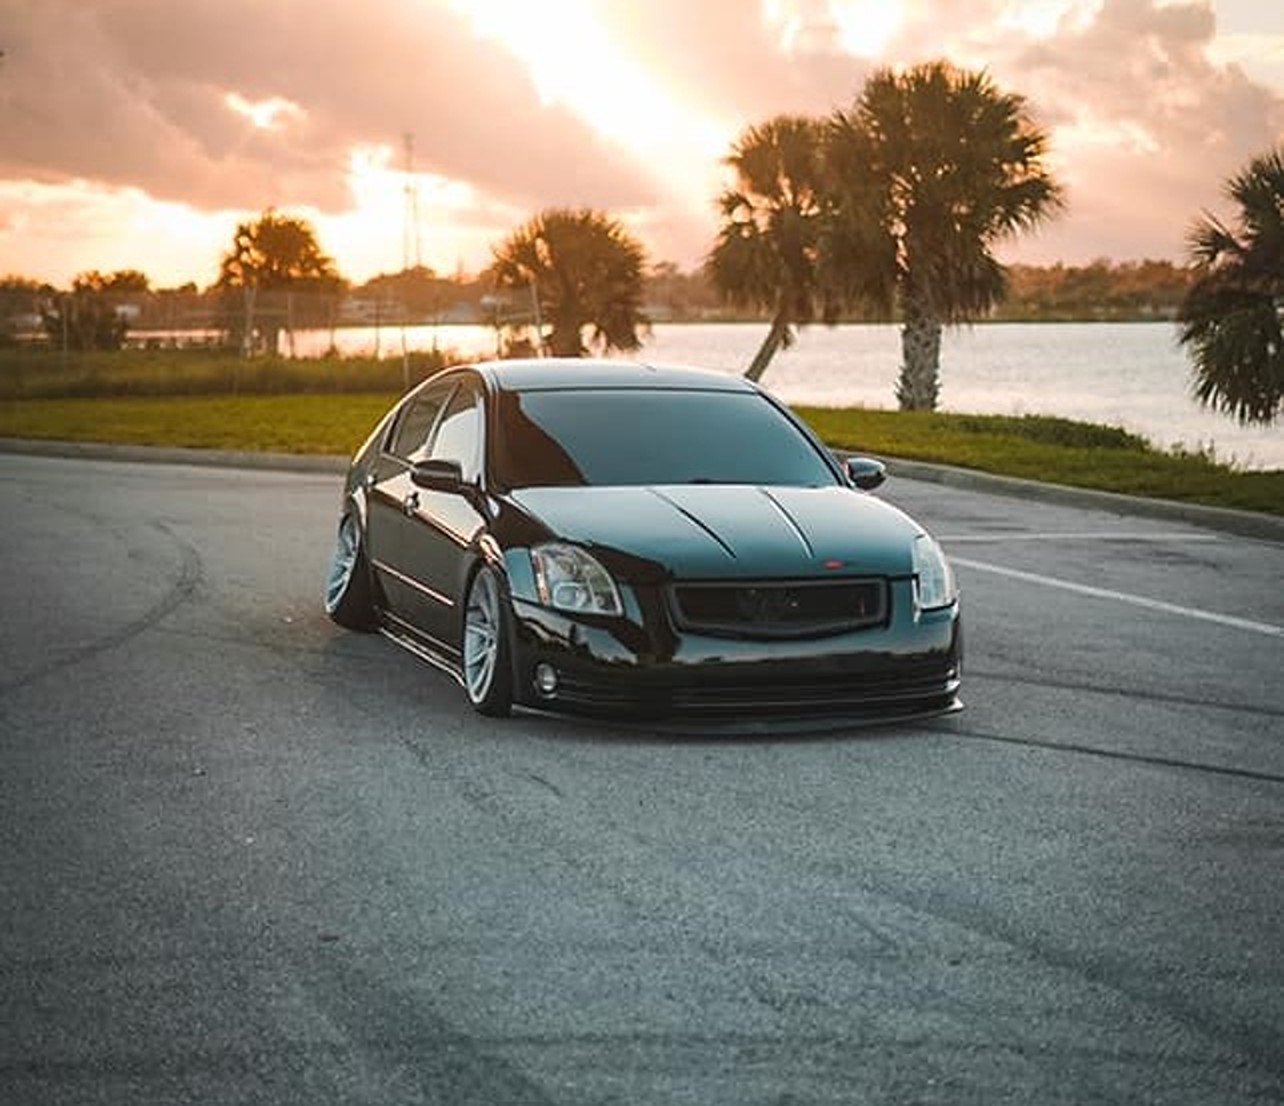
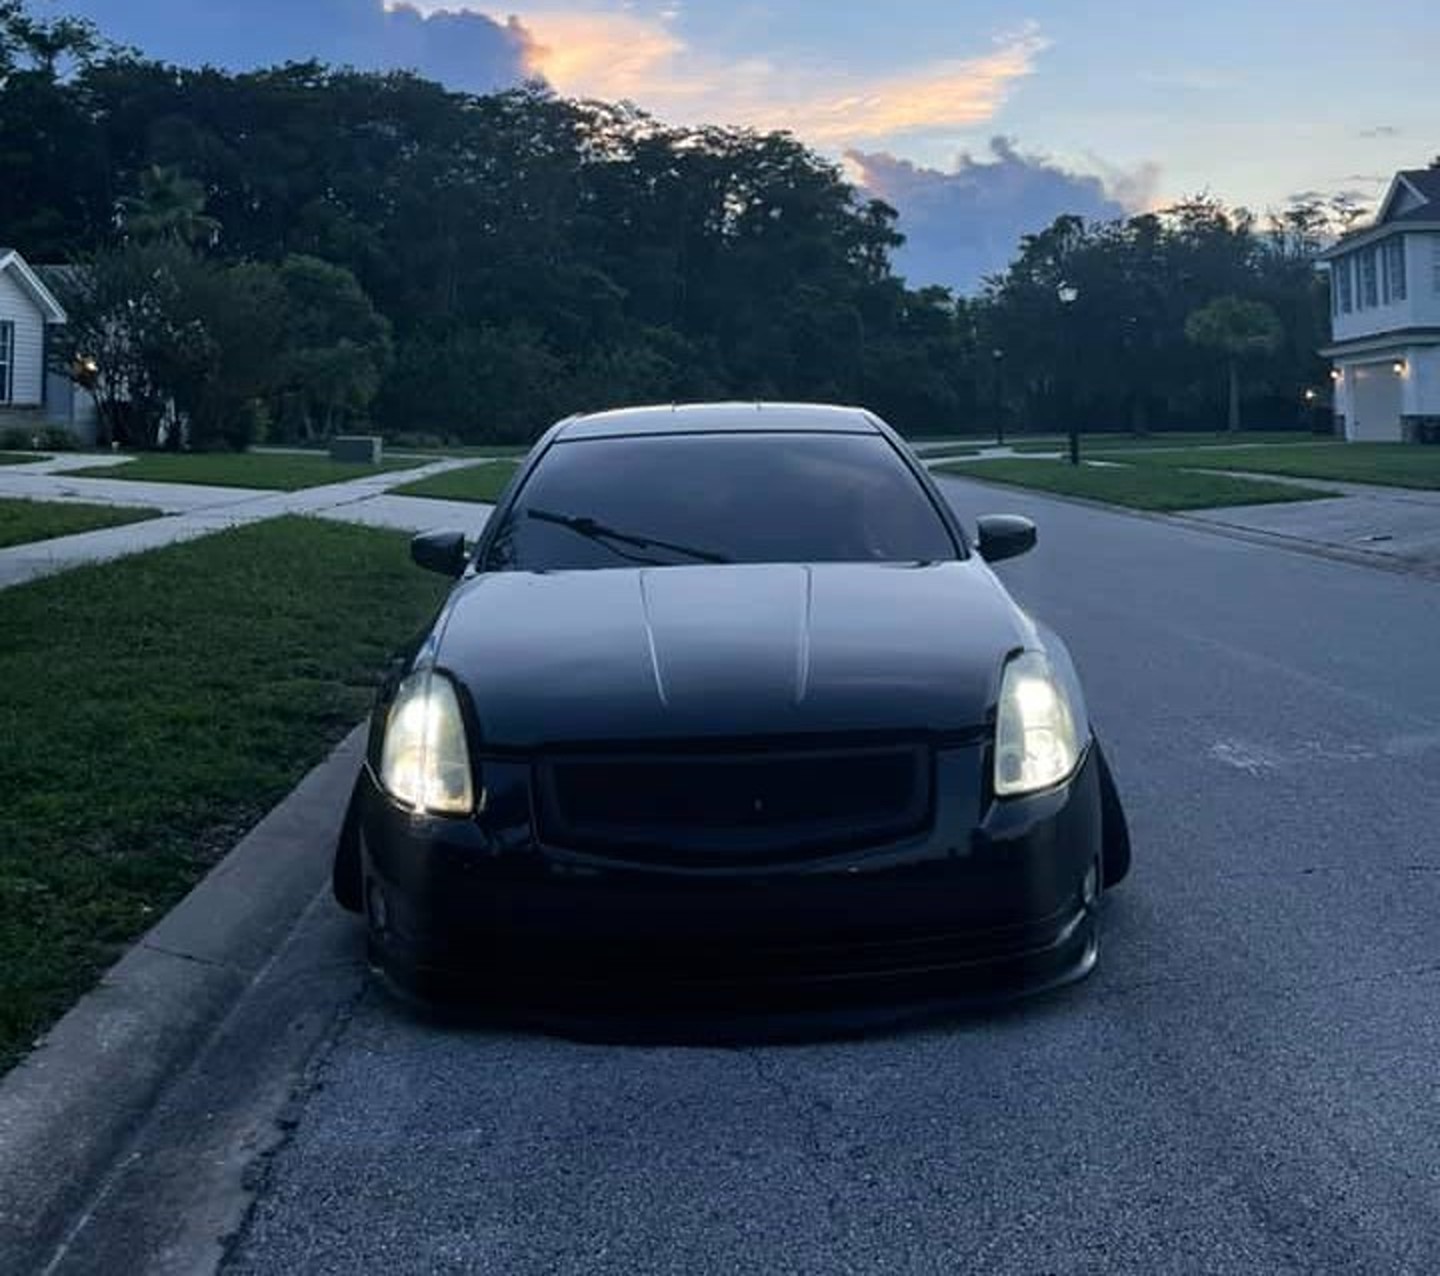
![]()

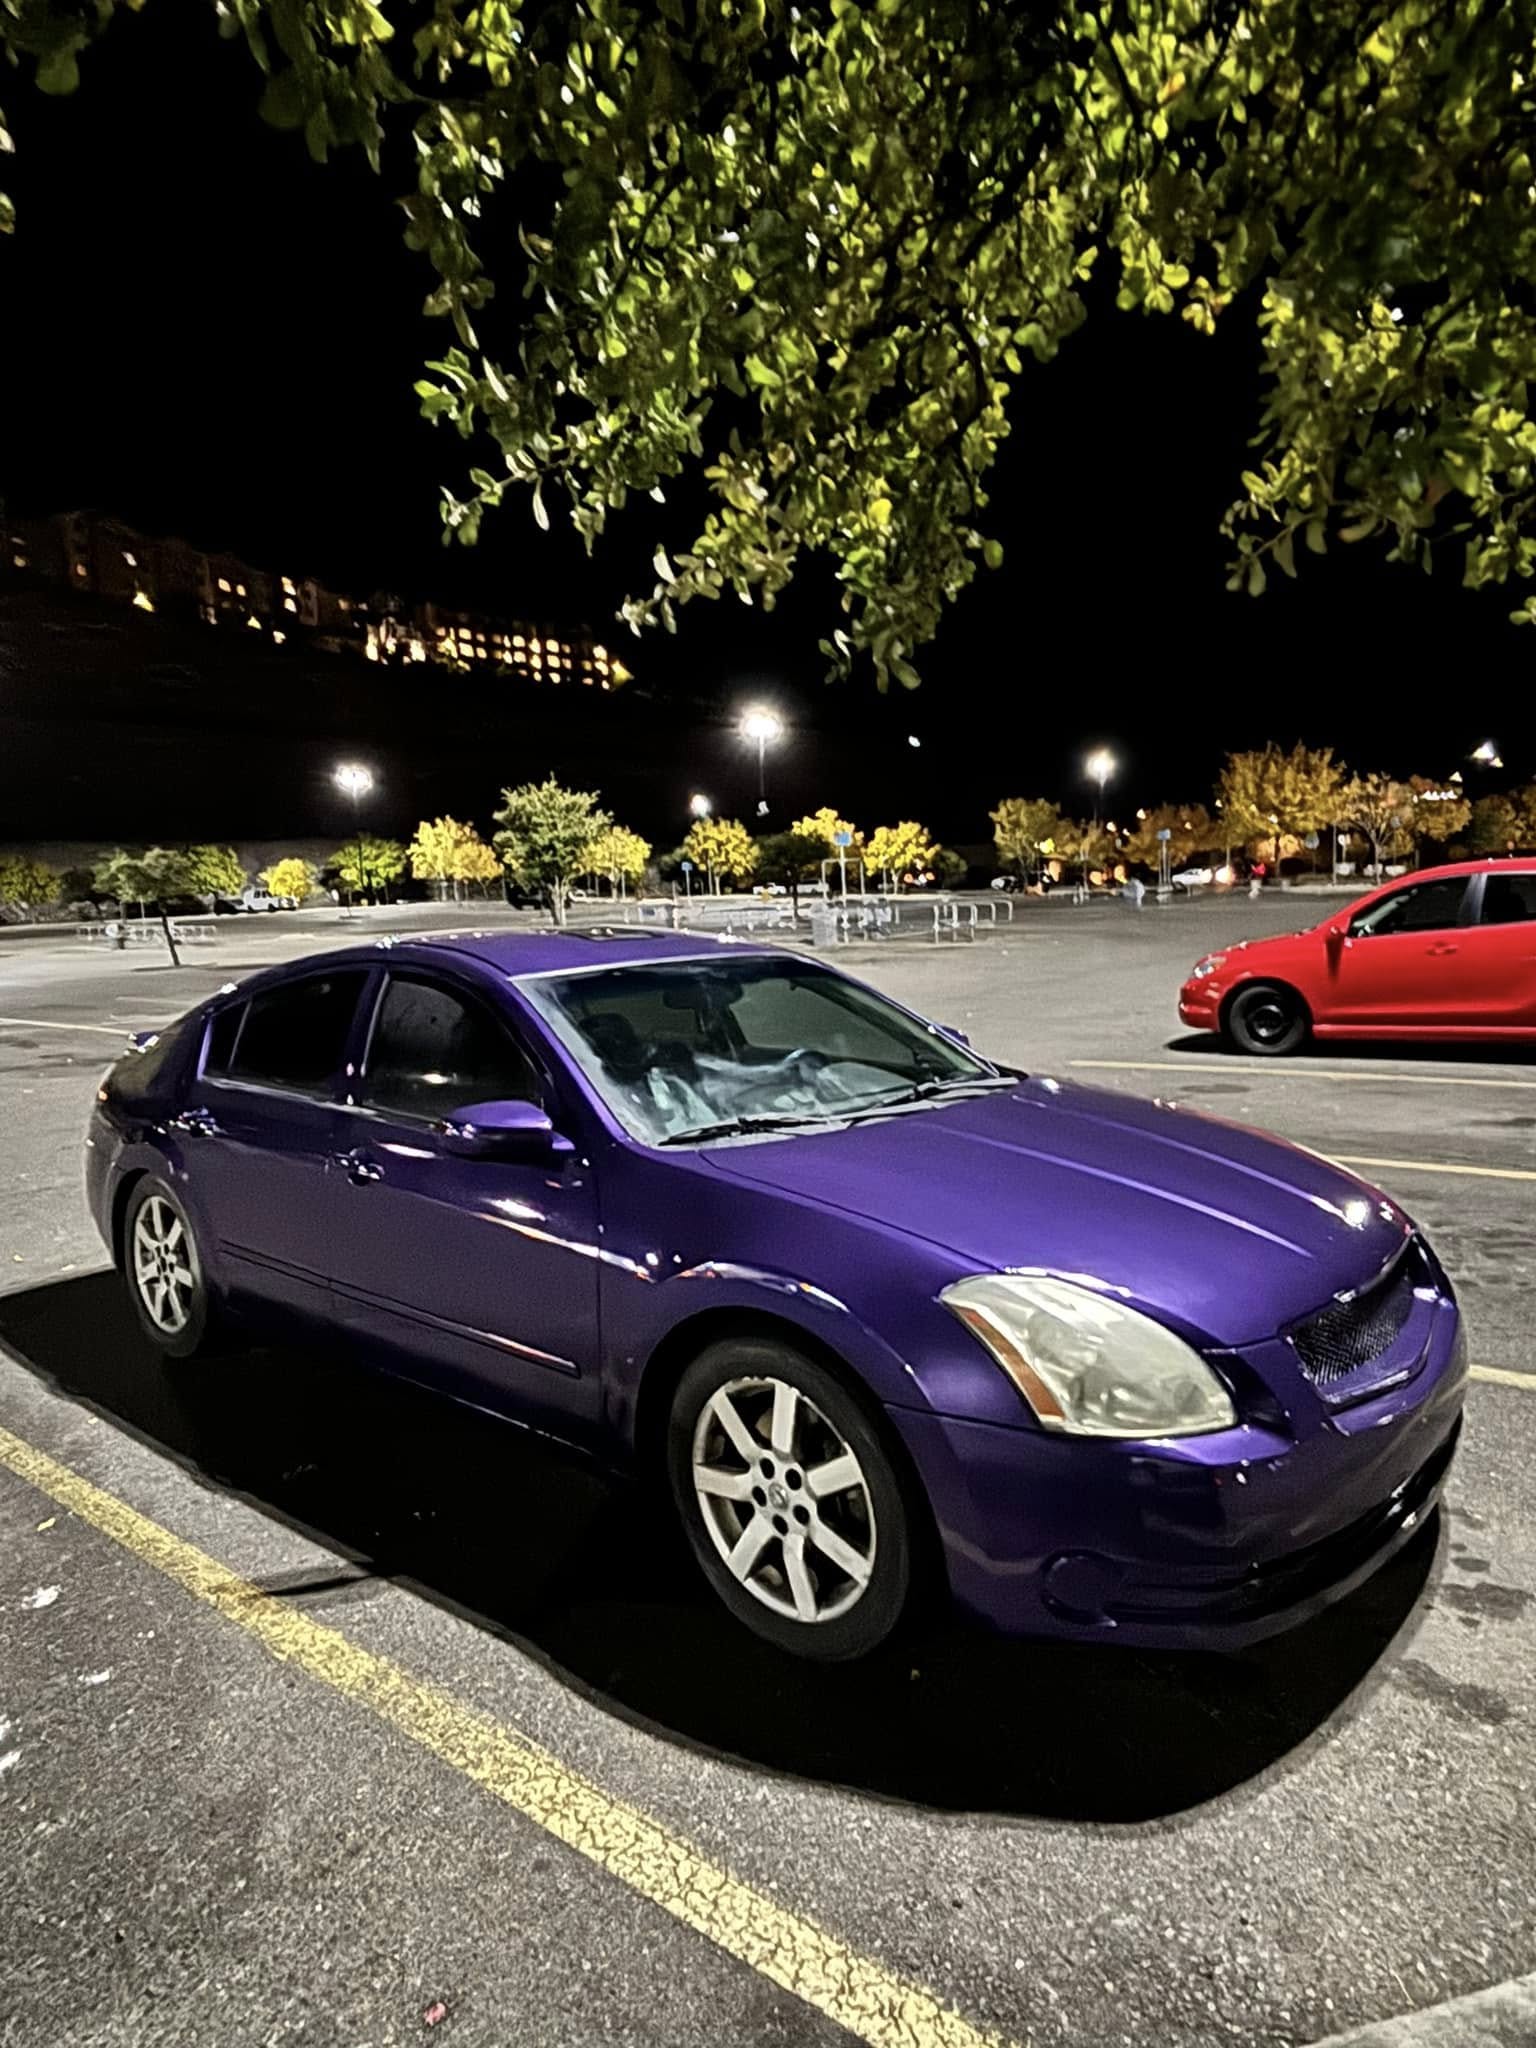
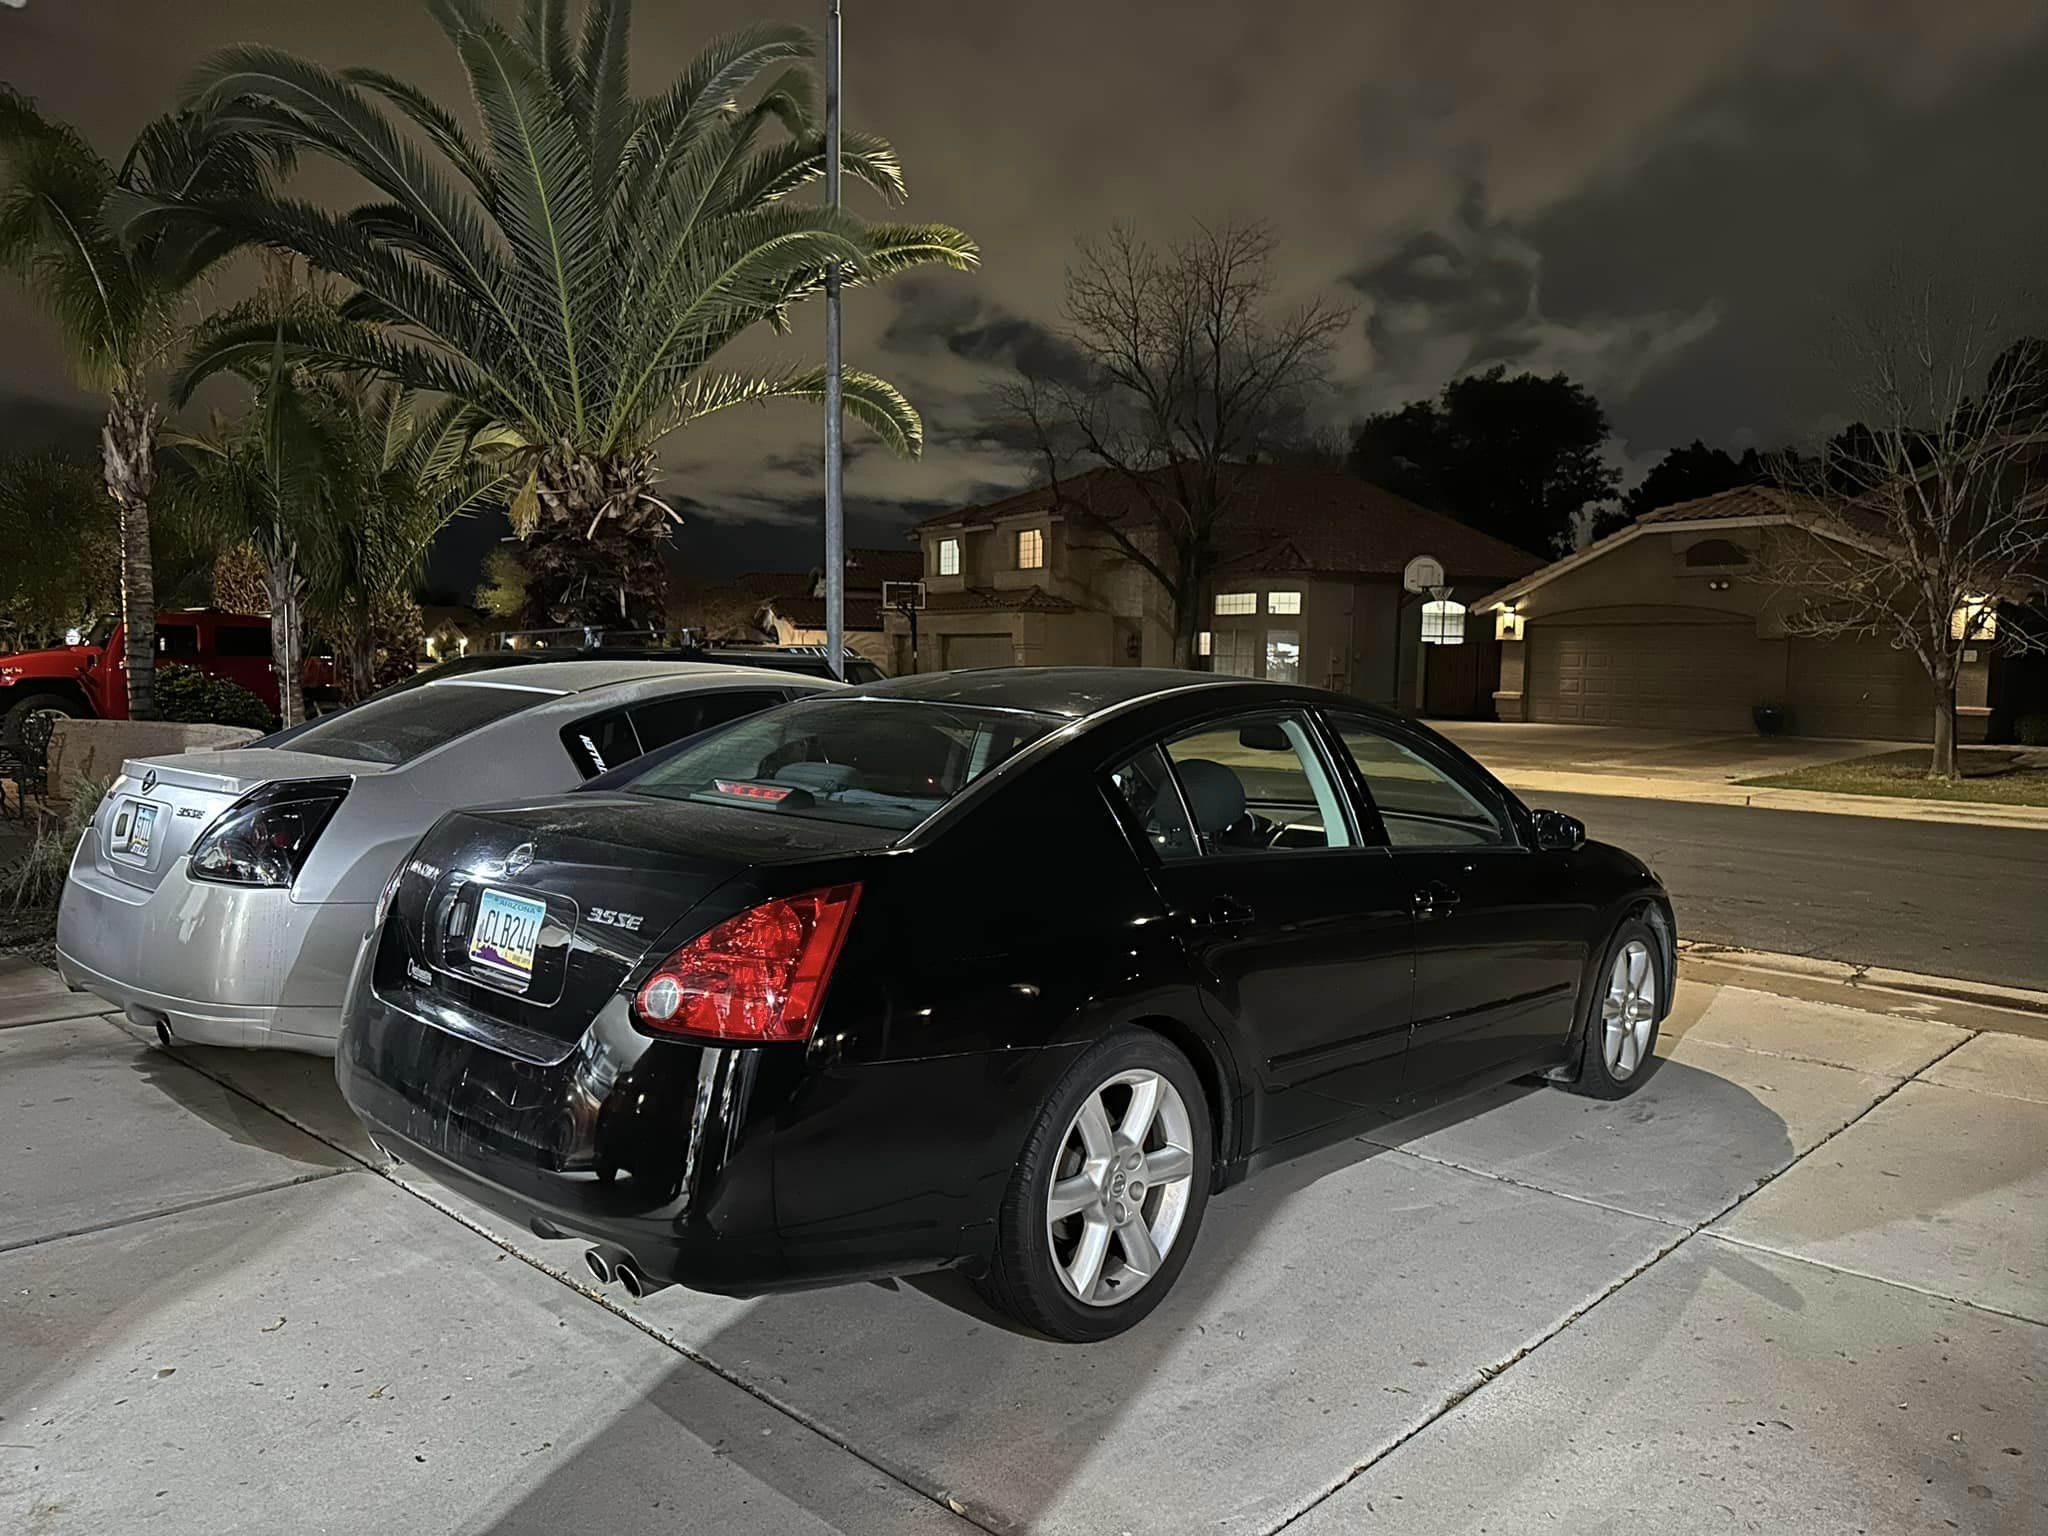
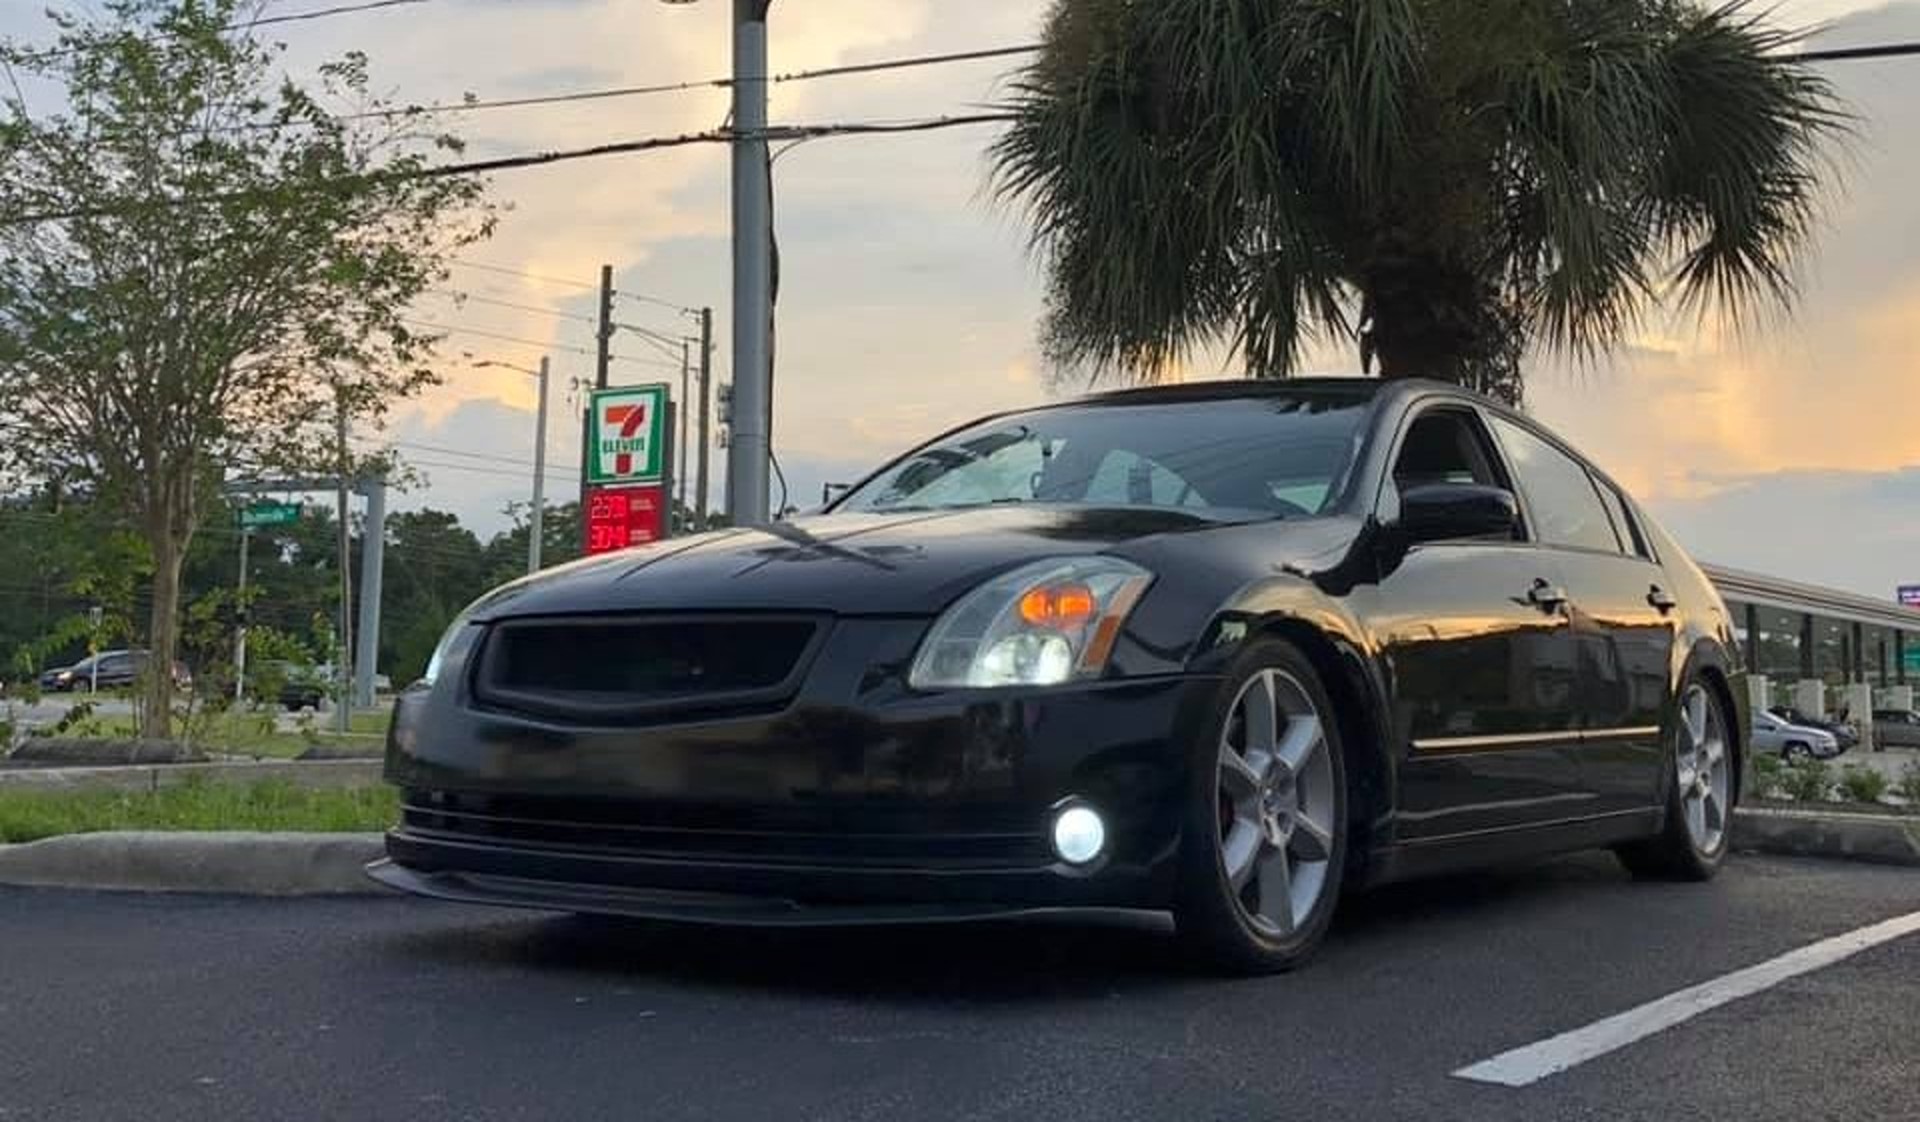
Owner: Alex M.
Year: 2004
Model: Maxima
Color: Black
Engine: VQ35DE
Transmission: Auto
Trim: SL

![]()

Credit: Mr DoLLa
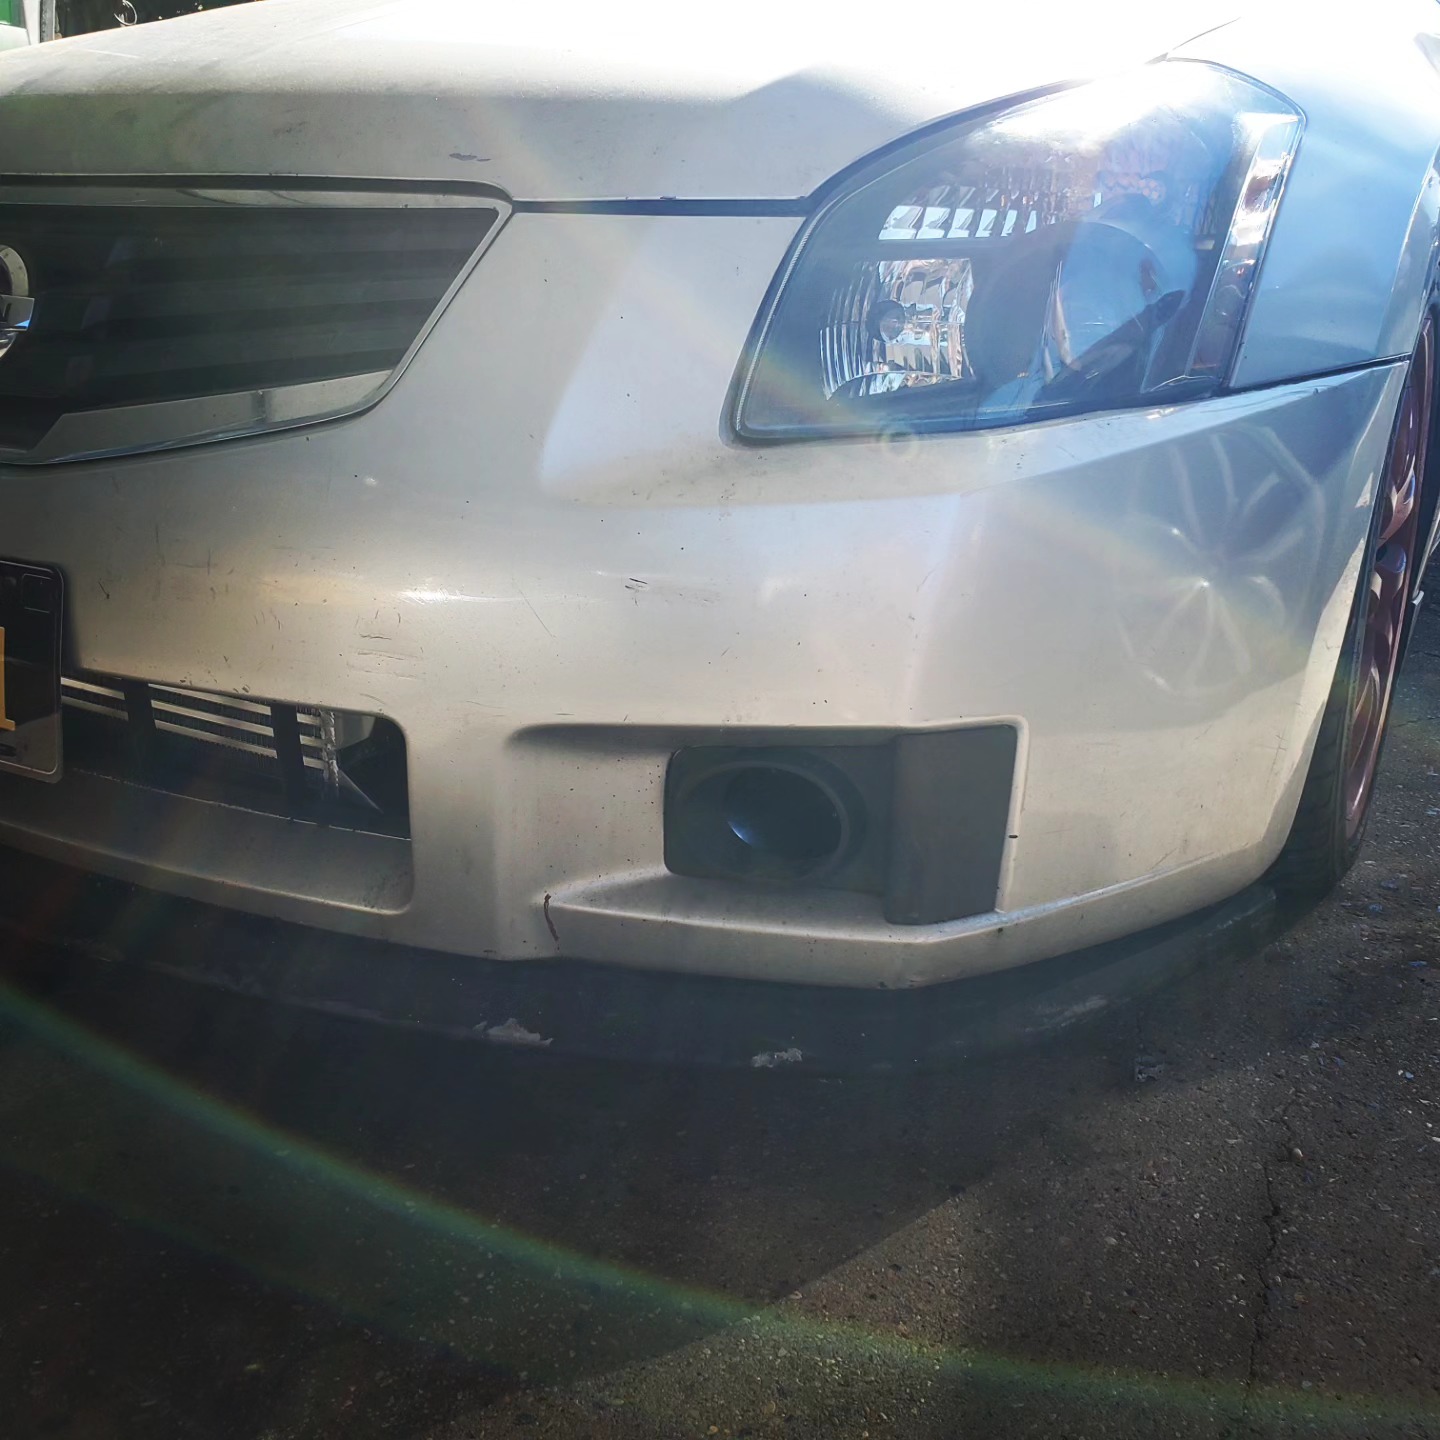
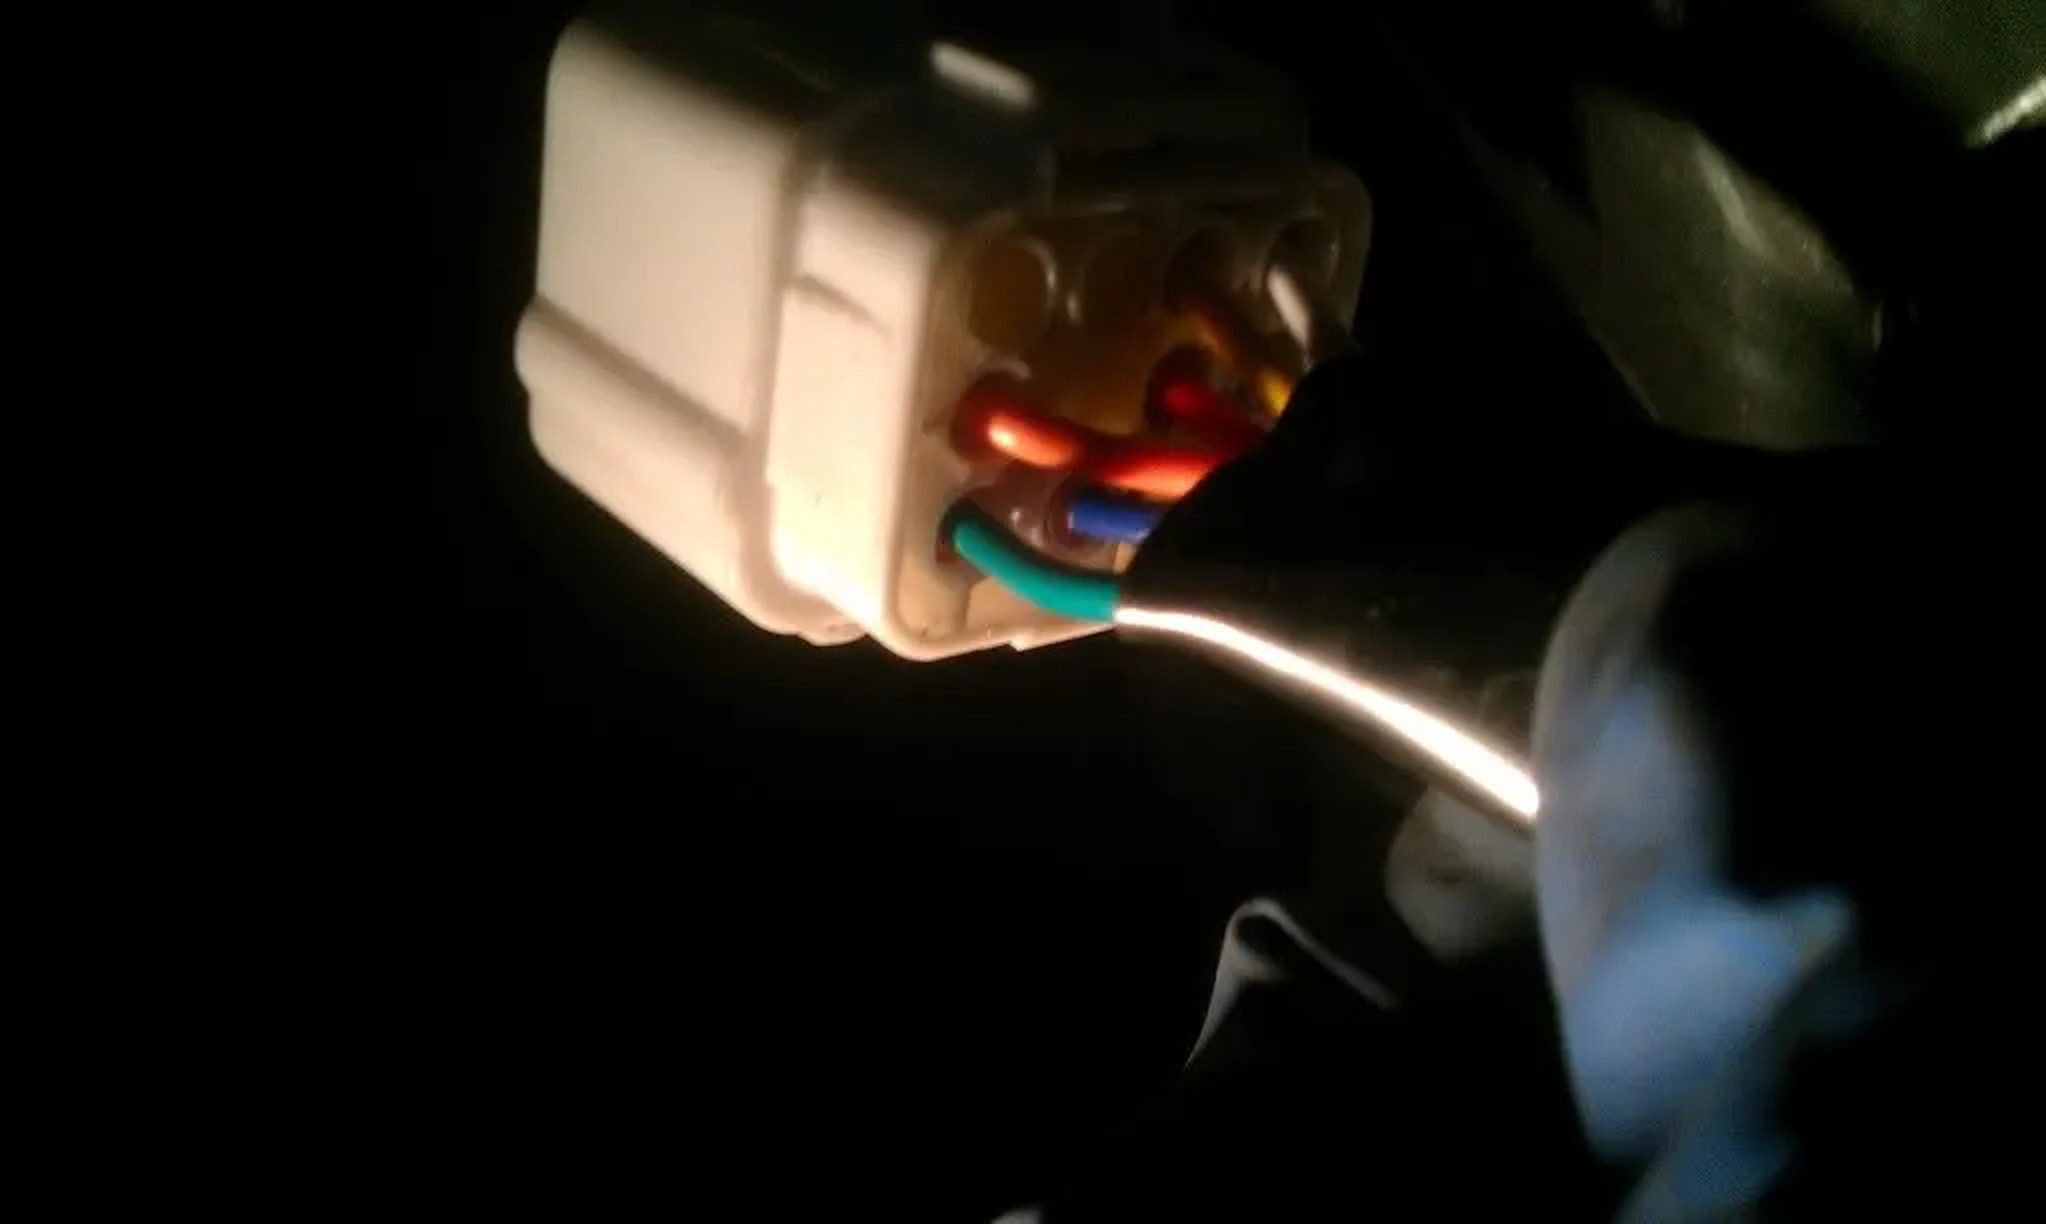
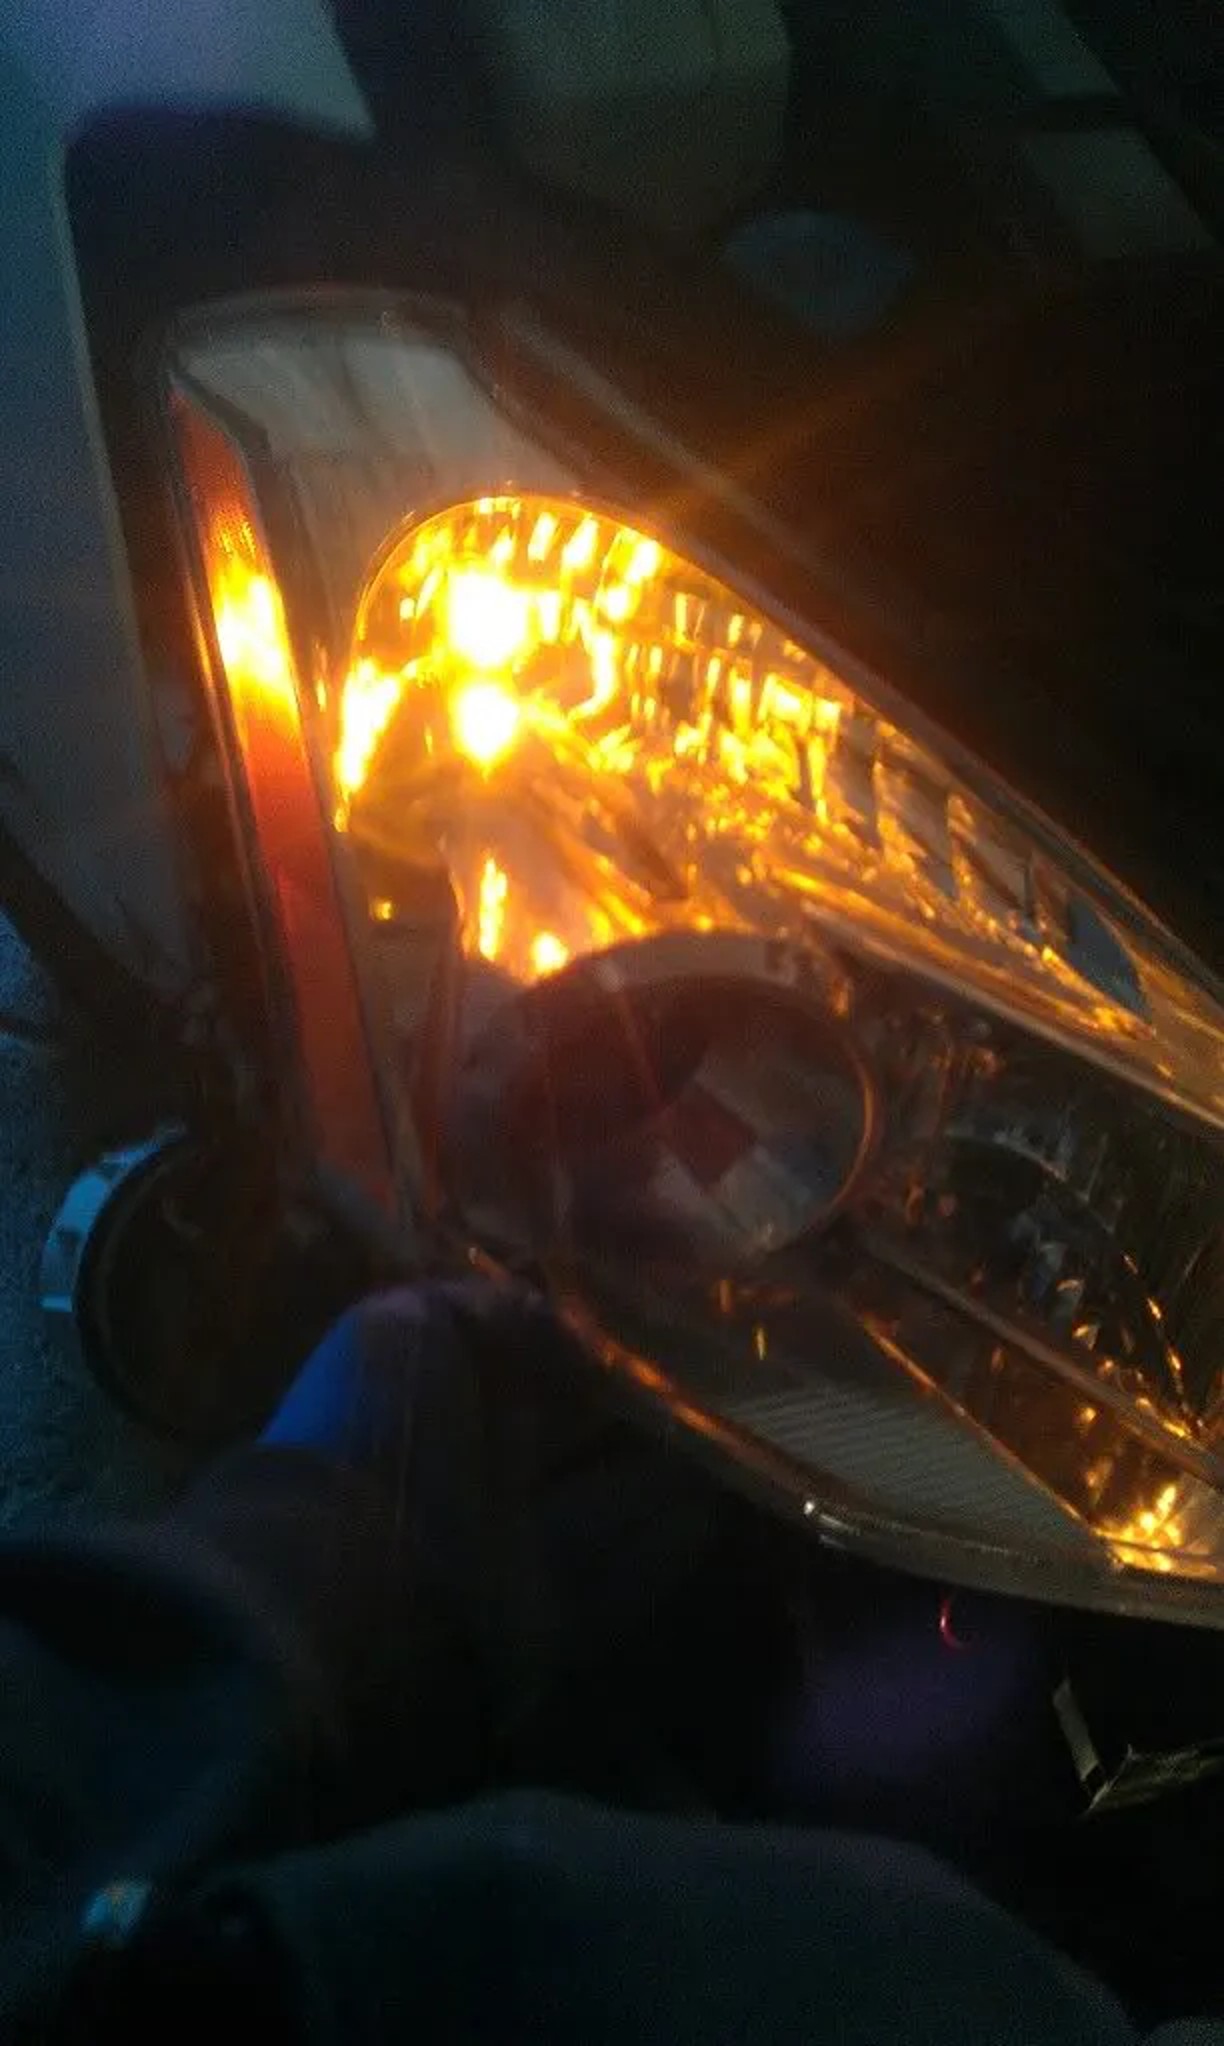
So everyone doing the conversion isn’t sure why the park lights don’t work. Some suggest cutting and splicing to get them to work, but that’s not the right way. It’s as simple as removing one pin from the headlight harness and inserting it into a different location. My friend MaxPrime came through, and I showed him how simple it is (for me, anyway).
The green wire is the parking light wire, which is located in the bottom left of the connector.
Where my pick is pointing is where the green wire needs to be inserted.
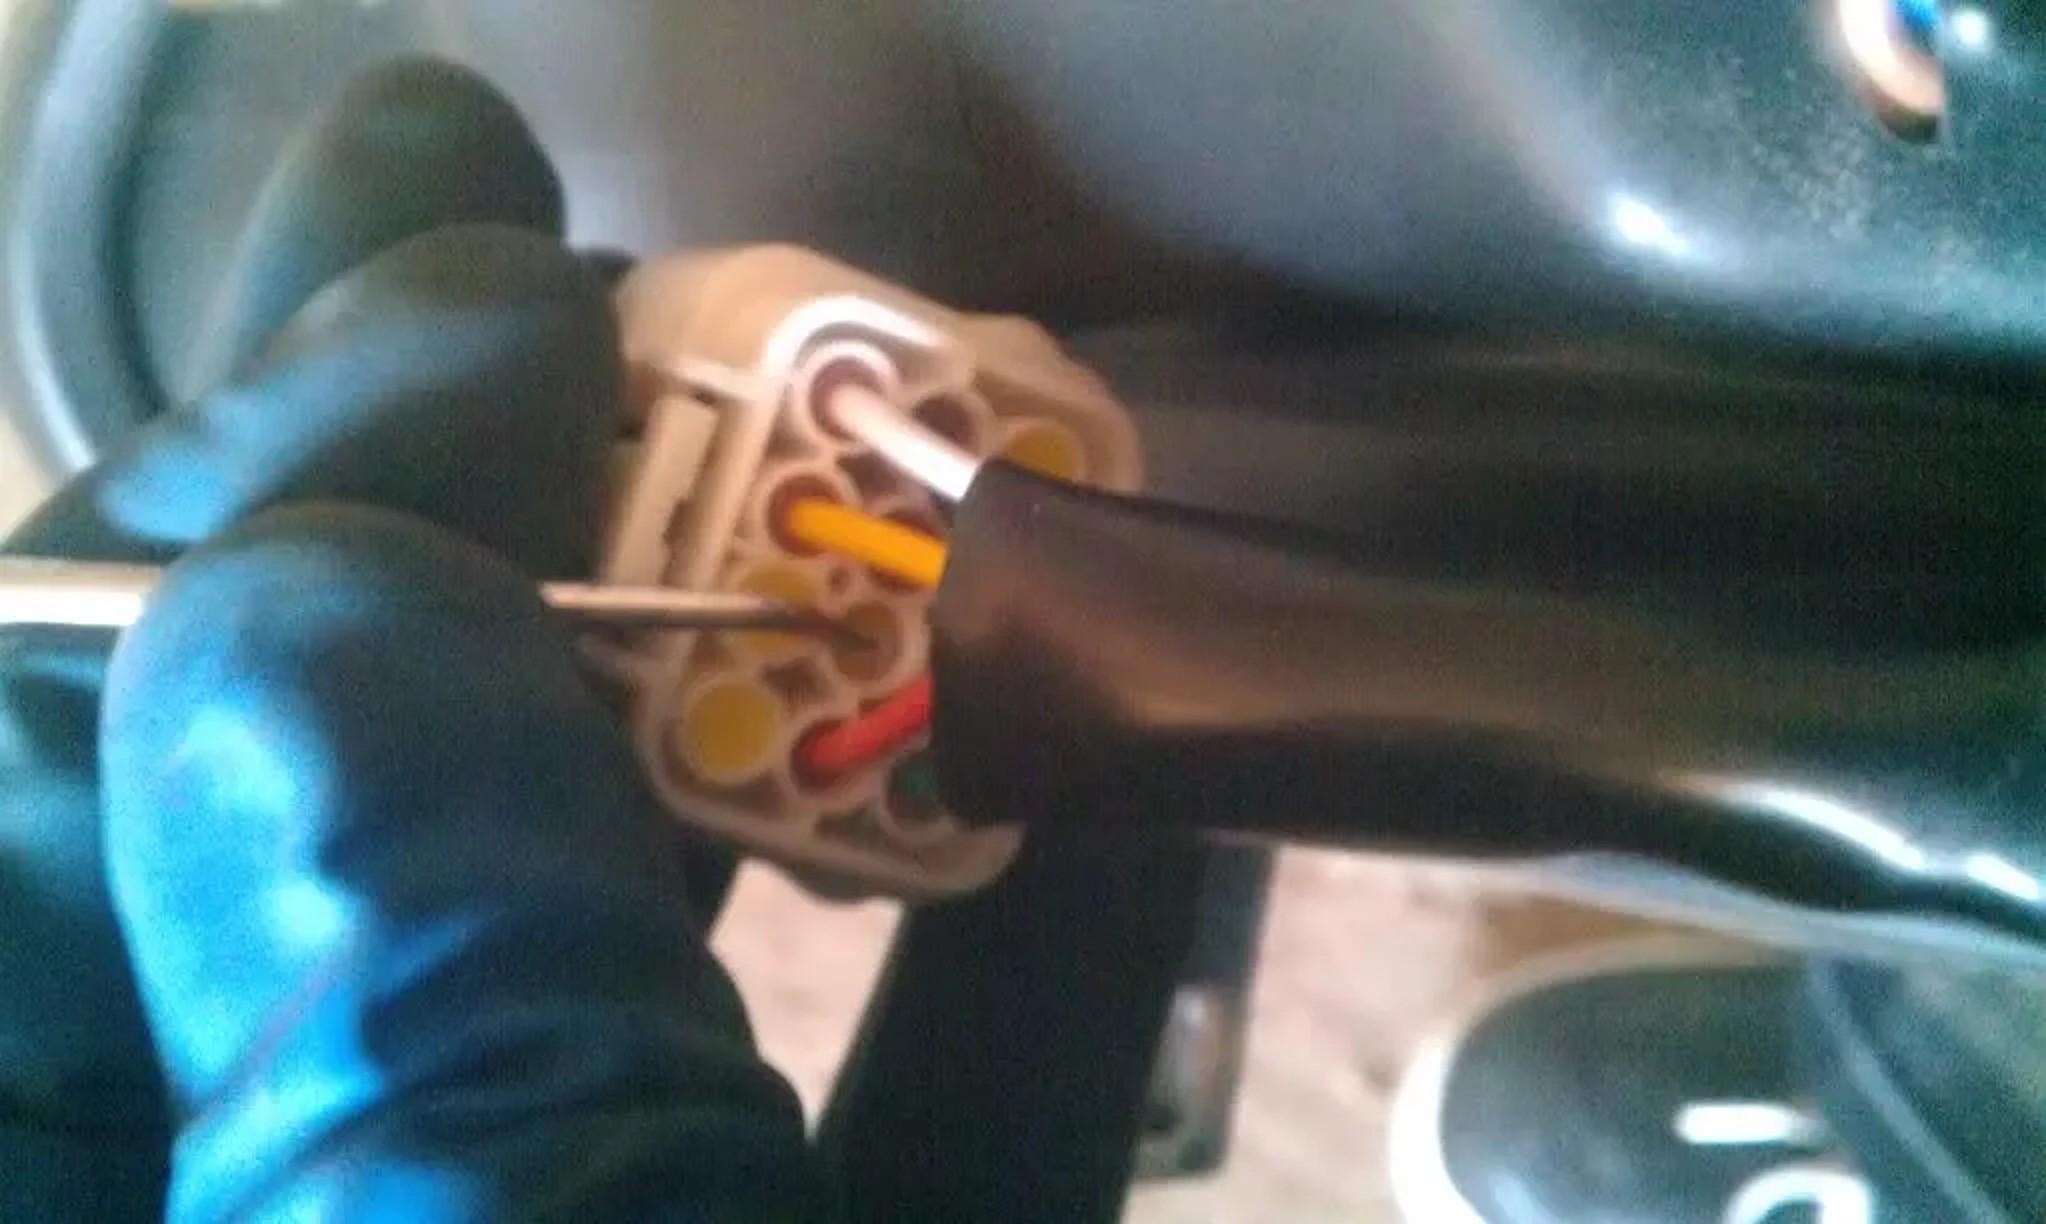
Inside the connector, there’s an orange insert that keeps the pins from being pulled out. If you look at the top of the orange insert, there are two clips that need to be lifted to remove the insert. I used a fine straight pick from Craftsman.
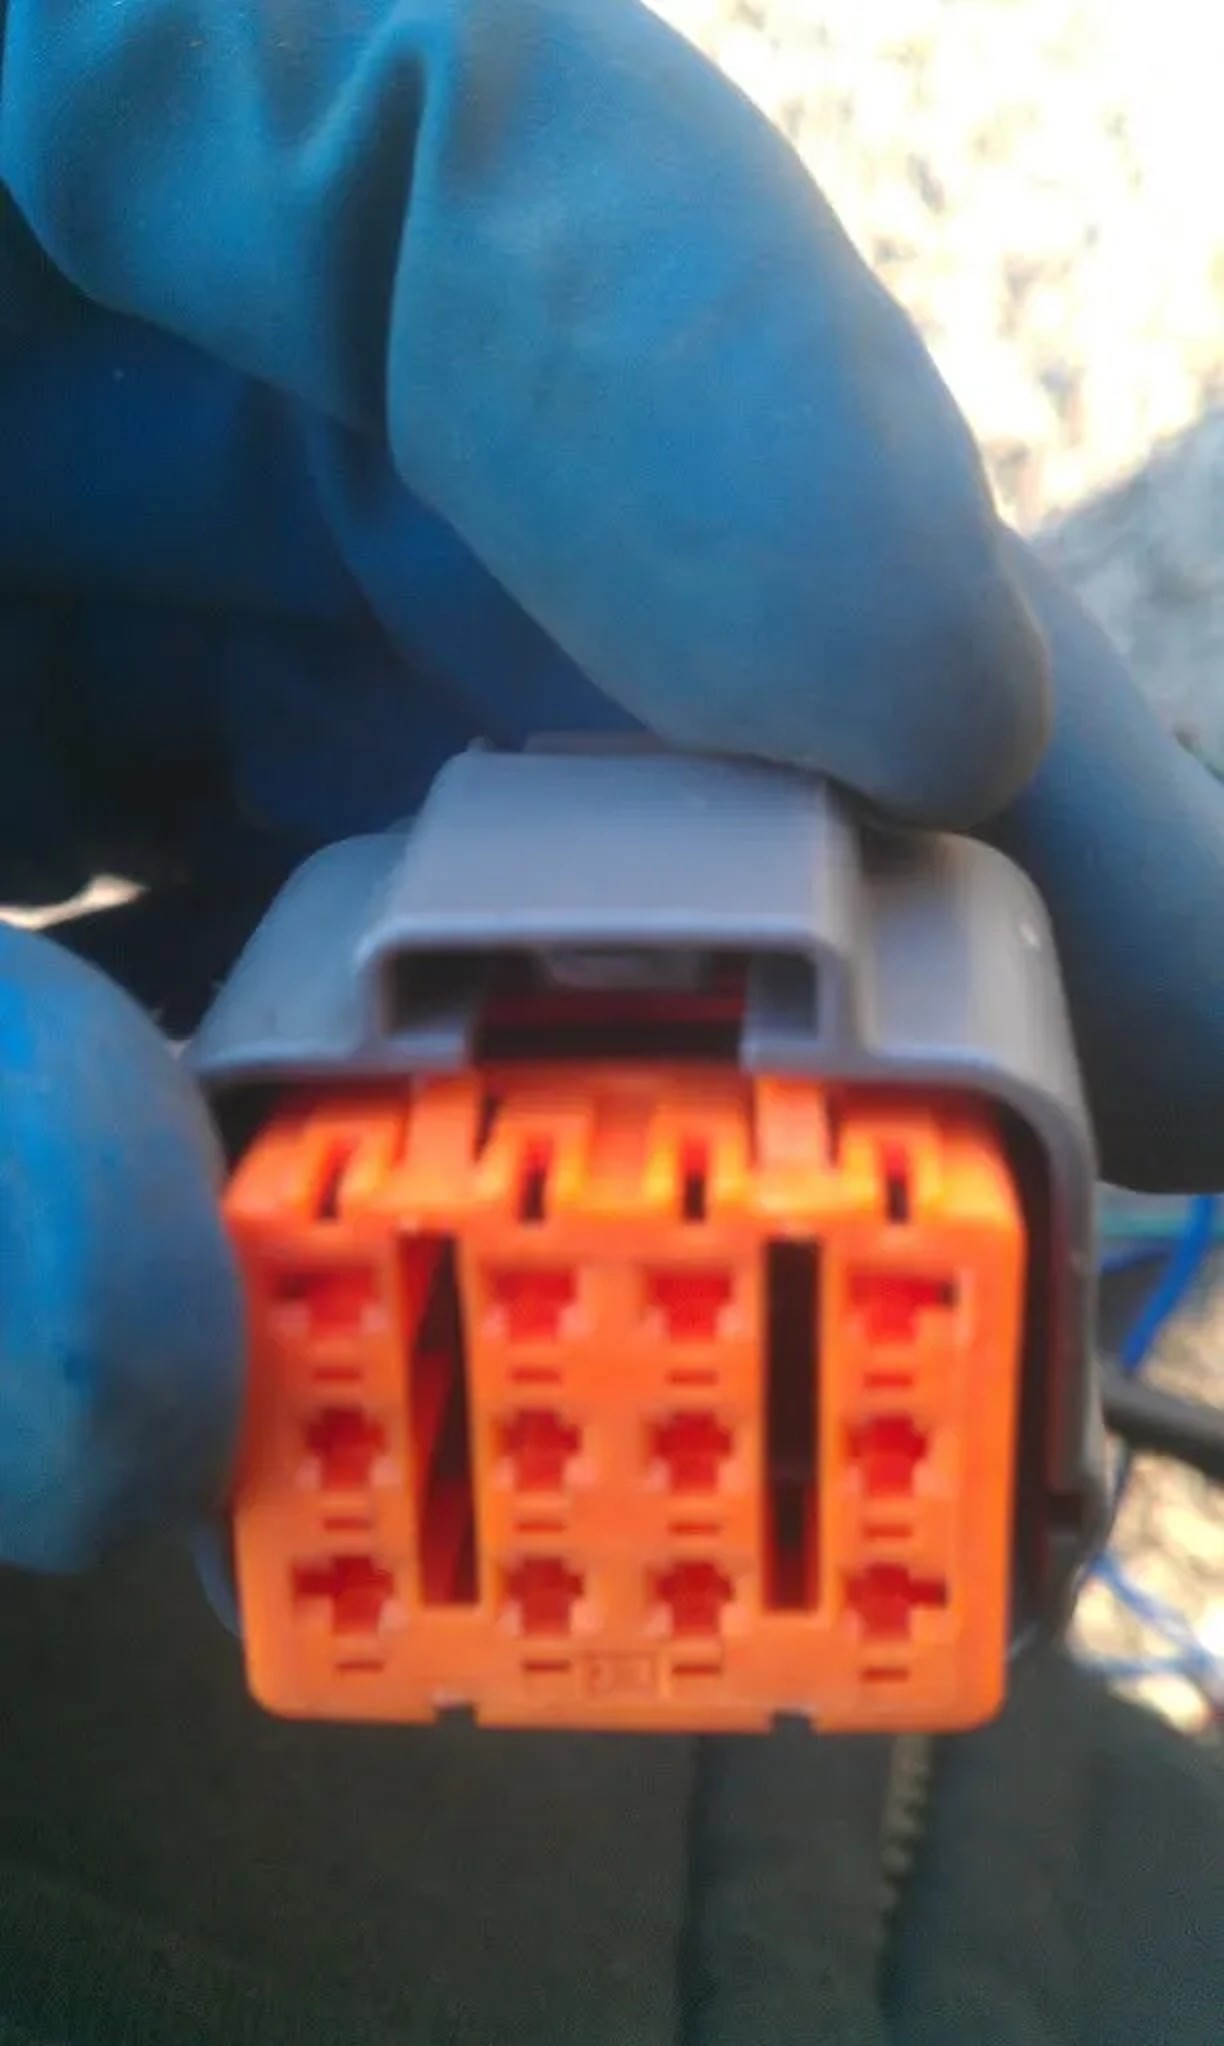
Put the pick under the pin, push down, and pull the green wire out. You also need to remove the rubber grommet where the new pin needs to be inserted. Use the straight pick to push it out. Once you get the pin and the grommet out, insert them into the new location. It should look like this.
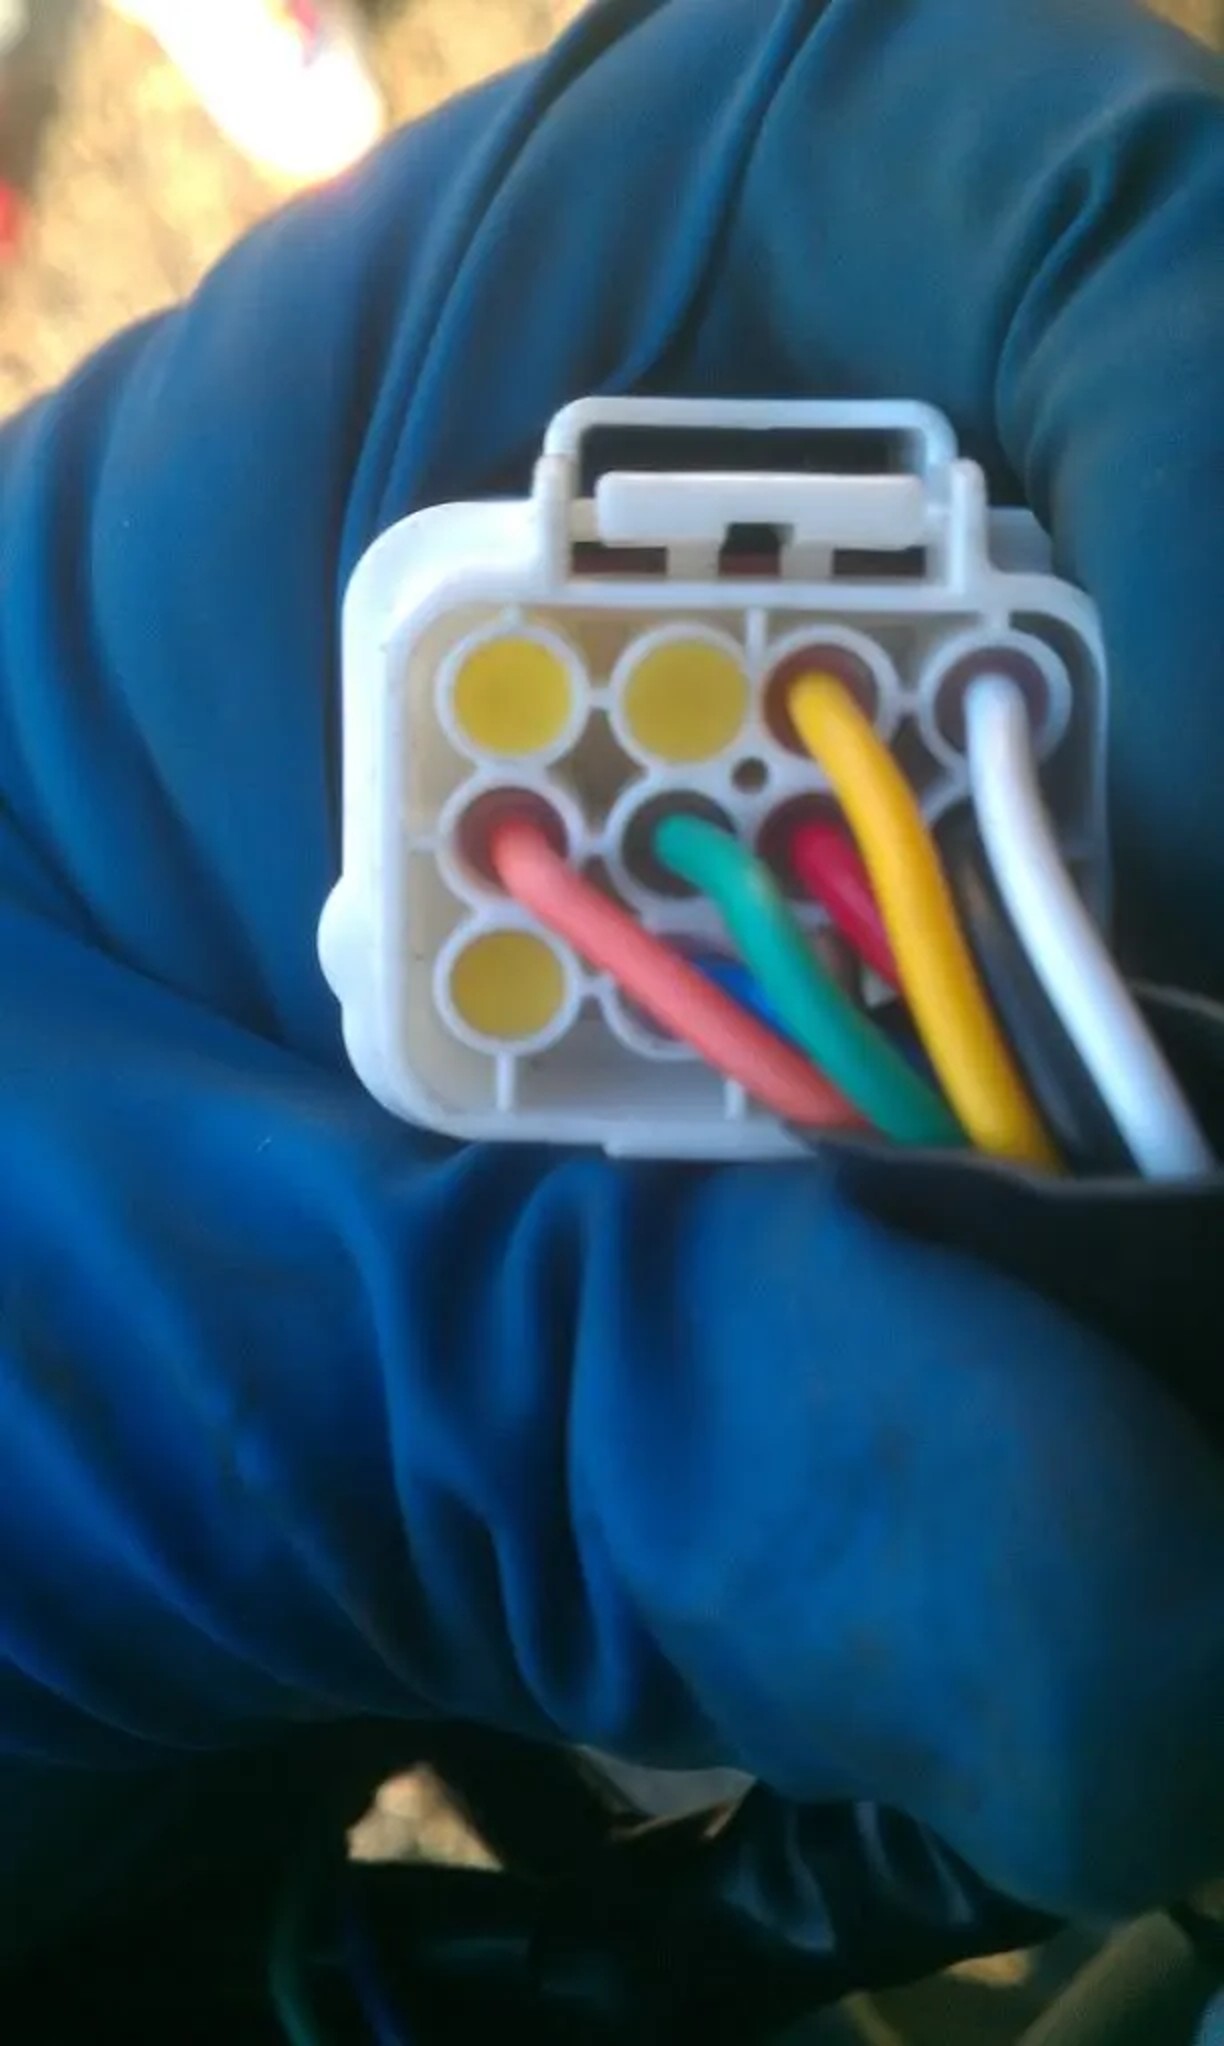
And this is your end result. Be sure to put the rubber grommet into the other location to prevent water from getting into the harness and causing corrosion.
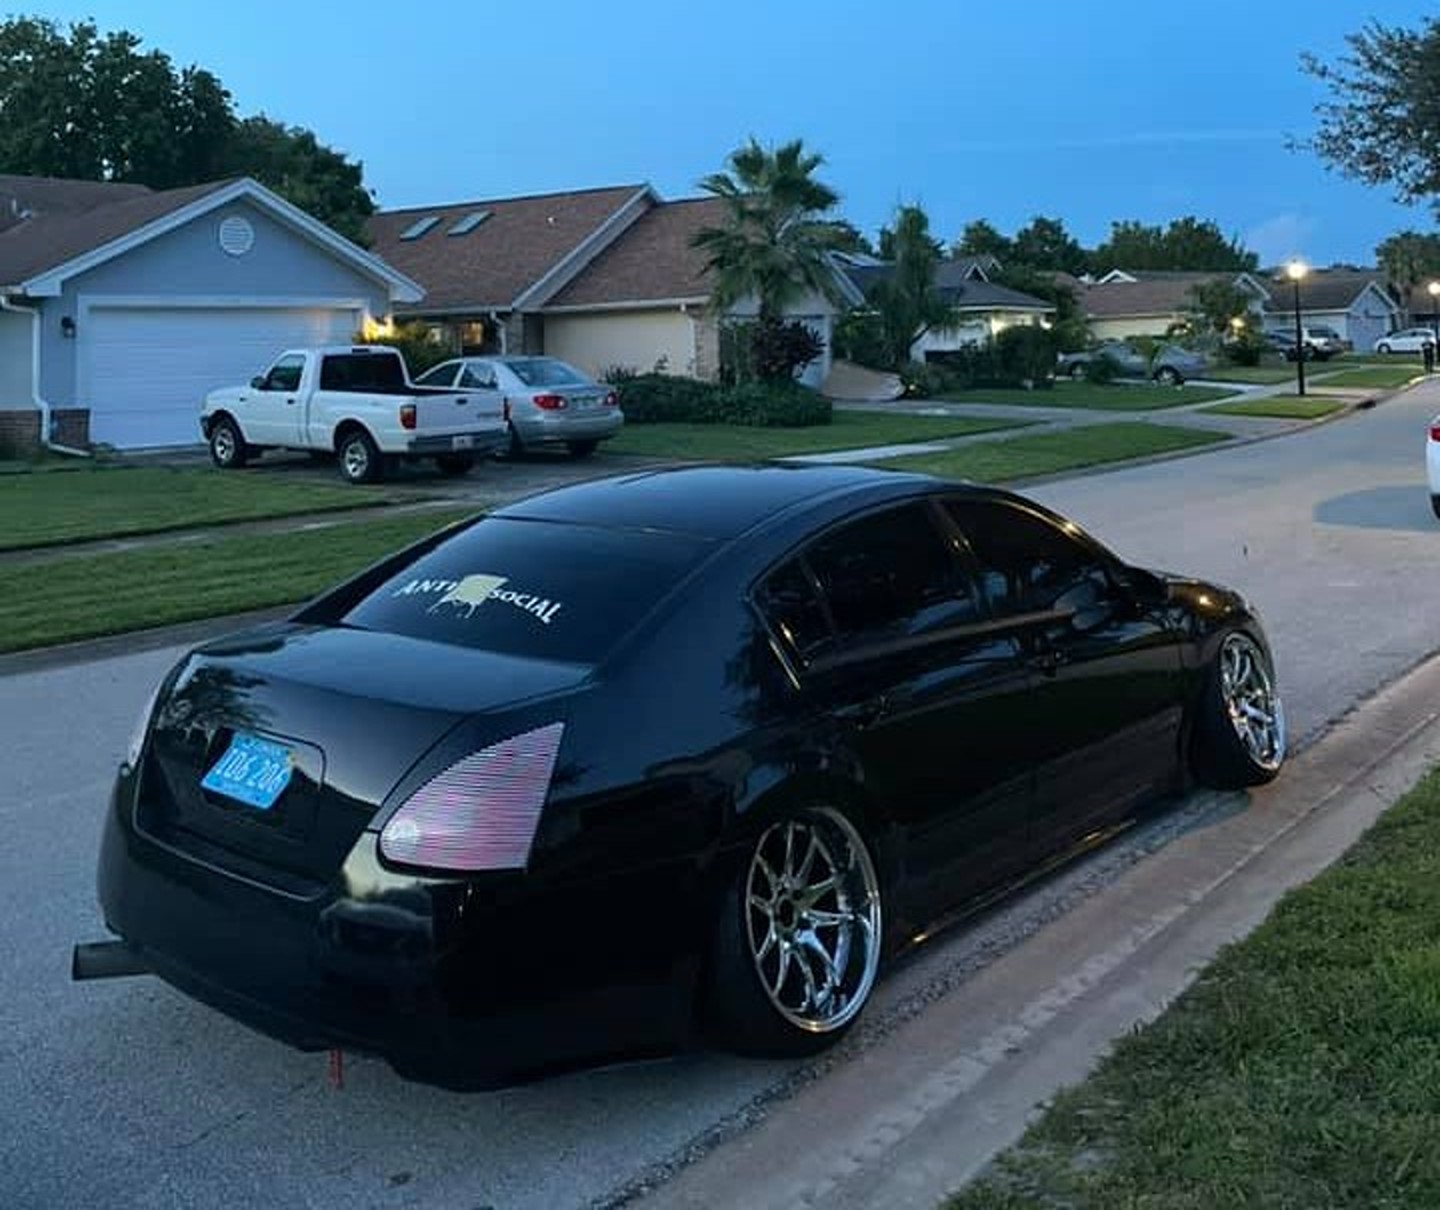
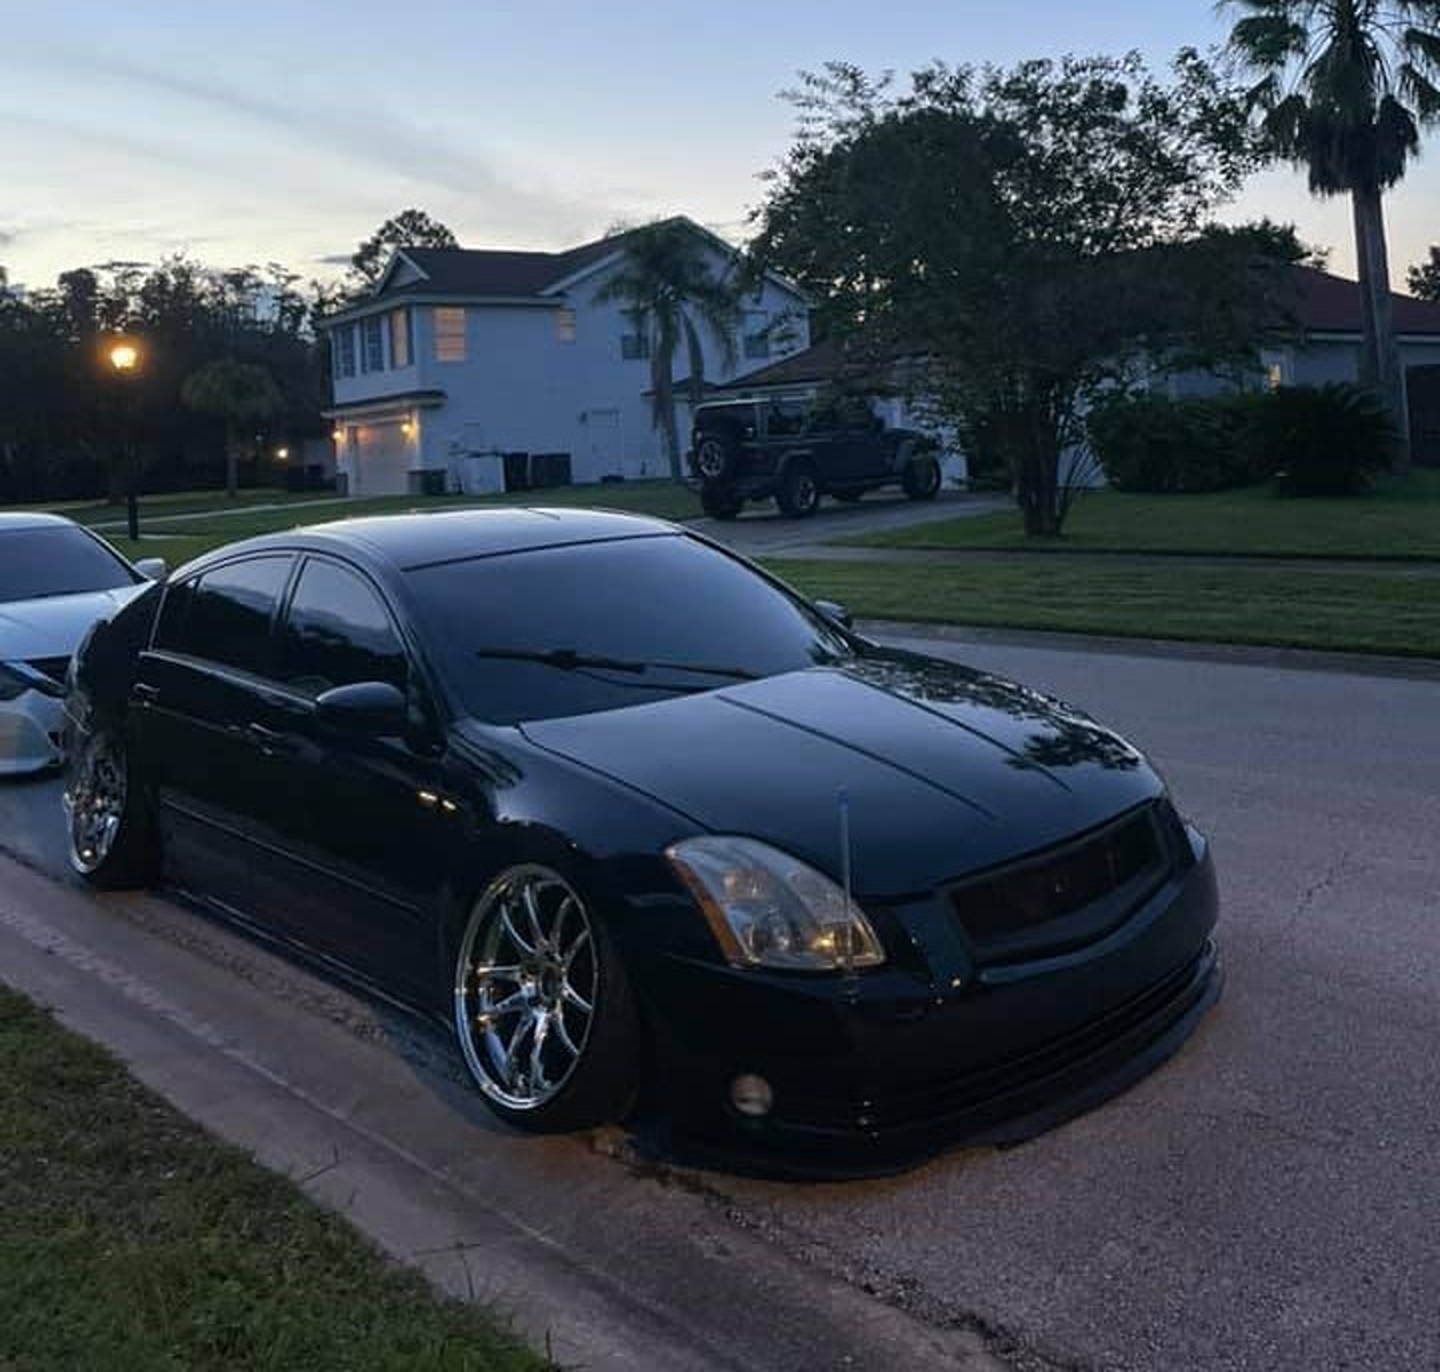
![]()


Owner: John Canuel
Year: 2004
Model: Maxima
Color: Black
Engine: Gen2 VQ35DE
Transmission: 6-Speed Manual
Trim: SE


![]()