Credit: Velazquez Junito Alexander


![]()


")

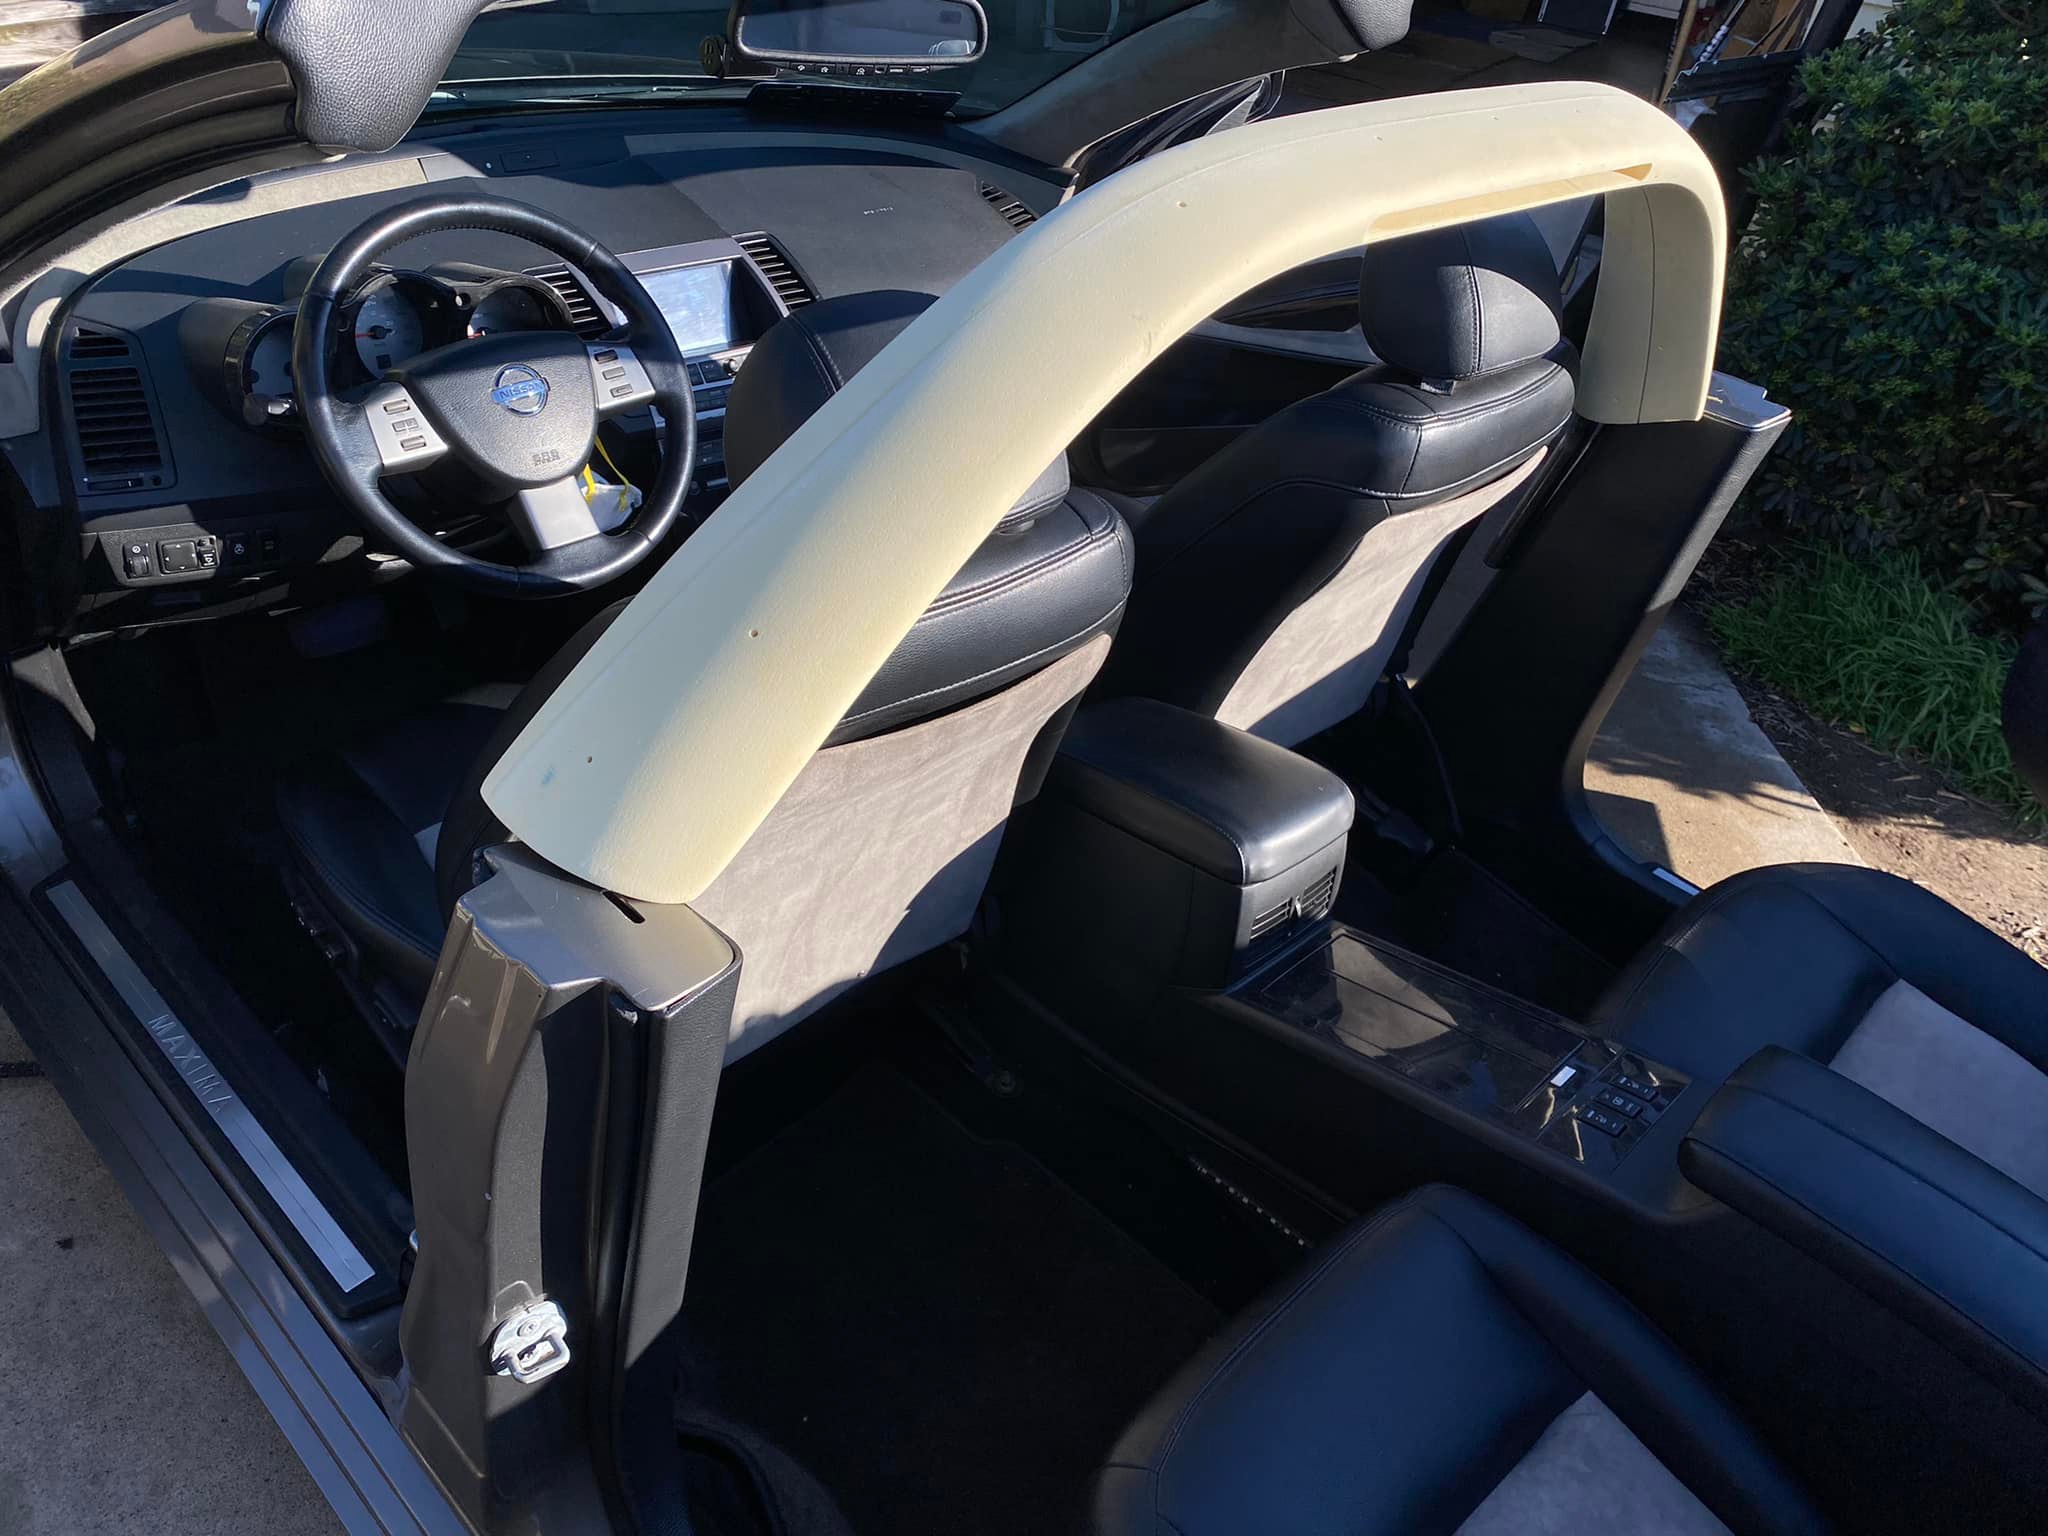
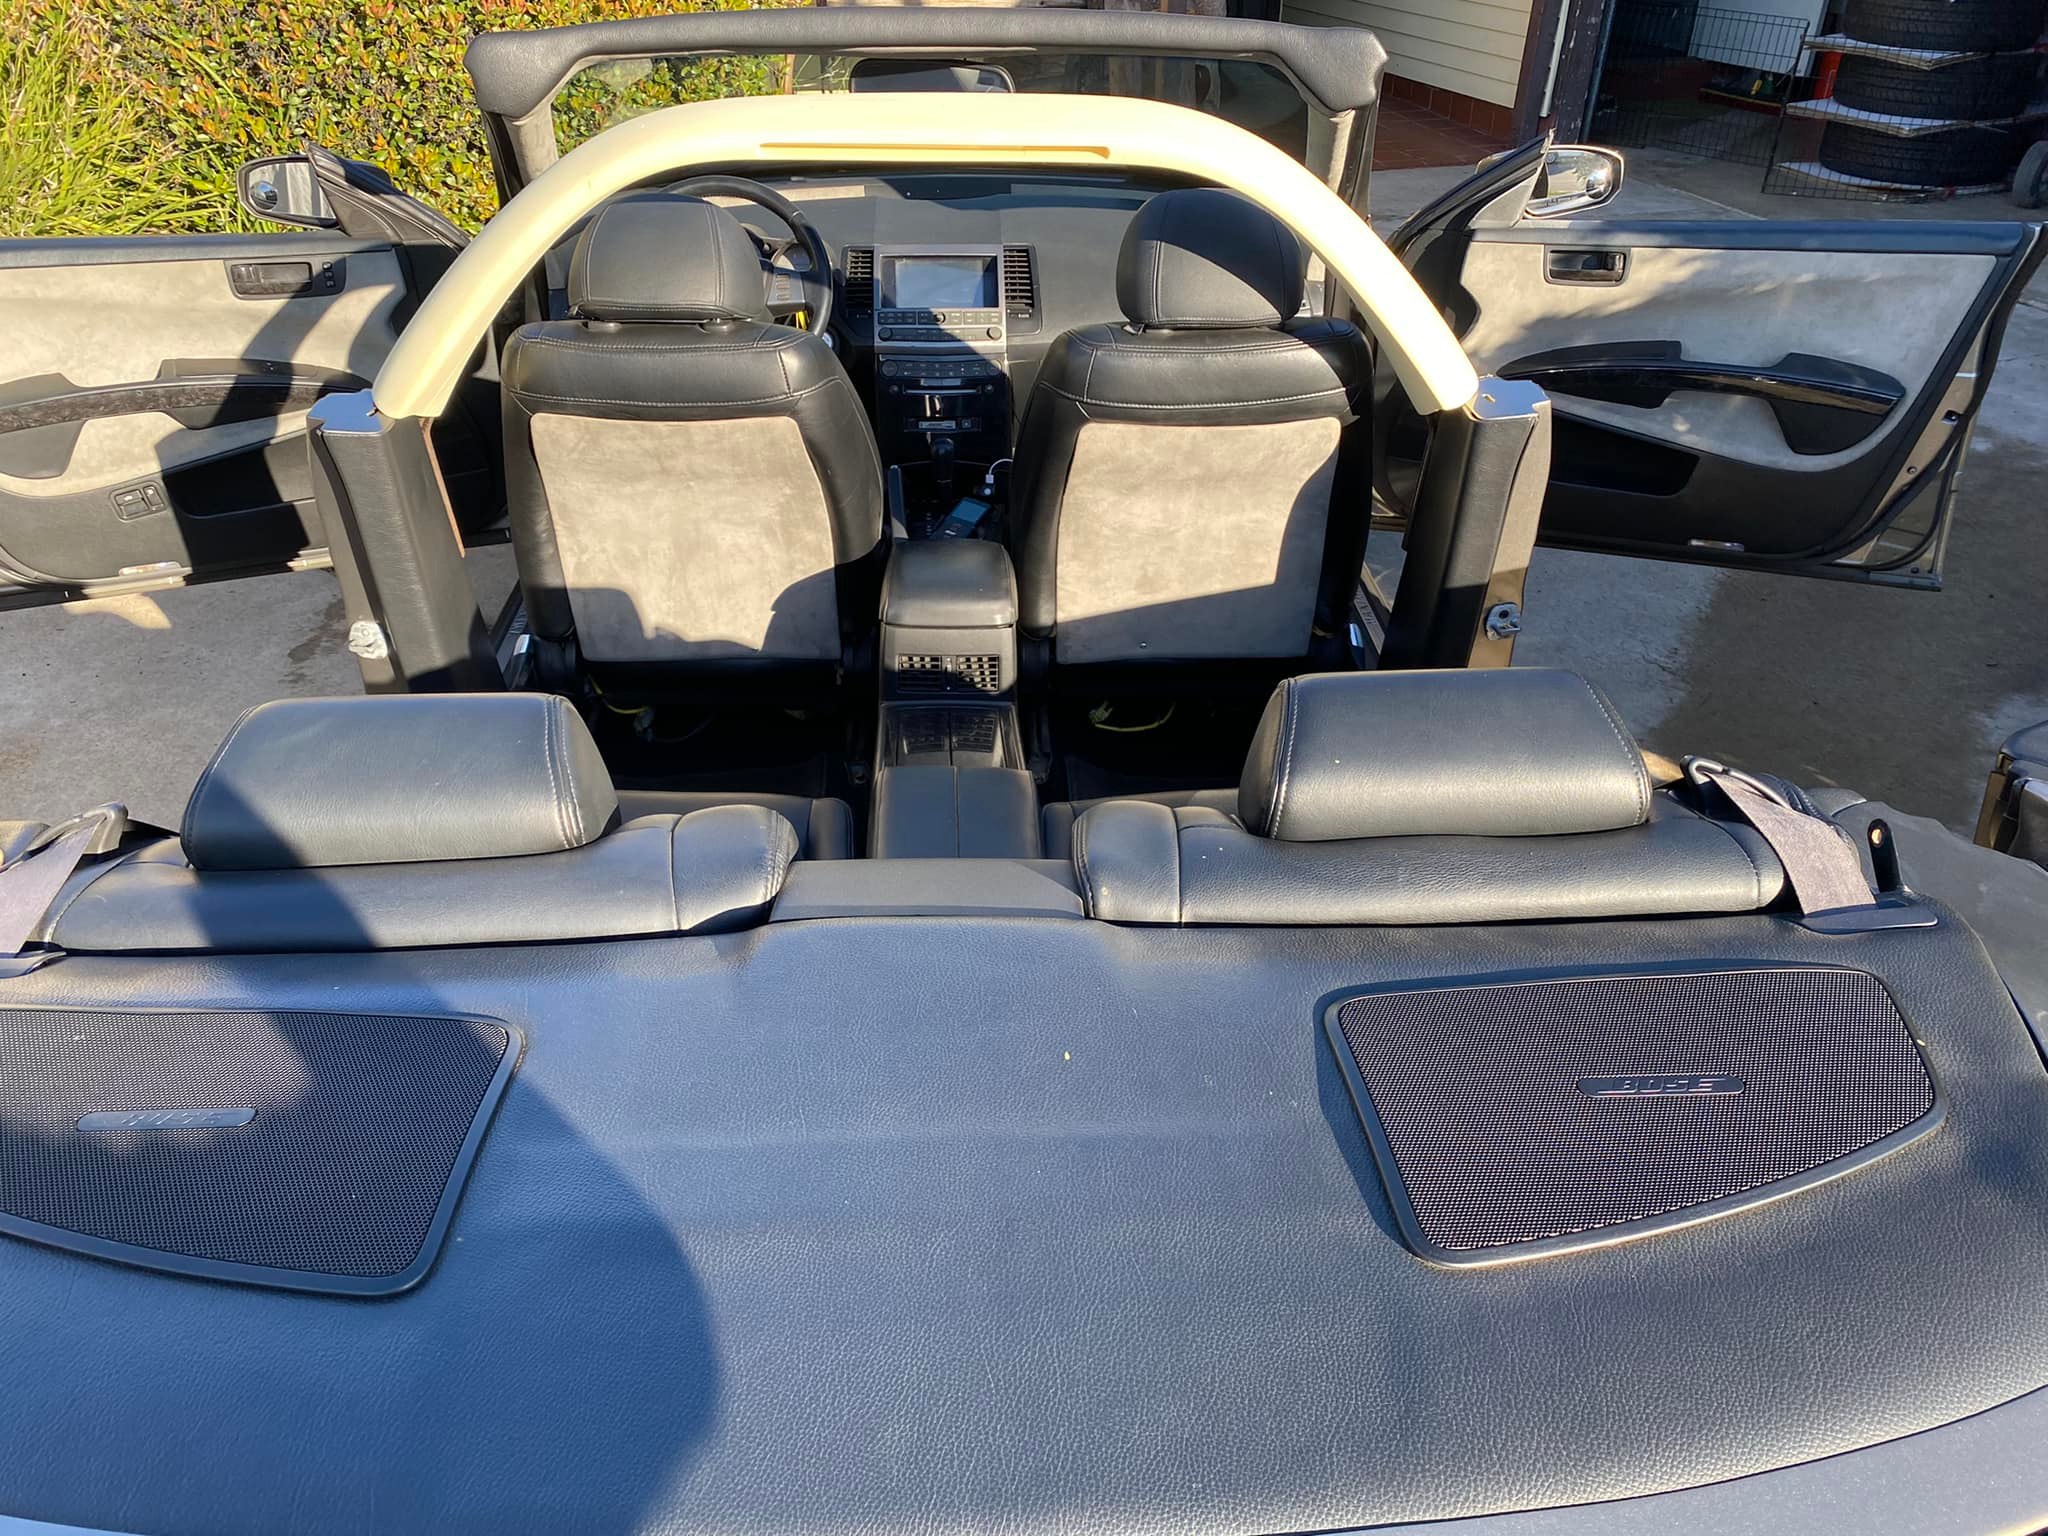
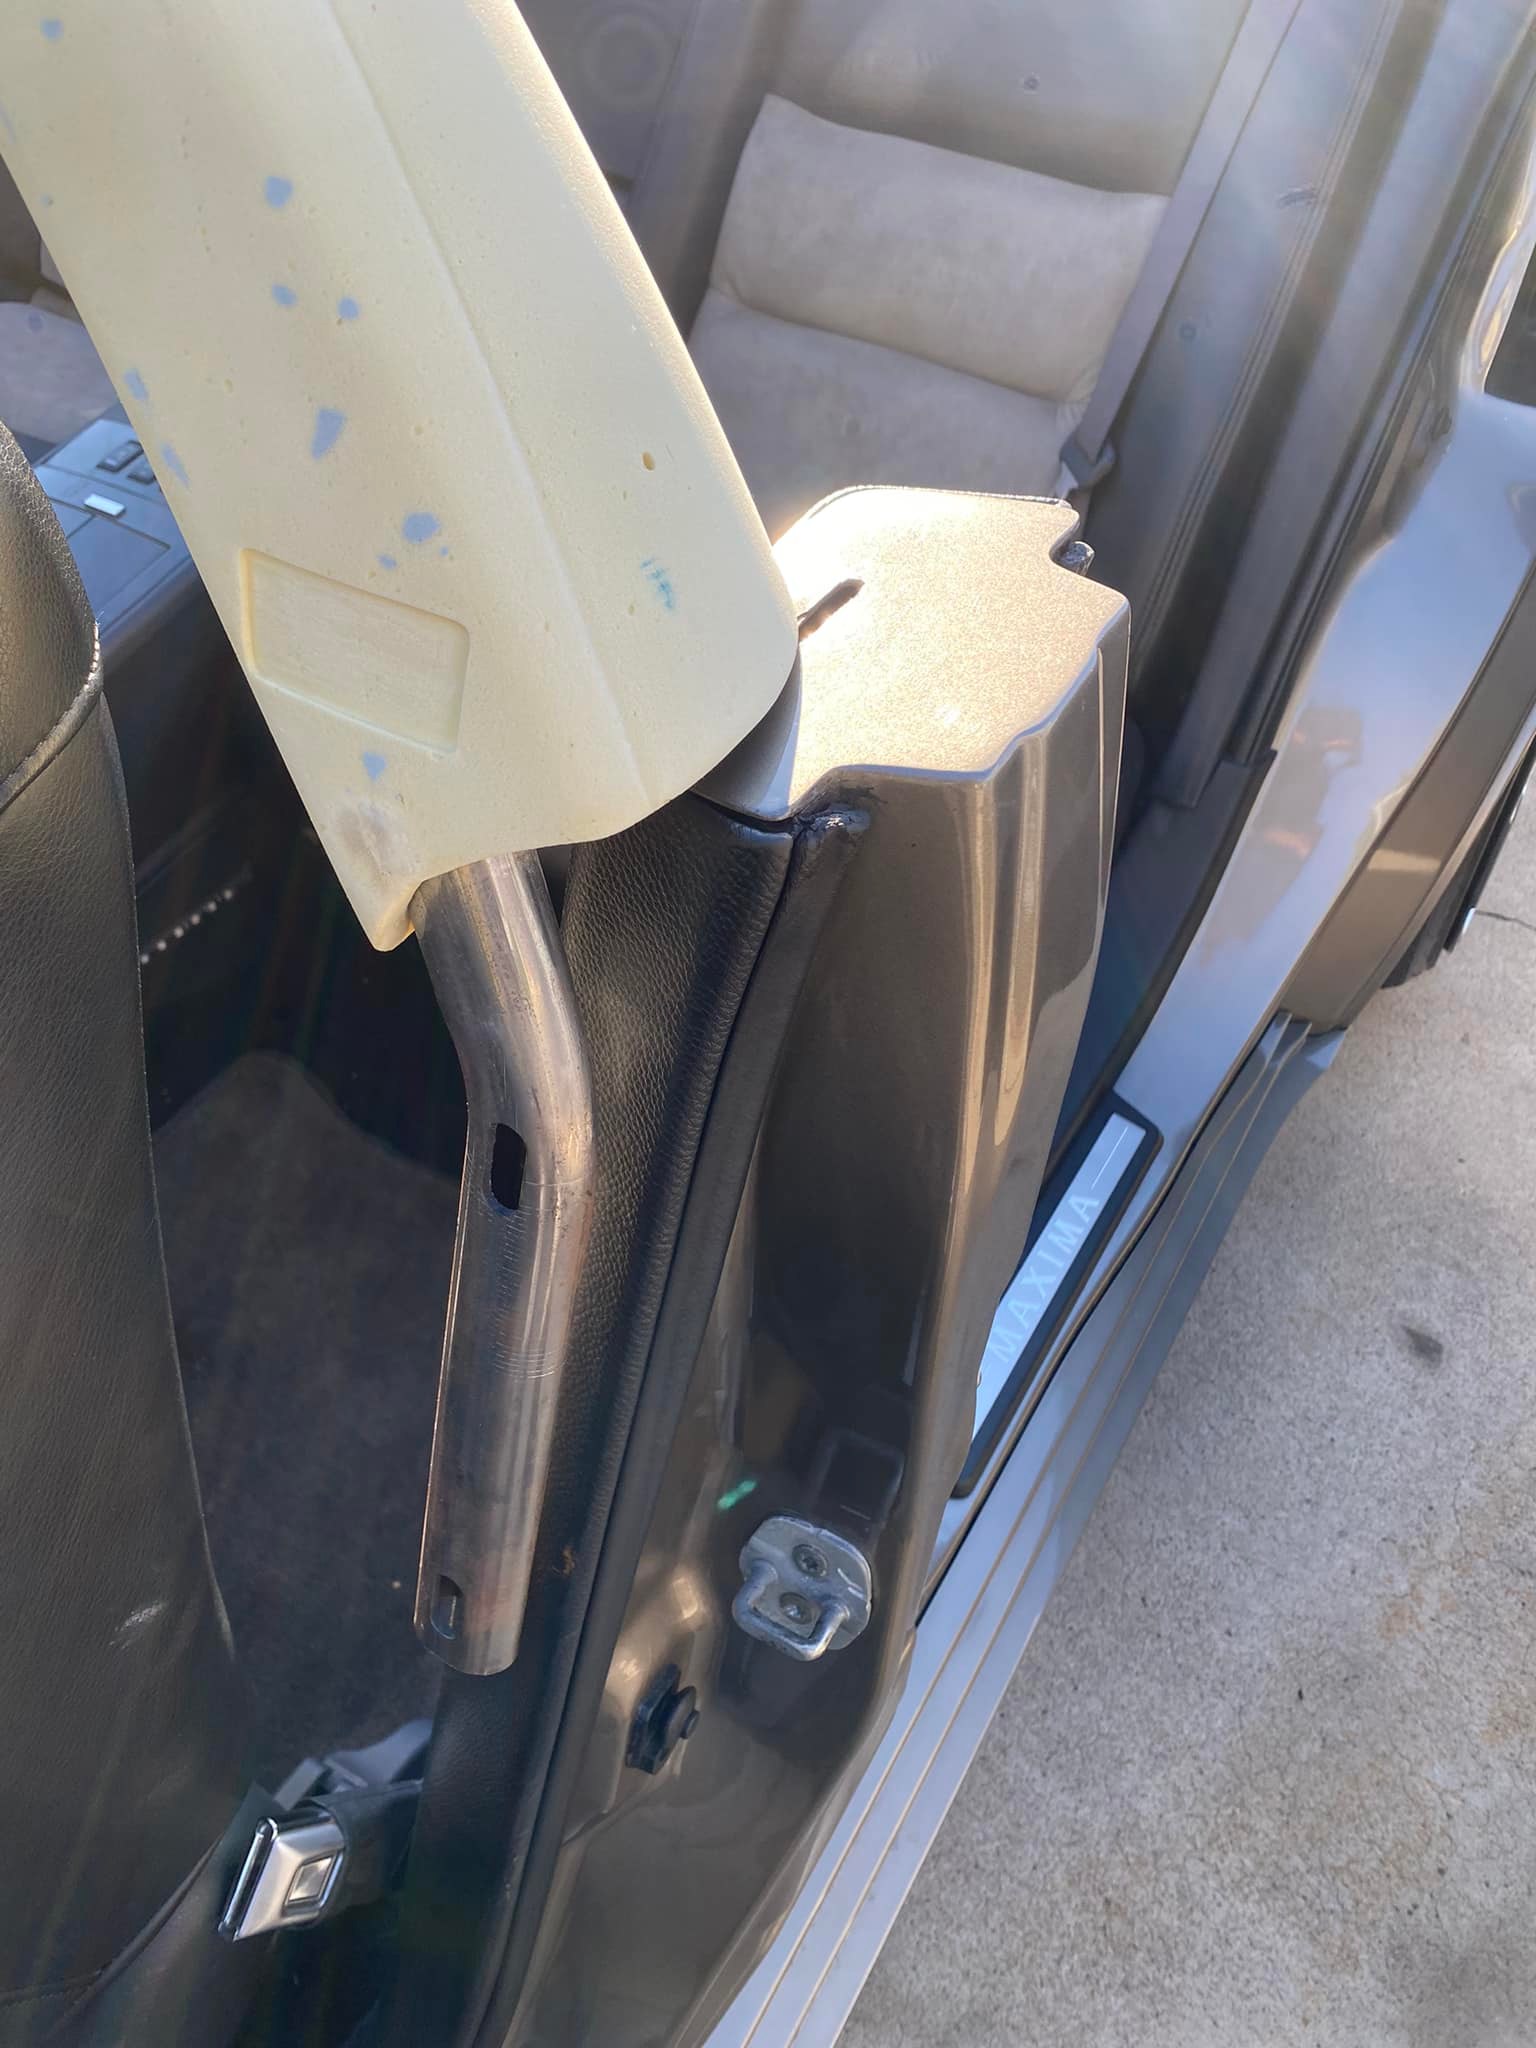
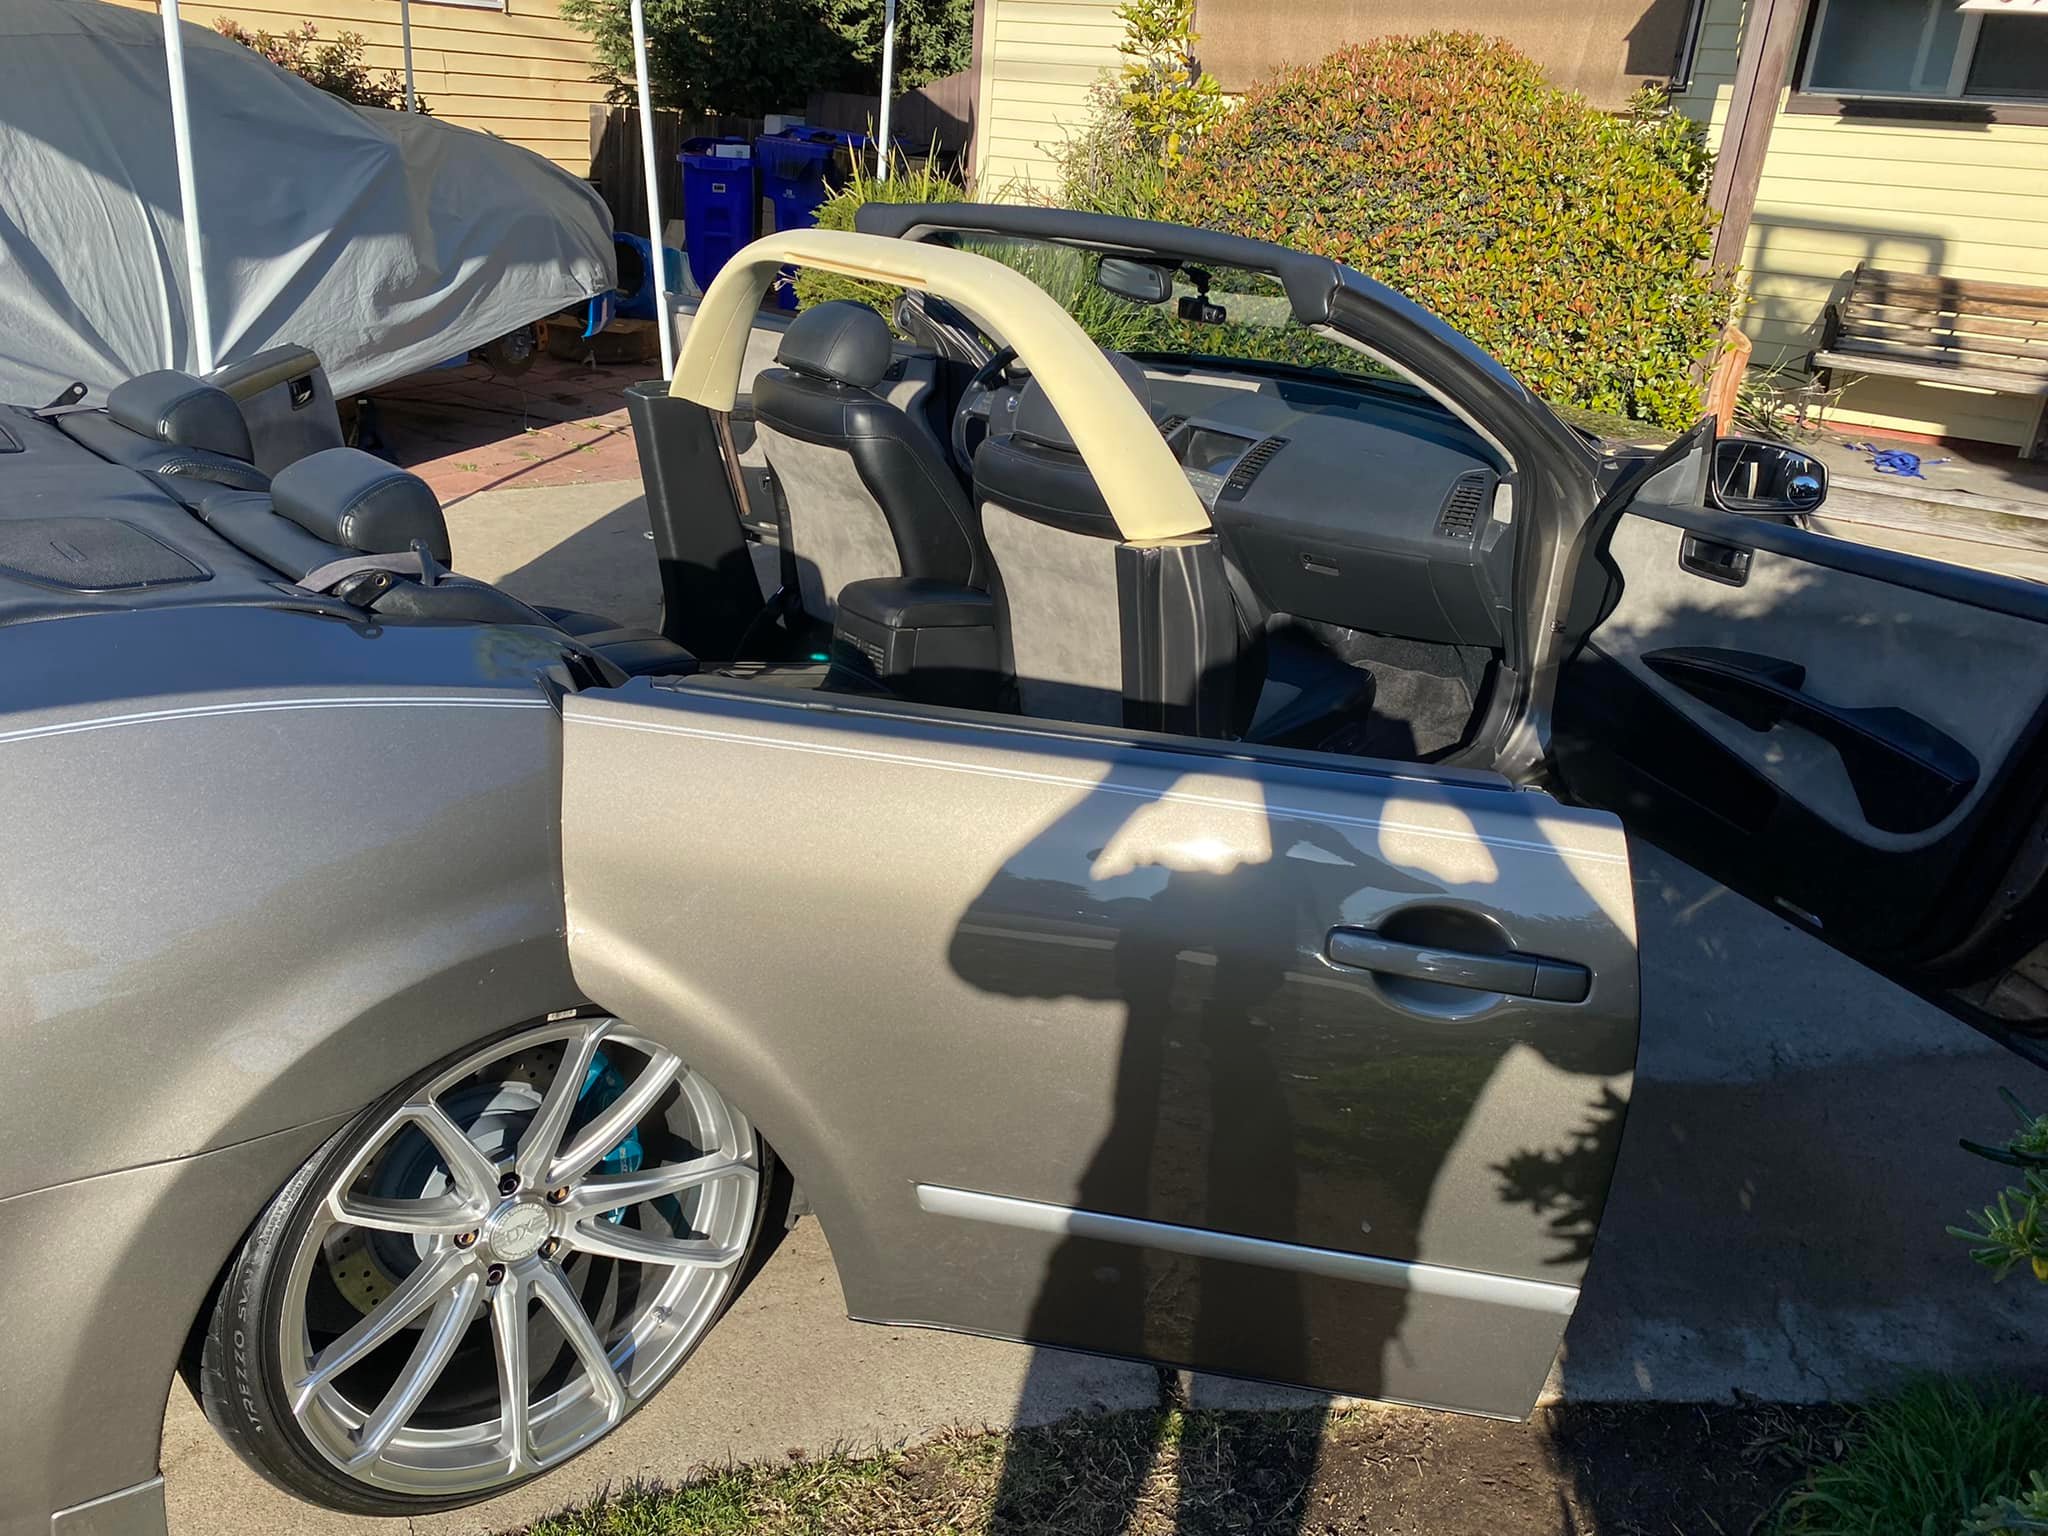
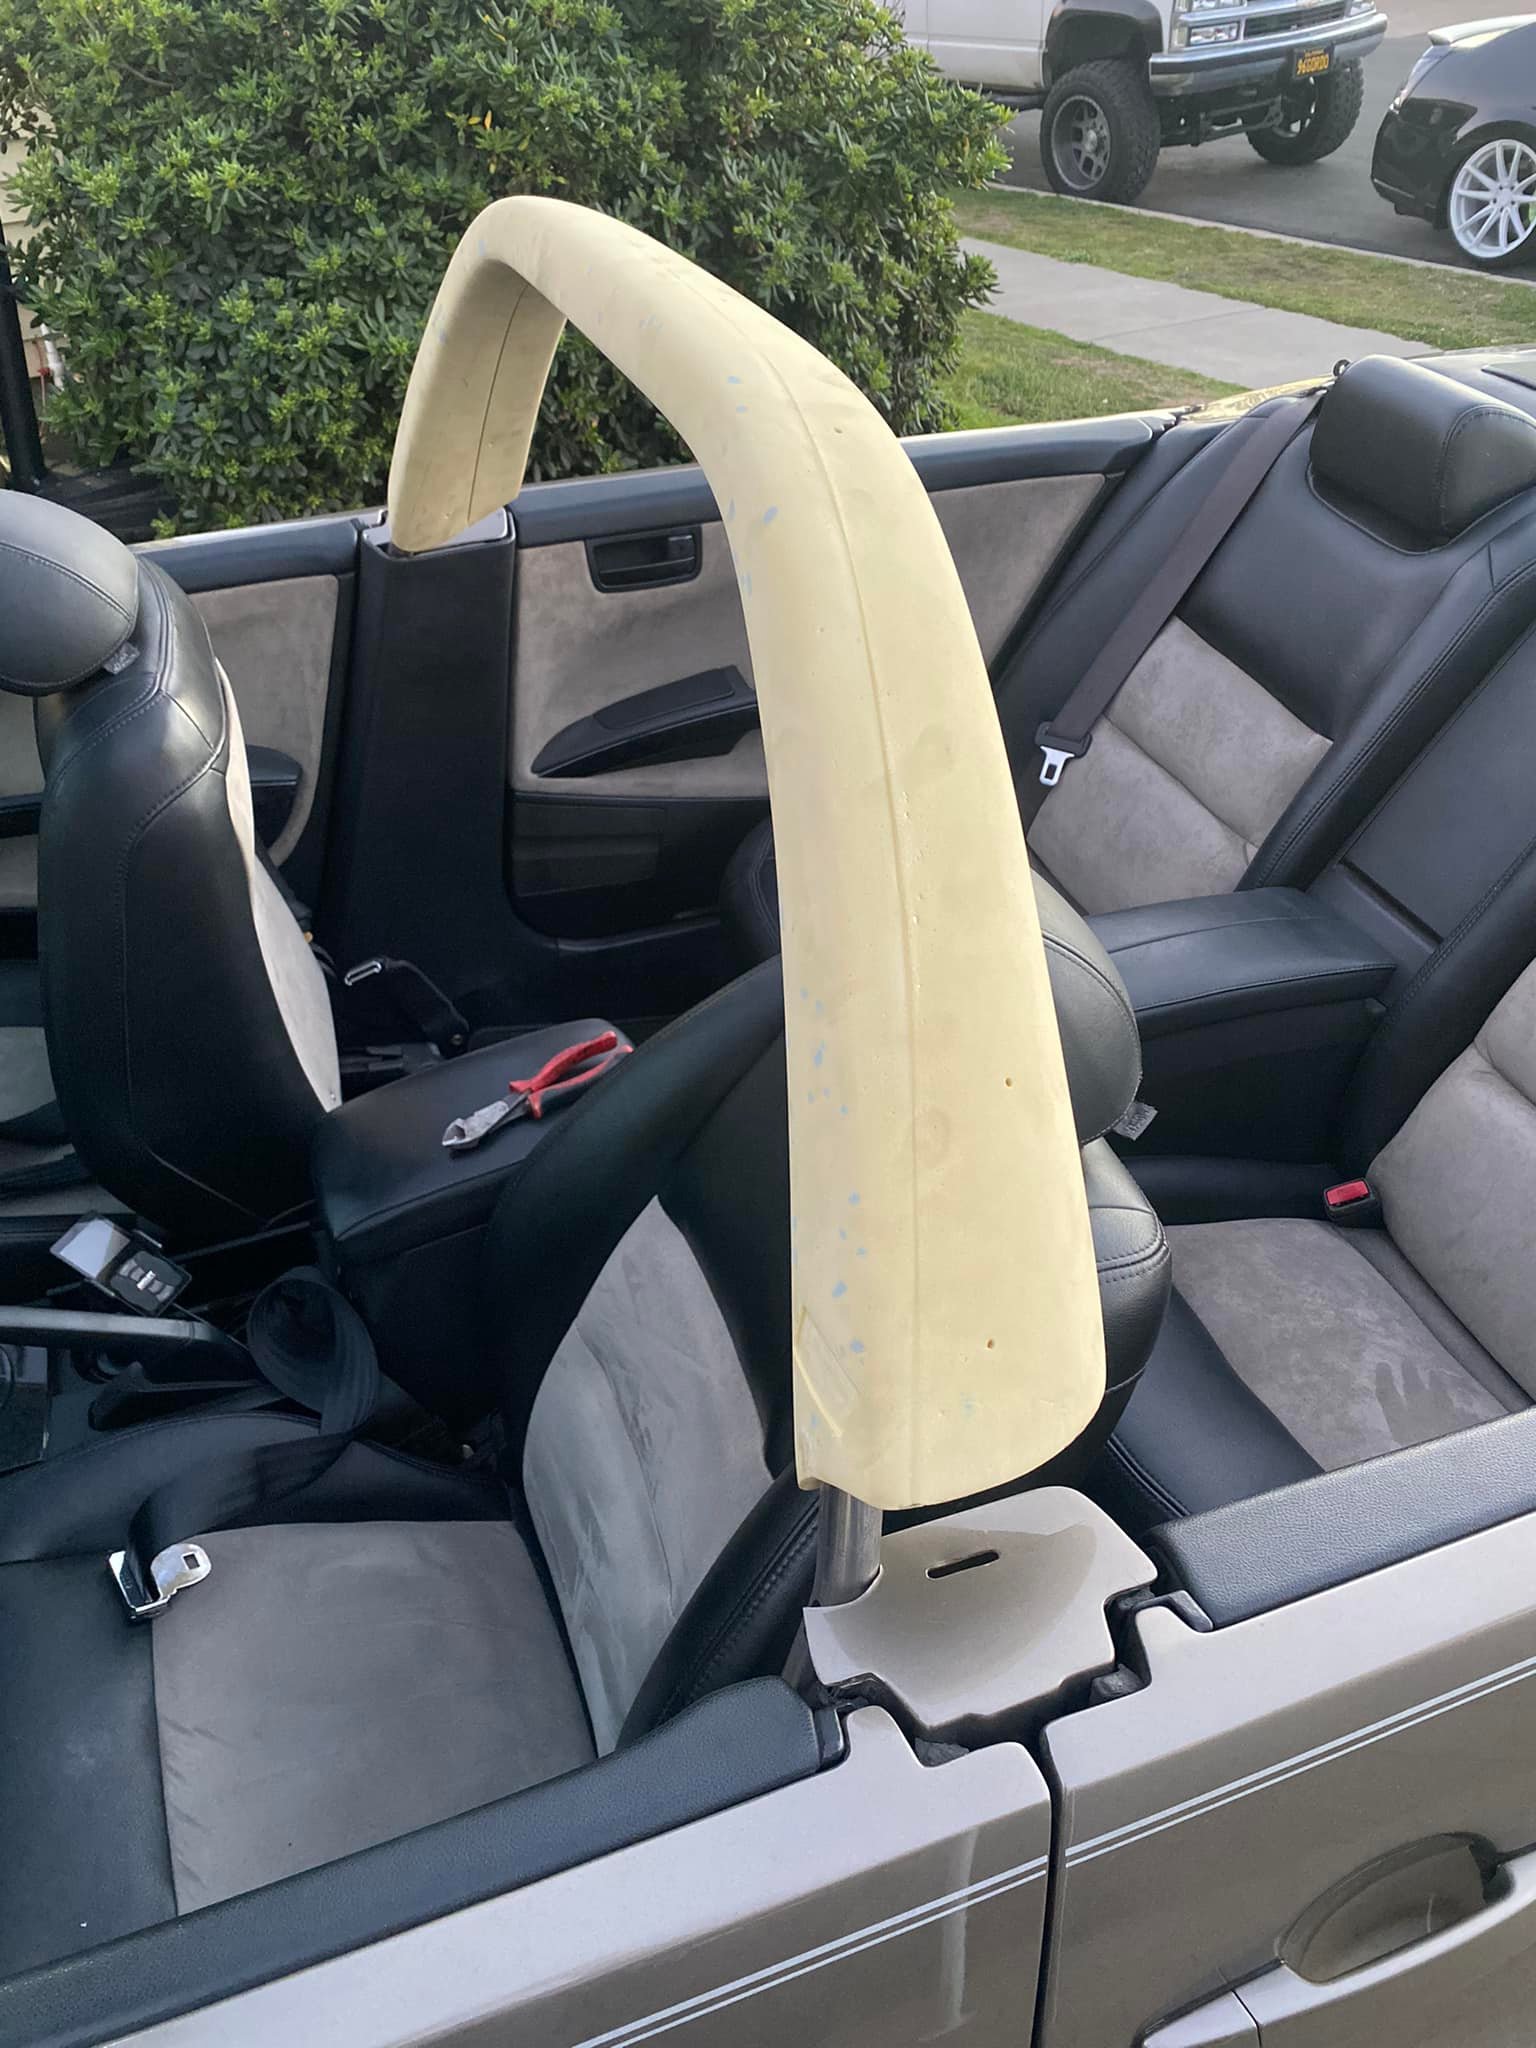
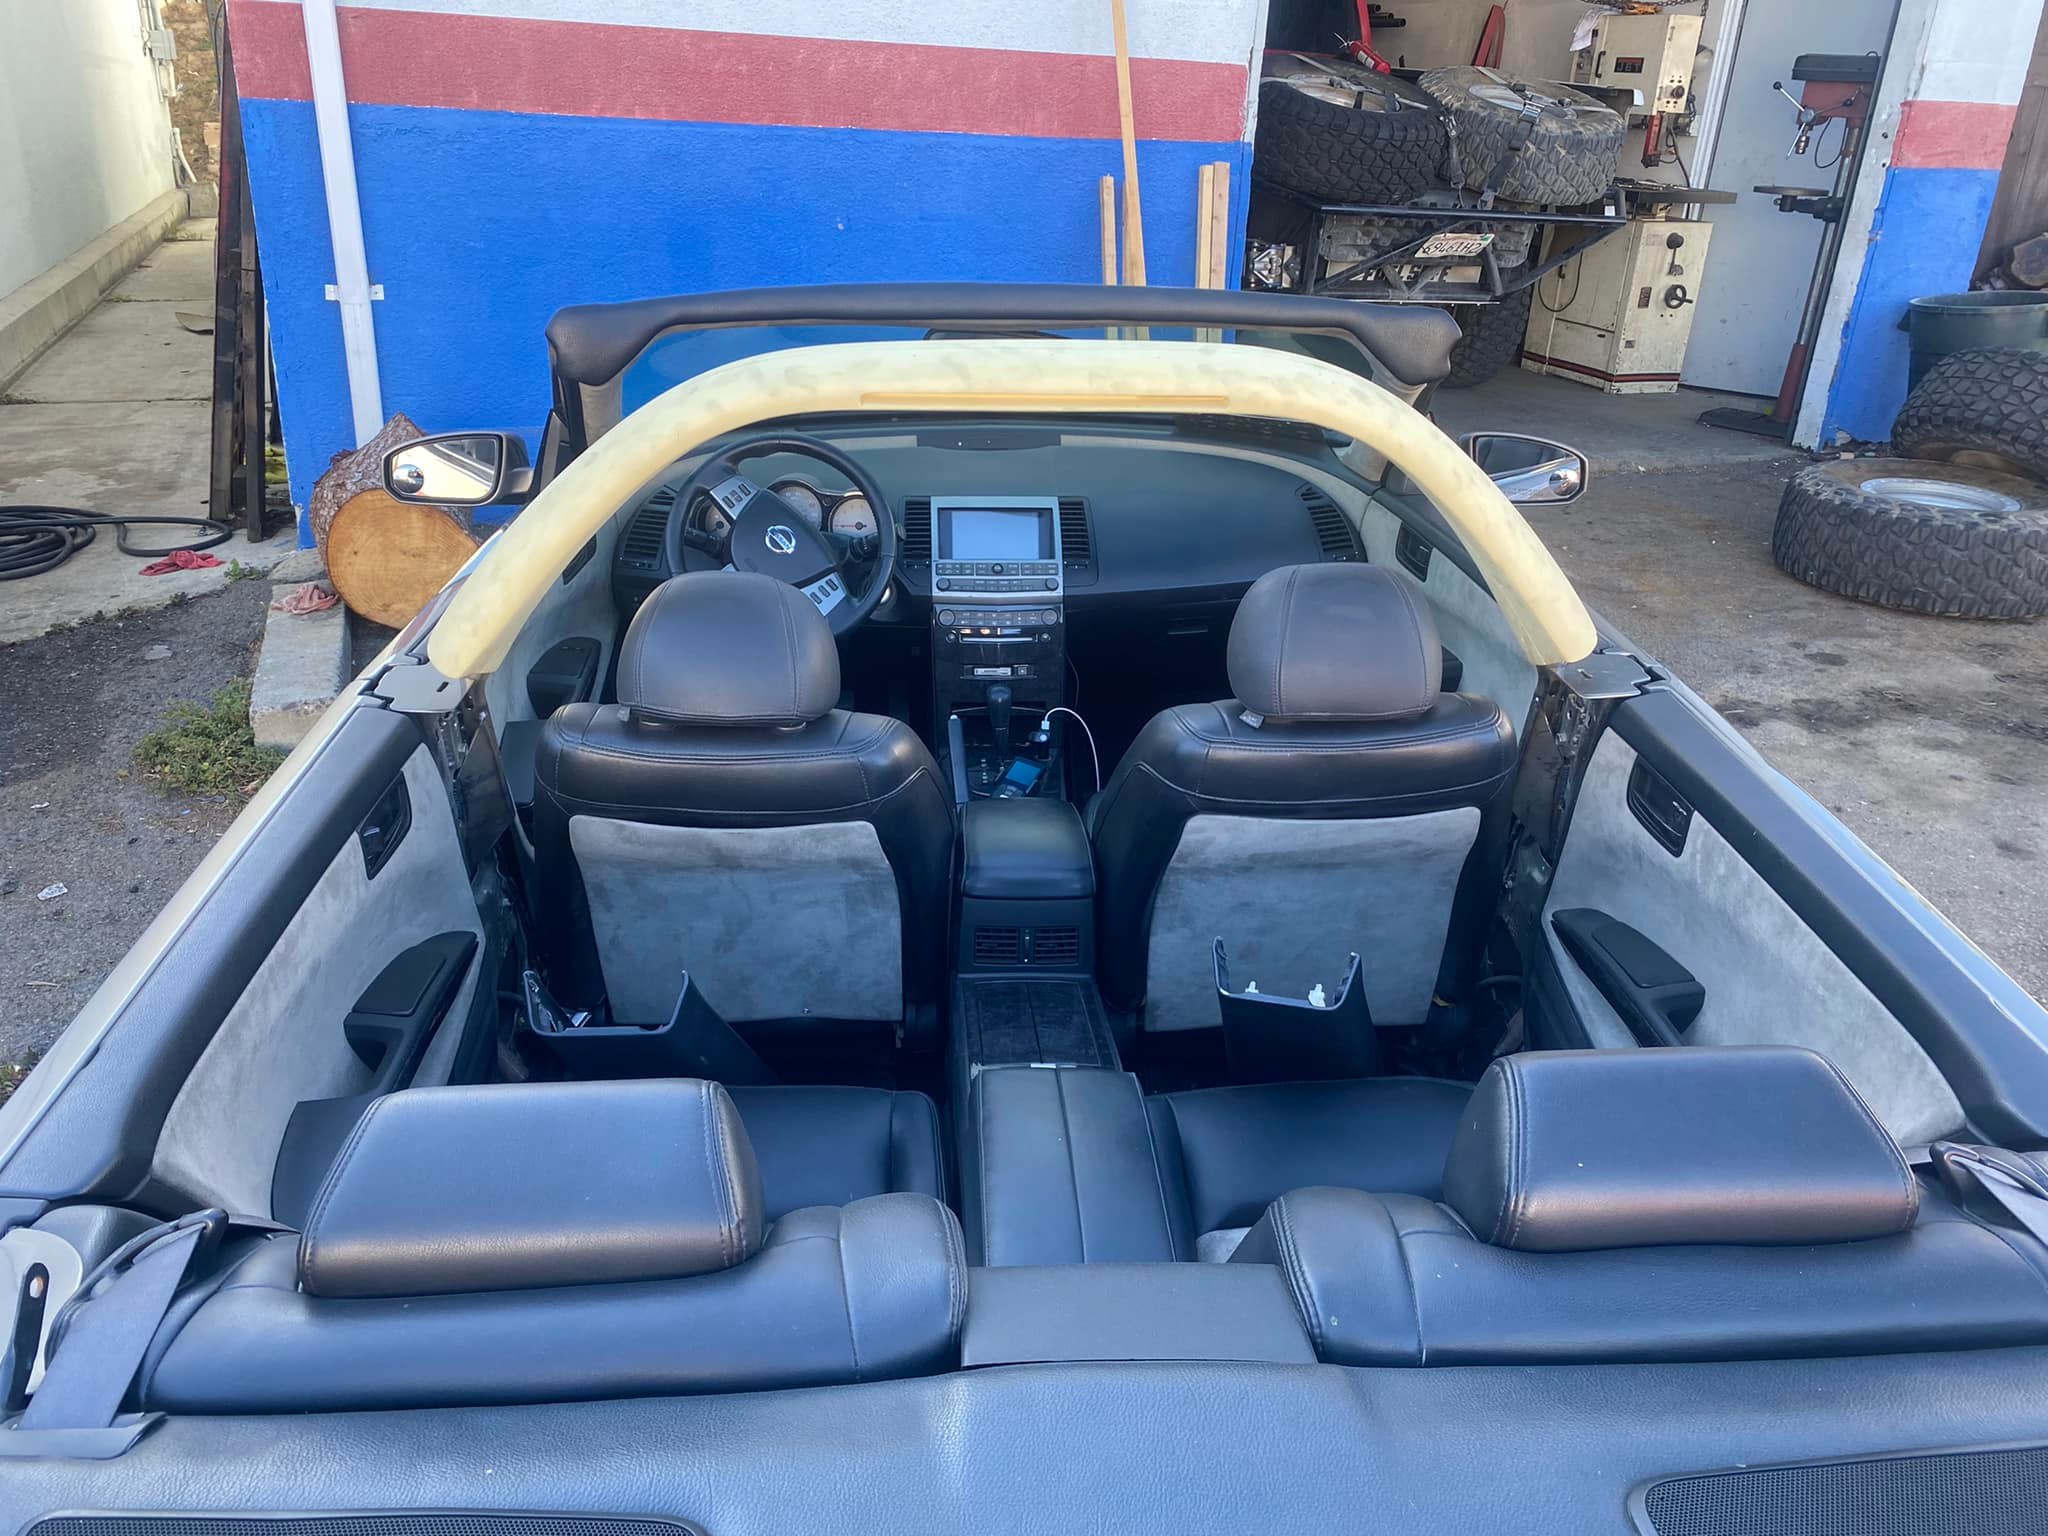
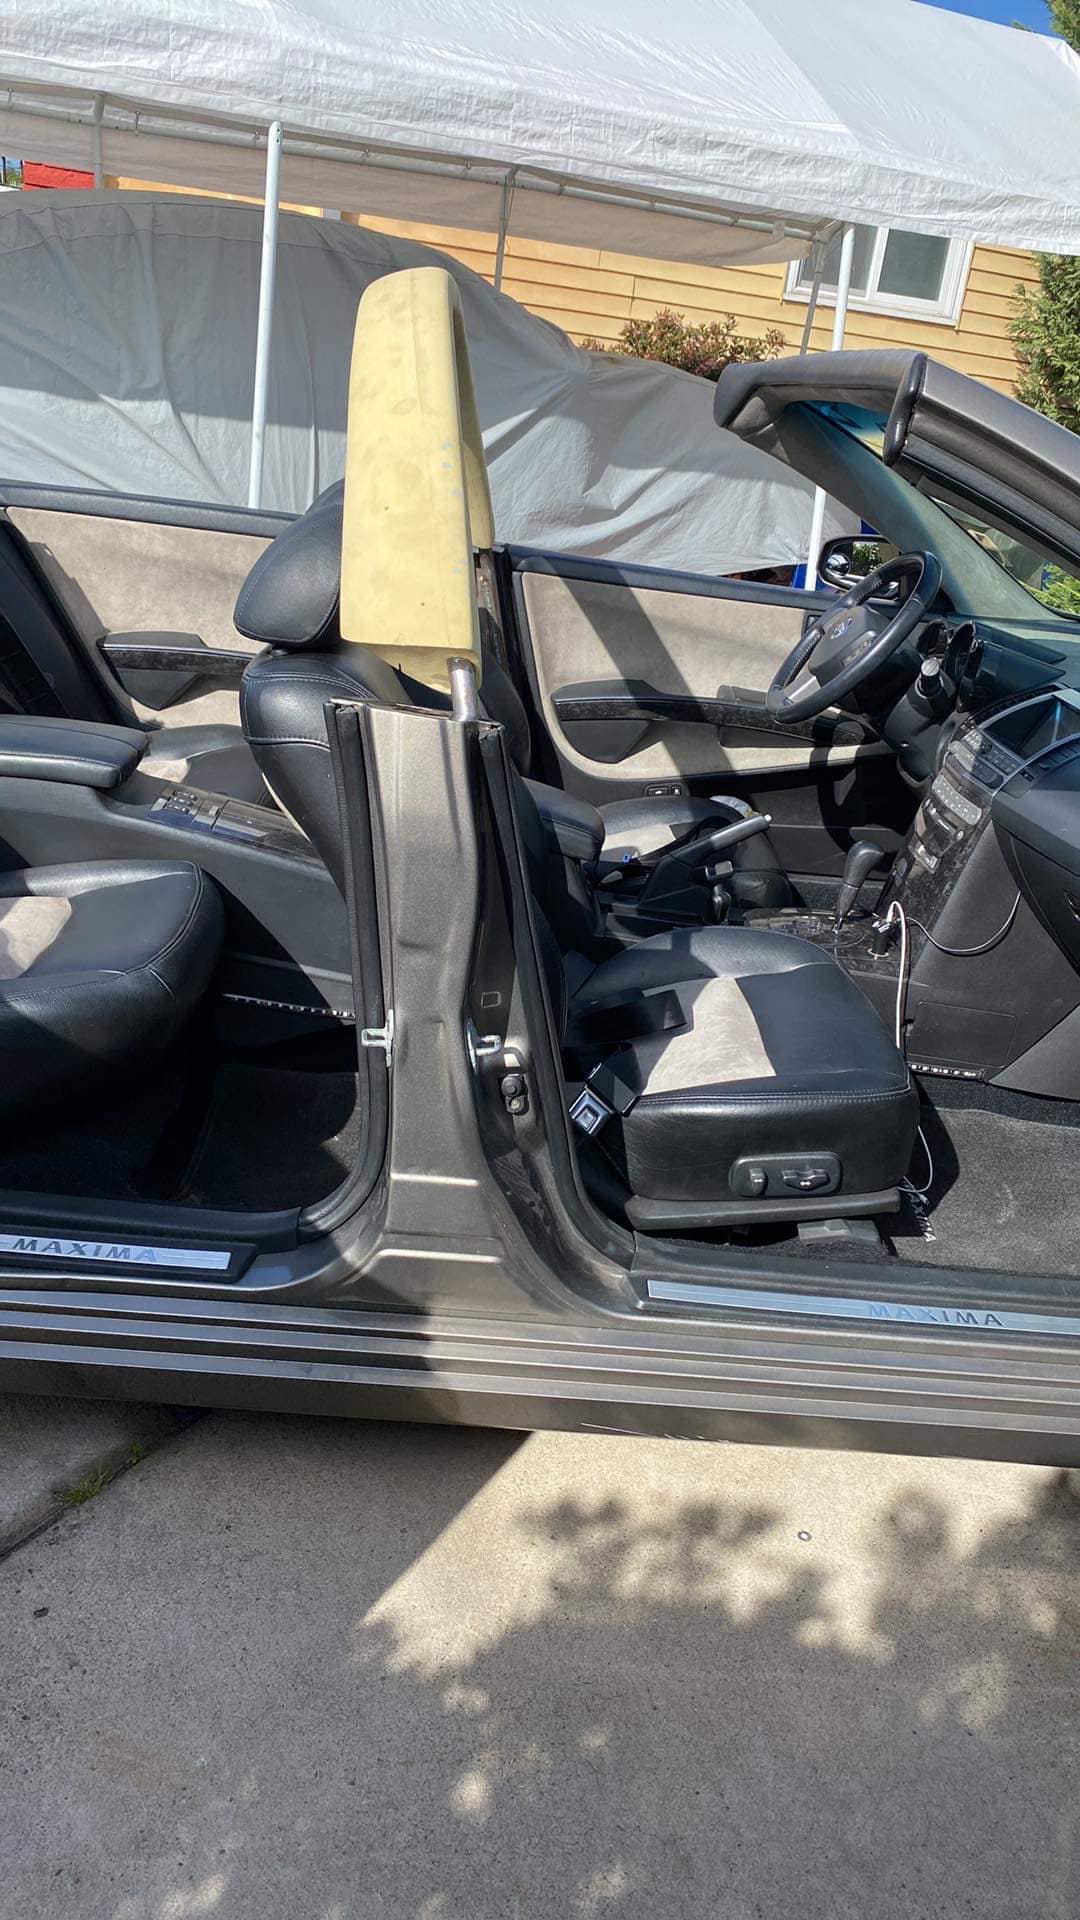
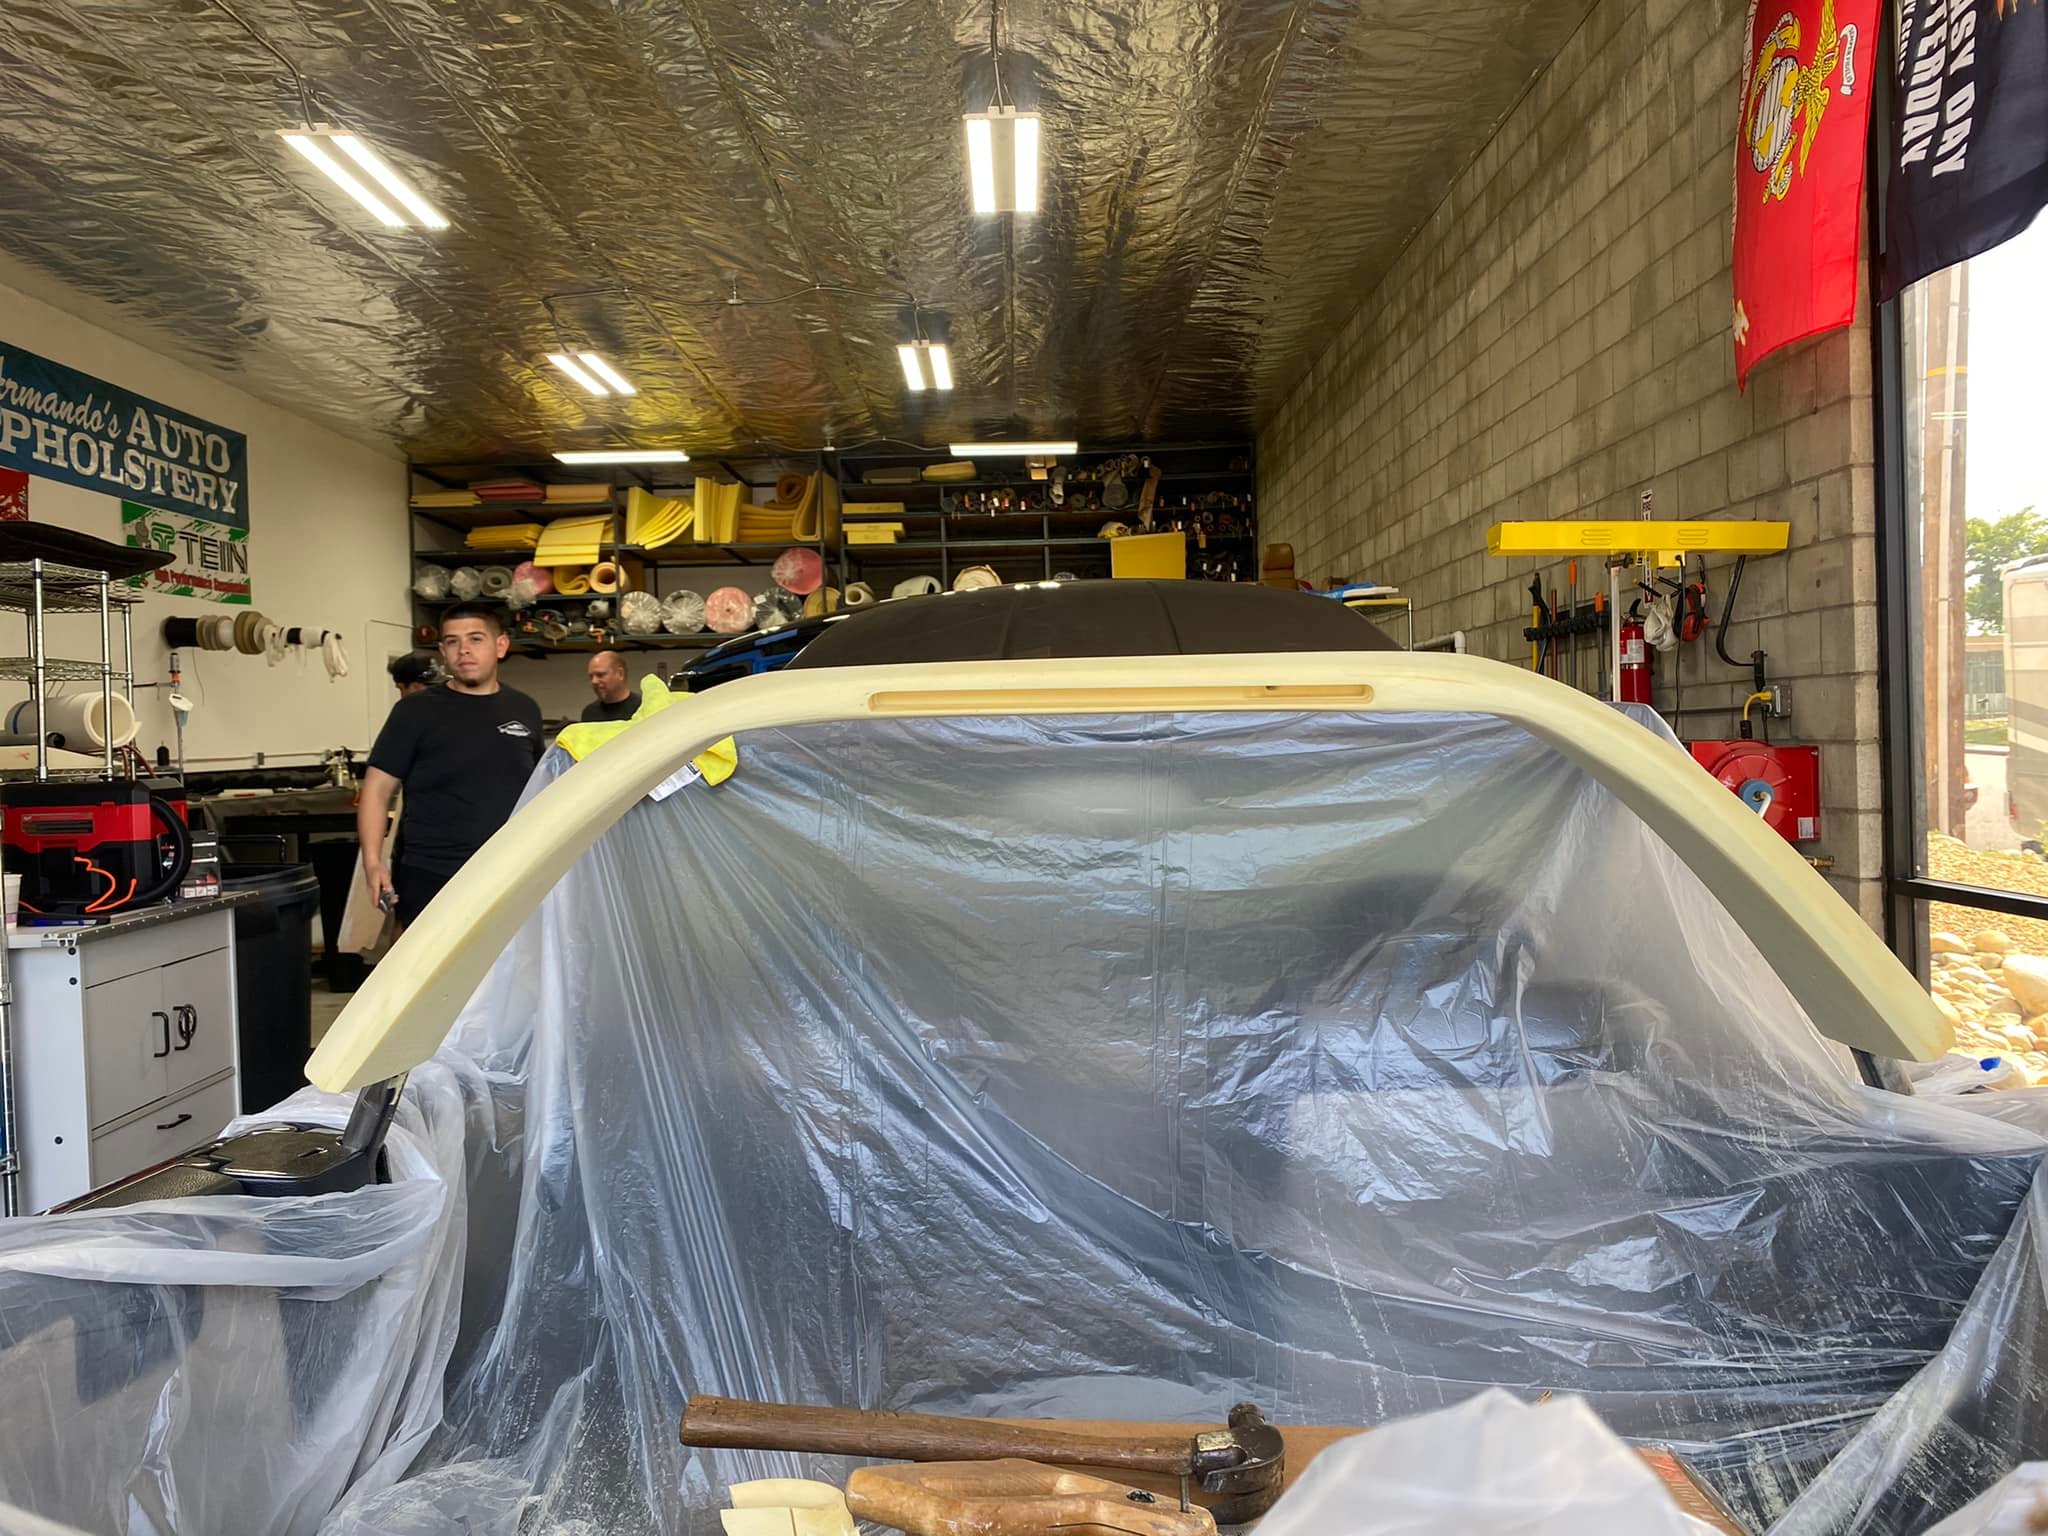
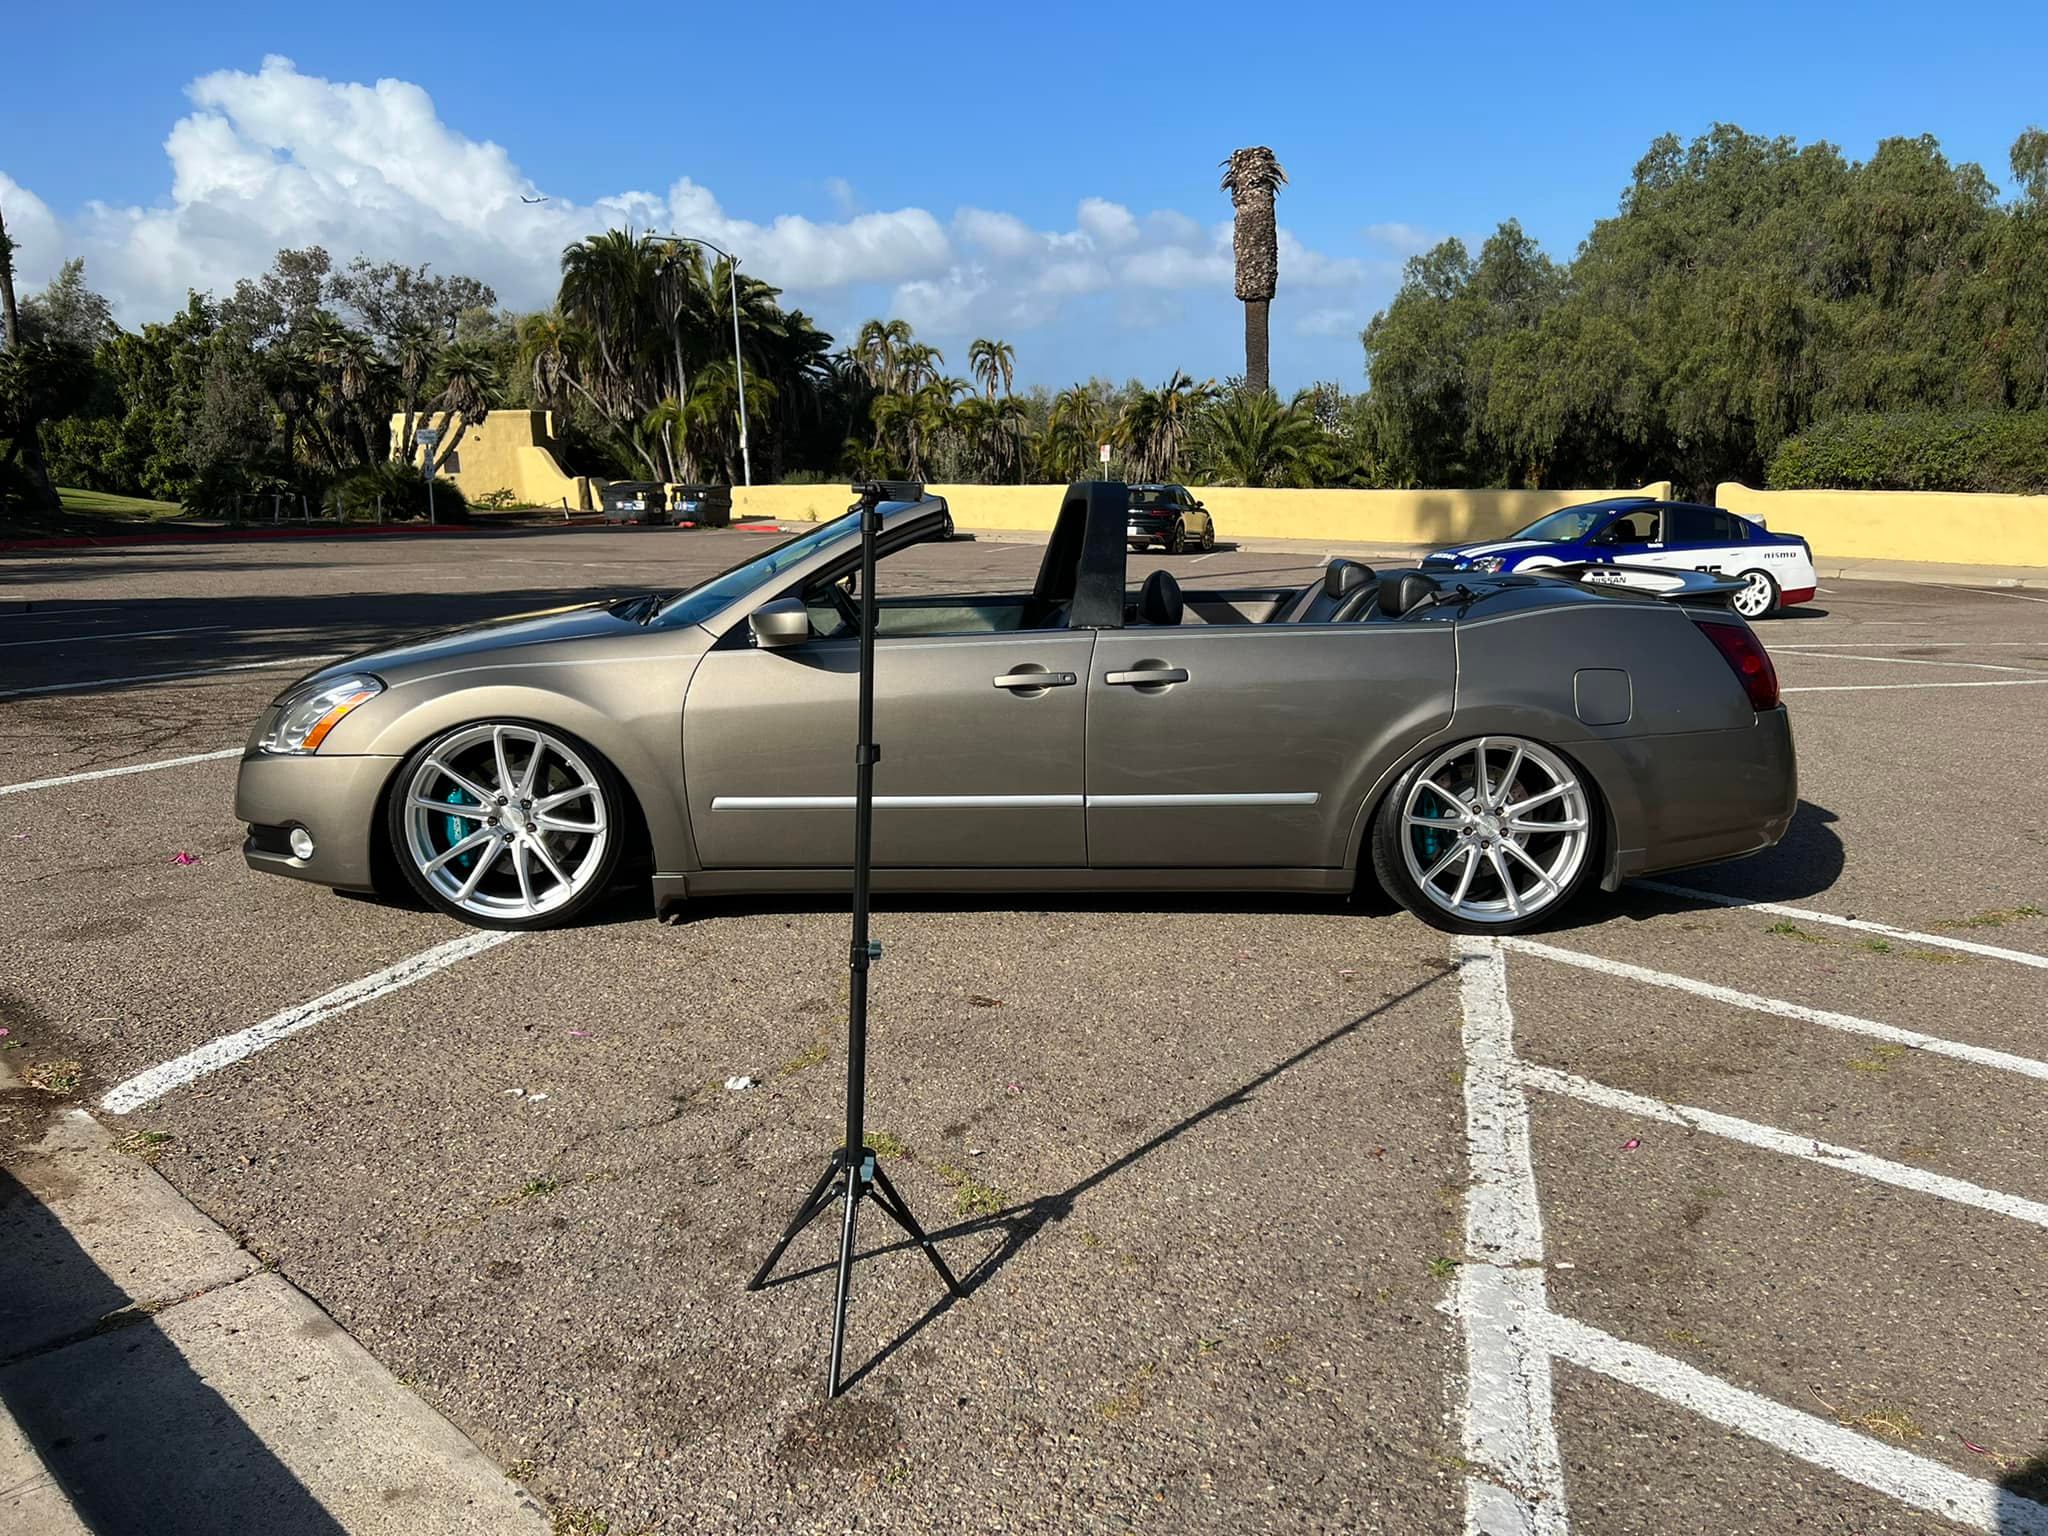
Owner: ILL-Maxima aka SleeperMax
Year: 2004
Model: Maxima
Color: Tan
Transmission: 5-Speed Automatic
Trim: SE


![]()

Credit: William H.
Here’s my 2008 Maxima. I was driving temp started going up. Then transmission seemed like it was giving up sucks.It started smoking i thought it was overheating antifreeze. pulled saw fire ran like hell called 911.i will send some pictures also.


![]()
")
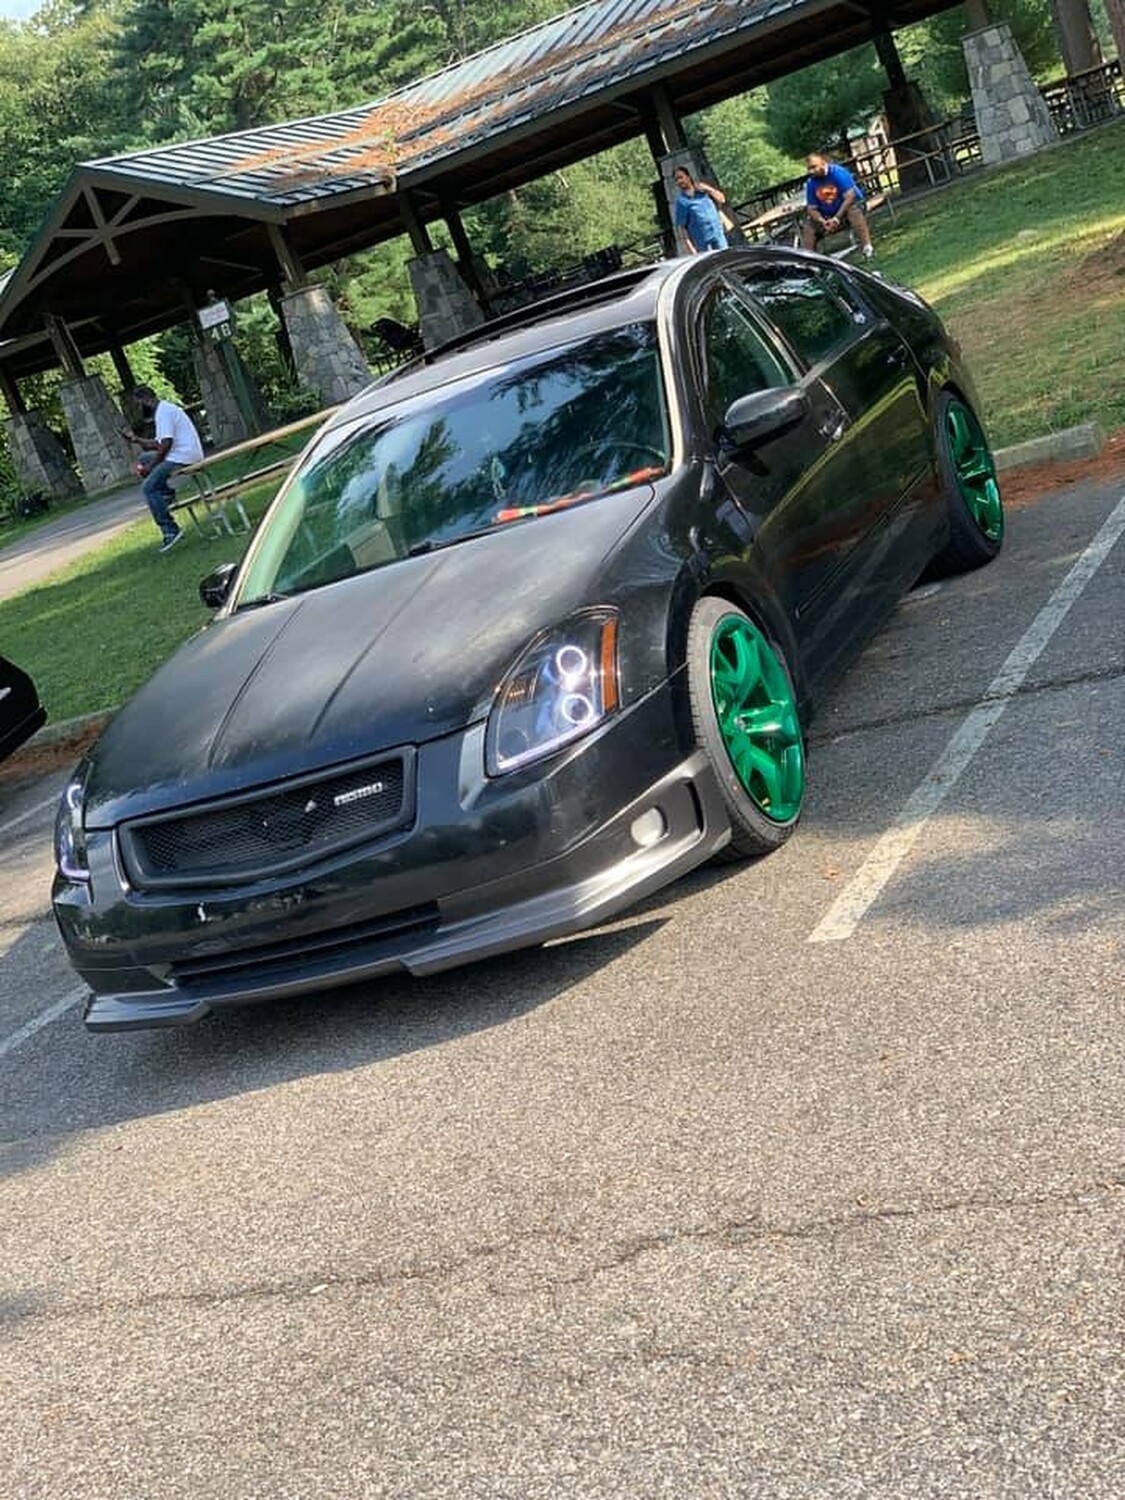
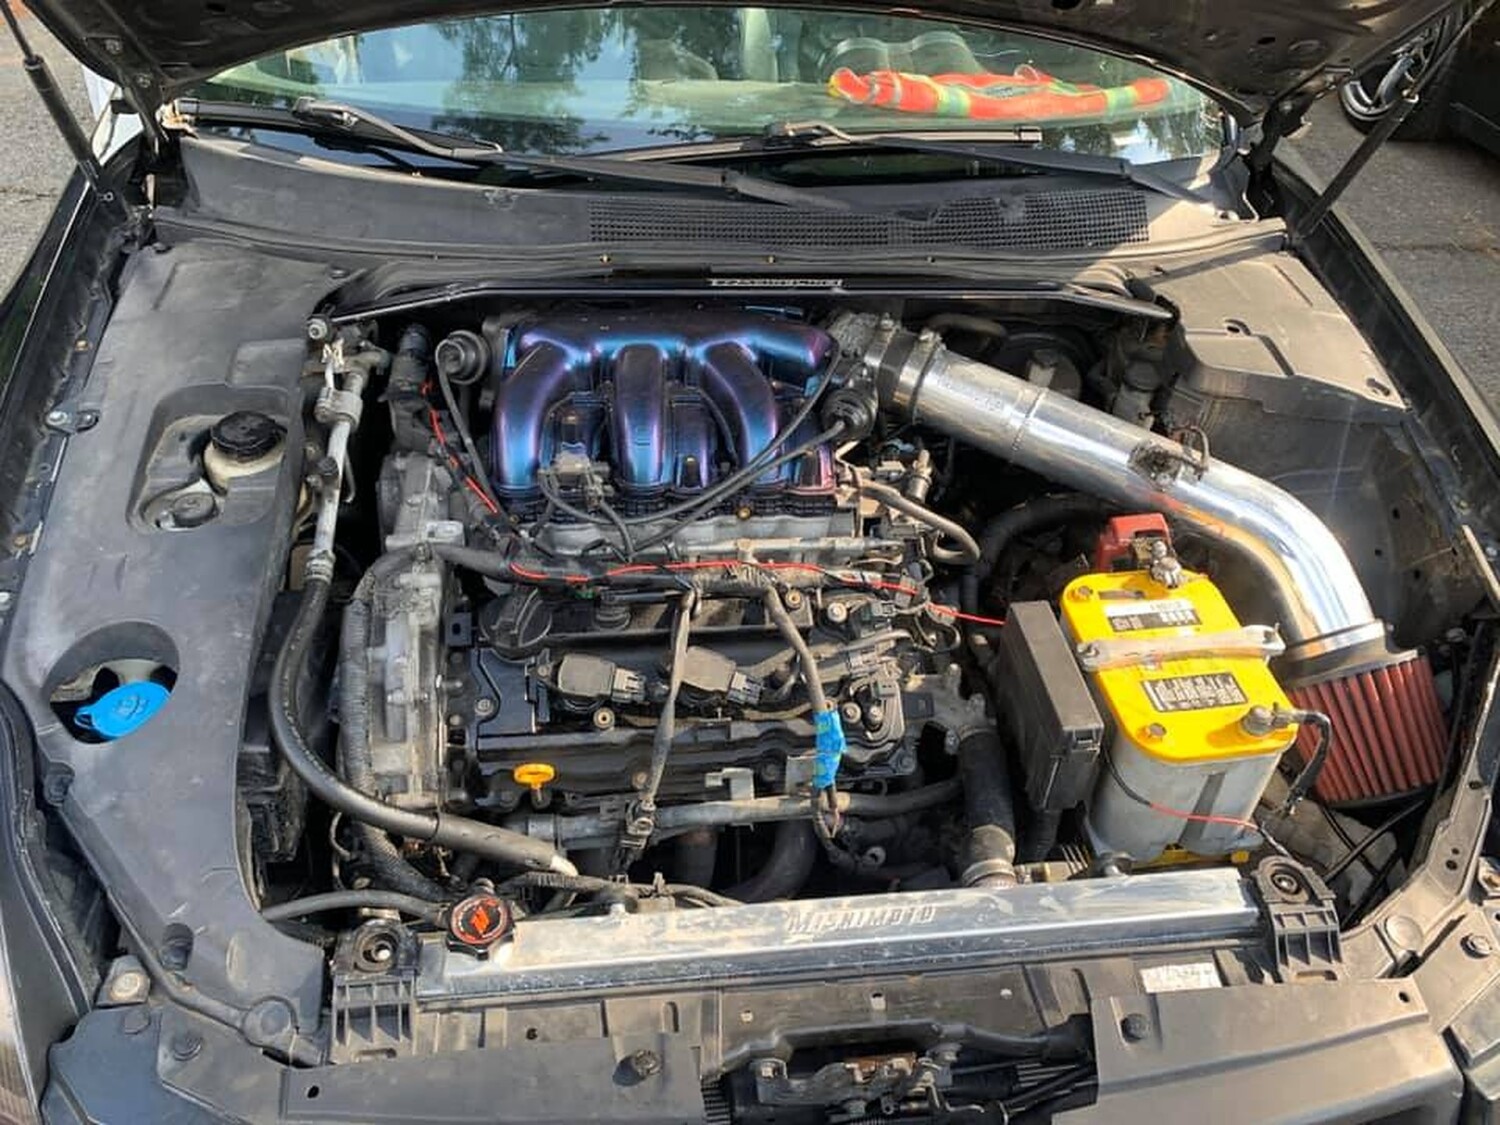
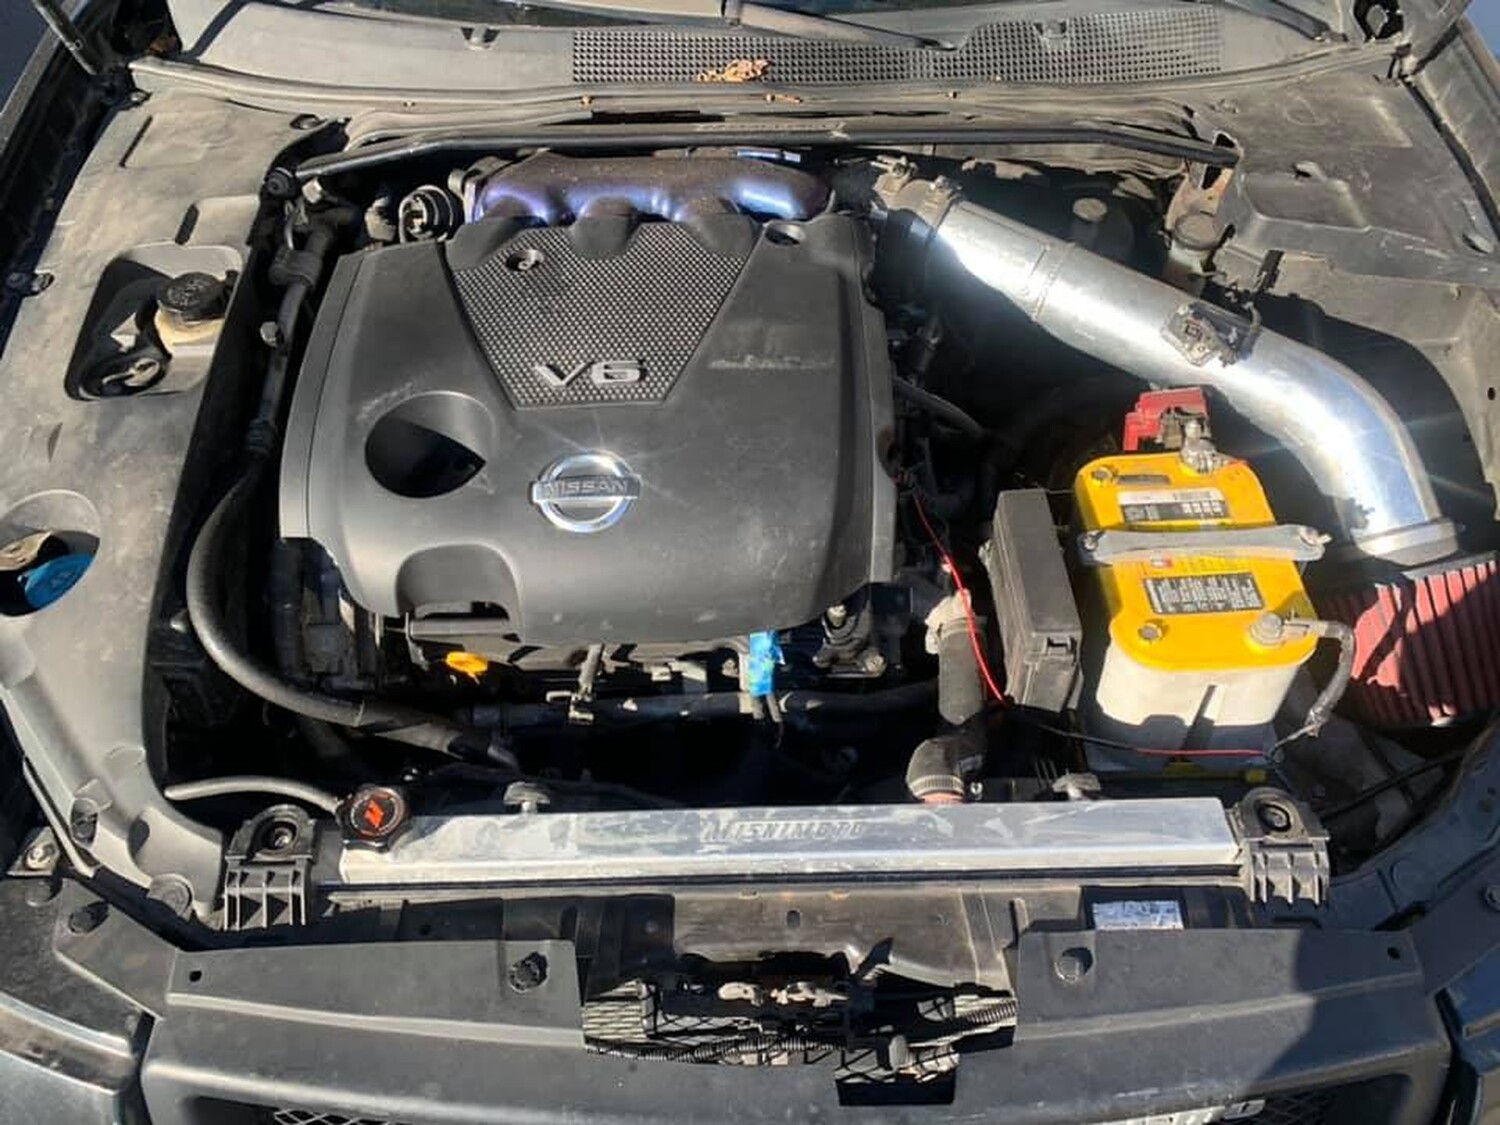
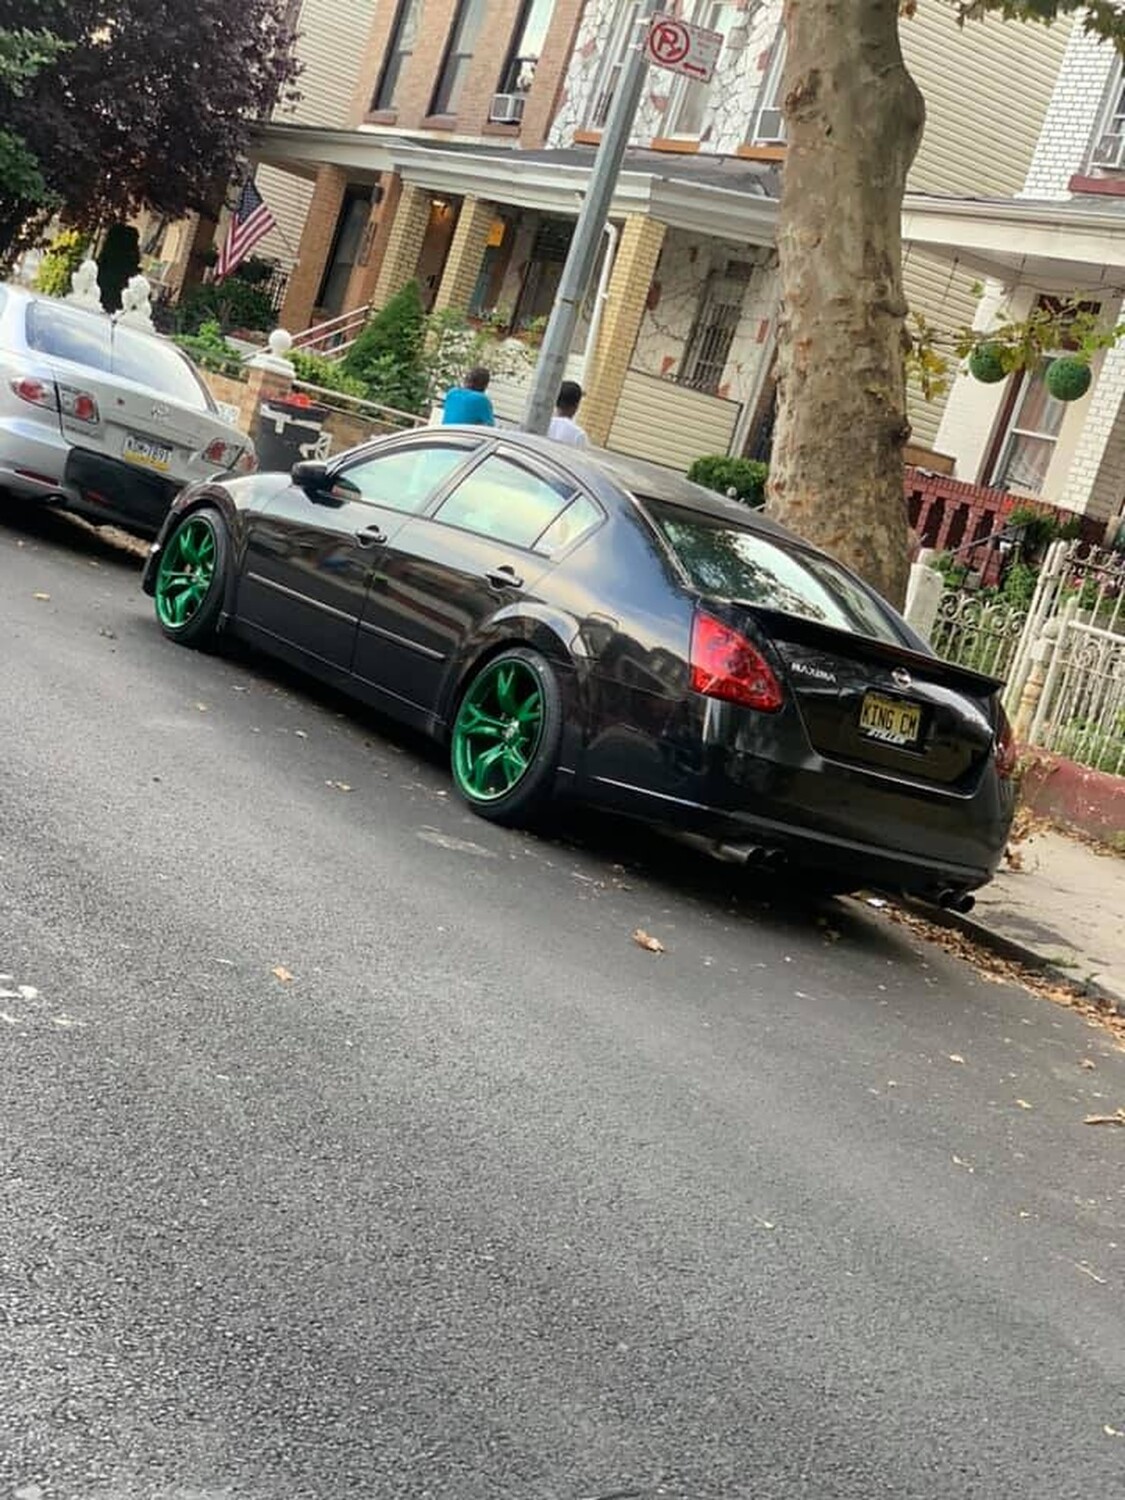
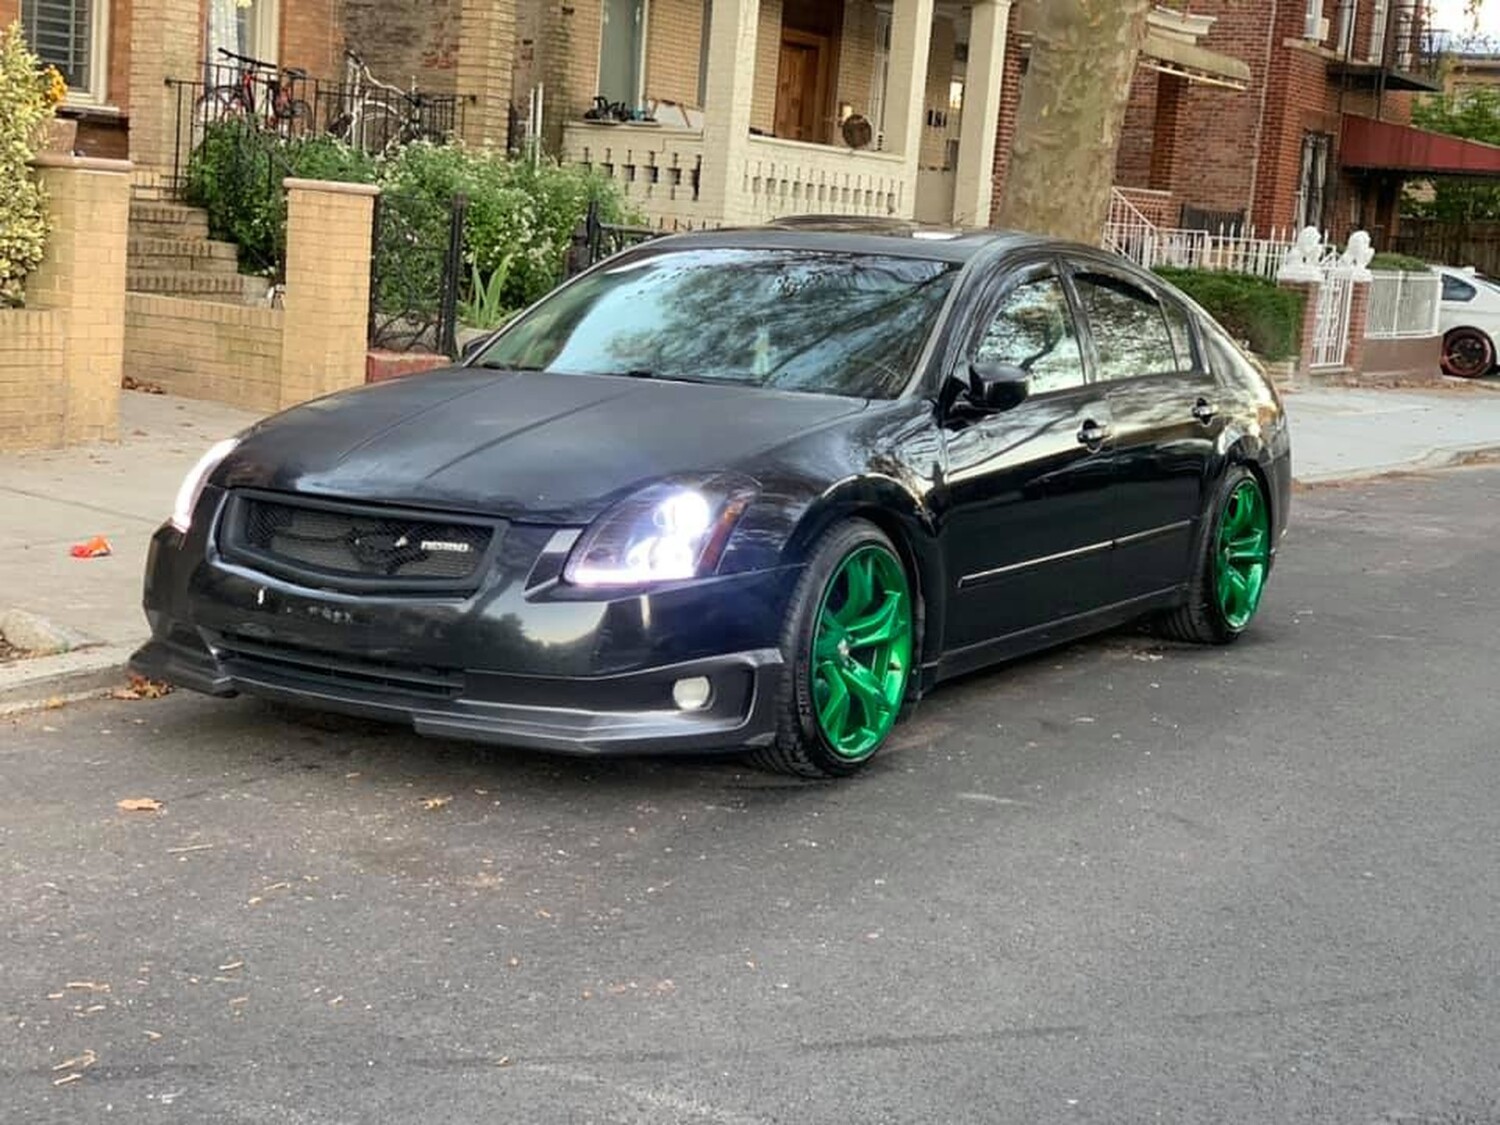
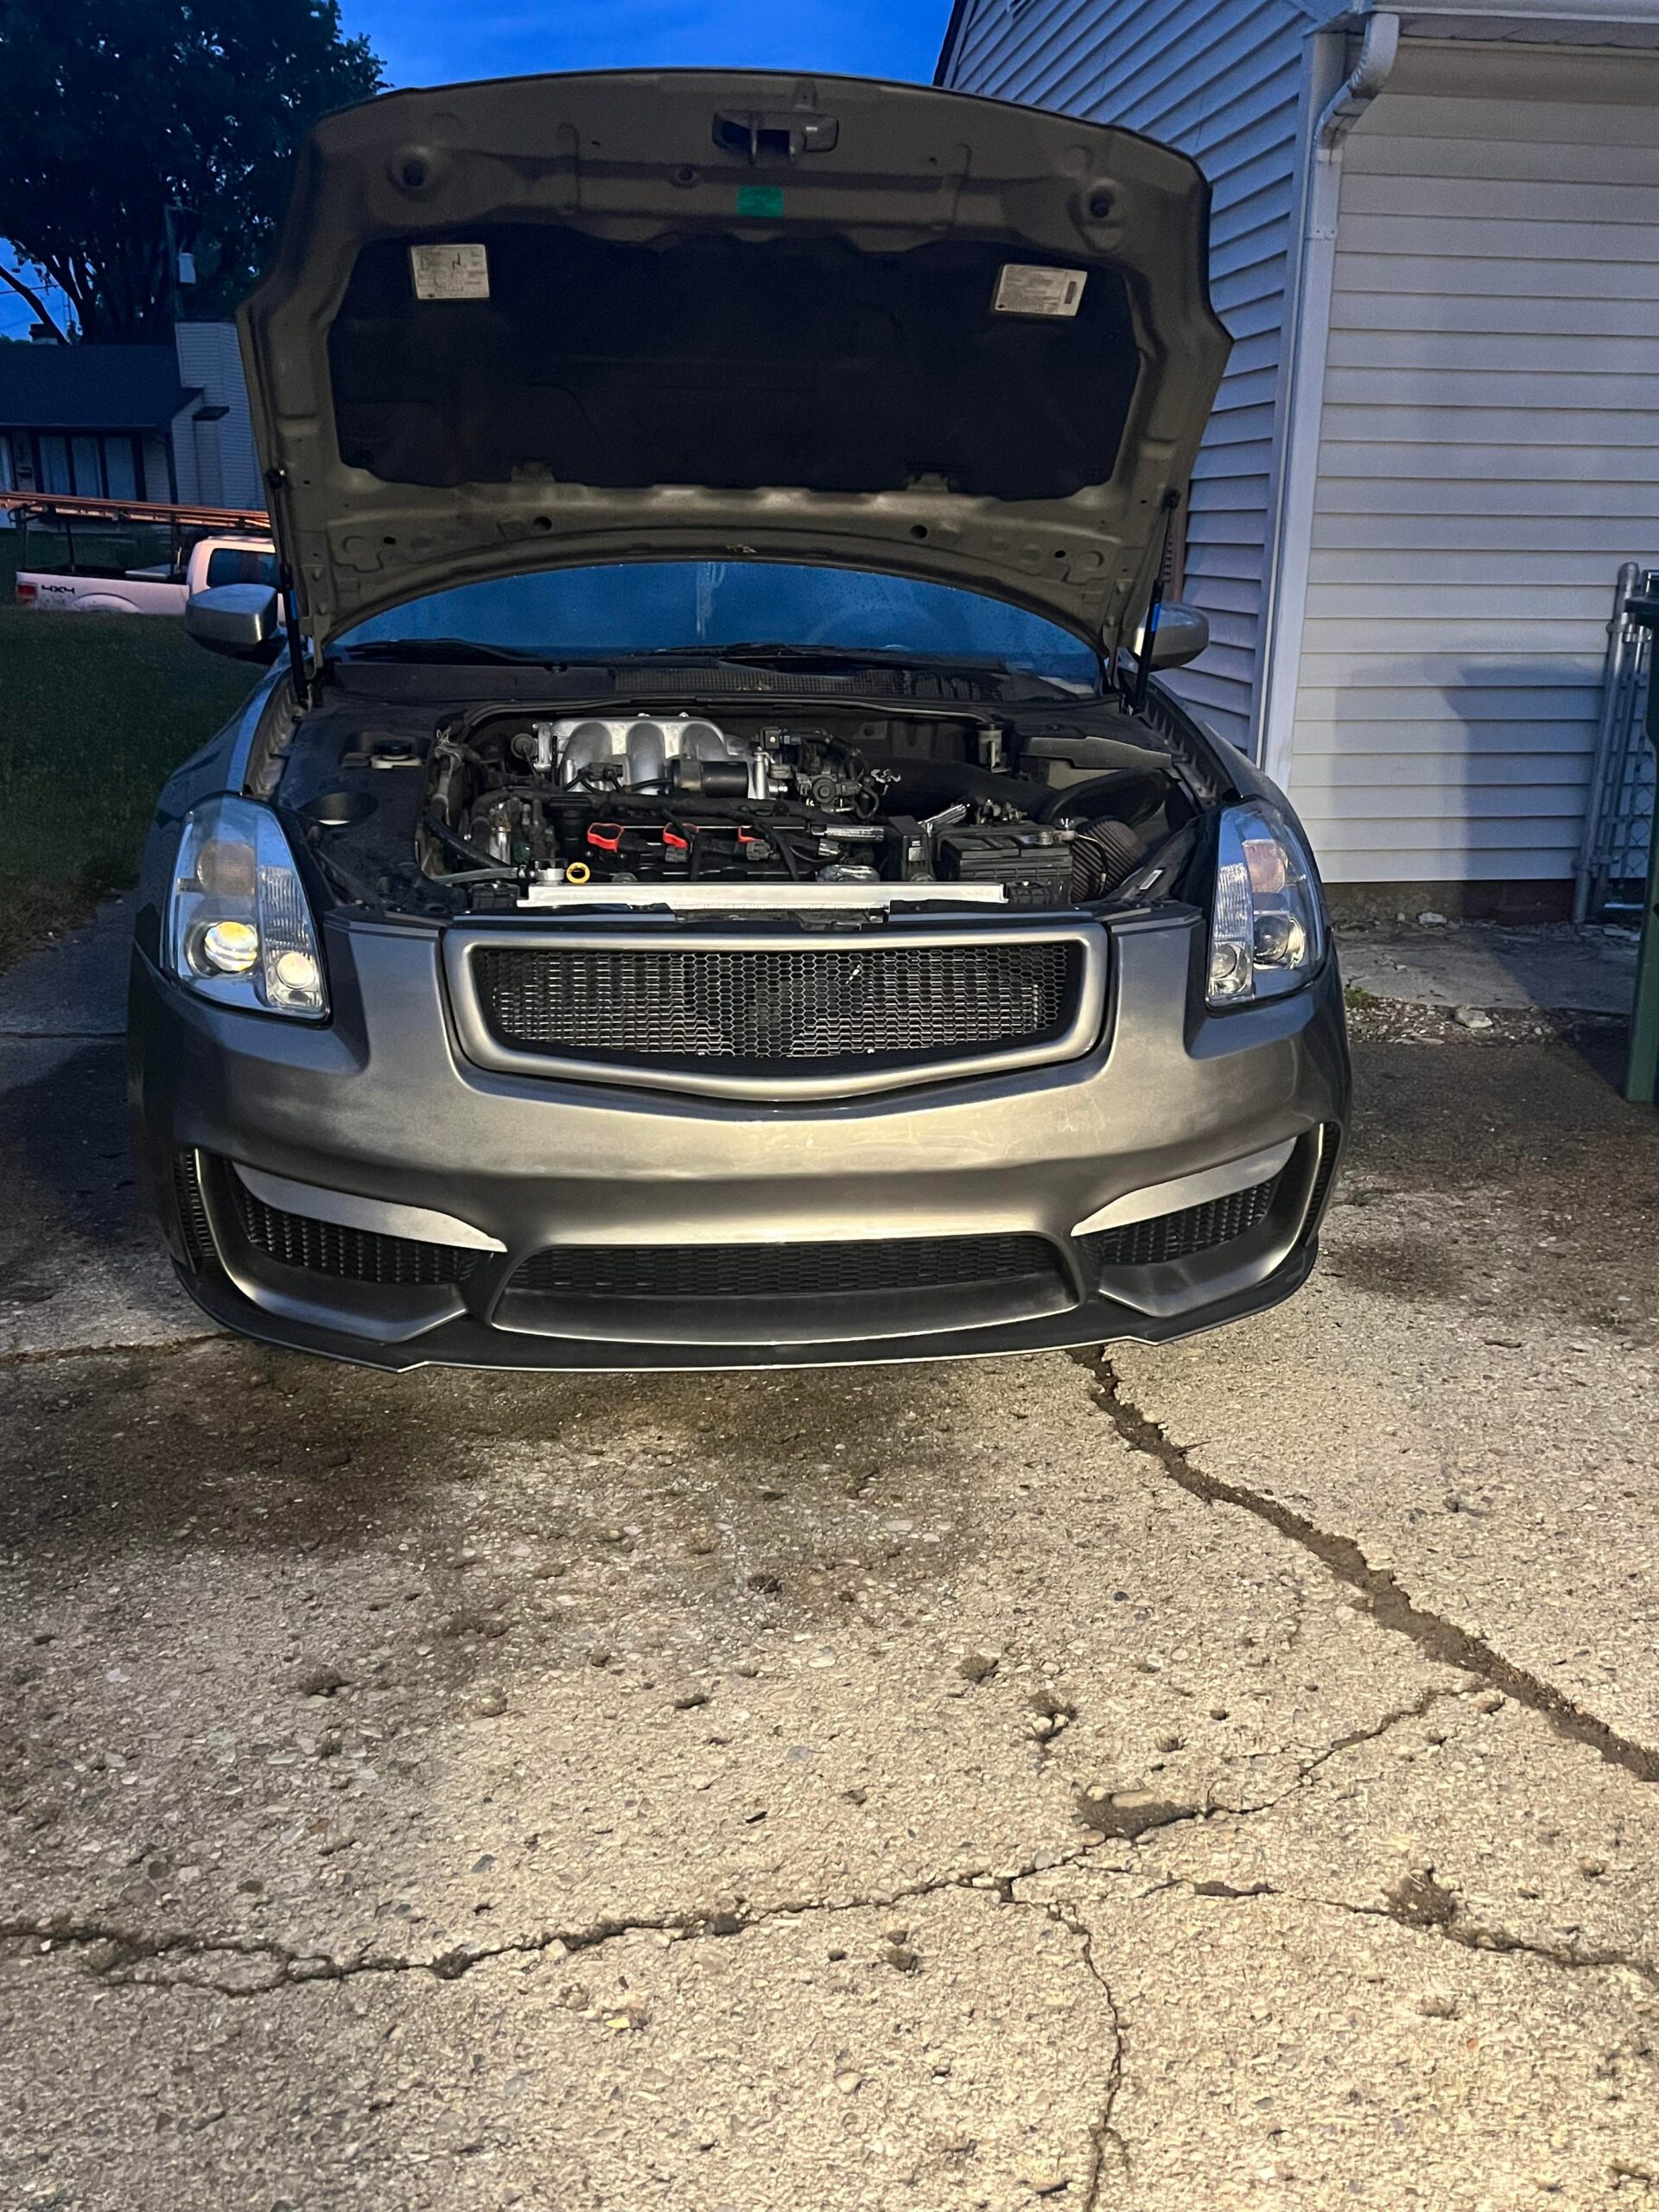
Owner: Charles Downer
Year: 2006
Model: Maxima
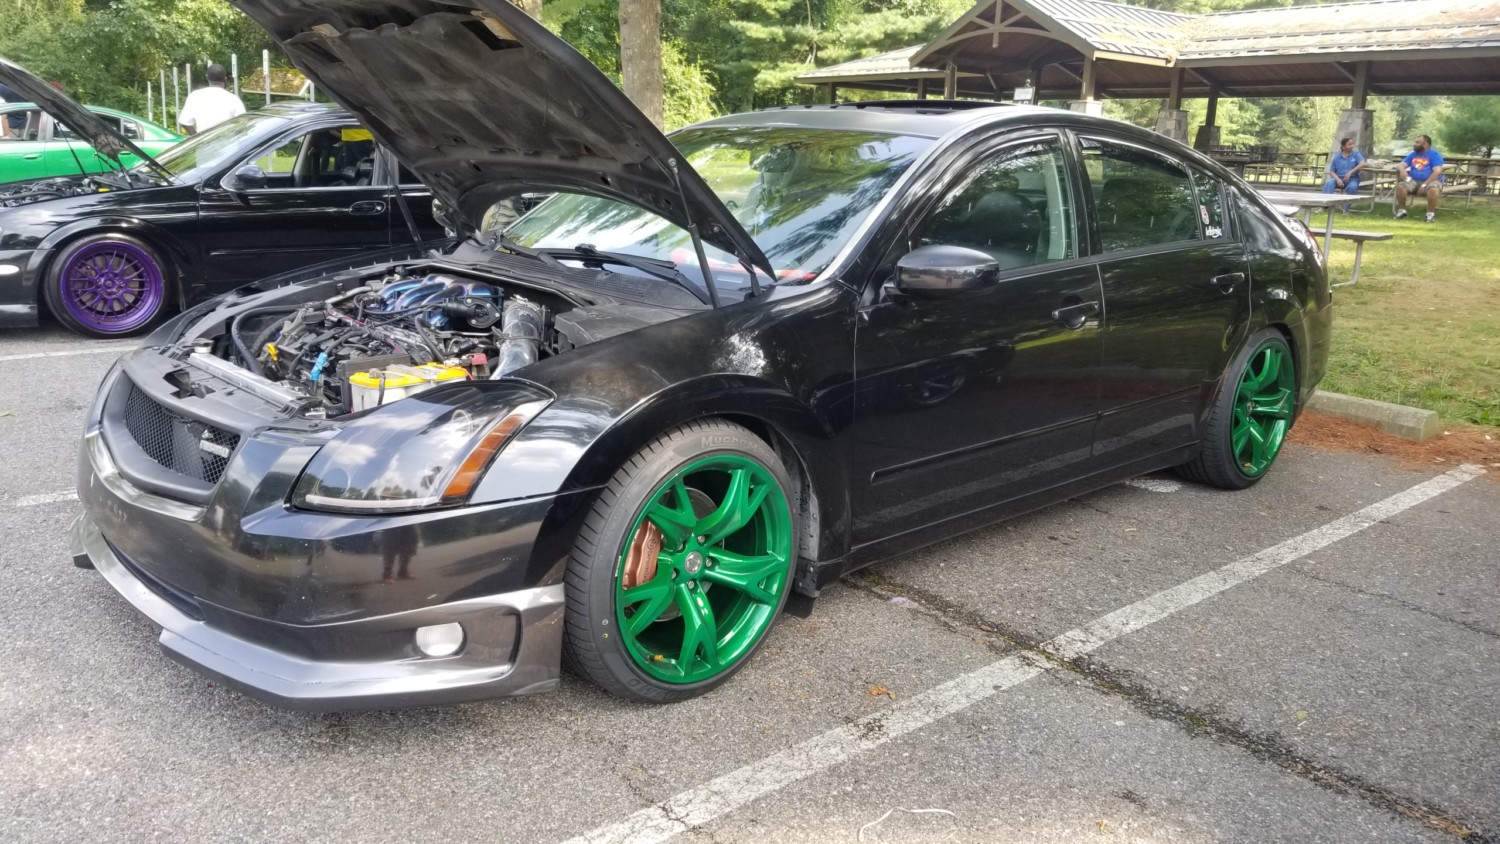
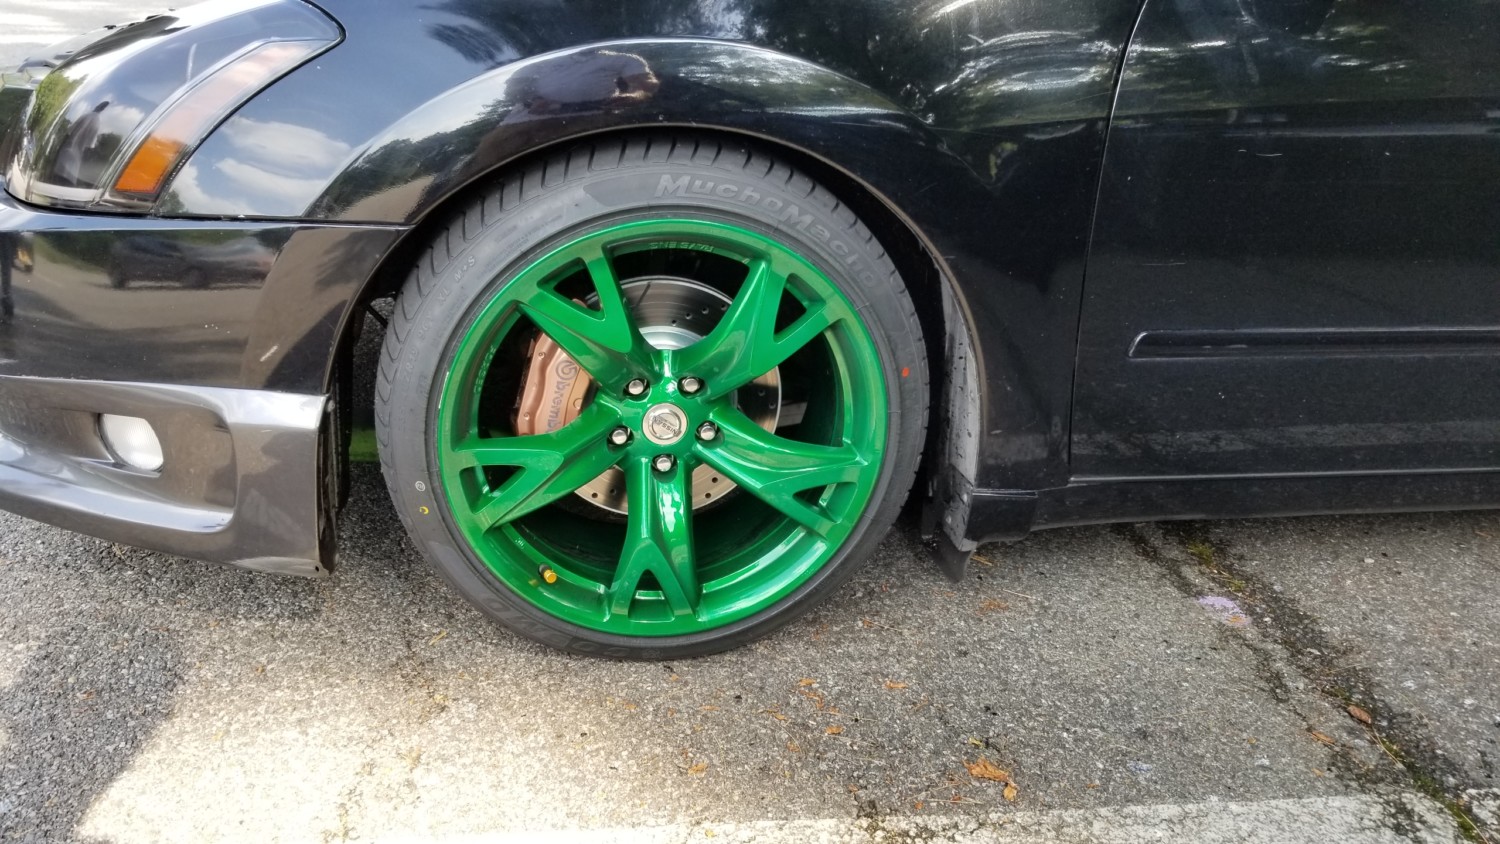
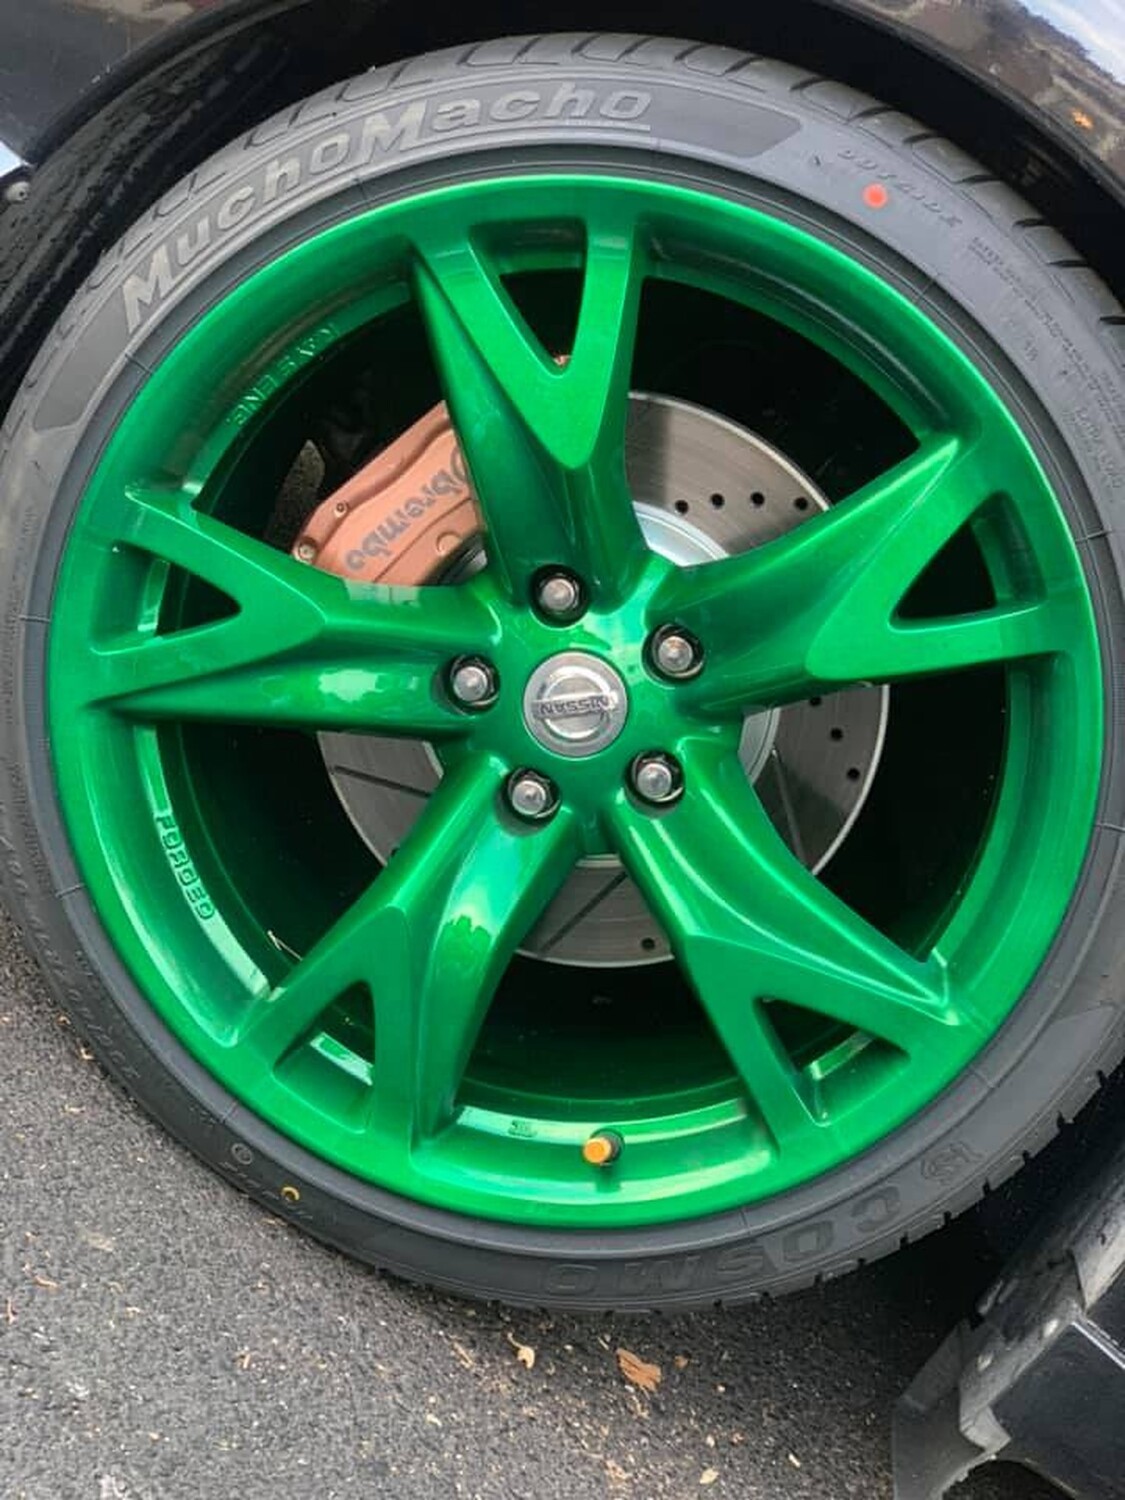
Current Color: Black
Transmission: 6-Speed Manual
Trim: SE


![]()

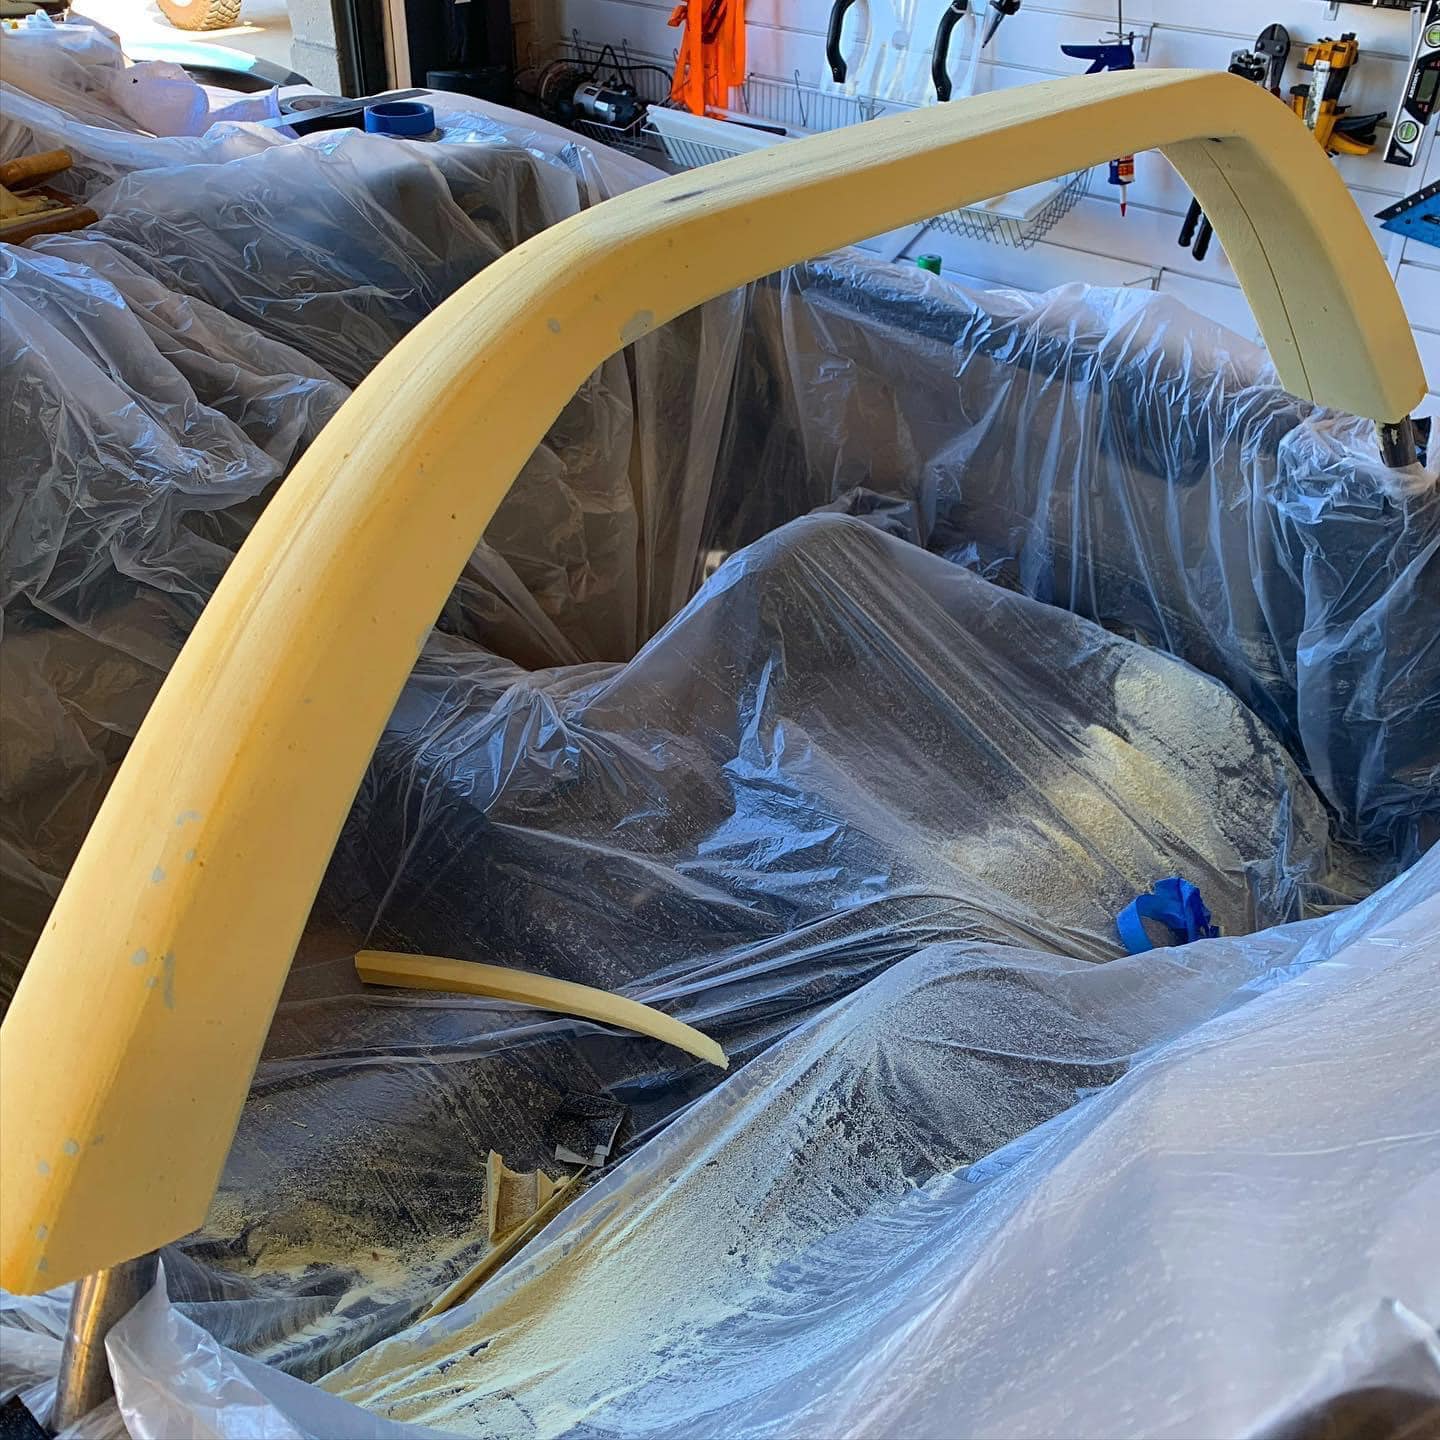
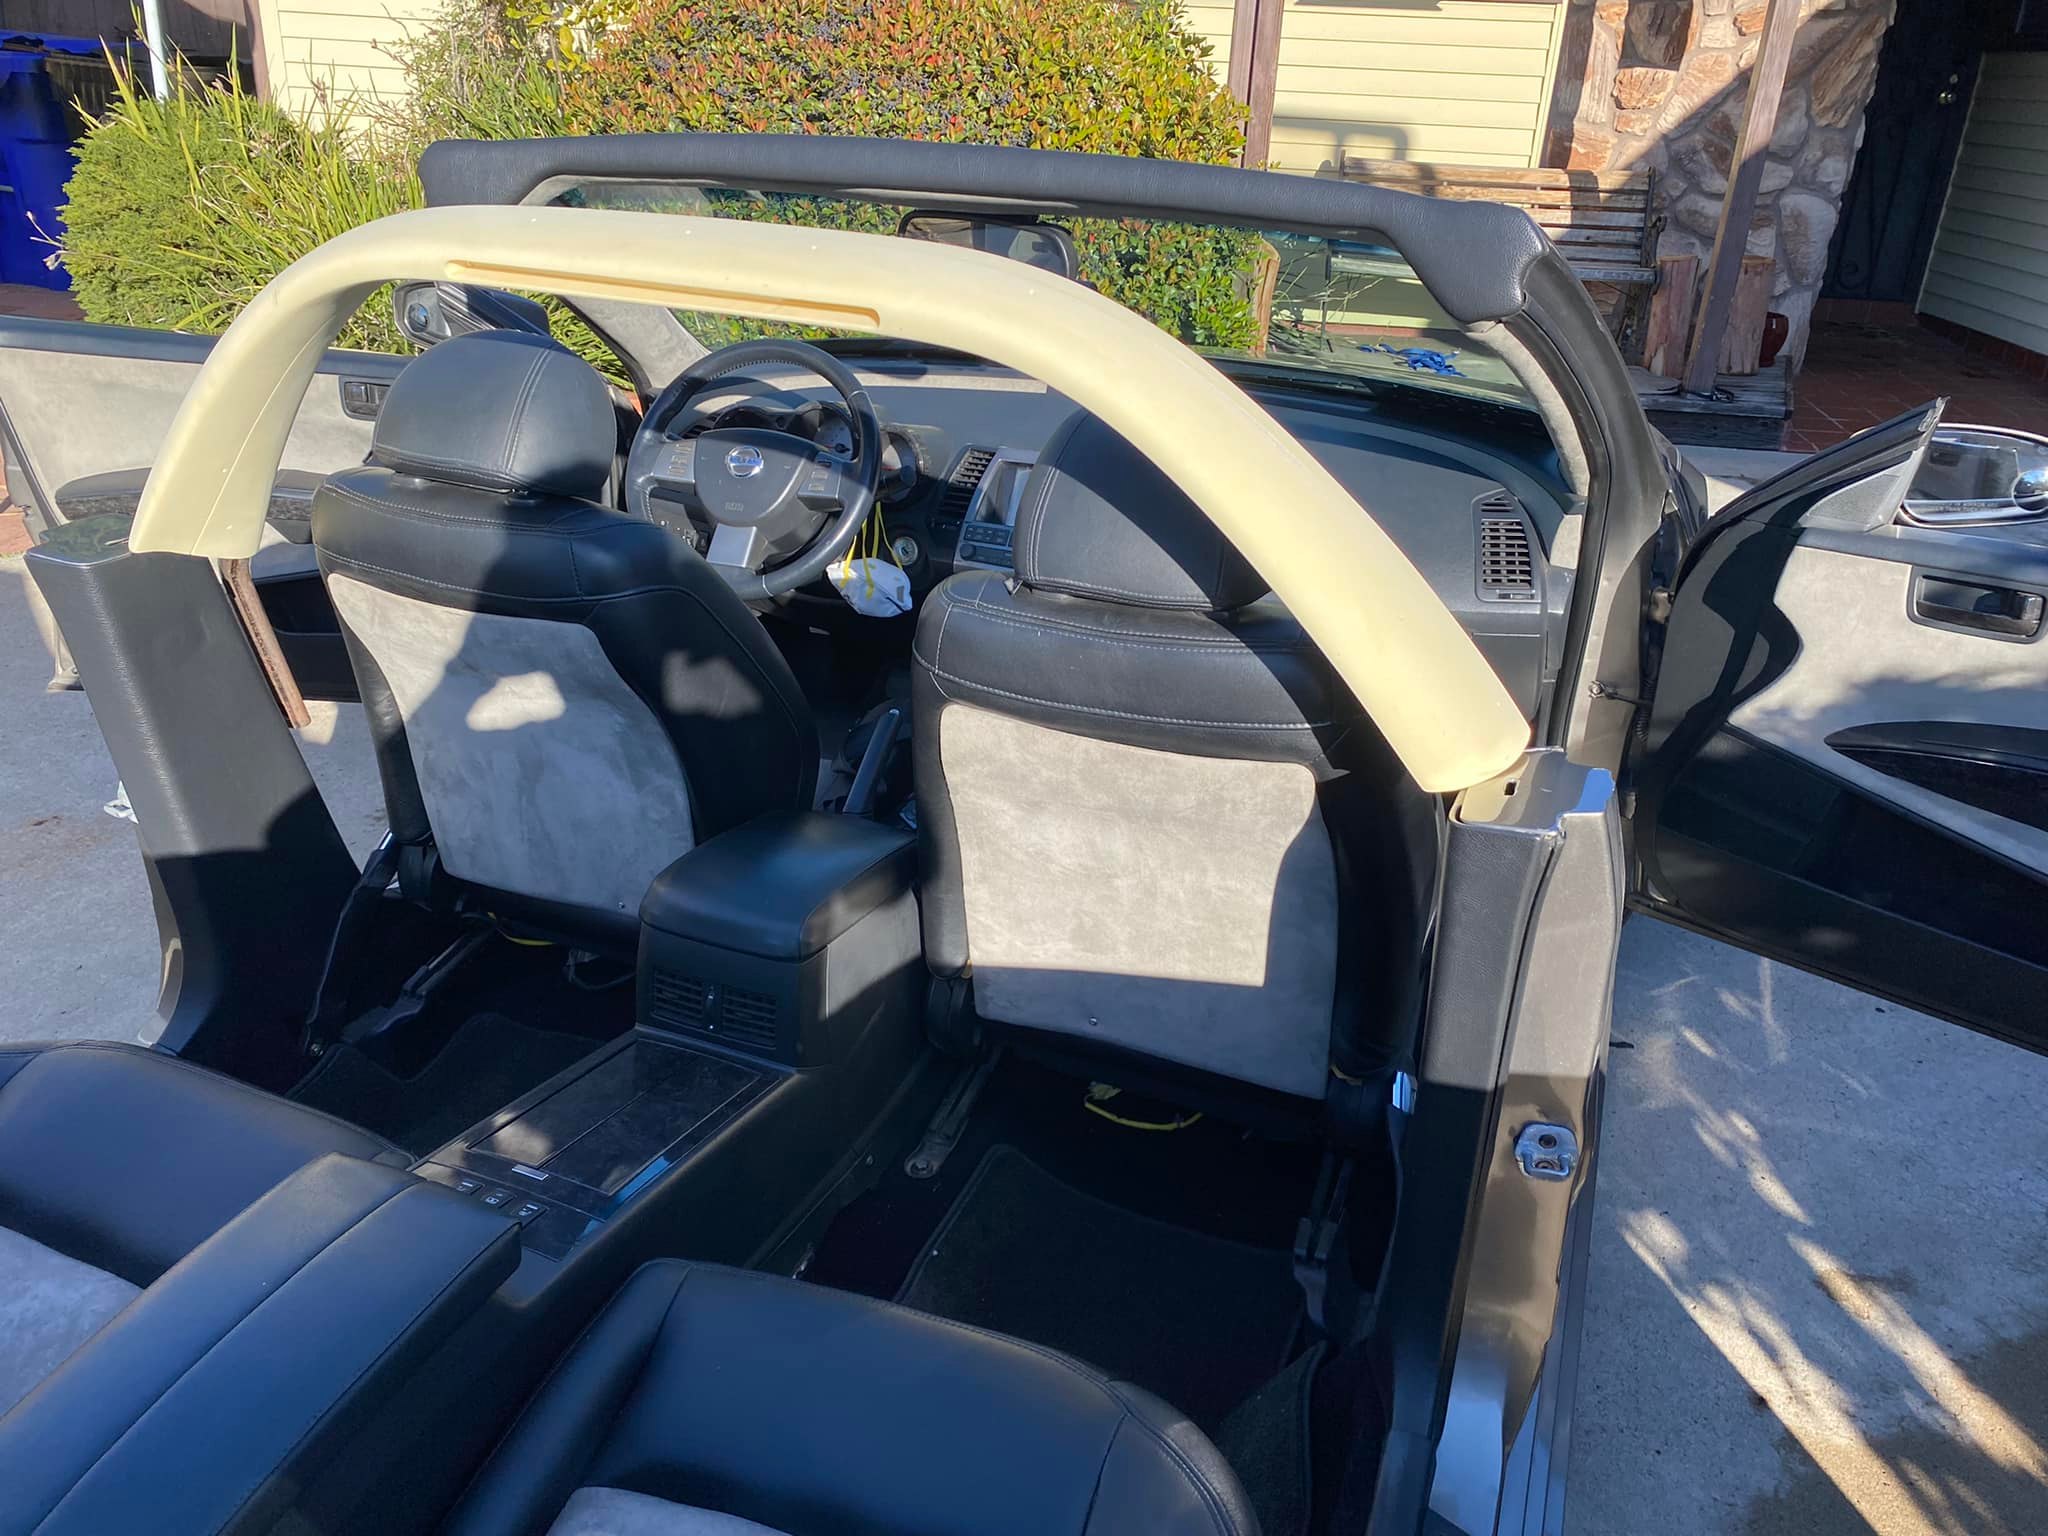
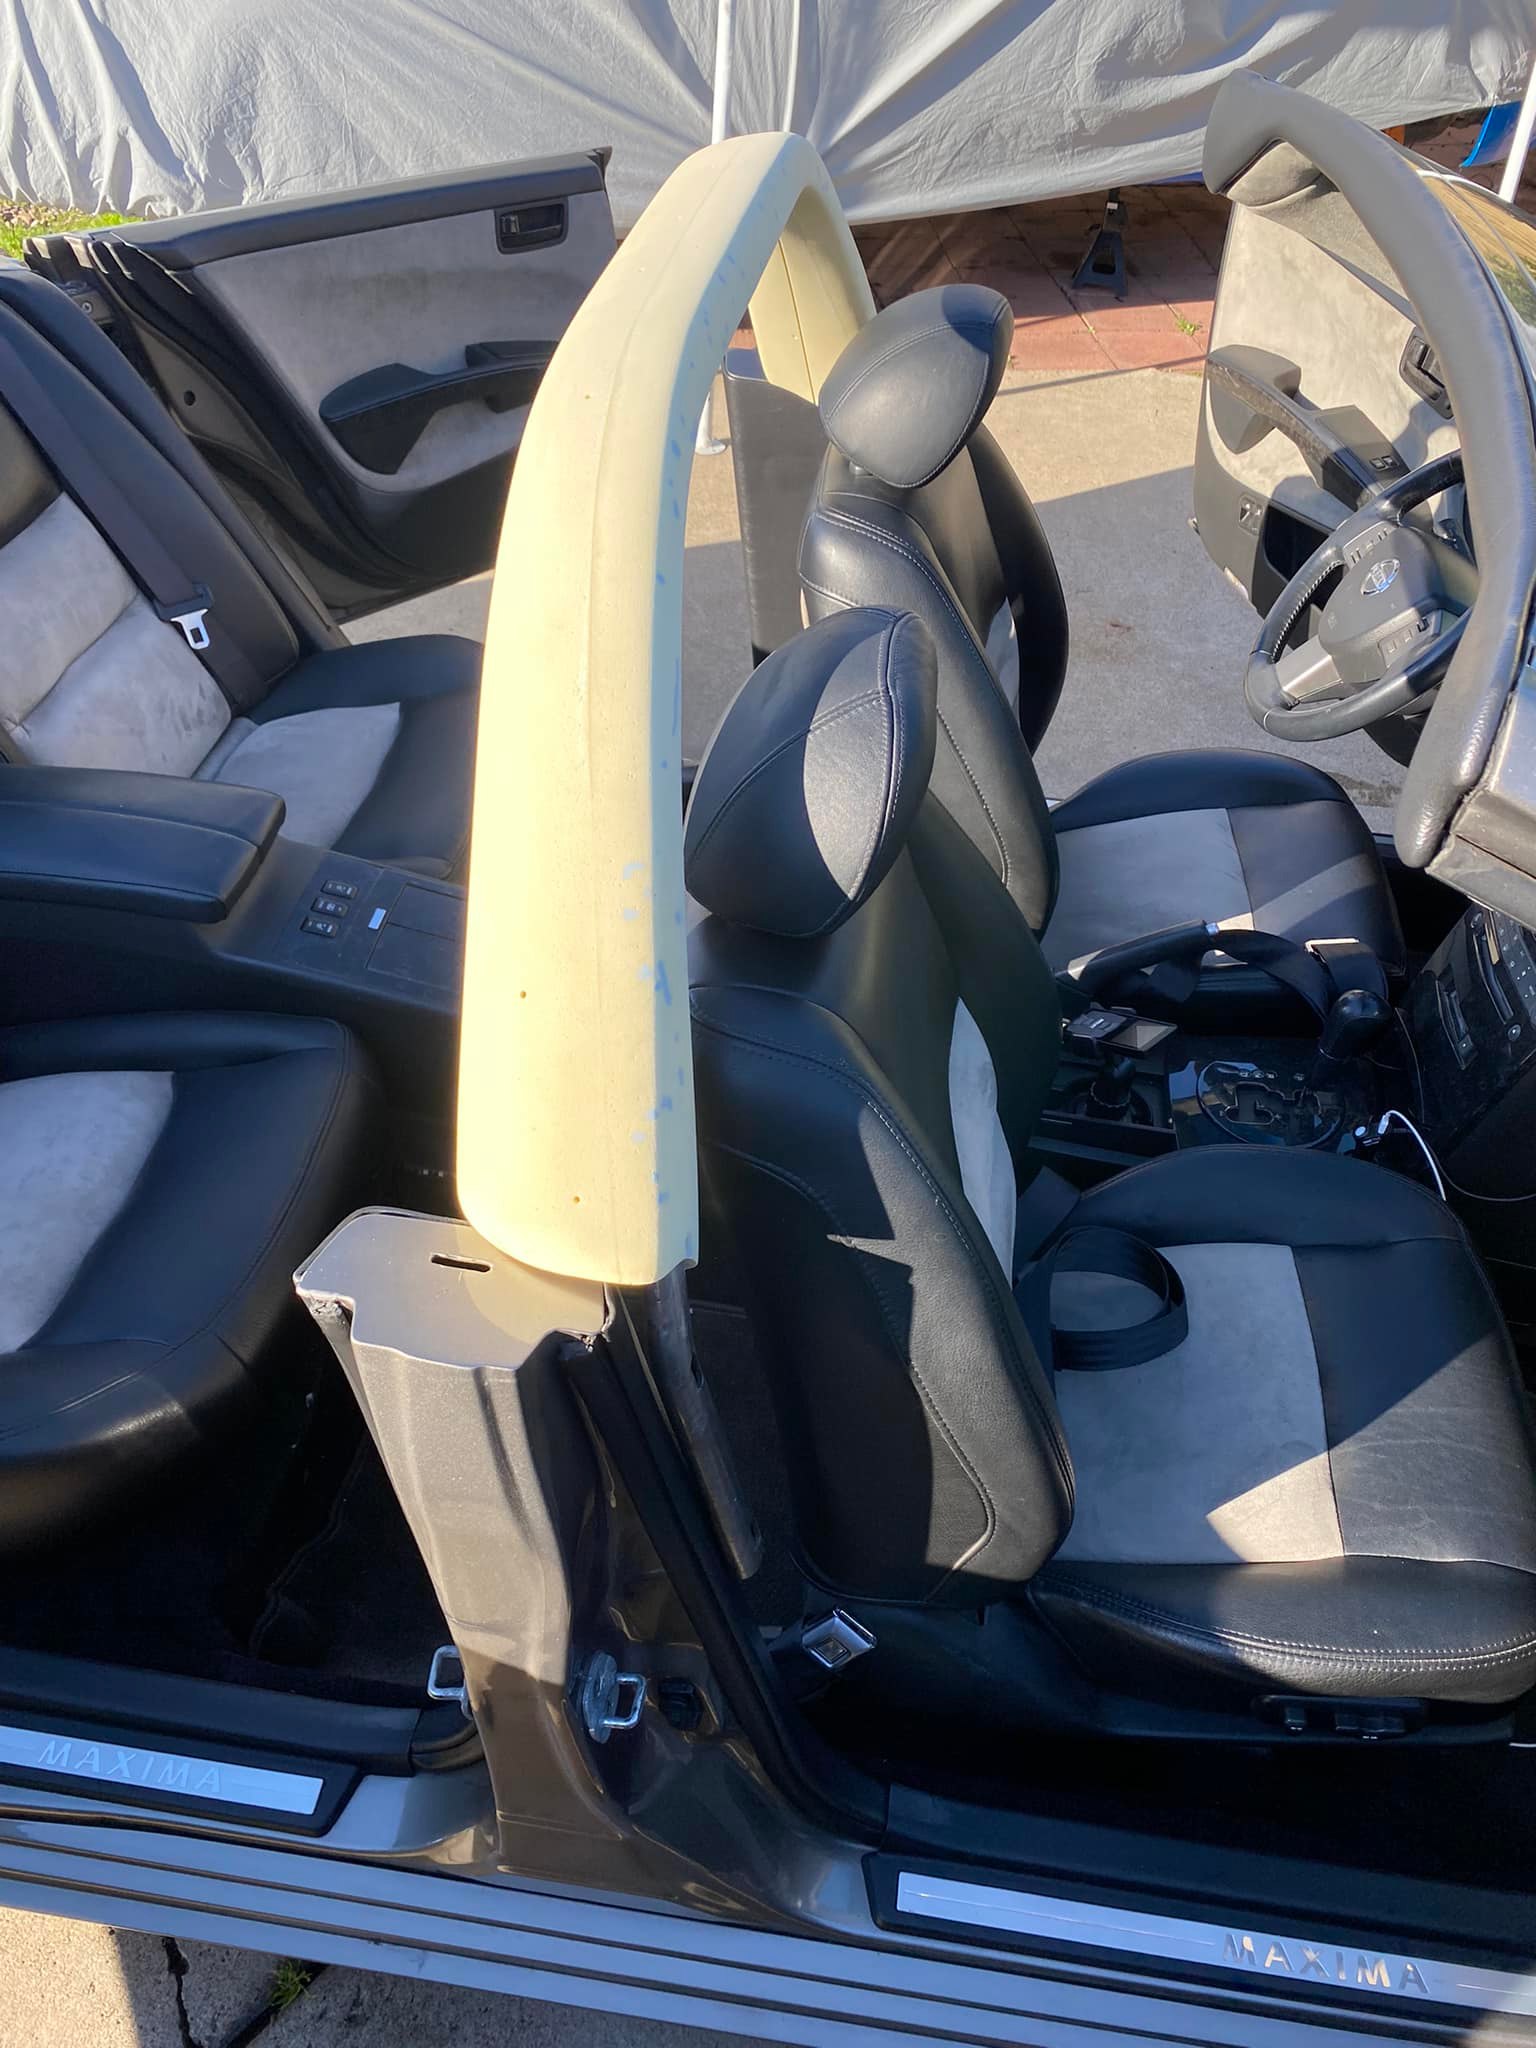
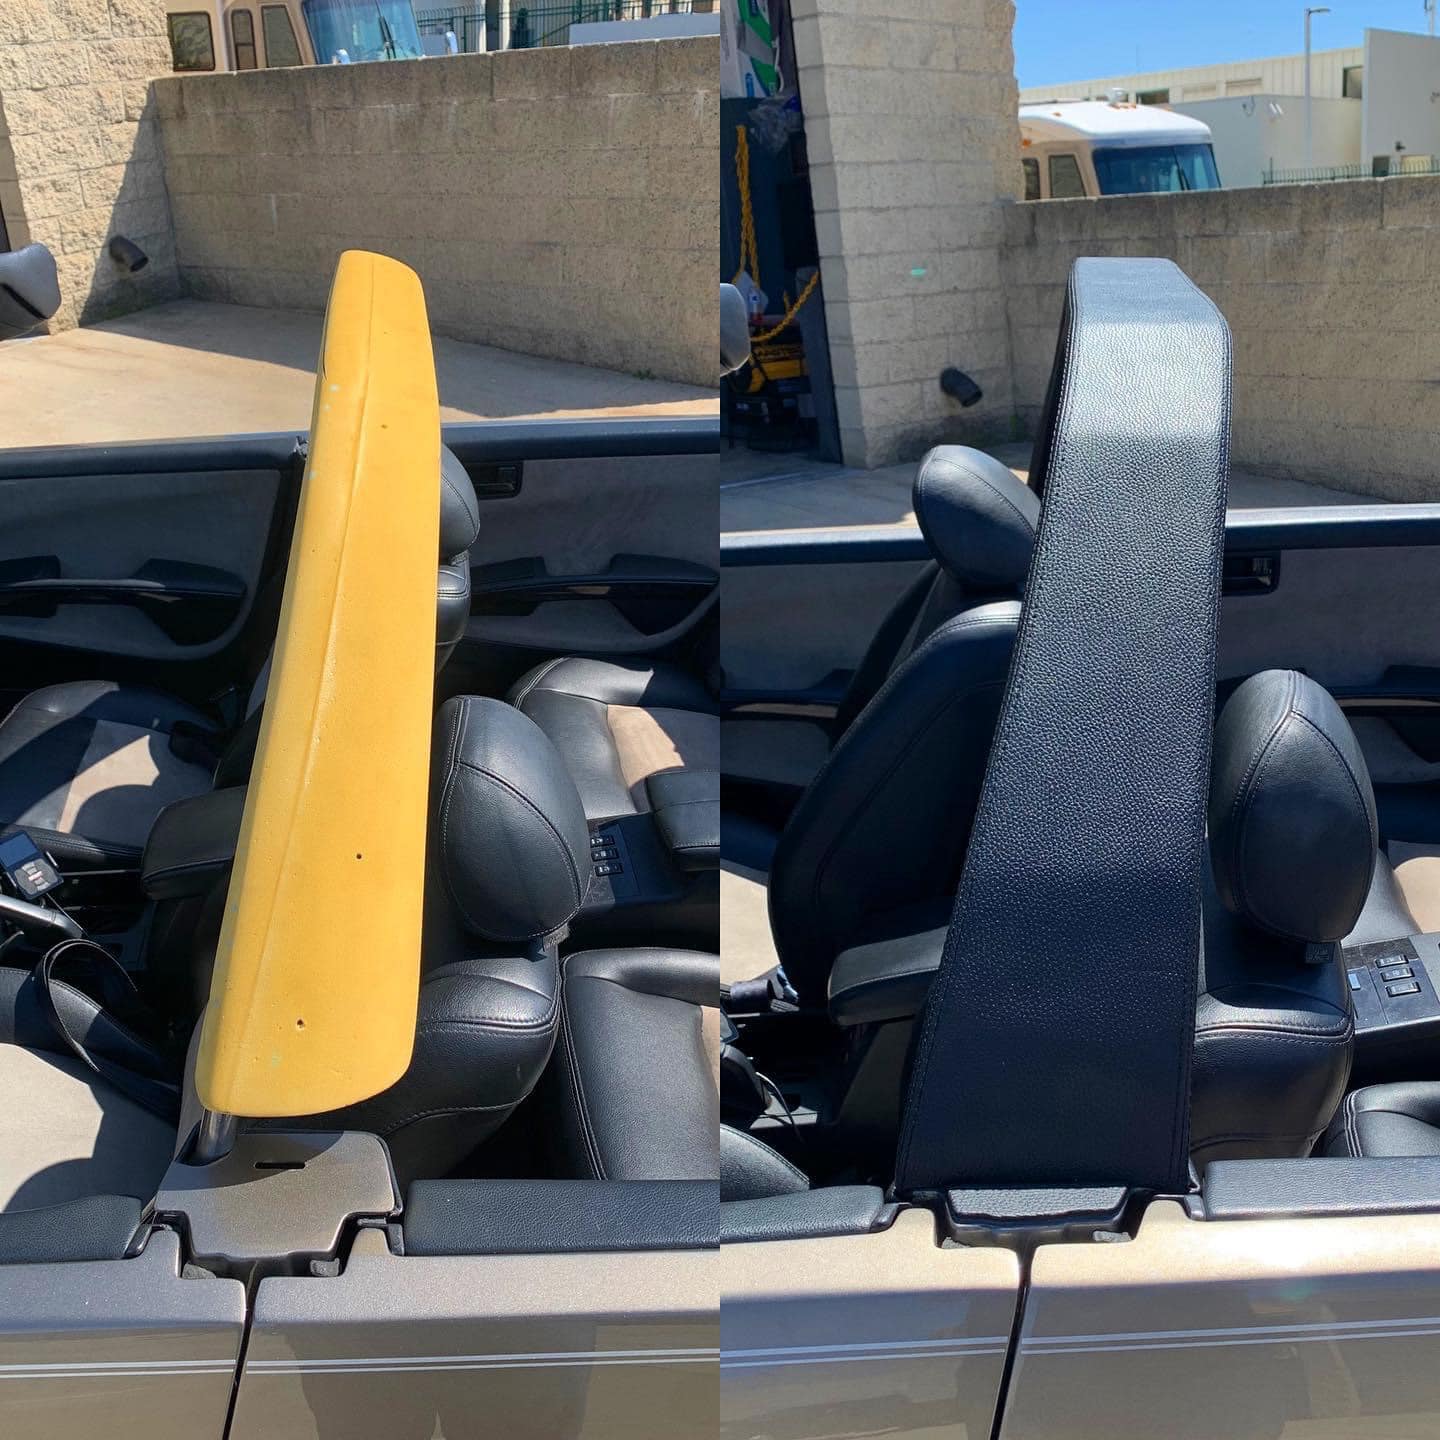
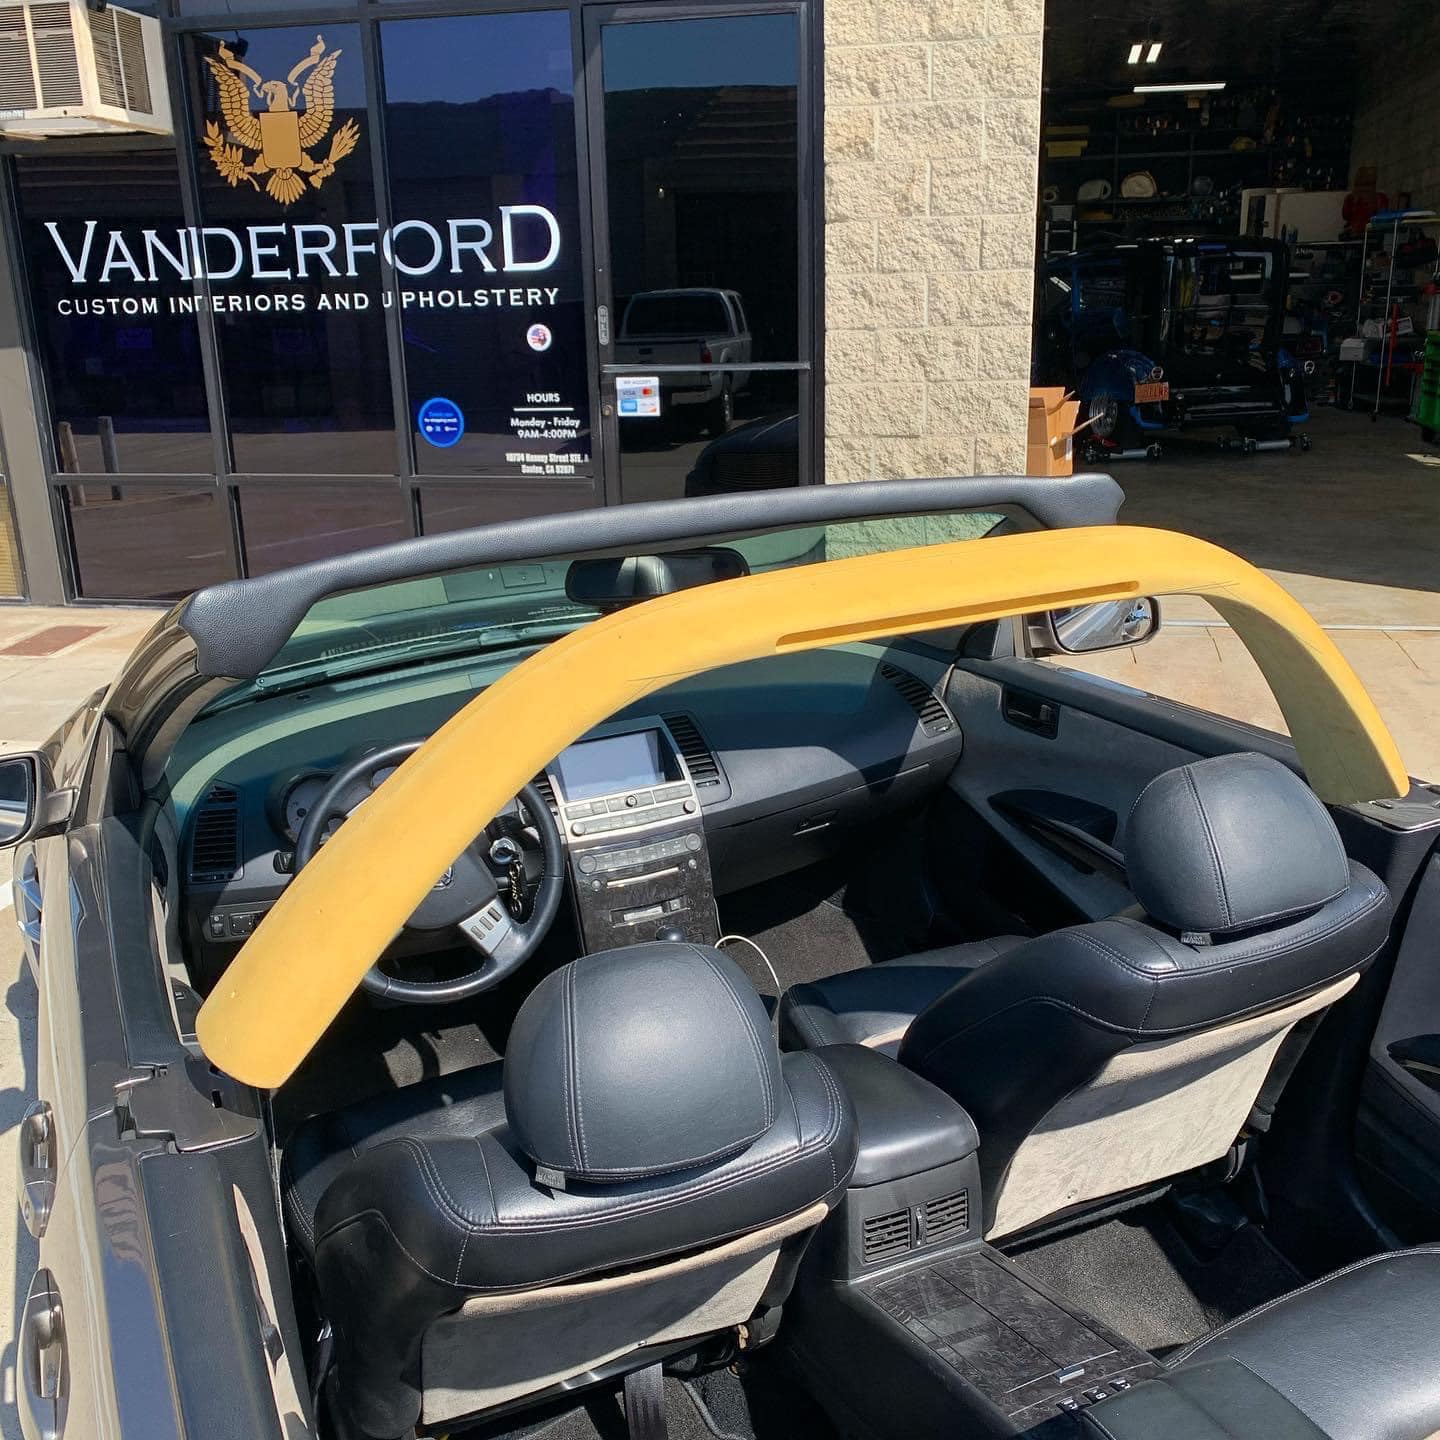
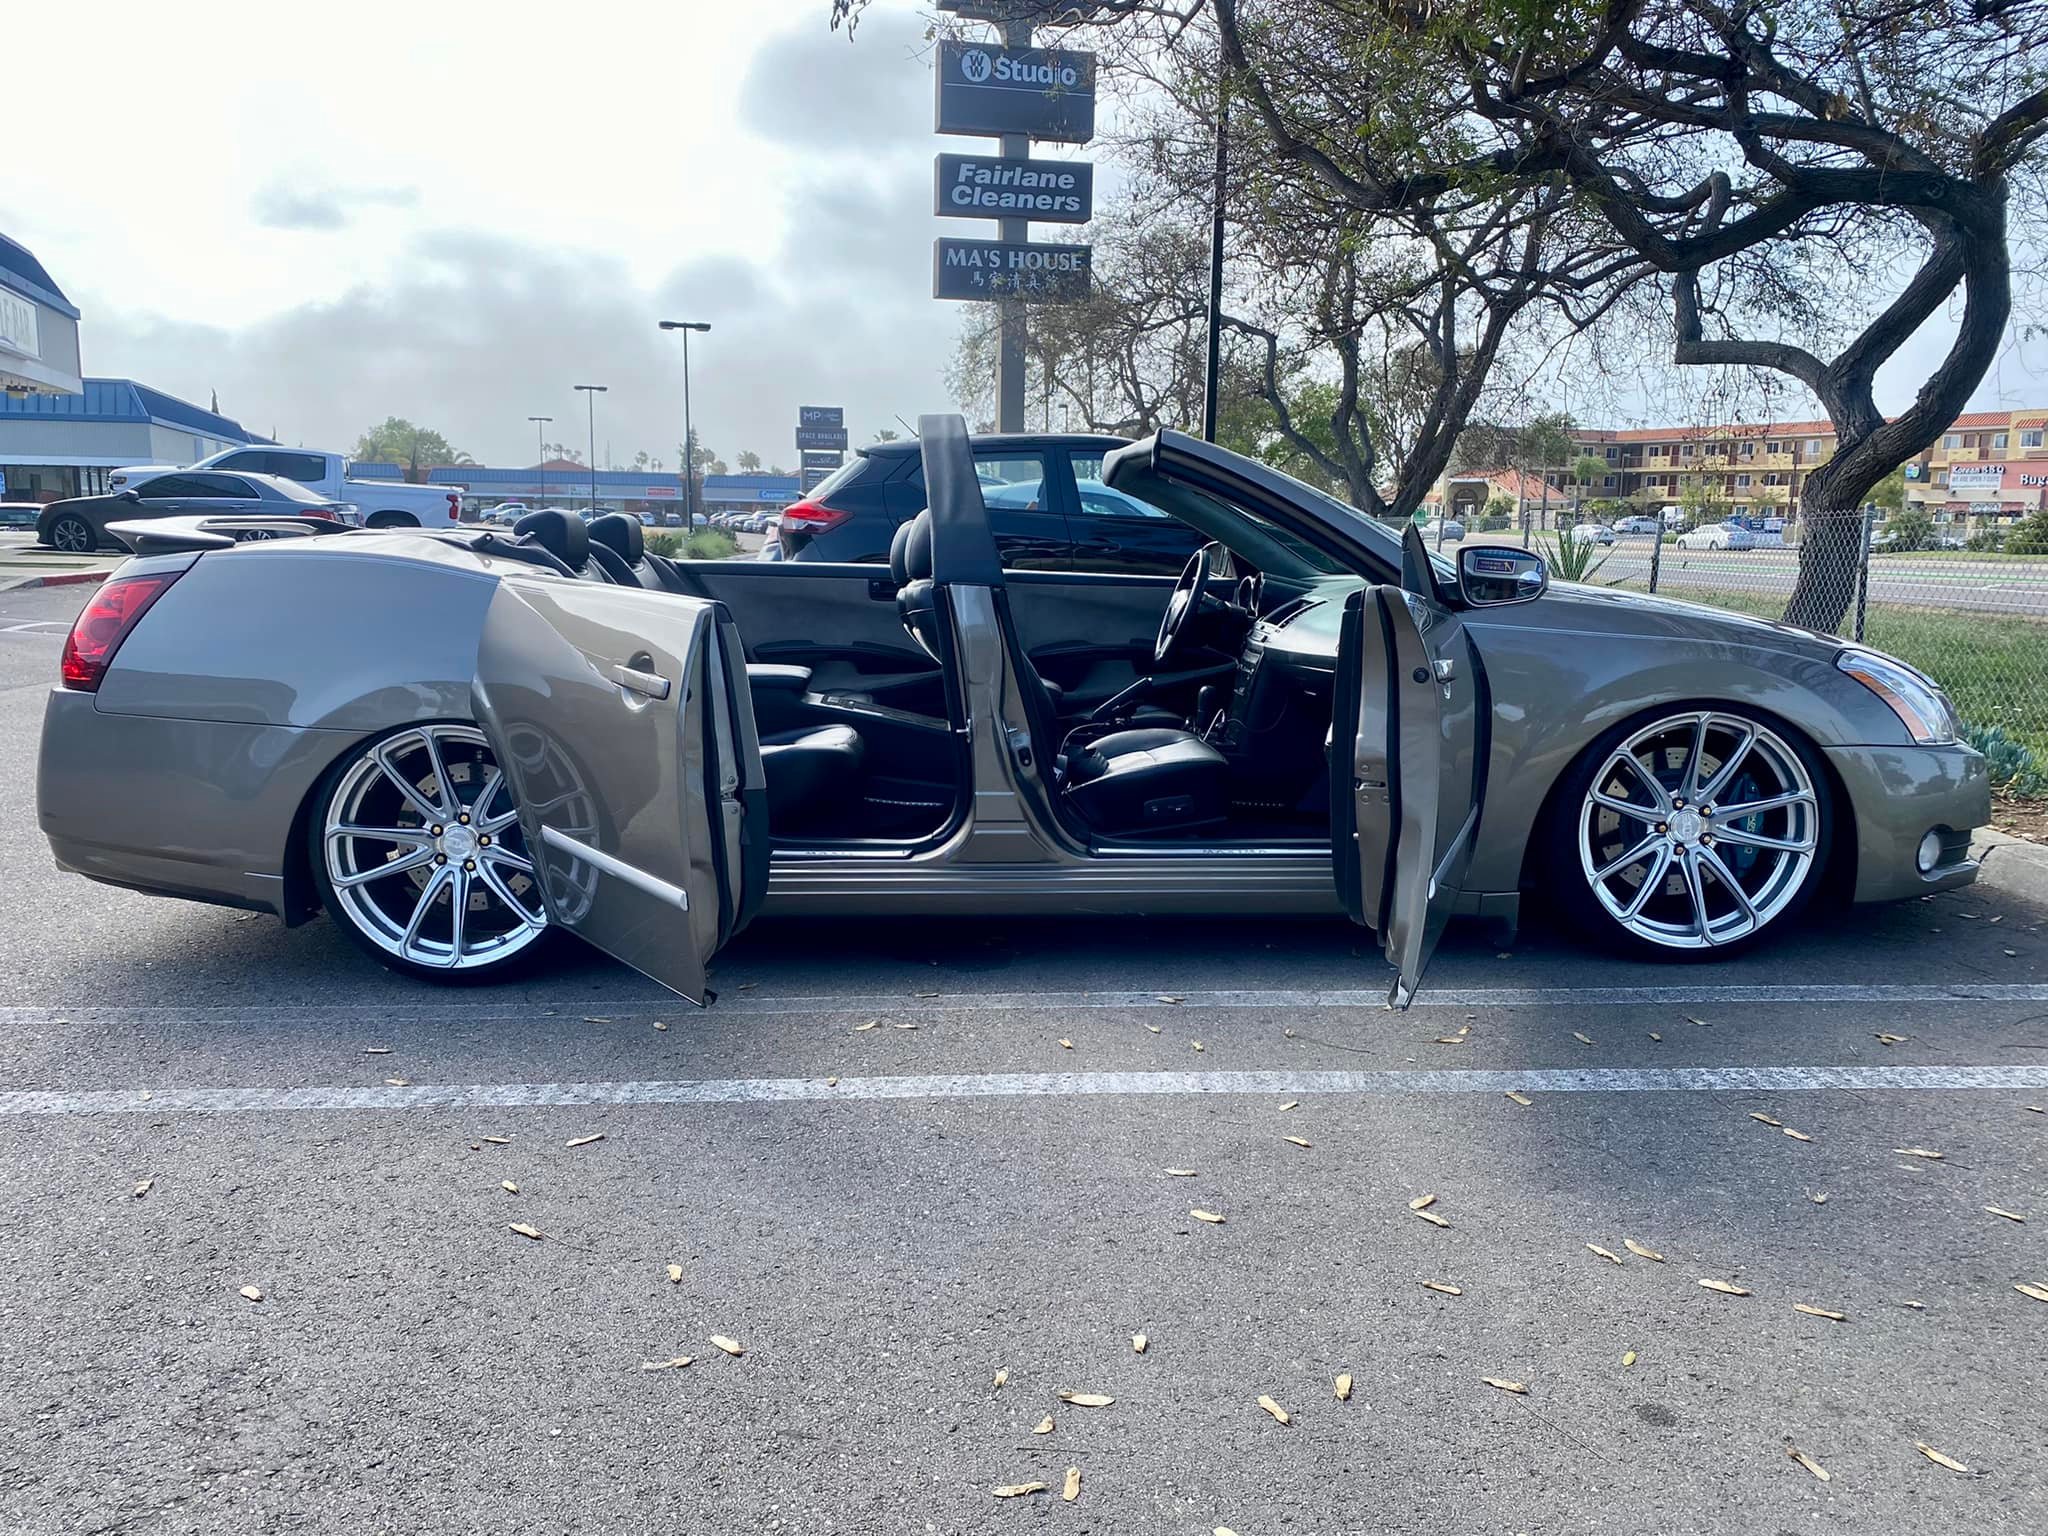
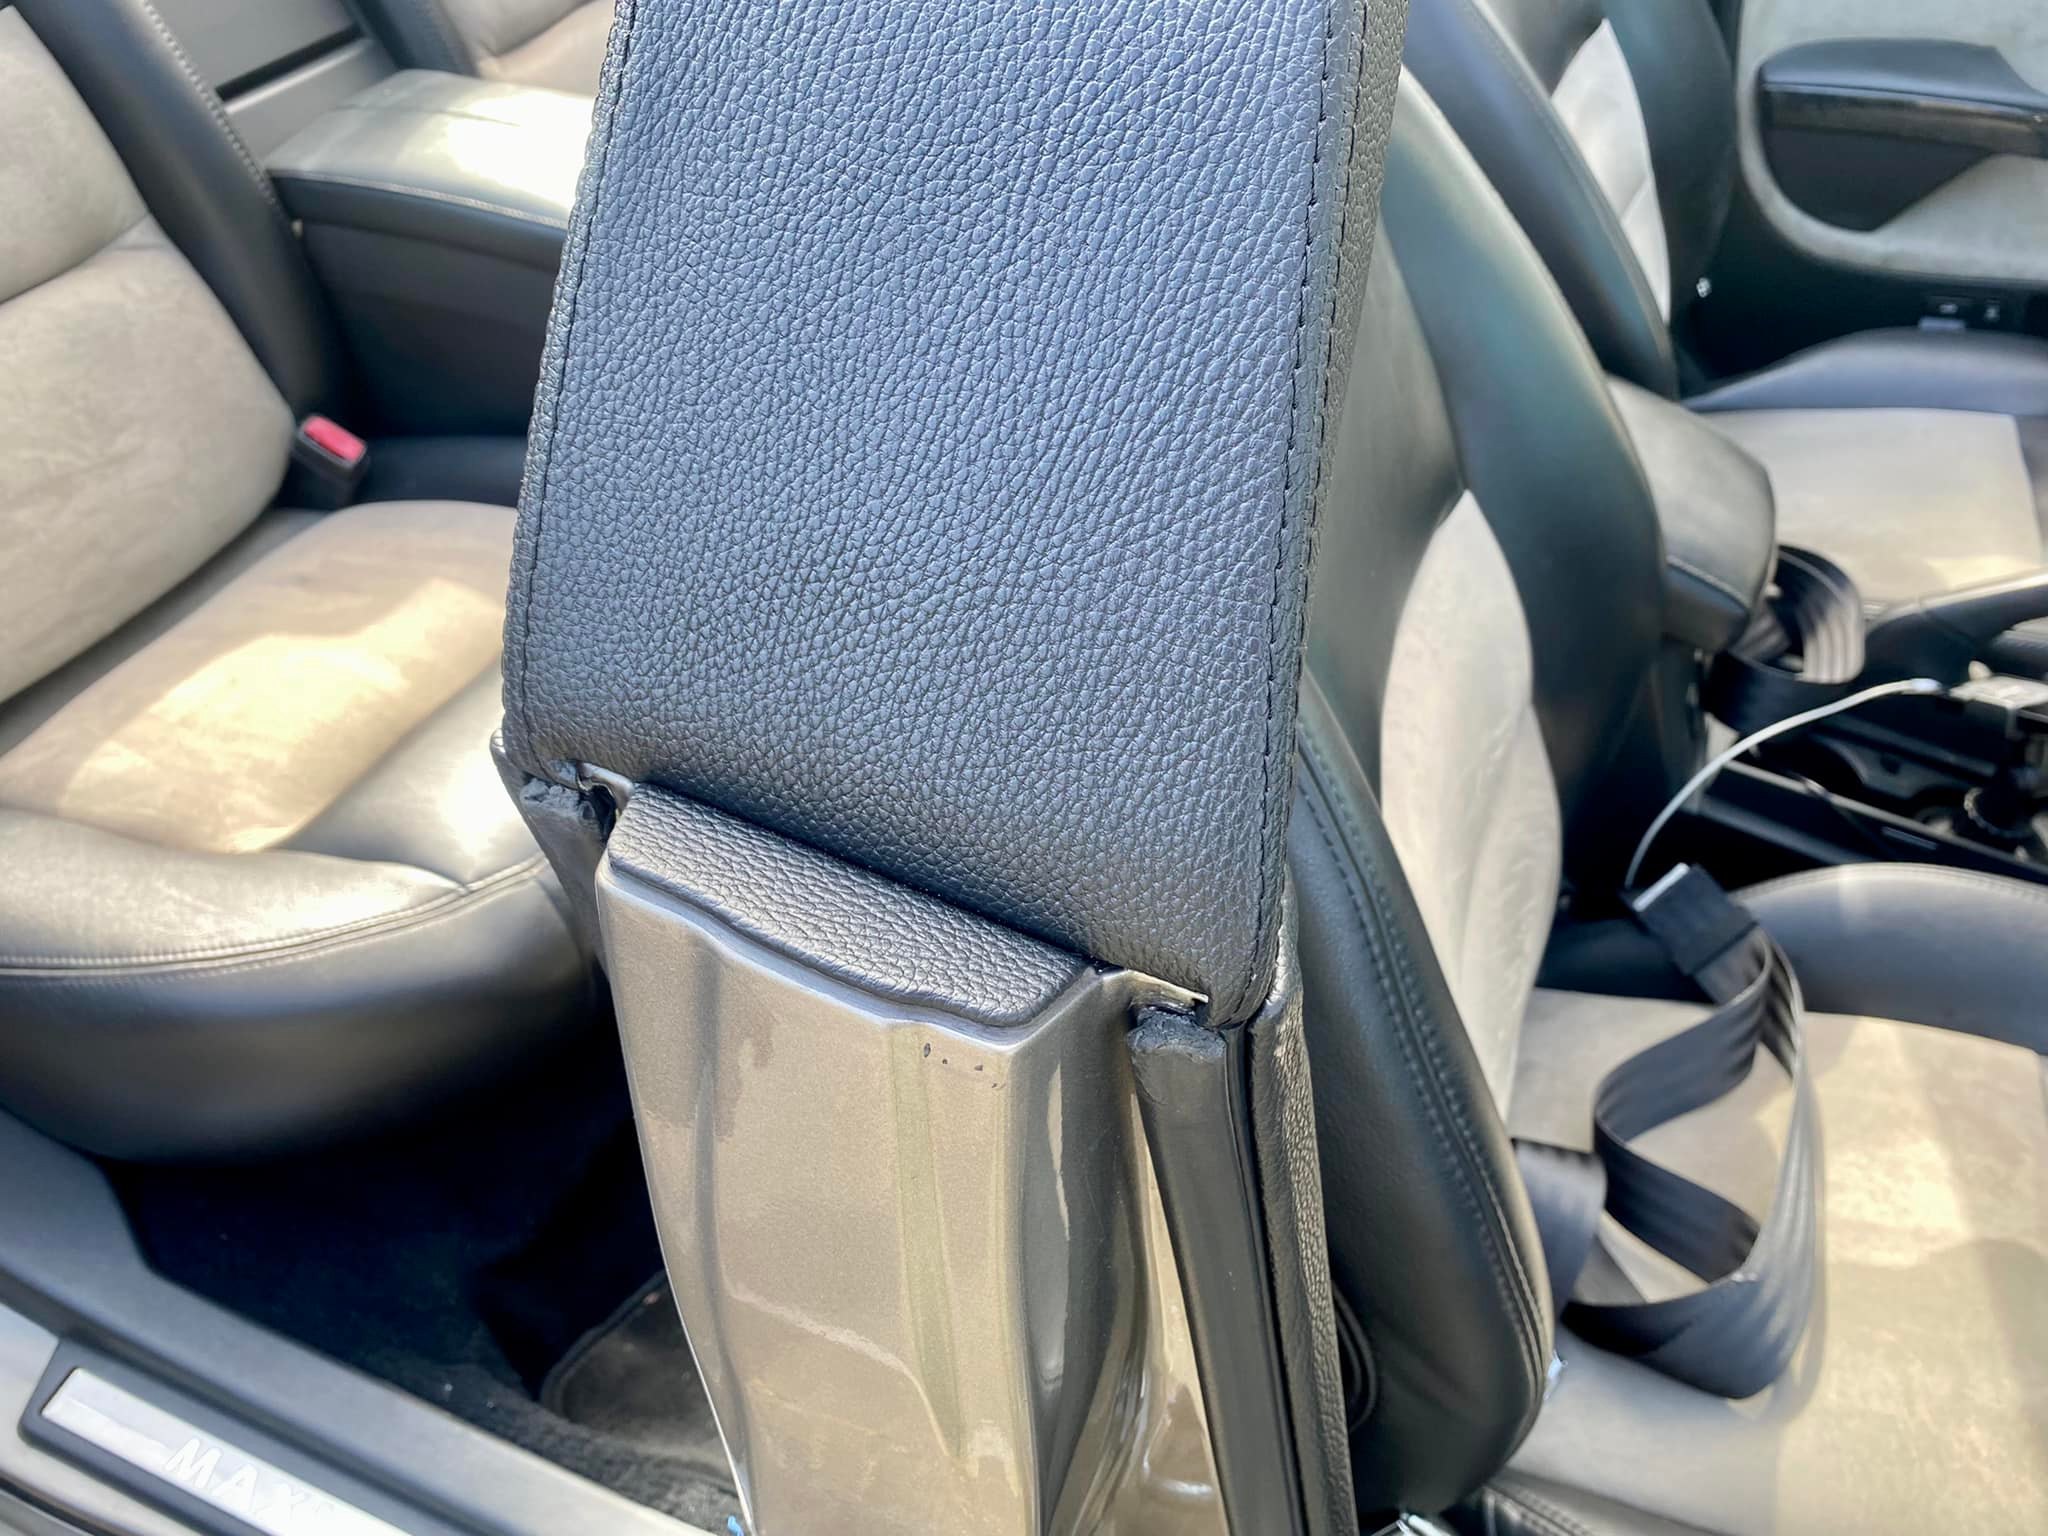
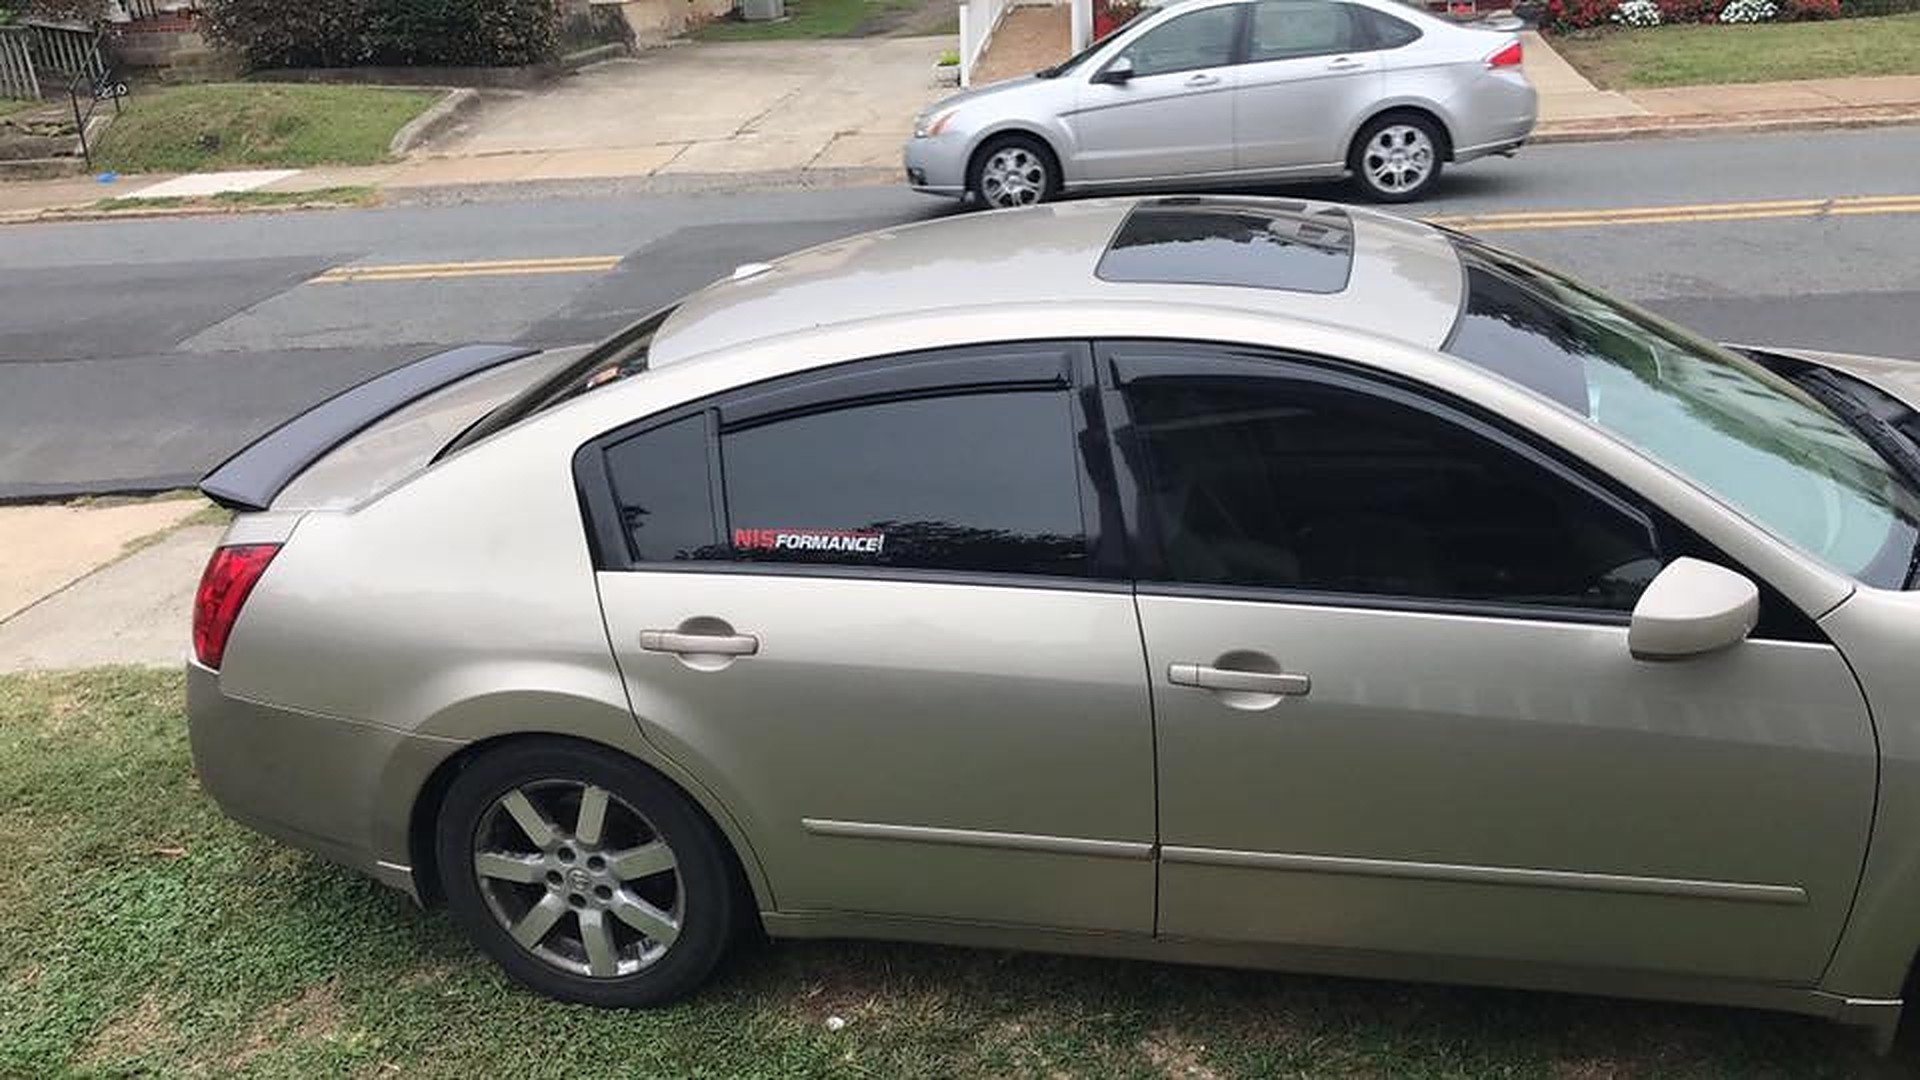
Owner: Rani F.
Year: 2004
Model: Maxima
Current Color: Tan
Transmission: 5-Speed Automatic
Trim: SE Elite


![]()

Owner: Patrick Marcello
Year: 2007
Model: Maxima
Color: Red (Originally Black)
Transmission: CVT
Trim: SL


![]()
")
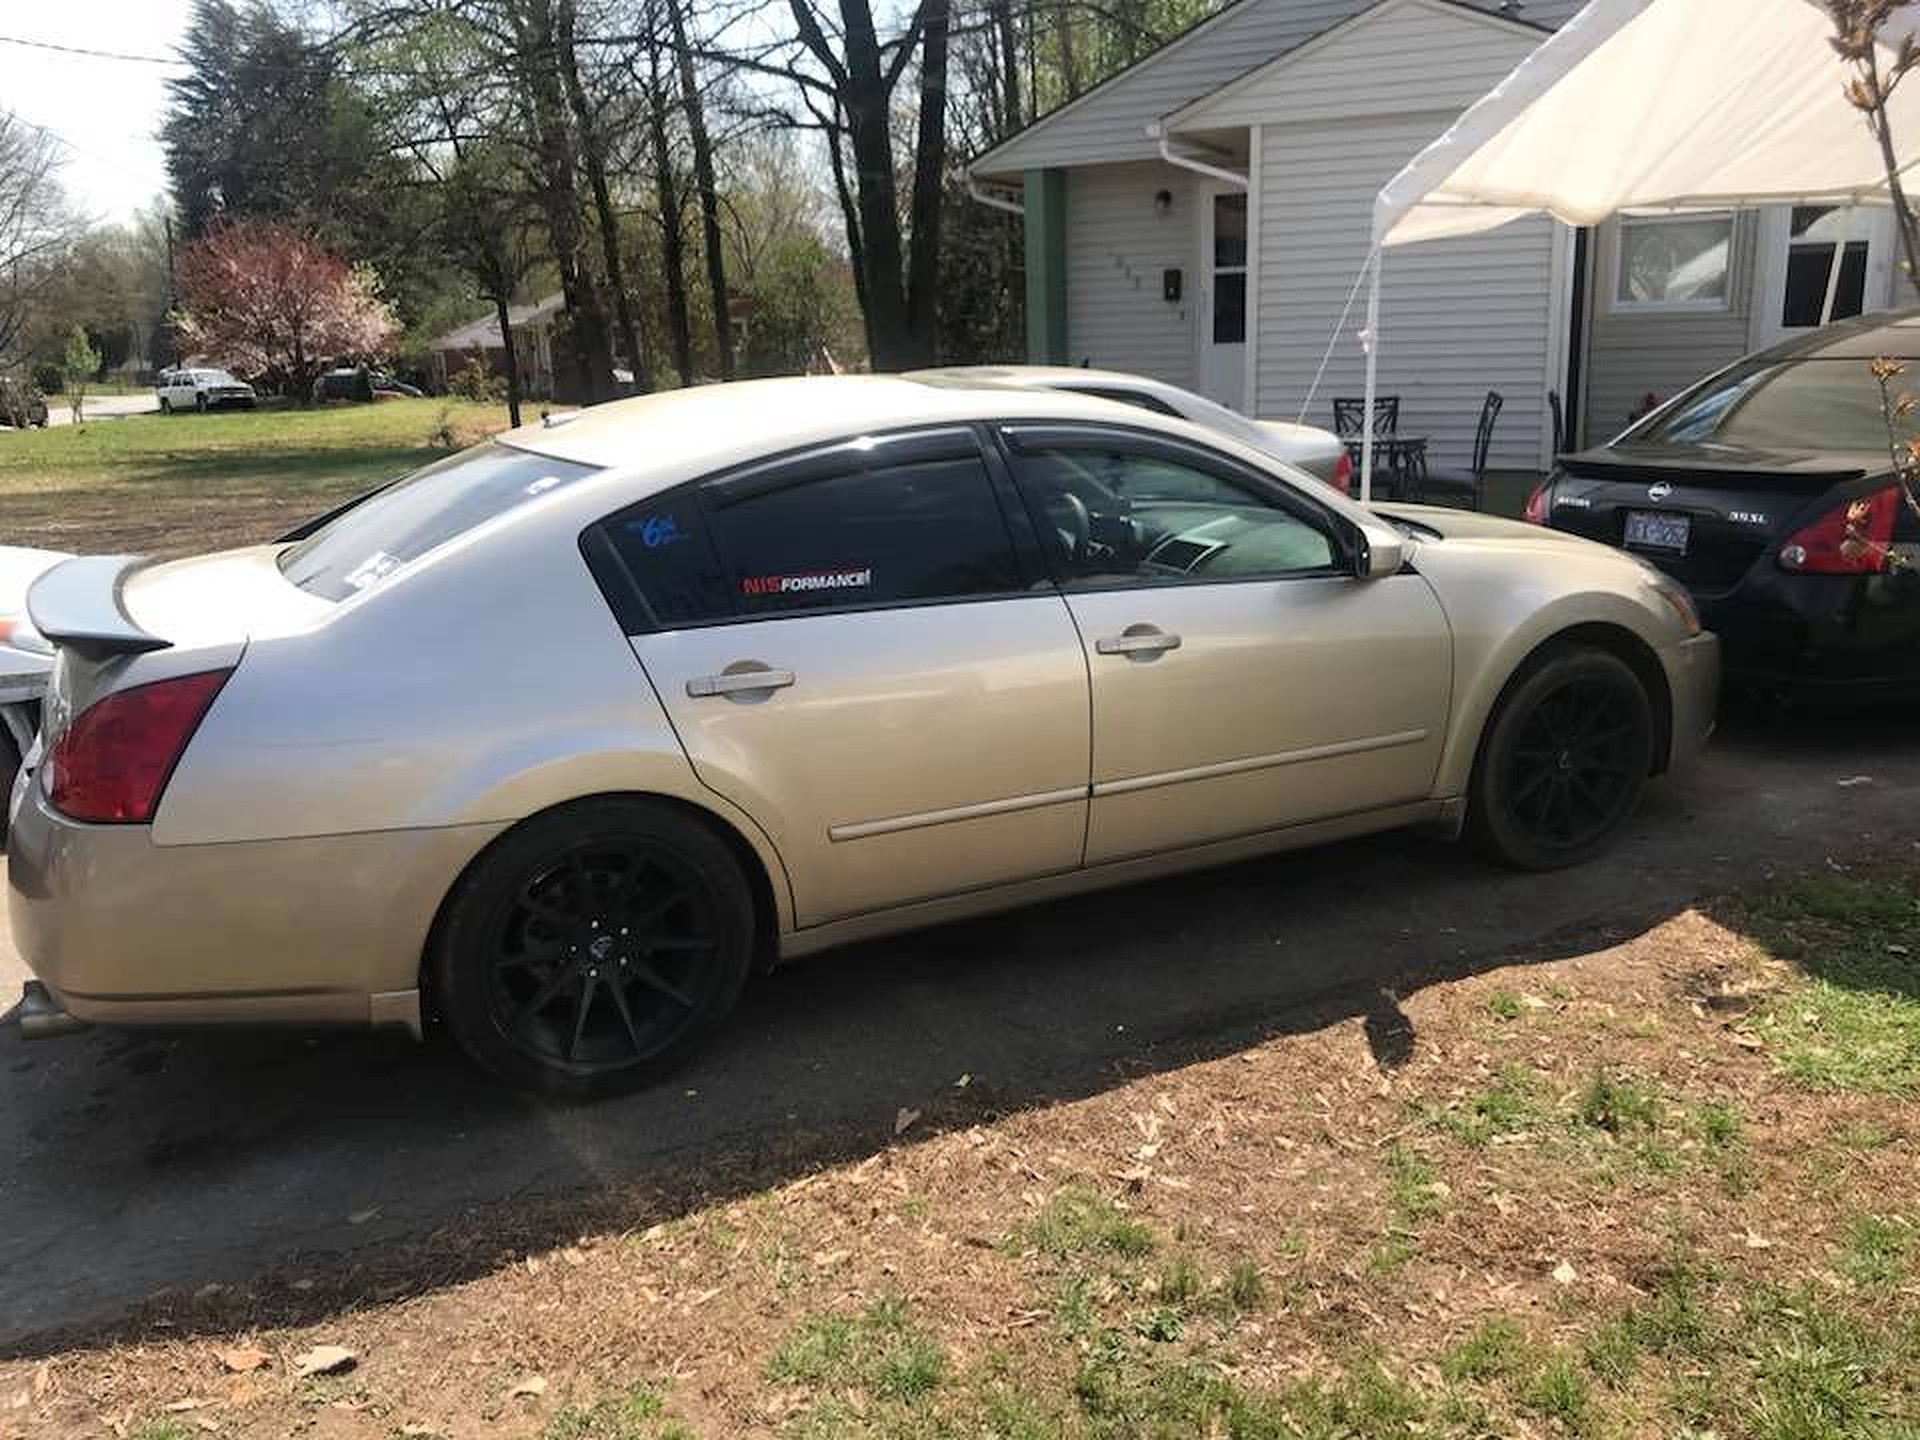
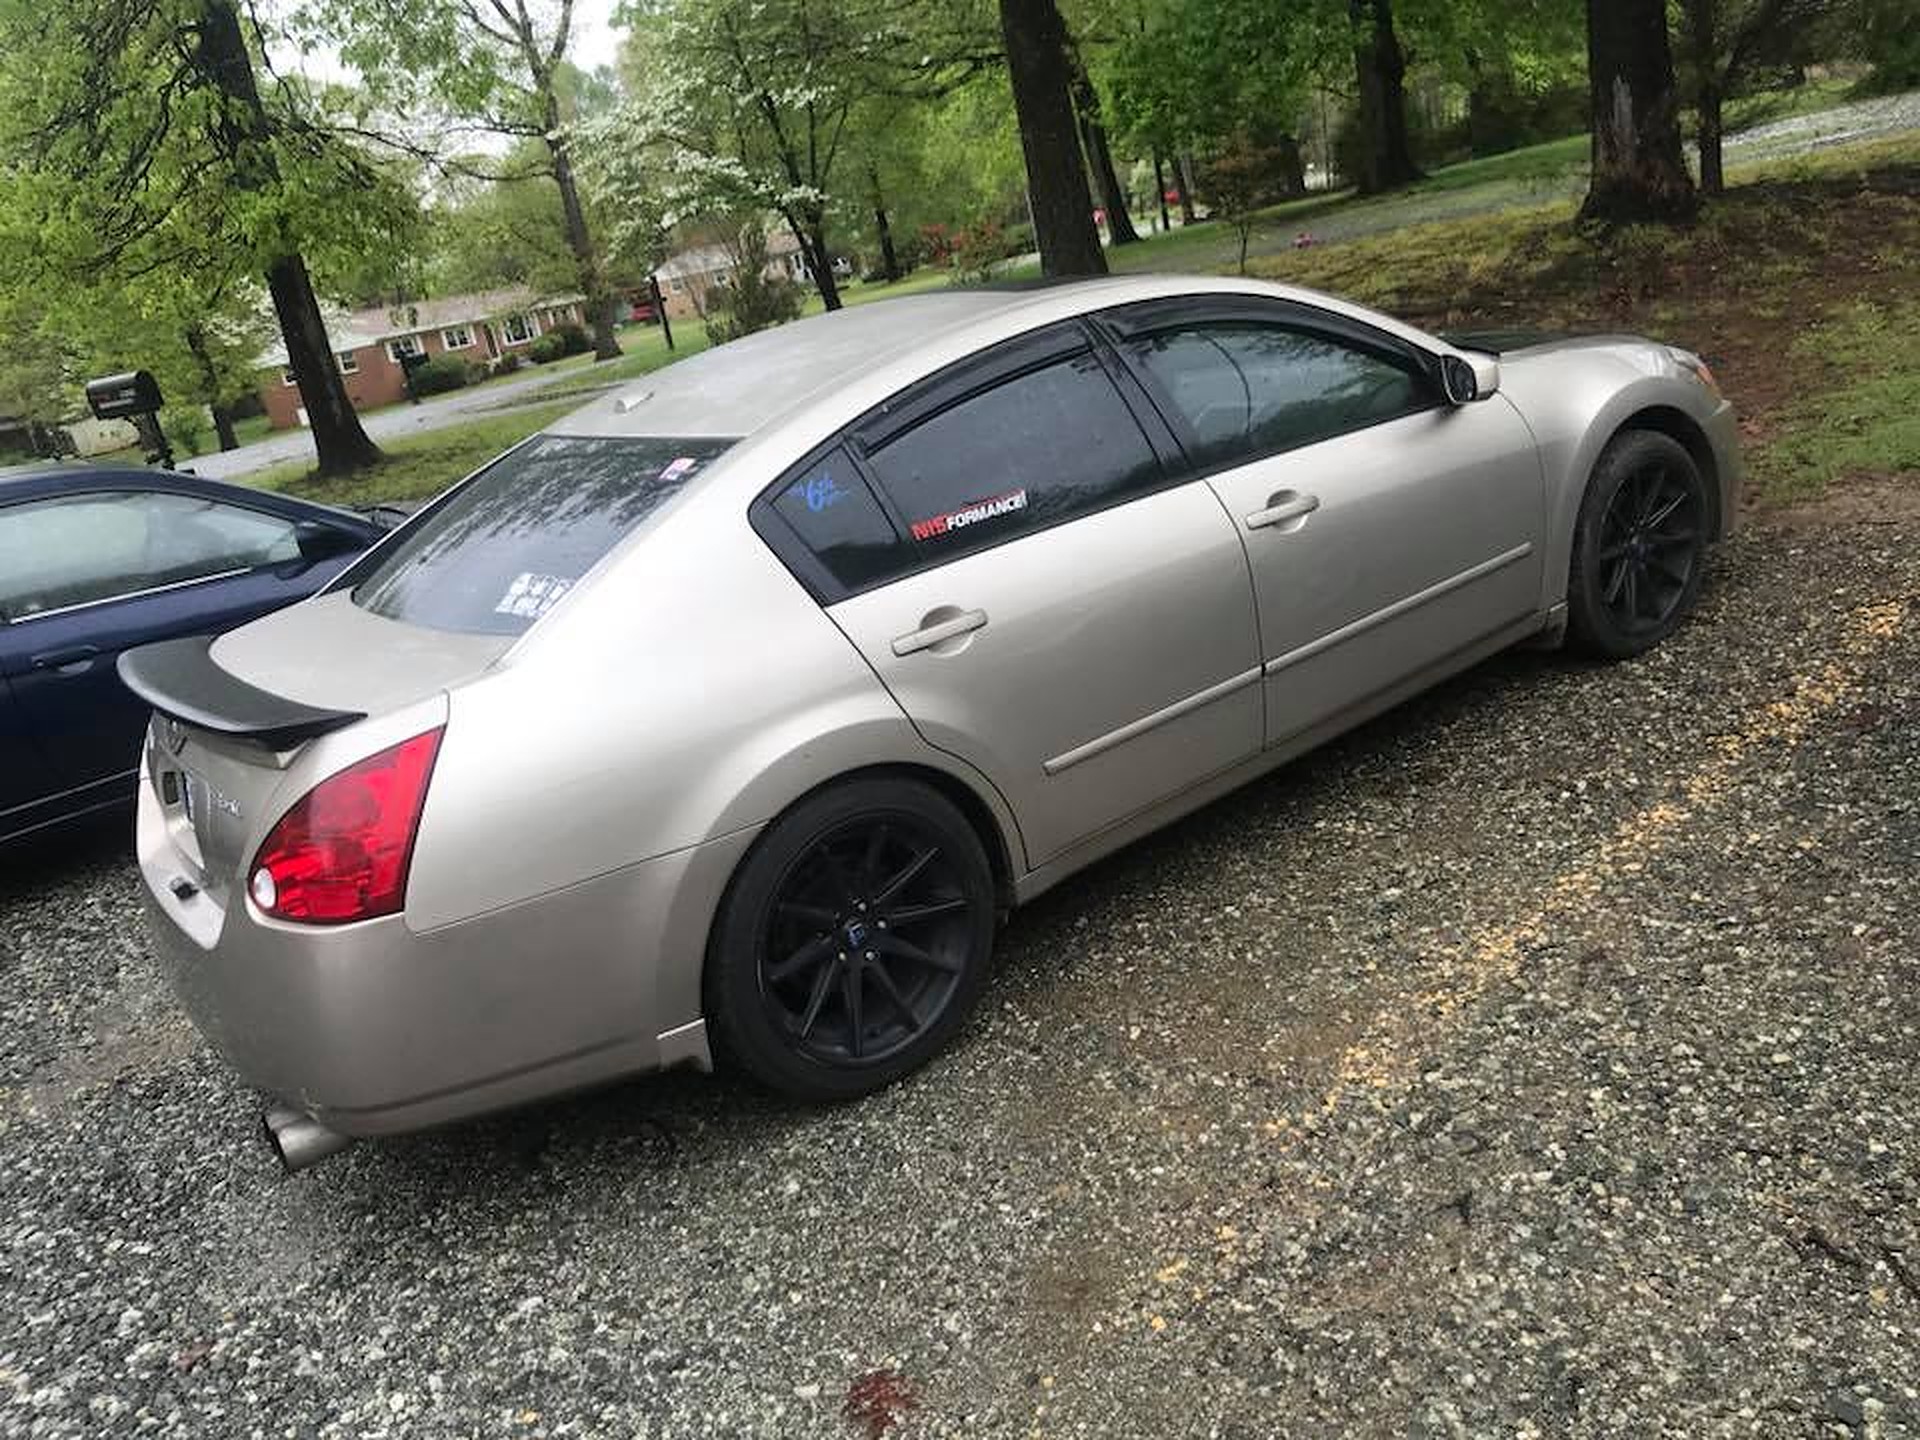
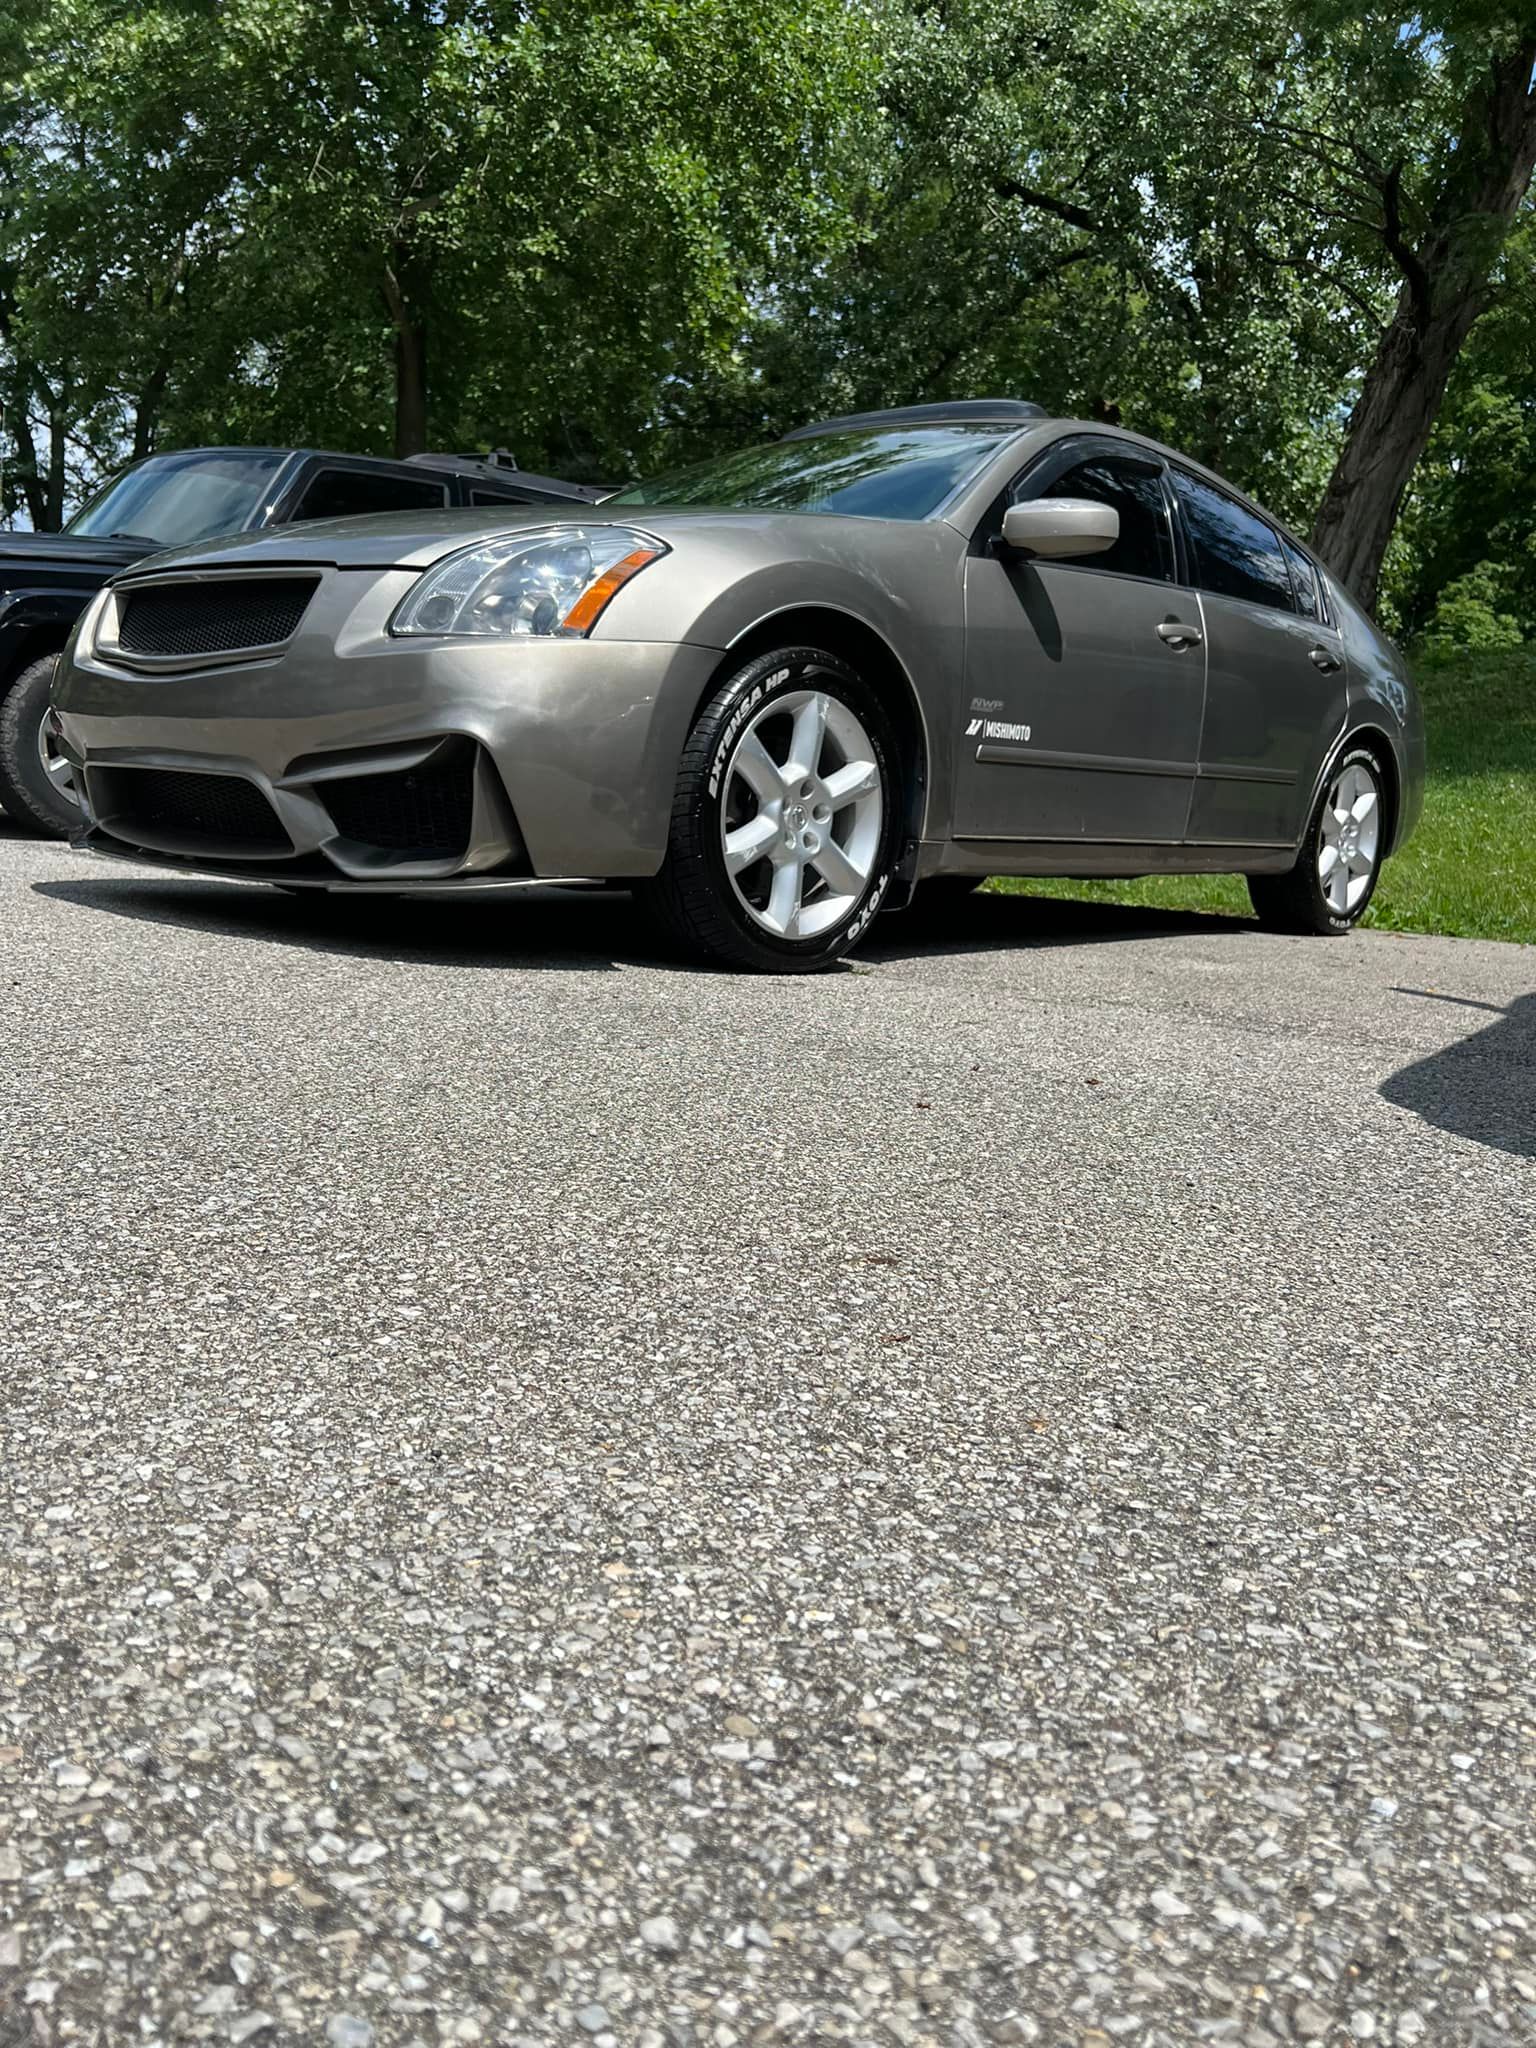
Owner: Delmas Mobio
Year: 2006
Model: Maxima
Color: Tan
Transmission: 5-Speed Automatic
Trim: SE

![]()


The DTC ODBII trouble code P0335 on a VQ35, found in a Nissan 350Z, Infiniti G35, and many others is a Crank Position Sensor fault, or CKP for short. For this particular write-up we will be showing you How to Service a VQ35 Crank Position Sensor in a Infiniti G35. This sensor is a hall effect-magnetic style sensor that picks up the high and low parts of the flywheel to determine what position the crank is in.
The differences in the teeth of the flywheel provide changes in the voltage feedback given to the PCM from the crank position sensor. The P0335 DTC can be triggered by a few conditions in your VQ35, and needless to say your car will not operate correctly or even start with this DTC.
Here are the detecting condition of the DTC P0335 error code.
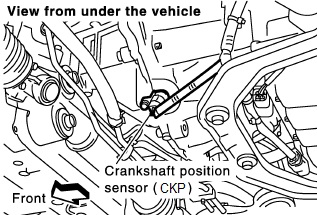
Where is my Crank Position sensor?
Easily the most commonly asked question in our How to Service a VQ35 Crank Position Sensor guide. The VQ35 has it’s Crank Position Sensor ( CKP ) located on the bellhousing of the transmission, and it reads the position of the crank by reading the teeth on the flywheel.
How do I know my crank position sensor is bad?
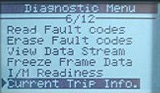
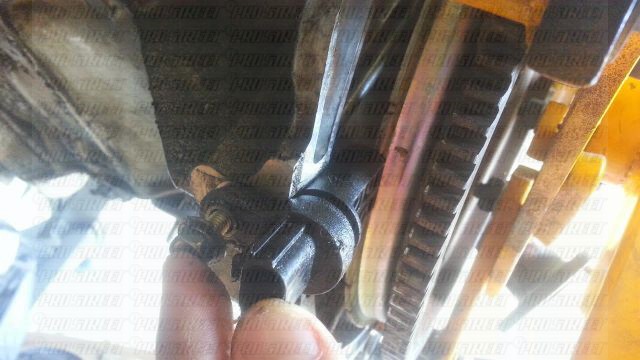
To test your crank position sensor, first raise the vehicle and locate the crank position sensor and the plug leading to it.
Now that you have located the sensor, unplug the sensor and take a look at the 3 prong weatherproof connector. Don’t forget if you need the how to on servicing your camshaft position sensor, we’ve got you covered.
First you should check the continuity of the wiring by placing the negative terminal on a ground, and then putting the lead to pin 3.

Continuity should exist here, so move on to the next step of our How to Service a VQ35 Crank Position Sensor writeup.
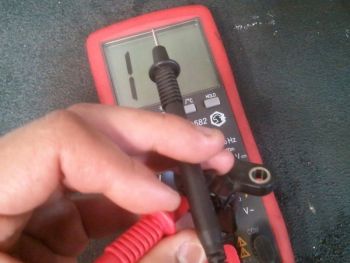
You can test this sensor using a voltmeter with one end connected to a chassis ground and the positive lead going to the 1 pin on the weatherproof connector.
If these 2 wires have continuity your part is more than likely damaged, as the 2nd pin is the signal wire to the PCM.
Why does my car not start?
The crankshaft position sensor is not transmitting any information to the PCM when trying to crank over your motor, without this sensor the PCM will not know how to operate the engine. This is when you will absolutely need our How to Service a VQ35 Crank Position Sensor article to get your car back on the road.
Where is the Crank Position Sensor pin on my VQ ECU?
Pin 13 is the Crankshaft Position Sensor on your VQ PCM, here is a diagram to help you test continuity should you need it.

This magnetic crank position sensor can be tested by measuring the resistance between terminal 1-2, terminal 1-3, and terminal 2 and 3.

All 3 of these combinations must measure resistance at 0 Ω or ∞, if your measurements are outside of this reading your sensor must be replaced.
Once you have the unit replaced, plug in your favorite ODDII scanner and clear the code P0335 and you are ready to rock and roll!

You have now serviced your VQ35 crank position sensor and saved yourself a lot of money in dealer labor.
Happy Driving!
![]()
")
Credit: Gaurasalti
I recently cleaned my throttle body and went threw the PAIN of trying to relearn my idle through the step by step process. But its misleading, the 7th step says to start car after light goes off but never does. You actually start car as soon as light stops blinking! Hope this helps somebody.
ENGINE COLD
Now, here’s the big change
AND RIDE YOUR CAR FOR AT LEAST 15 MINUTES, this will make for correct operating temperatures to happen within the engine for the following steps. Warming your car in the garage in the morning apparently does not cut it.
Check that all items listed under the topic “PREPARATION” (previously mentioned) are in good order.
This is where your engine will start to learn the correct idle settings
![]()


