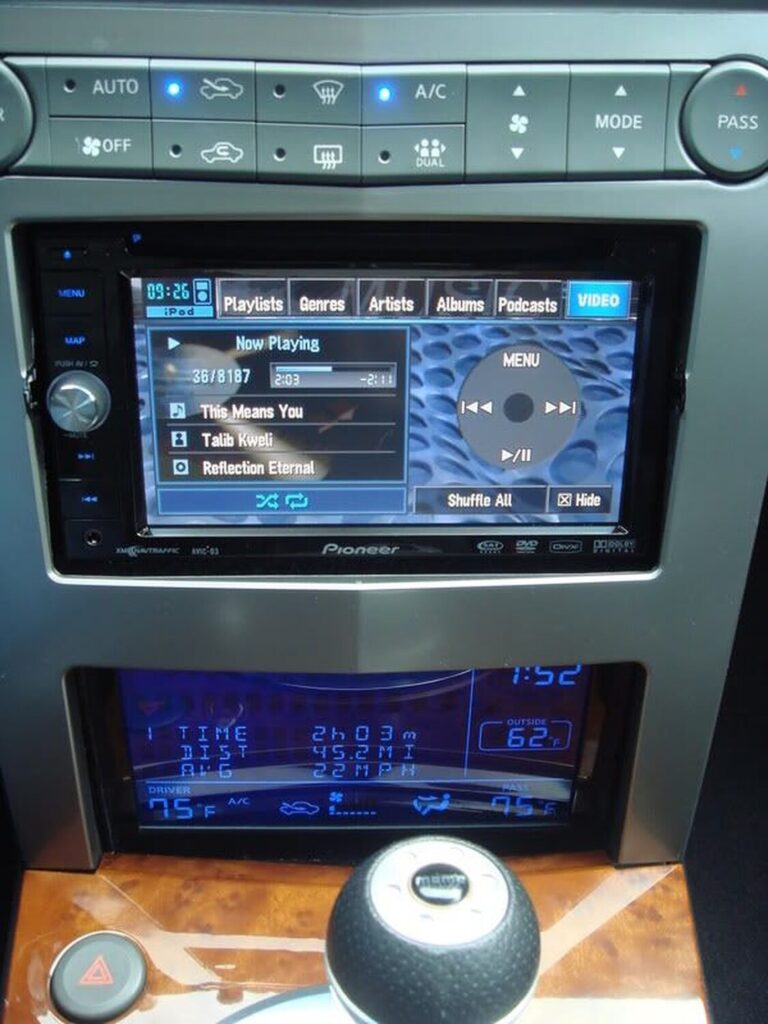
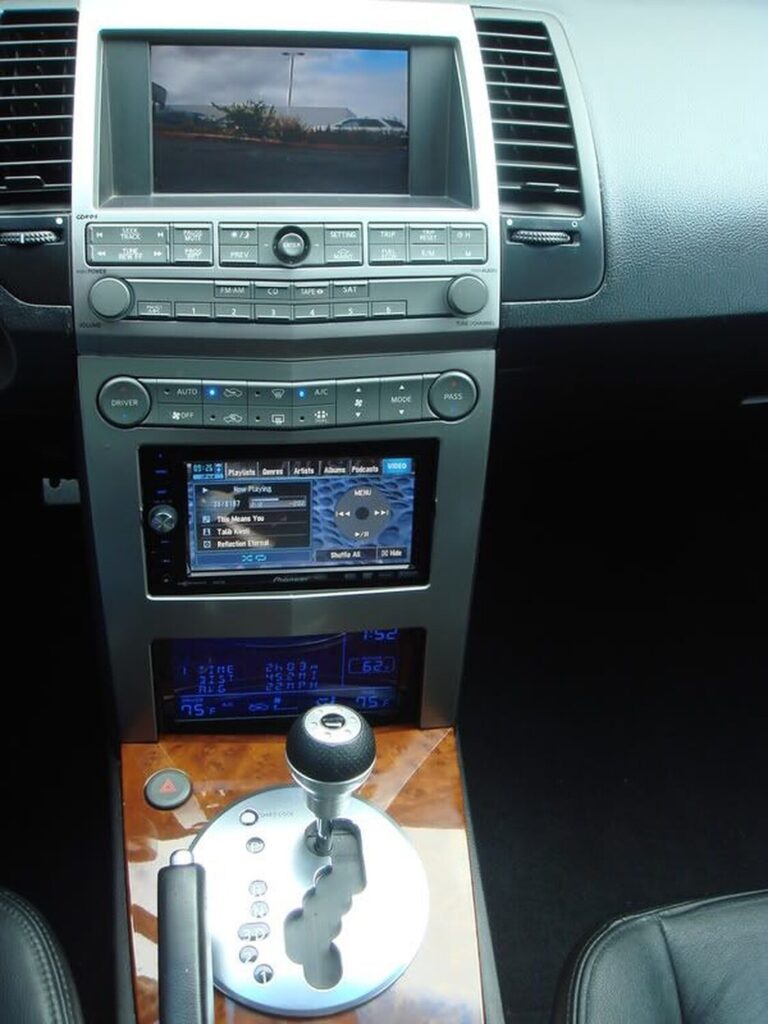
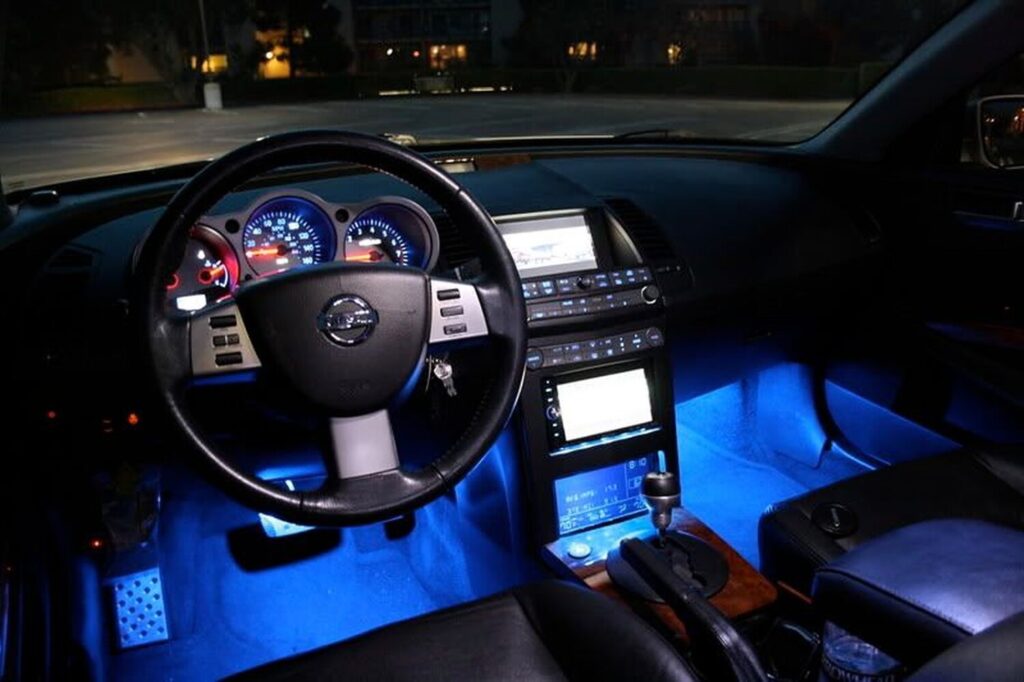
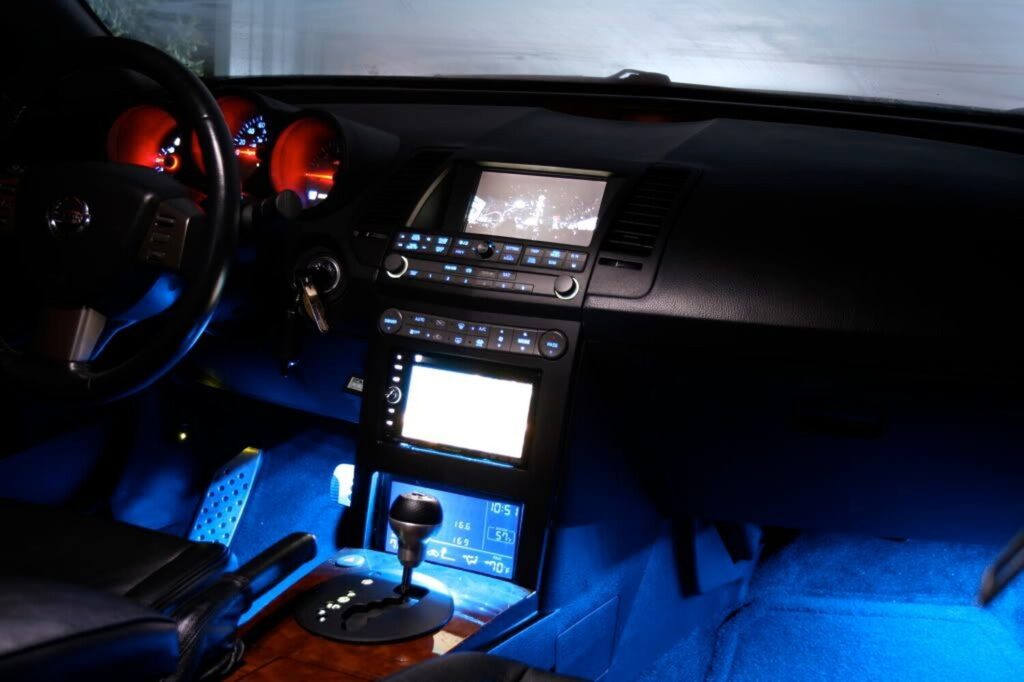
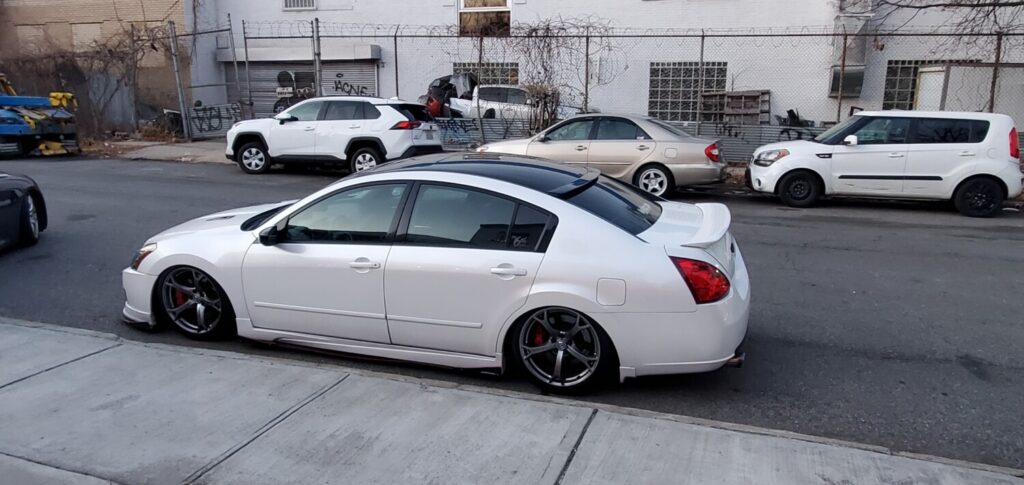
I was on the hunt for nice and elegant Airlift 3P controller. There were many online but just not a good fit for the 6thgen Maxima. Finally I found one that fit perfect using the cigarette lighter port. Mines did not cover with it so I ended just getting a shifter console on eBay that had it. Everything came out perfect and clean. It’s nicely tucked and visible.
Nissan no longer lists this bushing however, the 03-08 350z bushing is available and is an exact fit. Part # 54445-4P000.
I did this after installing my headers with the Y-pipe removed.
Time 1-2 hrs
Tools Needed.
1. Jack and Jack Stands.
2. You will need 2 (two) 19mm Combination Wrenches
3. 19mm Socket, wobble extension, and Flex head Ratchet (my preference)
4. Short handle 2lb sledge hammer.
5. Large Concrete Chisel
6. Anti-seize.
7. 6 inch long piece of 2X4 wood
8. Pair of Channel Locks
9. 10mm Wrench
9. 1 Sharpie to mark the location of the bracket on the rack
10. Don’t forget to buy new exhaust gaskets.
Steps:
1. Secure the car on Jack Stands.
2. Remove Passenger side tie-rod end from steering knuckle.
3. Remove Y-pipe. Before you continue, mark the bracket location on the rack
4. Remove the 19mm nut and bolt from the top of bushing bracket.
This is a bit tricky, room is tight, I used the 2 combination wrenches here.
5. Remove BOTH of the bolts securing the rack to the frame. They come out front to back and the nuts are part of the subframe. (There may be a bracket that stabilizes the powersteering line to the rack, its a small metal bracket with two rubber bushings secured with two 10mm bolts)
6. The bracket may come right out but if it is tight like mine was it’s gonna be tough. I took my large concrete chisel (10″ long, 3″ blade) and hit the under side of the bracket a few (or ten) times.
7. Next is getting them suckers apart. I also used the concrete chisel for this by spinning the brackets backwards and hammering the 6″ piece of 2X4 between the stabilizer bar and the body so the top side of the bracket wood get caught on it. Then I stuck the chisel where the pieces came together and went to work Its tedious, but it worked.
**NOTE** there is a steel roll pin inside the aluminum bracket so be careful cracking it open. 8. Once its open, lube the pin and the hole with anti-seize. 9. I hammered the roll pin all the way to one side(roll pin placed on 2×4)
After doing this the pieces go together easily.
10. Reinstalling is also tricky, place the sliced part of the bushing facing up. (I also put anti-seize on the inside of the bracket to help seat the bushing)
11. Install bracket around rack and bushing you must hold it in place until you get the top bolt in (leave it loose) the fit is extremely tight so once the top bolt was in I used channel locks to squeeze the bottom halfs together. (It’s a process)
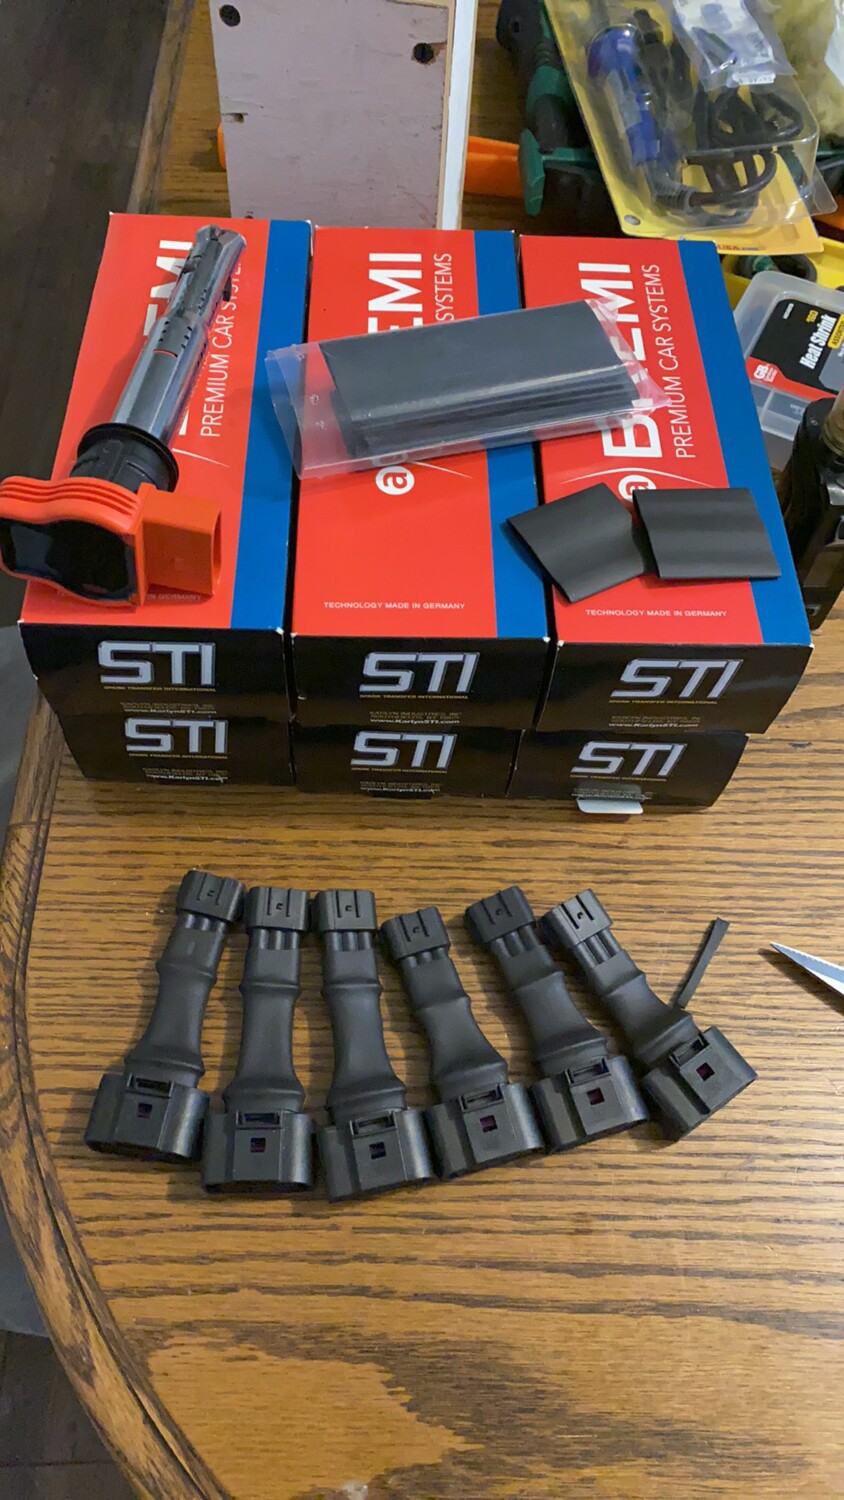
Big shout to Rico for spending countless hours in finding a cost-effective solution to coilpacks for the VQ35DE engine. This also works on other models and years.
For those that don’t know, Audi coilpacks are stronger and better than Nissan coilpacks. They add better mpg and more HP/TQ. It works on bone stock vehicles or highly modified vehicles. Just rewire the OEM pigtails to Audi pigtails, plug it in and play!
Nissan Coilpack only has 1 coil. Audi has 2 coils as you can see in the picture below. By having 2 coils it doubles the spark output and can easily handle spark blow out that turbocharged vehicles suffer from. Because it’s outer exterior has a metal body it can dissipate heat ALOT quicker than Nissan rubber which helps with heat cycling. It’s also cheaper than OEM Nissan Coilpacks.
Audi R8 Coil Pack Advantages:
50,000 volts compared to Nissans/Infiniti 30,000 volts.
Some measure it with Kv so Nissans coils put out 21Kv while VW coils put out 30Kv
Quicker Heat dissipation. (Because of its metal body construction it can quickly dissipate heat. Nissan OEM body is made out of rubber that isolates heat instead of disperses it.)
More complete burn of the fuel mixture compared to OEM Nissan which equals to better MPG.
Idle Stability Improved
NO CEL (Check Engine Lights)
BEST PART ABOUT THEM IS THEY ARE CHEAPER $$$ than Nissan OEM yet they are much better.
Looks 10000% Cooler than OEM Coilpacks
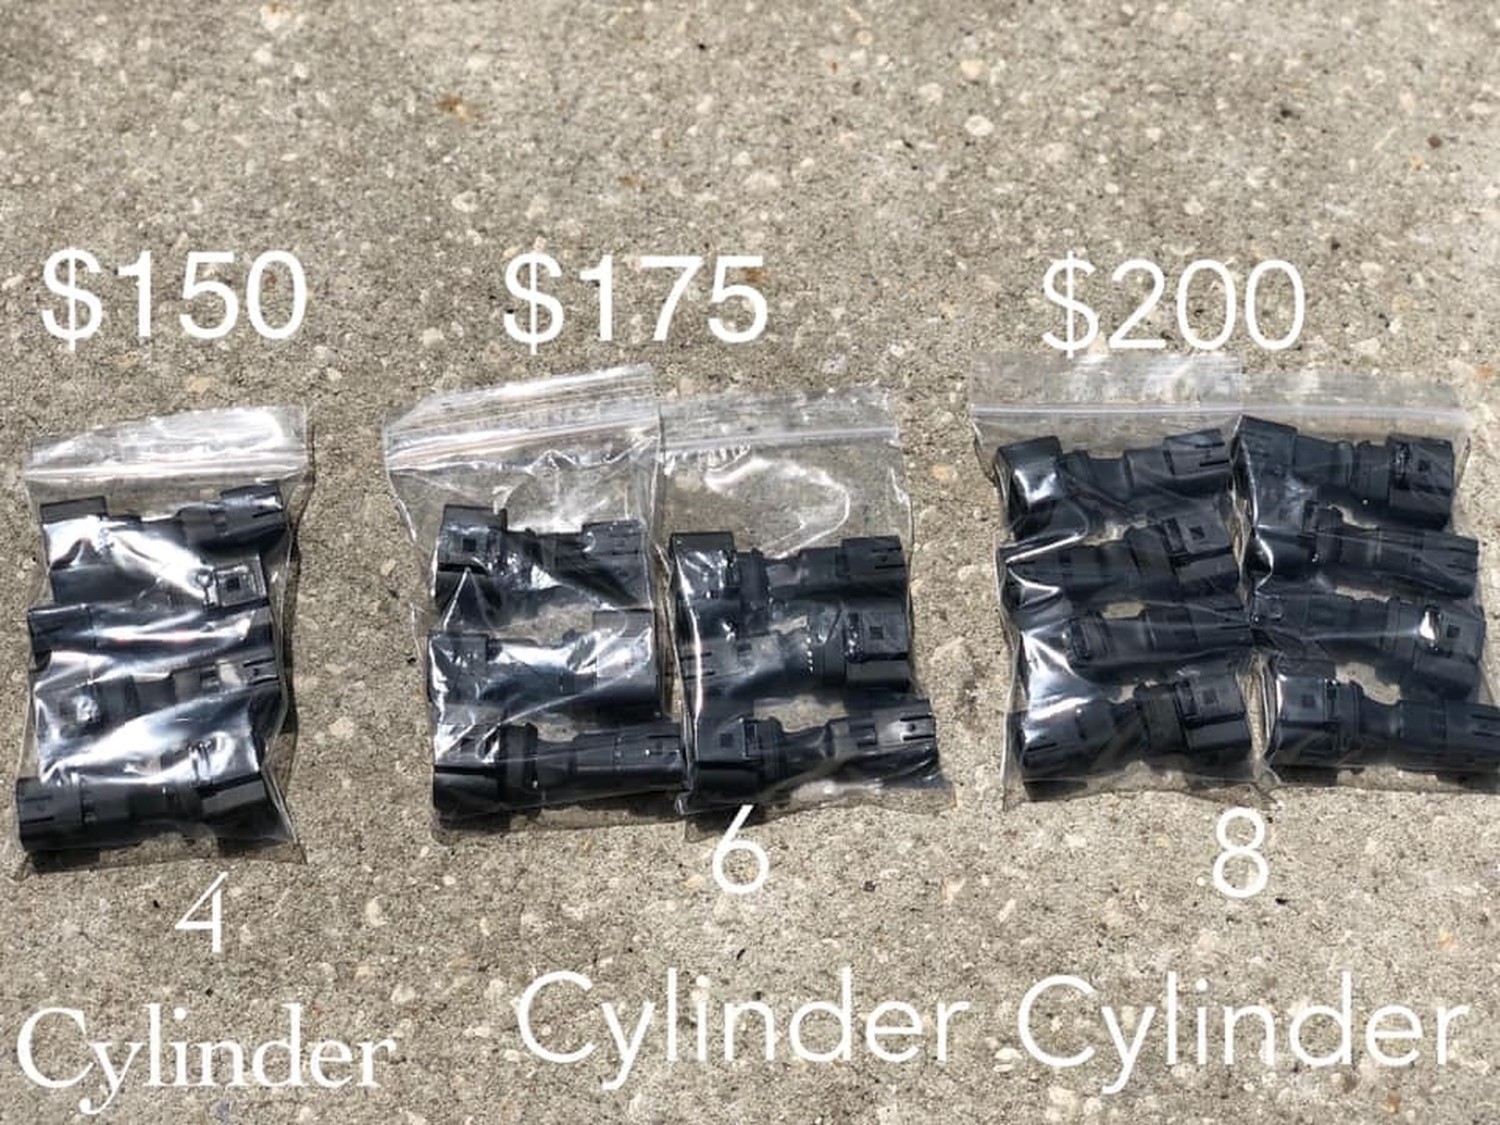
Now the coil packs price varies due to different name brands. They range from $132-$216 for a V6 engine. Below is the link of the coil packs below so you can see the prices and brands. Doesn’t matter which brand you use, I’ve tested them all and they all make the same exact power.
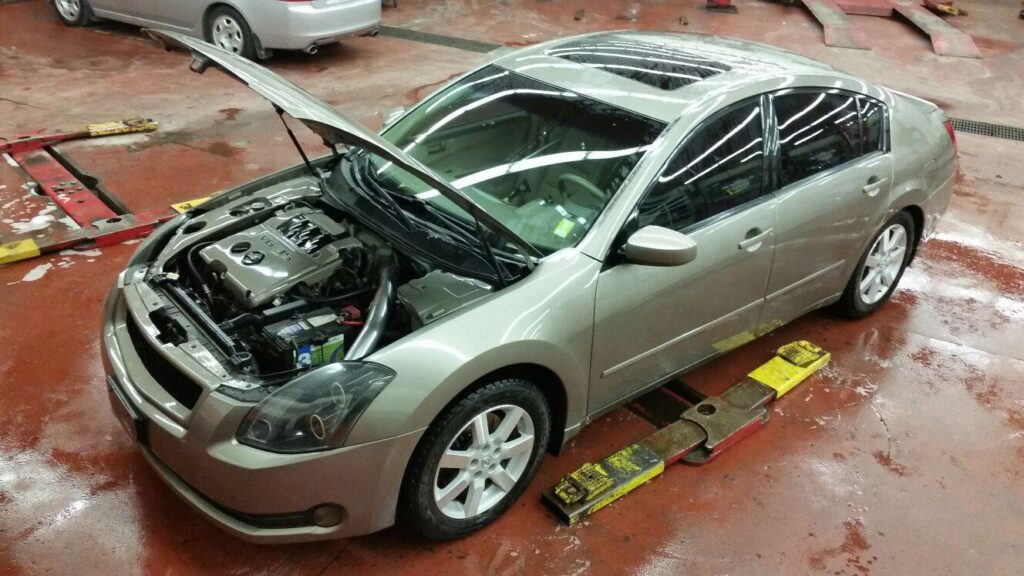
Installed a 2003 Nissan Maxima (Credit: Altaf Rahaman)
Important Note: The 02-08 DE Manifold requires NWP spacers.
Important Note:The 2nd Gen Engine does not require spacers. Straight plug-n-play.
Adaptor Options:
You can also purchase the adapters directly from Rico. Below are the prices.
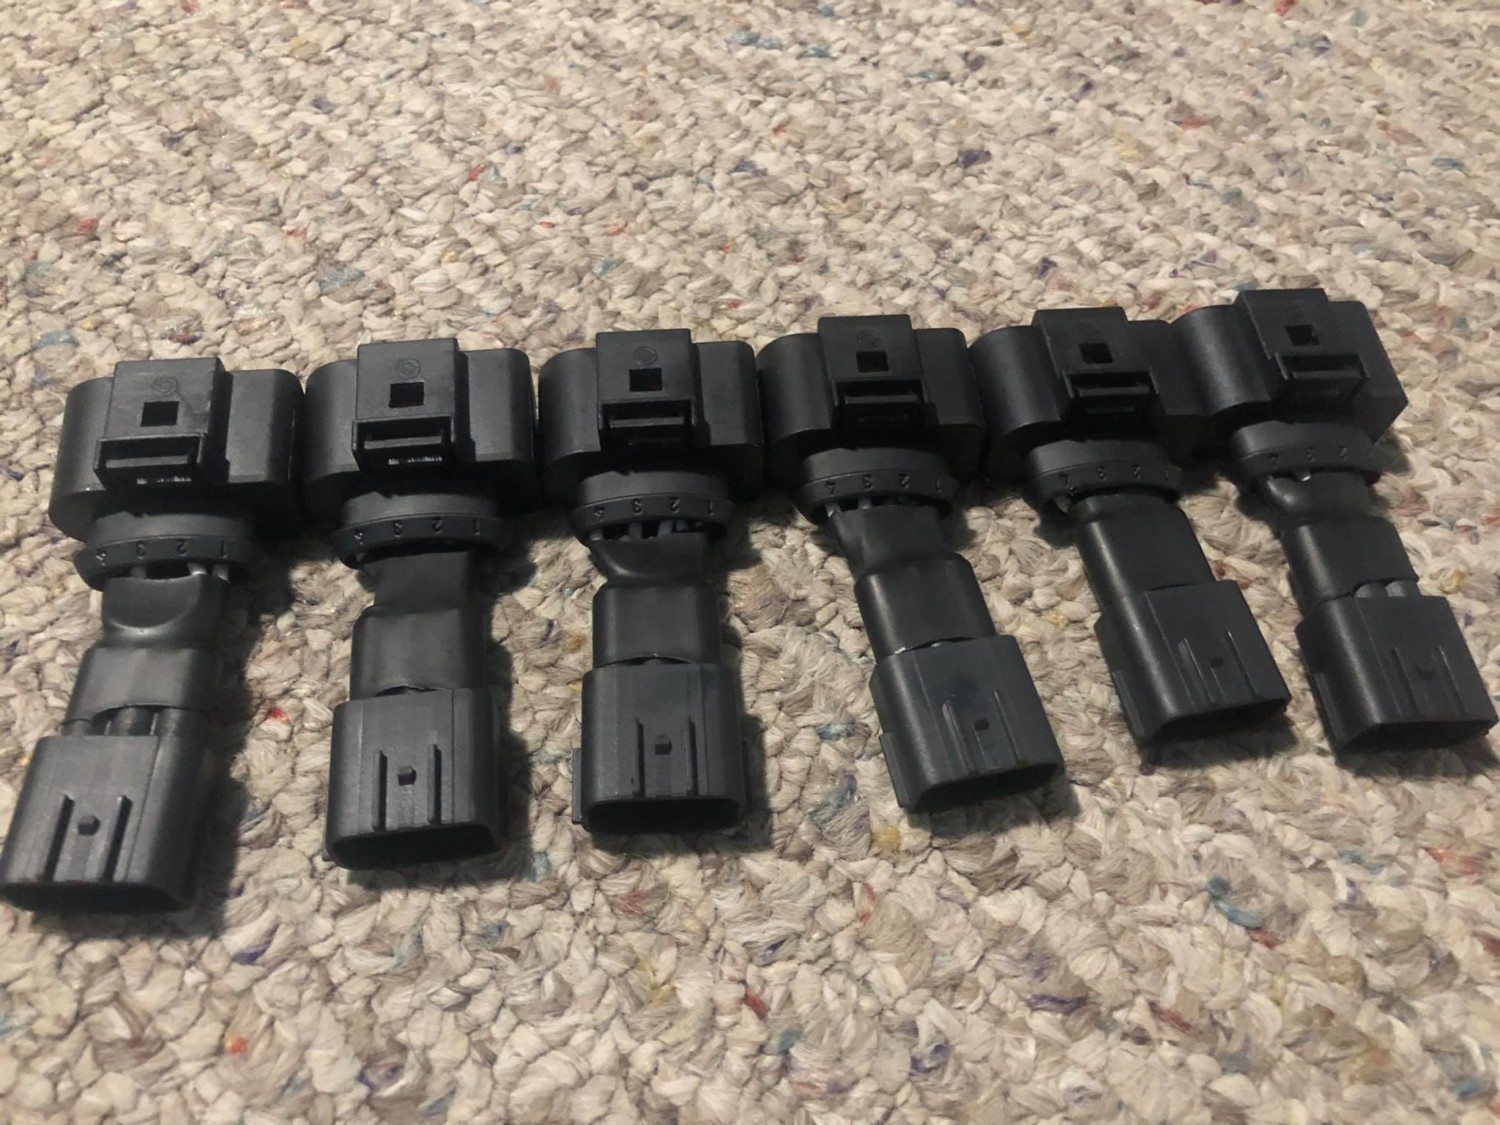
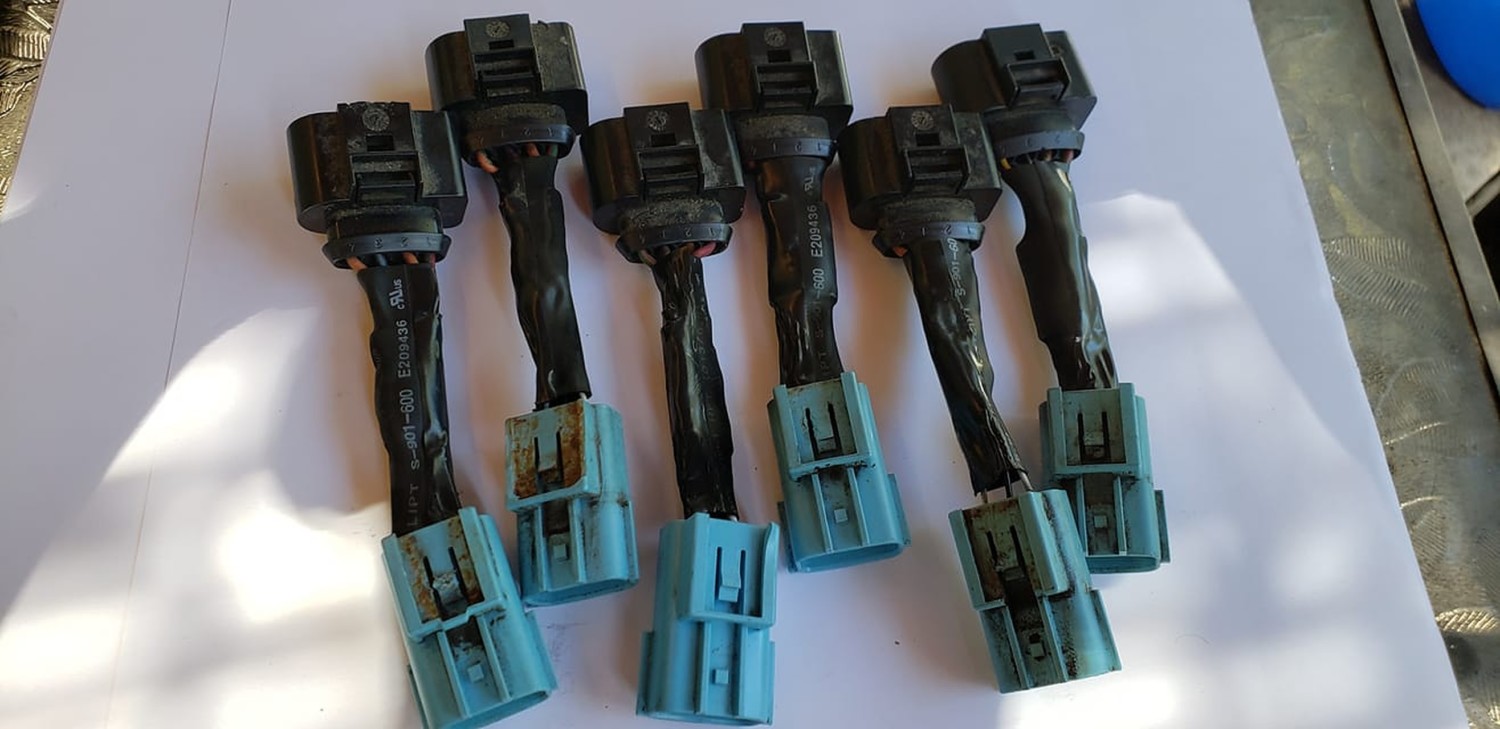
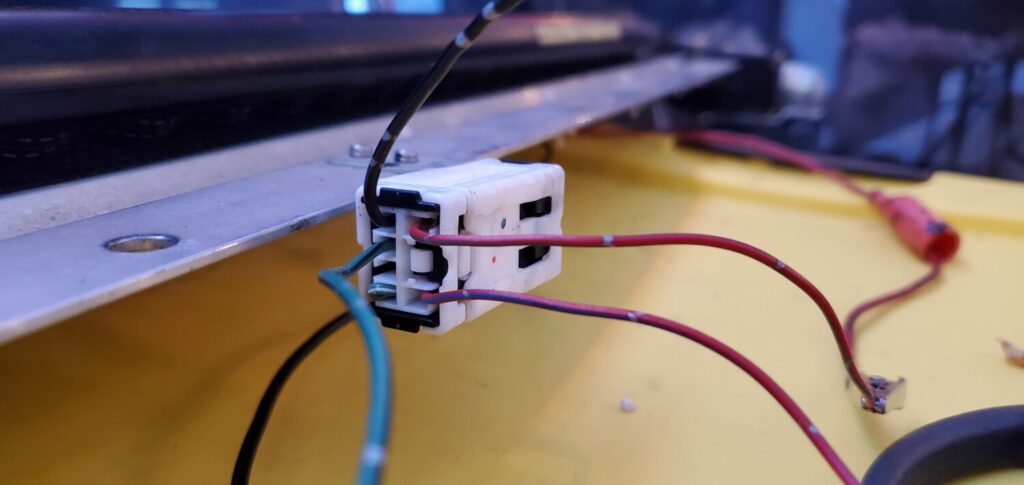
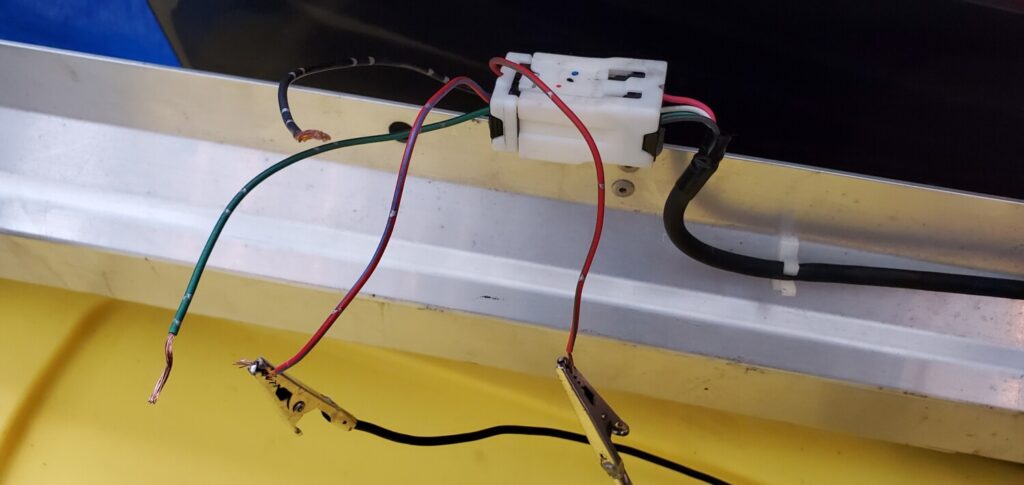
Create Connectors using O2 Plugs (Credit: Rob Tilley)
Finally got my R8 coils installed today and I must say it was definitely worth the time and money I spent. I installed them on my turbo 350z running 15psi with #7 plugs. Car runs so much smoother, especially under boost. It’s a totally different car. I used o2 plugs from a 02/03 Maxima to make the adapters for the plug. Just have to file down the alignment guide on the outside of the blue connector.


")


")


 I did this after installing my headers with the Y-pipe removed.
 8. Once its open, lube the pin and the hole with anti-seize.
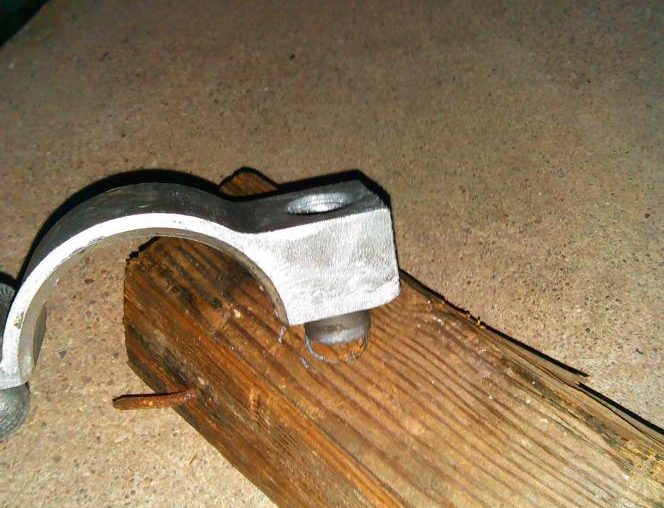 9. I hammered the roll pin all the way to one side(roll pin placed on 2×4)