So while I was doing the Window Motor, I took the time to do my LED Mirror Covers and add LED’s to the side door pockets. The MAXI-LED mirror covers were created by a fellow member years ago. They were a limited run and are no longer made. I think they look great and clean. Some people did the 7thgen Mirror but they are not heated and do not have not auto-fold.
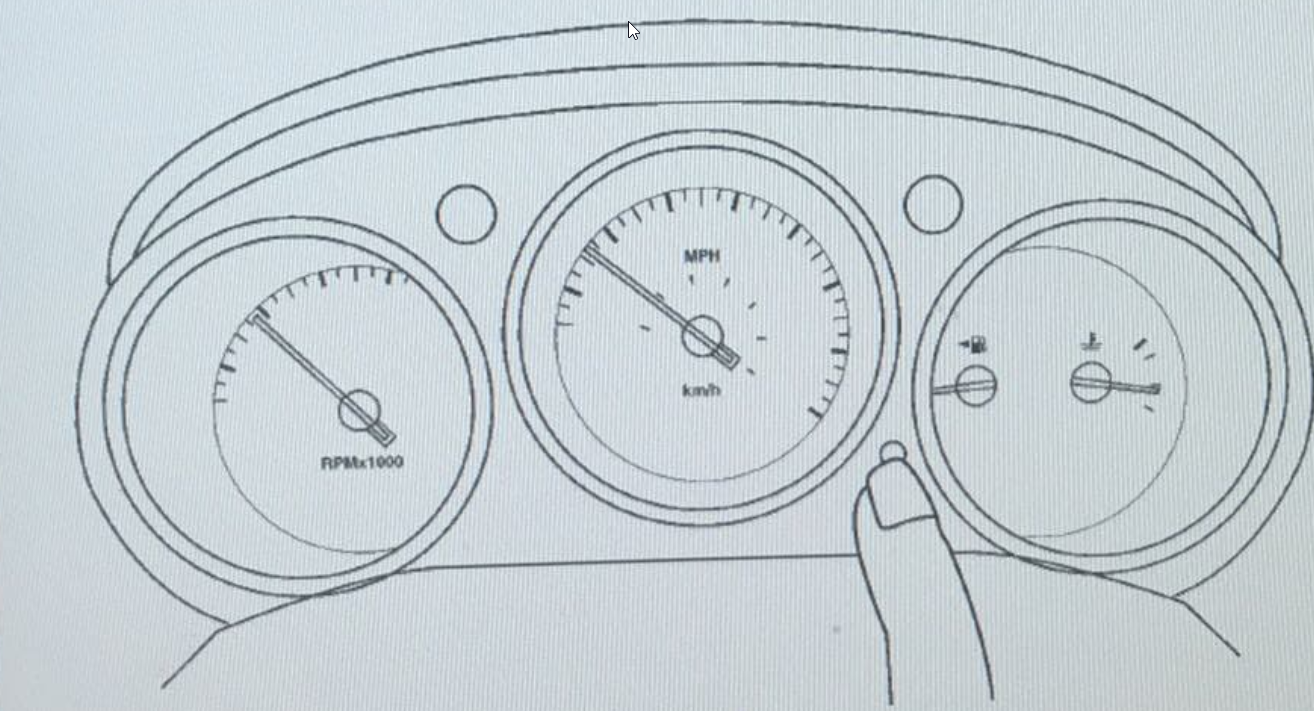
If you are looking to customize the lighting of LED’s on your Nissan Maxima cluster/odometer, you will need to re-calibrate the needles. The needles need to come off as part of the modification process and if not properly calibration the RPMs and MPH readings will be off.
Many of the 6thgen members like to upgrade their 04-05 clusters to the revised and improved 07-08 clusters with custom LEDs. This procedure will allow you to calibrate your needle easily. Save money by doing it yourself.
OPERATION PROCEDURE
Turn ignition switch ON, and switch the odo/trip meter to “trip A” or “trip B”. NOTE: If the diagnosis function is activated with trip meter A displayed, the mileage on trip meter A will indicate 0000.0 miles, but the actual trip mileage will be retained. (Trip B operates the same way.)
Turn ignition switch OFF.
While pushing the odo/trip meter switch (1), turn ignition switch ON again.
Make sure the trip meter displays “0000.0”.
Push the odo/trip meter switch (1) at least 3 times within 5 seconds.
All the segments on the odo/trip meter and CVT indicator illuminate, and simultaneously the low-fuel warning lamp indicator illuminates. At this time, the unified meter control unit is turned to diagnosis mode.
Push the odo/trip meter switch. Each meter/gauge should indicate as shown in the figure while pushing odo/trip meter switch. (At this time, the low-fuel warning lamp goes off.)
Remove/re-insert needles in the same position below (as seen in the photo below) during the calibration process
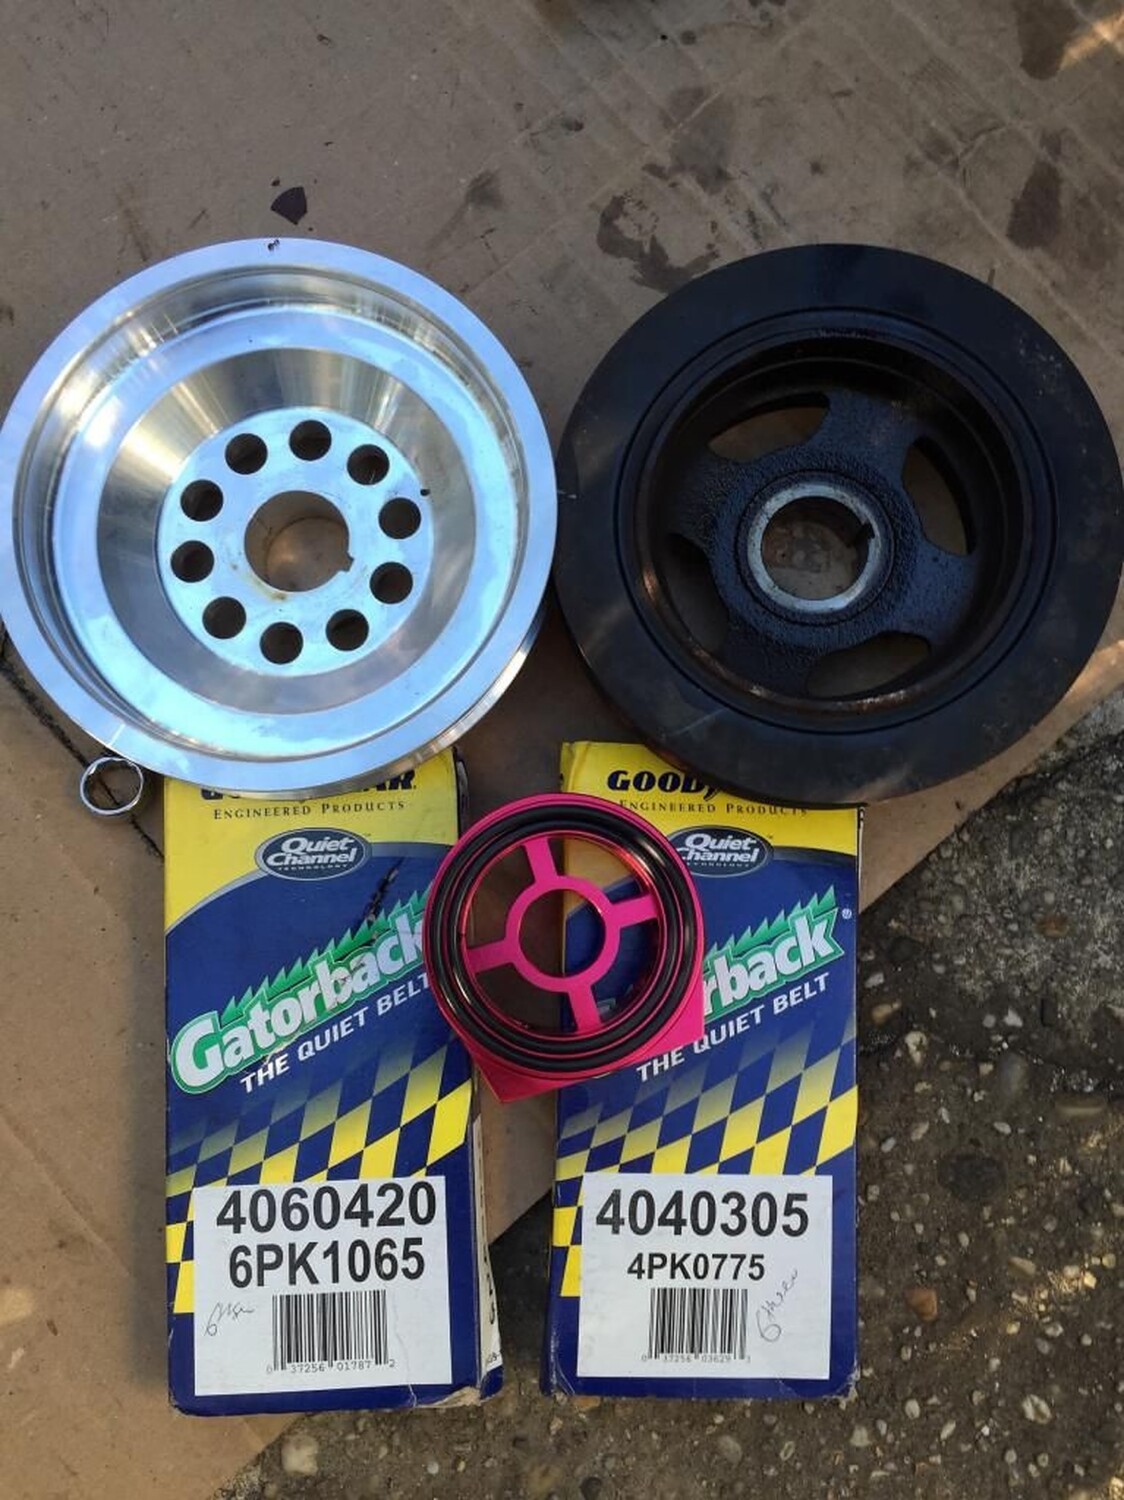
This is a popular upgrade for the VQ35DE Engine. Below is the information you need when ordering these pulleys. These pulleys fit the Nissan Maxima VQ35DE Engine from 2002-2008. Also applies to 4thgens if you have a VQ35DE Swap.
Ralco RZ pulleys are designed with a unique blend of performance and reliability. They are made from the highest quality 6061 aluminum billet. Ralco RZ pulley conversions are proven to produce maximum power gains with the performance benefits of weight reduction, which you wouldn’t receive from factory parts. Throttle response, horsepower, and torque are all increased with this great product.
Features:
6061 Aluminum Billet
Lightweight
Note: Crank pulley Polished
Stock-Diameter Ralco Pulley (Part #: RZ-914924)
Pulley Model: # 914870
Average Price: $125.00-$139.00
Recommended Belt Sizes: You use your existing stock belts for this one.
Well, I did the STS mod today using a bolt and did not like the final version. I originally posted my results in the Free STS post, but decided this was worthy of a new post due to finding the perfect parts to make a perfect STS for less than $2 dollars.
So being bored on this wet Sunday evening, I went to Lowe’s and found the exact part I needed for a DIYer STS.
My original STS was done by drilling a 5/16 hole through the shifter arm and then cutting off the threaded part of a long 5/16 bolt and drilling a small hole for the cotter pin. It was a OK job, but I noticed the bolt allowed for a lil too much play with the shifter cable. Not pleased.
I picked this up from Lowe’s. It is a 5/16×2 Clevis Pin. Just a slight bit bigger in diameter than the bolt and a perfect match to the factory shifter cable connector. Perfect match!
Part Name: Hillman 2-in Clevis Pin Item: 138646 Model: #881076 Description: Clevis pin – adjustable 5/16 x 2 1pc/bag Adjustable
Here is the Clevis Pin installed from below. I had to tap it in place from under the car due to a very tight fit from surrounding items. Look at how it is the same exact height as the factory pin.
Here is the final install with factory pin in place. I originally was gonna use a cotter pin but decided to use the factory one instead. Easier to remove if needed.
Additional Reference via trooplewis
Thought I would share some additional hints if you haven’t messed with stuff like this before, and post a few pictures.
First step, get rid of all the air intake plumbing!
You need to loosen the hose clamp around the pleated rubber that connects to the throttle body, you need to remove the breather hose where it connects to the block, you need to pinch the clip and pull off the MAF connector, and then you need to remove 4 screws to take out all the air intake plumbing.
That takes 5 or 6 minutes if you have not done it before.
When that plastic crap is off, this is what you will see. The area you are going to be working in is in the lower right of this photo, under that red electrical connection you see. Speaking of which, watch your drill, make sure the chuck is not spinning against it. You don’t want to mess up the wires or the connector there.
The hole you are going to drill is DEEP, I don’t think anyone mentioned that before. It is about an inch of metal you drill through. I used regular 30-wt motor oil to keep the tip of the 5/16 bit cool, putting a few drops into the hole every couple minutes. I just took my time, running the drill at a slow speed with moderate pressure on it. If you drill on high speed, you better have some really nice bits or you are going to destroy them. Take your time.
Drill a pilot hole first with a 3/16 or 1/8 inch bit, but then you can use a sharp 5/16 to go all the way through. You do not have to drill the hole twice with 2 bits, just get your pilot hole set so the 5/16 doesn’t “walk” the surface metal. The drilling took about 20 minutes.
I got the same clevis pin at Lowes, but it didn’t fit neatly into the new hole, as there were burrs on the holes in the pin. I had to put it in a vise and take some crocus cloth to it to smooth it down, then it worked OK.
Here is a photo of the location where I put the hole. NOTE in this image the pin is upside down, just there for the purpose of seeing the location. You have to install the pin from below.
OK, I don’t know if anyone can put the clevis pin in from above the car; not enough area to get your hand into. I jacked up the front of the car (be safe!) and crawled under, still could not get my hand with the pin in my fingers up into that area.
I ended up using one of those long magnetic flexible things you use to get nuts and bolts out of hard to get places that they fall into. I put the clevis pin on the magnet and got it up through the hole then an assistant grabbed and held it while I got out from under the car.
I used needle nosed pliers to hold the lower part of the pin while I slid the linkage back over it, and installed the factory lock clip. You can see the end result in this photo.
Nothing binds, everything works well, and the “smile factor” is definitely there. I don’t think this mod affects the side-to-side movement of the shift knob, but it has a big impact on the up-down travel of the shift handle. Way shorter throw, I did not notice a change in ‘notchiness’, but it is a lot of fun.
You will notice I did not re-install the factory washer, I could not get it to fit under the hole the lock pin slides through. I don’t think that will have any effect on the shifting of the car or the life of the bushing in that location.
Took me about an hour and a half from the time I popped the hood to the time I drove out and tested it.
If you need OEM flywheel bolts, below is the information you need. It’s best to buy them in larger quantities due to the overall shipping costs. You will need a total of 8 bolts. These are honestly best to get from your local Nissan dealer to save on shipping.
OEM Part Number: 12315-8J100
Total Quantity Needed: 8 Bolts Price: $1.99 – $2.50 (each)
Torx Size: T55 FSM Torque Specs:61 to 69 ft lb
Cart Summary via https://www.rockawaynissanparts.com/p/Nissan__Altima/Clutch-Flywheel-Bolt/89394231/12315-ZA000.html
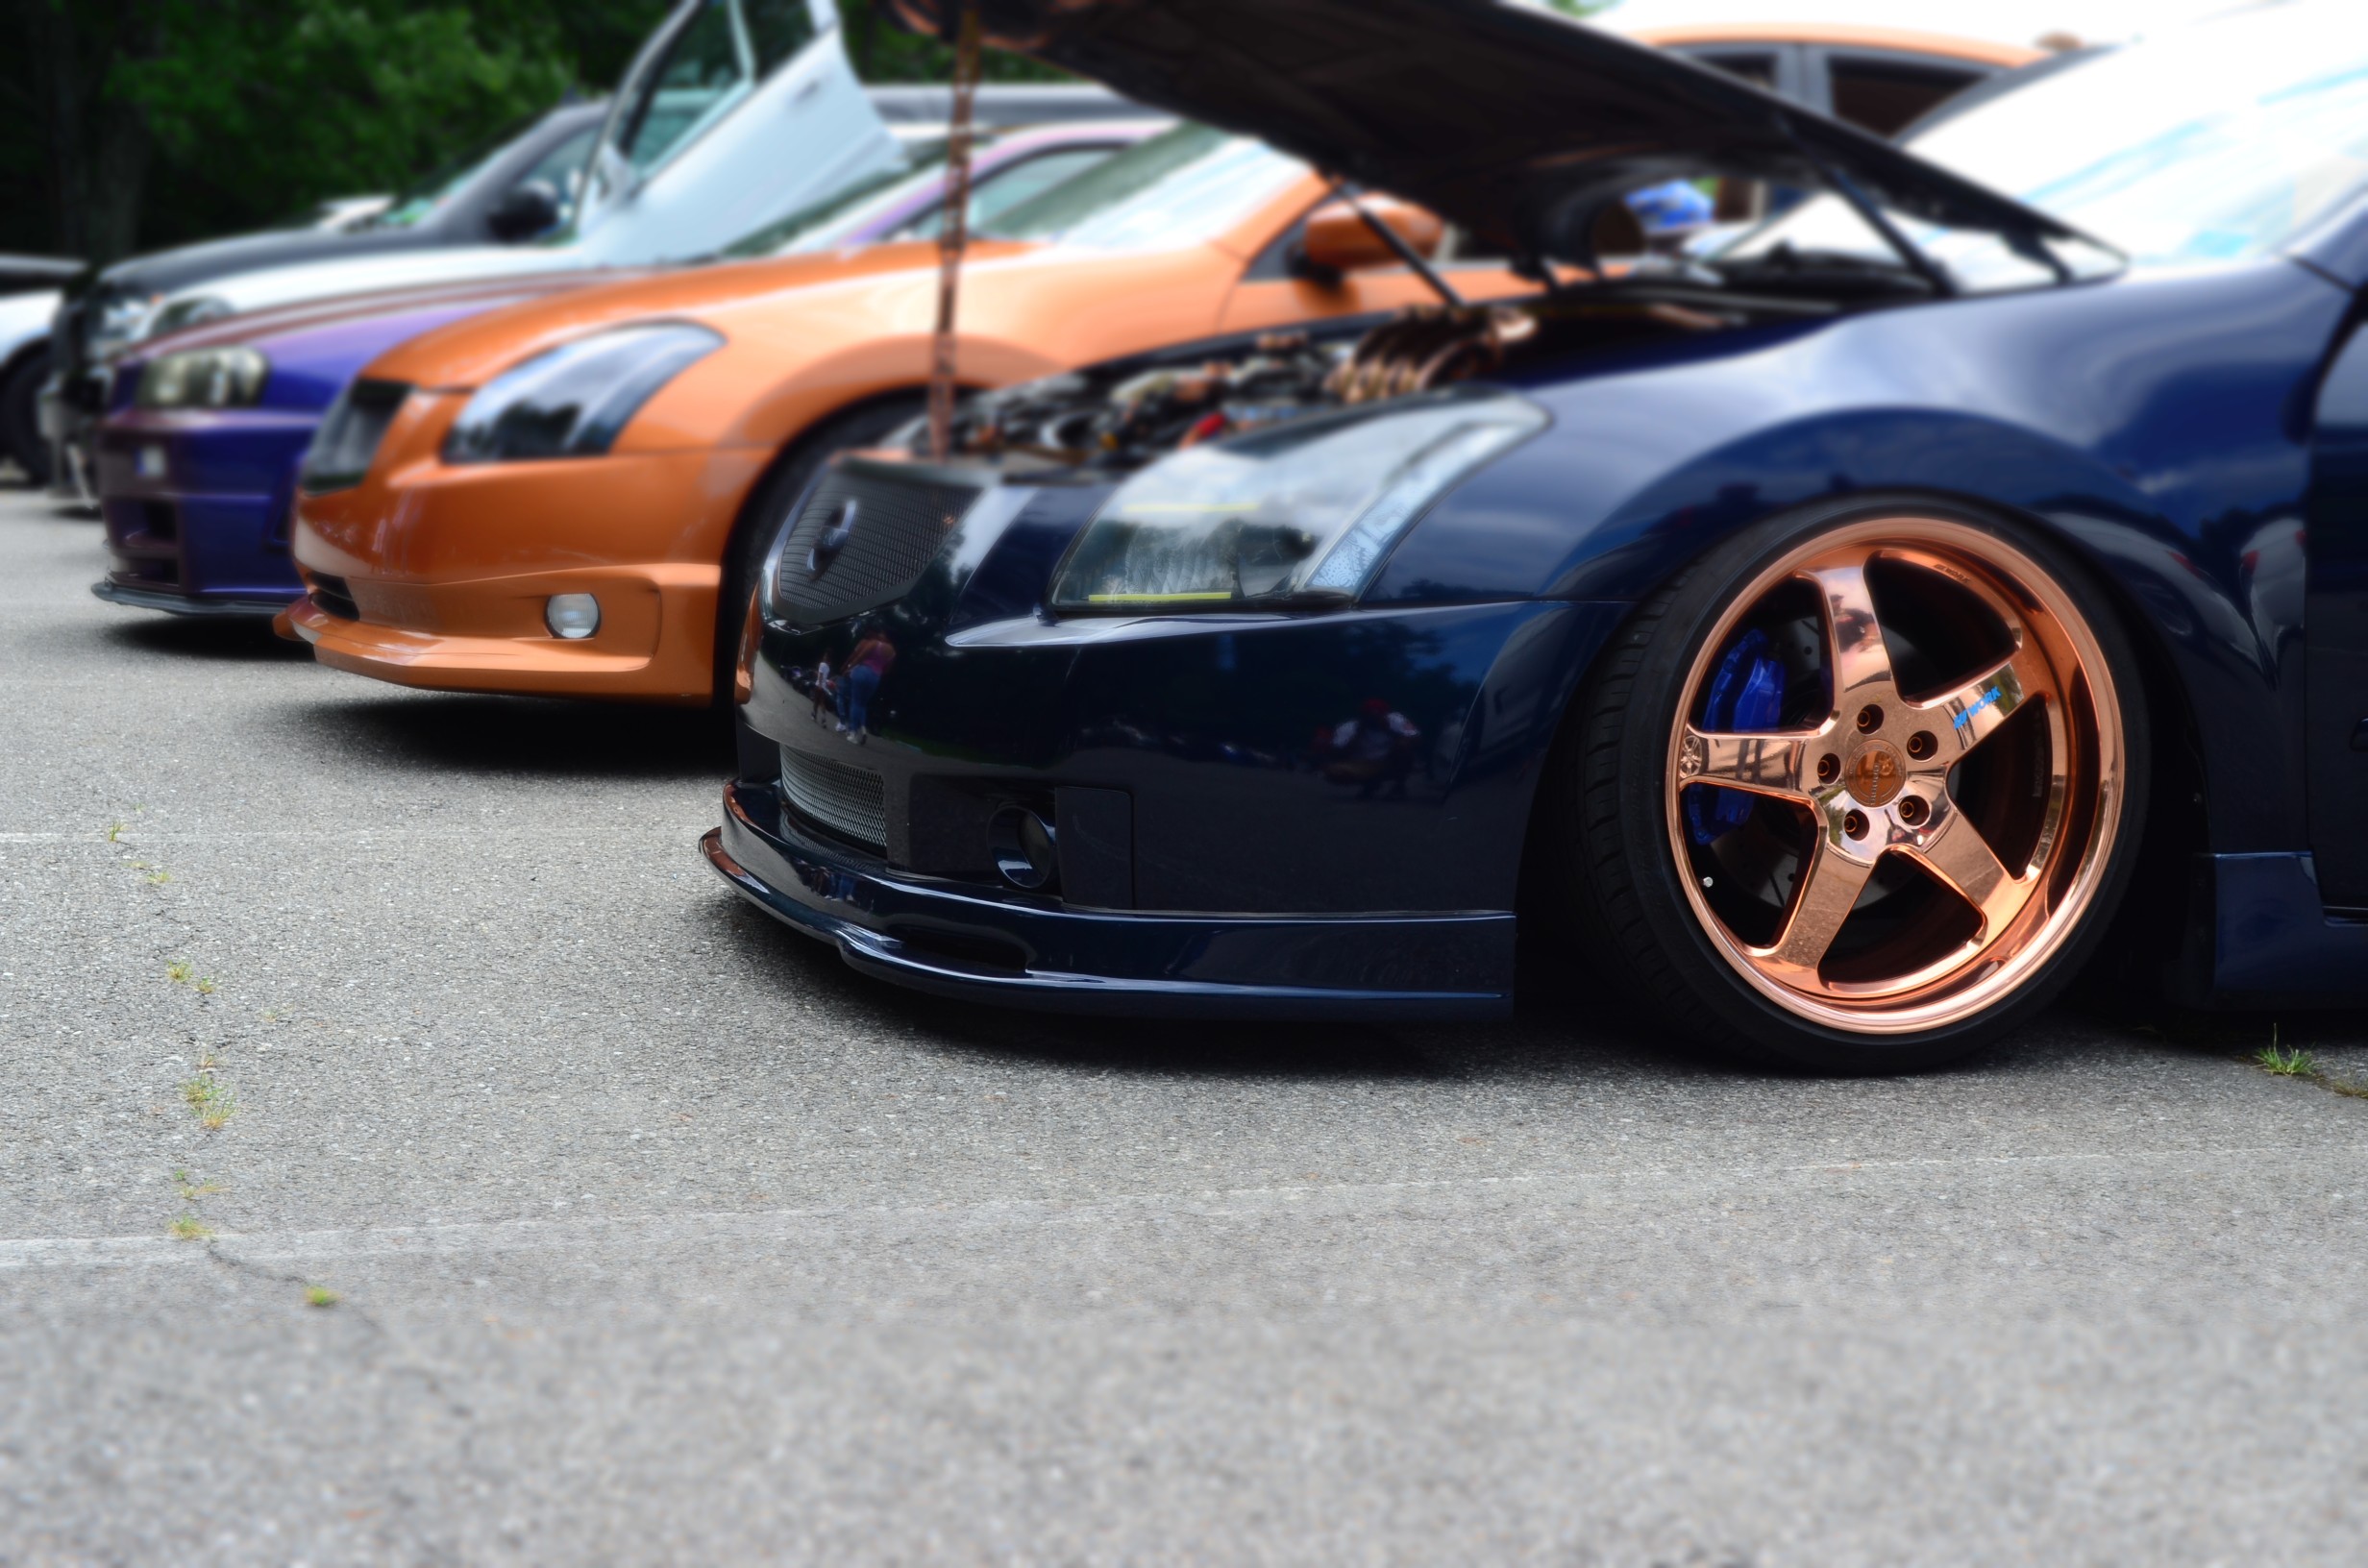
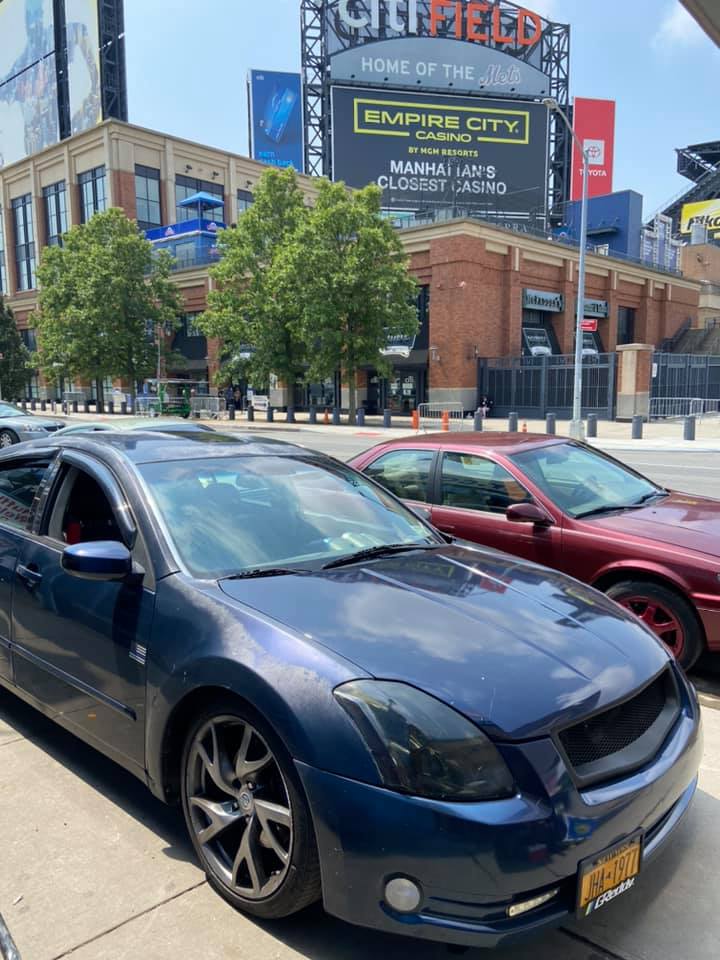
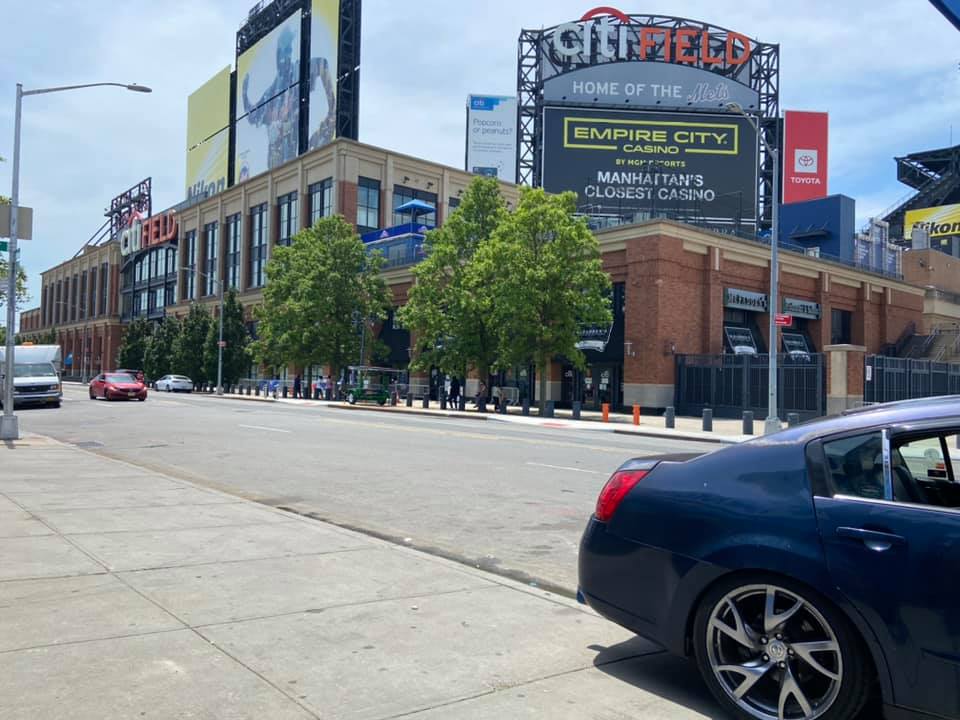
Year: 2008 Model: Nissan Maxima Color: Majestic Blue Pearl (BW9) Trim: SL
What motivated you to MOD your Maxima?
My inspiration to mod the maxima was my desire to be different and mod a platform so few have really explored. Those few were the OG’s that have moved on. I want to carry on the tradition and maybe inspire someone else to go above and beyond – Ham
Full Mod List / Specs:
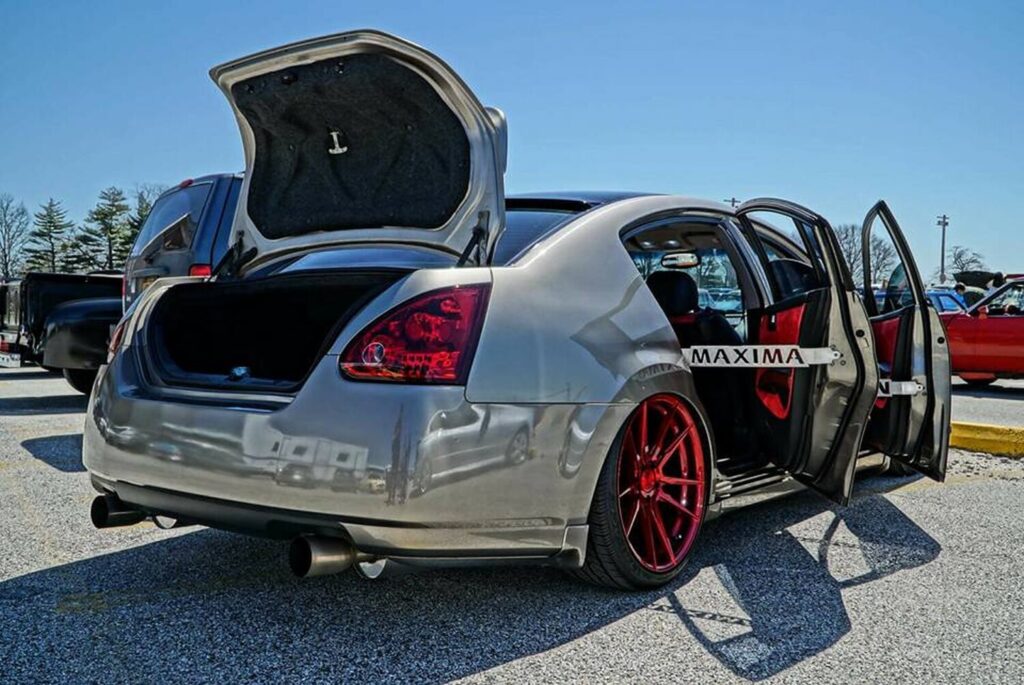
Exterior
Majestic Blue – BW9 Paint
Stillen side skirts
Stillen roof spoiler
Custom DB Front Lip
Weather tech in-channel rain guards
Ruby Red LED tail lights (custom painted)
Custom headlights and fog lights
Hydro dipped inner pieces (kooky Skulls and blue carbon fiber)
Dual Halos on projectors (inside orange, Outside White)
White Halos in fog lights
White Iron man LEDs
Dual COB LED’s (White)
Conversion to HELLA E55 Projectors with clear lenses
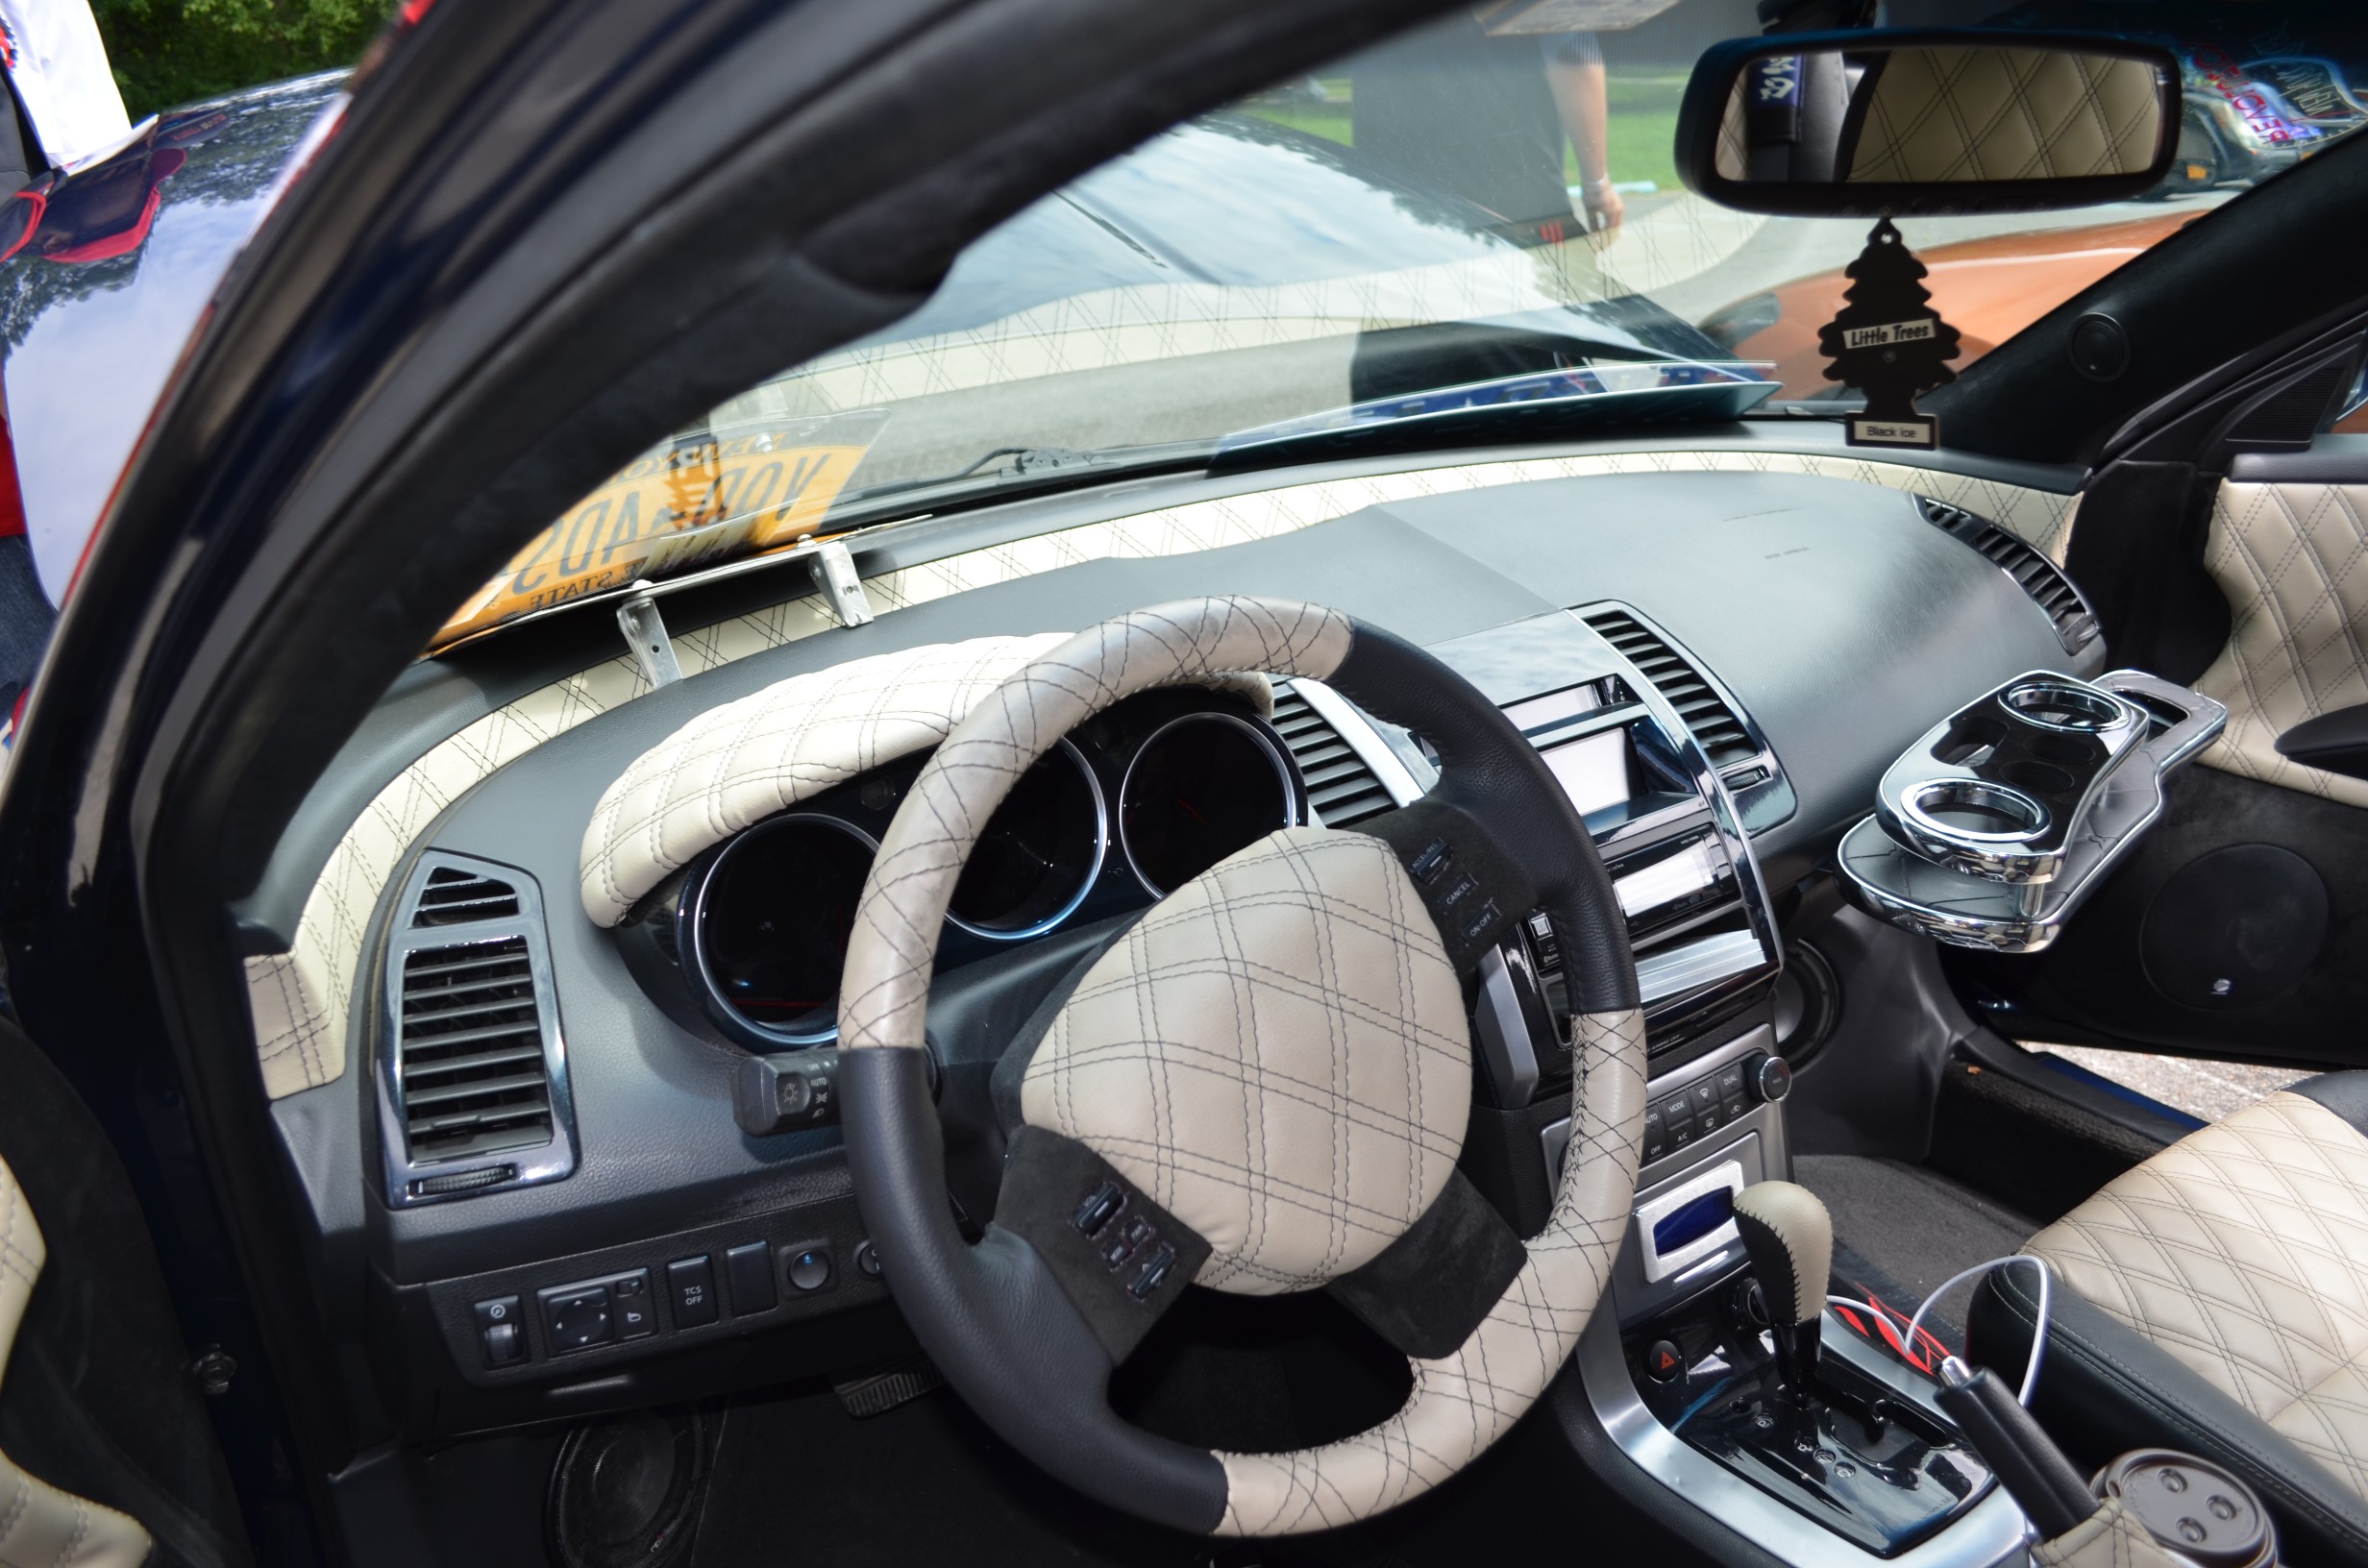
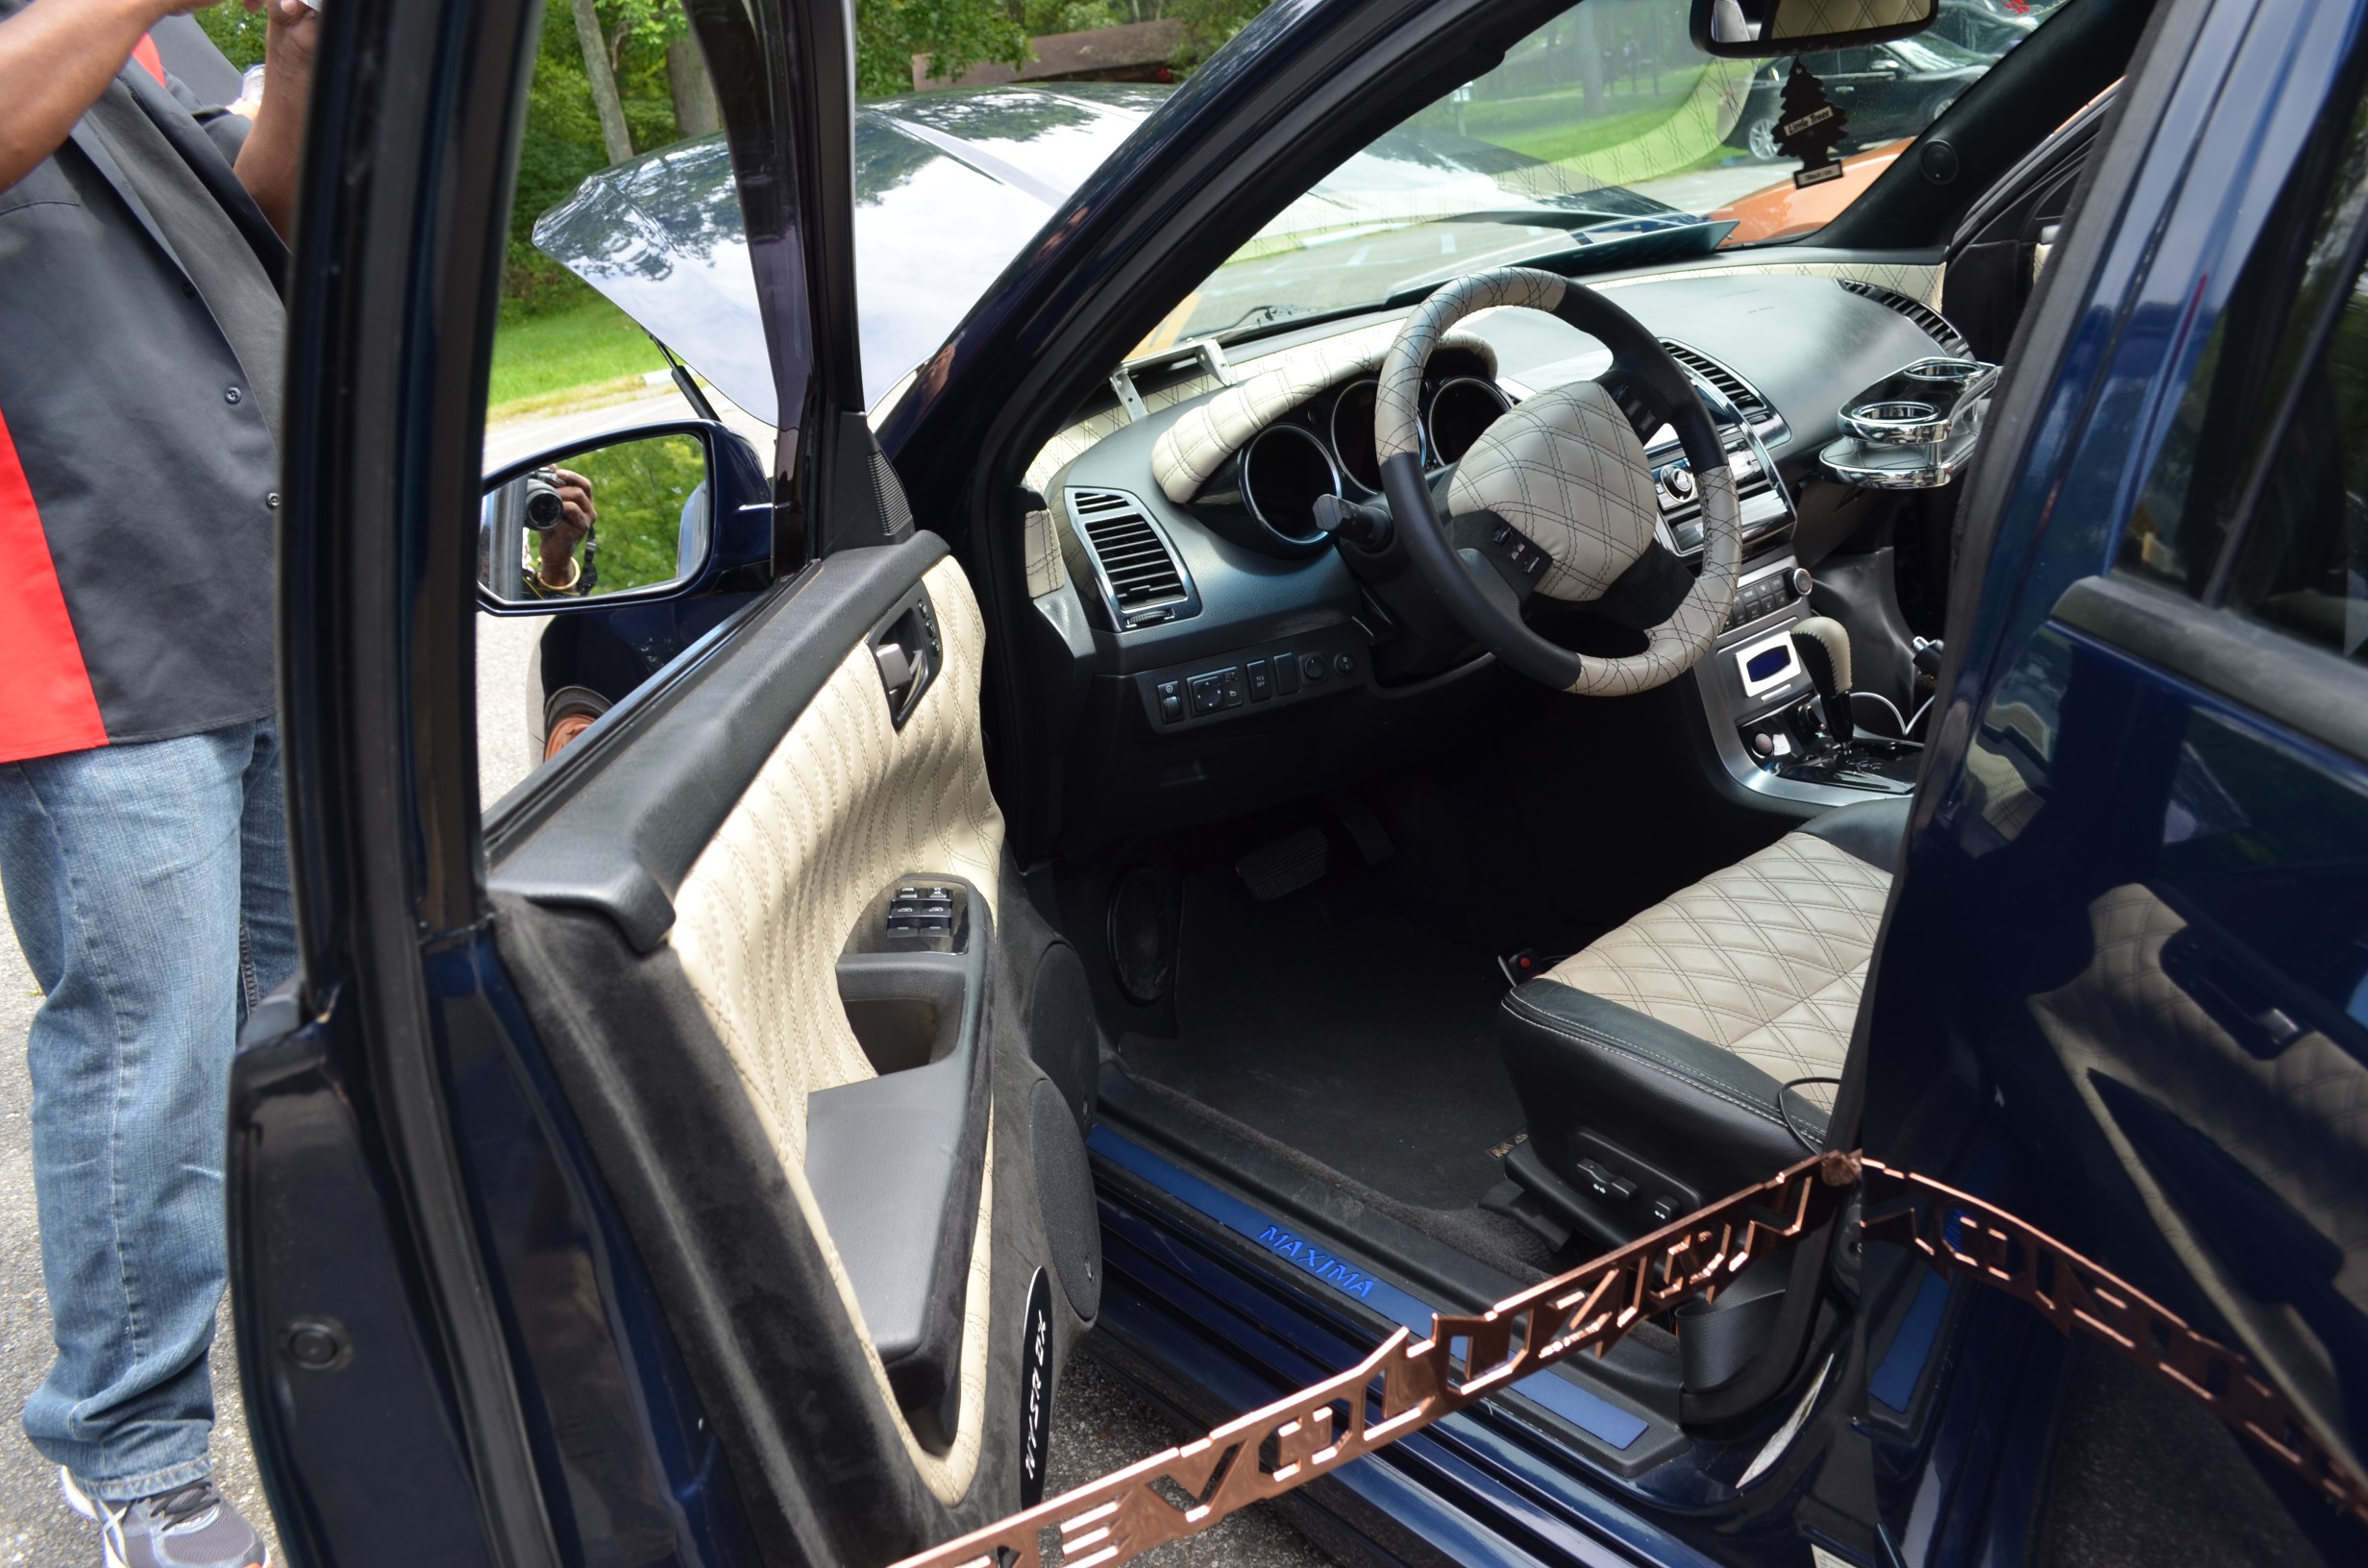
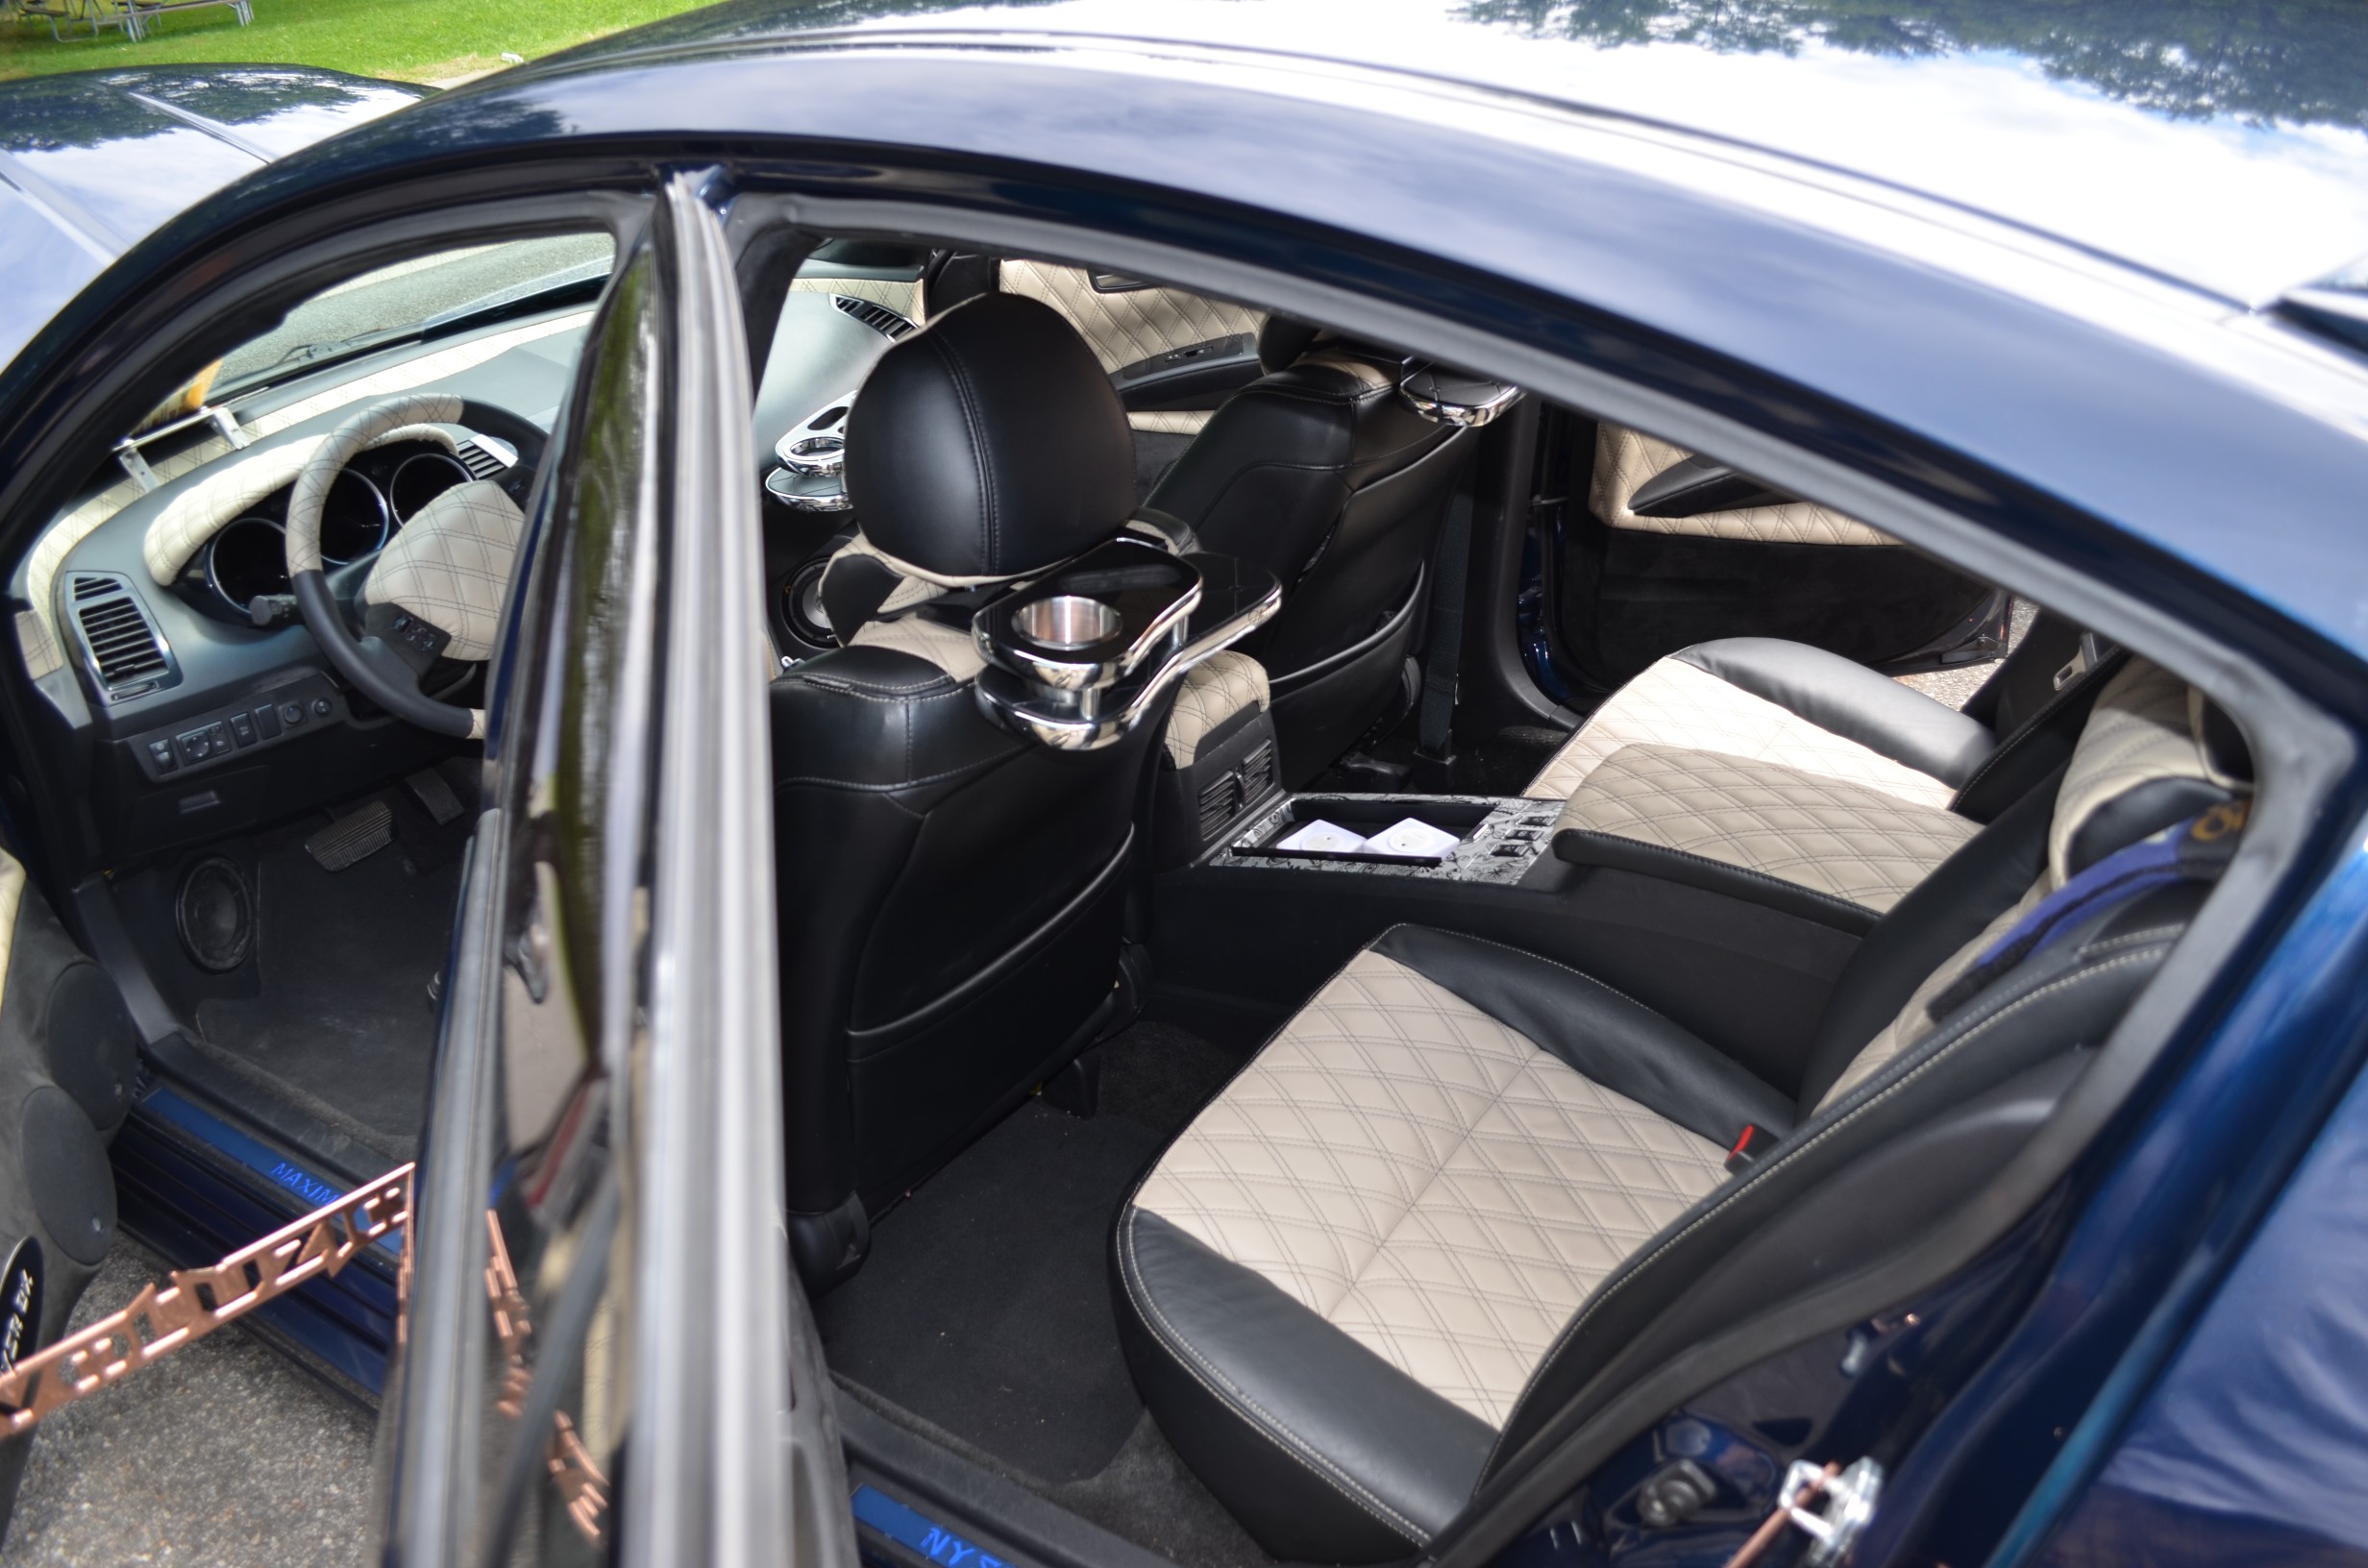
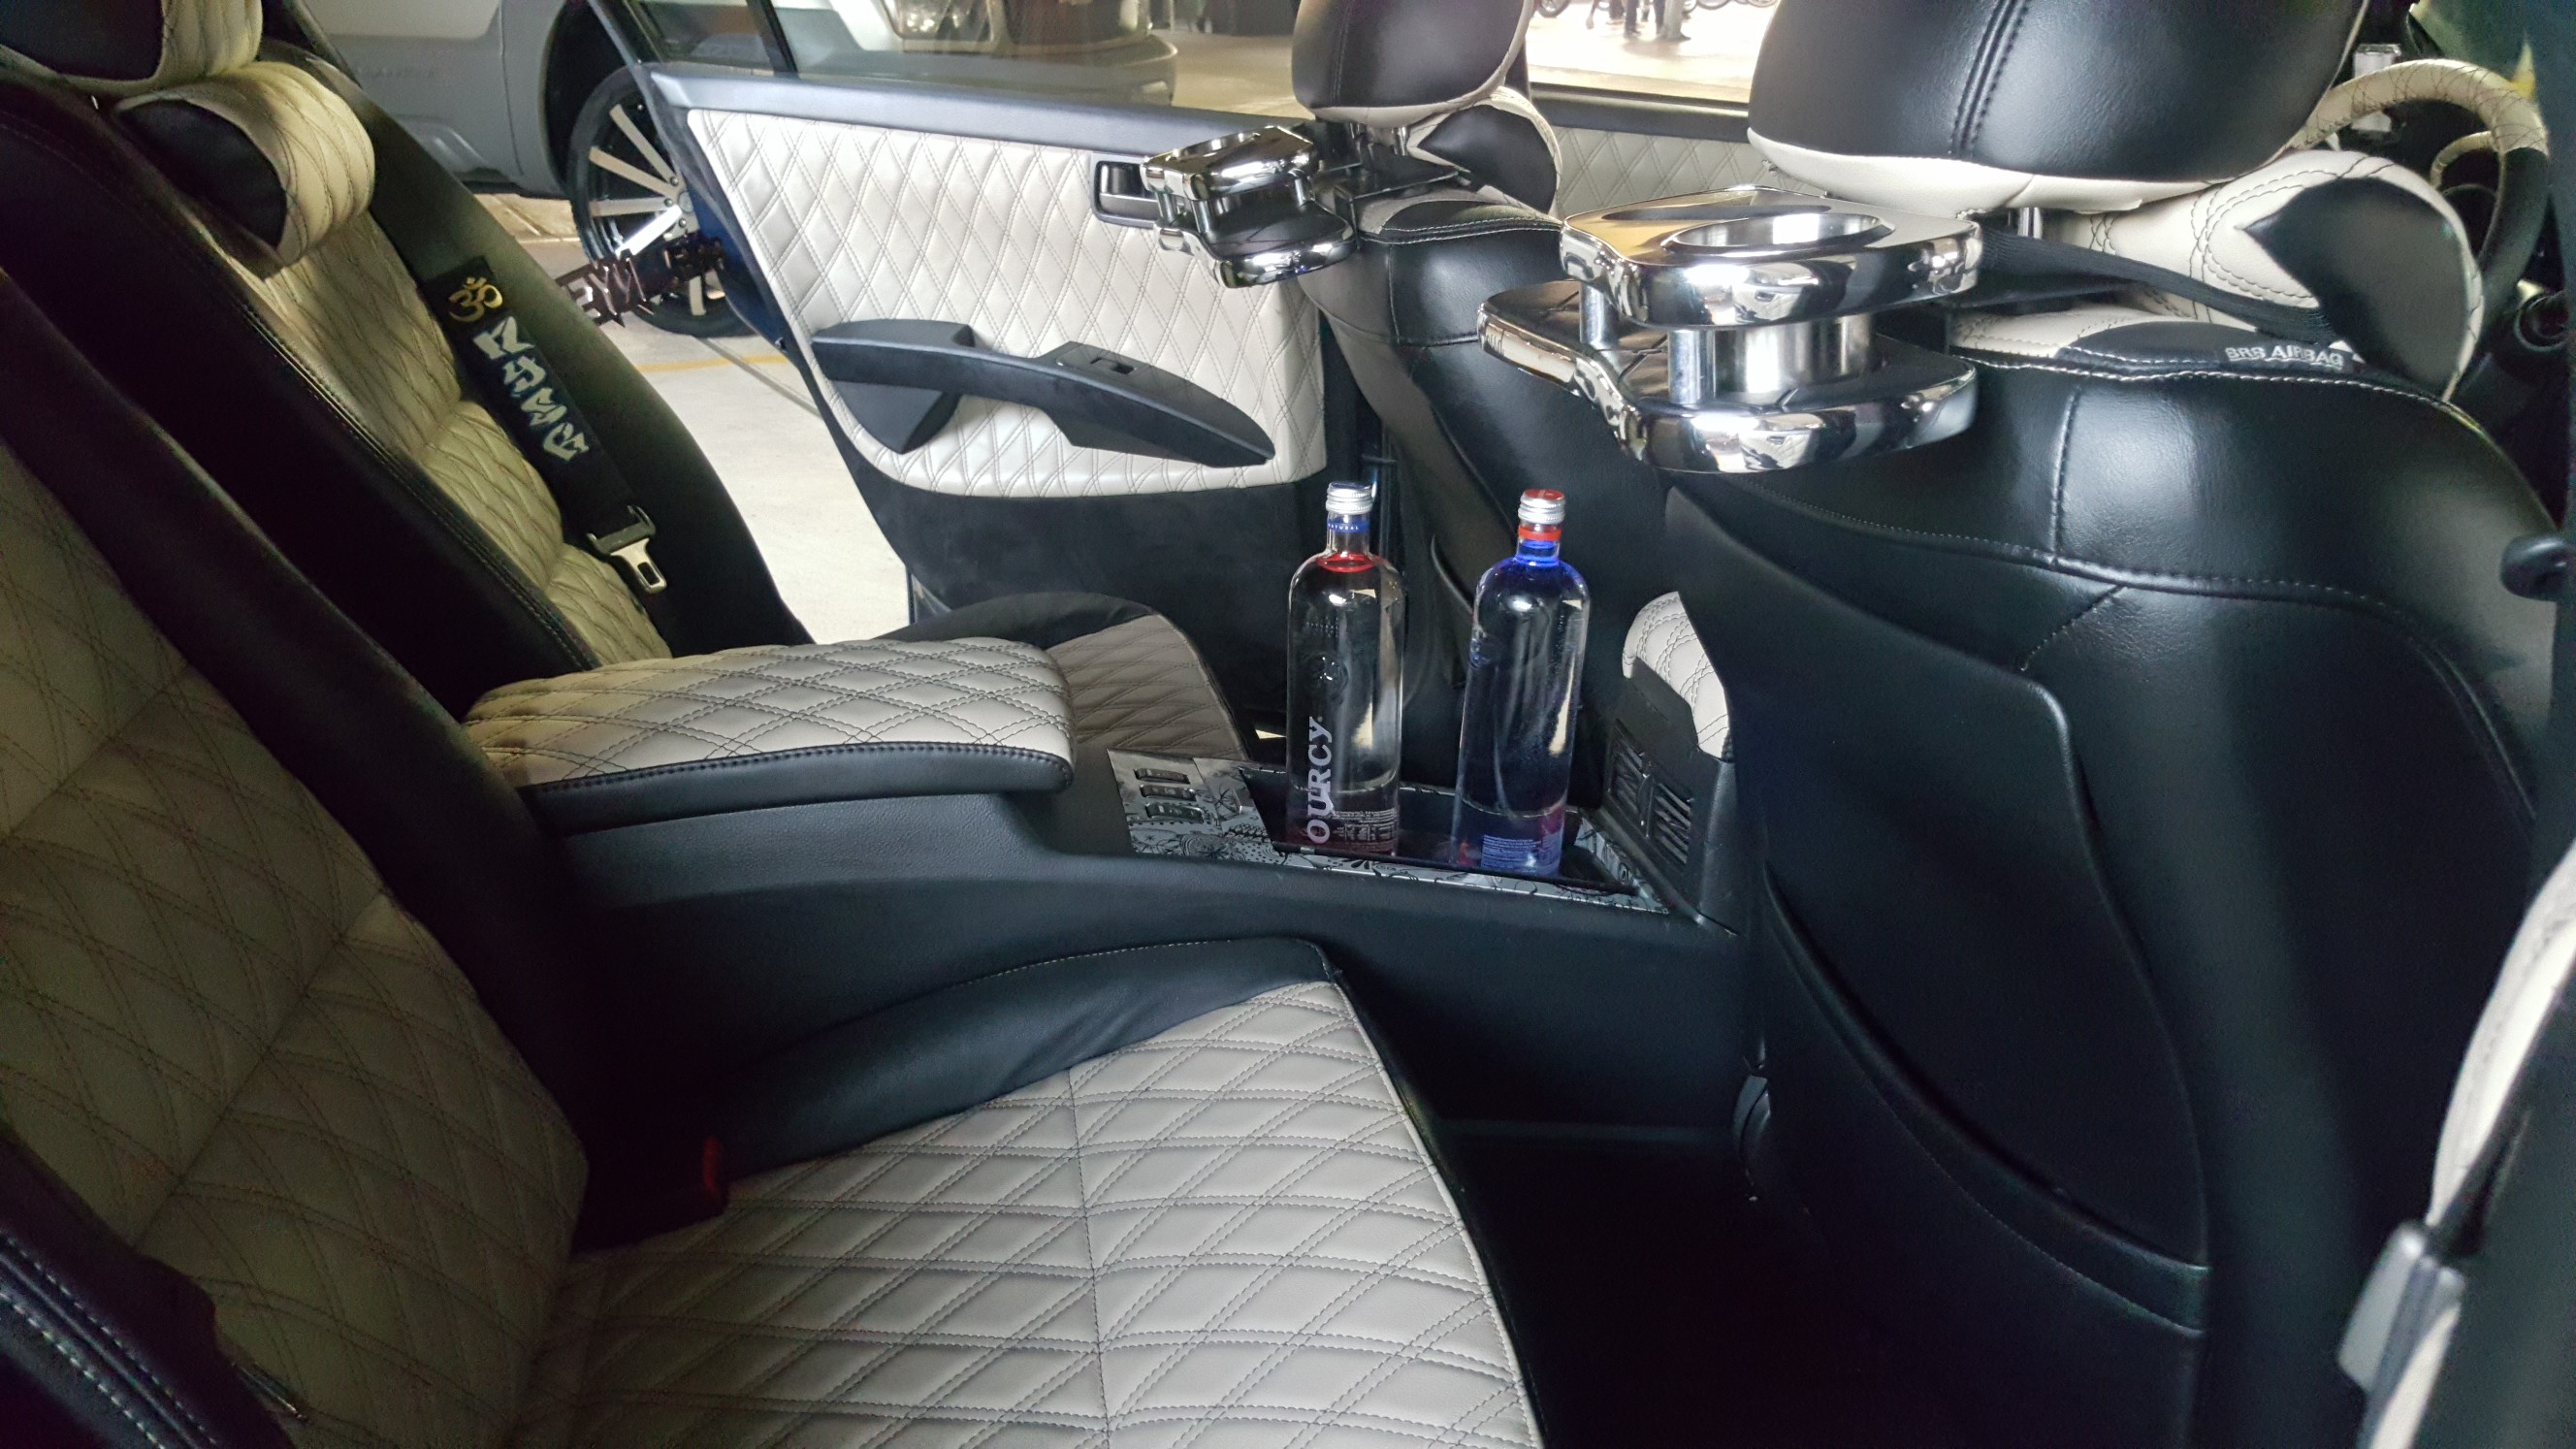
Interior
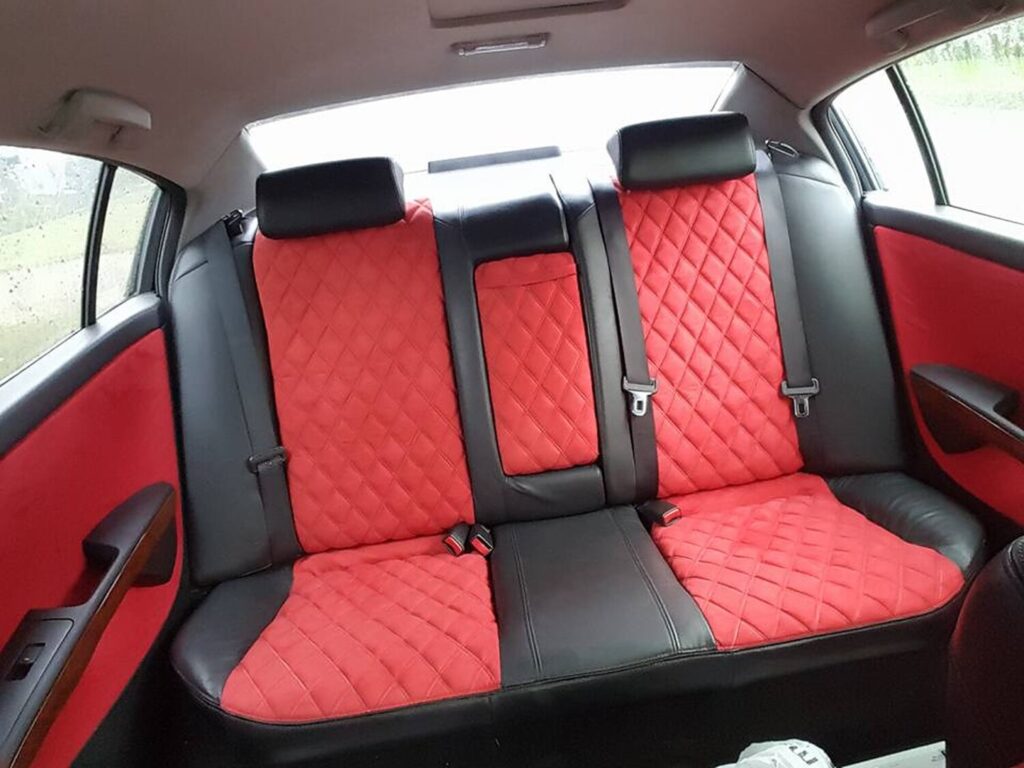
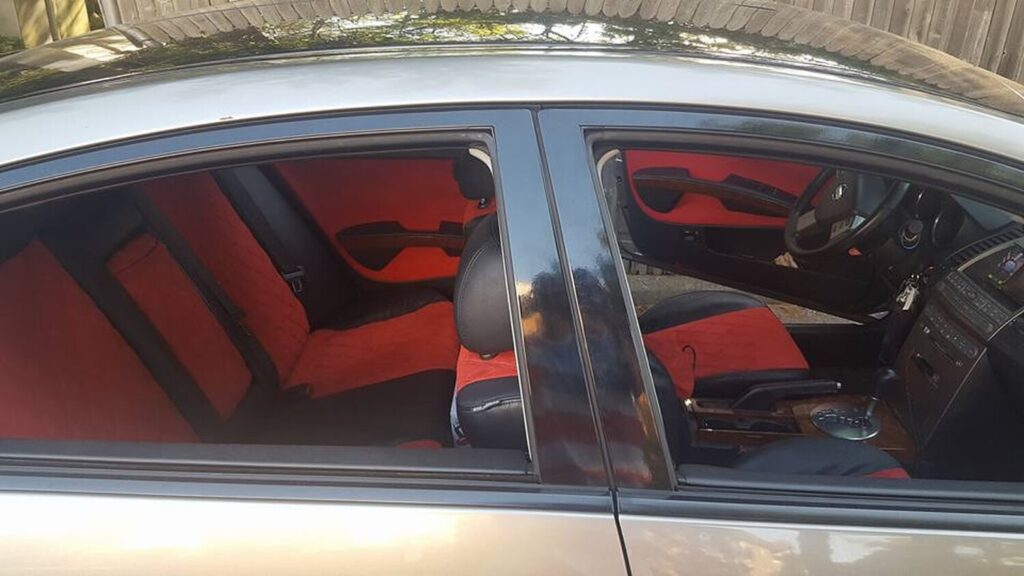
Elite Conversion (rear bucket seats)
Custom two-tone interior (black and tan leather, with double diamond stitching)
Seats including headrest
Headrest pillows, front and rear
Steering wheel
Shift knob
Headliner inner
Cluster hood
Dash trim
Upper door panels
Black suede interior pieces
A,B & C Pillars
Lower door panels
Door panel trim
Headliner outer
Custom LED door sills
VIP tables, head rest and front dash (by Flossed VIP)
Custom Copper plated door props and hood prop
Engine
Copper Plated Items
SFR manifold – Copper Plated
Takeda CAI
Mishmoto Radiator
Stillen Strut Bar and strut plates
Stillen Oil cap
6 Piece cap set (Windshield Res, Power Steering , Dip stick, Radiator Res, AC caps)
Stainless Steel and Copper penny washer set (220 piece kit, still installing)
Custom Battery terminals
Custom Battery Tie down
Copper braided techflex
DC 320amp Alternator
In Car Entertainment (ICE)
Source Unit
Kenwood Excelon X997
Mids-Highs- Lows
Rainbow Germanium dual 6.5” mid-bass (custom door panels)
Rainbow Germanium 5.5” Mid (in custom kick panels)
Rainbow Germanium 1” silk dome tweeters (custom molded in A pillars)
Subs
Focal 11” Free Air woofers Infinite baffle suspended off rear deck
Amplification
Helix A2 Competition to handle subs
Helix A4 (2) to run Mids-Highs-Lows
Processing
Helix DSP 8ch processor
MISC
Focal sound deadener in doors and trunk lid
Custom Made RCA cables, amp rack
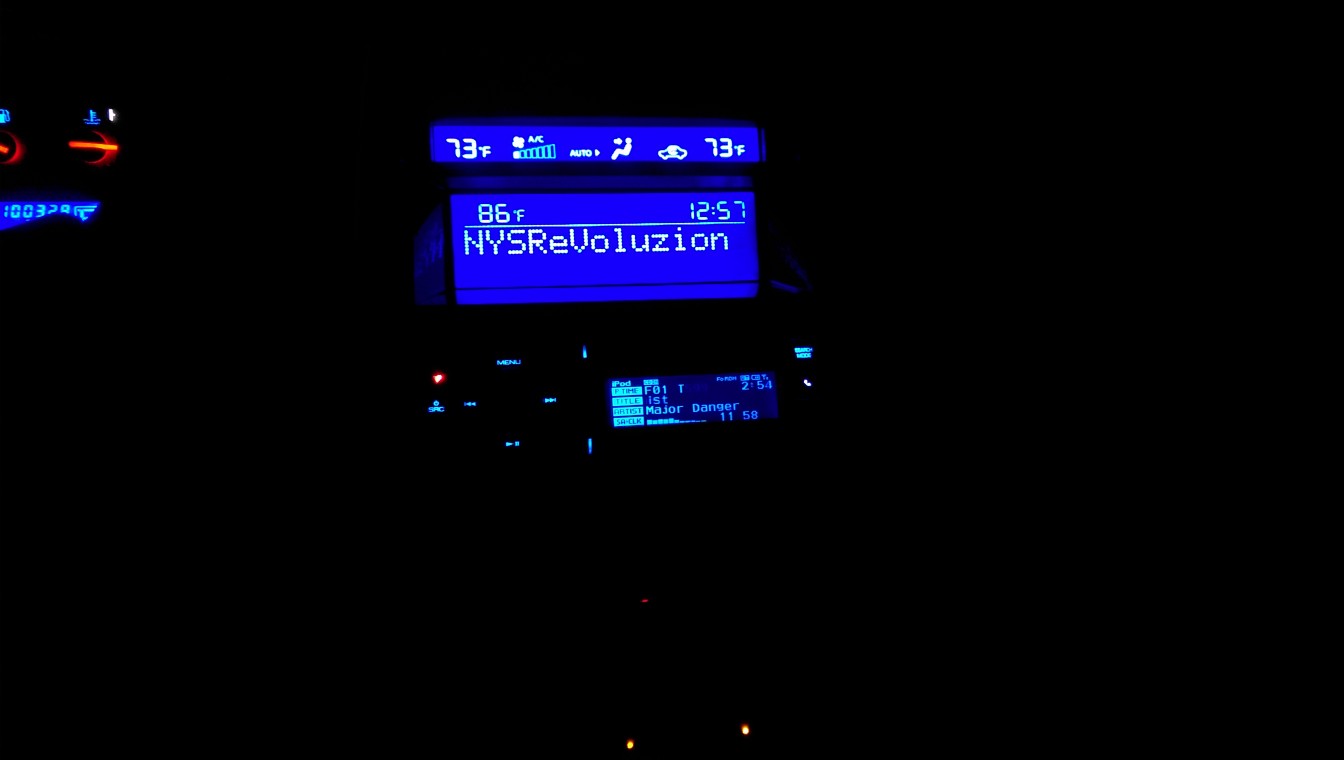
Custom LED conversion on all switches, Info Screen, AC screen, AC knobs and speedometer
Hydro dipped speedometer shroud, inner shifter bezel, door switch plates, radio bezel, AC vent bezel’s (blue carbon fiber)
Wheels
Work Gnosis
Copper Plated
19×9.5 +15 and 19×10.5 +25
Air Suspension
Accuair management with switch speed
Airtekk air struts
Viaair 480C compressors (custom wrapped bodies)
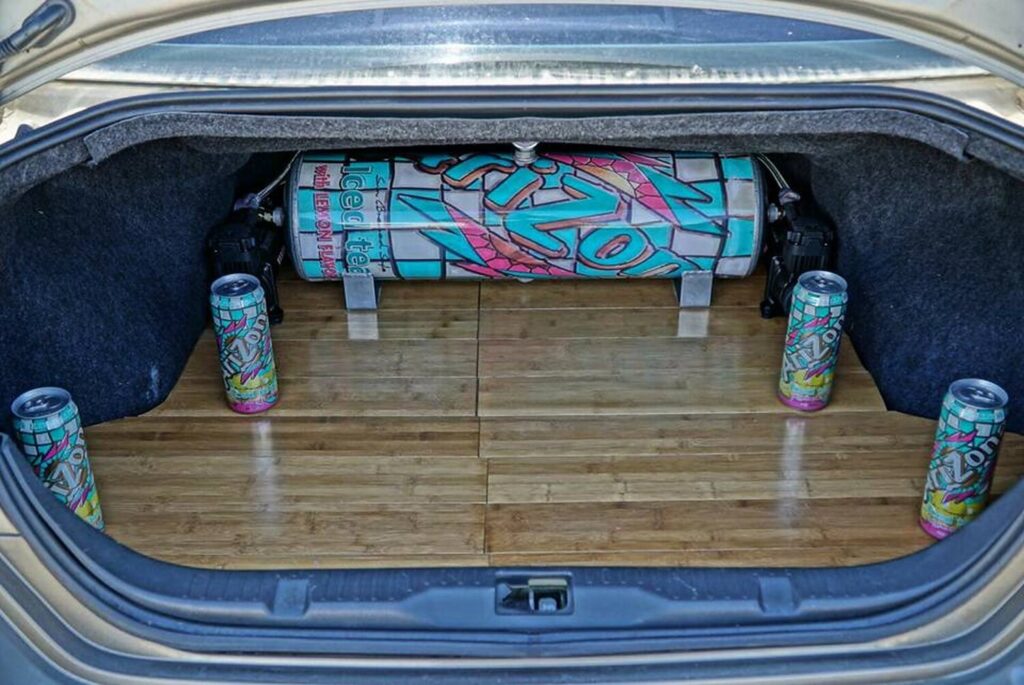
Dual custom painted 3 gallon air tanks, with Accuair bracketry (5 gallon hidden tank under floor)
Stainless Steel hard line system
Dakota Digital air sensors (display custom flush mounted to cubby door on dash)
Brakes
G35 Brembo Front conversion with stainless steel lines – Custom powder coated blue
Slotted and cross drilled rotors
Art Work by Nutty World Graphics
Custom painted trunk lid
Custom painted amp rack cover
Custom painted floor board
SPECIAL THANKS AND GRATITUDE. Without these folks, this car would not be possible.
I’ve been working like crazy on my father’s 07 SL. It’s been neglected pretty good to say the least. I have already tackled this job on my 03 Altima, which suffers from the exact same problem.
If you have this problem, roll up you sleeves and get to work!
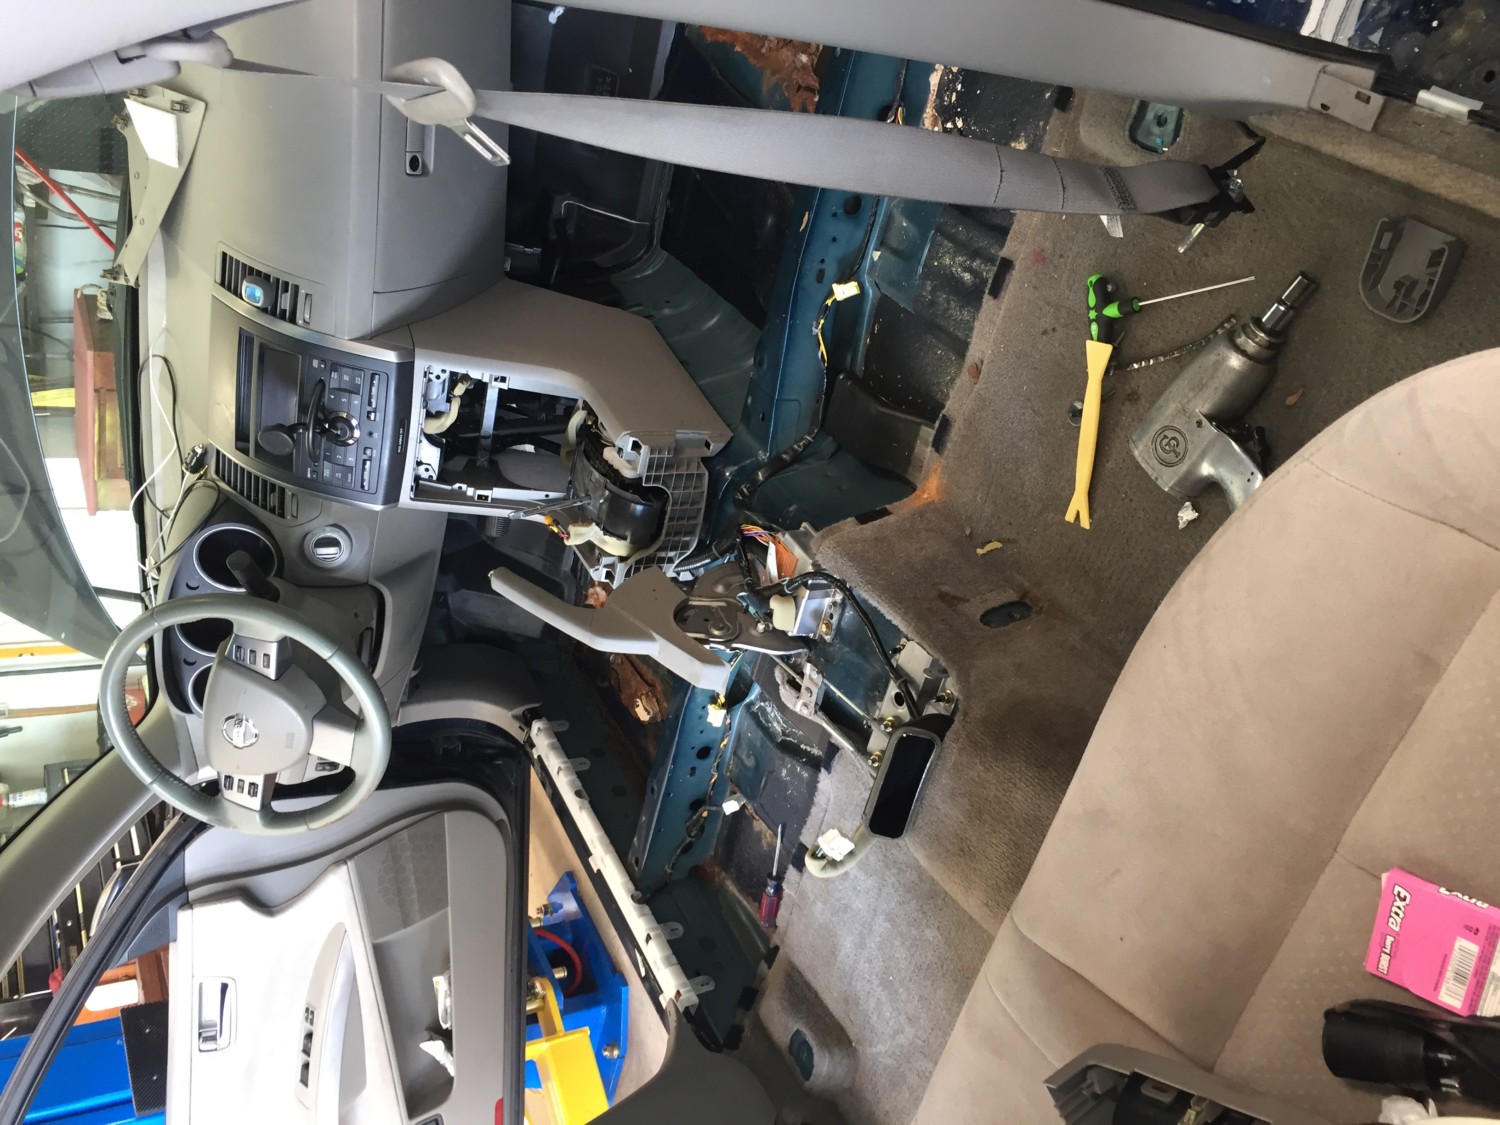
01 – Unbolt seat and lean it back. You don’t need to remove it from the car.
02 – Disconnect battery. You’ll have to unplug the wiring, including air bag, if you want to remove the carpet from the vehicle. Work smart, don’t set off the air bag.
03 – Remove trim from around carpet. The panels pop off with no screws, just clips.
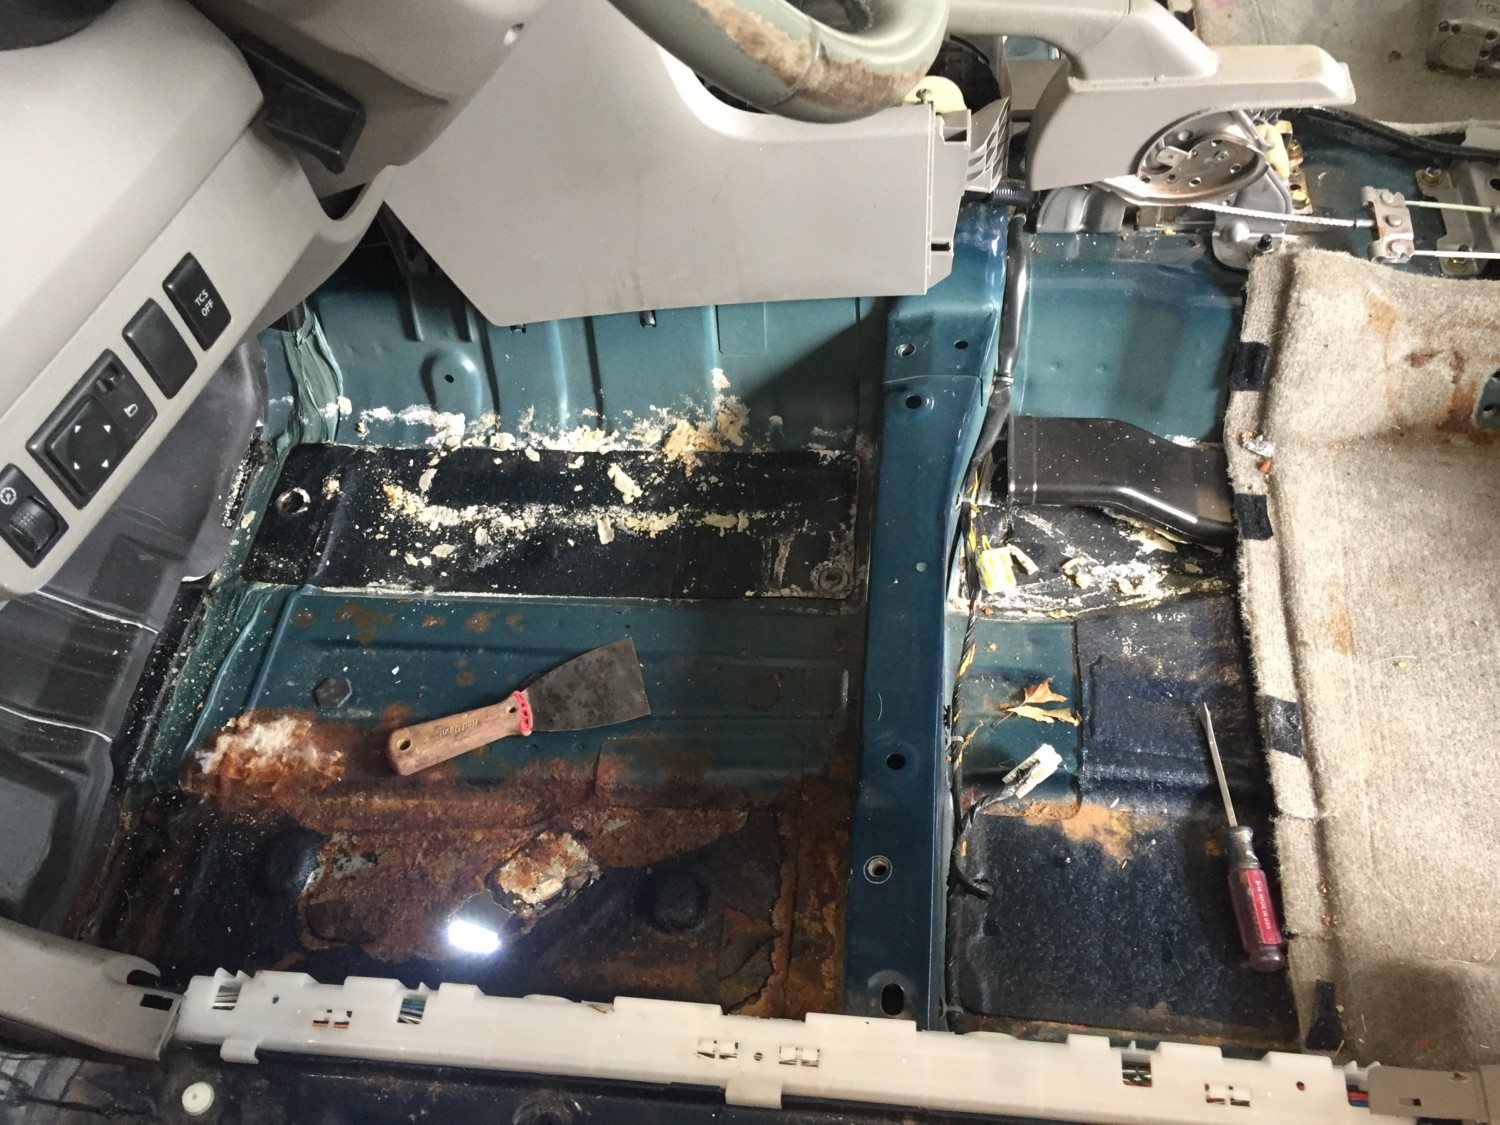
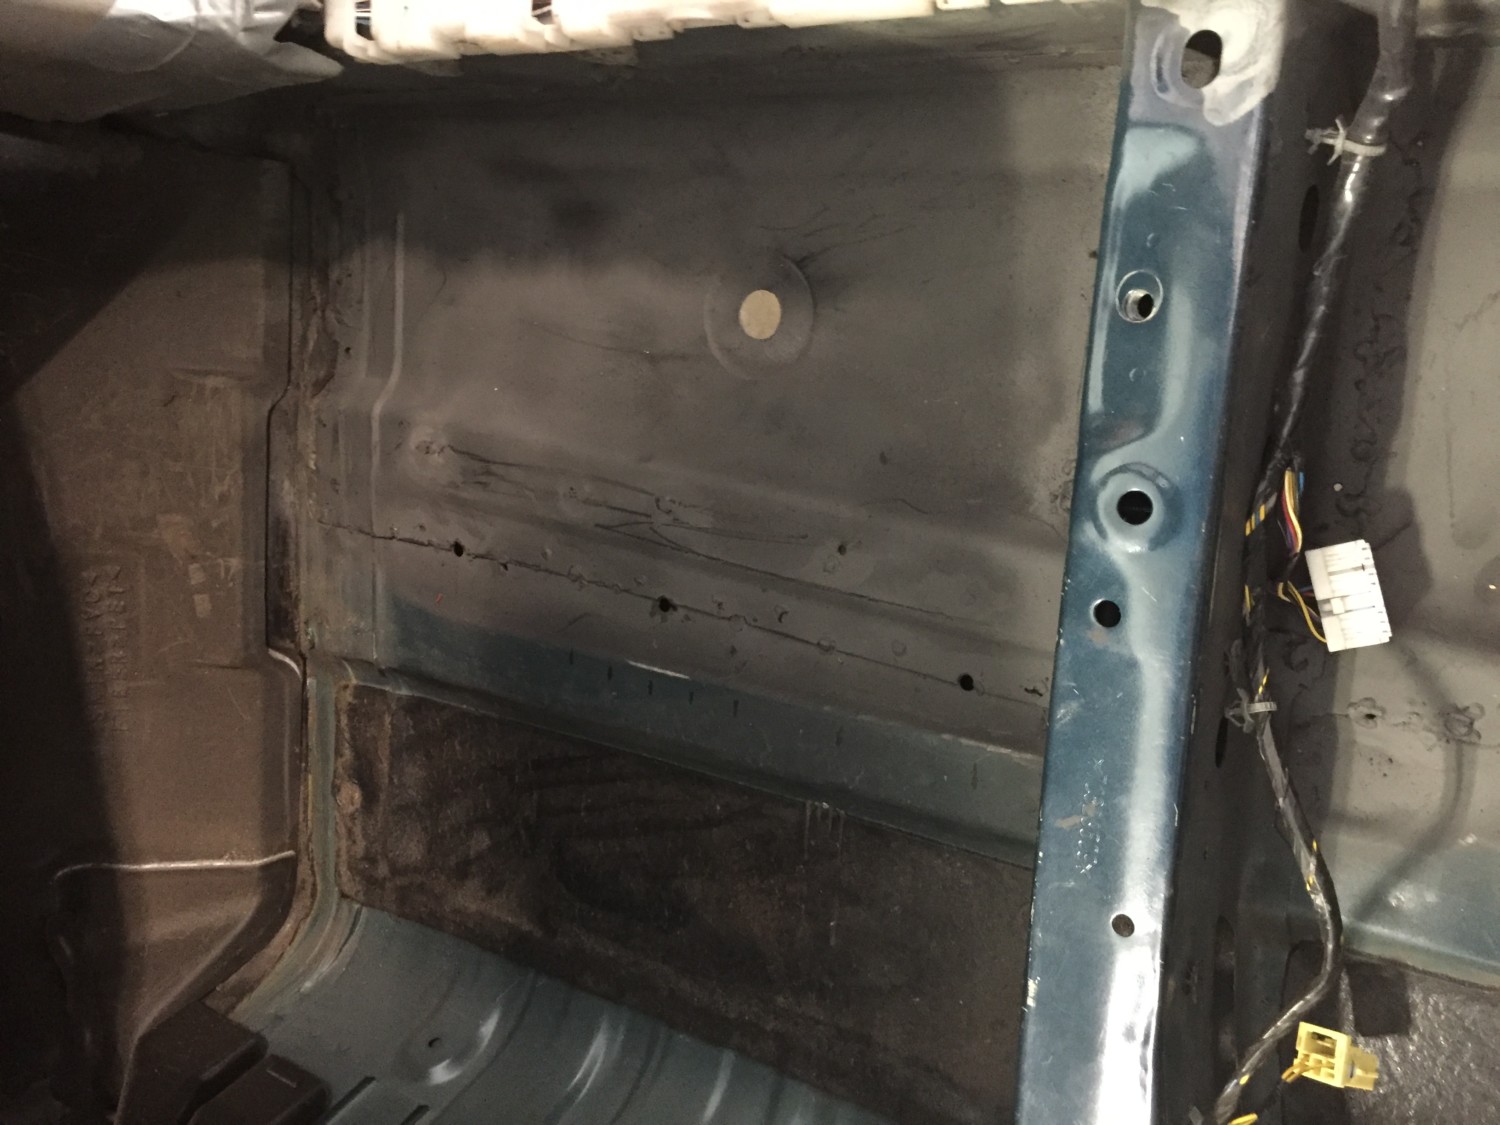
04 – Remove carpet. It’s held in with clips on the sill and velcro around the edges. There are some push pins on the drivers side. You’ll need to remove the HVAC drain tube from the ducting on the passenger side. Finally you’re getting to the issue.
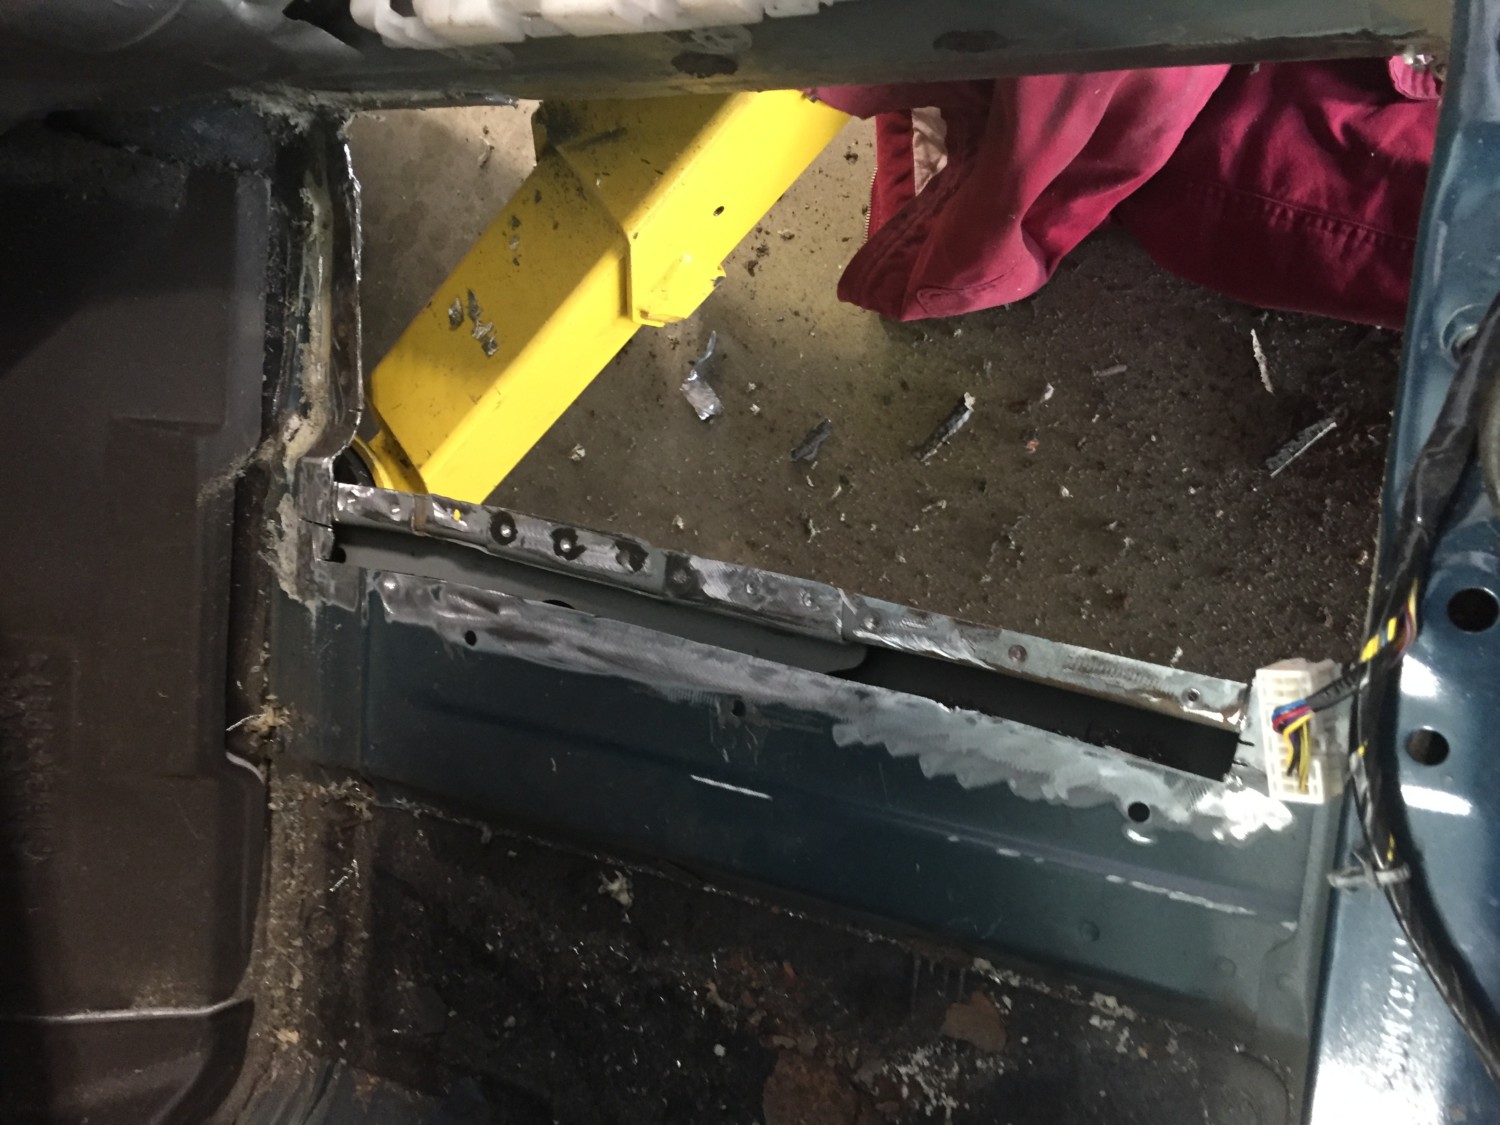
05 – Time to get dirty. Remove the sound deadening. A chisel and mallet work just fine. Some have been lucky and it peeled up in one piece.
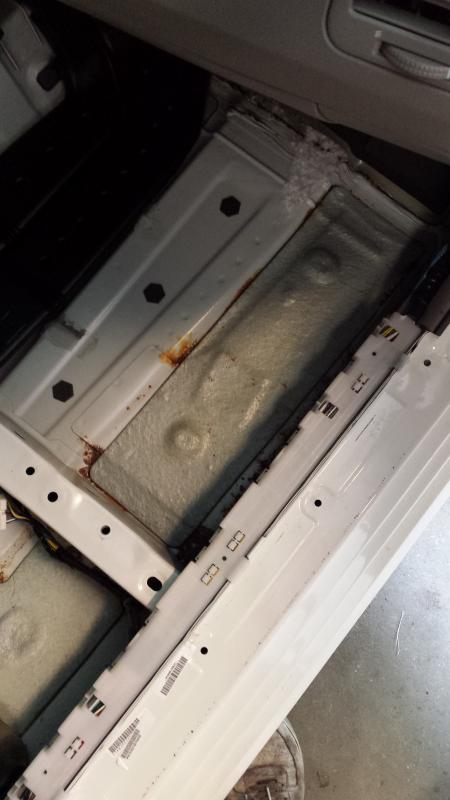
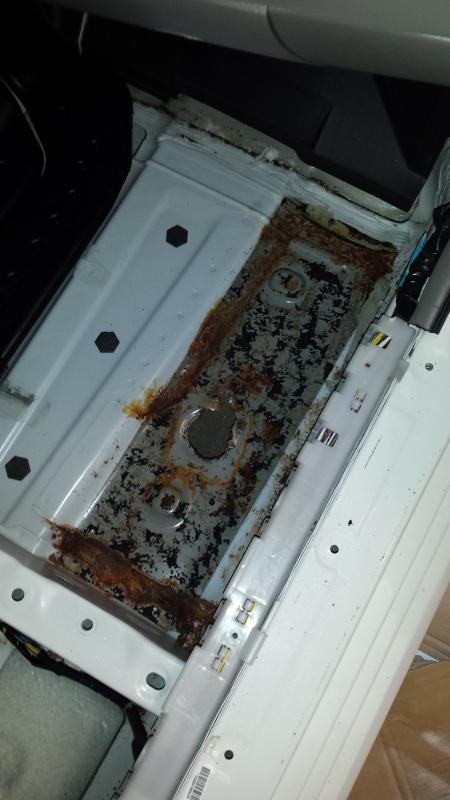
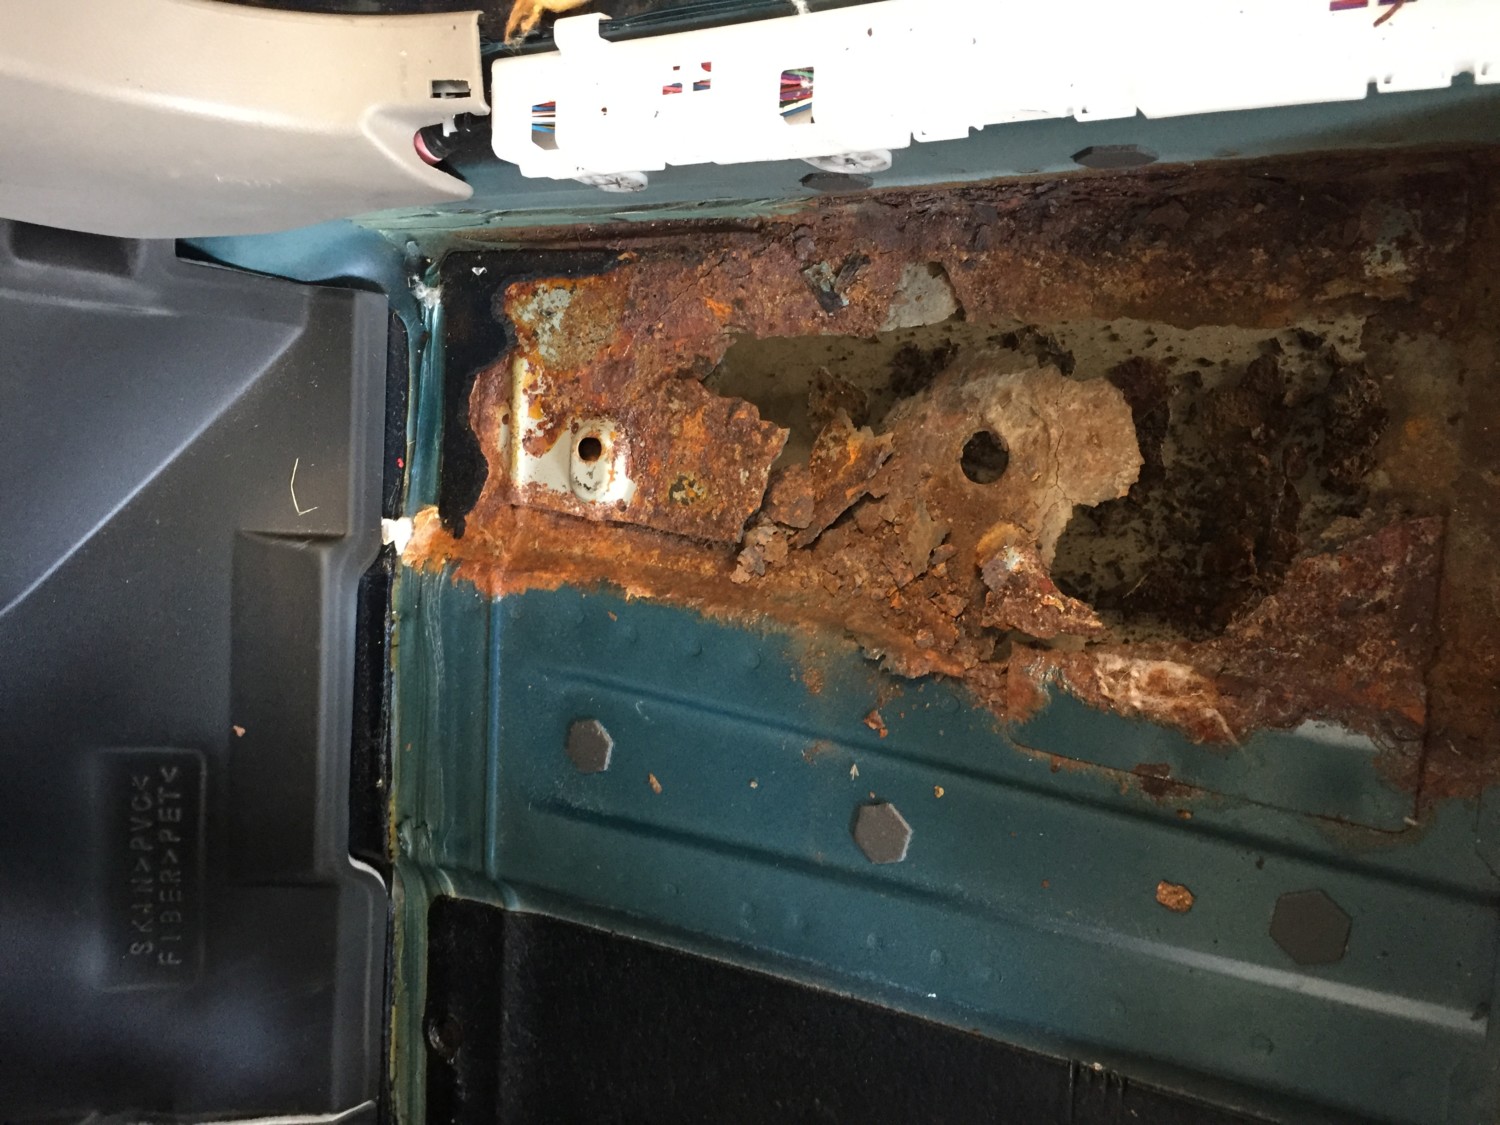
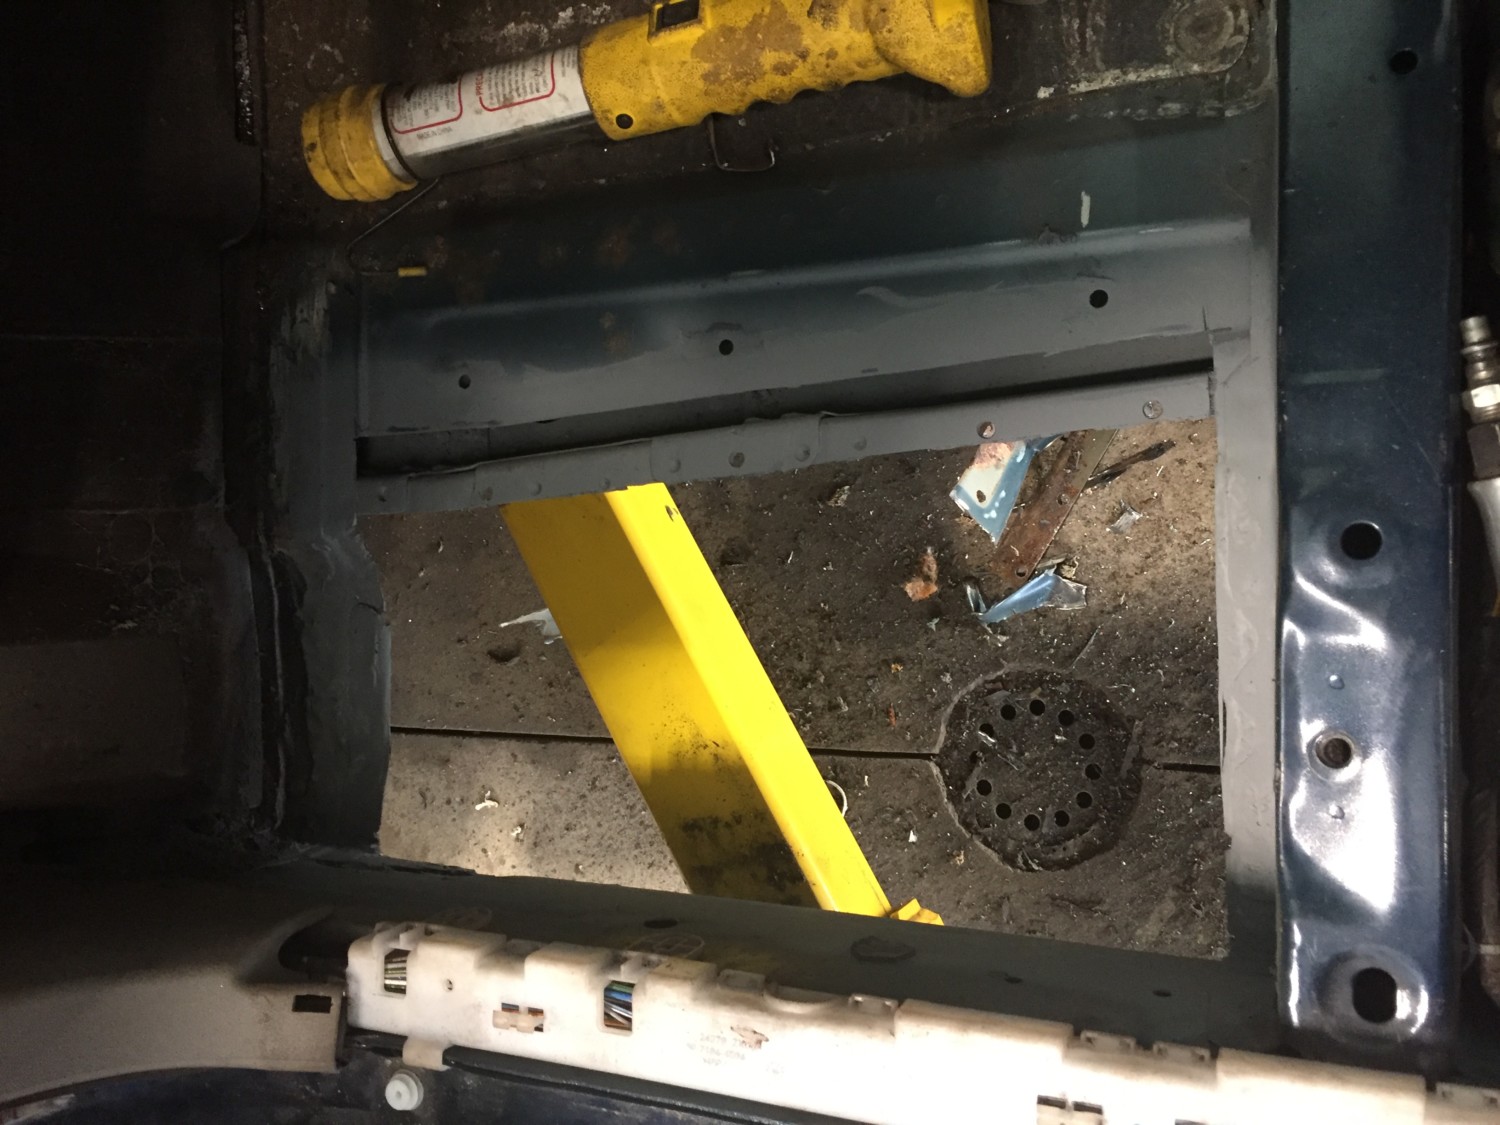
06 – Drill out any spot welds and remove the first layer of sheet metal. Hammer and chisel or air hammer if you choose. This is where all the water got trapped.
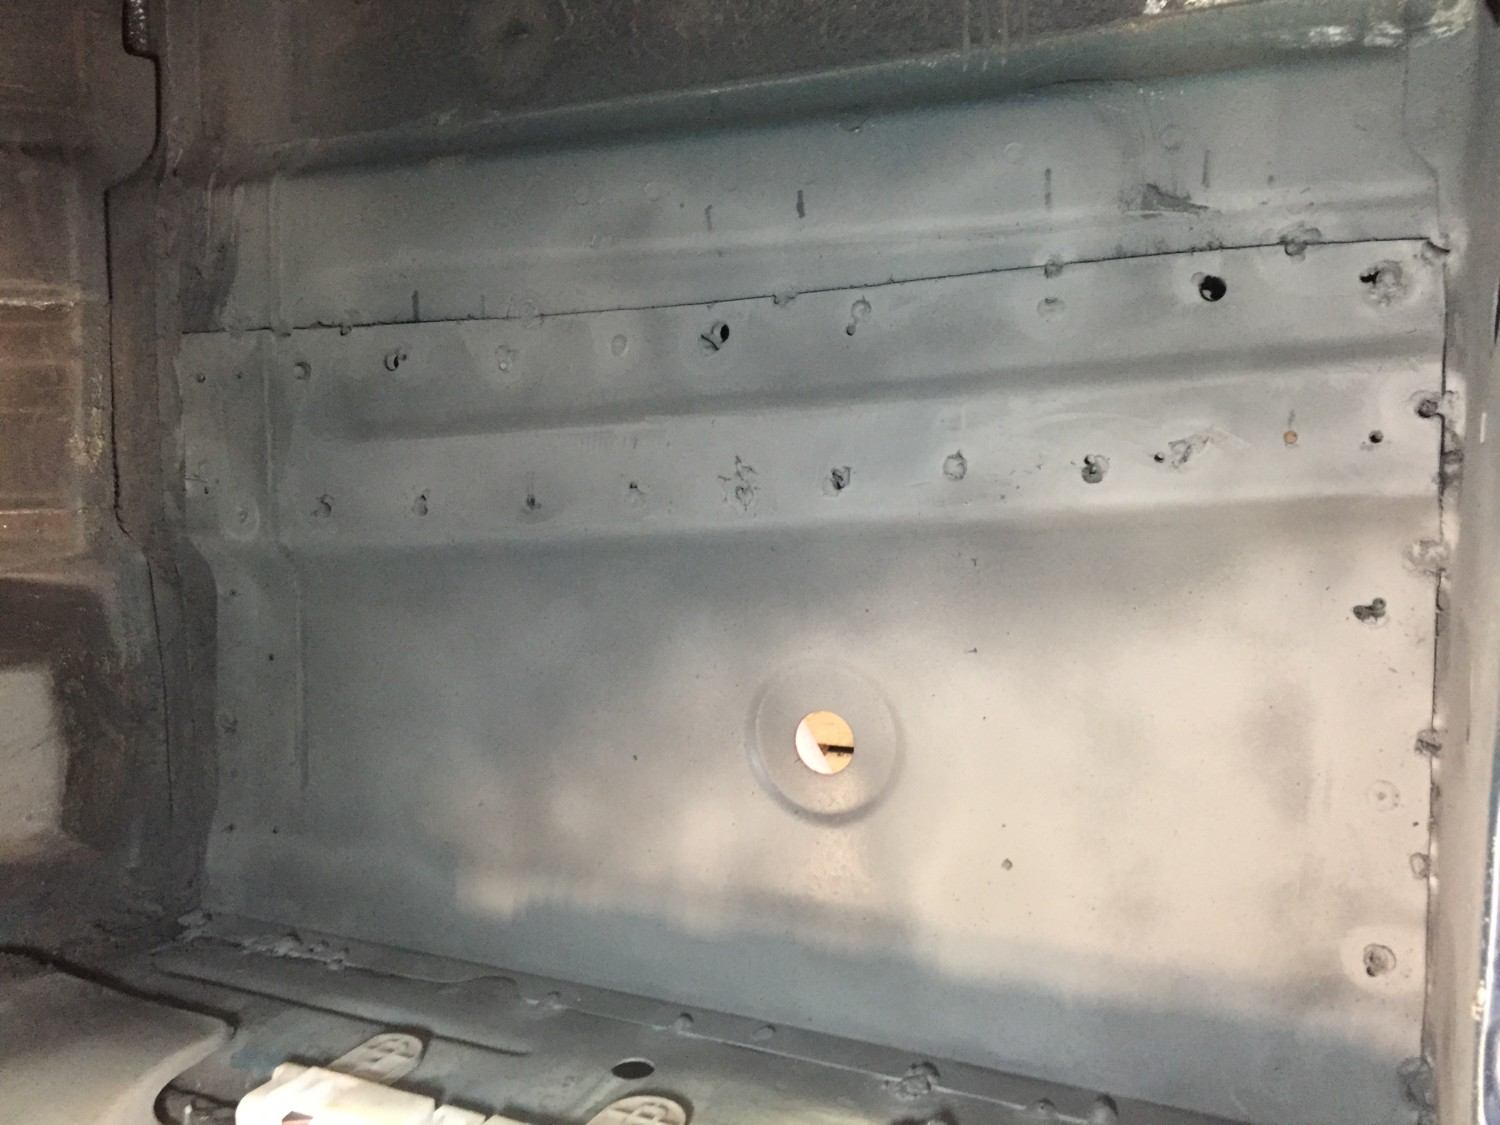
07 – Cut out the rusted floor pan. Get as much of the rust out as you can yet leave as much good metal as you can. I had to cut from the seat mounting area to the reinforced area of the foot well. About 18″ long and 8″ wide.
08 – Grind the metal the best you can. The cleaner the better, ask me how I know.
09 – Hit it with some rust treatment.
10 – Prime the bare metal. I am welding the new panel in; I used copper weld through primer. If you rivet or use panel adhesive the new panel in you can use the appropriate primer.
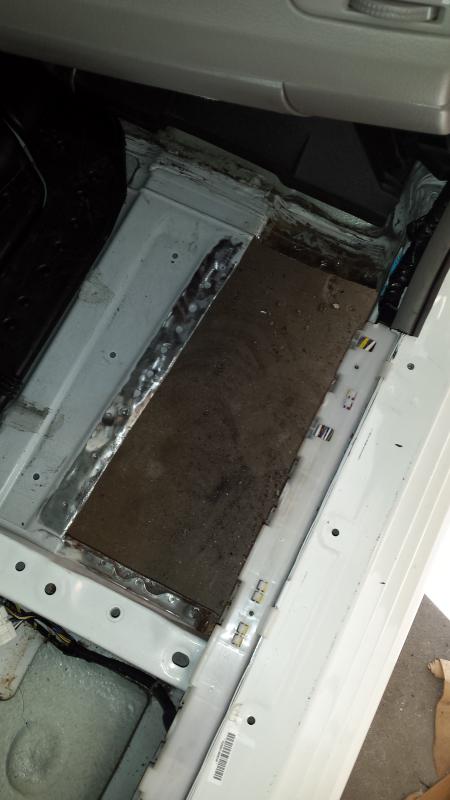
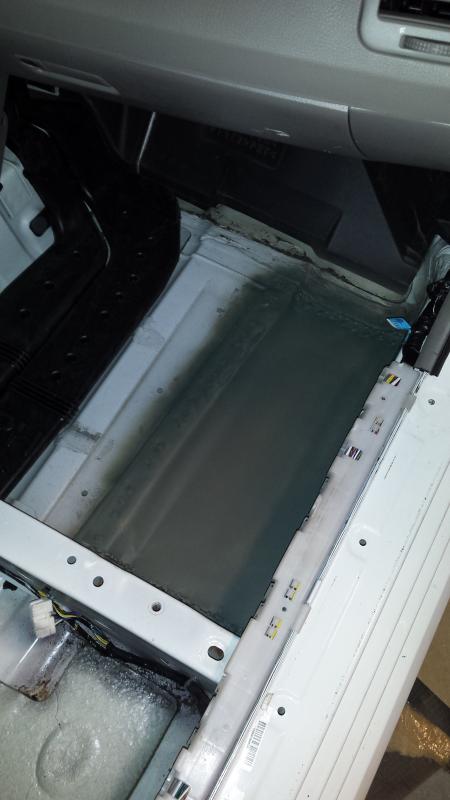
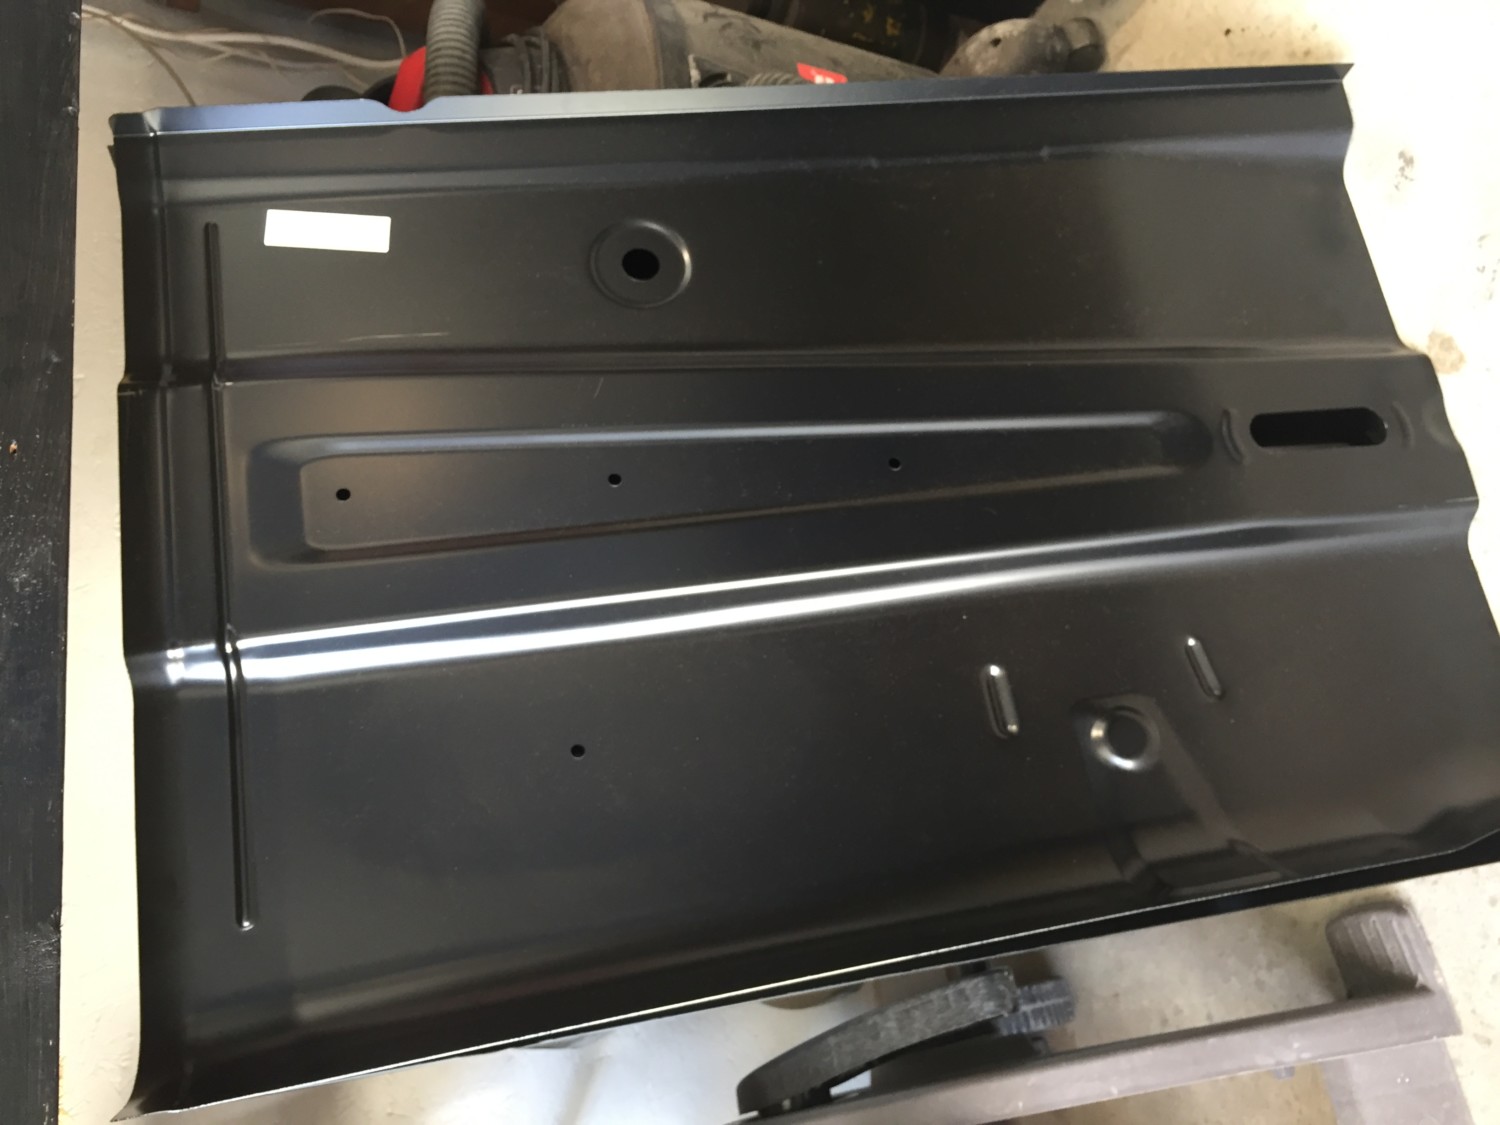
11 – Make a patch panel. I chose a piece of 12×24″ mild steel. Unfortunately it’s somewhat thin at 22 gauge. I had 16 gauge which would have been difficult to bend and shape. 18 gauge would have been closest to the original metal. Get creative if you don’t have lots of shop tools. Clamps, wood, and a hammer will get you there.
12 – Test fit. Bend, hammer, repeat…..
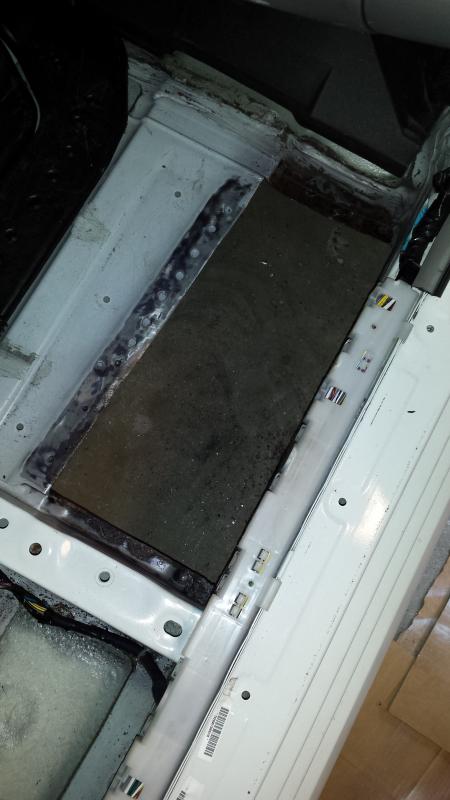
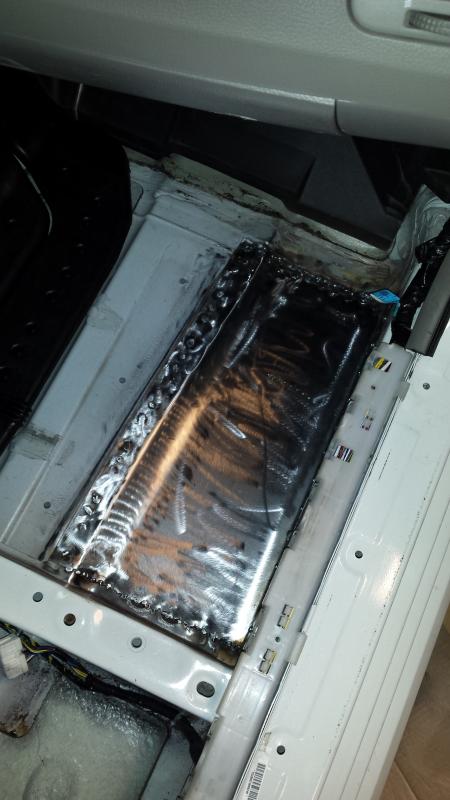
13 – Weld it in. Or rivet, screw, glue, whatever your method may be.
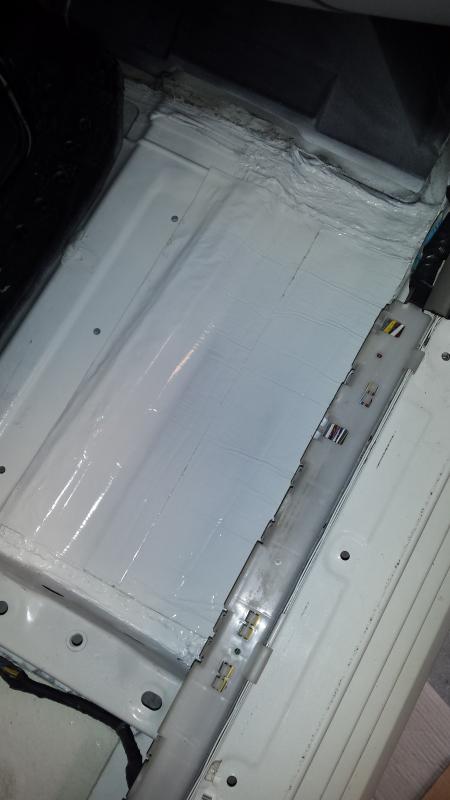
14 – Prime the bare metal, inside and out.
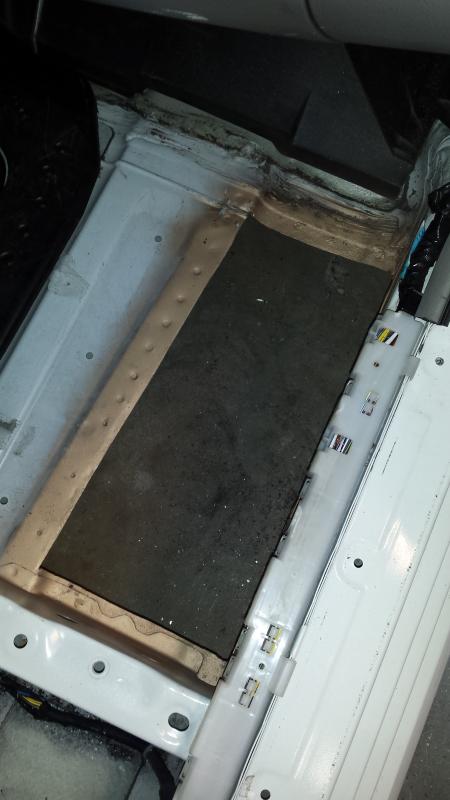
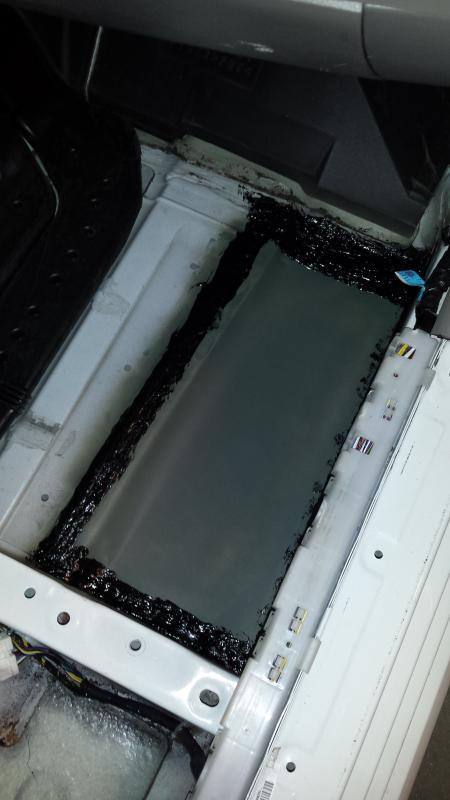
15 – Seam seal the edges, inside and out.
16 – Paint the area, inside and out.
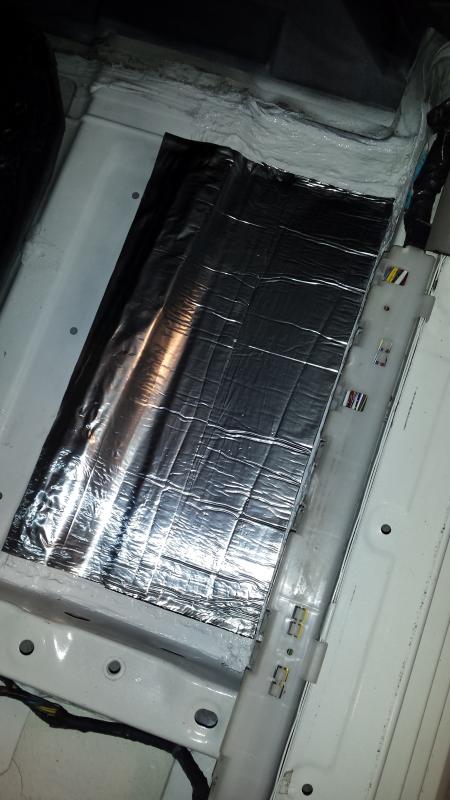
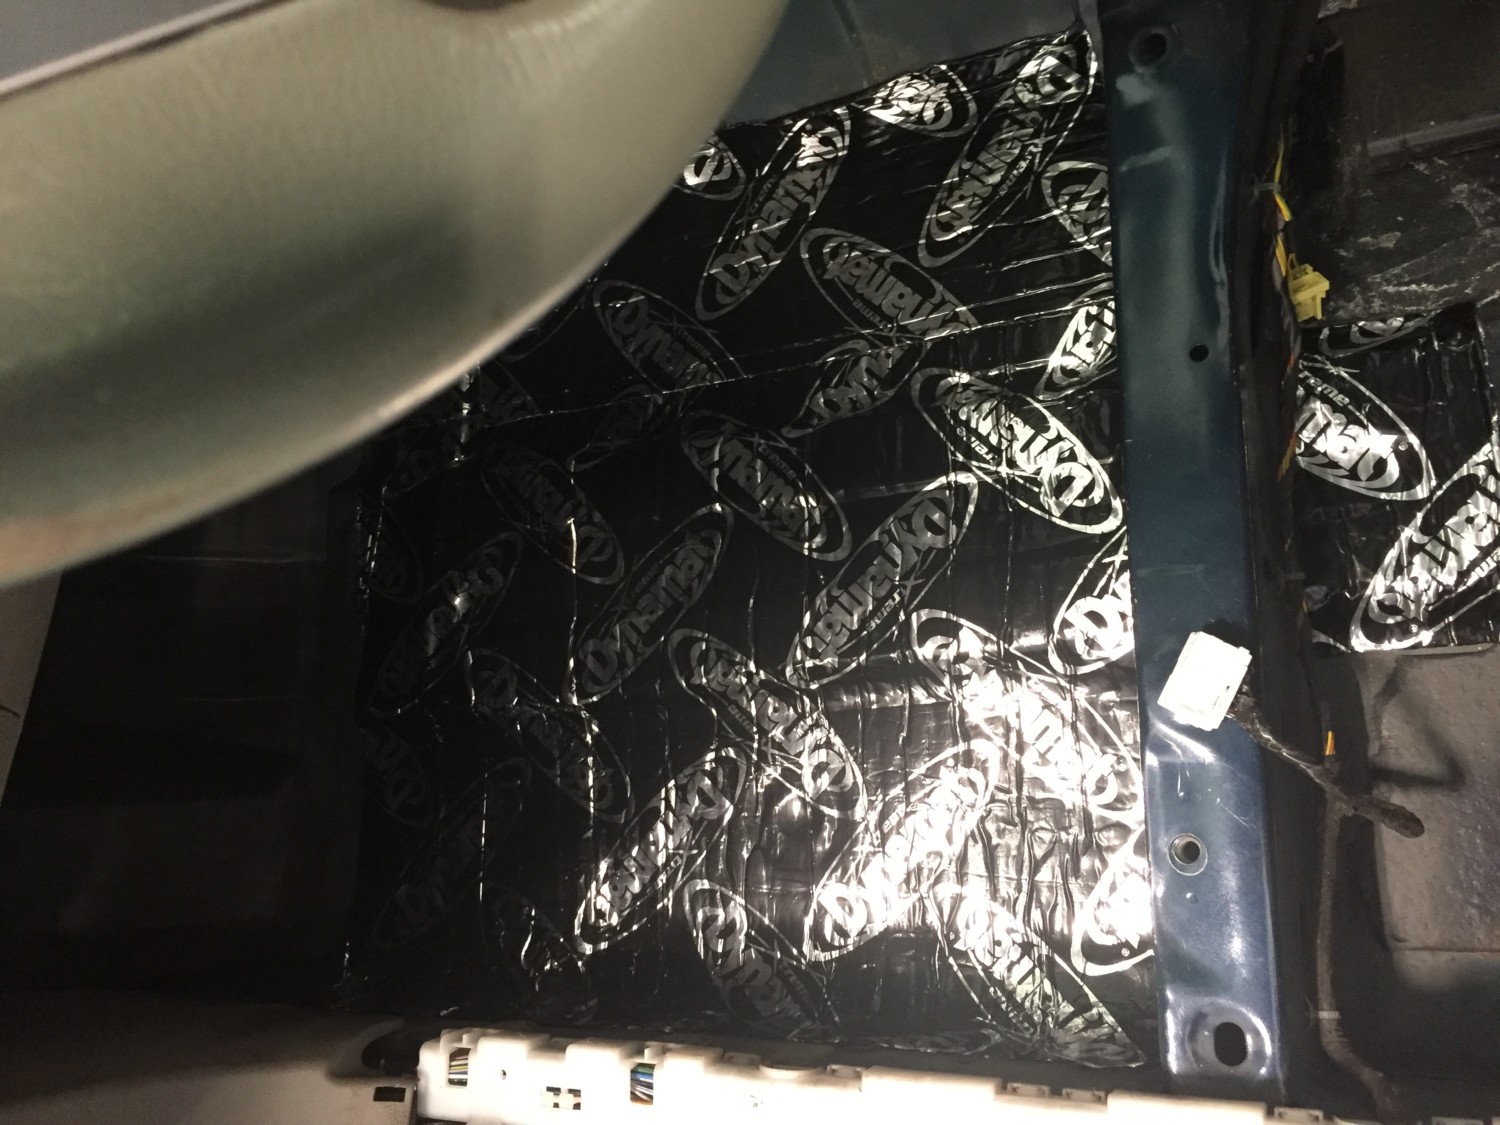
17 – Add some sort of sound deadener if you like. I used peal and seal type stuff on the inside. I under coated the under side like crazy.


")


")