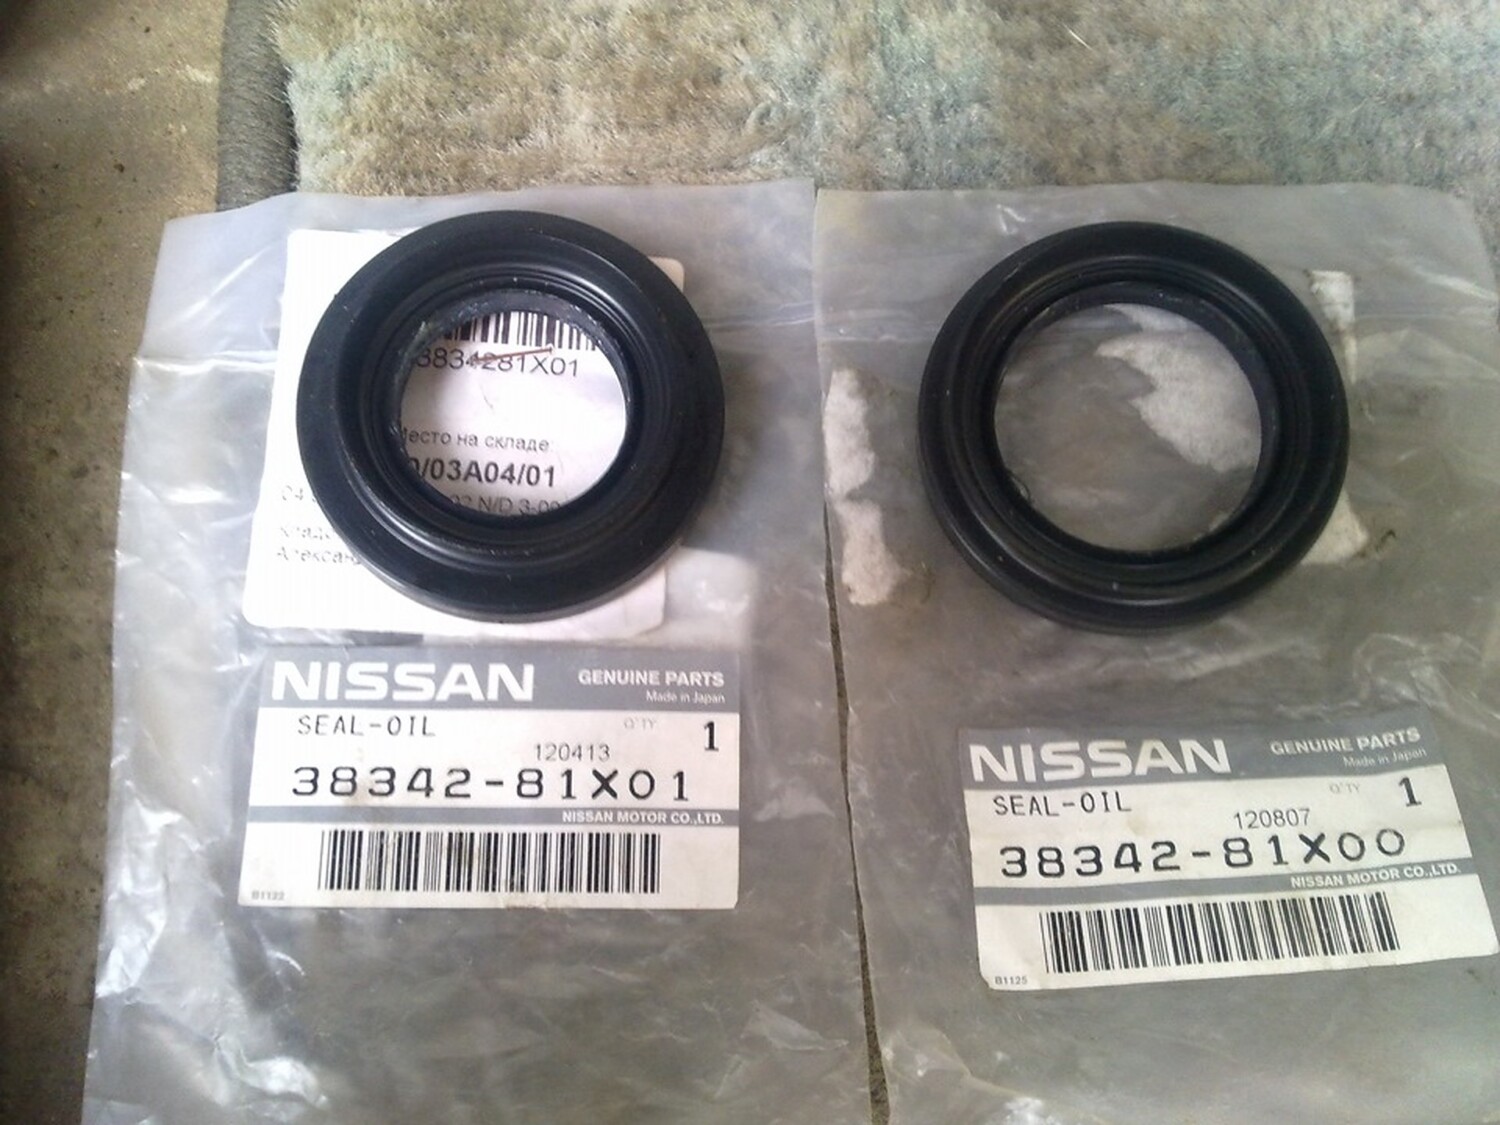
OEM Driver Side Part Number: 38342-81X00 Alternate Non-OEM Part Numbers: Timken / O’Reilly – 710118 Part Description: SEAL-OIL, Nissan Driver Side Output Shaft Seal / Differential Transmission Case Price: $8.00-$9.00
OEM Passenger Side: 38342-81X01 Alternate Non-OEM Part Numbers: Timken / O’Reilly – 710124 Part Description: SEAL-OIL, Nissan Driver Side Output Shaft Seal / Differential Clutch Housing Price: $8.00-$9.00
Input Shaft Seal: 32113-03E00 Part Description: SEAL-OIL, Nissan Input Shaft Seal Price: $8.00-$9.00
I decided to change my stock OEM Nissan fans to Mishimoto Slim fans. Below is what I did in order to make the fans plug-n-play, to the stock harness. For Mishimoto, you don’t really need a relay but it doesn’t hurt to have one. If you decide to do stronger fans like SPAL, you will definitely need a relay to avoid melting your wires. Those are very very strong fans of which the stock plugs cannot handle without a relay.
Important Note: Wire colors may be different so please check the factory service manual. You can use the below as a reference.
Instructions:
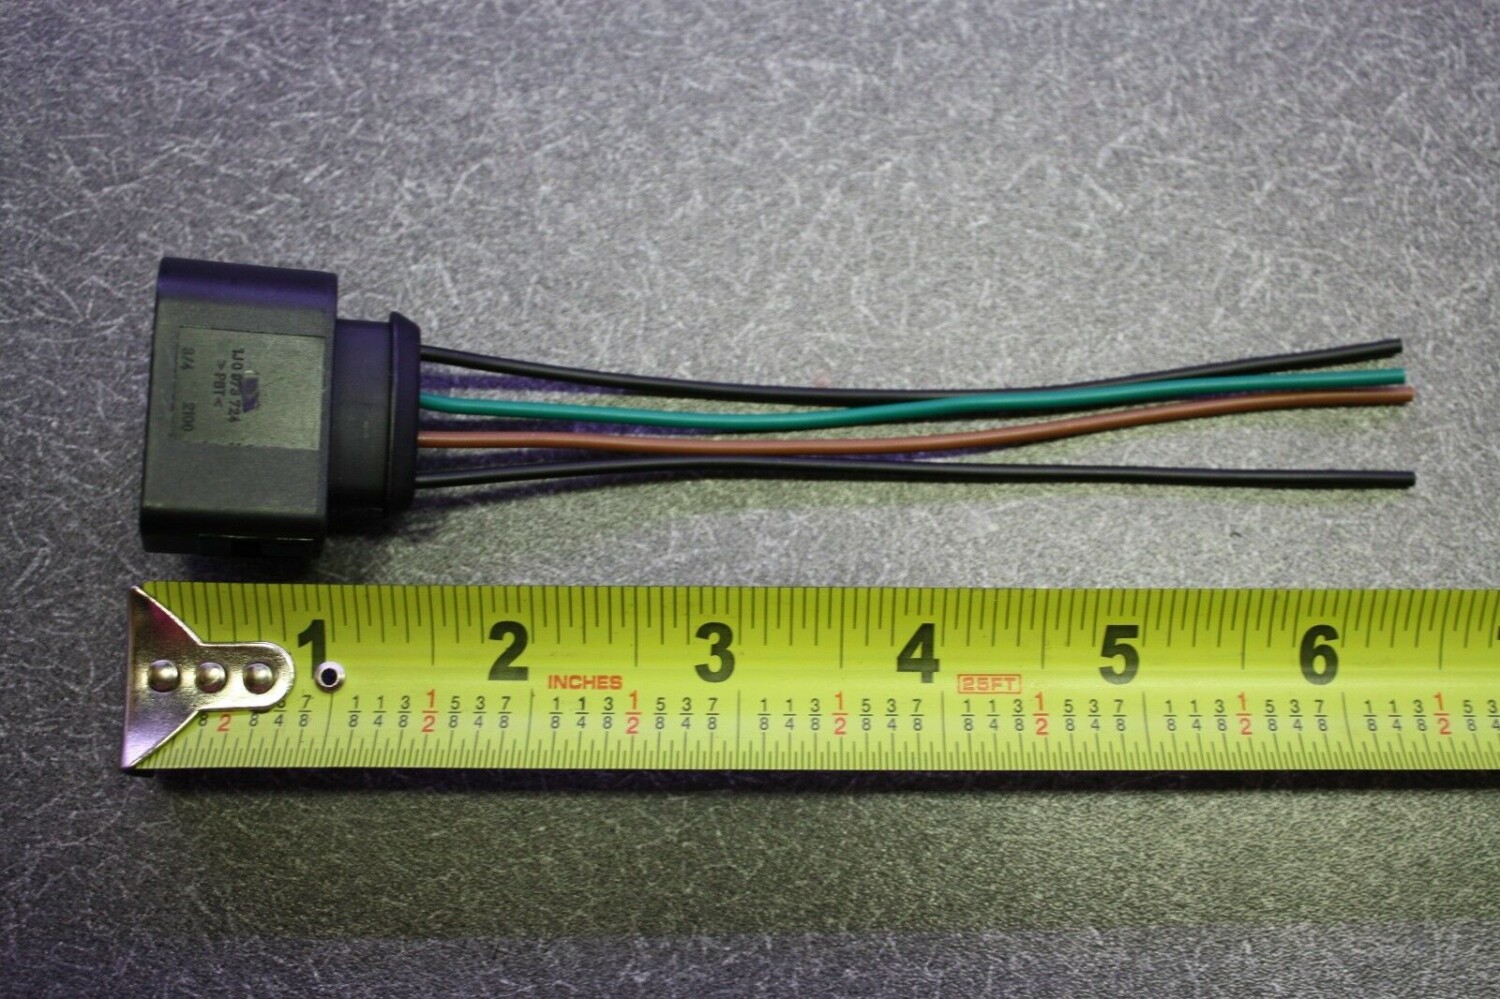
Get a set of 1995-1999 4thgen Nissan Maxima Radiator Fan harness pigtails. You need the female end to make your Mishimoto fan plug-n-play. On the 04+ Maximas, the female connector is on the fan itself and cannot be reused.
Positive Wires (12+ v): Twist pigtail wire 1 & 2 (Green and Blue) together to the blue wire on the Mishimoto fan.
Ground Wires (-): Twist wires 3 & 4 (Yellow and Black) together to the black wire on the Mishimoto fan.
Test your fan by unplugging the temperature sensor and turning the key to the ON position. Fan should automatically come on. Confirm the fans are also turning in the same direction of OEM fans. Turn off car.
If steps 1-4 are good, solder/heat-shrink wires and repeated for your second fan.
Here are steps for replacing alternator & power steeringbelts:
1. Remove undercover.
2. Fully loosen each belt. Remove generator and air conditioner compressor belt and then power steering oil pump belt.
a. Loosen idler pulley locknut (A)
b. Loosen adjusting bolt (B).
c. Remove Alternator and Compressor belt
d. Loosen adjusting bolt (C).
e. Loosen power steering oil pump bolt (D).
Bolt head (D) is at the engine rear side. You don’t have to loosen it all the way, just a little.
f. Adjust by turning the adjusting bolt (E).
In order to remove the power-steering belt, you have to put the ratchet into “tighten” mode aka “righty-tighty”. So you basically just tighten Bolt E and it will loosen the belt.
In order to tighten and re-install the power-steering belt, you have to put the ratchet into “loosen” mode aka “lefty-loosey”. So you basically just loosen Bolt E and it will tighten/tension the belt.
If you break the “E” adjusting bolt, its not too bad to replace and get a new one. You will have to remove “C” all the way which is a 12MM to get the assembly off. When putting a new bolt back on, make sure to put anti-seize on it.
g. Remove Power Steering belt.
Reference Install Photos
(A) You get to this one from underneath. 14mm wrench
(B) You get to this one from the top side. 14mm socket with universal swivel adapter because you don’t have a straight shot on this one. If you have an HR Swap, you will need to use a 14MM wrench vs socket.
(C) & (E) You get to from underneath. 12mm wrench for C & 12mm socket for E.
(D) This one is a little tough to get to. You can see in the pics below. I couldn’t get a clear pic of the bolt head but once you get under the car and look back in there, you will see it. I used a 3/8″ drive 14mm with a universal swivel adapter and two 12″ extensions. Going over the exhaust gave me the best position for the best leverage to loosen and tighten the bolt.
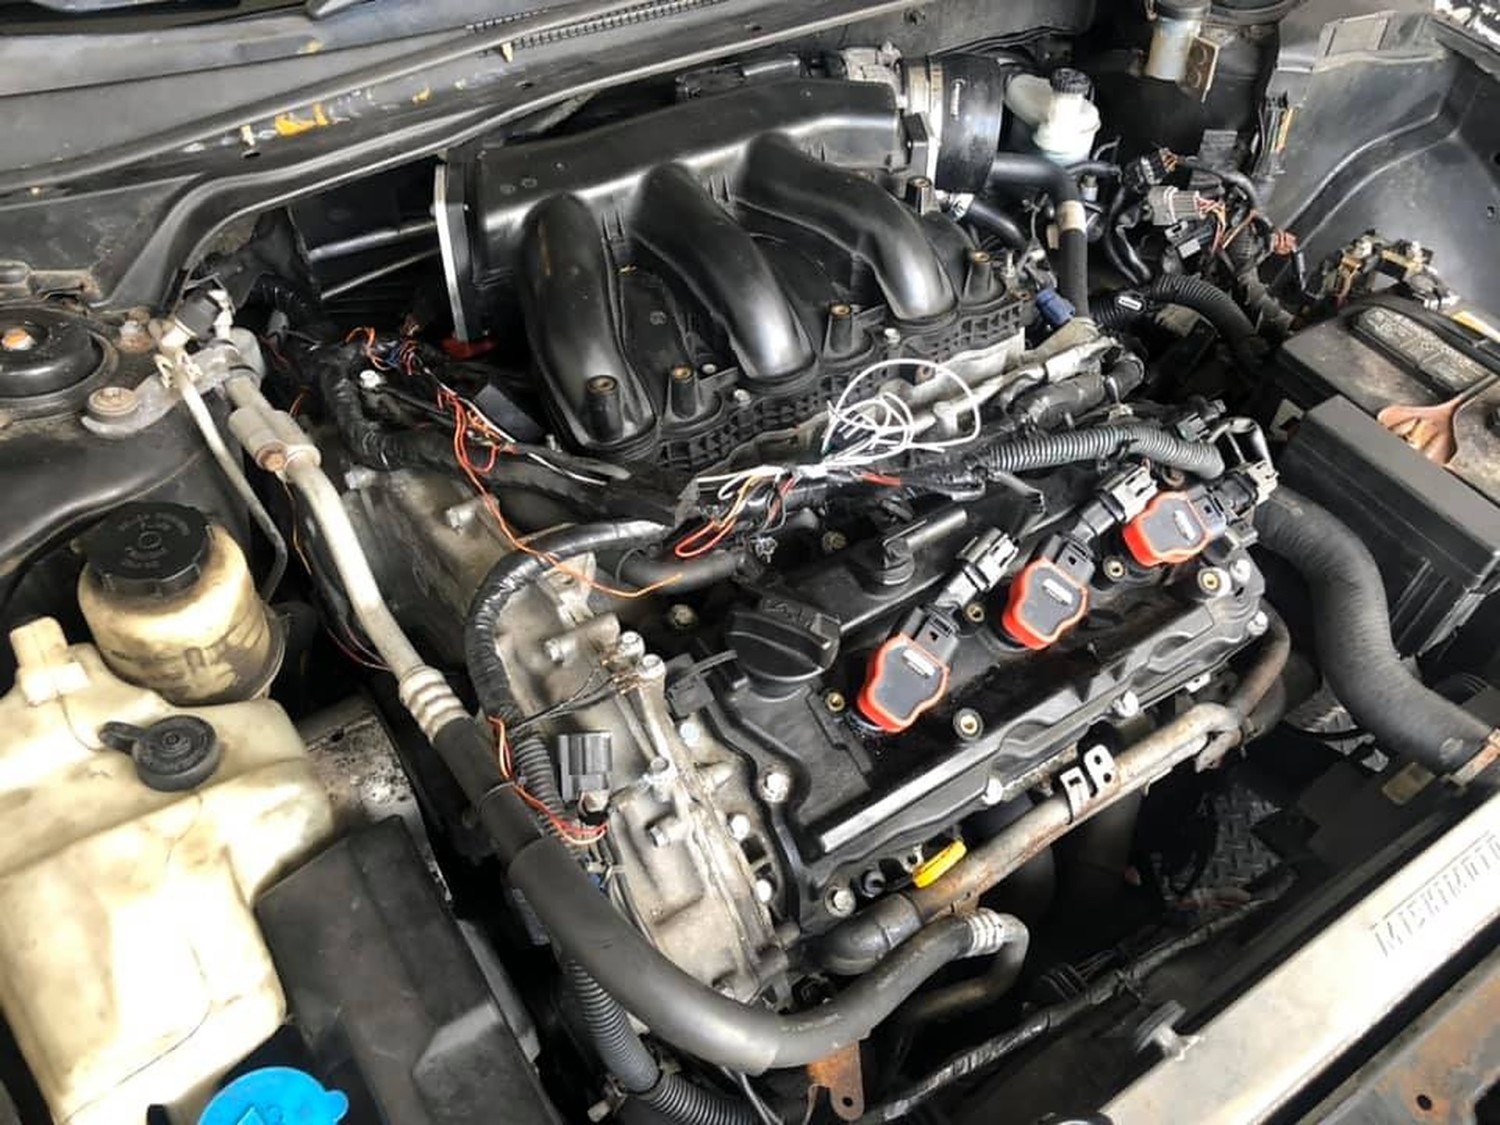
This write-up will help you make your own Audi R8 Coil Pack connectors. This version is very nice and clean. You can also hit up Nathan Davis on Facebook if you would like for him to make you a set.
Important Note: On the VQ35DE (2002-2008), you will need to use NWP Spacers for the Coil Packs to sit properly. The Gen2 VQ35DE (2009+) do not require spacers. You will also need the adapters to plug them in or make your own by splicing directly.
Part Description: 6x Male Connector 3-way for Mazda Ignition Coil UF540
Price: $44.99
Additional Items:
1” by 4” Heat Shrink
Terminal Crimpers
Heat Gun
Wire Strippers
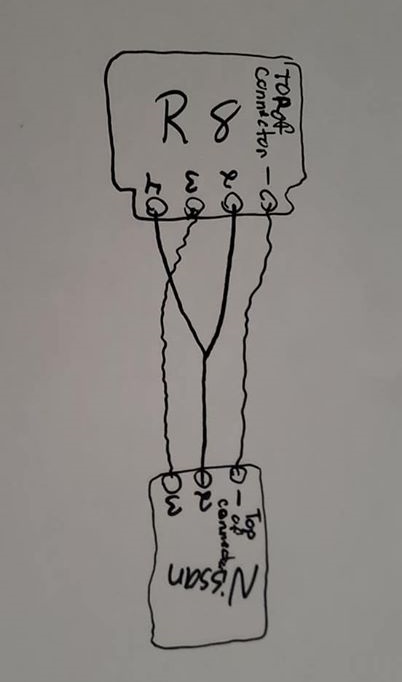
Wiring Diagram
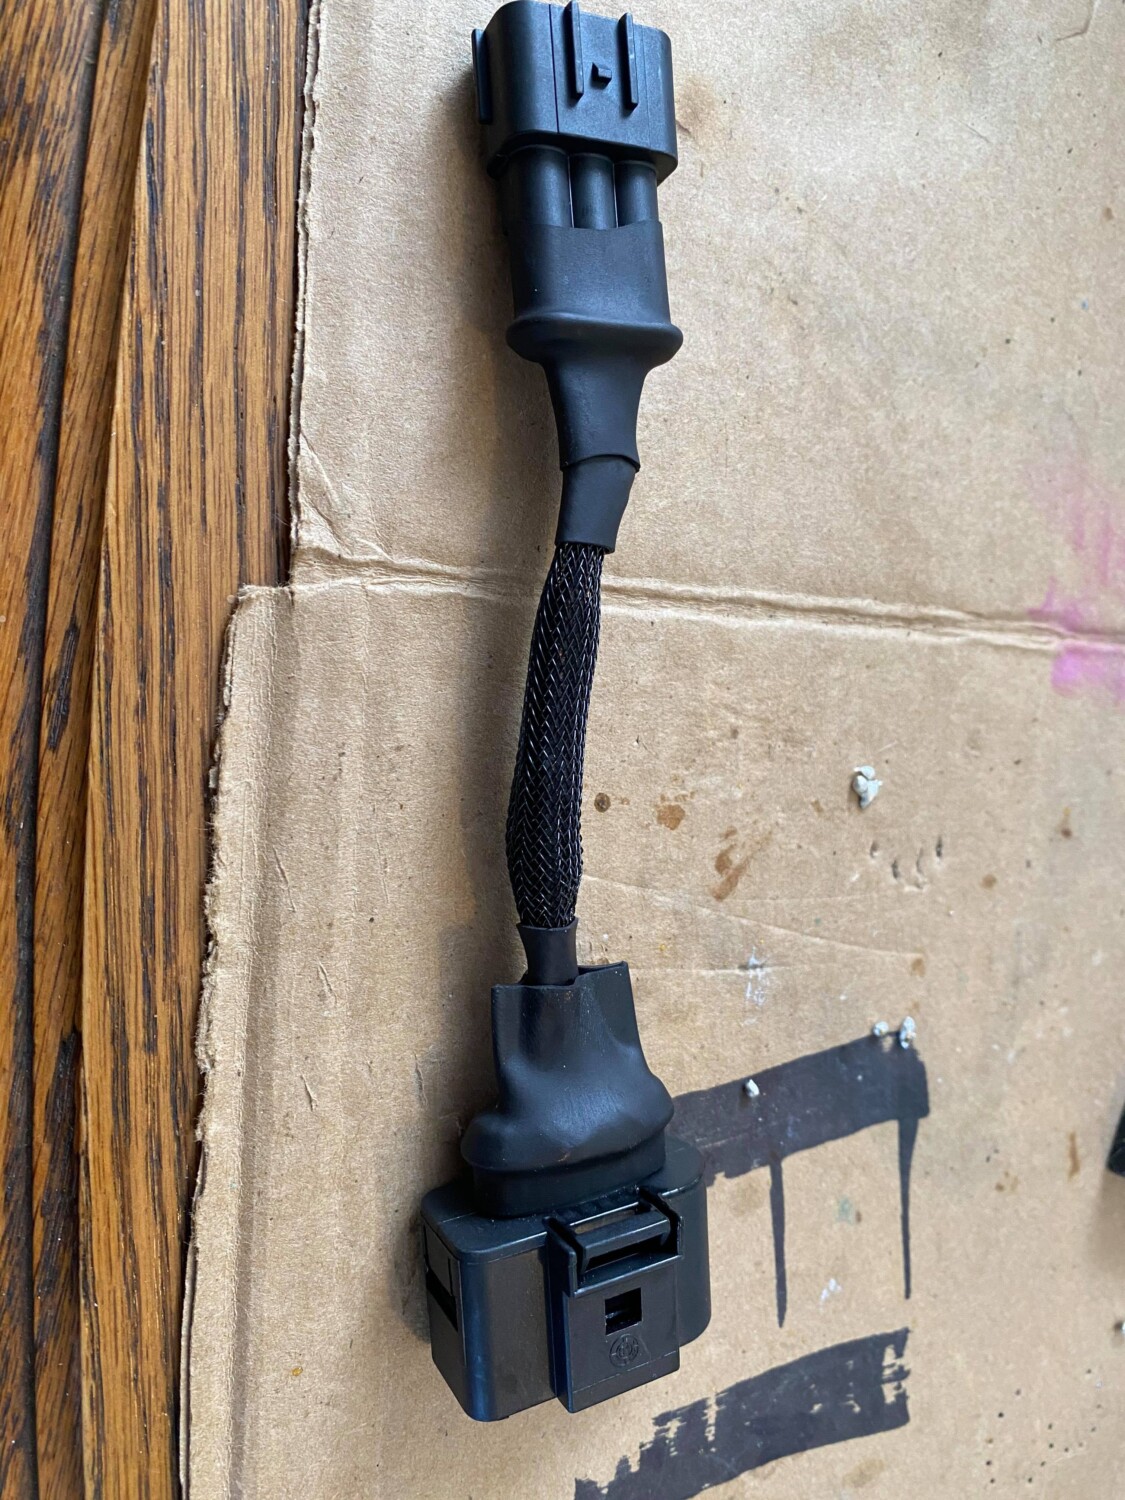
Connector Soldering
Final Product
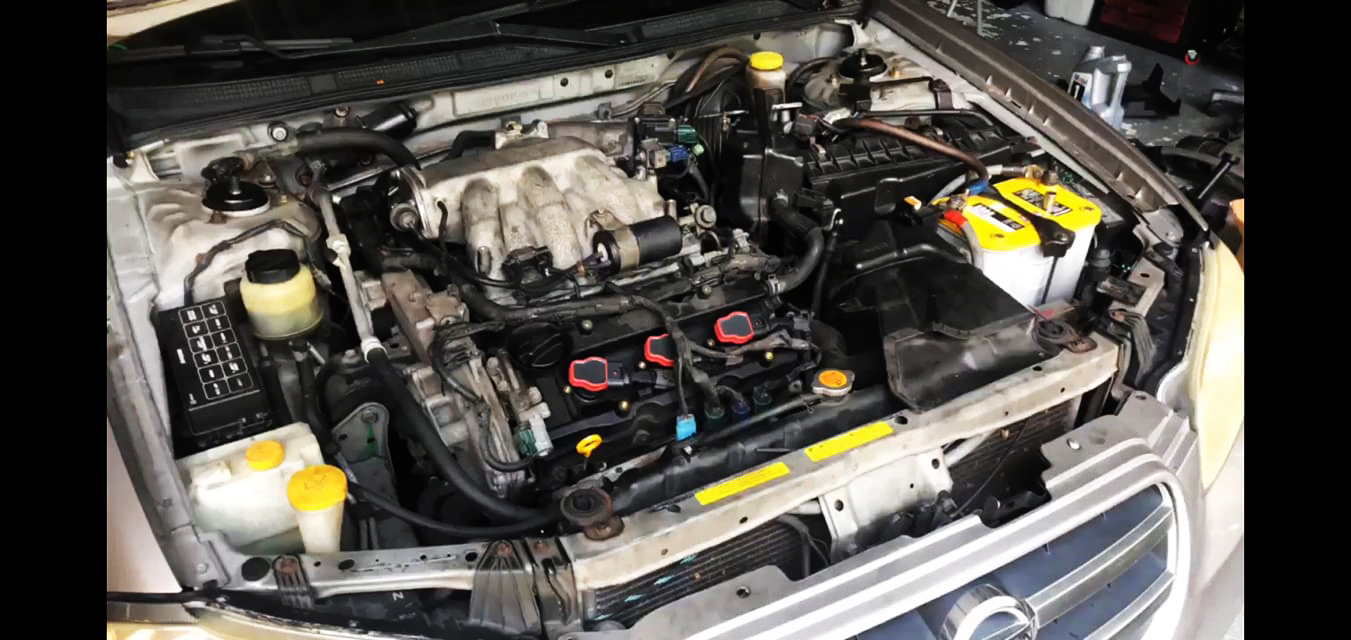
Installation Photos
Audi R8 Coil Pack Advantages:
50,000 volts compared to Nissans/Infiniti 30,000 volts.
Some measure it with Kv so Nissans coils put out 21Kv while VW coils put out 30Kv
Quicker Heat dissipation. (Because of its metal body construction it can quickly dissipate heat. Nissan OEM body is made out of rubber that isolates heat instead of disperses it.)
More complete burn of the fuel mixture compared to OEM Nissan which equals to better MPG.
Idle Stability Improved
NO CEL (Check Engine Lights)
BEST PART ABOUT THEM IS THEY ARE CHEAPER $$$ than Nissan OEM yet they are much better.
Looks 10000% Cooler than OEM Coilpacks
Now the coil packs price varies due to different name brands. They range from $132-$216 for a V6 engine. Below is the link of the coil packs below so you can see the prices and brands. Doesn’t matter which brand you use. They all make the same exact power.
Please Note: This is in reference to the 6-Speed Manual Maxima’s.
What does HLSD Stand for?
HSLD Stand for Helical Limited Slip Differential
What is it and what does it do?
It is a limited-slip allowing power to be fed to both wheels when wheel slippage is felt. You can feel it kick in when you burn out….you ever notice how cars tend to turn to one side…well on yours…you should just pull straight.
How do you know if you have a factory 6-Speed HSLD?
The identification for the engine and transmission is located under the hood on the firewall in the form of a thin aluminum plate. The engine code will read: VQ35(DE)
If you have a 6 speed with an open diff the code will be: RS6F51A
The last letter A means open diff. Open diff is just the regular factory transmission without HSLD.
If you have a 6 speed with a Helical Limited-slip Differential the code will be:RS6F51H
The last letter H means Helical.
Important Note:The 6-Speed Manual Axles are the same for either open diff or HLSD. The automatics are the ones that are different.
The ACC belts are the same for 1995-2008 Maximas. The idler pulley is also the same PN. The belt can be any brand long as its 36.5 inches long and 6 ribs. It can be a little longer or shorter as the tensioner will take up the slack so between 35.5″-37″. We will include the two most popular choices when doing this modification.
You can buy these at your local parts store like Autozone or Advanced Auto Parts. We’ve included some order links if you would like to order online from a reputable website.
Reasons for doing this:
Your AC compressor makes to much noise
Your AC compressor is fully seized
You live in Alaska or Antarctica and don’t need AC
Weight Reduction and you don’t give a shit about the AC Compressor.
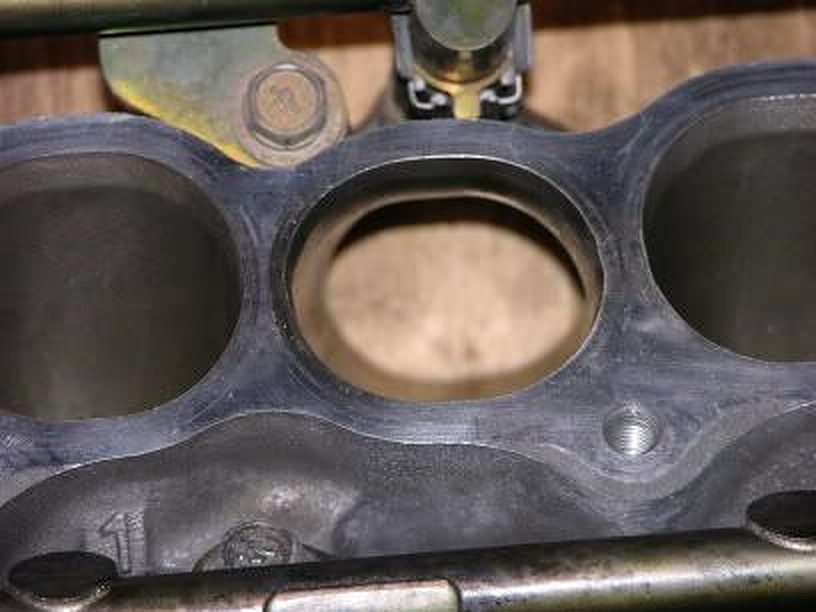
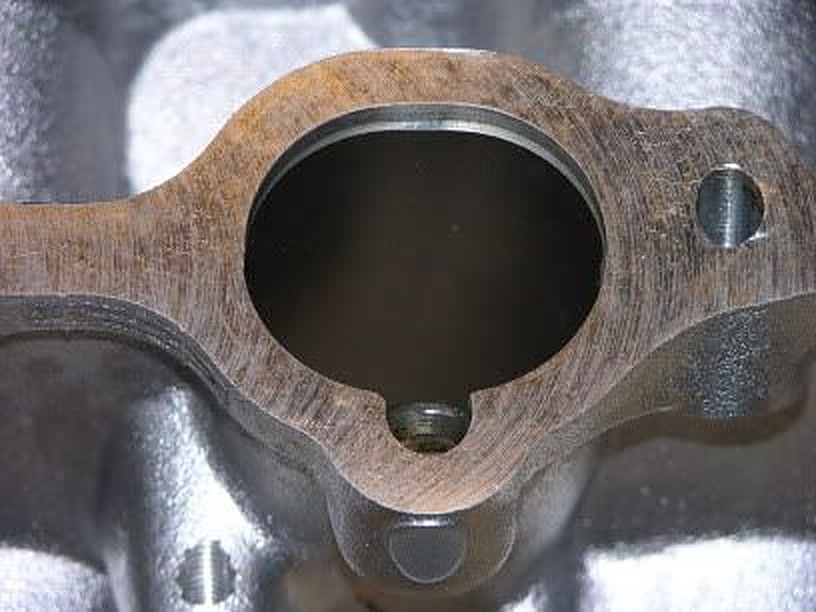
The next two pics are meant to show how much more of a straight thru shot that the flow path is in the 350Z LIM.
The first one is the FWD Maxima LIM
Notice how the 350Z path below is much straighter.
Notice on the 350Z port below there is a small machined step on the inboard lip. It only goes about halfway around the port circumference. It is on the wrong side of the port to prevent flow separation so there must be another reason.
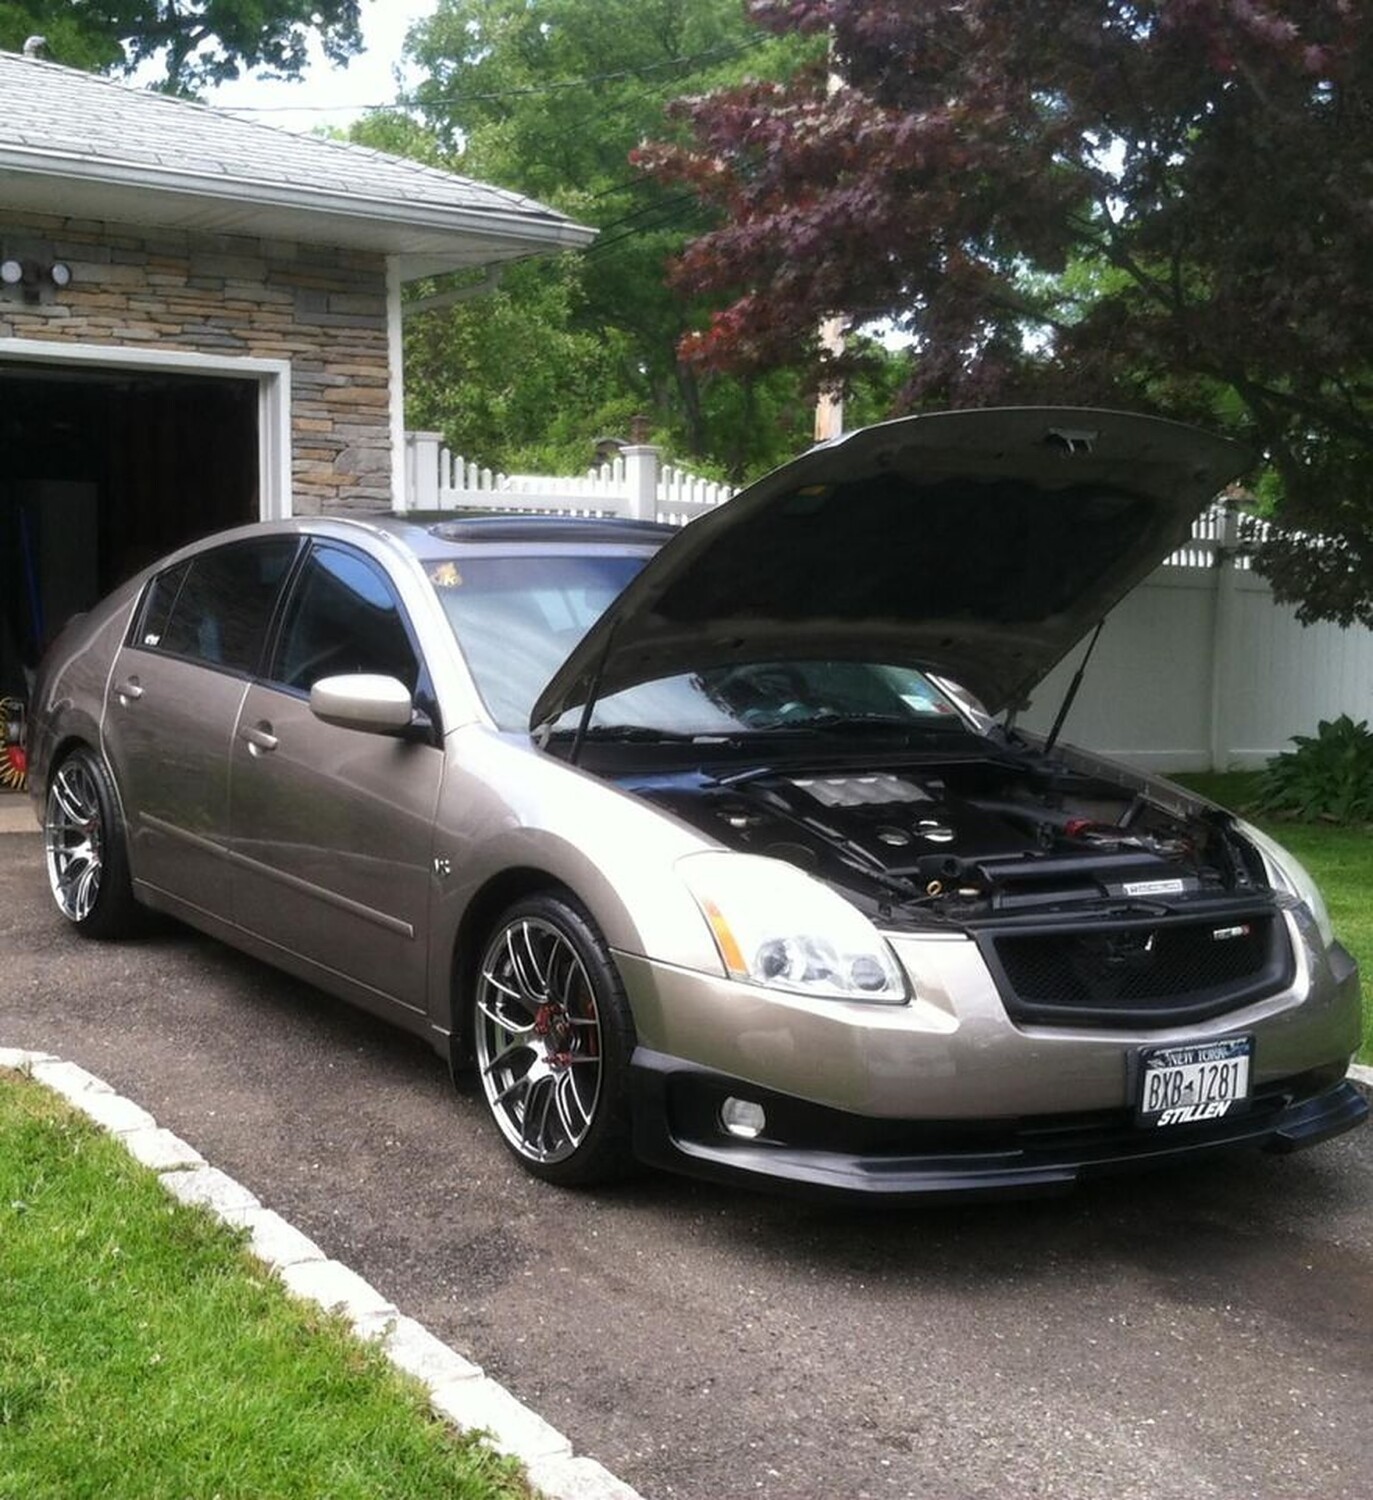
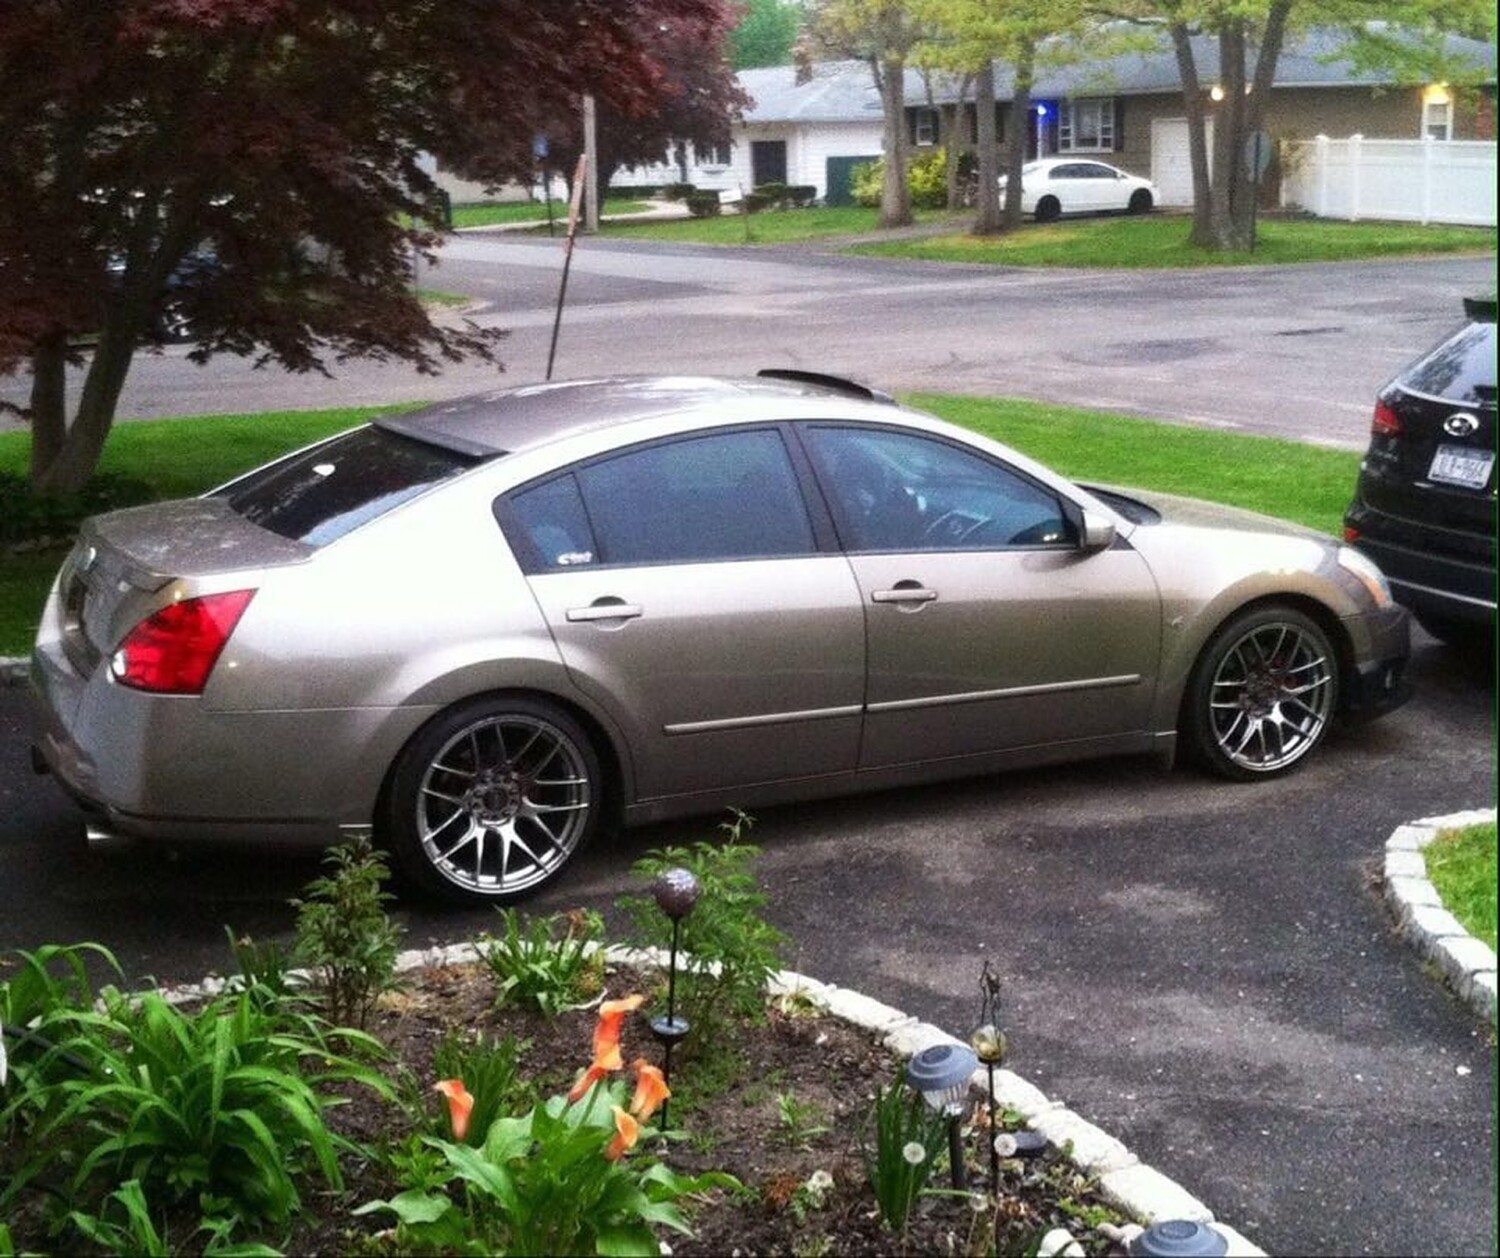
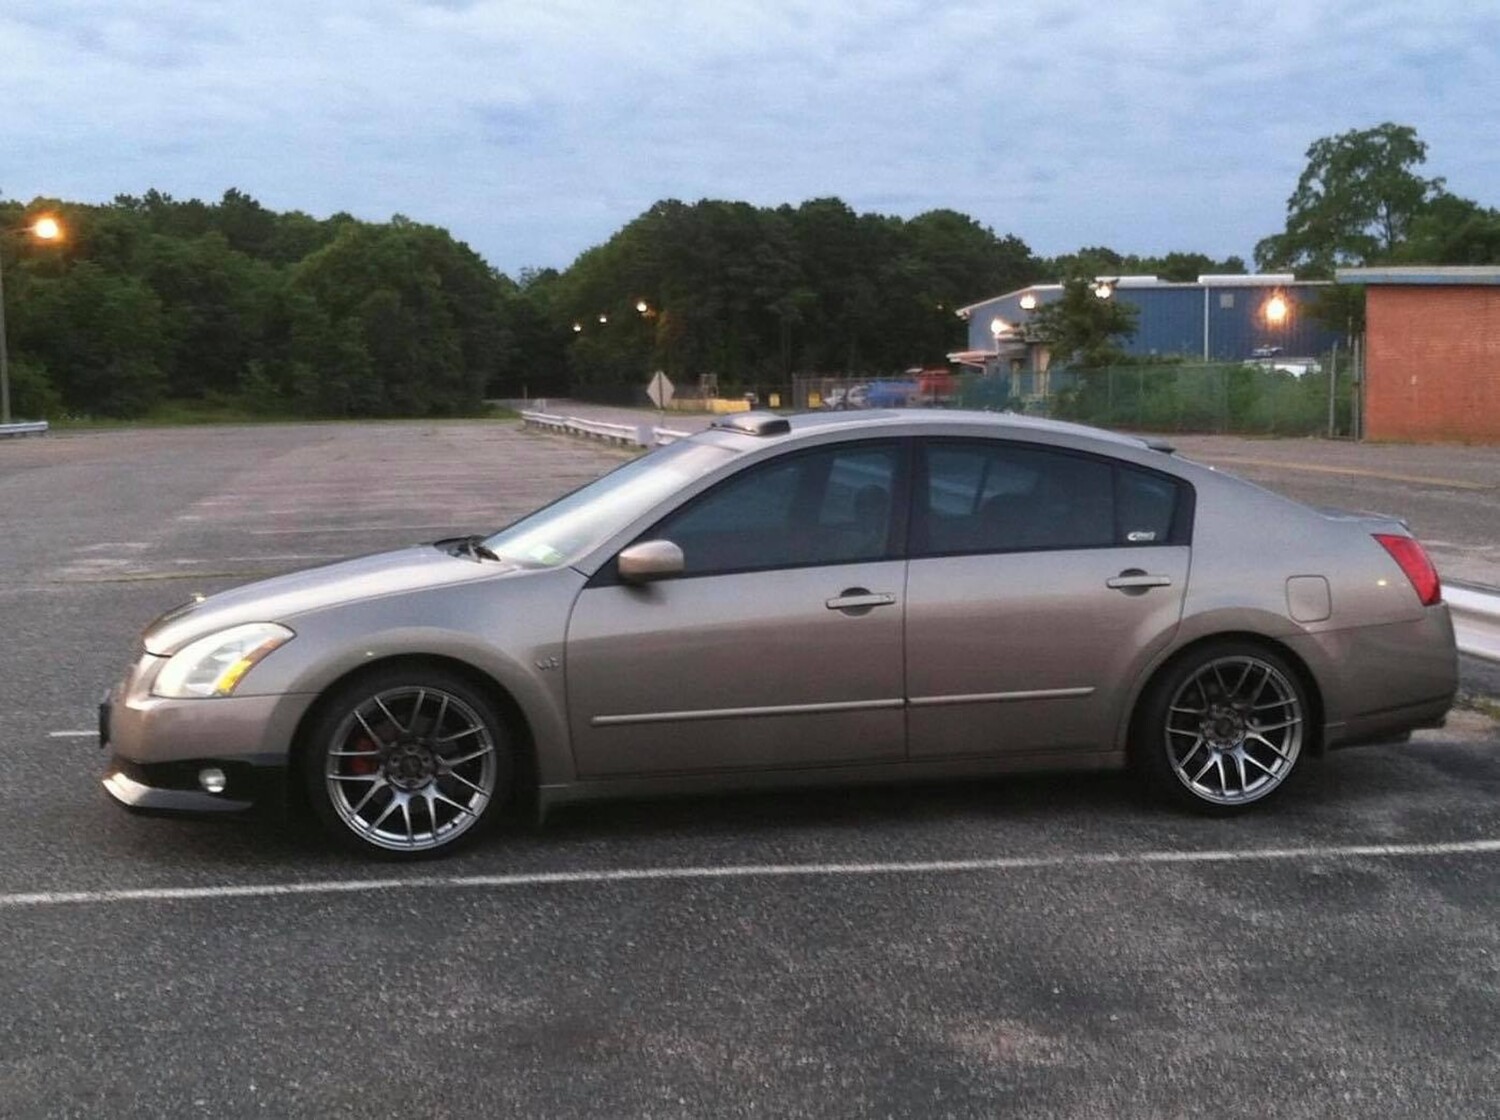
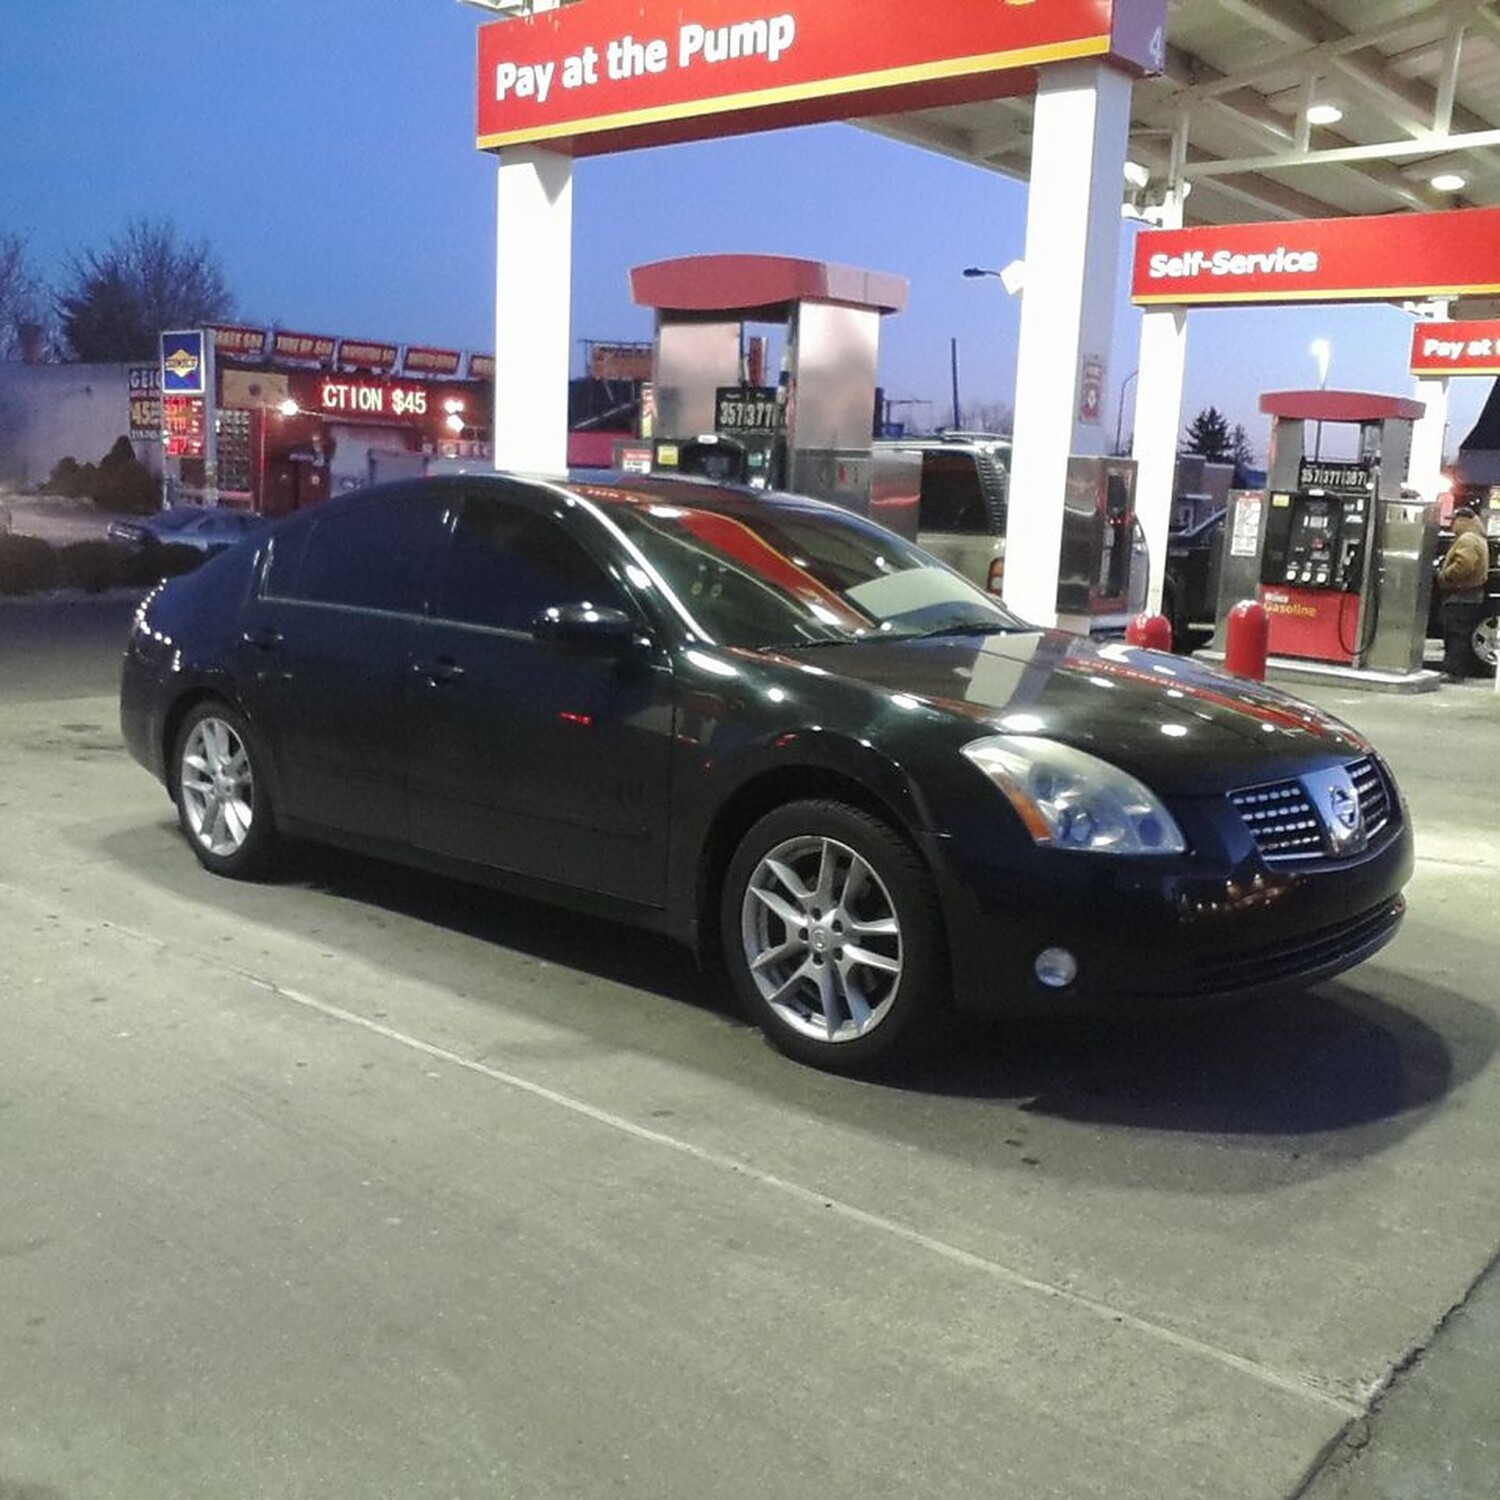
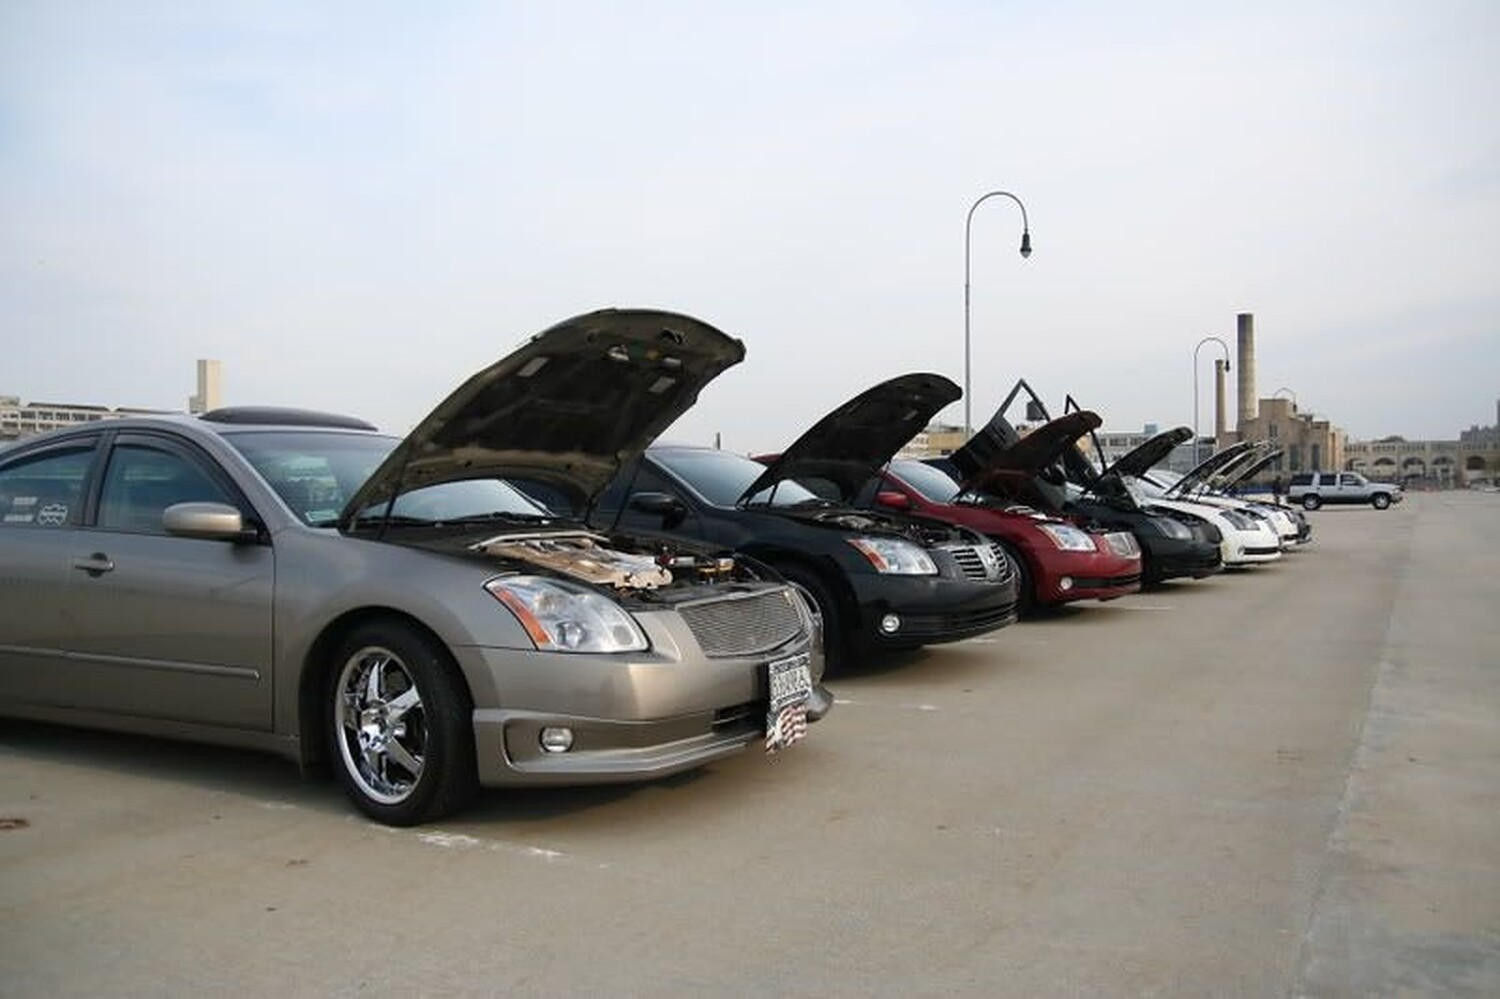
This post is dedicated to Warren aka The Legendary “Ramberg”. I remember back in 2007 when I first got my 6thgen Maxima, I would see posts by Warren and Chris Hernandez (aka Chernmax). I always admired their dedication to the platform and all the cool things they did. That encouraged me to mod my 6thgen Maxima and it became what is it today. I’ve been very honored of meeting them both in person. Both wonderful and great people (RIP to Chernmax). – Eddy
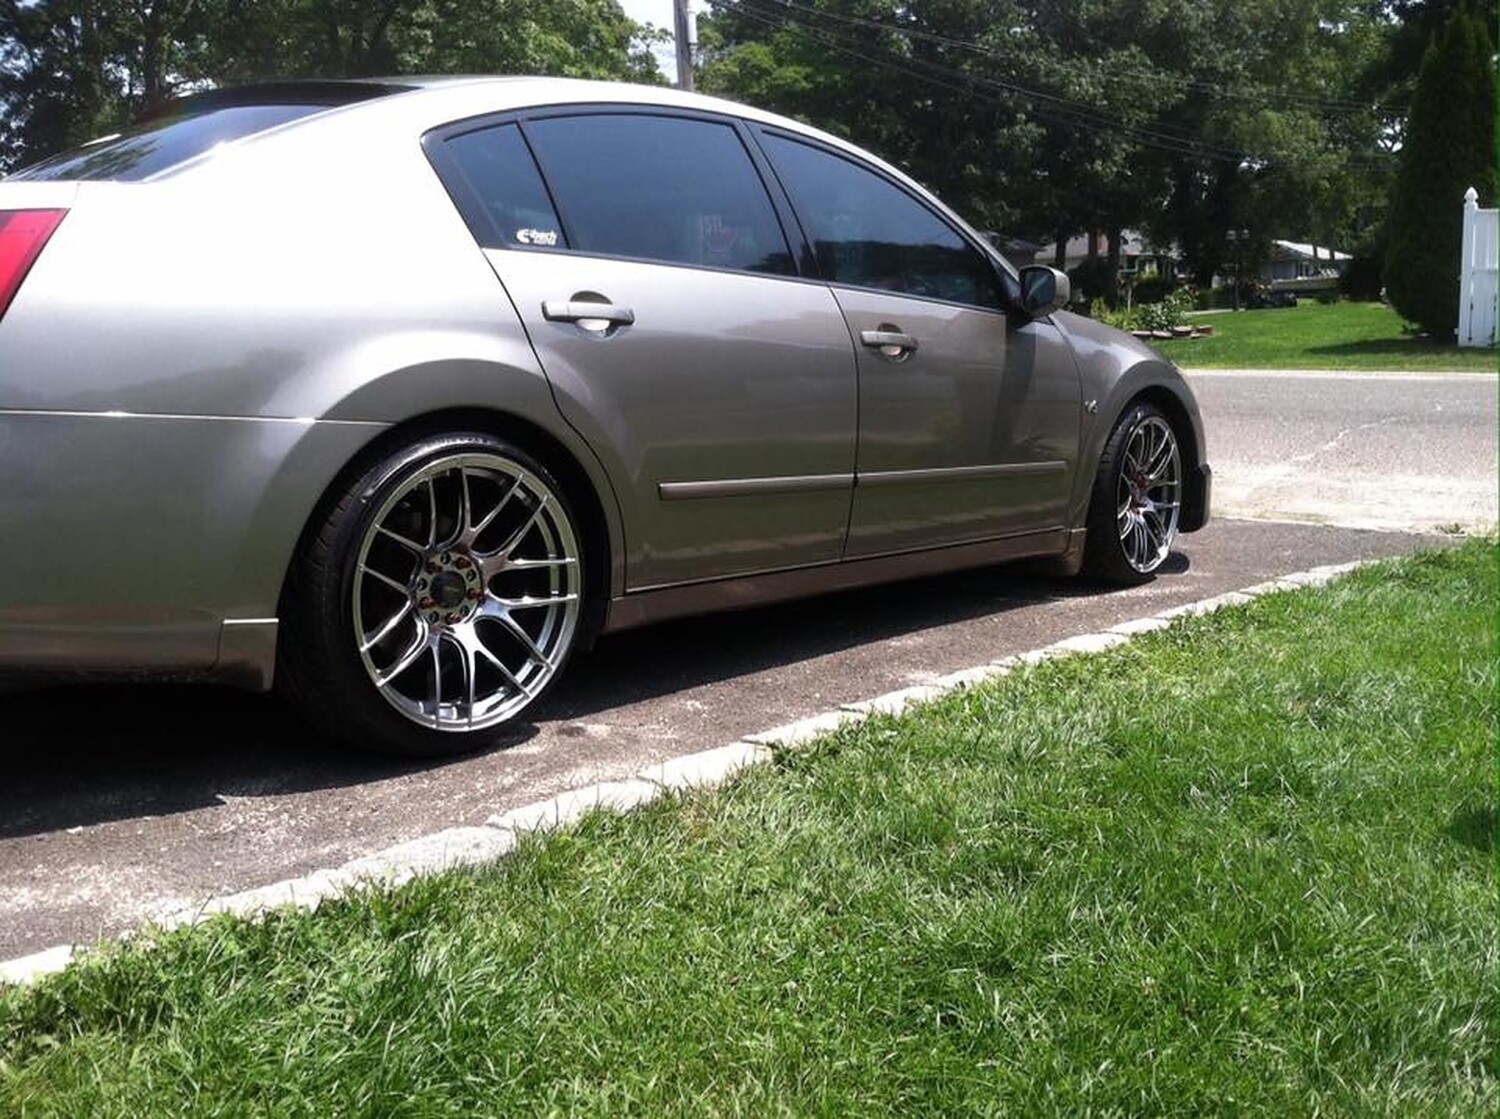
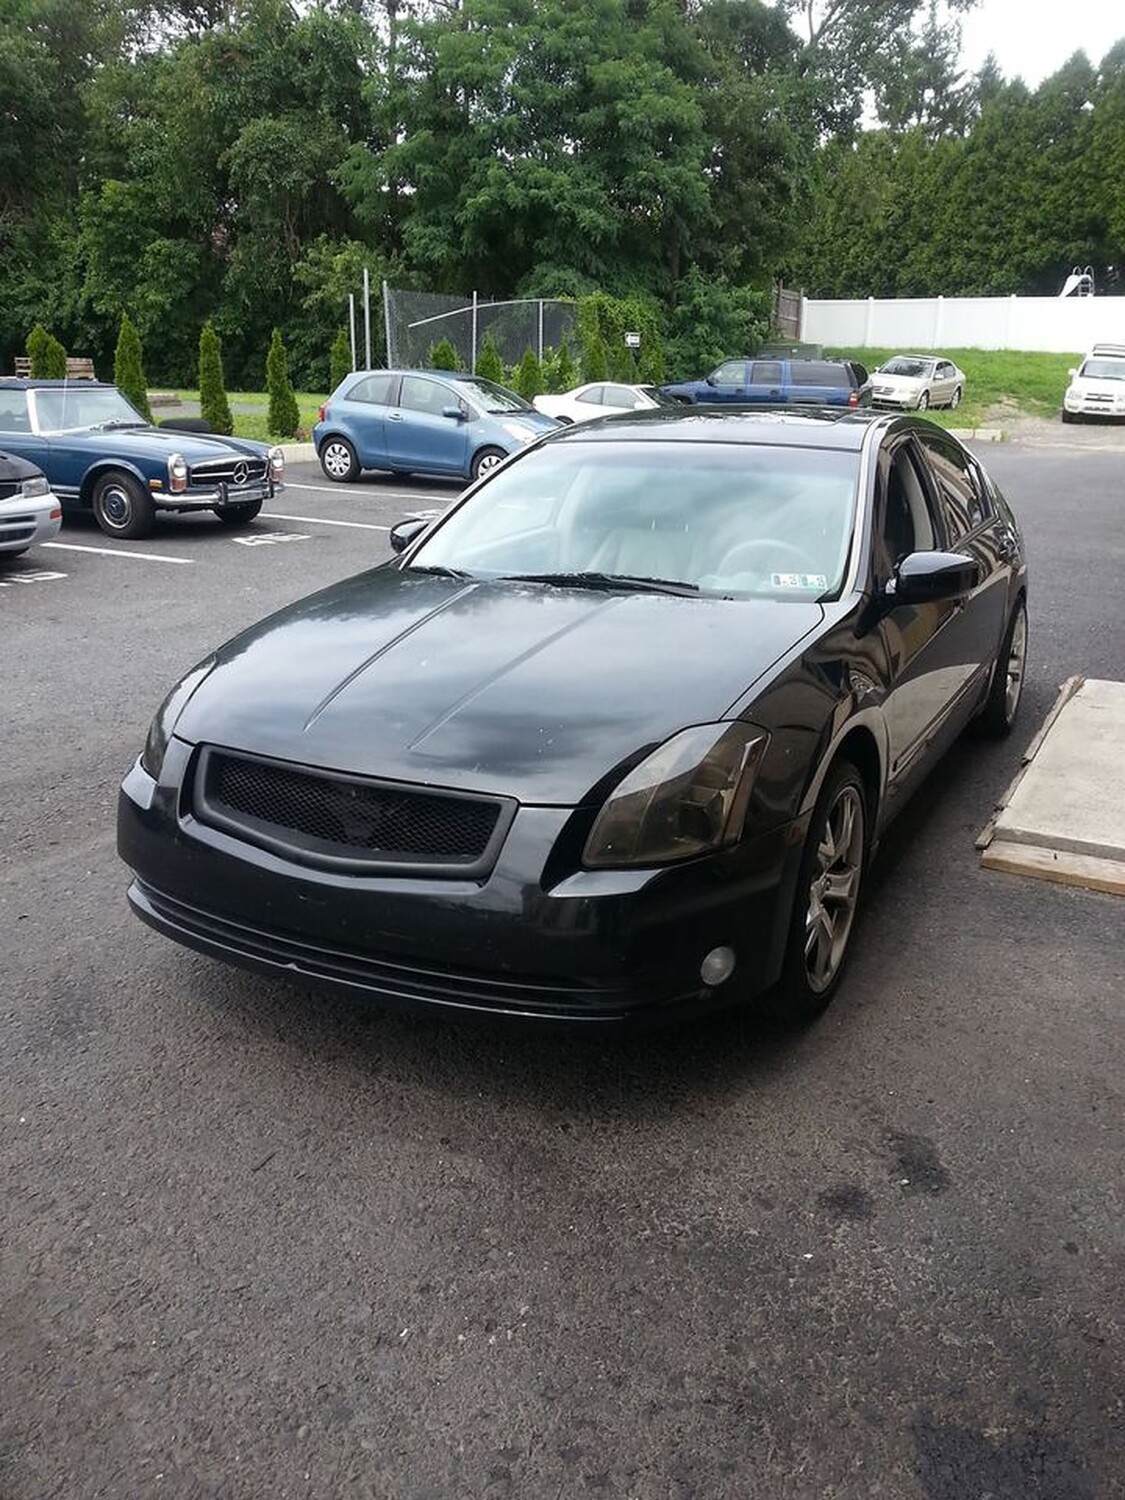
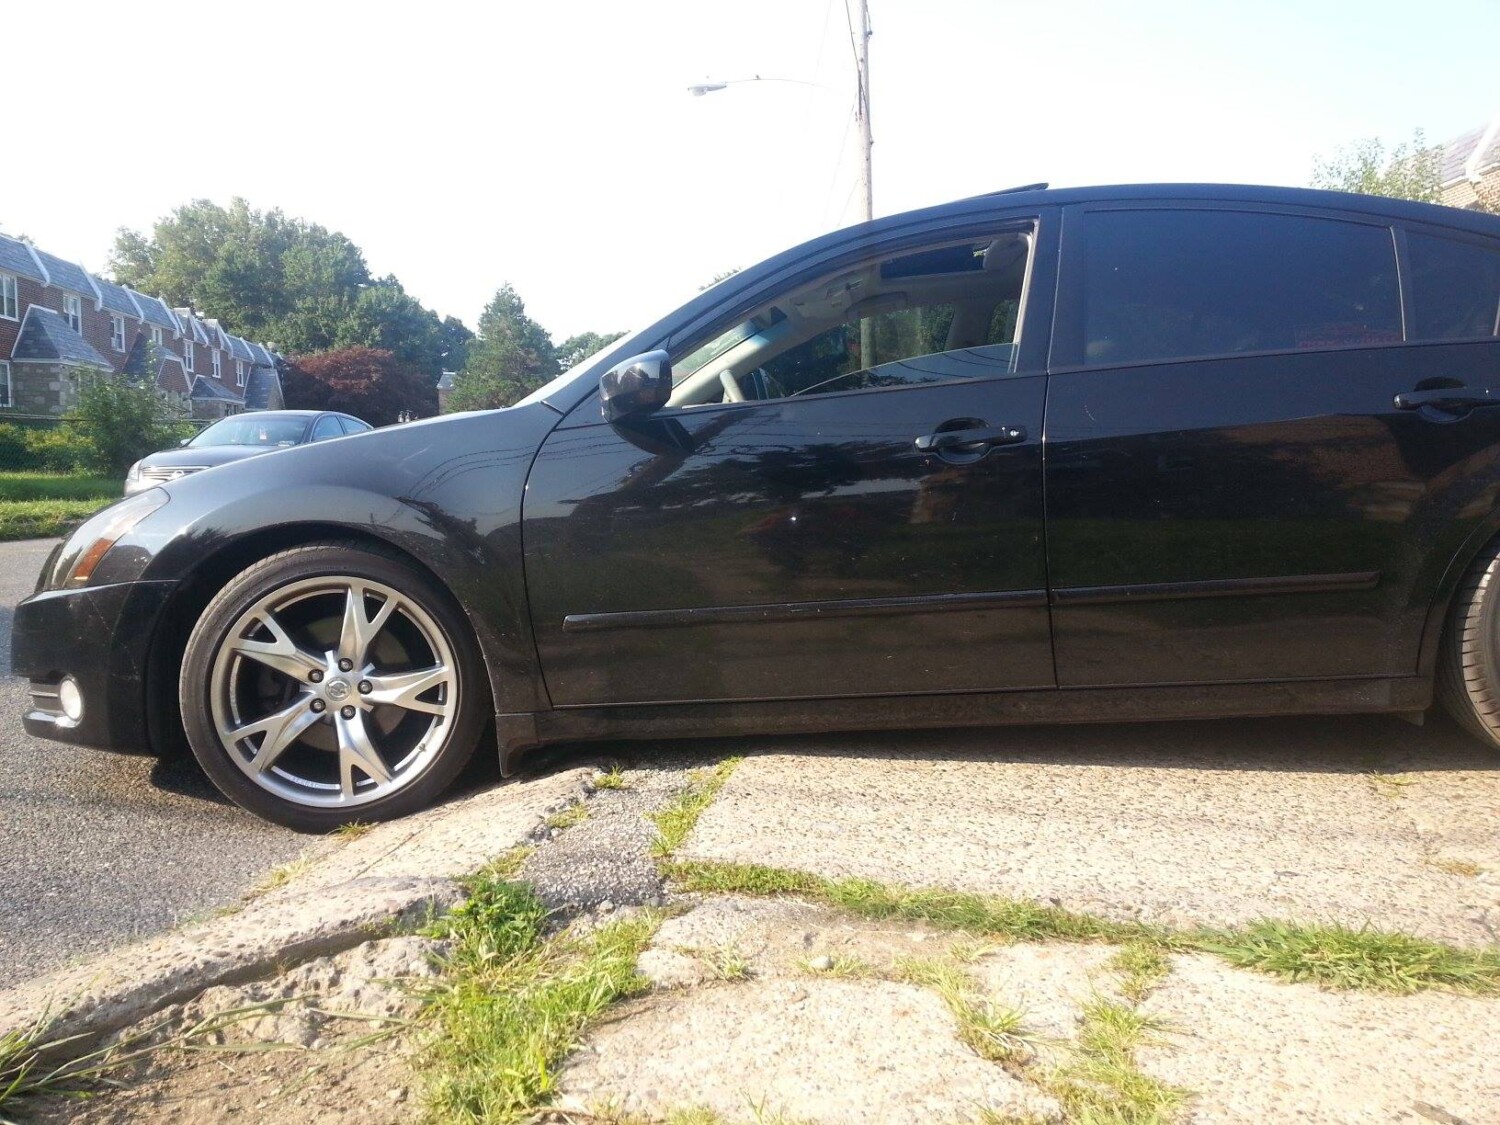
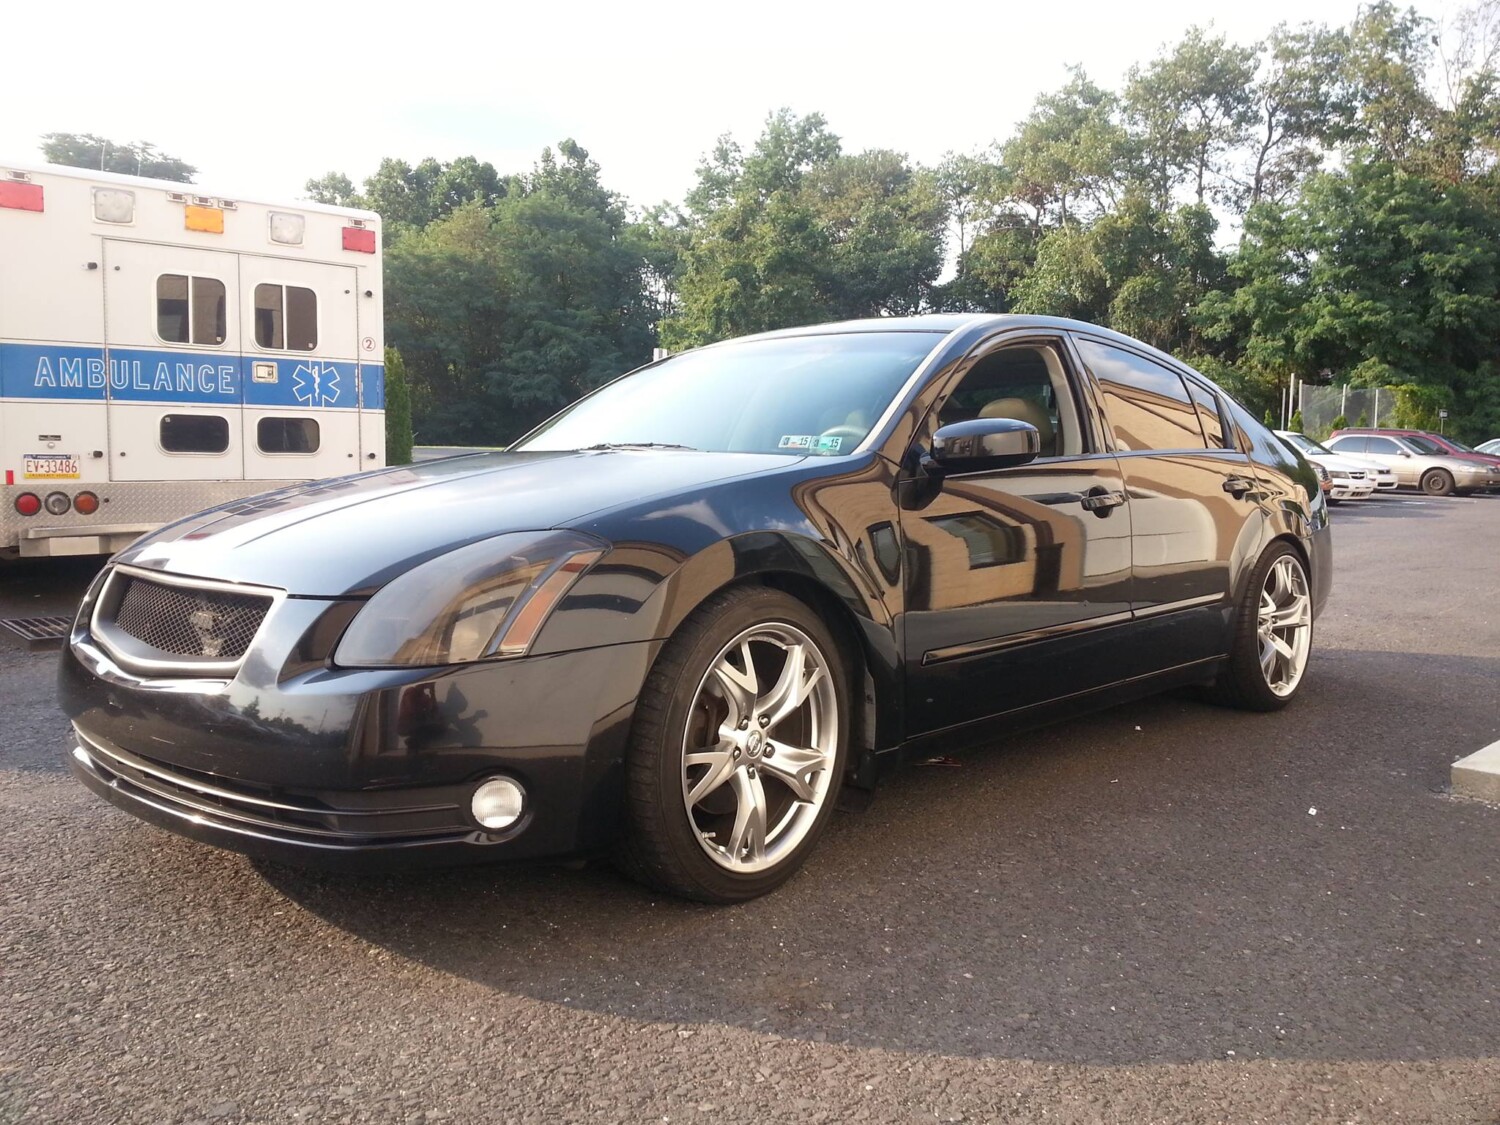
And with that… now introducing Ramberg’s 2004 6thgen Nissan Maxima.
Mod List:
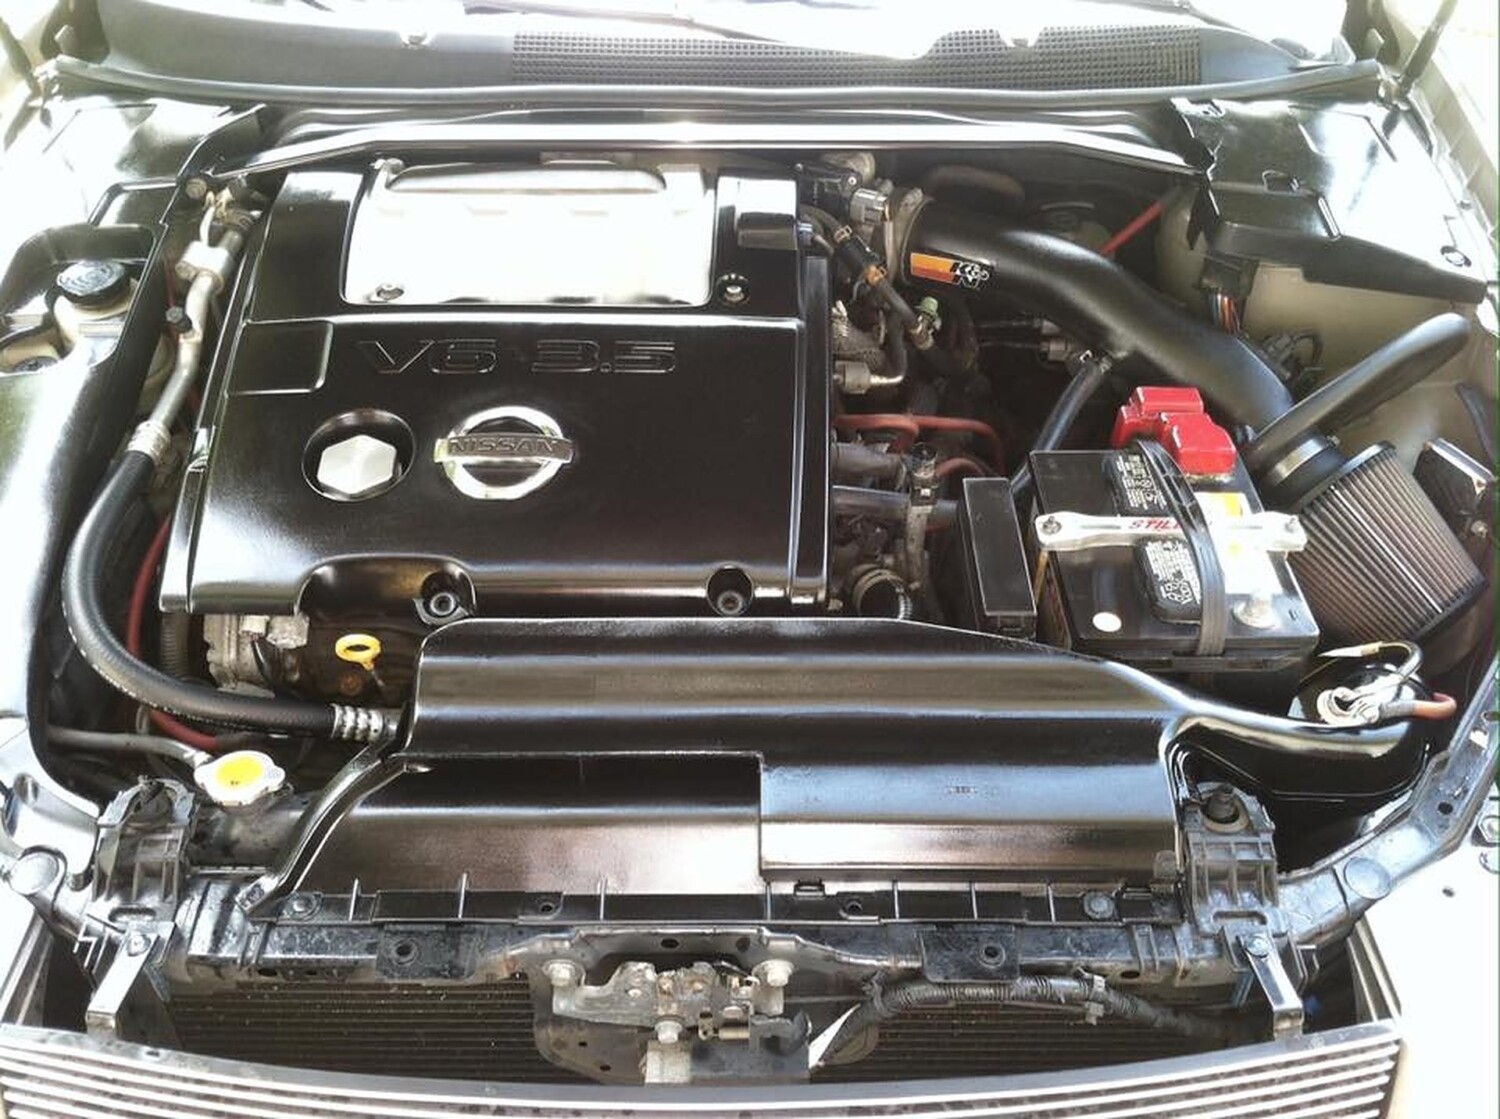
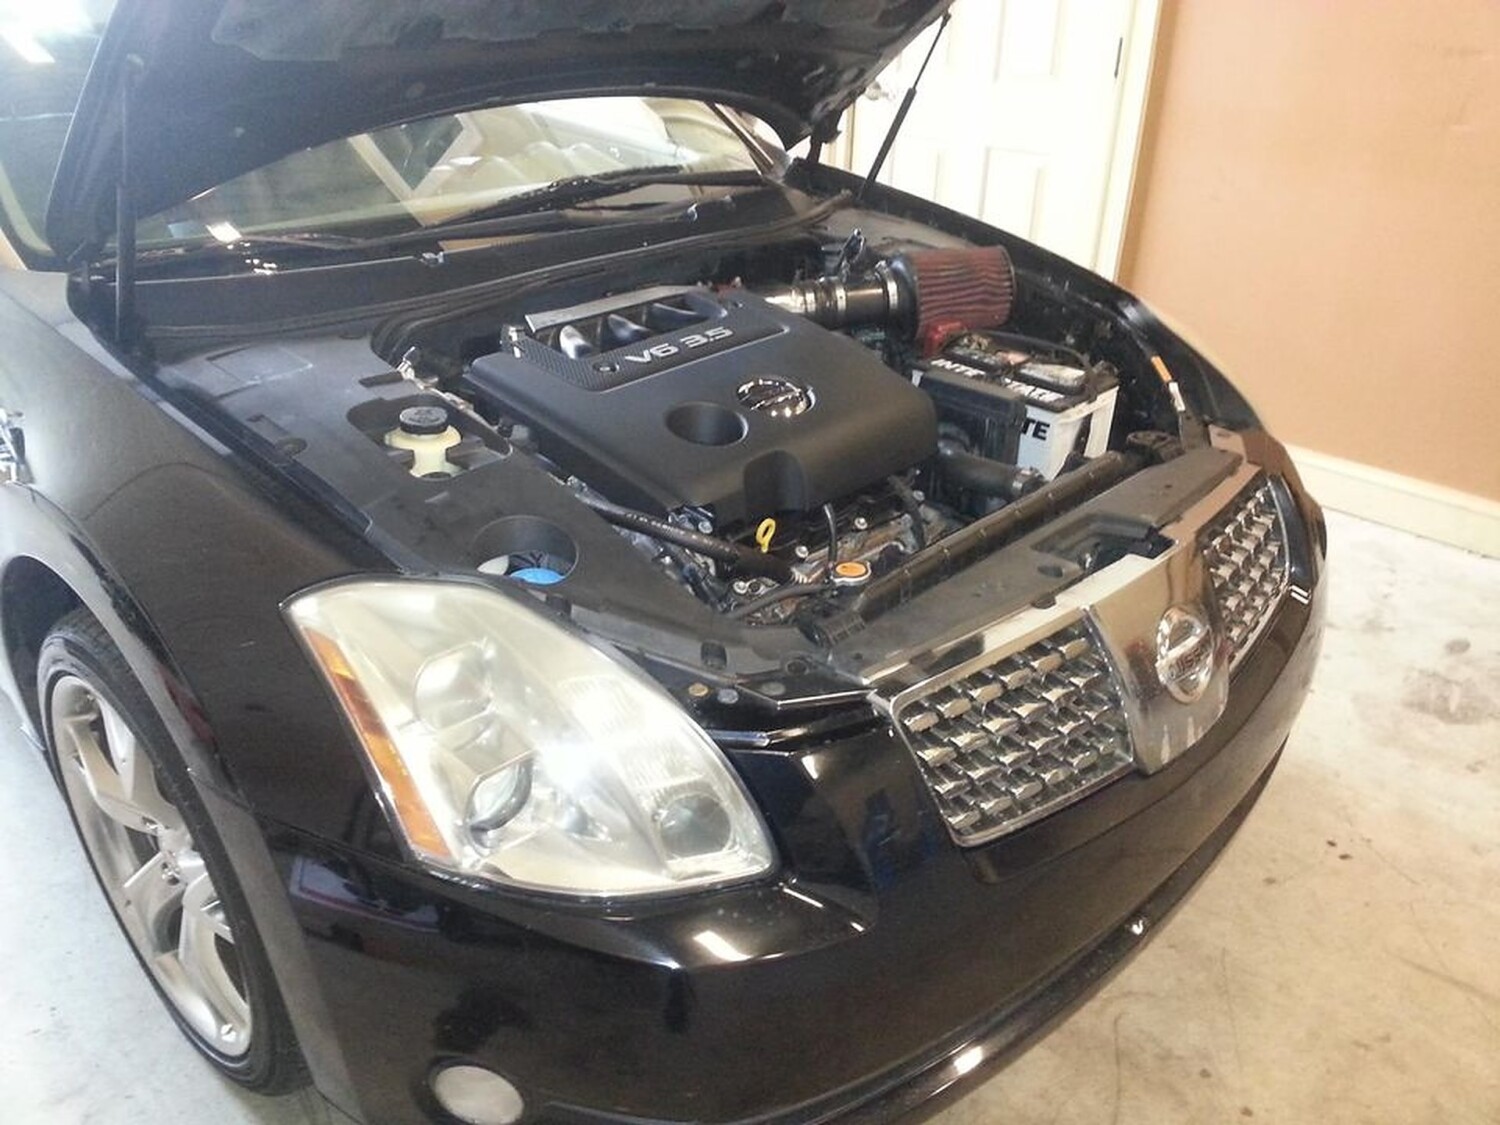
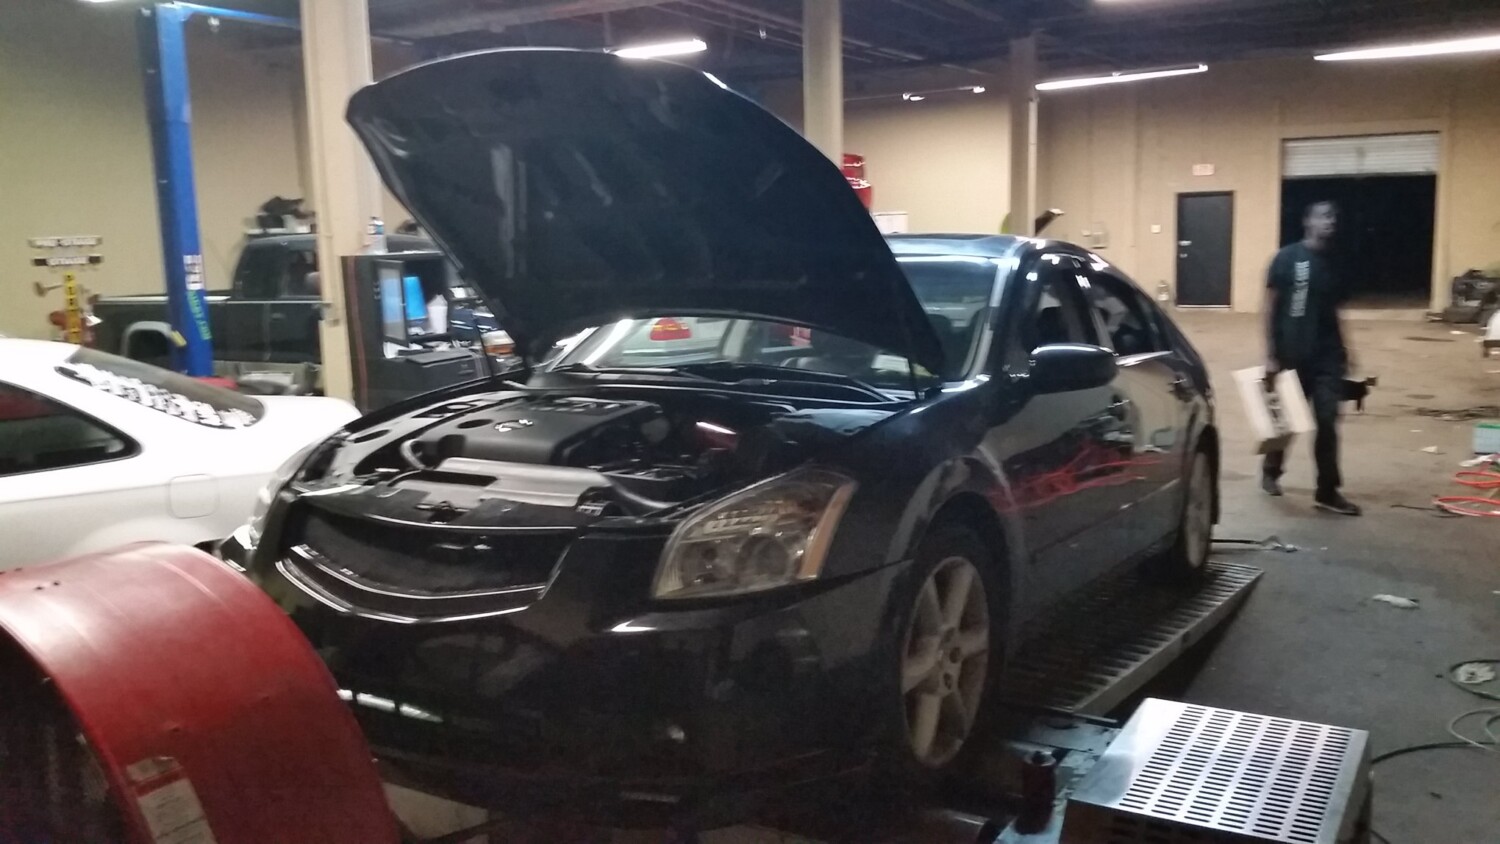
Engine and Engine Bay
URP
MDF ported and polished
NWP Engineering Thermal Intake Spacers
Custom Enterprise Y-Pipe
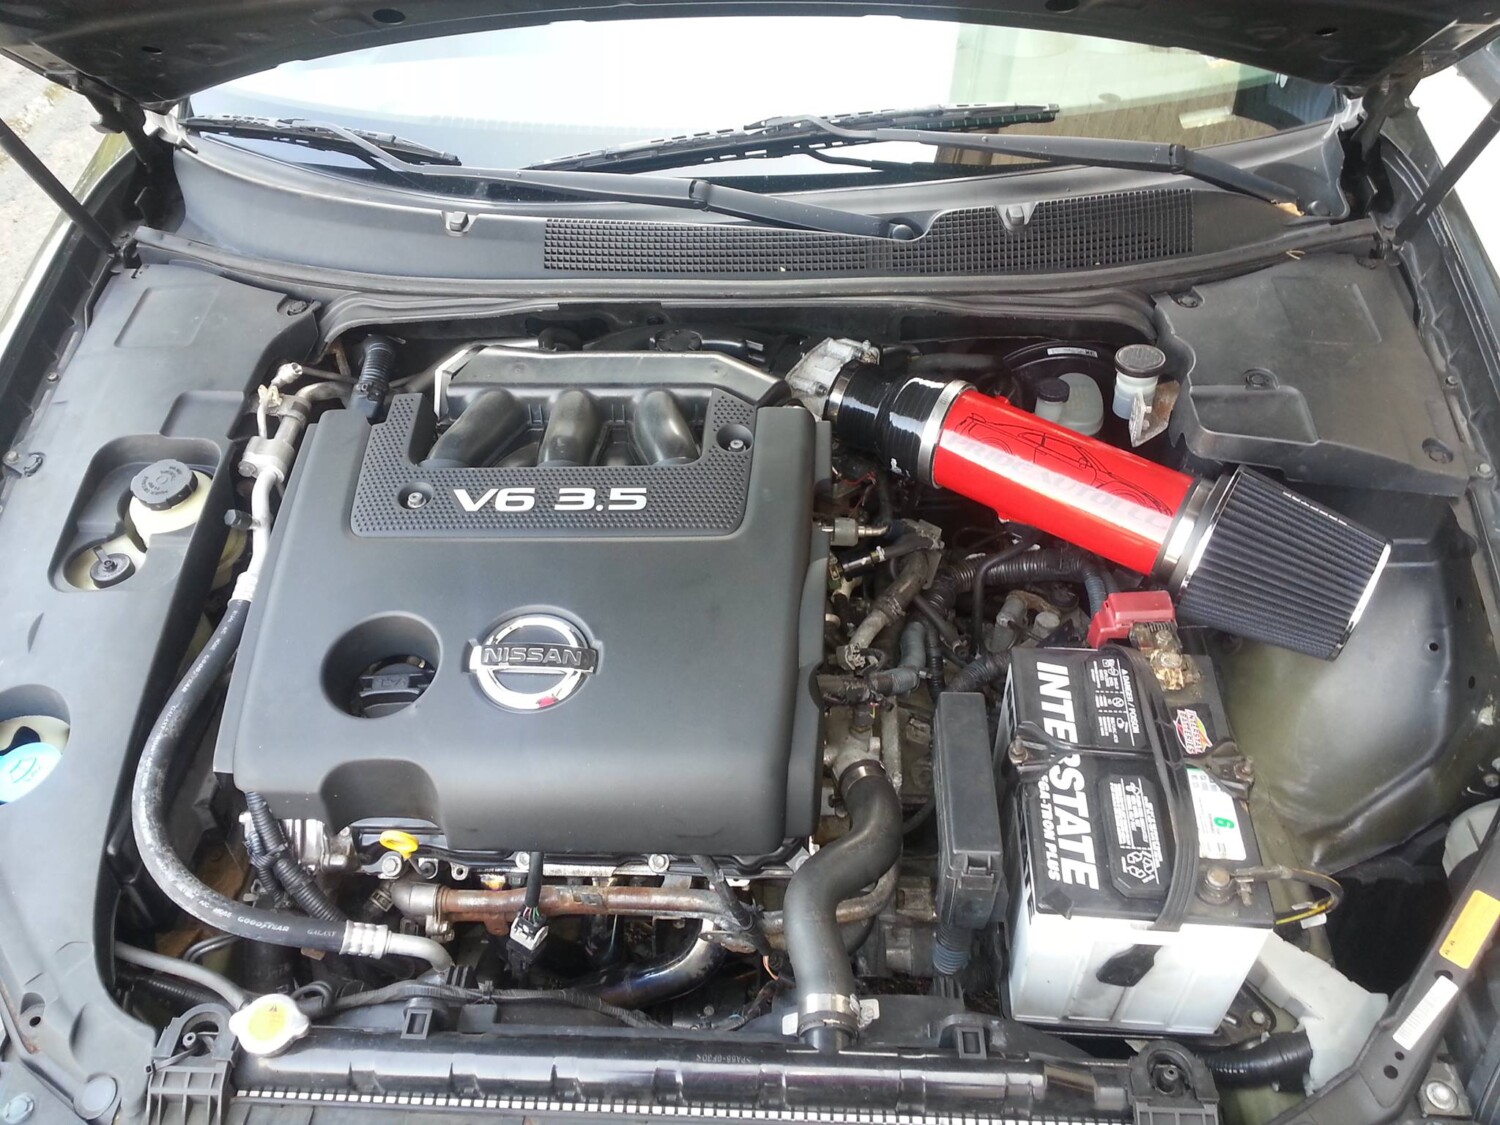
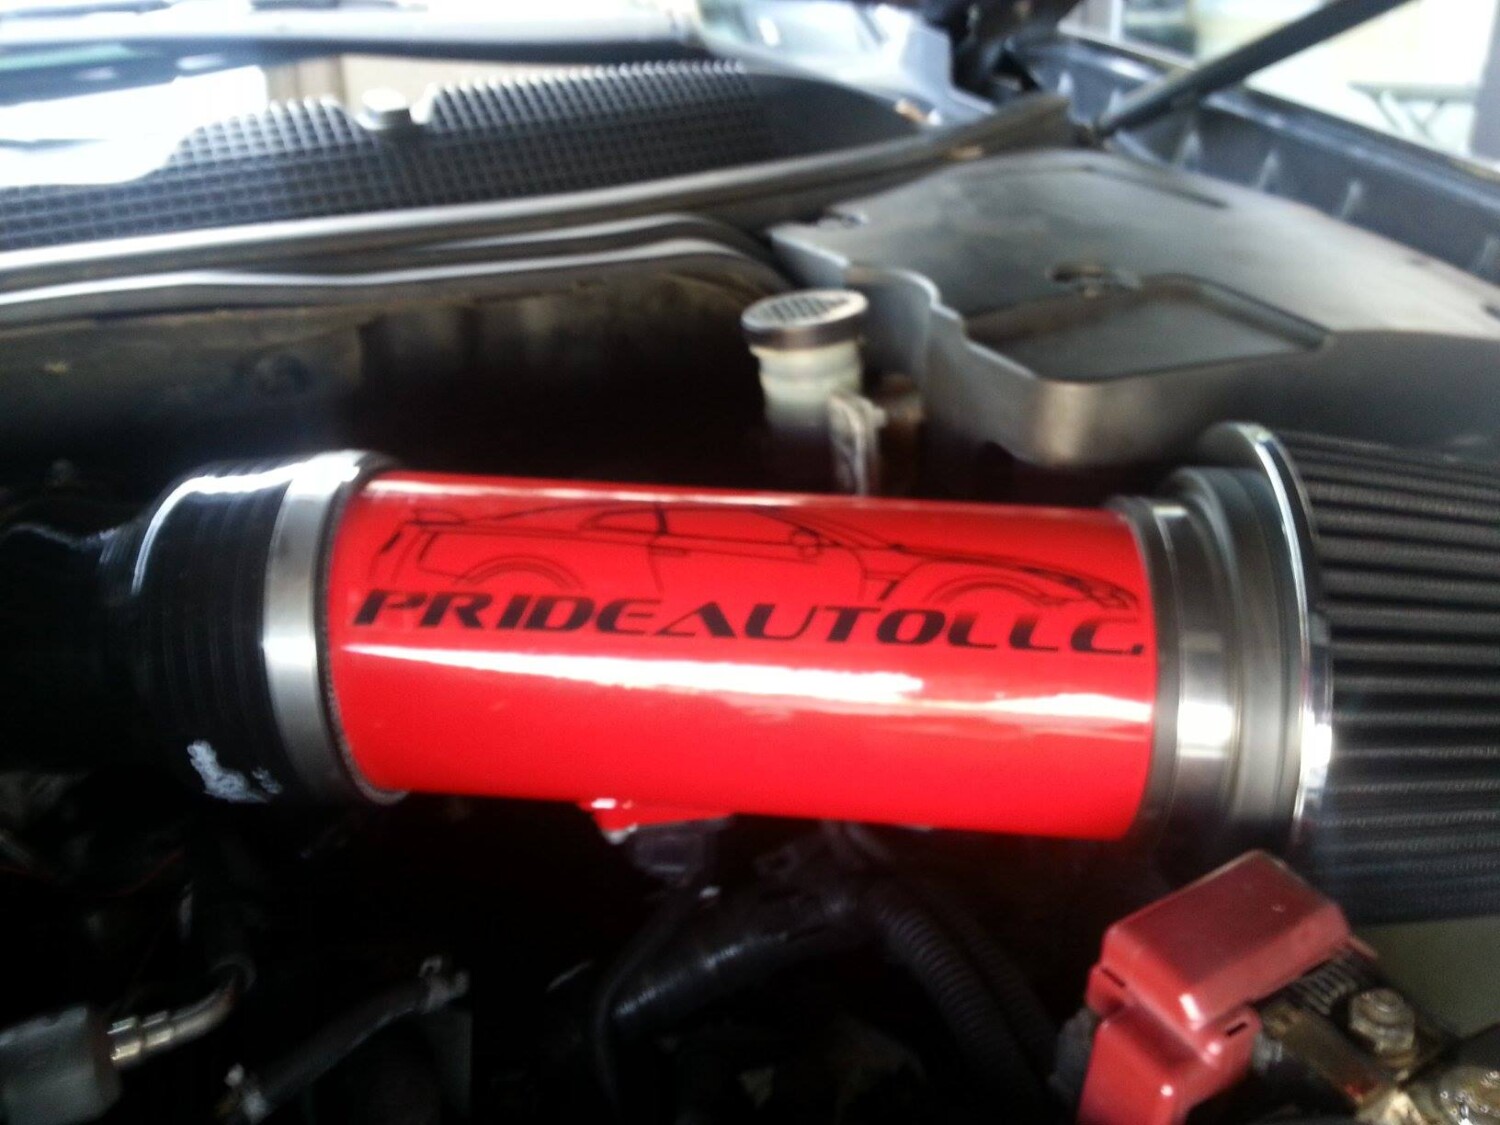
Injen cold-air intake system
Greddy SP-2 cat-back system
Optima Red Top battery
Custom battery bracket
Braided hoses
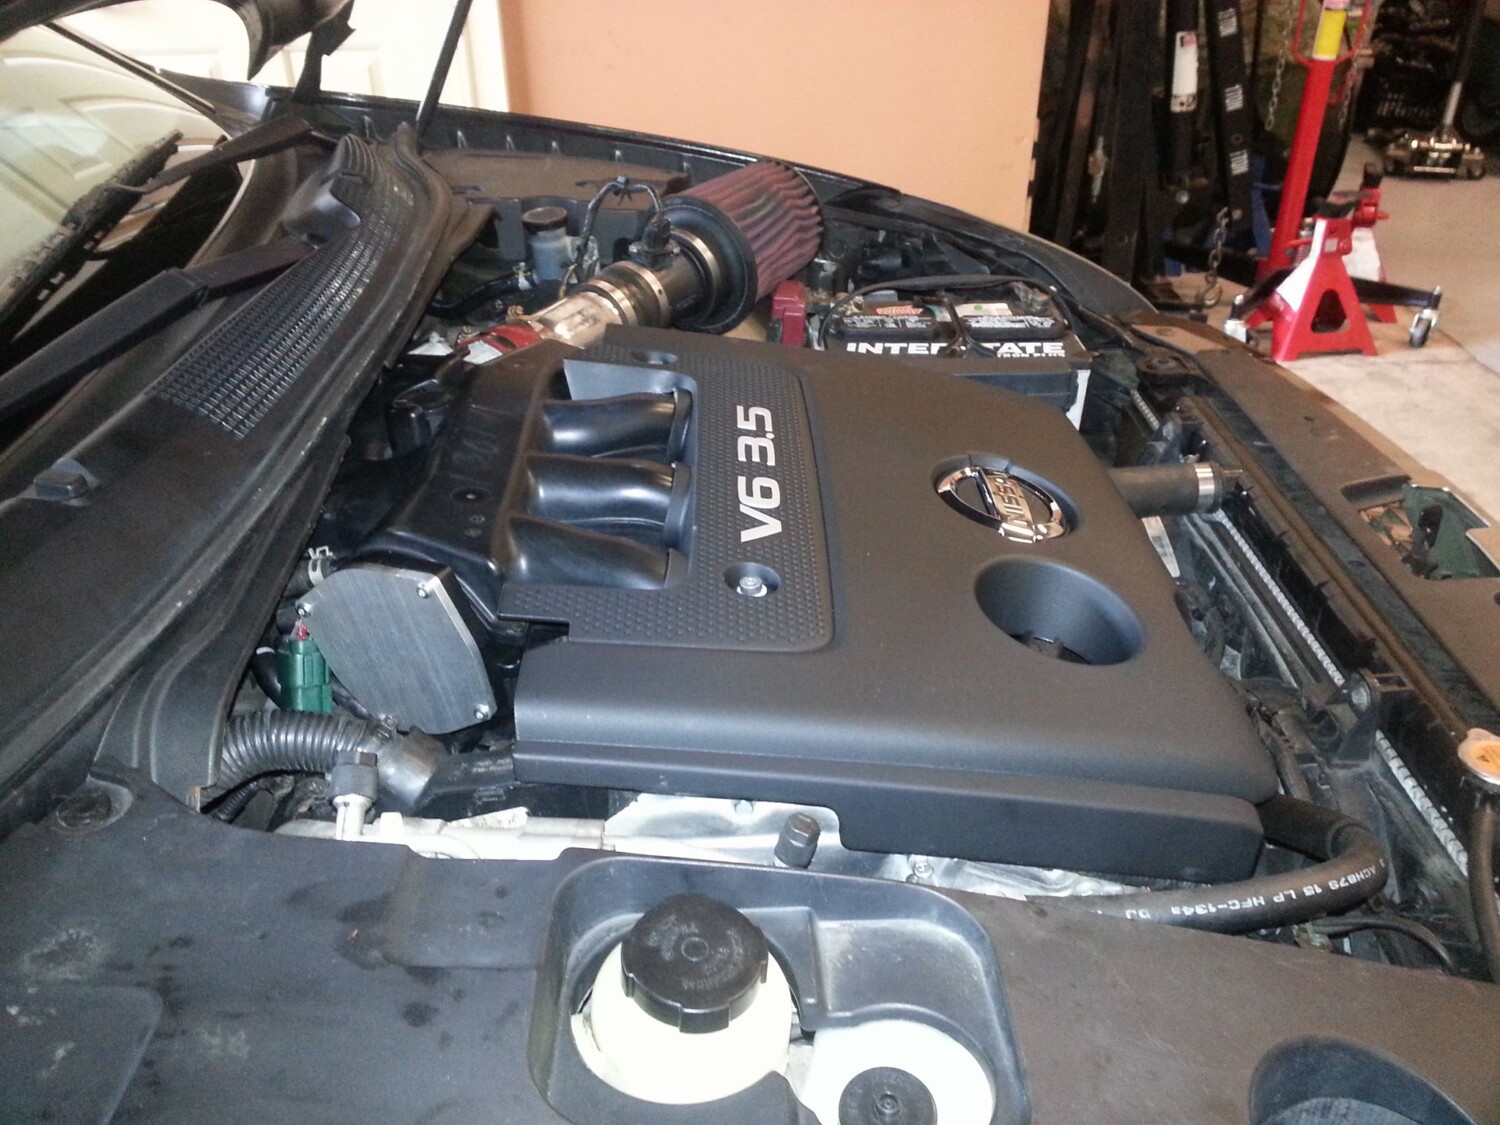
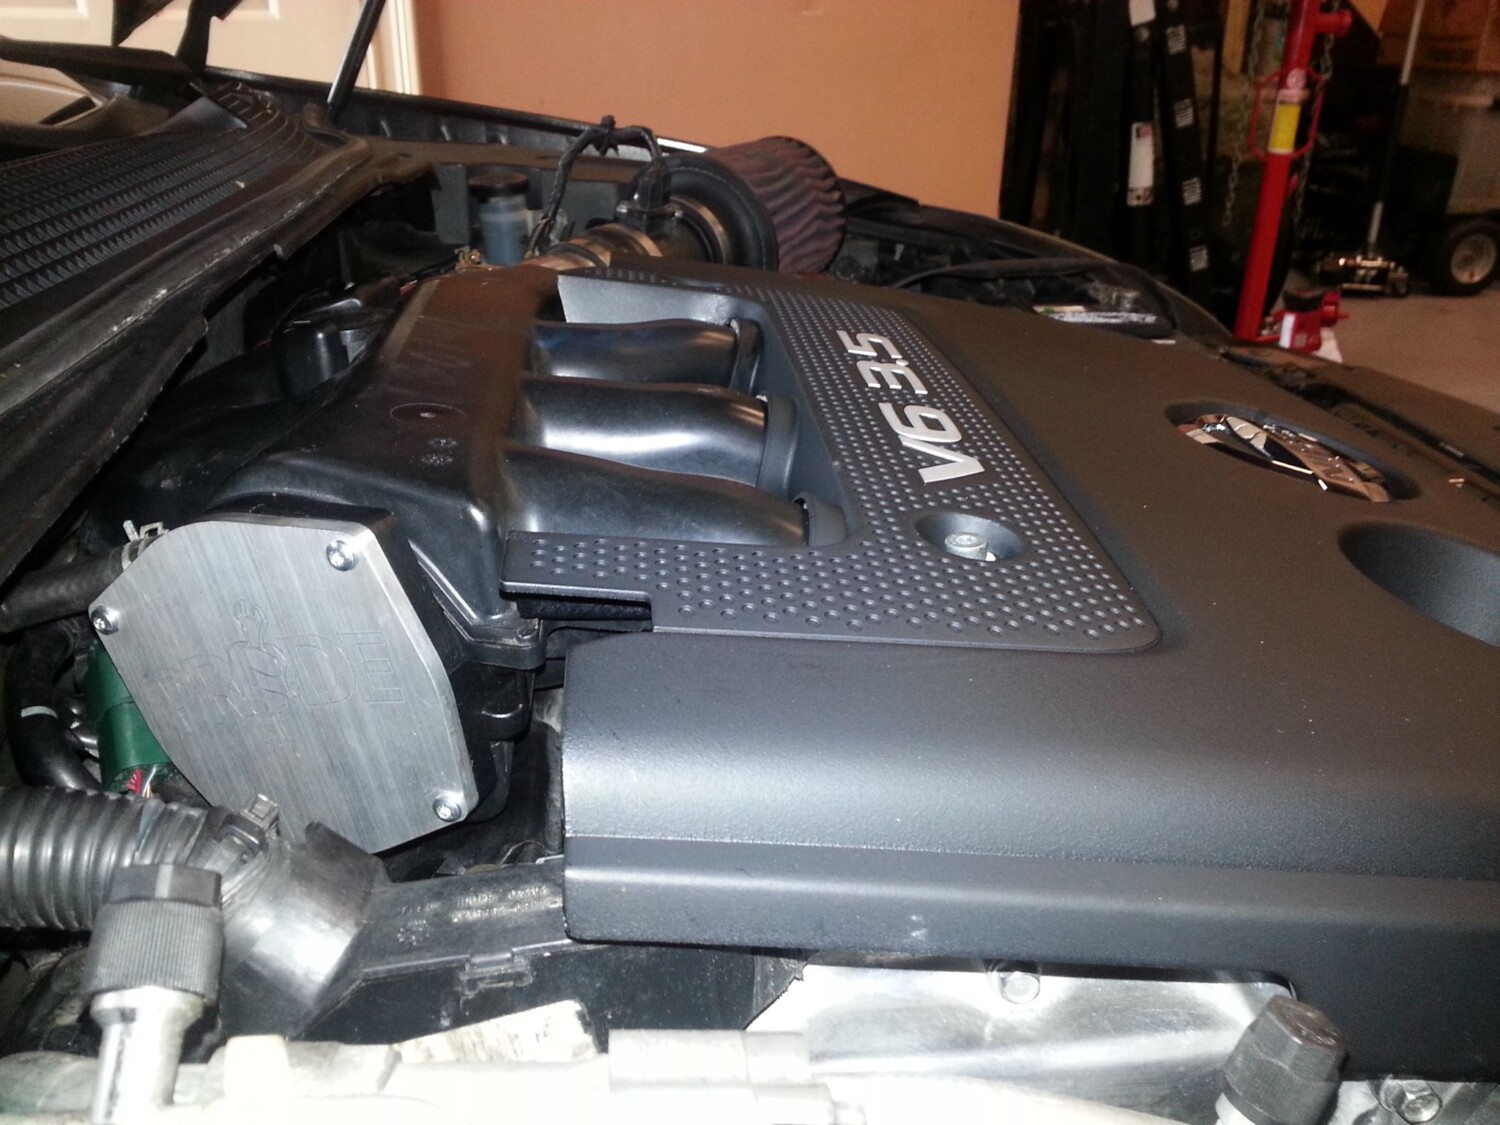
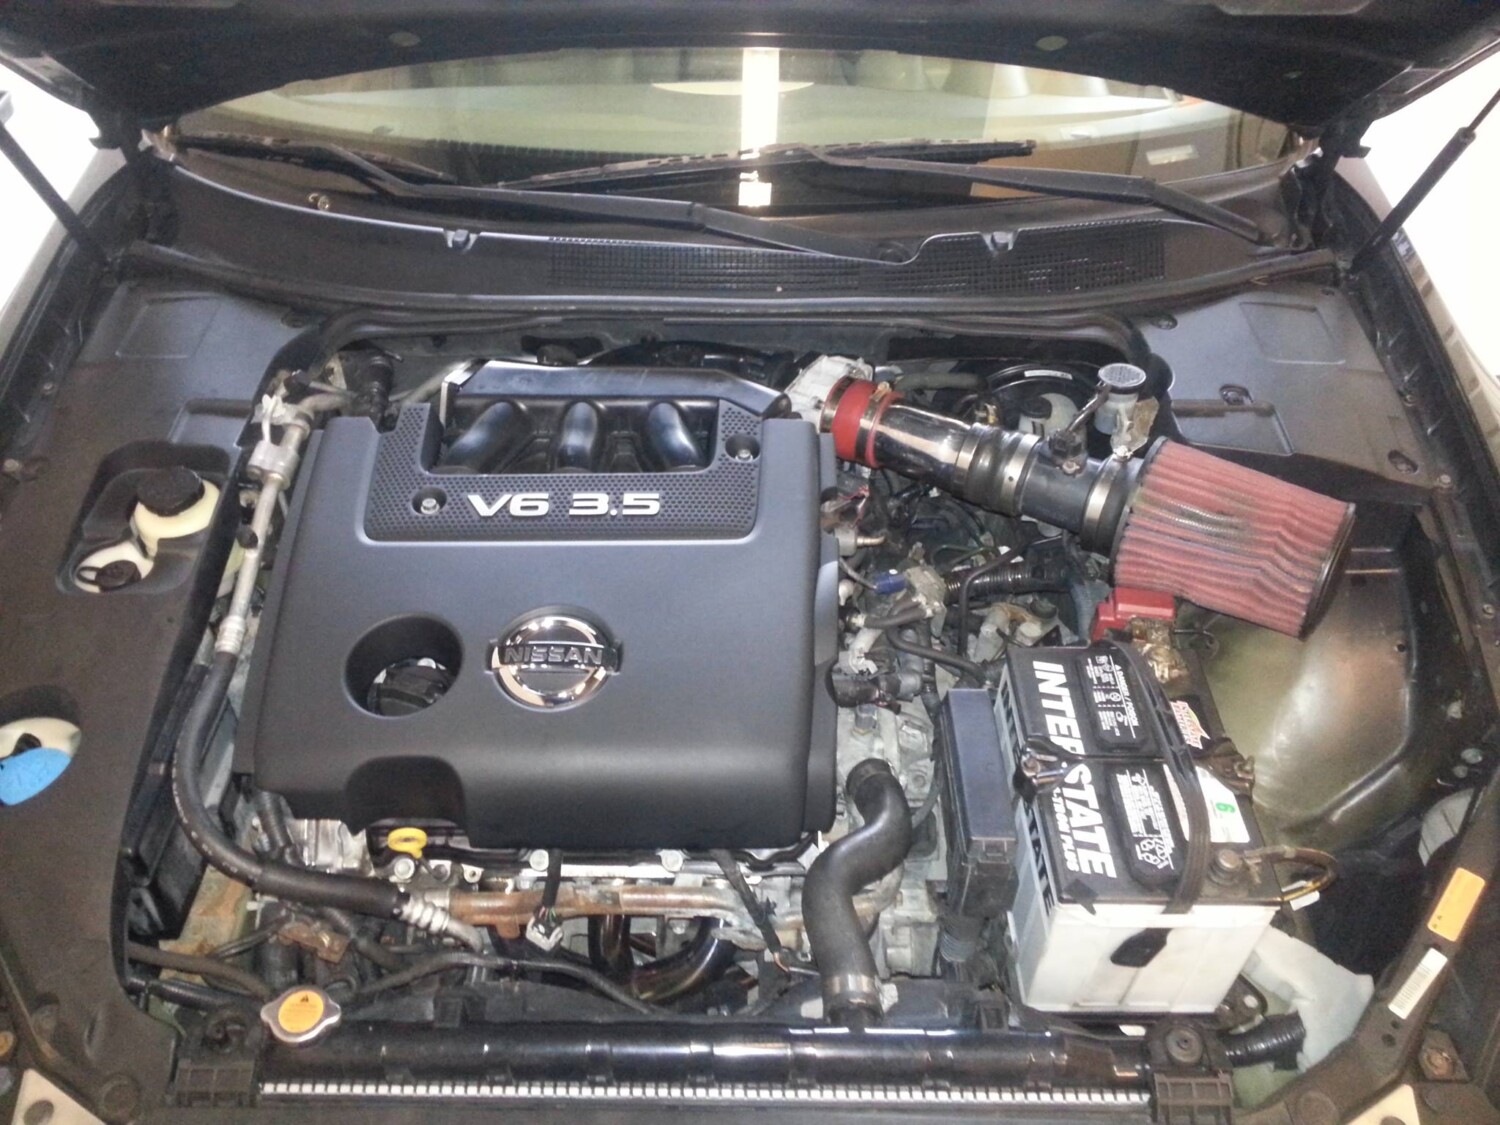
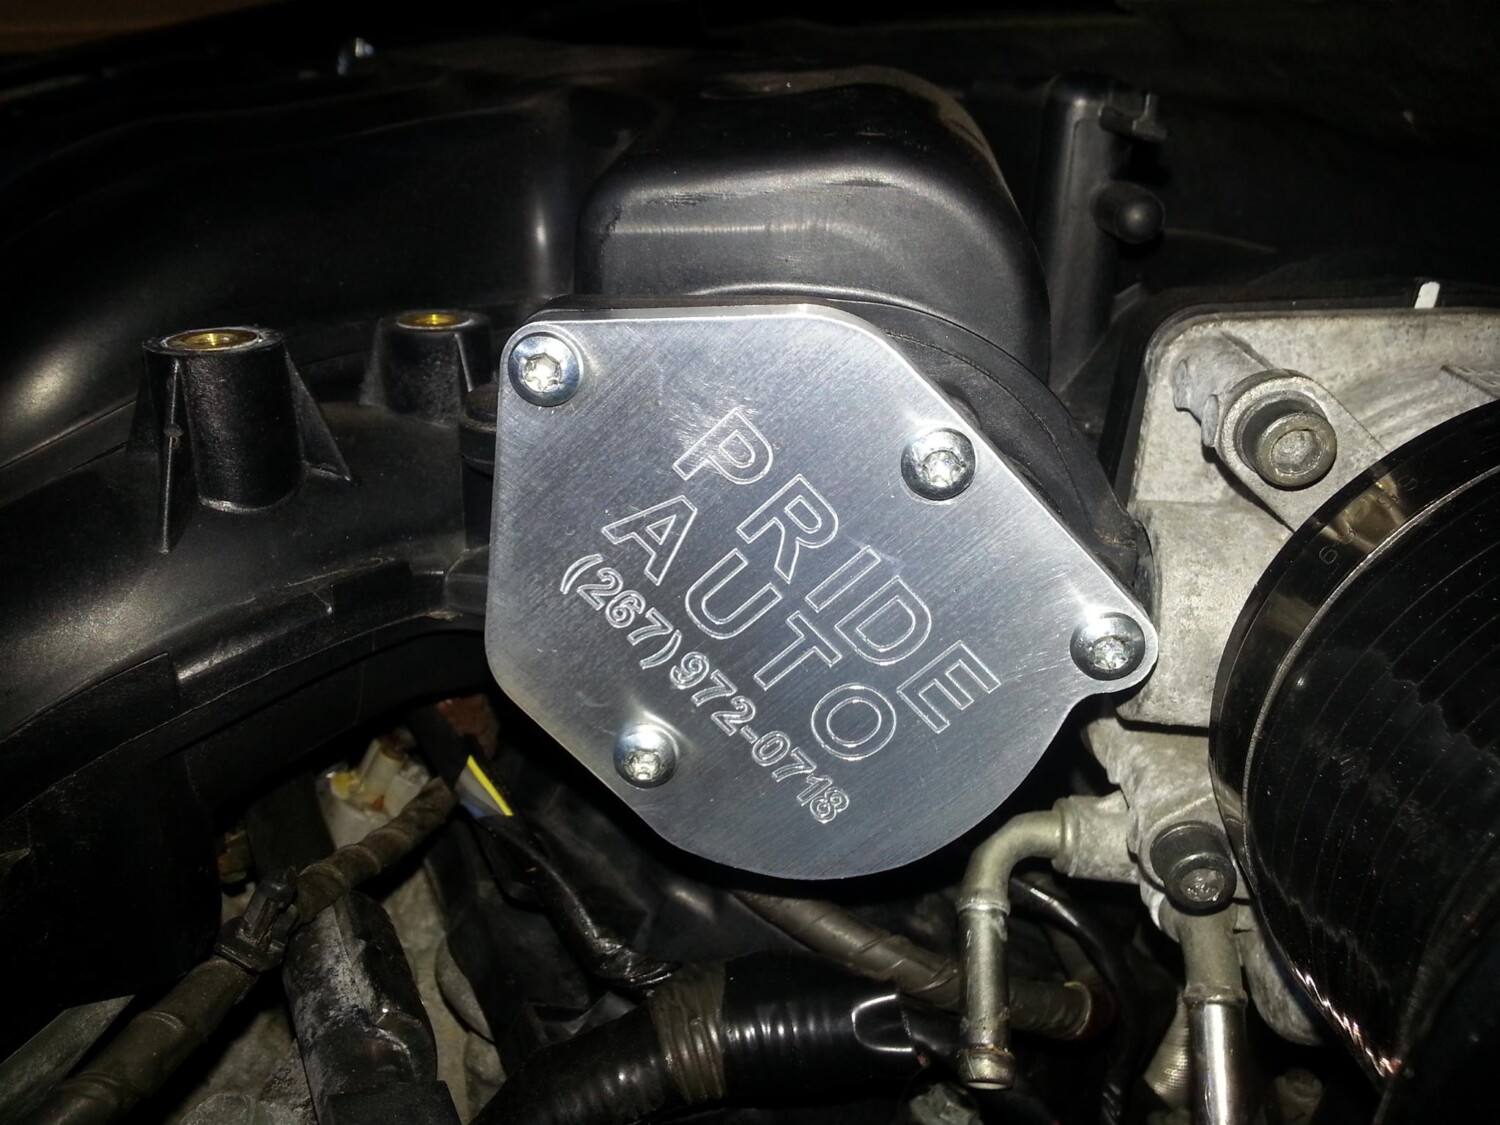
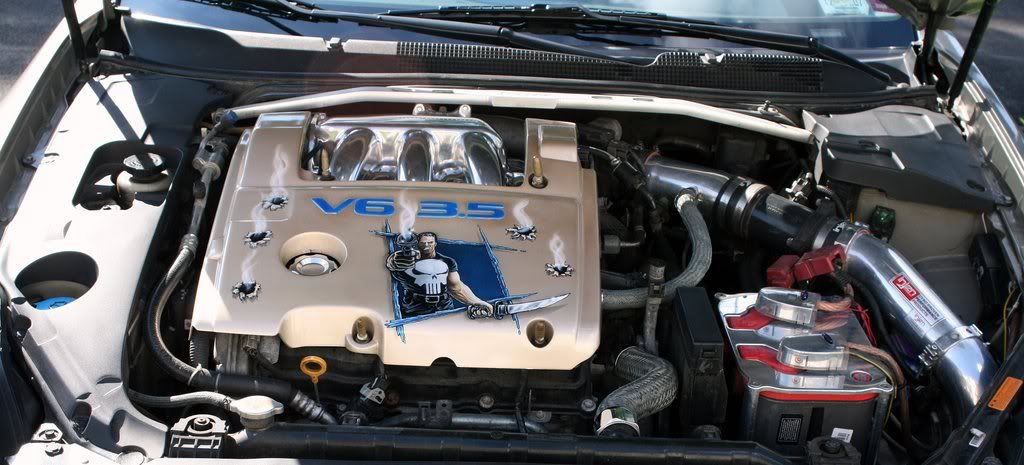
Custom engine cover
ZEX wet 50-75 shot nitrous system
Blue LED purge kit
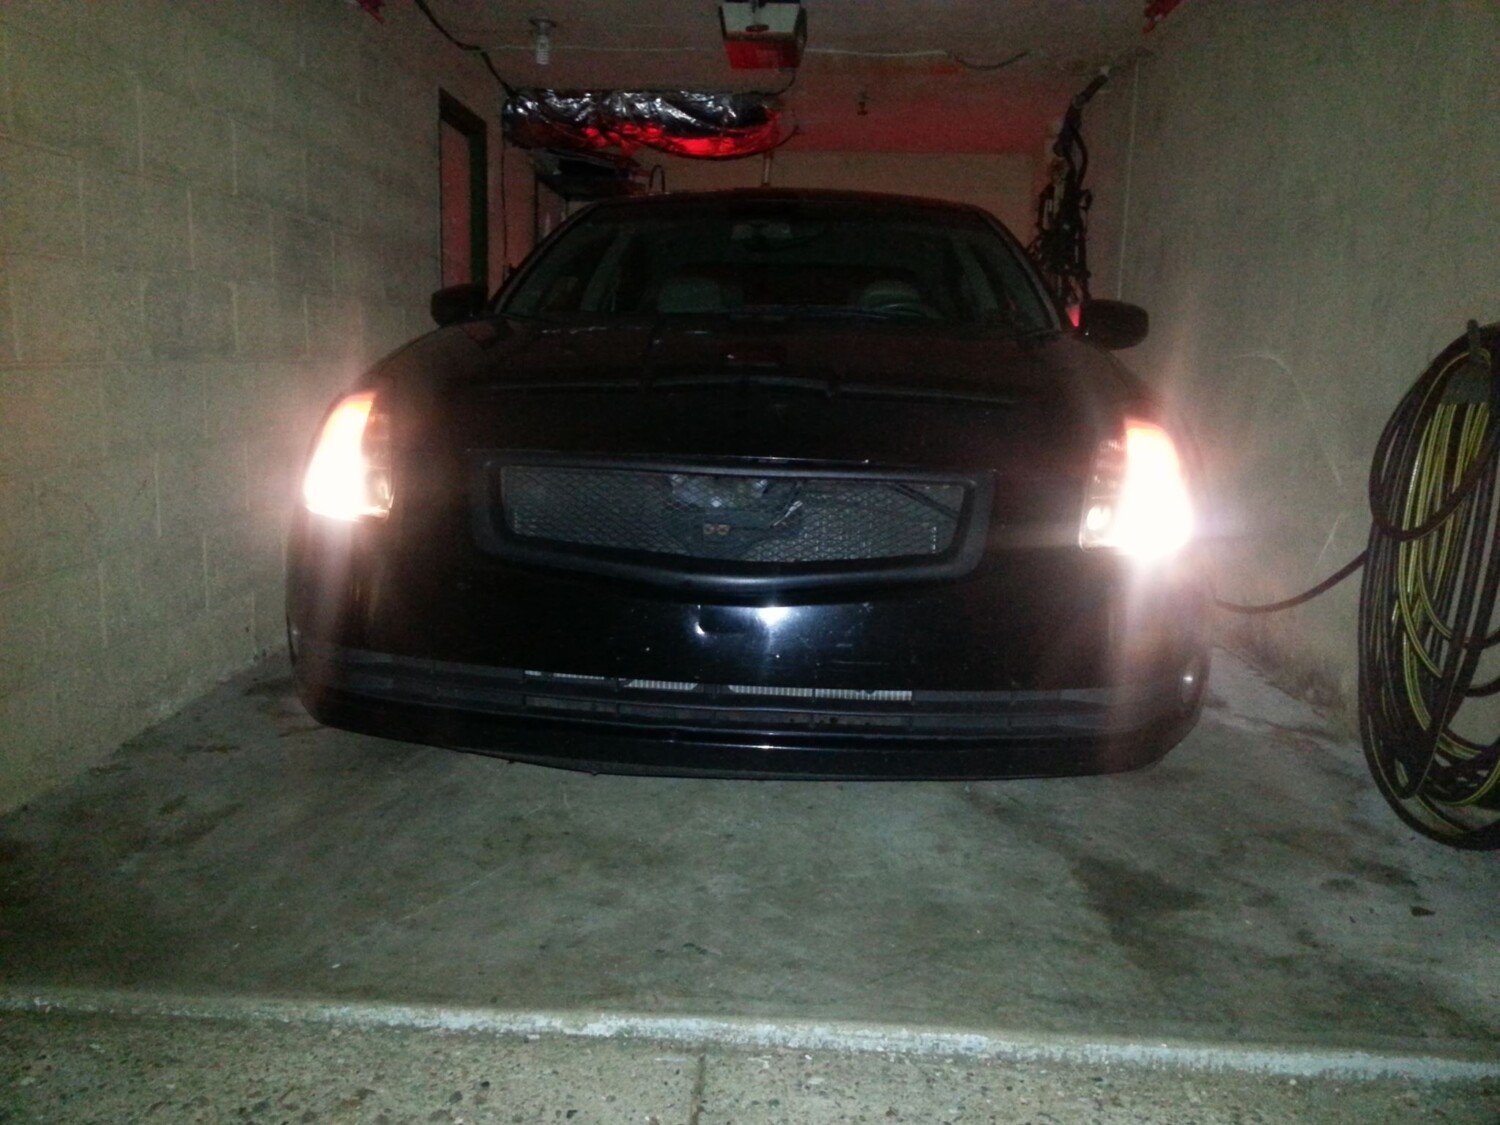
White LED’s for night meets
Strobe lights
Blue neon light in grille area
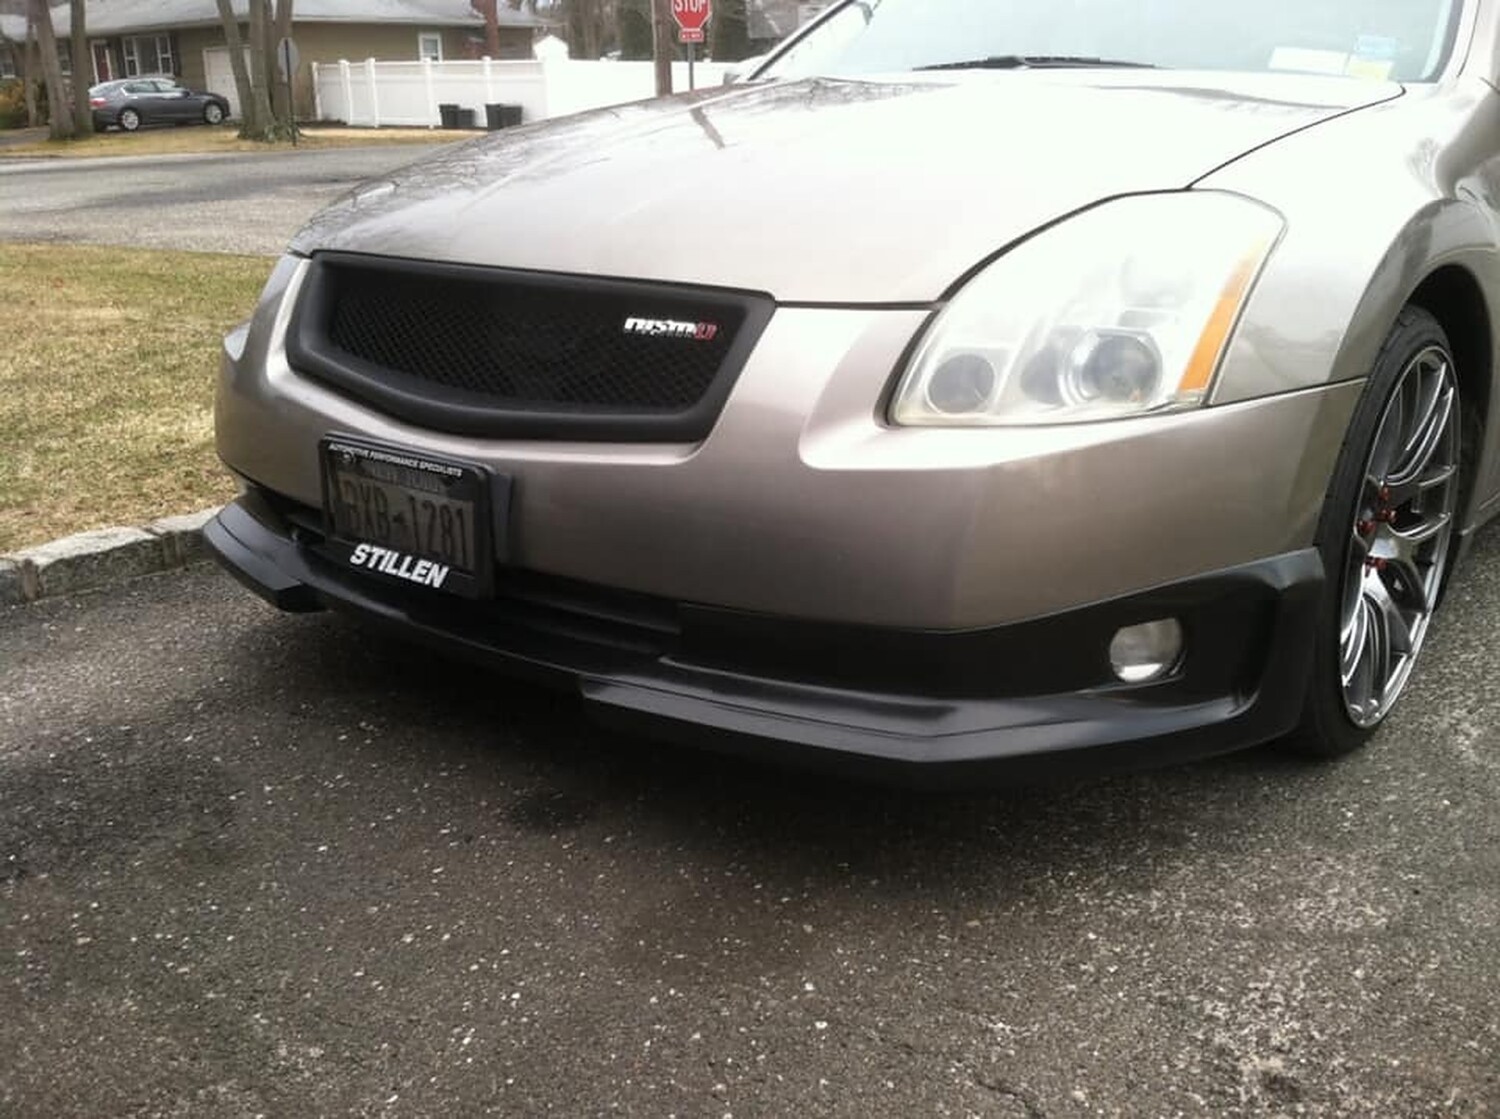
Stillen FSB
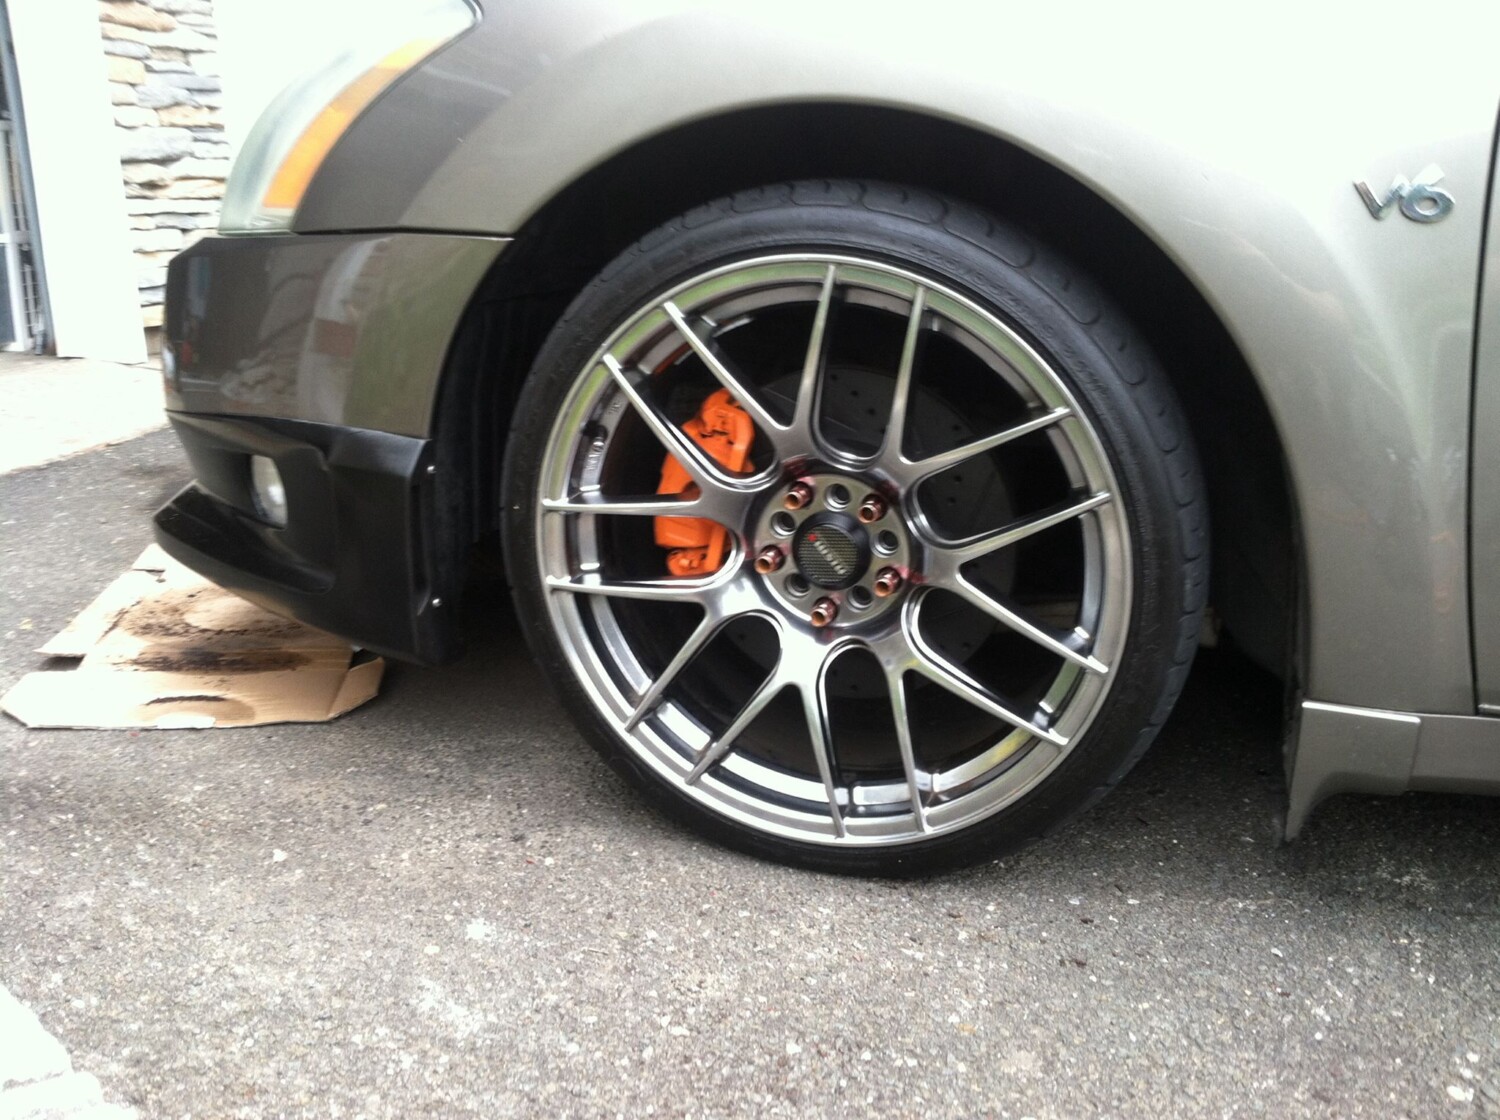
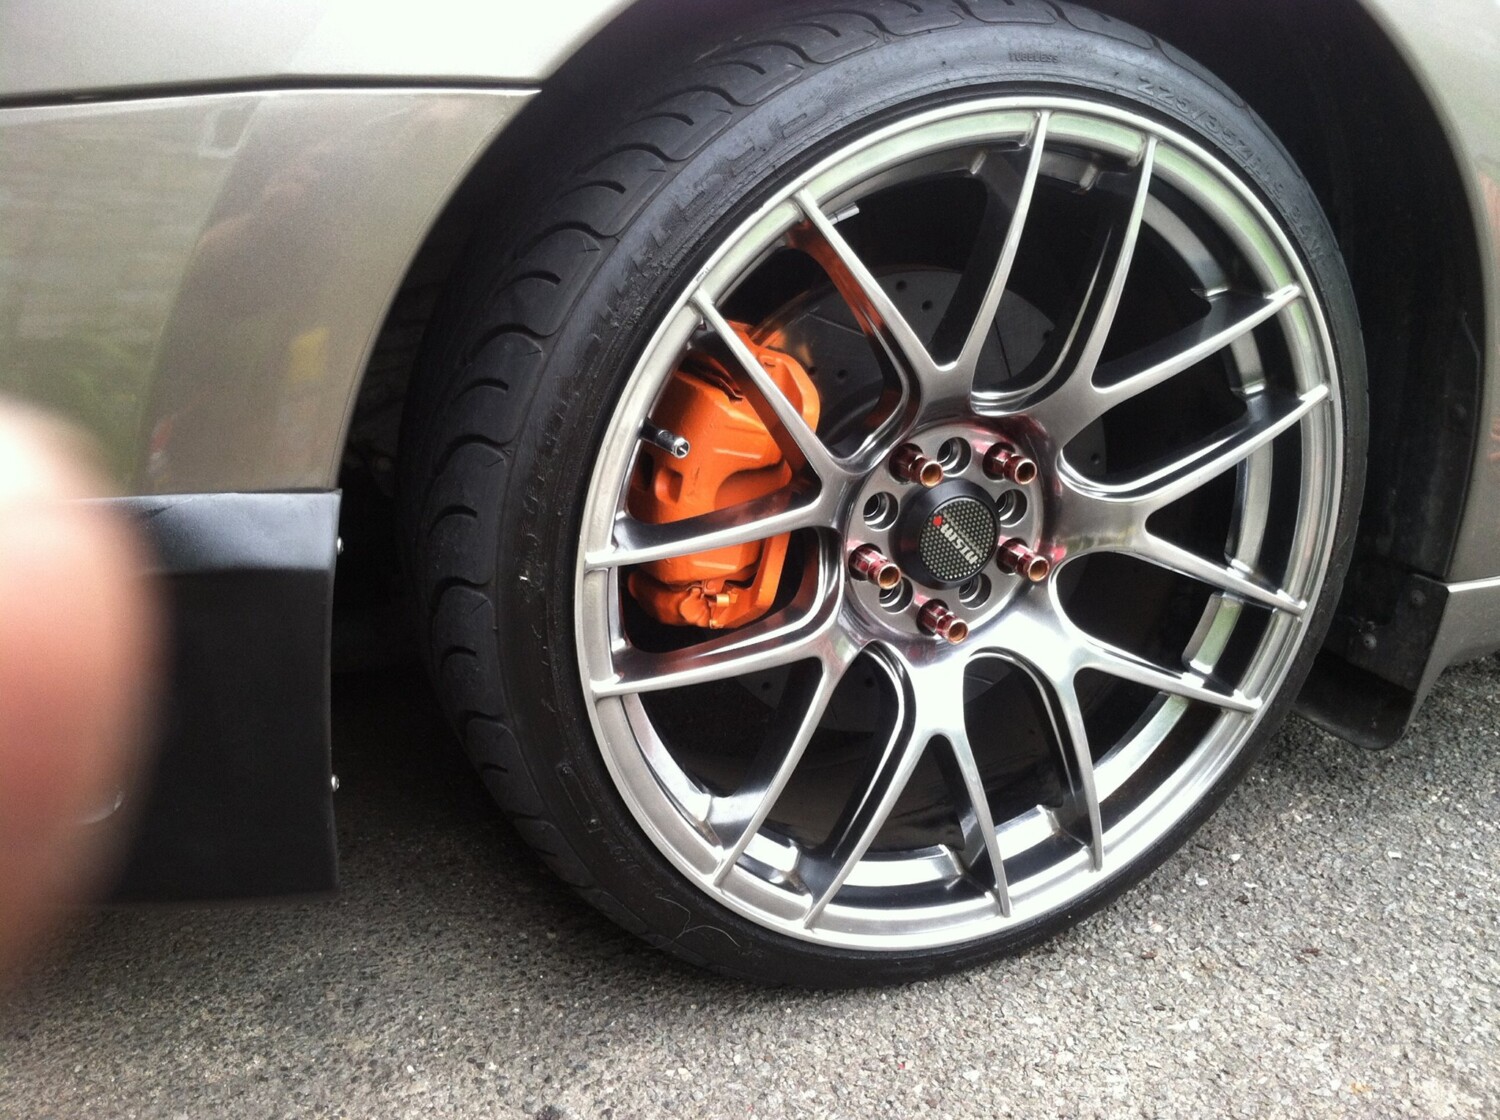
Exterior
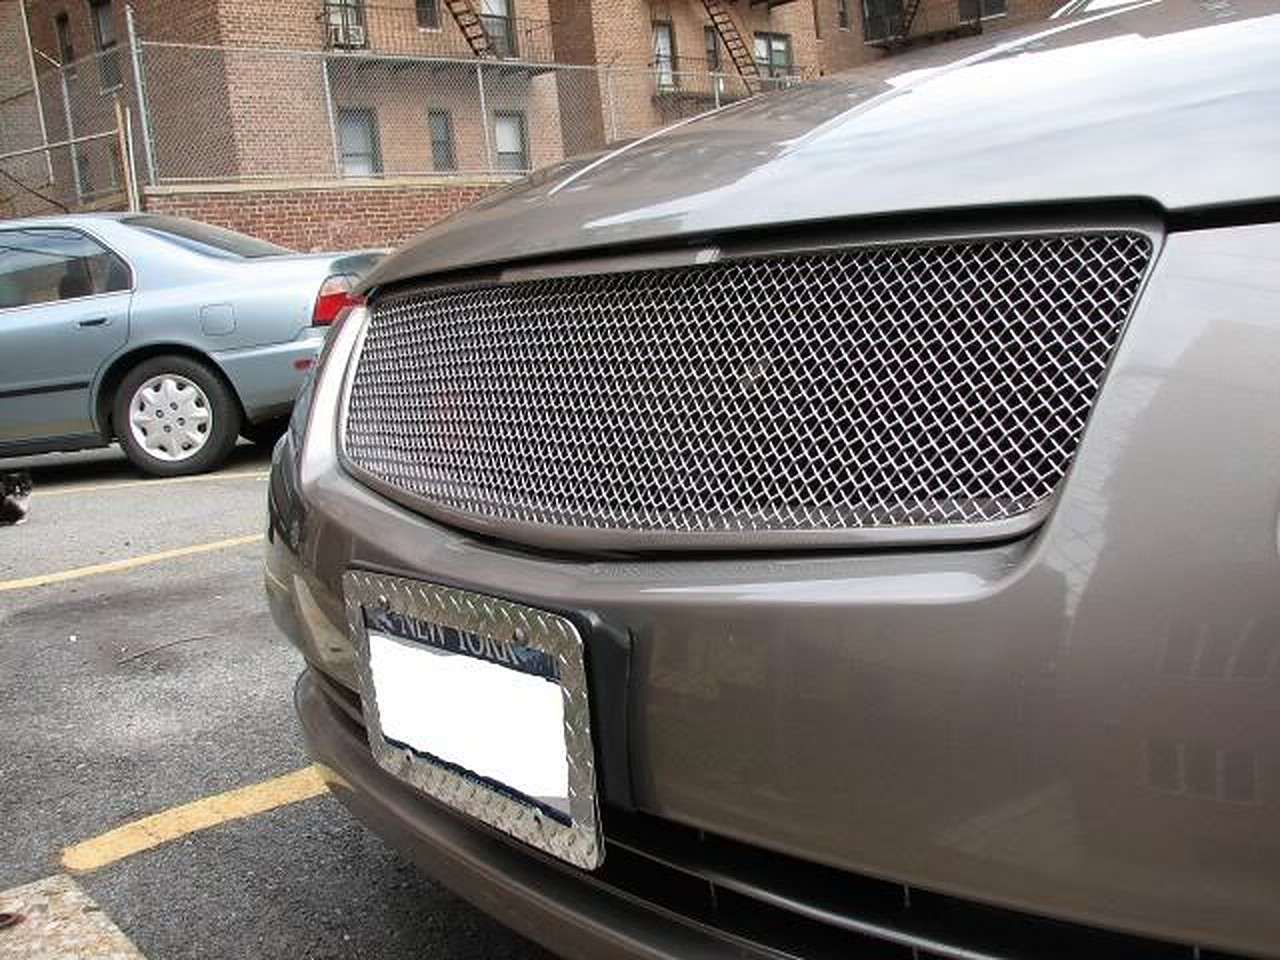
Redlinemax.com custom grill
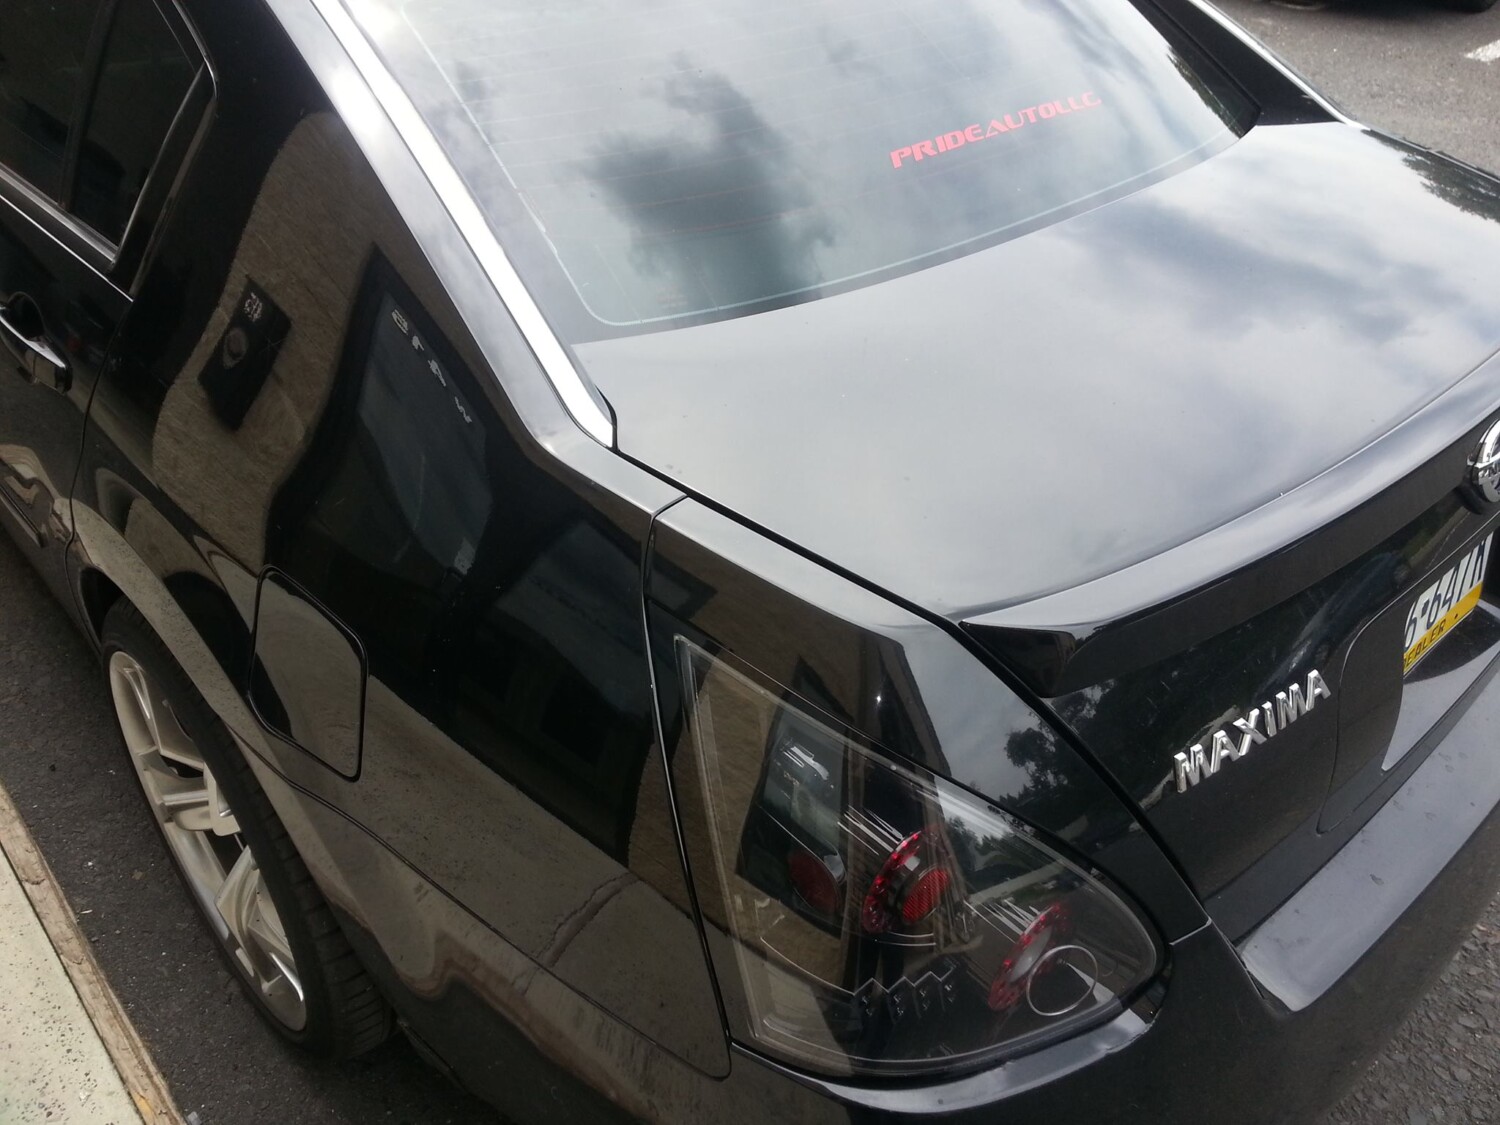
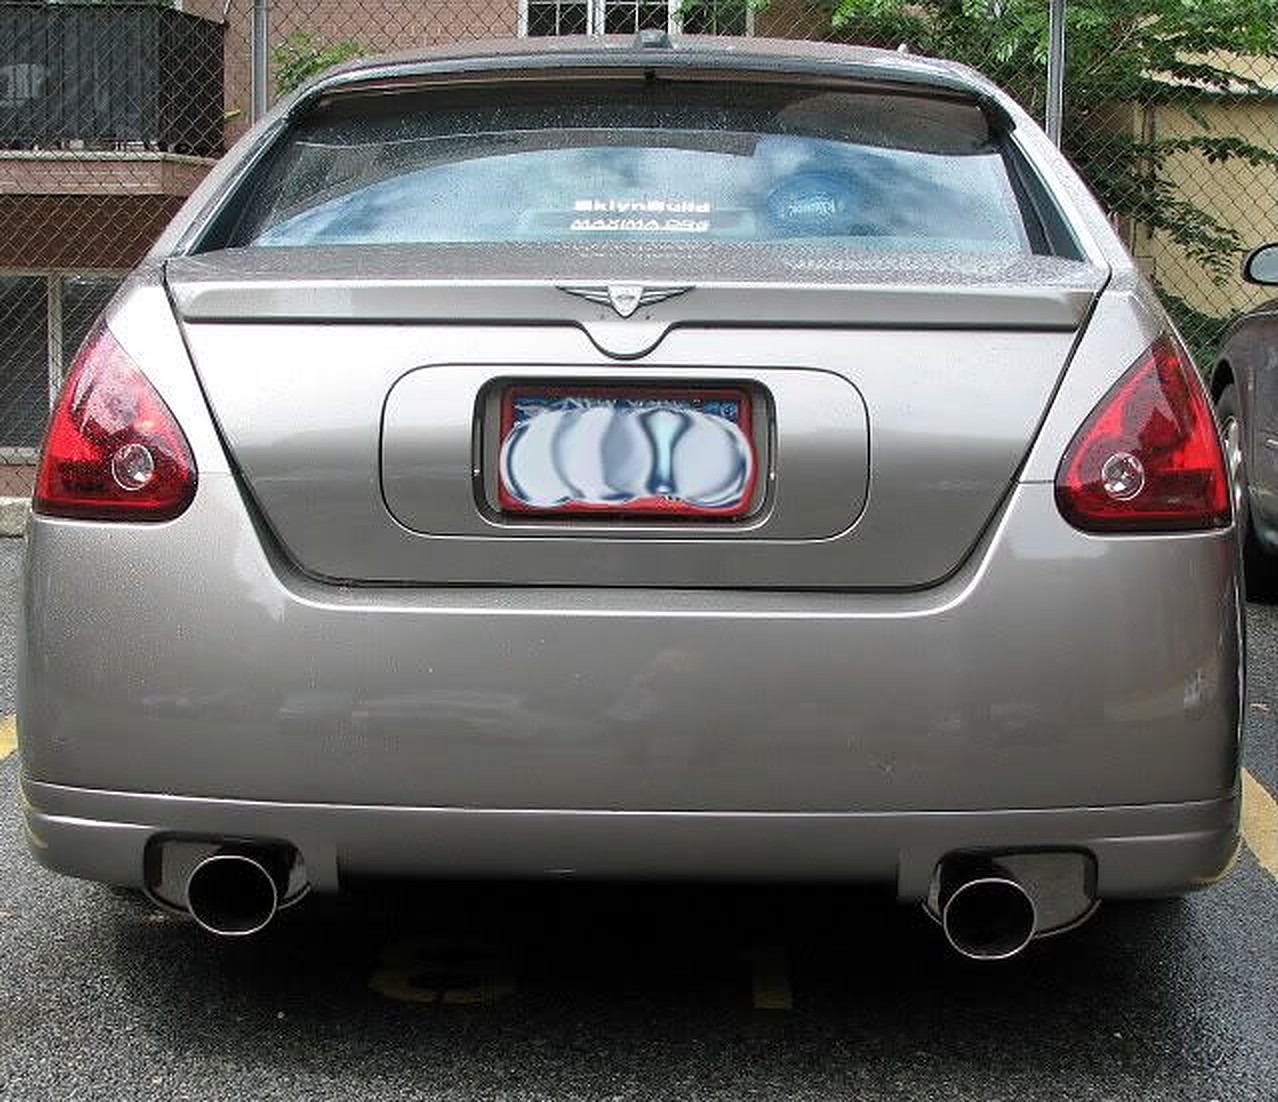
Debadged trunk area
Rare Nissan Wing on trunk
2 red LED’s under wing that lights up when brake pedal is pressed
Weather tech rain guards
Carbon fiber pillar overlays
Rear window spoiler
Moon roof spoiler
Interior
Custom pedal covers
Custom shifter knob
Custom e-brake handle
Custom leather e-brake boot
Custom made cigar humidor in arm rest
Blue LED’s in dome lights
Blue neon lights under dash and in trunk
Sliver Zex bottle, automatic bottle opener, heated bottle warmer, gauge and blow down tube in trunk
Audio
Bose OEM system
2 extra tweeters. One on each side of the windshield
2 12″ woofers and Infinity amp
TV’s in headrest
One TV in driver’s side visor, wife did not want to lose mirror on her side.


")


 Installation Photos


")