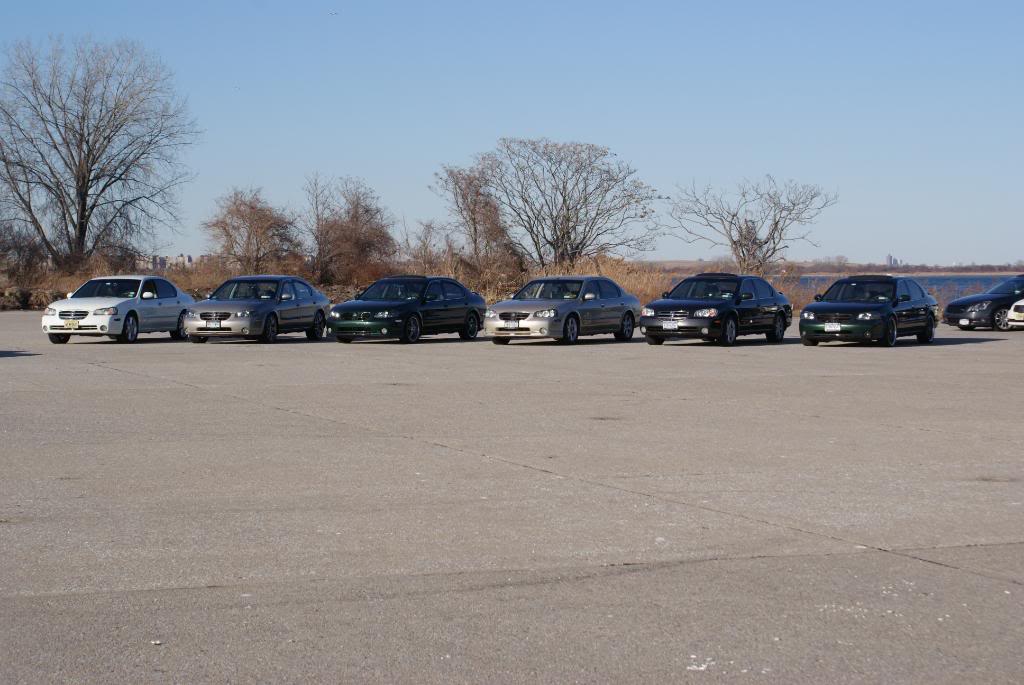
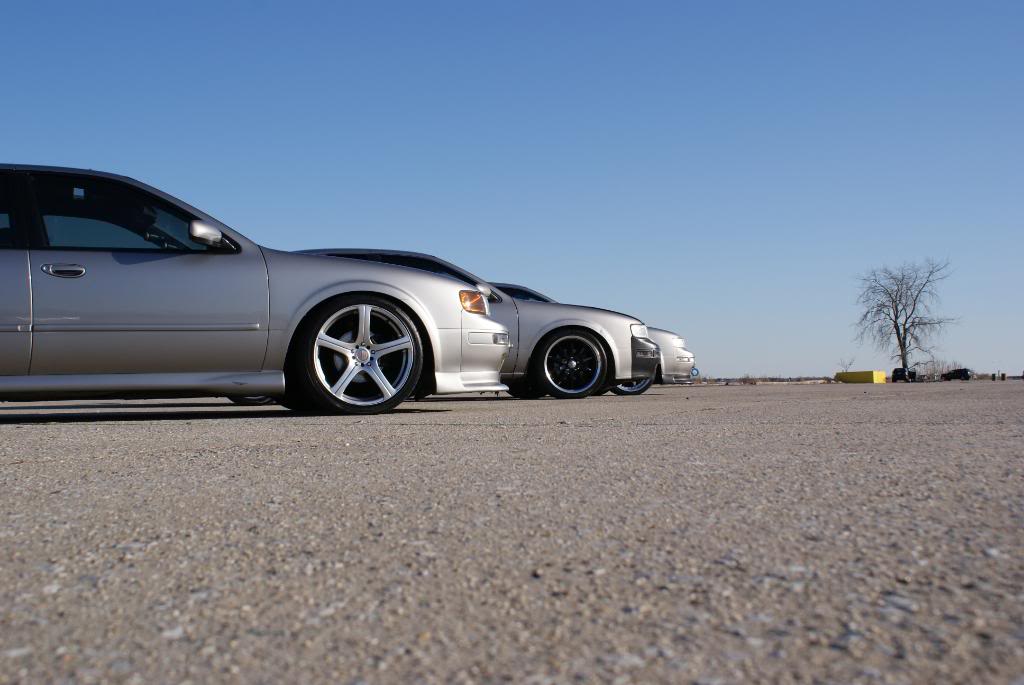
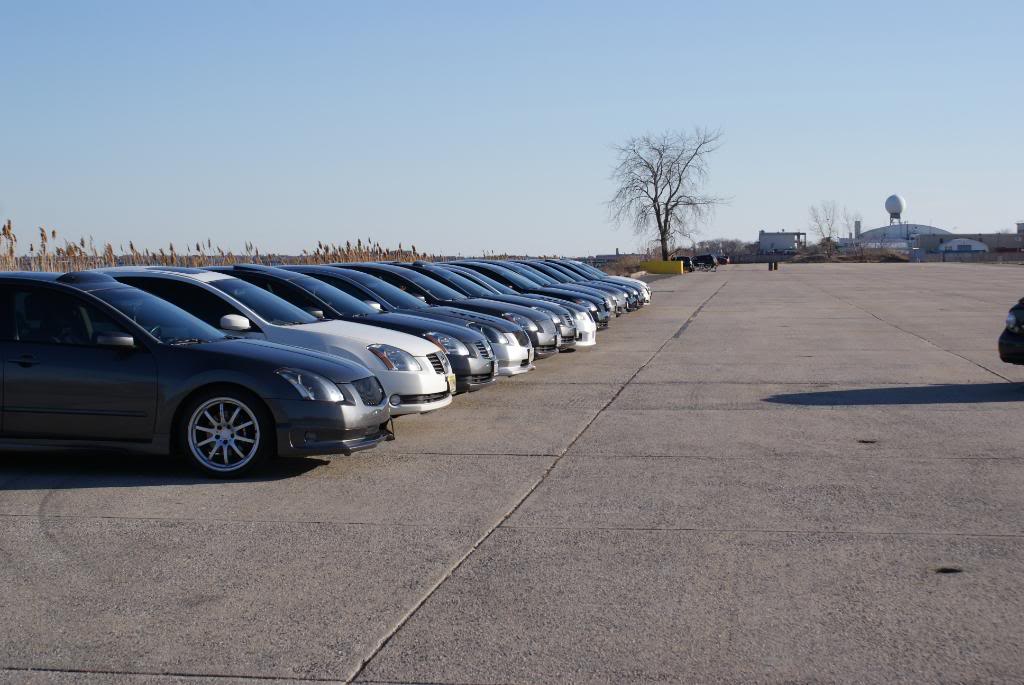
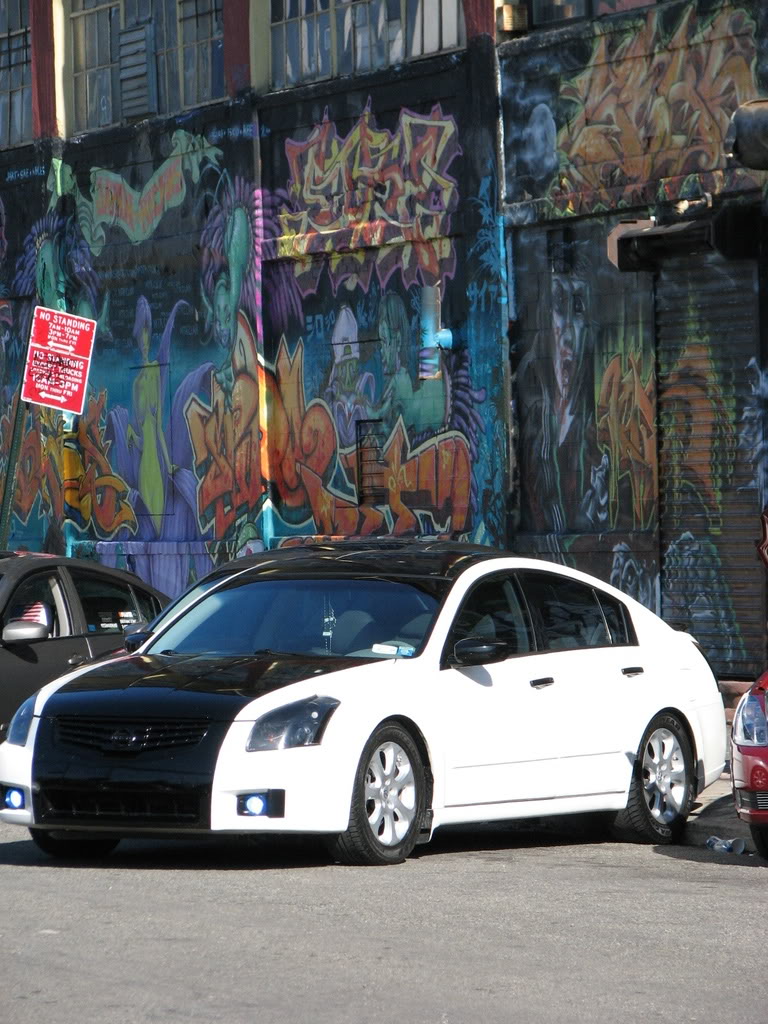
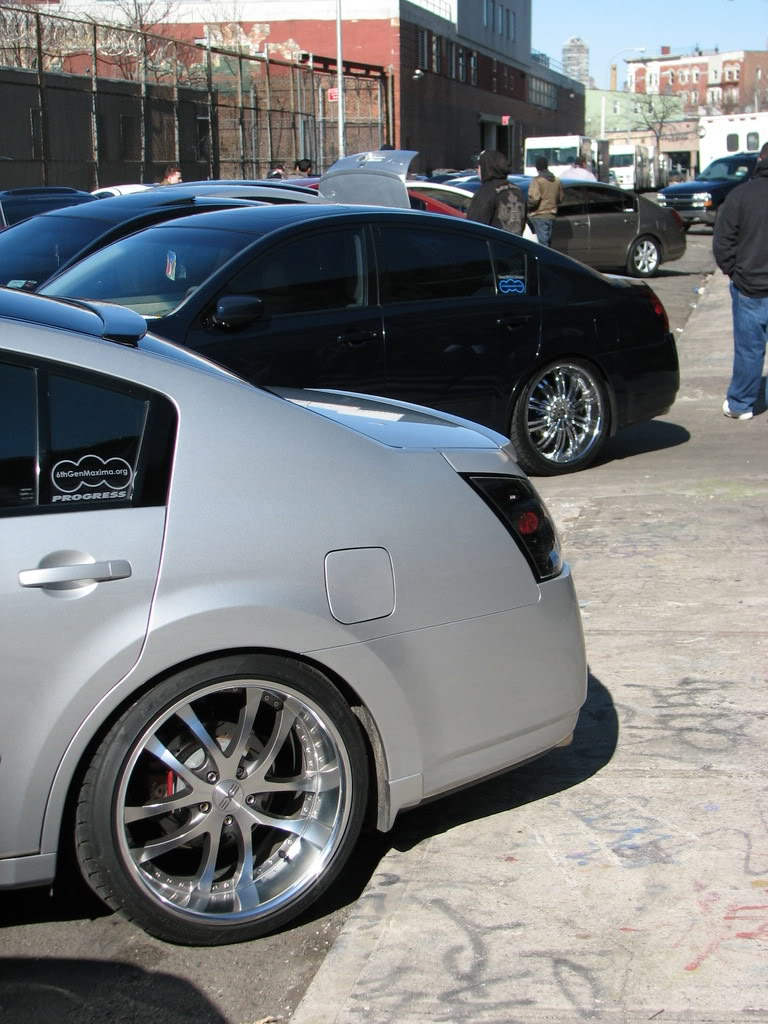
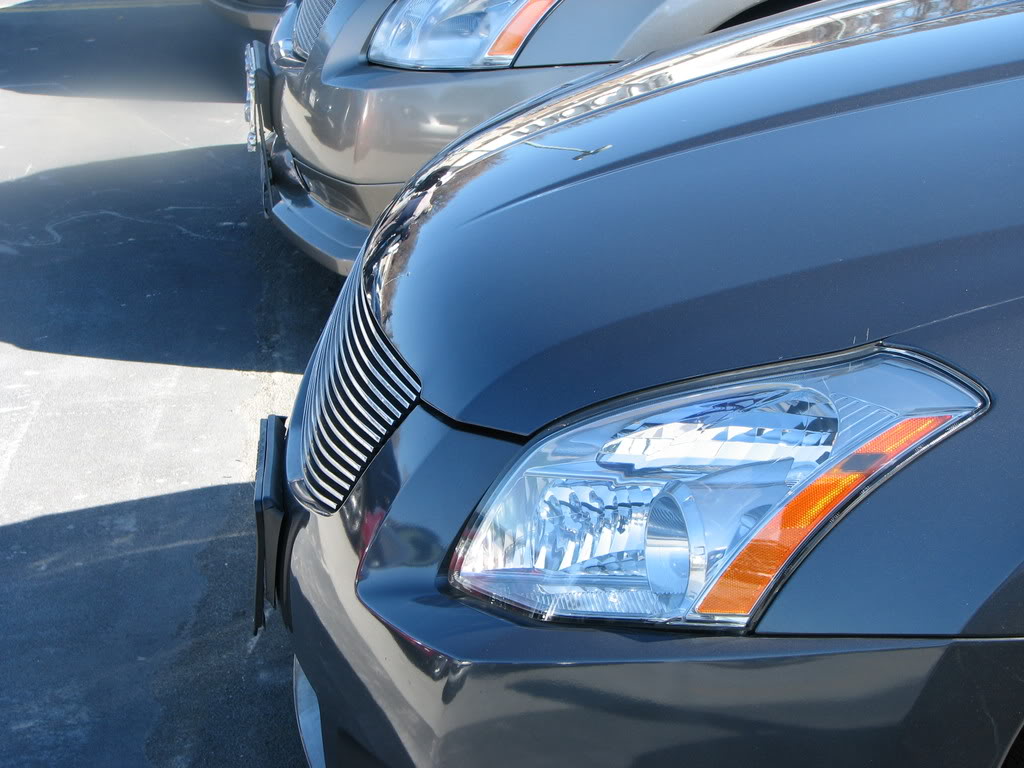
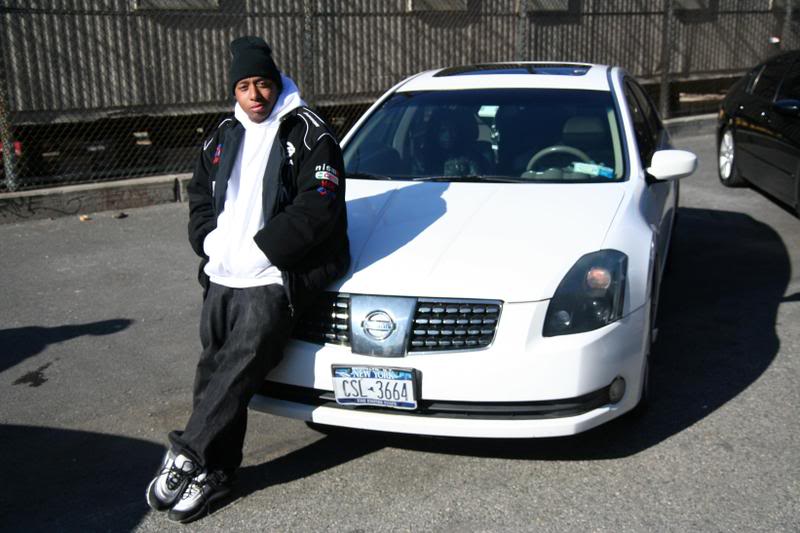
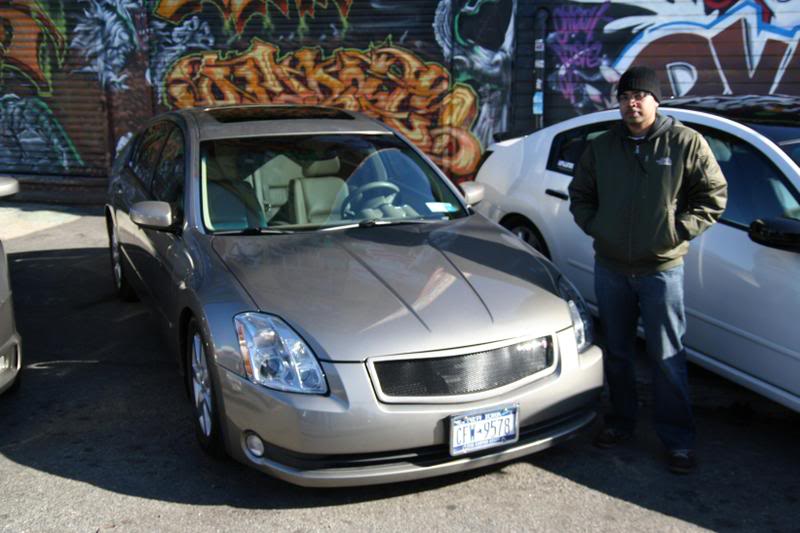
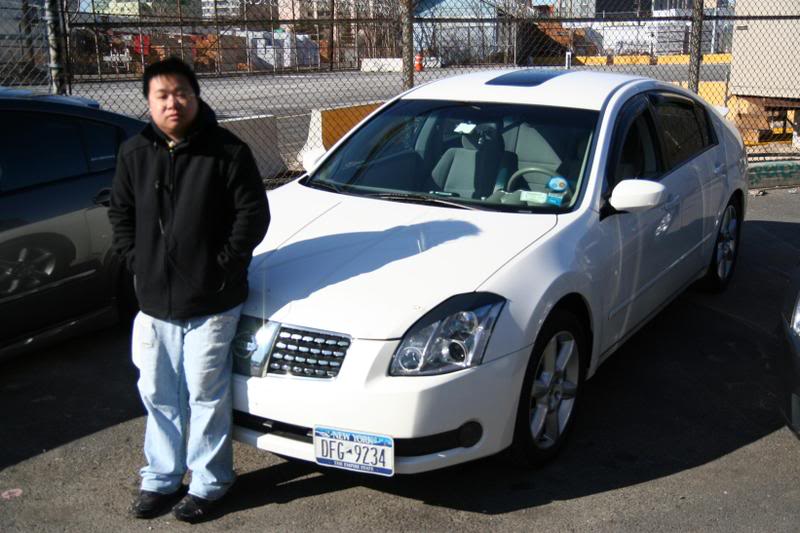
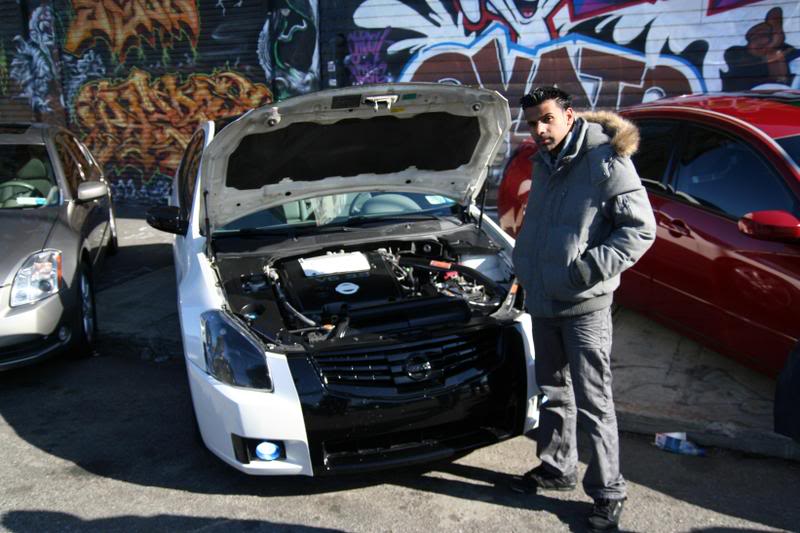
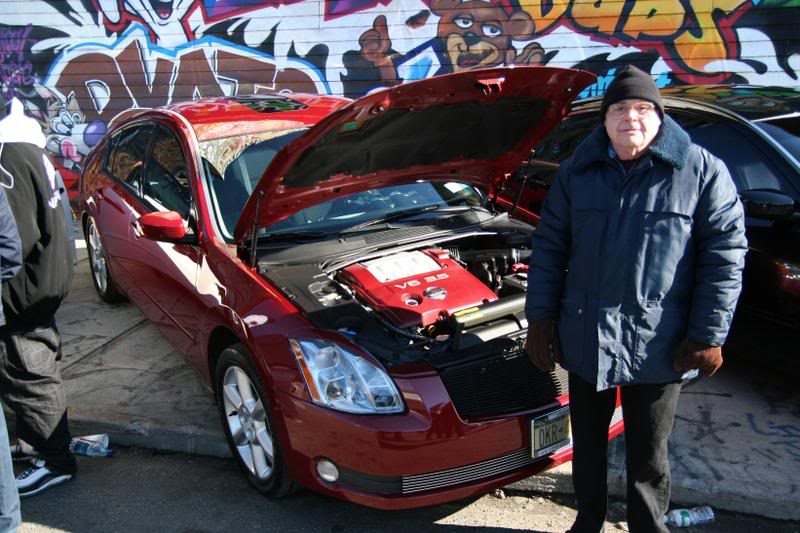
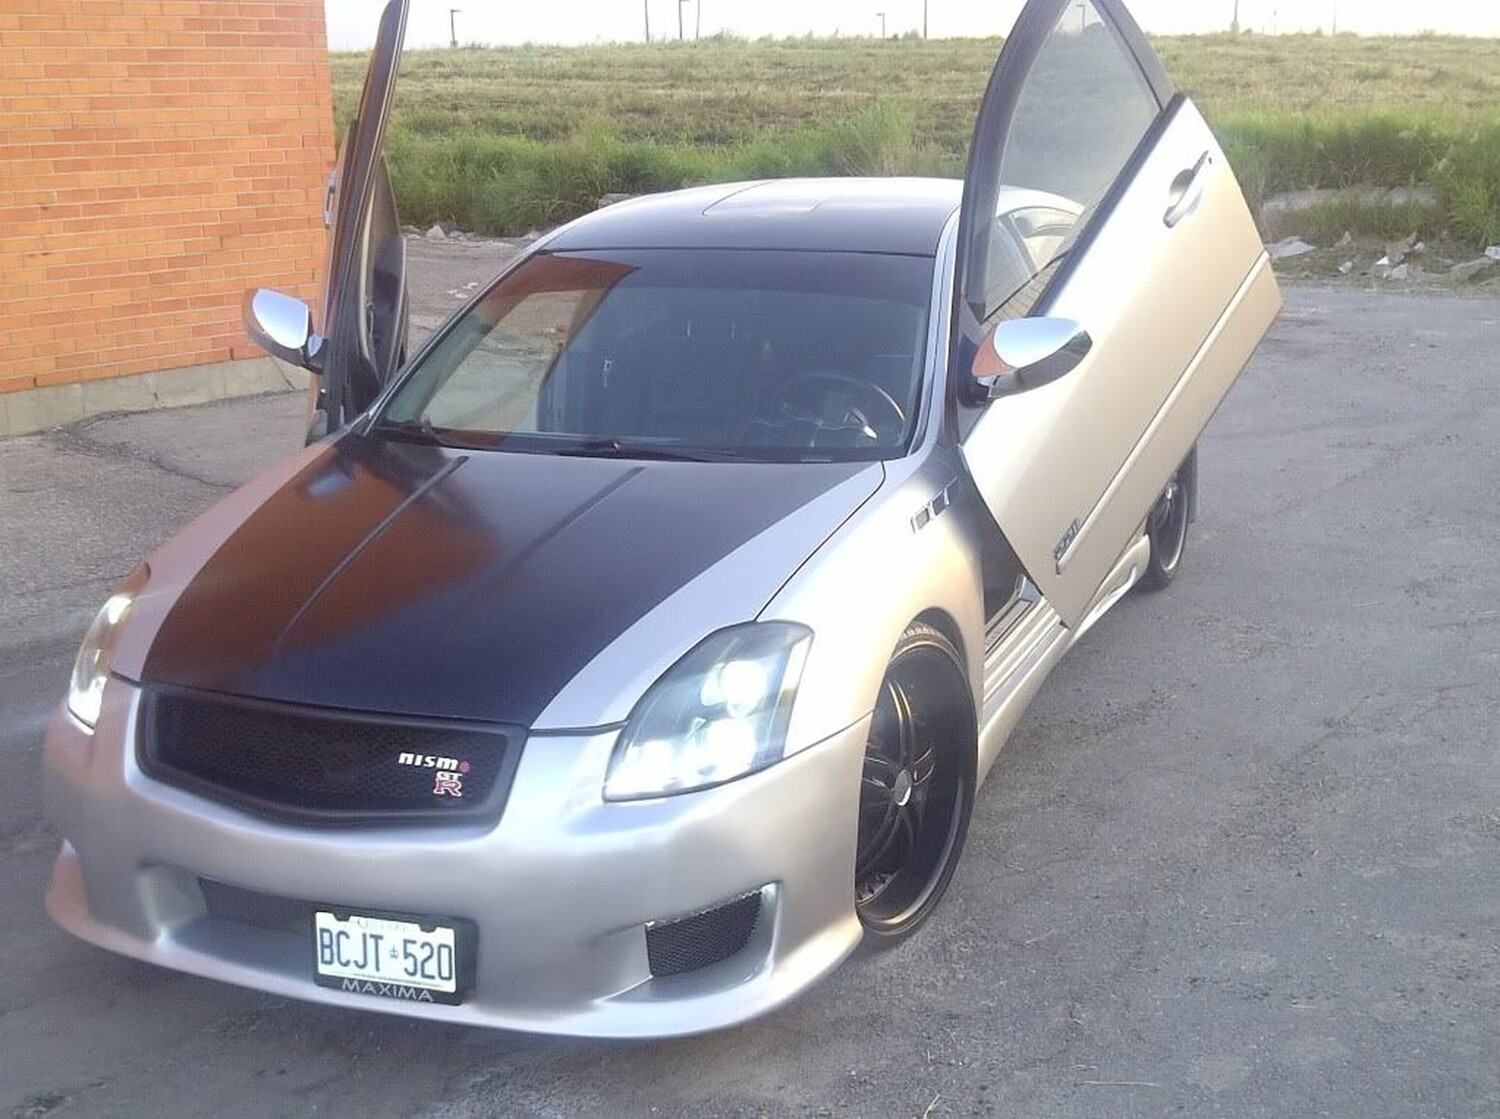
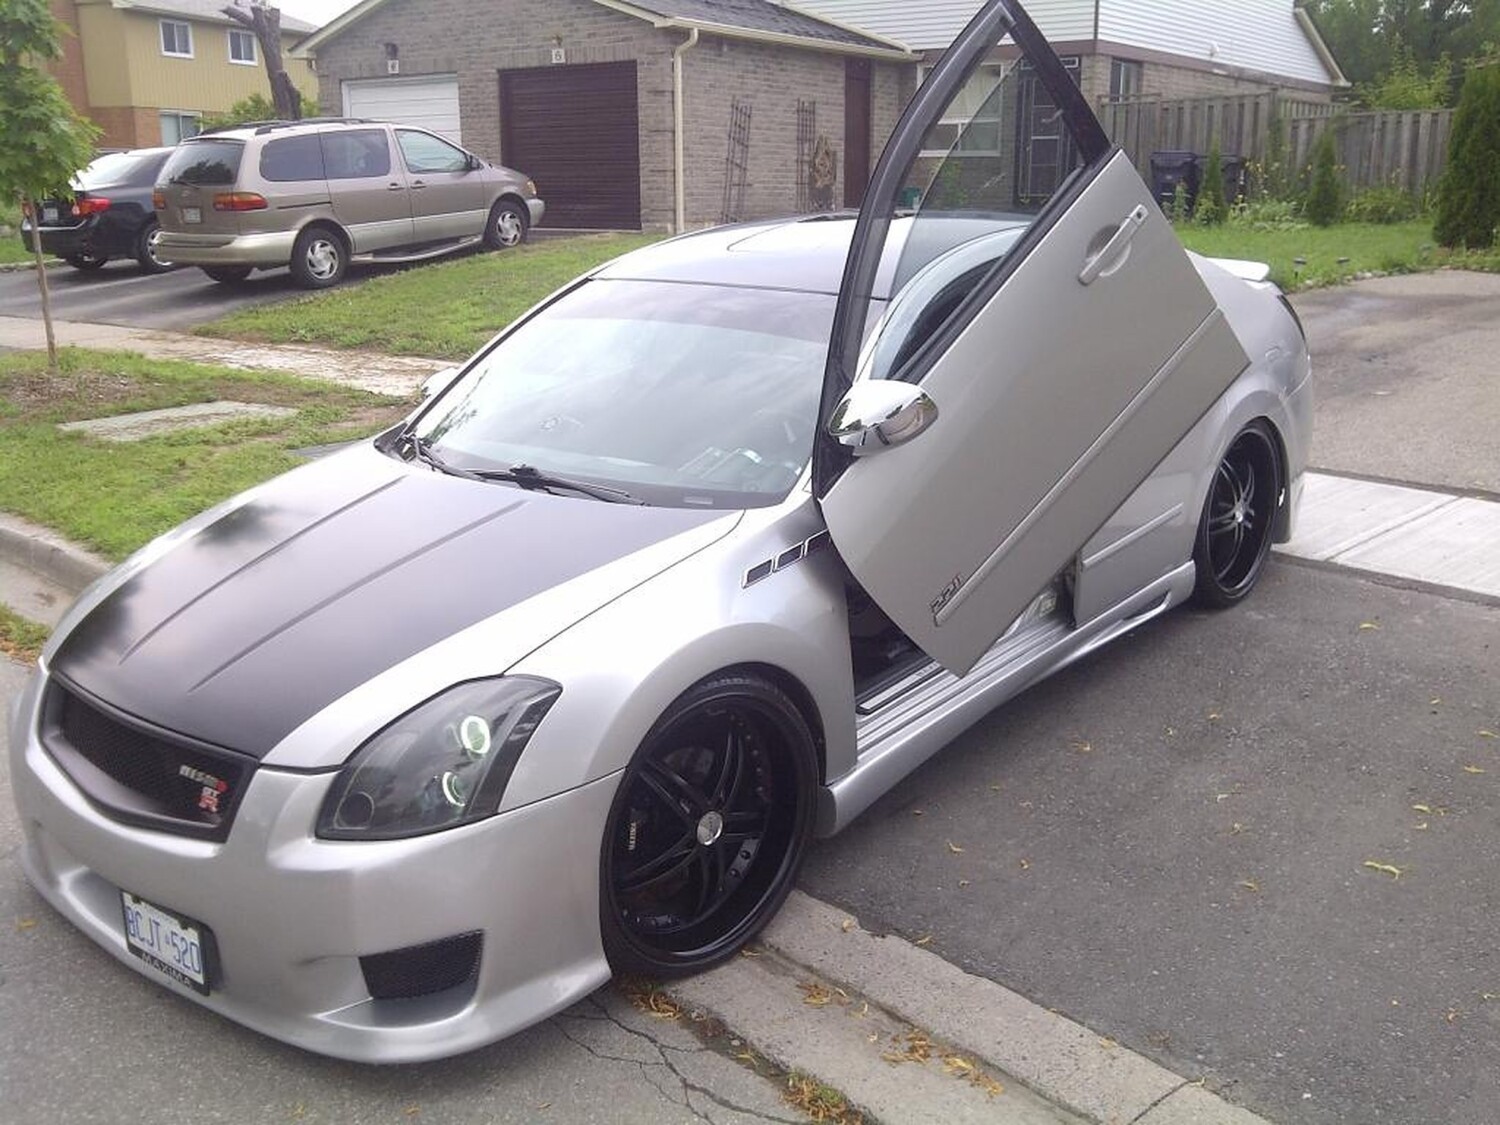
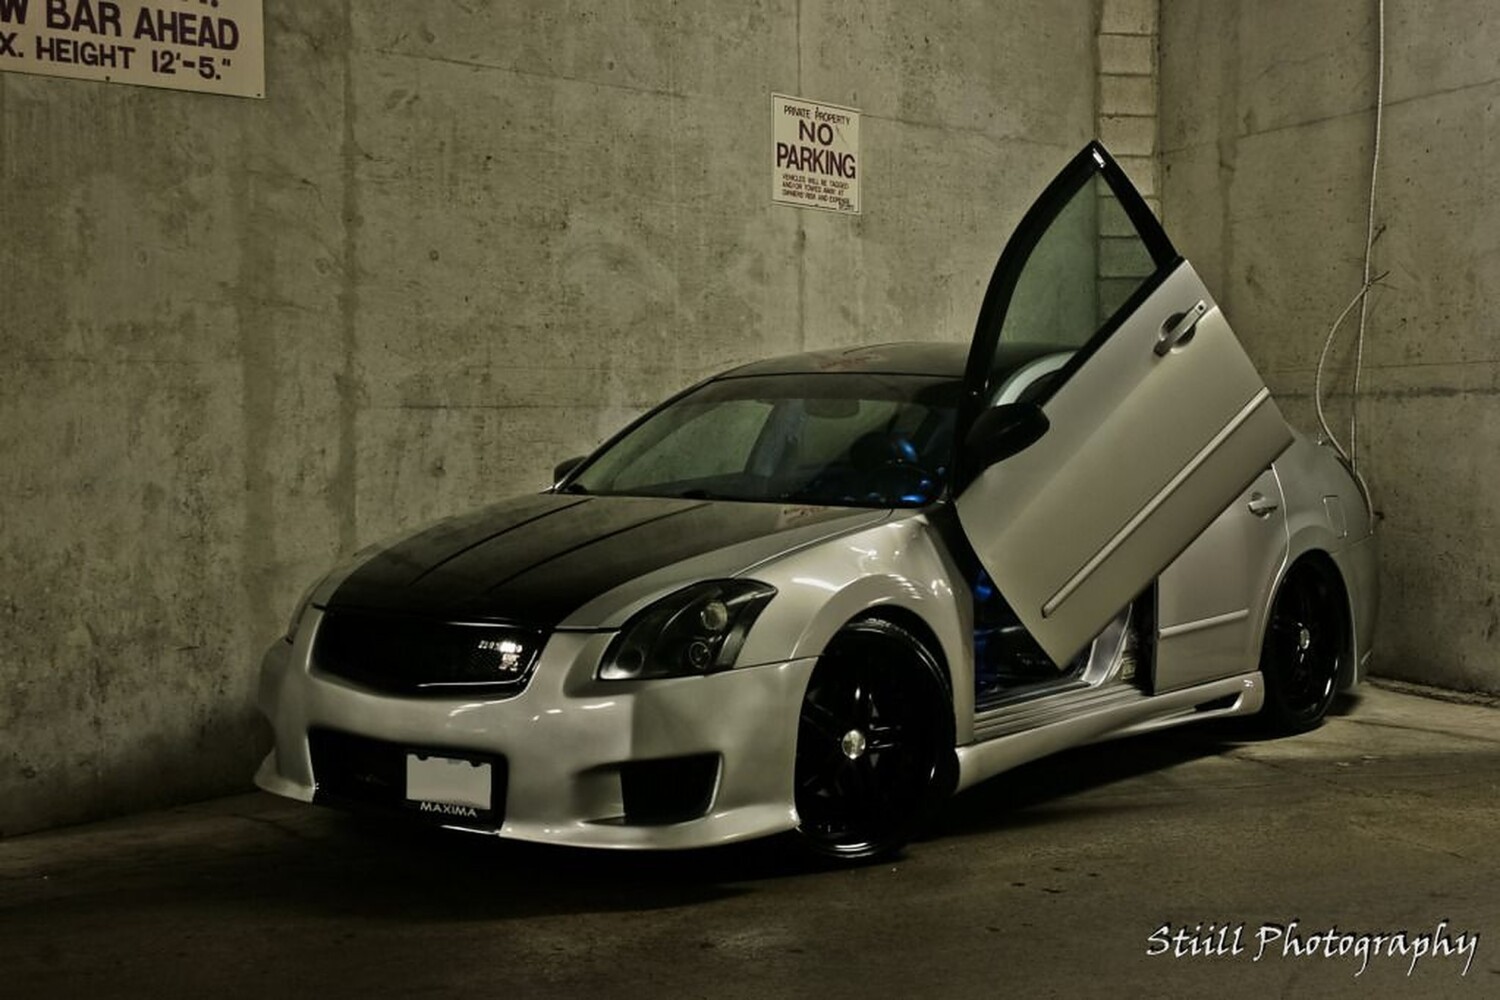
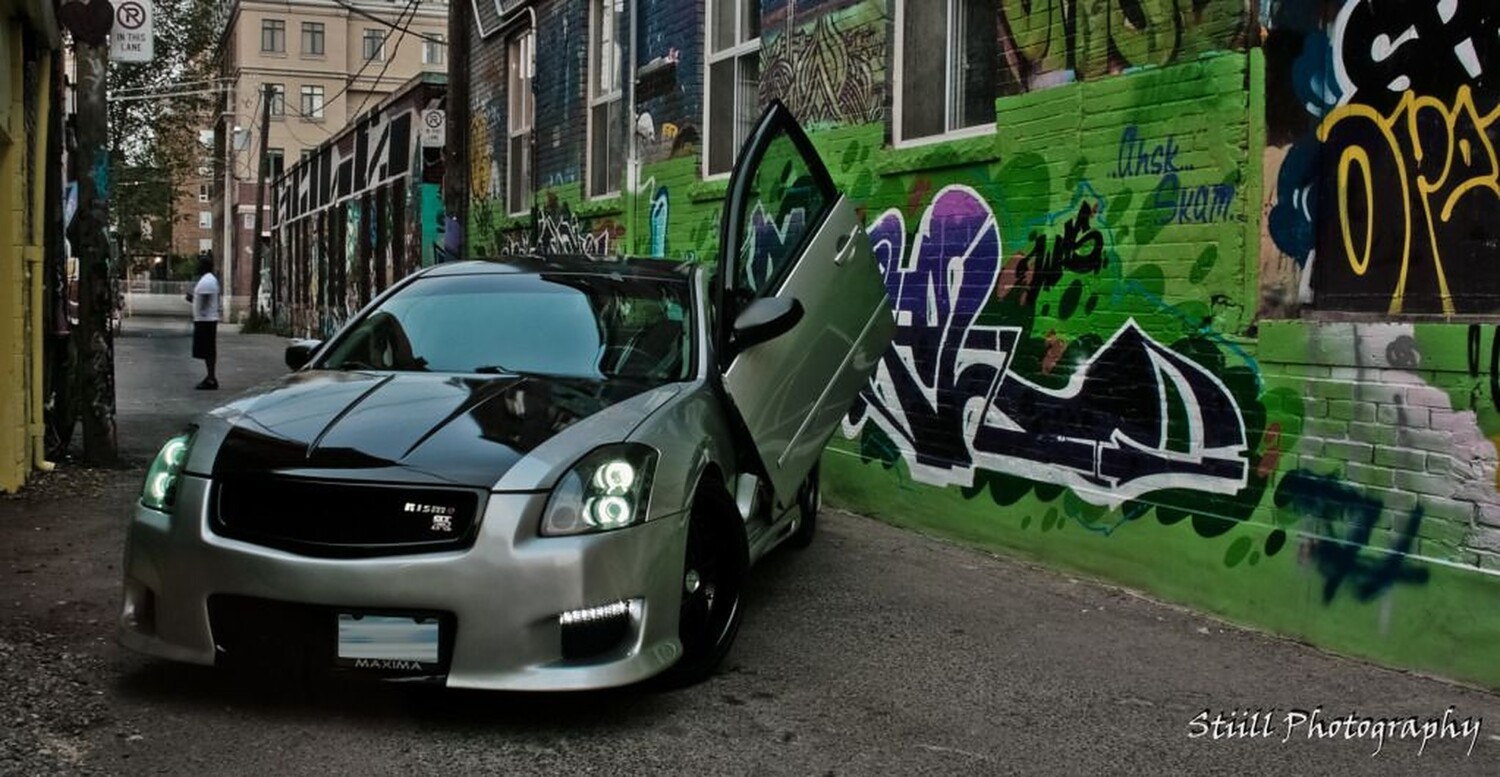
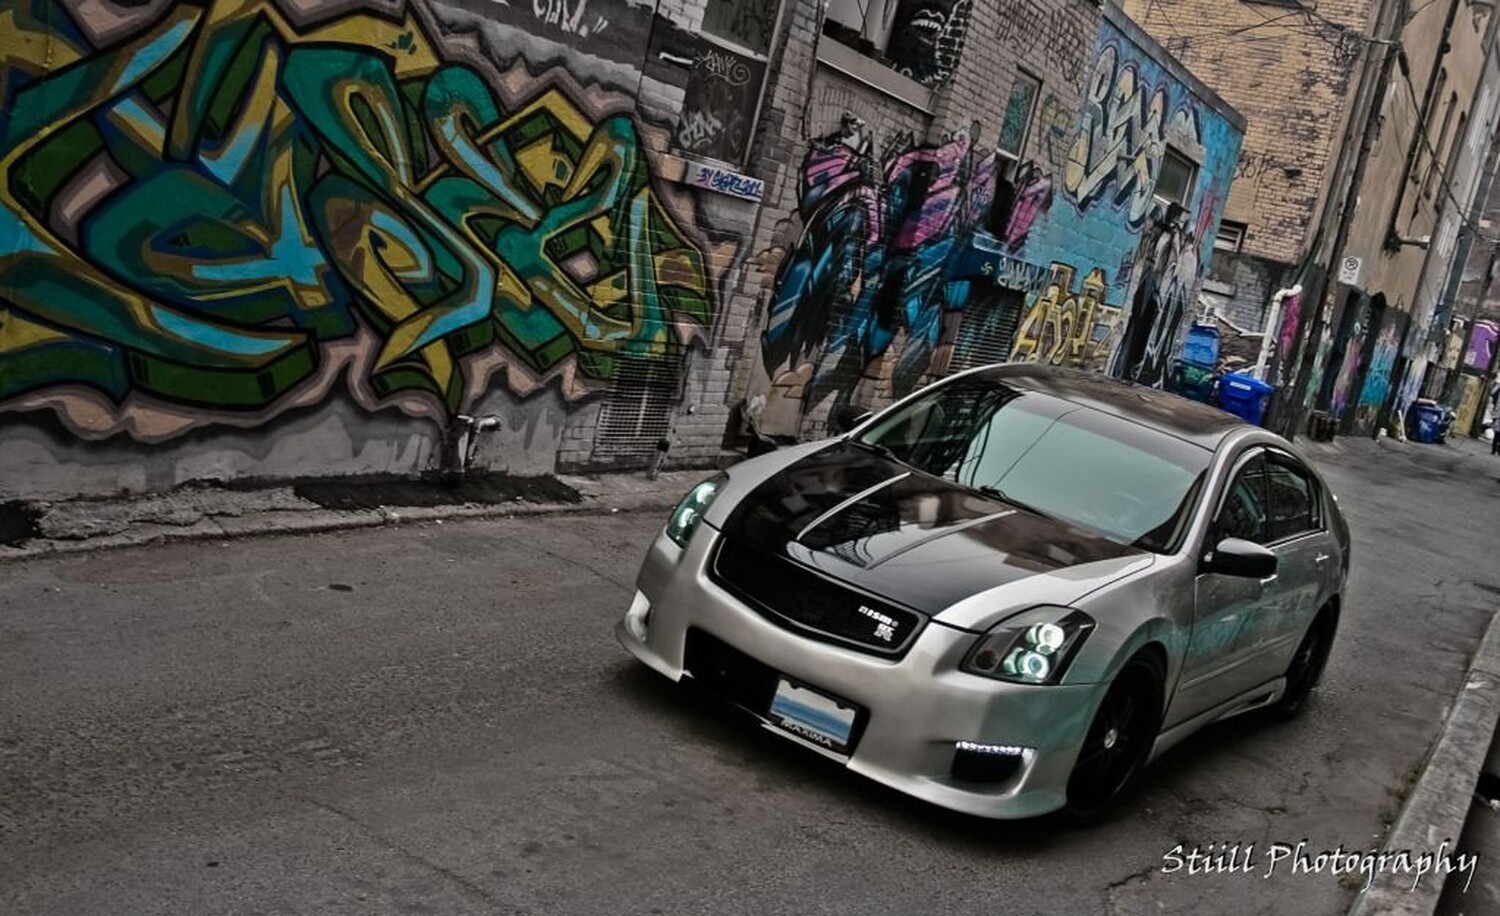
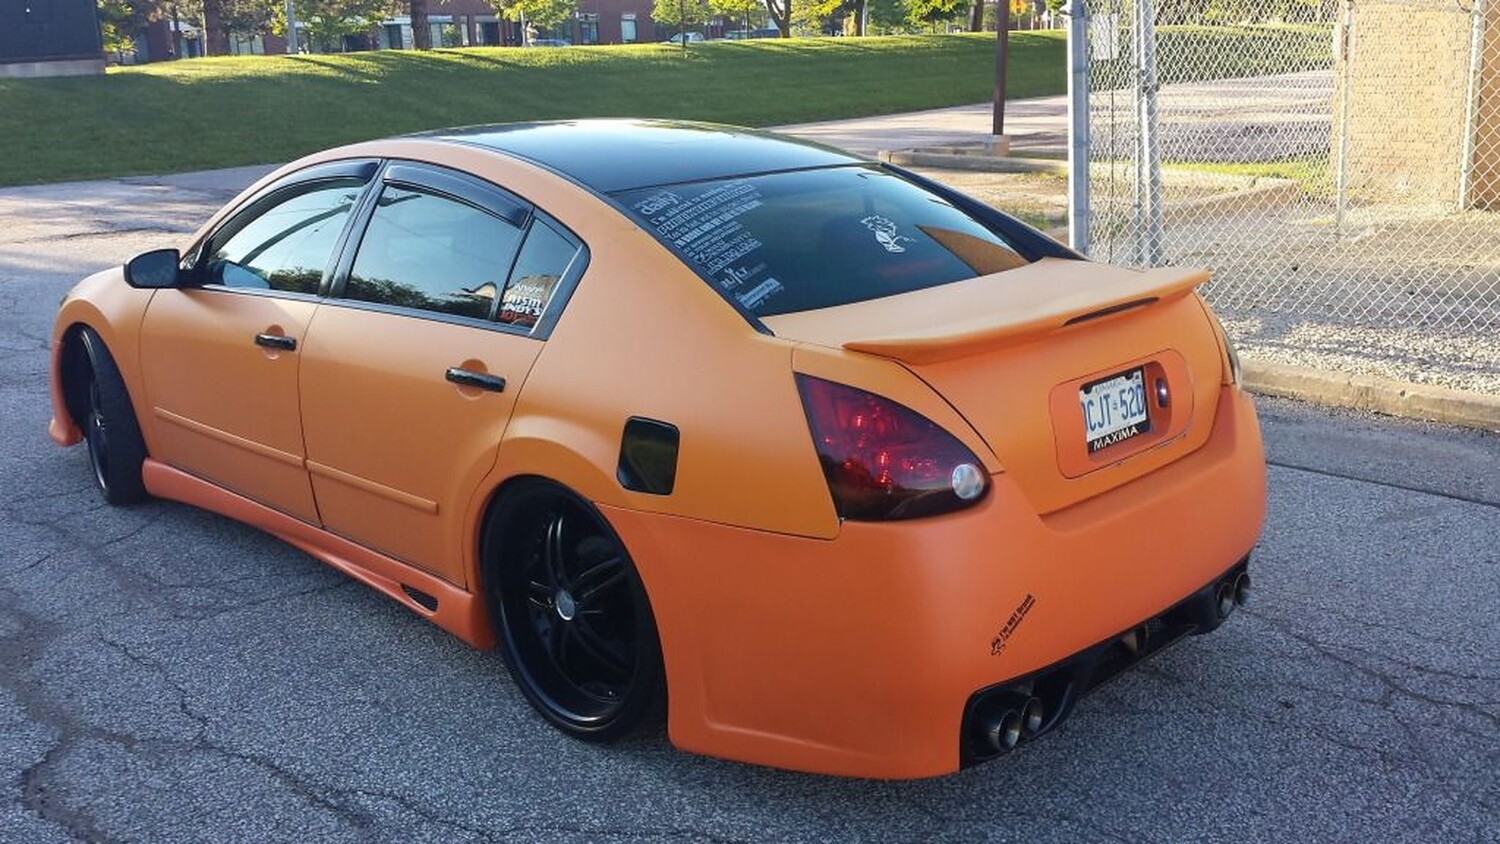
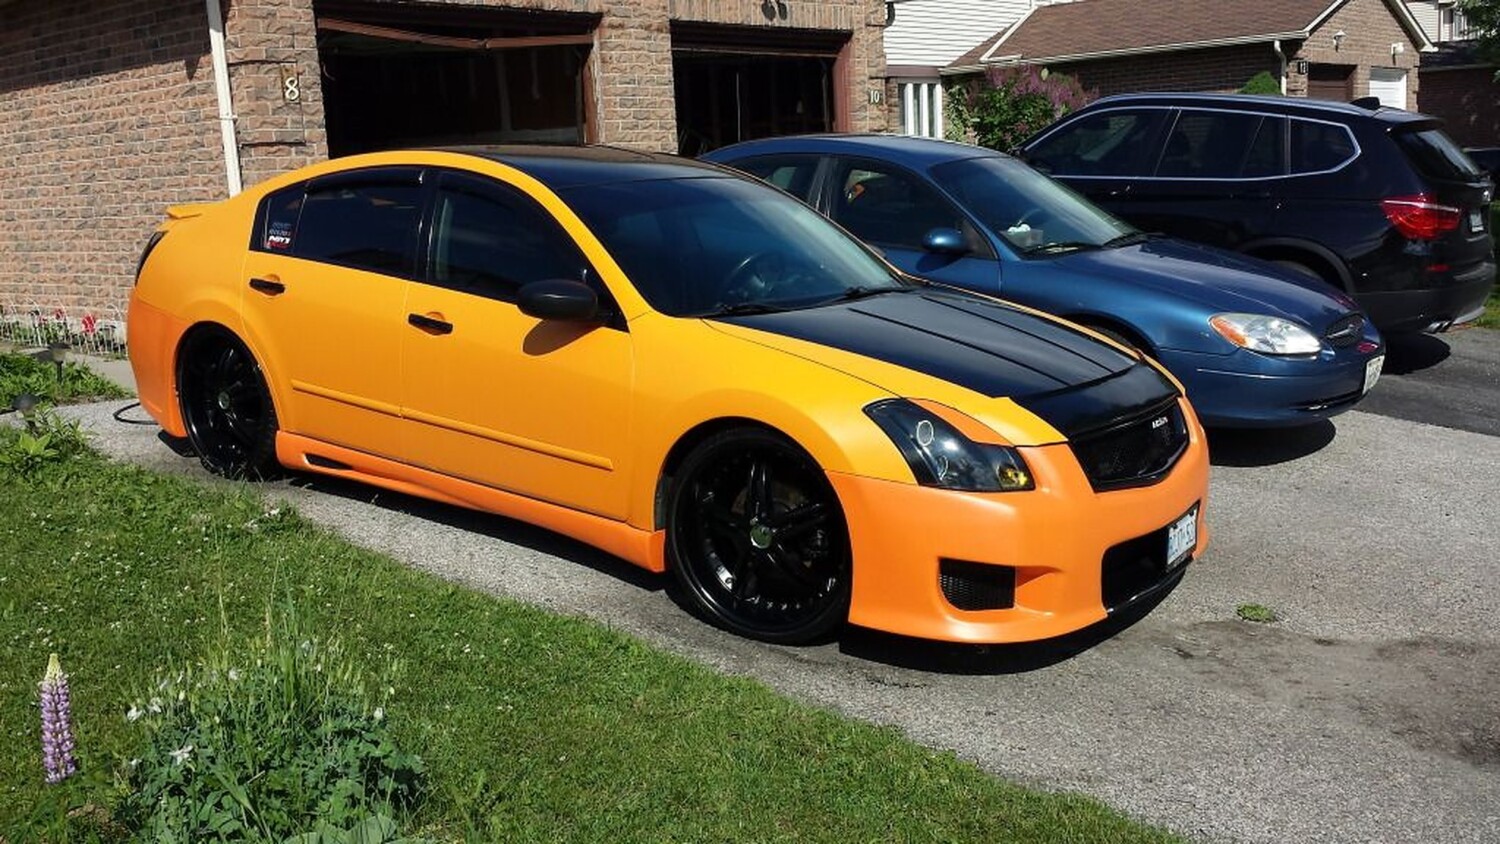
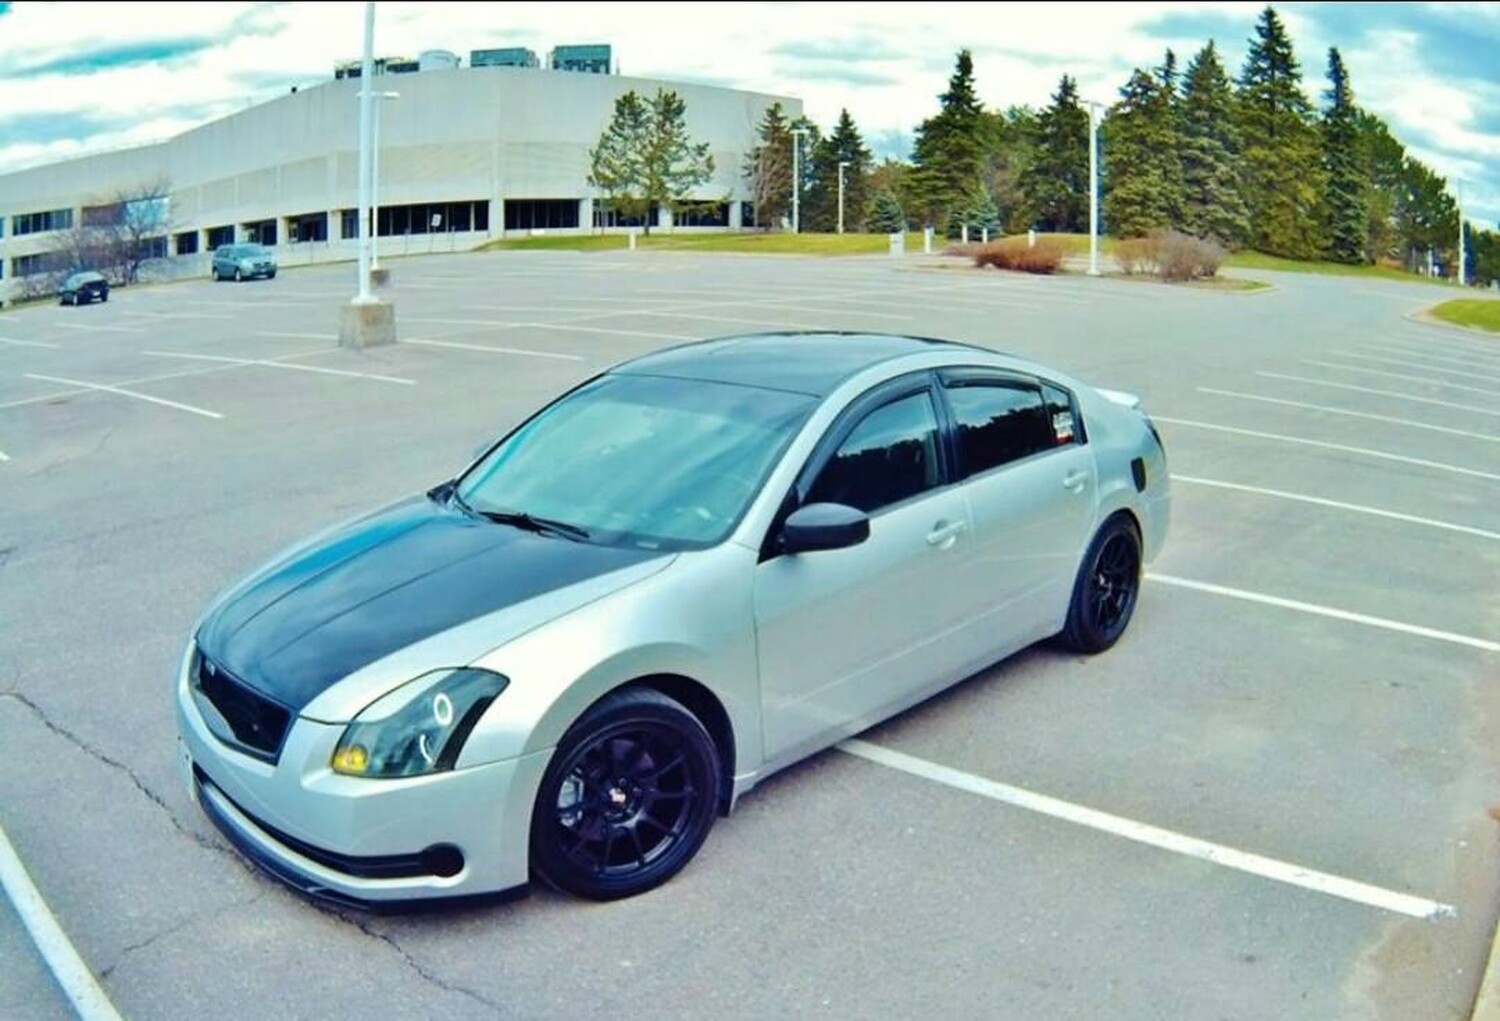
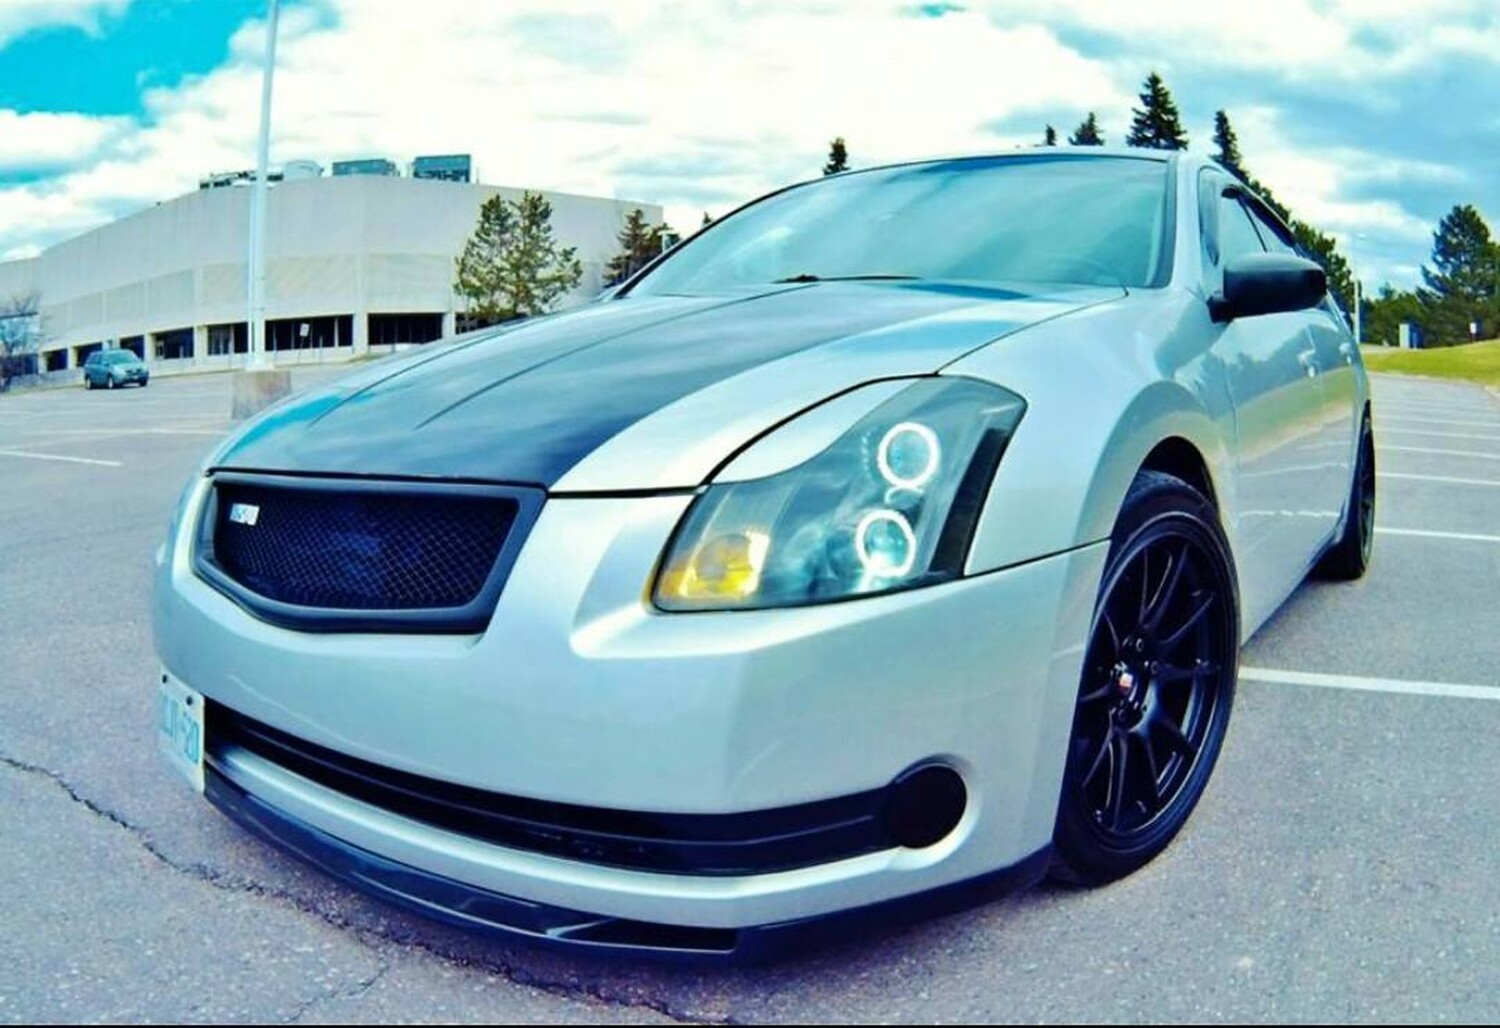
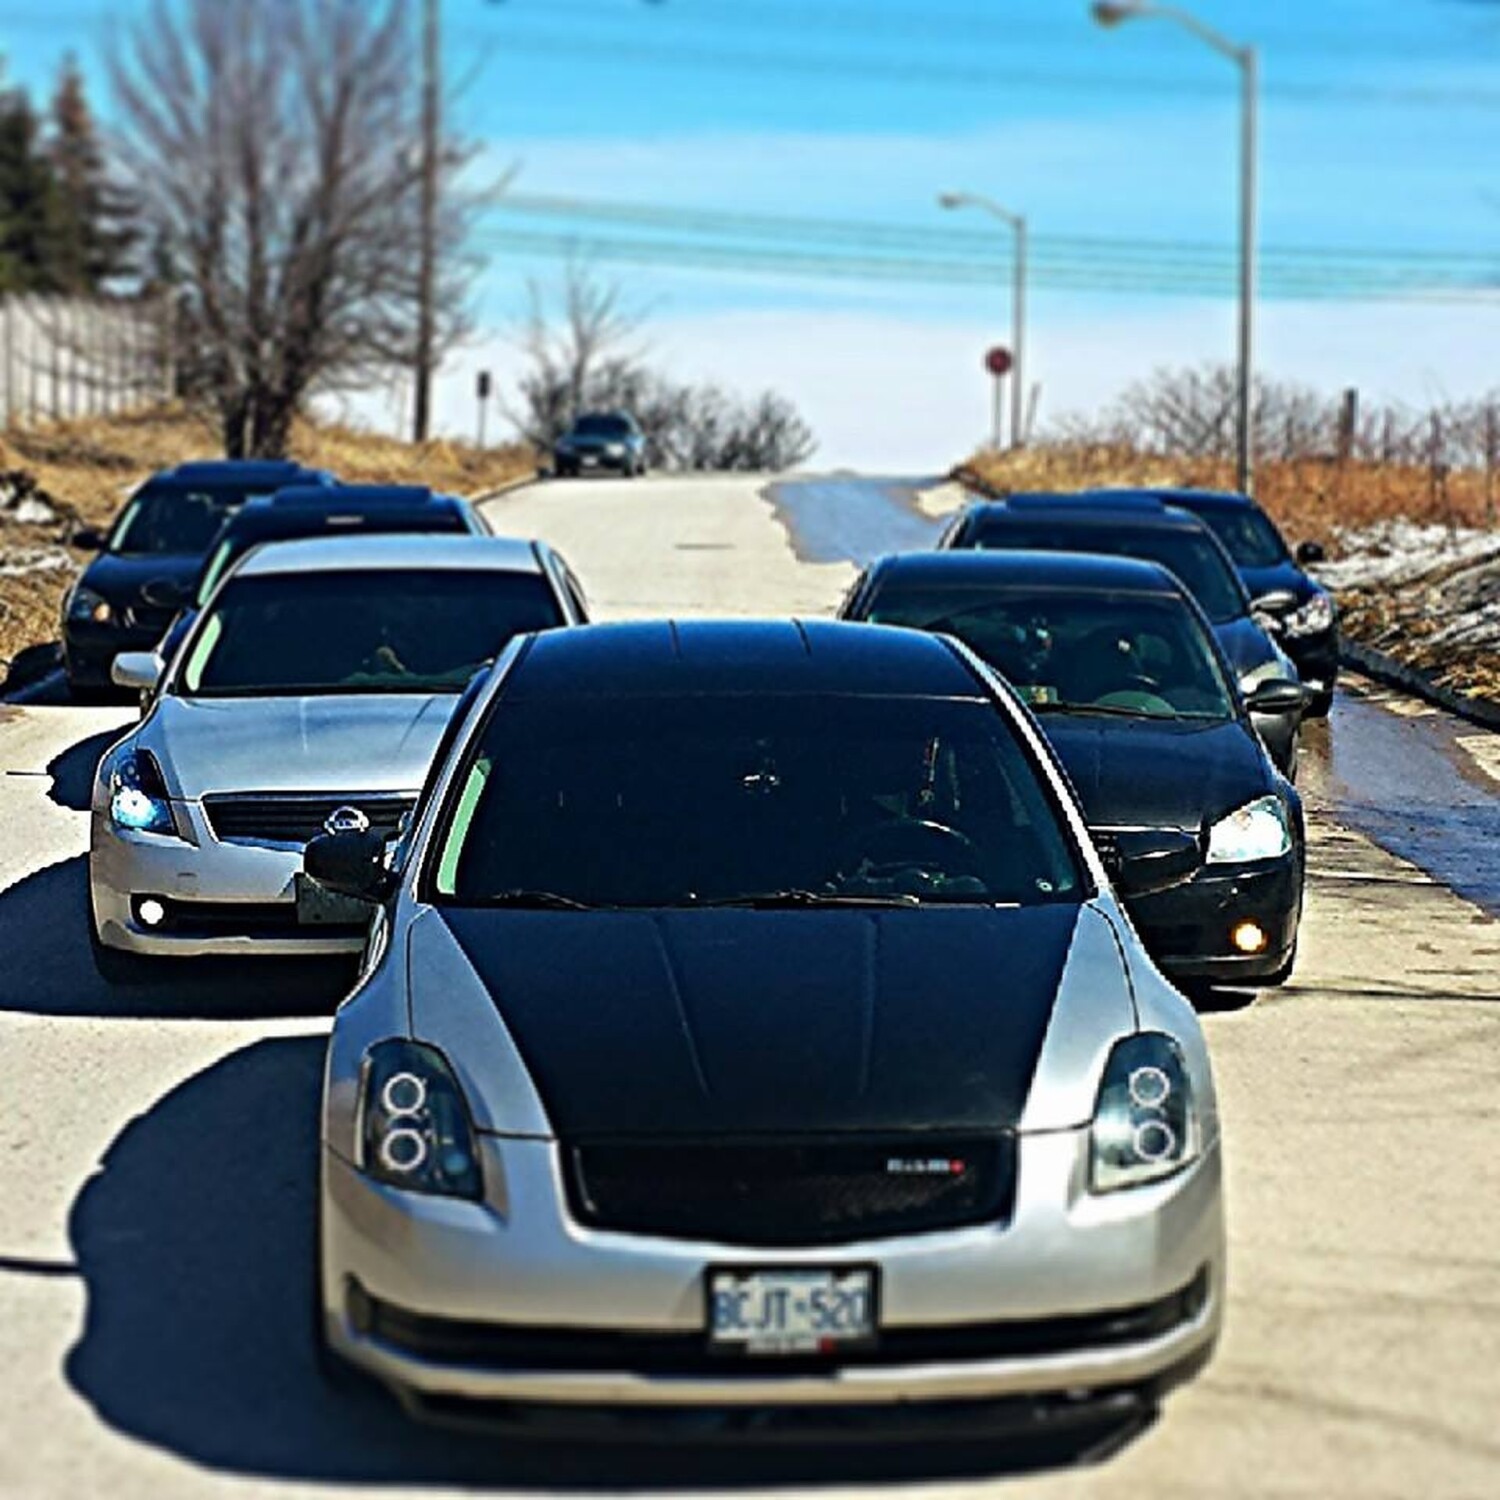
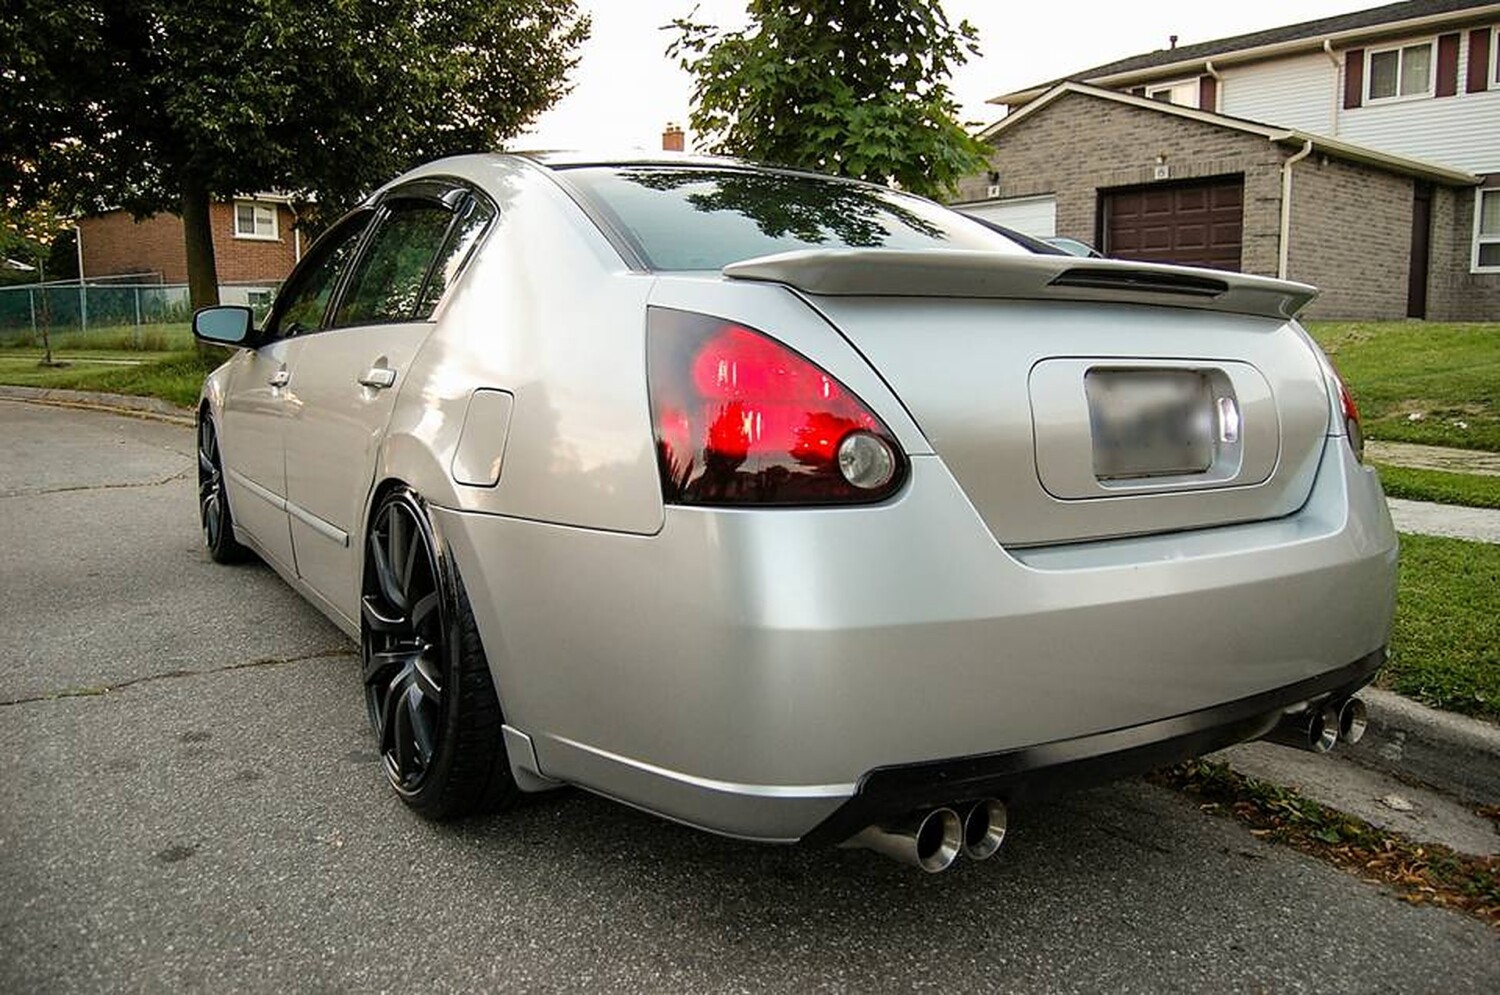
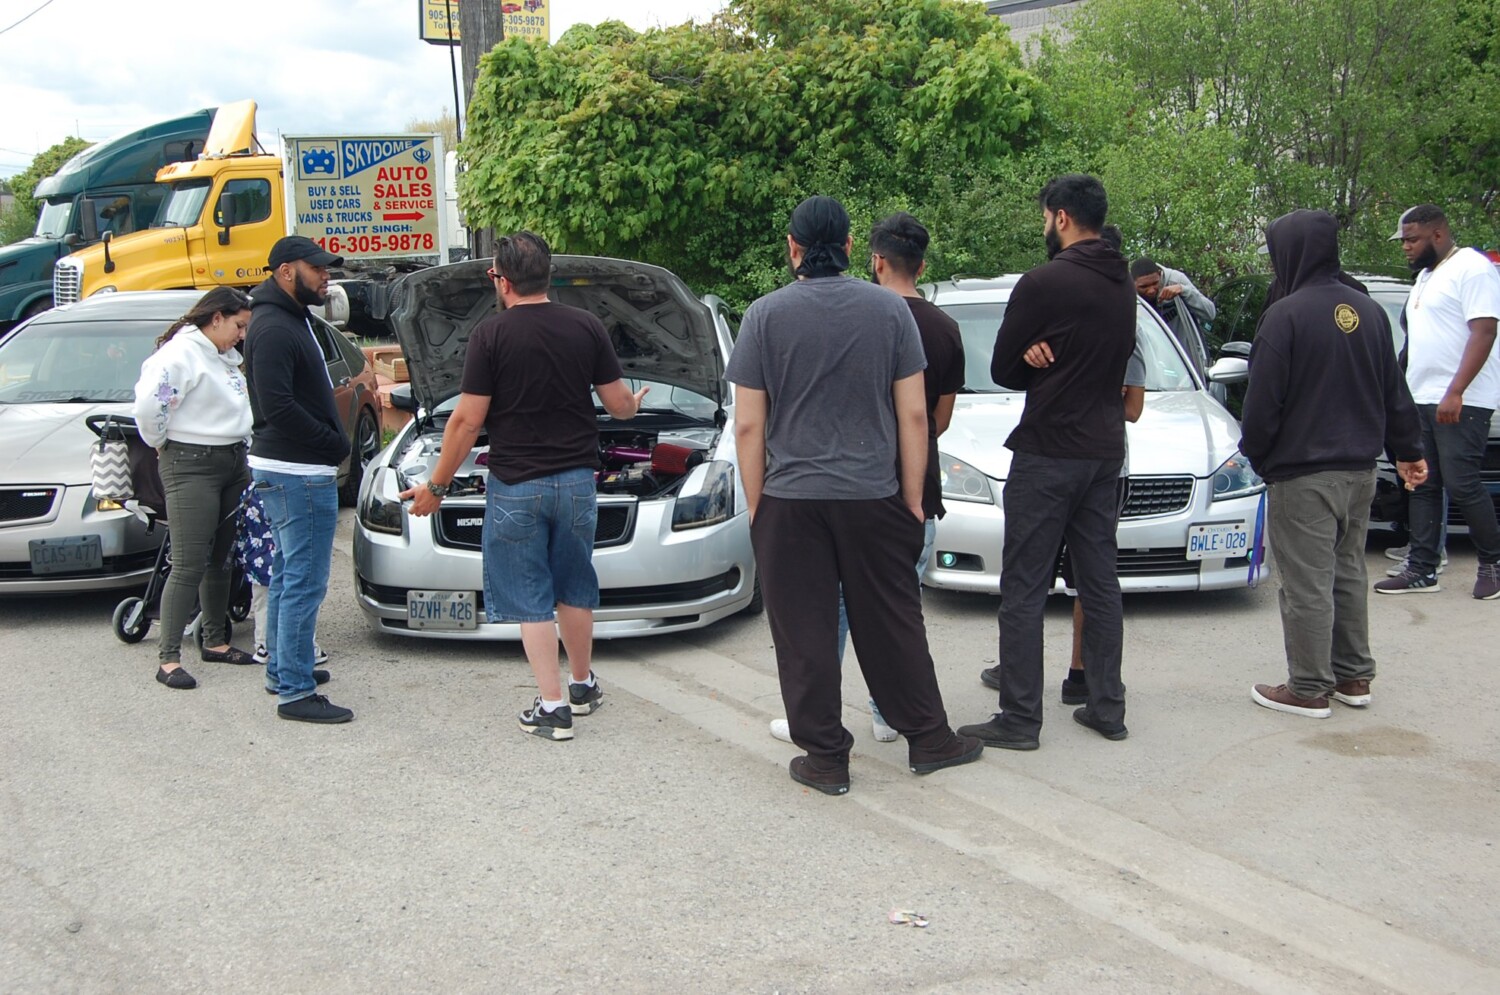
This was a very special moment in 6thgen history. This meet was organized by EddyMaxx at the world famous 5 Pointz graffiti location. The location no longer exists so these are all the memories left of 5 Pointz.
My SPAL fan recently had an issue due to some wiring that made contact with the headers. It caused the two wires coming out of the fan itself to touch and it ended up ruining the fan motor. So this time around I decided to go with the SPAL 14″ 1864 CFM fan. Primarily because its a little smaller in size and give me a little more clearance with my 5thgen Maxima supercharged setup. The CFM is good enough. I also have a small 10″ fan as well (not SPAL) but just as a backup.
Make sure you use a good relay (at least 40 AMP) before connecting directly to your OEM harness.
Fan Part Number:30102042
Fan Price: Between $120.00 -$140.00
Specs:
Model: 30102042
Airflow CFM: 1864
Profile: High Performance
Blade: Curved
Push/Pull: Pull
Height: 15.04″
Depth: 3.45″
Width: 14.45″
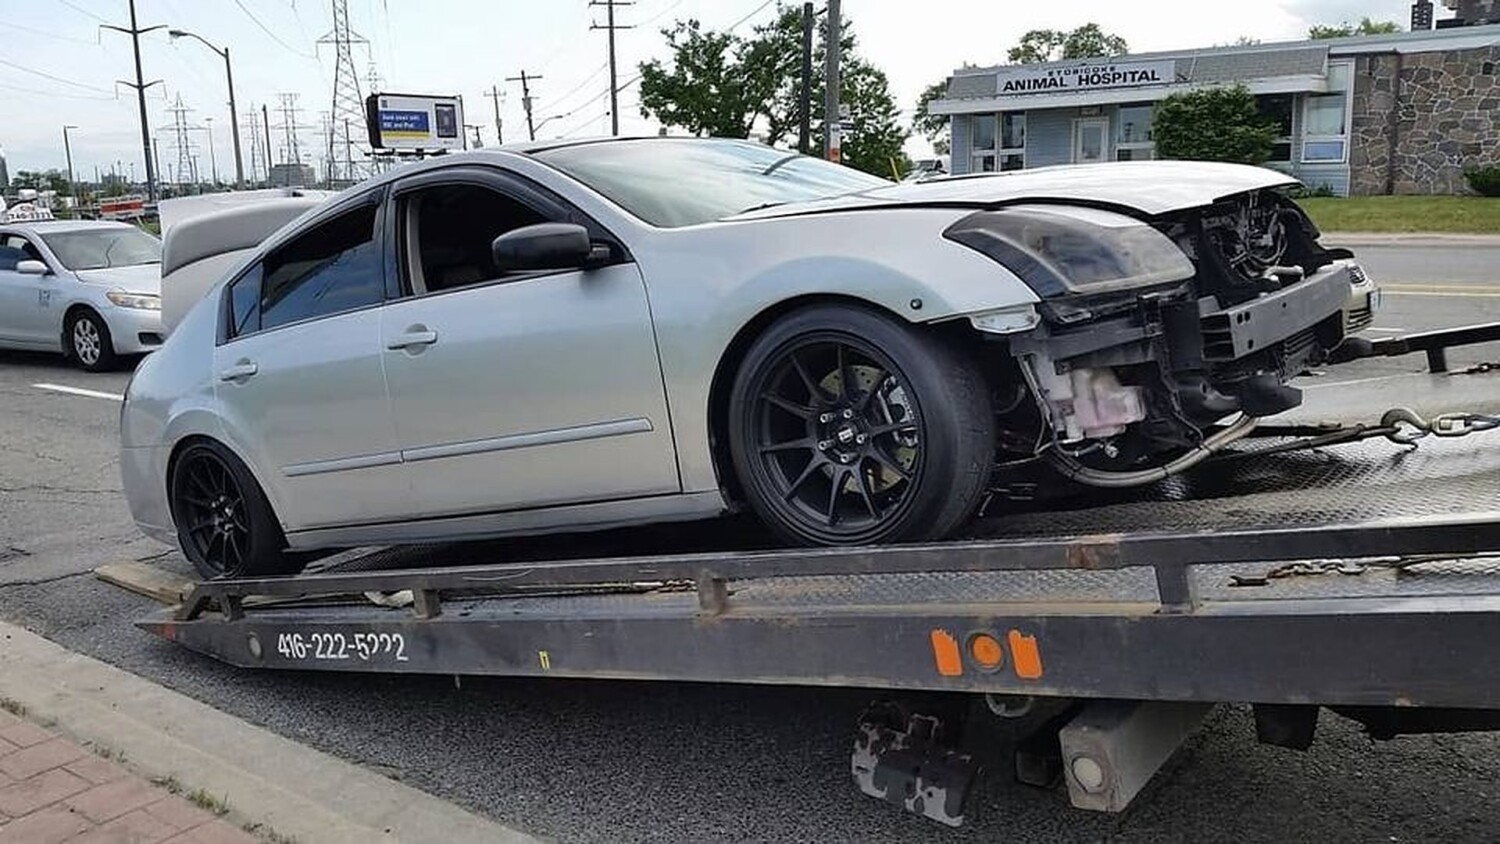
If you don’t use a good relay like the one above, this will happen (Photo Courtesy of Javon Bennet)
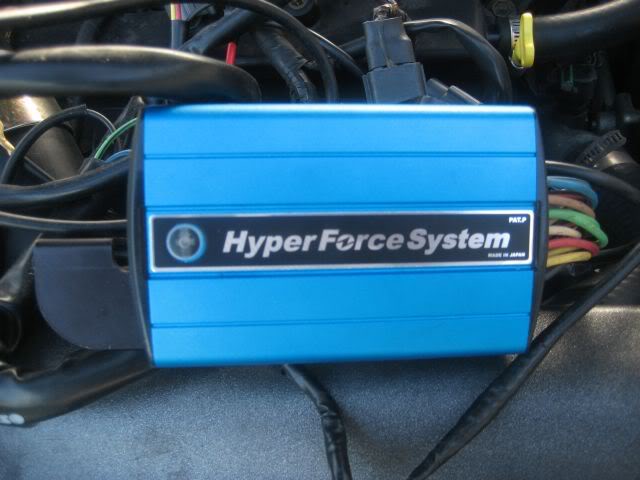
The Sun Auto Hyper force is an ignition enhancer, in which provides greater throttle response and smoother engine performance by providing optimal spark duration and maximum voltage output. This product is very effective at higher revs where a normal spark would diminish, specially on boosted 350Zs/ G35s. It prevents high rpm ignition miss that reduces peak power and the longer duration allows the Twin Power to improve lower RPM throttle response and torque.
The Sun Hyper Force system is the next generation high-efficiency ignition tuning and strengthening system. It works by absorbing all back electromotive force, which aids to improve plug voltage and promote complete combustion by producing higher coil efficiency. Also, the Sun Hyper Force System eliminates any ignition performance loss due to decreased electrical current under heavy throttle. Since ignition efficiency over the entire revolution range improves, available torque and acceleration response improves; this efficiency enhancement also contributes to better fuel efficiency and a reduction of harmful emission.
Features
Increased horsepower
Increased torque
Better gas mileage
Improved throttle response
Longer battery life
Improved battery efficiency
Reduced emissions
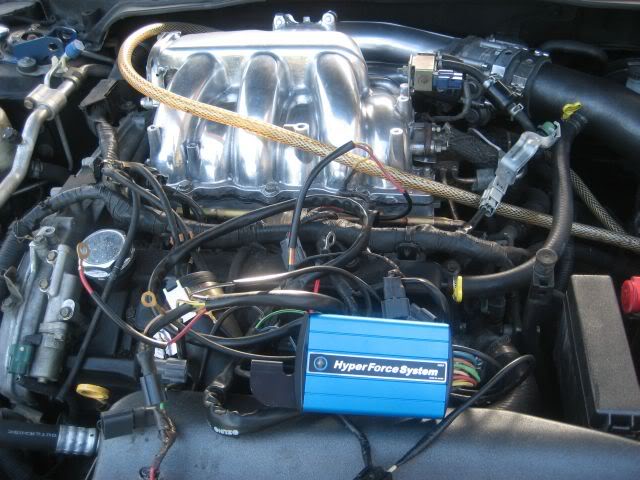
This is a plug and play system, you connect the plugs from the coilpacks into the harness and there is a plug there goes back into the coilpacks.
6 Ground wire and 1 positive to the battery from the Blue box.
It flashes Blue LED light so that you know everything is up and running.
Uncovering the CF cover
After these it got really dark so i didn’t bother taking anymore pics, I need to clean up the wires and mount the box near the firewall , this system was design for the 350z but will work for our cars.
If you know how to do your own spacers or change your spark plugs you can do this upgrade. This is how I would rate the difficultly.
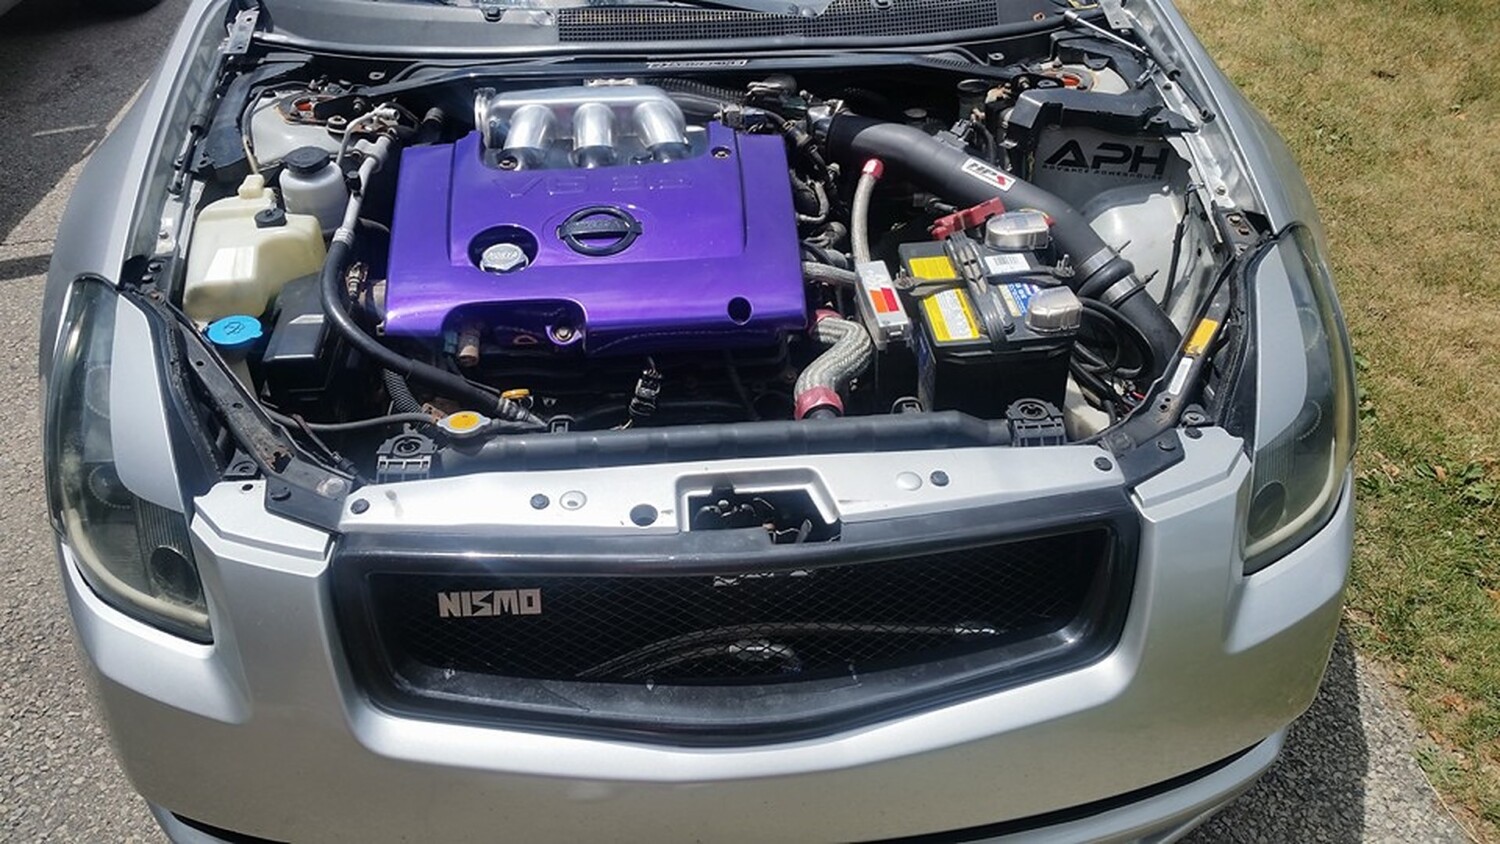
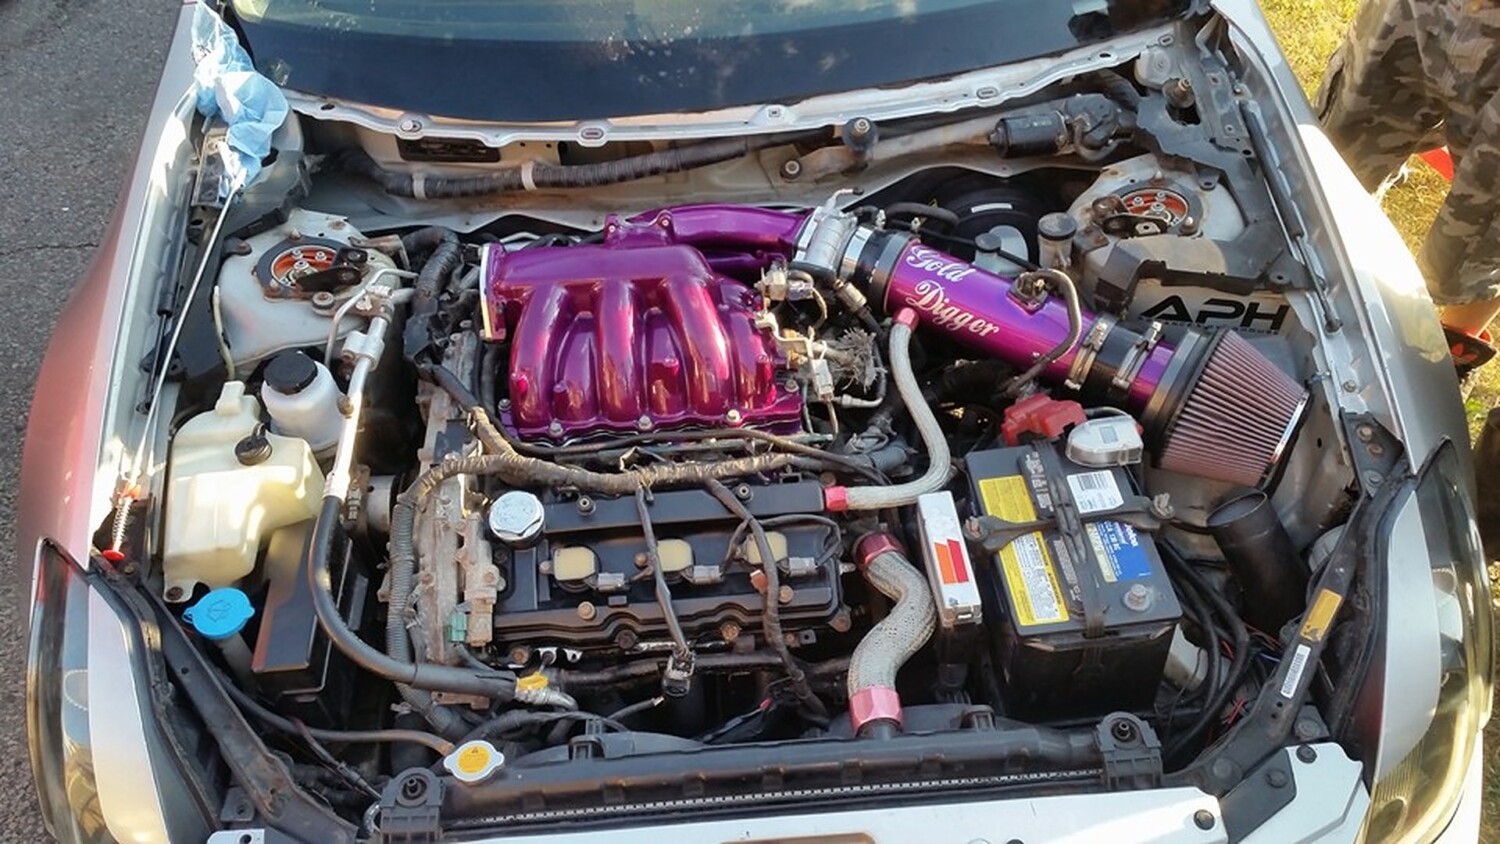
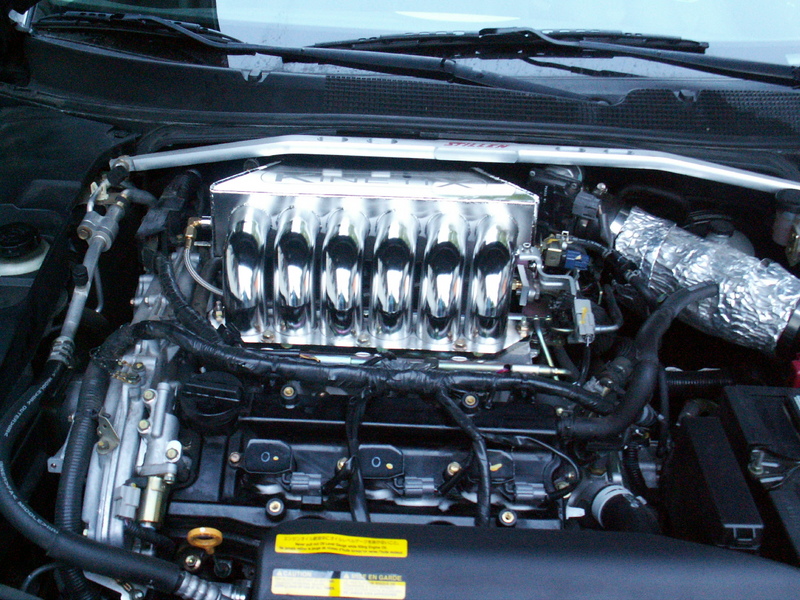
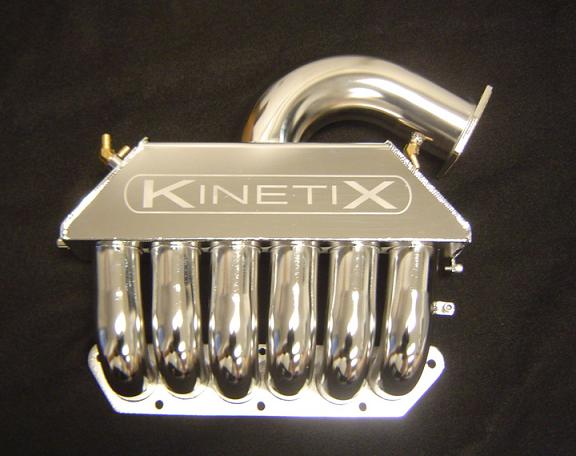
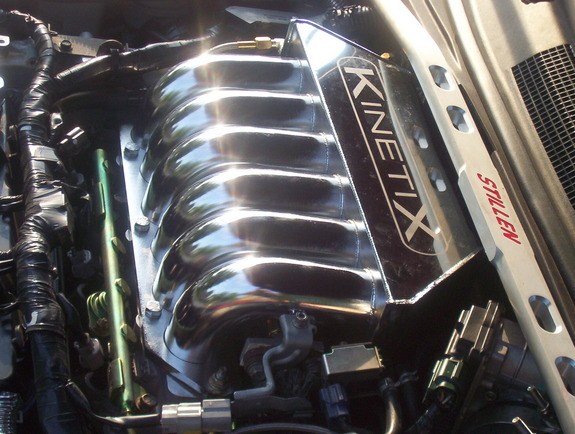
The procedure for removing the OEM intake and replacing it with the Kinetix was fairly straightforward. With basic hand tools, I did the job at a casual pace in under 2 hours.
Tools Needed:
Allen wrench (supplied with manifold)
10mm, 12mm, and 14mm wrenches and sockets
Flat blade screwdriver
1. Disconnect battery and remove engine cover with Allen wrench
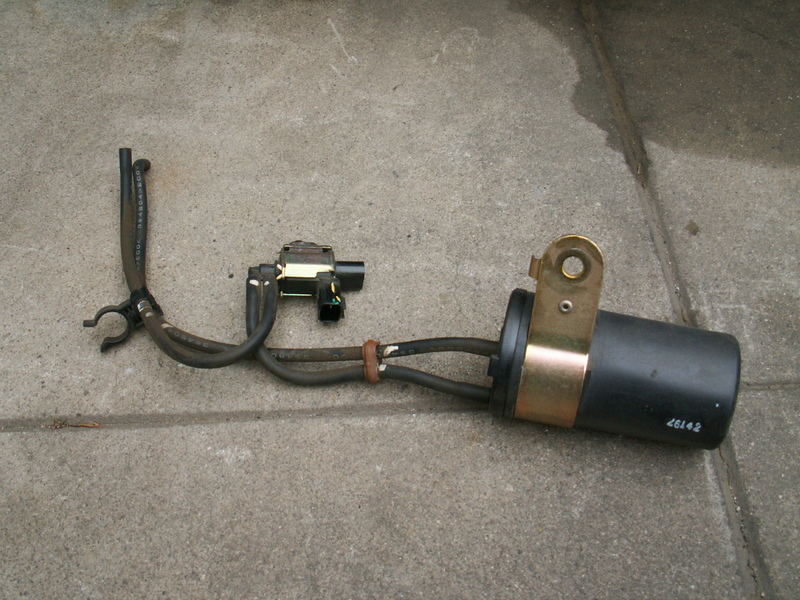
2. Remove attachments on the manifold, including this canister shown here:
3. Remove air intake
4. Remove throttle body with 4 allen bolts. Now is the time to clean the throttle body.
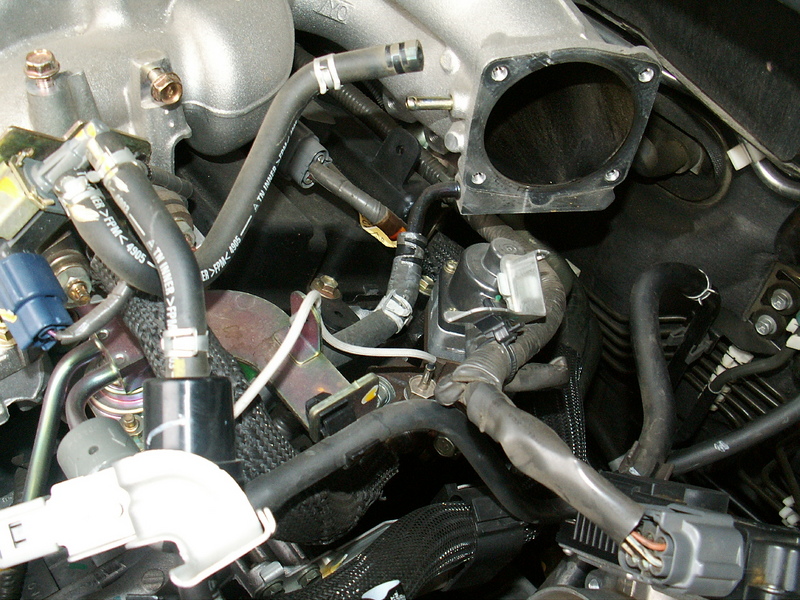
In this picture, the disconnected hose is a vacuum hose. But the hose below, that is still connected, with the black fitting is a COOLANT hose. Be careful when remove this hose as coolant leaks out. You can also see the EGR hose which has black braided material, which is right below the two vacuum hoses near the left center of the picture.
5. The bolts at the back of the manifold are now accessible . .. barely. They are hard to get to, and you have to have a good touch. I believe they are 12mm, and there are two of them.
6. Once all hoses and front brackets are removed, and the rear middle bracket is disconnected, the EGR tubing must come off. Its very stiff and hard to take off.
7. Now is the time to undo the manifold nuts and bolts. Do it in a cross pattern and start it a 1/4 turn at a time until they are loose so you don’t warp anything. There is one more bracket to remove, but its easier to remove it when the manifold is raised a bit.
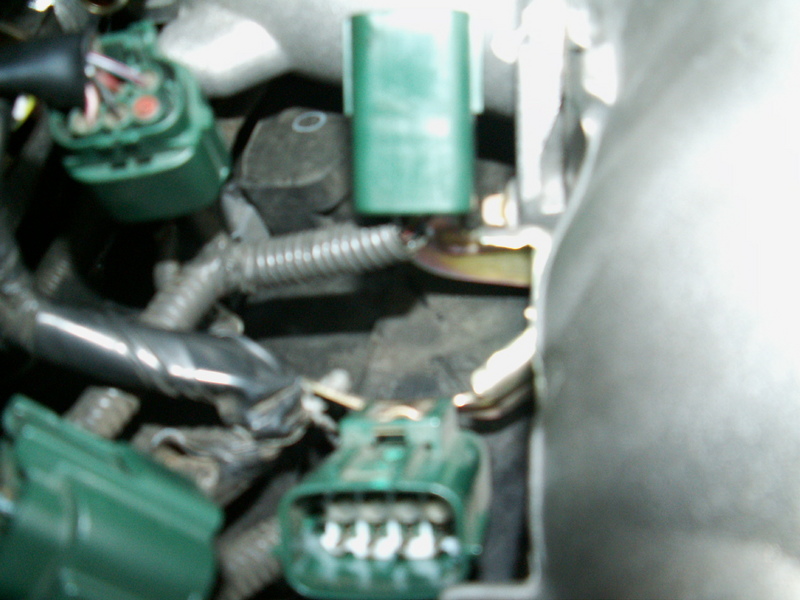
8. The bracket on the passenger rear side of the manifold is very hard to remove because of the lack of space and the angle. Its a 10mm bolt head. Here is a pic of the green connectors that attach to it:
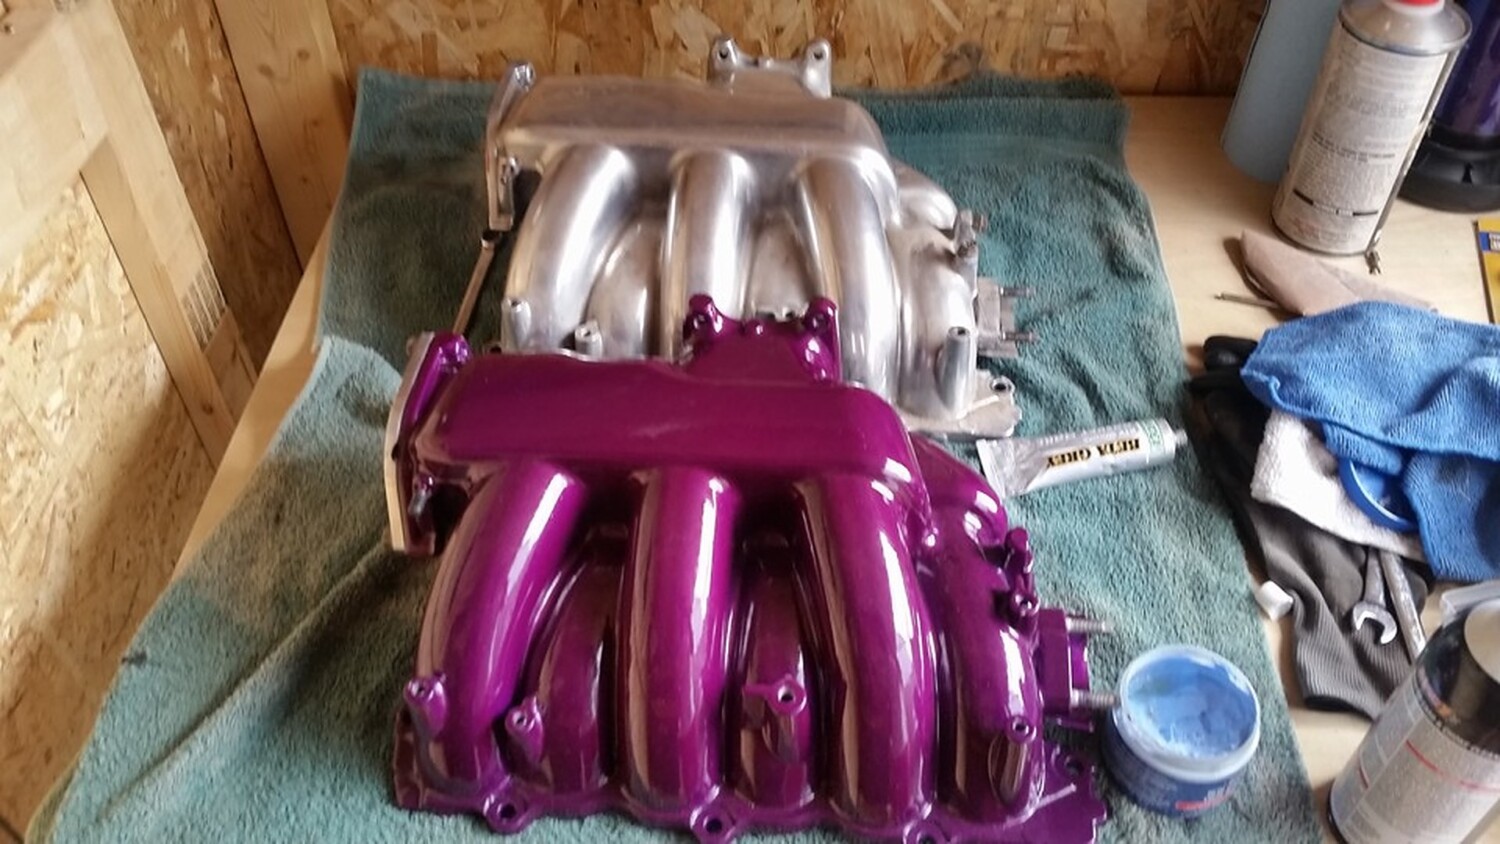
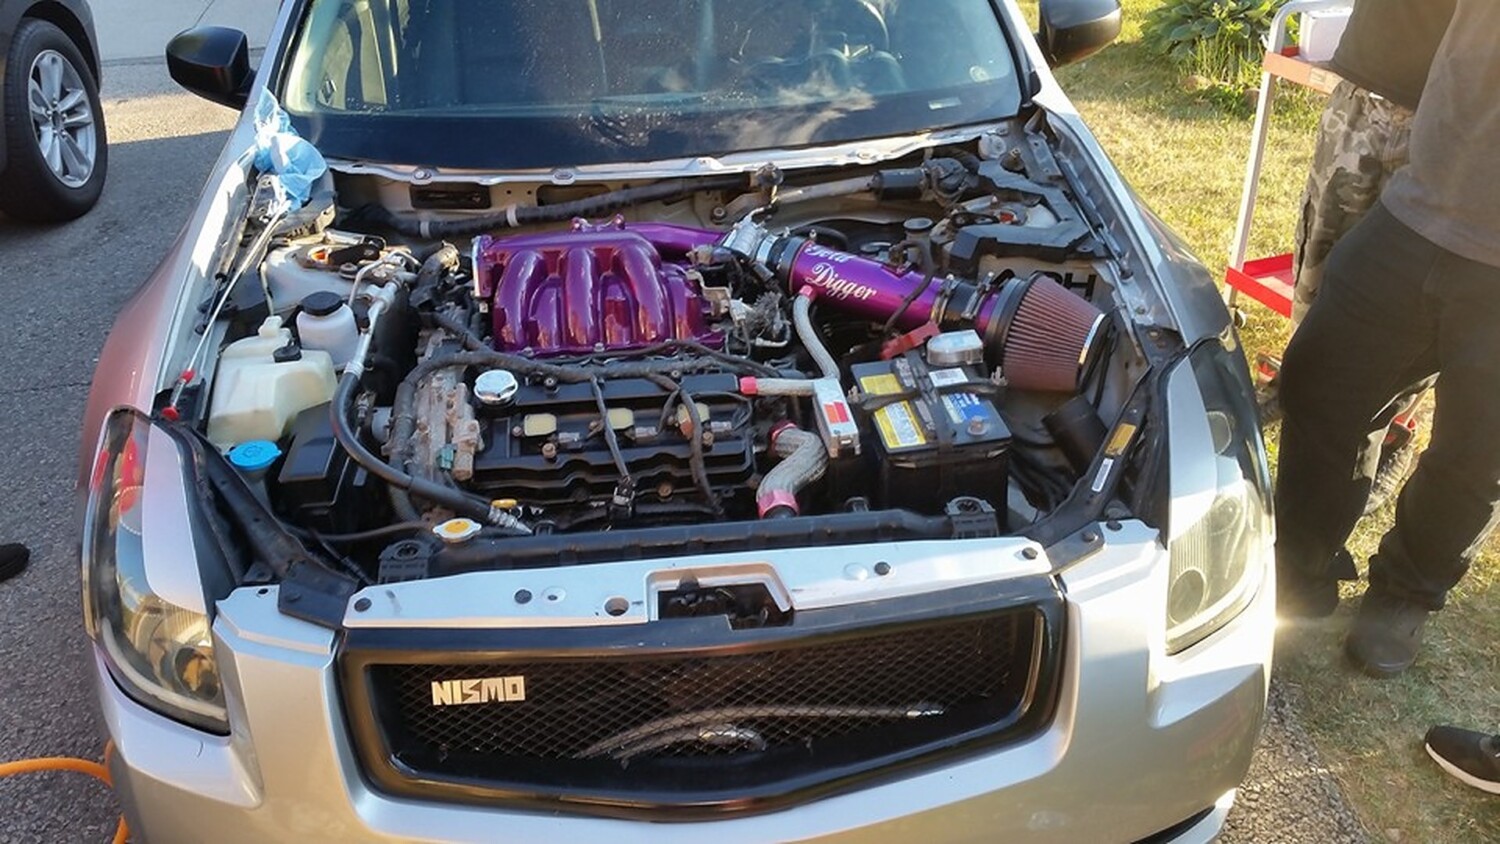
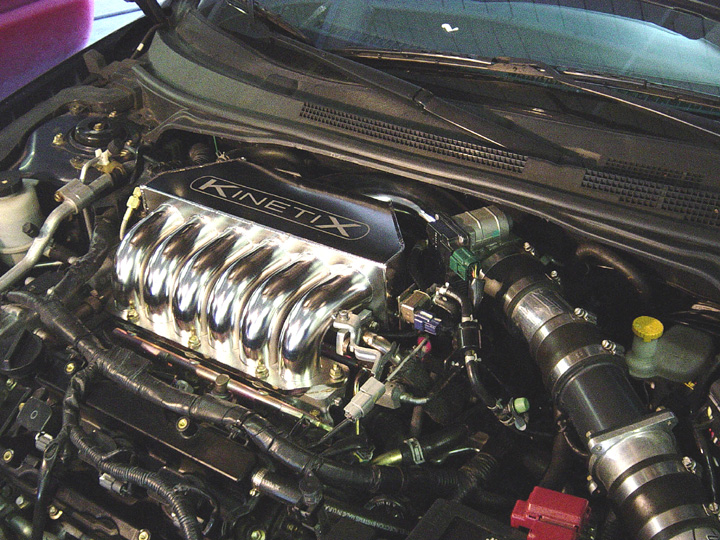
The manifold should come clear from the car.
Installation:
1. Unscrew the plug from passenger side of manifold. Screw in the fitting from the EGR hose; only the fitting, NOT the hose yet. Make sure its positioned in line where the hose will eventually connect.
2. Lay the hose across, behind the lower manifold. Connect the braided EGR hose to the OEM stiff pipe. I reused the gasket but you should get a new one.
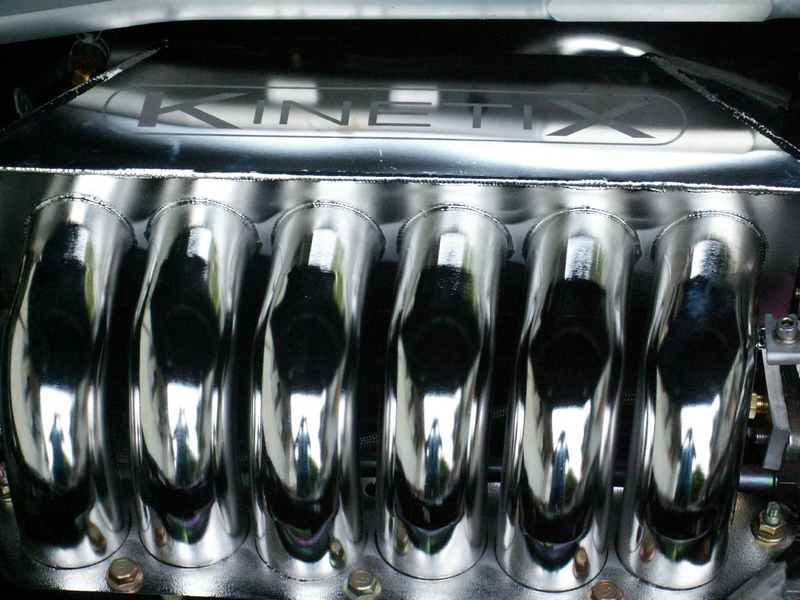
3. Install manifold. Tighten in cross pattern so nothing warps.
4. Connect the EGR braided hose to the fitting in the manifold.
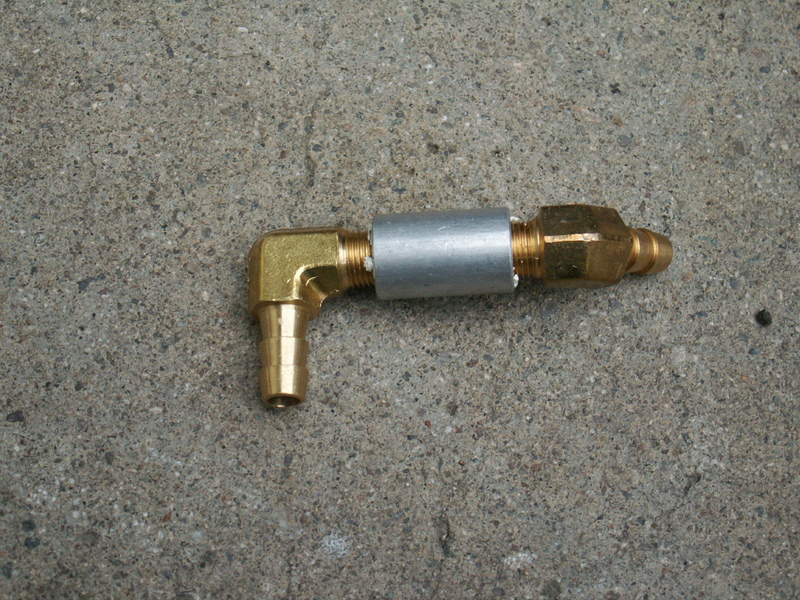
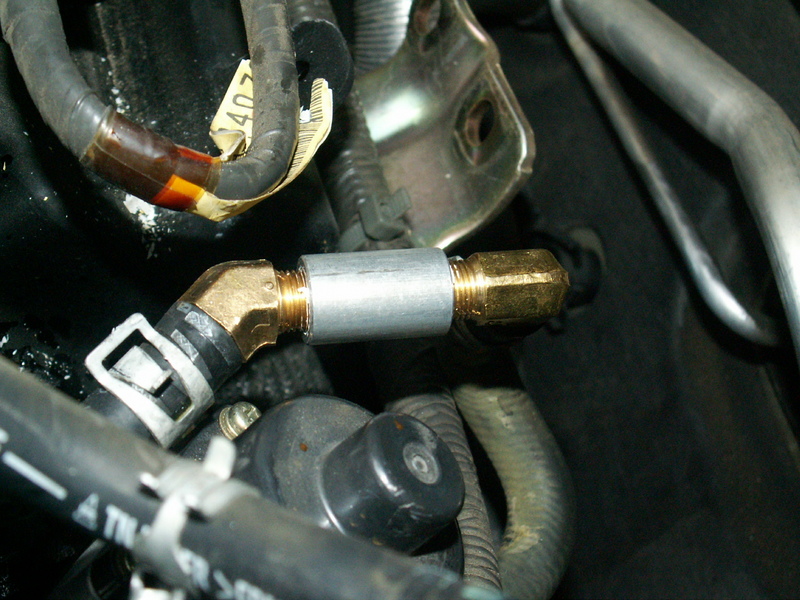
5. The coolant hoses need to be joined together. Identify the coolant hoses (green fluid dripping out) and join them together with this fitting:
After its connected, it should look like this:
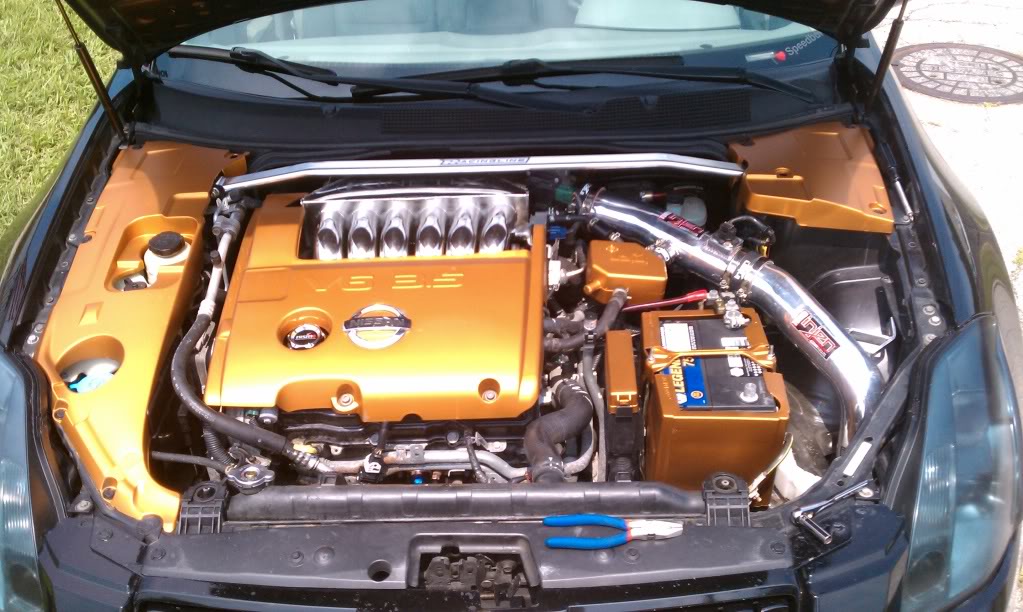
6. Connect hoses, the throttle body and air intake. This should be fairly obvious if you’re careful when you disconnected things.
For all you hardcore Nissan/Infiniti enthusiasts, there is finally an open-source solution that allows you to modify and flash ECUs! With a $10 VAG-KKL cable, you can basically flash your own ECU and tune it your to personal comfortable without breaking your wallet. The average tune costs roughly $600+ these days. Since you’re modifying the ROM yourself, there’s no vendor lock-in and you are free to do what you need and want. Great for those who have knowledge of tuning and want to tune their own vehicles!
Applicable Vehicles:
2000-2001 5thgen Nissan Maxima
2003-2003 5.5gen Nissan Maxima
2004-2008 6thgen Maxima
2009 7thgen Maxima
2002-2004 Nissan Altima
2005-2006 Nissan Altima SE-R
2003 Infiniti G35
And various others……
Links to Tool/Software that you will need (Click links to Download):
You will need to buy an OBD2 KKL VAG-COM 409.1 USB Cable. It costs $10 or less.
It’s all based on the ROM size. If the ROM size is 512K then you should use the 7055_35 kernel. If the ROM size is 1024K then you use the 7058 kernel.
Cars Tuned on ROMRaider / Nisprog
5.5 Gen Maxima Tuned by AdminTuning VQ35 Bolt Ons
Shaquille Jenkins 5.5 Gen Maxima Gen2 VQ35DE
Trevon Walters 4thgen Maxima Hits 11.77 (All Motor) Gen2 VQ35DE
Which ECUs Will This Work On?
Most gasoline Nissan / Infiniti ECUs from ~ 2002 onwards share very similar ECU hardware, based on SuperH microcontrollers manufactured by Renesas (previously Hitachi). This project supports ECUs that use the OBD-II “K line” signal for diagnostics communications.
How Does the Reflash Process Work?
The process is carried out entirely over the OBD-II “K Line” serial communications link through an undocumented set of manufacturer-defined extensions to the standard ISO14230 protocol. Recently, the necessary commands have been reverse-engineered revealing the required steps:
Establish connection to the ECU.
Send the first stage data payload: this is the “kernel”, a simple program that will receive commands and data for the reflash.
Make the ECU run the kernel. From this point on, the kernel runs from RAM and effectively takes control of the whole ECU.
Send the reflash commands and new firmware data to the kernel.
Reset the ECU: the new firmware will now be executed, and the kernel will be completely removed.
Kernel Features
The basic kernel is an implementation of an ISO14230-compliant protocol with extensions. It implements the following requests:
Fast ROM dump (tested up to 5.4 kB/s; typical speed is ~100 B/s without a kernel)
Read ROM/RAM/external EEPROM
Write to RAM
Erase flash ROM block
Write flash ROM block
Requirements
The basic reflashing kernel will support gasoline ECUs with:
SH7055 or SH7058, 0.18um microcontrollers (the most common types)
K line wired to the OBD-II connector pin 7
Unfortunately CAN-only ECUs are not currently supported.
Host computer:
OS: Linux and Windows are known to work; Nisprog is based on freediag source code which is cross-platform and should run on most Linux/UNIX flavors.
Connectivity: a simple USB-OBD adapter is required. These are the “Generic dumb serial adaptors” described in the freediag docs.
OBD2 KKL VAG-COM 409.1 USB Cable
Limitations
There are several important points to be aware of when using Nisprog:
The ECU is a safety-critical system in a car. Reflashing an ECU can void warranties, reduce the vehicle’s reliability, and cause a whole variety of undesirable consequences. Use of this project and any associated tools (freediag, Nisprog, etc) is of course entirely at the user’s risk. Standard disclaimers apply.
Reflashing an ECU may be illegal in some areas. Responsibility in this matter lies again with the user.
Diesel ECUs are not supported, they are entirely different.
Tuning and modifying ROMs are complex skills that can only be acquired through significant investments of time and effort!
If you recently broke your shift linkage bracket, below is the information you need for a replacement. And while you’re at it, stop shifting too hard lol.
The one you want is the 6thgen Nissan Maxima bracket. It’s interchangeable with the 5.5 5thgen as well.
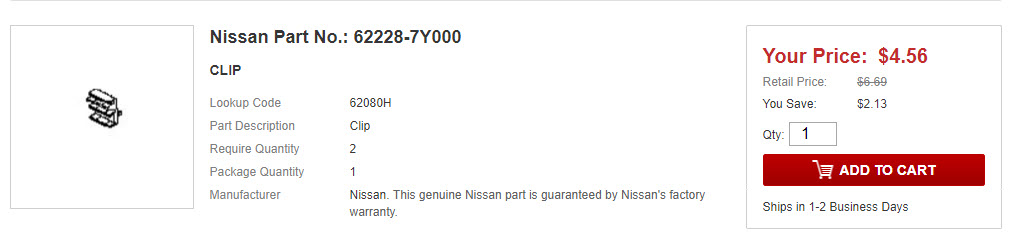
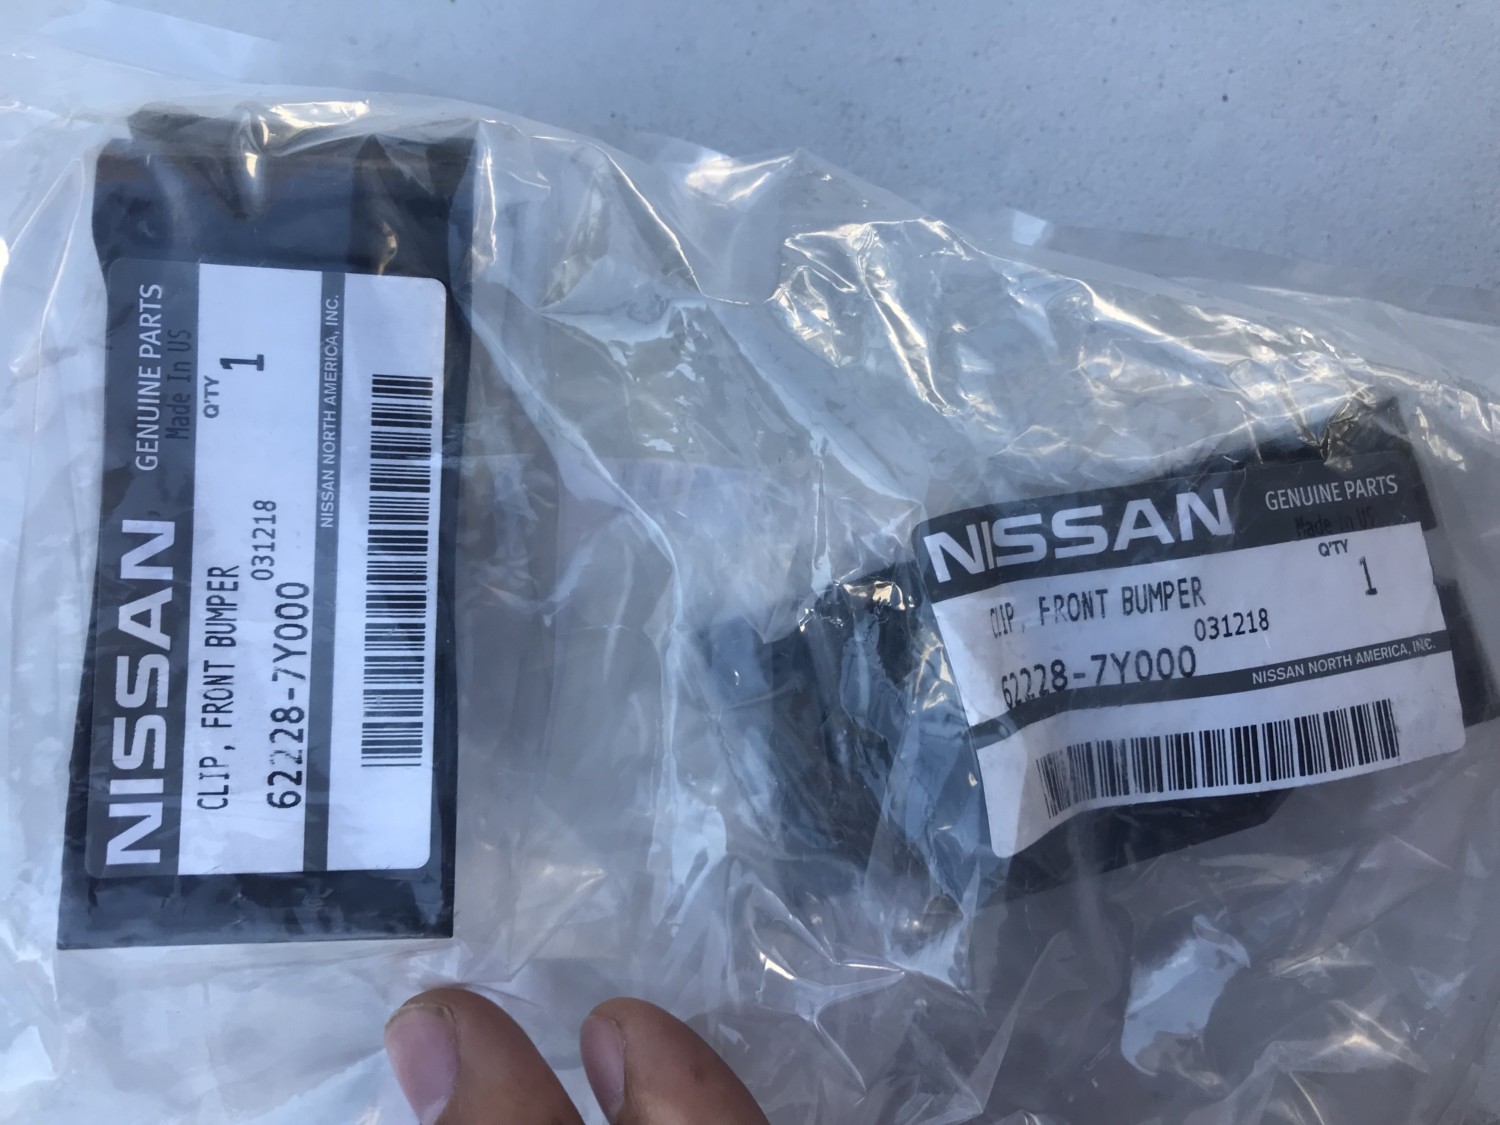
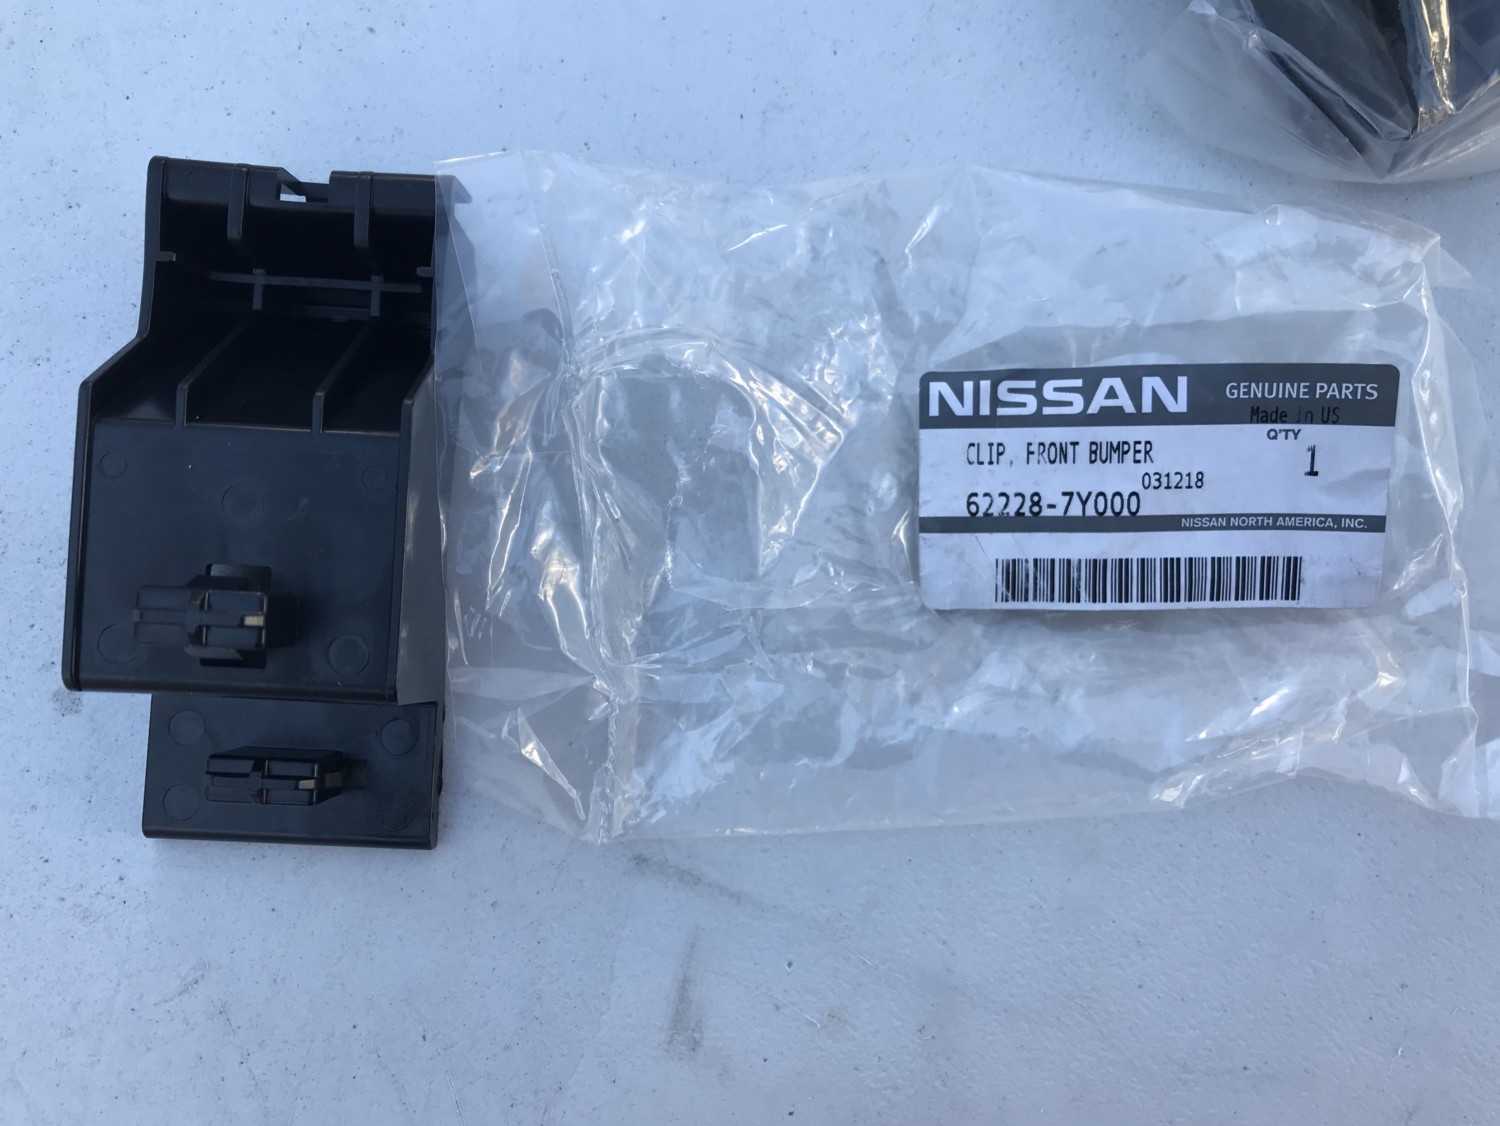
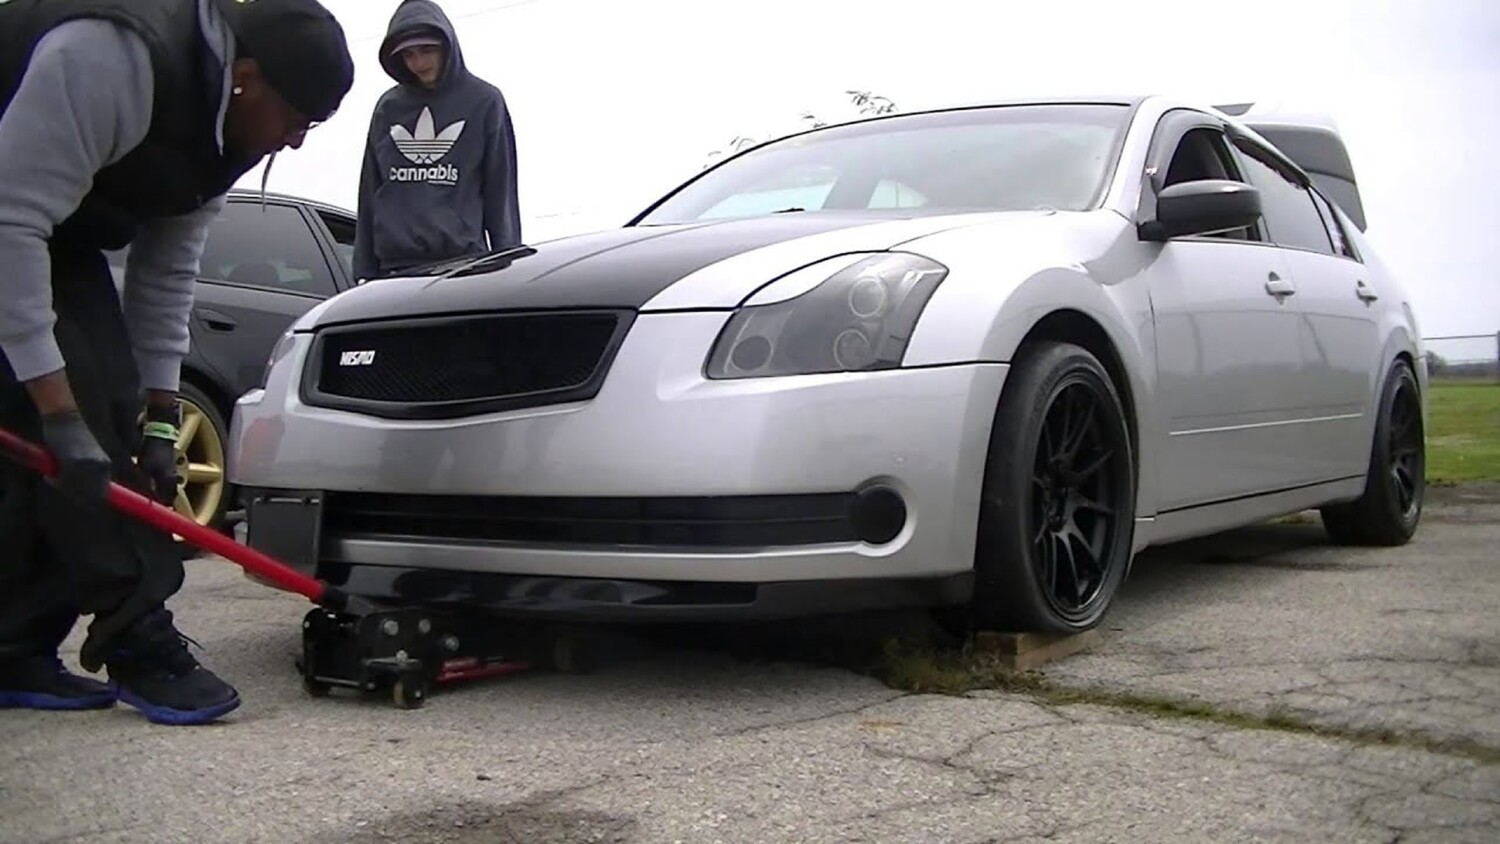
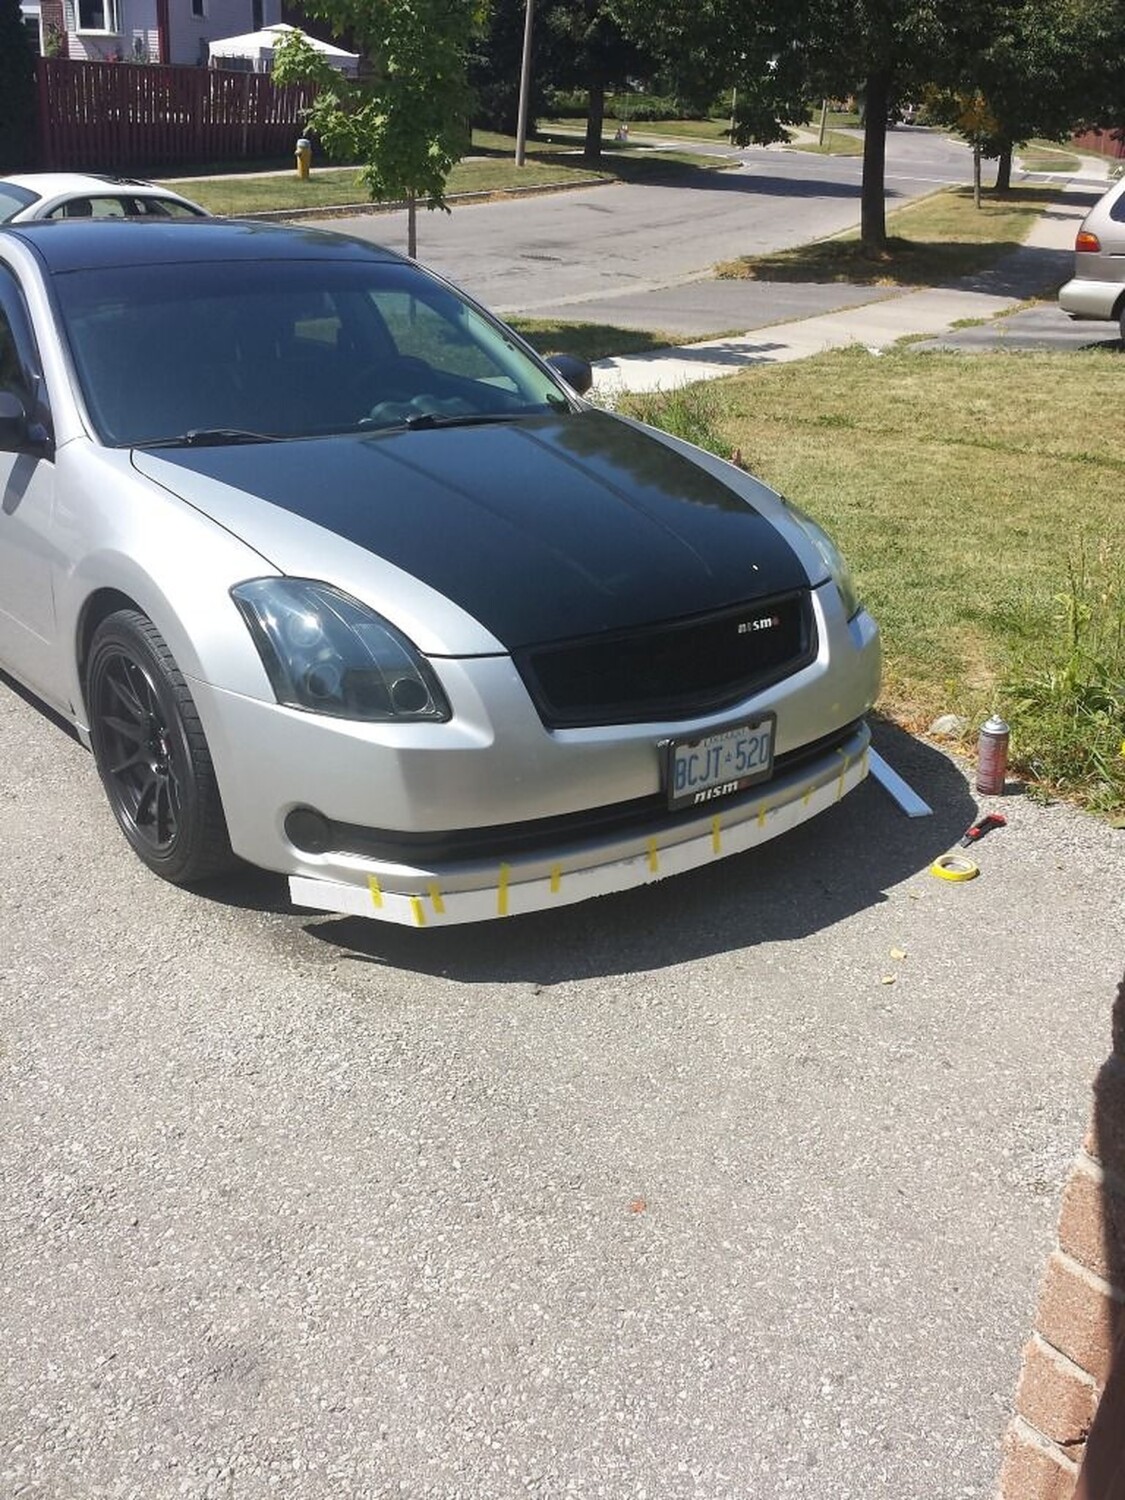
My front bumper had a noticeable sag. When I took the bumper off, I found that it did not have the clips that hold it up. Easy and cheap enough to fix! I ordered two clips and it resolved my “bumper sag” issue.
Part Number: 62228-7Y000 (Clip, Front Bumper) Price: $4.56 (You need two of these) Fitment: Fits all 2004-2008 Nissan Maxima’s


")


")


")


")


")