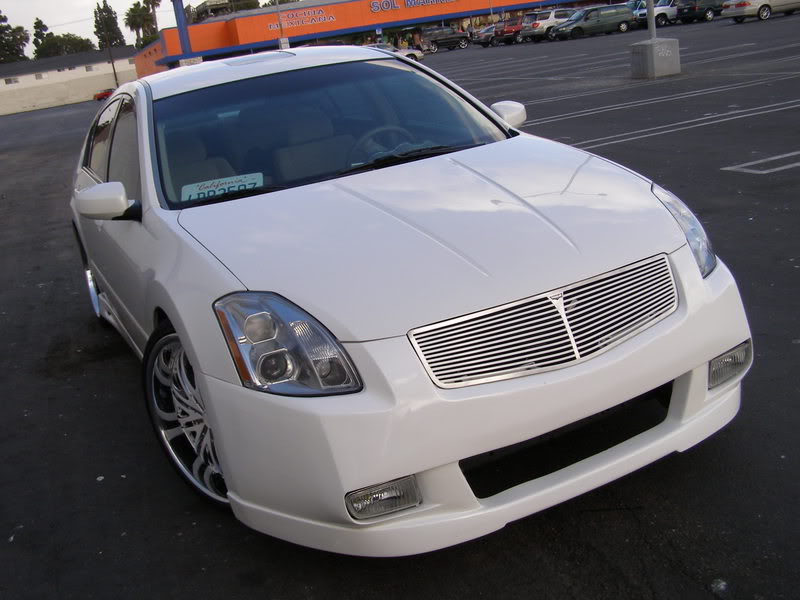
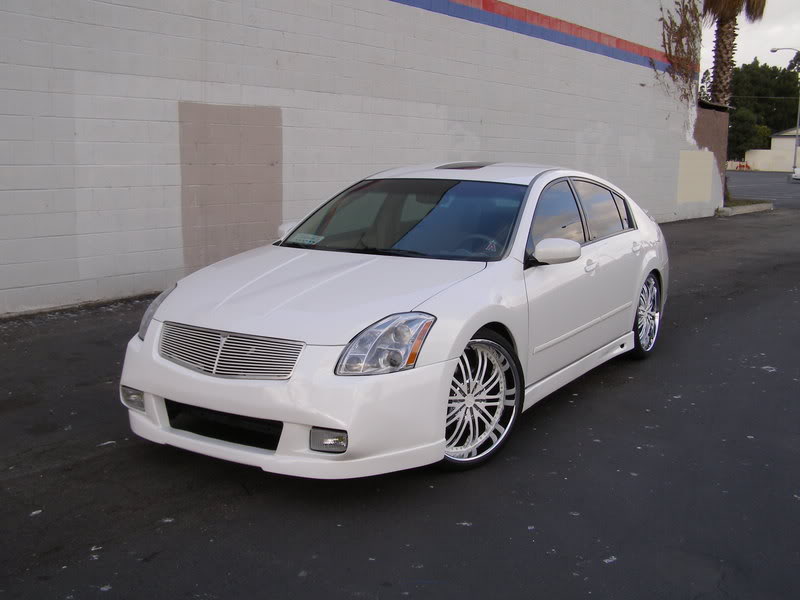
Owner: Omar Hernandez aka hero782
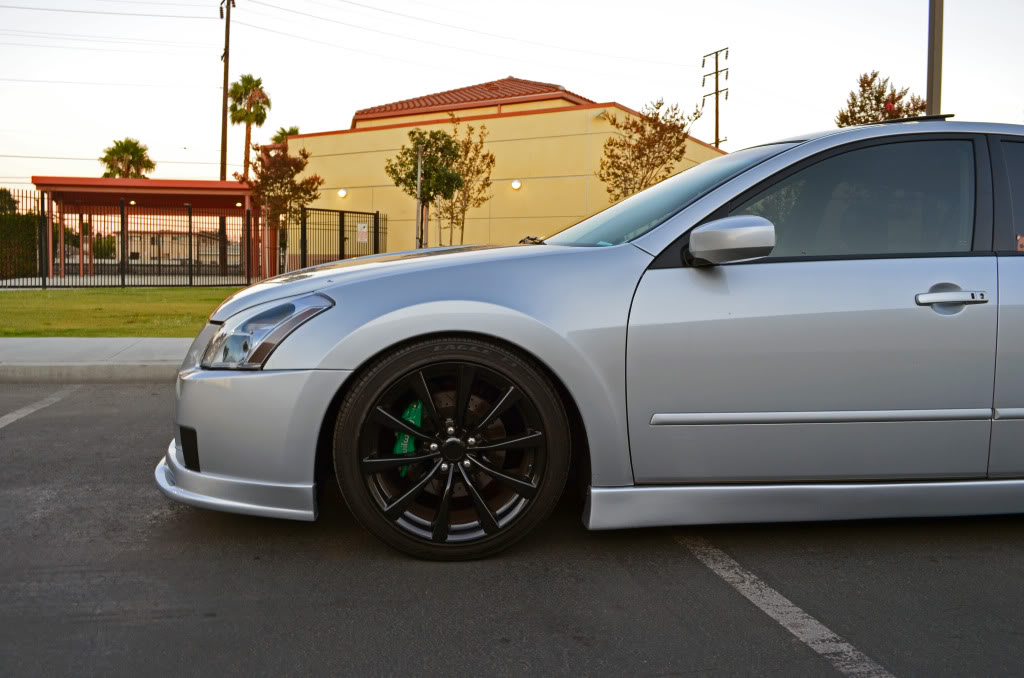
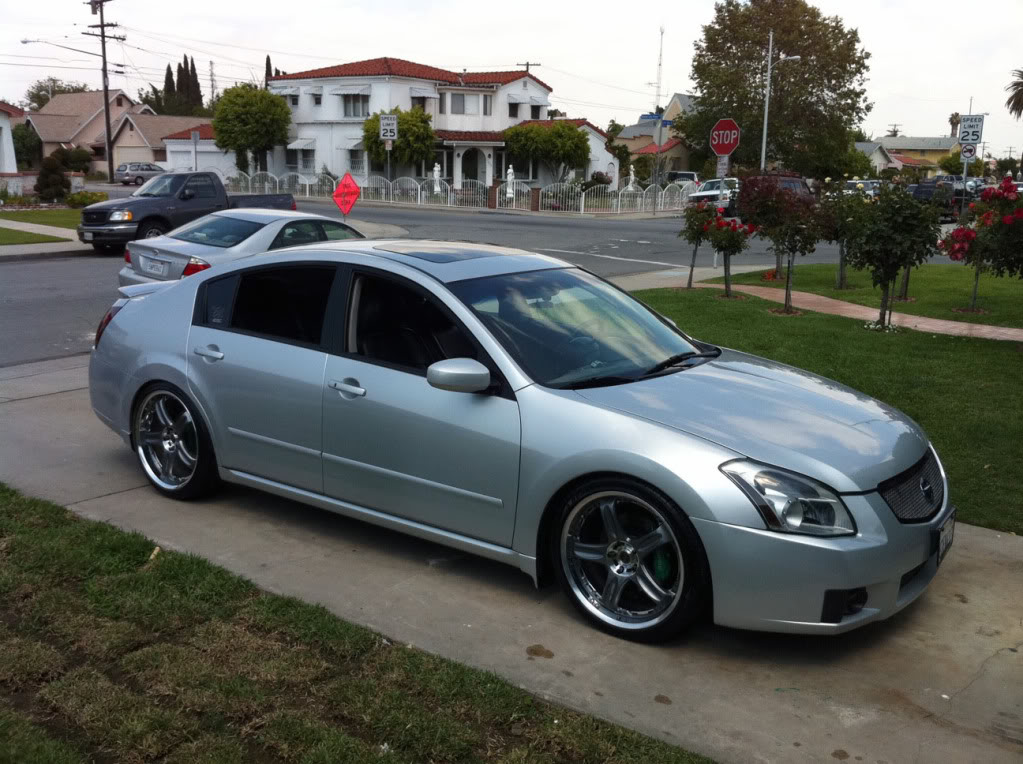
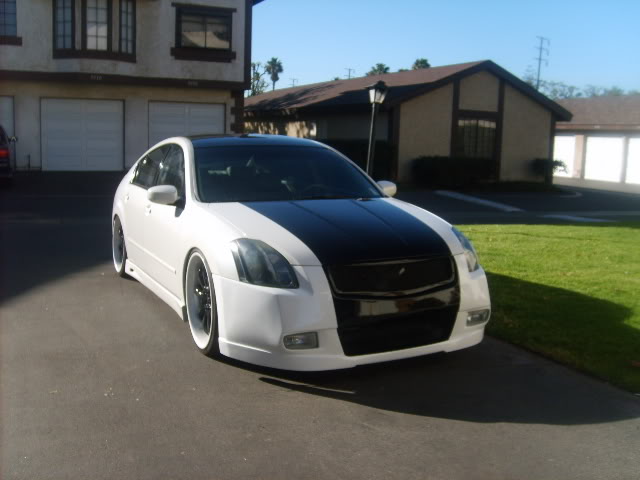
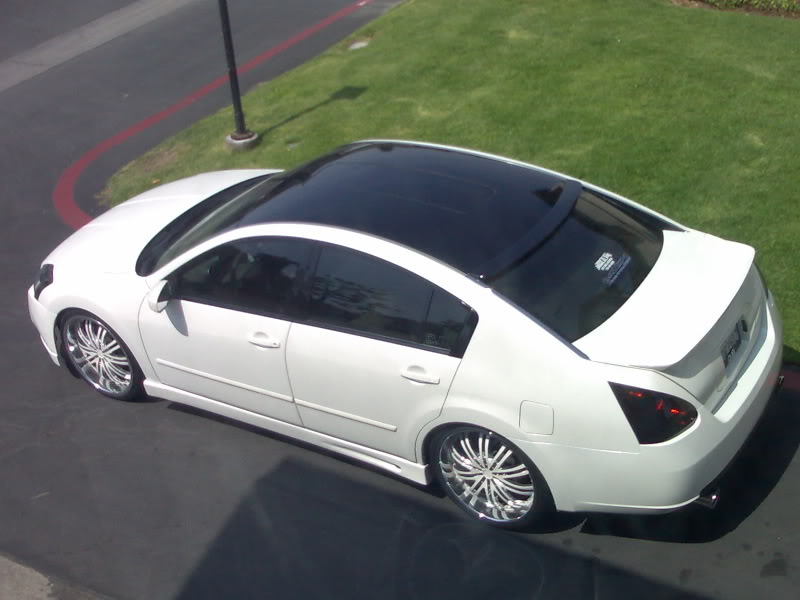
Year: 2007
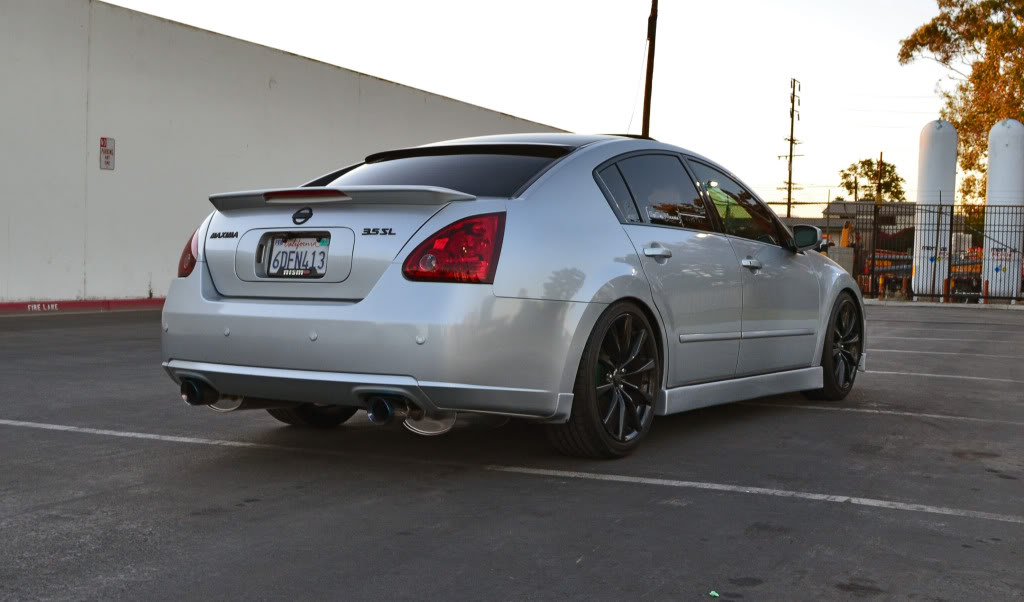
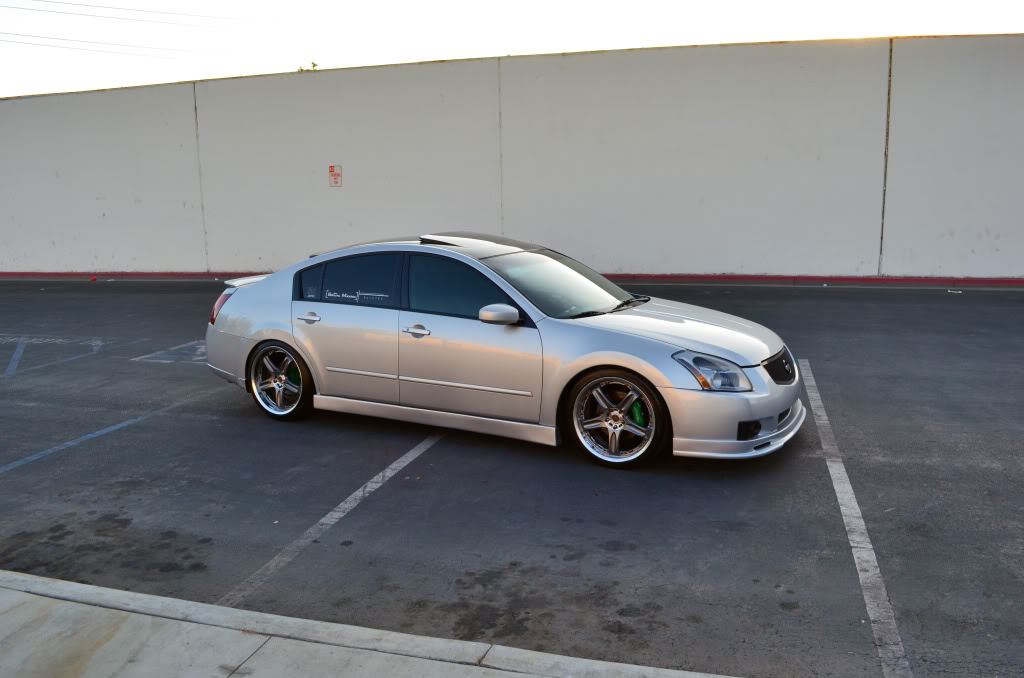
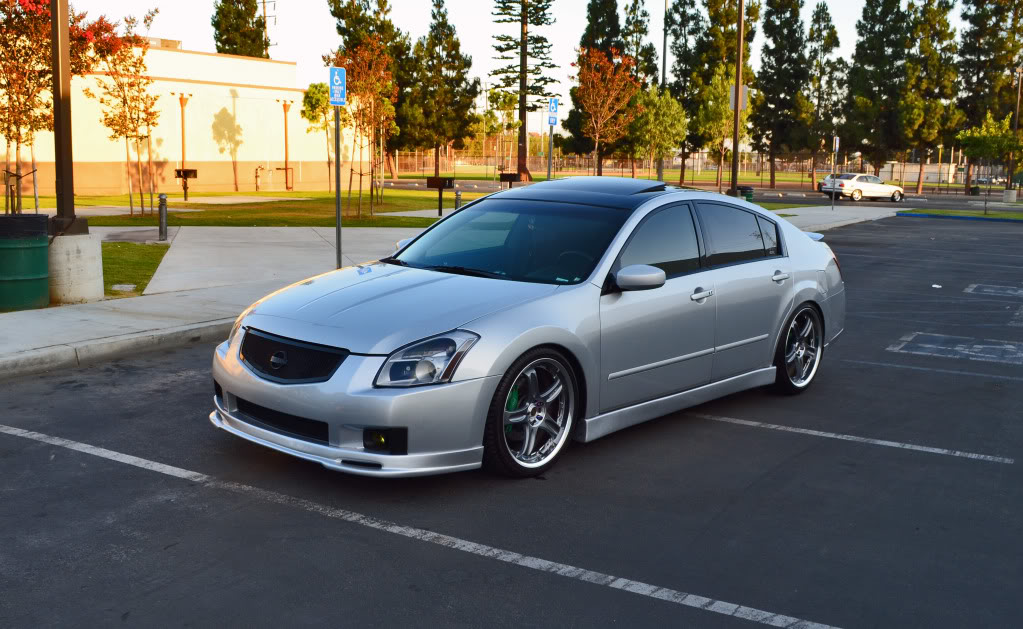
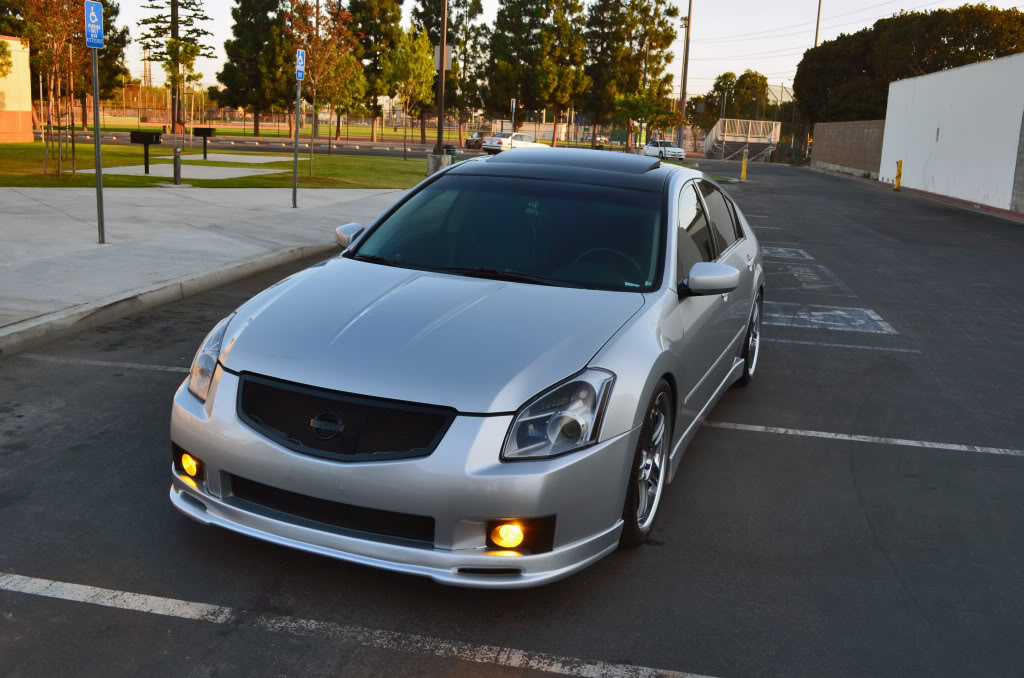
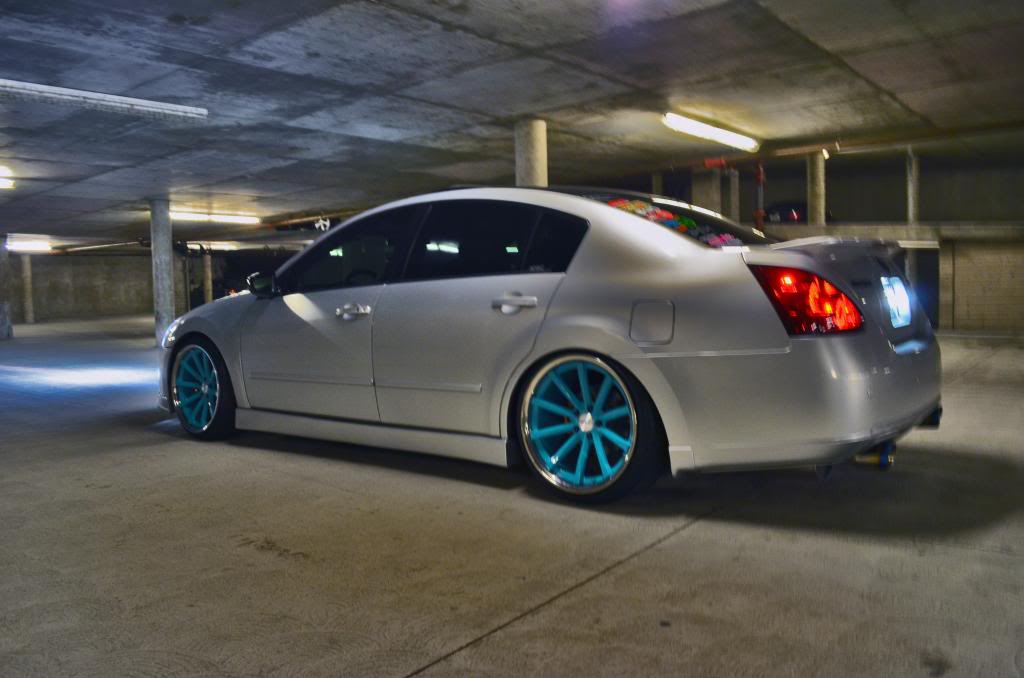
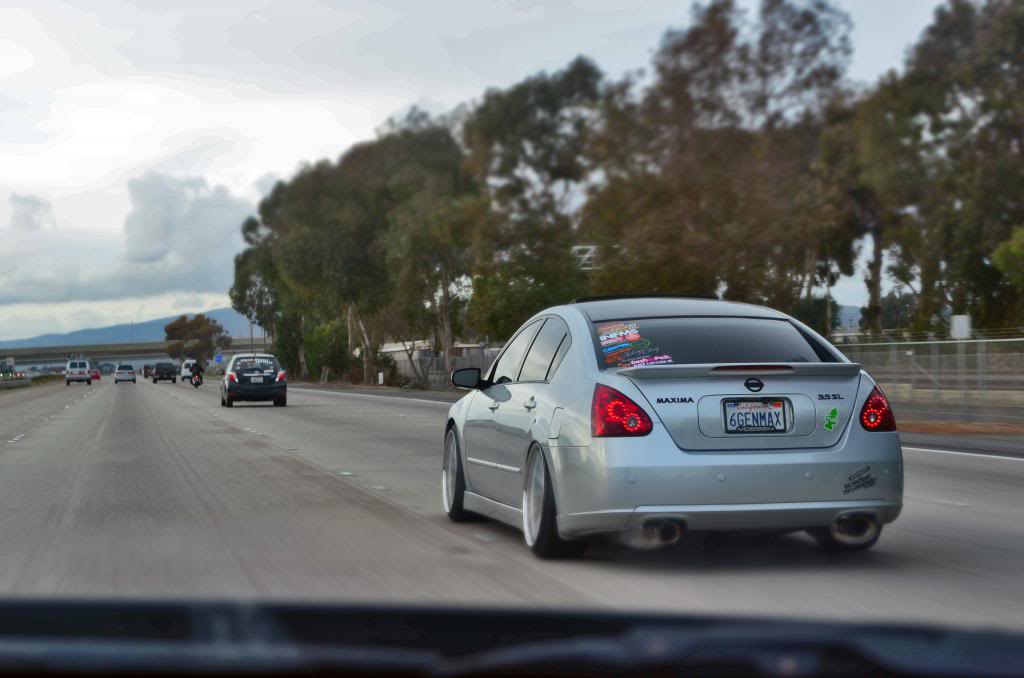
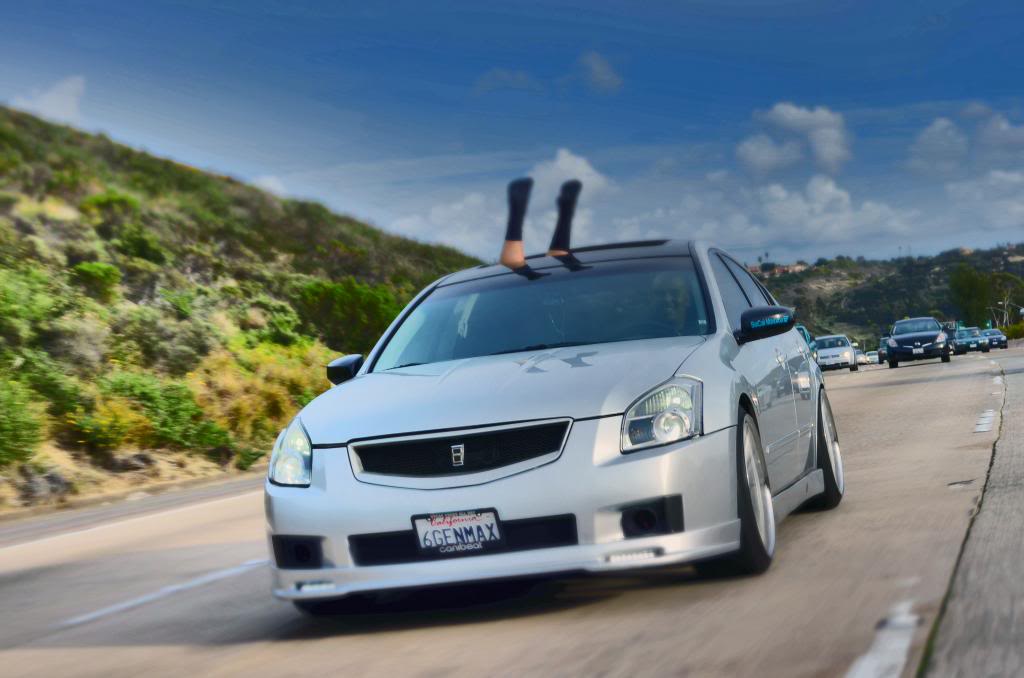
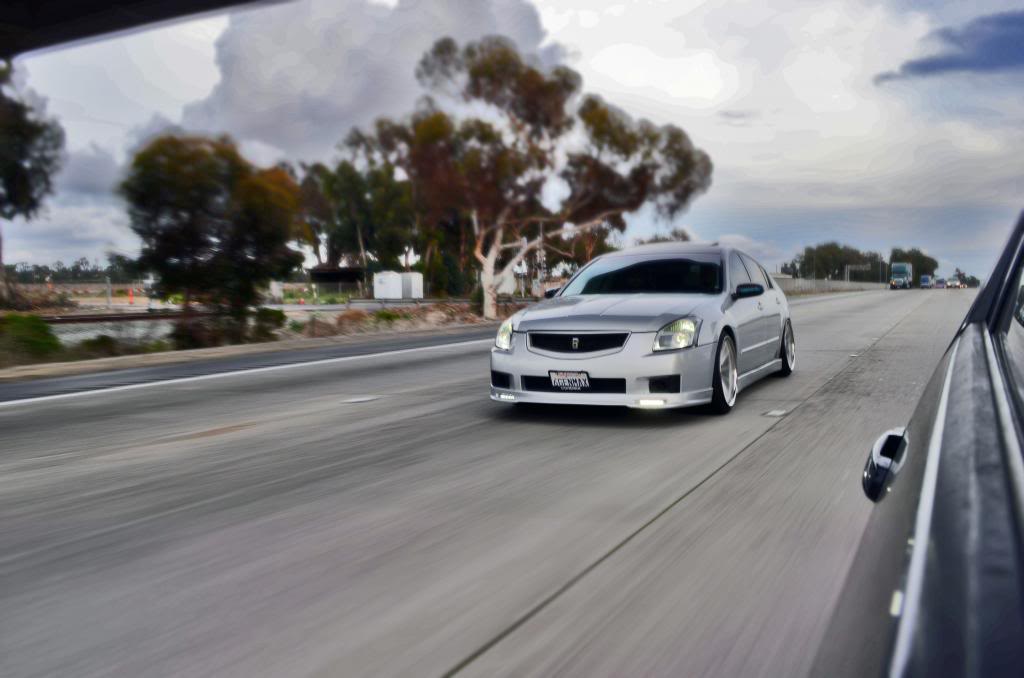
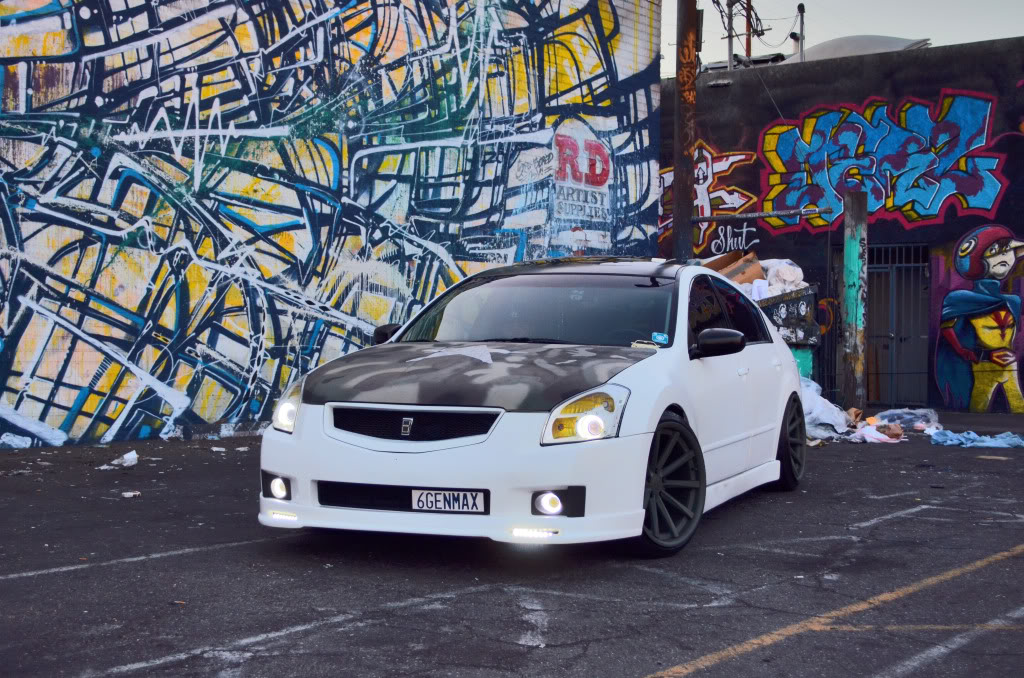
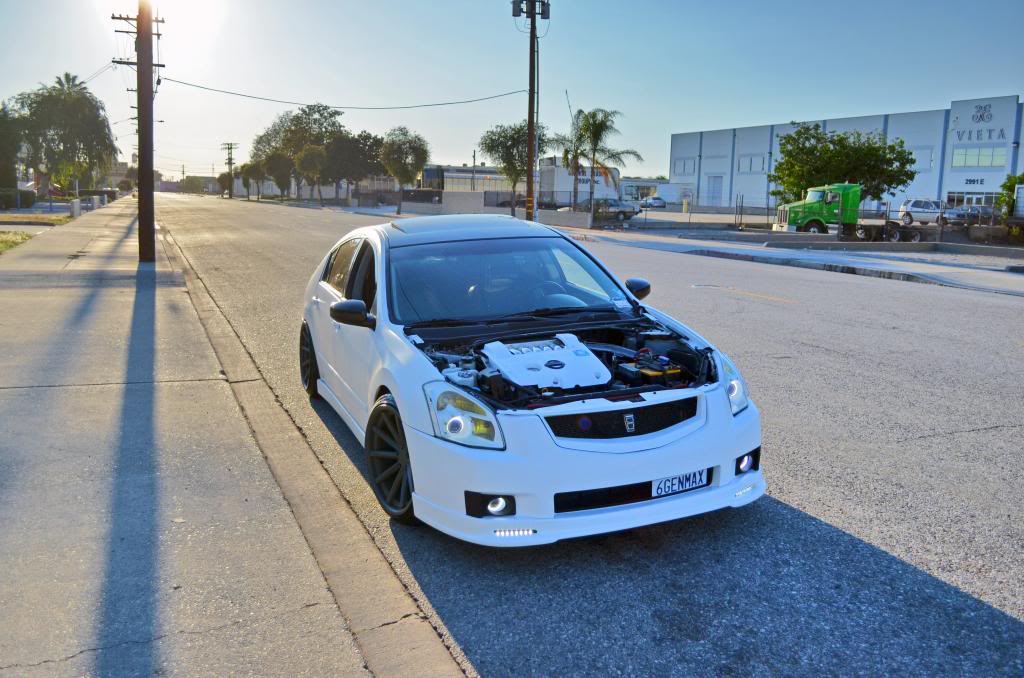
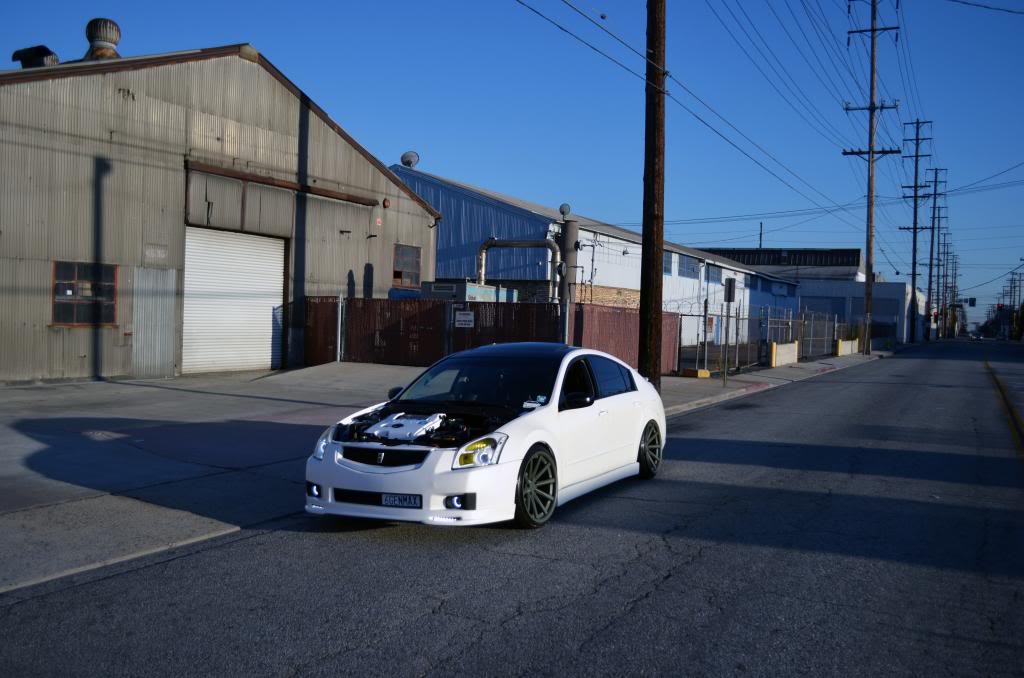
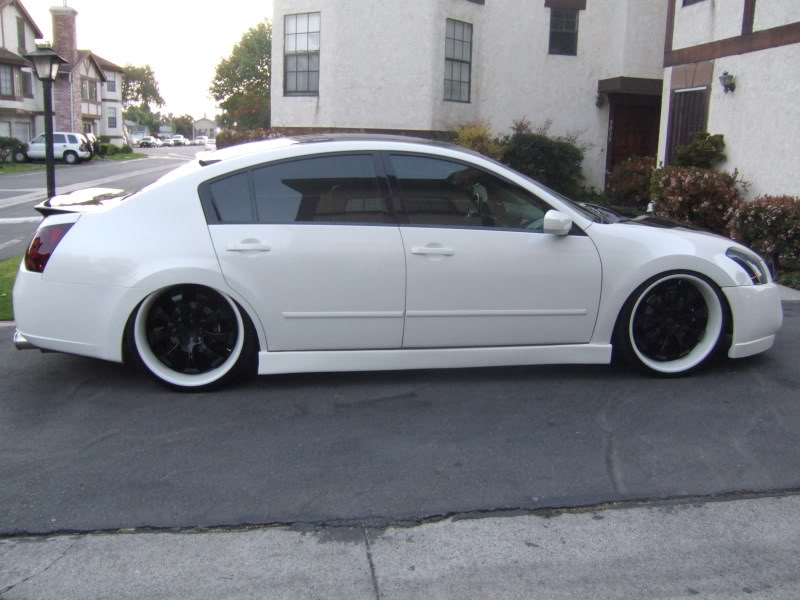
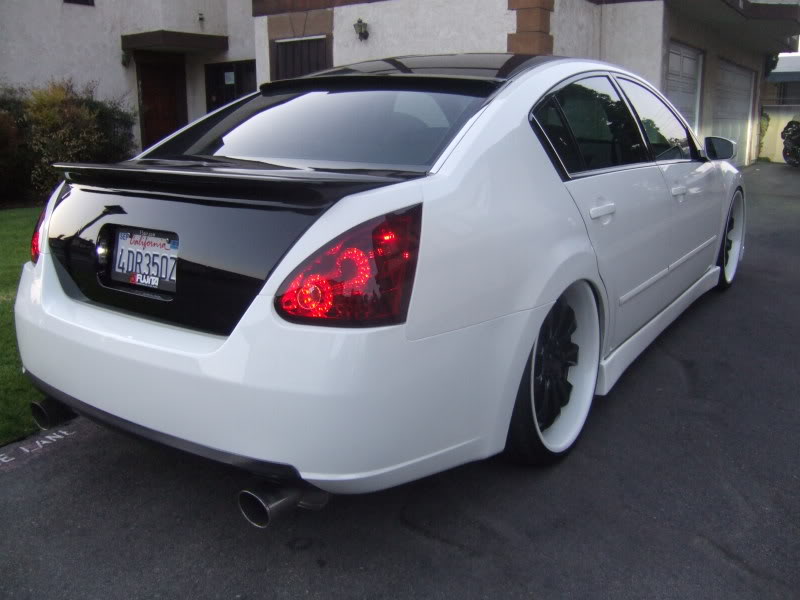
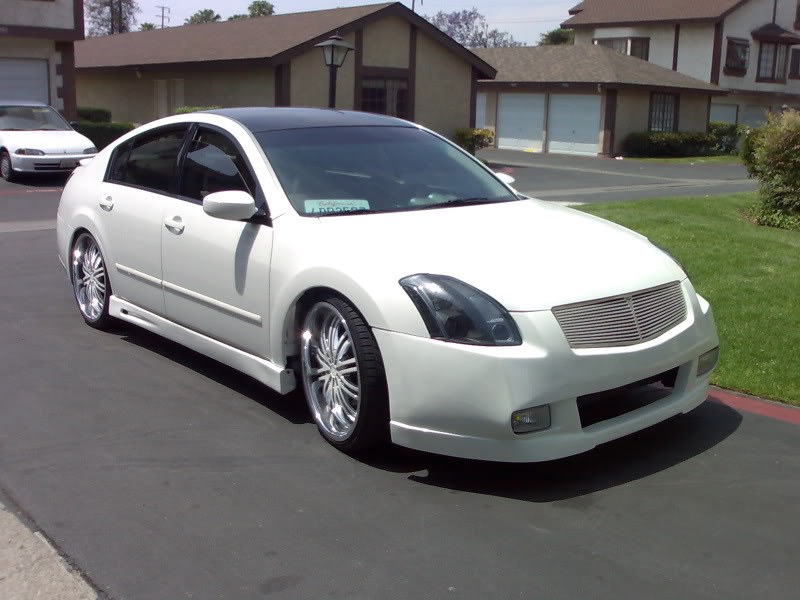
Model: Maxima
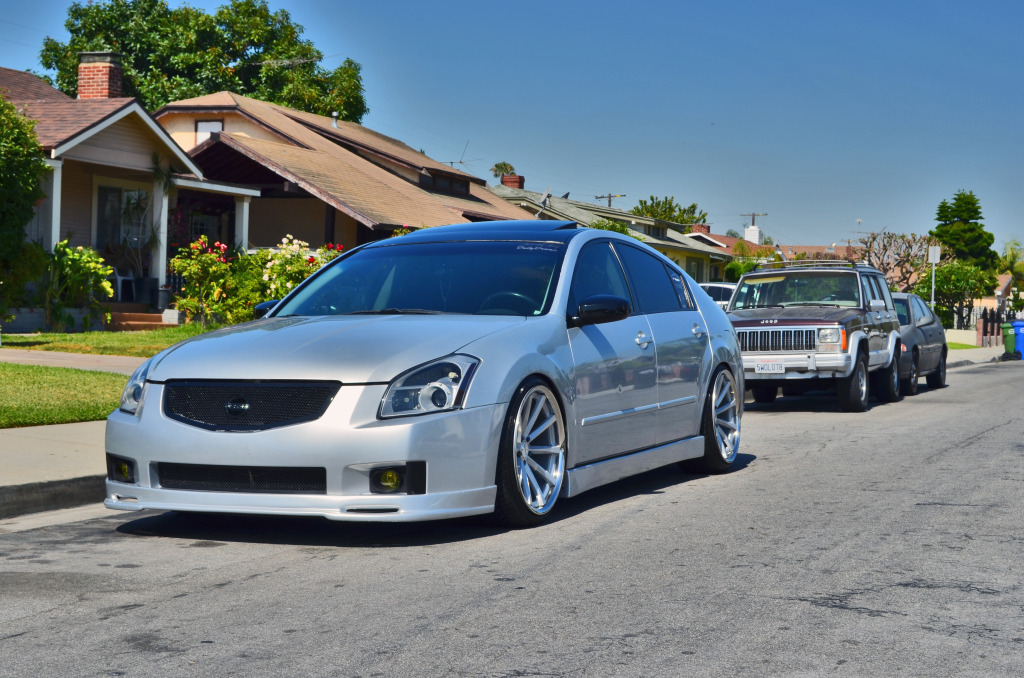
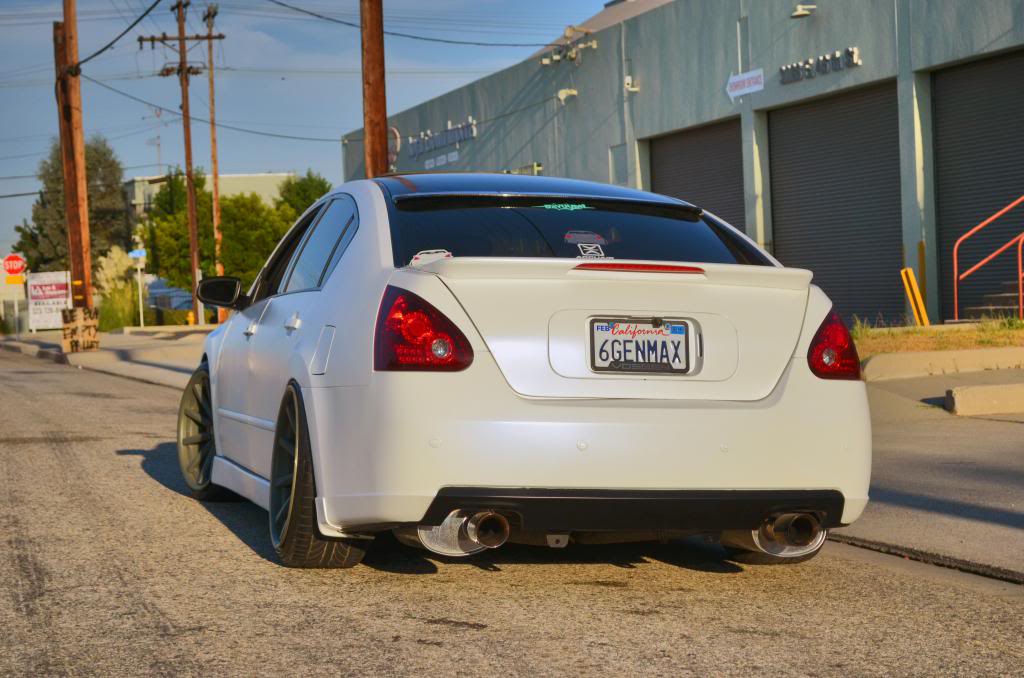
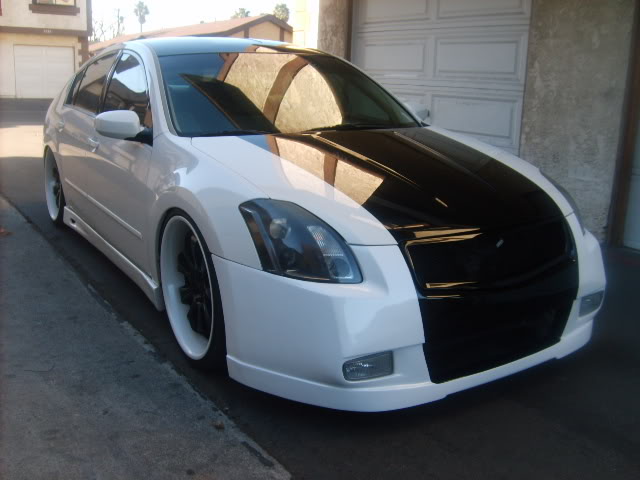
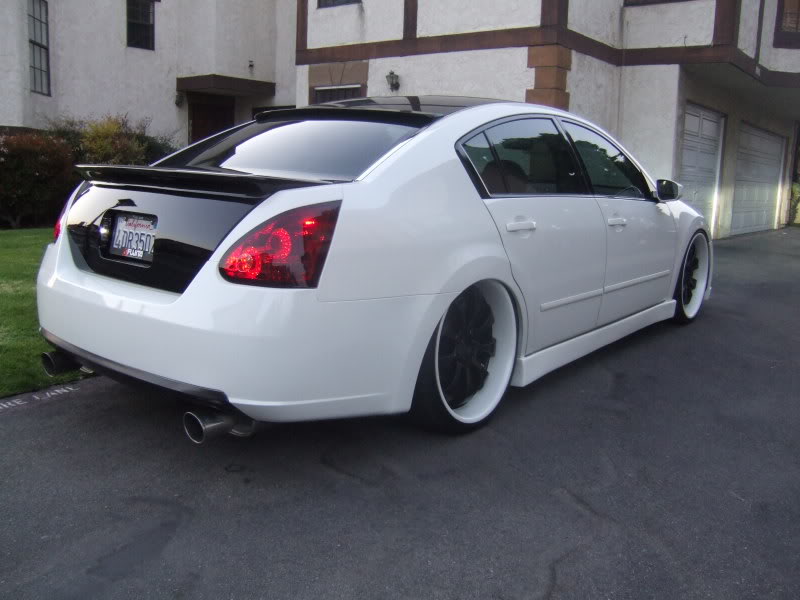
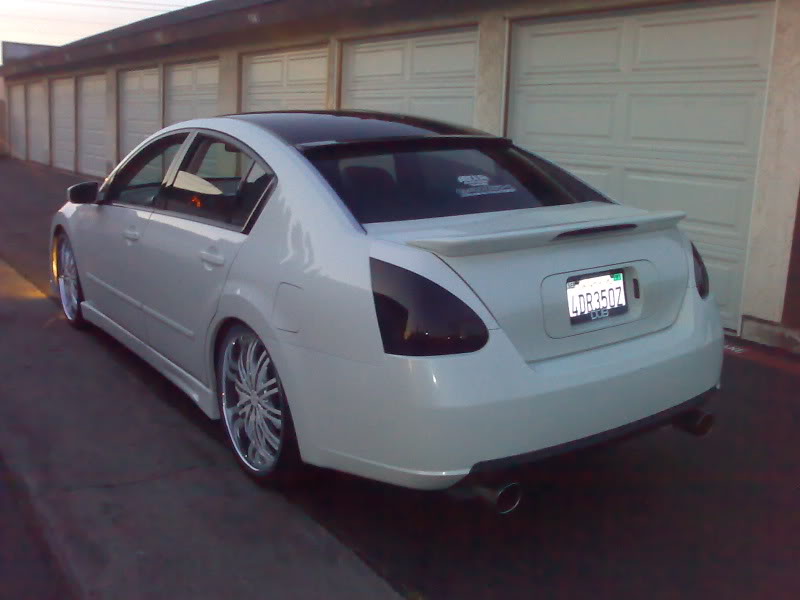
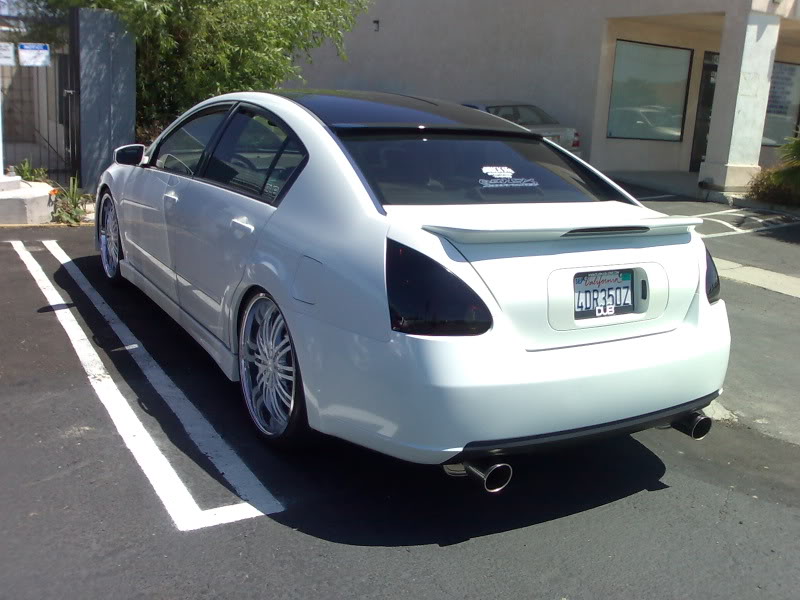
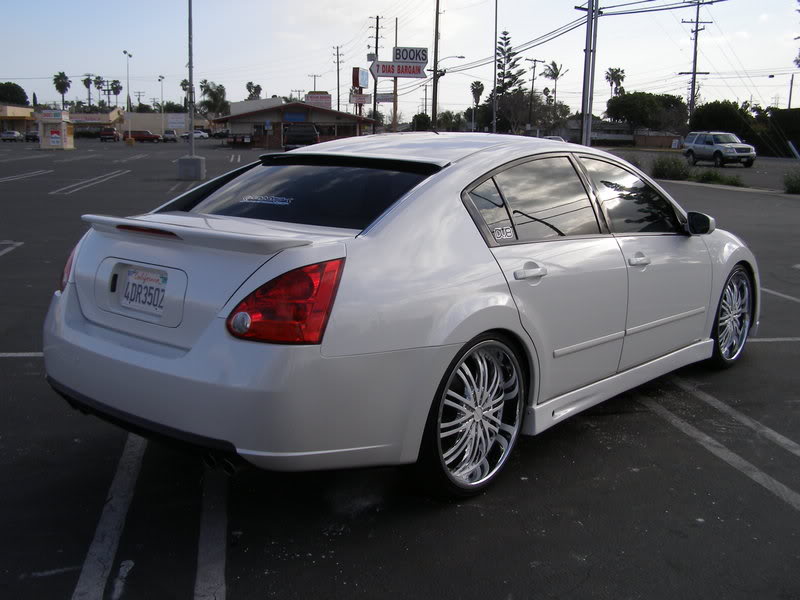
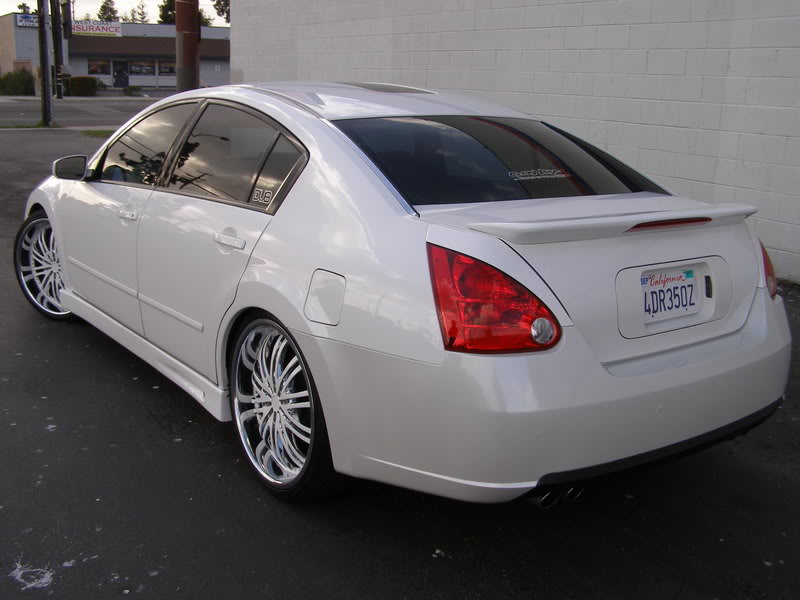
Color: Silver to White
Transmission: CVT
Trim: SL


 Mod List:
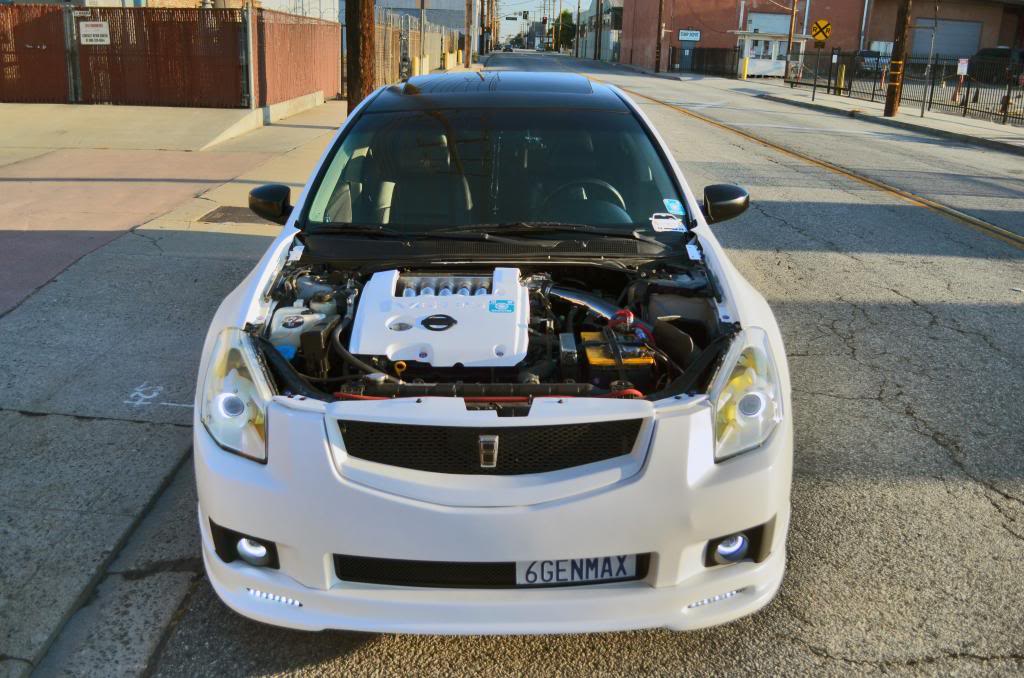
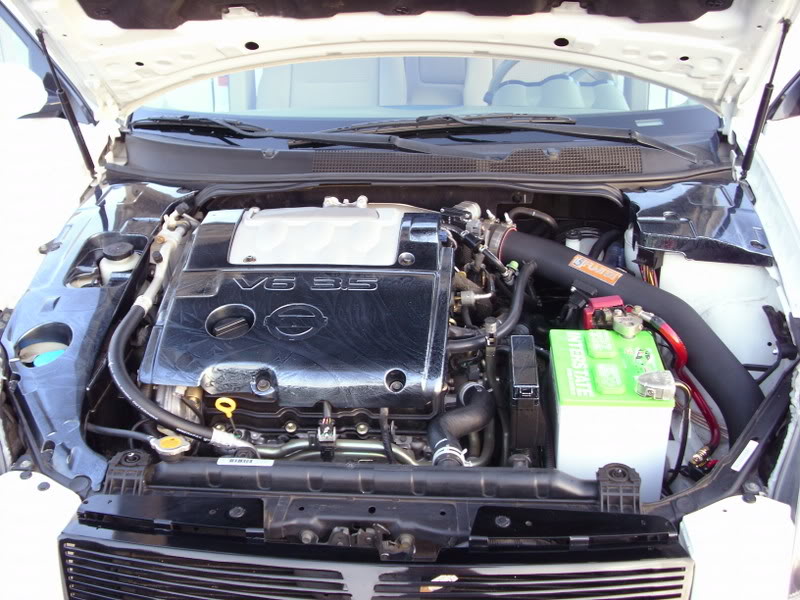
Engine/Performance:
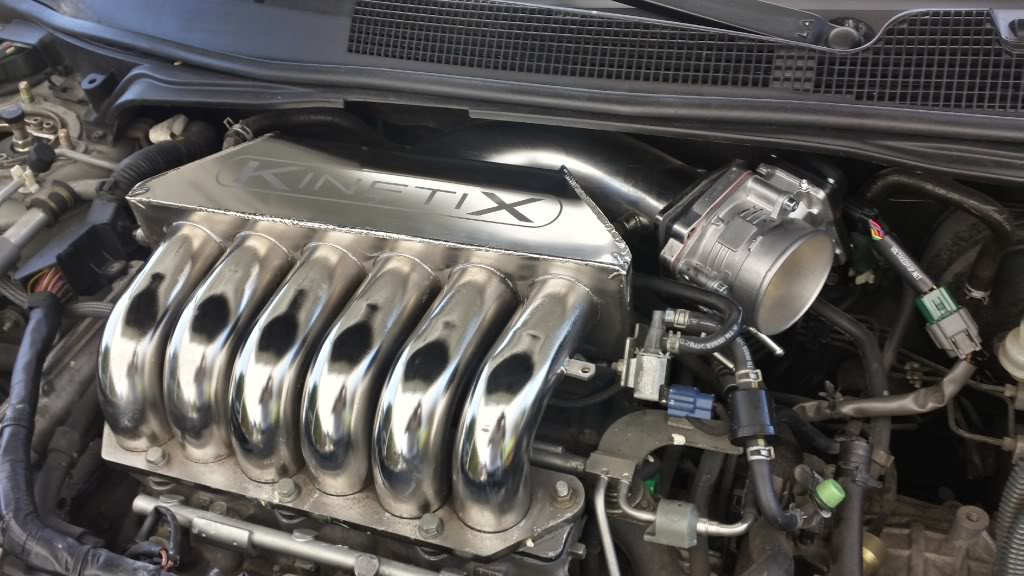
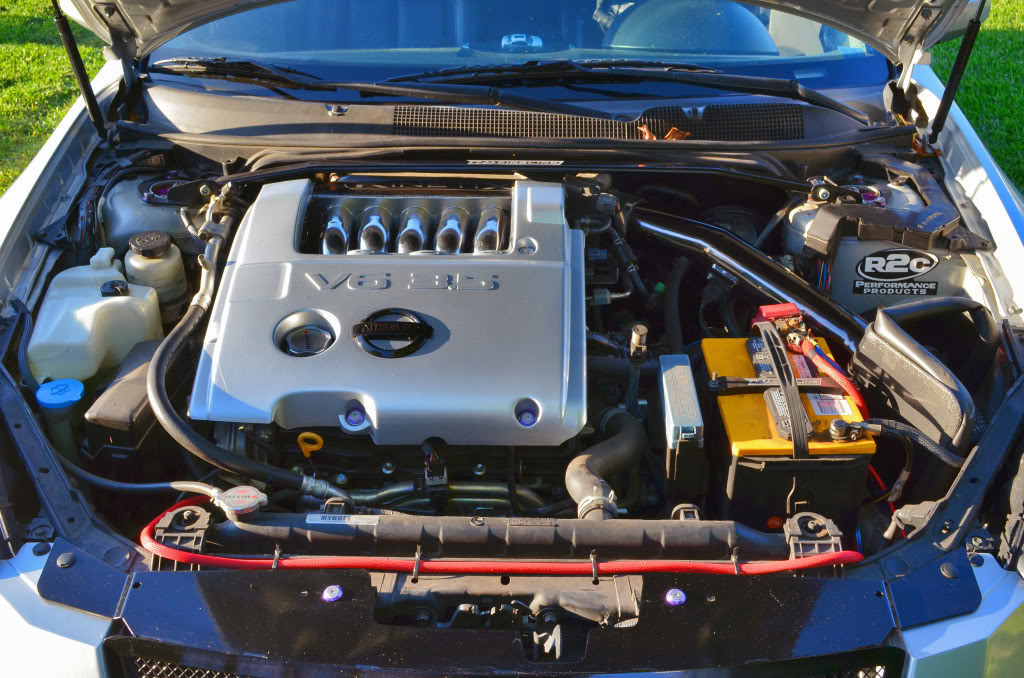
- R2C intake
- Kinetix SSV Intake Manifold
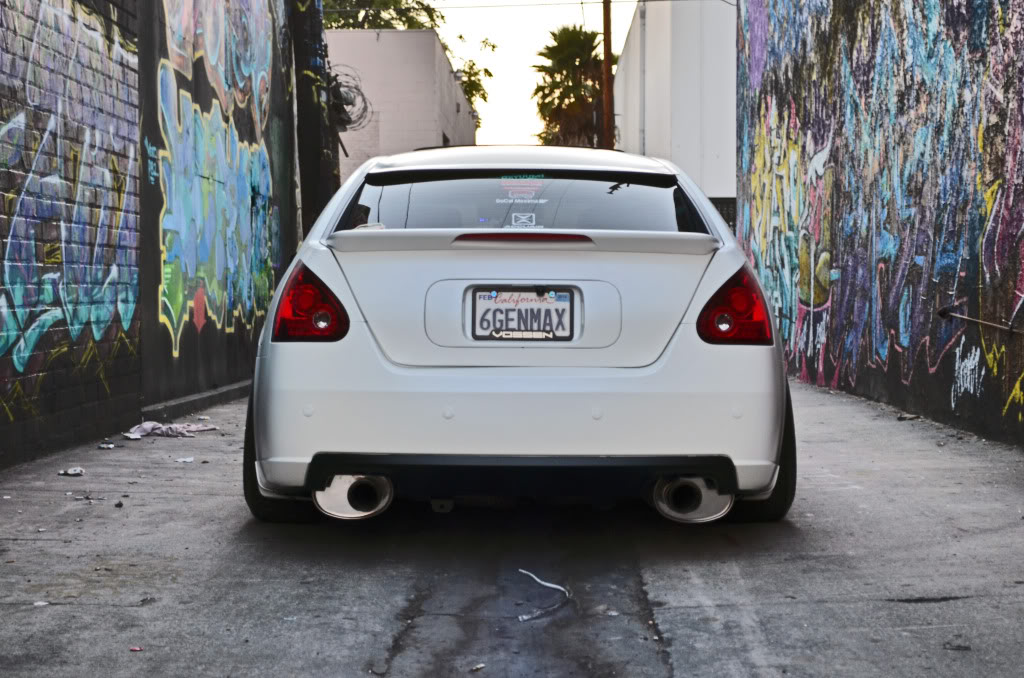
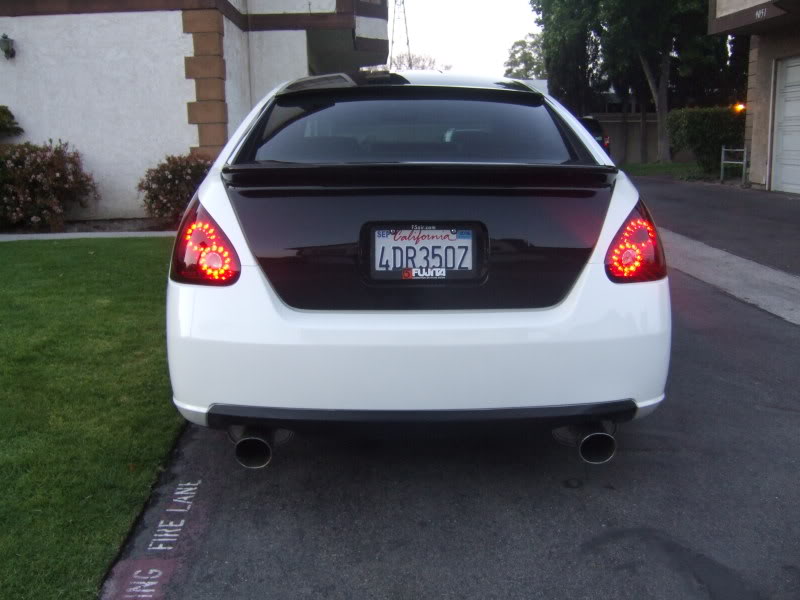
- Greddy Spectrum Elite SE cat back
- NOS Wet Nitrous Kit
- Apexi Neo
- Innovate XD-16 Wideband
- QTP Cut-off
- Racingline performance Y-pipe
- Racingline HFC’s
- NWP Phenolic Thermal Intake Manifold Spacer Kit
- 2 Degree Advance Timing
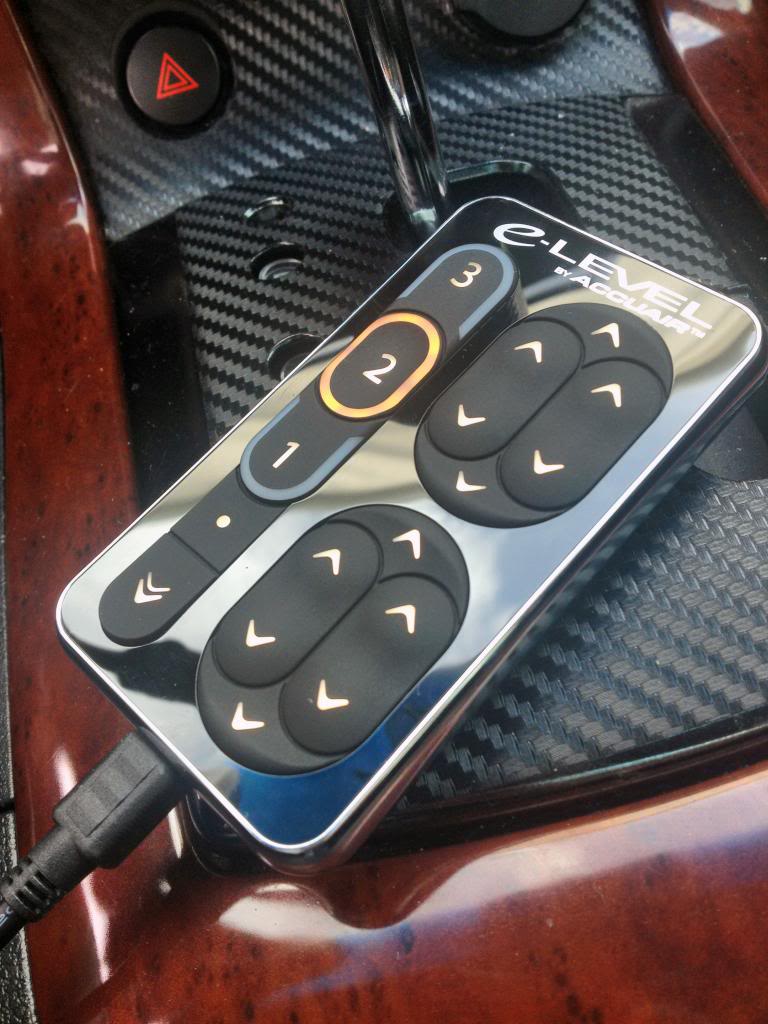
Suspension:
- D2 RS Coilovers
- Racingline Front Strut bar
- Progress Rear Sway Bar
- KCmaxx RSTB
Braking:
- Wilwood Superlite Calipers
- Hawk HPS Pads
- AlienRotors
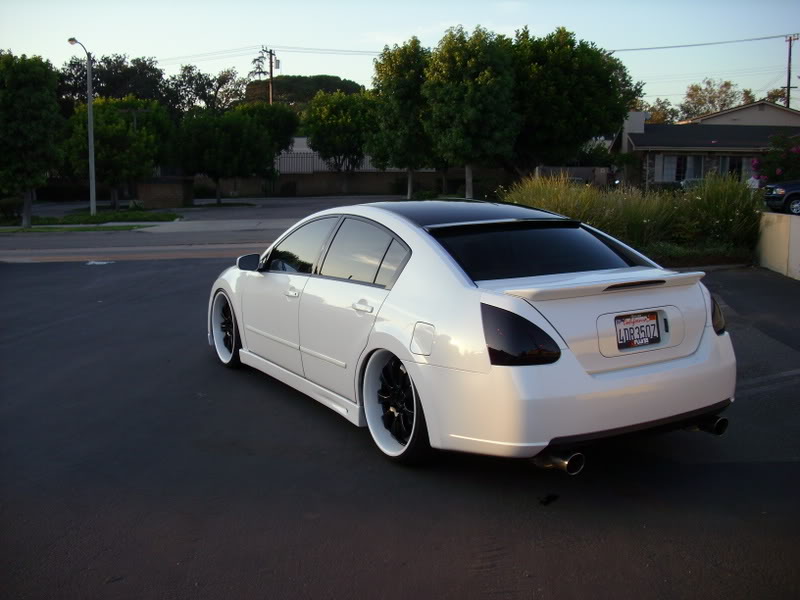
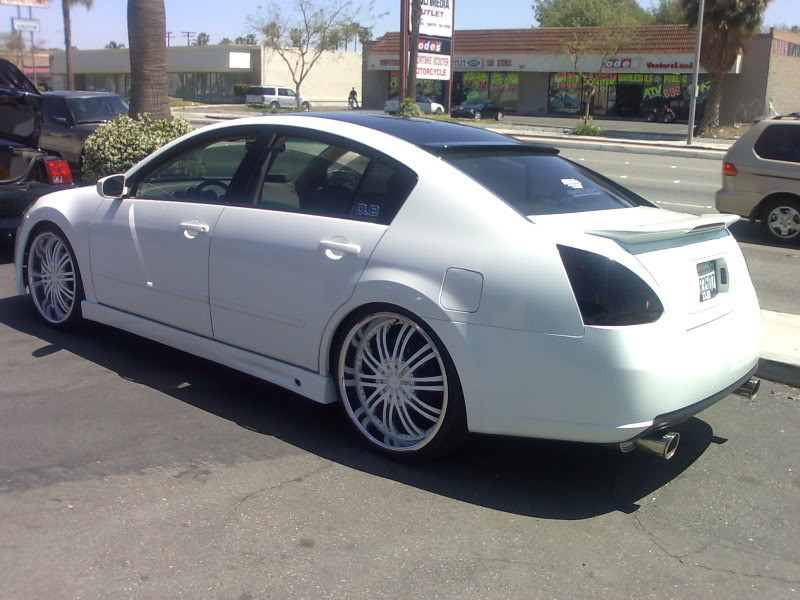
Wheels:
- 19′ Enkei G37 Wheels
19X8.5 front
19X9 rear - 20′ Volk GT-C
20×8.5 front
20×9.5 rear
Kics Neo Chrome r40 lugs
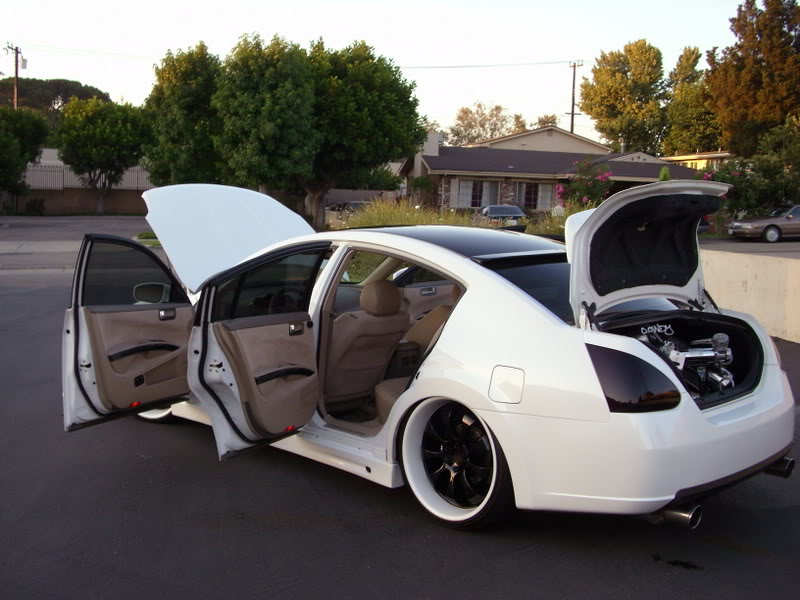
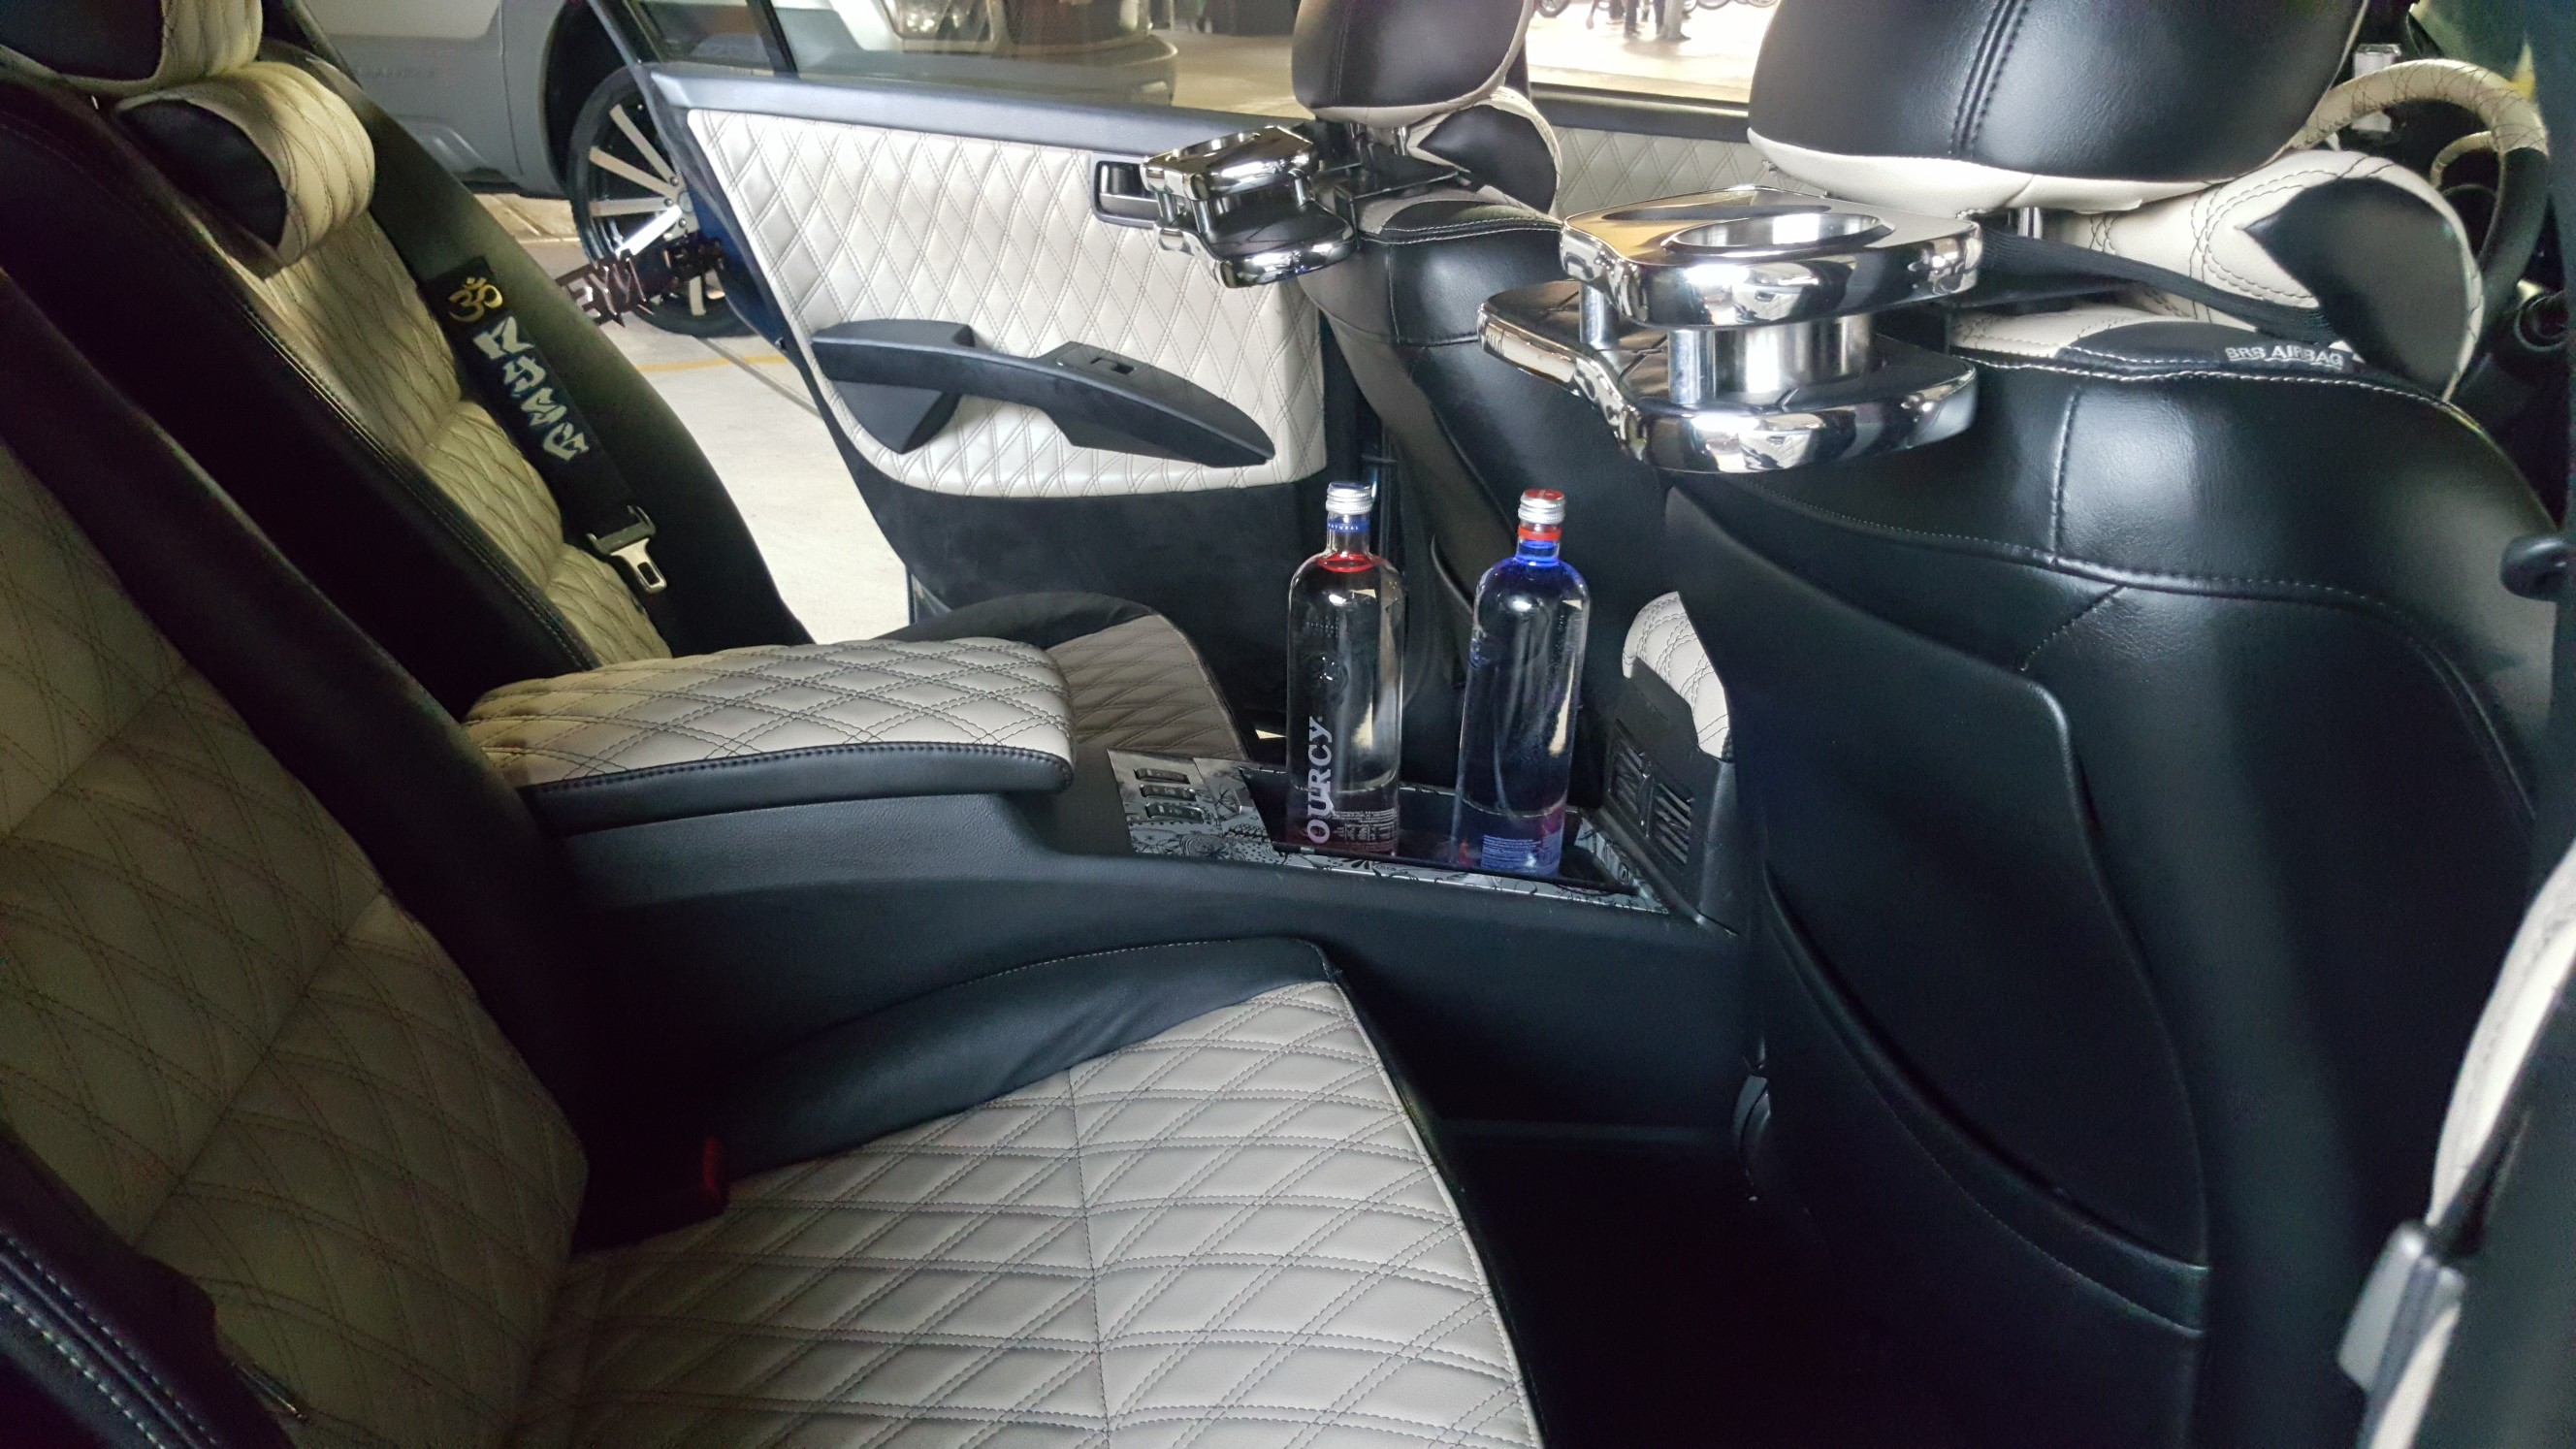
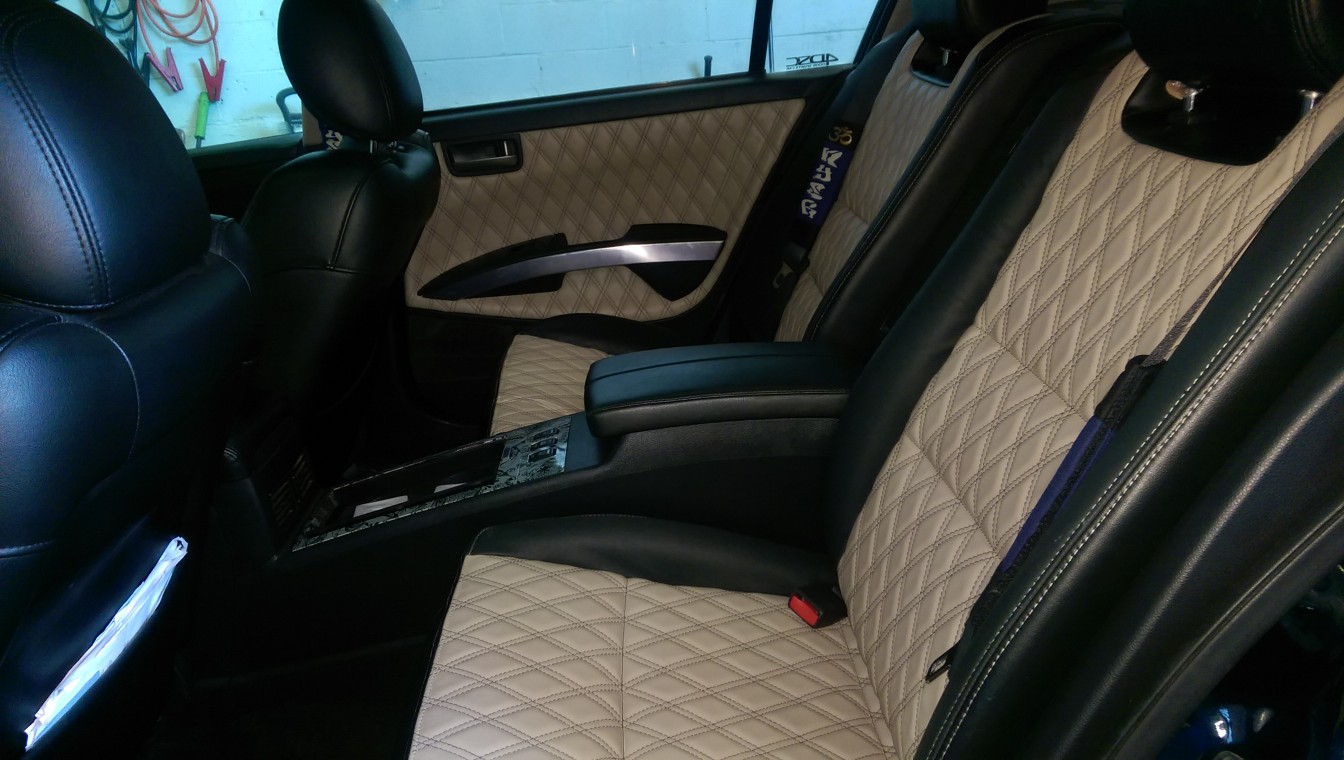
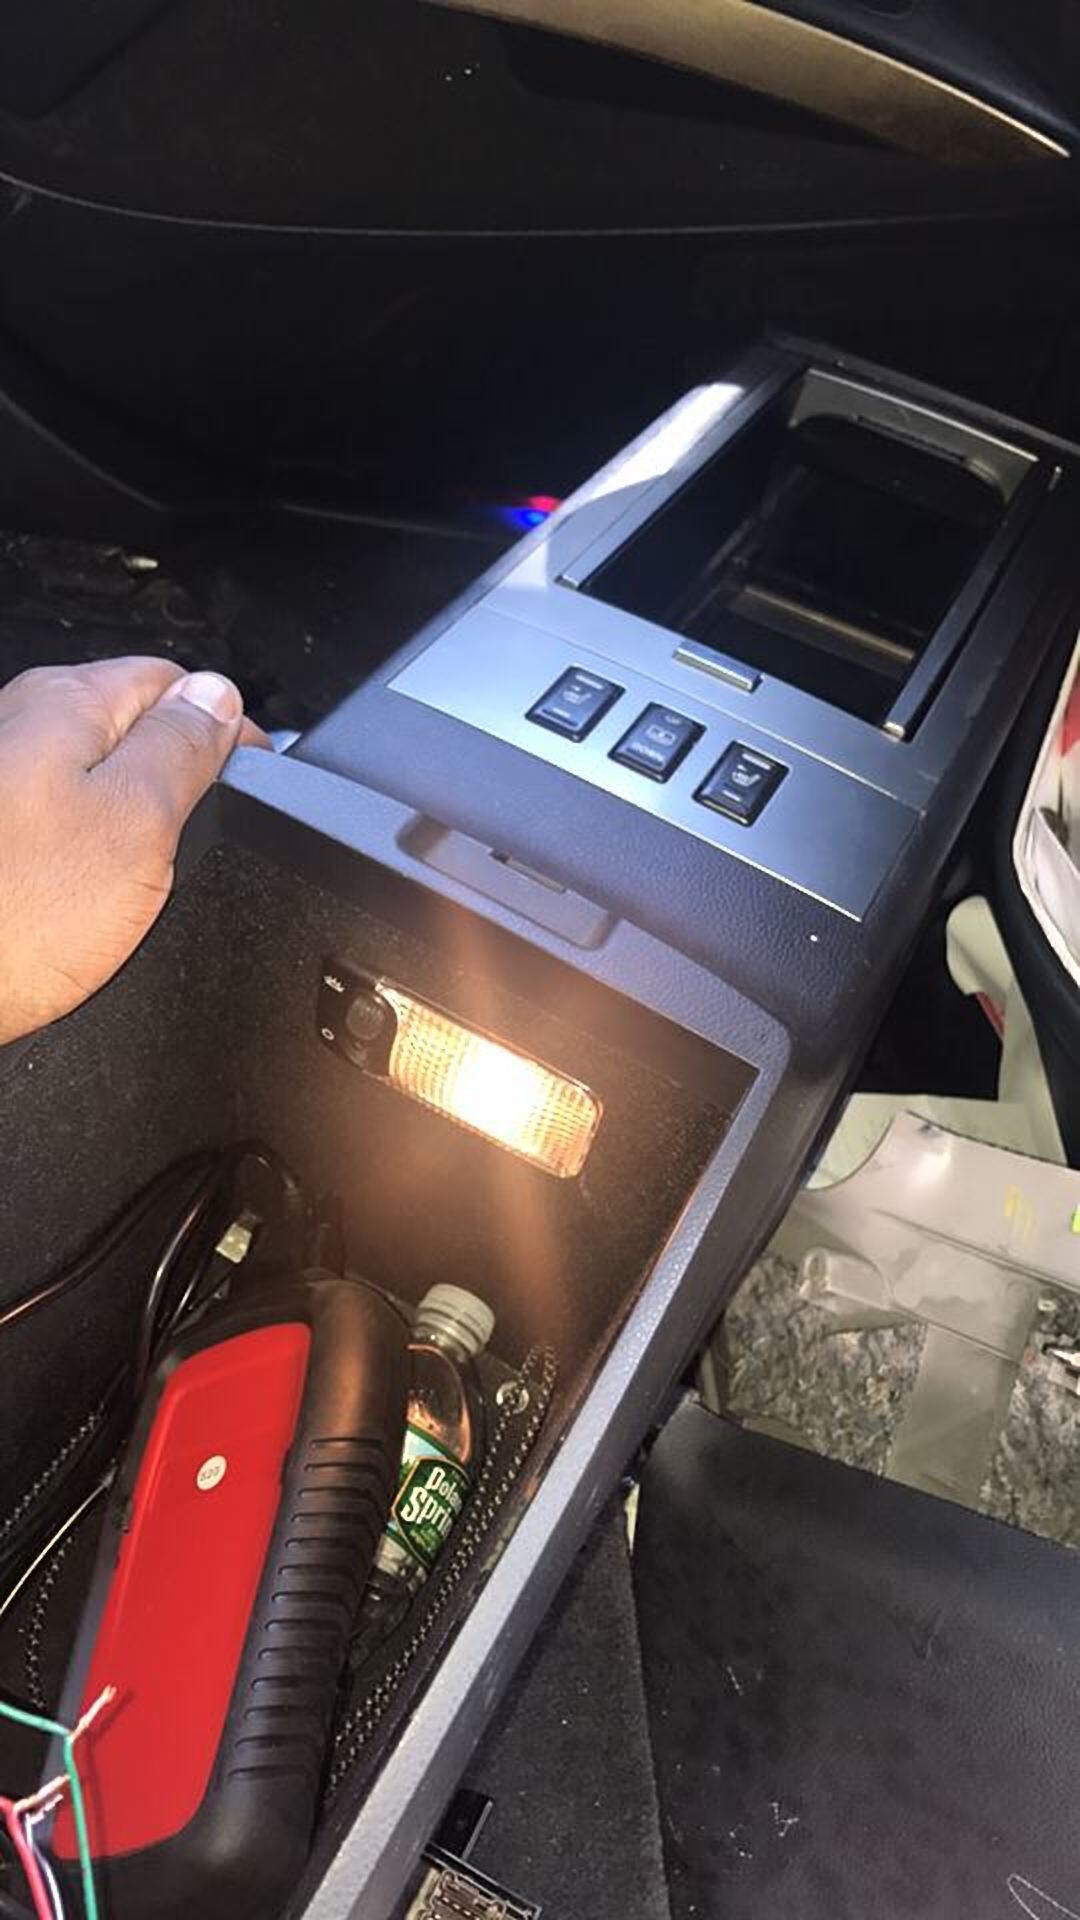
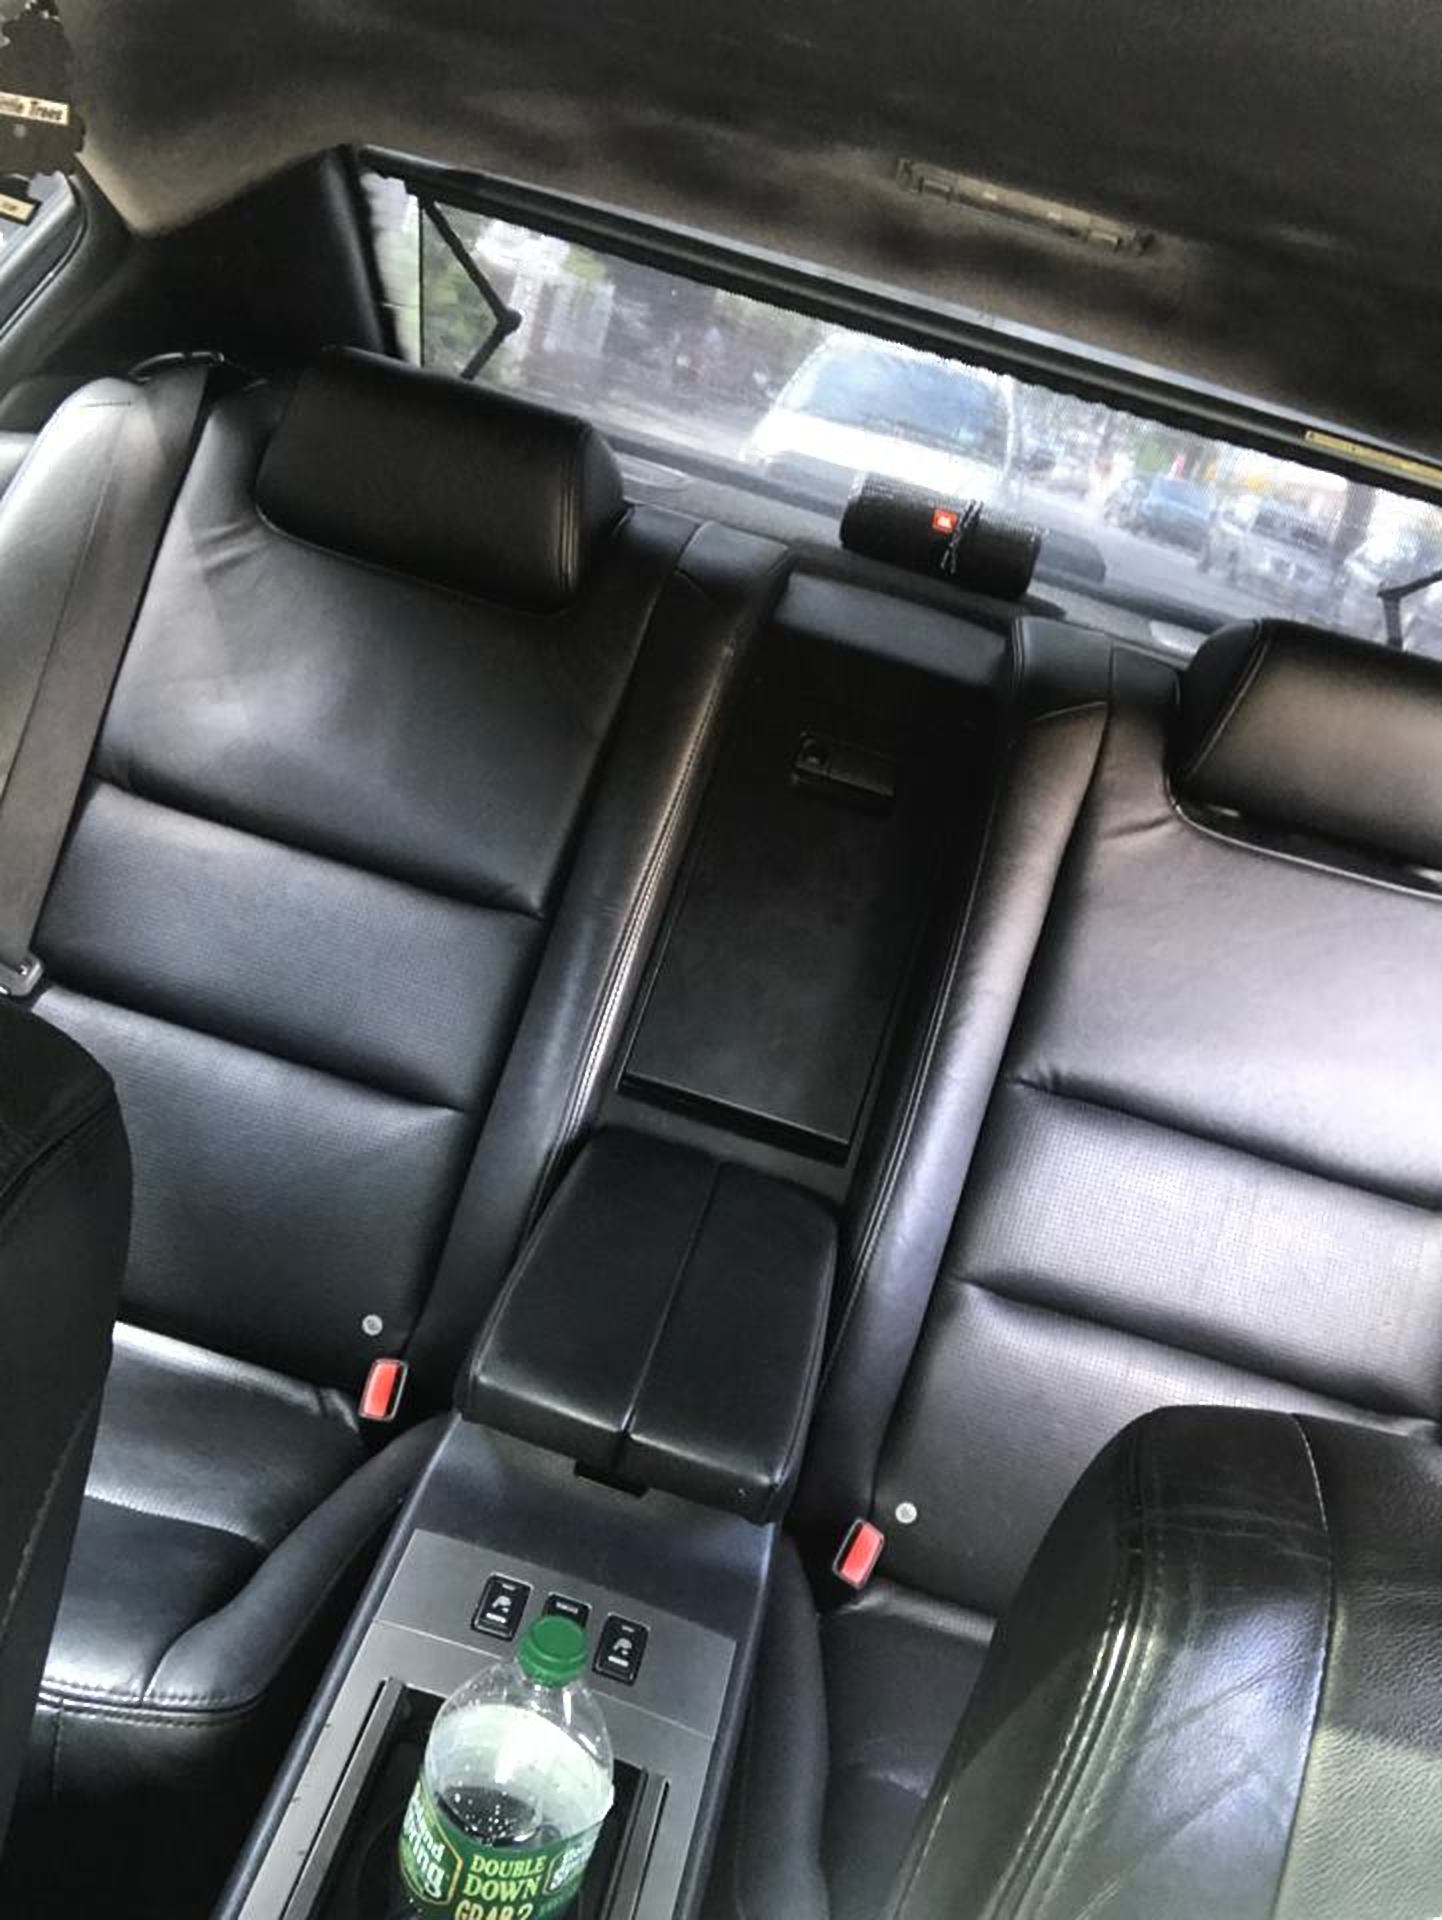
Interior:
- Black Leather
- Escort Passport 8500 X50 hard wired
- LED Courtesy Lights F&R
- LED Floor Lights
- LED Trunk Lights
- LED Cupholders
- LED Vanity Mirror Lights
- LED Dome Lights
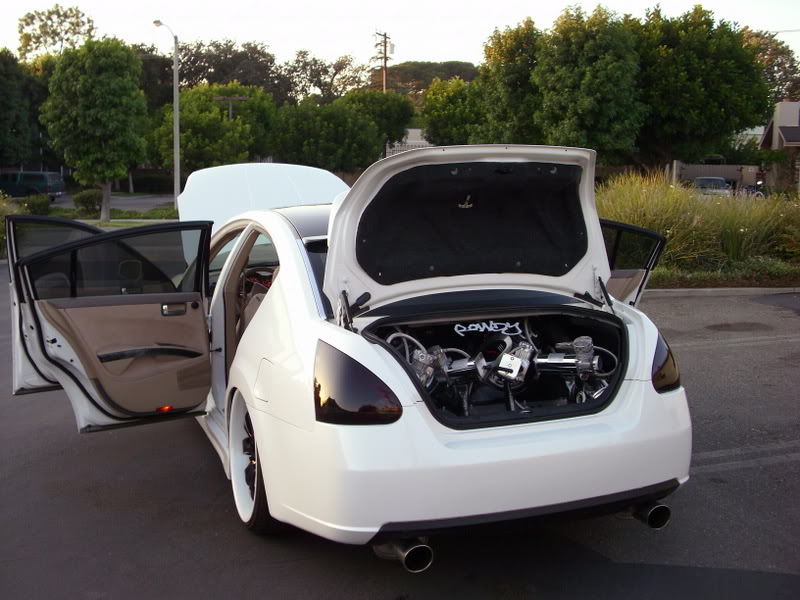
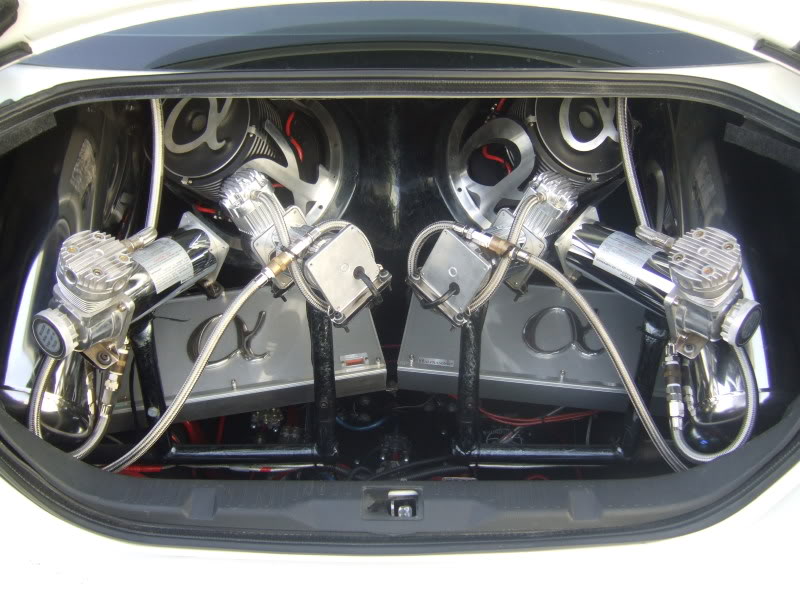
Stereo:
- Eclipse AVN6200 navigation
- AudioControl Epic-160
- Rockford Fosgate Power T10001bd
- Rockford Fosgate Power T400-4
- Arc Audio KS300.4
- 2-12′ RE Audio SE
- Hertz MLK Mille 6.5 Comps Front Doors
- Hertz HSK Hi Power Comps Rear Doors
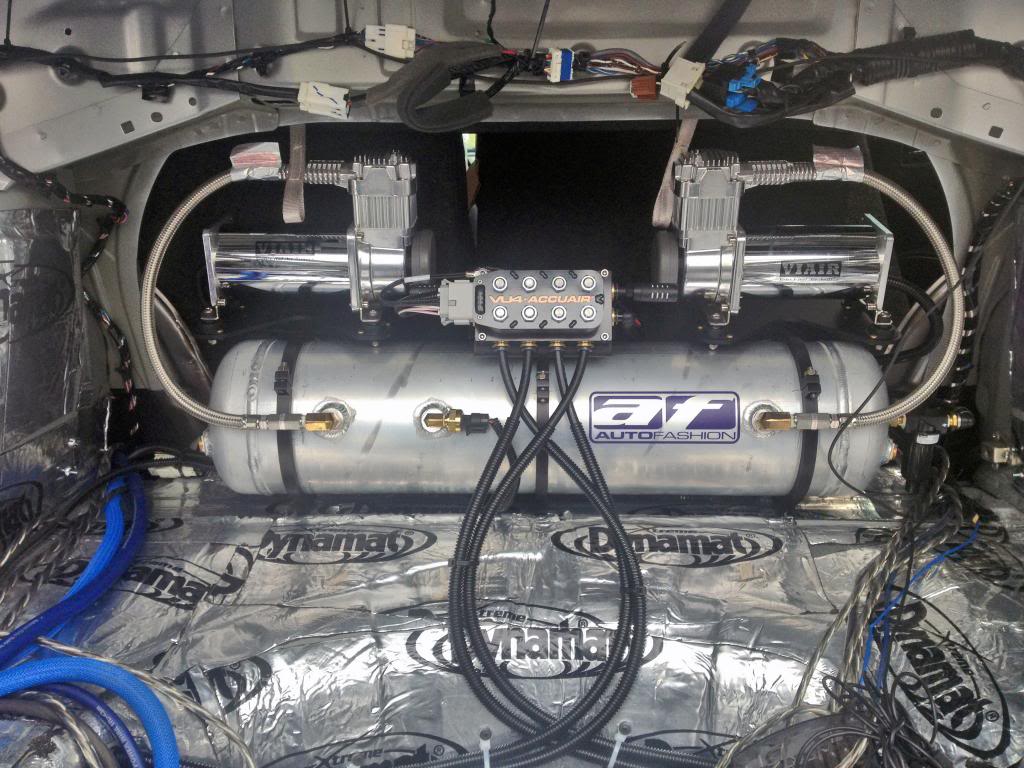
- Dynamat Trunk/Doors
- Streetwires ZN9 RCA
- Knu Kolossus 1ga
- Big 3
- Axxess NIRD-01
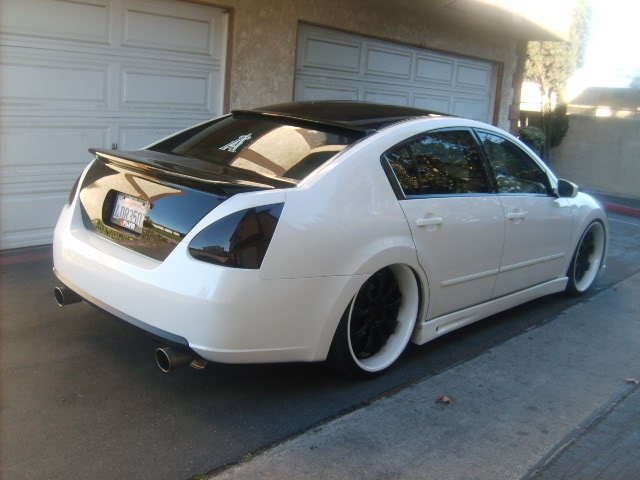
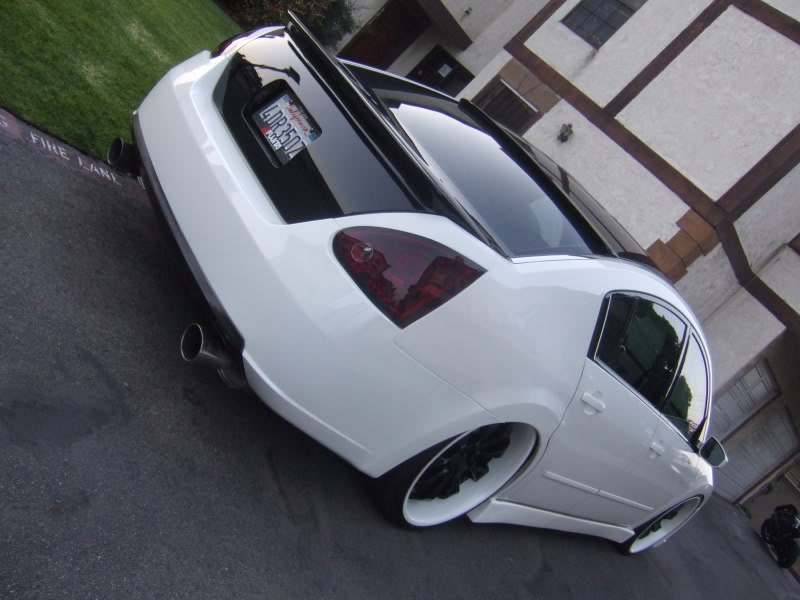
Exterior:
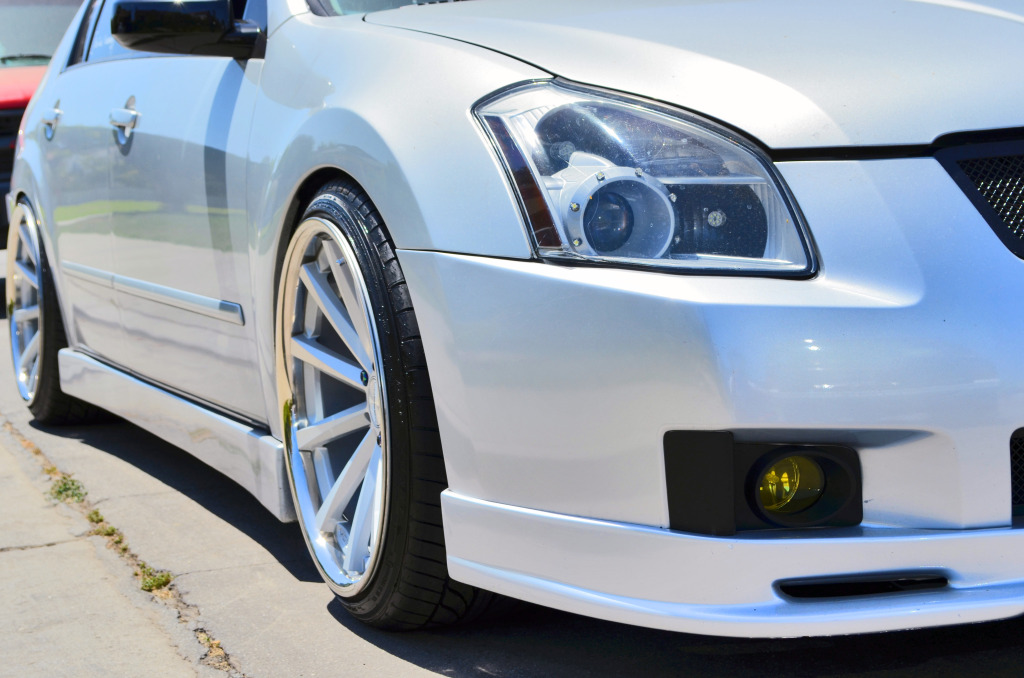
- DB 6.5 front lip
- Unfeadable Custom Side Skirts
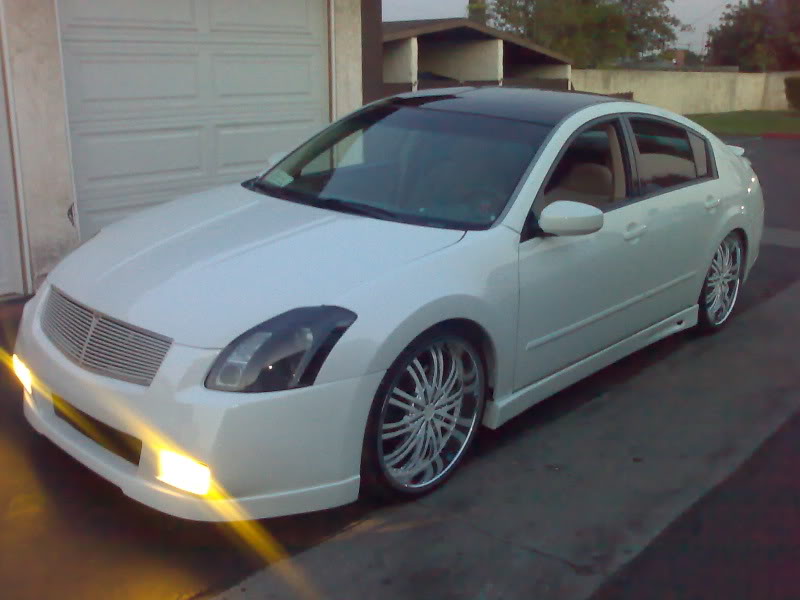
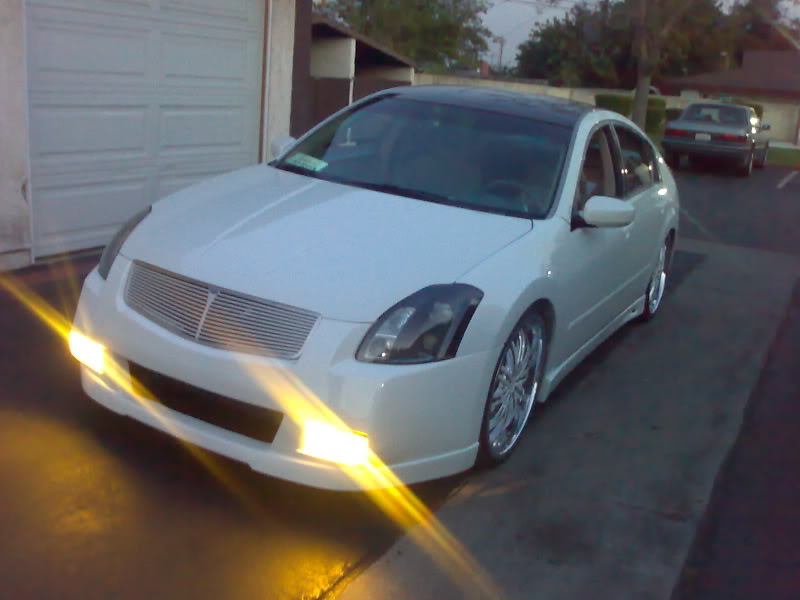
- E&G fine mesh grill
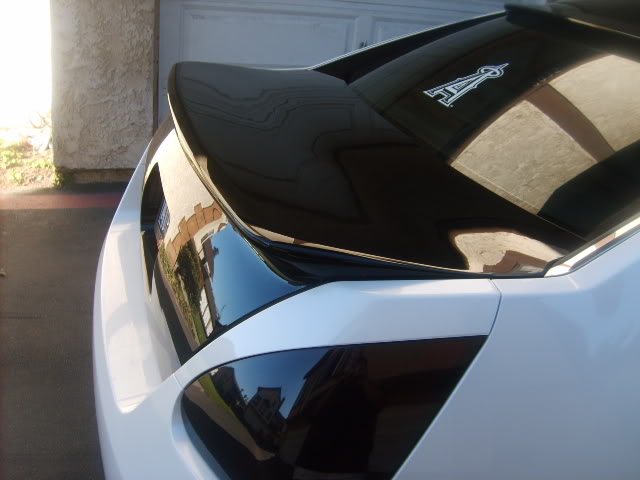
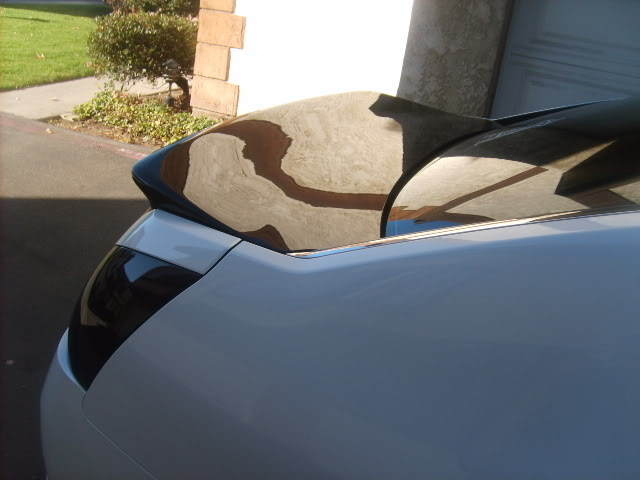
- Carbon Fiber Ionic Dynamics Roof Spoiler
- Blacked out roof
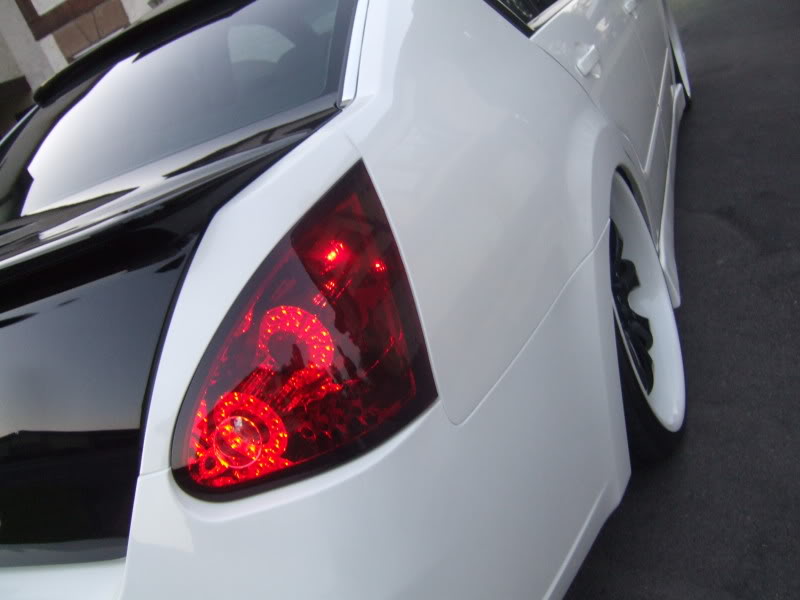
- IPCW LED taillights
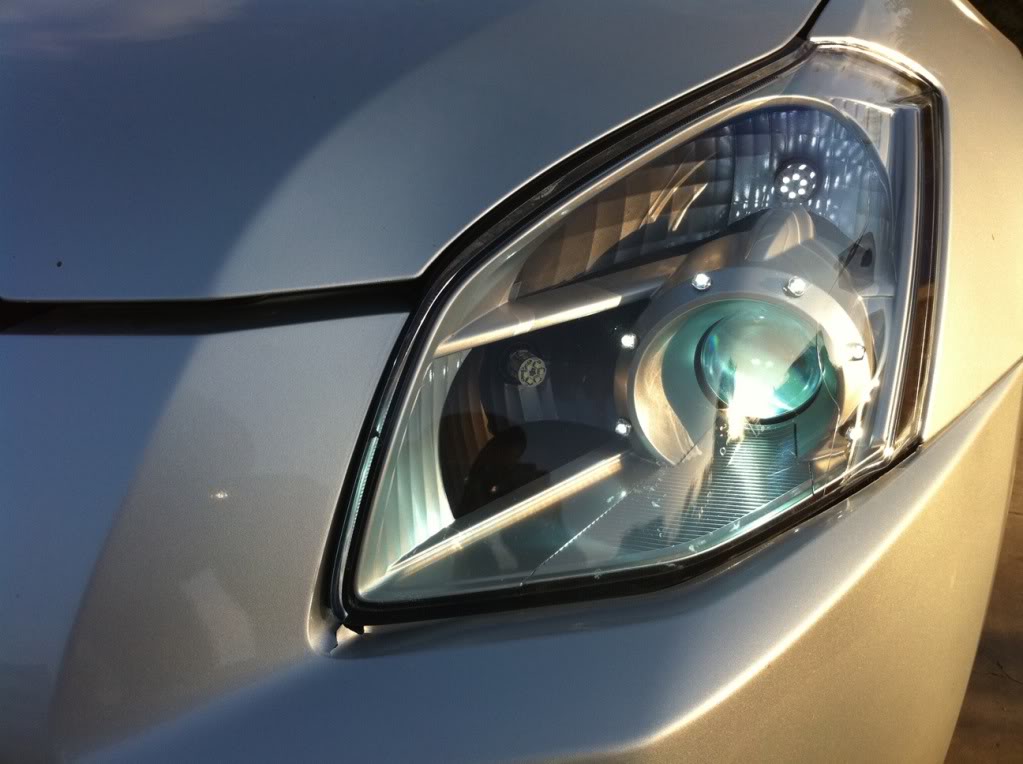
- 6000k HID headlamps
- 3000k HID fogs
- Custom Iron Man LEDs
- Independent Fog Lights
- Switchback LED turn signal
- LED cornering light
- LED Reverse light
- LED License Plate
Other:
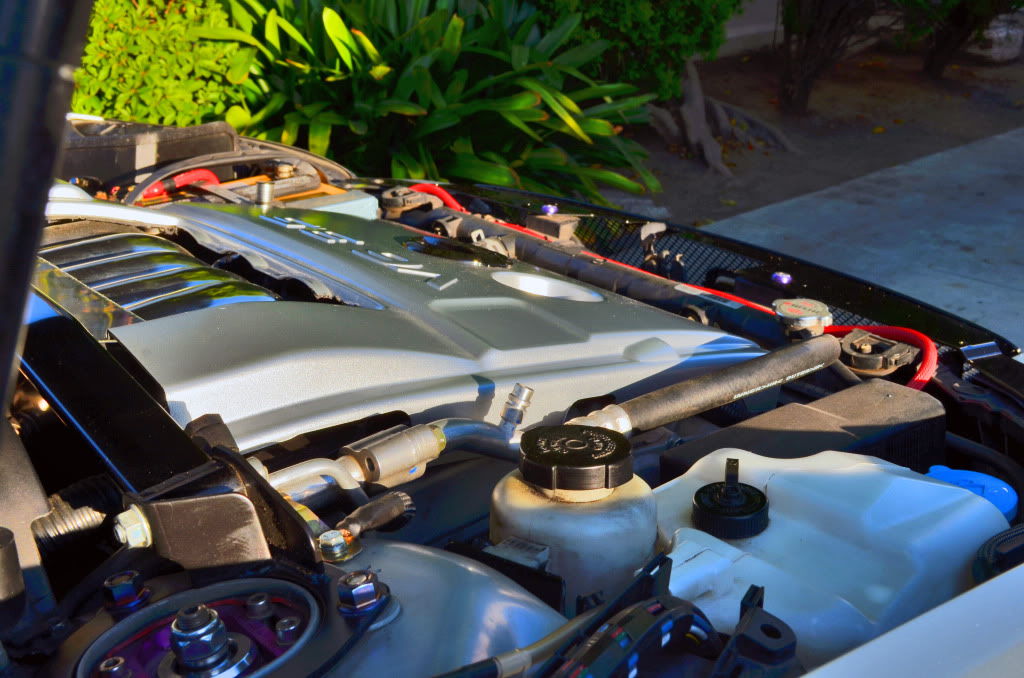
- Nismo radiator cap
- Nismo oil cap
- Baller Bolts Burnt Titanium Strut Tower Nuts
- Nismo Valve Tire Stem Caps
![]()


")


")


")


")