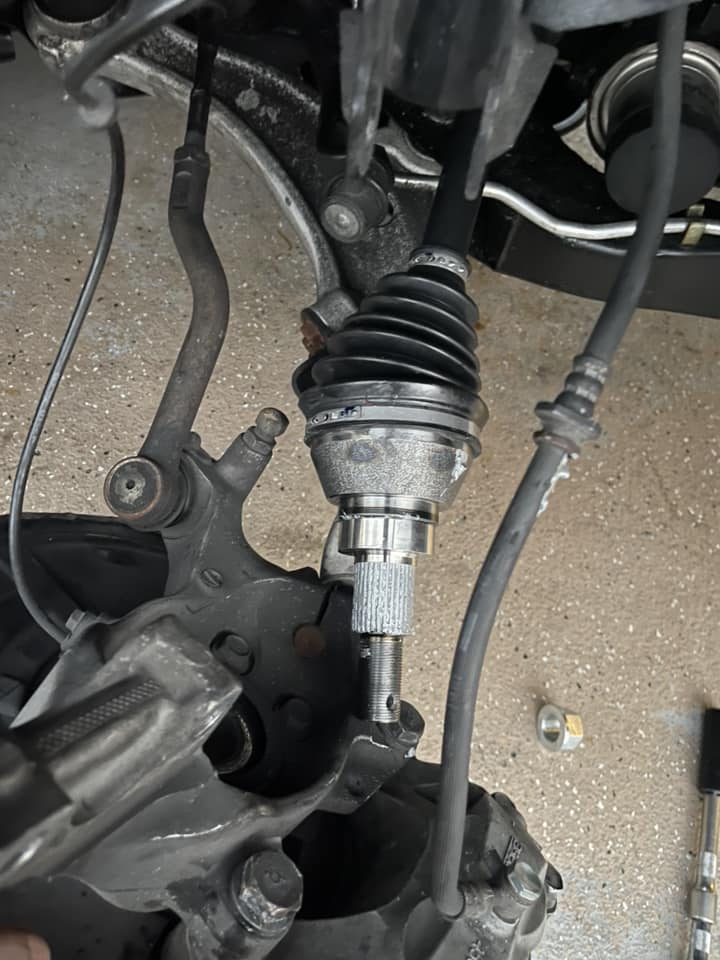
This is exclusively for 6MT swaps! It removes the requirement to combine two OEM axles on the passenger side for the swap. This was previously a pain to deal with. Now you only need to use an OEM or aftermarket 07-12 3.5 manual Altima axle.
What’s up guys! So many of you know I’ve been in the 7th gen 6mt game for a while. I’m the original creator for the 6mt swap list on my4dsc.com. Over the year we been seeing lots of swaps being done. Now the biggest issue we been having now is finding 2 OEM passenger AXLE to mate together in order for the swap to work.
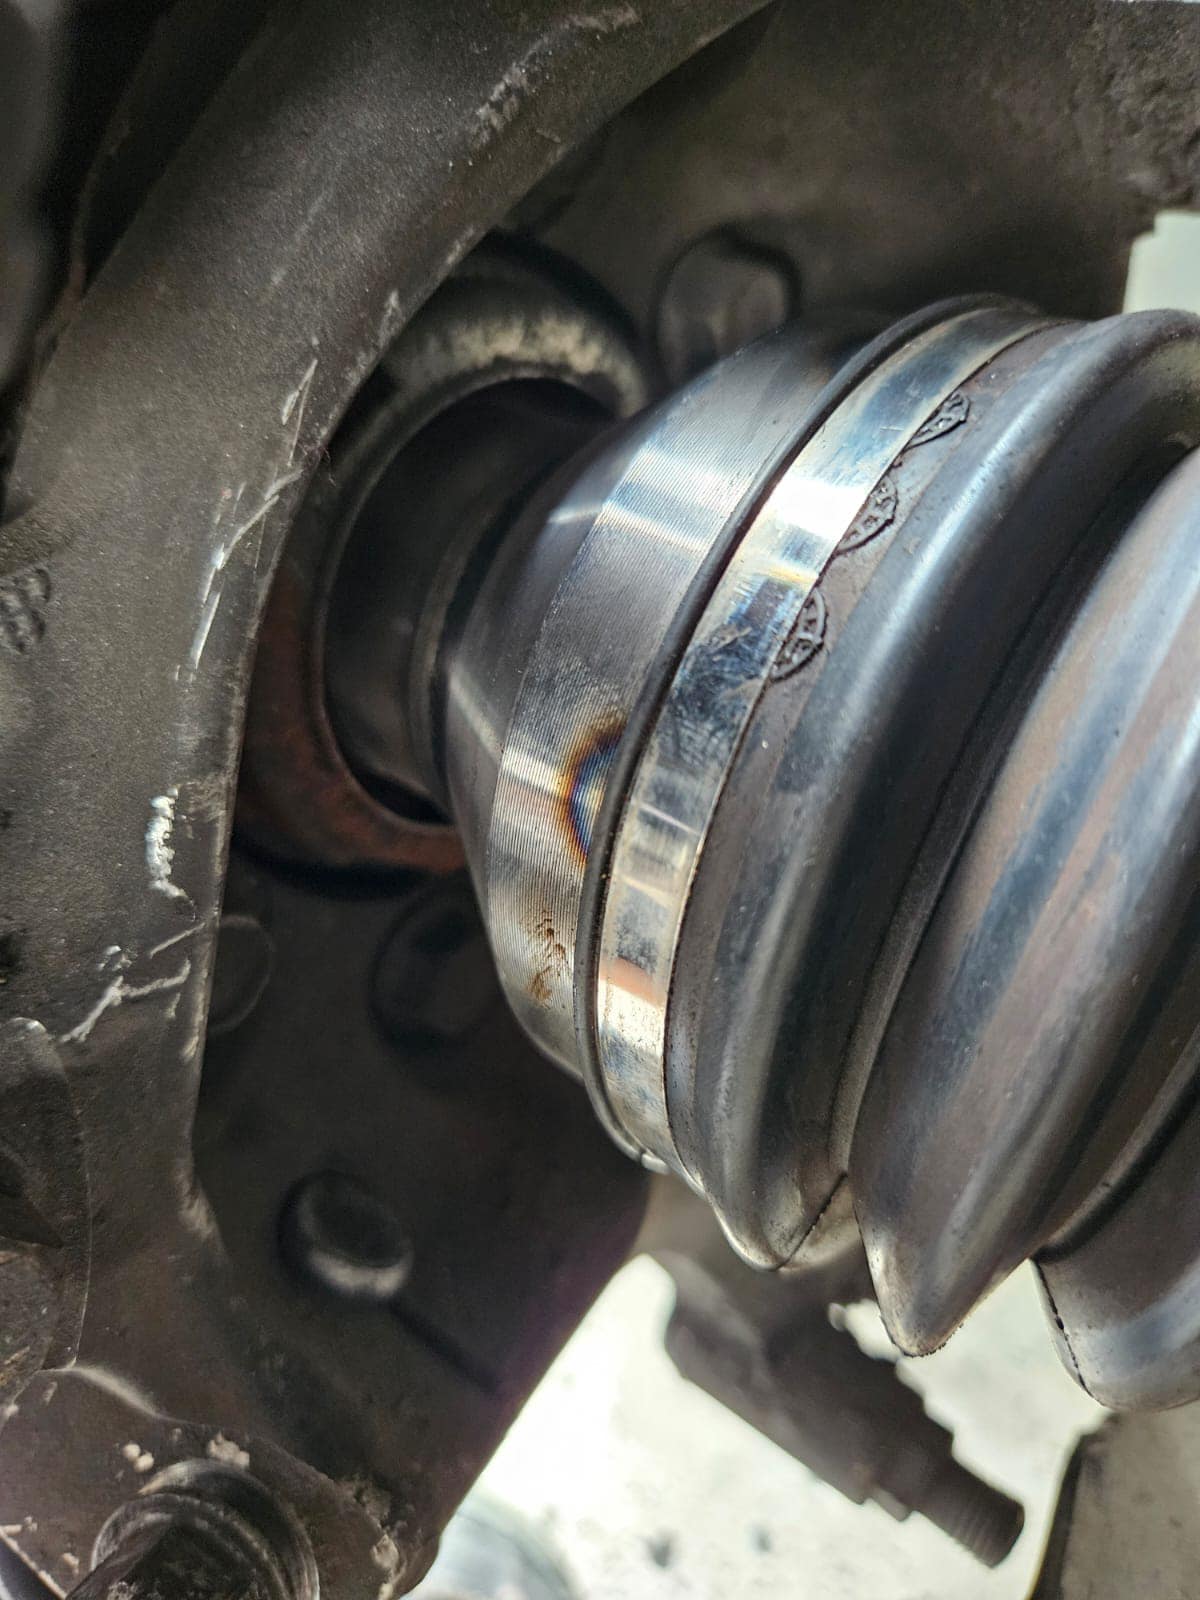
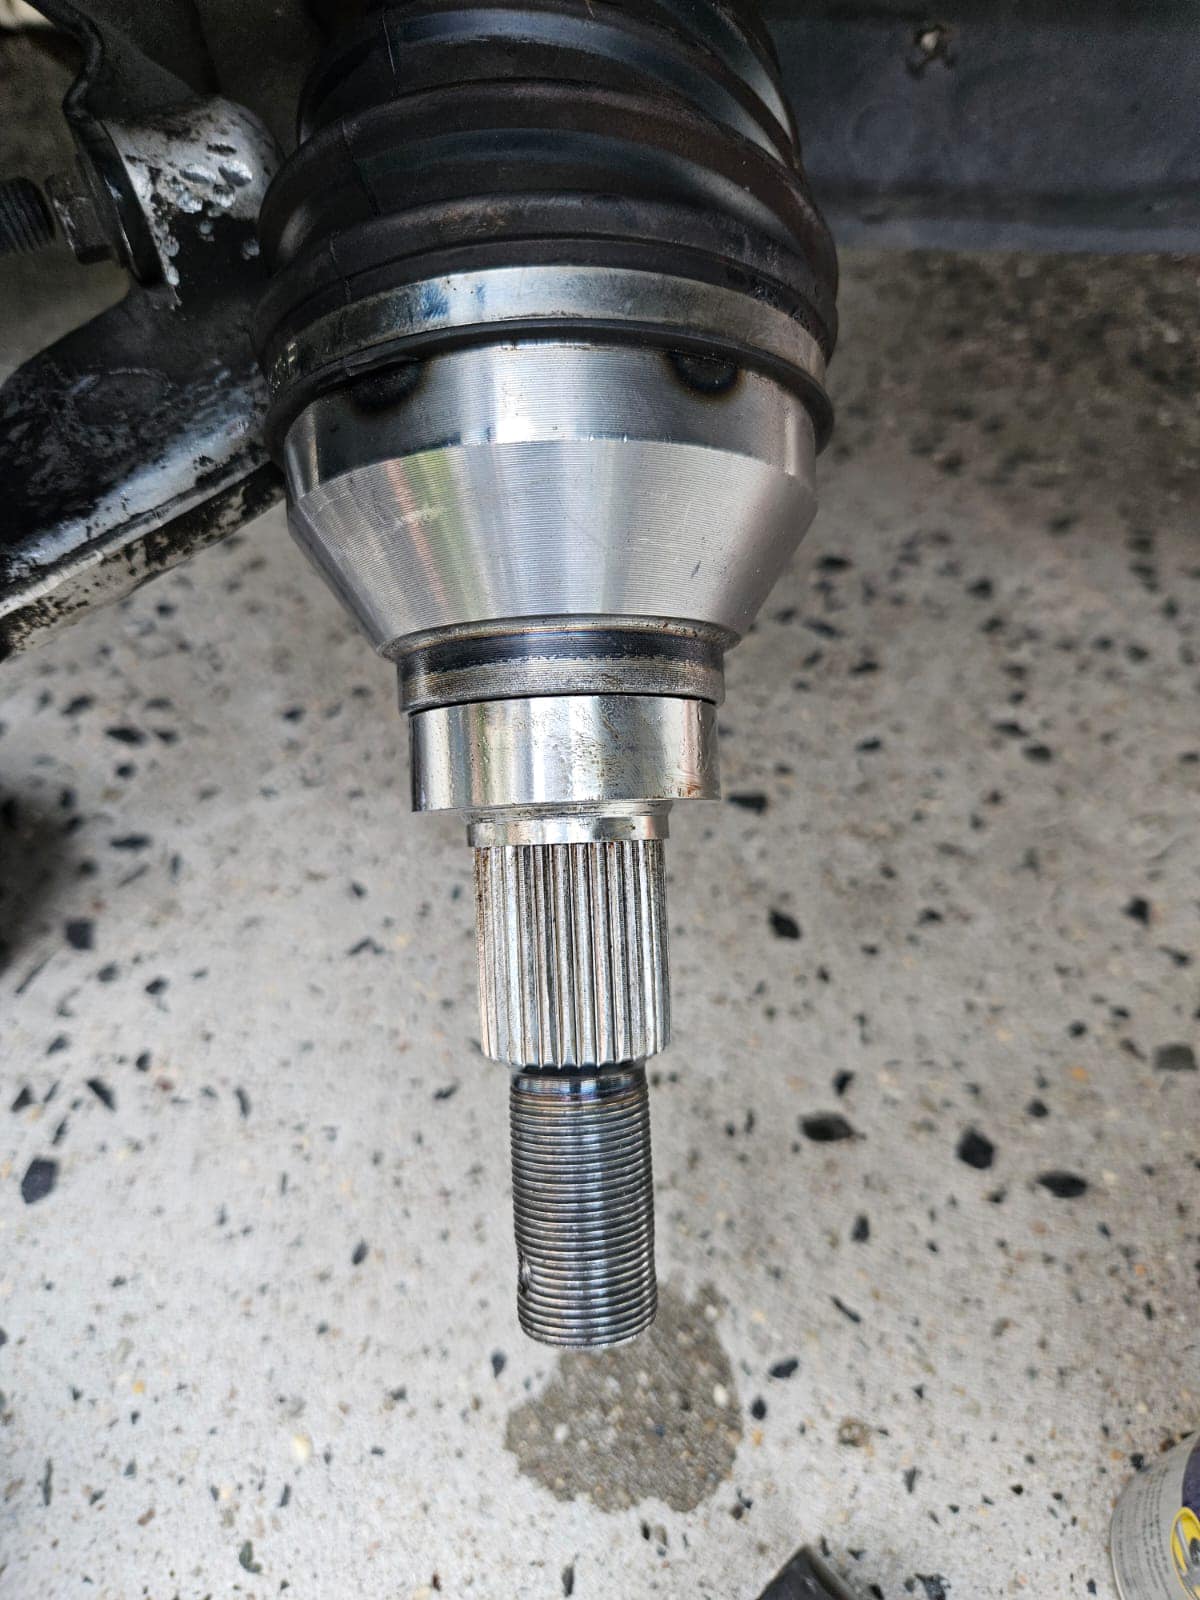
I went ahead and made something that’ll make this swap a whole lot easier. It’s a axle spacer custom CNC design to fit any 07-12 Altima 3.5 manual axle. Now you won’t need 2 axle to make one. All you need to do is Just purchase a 07-12 Altima 3.5 manual axle and the spacer and boom swap it in. The people that have the swap done know how annoying this part is.
This is only if you’re swapping 6-speed manual transmission in a 7th gen maxima.
If you’re interested please send me a DM. trying to get a group buy going so it’s cheaper for everyone.
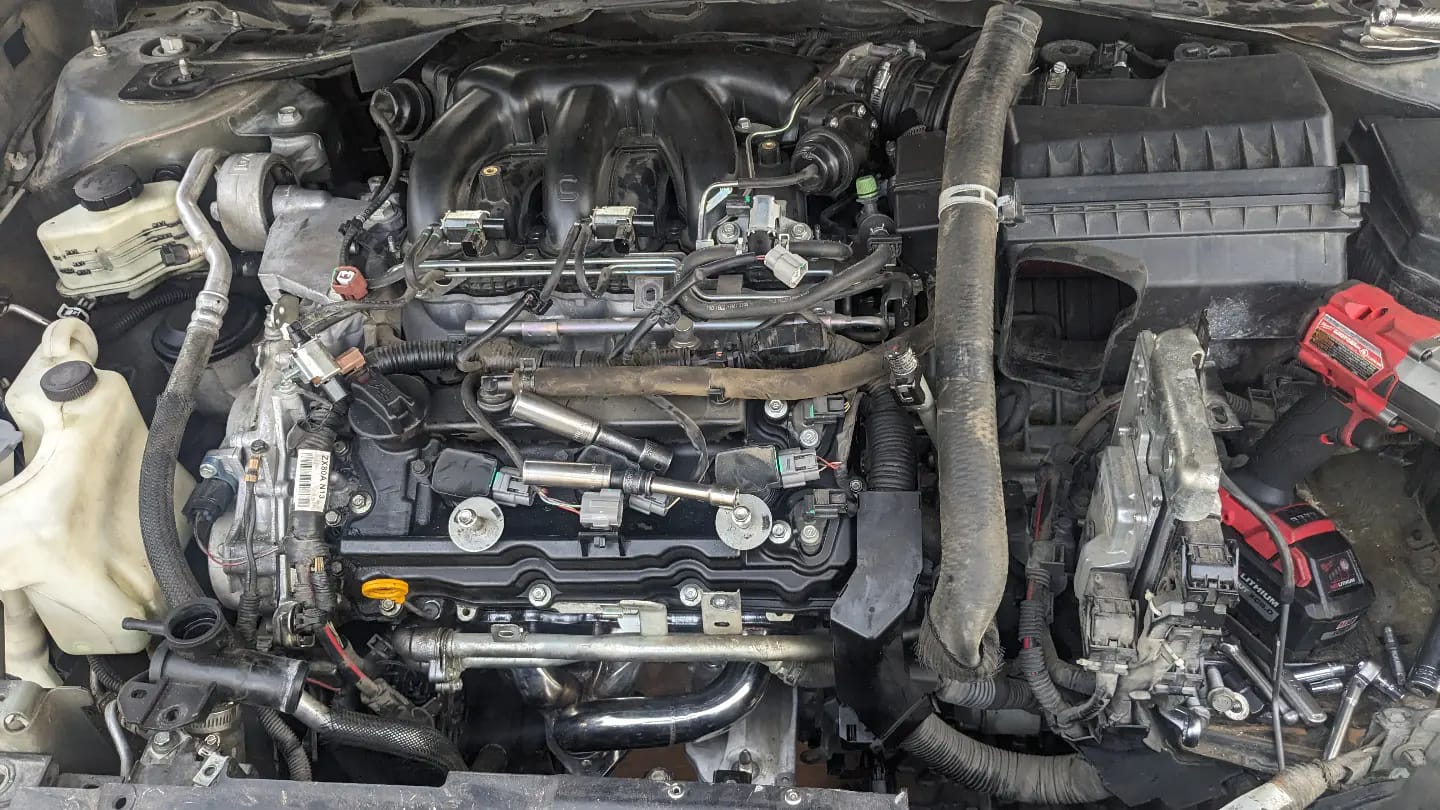
Before vs After
– Mitzone Aluminum Valve covers (Gaskets, PCV, Bolts, Oil Cap)
– 8th gen Upper IM
– TCM Delete
– Big 3 Wiring
– Engine Bay Plastic Panel Cover
Had to extend front o2 sensor harness. Most of the harness loom/tape was brittle and cracking when I would move it so I decided to do a mini wire tuck and also tucked the vacuum lines/solenoids for vias deleting the vacuum rail for a much cleaner look IMO.
If you’re vehicle has the OEM front and rear cats reuse original hardware such as bolts and nuts with the Motordyne Art Y Pipe, but if you have the Magnaflow front and rear cats like I have use everything I have/show. Regardless installation is the same just different hardware.
Subscribe to his channel for some incredibly useful and informative videos, especially if you own a 2009-2014 7th generation Nissan Maxima. His content is quite unique and valuable for the 7thgen!
Finally got this done with the help of a friend who’s into car audio. The tablet project s still on hold. I’m too lazy to work with bondo . The hardest part was wiring the power line through the rubber grommet.
The power wire, w/fuse (AGU, 10amp), from battery to the cabin.
If you remember LVleo78’s Infinity Baselink II install, it’s almost no different with the exception of the lack of line-level converter and the wire in question which was the remote turn-on lead.
By the way, the “Procoat” box you see there was not purchased – the dealer just threw it in as a bonus. I doubt it actually works but who knows. Just never bothered to remove it.
Install was straight forward. Set up the wire from the battery w/fuse, run it through the grommet, along the side under the plastic trim. From there, it was finding a place to ground the wire from the sub and tapping the “subwoofers” in the rear deck to the high level inputs. Additionally, we tapped the Acc power wire from the subwoofer amp.
The sub installed is this, a Sound Ordnance B-8p
I bought the Boss 8 gauge amplifier kit online as well as some 10amp AGU fuses.
Once the power was run along the side of the car and to the trunk area, behind the rear passenger seating, we focused on the remote turn-on and wiring from the factory subwoofers.
See the diagram below: The remote turn on wire we tapped into is #9 and was the color green, as indicated in the service manual. We tested this to make sure as well. If you do the same, make sure to double check. This is the wire connected to the harness going into the factory amp.
#9, ACC power, GREEN. (Not Blue, like on the the bose system).
Unfortunately, I didn’t take pictures of the grounding points. I selected a predrilled/pre-threaded hole that can be found underneath and behind the passenger seating and happened to have the right size/thread bolt to fit. The area and bolt were sanded to ensure better connection. When you take out the seats and carpet, you’ll see what I mean. The carpet/board covering the spare tire is also held in by two plastic pins toward the passenger seat end. Just pull them out slowly.
With the next picture, you’ll see the factory subwoofers were tapped directly at the subs. Next to the harness connection, there are tabs for positive and negative input with hook pins ready for solder. We tapped the lines from there to the high level inputs. I’ll try and get a better picture later (As I need to recrimp/solder better wires to them).
Anyway, that’s it for now. The sound is nice and hits pretty hard, although my friend said he would prefer it to be more glass shattering I’m loving it so far and it does well to fill some of that low end base. If/when I install a new header unit, I’ll definitely run the sub inputs from there.


")