Last Updated: 05/08/2023 @ 07:35 am
Member Credit: G35 Mass
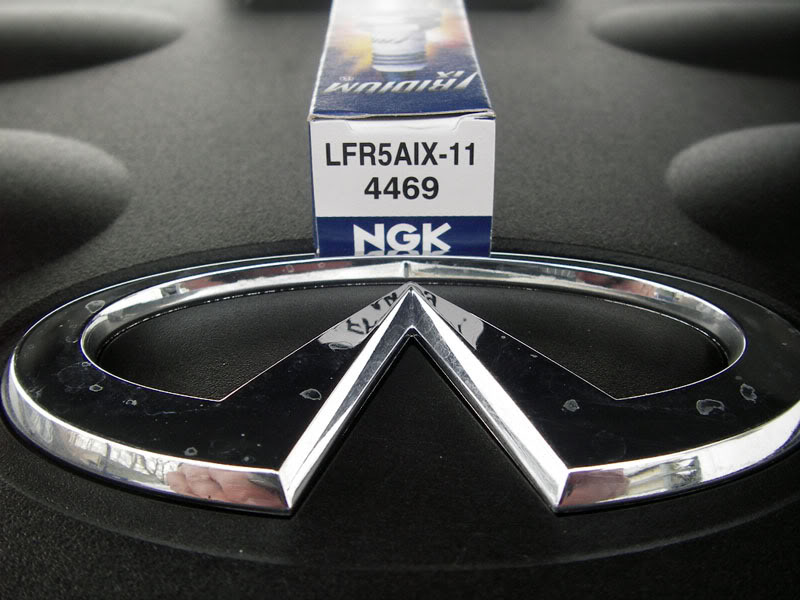
I installed LFR5AIX-11 plugs.

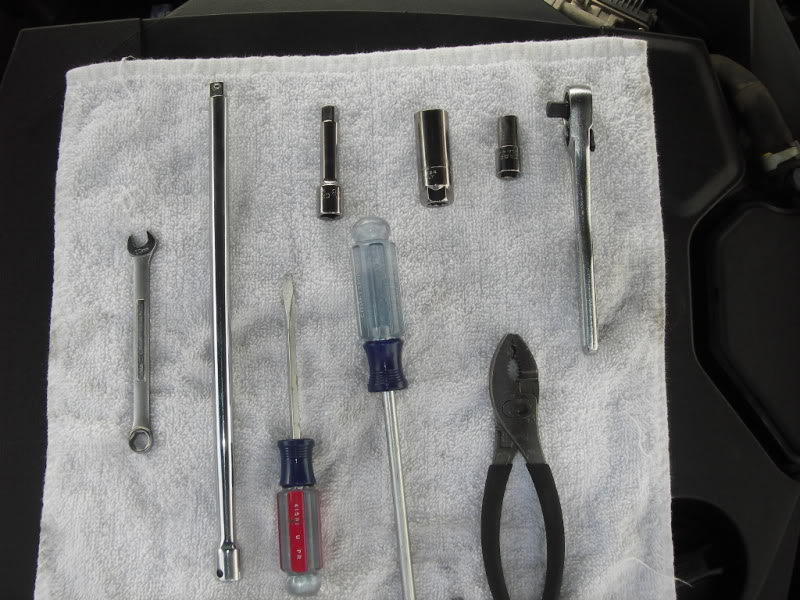
First, the tools you will need:
- 6 NGK Iridium IX Sparkplugs
- 3/8″ Rachet
- 3/8″ long extension (at least ten inches)
- 10mm socket
- 10mm open-end wrench
- 16mm “deep” socket (or “sparkplug socket”)
- Magnetic pick up tool
- 3-prong grabber (optional, you’ll need it if you don’t have a “sparkplug socket”)
- Pliers
- Torque Wrench
- Most people would have these tools in their garage. The long extension is a must. The magnetic and pronged “pickup tools” make this much easier.
1) DISCONNECT THE NEGATIVE BATTERY TERMINAL! Loosen one 10mm bolt (RED arrow), this is the only step where you will use the open-end wrench.

2) Remove the engine cover. It is 2 10mm nuts and 2 10mm bolts (RED arrows)

3) Remove the intake tube. This should require the removal of (2) 10mm bolts (RED arrows) and loosening 3 hose clamps, one on each end of the intake tube and a third clamp on the breather tube (BLUE arrows). Use pliers to loosen this last clamp, then pull the rubber tube away from the intake pipe. Removal of the second 10mm bolt located at the air box will facilitate easier reinstallation of the intake tube later.

4) Let’s start on the driver’s side first.
5) To gain better access to the coils, you’ll need to remove 3 10mm bolts which hold down an electrical harness just above the coils. All the bolts are easy to get to. You may have to push a couple hoses out of the way to get the back bolt though. Be careful not to drop the bolts!!! The magnetic pick-up tool can be very helpful here!
Front:

Middle:

Rear:
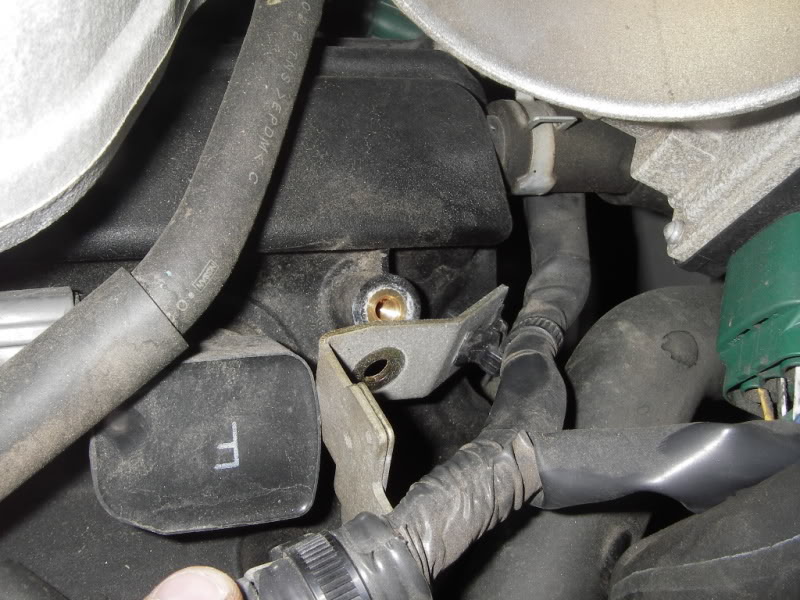
6) After you have removed the bolts for the electrical harness, Disconnect the plugs going to the individual coils. There are 3 plugs to undo. They are snug, but they come off fairly easily with just your fingers. Simply depress the flat lever section, and pull. Do not pull by the wires. Pull only on the gray plastic connector. If necessary, use a flat-blade screwdriver to help the connector come loose. Remember which plug goes to which coil. That is extremely important!!!! (They may be labeled).
Cylinder 2
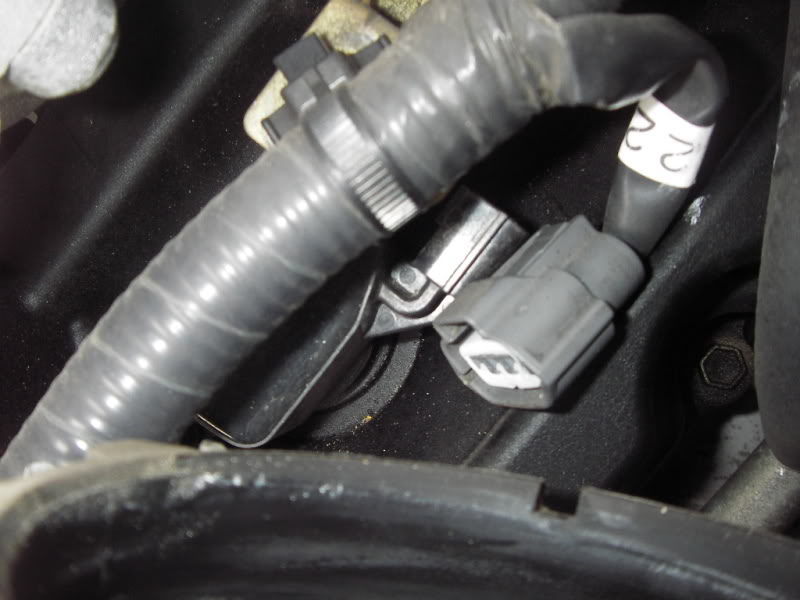
Cylinder 4 & 6

7) Now you have good access to the coils! Use the 10mm socket to remove the bolt from the coil. Once you have removed the bolt, the coil will pull straight up out of the head. This should be very easy to pullout.

8) You should be able to see the sparkplug in the hole. It is pretty far down there.
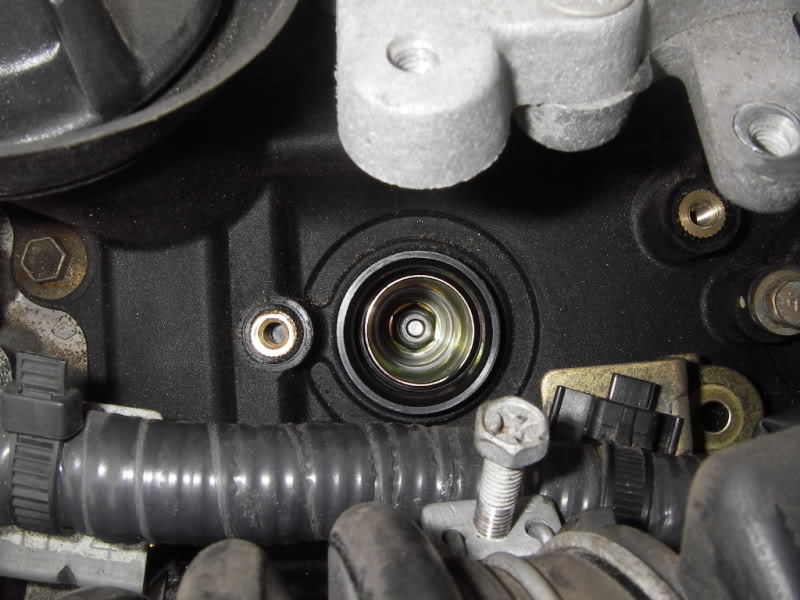
9) Use the 16mm socket with the extension to remove the plug. If you aren’t using a sparkplug socket, you’ll need to use a 3-prong, spring loaded pick-up tool. This tool makes plucking the plug out the head very easy. I’m sure you can come up with some other sort of tool to do the job, but that is what I used.
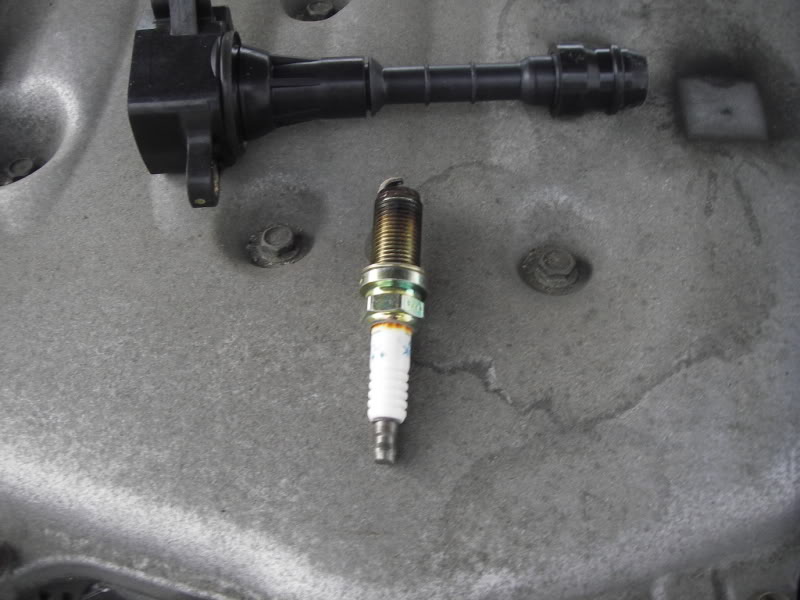
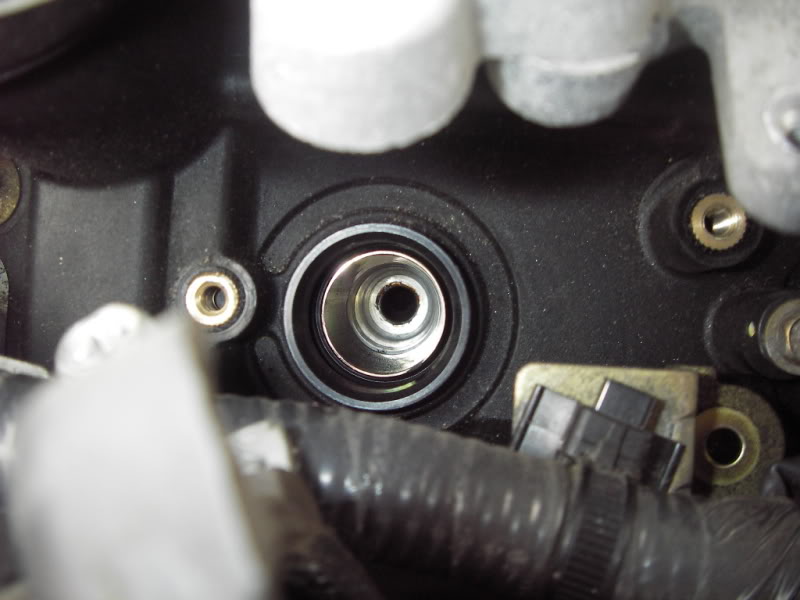
10) Prepare your new sparkplug. These come pre-gapped! You do not need to gap them, and you will probably cause problems if you do. Coat LIGHTLY the 3-4 threads closest to the non-electrode end of the plug with a coating of Anti-Seize lubricant. A small tube or bottle can be purchased at any automotive store.

11) Replace the sparkplug with your new plug! Torque the plug to 20 FT-LBs! Make sure not to crossthread or overtorque the plugs! Aluminum heads are easy to strip out!

12) replace the coil; torque its bolt to 95 IN-LBs and plug it back in to the harness.
13) Repeat steps 8-11 for cylinders 4 & 6!
14) Re-secure the wiring harness with its 3 10mm bolts, and the driver’s side is complete.
15) You can also replace the intake tube at this time.
16) On to the passenger’s side of the engine.
17) This side is slightly harder….only because some of the bolts are difficult to reach by hand.
18) I started by removing 2 10mm bolts which retain the wiring harness. I only removed the 2 bolts closest to the front and middle of the head. The rear bolt is not necessary to remove.
19) You will need to remove the rubber breather tune that runs from the valve cover to the intake manifold. Use the pliers to loosen the clamps; then, slide the tube off of the engine.
20) Now, you should be able to disconnect the electrical plugs from the coils. This is the same as on the driver’s side.
21) The coil removal and plugs change is the same as described above. The only difference is that the back (toward firewall) coil bolt is difficult to get to with your fingers. Use the magnetic tool to remove and replace this bolt.
22) After repeating the procedure for all the cylinders, you should be done. Make sure to check that all the electrical connectors are snug and “clicked” tight.
23) Very important, you shouldn’t have any extra bolts laying around!!!!
24) put the engine cover back on. Secure it with its 4 fasteners
25) reconnect the negative battery terminal.
26) YOU ARE DONE!!!!!
I think I remembered all the steps. This took me about an hour, going at a leisurely pace. Additionally, I was figuring it out as I went. With some motivation, you could probably do it in 1/2 an hour.
Have fun,
Andrew
![]()


Comments are closed.