

Last Updated: 04/06/2024 @ 08:32 pm
Community Member Credit: Winard Porter
So due to the fact that there was little to no info on here regarding the mirror swap, I decided to do a write-up on the process as i experienced it. Please note, you do this at you own risk.
Tools Needed:
- Wire Stripper
- 24 FT Electric Wire
- Electric Tape
- Phillips Screwdriver
- Flat Head Screwdriver
- 10MM Socket
- Metal Drill Bit
- Drill
- Dremel Tool
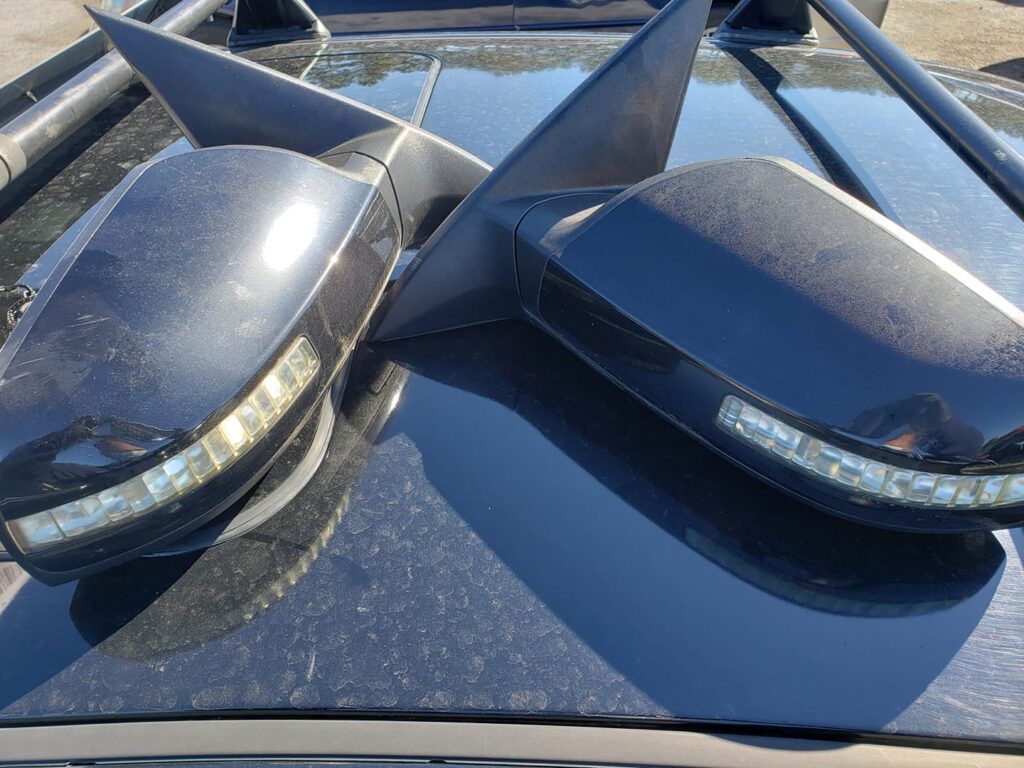
- Mirrors (Left and Right)
Step 1
Remove door panel by removing the 3 screws. The panel is also held with clips. Pull the ends of the panel to pop the clips out. Be careful not to yank the puddle light connector when removing. Once panel is out, you can completely detach it from the car by removing the actuator cables or you can leave those intact and rest the panel to the side.
Step 2
Locate the mirror harness. You will be splicing into the harness using the above wiring schematic. Repeat as needed for both sides.
Note: I kept the stock wiring intact just in case i decide to go back to the original mirrors, its plug and play.

Drivers Side

Passenger Side

Step 3
Once the wiring for the mirror movement is complete. Proceed to wiring the power and ground for the signal lights. I ran mine from the rear turn signals. You will be tapping into the black and green wire at the harness. Once you tap in, you will need to route the wire to the front. I ran mine through the panels and through the grommet at the door.


Step 4
Once all wiring is done, you will now need to mount the mirrors.
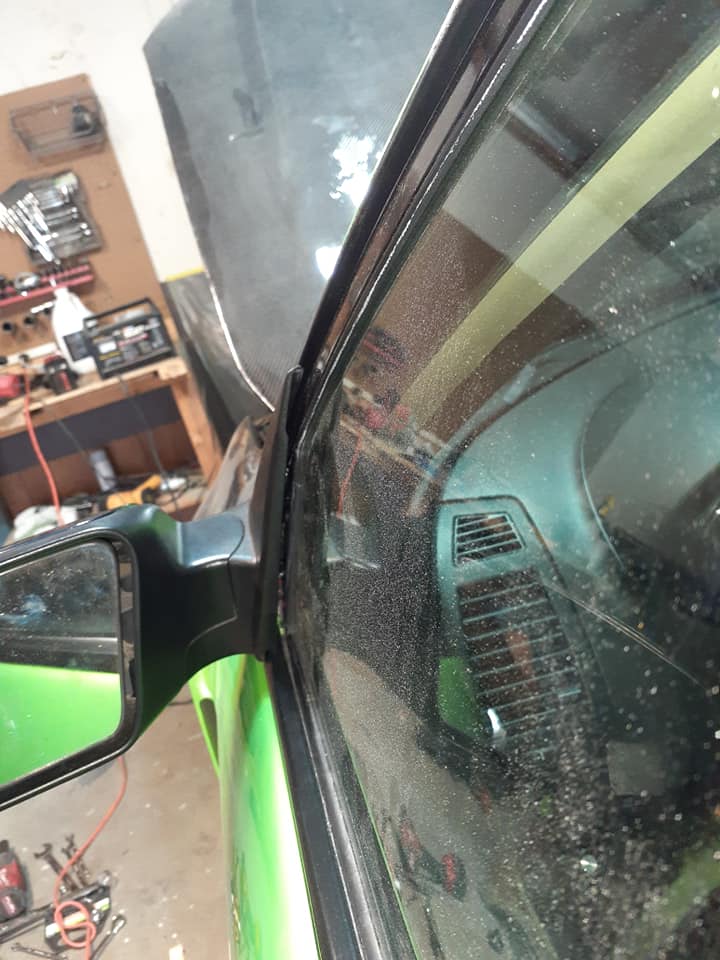
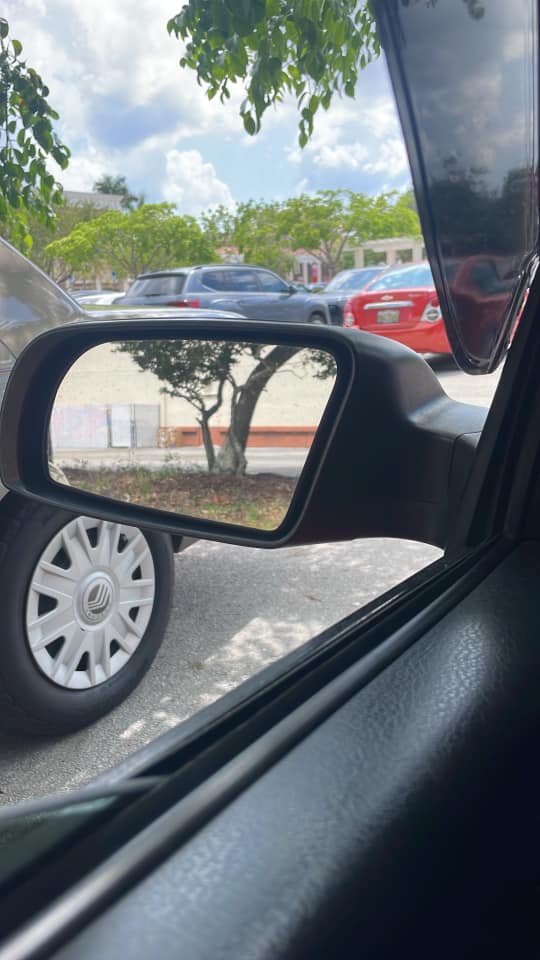
Note: This is not a perfect mount. It will not be as clean and flush as the stock mirrors were mounted. But if aligned properly, it can be made to fit neatly. I am including a picture of how my passenger side was mounted to give you an idea.
Once mounted, you will notice a small portion of the mounted portion will need to be shaved off as it touches the mounting on the car when the door closes. I used my Dremel here.

Final Product

Additional Photos
In order for it to fit flush, you have to trim the bottom part and the little triangle insert on the opposite side.

Flush

![]()

Comments are closed.