Member Credit: Wildman04
I did the rear door first and the rear doors are a lot easier than the front doors are to do. The rear doors will take around 45 minutes to an hour and the front doors about two hours each, so probably allow a good day for the install. On a scale of 1 to 10 for a mod like this I would say it would be about a 4 for difficulty.
Do not post reply to this thread until I have all my posts uploaded, I have approximately 19 pictures with the details. I will have to post four times to get all information up.
Materials:
1. 4- 5mm 13,000mcd LED’s (purchased mine from eBay seller Ivehk for 3.99 plus 6.00 shipping for 50 pieces and resistors)
2. 3/32″ or 1/8″ polyolefin heat shrink tubing
3. 2 wires per door, approximately 2 1/2′ per wire per door
4. Solder
5. Electrical tape
6. 2 part epoxy glue
7. Butyl tape (get at glass store) or silicone sealant
Tools:
1. Ratchet, 10mm socket and extension
2. T-27 torx bit or 5/32″ allen wrench
3. Small flat blade screwdriver
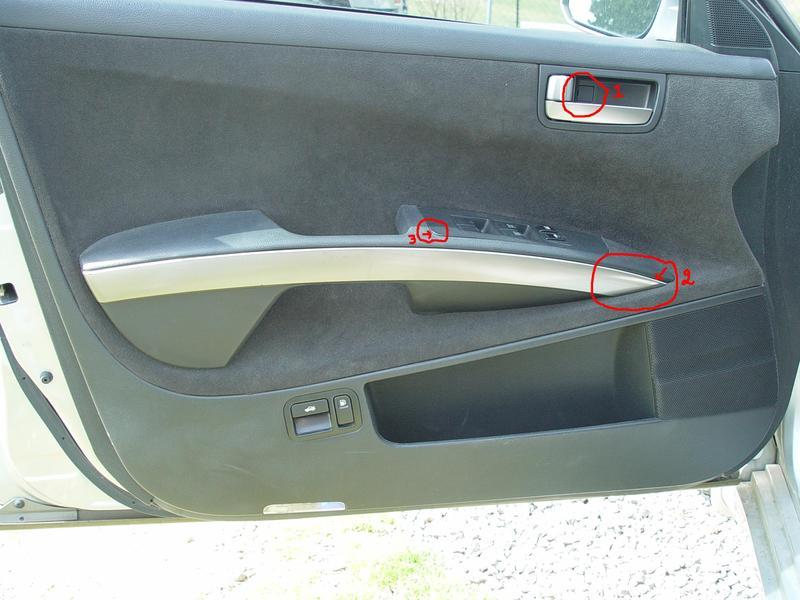
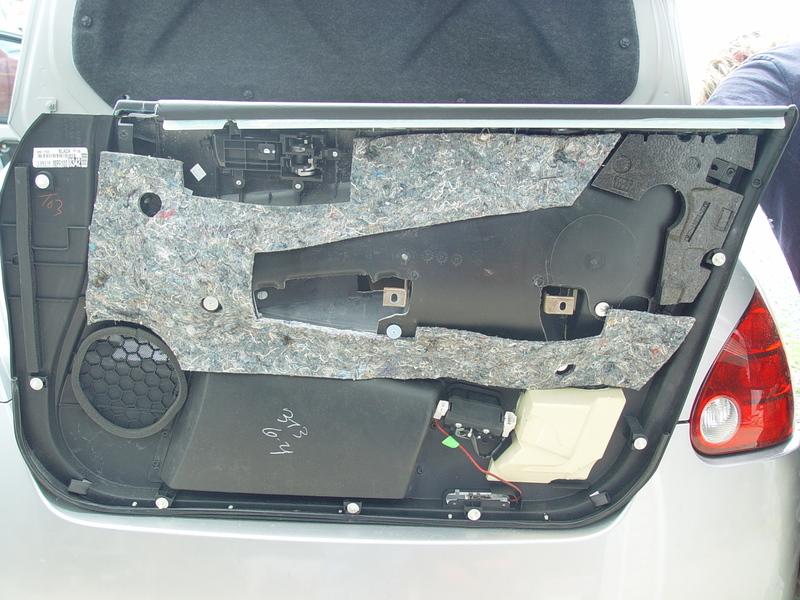
Start with front doors and rear will be same process but easier. Pictures are all of the front door. With small screwdriver pry at marked locations below to remove cap at inside door handle, chrome strip on door panel starting at front and working to the back, window controls starting at rear edge. Lift window controls up, unplug connections and set aside all pieces.
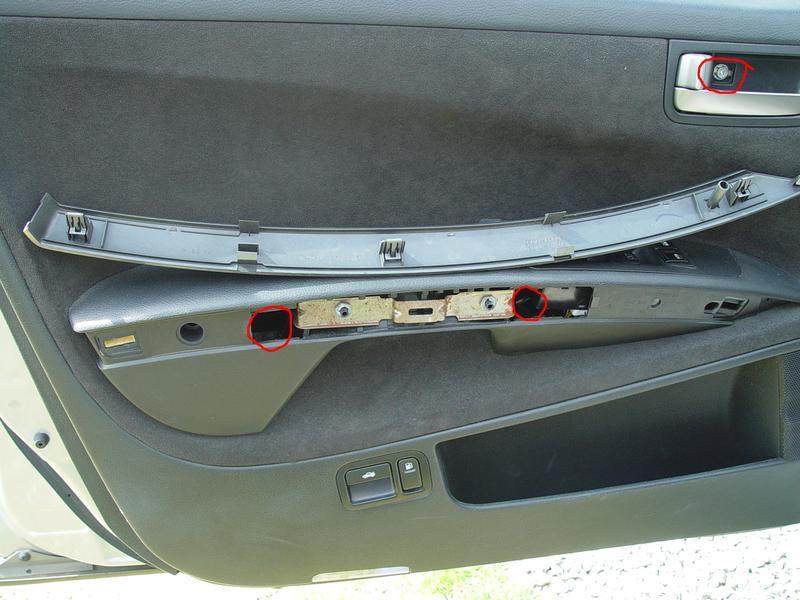
Remove the three 10mm bolts at marked locations on door panel below. At the bottom of the door panel there is a lip, grab panel at bottom and give a quick jerk toward you and all door panel clips will release.
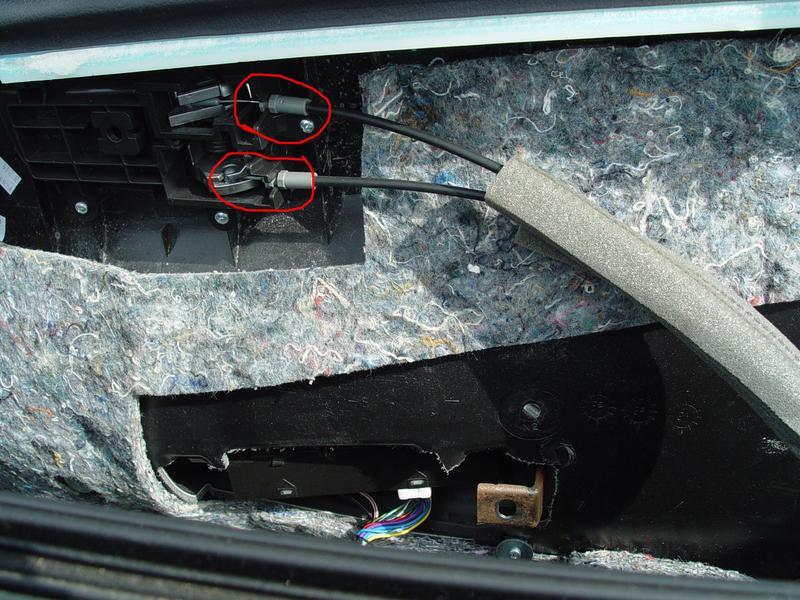
Now lift the door panel upward and off of door, lean panel to you to remove the latch cables behind the panel and disconnect all wiring to the door panel. Pull cables away from panel to unclip them and then separate from the handle. Set panel aside.
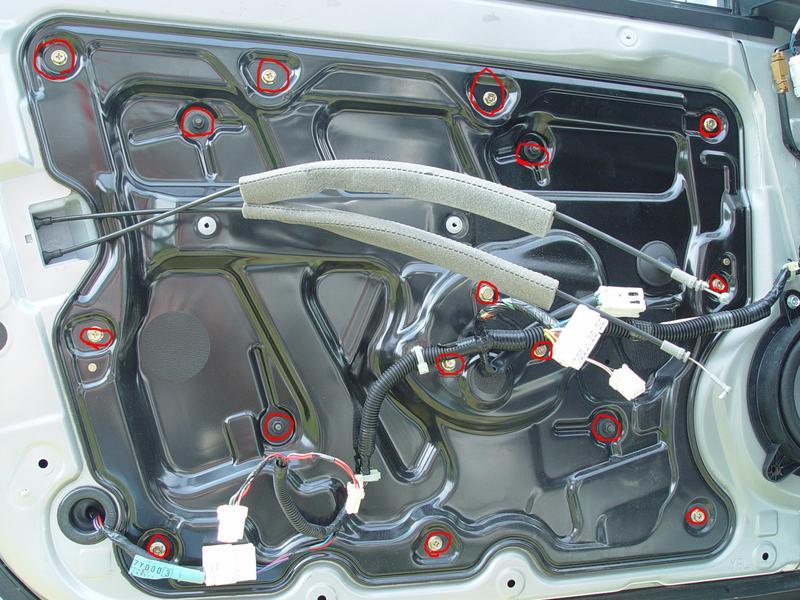
Before removing bolts to the inner panel, apply tape onto the outside of window over top of door and then to inside of window to make sure the window does not drop (do this at least at two locations). Remove all bolts marked below and the four nuts. Disconnect clips holding wiring to inner panel. Wiring running through the panel, push grommet through towards the door side and remove panel and set aside.
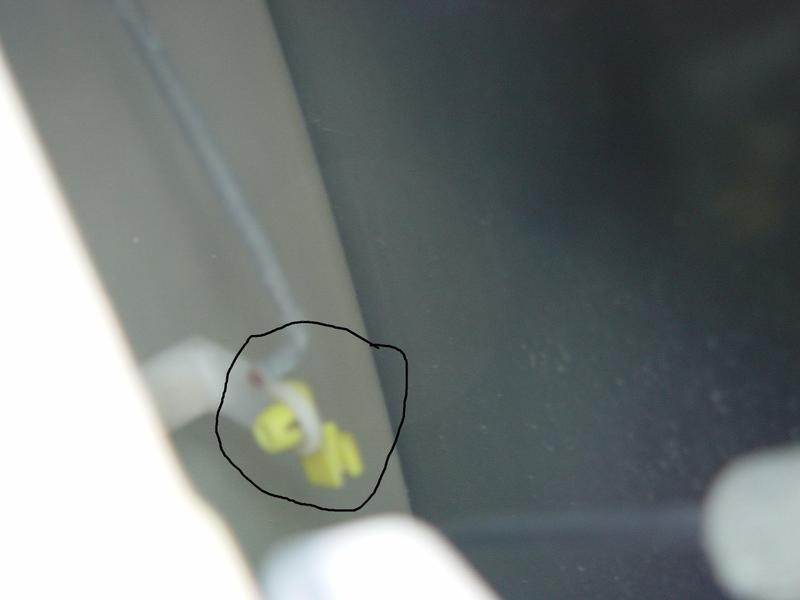
Look behind the outer door lock inside of door cavity and you will see a yellow clip on the lock rod, roll the clip towards the front of the door and it will unclip the rod from connection.
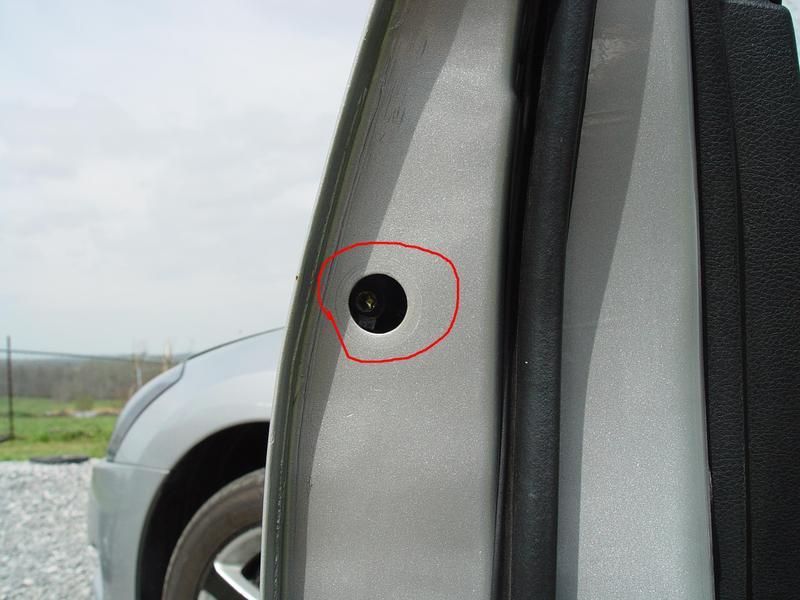
On the back edge of the door you will see a black plastic plug, pry it off of door and with the T-27 torx bit or the 5/32″ allen wrench remove the bolt under the plug. There are two plastic clips that will hold the bolt in keeping it from falling in the door cavity.
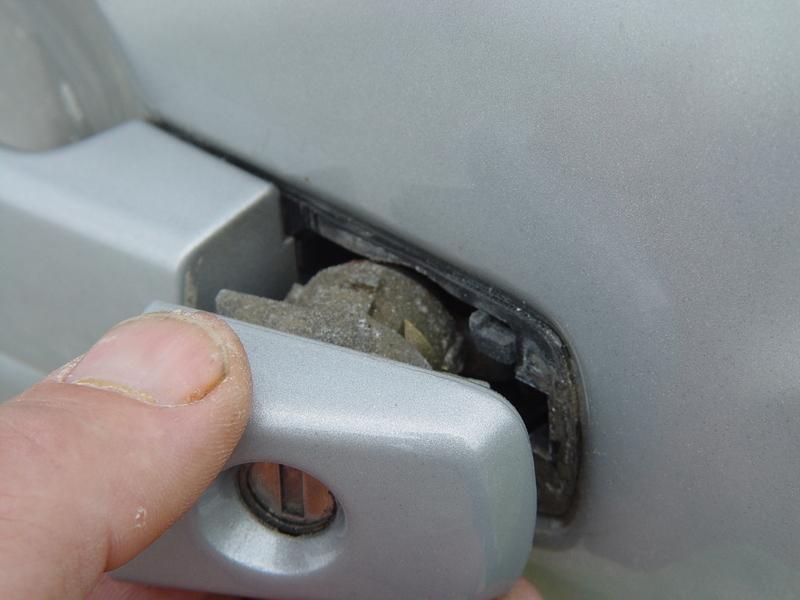
While pulling bolt tight to the clips, reach around to the outside of door and wiggle the small section of the door handle (with key hole on driver door) and remove from door.
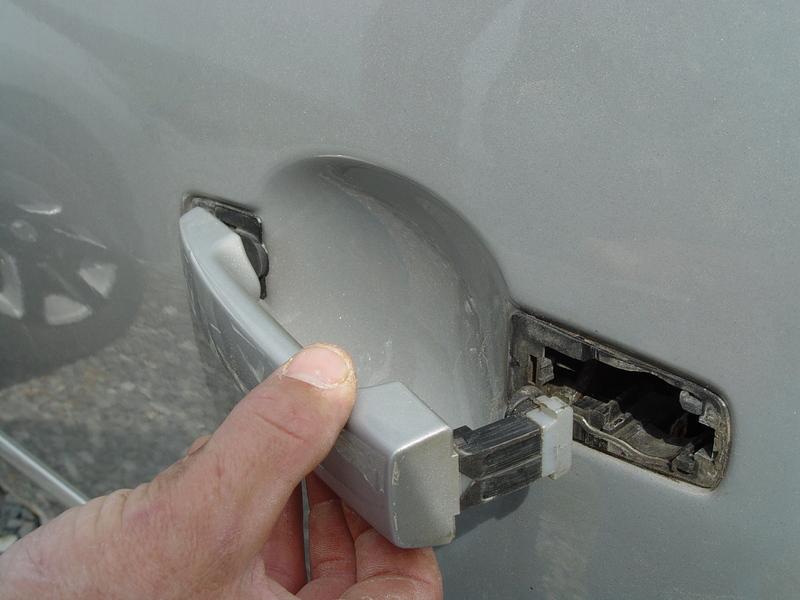
Next, take the door handle and slide it towards the rear of the door until it stops and then pull outward and remove.
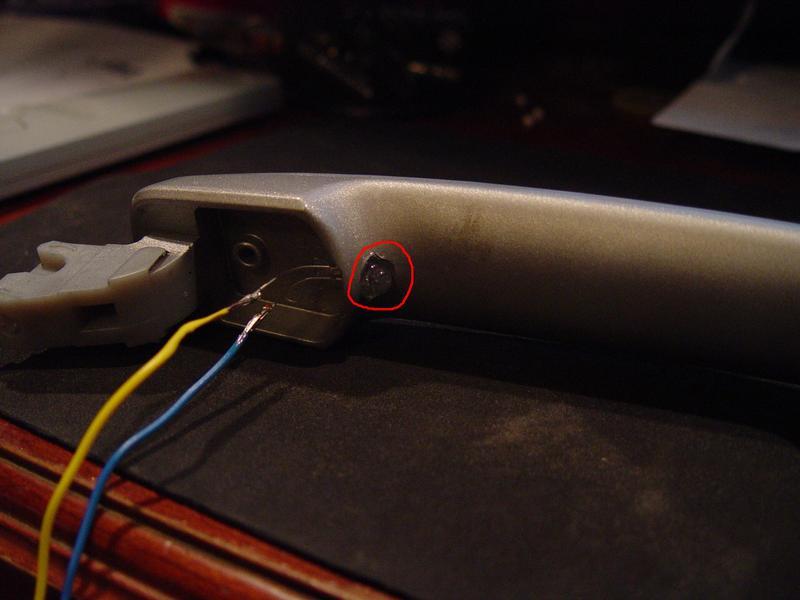
Drill a 1/4″ hole in handle where shown below. Glue LED into the hole you drilled and connect wiring to LED.
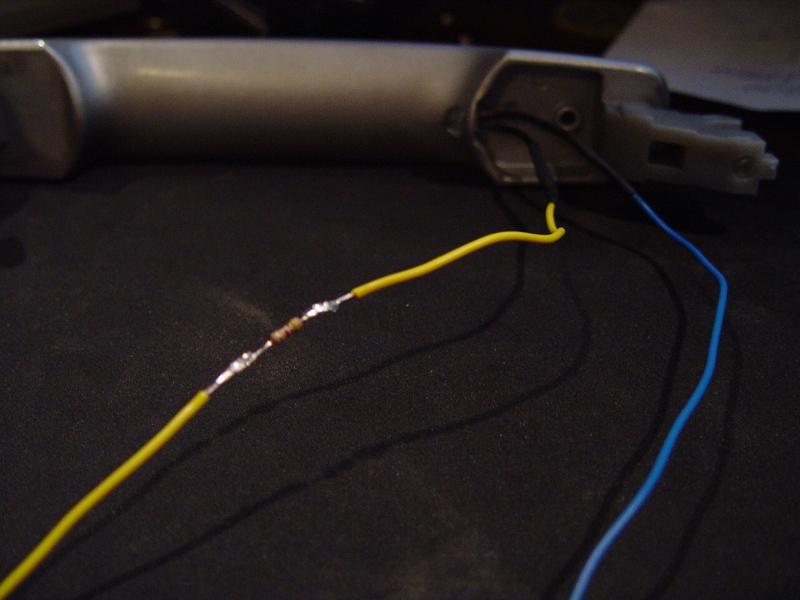
On one wire (preferably the ground side [large element in LED]) splice wire and install the 400-470 ohm resistor. Install heat shrink.
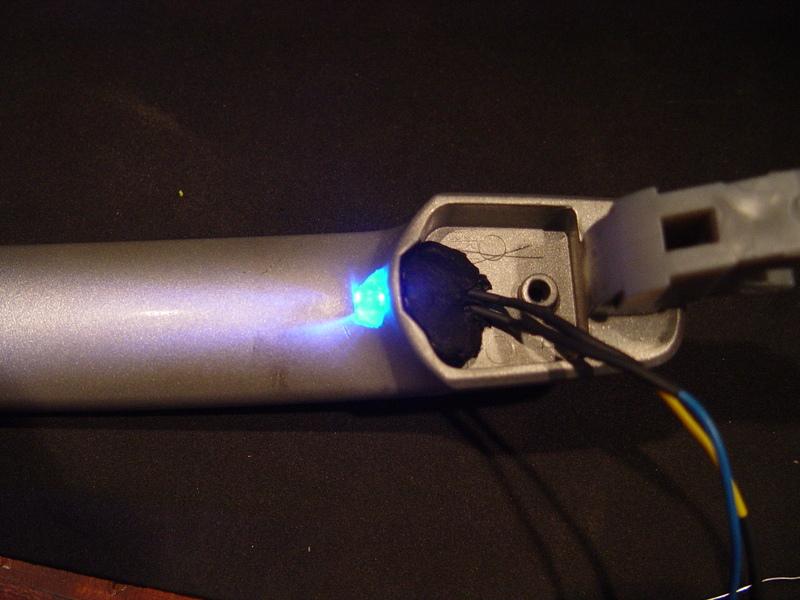
With the butyl tape or silicone seal the back side of the LED and wire connection to the LED.
Start installing the handle back into the door, inserting the wiring first. You will have to work with the rubber gasket behind the handle to get it to seat back right. With butyl tape or adhesive fasten the wiring to inside of door cavity leaving a small loop at the handle so working the handle does not put pressure over time on the LED connection.
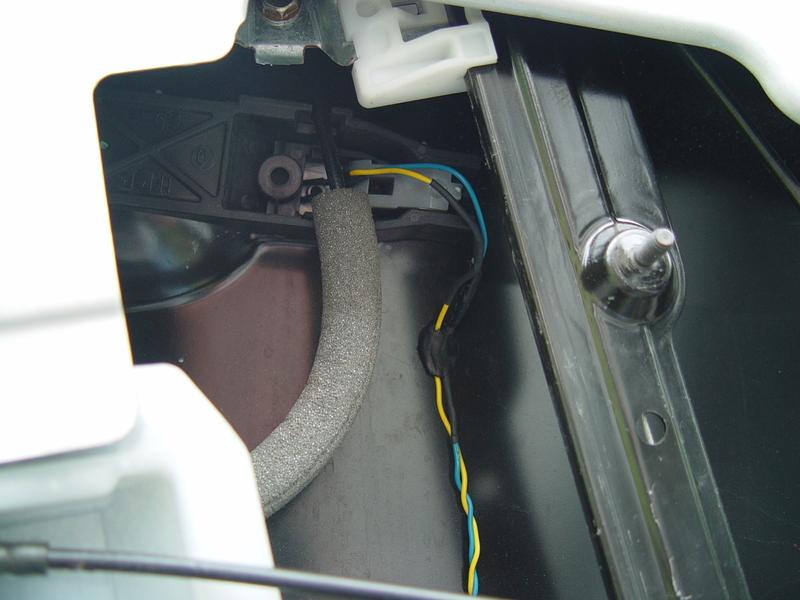
Route wiring behind bracing in door cavity and finish adhering wiring to door skin leaving plenty of clearance for the window to raise and lower. Punch a small hole in the grommet and run wires through grommet.
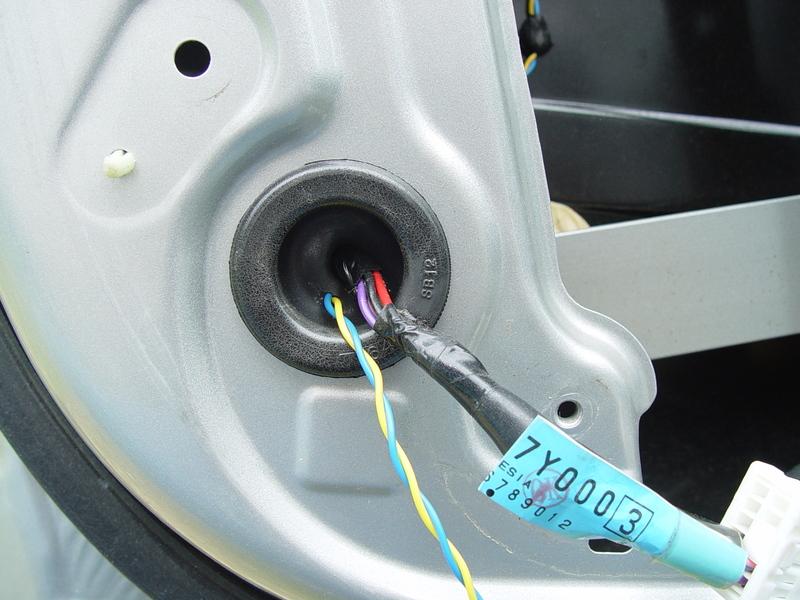
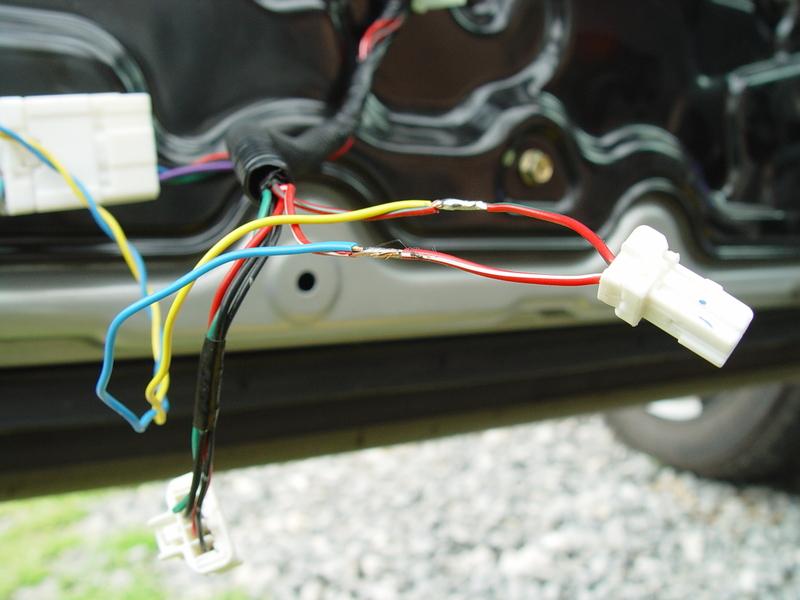
Strip about a 3/8″ section off of each wire to the courtesy lights and check with your wiring from LED to get proper polarity(LED will only illuminate one way). Solder LED wiring to stripped sections and tape with electrical tape.
Kam wanted to see where all clips were on the door panel.
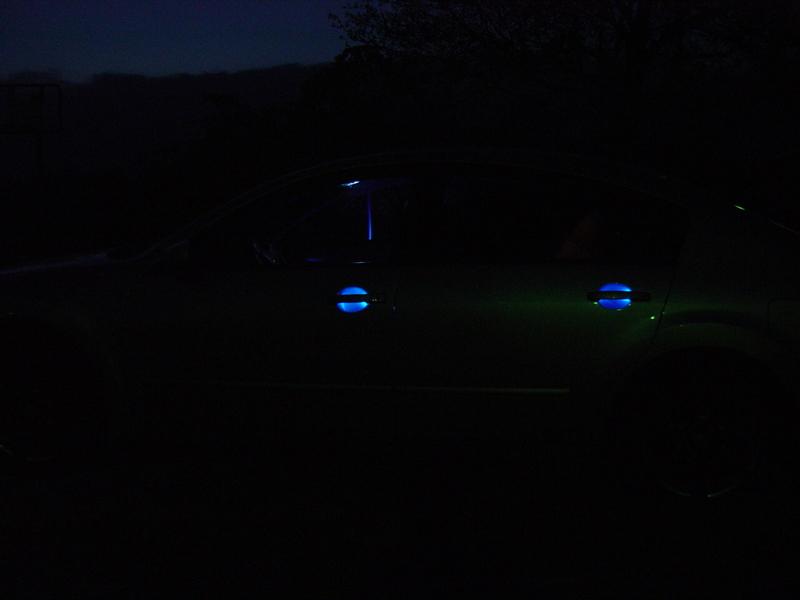
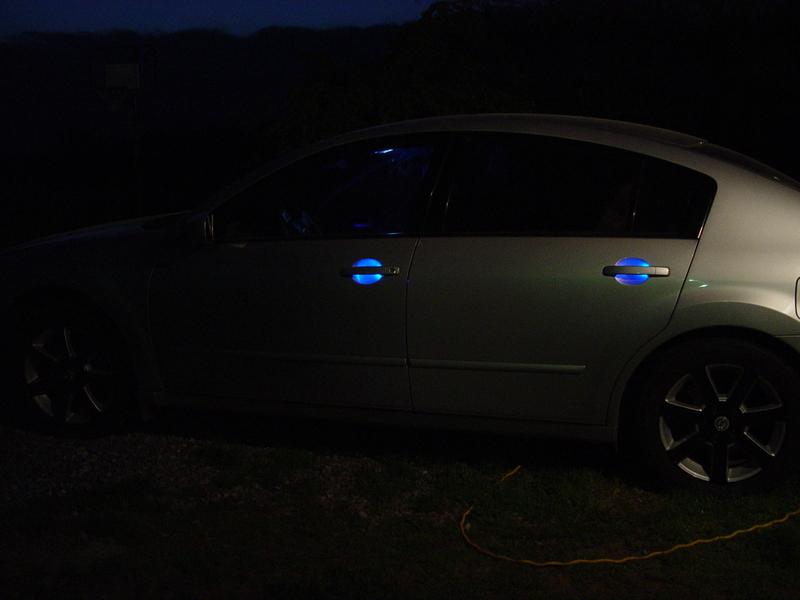
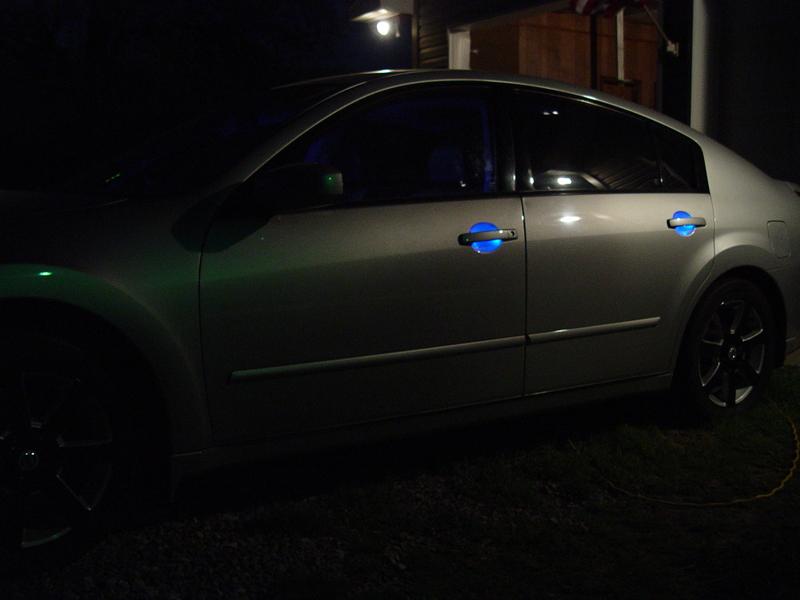
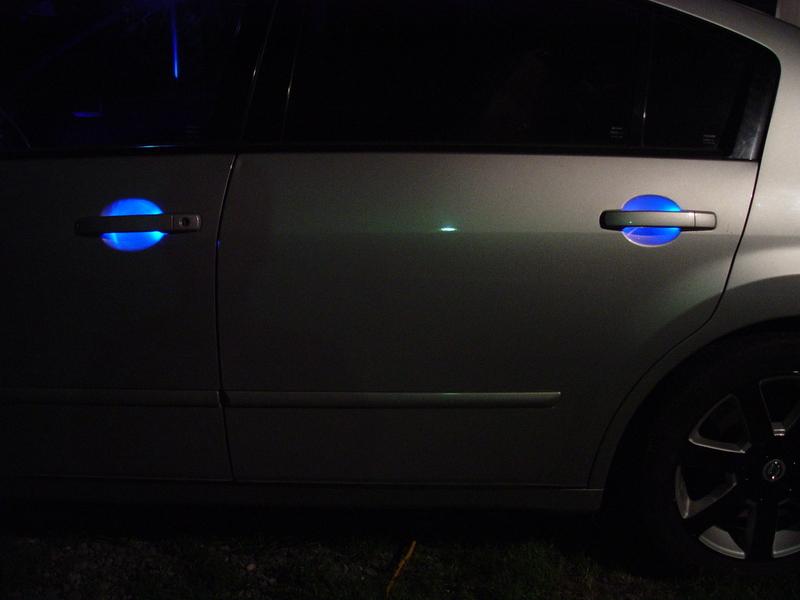
Finished product:
![]()


Comments are closed.