Credit: redlinegoods
1. In order to remove the front section, you must first remove the shift knob (just unscrew it from the shifter shaft – if it’s difficult, use vice grips on it after wrapping it with a towel to protect it from scratches). Then remove the liner of the shifter. That is easy, just pull on your shift boot and it pops up…picture shows this.
Replace the old boot with the new one installing it to the trim pieces taken out from the old boot. VERY simple and straightforward.
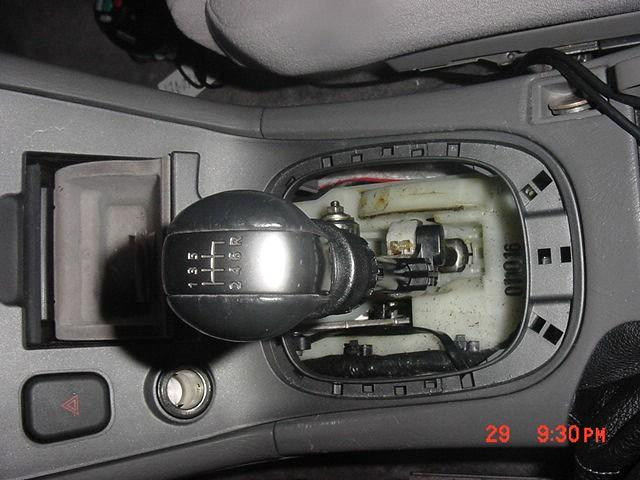
2. In order to install the ebrake boot, it is better to remove the armrest console. This will make it look easier since you need to attach the boot to the same holes/slits as the stock rubber boot. There is a screw inside the armrest, accessible from the back…
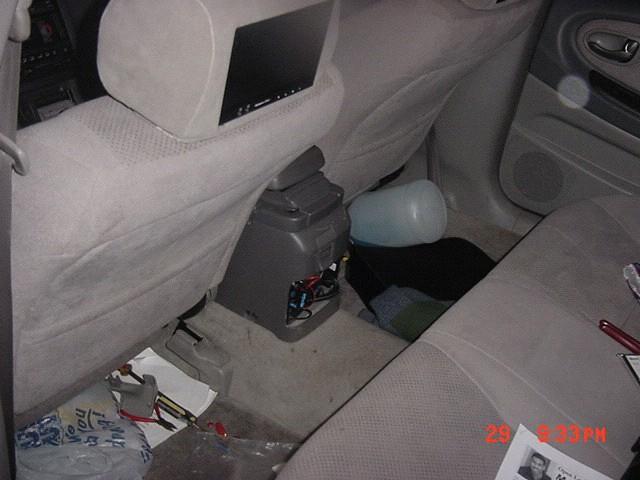
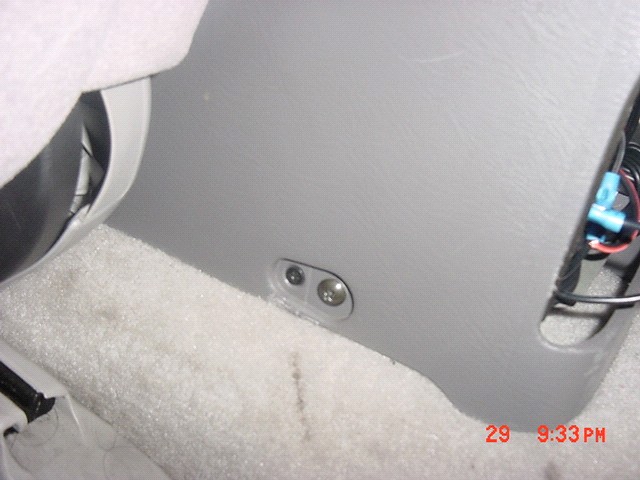
3. … and two more, one on each side of the console.
4. Next you need to remove the cloth ashtray cover. Underneath it there is a screw you need to remove.
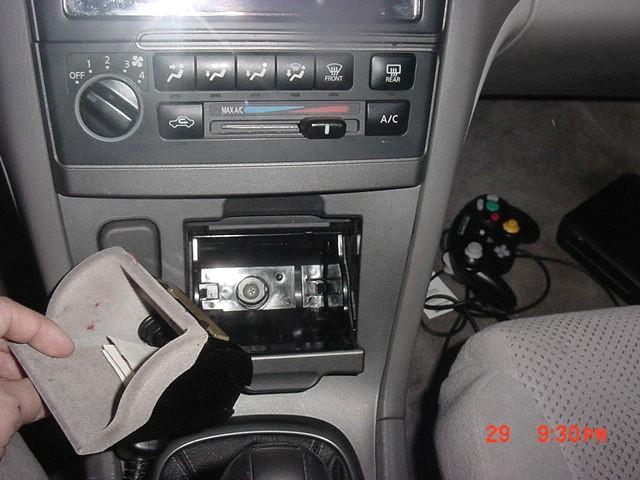
5. Now simply lift the lower section of the center console. It will snap off and you will see 2 screws located below it.
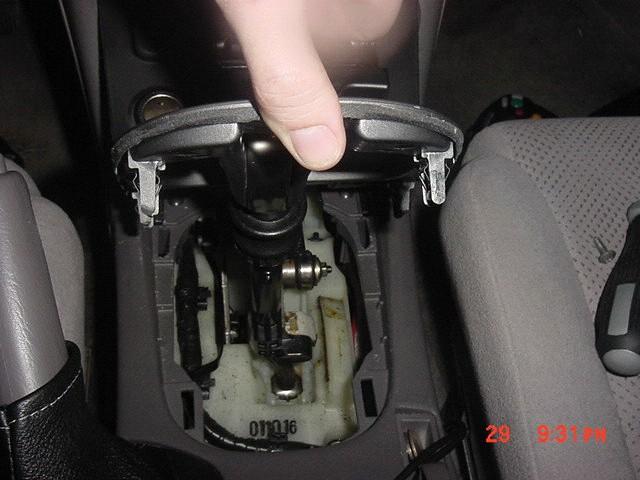
6. Remove those 2 screws. You will also see that the armrest console is connected with 2 snap-ins from the sides of the center console. You can pull those on the side to separate them. It sounds confusing, but once you do this… the whole armrest console comes up.
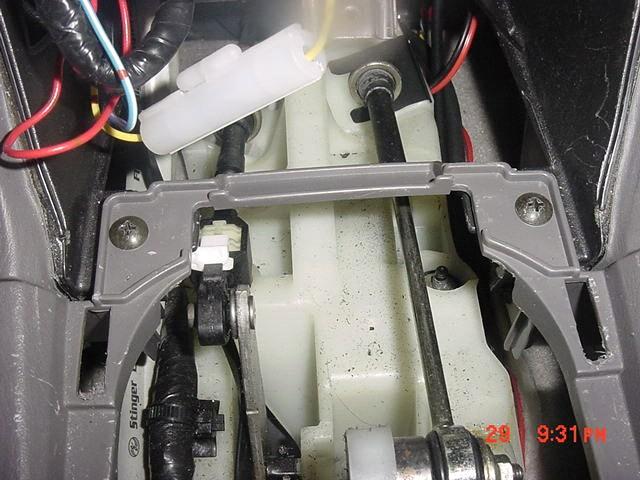
7. When installing the ebrake boot, we suggest you take the rubber boot off and put the ebrake boot on it’s it place. It’s obvious which side is which, since one side is all slits, and the other side is a line of studs. once you have it in, put the the rubber boot back on…. It will hold the leather boot in place. It feels like a tight fit, but it’ll make the leather nice and snug.
Putting the center console on is the reverse order of removing it: put the 3 back screws back in (1 in armrest, 2 on the rear sides) and then the front 2 screws under the shifter, 1 in the ashtray and the 2 clips on the sides of the center console.
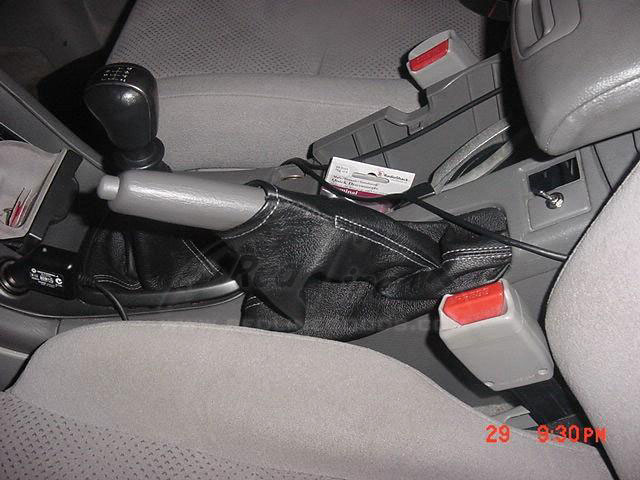
If you want to have the top of the ebrake boot at a certain point, here’s a suggestion: the boot is folded on the top. if you make a small slit on the underneath of the fold, you can fit a cable tie through, line up to where you want it, then tie it up, and one is the wiser. It can’t be seen since it’s on the underside of the ebrake handle.
ENJOY YOUR NEW LEATHER BOOTS!
Useful tip
You have installed a product made out of genuine leather. As you know, to maintain a leather product in good condition, you should take care of it. We suggest occasionally (every 4-6 week for example) applying some leather conditioner/UV protector to keep your leather from drying up in the sun and cracking.
![]()


Comments are closed.