

Member Credit: d_warner
OK. I’ve had some people ask me about the painted dash in my 97 GXE. For those of you who really want to know, here’s a short and I mean short write up.
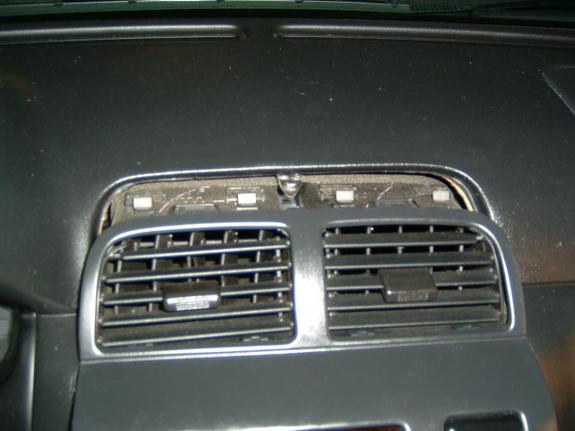
I first started by removing the pieces of the dash that I wished to paint. The front center A/C vents that are attached to the clock, Hazard light button, and rear defrost button was first. Many people will tell you to stick a small screw driver in between the trim piece and the main dash. I’ve found that an old butter knife works better. The wider surface area lessens the likelihood of creasing the plastic. Anyways, stick the knife in there and pry between the two pieces until the center trim piece begins to stick out a little. From there, grab it with your hands and pull firmly. If you hear a loud snap, don’t worry. I’ve yet to remove my center A/C vents without the A/C vent piece detaching from the console trim. When you get it out, you’ll see what I’m talking about. When the piece is loose, disconnect the wiring plugs from the clock, hazards, and defroster.
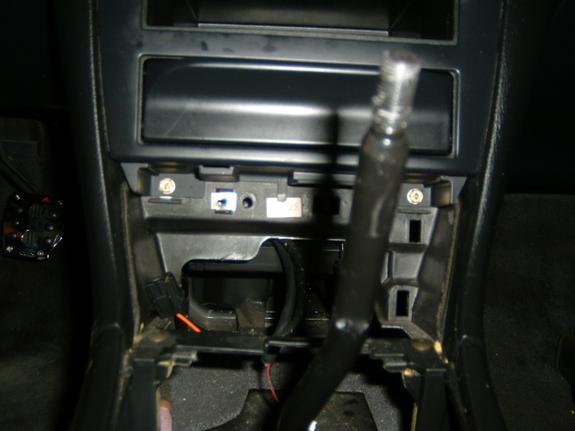

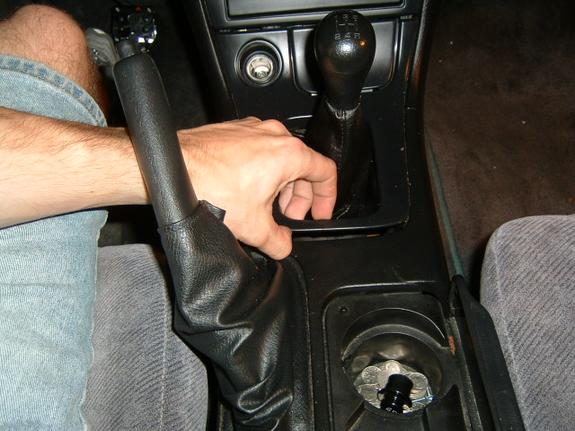
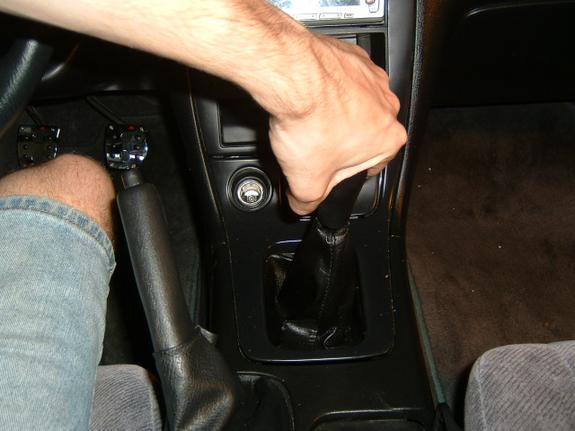
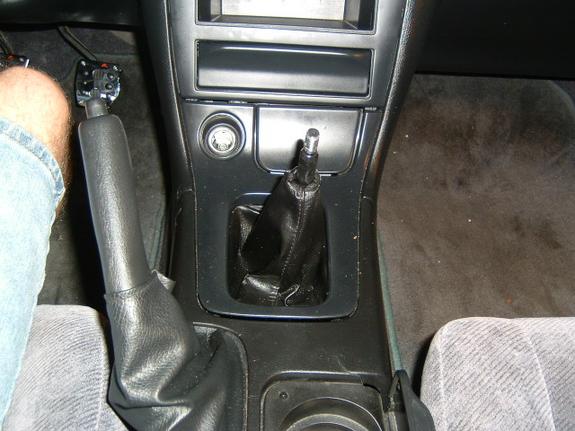
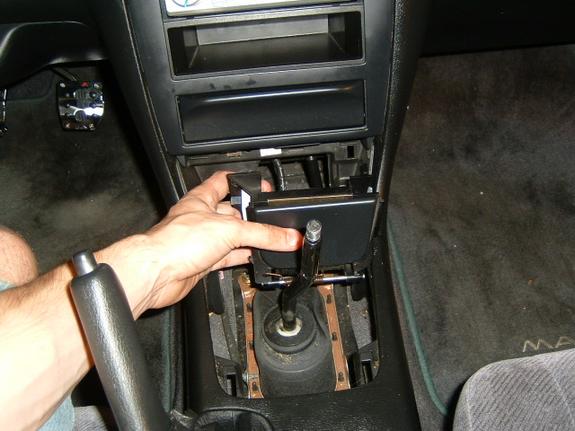
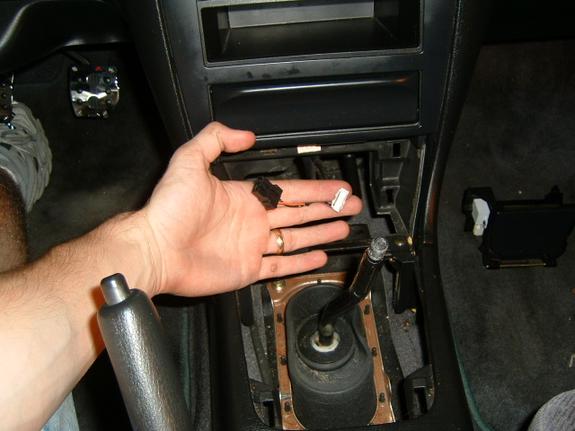
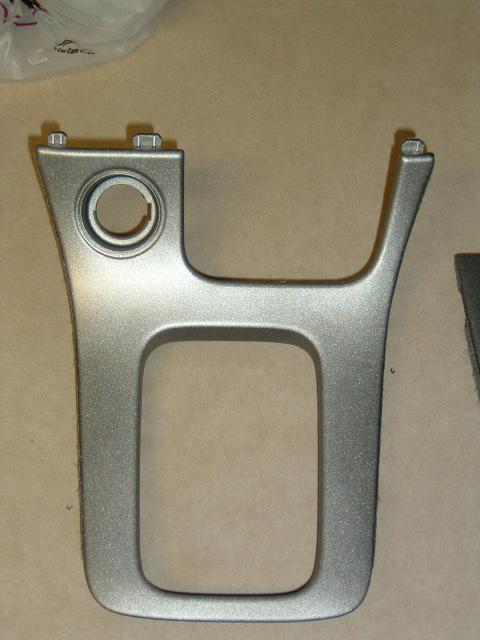
Once the A/C vents are out, move to the lower console trim piece around the gear shift selector or shift knob. If you have an auto (you poor unfortunate souls 🙂 you’ll probably have to do the knife trick again. If you have a 5 speed (congrats) then you can reach under the plastic trim piece near where the shift boot meets the trim. Gently pull up. The piece comes up from the rearmost portion first. It then just tucks up under the main center console trim. If you got a 5 speed, you’ll have to remove your shift knob. For those with factory knobs that have never been removed, this can be tricky. I’ve heard the strap tools from sears work best. It simply unscrews (you’ll just have to trust me. It’s on there good!) Once the knob is off, the boot will come up and off. Unplug the cigarette lighter. You’ll have to push the little release button thingy. The boot sits in the trim with basically clamps and the wire frame. Look at the back of the trim. You’ll see.
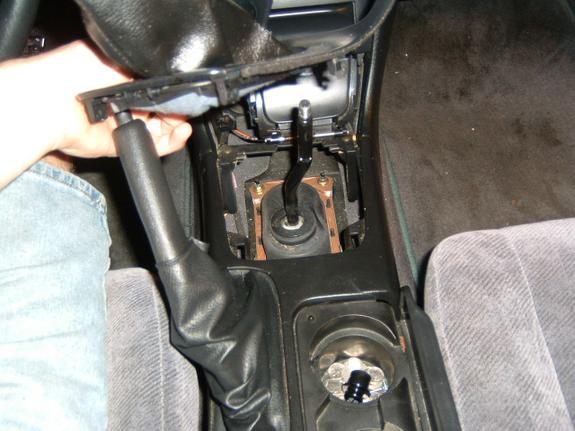
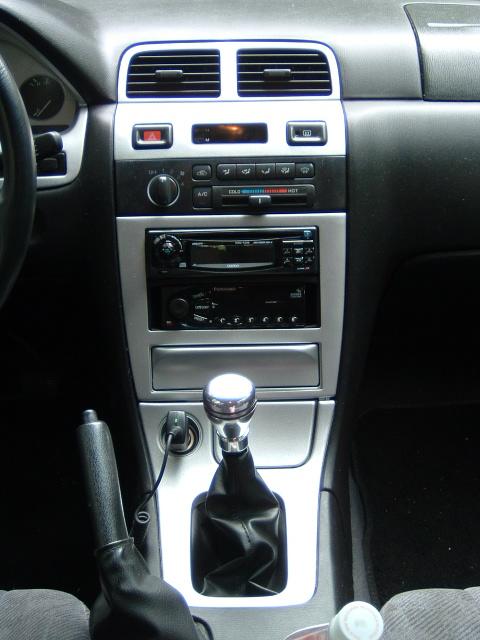
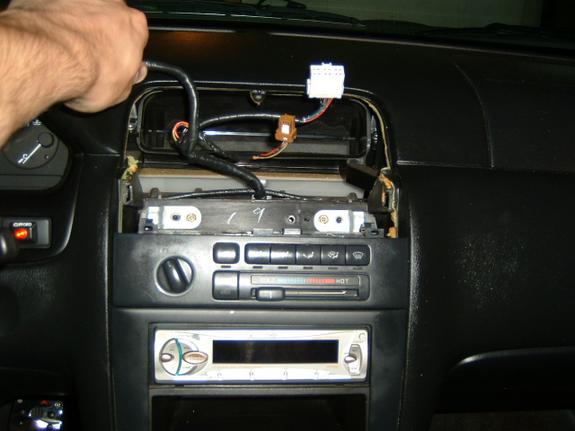
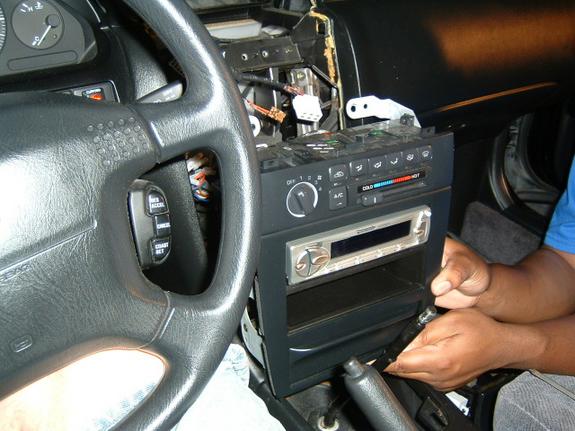
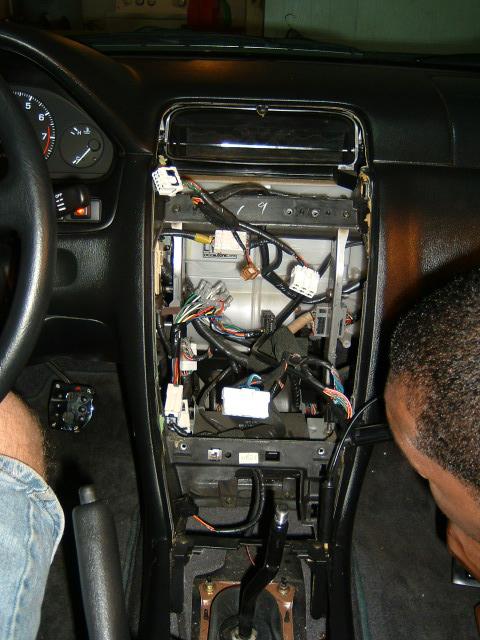
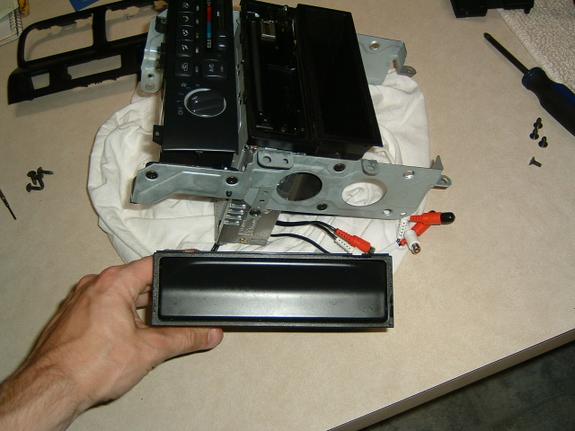
The ash tray is next. There is one Phillips head bolt on the left side of the ashtray. take it out. From there, the ashtray pulls straight out. Mine was a real pain, and I actually broke the clip off cause I thought initially it slide to the left. My mistake. IT COMES STRAIGHT OUT. Once that is out, It is time for the large piece where the radio, A/C controls, and that cool cubby hole is.
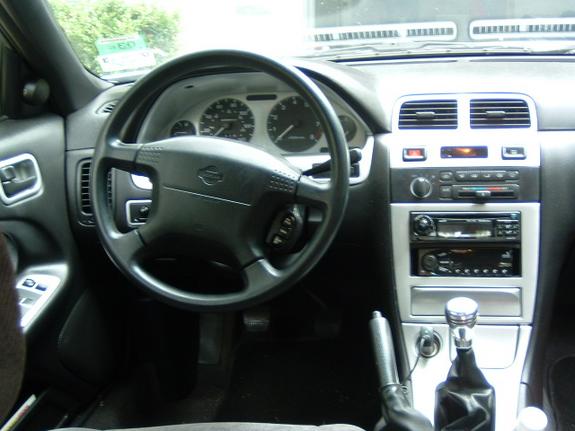
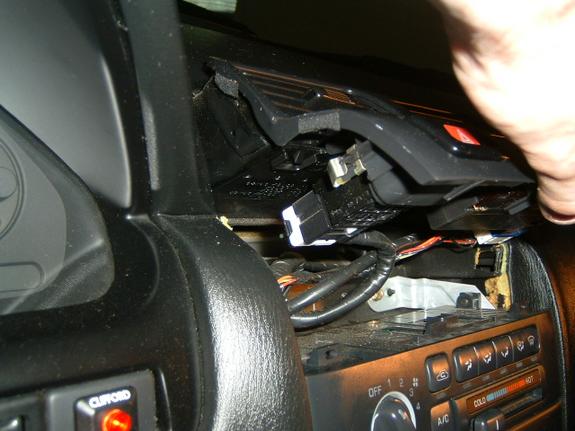
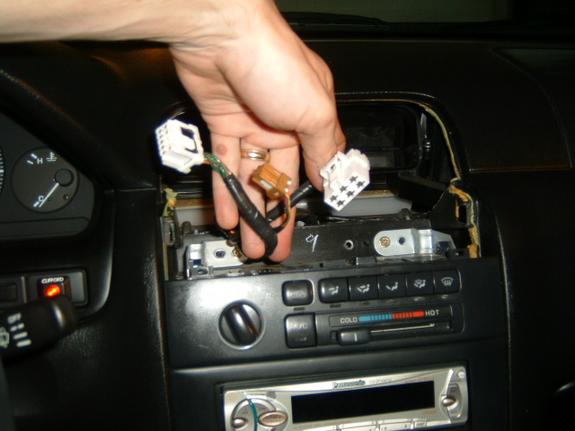
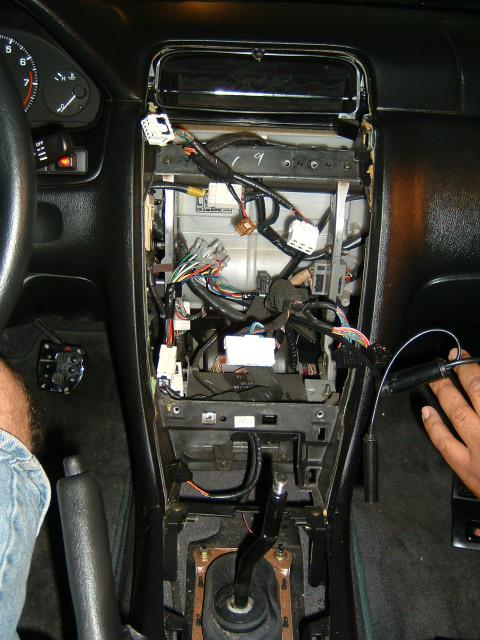
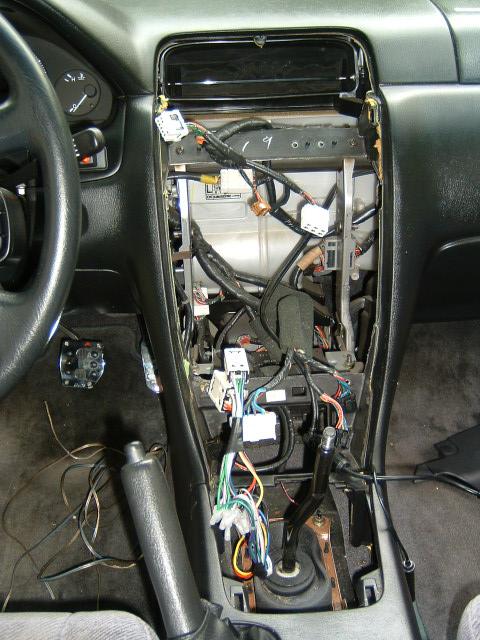
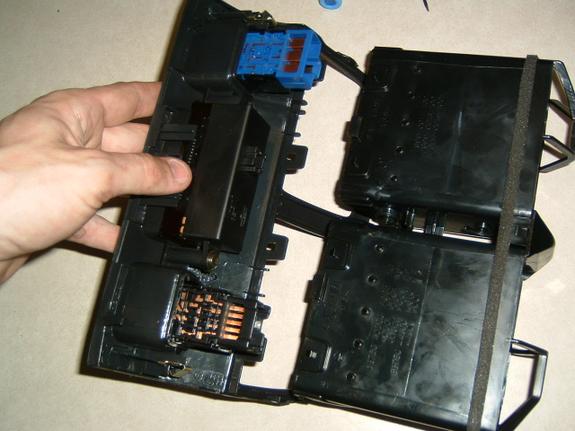
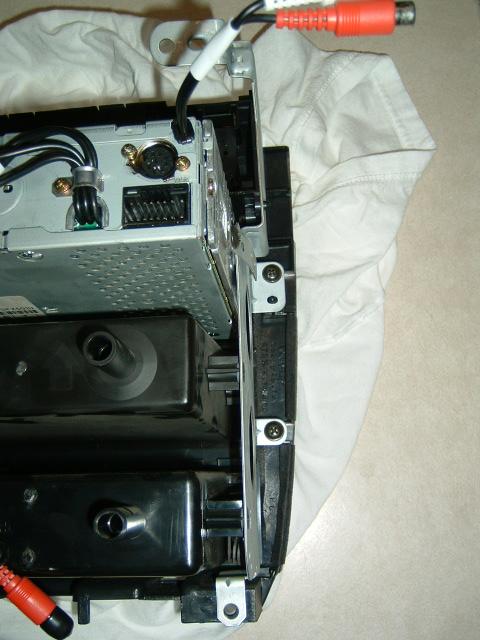
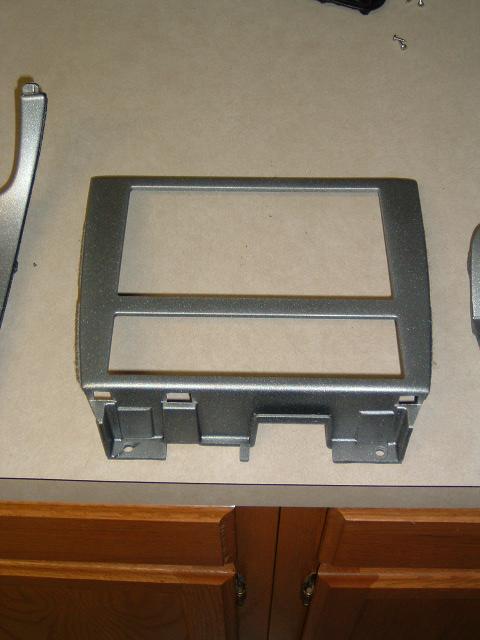
This is the easy one. There are 4 screws (Phillips head) that hold the large piece to the dash. Once those are out, the whole thing comes out. Unplug the electronics, and you’re good to take everything inside where its clean and air conditioned (I live in TX. This is important).
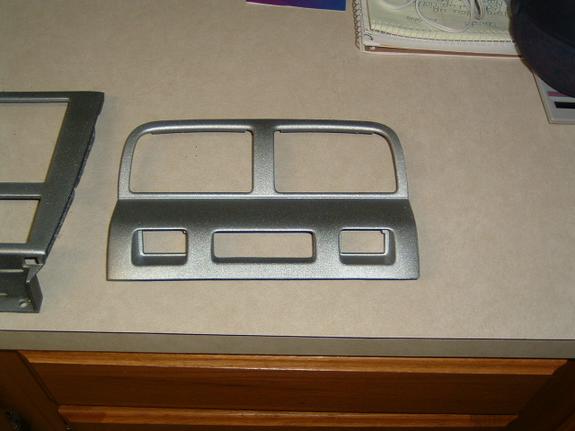
Once inside, its time to remove and dismantle some thing. Take the A/C vents apart from the trim. There are a series of clips that hold them together. Pretty self explanatory. There are buttons on each side of the hazard light and defrost buttons. Push them in and push the buttons out through the front of the trim. There are two screws on the back of the clock display. Take them off, and remove the clock. Now that piece is almost ready to be painted.
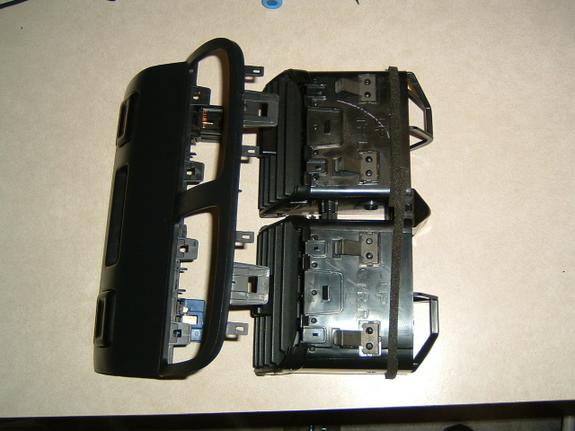
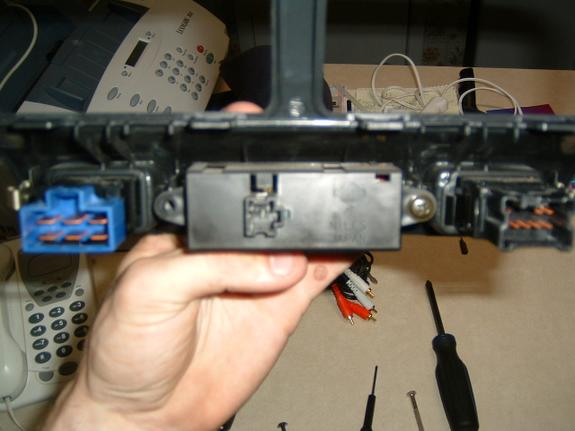
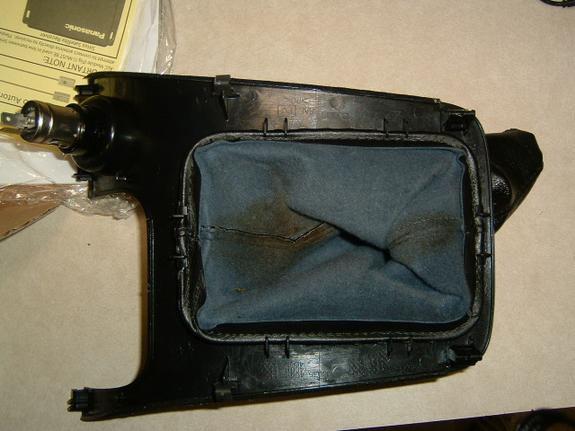
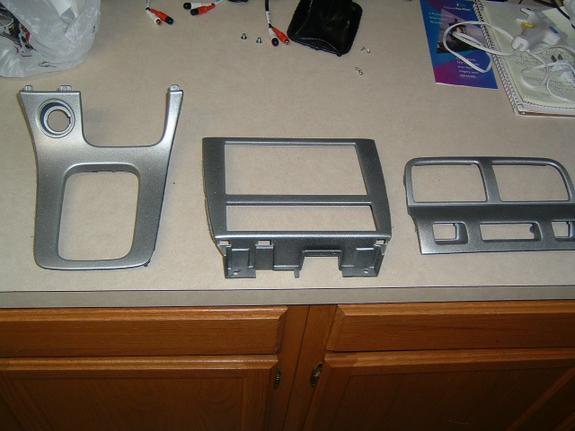
Next, look at the big piece. There are 4 screws on the back of the big trim piece that hold the metal bracket and the trim together. Take those off and separate the two pieces. Set the plastic trim aside. It’s almost ready to be painted. If you want to paint the cubby hole thing, then remove it from the bracket via the 4 screws. You may need to loosen the screws on the radio and A/C to get this out properly. If you take it out, set it aside.

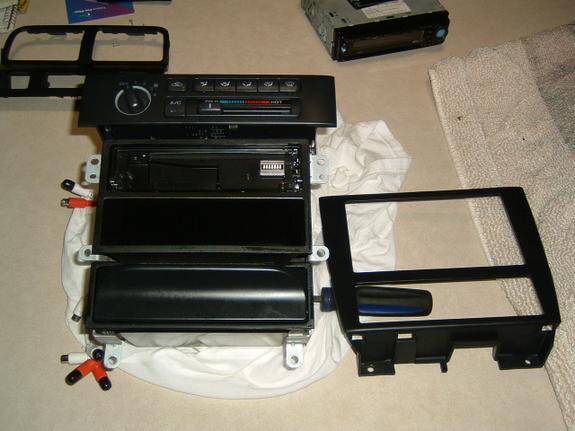
I had manual A/C controls, and it would be extremely hard to paint this piece since it is all one piece, and some part of it are transparent to show the light. If you have Auto Climate control, I believe you can dismantle that piece (remove the buttons and LCD from the main trim) to paint it successfully.
Set the ash try aside.
Last off, set you shifter trim piece aside for those of you with autos. I think it should be ready, unless there is a clear piece in there somewhere. I’m not sure really. For the 5 speed guys, remove the shift boot if you haven’t already done so. It’s simply a wire frame on the back of the trim piece that is clipped in. Really easy.
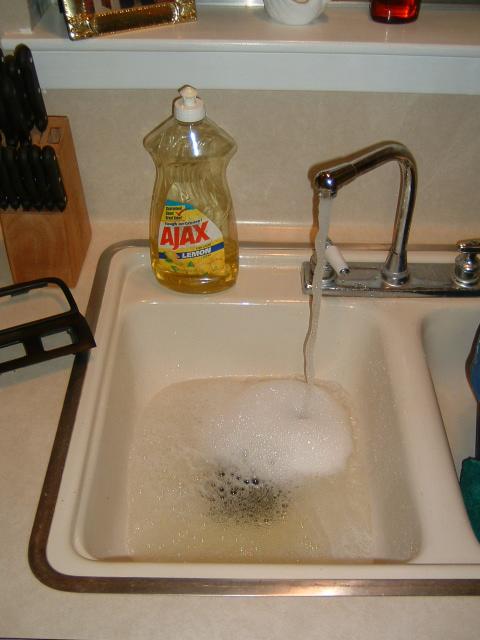
Now lets prep. Take all your pieces. Should just be plastic pieces. I put mine in the kitchen sink and took some liquid AJAX and went to scrubbing. The purpose is to remove ALL the old armor all and other cleaners and stuff that has soaked into the plastic over the years. Mine unfortunately had a dash kit on it, and I had to remove about an eighth of an inch of adhesive. Took me about 4 hours to do just that. 🙁 Once everything is properly cleaned you have the choice of doing the following. I chose to wet sand all the pieces of my dash for a clean smooth look. I used a fine grit sandpaper (cant remember) to wet sand mine. This also helps to remove any armor all etc.
Set the pieces out to dry. Take a lint free cloth to speed this process. Now its time to paint. I used Duplicolor wheel paint (silver) to do my dash. The reason, the wheel paint is made to adhere specifically to plastics, and it is also engineered to resist chipping and scratches.
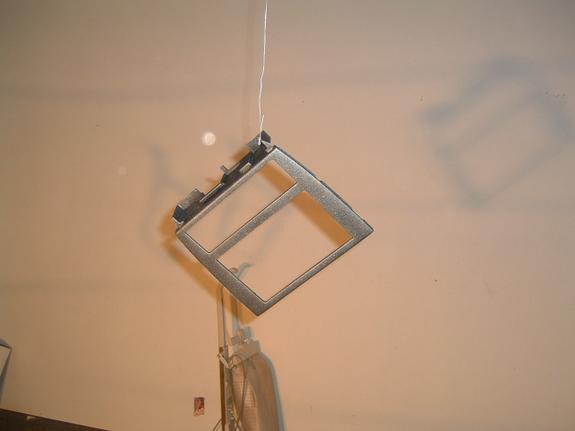
I chose to hang my pieces in my garage via electric fencing wire (commonly found in south Texas garages). That left me a clean place to paint without bugs, dust, wind, etc. Paint the trim pieces like you would anything else. Light smooth consistent strokes. Don’t go to slow or too often or you’ll get runs in the paint. If the paint runs, you’ll have to let it dry, and then go back and wet sand it, and then start all over again or else it’ll look like crap. Patience is the key here. This is a mod that will easily take a full day and maybe two. Put on several coats of good consistent paint in order to obtain a good clean STRONG finish. Some of you may wish to do a coat or two of clear coat. It’s up to you. Some people swear by it, but I didn’t do mine. If you do a clear coat, you will get a glossy finish. I didn’t want that, and due to the paint I used, I didn’t think durability would be an issue. After about 6 months now, I only have two very small scratches in the passenger door handle insert due to my wife’s long fingernails which could have been avoided.
Let the paint dry an accurate amount of time, and reinstall you sweet looking dash.
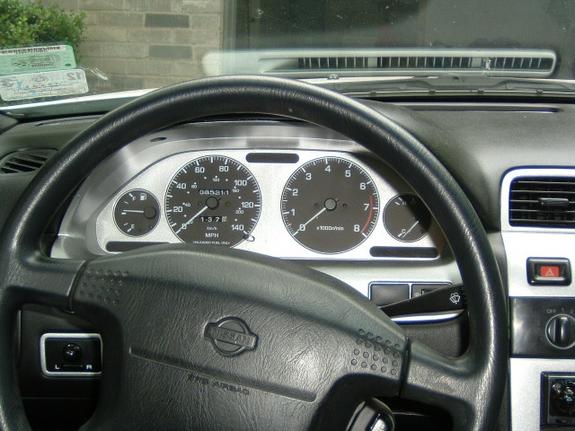
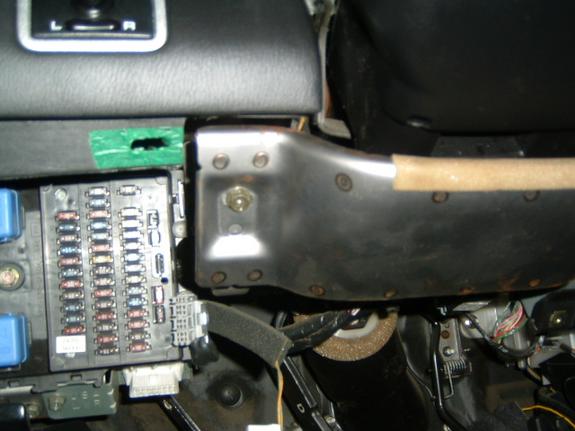
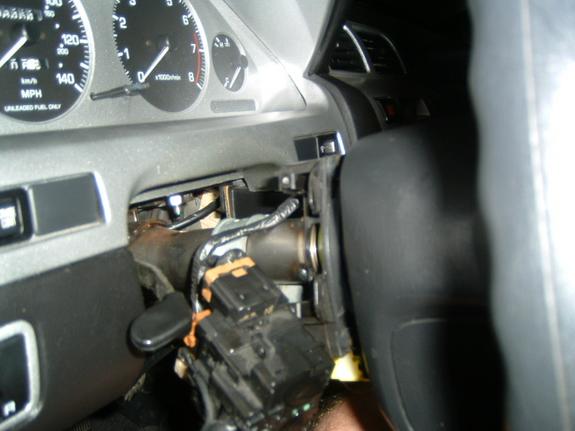
To get to the gauge cluster, start by removing the plastic panel underneath the steering wheel by the driver?s legs. Remove a Phillips head screw from each side of the bottom of the plastic trim. The top of the trim is held on by two retaining clips. Once those are popped out, you will need to disconnect a sensor attached to the back of the panel. Once removed, remove the two 10mm screws that hold the steel plate which is located directly behind the plastic panel.
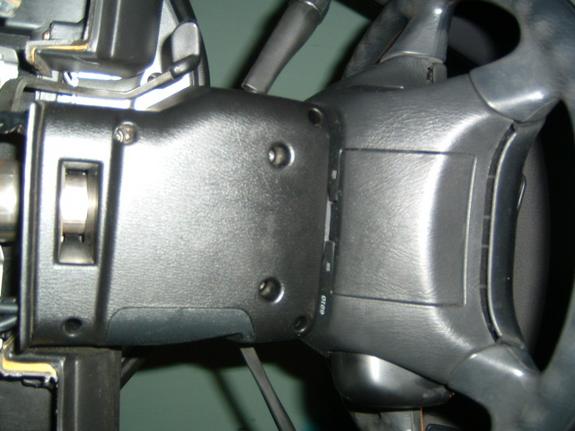
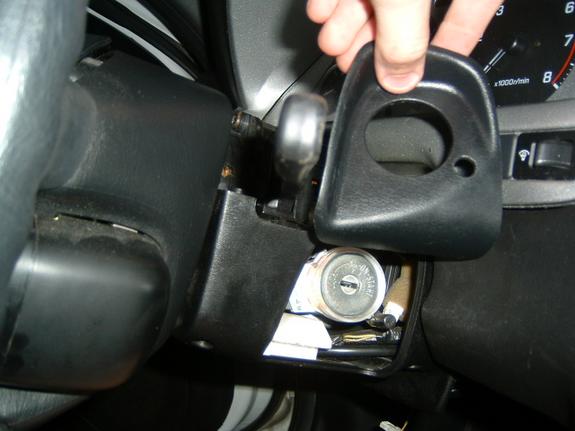
Now remove the 6 Phillips head screws on the bottom of the column. Pull the top piece of trim off the column, and then remove the key hole trim. The bottom plastic trim grips the column, so it will take a good tug. Next remove the wiper stalk and headlight stalk by removing the two brass Phillips head screws from each. Let them dangle out of the way. Now remove the two Phillips head screws from the gauge trim. The bottom is held on by retaining clips. Once this piece is free, unplug the switches that are present. They may be the security LED, the gauge dim switch, and the cruise switch. Once this piece is removed, you can push the switches back out through the front of the trim. Paint the trim if desired.

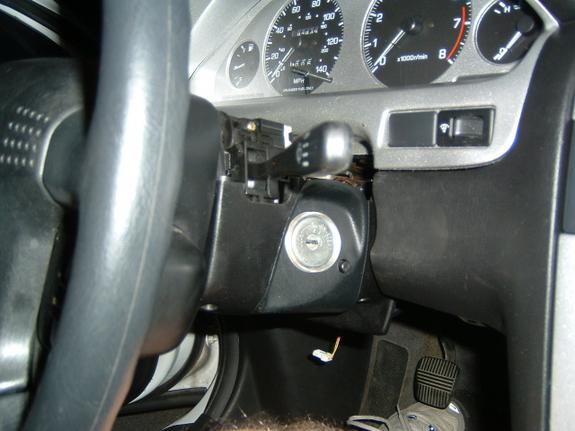
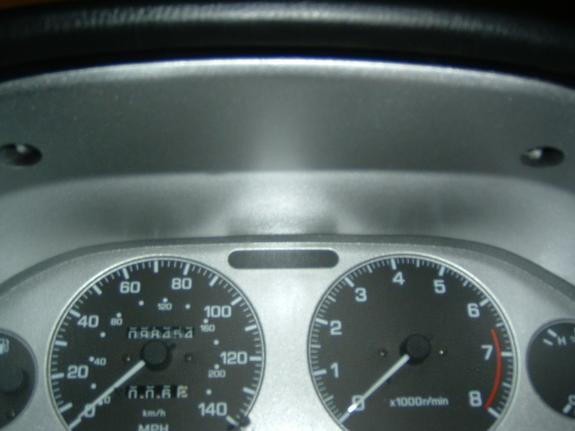
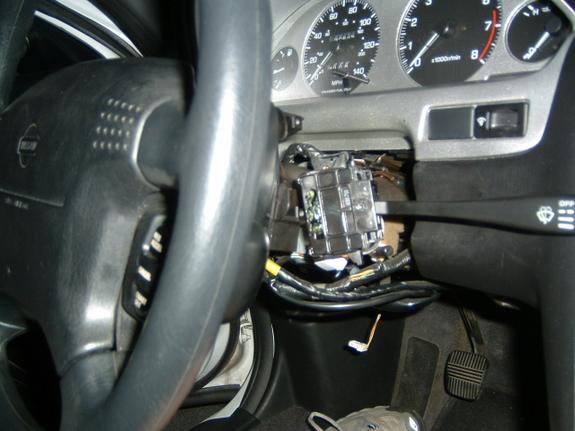
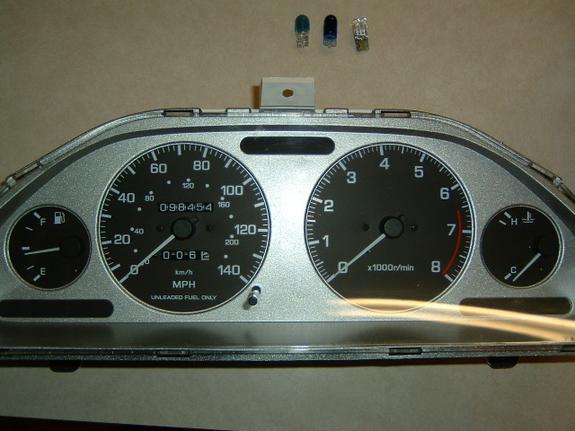
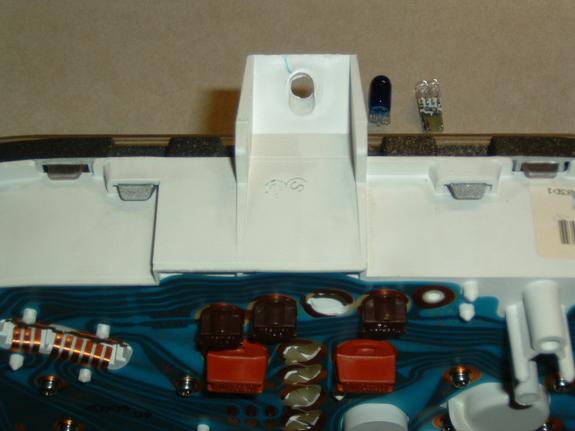
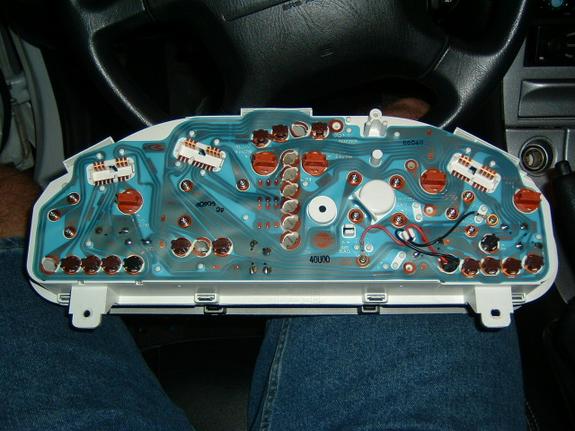
Now remove the three screws holding the gauges to the car. One in the top center, and one in each lower corner. Unclip the harnesses from the back of the gauges. The gauge bezel and the clear lens are simply clipped into place. Take your time removing the two. Once you get the bezel off, you can paint it to match your dash as well. Take you time and don?t break anything. I went ahead and replaced the bulbs in my gauges while I was back there. LED bulbs work OK, but make sure they are wide angle bulbs if you do.

![]()

Comments are closed.