Last Updated: 03/04/2024 @ 07:13 pm
Member Credit: MAXSE5SPD
REQUIRED PARTS
- 02+ 6spd maxima transmission. Sentra spec-v will also work (if you use Maxima bell housing)
- 5.5 gen 6spd maxima shifter assembly
- 5.5 gen 6spd maxima shifter cables
- 6spd drivers side axle
- 6spd pass axle*
- 6spd frame trans mount
- 6spd transmission mount
- 6spd flywheel
- 6spd clutch
- 5spd timing ring
- 6spd starter
- 6spd slave cylinder
OPTIONAL PARTS
- Aftermarket 6spd flywheel with bolt-on timing ring
- Upgraded clutch
- Custom 1″ lengthened pass axle
- Axle seals **
- Shifter assembly cover
- Bolt on 5spd timing ring from travis(turbos13hatch)
- Polyurethane shifter bushings
- Short throw shifter
- Stainless steel clutch line
PROCEDURE
I’m not going to go much into detail about removing the 5spd parts because if you are taking on this project, you can handle that.
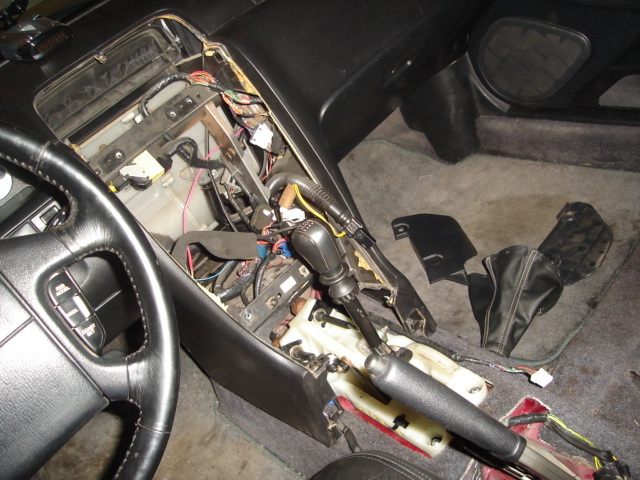
Install shifter cables– pretty self explanatory, pull off the control cable cover, snake the cables in. I routed them to the pass side, above the ECU. boring out the hole wouldn’t be a bad idea, as it can be hard to move and bend the cables to route them correctly.


It will be necessary to drill into the cover as the pre-drilled holes wont line up. i got the bottom one but not the top to line up.


I put dynamat on there to quiet the road noise, and keep water out.
Mount shifter assembly– pretty easy to do also, but it needs to be slightly modified. there are bushings on each of the 4 bolt holes, these bushings must be taking out in front because, if not, the bolts attached to the floor wont be tall enough to be used. you will need to 2 nuts and bolts for the back holes.

Taking off the old 5spd mount- the old mount is held on with 8 spot welds, 4 on top and 4 on the side. either drill them out or grind them off.
Install 6spd flywheel– if you chose the route i took, you will take the 6spd cps off your aftermarket, then align that timing ring with your 5spd one from Travis, and drill out the corresponding holes. then reattach the timing ring with the supplied bolts and some blue locktite. since, you are using a 5spd cps, you don’t need to clock the timing ring, so just install the flywheel by aligning the dowel pin and tightening the bolts in a criss-cross pattern, to the torque specs
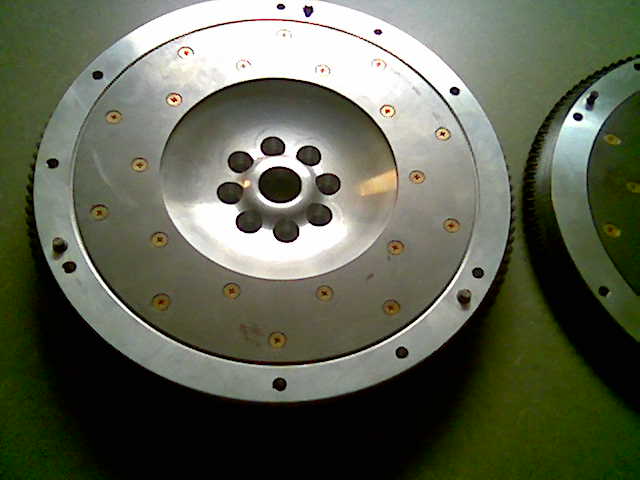
Correct fidanza maxima flywheel

The clutch disk and pp are easy to install, just make sure to clean the pp and flywheel well, and torque the pp to the correct specs in the correct sequence.
Trans mount install- you can either weld this mount to the frame or bolt it to the frame. i decided to bolt it to the frame, because i didn’t have access to a welded. but if you bolt it to the frame, you will need to cut a small, rectangular hole in the outward facing side of the frame to be able to anchor the bolts with the supplied nuts. you will need to install the transmission on the engine to align the mounts. get the transmission on, use a couple bolts to get the trans flush with the block. Reinstall the front cross member if unbolted. bolt on the trans mounted bracket on the transmission, then attach the frame mounted mount with the supplied bolt. then set the frame mount flush on the frame and mark the holes. unbolt both brackets, lower the front cross member, and uninstall the transmission if necessary. drill the holes for the mount. then cut the rectangular hole on the outward facing side of the frame. then tighten the nuts on the bolts, securing the frame mount.


Moving the abs modulator– modulator is bolted to a bracket, that bolts to the inner frame rail. this bracket needs to be gotten rid of. i used zip ties to pull it upwards by the master cylinder.

Transmission install– its easiest to do with someone under lifting it up and someone up top helping. the shift assembly should be pushed down and inward, and the shifter cable bracket should be uninstalled to make installation easier. make sure mating surface between block and bell housing is clean, to avoid starter grounding problems. torque the trans bolts to spec and in the proper sequence. reinstall the shift cable bracket. raise the front of the sub frame, so the cables can be attached to the shift assembly using cotter pins and the cables installed in the bracket using the appropriate clips.

Attach mount bracket to transmission, then jack up front sub frame, so the 2 mount parts can be joined. torque the front sub frame and the mount bolt to spec.
Starter install– the 6spd starter ground cable is a female connector, so is the connector on the engine harness. i cut both connectors off, and wired them together. then bolted the starter in, and connected up the pos. cable.

You can see the heat sink in the lower left of the pic.
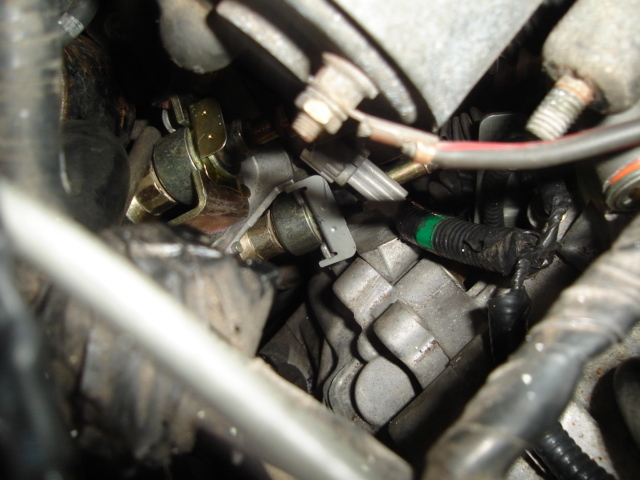
Relocating cps– the RWD 6spd flywheel has a different offset than the FWD 6spd flywheel, so the cps hole will need to be enlarged, and a new hole for the bolt will need to be drilled and tapped.

sr20den said it was 6.7mm (If I remember correctly). i didn’t actually measure, I drew a line on the bell housing and on the cps, just bored the hole out to the drivers side, until the car would start and run. then mark, drill, and tap the hole.
Here is the what the 6speed flywheel bolts look like. You will need these to bolt most aftermarket flywheels on and maybe the stock one too!


================================================== ========================================
Note:
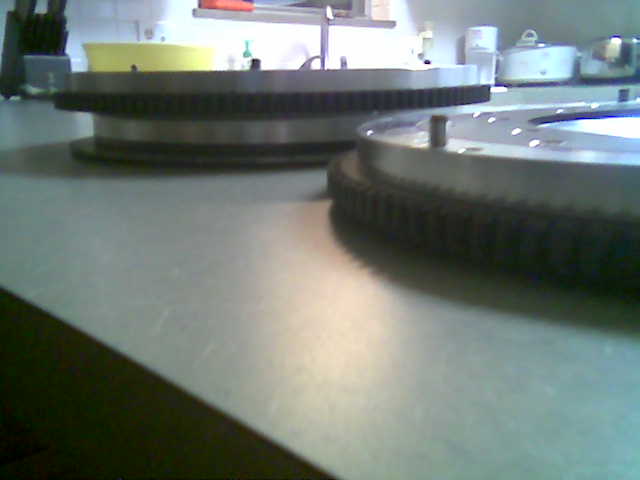
For what it’s worth, I thought I’d post up pics of the size difference in the 3.0 and 3.5 flywheels: These are Fidanza flywheels. The 3.0 is a little over 11lbs, but the 3.5 actually weighed in at 15.6 according to my scale (2lbs more than the advertized 13.5lbs).
3.5

3.0

Undersides, 3.0 on the left

Offset difference:

![]()


Comments are closed.