

Community Member Credit: nadir_s
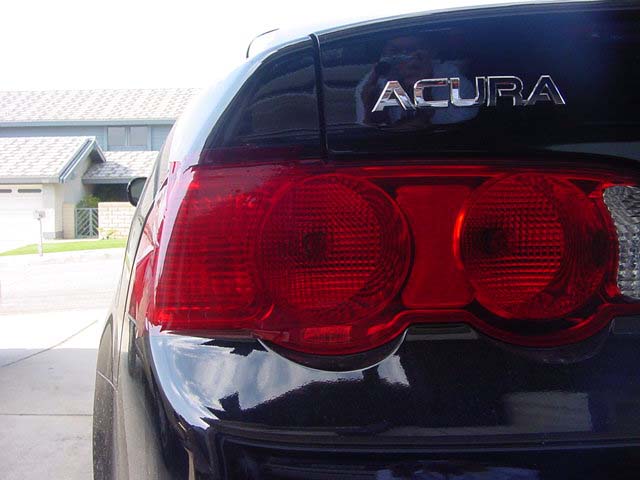
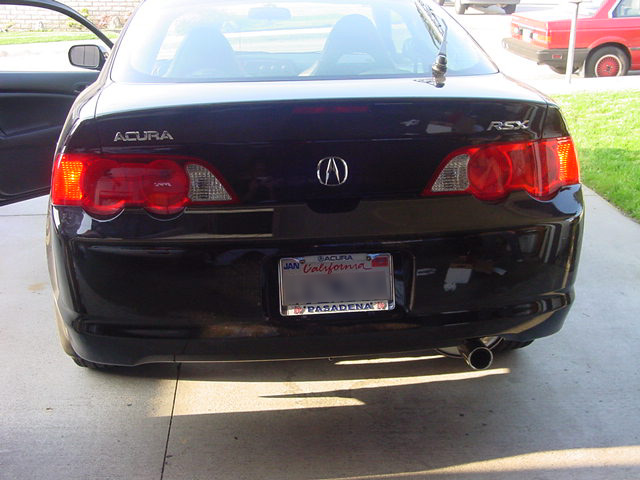
I’ve explained this a lot of times but i thought I’d write a clean explanation on how to “red-out” your tails. This really goes out to all the 95/96 owners who want to at least get rid of the ugly ambers on their tails. This process requires some effort but is worth it in the end. There are 2 ways to red them out… using red tape or painting them. This is how to use the tape. Of course the real red/clears look great but this is a pretty simple $3 cosmetic mod!
Things you need:
- HeatGun or BlowDryer (heatgun works better)
- Soapy water (water mixed w/ dishwasher fluid works)
- Red Translucent Vinyl Tape (can be purchased at a hobby store or from Oracal.com – 8300 High Performance
- Translucent (link is external)… one sheet would be enough to cover both ambers; $3 per sheet)
- something flat and hard… a credit card works perfect
Procedures:
1. Wash/Clean both tails so that there isn’t any dirt on them
2. Now, apply LOTS of soapy water on the tails… let it run down, it doesn’t matter, but they need to be wet as you apply the tape. The reason for the soapy water is to avoid any air bubbles or having the tape annoyingly stick onto the surface where u don’t want it to be.
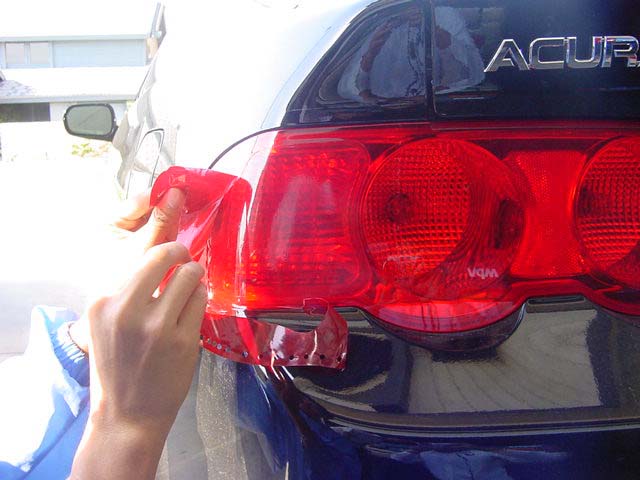
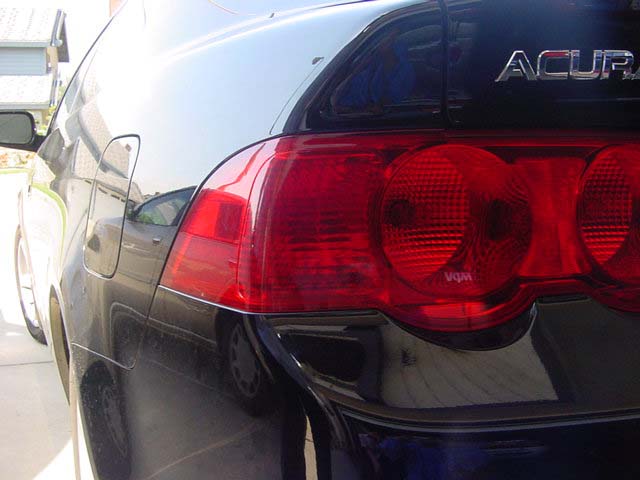
3. Now place the tape on the ambers and position it. With the water under the tape, you will be able to move the tape and adjust it properly.
4. After adjusting it, use the credit card to squeeze out the water underneath. Start from the middle, then move outwards. Keep scraping the top of the tape so that the water underneath will squeeze out from the ends of the tape. Don’t worry, the adhesive will still be 100% sticky.
5. Now that you’ve squeezed out as much as u can on the most flat surface and the tape is stuck to the ambers, you will realize that u have to do the outwards of the ambers where they curve. For this to be done properly, use your heatgun/blowdryer to heat the tape so that it “melts” or become softer and stretchable.
6. As you heat up the curved parts of the tape, stretch the tape out as hard as you can w/o ripping it hopefully to wrap around the curve and not form any air bubbles. CAUTION: Don’t burn your fingers!
7. After doing a satisfactory job w/ the tape stuck to the ambers, use an exact-o knife or razor to cut the excess tape off. CAUTION: Don’t cut yourself in this process.
Voila! No more ambers.
As you read this instructions, you may start to realize this is EXACTLY how tinting windows are done. Basically you are doing a tint job on your ambers. Good luck!
ACURA RSX RED OUT TAILLIGHT INSTALLATION
Tools Required
- Xacto Knife
- Hair Dryer
- Red Transparent Vinyl
Step One
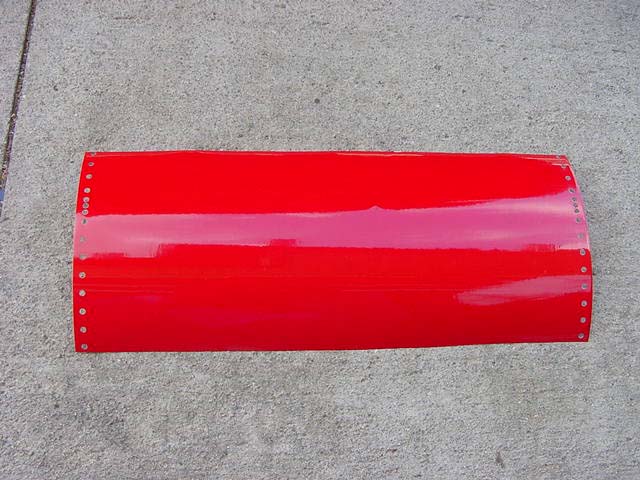
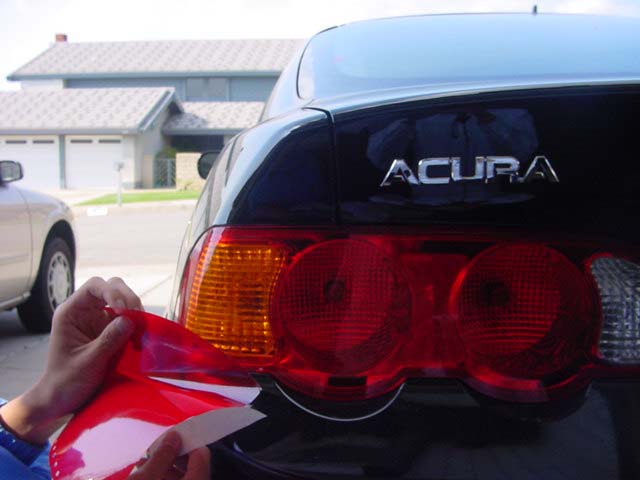
Get your sheet of transparent red vinyl.
Step Two
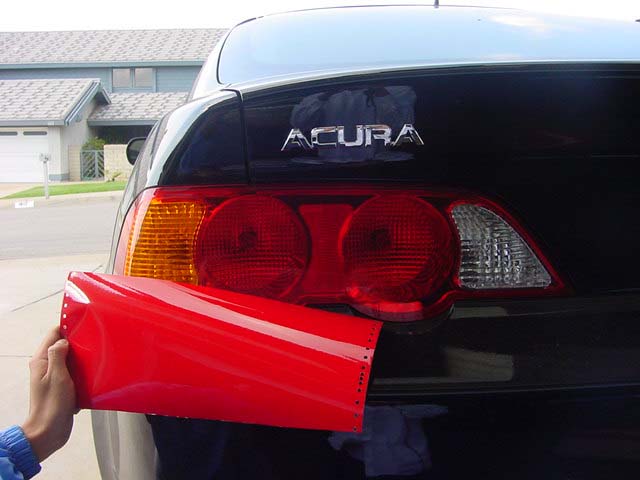
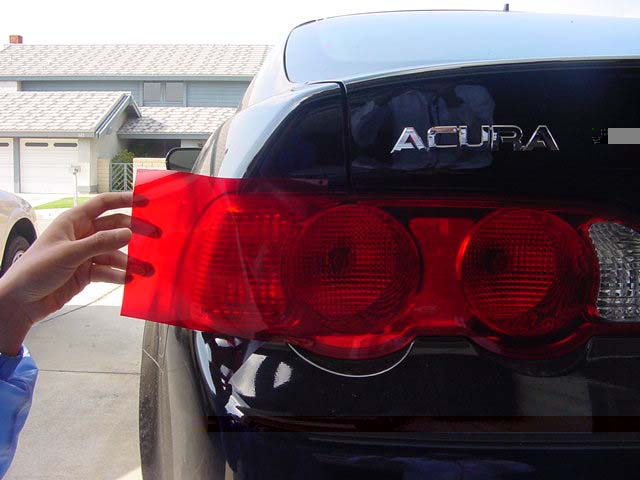
Put the sheet up to the signal light and see how much you will need.
Step Three
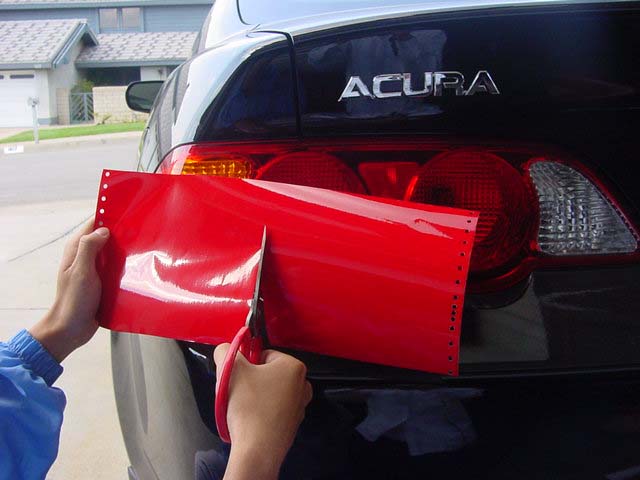
Start cutting the vinyl so u have enough for one side.
Step Four
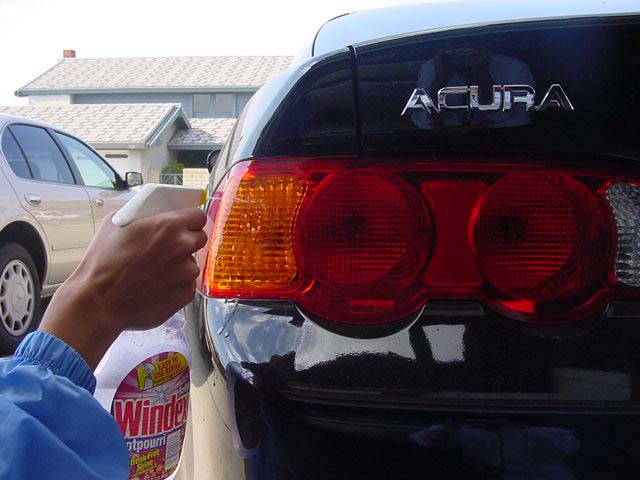
Mix water and dishwashing liquid in a spray bottle and spray onto the tail lights.
Step Five
Peel off the vinyl, exposing its sticky side.
Step Six
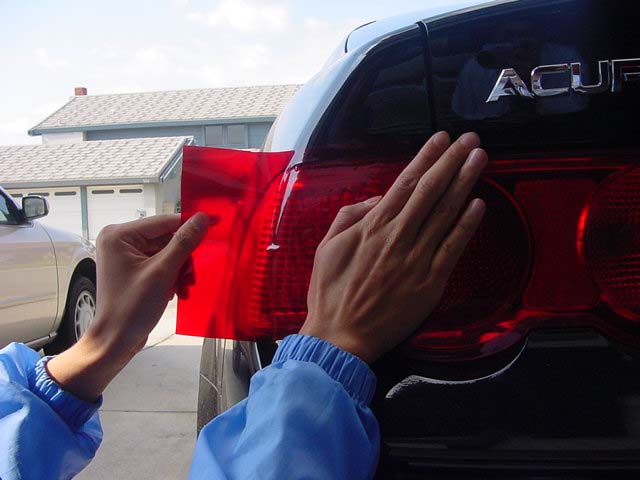
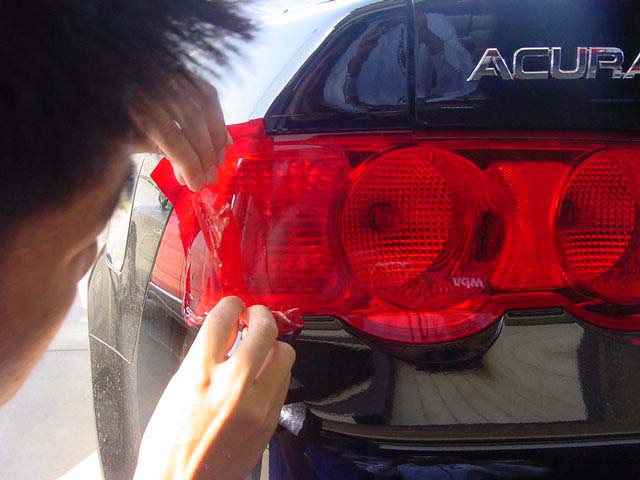
Apply the vinyl flat and parallel to the tail light.
Step Seven
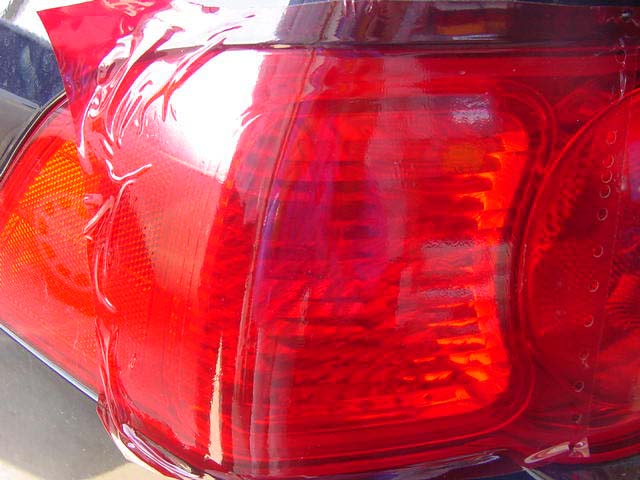
Flatten the edge out as much as possible, while pushing outwards towards the borders of the vinyl. Doing this will push out all of the soap water underneath. If you fail to push out most of the water, theirs a chance of small bubbles forming. Now do the same to the sides of the signals. This part is a bit trickier because the vinyl might wrinkle a bit on the sides.
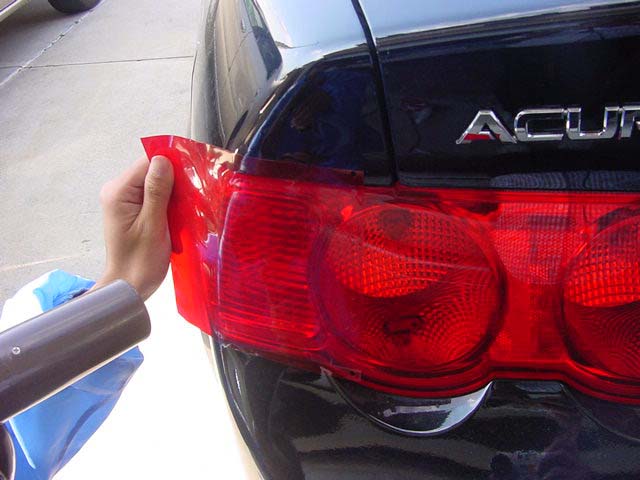
Step Eight
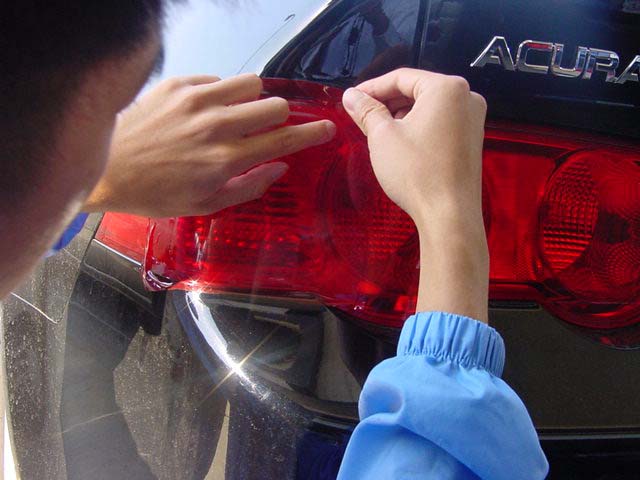
This step is optional, but it is highly recommend. This will help get rid of wrinkles, giving you a smoother, cleaner look. Use a blow dryer and aim it towards the edge of the vinyl. You will notice that the vinyl quickly becomes more flexible. Use this to your advantage. Pull the vinyl outwards and stretch it so that it is taut (not slacked.) And use flatten it down. It helps to have another person help u at this stage, but not necessary. The vinyl should be on nice and smooth over the amber signal area.
Step Nine
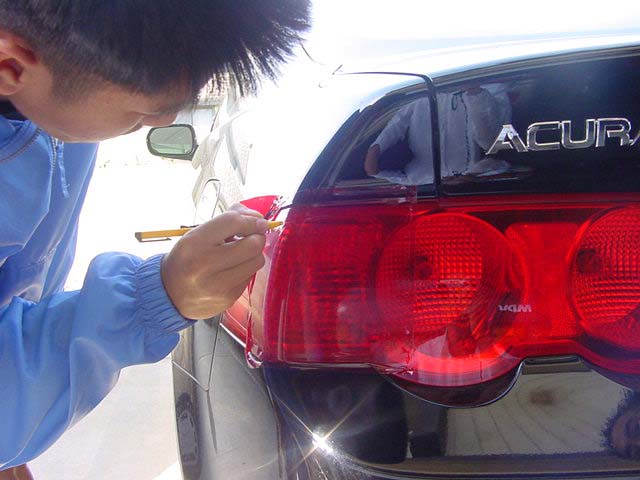
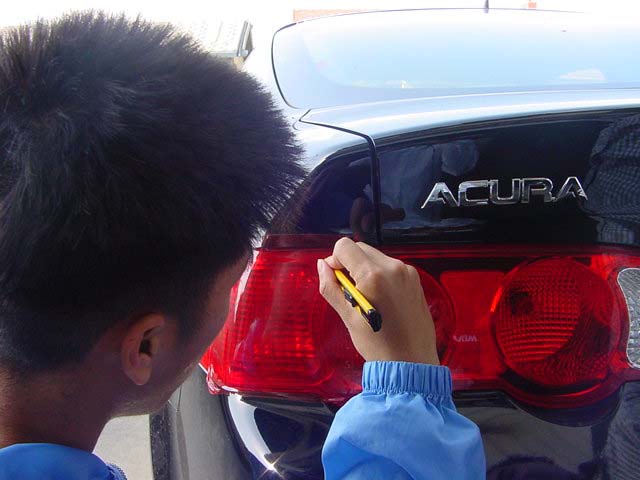
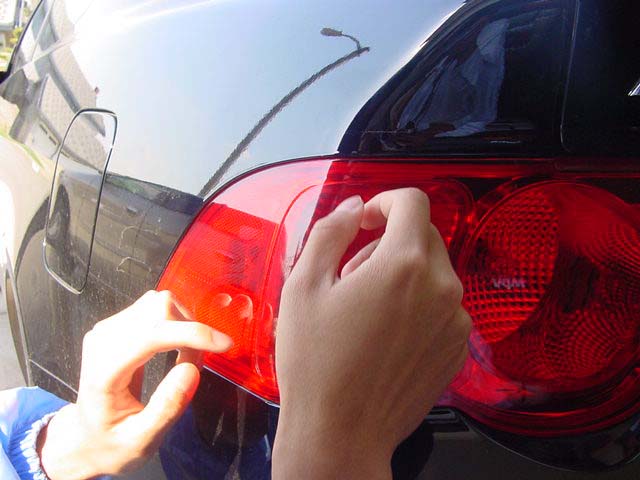
With your exacto blade, begin lightly tracing the shape of the signal. You should be able to see the shape through the vinyl.

Step Ten
Once you have traced the entire outline of the amber tail light, start peeling off the excess vinyl.
Step Eleven
Once you have gotten rid of all the excess vinyl, flattening it out again with your hand to get rid of any left over water/bubbles.
Step Twelve
Wait about 5-10 minutes to ensure its dry.
If you ever want it back, all you have to do is peel it off. The vinyl is very strong and will withstand the weather and car washes.
![]()
Comments are closed.