

Member Credit: BLKMAGIC
You can start this project from any part you wish, so you do not have to follow the order I did things. I started in the front, and worked my way to the rear of the car for the most part, although you do have to jump around when you get close to the end.
AS WITH EVERY JOB YOU DO THAT REQUIRES UNPLUGGING ANYTHING ELECTRICAL, DISCONNECT THE NEGATIVE BATTERY TERMINAL BEFORE YOU BEGIN!
Tools Needed:
– Phillips Head Screw Driver
– Flat Head Screw Driver
– Panel Popper Tool
– Small Pick-Tool Set
– ¼” Ratchet
– 10mm Socket
– 12mm Socket
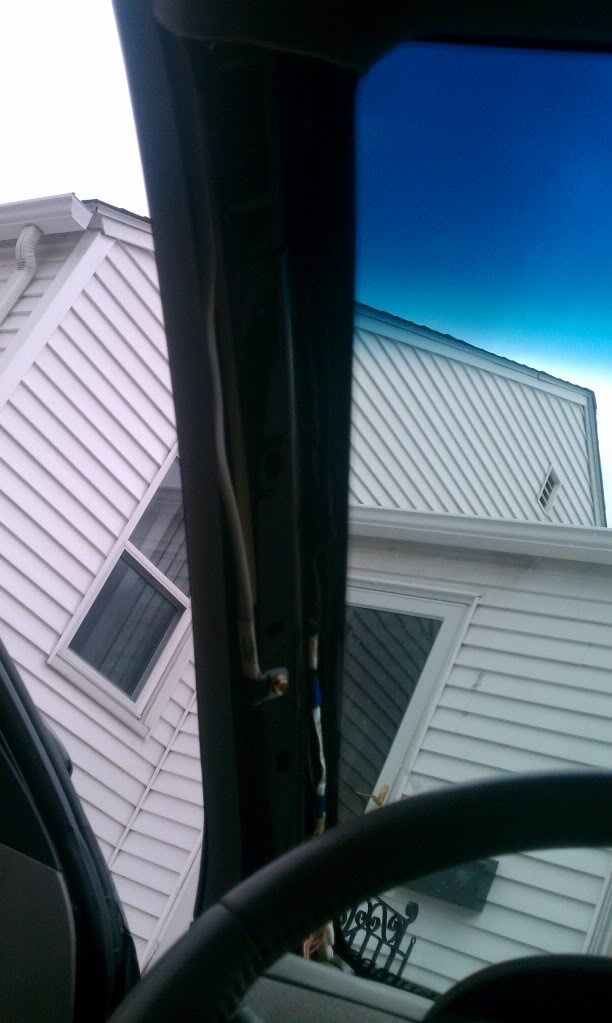
First, I did the A-Pillars:
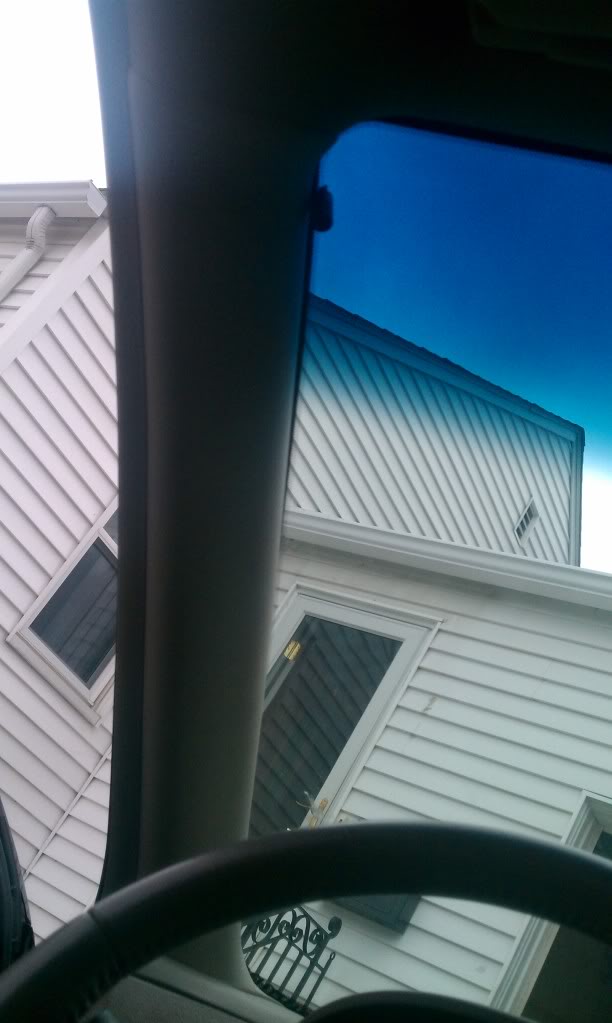
Start by pulling back the rubber molding inside the door jam, giving you better access to the door side of the pillar.
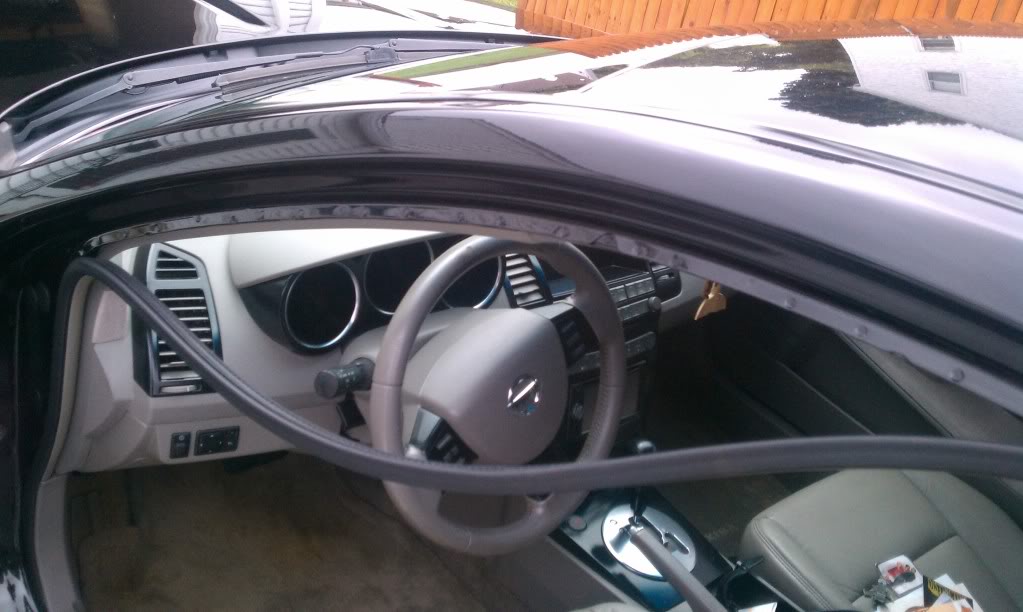
Next, use the panel popper tool to pop the clips out on the pillar, starting at the top, working your way down towards the dash. Start from the outside, then the inside directly across, until you have popped all of the clips out. Once you have all of the clips popped out, you will have to sort of wiggle the bottom out from behind the dash. Repeat for the other side.
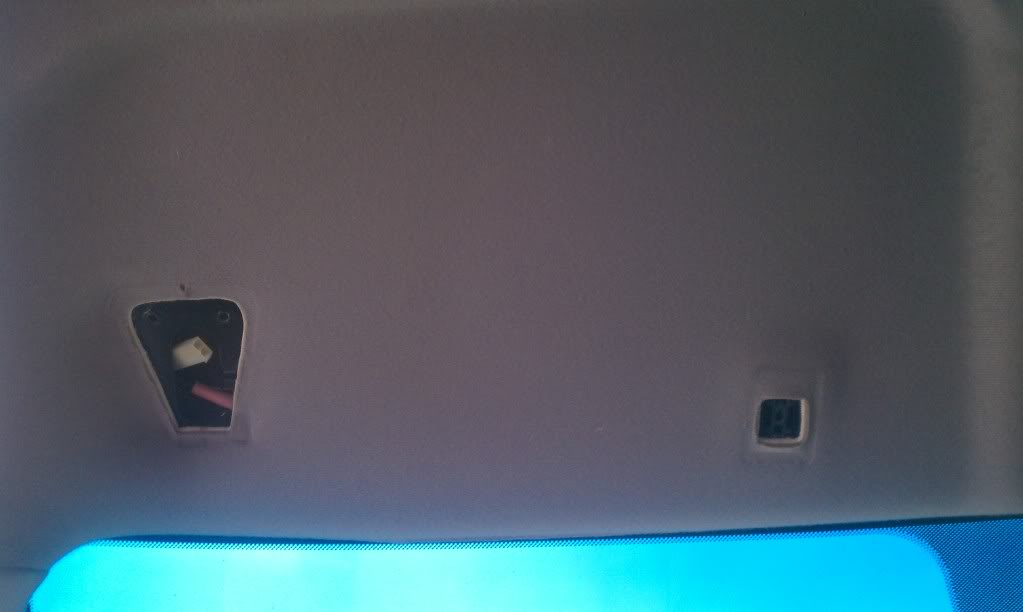
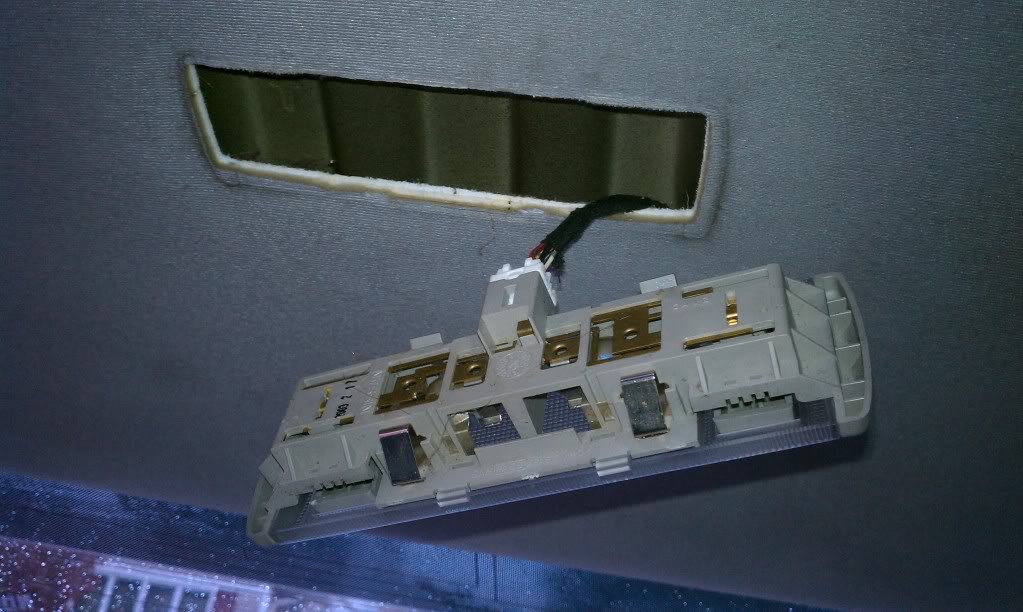
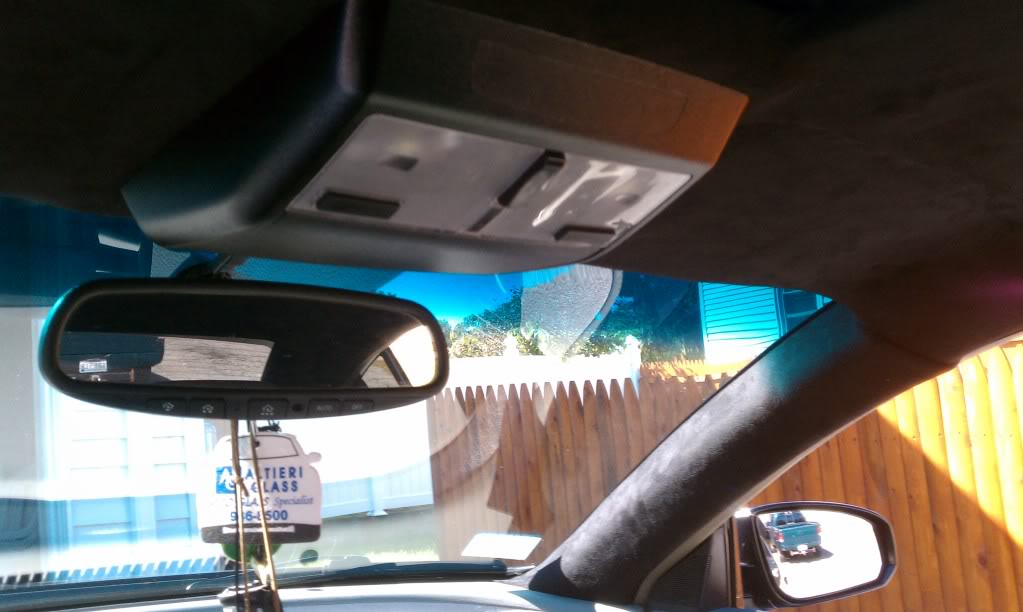
Second, The Dome Light/Sunglass Holder:
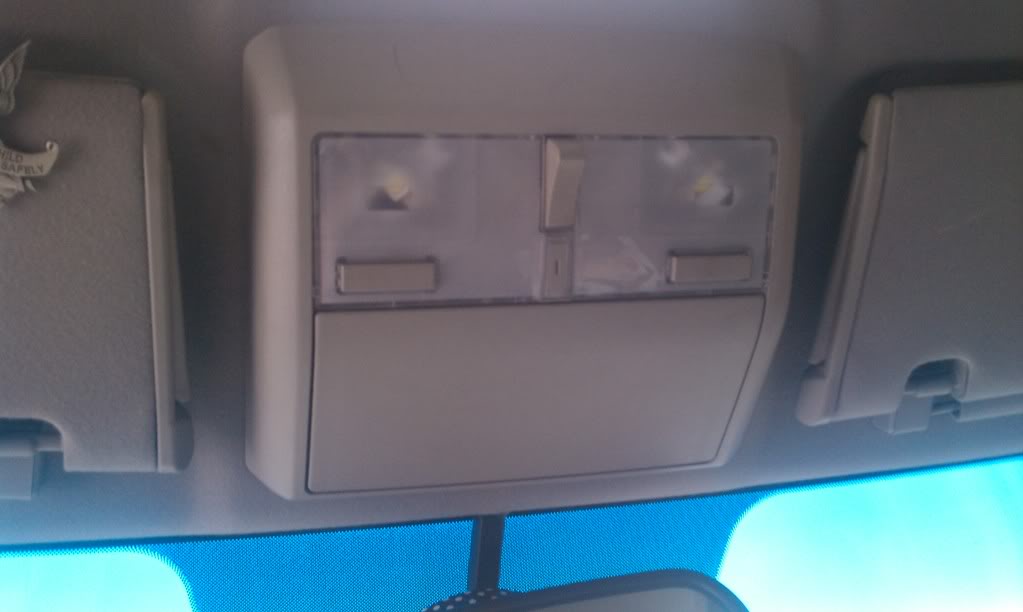
Start by opening the sunglass case, revealing the Phillips head screw holding it to the roof.
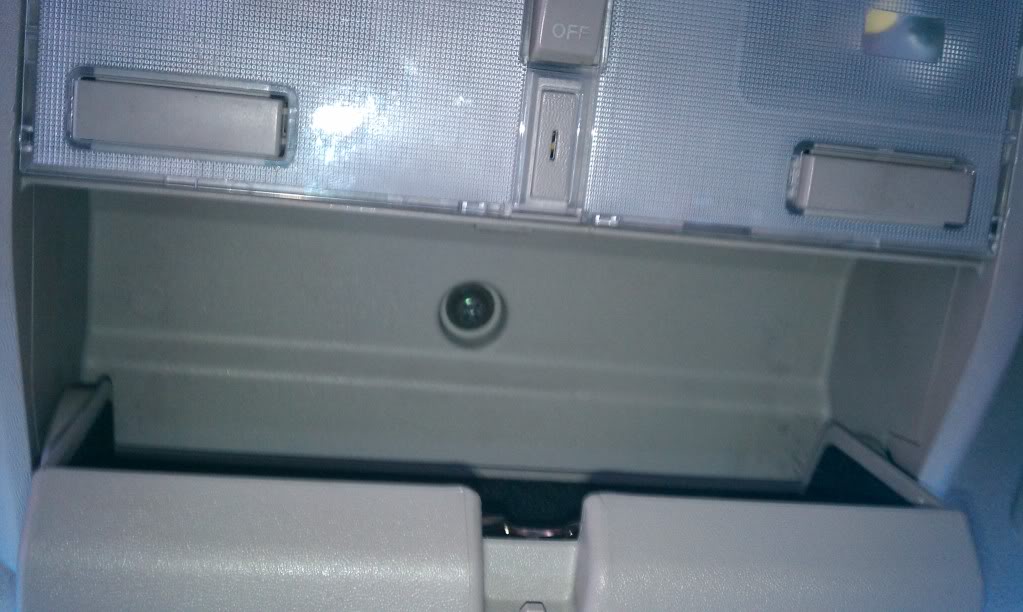
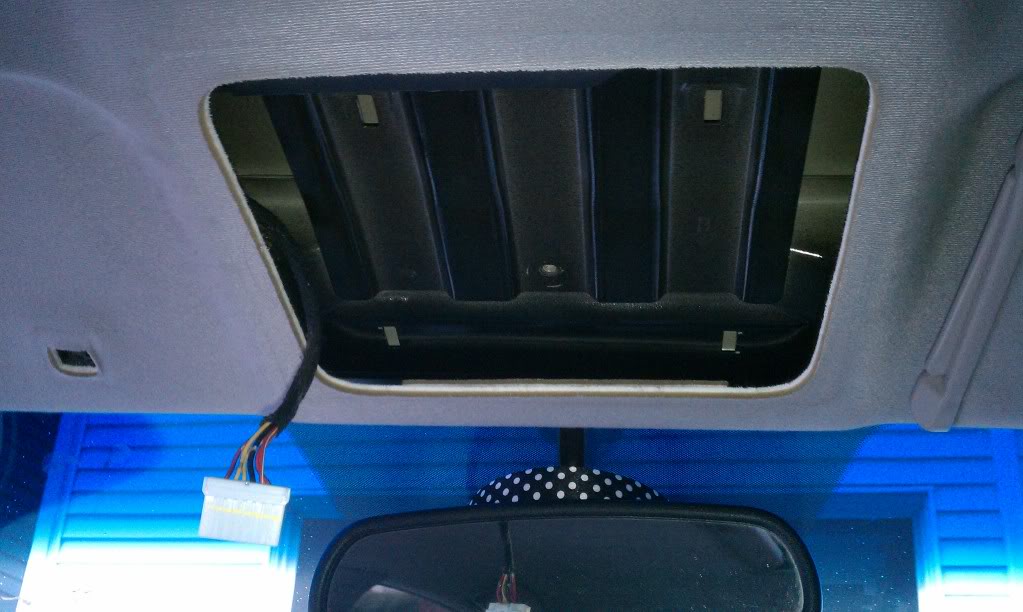
Remove that screw with your Phillips head. Once the screw is out, start pulling down the piece one corner at a time. It will take some decent strength pulling, so don’t be nervous. Start at the back two corners, then the front two corners. Once you have all four corners out, you will see the harness for the dome lights hanging.
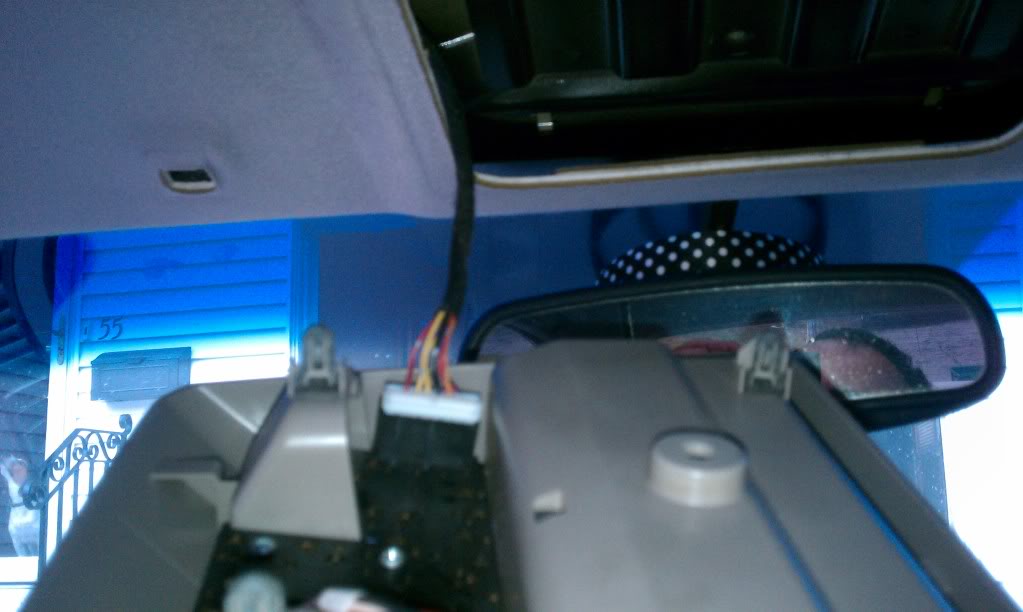
Once you have the piece down, unplug the harness, and move on.
Third, The Visors:
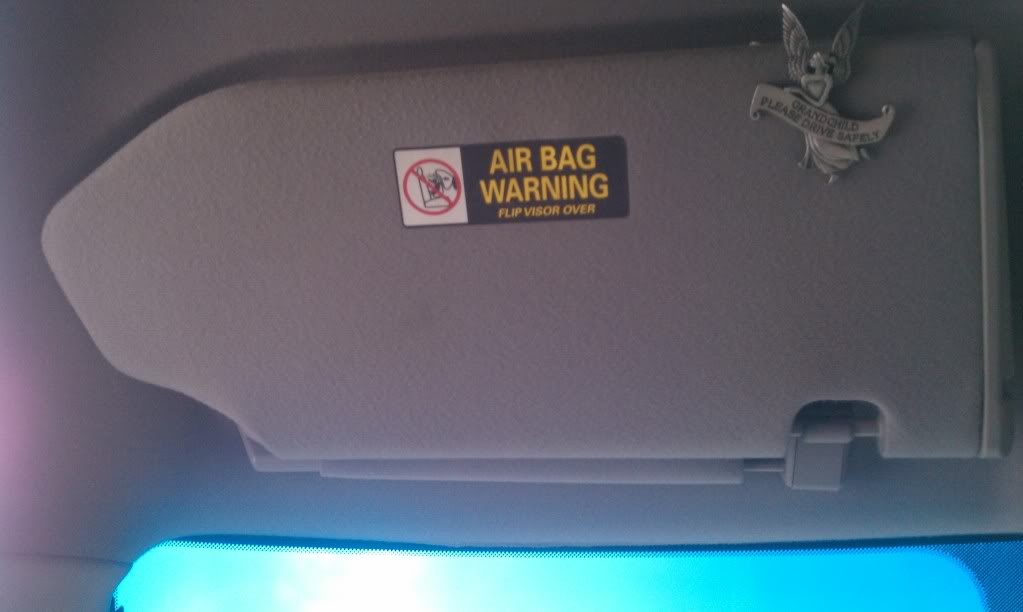
Pull down the visor, giving you access to the mounts on either side.
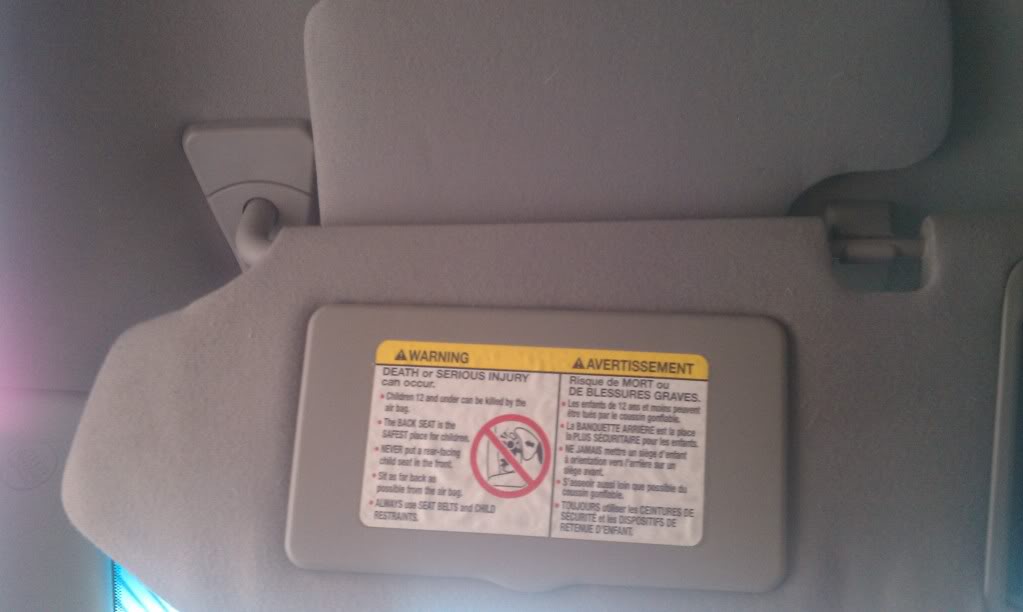
Using one of your pick tools, remove the plastic covers on each mount, revealing two Phillips head screws under the large mount and one Phillips head screw under the small mount.
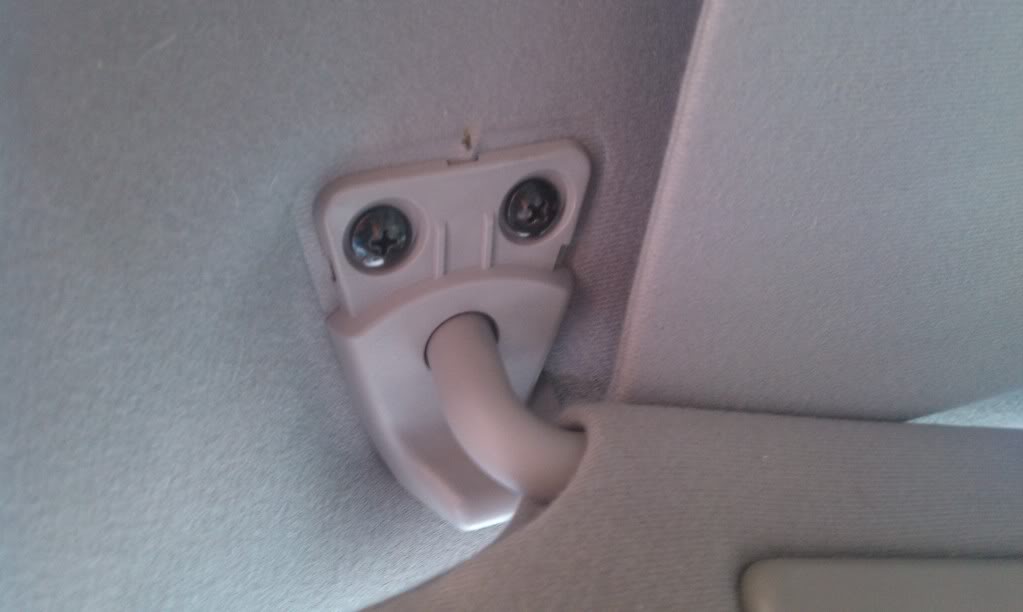
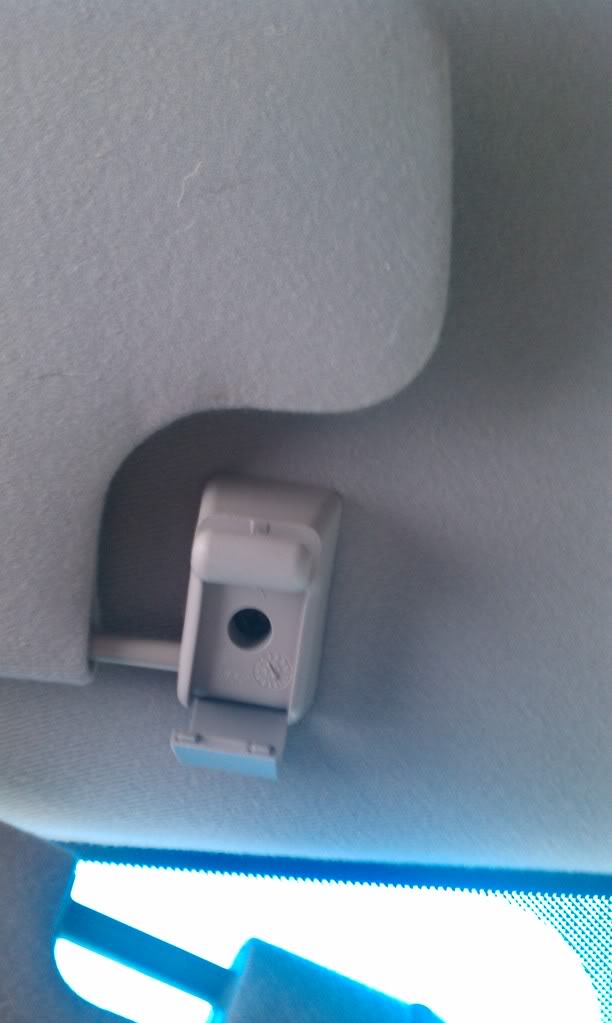
Remove the three screws, and lower the visor, revealing the harness for the vanity lights.
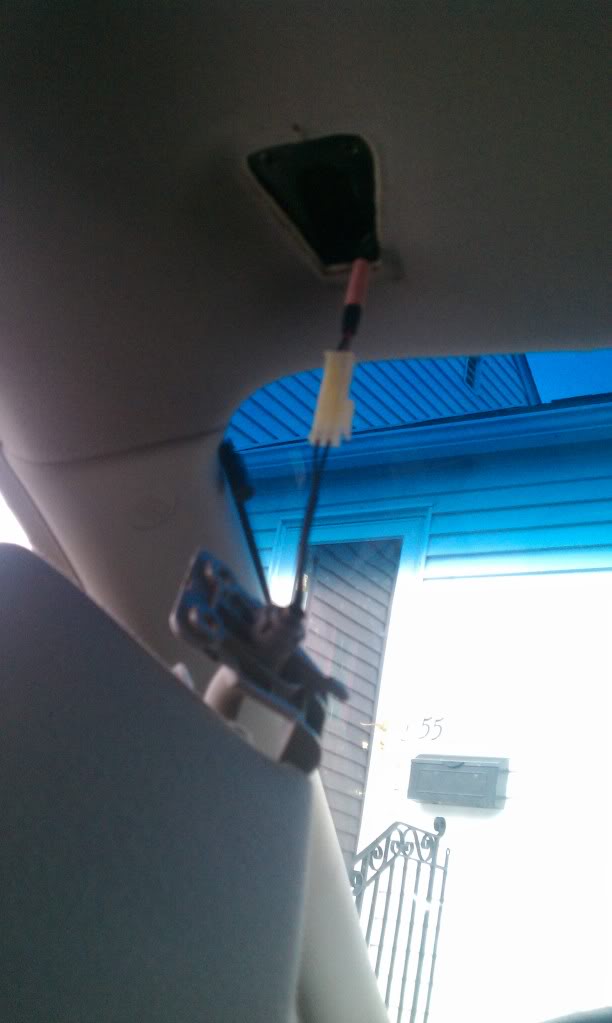
Unplug the harness, and repeat for the other side.
Fourth, I did the “Oh-Shit” Handles:
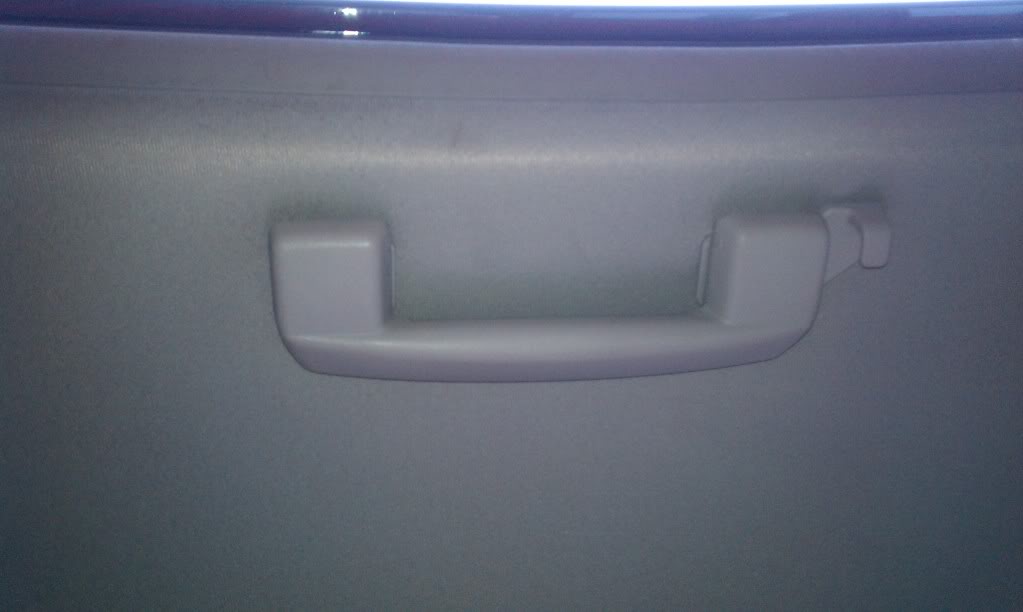
“Open” the handle by pulling down, and you will see a plastic cover on each end. Use one of your pick tools to remove those plastic covers, revealing two Phillips head screws underneath.

Remove the two screws, and the handle will come right off. Repeat for the other 2 handles.
Fifth, I went to the B-Pillars:
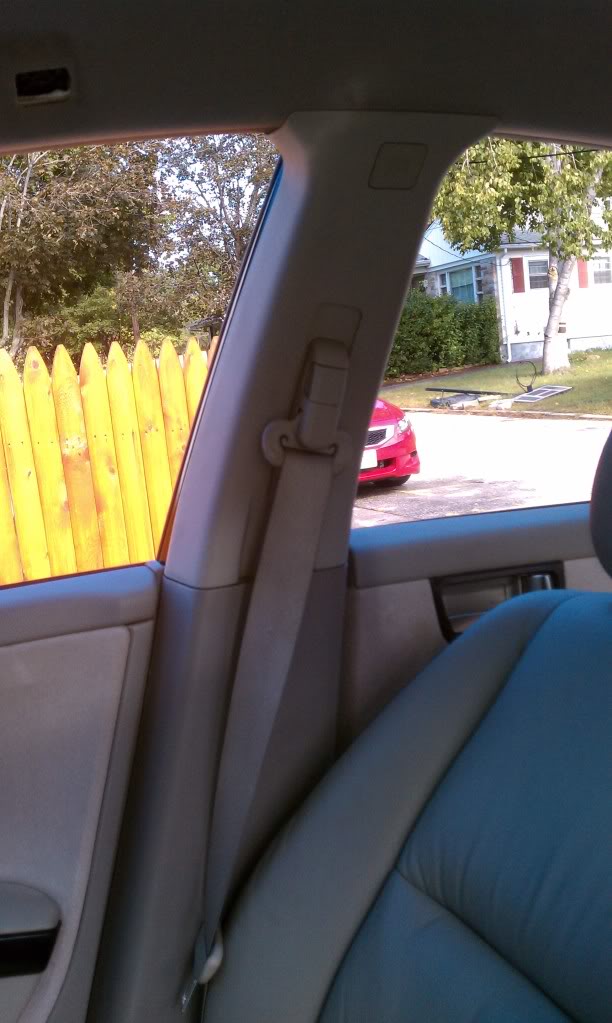
The B-Pillars take a little more work to get out. You could probably sneak them out easier, but I didn’t want to risk snapping a clip or breaking anything, so I took this route. Start by removing the moldings in the bottom of the front door. Just use your panel popping tool or flathead screwdriver to get under it from the outside edge, and pop it up carefully. Do the same for the molding inside the bottom of the rear door.
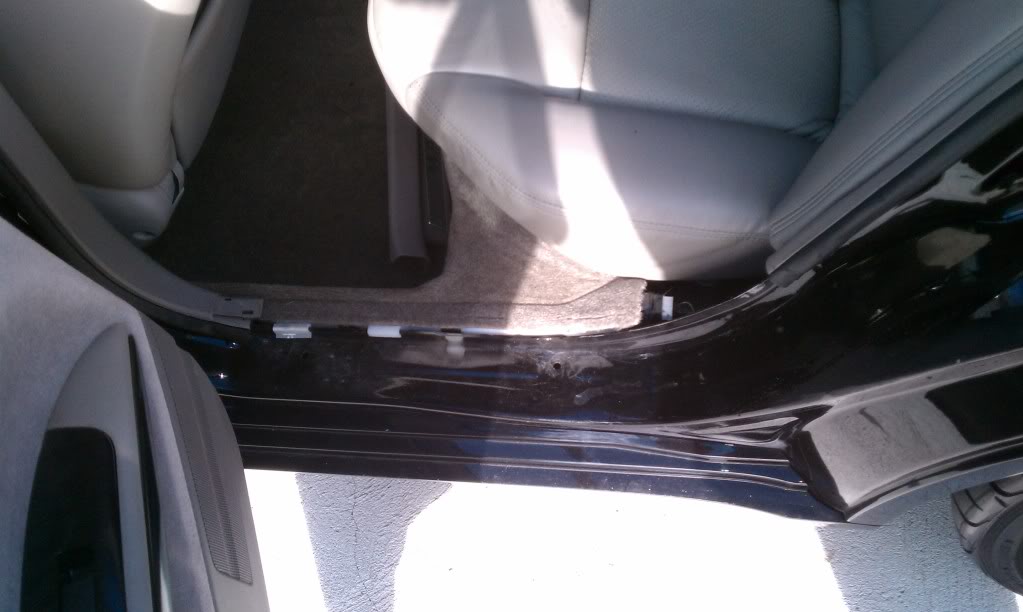
Next, remove the lower B-Pillar piece, by using the panel popping tool to pop the clips from the bottom up. Once you have all of the clips popped out, remove the piece and set it aside.
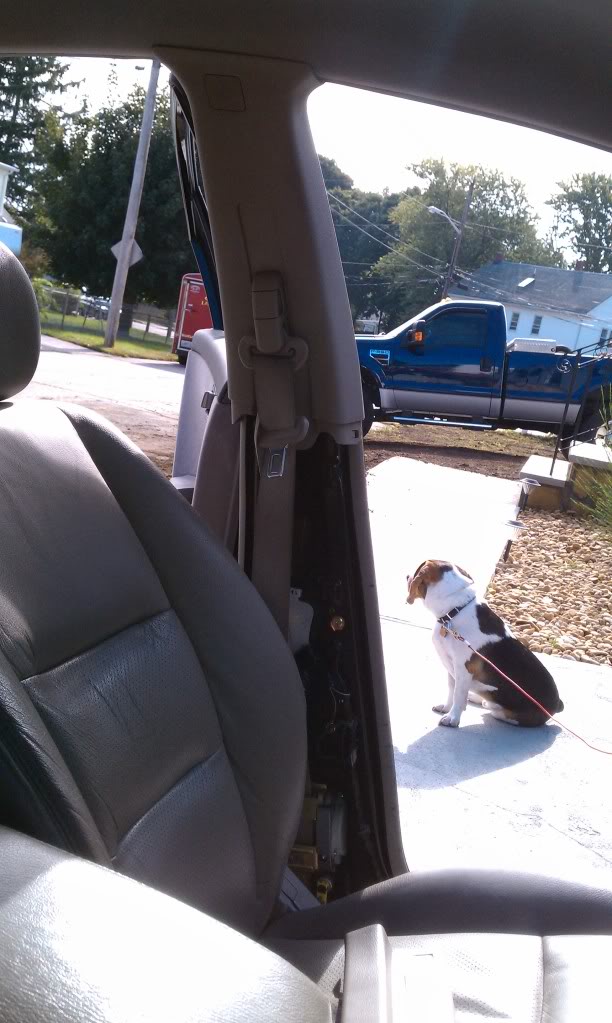
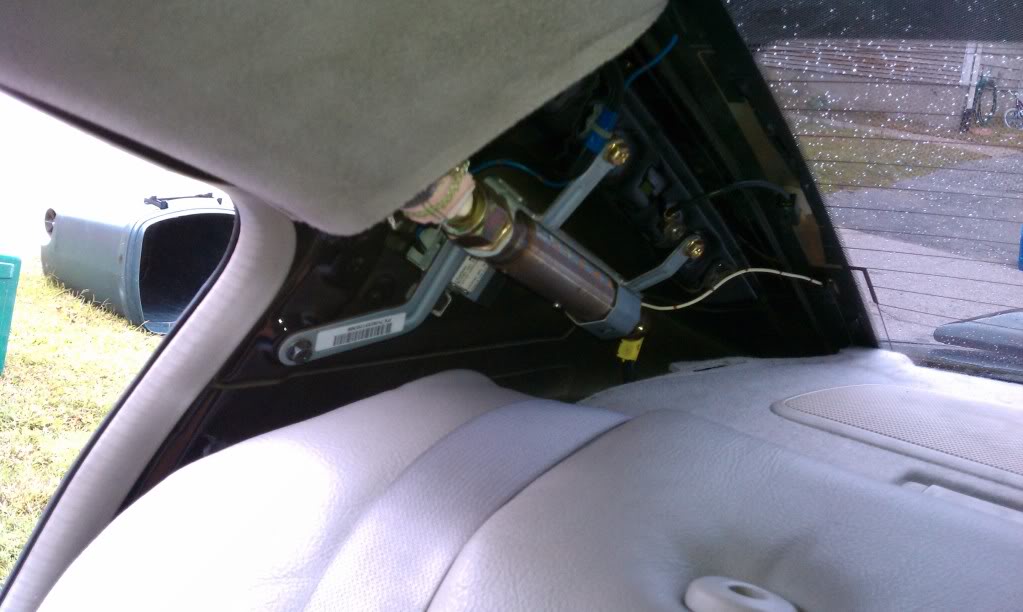
Next, you have to remove the seatbelt from the pillar. If you pull the adjustment tab on the seatbelt in the middle of the pillar, and twist it, it will reveal a 12mm bolt underneath holding the belt on. Remove that bolt, and let the belt hang.

Next, you need to pop the “SRS Airbag” pieces off the pillar with one of your pic tools, revealing a 10MM bolt underneath.
Unbolt that bolt, and you are ready to remove the pillar. Start at the bottom with your panel popping tool, and pop the clips out from bottom up, and the remove the pillar. Repeat for other side.

Now that the pillar is removed, re-attach the seatbelt if you plan on driving the vehicle while the headliner is removed. Also, reinstall the gold bolt that you removed from under the SRS Airbag piece, as that bolt helps hold the airbag in place.
Sixth, The Rear Dome Lights:
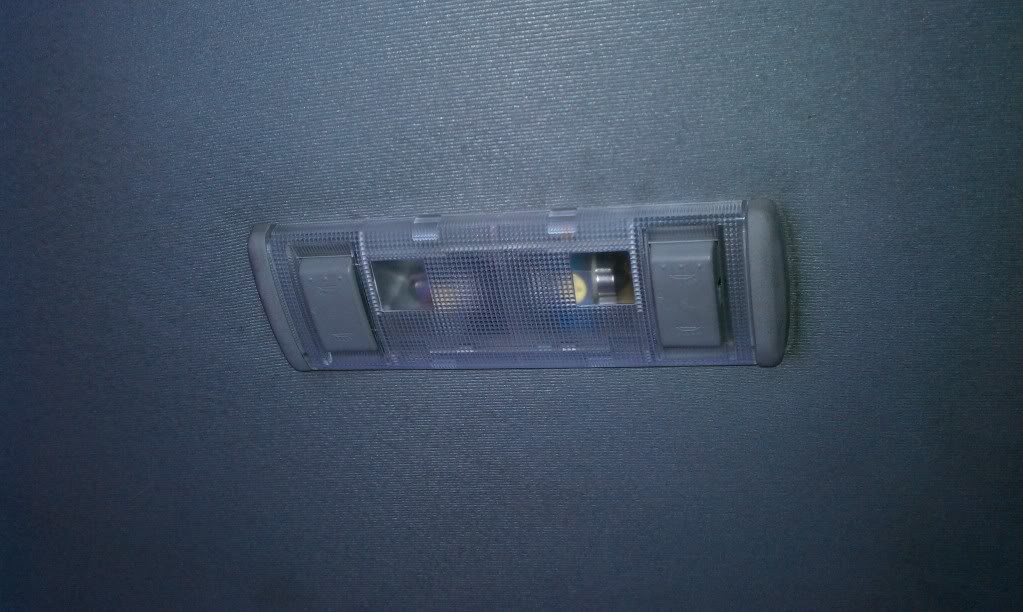
Easily pull down on the dome light assembly until it comes down, revealing the harness for the lights.
Unplug the harness, and move on.

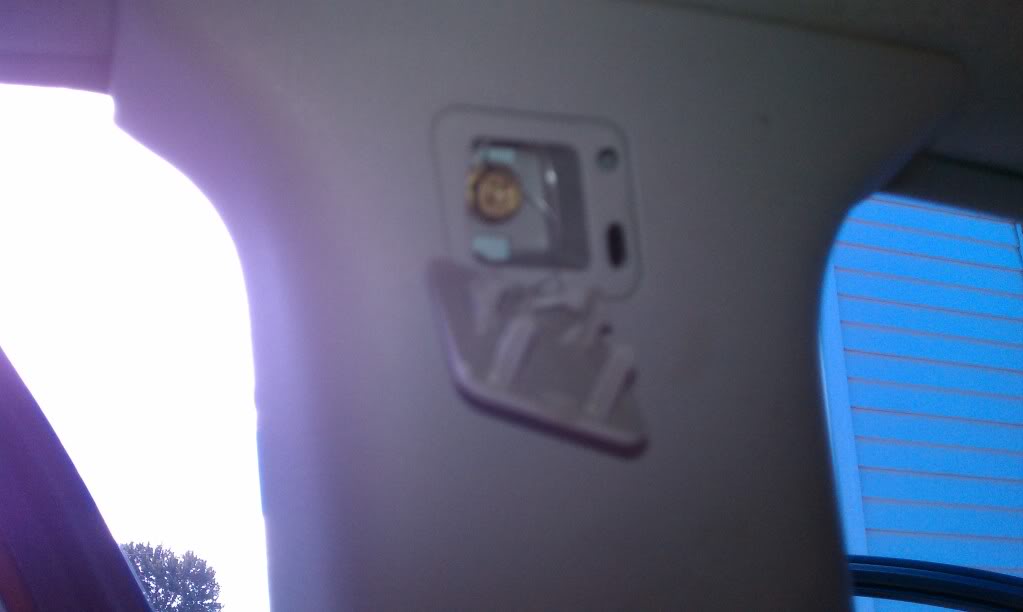
Seventh, The C-Pillars:

With your panel popping tool, start popping the clips out at the top of the pillar where it meets the headliner. From there, work your way down to the rear deck, and once you have popped all of the clips out, you will have to play with it and wiggle it out. Repeat for other side.
At this point, you have removed everything holding the headliner up other then the stuff on the headliner itself.
Next, unplug the two harnesses at the bottom of the driver’s side window. These harnesses are what run everything you just removed (vanity lights, dome lights, etc.), they have NOTHING to do with the airbags.
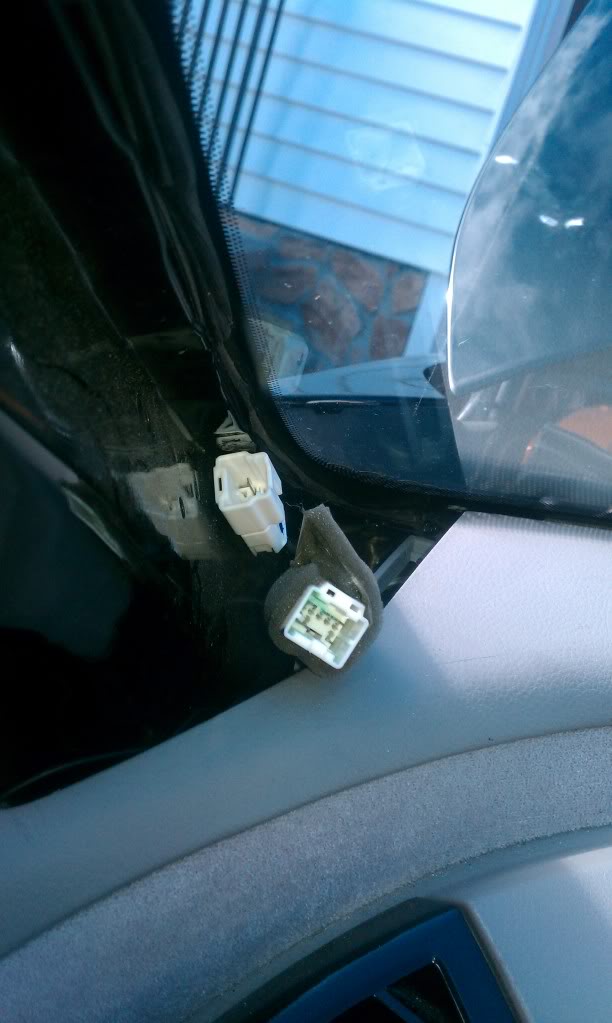
Now that the harnesses are unplugged, remove the three clips holding them to the pillar going up to the headliner.
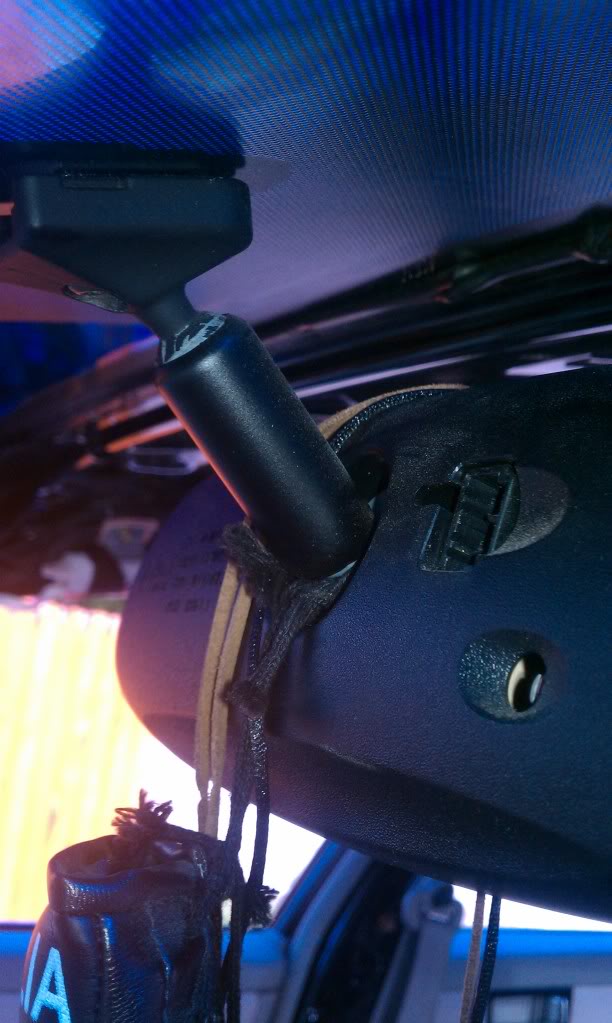
Next, unplug the harness on the rear-view mirror that runs to the harness, and let it hang.
Ok, so now the big drop down starts. Starting at the front doors, slip the headliner out from under the door moldings, so that it starts to hang. Continue on to the back doors as well, so that the headliner is free from front to back on both sides of the vehicle.
Now that that’s done, start to pull down the headliner from the middle of the front windshield. As you see/feel the Velcro release, work your way back, using the sunroof openings as spots to pull down on lightly. Once they are all undone, the headliner should hang, and you should notice a ground wire attached to a screw above where the driver’s side C-Pillar was.

Unbolt that, remove the ground wire, and put the bolt back in. You are now ready to wiggle the headliner assembly out of the vehicle.
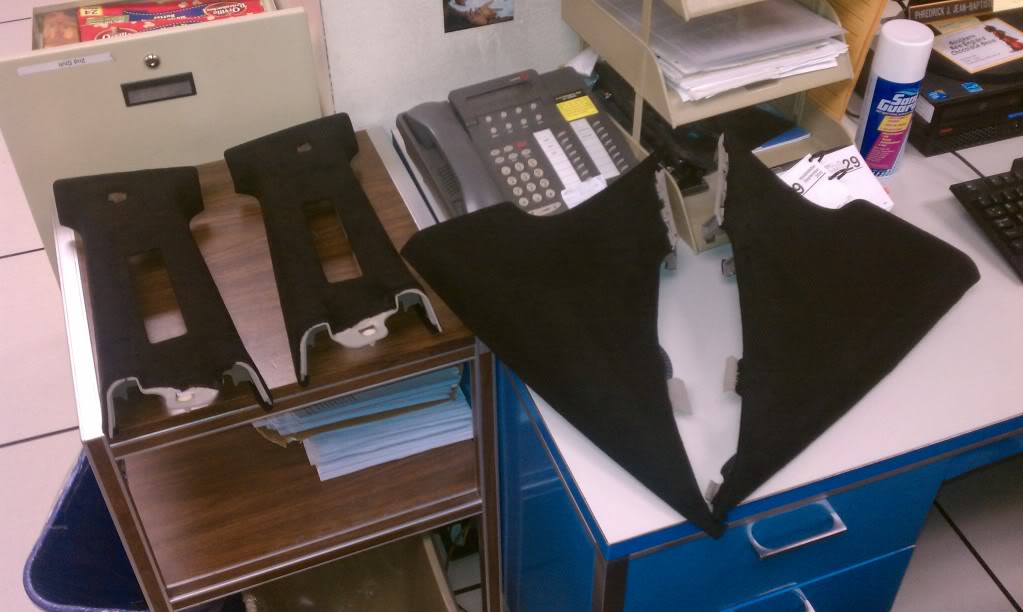
The Skyview Panels:
There is one silver 10mm nut, and one gold 10mm bolt holding on each panel. Remove those two items, and the only thing holding it on will be two white clips and a black metal clip, all of which just pop out. Drop it down, repeat for the other panel, and you are COMPLETELY done with the project. Well, other than putting it all back together.
The Sunroof Panel(Courtesy of DarkDog):
To remove you sunshade (slider panel), after you remove the headliner you will be able to see the rails your panel slides in. Towards the back of those panels, there are two white stops. There is a #1 Phillips screw in the top of each of these stops. Remove those screws, slide the stops out, and you will be able to pull your sunshade the whole way out through the back.
To reinstall, simply reverse the steps.. shade in, stops in place, screws in..


![]()

Comments are closed.