

Community Member Credit: vr4z06gt
The usual disclaimer, I am sure I left things out, I am not a certified mechanic, this is for instructional purposes only, if you screw it up it’s not my fault. Follow this at your own risk. I recommend (I didn’t however), that you disconnect the battery to avoid setting off the airbags.
I tried my best to remember which size each bolt was. They all were either 13mm or 10mm. Deep sockets will be needed in addition to regular ones. Just have these on hand to get to each bolt when needed. You will also need a flat head screwdriver and a socket wrench. I recommend cleaning supplies while you’re in there to get rid of any hard-to-reach grime.
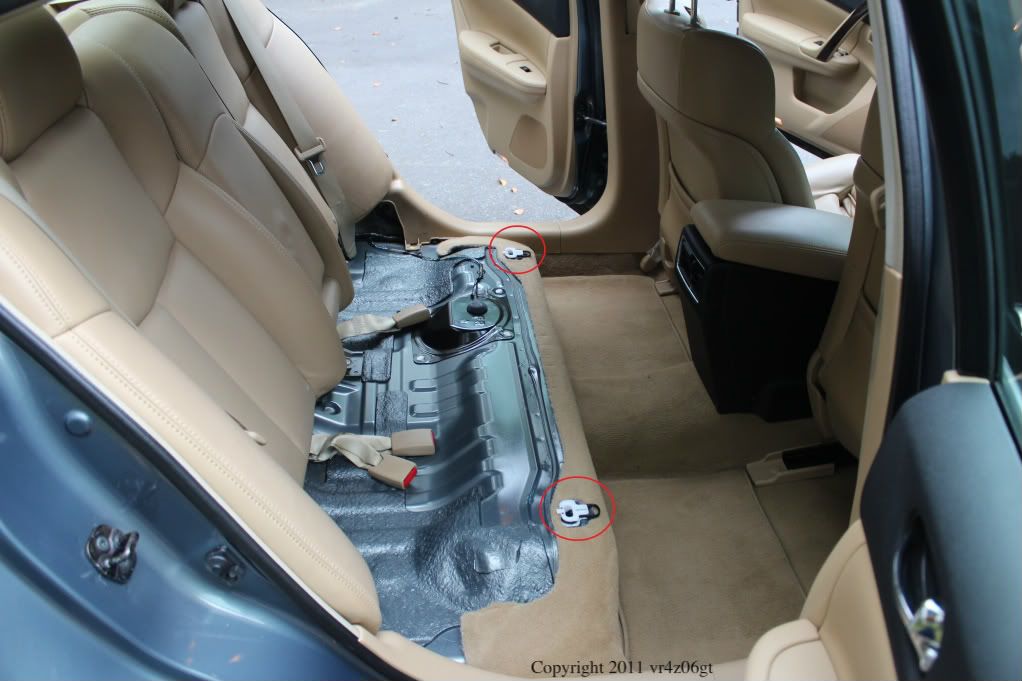
The first step is seat bottom removal. There are two latches that secure this on the lower front portions of the seat bottom in the middle of the left and right seats. Pull forward on them and the seat front will pop up. Then, while lifting slightly upward, pull forward and the seat bottom will come out. These latches are here:
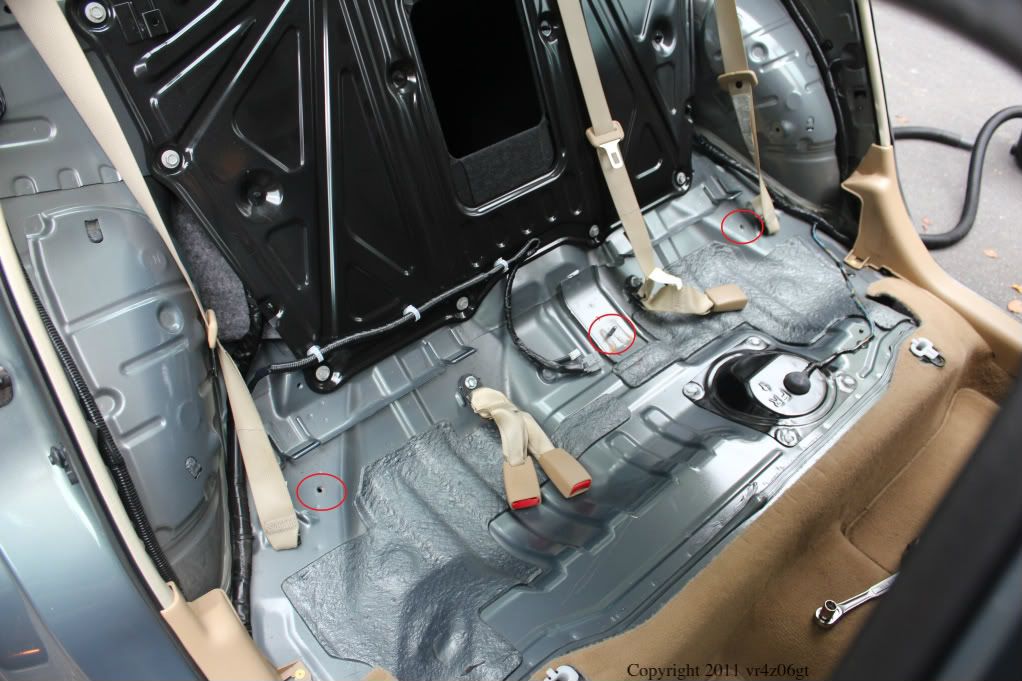
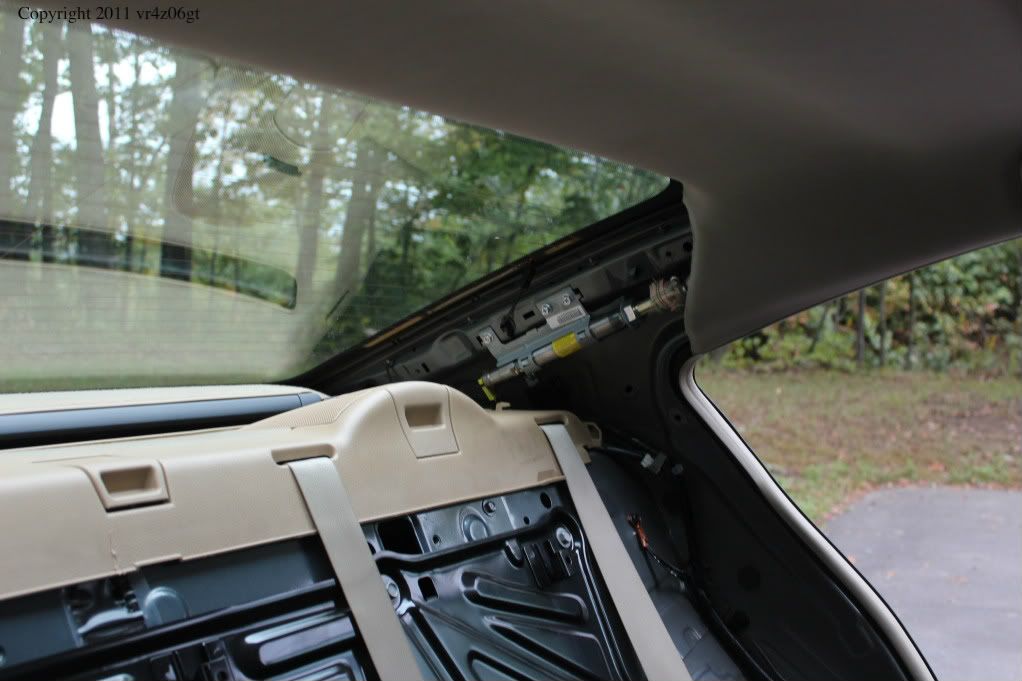
Next step is to remove the rear seat back. There are two 13mm bolts and a 13mm nut that hold this down. It is difficult to get a wrench to spin for more than a few inches without an extension, so I recommend one. The bolt locations are here:
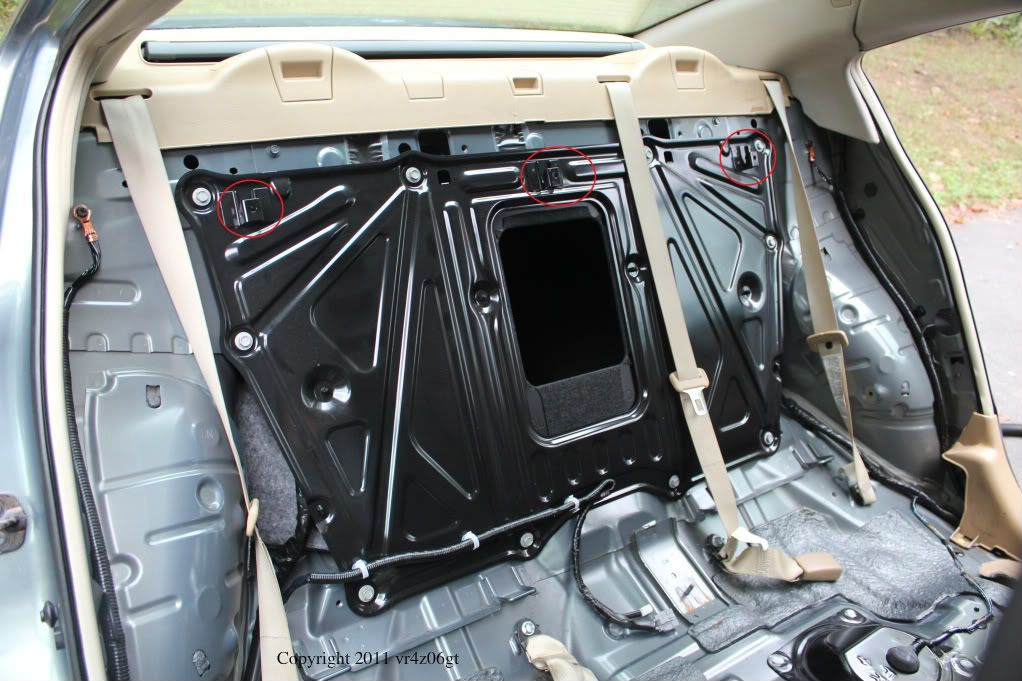
When the bolts are out you will need to lift the seat upwards. There are three mounting locations where a wire drops into the hanger. Image is here:
I recommend having a friend help you get this out. There is a bunch of metal hanging off the back that will damage your interior or door jamb paint if you are not careful… I wish I knew this, I put a nice gouge in the jamb paint.
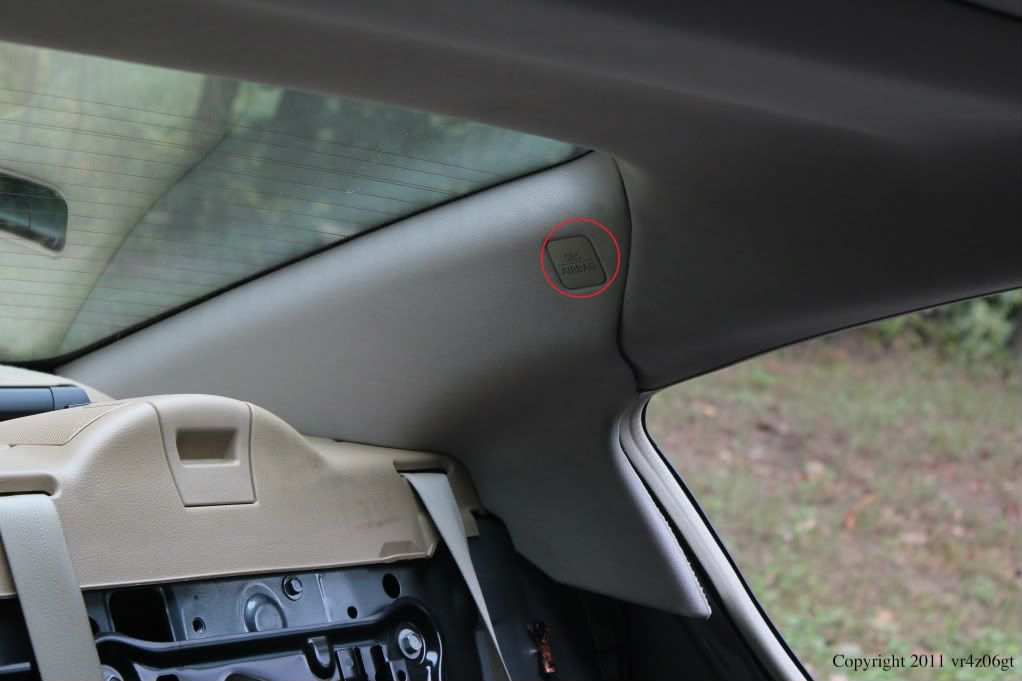
The next step is C-Pillar trim removal. There is one bolt for each piece located behind the SRS AIRBAG tab. Use a flat object, like a flathead screw driver and carefully pry it out. It should just pop out as there is nothing really holding it in. Then using a 10mm deep socket, remove the bolt. The rest is held in with push pins and slides into the rear of the deck liner. In the front pull towards the middle of the car until you hear a pop. Then slide the trim piece toward the front of the car and the trim should come out with little effort. Then repeat on the other side.
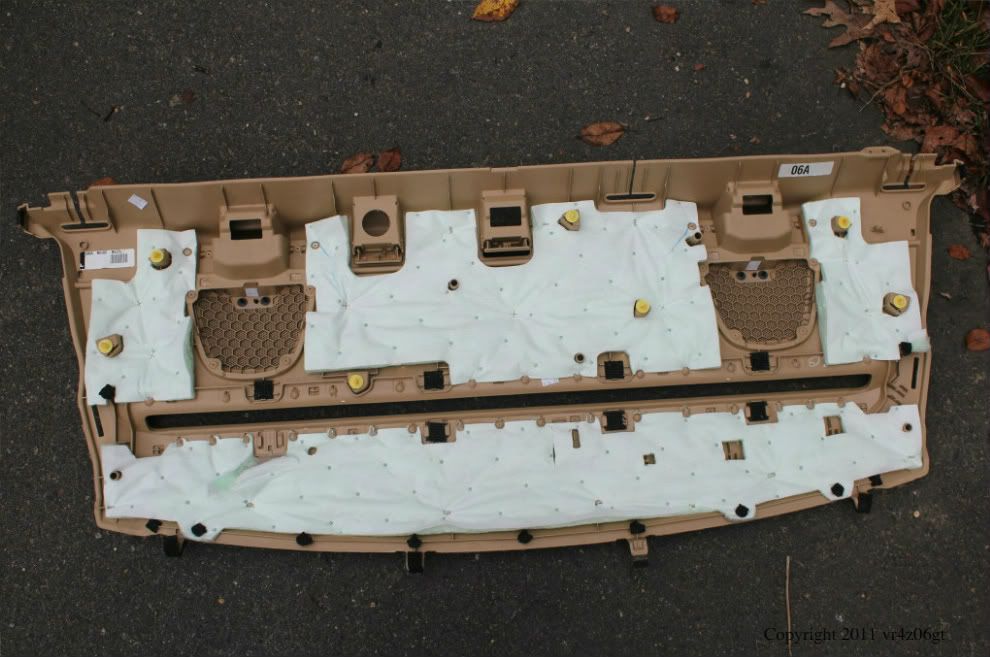
Finally you can remove the deck trim. There are 7 yellow push pins. Just stick your hand in there and carefully separate them working from one side to the other. I have a premium package so I have the rear sunshade. There are 8 Velcro style grips that secure this to the rear of the deck liner. I noticed one of mine stayed on the sunshade bracket and came off of the deck liner. I recommend that you put it back on the deck liner as it will make reassembly much easier. Once you have popped the pins off pull forward firmly but gently and it should just slide out (the Velcro will give way).
While I was in there I figured I would remove the sunshade to eliminate that as my possible rattle source. There are 4-10mm bolts that hold this in, one on each end and two in the middle (front side). I have a few pics of these as it was awkward to try and get all 4 bolt locations at once.

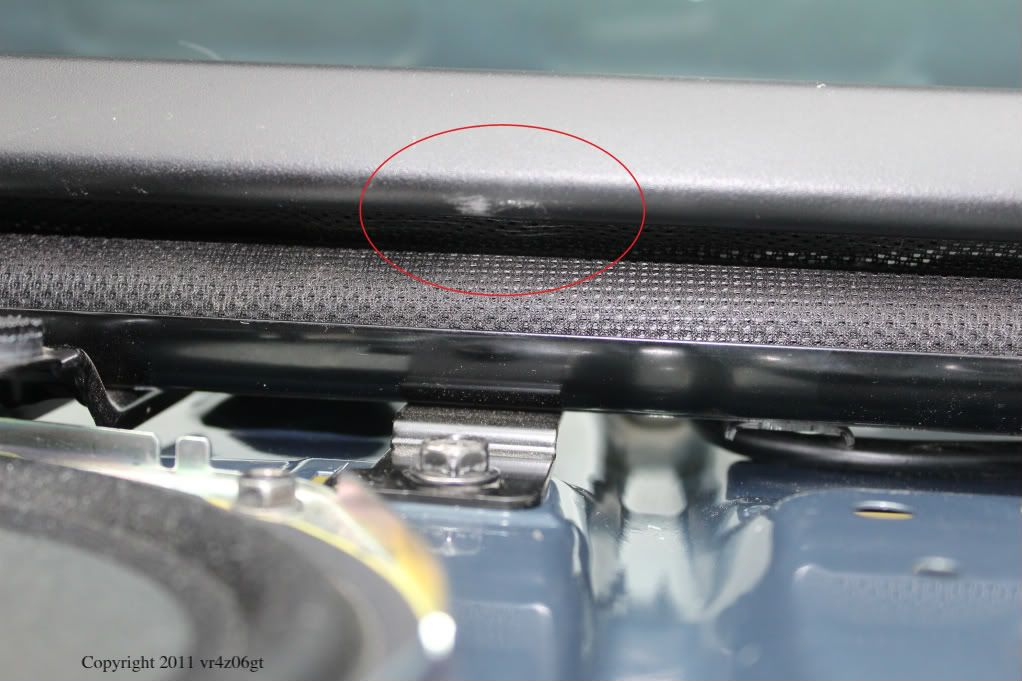
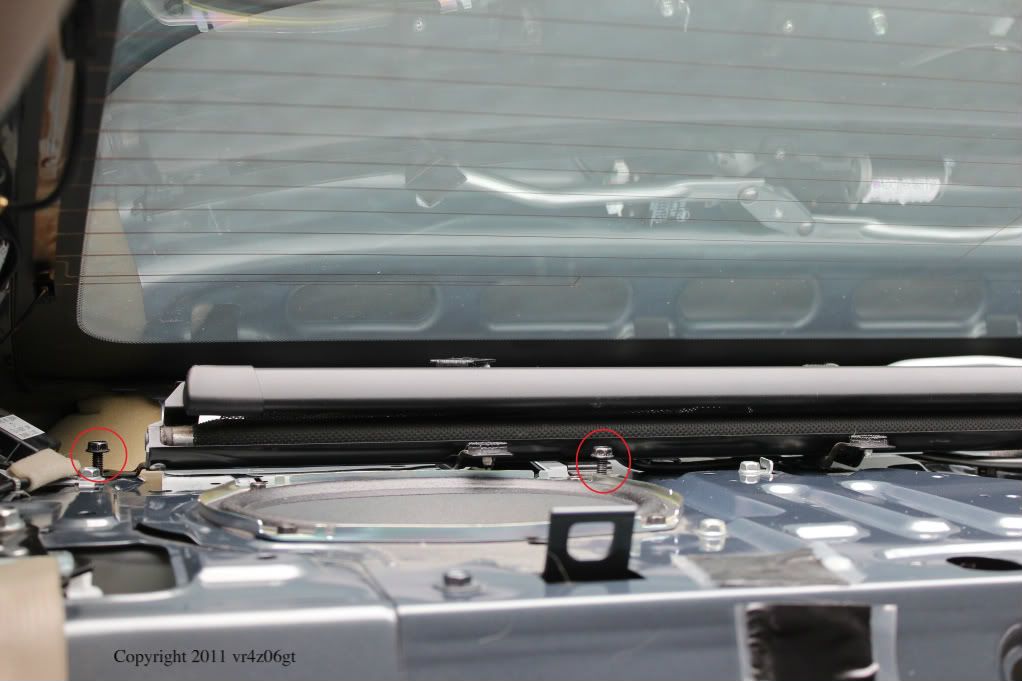 Be careful with the one on the passenger side middle as it is located just under the sunshade and the socket wrench will damage it, as I did and you can see here, if you don’t put something in between the wrench and the sunshade.
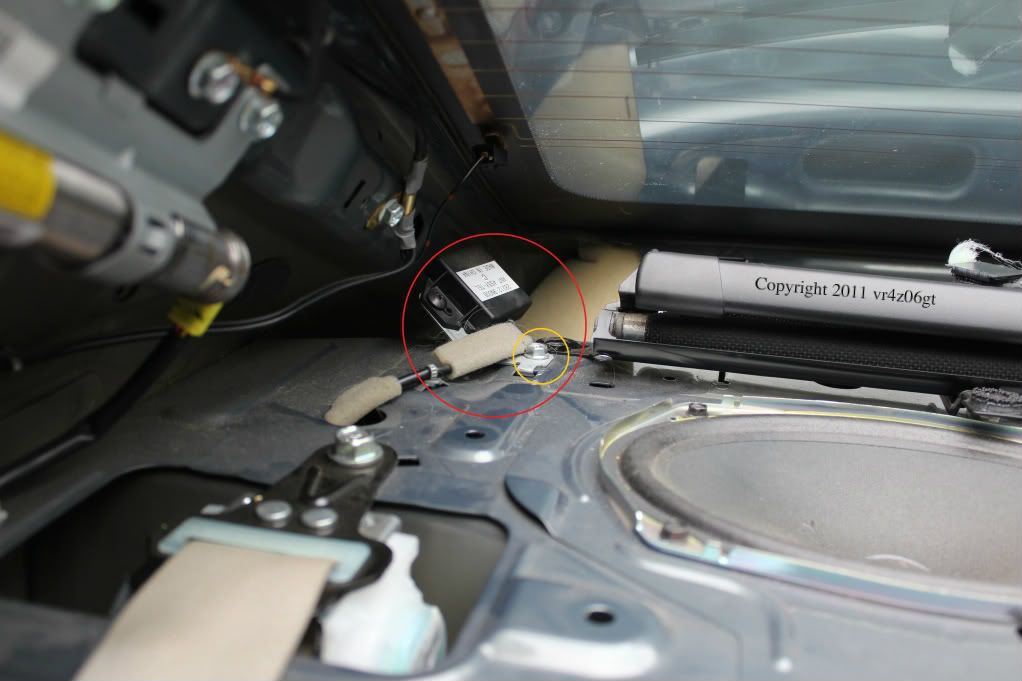
I found my problem to be the telephone antenna receiver? I tried to guess what “ANT ASSY-TEL” meant. The silver bolt, orange/yellow circle, is what was slightly loose. I tightened it and it seems to have fixed the bulk of the rattle. I think the rear glass is also slightly to blame.
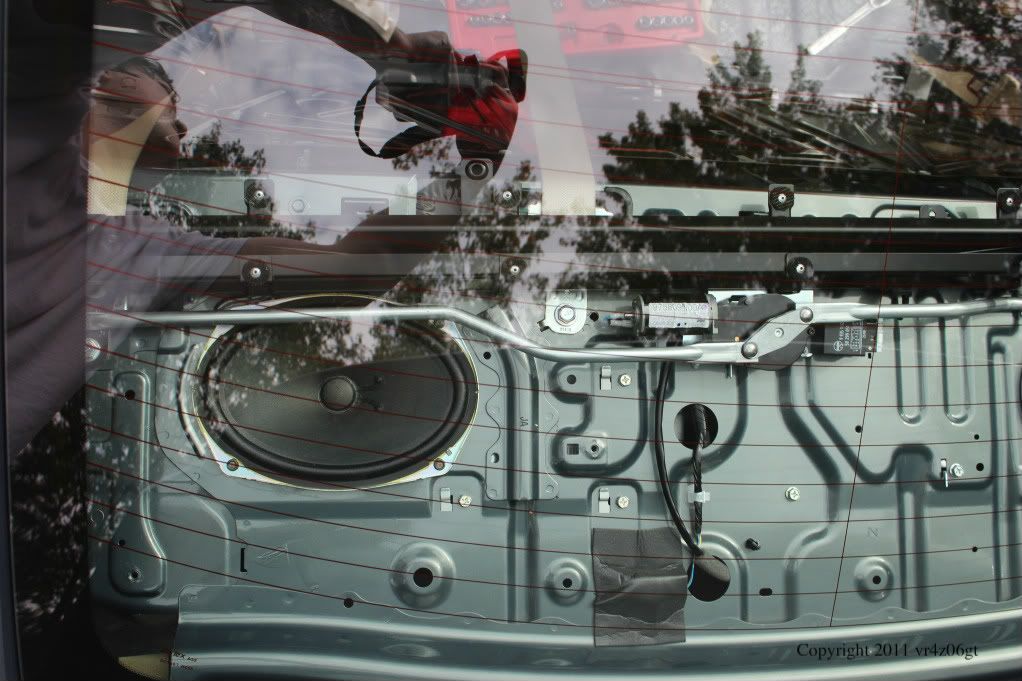
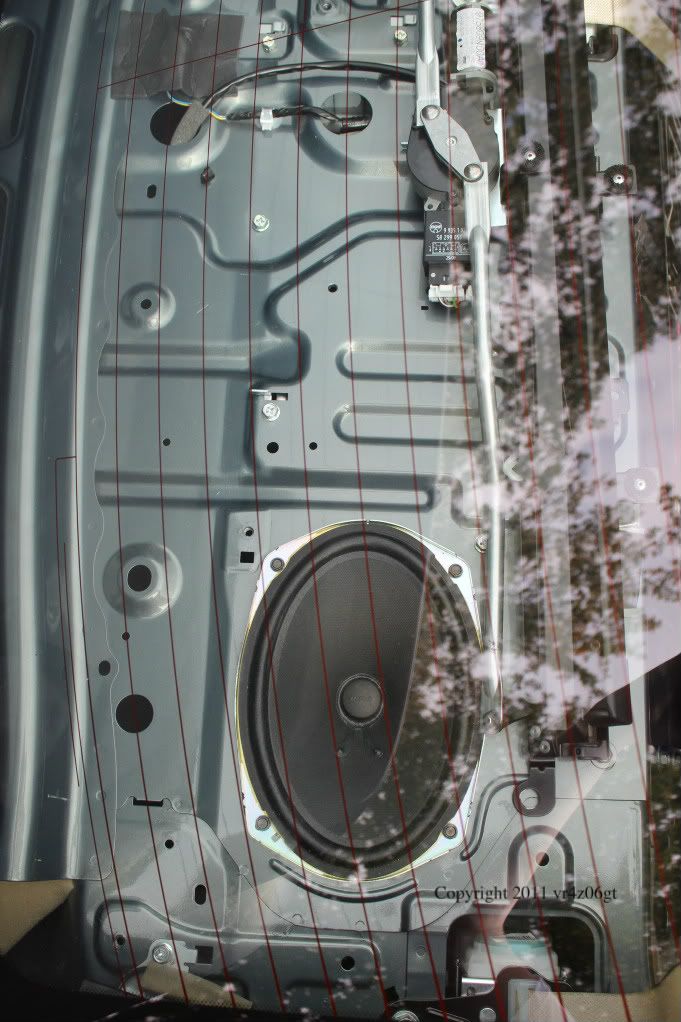
I took a few random shots of the rear area while I had it apart for others to look at, if interested in them. While you have all of this apart I recommend that you really clean the rear window as this is your best time to get all the edge area and all the way back. I am the second owner of the car and I think the first person really liked having their dog in there as there was hair everywhere. I scrubbed the trim, exposed metal, and seats real well and vacuumed real well to clean up as much crap as possible.
Putting it together is just the reverse and it should go back together real easy. I would estimate it should take about 0.75-1 hours with standard hand tools to take it apart and put it back together. If you have air, it should go much faster.
Things I have learned:
- Make sure the seat belts are IN FRONT of the seats when are bolting it up. It sucks getting done then realizing the seat belts are behind the seat back. The end ones you can bring forward without taking the seat back off, but the middle can’t because the driver’s side back hanger is in the way. So just bring them forward before bolting the seat back into place.
- I also noticed that the rear “X-Plate”, the black plate in the above pictures, that is supposed to stiffen up the body of the car was semi loose. I re-tightened the bolts to make it flex less..I am guessing this is true. I have just shy of 40K miles on it as of this write up. Each one took about a quarter to half a turn to get real snug again.
![]()


Comments are closed.