

Last Updated: 02/05/2017 @ 02:22 pm
Member Credit: Technosquareinc
The pictures are from a 350z but you can see its just about the same exact procedure for a 6thgen.
Tools required for ECU removal and re-installing.
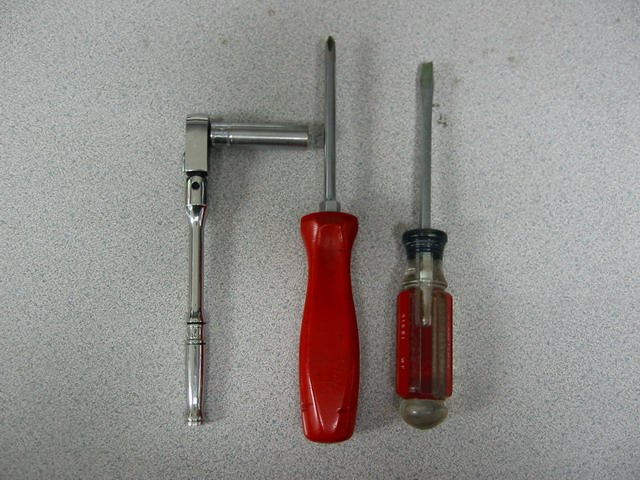
1. 10 mm socket and ratchet (or equivalent)
2. Philip (cross) screw driver
3. Flat head screw driver
2. Philip (cross) screw driver
3. Flat head screw driver
Before you start lower your driver and passenger side window down about 1-2 inches. You can lower it more, but at the very minimum 1-2 inches. This is done so when you disconnect your battery the doors will open smoothly.
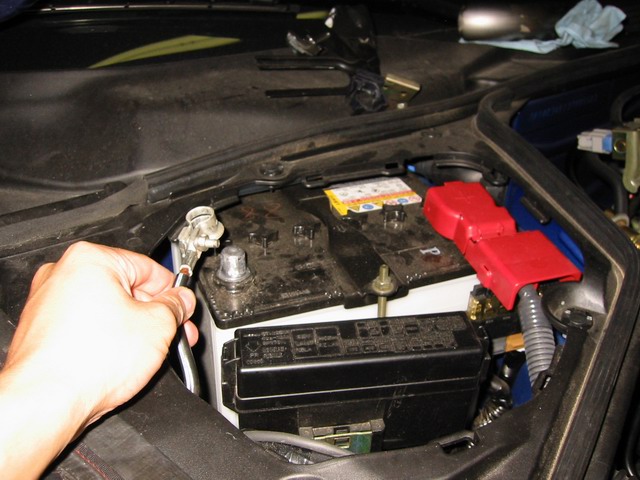
Start by disconnecting the battery by removing the negative terminal using the 10 mm socket.
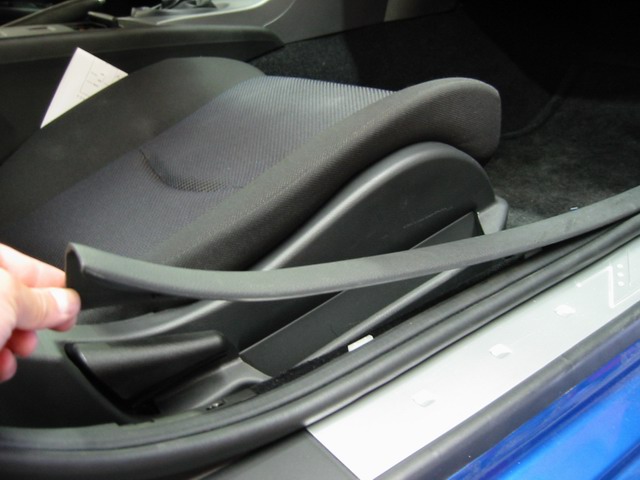
Next open up the passenger side door and remove the floor/doortrim by gently pulling upwards. Start from the rear and work towards the front.
Find the plastic nut that holds the side kick panel. Remove it by turning counter-clockwise. No tools are needed. It’s not on very tight. Put all loose hardware (nuts, bolts) into the tray behind the shifter.
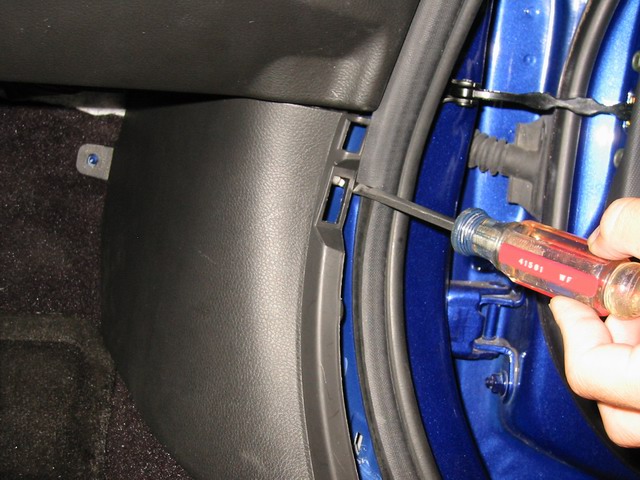
Use the flat head screw driver (if need) and pry the front edge of theside kick panel outwards (towards the driver side) and remove the panel. Be careful of where you put the screwdriver. It CAN break the plastic.

Locate the screw under the kick panel. Use the philips (cross) screwdriver to remove it. You DO NOT need to remove the 10 mm nut.
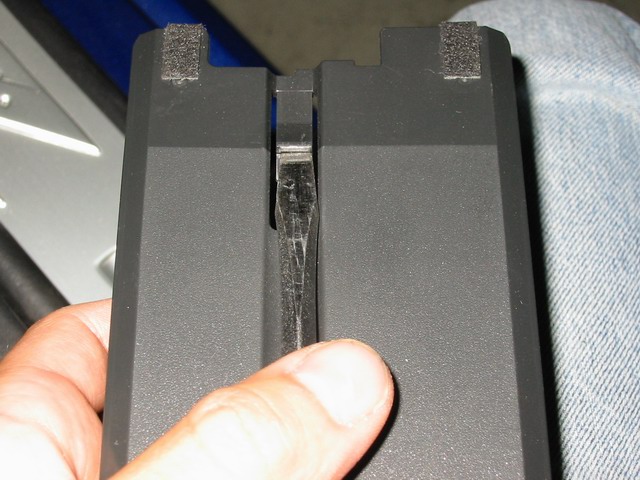
Now pull out the cup holder in the dash area and insert the flat screw driver into it. Gently pry downward on the inner clip and pull out the cup holder. The clip is extremely hard to see, trust me it’s there. (See pictures below.)

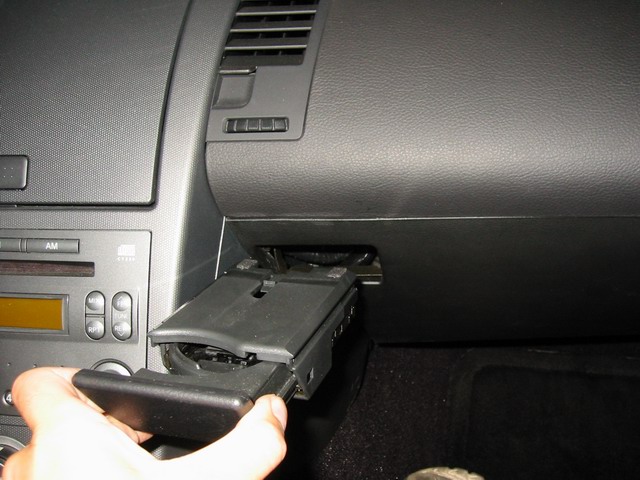
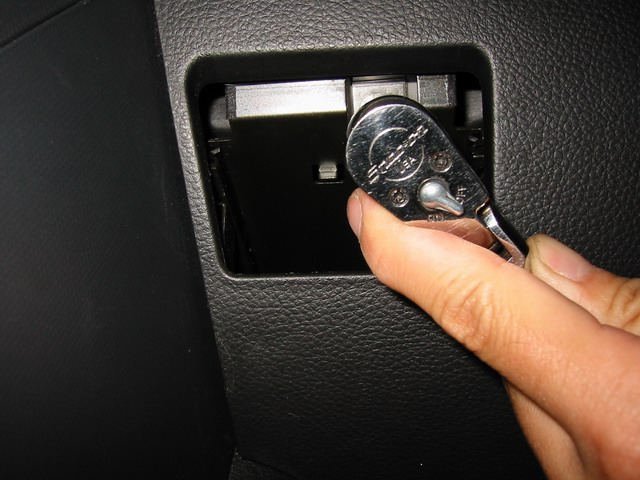
Hidden behind the cup holder is a 10 mm bolt. Remove it with the10mm socket and ratchet.
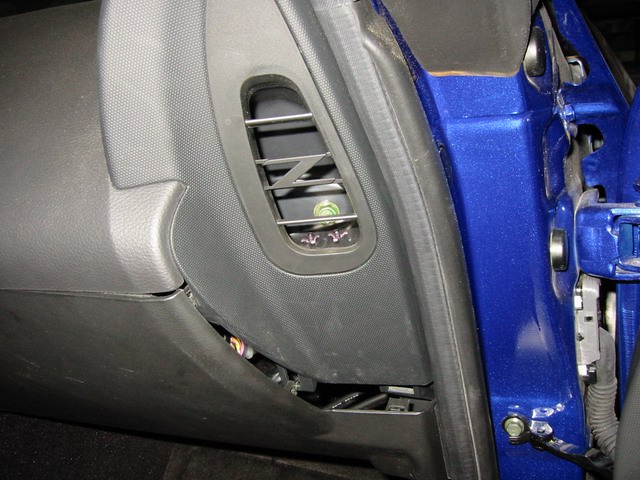
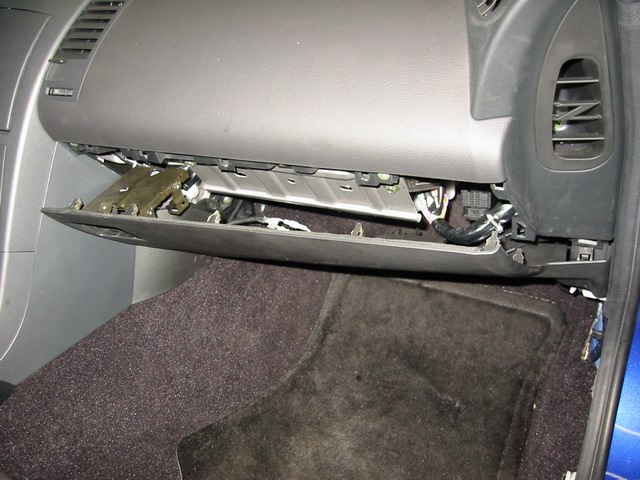
Start from the bottom right corner and pull out the sub-dash panel. It is held on by several clips. Work your way counter-clockwise until all clips are pulled out of their holders. The panel drops down and pulls out.
Look up underneath the dash and you will now see the 350Z’s ECU (Engine Control Unit).


To disconnect the harness from the ECU,simply squeeze the tab together (at the end of the connector) and gently pull it down and over. The connector will unhook itself. Pull the connector down and leave it hanging.


There are now 2 more nuts remaining until the ECU comes out. Look up towards the ECU and you will see a 10mm nut and another one towards the firewall. Remove them and put the nuts in the tray behind the shifter. (Pictures below)


The ECU should come down easily with the bracket. Remove the bracket from the ECU and put all the nuts back onto the bracket. The ECU is now ready to be sent in for Flash Programming.

These are all the parts you should have left over for the removal of the ECU.
Installation is in the reverse order. After the ECU and all panels are installed. There is no need to reset the ECU.
![]()
Facebook Comments
Comments are closed.