

Last Updated: 05/08/2023 @ 06:58 am
Community Member Credit: smijus
So I was having some cold start problem. I knew that my battery was good so I did some research and it seemed like the AC Amplifier was the best culprit. So here is the process of replacing the AC Amplifier.
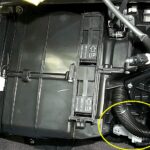
First off, the AC Amplifier is the most expensive plastic box that I’ve ever bought and this is what it looks like.
The only explanation I could find was that the AC amp gathers climate information( outside temp, humidity, etc), sends it to the ECU and that determines the fuel/air mix on start up.
2003-2005 FX35 / FX45
Part Number: 27760-CG000, 27760-CG700, 27760-CL000, 27760-CL01A
Part Description: AMPLIFIER – CONTROL, AIR CONDITIONER
Price: $650.97
2006-2008 FX35 / FX45
Part Number: 27760-8Y71A
Part Description: AMPLIFIER – CONTROL, AIR CONDITIONER
Price: $650.97

There are three cable connections at the back of the unit.

The AC Amplifier sits immediately behind the AC Controls under the main display stack in the middle of the dashboard.
To replace your AC Amplifier, do the following:
1. Take a plastic pry tool or something non-scratching and slowly pry around the bezel of the center display panel.

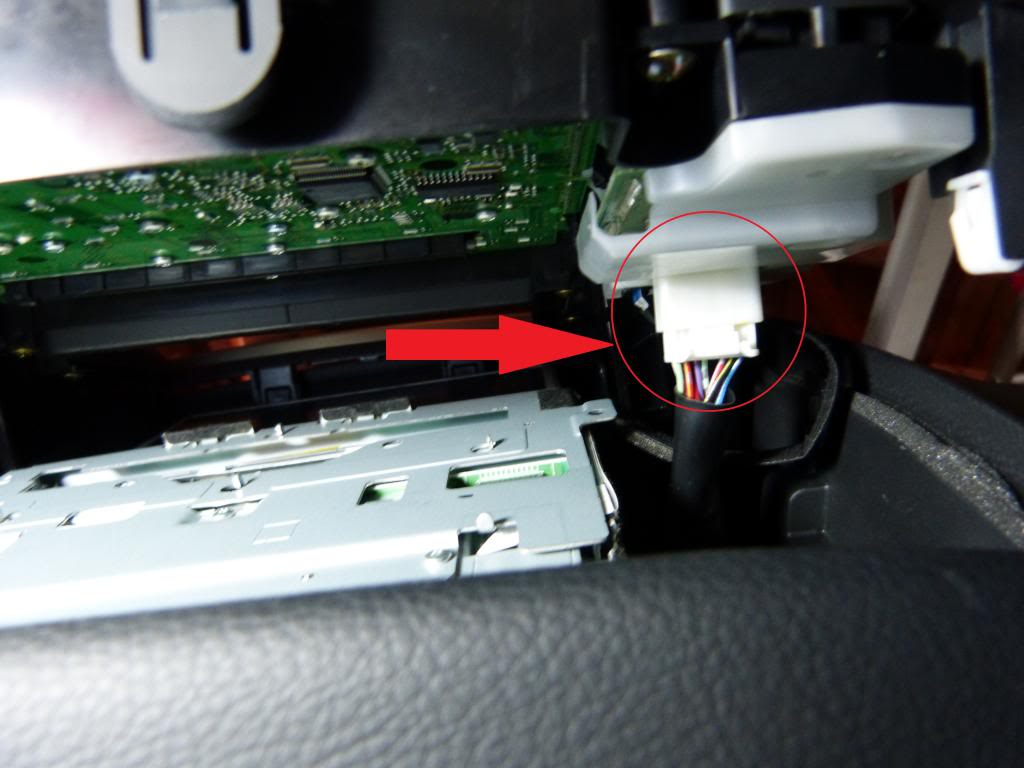
2. You’ll need to slowly make your way around the entire bezel until it starts to pry up, before you pull the center stack out, there are two cables that need to be disconnected. One white connector, seen here from the bottom.
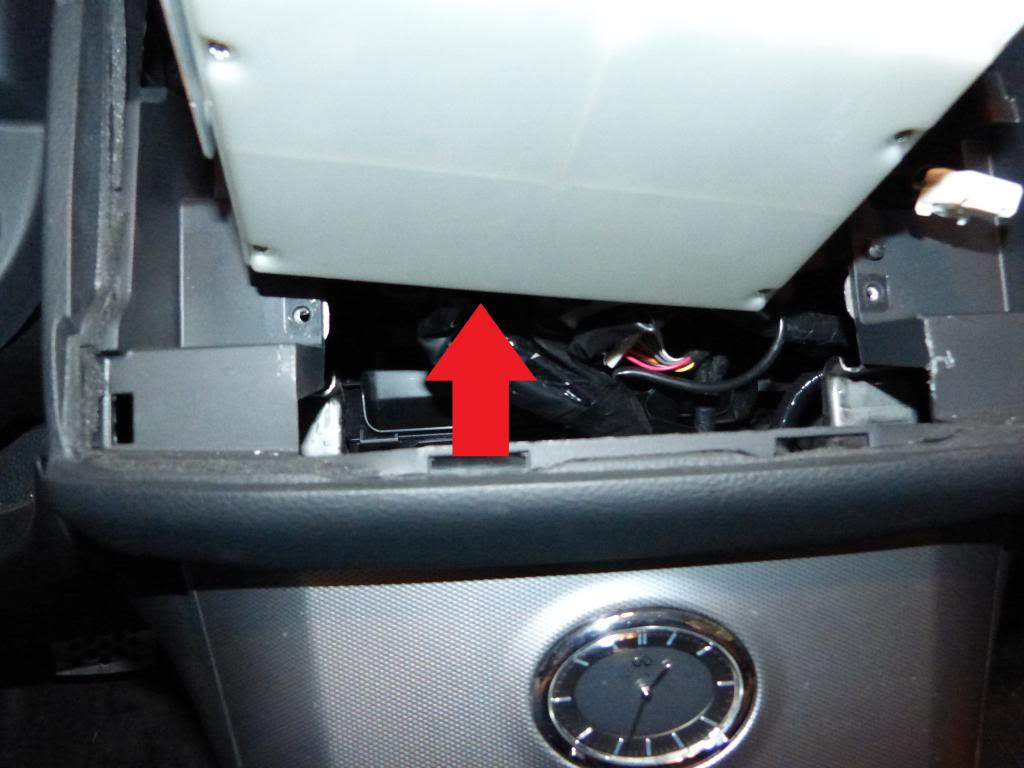
…and one black ribbon cable seen here from the passengers side.

Once these cables are disconnected, you can remove the entire center stack and set aside for the time being.
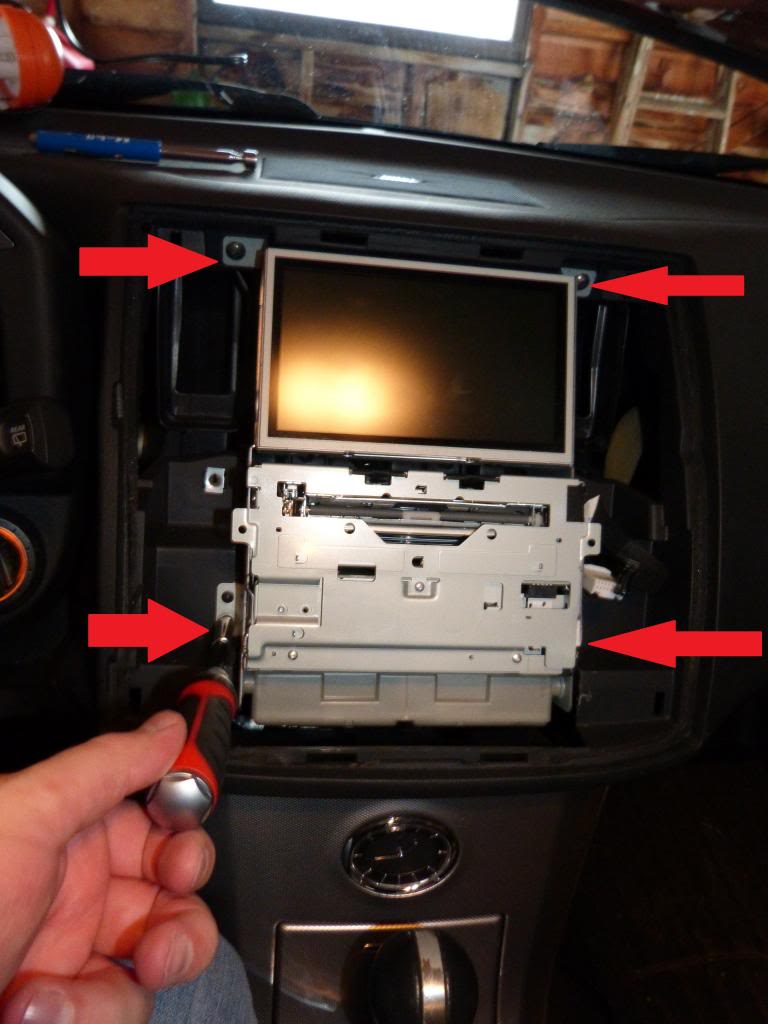
3. You will now see the guts of your center stack, and the AC Amplifier, the gray plastic box at the bottom. You will need a Philips head screwdriver to remove the 4 screws holding the center stack in place.
4. Now you can pull the entire center stack slightly out of place so you can access the 2 Philips head screws that hold the AC Amplifier in place. There is one on either side of the unit, remove them both.

5. Once these two screws are out, you should be able to pop the box out of place and more easily access the 3 cables at the rear of the AC Amplifier.
6. Remove the three connectors, replace with the new AC Amplifier and reconnect the 3 cable assemblies.
7. Put the AC Amplifier back into place and return the screw on either side of the unit.
8. Slide the Center Stack back into place and return the 4 mounting screws back into place.
9. Before returning the faceplate, re-attach the white cable and the black ribbon cable.
10. Place the bezel back into place and slowly push firmly around the entire outside of the bezel, you’ll feel the face click back into place.
11. Start up your car and go through all of the functions on the center stack to ensure that everything still works.
12. You’re all done.
![]()

Comments are closed.