

Last Updated: 11/14/2021 @ 09:36 pm
Member Credit: Mike2005
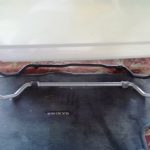
Nissan no longer lists this bushing however, the 03-08 350z bushing is available and is an exact fit. Part # 54445-4P000.
 I did this after installing my headers with the Y-pipe removed.
Time 1-2 hrs
Tools Needed.
1. Jack and Jack Stands.
2. You will need 2 (two) 19mm Combination Wrenches
3. 19mm Socket, wobble extension, and Flex head Ratchet (my preference)
4. Short handle 2lb sledge hammer.
5. Large Concrete Chisel
6. Anti-seize.
7. 6 inch long piece of 2X4 wood
8. Pair of Channel Locks
9. 10mm Wrench
9. 1 Sharpie to mark the location of the bracket on the rack
10. Don’t forget to buy new exhaust gaskets.
Steps:
1. Secure the car on Jack Stands.
2. Remove Passenger side tie-rod end from steering knuckle.
3. Remove Y-pipe. Before you continue, mark the bracket location on the rack
4. Remove the 19mm nut and bolt from the top of bushing bracket.
This is a bit tricky, room is tight, I used the 2 combination wrenches here.
5. Remove BOTH of the bolts securing the rack to the frame. They come out front to back and the nuts are part of the subframe. (There may be a bracket that stabilizes the powersteering line to the rack, its a small metal bracket with two rubber bushings secured with two 10mm bolts)
6. The bracket may come right out but if it is tight like mine was it’s gonna be tough. I took my large concrete chisel (10″ long, 3″ blade) and hit the under side of the bracket a few (or ten) times.
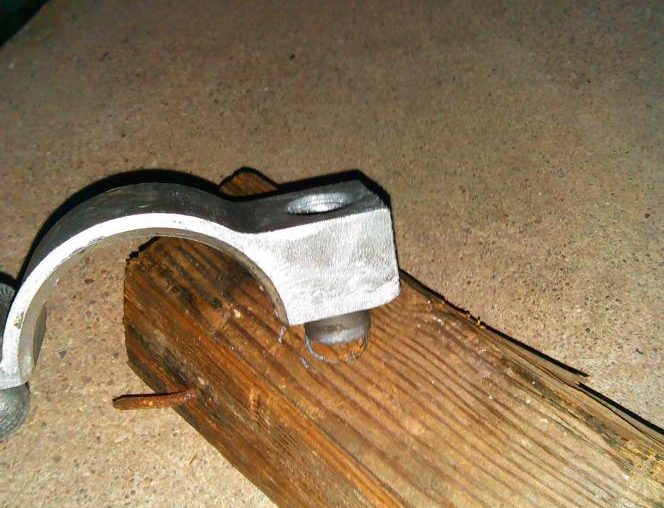
7. Next is getting them suckers apart. I also used the concrete chisel for this by spinning the brackets backwards and hammering the 6″ piece of 2X4 between the stabilizer bar and the body so the top side of the bracket wood get caught on it. Then I stuck the chisel where the pieces came together and went to work Its tedious, but it worked.
**NOTE** there is a steel roll pin inside the aluminum bracket so be careful cracking it open.
 8. Once its open, lube the pin and the hole with anti-seize.
 9. I hammered the roll pin all the way to one side(roll pin placed on 2×4)
After doing this the pieces go together easily.


10. Reinstalling is also tricky, place the sliced part of the bushing facing up. (I also put anti-seize on the inside of the bracket to help seat the bushing)
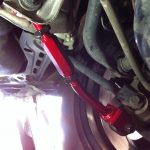
11. Install bracket around rack and bushing you must hold it in place until you get the top bolt in (leave it loose) the fit is extremely tight so once the top bolt was in I used channel locks to squeeze the bottom halfs together. (It’s a process)
![]()
Comments are closed.