

Member Credit: Ghozt
This guide is primarily directed at the 09-11’s who will need to splice into the foot wells for lighting. If you have a 2012 these plug directly in and you can download install instructions from most of the Nissan parts websites. I kept the steps easy and materials simple so anyone can do this and reverse it later if they want, however soldering is the preferred method to extend wires. Most of these instructions will also apply to Deadbolt’s custom illuminated kick plates that he makes; hit him up if you want custom wording/colors.
Tools: Pliers, wire stripper/cutter, butter knife/plastic trim removal tools
Materials: 2012+ illuminated kick plates, 4 tap-in connectors (18-24 gauge), 2-4 wire screws, about 4-8 inches of any wire
Step 1. Open up the box

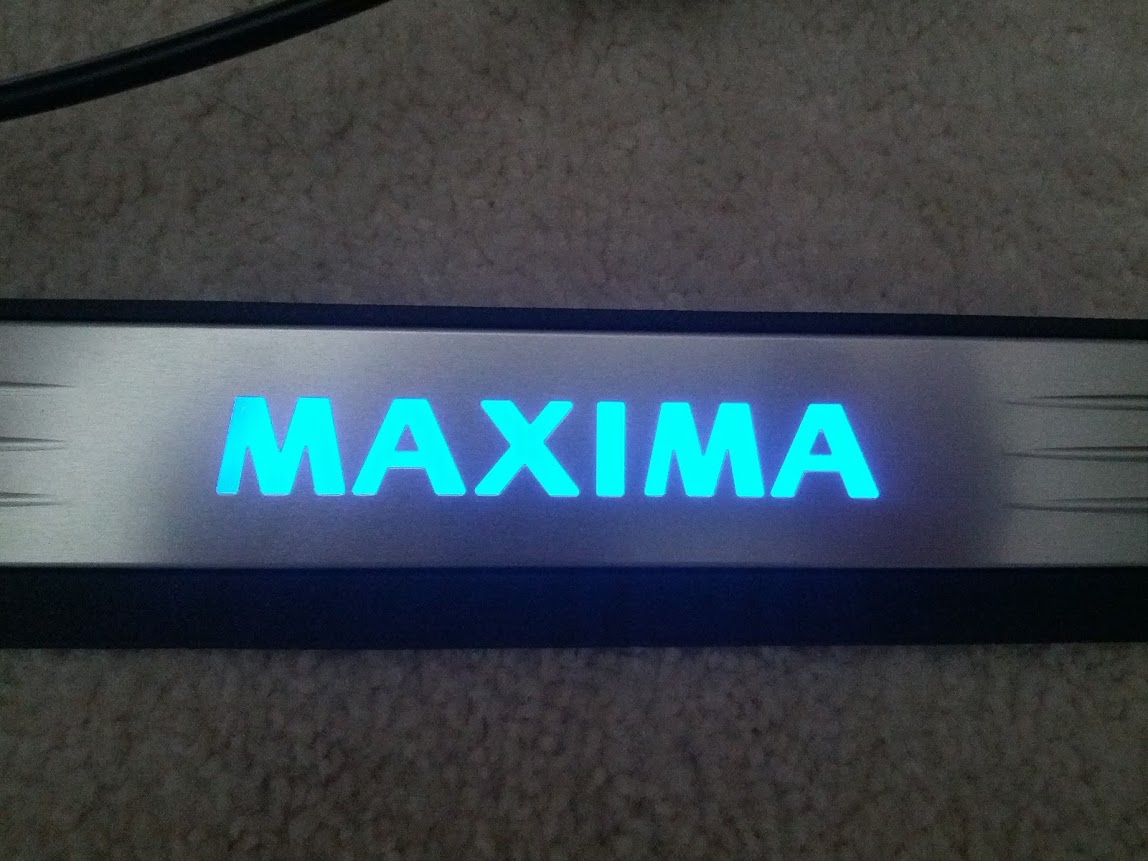
I hooked them up to a power supply to test; nice looking.
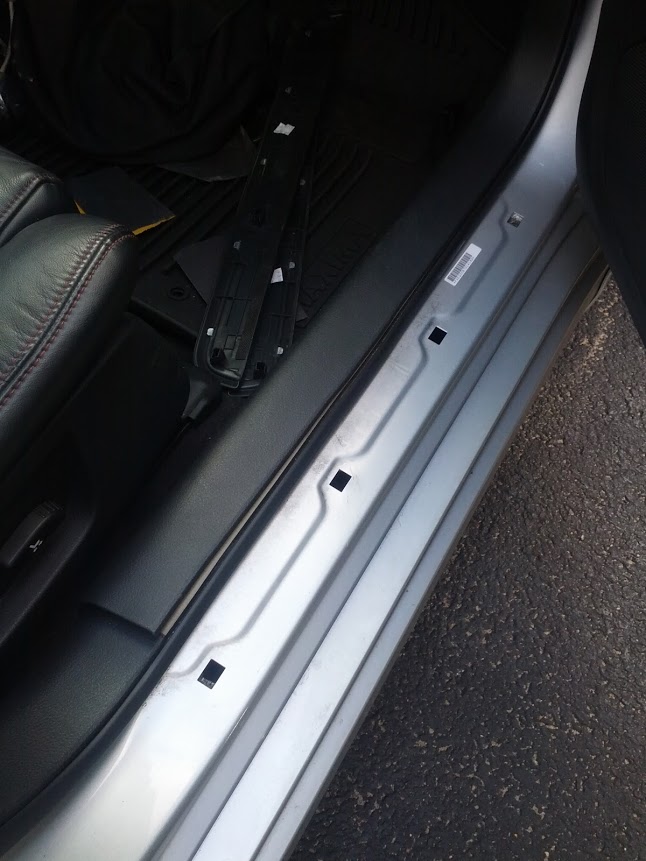
Step 2. Remove existing kick panels, I slid my tool under them until I hit a clip then applied upwards pressure
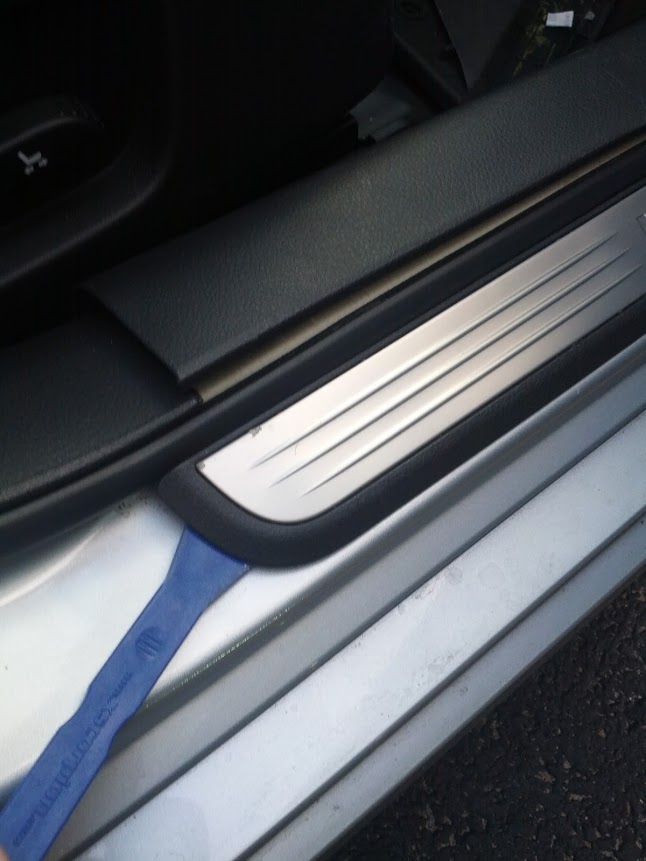
Step 3. Pry off trim piece directly next to it. Start by pulling it towards the chair to release inner clips, then pull upwards to pop off
Step 4. Cut off the brown plug from the kick plate wiring, trim back the plastic sheath several inches.
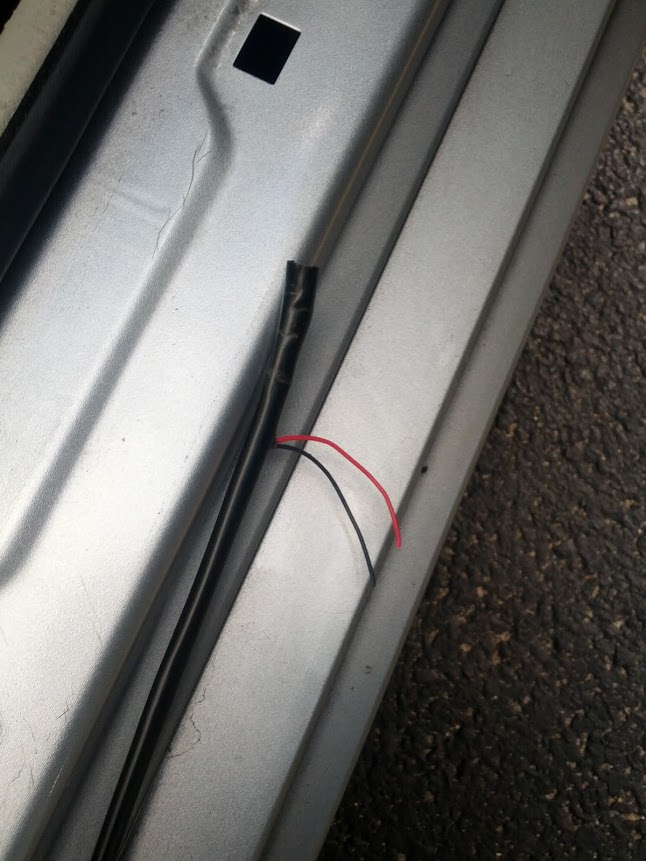
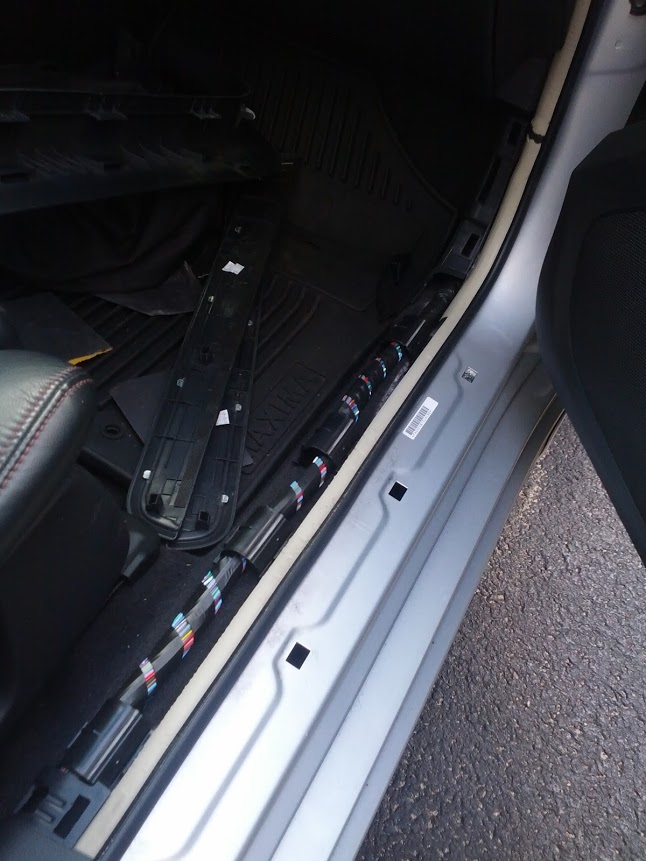
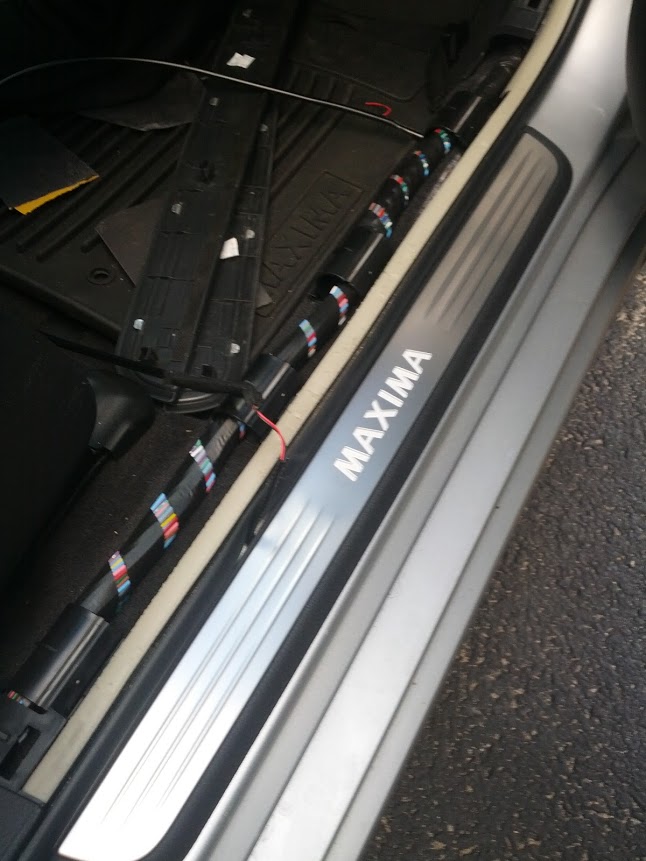
Step 5. Install new kick plate, it pops right on. Run the wire through the plastic rings towards the front under the dash and have it pop out from underneath
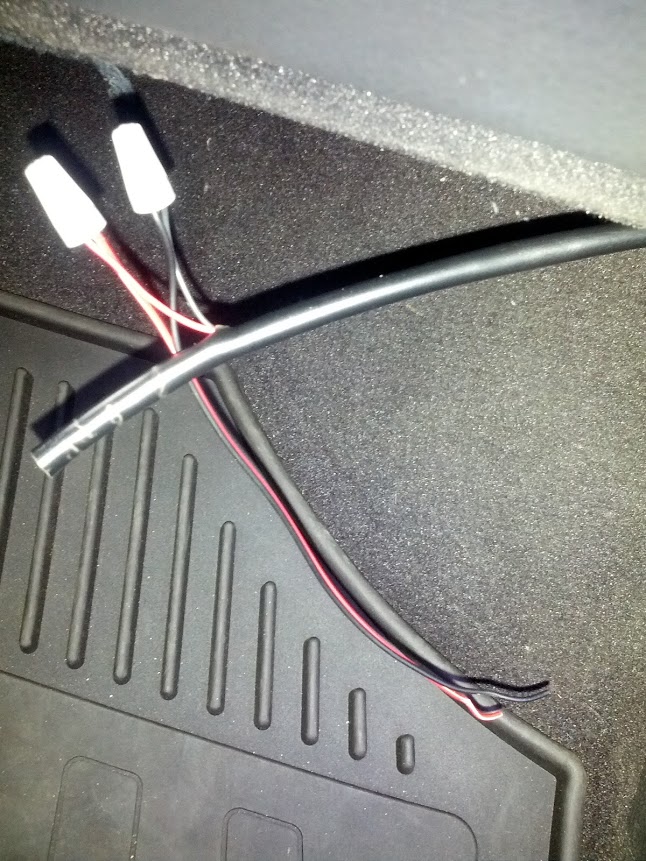
Step 6. Extend the wires for the passenger side. You can do this for the driver side as well for more slack but I didn’t need to. Here you can use the wire nuts as this guide indicates, or simply solder on roughly 4″ extension to both the positive and negative wires. Only strip the wires where you’re planning on using the twist wire caps.
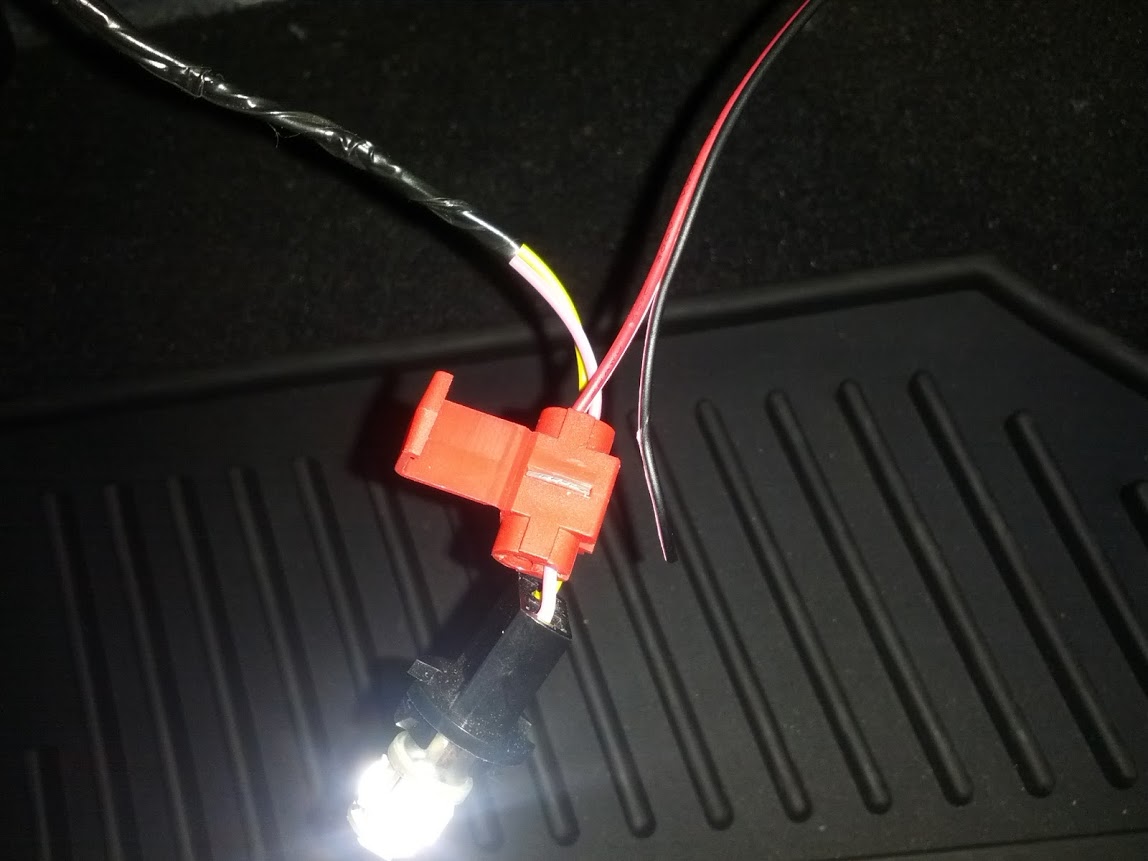
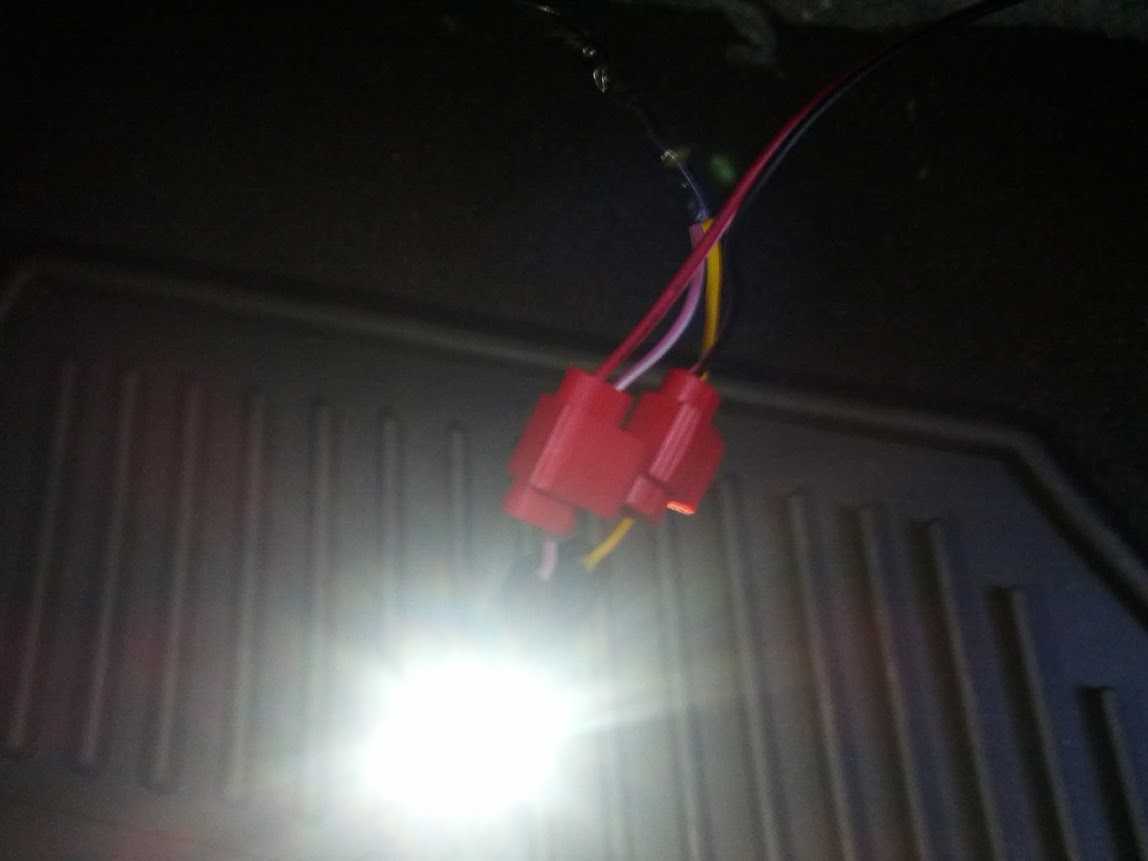
Step 7. Unscrew bulb from dash, creating slack on the OEM wires to work with. Use the tap-in connectors to splice the red wire from the kick plates to the pink wire of the floor lighting. Squeeze the tap-in connector with your pliers to smash the metal blade and connect the wires. Use the same method to splice the black wire from the kick plates into the yellow wire from the floor lighting. Do not strip wires for this, the tap-in connector is designed to work with wires still covered.
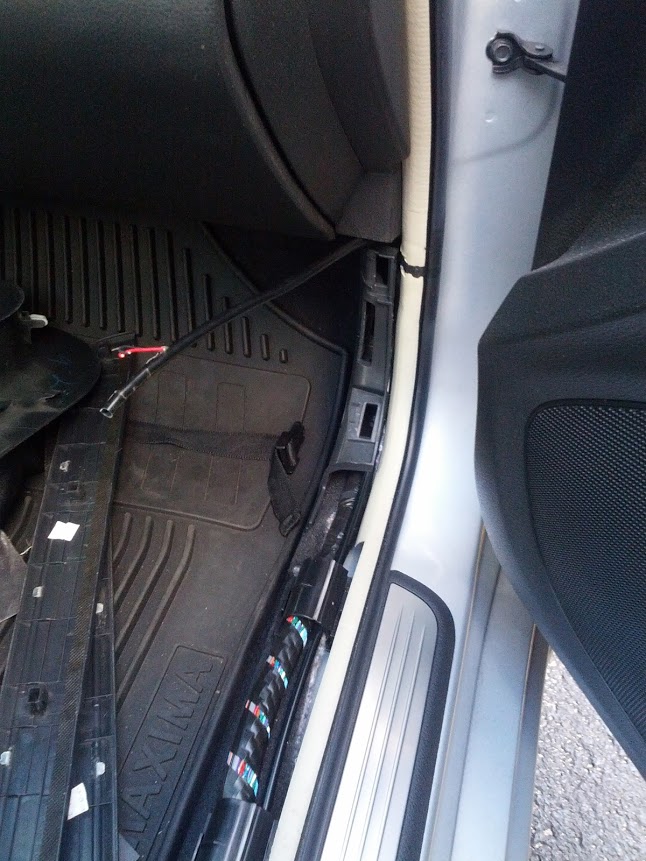
Step 8. Re-install foot well LED and tuck wiring in dash. Re-install plastic trim, take care to align wiring from kick plate as it will be slightly noticeable where it enters the car. For you creative cats I’m sure someone will find a way to run the wire more cleanly; but I wasn’t too gung ho about drilling holes into my car here so ran it like so.

Step 9. Repeat on other side.
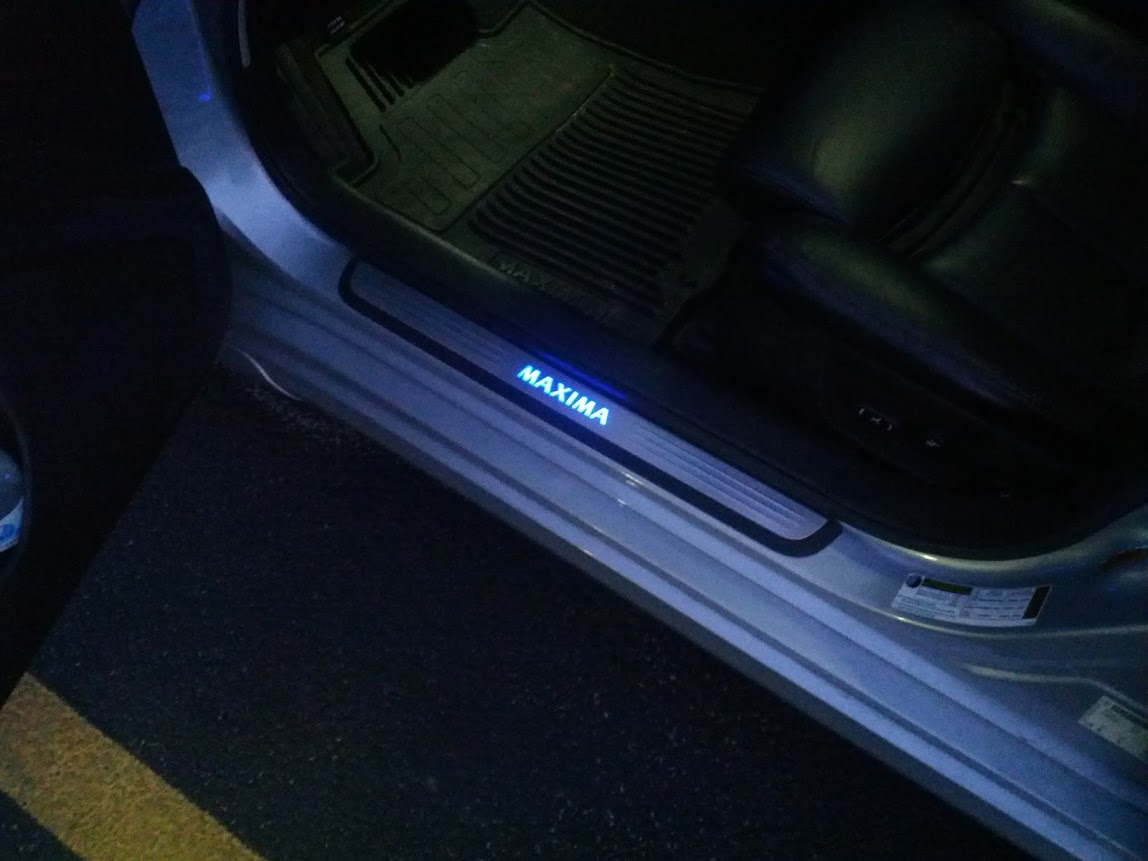
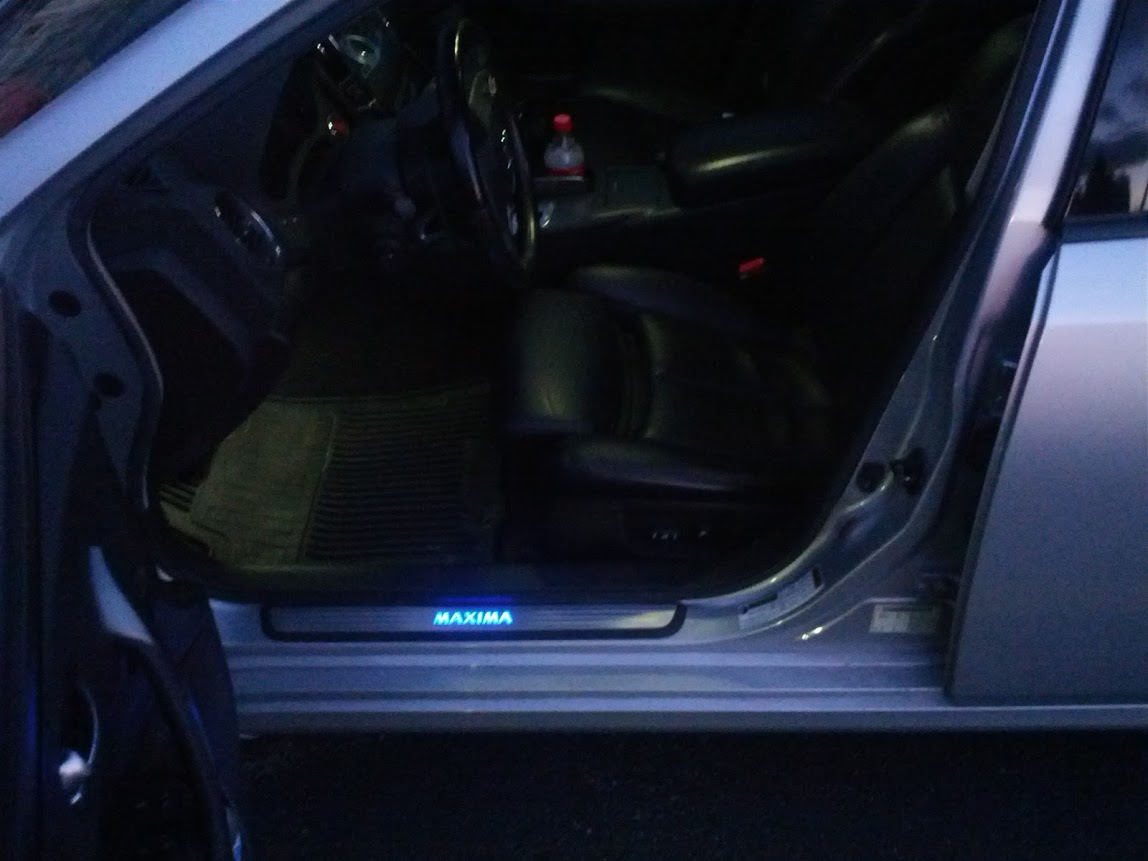
Step 10. Enjoy. They will do a slight “warm up” then turn on to full brightness when you open the door.
![]()


Comments are closed.