Member Credit: Ghozt
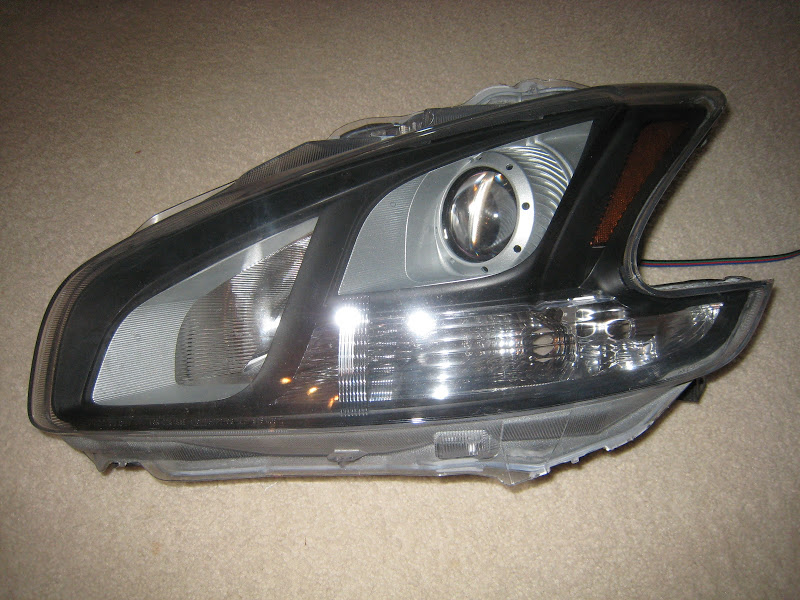
Please refer to the DIY on how to bake and open your headlights first, you will need to get the housing pieces out of the headlight to paint them. The only way to do that is to bake them.
For proper painting technique refer to Youtube for some great DIY painting videos. Simply put, you want to keep the spray can always moving side to side in clean even sweeps going back and forth. Never hold it still and concentrate on one area, you will get runs and drips. Don’t worry about getting complete coverage in one coat that is what multiple coats are for. It also helps to have a little paint area set up where the wind can’t blow your spray onto things you don’t want paint on. If you paint inside make sure it is well ventilated and wear a mask regardless.
Tools needed:
1500 grit wet/dry sandpaper, Small bowl of soapy water, Phillips screwdriver, Rubbing alcohol, Microfiber rag, Duplicolor Adhesion Promoter, Duplicolor High Temp paint in the color(s) you want (or Krylon Fusion as many like to use), VHT nightshades (if you want to tint your amber reflector), some kind of blocks you can set things on to paint them
Step 1. With your headlights open, you need to remove 5 phillips screws to get the two housing pieces out. Once these are out the housing pieces slide backwards out of the lens (they have plastic pegs they’re on as well.

Step 2. Sand and prep the housing pieces. Not everyone feels this step is necessary, but I disagree. For paint to hold to a surface the surface needs to be at the very least scrubbed with a scotchbrite pad, but really should be wetsanded to prep. If you are unfamiliar with wetsanding you can see some videos on Youtube for how to do that.
Wetsanding – wetsanding is literally using sandpaper that has been soaked/dipped in soapy water. The soapy water acts as an “oil” to make the sandpaper slide more, taking off less with each swipe. This is the method for prepping pieces for painting so that you can remove what is already there as well as leave a surface that is not perfectly smooth for the paint to grip to. You don’t use much pressure at all just lots of back and forth and dipping into the soapy water.
Before:


After: yes it’s a matte black underneath the chrome


I left the other housing pieces besides these 2 alone because I want my bulbs to still reflect properly. You can sand and paint more of the housing just be warned that you are preventing your high beam, turn signal, and front side marker bulbs from reflecting properly (and being visible from distances) depending on the area you are painting.
Step 3. Wipe down both housing pieces using rubbing alcohol and the microfiber cloth. This will remove any oils from your hands that will also prevent paint from sticking. From now until they’re painted pick the pieces up using the microfiber cloth.
Step 4. Set your housing pieces up in your paint area, whether it be blocks or wires you hang them from. Paint your pieces with primer (adhesion promoter). Follow the instructions on the back of the can; I believe you do 2-3 light coats waiting 5-8 minutes inbetween coats. Don’t let it dry too long, it needs to chemically bond together. After the last coat of clear has been applied wait 8 minutes then move to the next step.

Step 5. Paint your base coat (your color coat) onto the housing pieces. I painted the larger piece matte black and the smaller piece K-12 radiant silver. I had to special order the K-12 in a spray can.


Step 6. Let the paint dry in a clean area free of debris for 24 hours. Do not touch the paint as you will leave indentations on it. Over the next 24 hours gasses leak from the paint that will cause your headlights to condense if you re-install these right away. Depending on type of paint used you may need to wait longer than 24 hours, so if unsure then give it 36-48 hours to let the paint fume. If these paint fumes get on the inside of your lens you’ll need to physically wipe them off, which will require you to re-open the headlights later at some point.
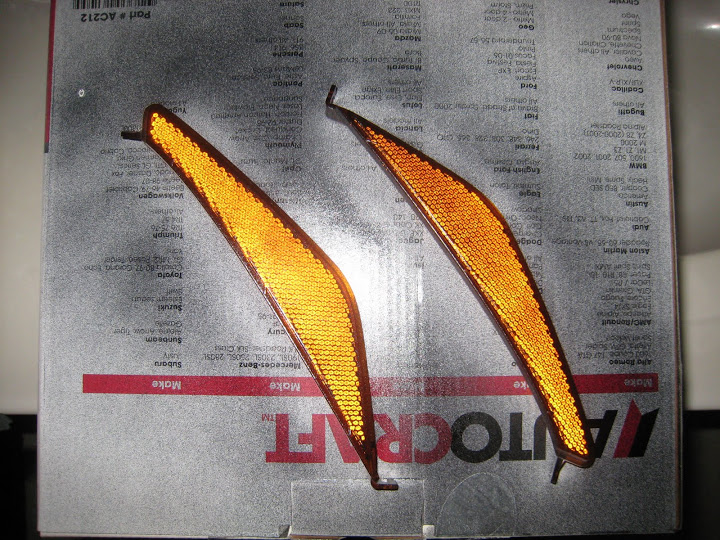
(Optional) How to Tint Your Amber Reflectors:
Step 1. Wetsand the surface of the amber reflector lightly with the 1500 grit sandpaper
Step 2. Wipe down the surface with rubbing alcohol using the microfiber rag to remove any oils
Step 3. Spray paint the amber reflector with a few light coats of primer similar to the headlight housing and wait 8 minutes

Step 4. Spray one light coat of VHT nightshades on the amber reflectors. If you go darker than that they may not reflect anymore (if this is important to you). Best part about 1 coat of nightshades is it makes them much darker almost blacked out but they still shine in light so you are legally compliant
Without flash:

With flash:

Now you can re-seal your headlight following the last half of the bake and open your headlight DIY tutorial and put back on your car.
Article: https://www.my4dsc.com/bake-open-headlights-7thgen-maxima/


![]()


Comments are closed.