

Member Credit: JETMEC
Okay guy here’s a little mod i had in my old Altima SE-R and am now bringing it to the Max family. I got all the LED’s from V-LEDS.COM ass well as the scotchlok’s for taping into the wires. Here is the mod, sorry for the crappy cell pic.

Materials/Tools
- 2 24in LED strips (front) your’e color choice
- 2 12in LED strips (back) your’e color choice
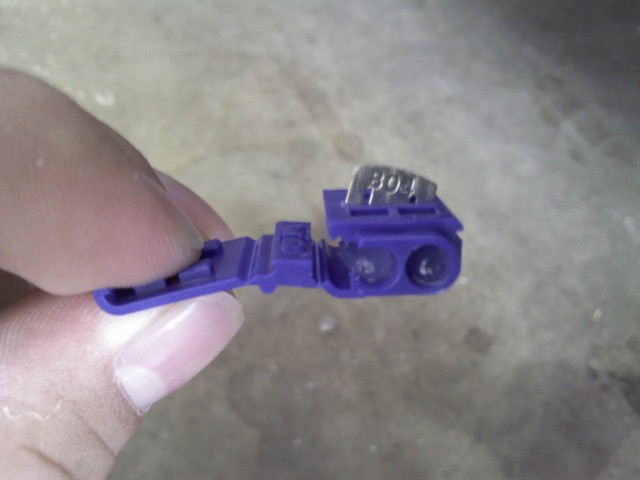
- 4 3m Scotchlok’s (they come in pairs so 8 total)
- Wire cutters/pliers
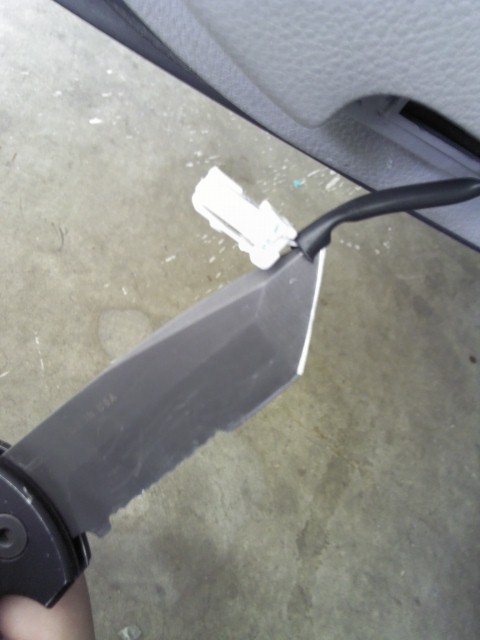
- Knive/cutting tool
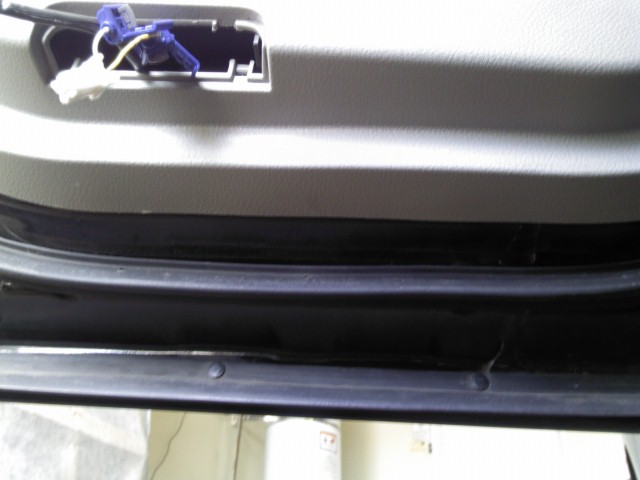
Step 1: So i started off with the rear ones where you will use the 12in strips. First pull out your’e step light like so.

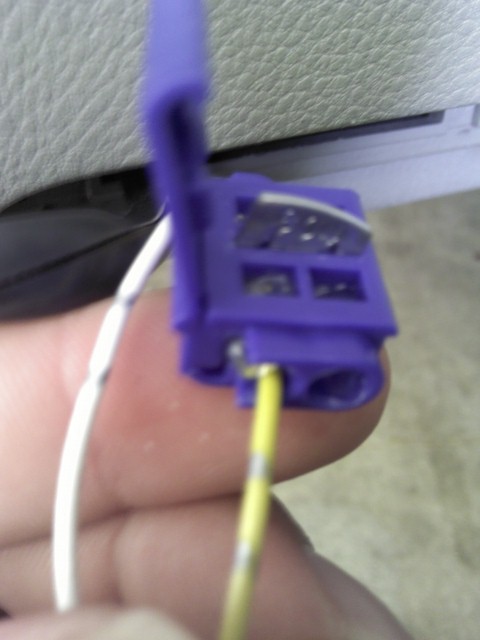
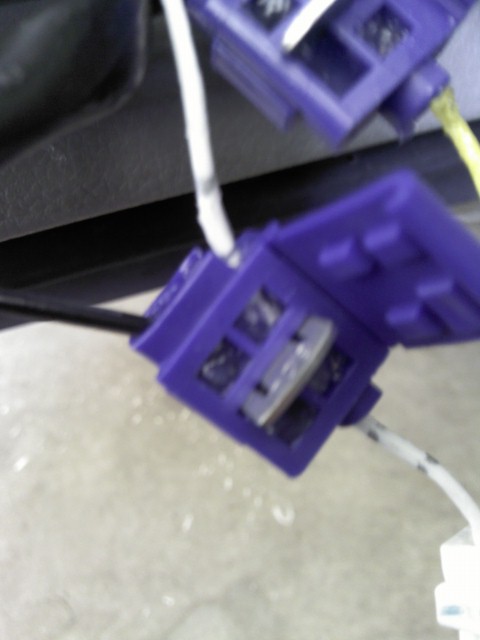
Step 2: Disconnect the step light from its plug.

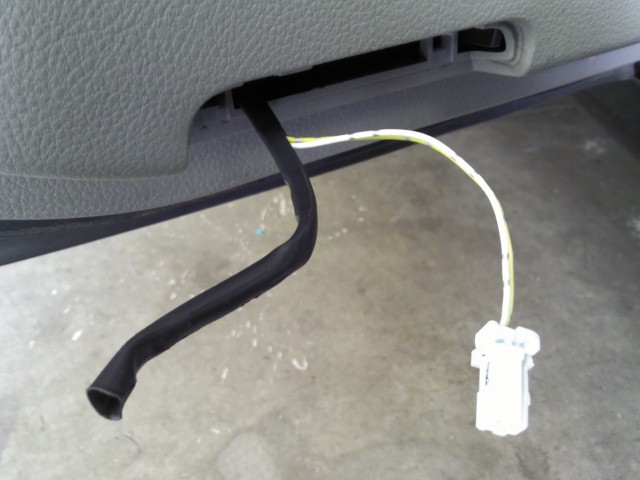
Step 6: Here is where you will put the strip, remember to clean it so you wont be sticking it to dirt. Also this is where you will feed the strip wiring from.
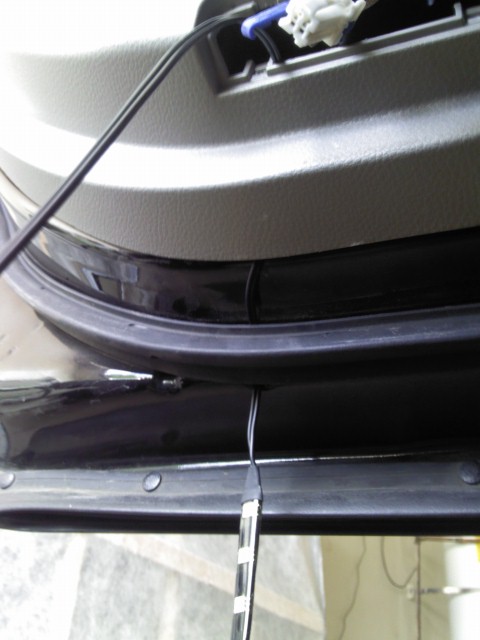
Step 7: Now give yourself enough slack on both ends but cut the strip wires to align to the step lights
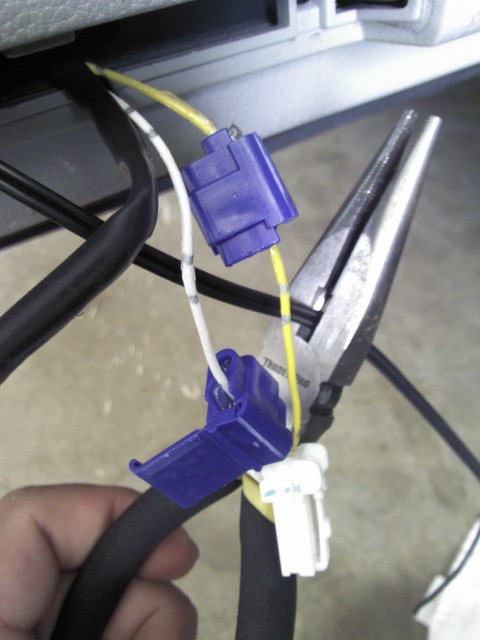
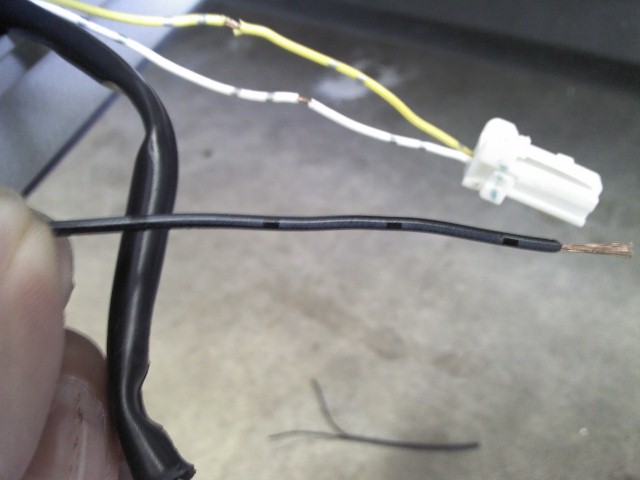
Step 9: Put the LED wires in there respective slots. Make sure you have some exposed wire before you crimp it down so that the little metal tab makes a complete circuit touching both wires.
Step 10: Before crimping down the metal tabs check to see if your’e LED lights up. If it does not MAKE SURE THE METAL TABS ARE TOUCHING EXPOSED WIRE ON ALL 4 ENDS. If it still did not light up make sure the wire with the gray tabs is with the yellow wire and the other with the white.

Step 11: Once they light up you may crimp the metal tab down. Make sure to do so tight so that the wires don’t come lose later on.

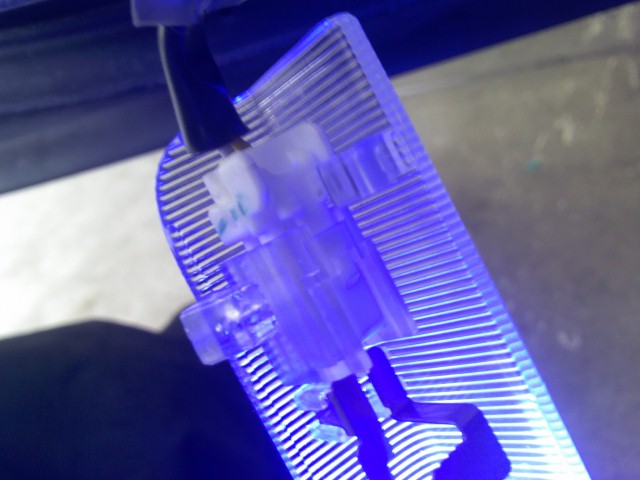
This is what you should have now with a lighted LED. You can cut of the black rubber, i did, or you can keep it, up to you.

Step 12: Stick the led to the bottom of the door now and again make sure you have a clean surface.

Step 13: Plug in you’re step light back up and place it back in its bracket, you should have enough room to fit it all back in there.

Step 14: Repeat for the other three doors.
Why? Beats me maybe the strips are different or maybe the car which i doubt. So again if it does not light up flip the wires and check.
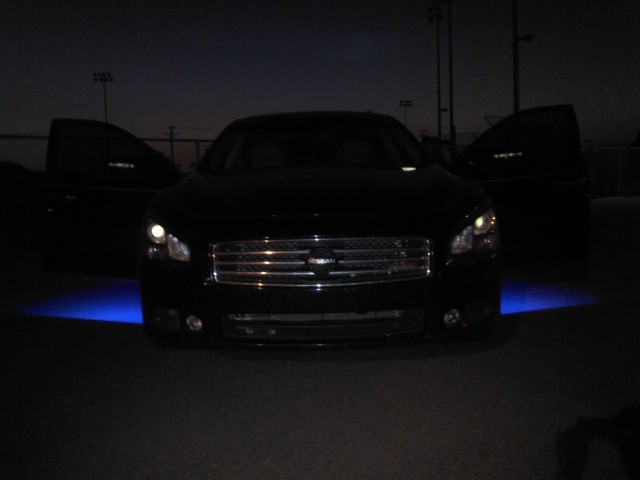
Step 15: Finish and admire you’re work with a cold beer.
Here are some more pics of the finished mod. Again sorry for the crappy cel pics.

![]()

Comments are closed.