Member Credit: lsmooth81
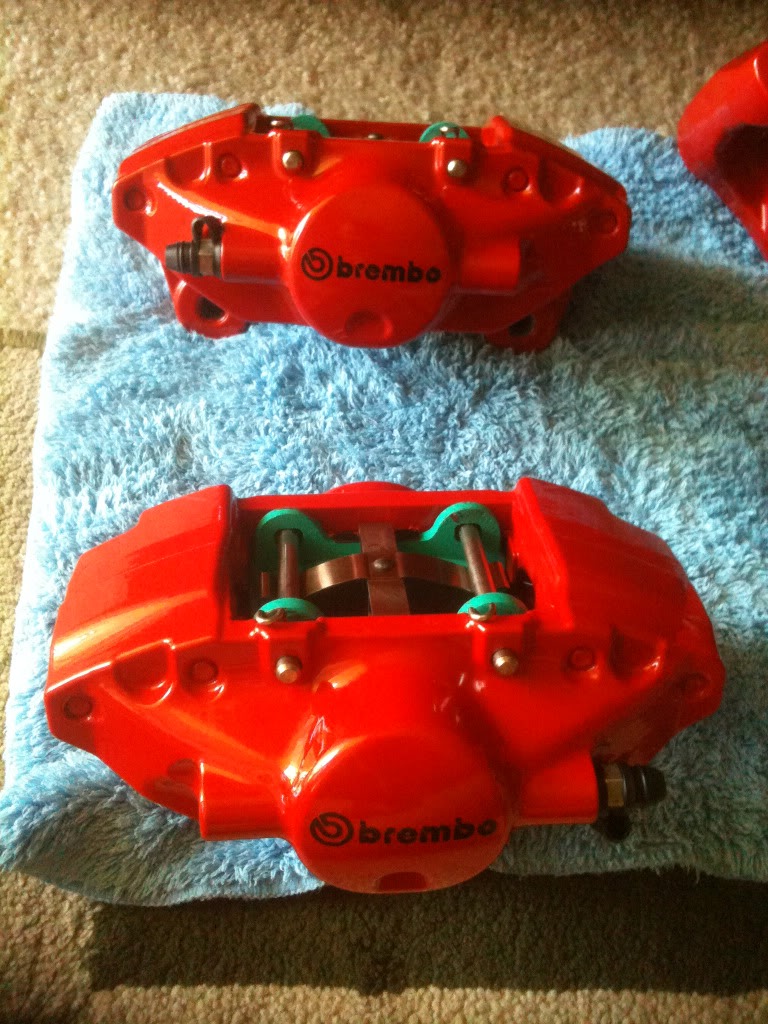
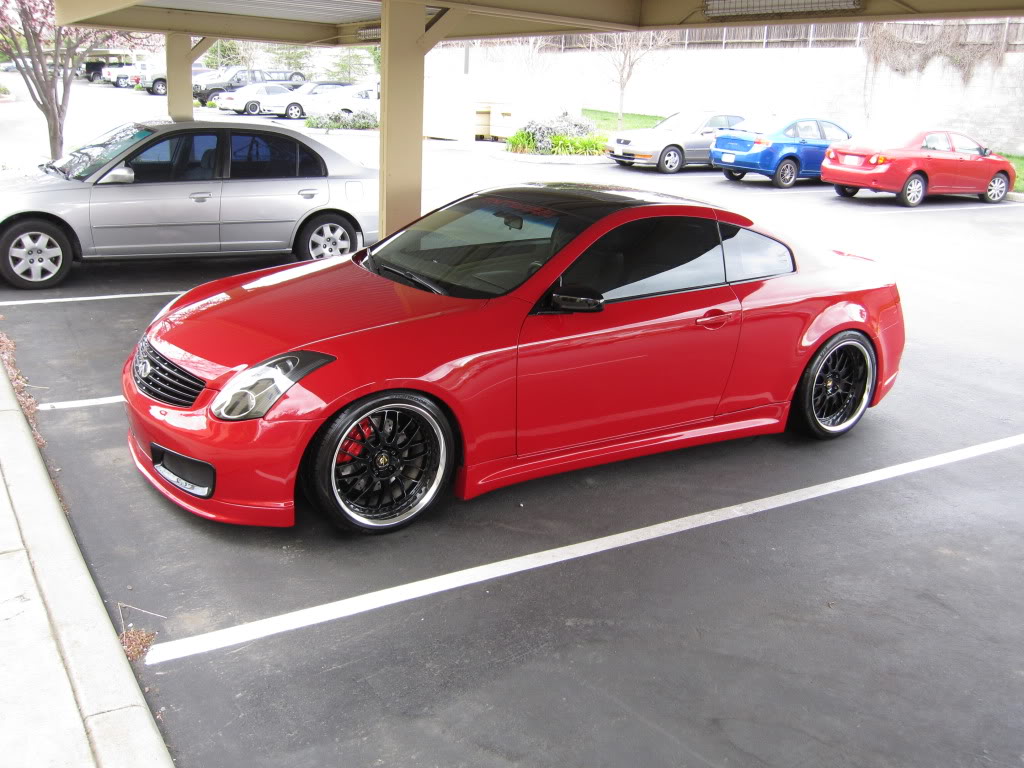
I purchased some use Brembo brakes and had them PC red, I did not know any better and send them to get PC without removing the seals and piston. If I could do it again I would definitely remove everything before getting them PC. I could not find a DIY on G35driver so I decided to create this to help out other members.
For those that are curious the Brembo Front Calipers Rebuild Kit part # is: 41120-12U25
Rear Calipers Rebuild Kit part # is: 44120-12U25. The kit comes with Brembo seals and O-rings along with bleeder screw caps. I want to thank Rob from Z1 Motorsports for the kit and help.

First remove the clips, pin, spring and brake pads. I didn’t take pictures of this process since there are several DIYs showing how to accomplish these. You should end up with something like this. I would recommend cleaning the hardware

Remove the dust boot. There is a small hole, use a small crew driver to pop it out gently. It should come out really smooth.


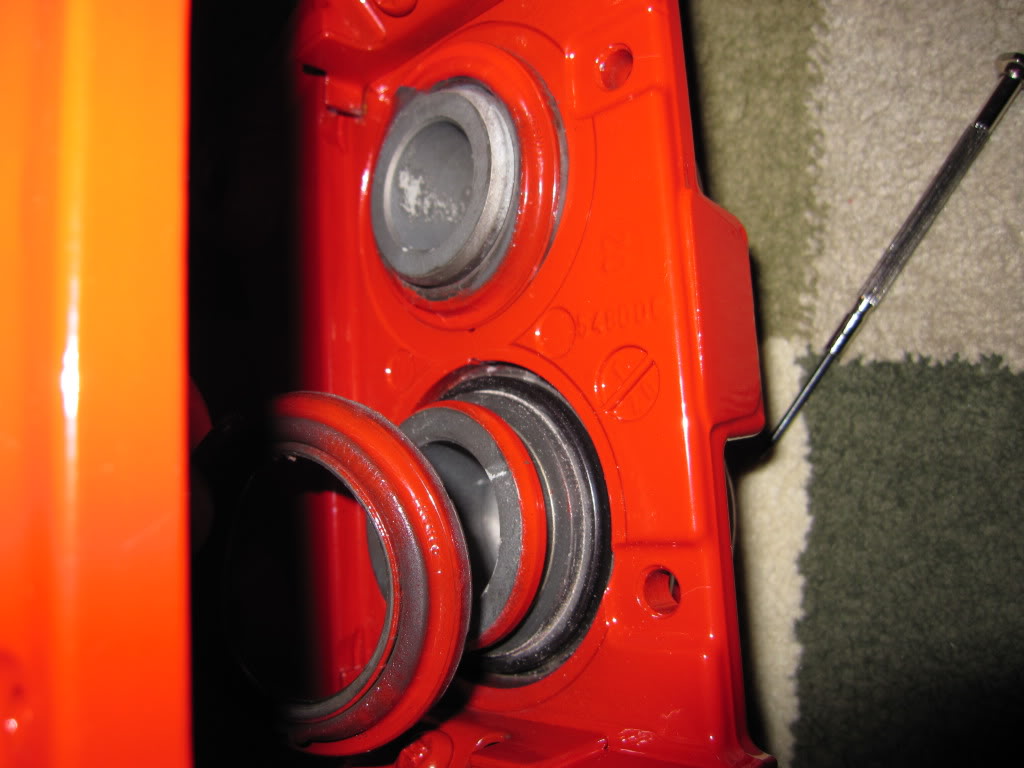
Do the same for the rest of the dust boot.


After all the boots have being removed, the next step is to remove the pistons. I took several towels and roll them up and put it in the middle of the calipers to absorb the impact. Then I use my air compressor to put pressure and pop out the pistons. The air should go in the same hole where you connect the brake line.
There are different items that can be use, the most common is a piece of wood. I didn’t have a piece of wood so I use the towels and it worked just fine for me. Just be very careful during this process because the pistons will shot out fast and make a loud pop.

In one of my calipers only one of the pistons came out. I push the one that came out back in and then retry to get them both out at the same time with the air compressor, but again only one came out. I got frustrated after several attempts and improvised by prying it out with two flat head screw driver. If this happens to you I would put tape or something to protect the calipers and pistons. If you put down even force on both screw driver it will slowly come out with not problem.


After you get the pistons out, carefully use a small screw driver to pick out the O-ring, it should come out very easily. Not shown in this pic, but clean the inside really good and then lube it with brake fluid.

Let the new seal soak up in brake fluid prior to putting in.
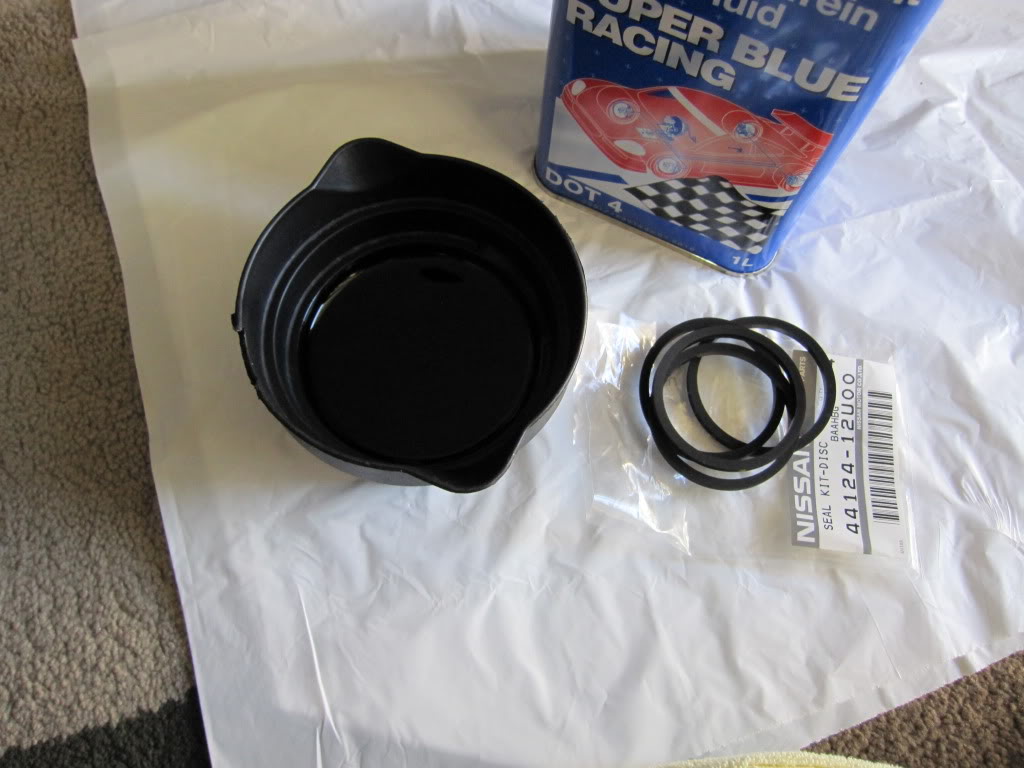
This is how it should look after inserting new seal.

Clean piston then soak it in brakefluid along with the dust boot.
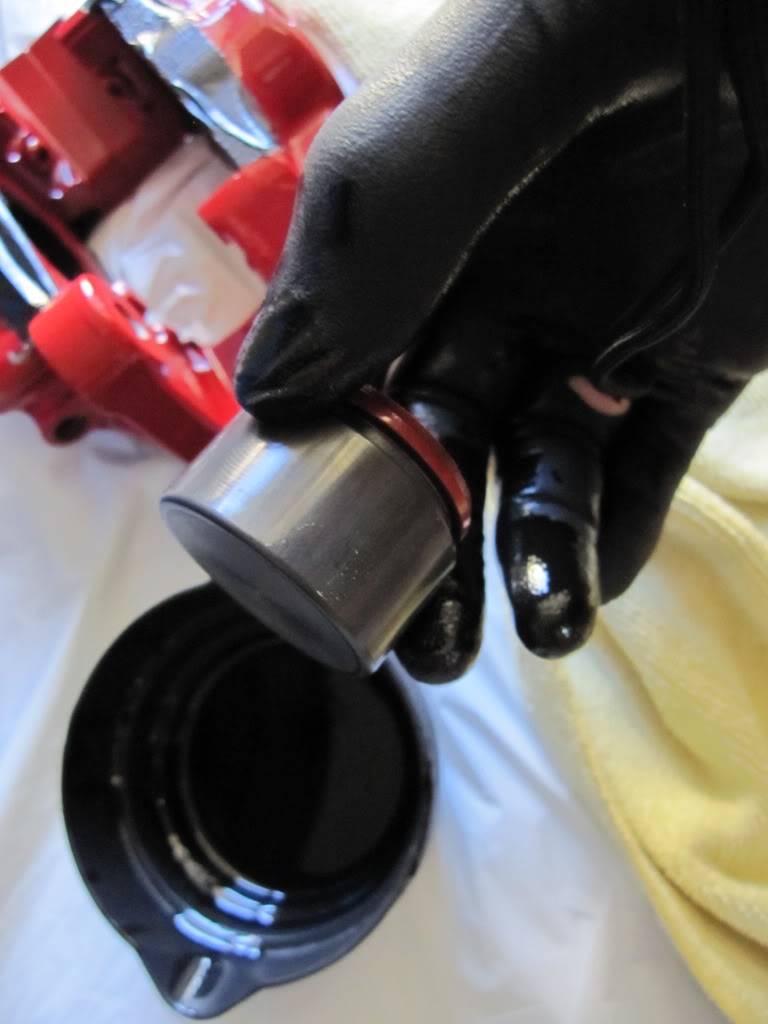
Install new dust boot
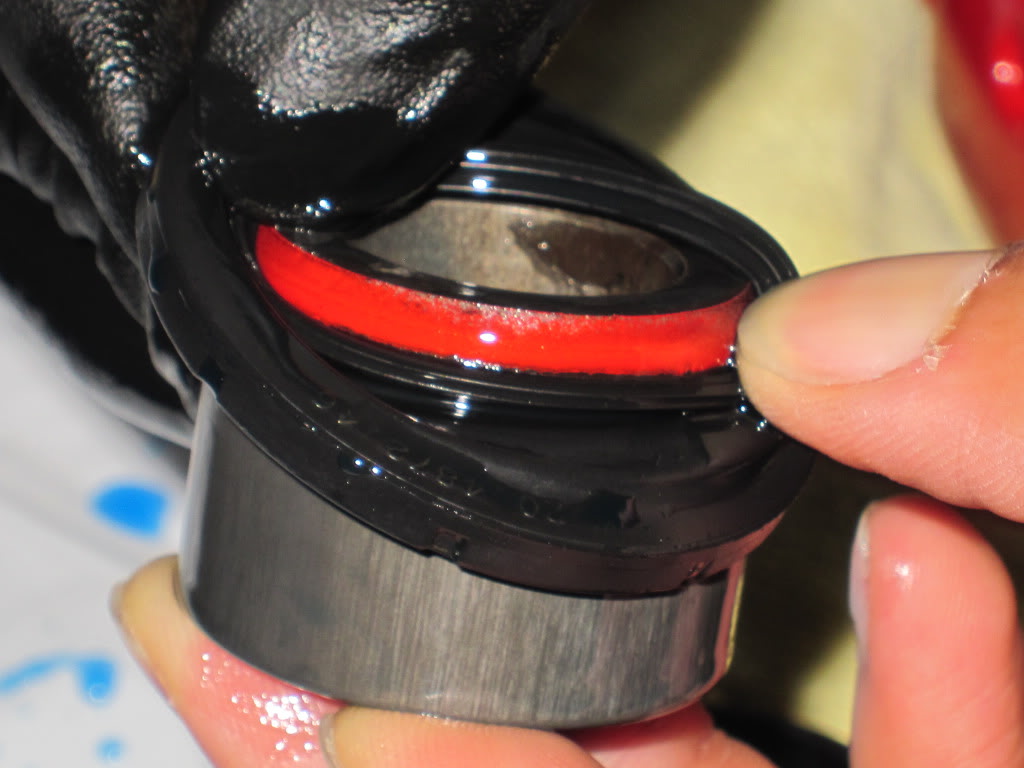
Pull down on boot until it catches in the piston groove, like this

Then pull up

Put piston in the hole so it sits straight, not crooked

Push the piston in gently until you feel some resistance .
Then hold the caliper as if you are hugging it and push the piston in with your fingers tip
Apply EQUAL pressure with both hands and it will slowly go in, be patient.
You don’t need to use a vice grip, clamps, or other tools. If there’s a lot of reistance, take out the piston, clean it, relube it, and try again
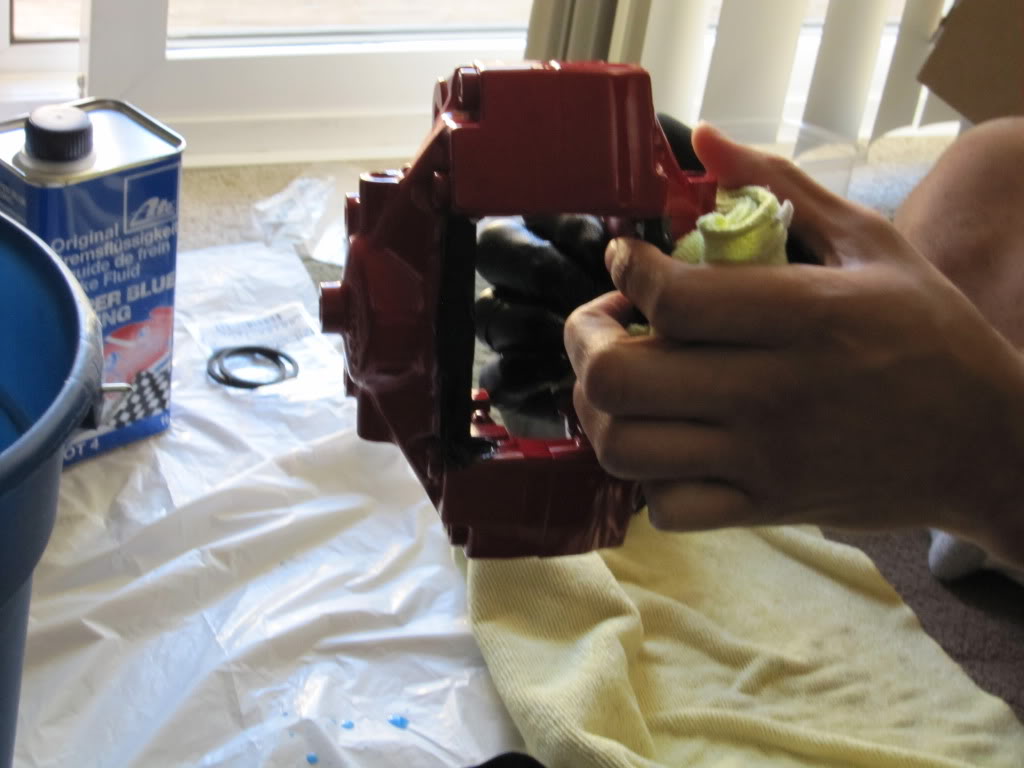
It should look like this went done. Follow the previous steps for all calipers.

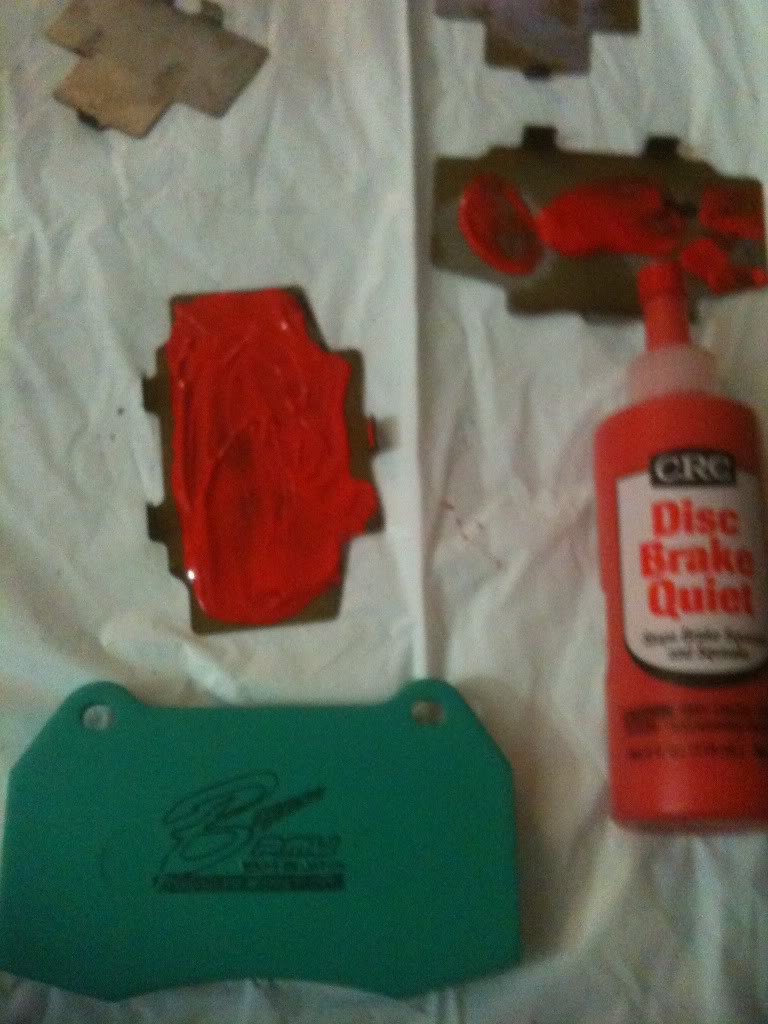
The next steps are for installing brake pads. I purchased Project Mu B-Force pads, heard some good reviews. I put on brake quite to avoid brake noise. The rest of the pictures are really self explanatory.
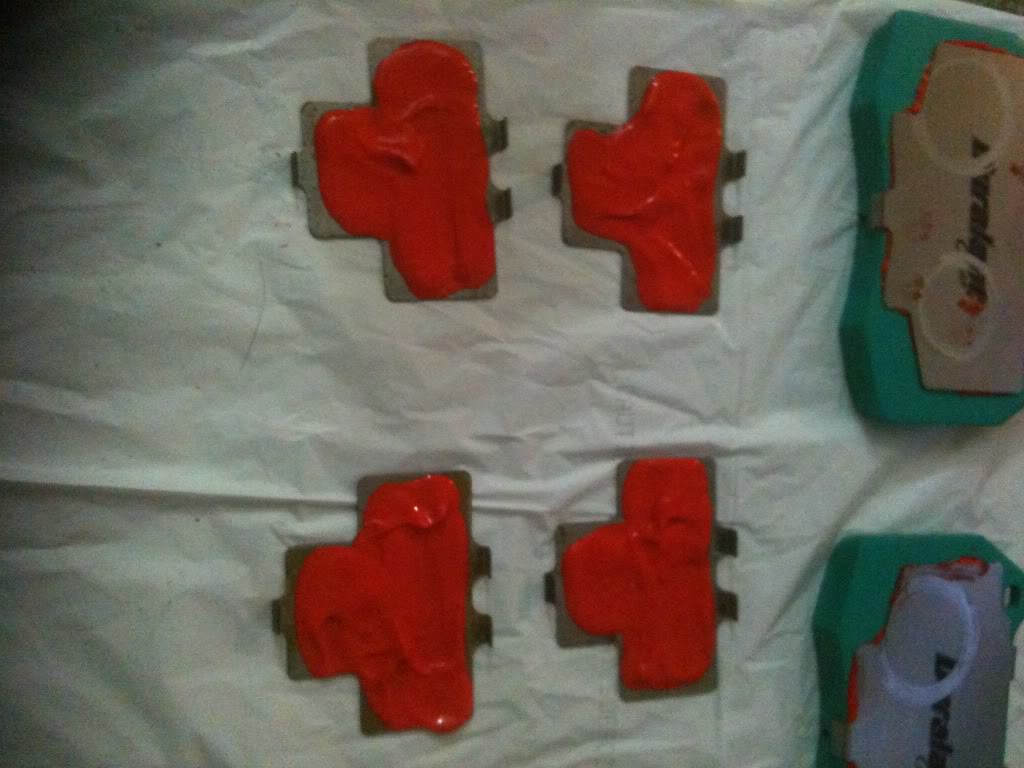


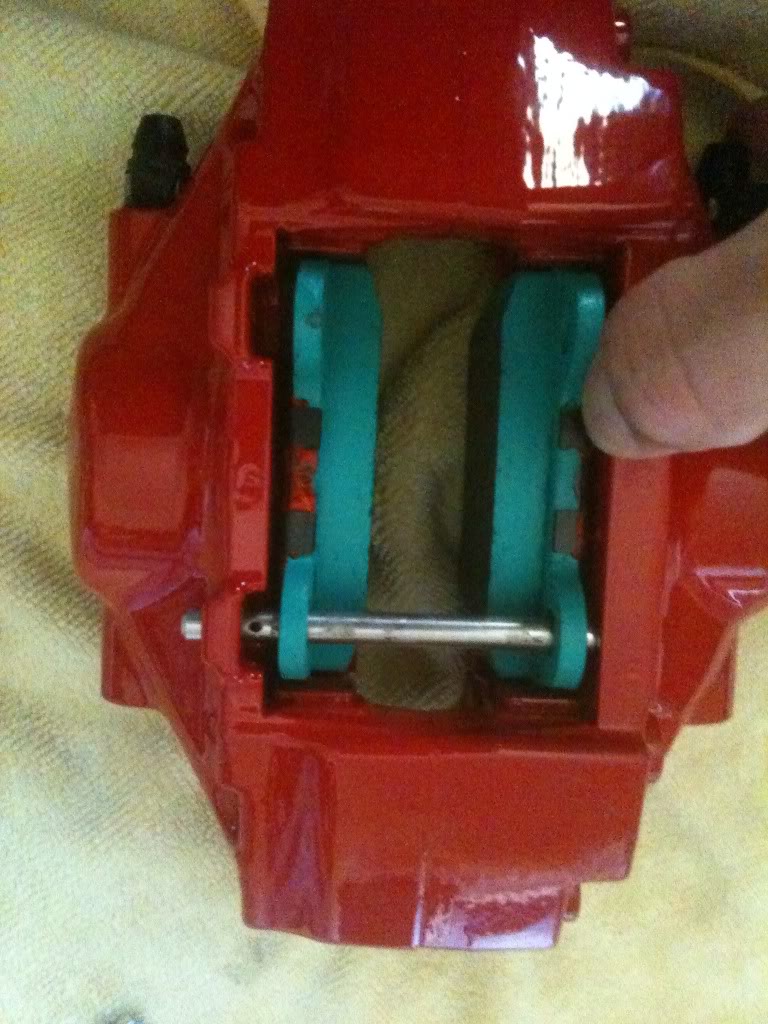
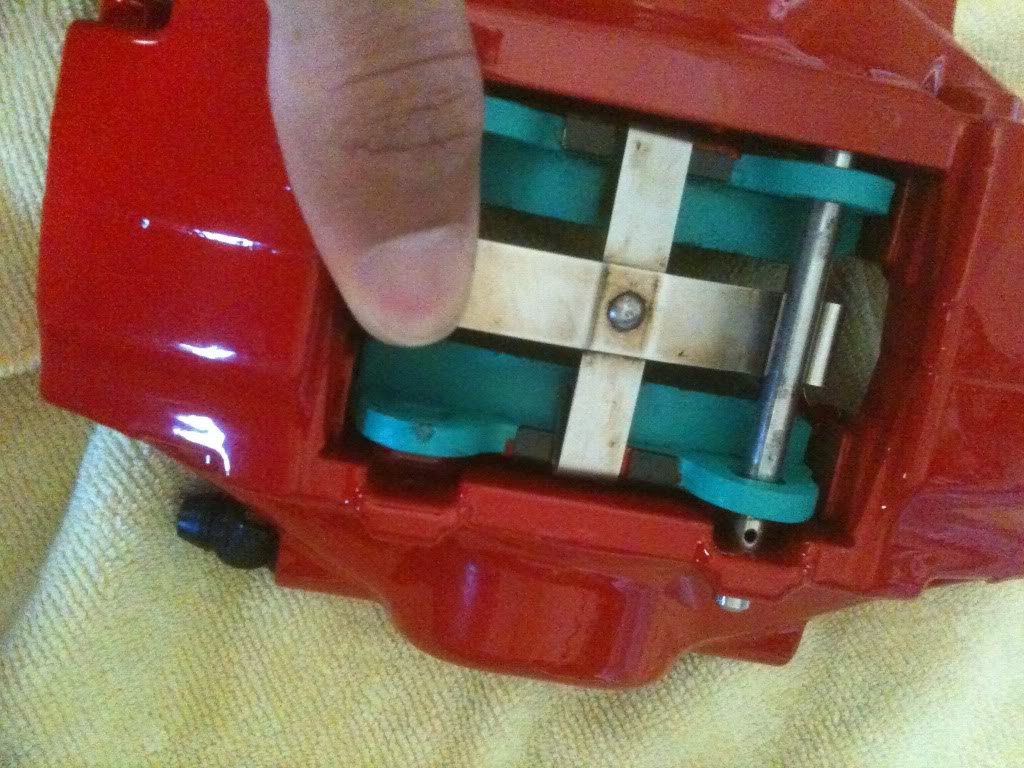
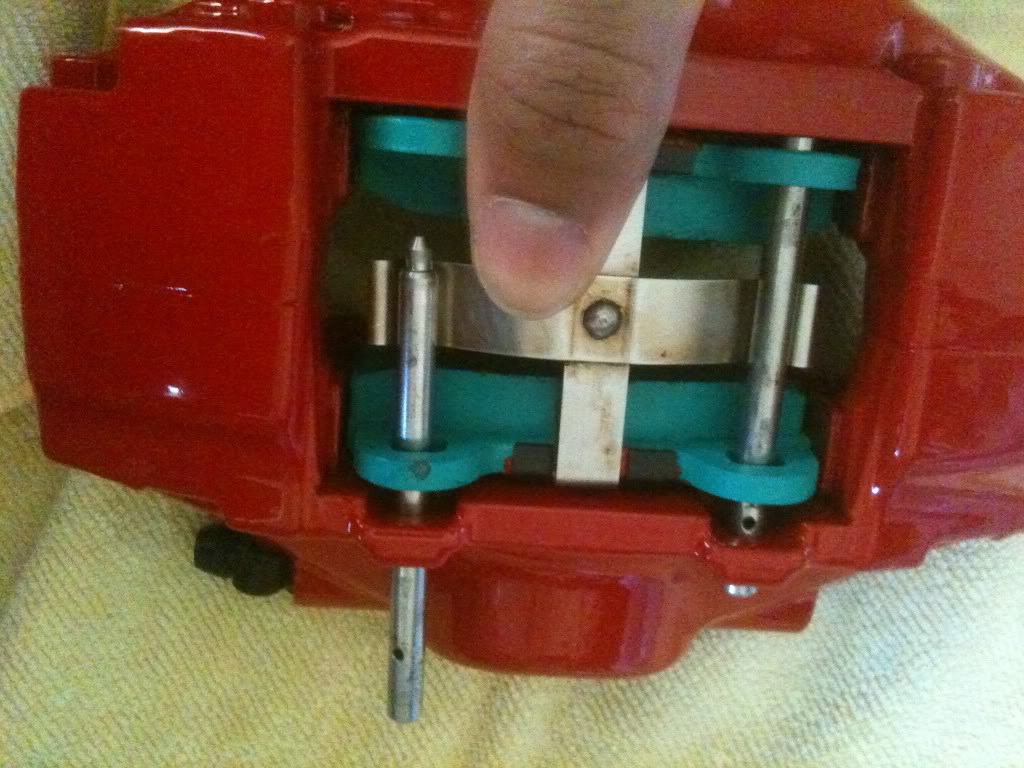

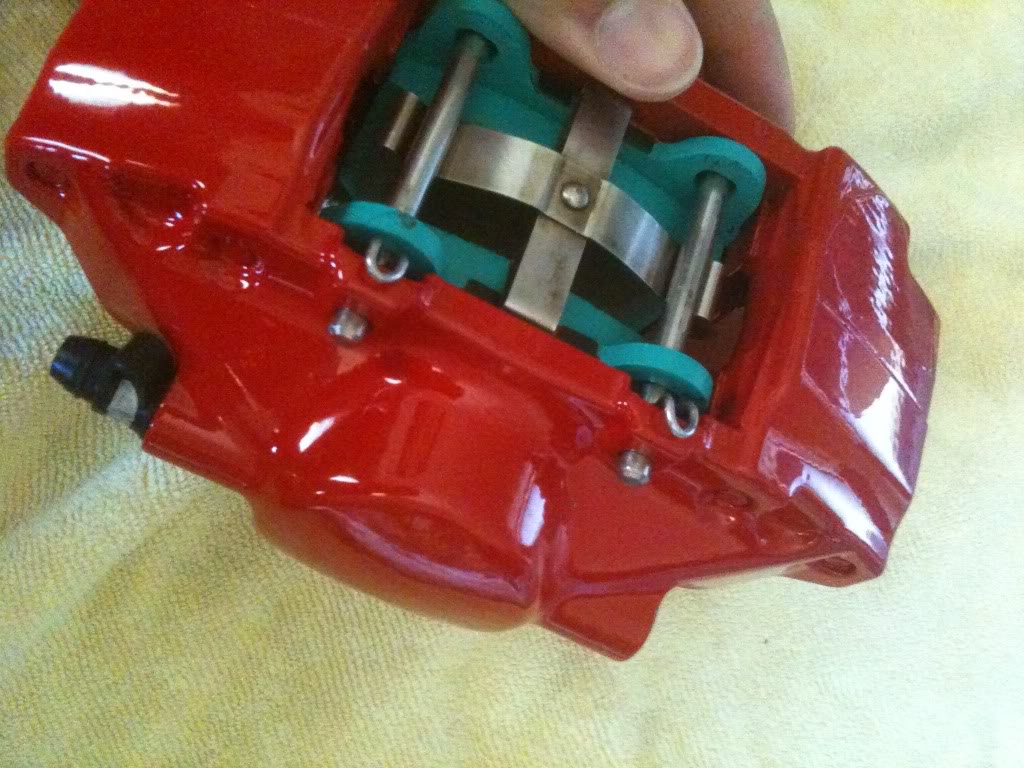
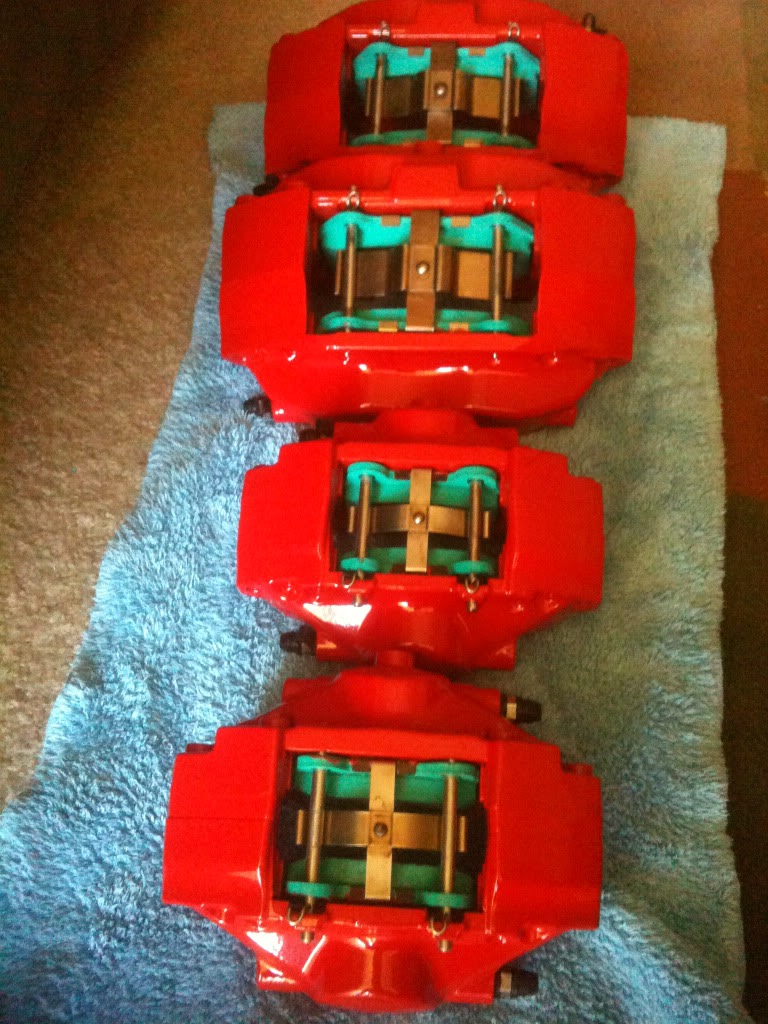



If any one has any better way to perform any of these tasks please post it. This was my first time ever doing this I learned along the way. Peform at your own risk, I am not liable on anything that goes wrong using this guide.
![]()


Comments are closed.