Member Credit: pmohr
This howto is for the quick and easy task of removing the gauge cluster. Replacing bulbs, tightening up the tach or speedo screws, tapping into an easily accessible tach signal, swapping clusters, whatever.
Most seem to remove the steering column trim when doing this. It does make it a bit easier, but it also takes a lot longer, so I don’t bother. The bezel will flex a fair amount, so as long as you don’t bend the damn thing in half, it’ll be fine.
This whole process shouldn’t take but 10 minutes, if that.
As if you didn’t know already, here’s the area we’re going to be working in:

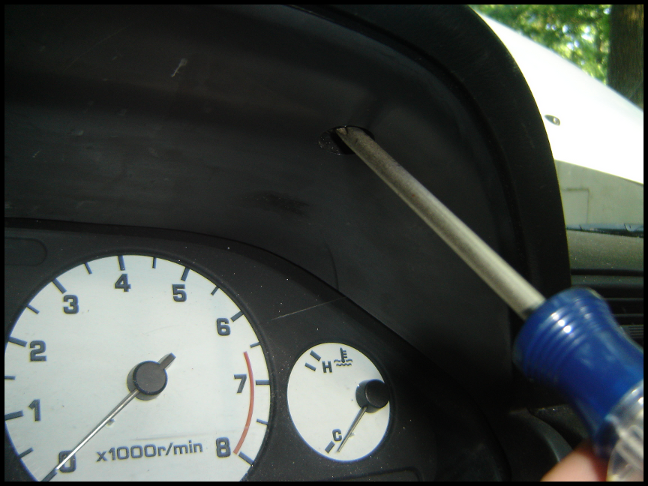
You’ll need to locate the two screws, located at the top of the gauge cluster bezel.
They’re indicated by circles in the photo below:
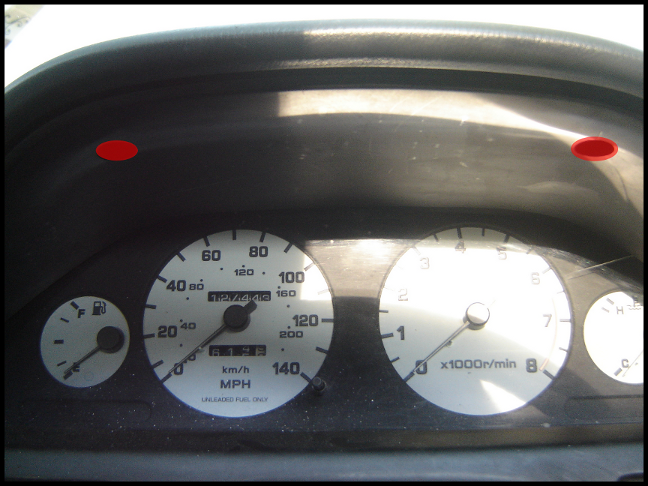
Removing the left side screw:
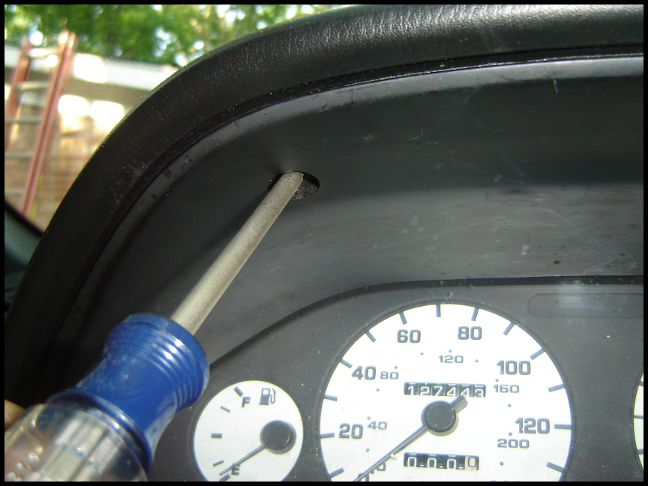
Removing the right side screw:
Now the bezel will have 4 clips holding it in place along the bottom, shown here (reverse side shown):
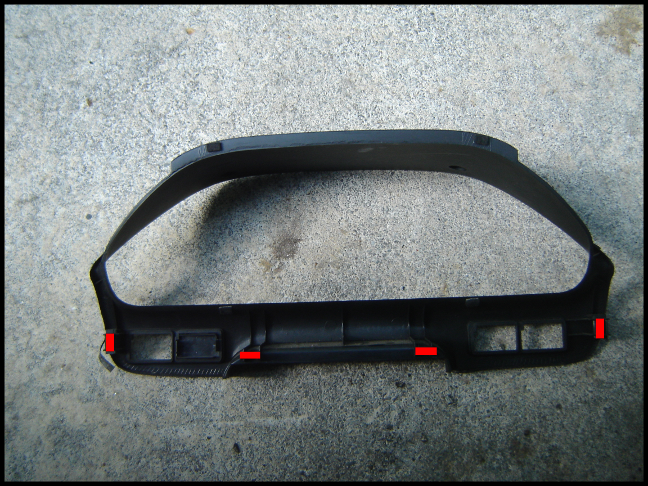
You’ll need to pull sharply on the bottom of the bezel to release all of these clips. Some may remain in the dash, or fall off and disappear.
Here are the various switches, dials, and lights you’ll have to remove:
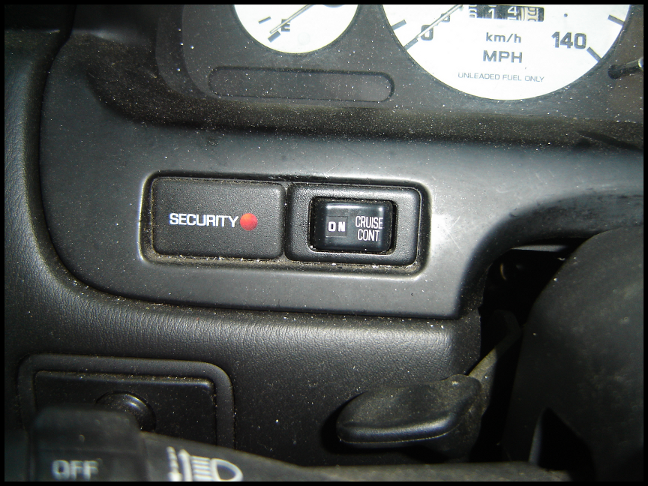
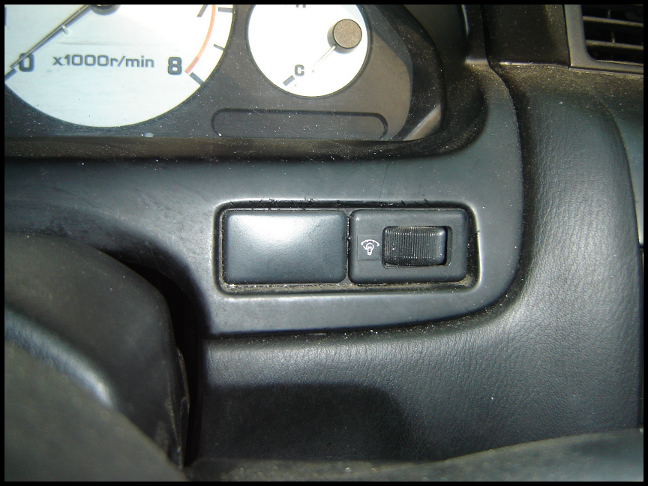
They’re easily removed with a small flathead screwdriver, just insert at one of the sides, and pry it out:
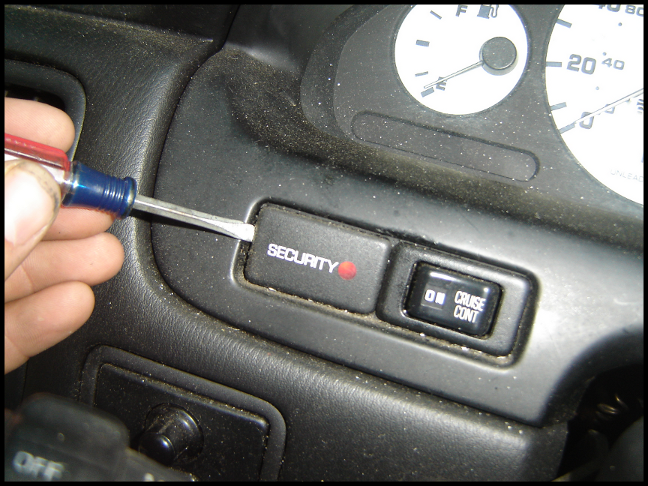
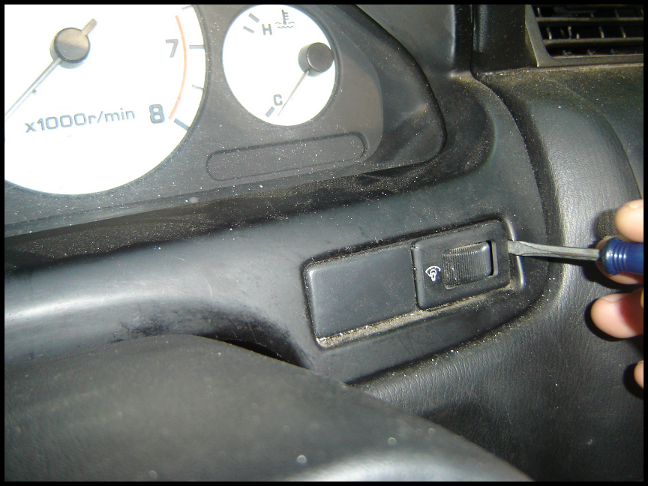
You then pull them all away from the cluster (shown), then disconnect them (not shown):
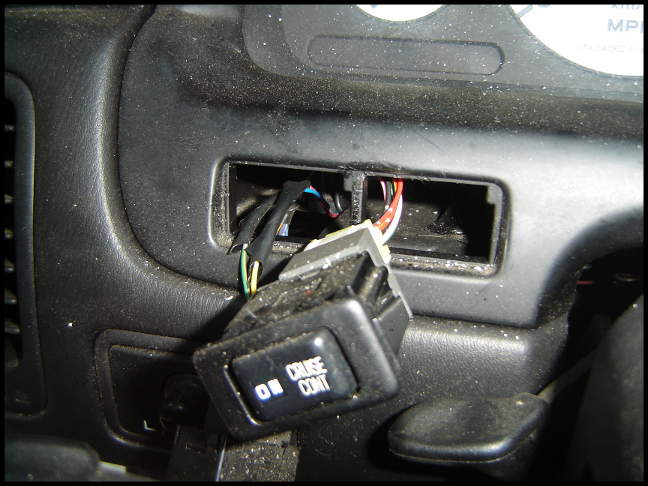
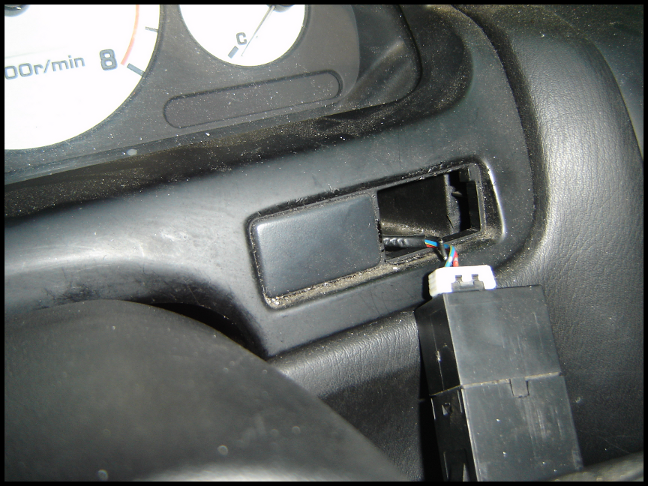
You’ll then be left with this:
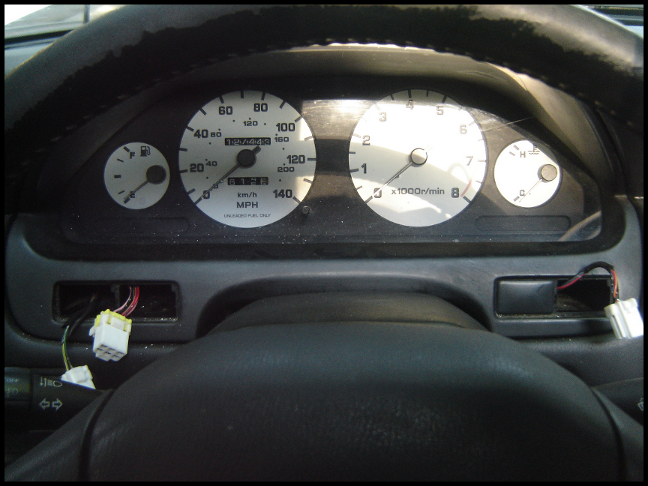
You then want to lift up the bottom portion of the bezel, and rest it on the steering column trim:
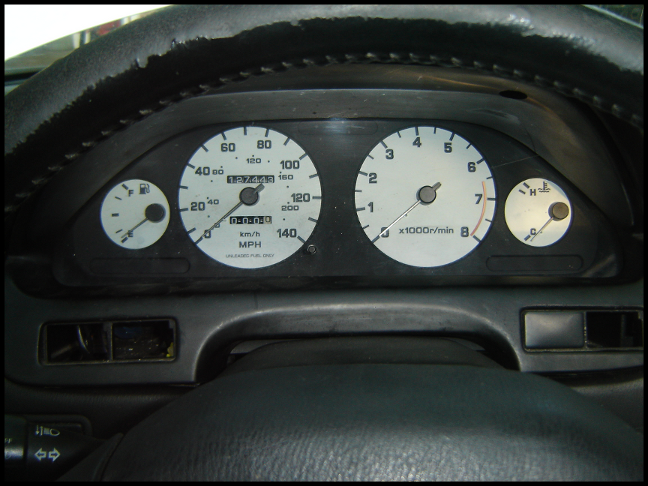
While holding the bottom portion there, insert a screwdriver at the top and pry out the top of the bezel:
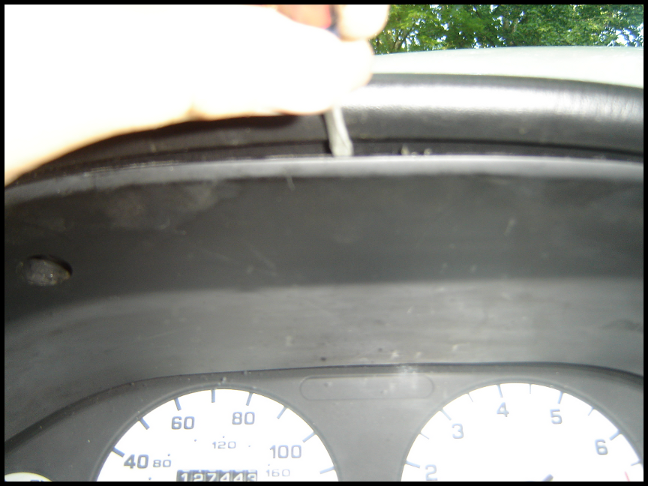
The top of the bezel will now be hanging on the gauge cluster ‘hood’:
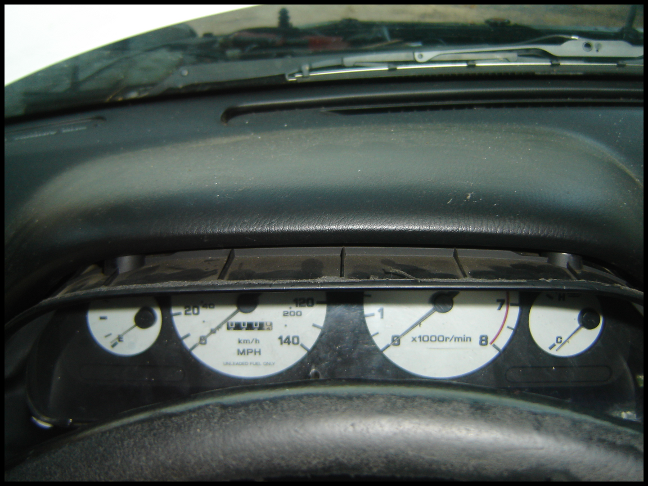
You then need to start walking it out until it resembles this:
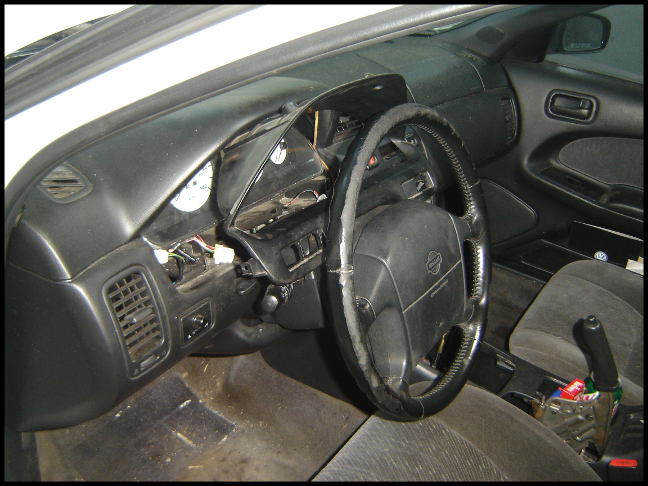
At this point, push down on the top of the bezel, and you should be able to pull it right out.
Now, the gauge cluster is held in place by 3 screws:
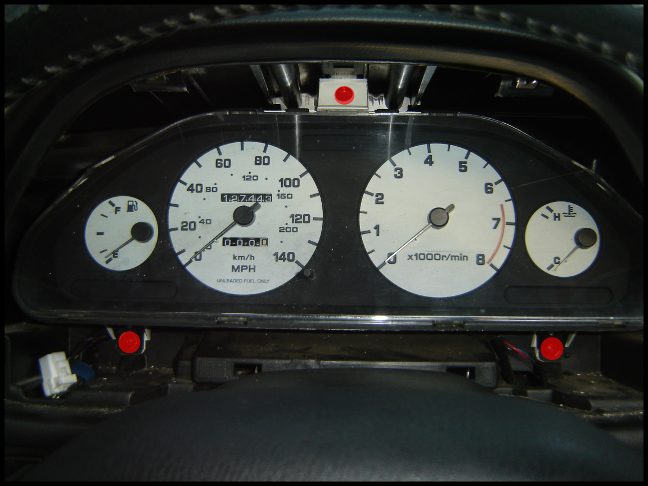
Removing the top screw:
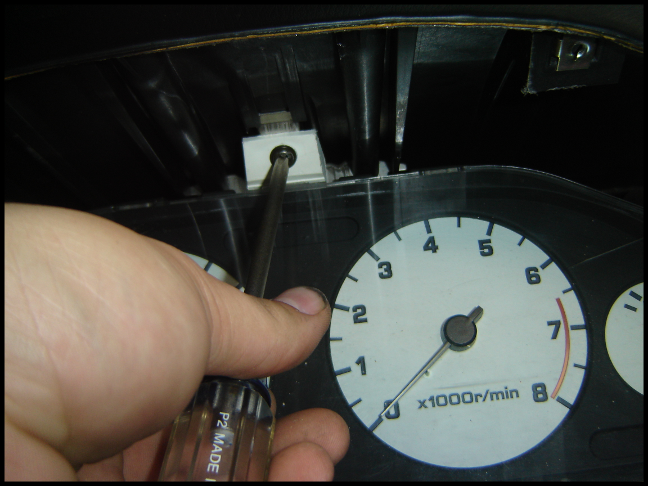
Removing the left screw:
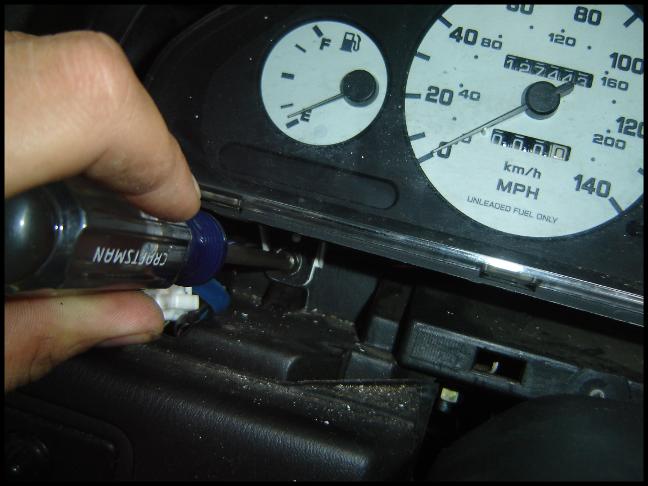
Removing the right screw:
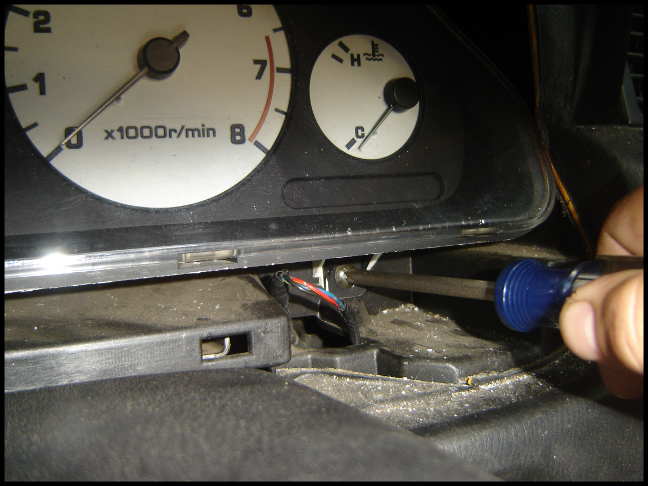
The cluster now pulls right out of the hole:
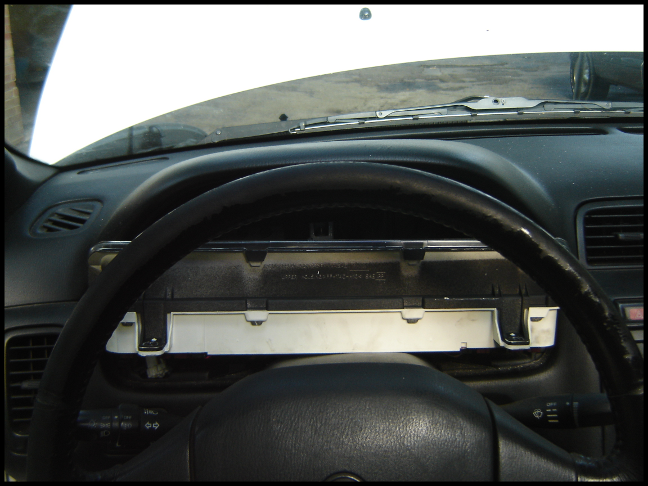
Obviously installation is the reverse of removal.
![]()


Comments are closed.