Various Videos:
![]()


Credit: marktab
I previously had a Boss brand stereo, but had a few issues. First, there was a high-pitched hiss which never went away even though I put all types of grounds on the system and a filter on the audio. Second, that Boss stereo started to reset its own time. Third, sometimes the Boss stereo would change the channel (!) — seemed like the display screen was somehow stuck. Fourth, the volume always seemed low — and I had started to consider changing the speakers.
However, benefits of the new Pioneer stereo:
One installation note — my particular unit went off and on during the installation, and the issue was that the antenna connector to the stereo had to be bent a bit out so it made a solid contact with the connection tunnel.

Finally, some notes on the wiring:

![]()

Credit: Thomas Perdue Jr
Notes:


![]()

")
Credit: kasemodz
I’ve been wanting to install a carputer on my maxima since a very long time, but I never had the experience or the time/patience to install all the equipment. Finally, starting in mid December, I’ve finished installing my carputer.
I tried to make this as factory finish as possible without fiberglassing. Also, I tried my best to keep everything intact and not create unnecessary holes.
I actually never took a picture before I started this project, but here is the closest picture of the stock picture with the original Bose headunit.

Next, are a few computer setup pictures and also my homebrew shutdown/startup controller for the computer. I’ll post those schematics soon.
SPECS:


This next picture is my homebrew startup/shutdown controller. You can see that I used a computer power supply box to put my controller and extra wires inside. It just so happened that that psu fits perfectly and flush with my headunit. The red and black rca cable are connections that I’ve made on the computer that connects to my power switch and laptop lid switch respectively. More information about this schematic will be posted later.


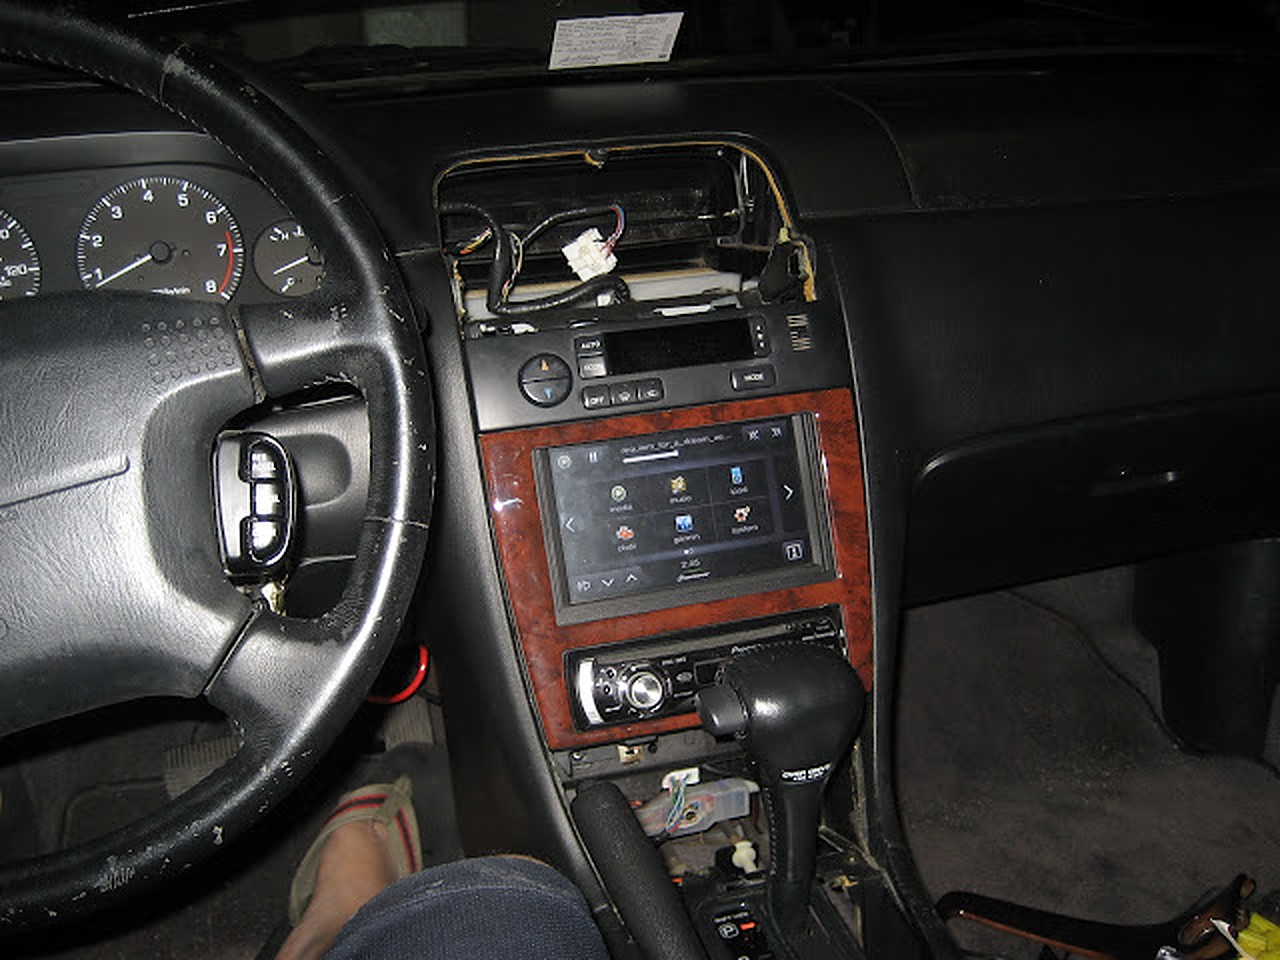
INSTALLATION PICTURES
Here are a few pictures of the install in my car. I decided to put the computer underneath the driver’s side seat. I also pulled the wires through the channel underneath the seat along with the seat warmer and seat belt wires.


This next picture is my obdii connection to the car ecu, followed by gps installation pictures.


Next, my startup/shutdown controller needed someway to determine if the car is on or off. So, luckily I found a telephone acc line that was not being used in the fuse box.

FINISHING UP INSTALLATION


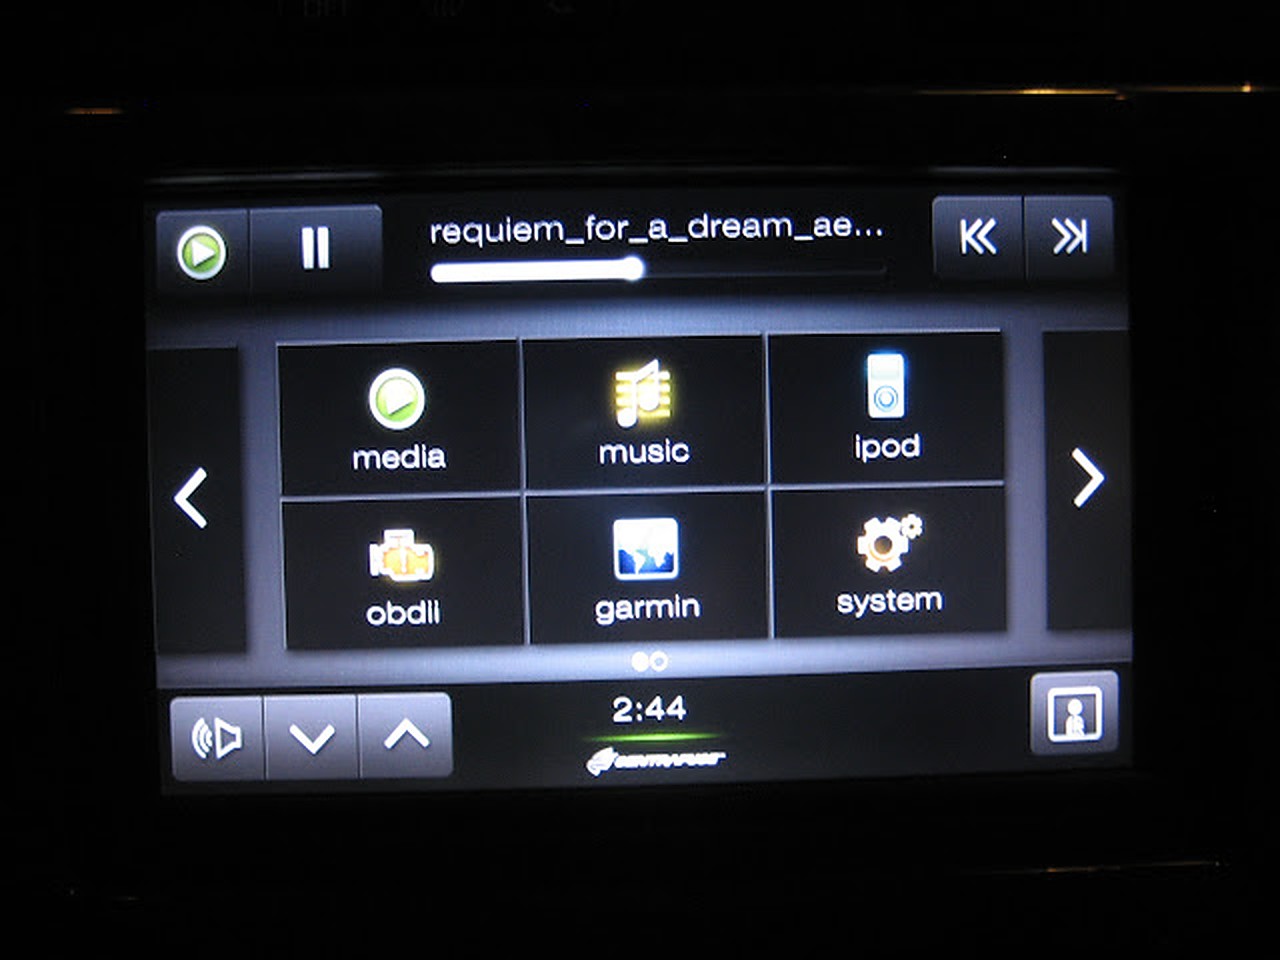
Few Screenshots


CONCLUSION
This project took a while, but I learned that patience is the key. There were a lot of times when I second thought myself if I should continue this project, but I just kept believing in myself. There are still a few small problems that I will fix soon.
PROBLEMS
This laptop is actually equipped with a pretty good sound card, but the headphone jack and spdif connection both have a lot of static noise from the hard drive. This is not a grounding issue, but the motherboard fault. I remember when I used to use this laptop, I could hear the static on my headphones as well. I’ll probably just get a new usb soundcard.
Also, the bluetooth device I have is flaky, it works sometimes and sometimes it doesn’t. I’ll prob just get a new one.
Lastly, but none the least, I’m going to continue improving the functionality of my startup/shutdown controller.
BEFORE
AFTER

![]()
")
Credit: kasemodz
I decided to upgrade my carpc that I had done last year. If anyone is interested in looking at the old setup, here is the link https://www.my4dsc.com/1997-4thgen-nissan-maxima-with-custom-carpc-installed-part-1/.
Some Problems with the old Setup:
So I got rid of the old setup and had the following new components:
The old setup

So, now the new stuff, the goal of this project was to:

Next, I wired my OEM Nissan Heated seat warmer switch. I wired it up for use and then used a 2000 grit wet and dry sandpaper to remove the marking off the switch.

Next, I made my wiring diagram which is shown below.

Installation
Here are some install pictures. Below you will see my plexiglass enclosure. The design came out perfect, I had only a few mm in tolerance around the edges. I also fitted a small fan to blow any heat generated.


Now doing a test run.


Here is the finished setup with everything working, as you can see the new switch at its location.
My USB port integrated into the ash tray


Finished!

![]()


Credit: Trevon Walters
For anyone that has nav or don’t want to swap out their factory unit but want Bluetooth. Can easily be done on none nav unit too. Got tired of stupid FM transmitters or plugging my phone up to the cassette adapter.


![]()

Credit: Blake Green / Graig Henriques
Question: Can I remove the tape player and put in a aftermarket radio while keeping the Factory GPS?
Answer: Yes. All you lose is the navigation audio. I never use that anyhow. If you find new buttons let me know where. It’s been near impossible to find the buttons or a new nav unit


Additional Option:
![]()

Community Member Credit: Rick Eggers
Before and after shots! Finally got my new head unit installed, a completely custom flush-mounted Sony AXV-AX8100 along with a VSI CD player. Still have a few details to deal with but it’s in and playing. Complete write-up coming soon!


![]()


 Reference Stock 4thgen