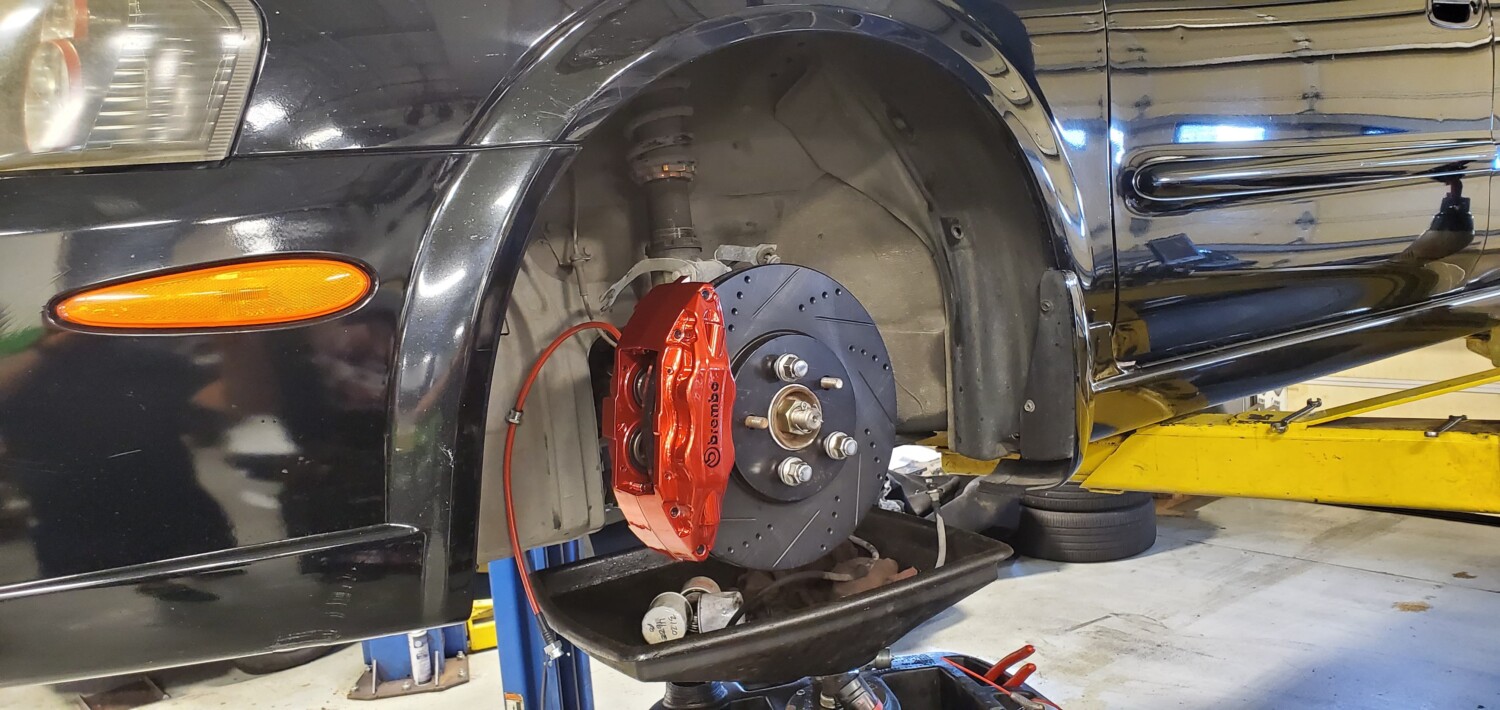
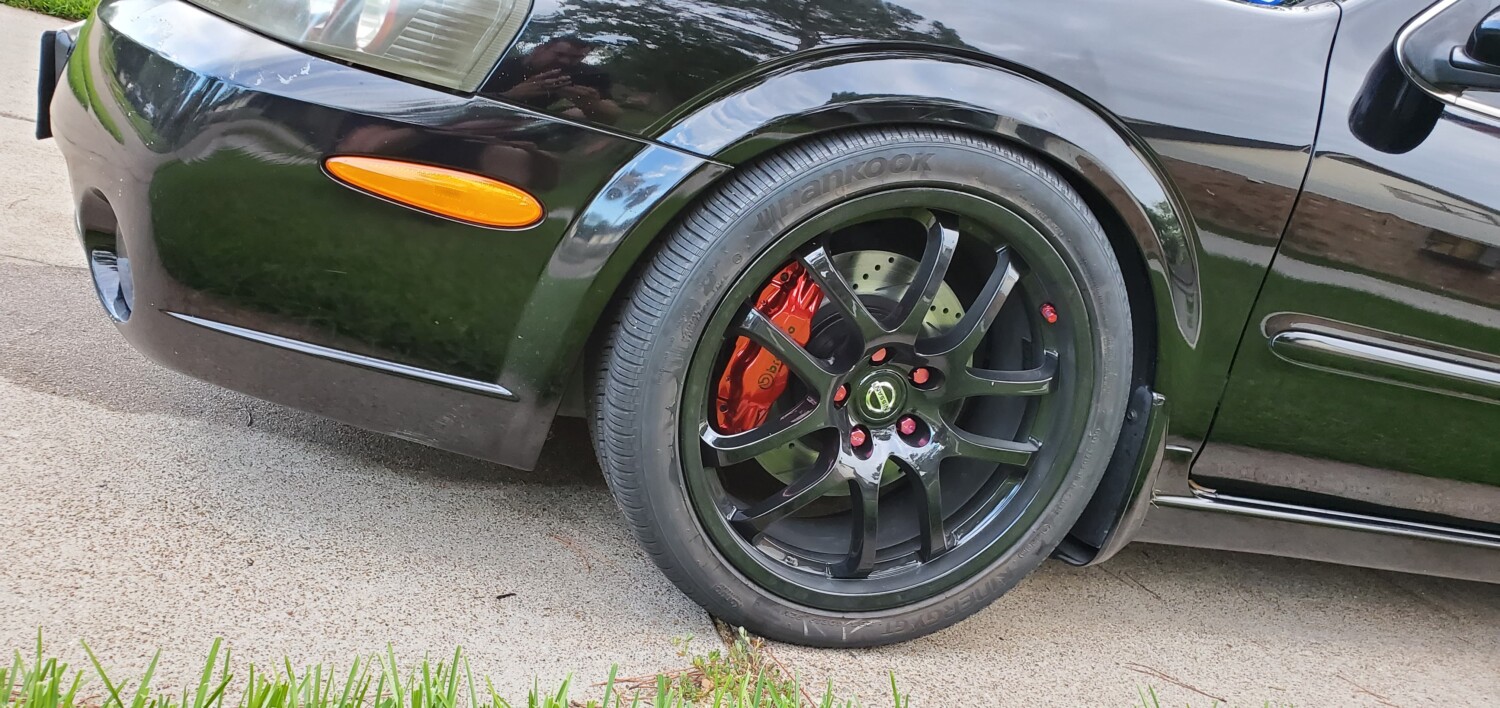
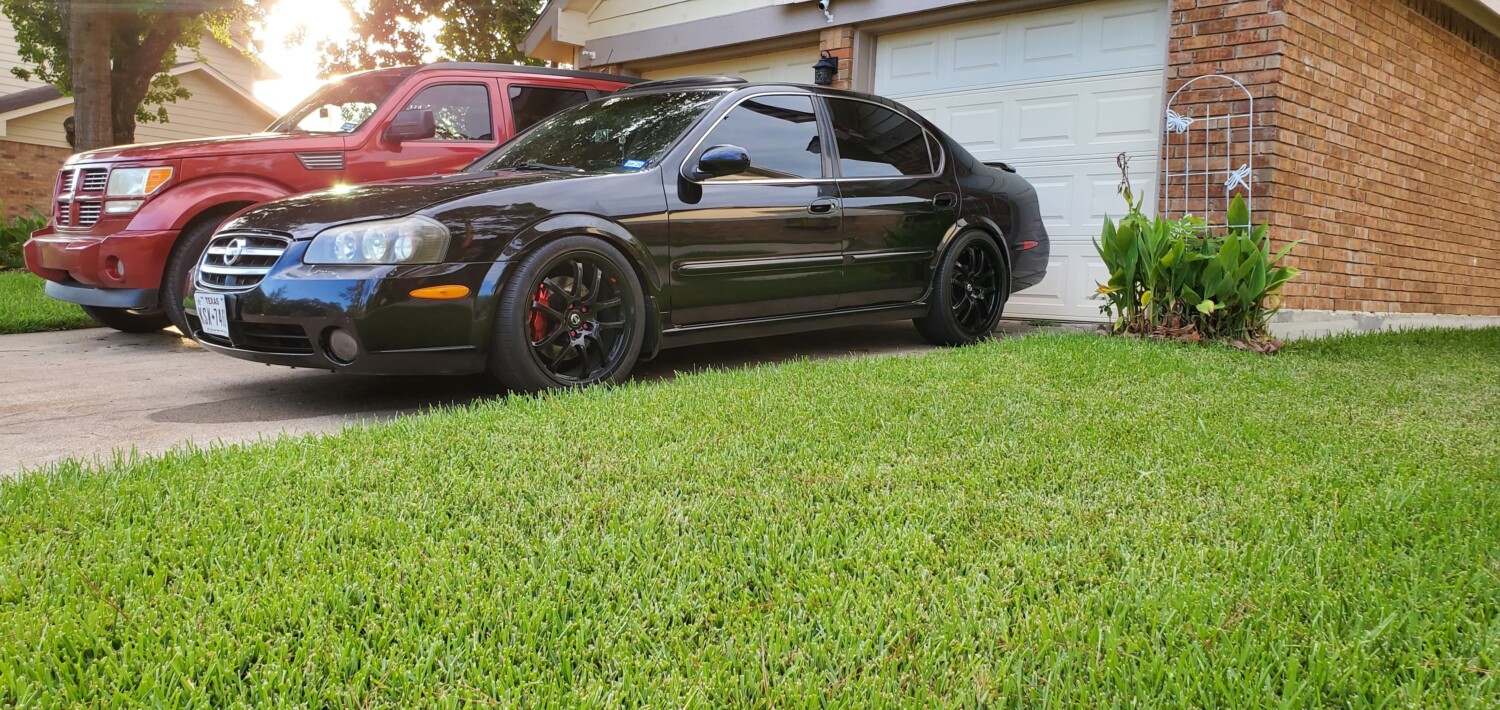
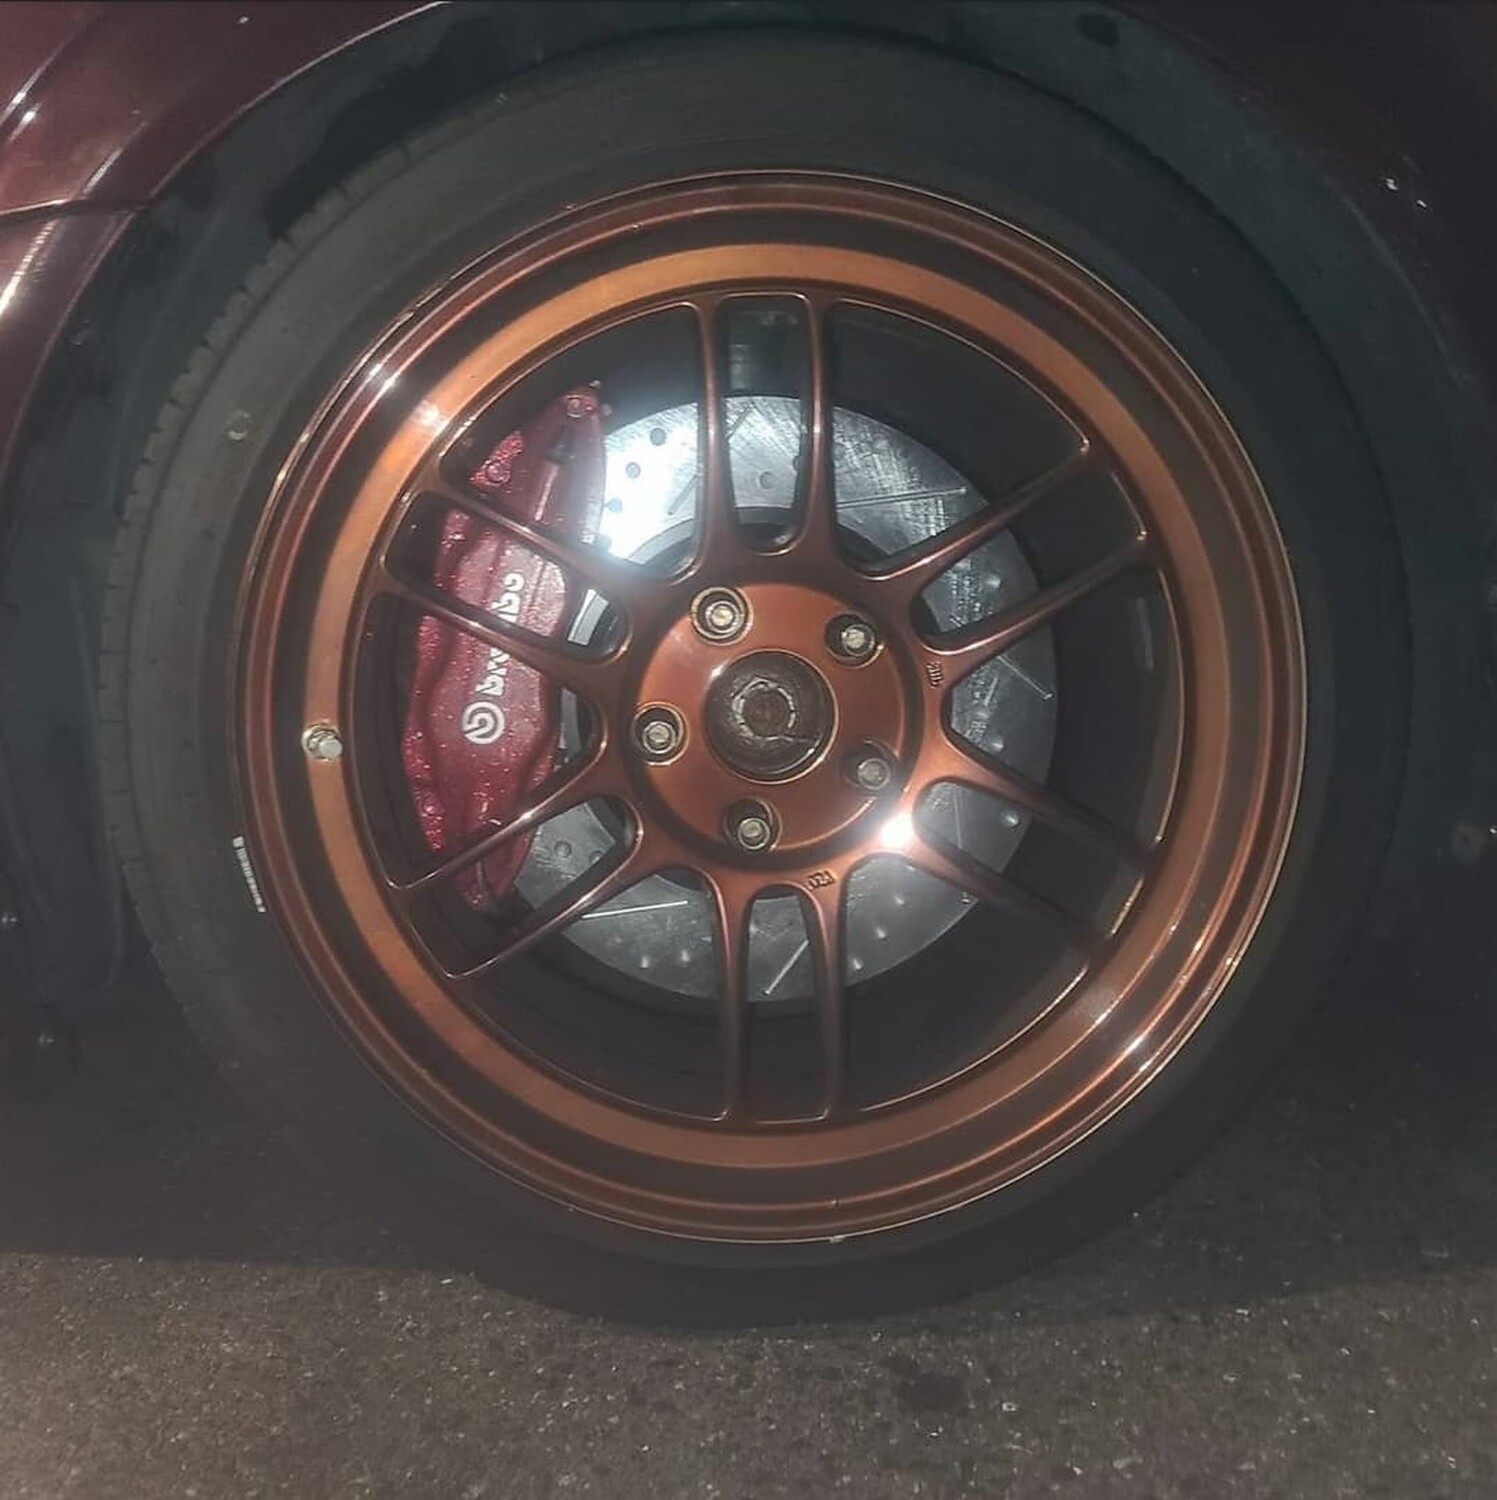
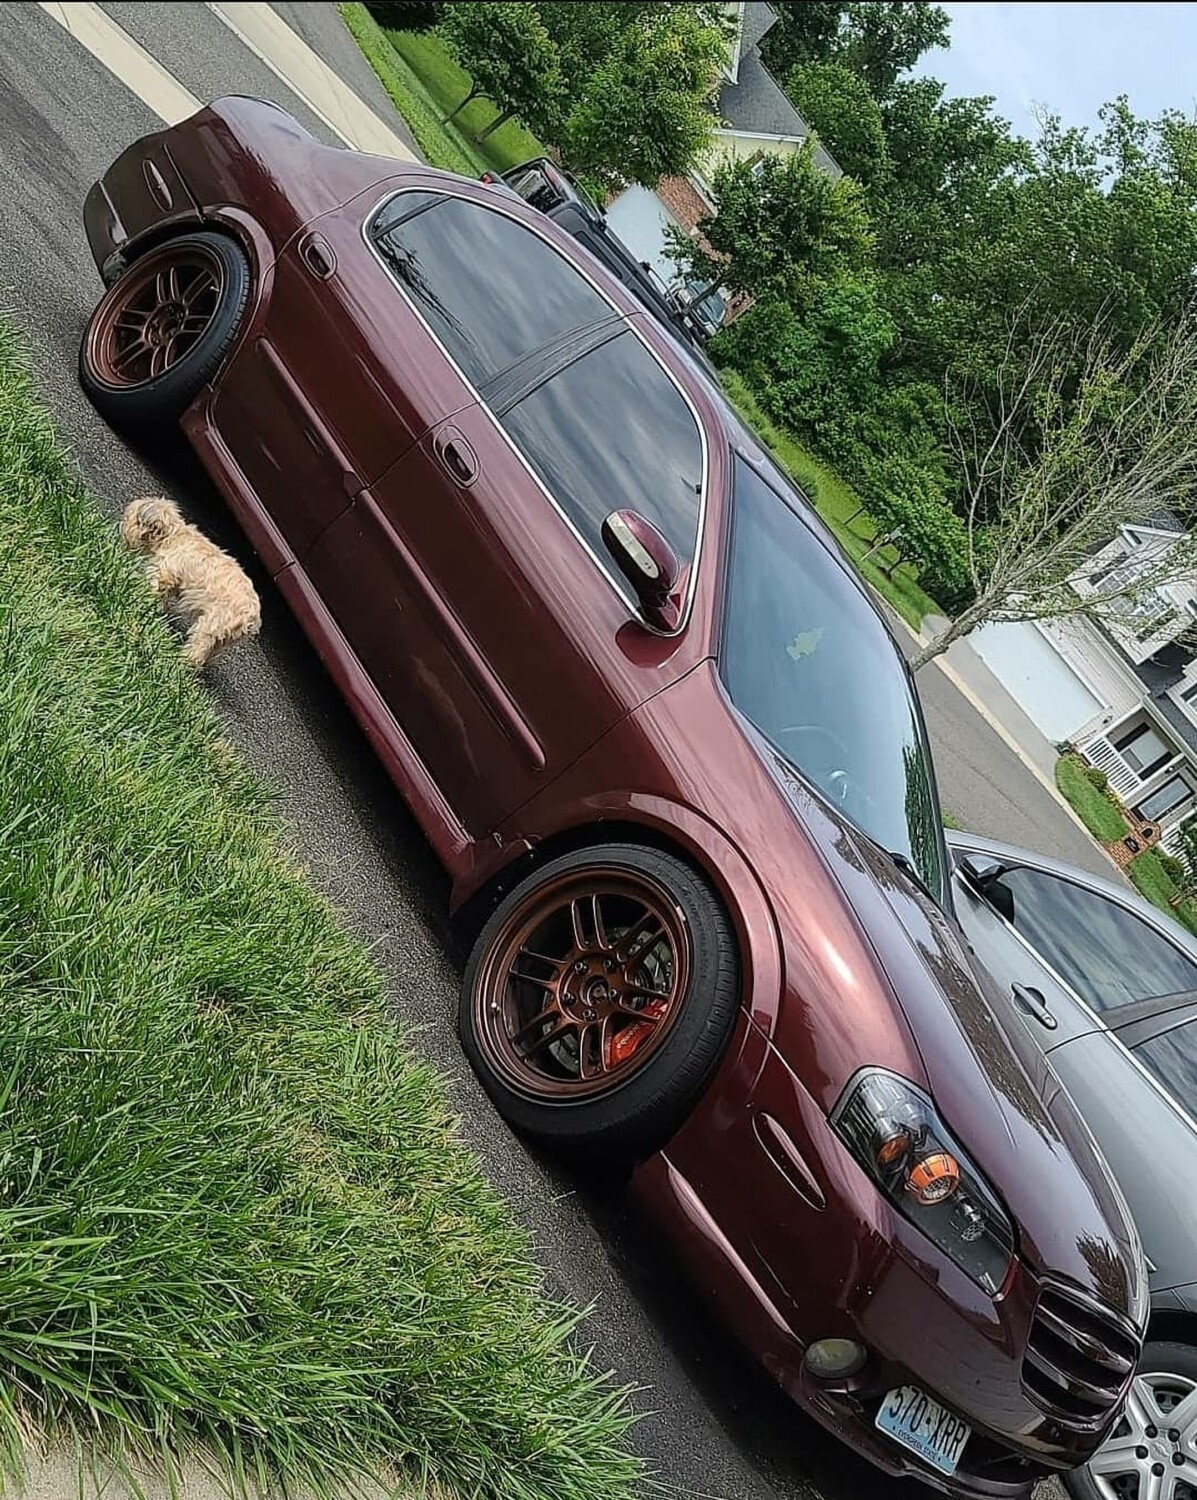
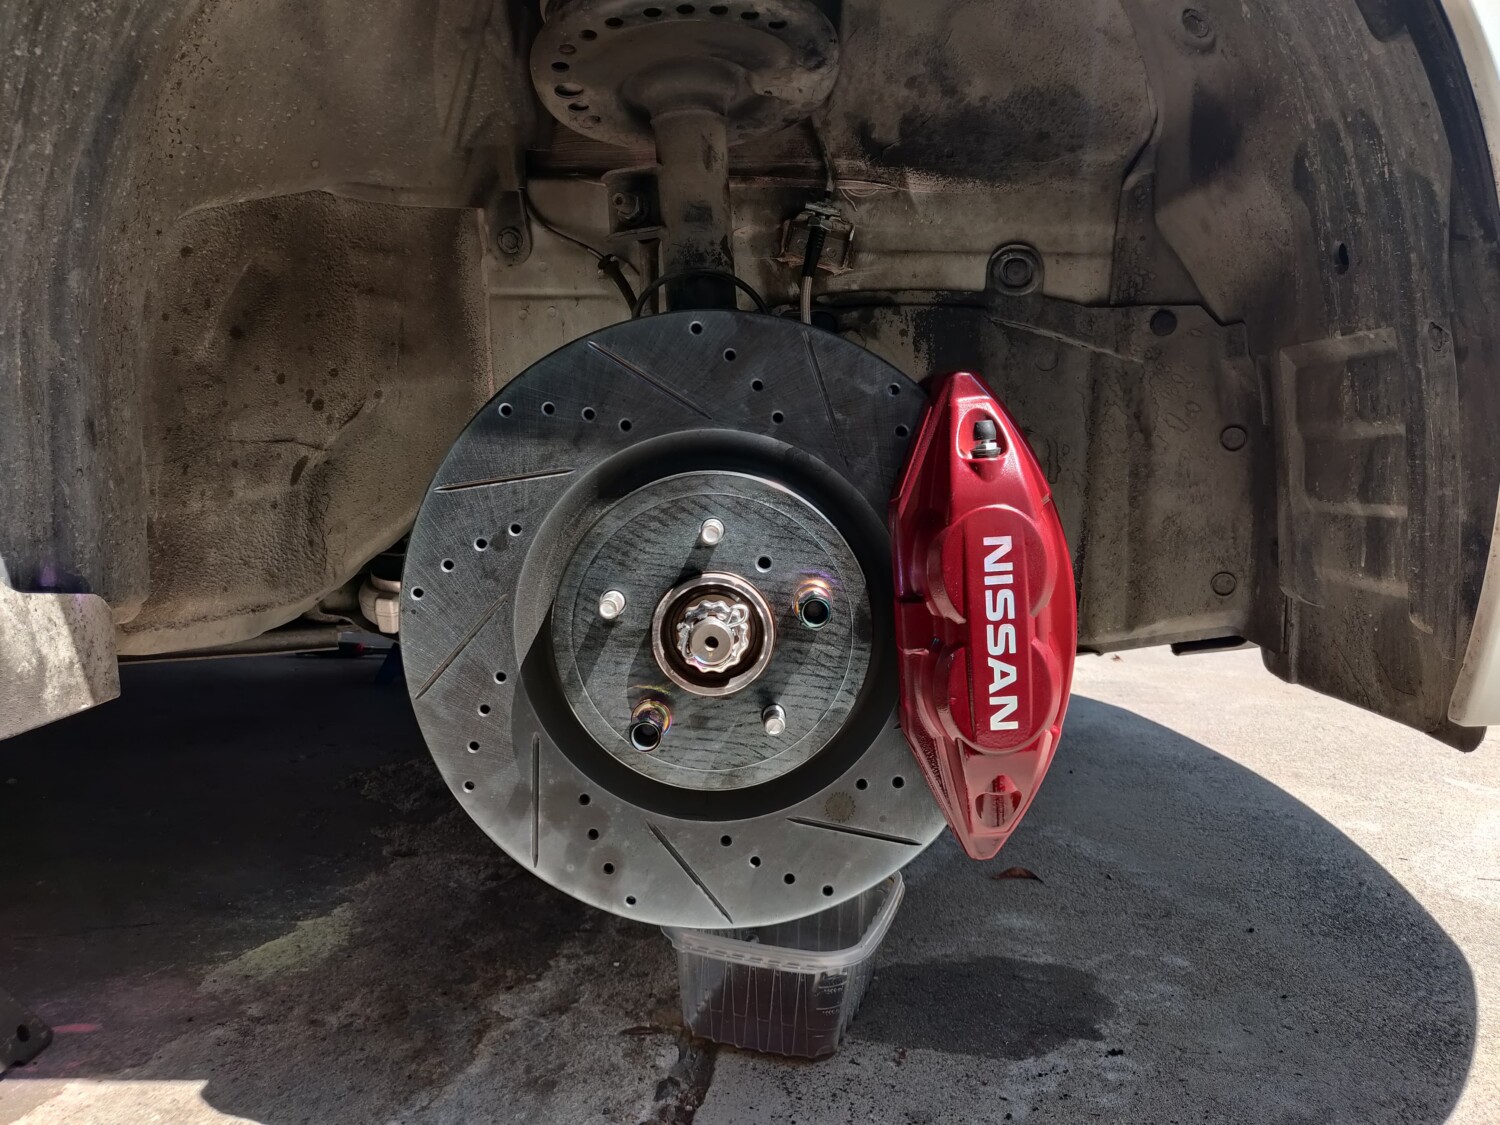
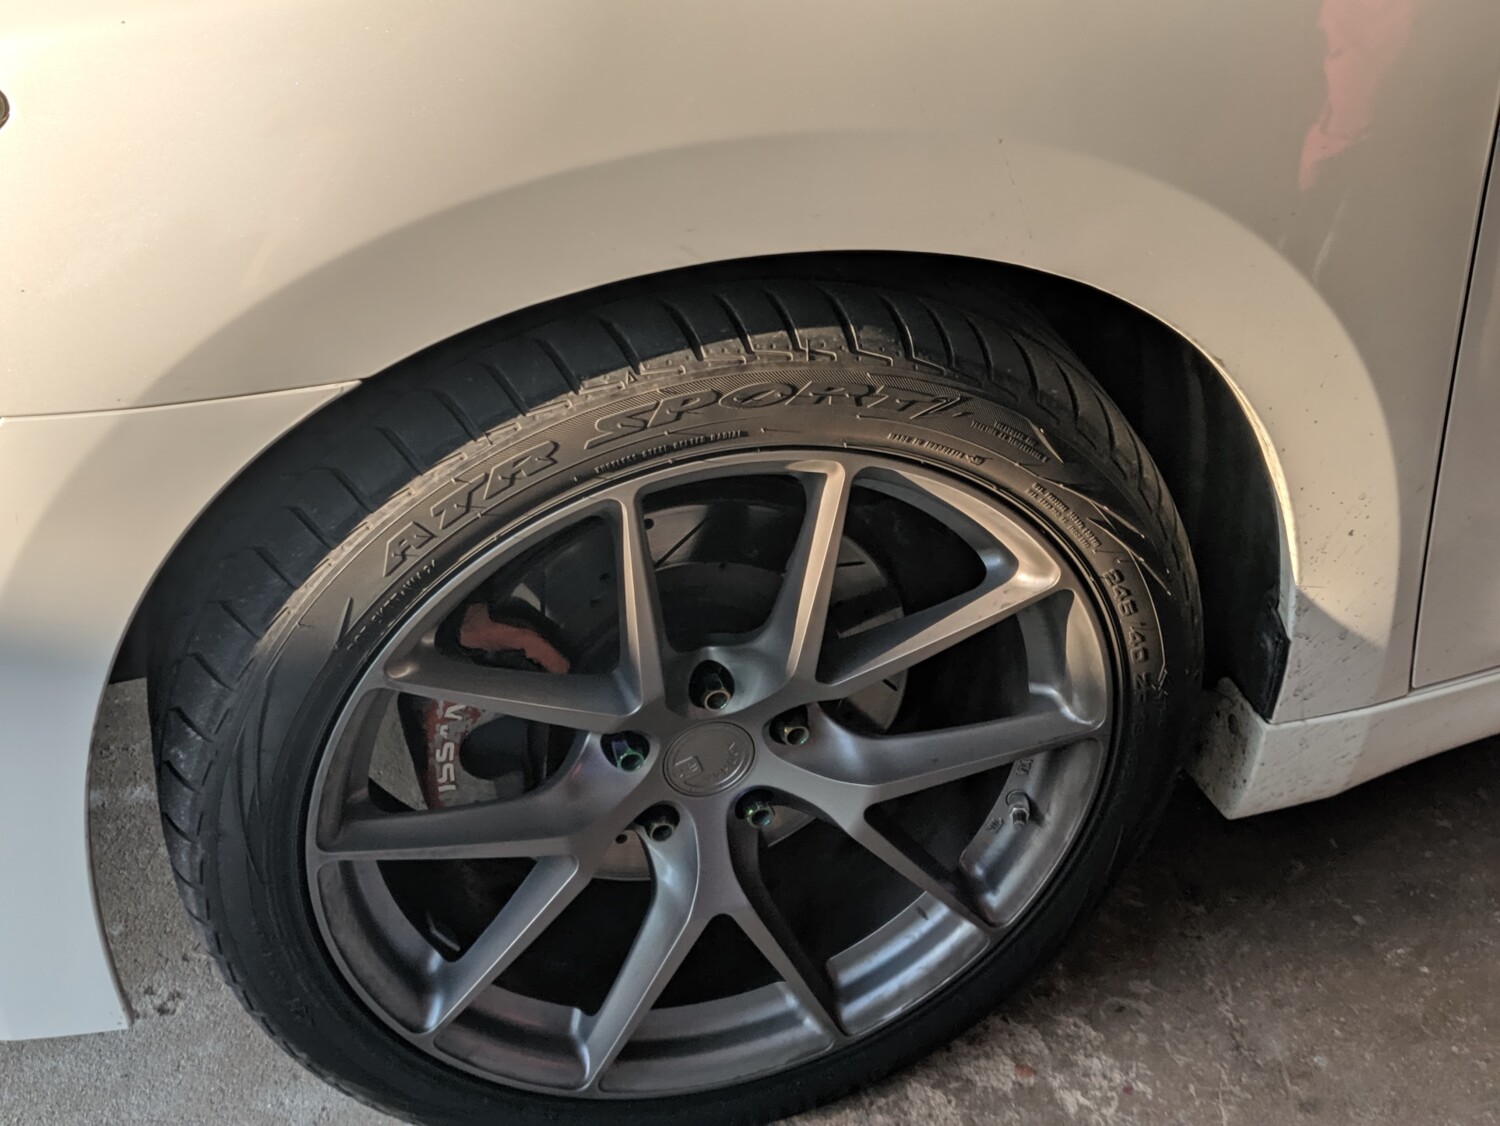
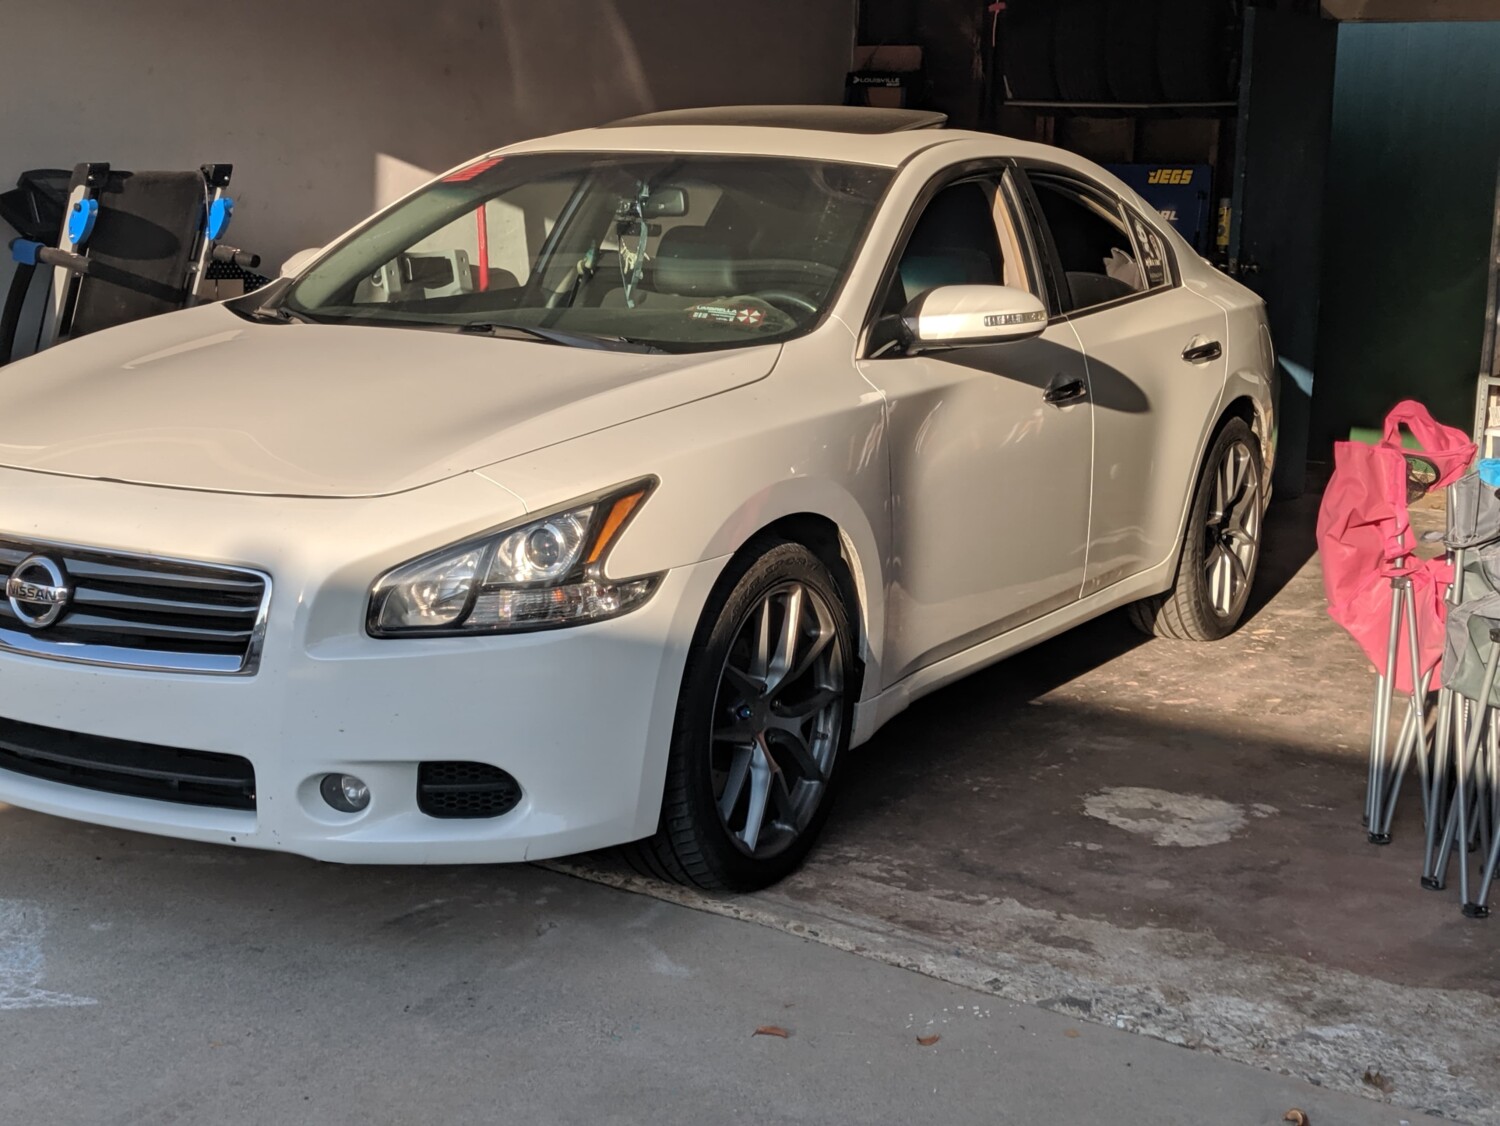
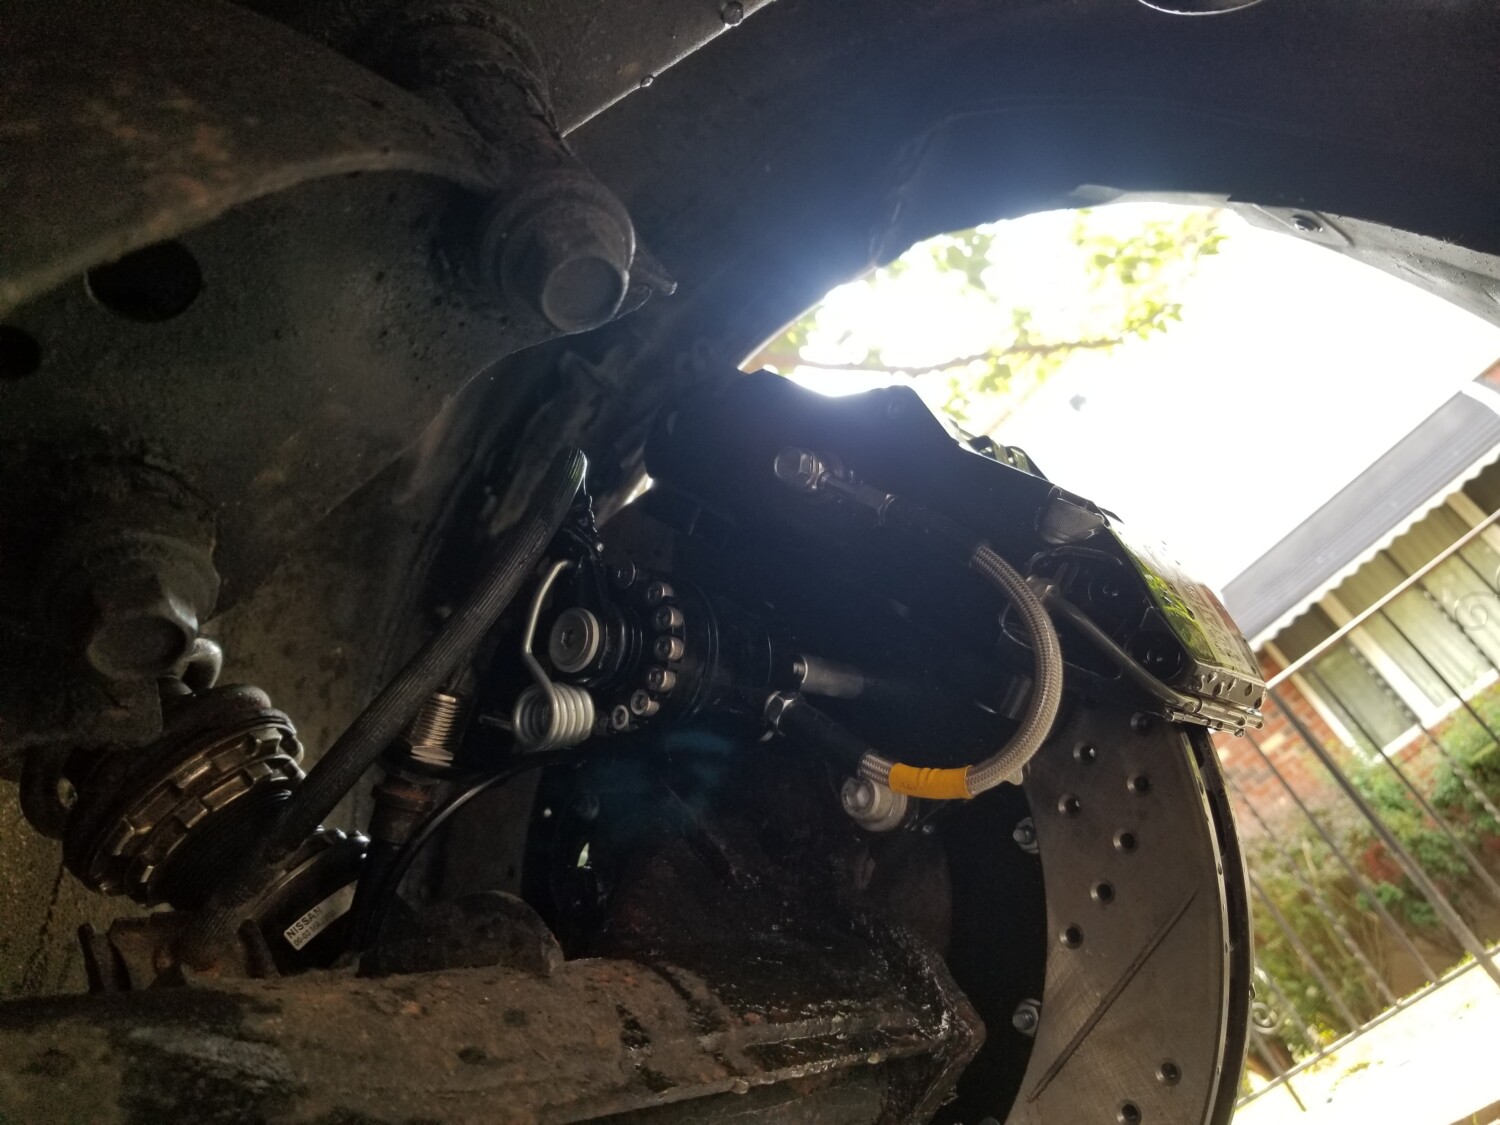
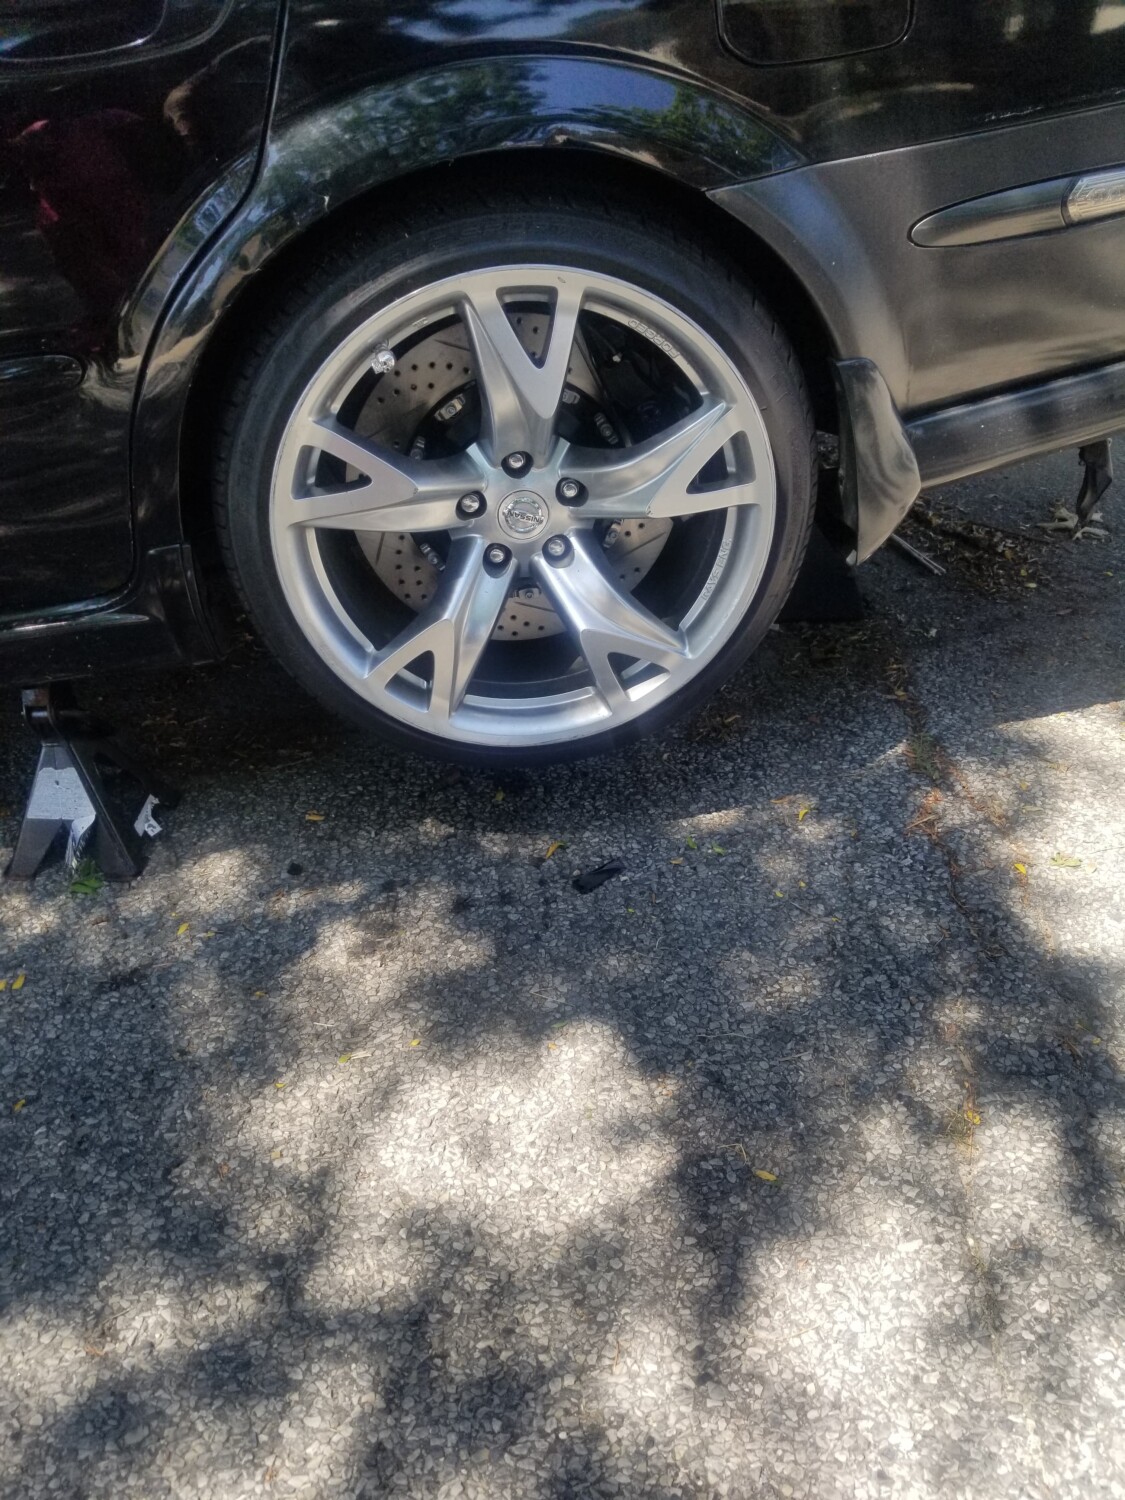
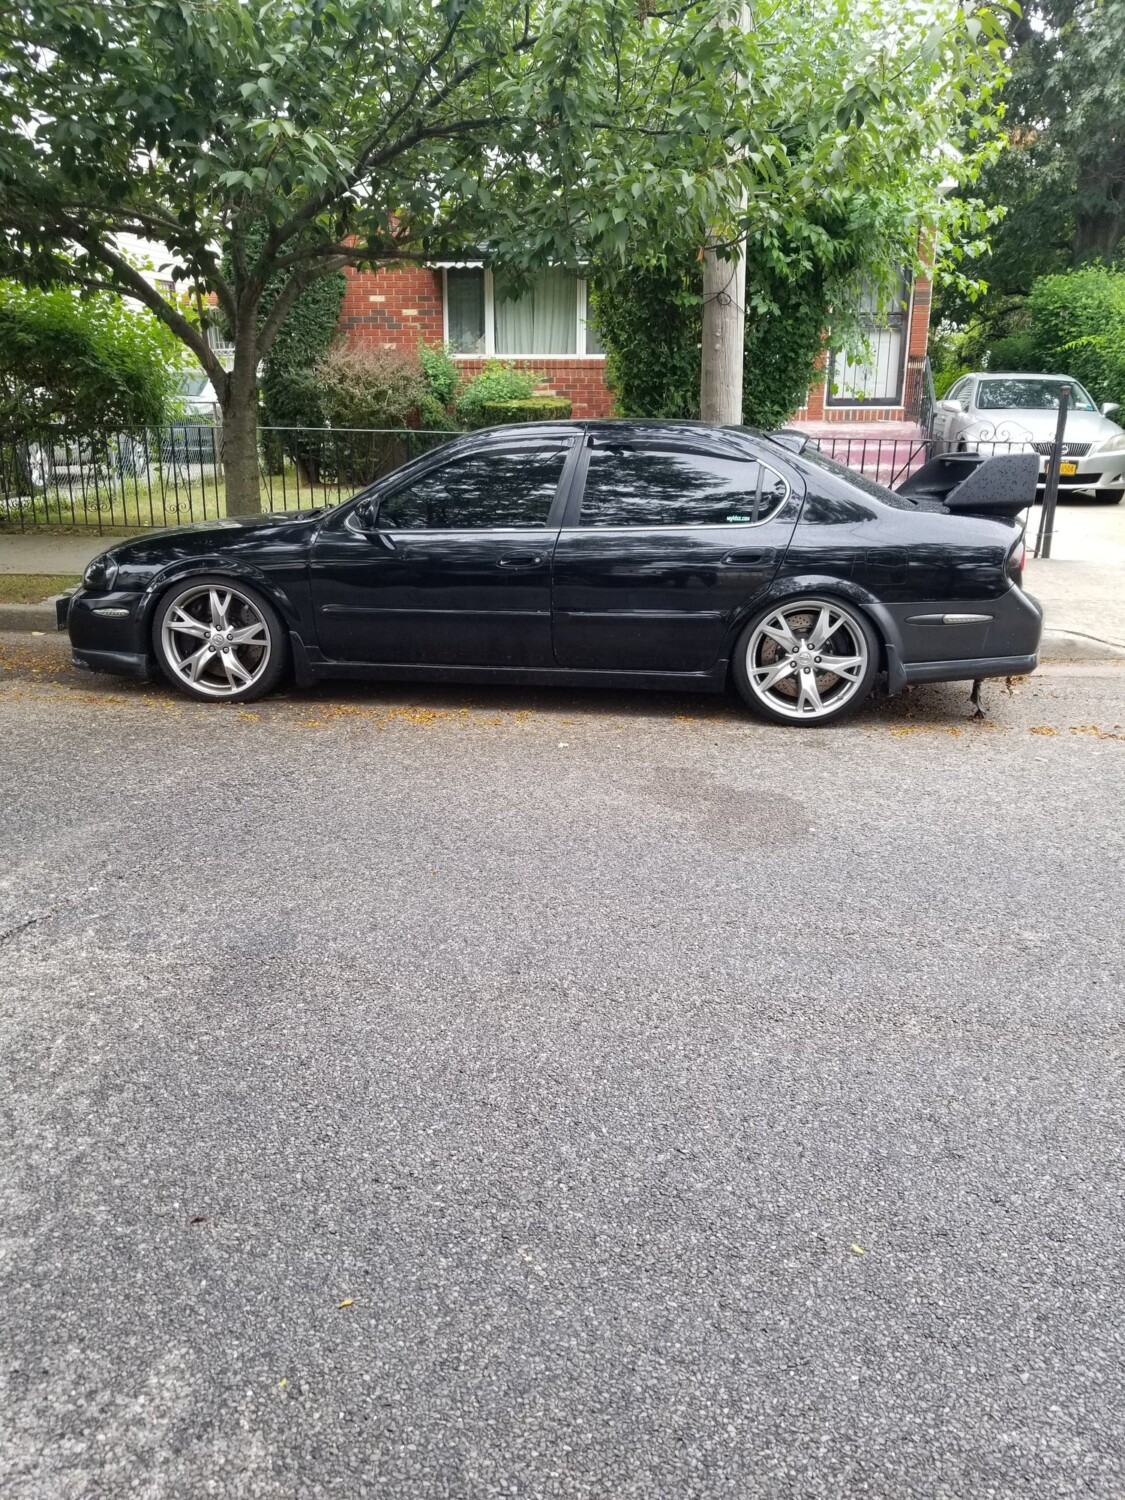
This is a 5thgen Nissan Maxima with EVO 8/9 Brembo calipers and Cobra Rotors.
Setup Details:
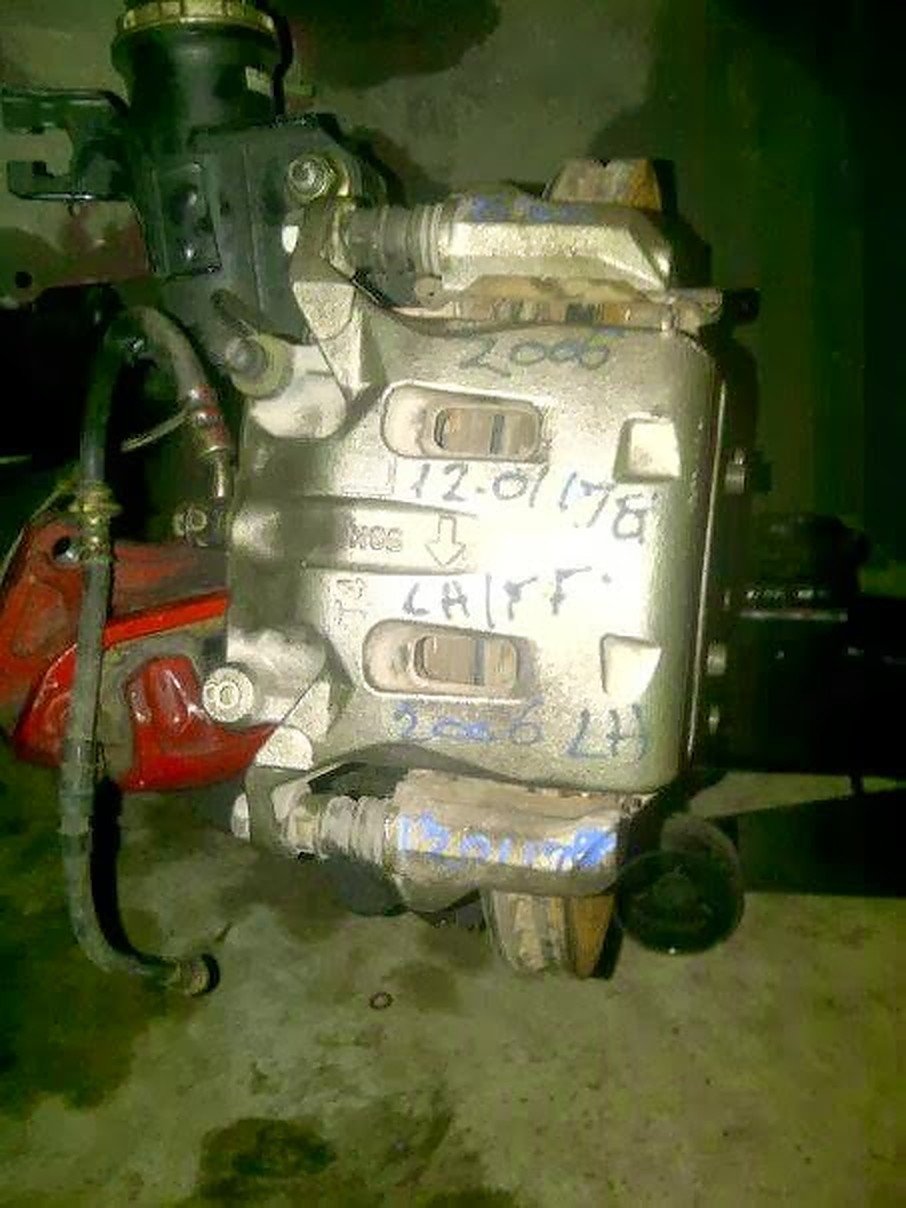
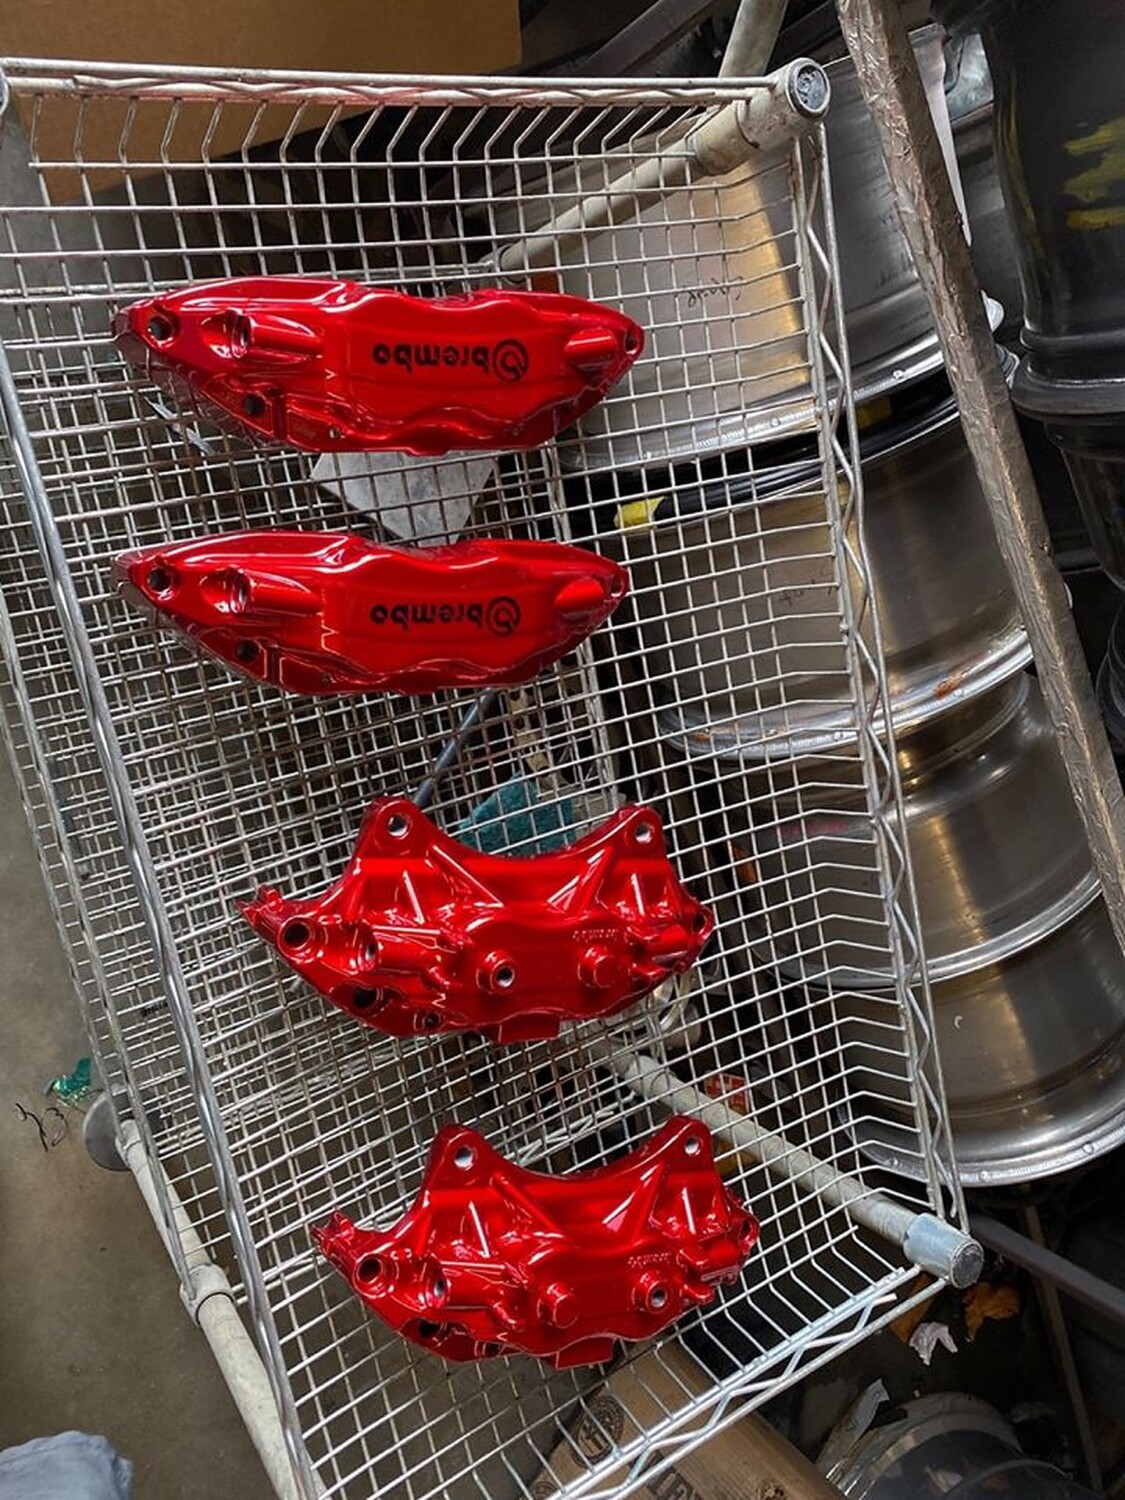
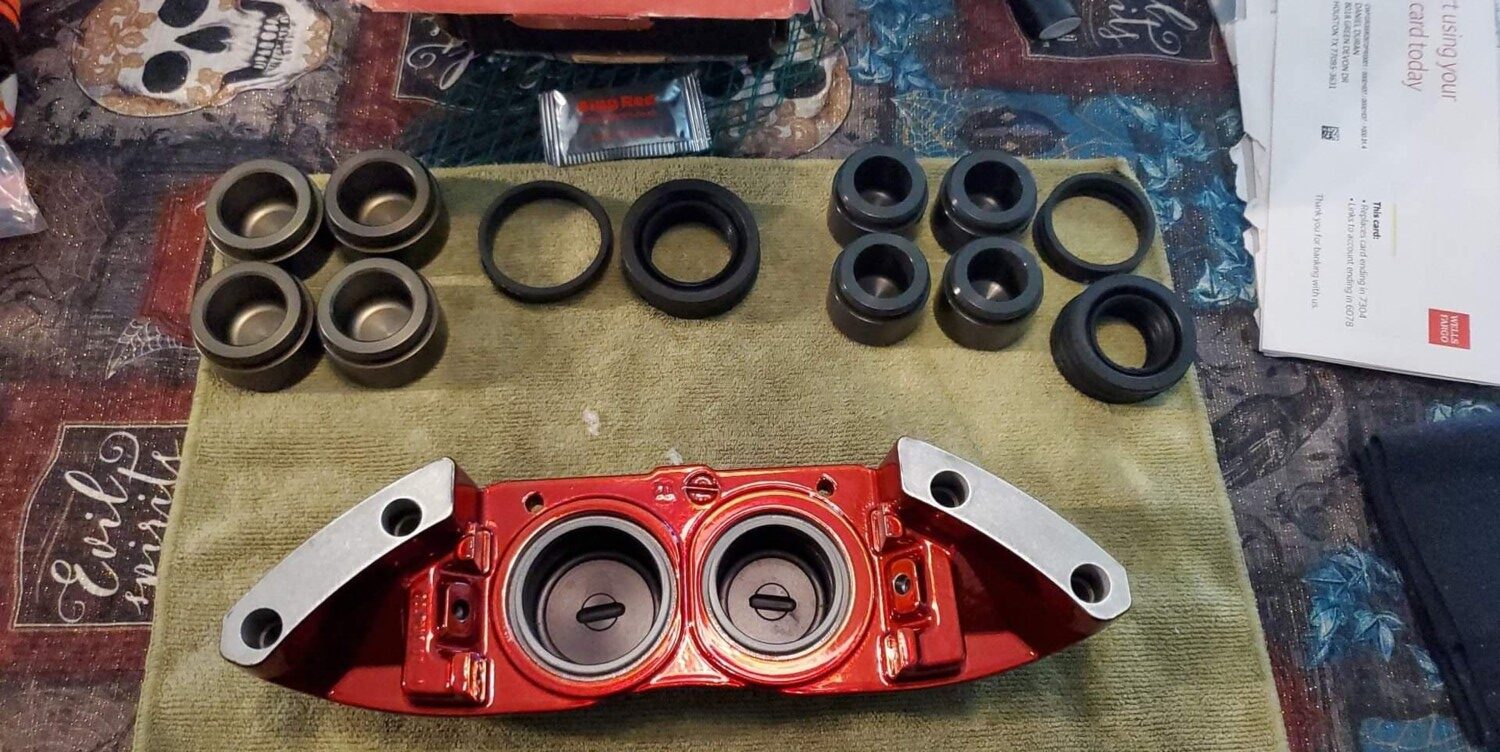
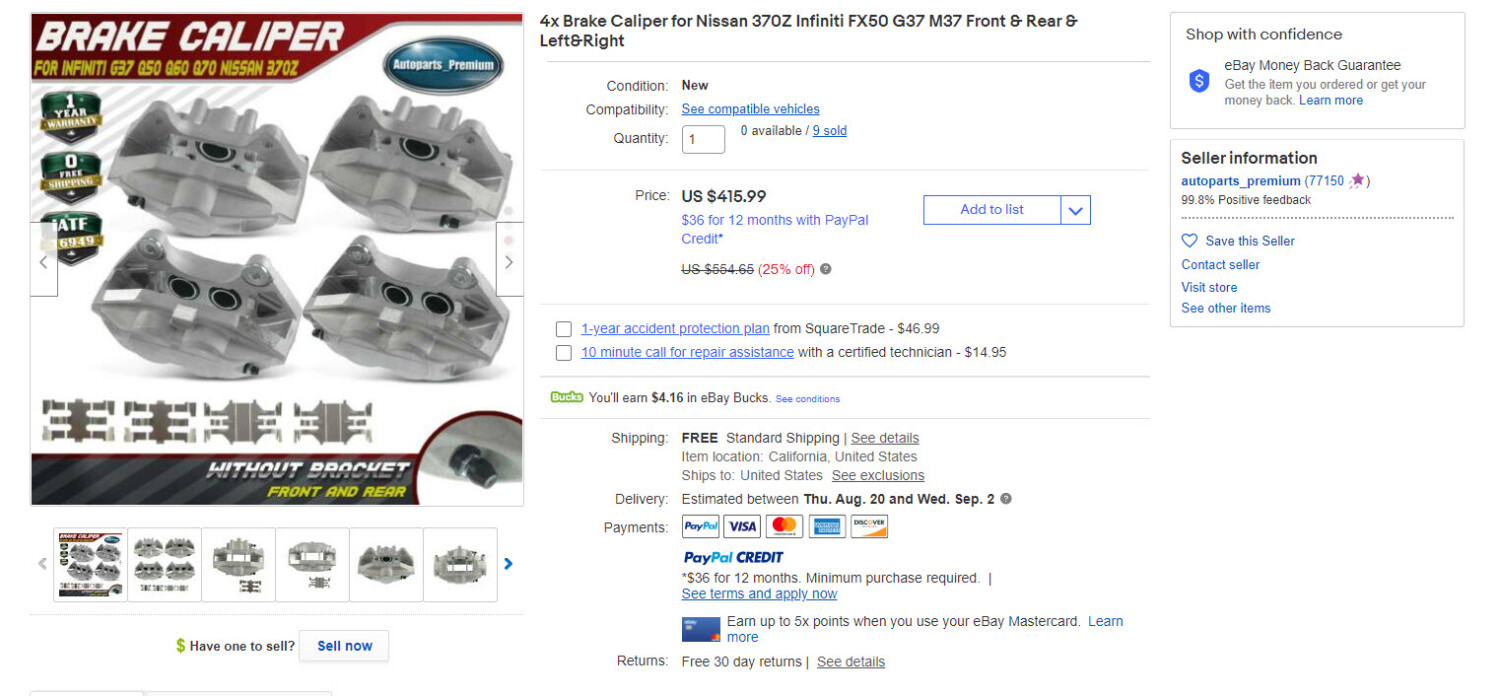
2003 Evo 8 4-Piston Brembo Calipers. Most members find these used on eBay or local junkyard.
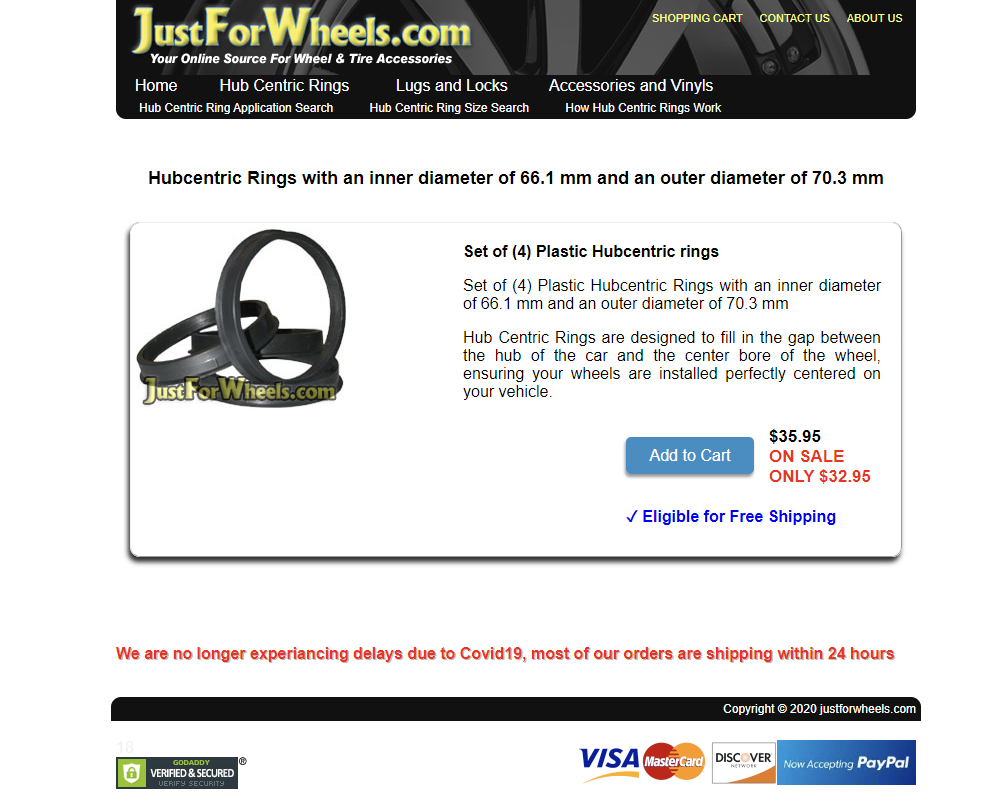
You need Hub Centric Rings for this to work. They need to have an inner diameter of 66.1 mm and an outer diameter of 70.3 mm. You can order here. They cost $35.00.
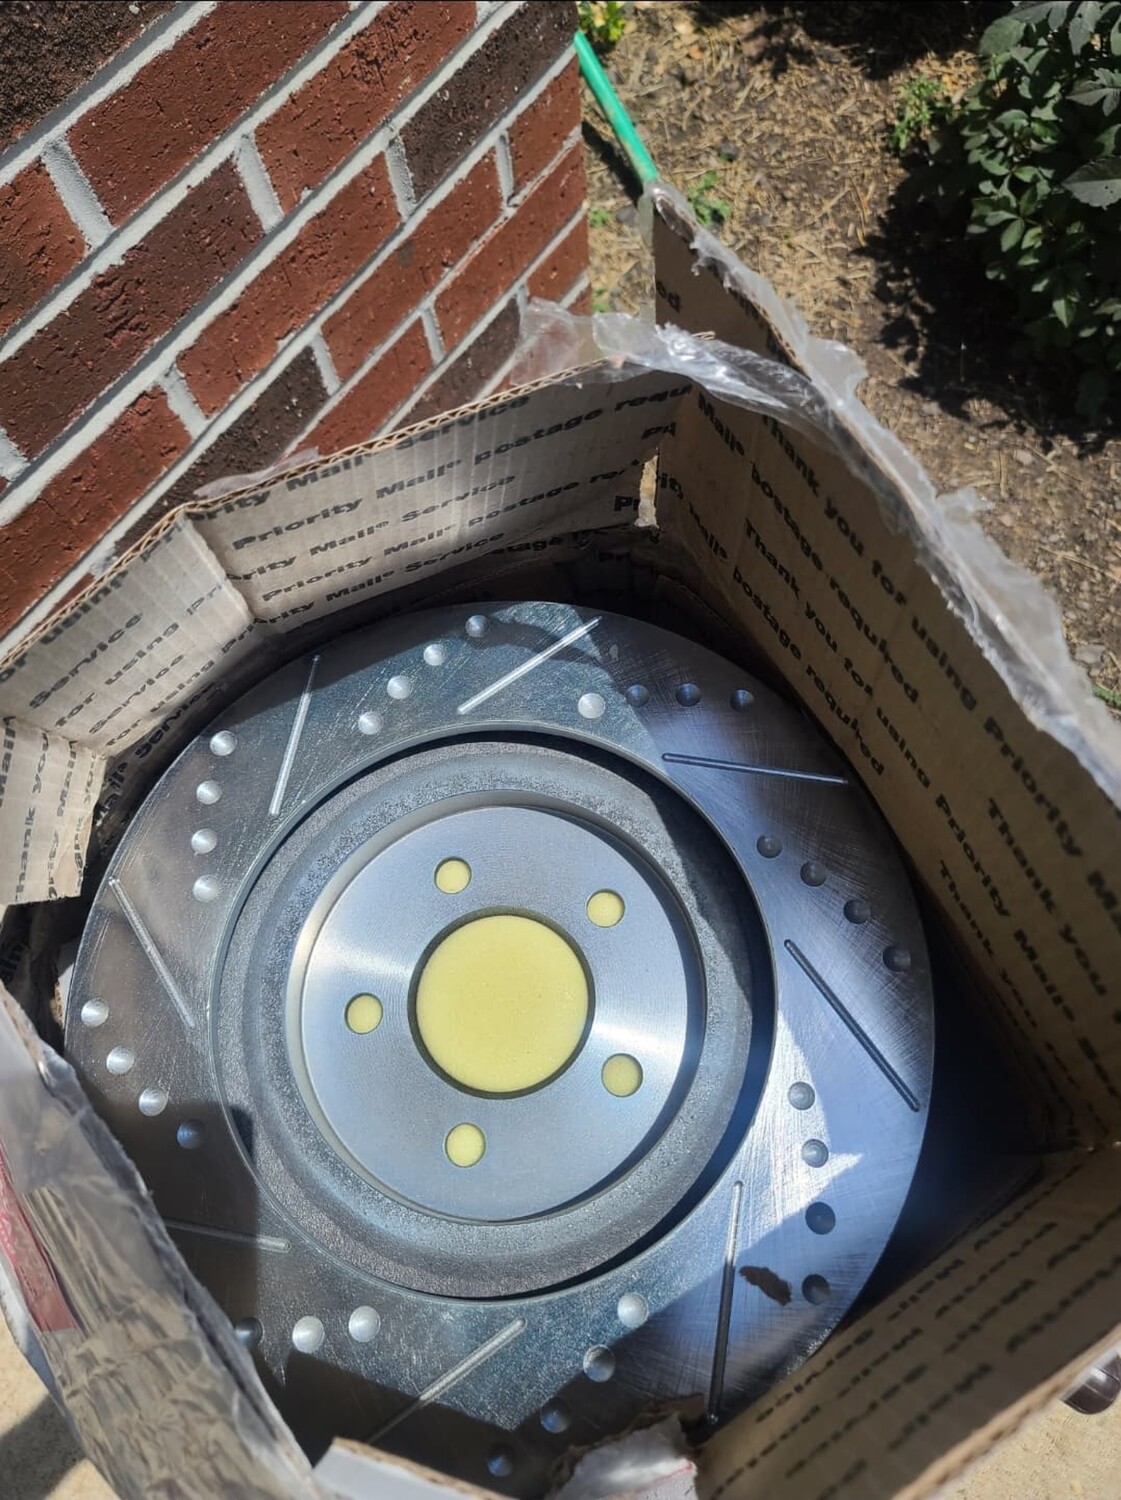
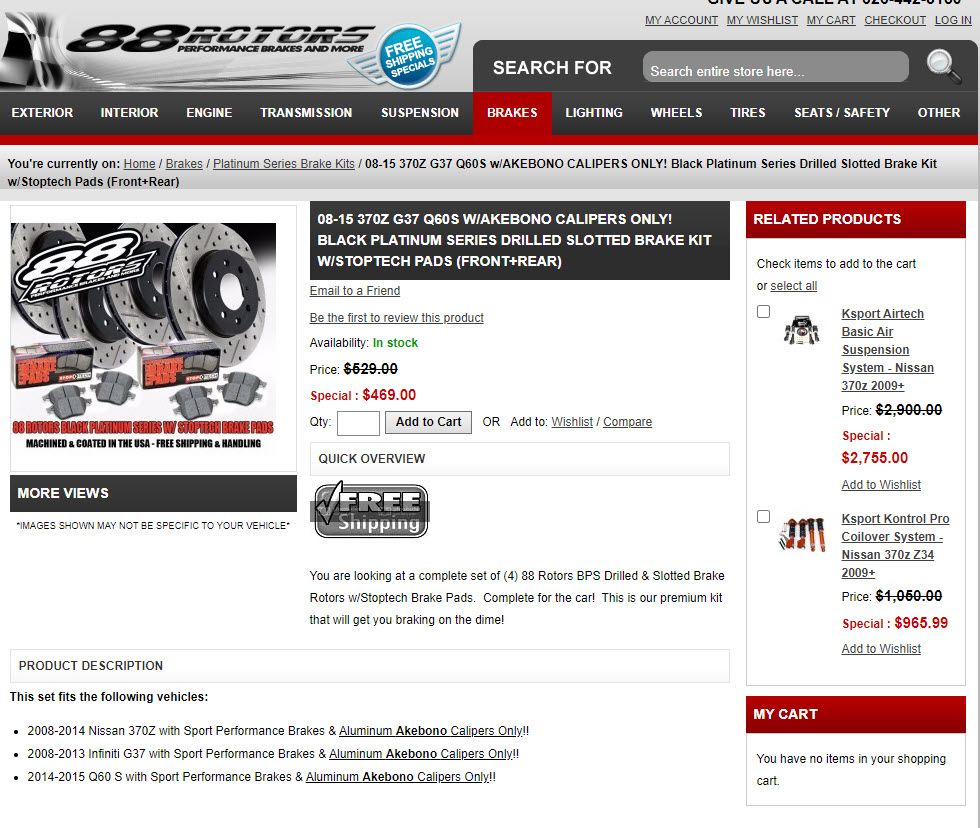
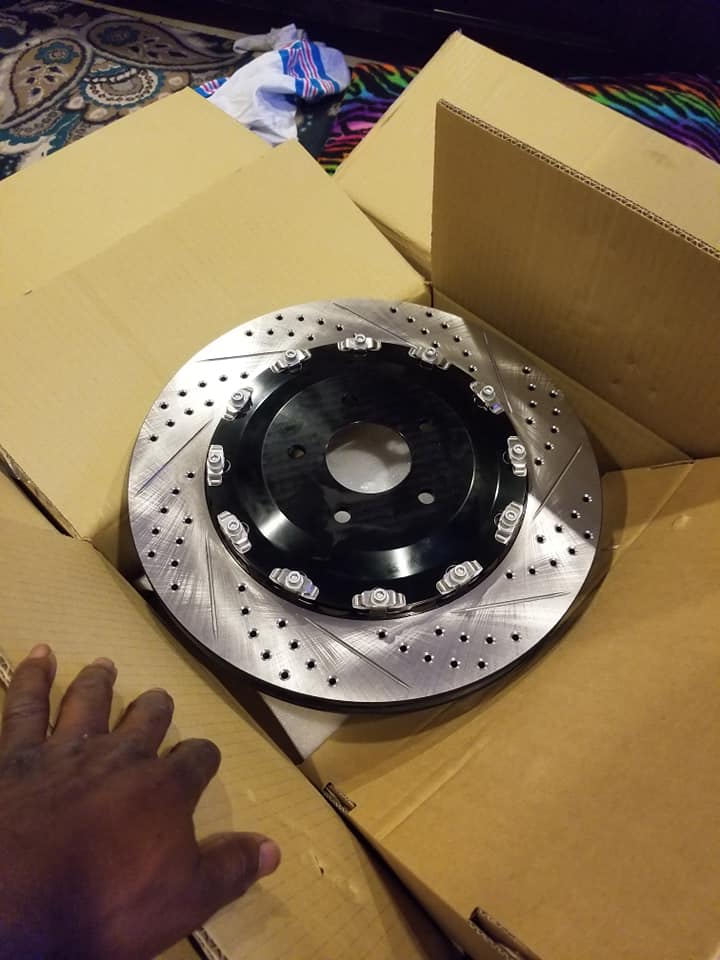
2003 Cobra 13″ Hart Rotors (You can use any Mustang Cobra Rotors from 1994-2004). RotorPros has a good deal on these shipped. $120 Shipped
Power Stop Brake Pads
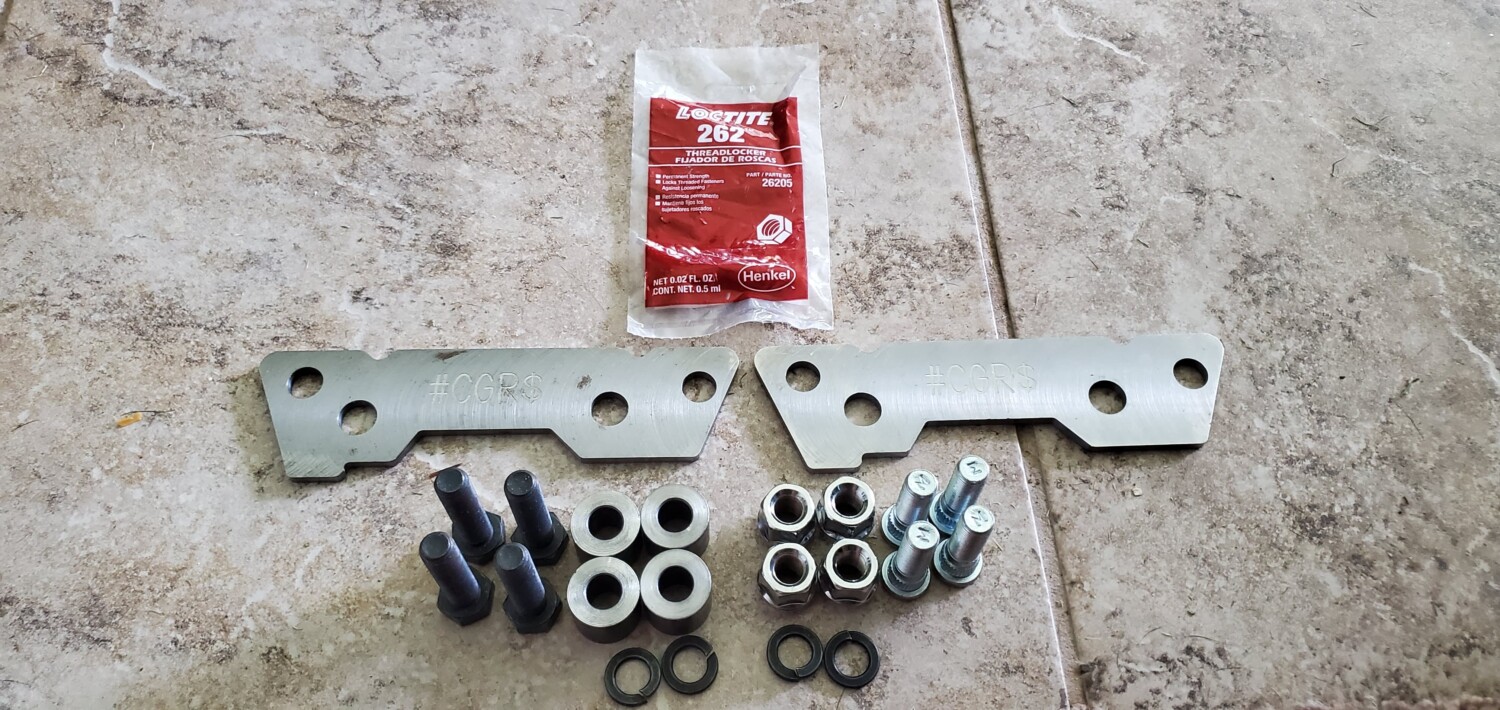
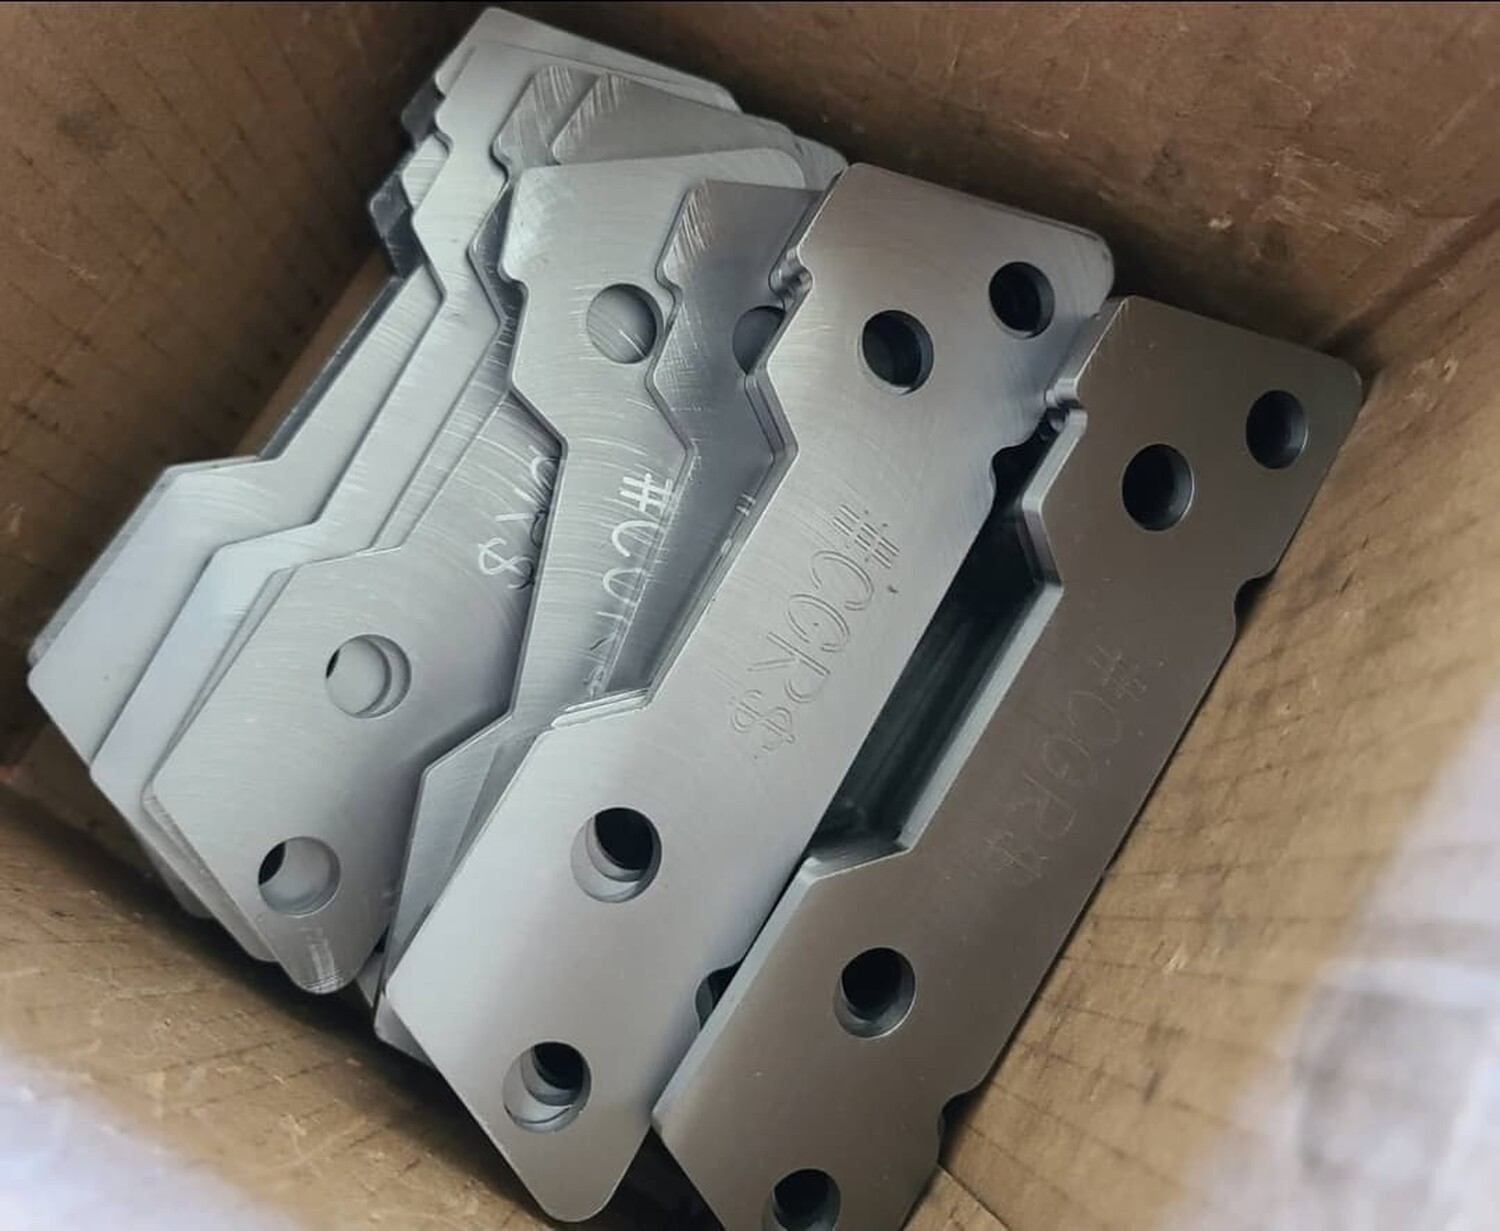
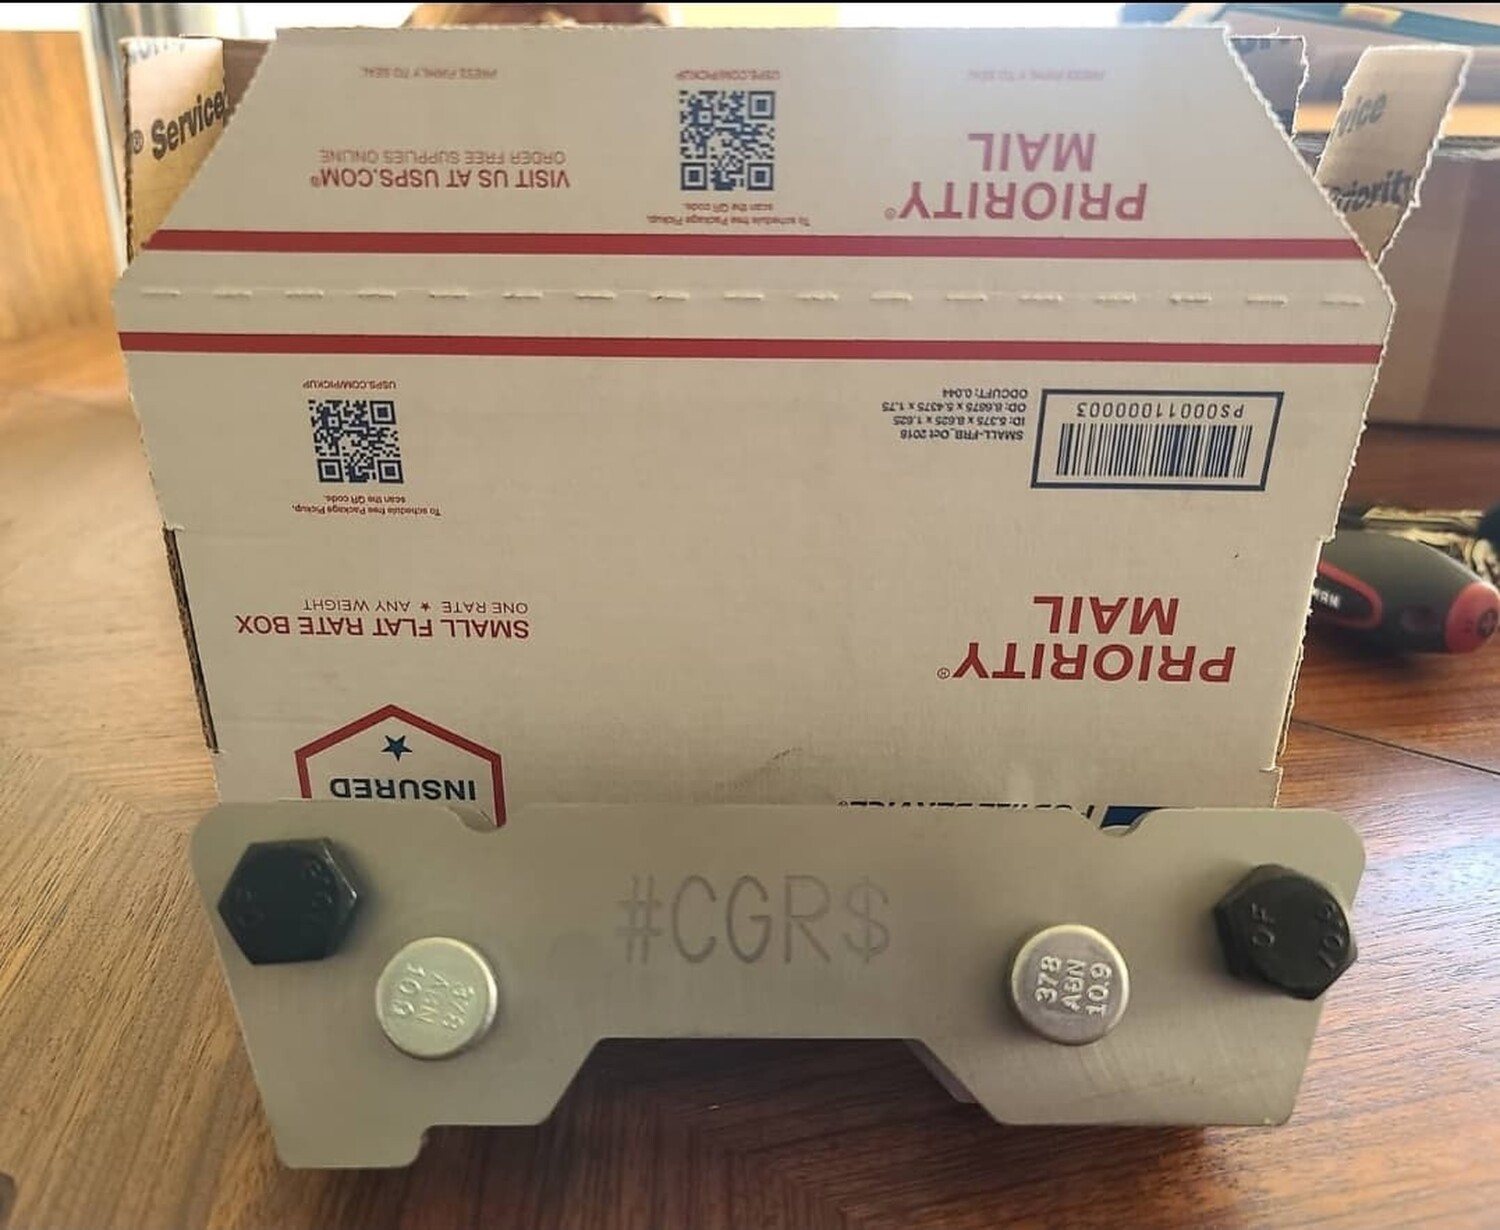
Custom Relocation Caliper Brackets ($175 — Contact @CGR for More Details)
Techna Steel Braided Brake Lines 6thgen for the fronts and 5.5th in the rear
Until someone can TRULY engineer perfect Akebono brackets that bolt on to front Altima with zero modding needed, I only recommend this to people who are mechanically inclined, are willing to DIY, and go through some trial and error and use your intuition. Z1 motorsports 300ZX Z32 to Akebono adapters totally work but only for the DIY-enthusiast willing to modify them and spend some hours in the garage. Caliper lugs have to be shortened 6.85 mm to almost flush with the bracket. Also sleeving 14 mm bolt hole for 12 mm bracket bolts. Plus grinding a recess in the bracket for CV joint clearance.
Z1 Motorsports Akebono Front Brake Bracket Kit (300ZX)
Description: The Z1 Motorsports Akebono Front Brake Brackets are intended to mount the Sport model, Akebono Brake Calipers from the ’09+ Nissan 370Z or ’08+ Infiniti G37 Sport onto your 300ZX.
Each Z1 Akebono Brake Bracket Kit includes two black, hard anodized aluminum front brackets and all necessary hardware to properly install the calipers onto your ’90-’96 Nissan 300ZX. Designed and tested extensively in house, these are the best brackets on the market with the most even pad sweep. Our unique single piece design also makes installation a breeze. In addition, the one piece bracket design also means our brackets are more rigid than other pieced together kits on the market. These brackets do not require any additional machining or modification of the caliper itself in order to complete the installation.
Installation & Write-up
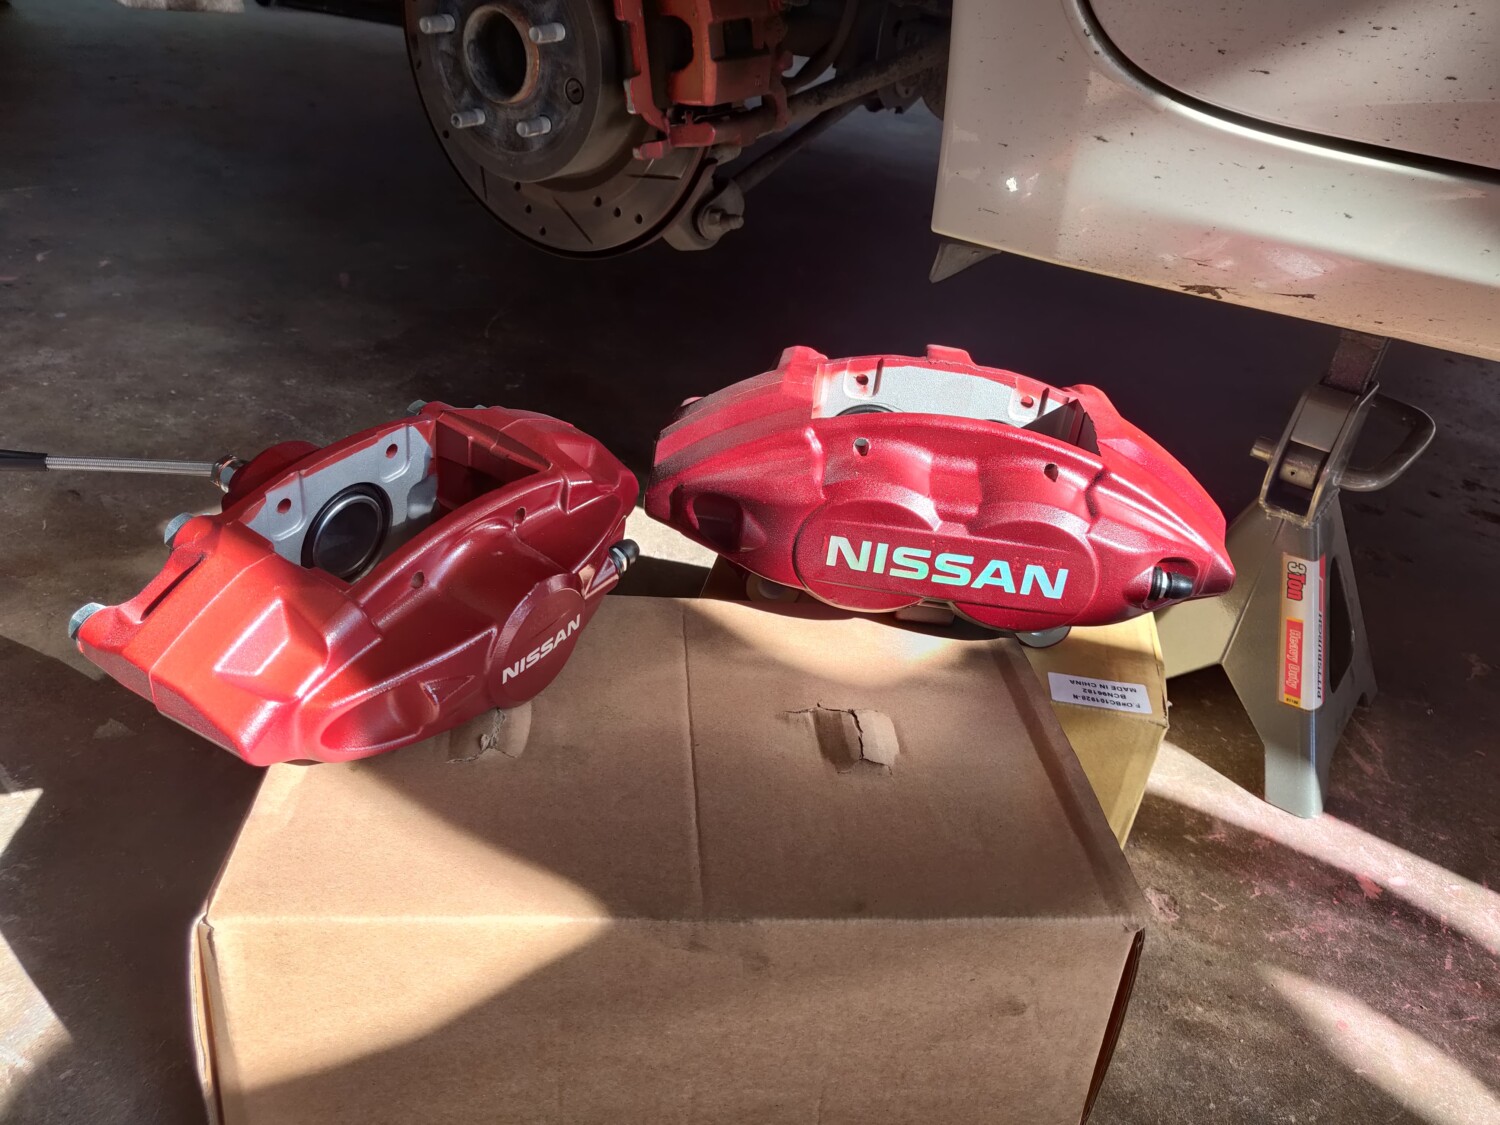
Rear is perfect install on knuckle with NO ADAPTER needed. No fuss no muss. You need the rear 370Z akebono calipers, rear 370Z rotors (I got Centric 120.42101 blanks), rear 370Z pads (I got Carbotech 1521 pads), Altima Stainless Steel Lines and you must specify the Akebono banjo bolts for these lines!
Perfectly centered, no shims necessary.
All 4 brackets were spaced for rear. Returned them and bought the Z1 adapters.
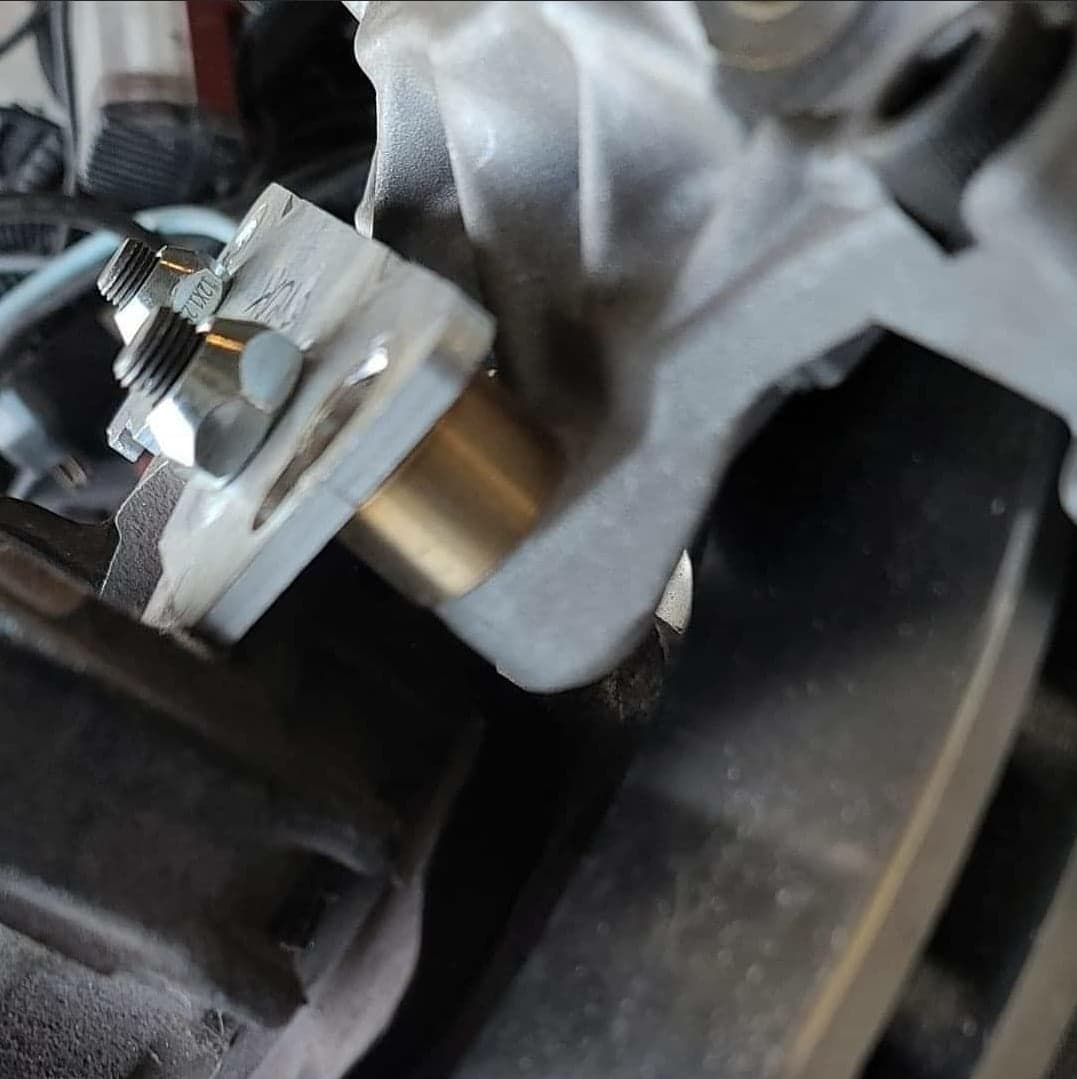
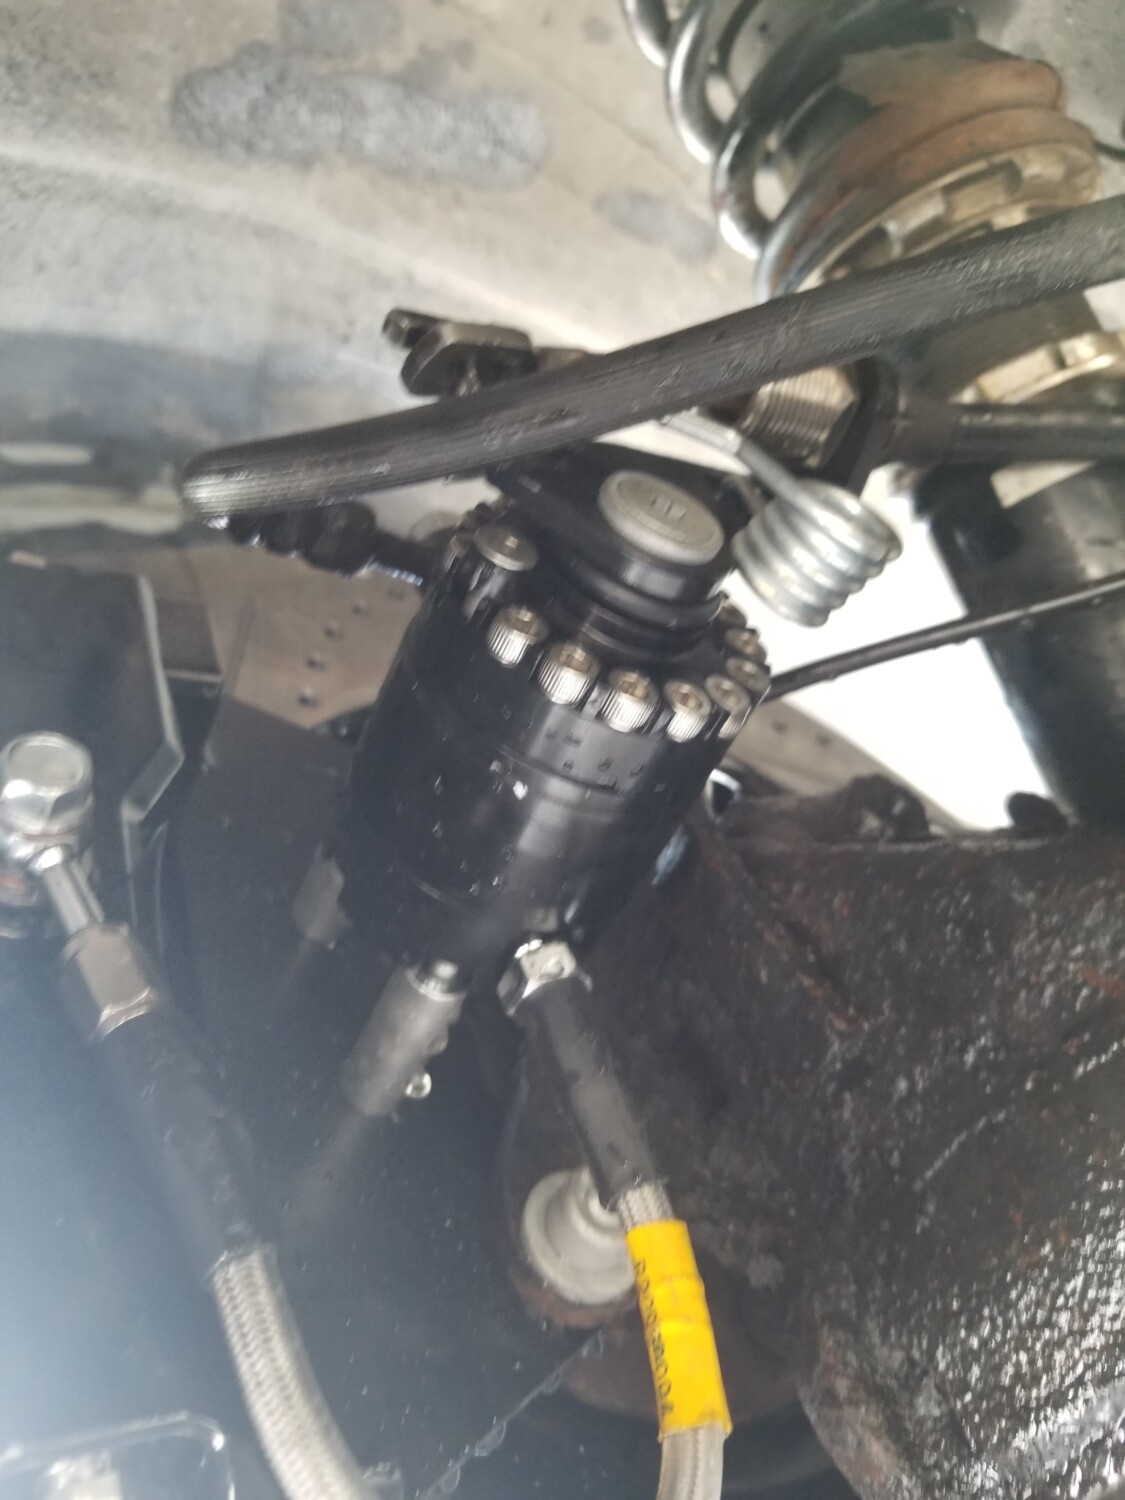
Z1 300ZX Z32 to akebono adapters. Quality 1 piece design. Altima front mount is 14mm and 300ZX is 12mm so some modding will be needed.
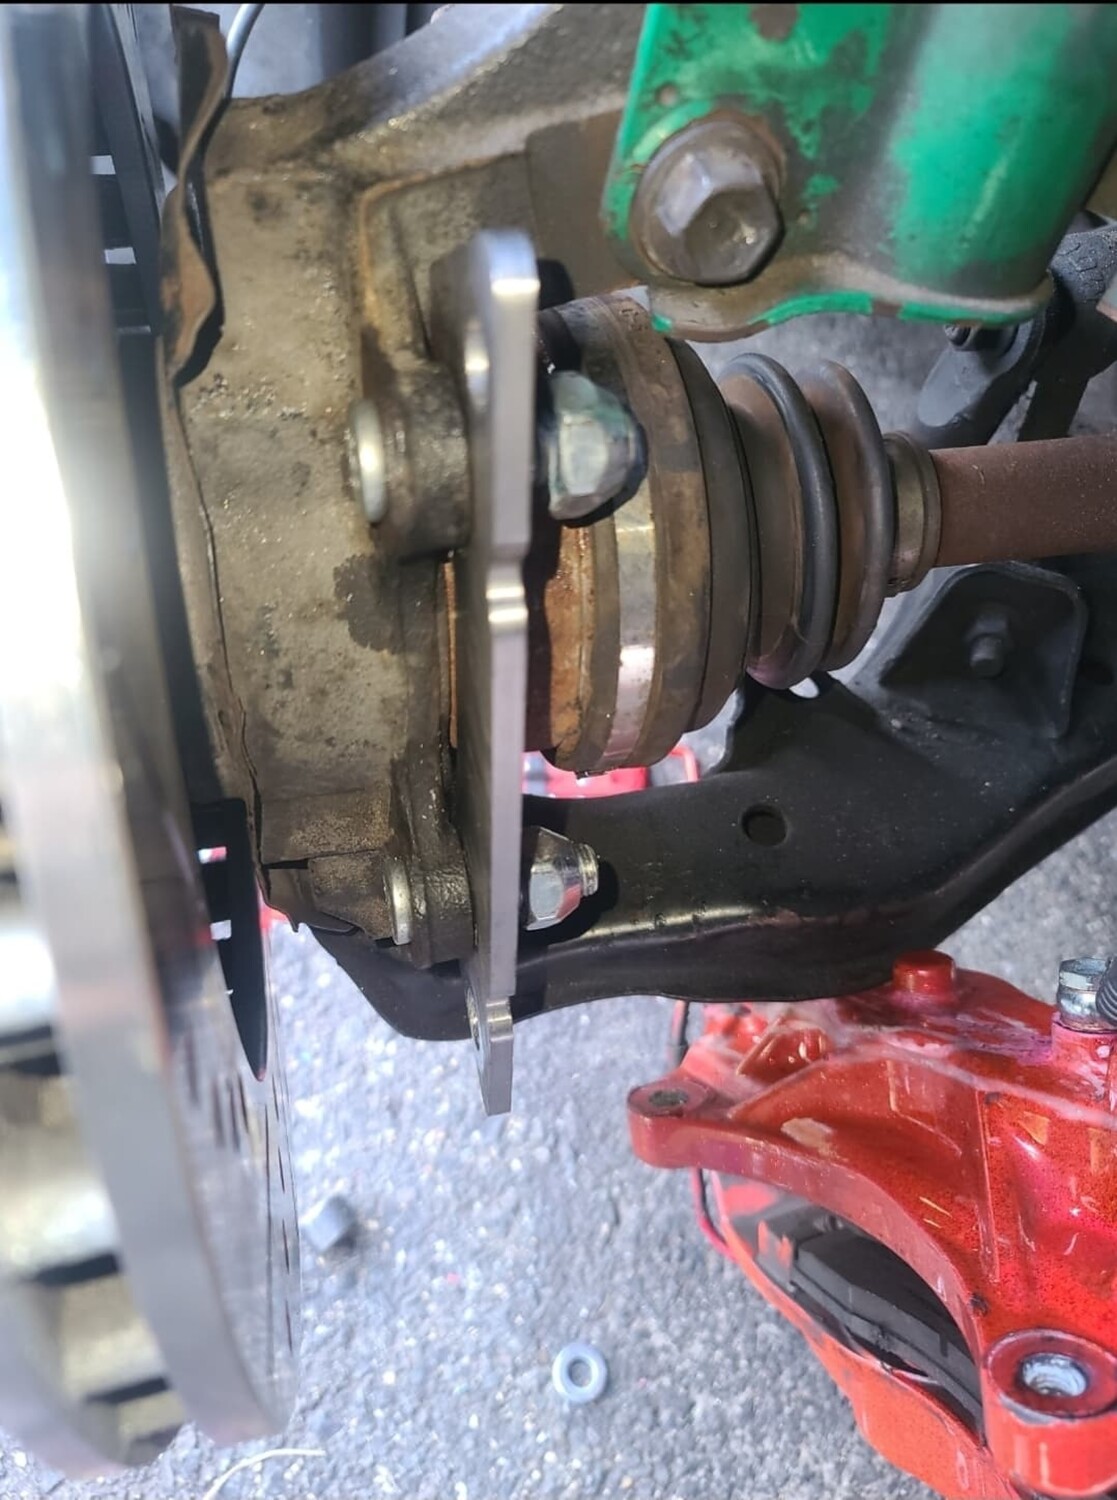
Re-drilling and tapping from 12 mm to 14 mm requires precision fixturing for diameter control as well as perpendicularly to existing holes, something I can’t do at home. Therefore I’ll sleeve the knuckle lugs with 1 mm shim stock coiled into a split bushing to eliminate any slop when mounting the adapters with 12 mm.
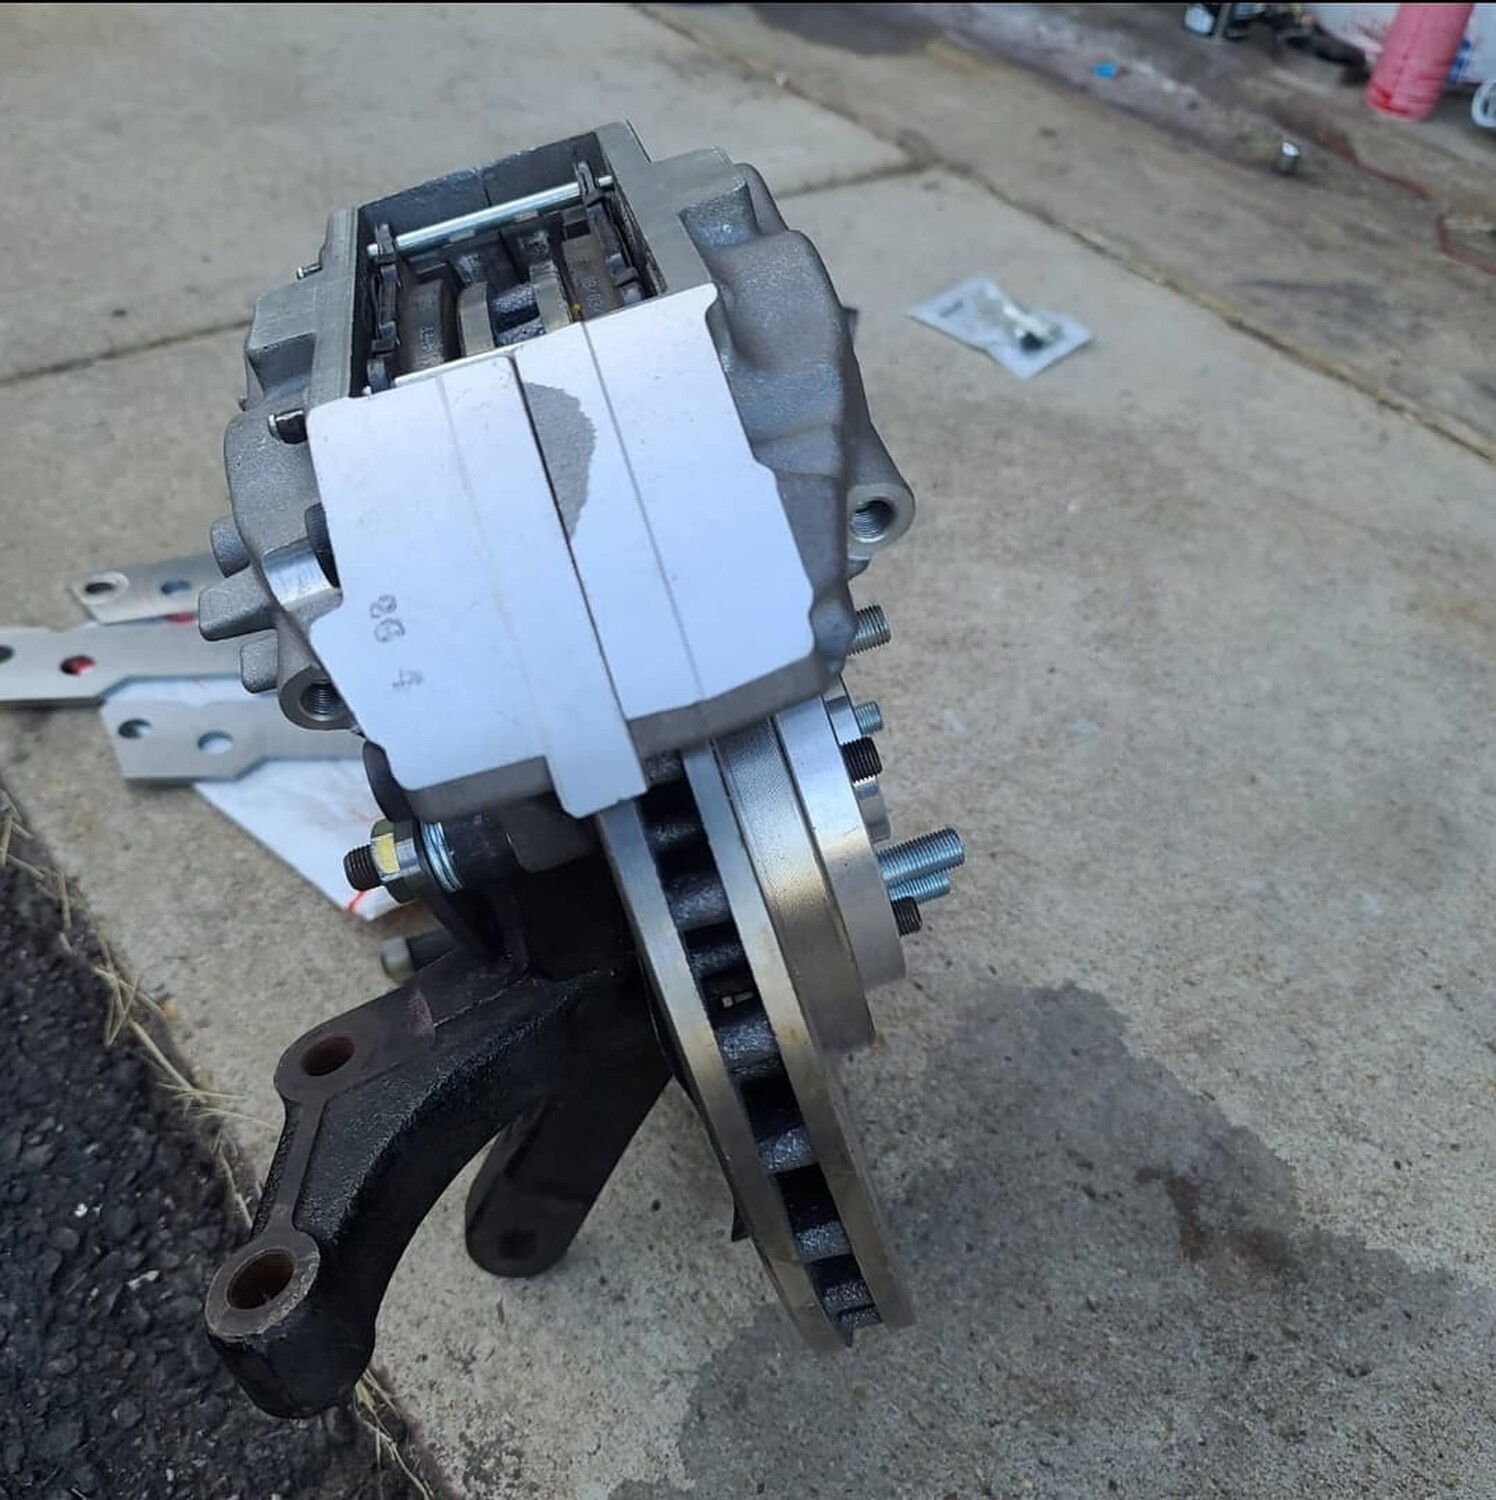
Axial positioning of calipers is outward approximately 1/2 inch. The alignment would probably be right on if the adapter thickness positioned calipers at the original lug surface. I suspect the 300ZX knuckle had a different offset.
Caliper lugs have to be shortened 6.85 mm to almost flush with bracket. Some other people who had issues with mounting 300zx brackets said they needed a few washers to space out the bracket from the knuckle and shave the top crevice of the caliper for the rotor to spin free A few washers adds up to what I did. I ended up using two slightly thicker OEM caliper bolt washers (6.85 mm total) and it seems to provide perfect centering
Sleeving 14 mm bolt hole for 12 mm bracket bolts. Plus grinding a recess in bracket for CV joint clearance. Should fit even better
At the local fastener store and got automotive grade revised bolts (didn’t have the proper lengths on hand)
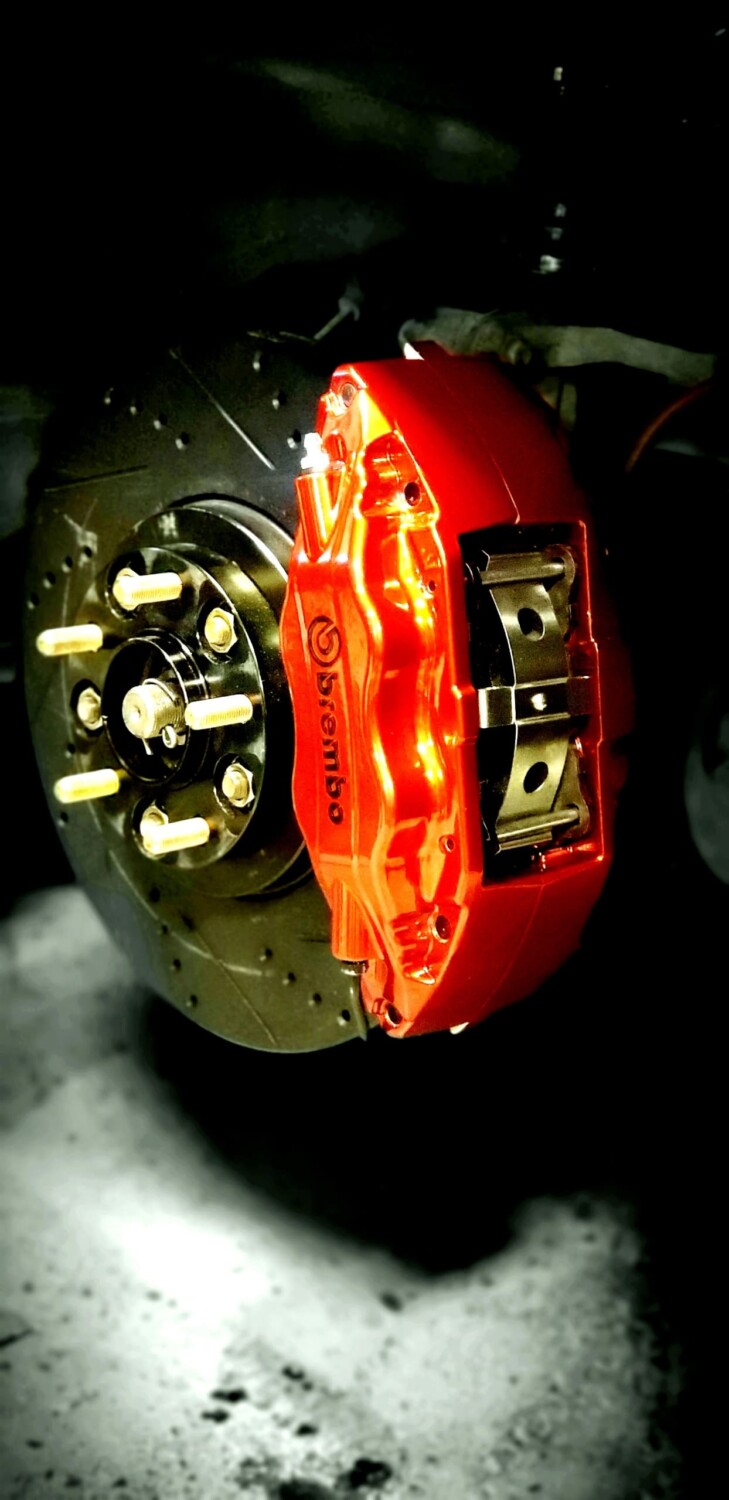
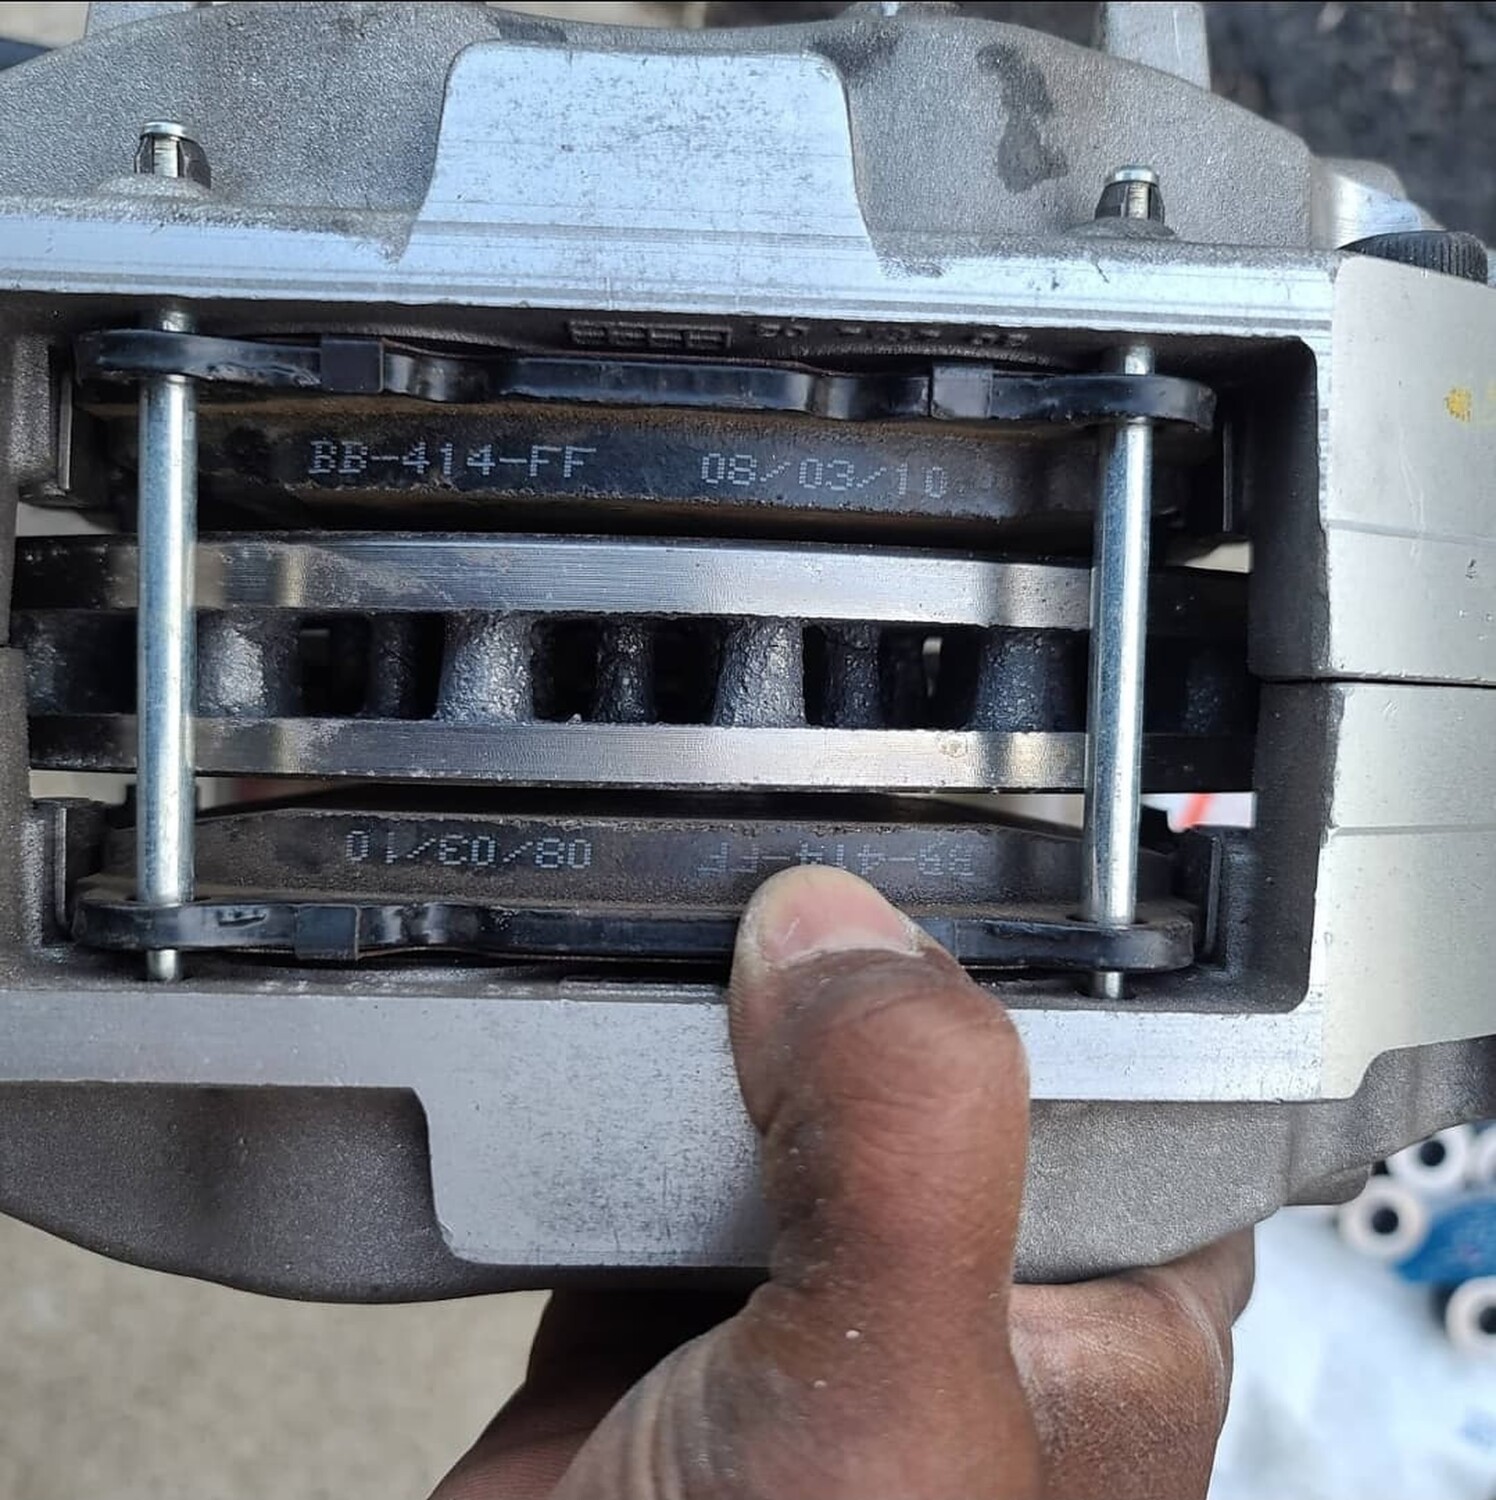
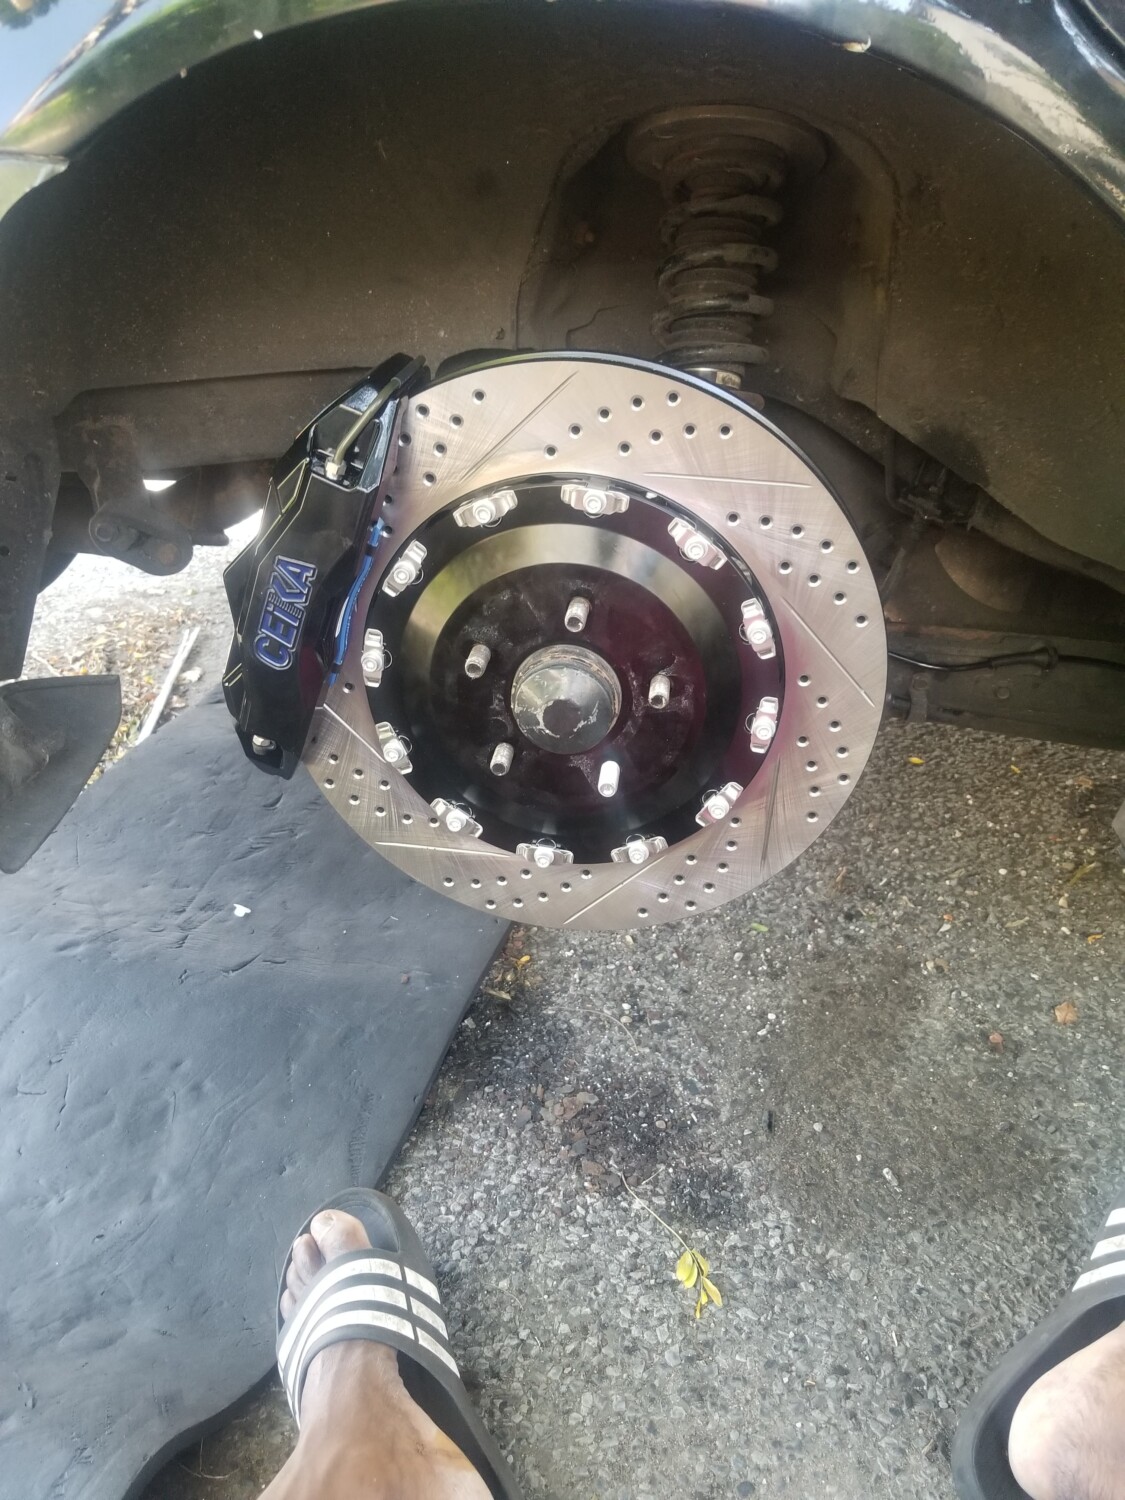
Some pad overhang is negligible and at the pad is at the OD where it belongs. Swept area doesn’t cover full rotor radial which must be by design and still has massive capacity that will not get hot unless you’re at the track.
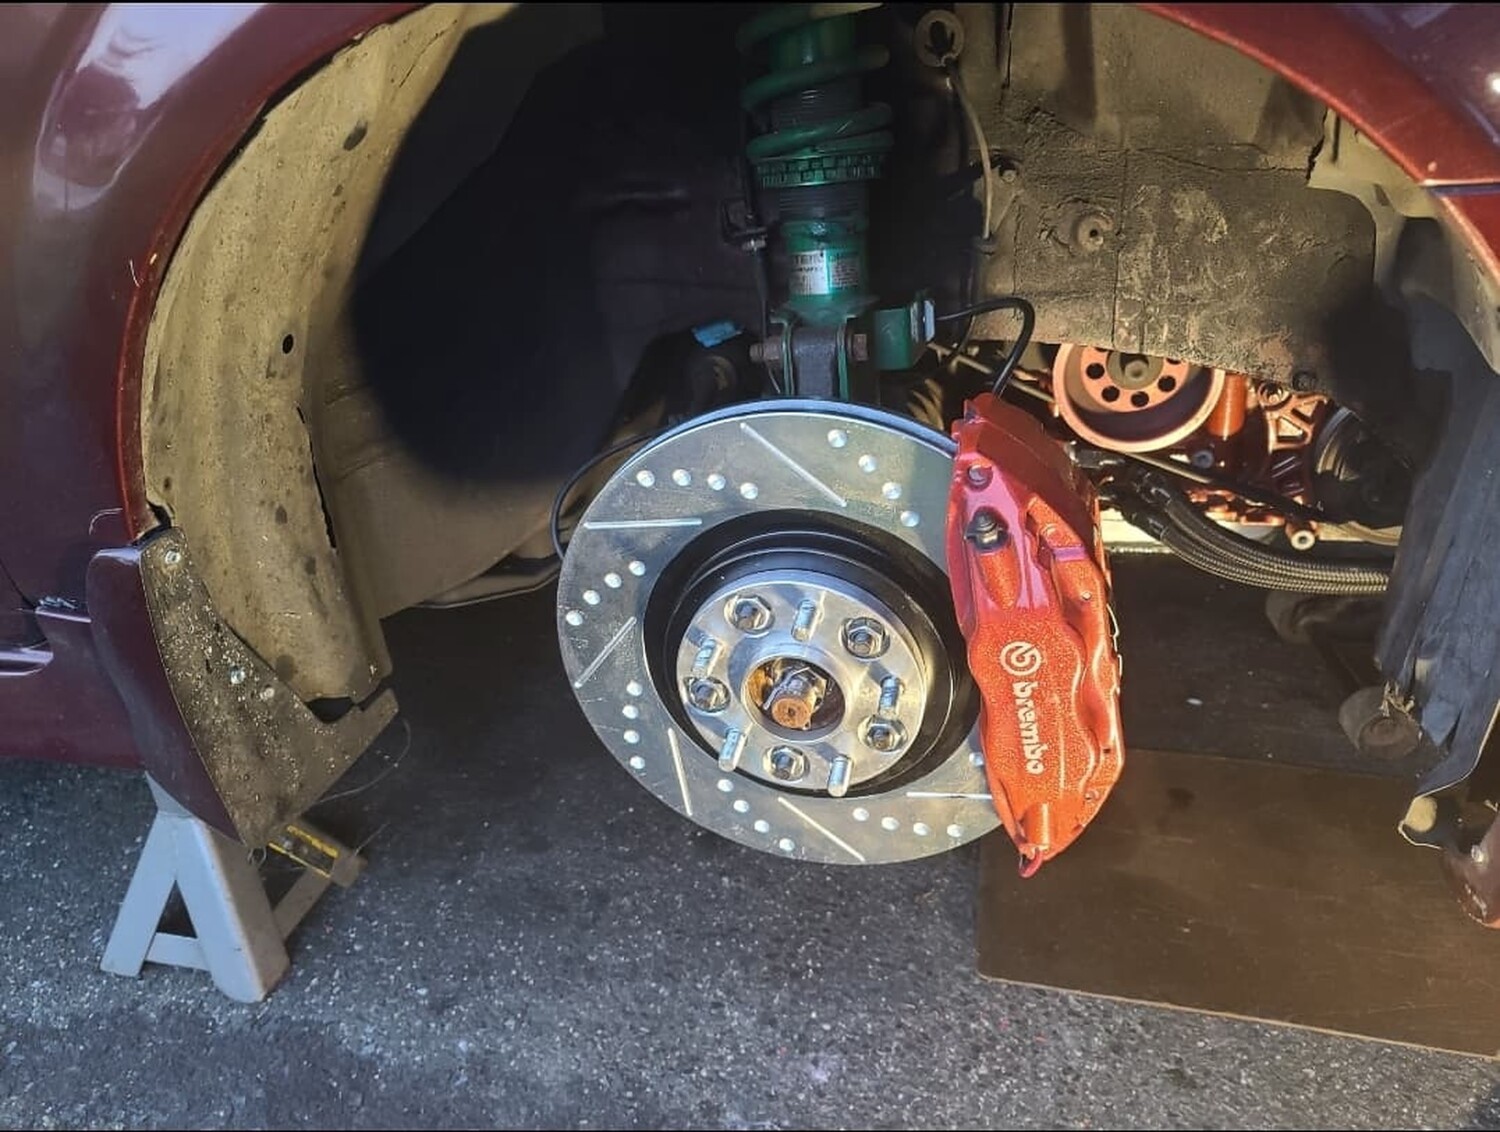
For front rotors, I am using are Lancer EVO X Centric High Carbon rotors which are 13.78 inches instead of 370Z’s 14 inch. There was controversy that 370Z rotors wouldn’t fit so I got the Mitsubishi ones. Doesn’t matter, they are same thickness and everything just 0.2 inches less diameter – never gonna make a difference.
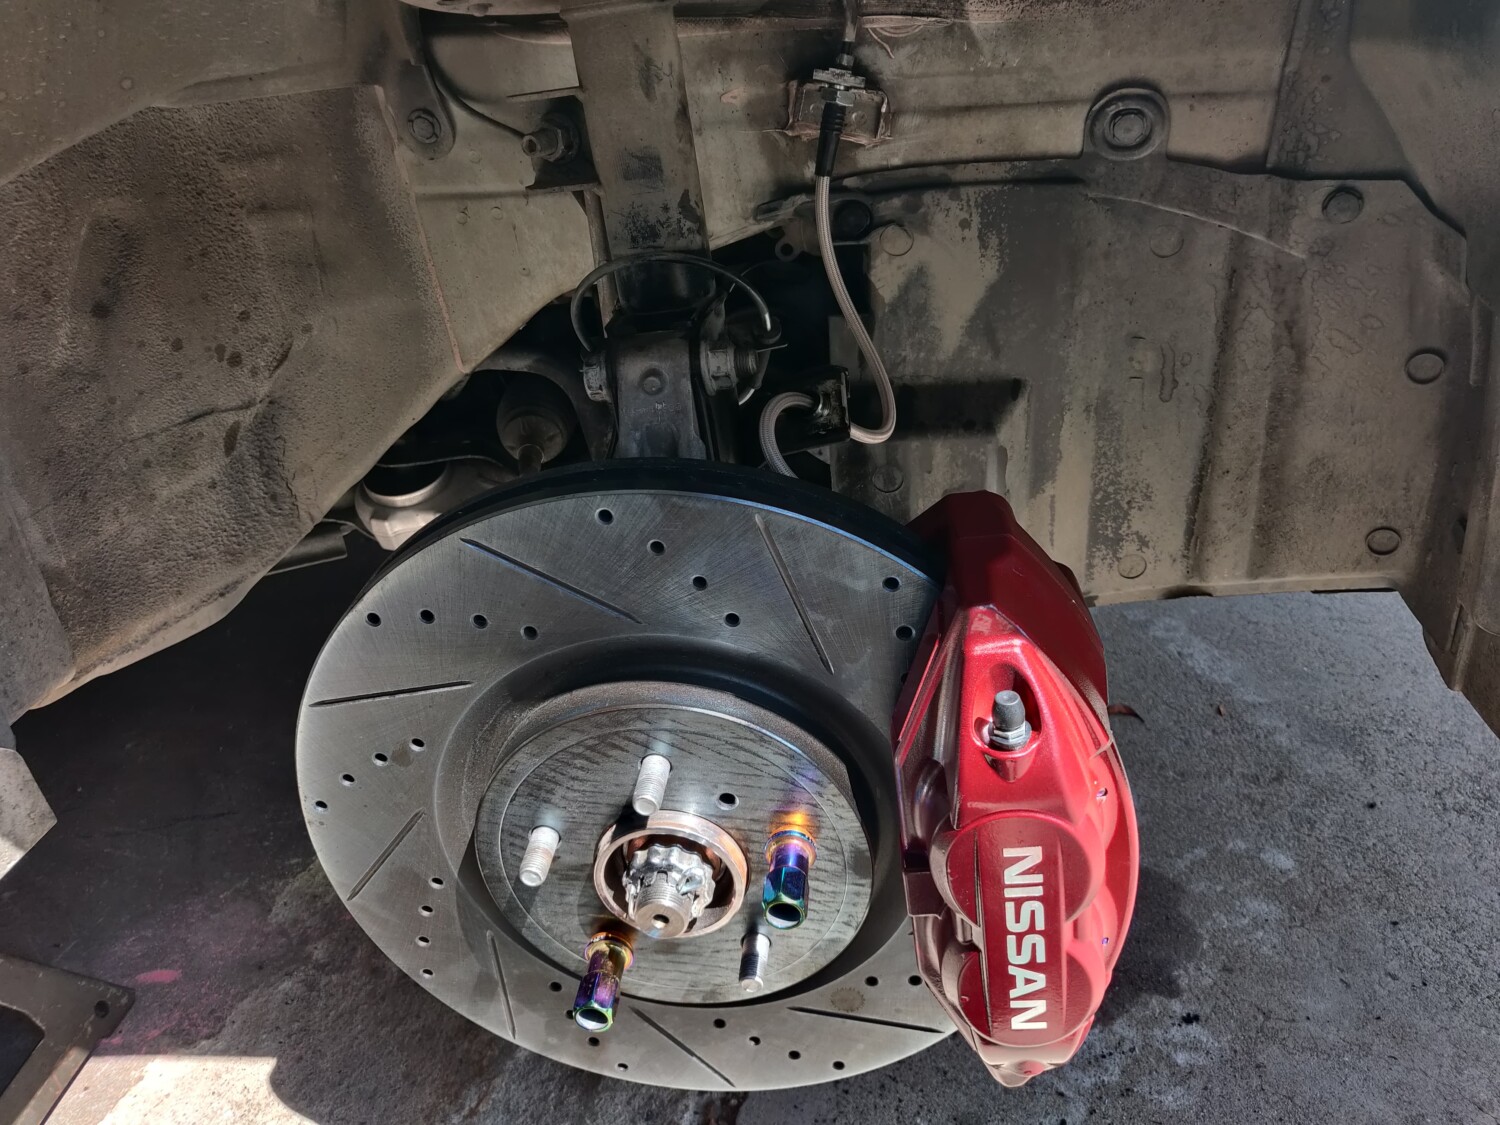
Finally got the fronts centered and mounted. Had a problem with bracket interfering with caliper reinforcing rib when torquing down final assembly and had to disassemble and do more minor bracket mods.
1) Loosen the lug nuts on the wheels corresponding to the brake pads you are planning to change.
2) Jack up the car (refer to How To for examples). Make sure you use wheel chocks and do not engage the emergency brakes.
4) Lay out your new brake pads (and new brake kit if you ordered a new brake kit. The brake kit includes new shims in case your old ones are cracked or worn. But, I’ve seen others’ who were cracked pretty bad. It’s up to you whether or not you want to pull things apart and discover things are cracked and then go get a set, or get it anyways. In my case, I could have stuck with the old set).
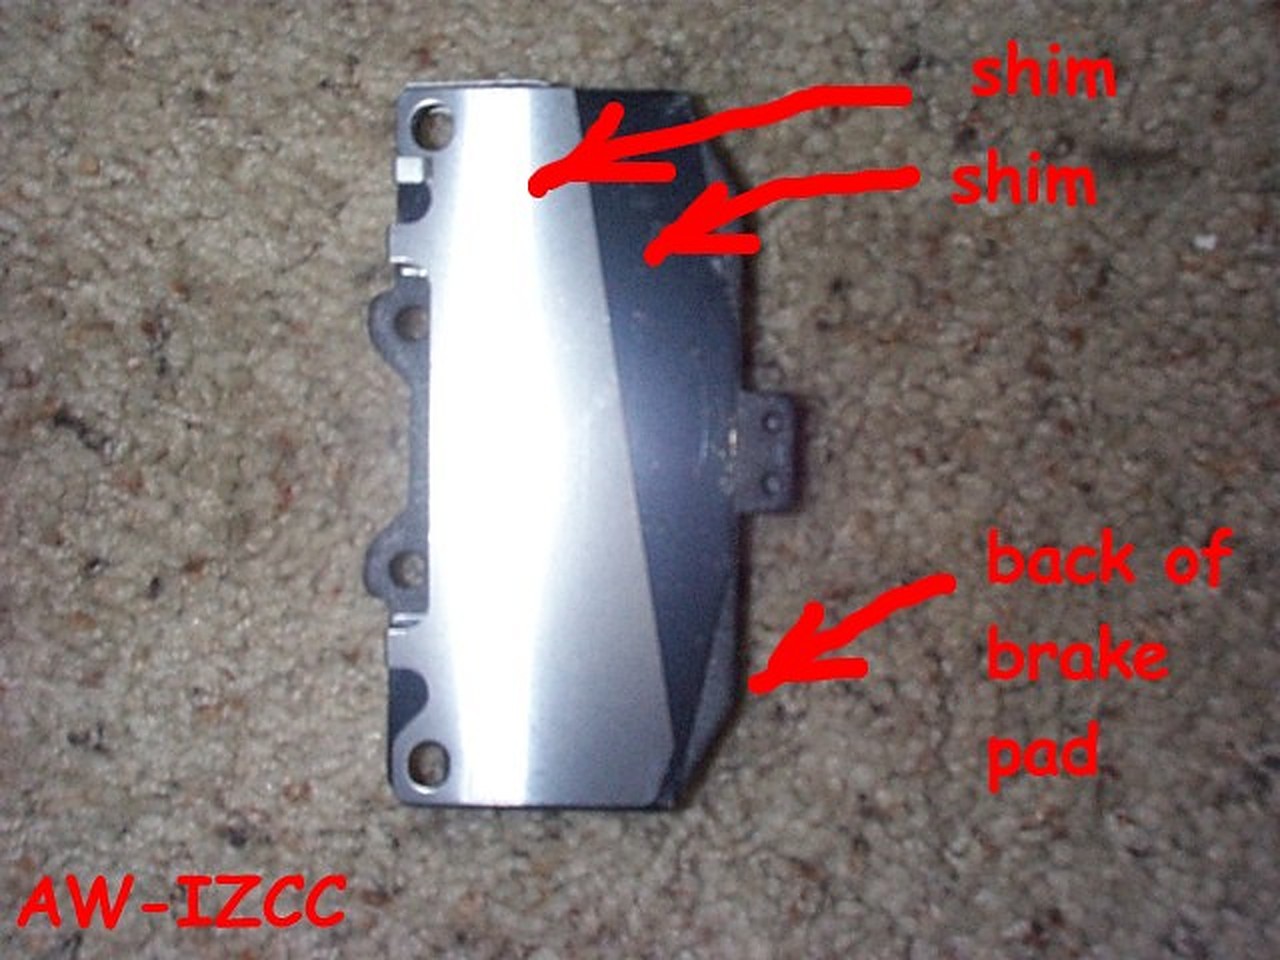
In this picture, the two pads are in the center of the picture, then going outwards, are the two shims that came with the aftermarket pads, then the two stock shims that come with the brake kit (or were there with the stock pads), and then the outside is the stock angular shim, and then finally, the small bracket that goes on the top of the pad assembly. I ended up using the aftermarket shim instead of the grilled stock shim. The aftermarket shim had adhesive on one side to stick to the back of the pads. (If your new brake pads only have one of the two pads with a wear indicator, put it on the inside of the caliper).
This is how your shims should look when assembled onto your new pads :
Brake Pad Side (you can see the small ‘assembly’ bracket at the top of the pad backing)
Backside of brake pad, with shim, angled shim, and then the small ‘assembly’ bracket.
5) Remove the cap of your brake fluid reservoir off, and put some towels around it in case of overflow of brake fluid.
6) Turn the steering wheel so that the front of the brake caliper you are working on, is facing you as much as possible.
7) Remove the spring that hooks into the holes in the top and bottom pins. Use your fingers or a pair of needle nose pliers.
8) Using needle nose pliers, push from the inside on the pin and pull from the outside with your fingers. Remove the top pin. However, pull the pin out slowly and brace your fingers against the flat spring that will want to launch out at you.
9) Then remove the bottom pin and the metal spring will fall out easily.
10) Grip the brake pad backing and pull it out (this will remove the brake pad and all it’s shims). If it is tough to pull out, try wiggling it slowly by pulling a bit on the top part and then a bit on the bottom part. Remember to pull out both the inside pad and the outside pad on either side of the rotor.
11) When removing the pieces from your caliper, lay them down on the ground so that you will remember how they go back. Here’s a picture of what I did as an example.
This is what your caliper will look like with the pads out.
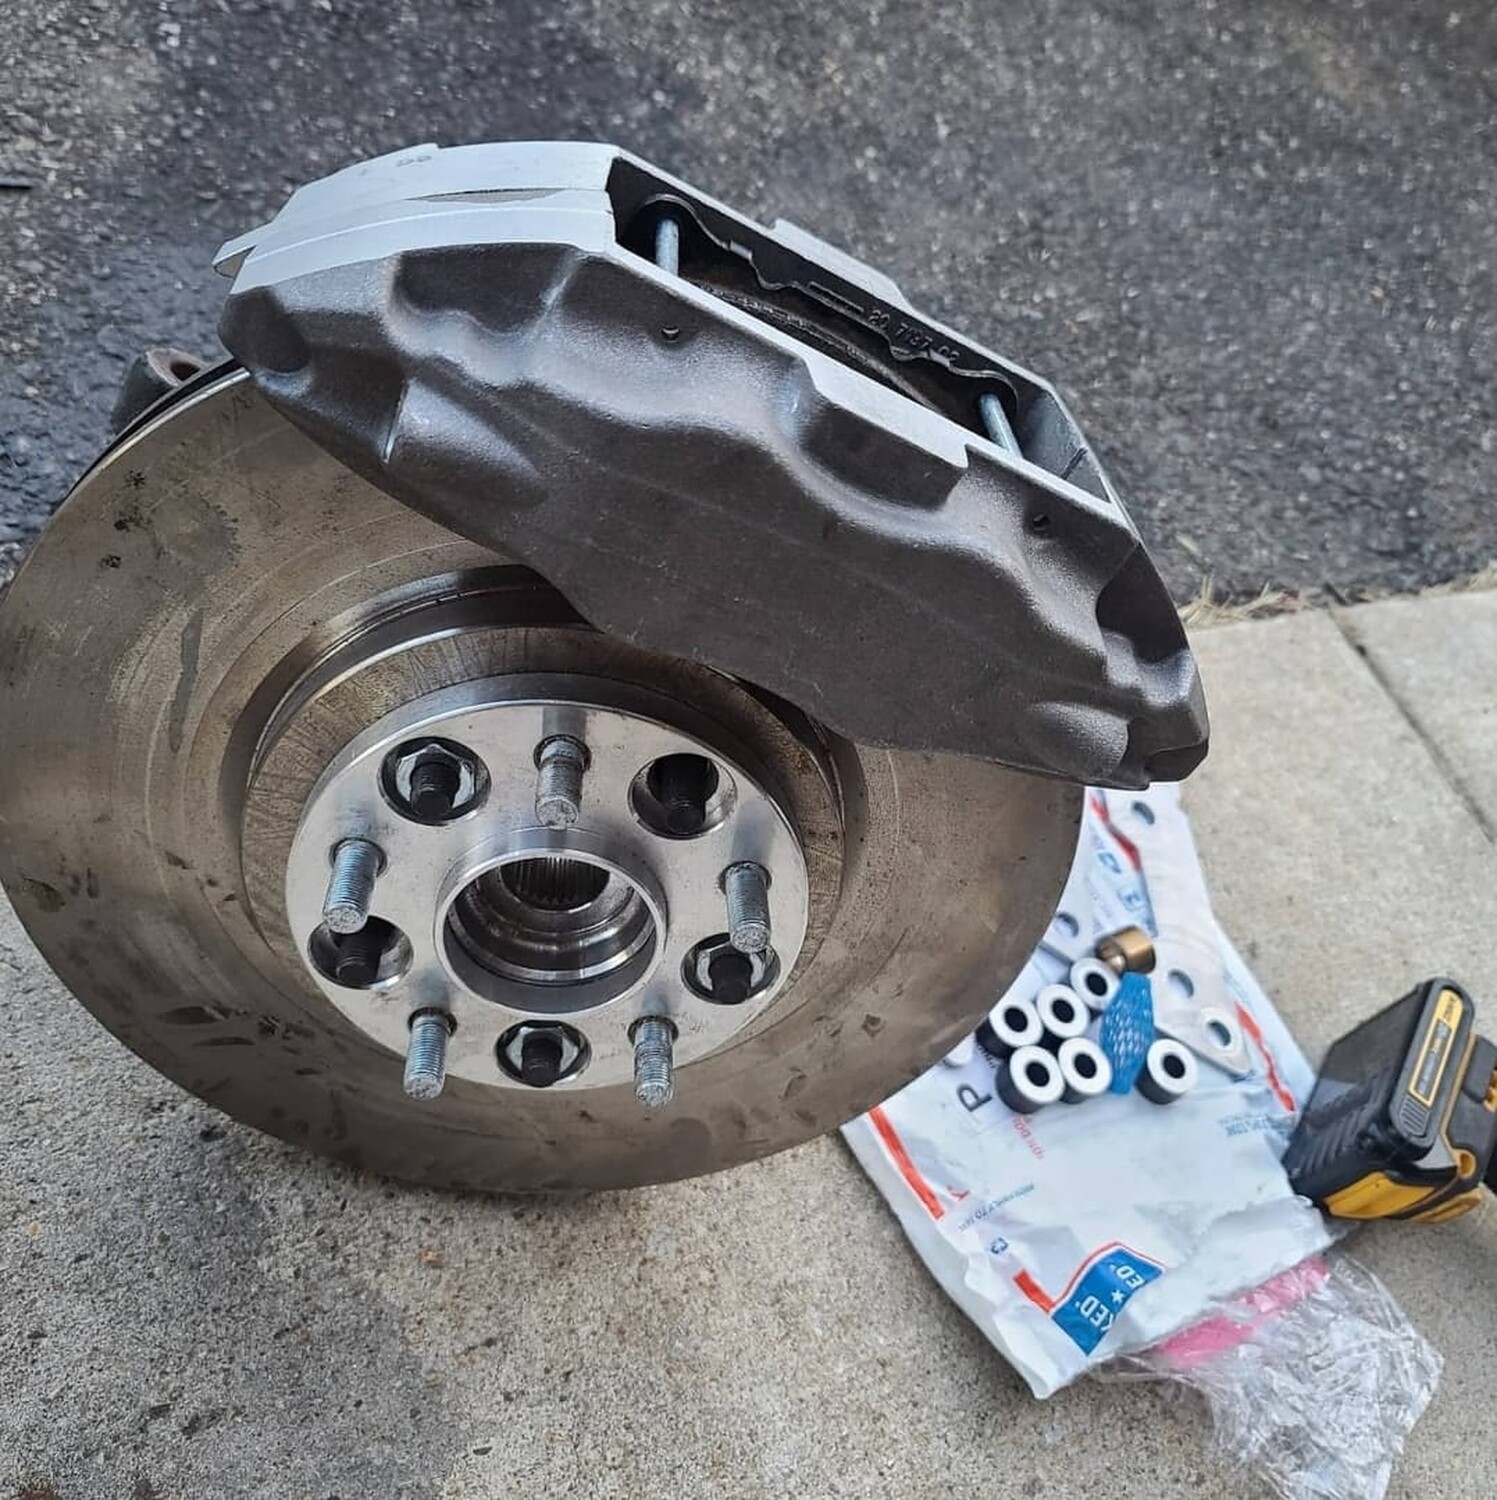
12) Now, if the old brake pads were quite worn, you will have difficulty in getting the new and THICKER brake pads back into that little space. This is where you’ll have to push back on the pistons to make room. And this is why you removed the cap of the reservoir in case a lot of brake fluid gets pushed back up the system and overflows your reservoir. See the picture below, the shiney part is the piston and surrounding it is the rubber dust boot. You want to make sure to NOT damage the rubber dust boot and just ‘squeeze’ the piston back into the caliper.
This is my favorite ‘persuader’ tool. Got me out of a fix when I once overtightened my oil filter.
You should put tape around the persuader, or put cloth against the caliper if you are afraid of damaging the finish on the caliper. Firmly and slowly squeeze the pistons back in. You’ll notice a see-sawing effect. As you squeeze one piston, the others will have a tendancy to come out a bit. But, just alternating squeezing the pistons will bring them all deep enough to fit in the new pads. Just go round and round squeezing the pistons until you have enough clearance.
13) Do a dry run but assembling the brake pads (WITHOUT greasing it yet), just to make sure you can fit both new brake pads in without any clearance problems.
14) Ok, if you’re sure that BOTH new brake pads will go in, start assembling the shims onto your brake pad and apply the anti-squeal grease on the shim. The grease stuff is pretty toxic, I always use latex gloves when working with this stuff.
Assembled and ready to go? Then drop them back in and just reverse the disassembly procedure. Put the pad assembly back in the caliper. Place the lower pin in first. Place the upper pin partially in, and then put the metal spring in place and tuck the top part of the metal spring underneath the top pin and push the top pin across completely. Insert the small spring on the inside of the caliper and hook the ends of the spring through the holes in the upper and lower pins. Put the wheels back on. Put the lug nuts back in. Lower the car back to the ground. re-torque your lug nuts to spec.
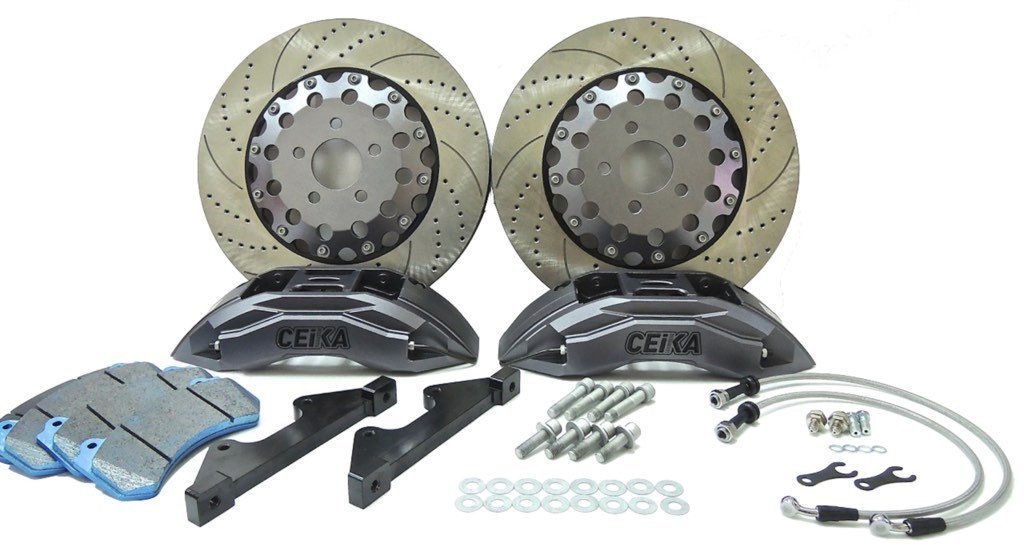
CEIKA makes big brakes for the A33 Nissan Maxima. They sell both front and rear big brake kits. This post is focused on the rear. Pricing racing anywhere between 2K to 4K for a full kit.
UPDATE from Robert Mandru: Have both the 300zx and 350z bracket adapters. They will NOT clear with Evo X 2 piece rotors, maybe just 1 piece. Even with one piece it still wouldn’t clear the inside, rotor too large with the 350z/G35 adapter. The EVO X top hats are too big and will not allow the calipers to bolt up. Probably could do it with the 300zx adapter without modding the caliper but for god sake, you have smaller bolts that are supporting all the strain coming from holding the caliper in place during braking conditions. Not worth it.
In simple terms….. do not bother with the eBay 300zx Caliper Adapters
If you are looking to upgrade to Nissan 370z / Infiniti G37 Akebono Calipers, then below is the information you need to know when using the Autosports Engineering brackets. The brackets are decently priced and work fine. however, various members have reported some pad “overhang” which has varied (some worse than others). But other than that the brackets work fine and there have been no issues or functionality impacted with the overhang.
Important Note: These brackets for only for the front calipers. The rear Akebono calipers are plug-n-play but only for the 04+ Maximas/Altimas. All you need to do is trim the dust shield as it’s a much bigger rotor.
Caliper Models: G35 Coupe and Sedan 2005, 2006, 2007 (Coupe only for ’07) and Non-Brembo Equipped 350z 2006, 2007 and 2008 models.
How to Applies to the Following Vehicles:
-J30 (89-94) Maxima
-A32 (95-99) Maxima
-A33 / A33B (2000-2003) Maxima
-A34 (2004-2008) Maxima
-L31 (2002-2006) Altima
Maybe more, the above vehicles are the ones I’m familiar with and I know for sure will work with the below directions.
This will work easily for 89-08 Maximas. Not sure on any other years, I will find out on other years some other time. This is a work in progress, should be finalized soon.
If you have an 89-01 Maxima Please follow these directions first:
Needed Equipment:
-05-06 350z / 05-06 G35 Sedan Dual Piston Brake Caliper, Bracket and Rotor (Rotor NOT needed on a 04-08 Maxima).
-02-08? Maxima Caliper Bolts
-Brake Fluid.
-Aviation Snips (Some type of sheers for cutting metal).
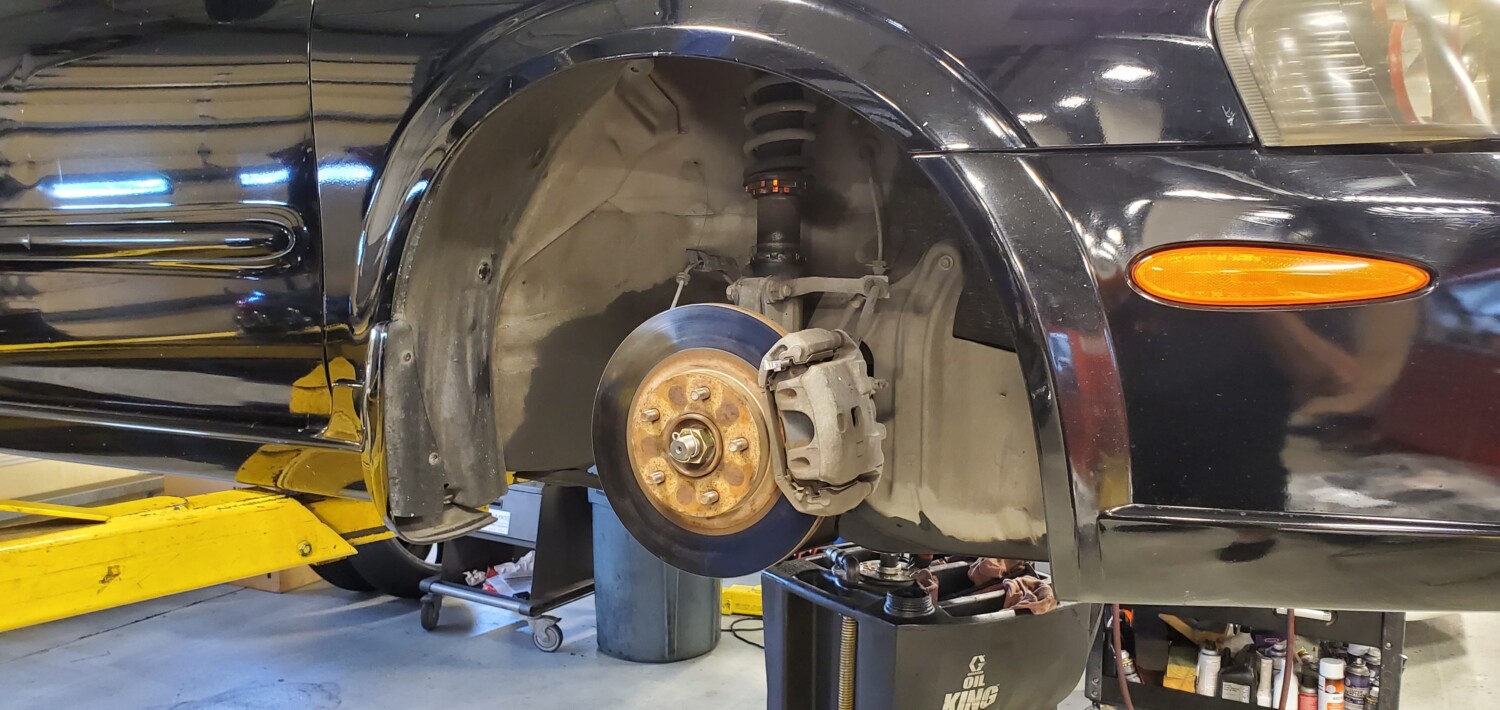
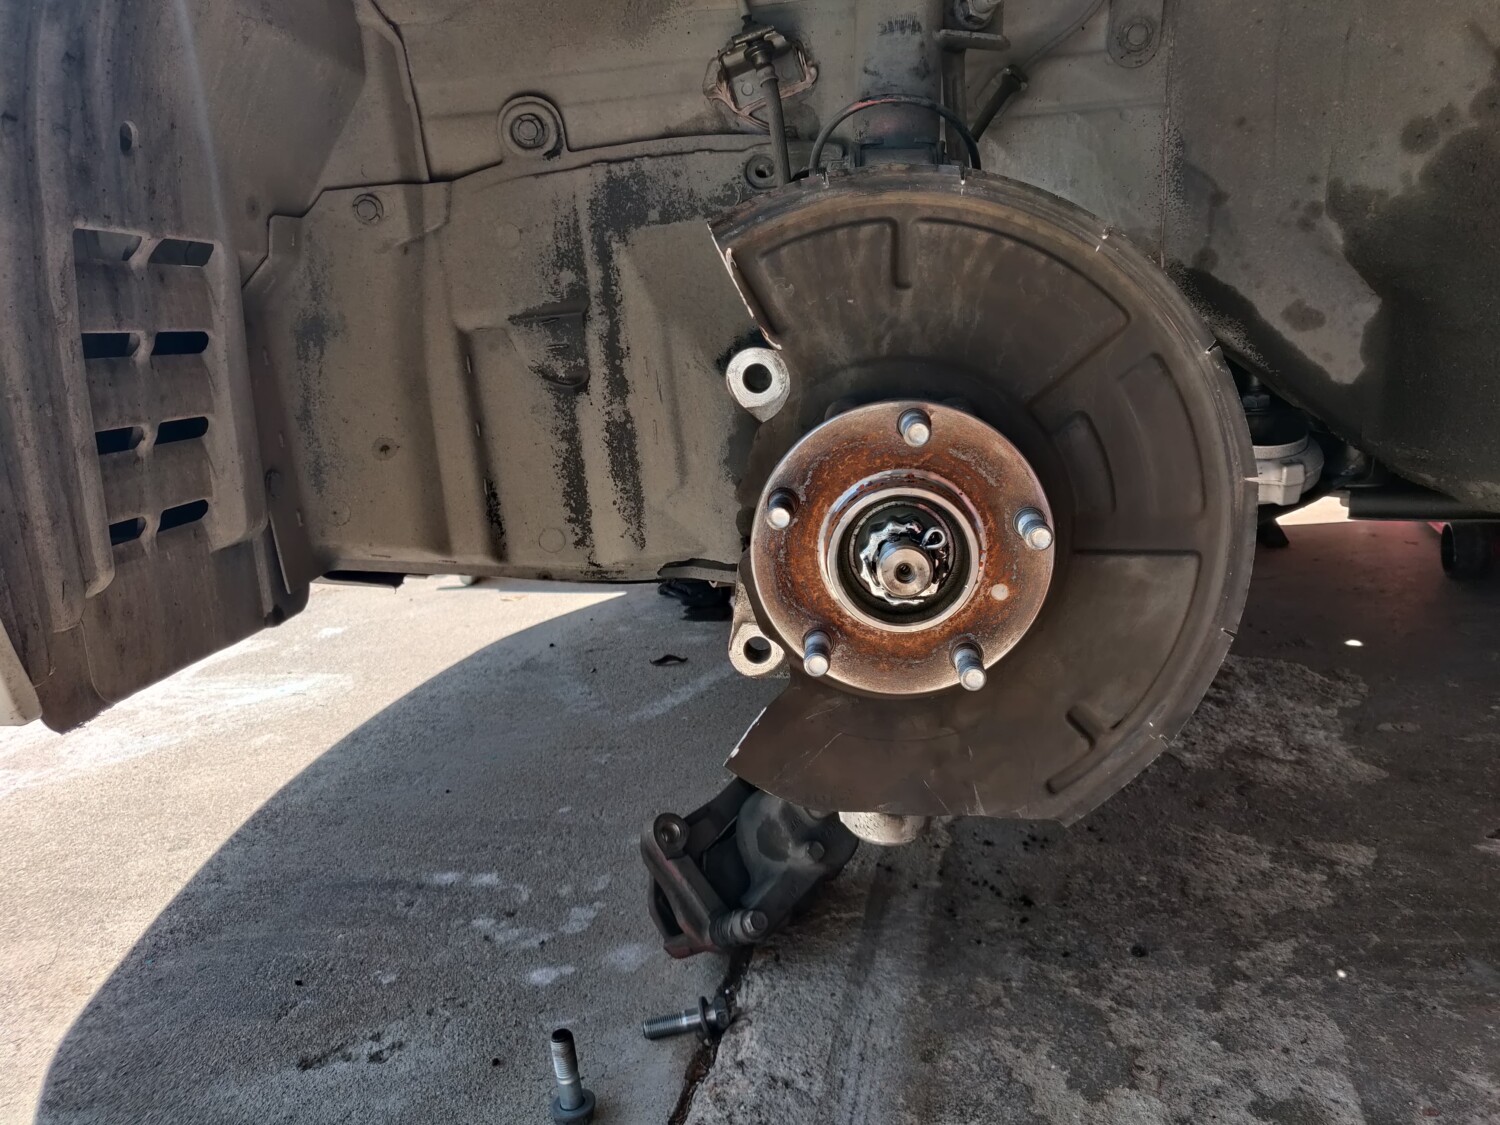
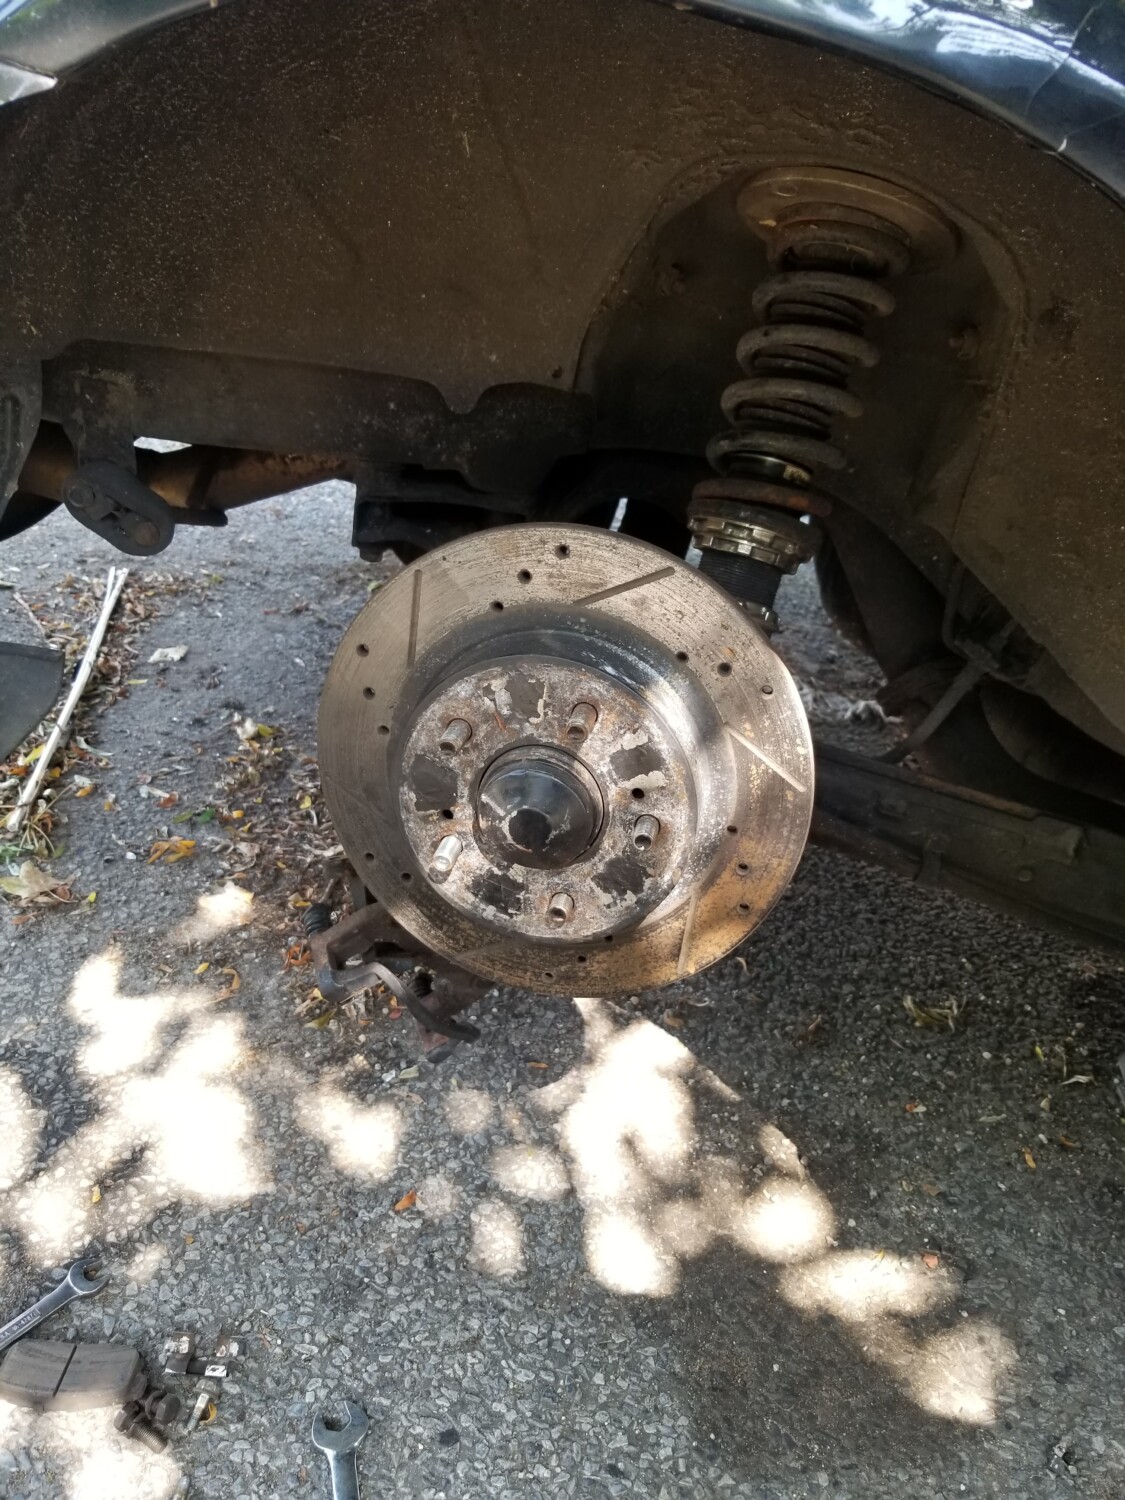
I’m not going to hold your hand through this one, just make it to the point where your car is safely on jack stands and you’re looking at this….
Step 1: Remove the unnecessary components. (If you’re a 89-01 skip to step 2)
-Disconnect your brake line
-Caliper
-Bracket
-Rotor (6th genners keep this on!!)
Keep track of your two caliper bracket to spindle bolts, YOU WILL NEED THIS! You can NOT use the bolts off of the G/Z they are tooooo long. If you’re swapping from a stock 4th gen setup, I suggest ordering these from Nissan. If not then goto your local hardware store and purchase replacement bolts (Will update with the correct size).
Step 2: Install Dual Piston Glory
-There has been confirmed fitment issues, I am working on a easy sure fire way around this. It looks like grinding down the calipers are needed to clear the rotors because of the bracket not moving it out far enough from the center of the hub. I will get around to putting this on a running car to see what is needed to get these on a Maxima, I really think not much is grinding is needed.
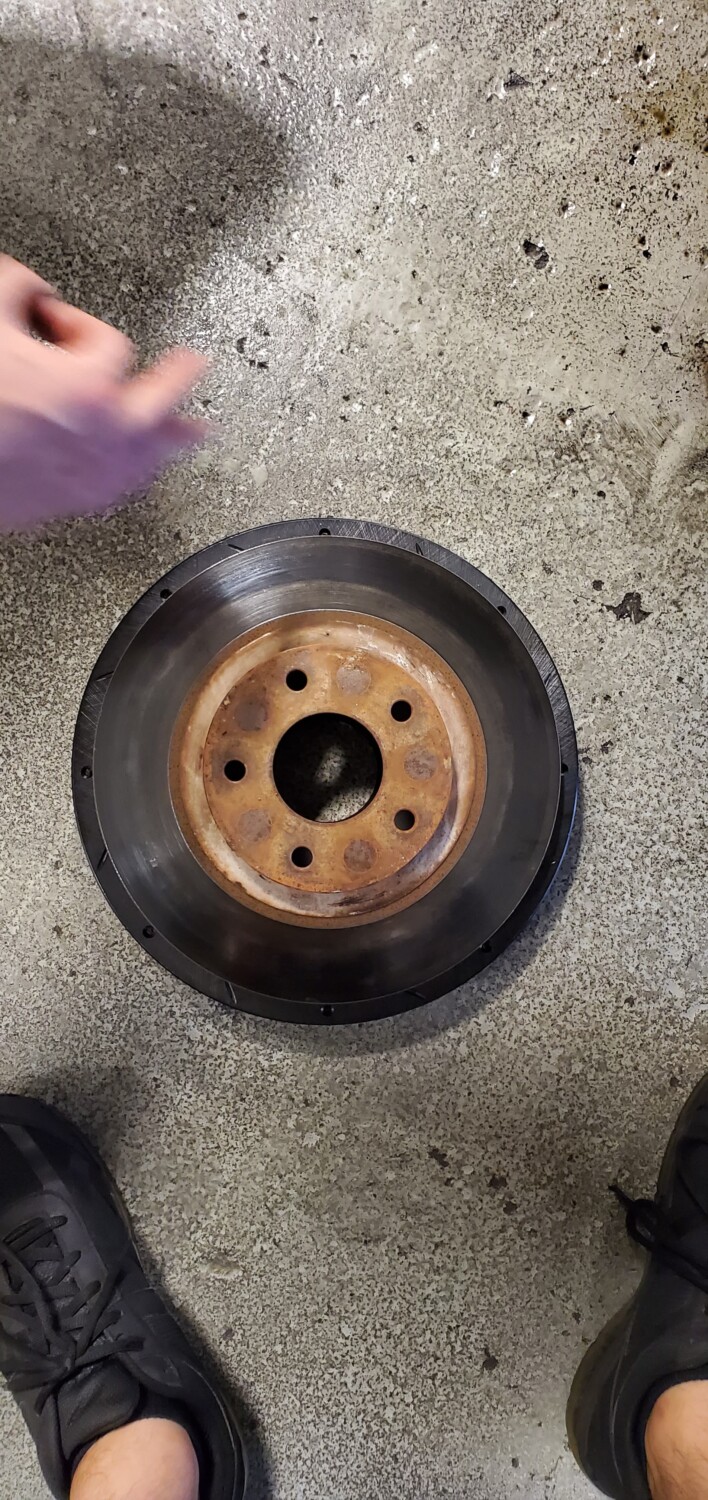
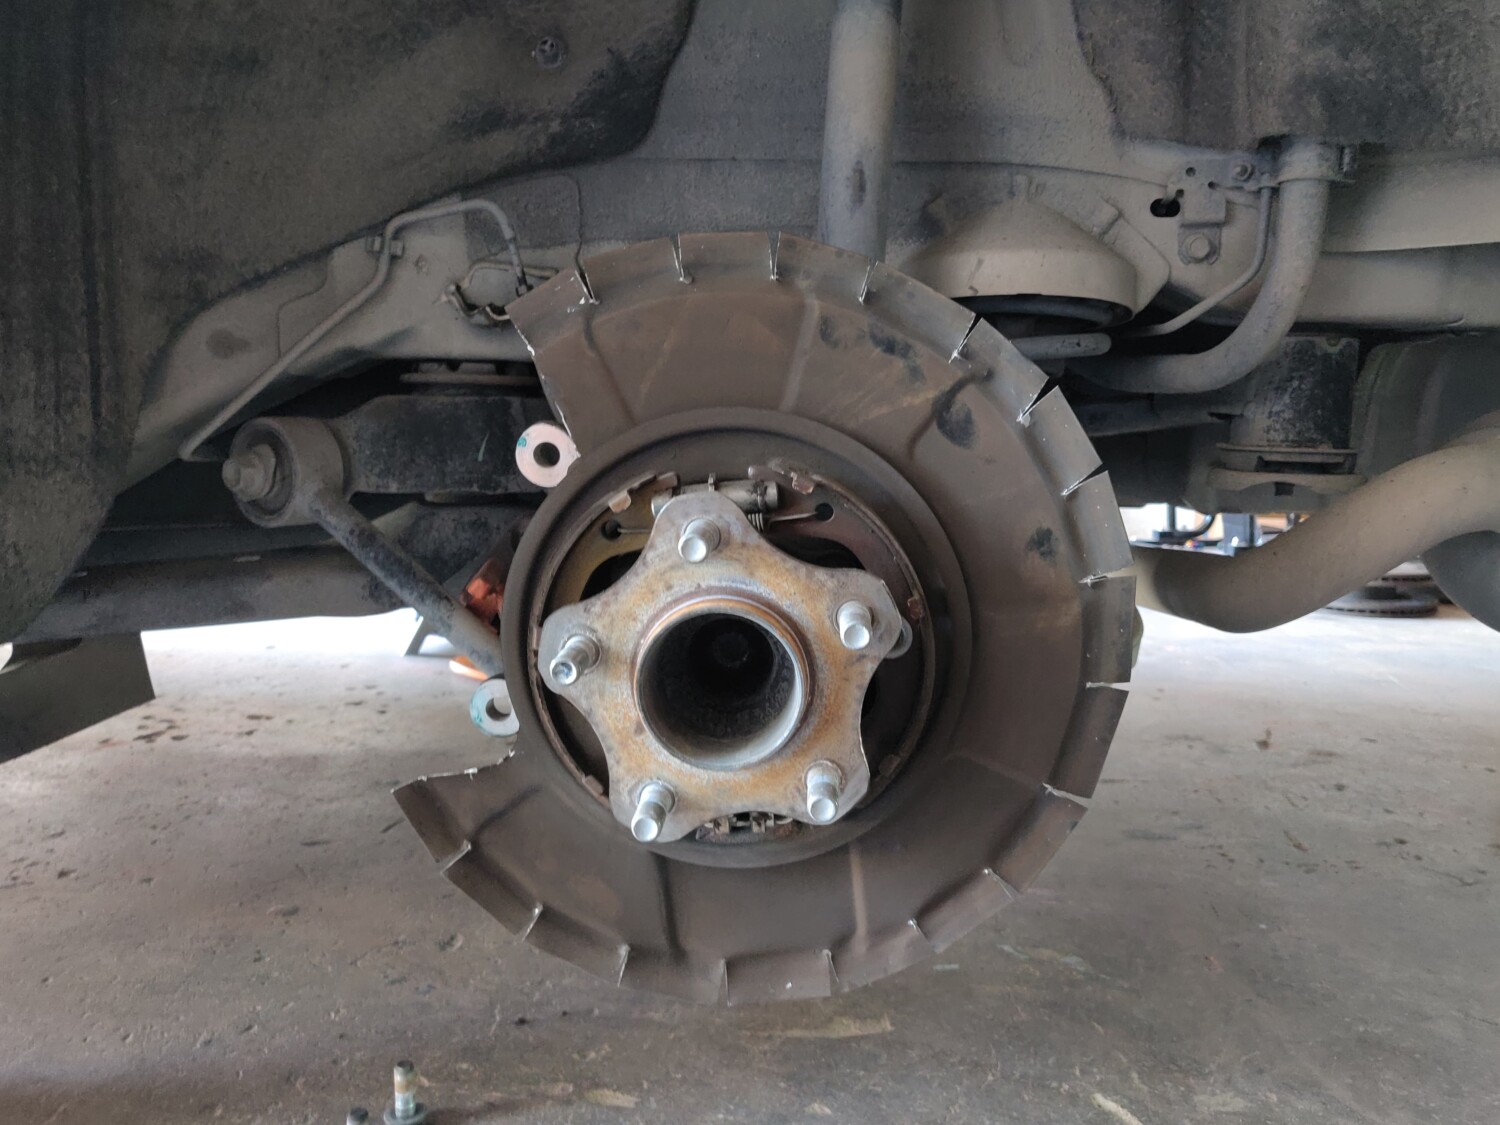
-Install rotor
This is where you need your handy dandy shears for 4th/5th gens… Start snippin away at what comes close to contact with the rotor or control arm (have both wheels in the air and the steering wheel unlocked so you can check the clearance while turning the wheels). I have yet to fully test on a 6th gen spindle and their dust shield, I will on Monday. 6th gens and L31 Altimas shouldn’t need to modify their dust shield because they accommodate larger 12.6″ rotors already.
-Install bracket
You may still need to continue to hack away at your dust shield. During this step it’d be wise to give the disc a good ol whirl around to check for any rubbing.
-Install Brake Pads
-Install the Dual Piston Caliper
-Re-install your brake lines
Make sure to check the rotation of the disc again. And you have to use the bolts for the 02-08 Maxima. The 3rd/4th Gen bolts will NOT work and the 350z/G35 bolts will NOT work.
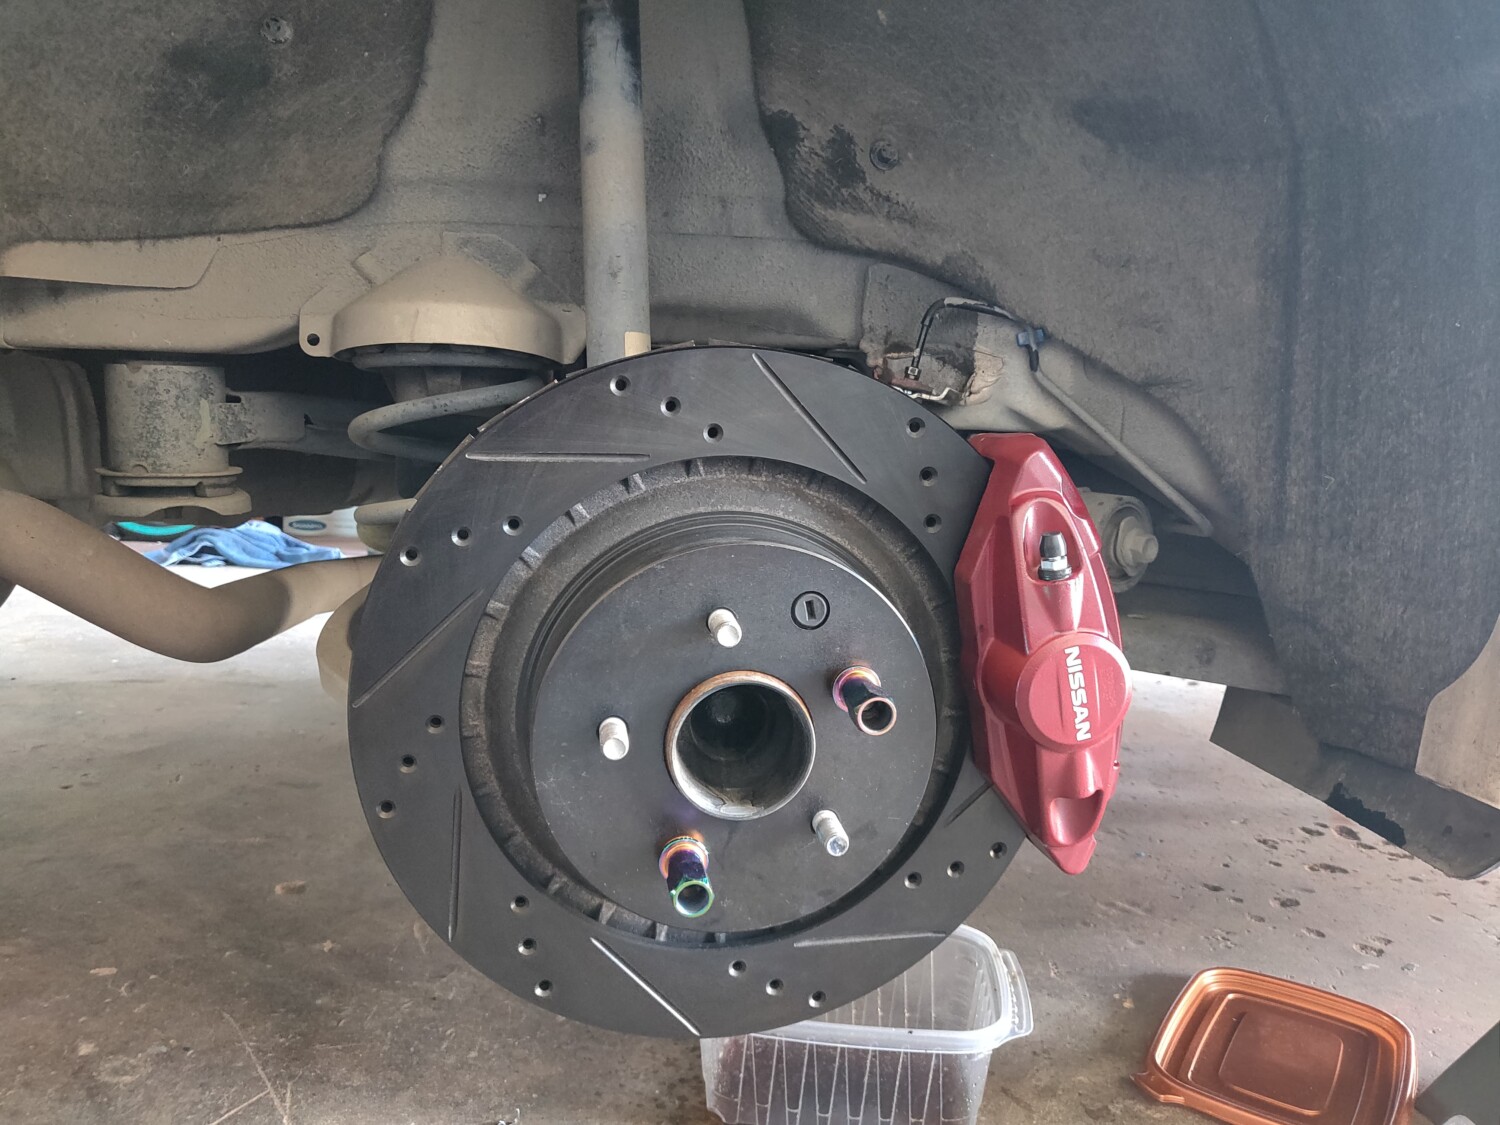
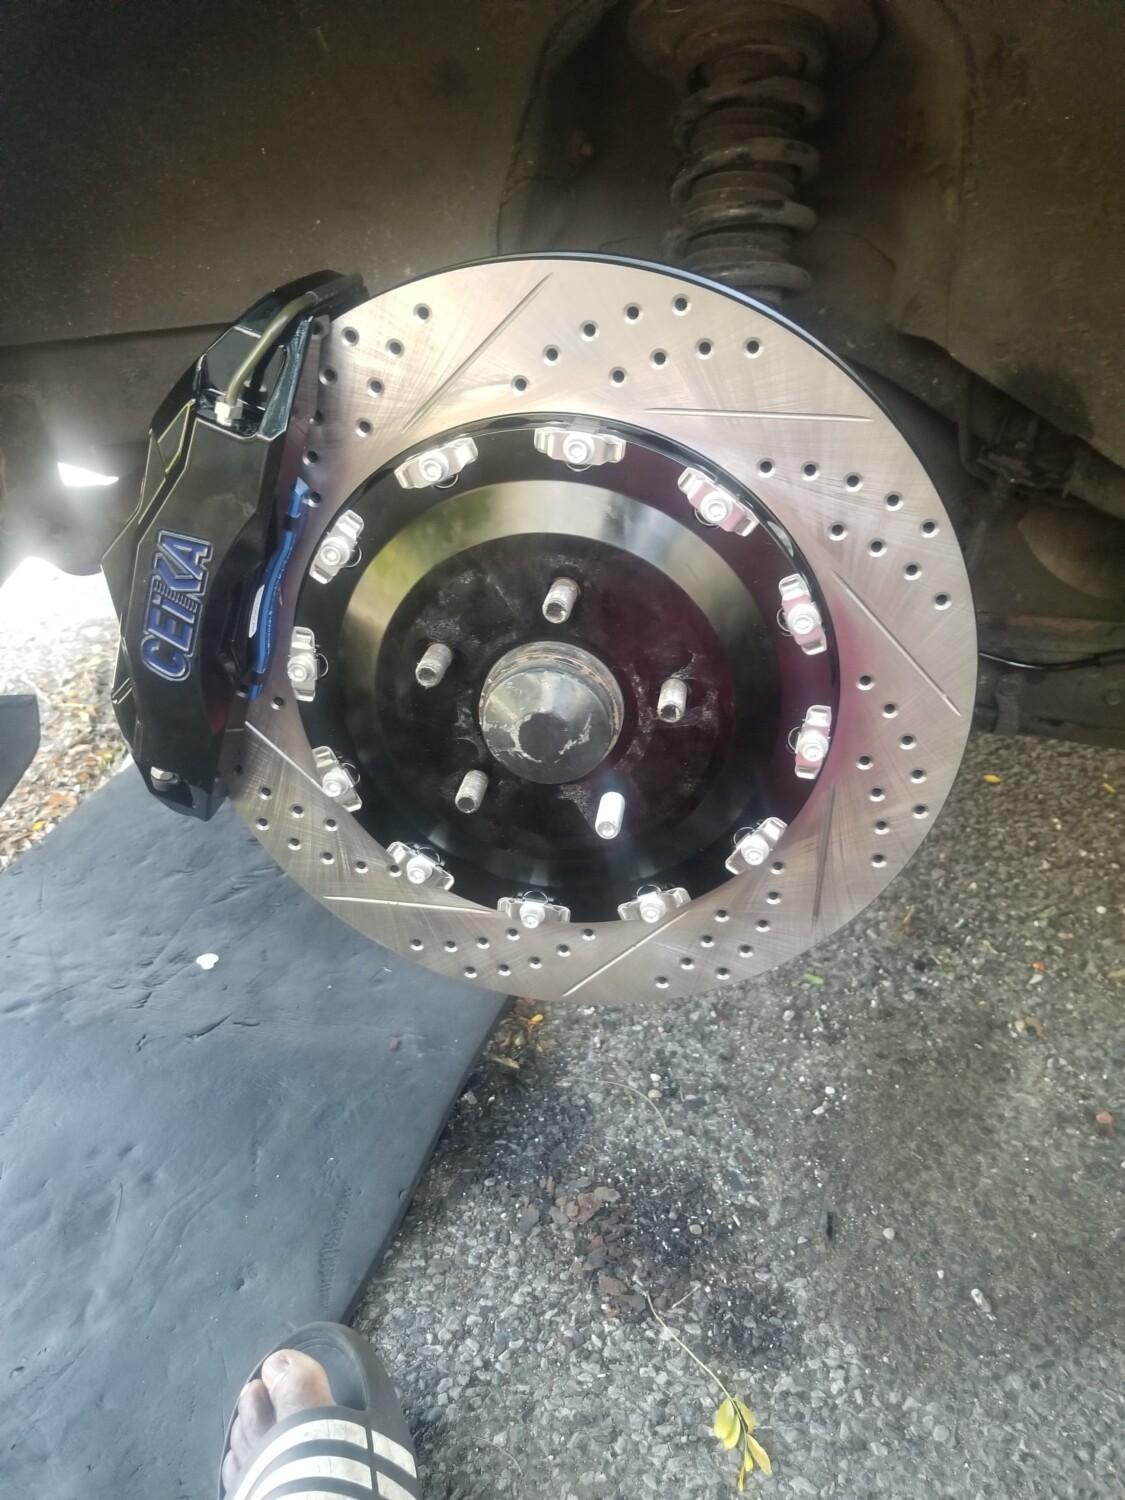
After your done it should look like this:
Then proceed to step 3.
Step 3: Prepare for WAR!
-Bleed brakes
-Bed in pads (you should be using new pads and rotors :squint:)
-Troll Q45/Z32 front brake owners 😎
Quick Facts:
-350z/G35 brembo’s will go on following the same procedure it takes to install them on non brembo 350z/g35s (Just replace the bracket/caliper/rotor!). If you’re a real baller you can get the Akibono (spelling?) Brakes and relocation kit for the 350z and do the same thing….. Remember, this is a game for ballers and only ballers can participate.
-I have yet to test this mod on the street!
-The dual piston pads use more sweeping area than the 300zx pads.
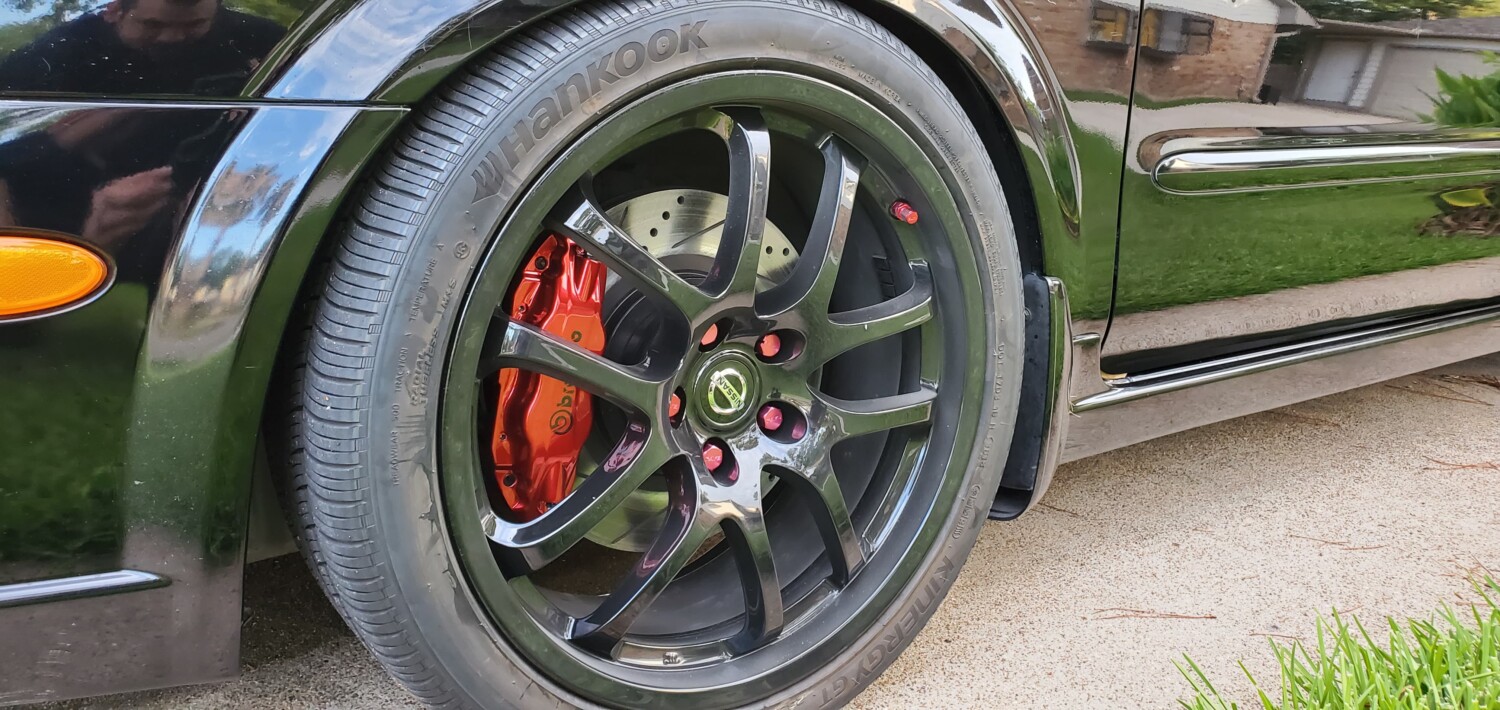
-It BARELY! Clears AE wheels on my 4th gen if you’re running the stock wheels I suggest getting a 5mm
spacer for safety sake.
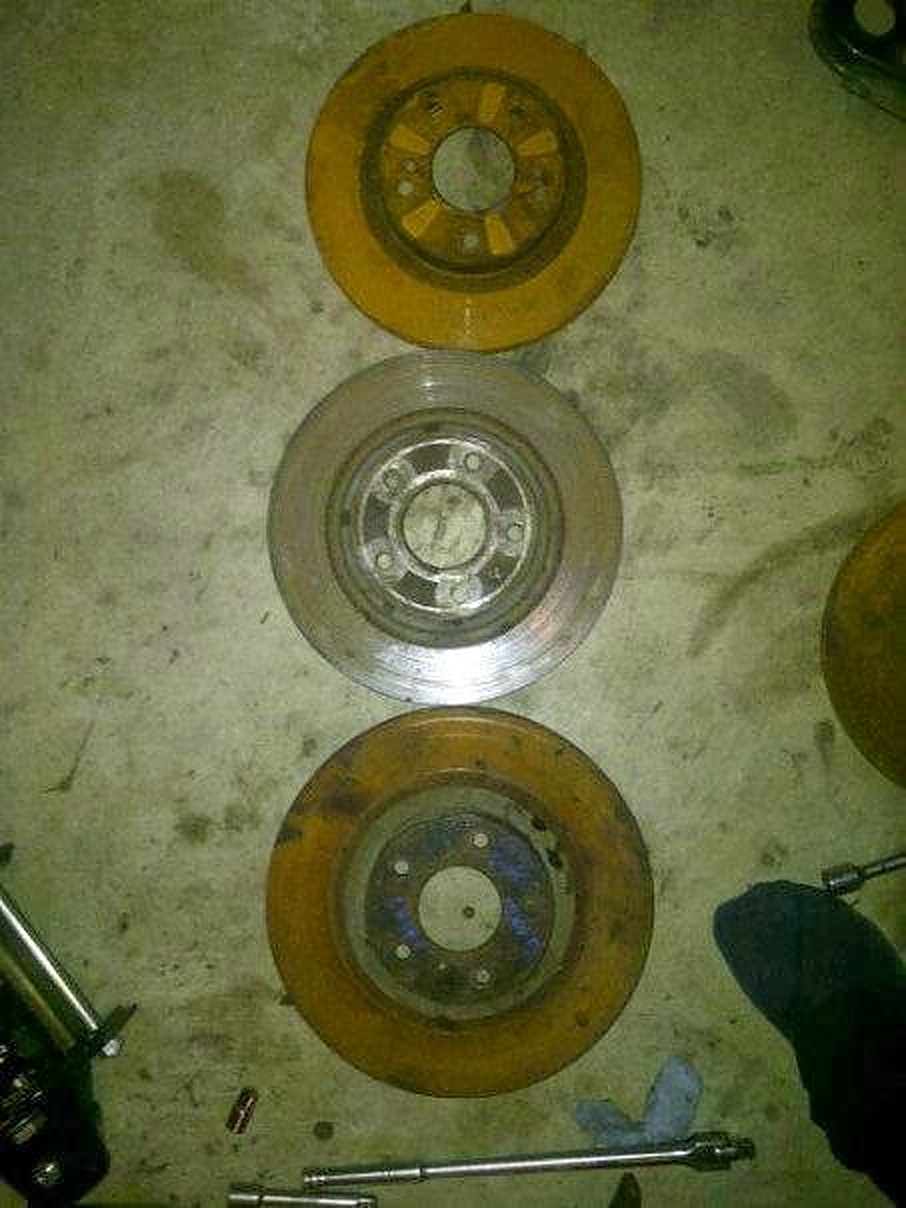
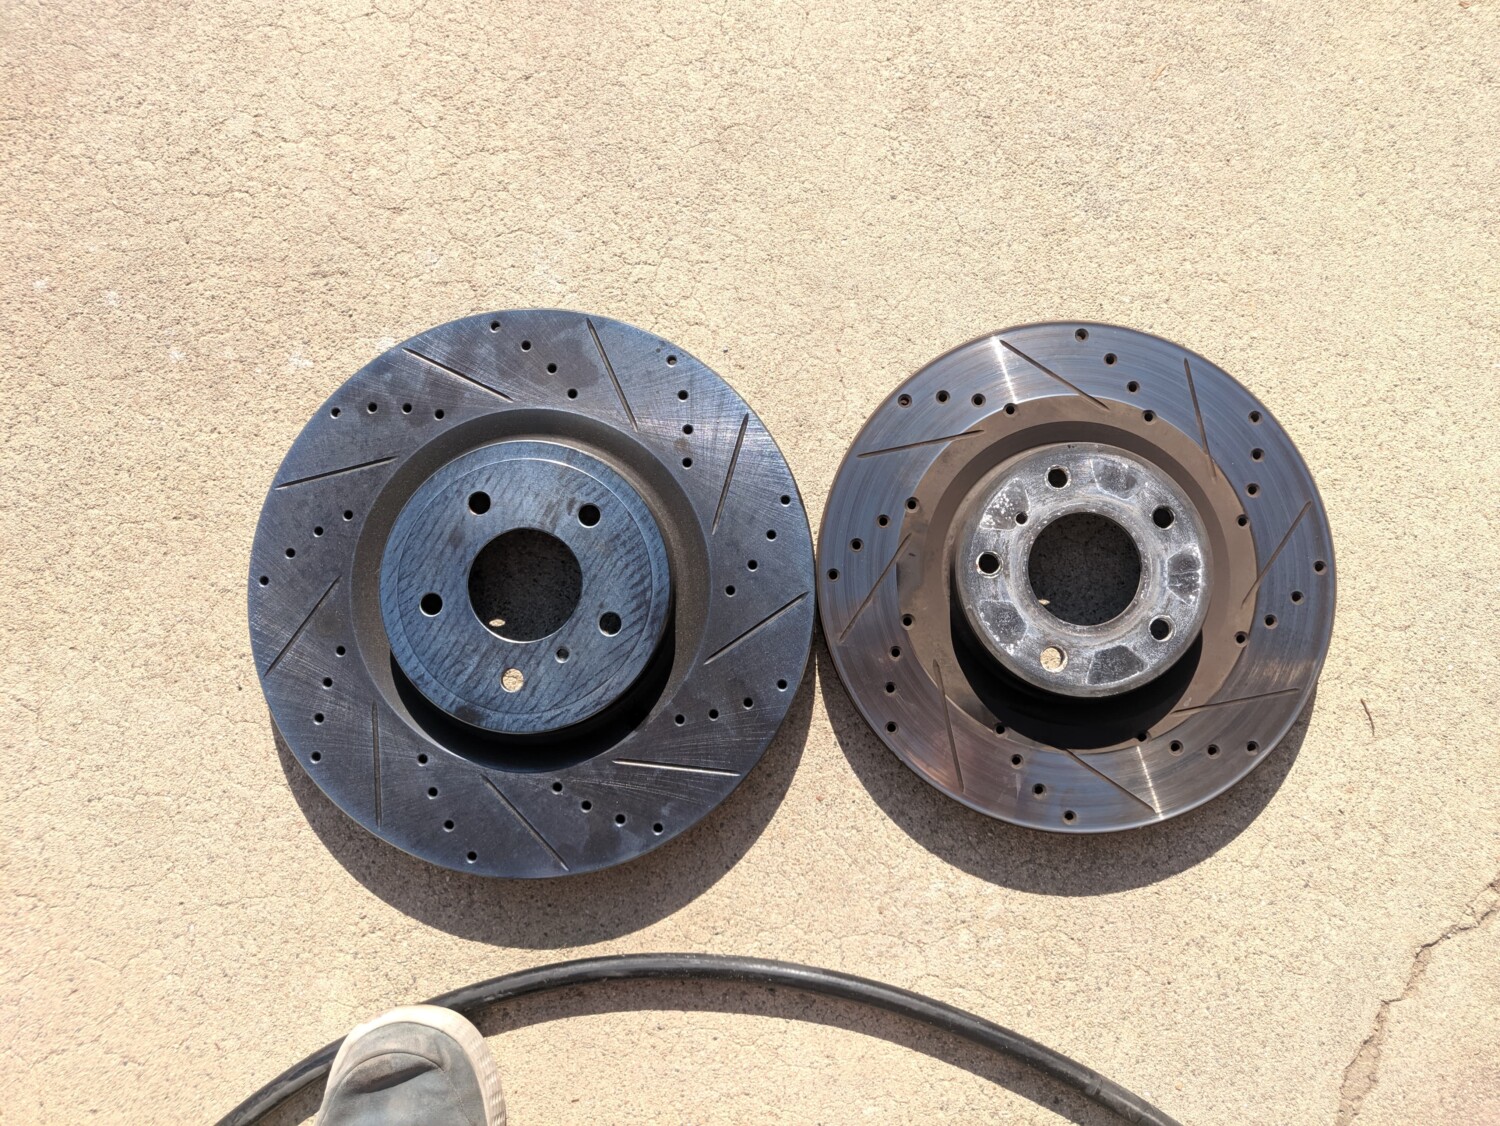
-Rotor Comparison:
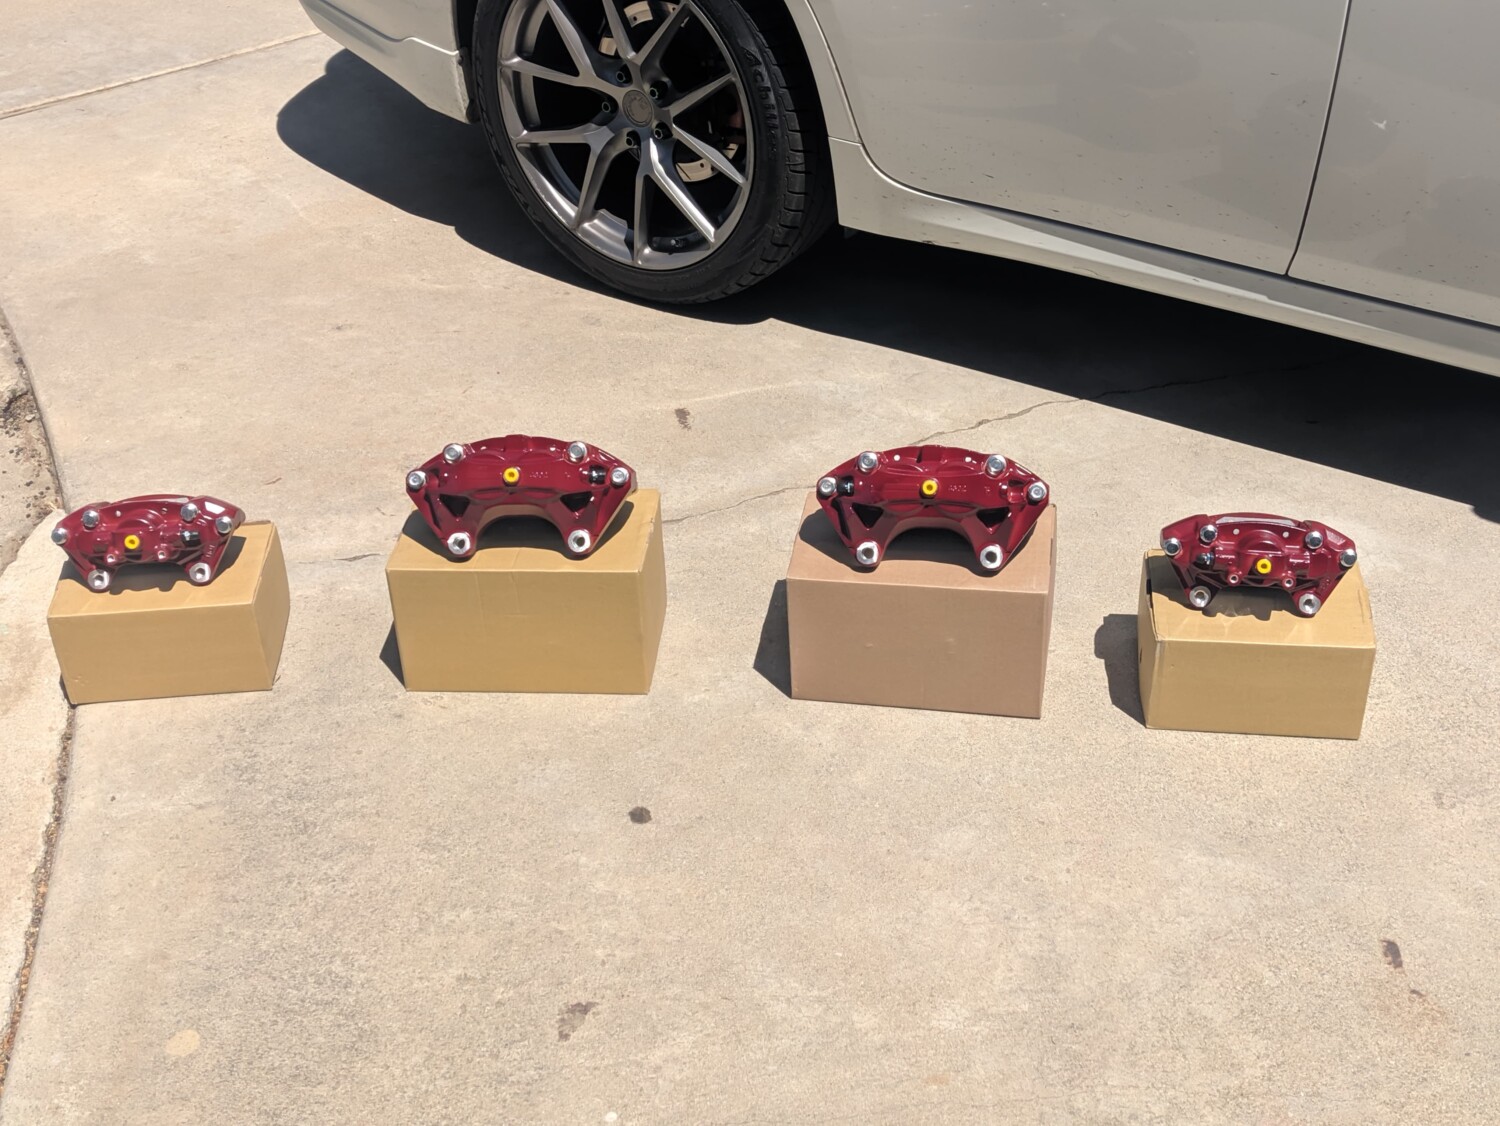
-Caliper Comparison (4th gen and G35/350z, the 5.5 gen on my car looks just like the 4th gen, who cares)
-4th top, 5.5 Gen middle, G35/350z/6th Gen on the bottom.


")


")


")