Community Member Credit: maxirob
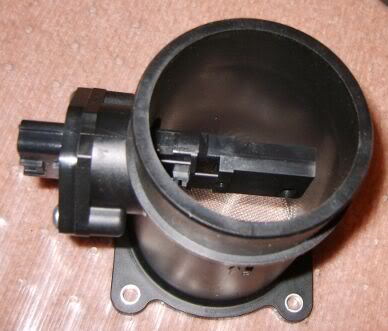
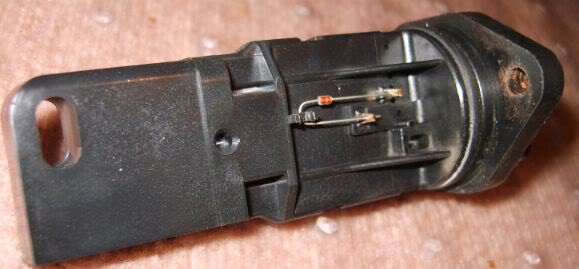
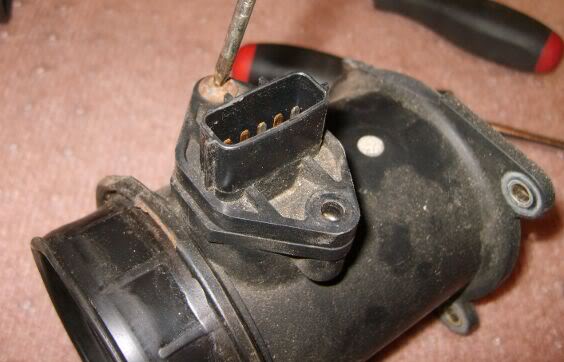
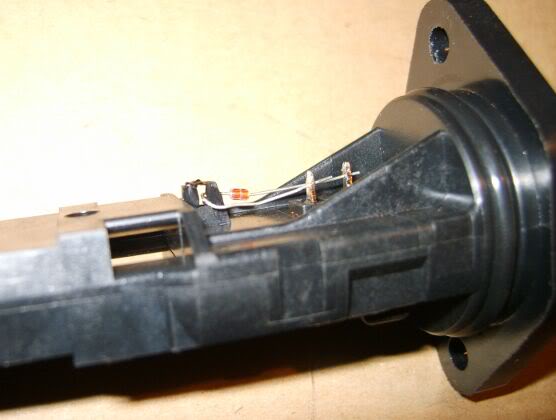
About 5 months ago just before I tore the intake down to replace the very leaky right bank rocker cover gasket she started stalling when idling, then bucking at higher rpm’s. Progressively becoming more frequent and then finally…got P0100 MAF code. After suspecting a poor ground, broken connection in the wiring harness and having a P0130 (right bank o2 sensor-firewall side) popping up during this ordeal and reading tons of post about this on this site and others I finally found the definitive cause. On the MAF the 3 pin connector is soldered internally directly to pins coming off the circuit board-creating an electrical as well as a mechanical connection. Not a good design!
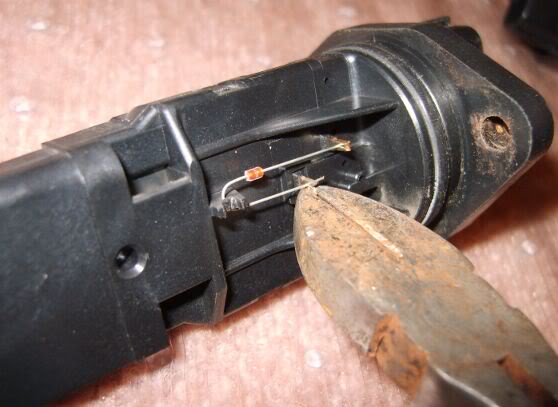
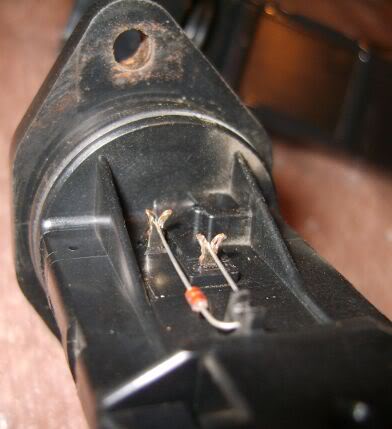
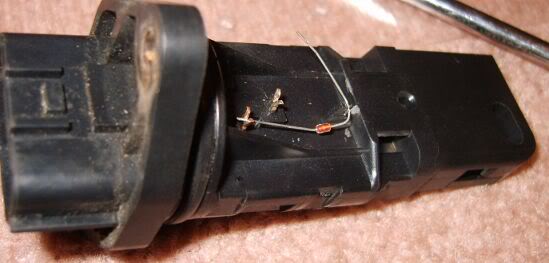
When I took the MAF apart the pins looked connected but were cold solder connections at this point. I modified the connections with short wire leads re-soldered and flipping the harness connector around – the engine is back to running rock solid! I suspect this is THE reason most 4 gen max’s and I30’s are exhibiting these symptoms and many have paid hundreds and/or thousands having mechanics chase down the cause. Hope this helps others.
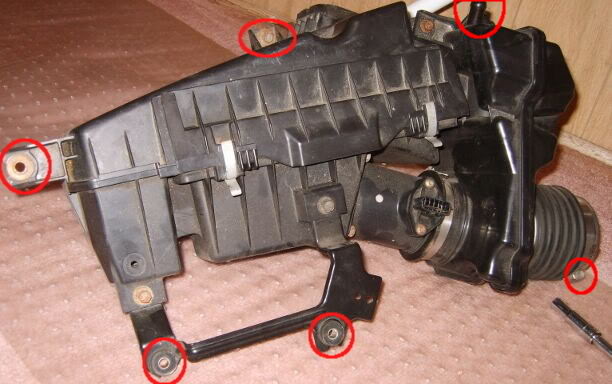
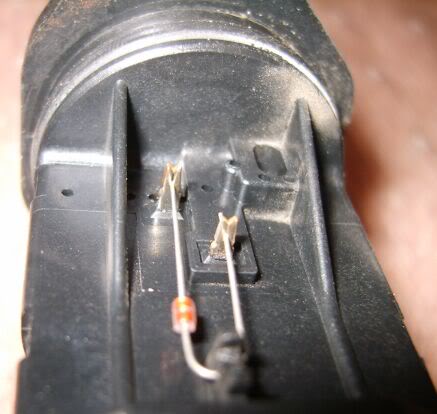
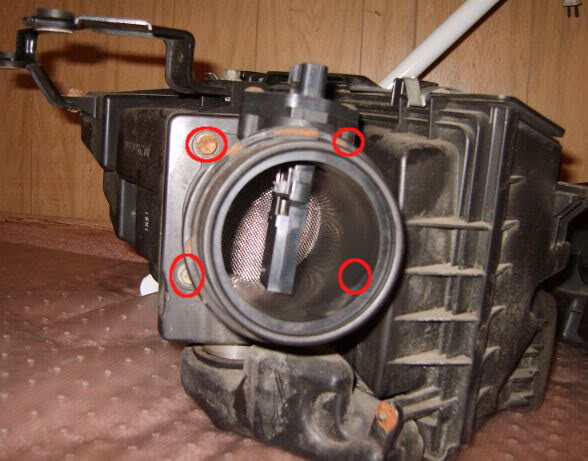
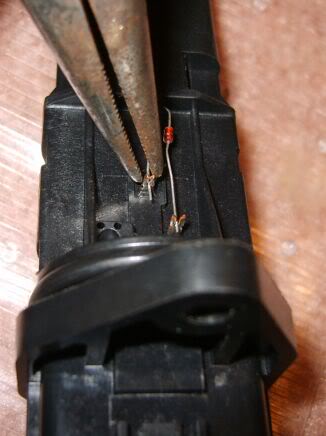
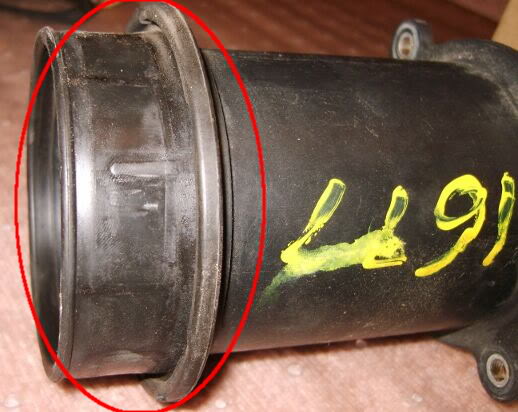
i had to resolder these cicled points and it solved my issue but make sure U RESEAL THE MAF i did not and condensation got in and it made the car feel like i was misfiring i had another maf laying around put it in and solved that issue also could have saved the trouble by RESEALING THE MAF with some silicon hope this pic helps

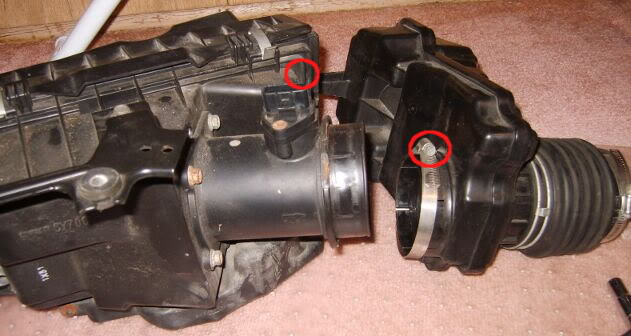
One more thing I discovered relatiing to resealing the cover back with silicone so its air tight. I noticed that after I removed the MAF assembly from the car I could press on the circuit board cover and hear air whistling in/out of the plenum. I discovered there is a tiny vent hole above and just off center on the TB side of the sensor vane going into the circuit board area, so I figured the circuit board enclosure HAD to be sealed or air could leak in and throw the sensor reading off. I even put a thin bead of silicone around the harness connector when I flipped it and screwed it back in. I could see that if there was a crack or air leak around the connector and/or cover, extra air could leak into the throttle chamber a wreak havoc on the sensors accuracy to the ECU.
Additional Info via komik
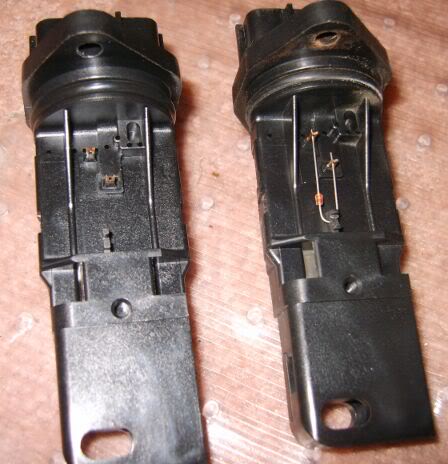
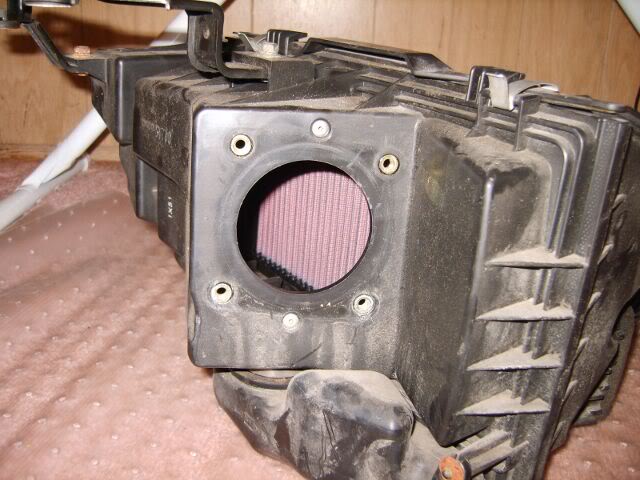
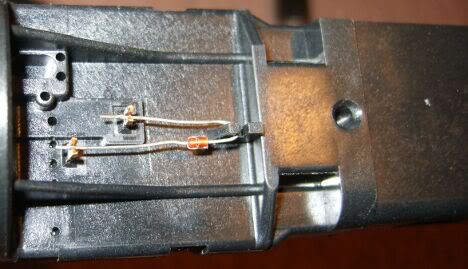
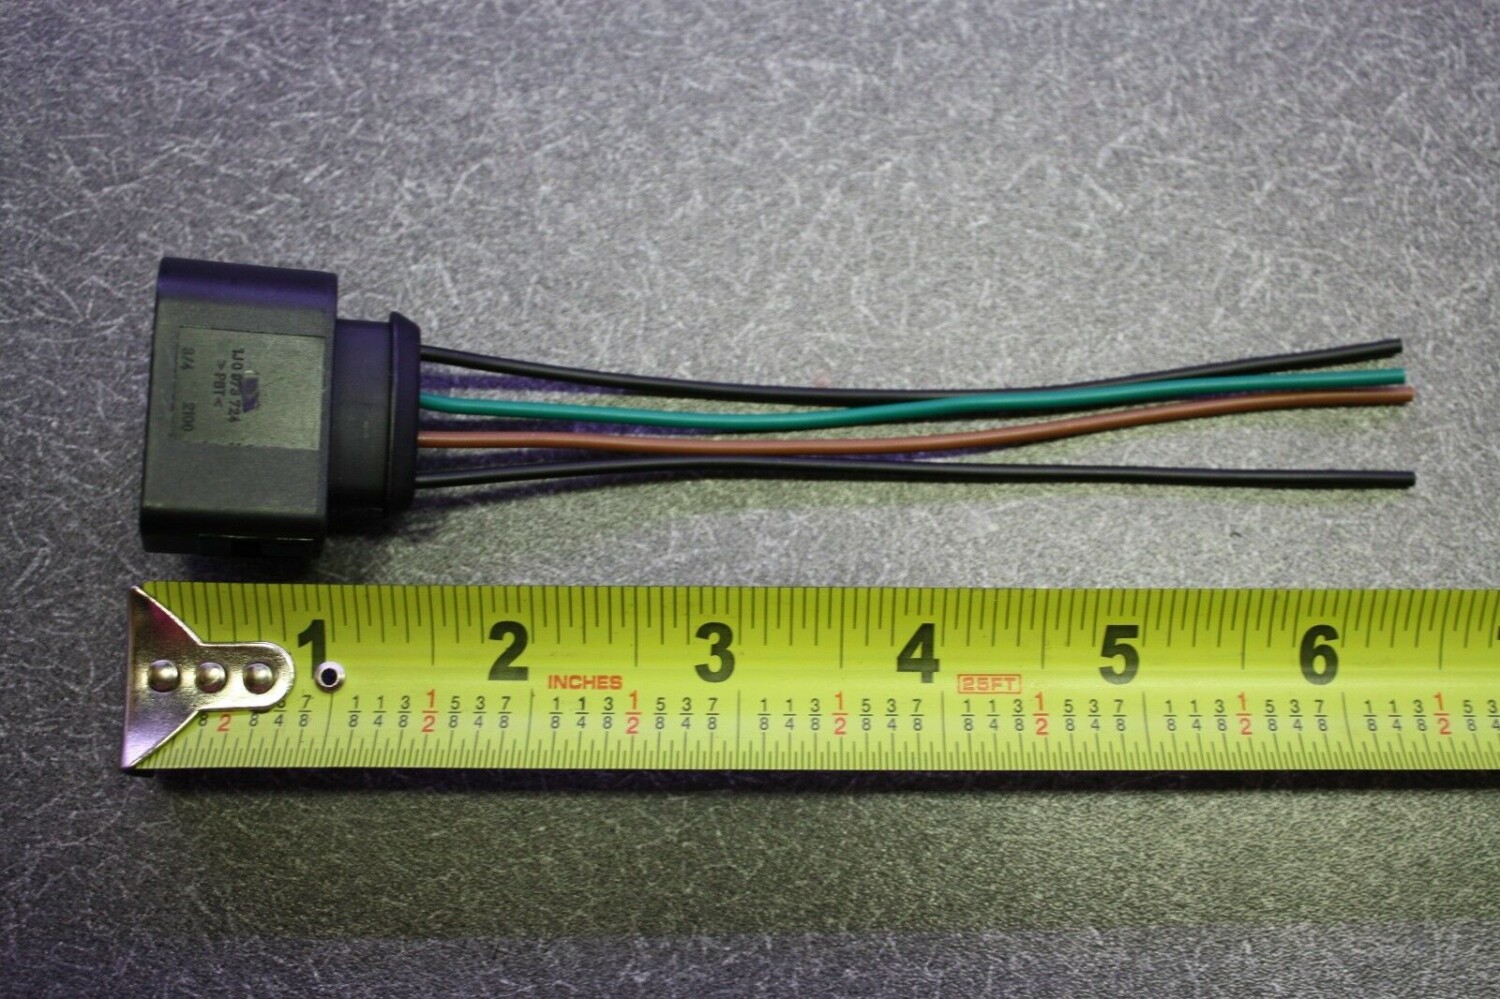
After reading this thread I decided to give it a try. I currently have a CEL for P0100 with only a few incidents of “bucking” prior to the CEL appearing. I went to the junkyard yesterday and picked up 1 complete and 2 partial MAF’s ($40 for all three). I installed the complete one on the car last night. The light is still on but I only drove to work and back. Tonight I opened up the MAF I pulled off my car and added some redundant jumper wires in the hopes they will literally “bridge the gap” wherever any broken solder joints may exist. I resealed the top with black RTV and will let that dry overnight before I reinstall it on the car. *fingers crossed* Later I plan to take the plug off the one with the broken case and attach it to the one with the complete case and missing plug to have as a spare in case my new, but far from expert, solder joints fail.
Stock

Jumper Wires Added

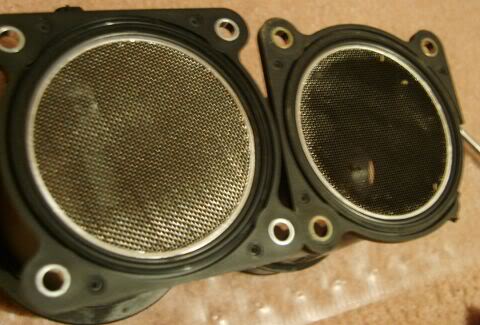
MAF Collection

![]()
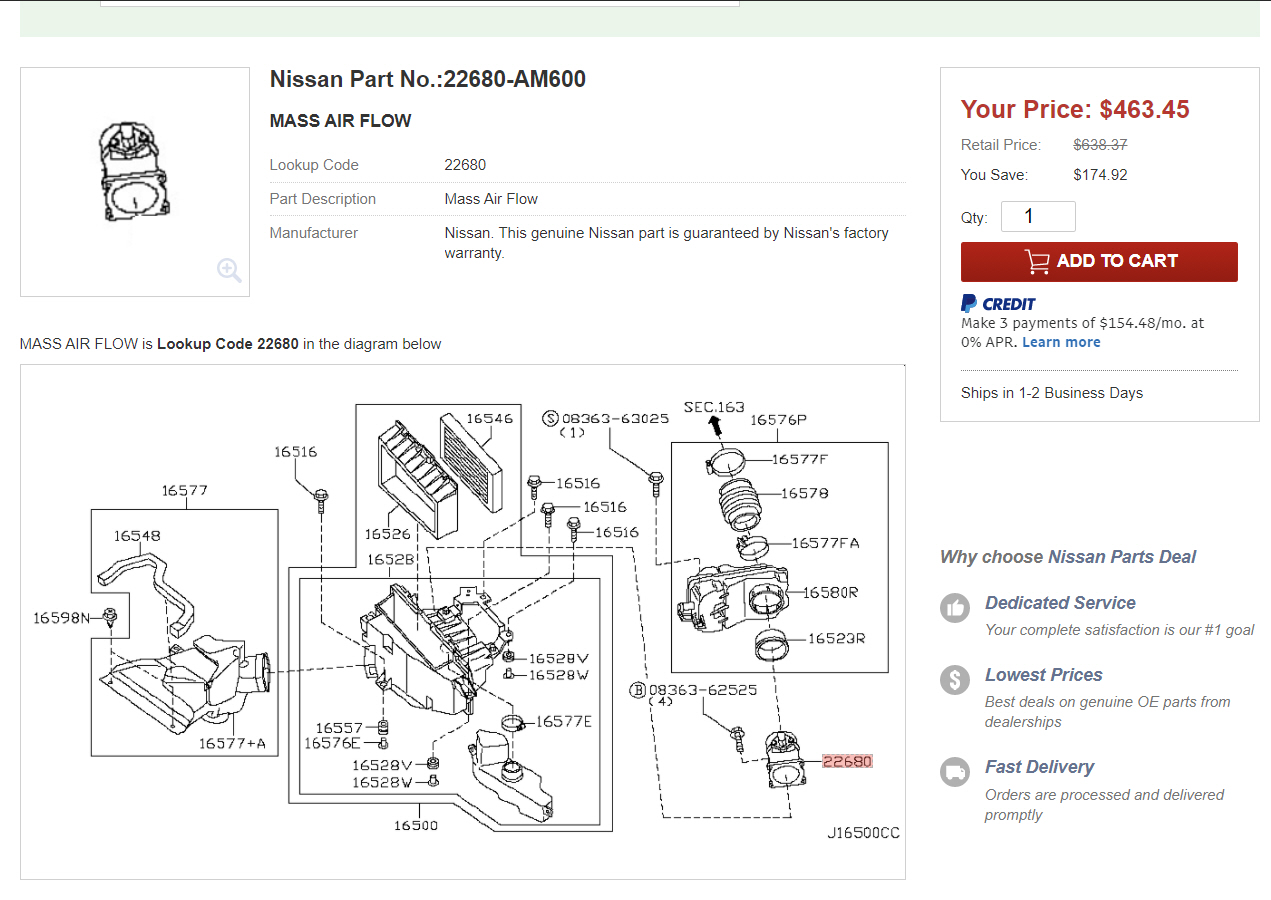
 in 2003-2003 Nissan Maxima (22680-2Y001)")


")


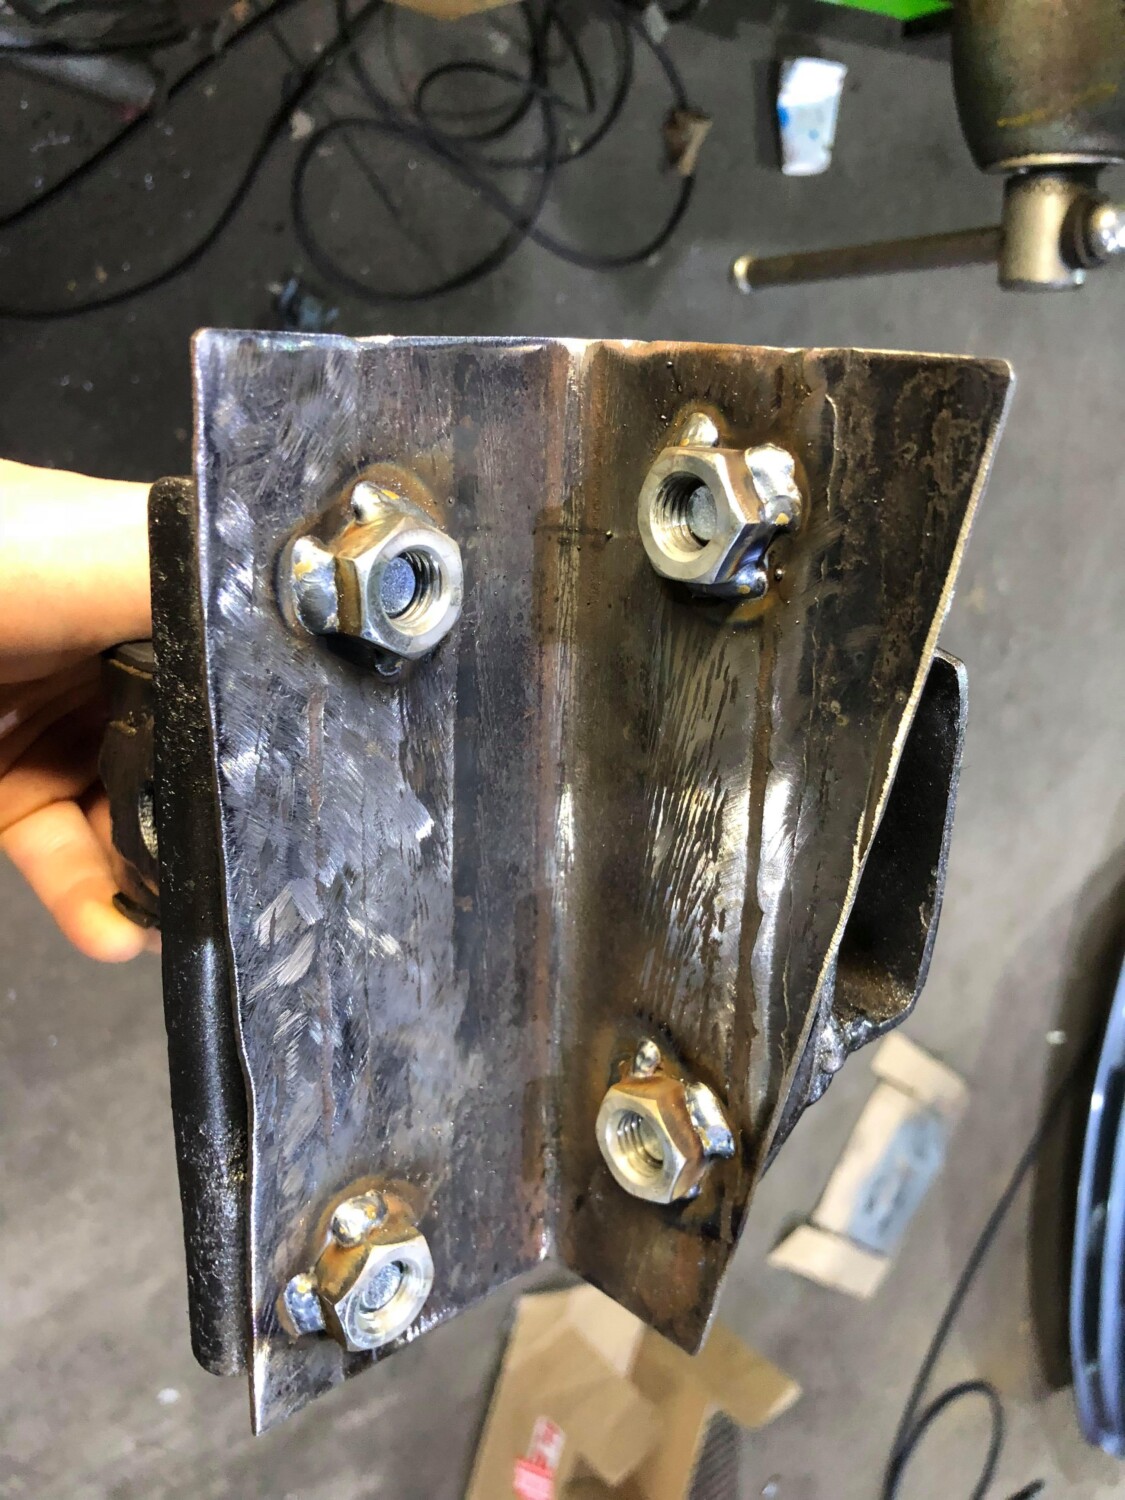
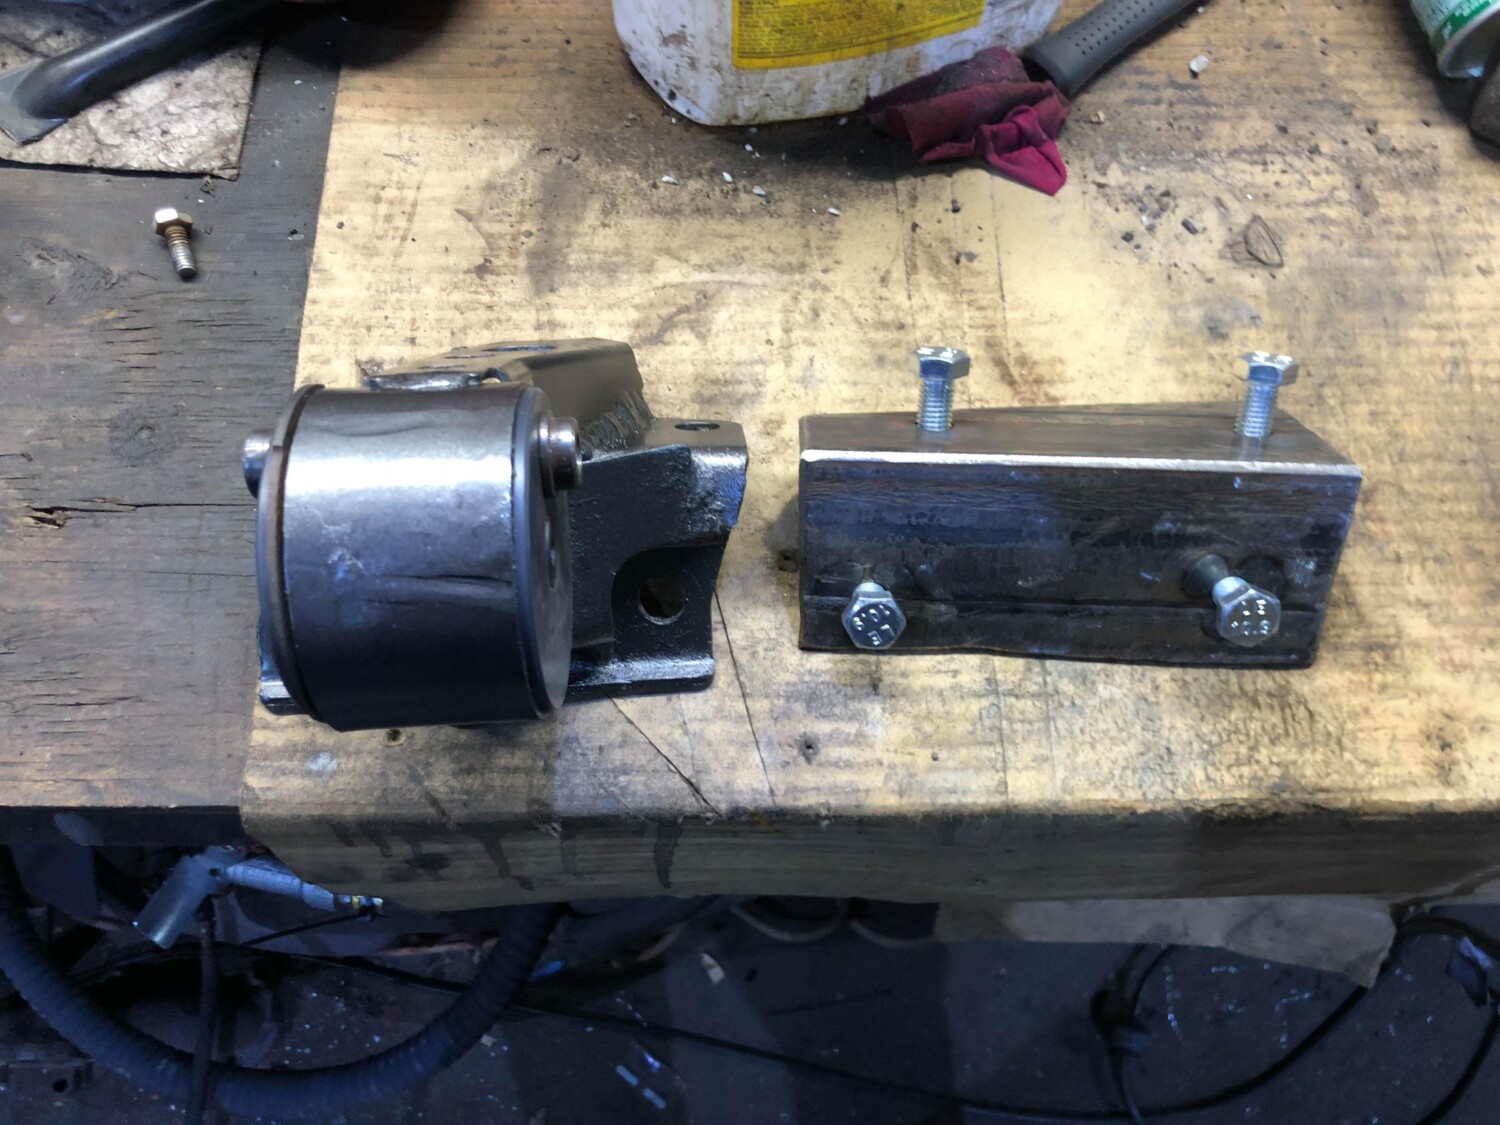
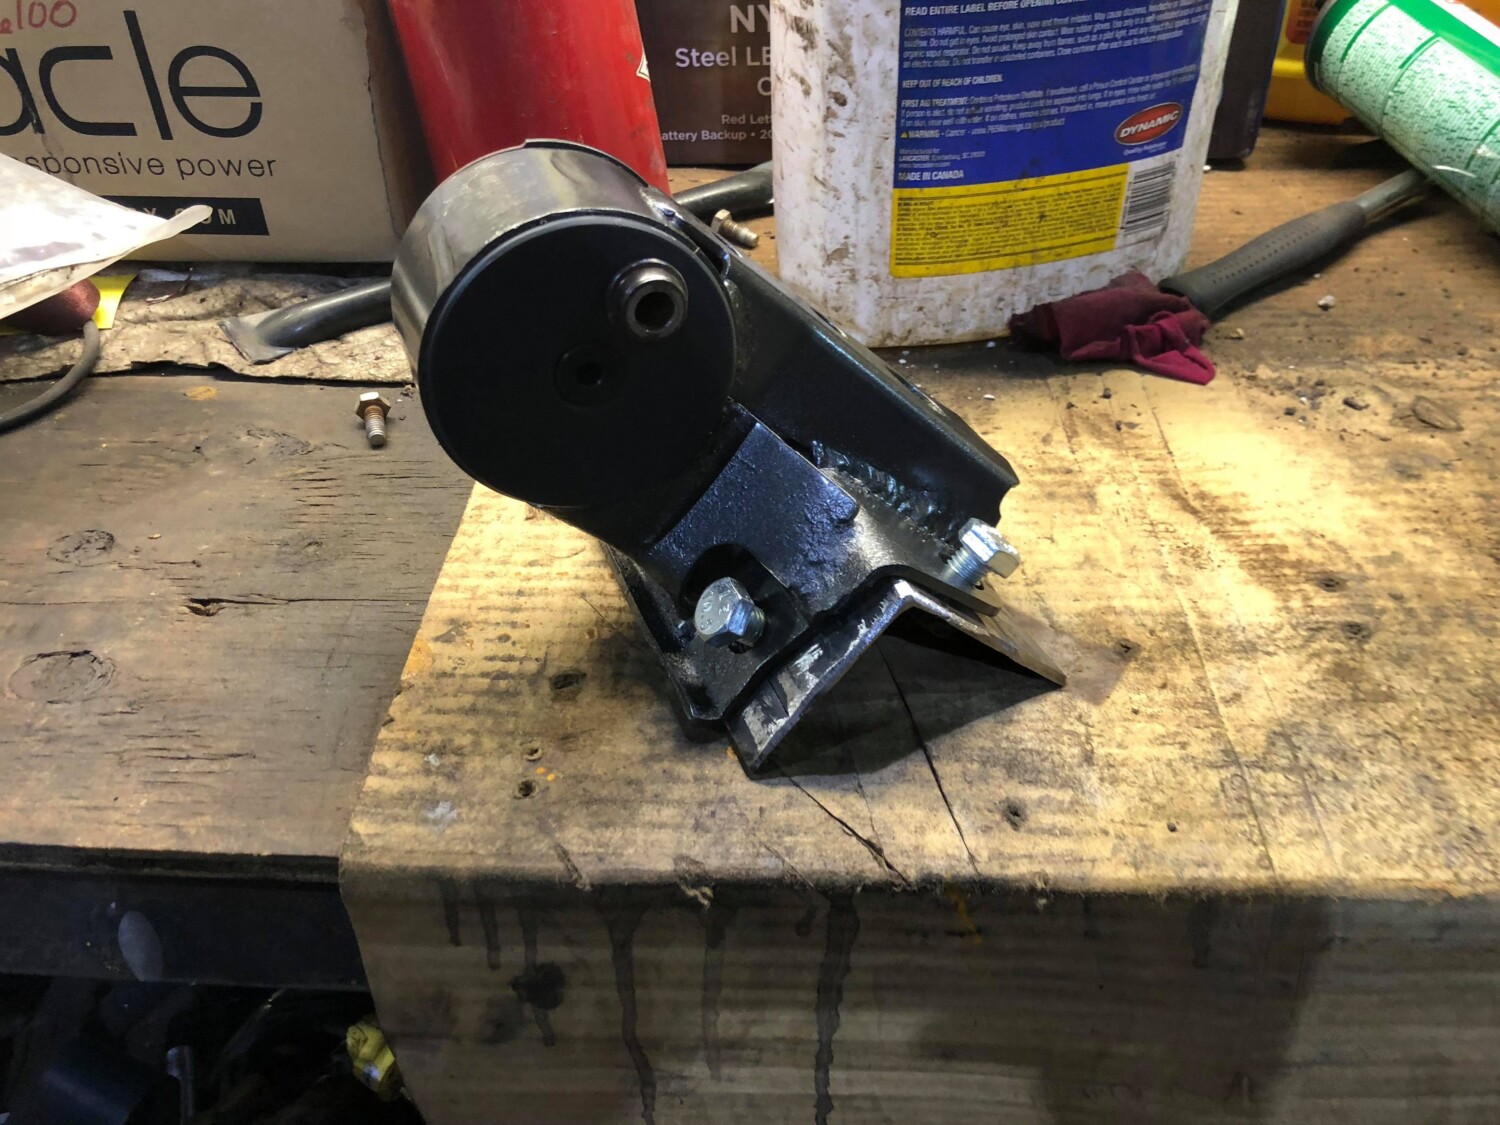
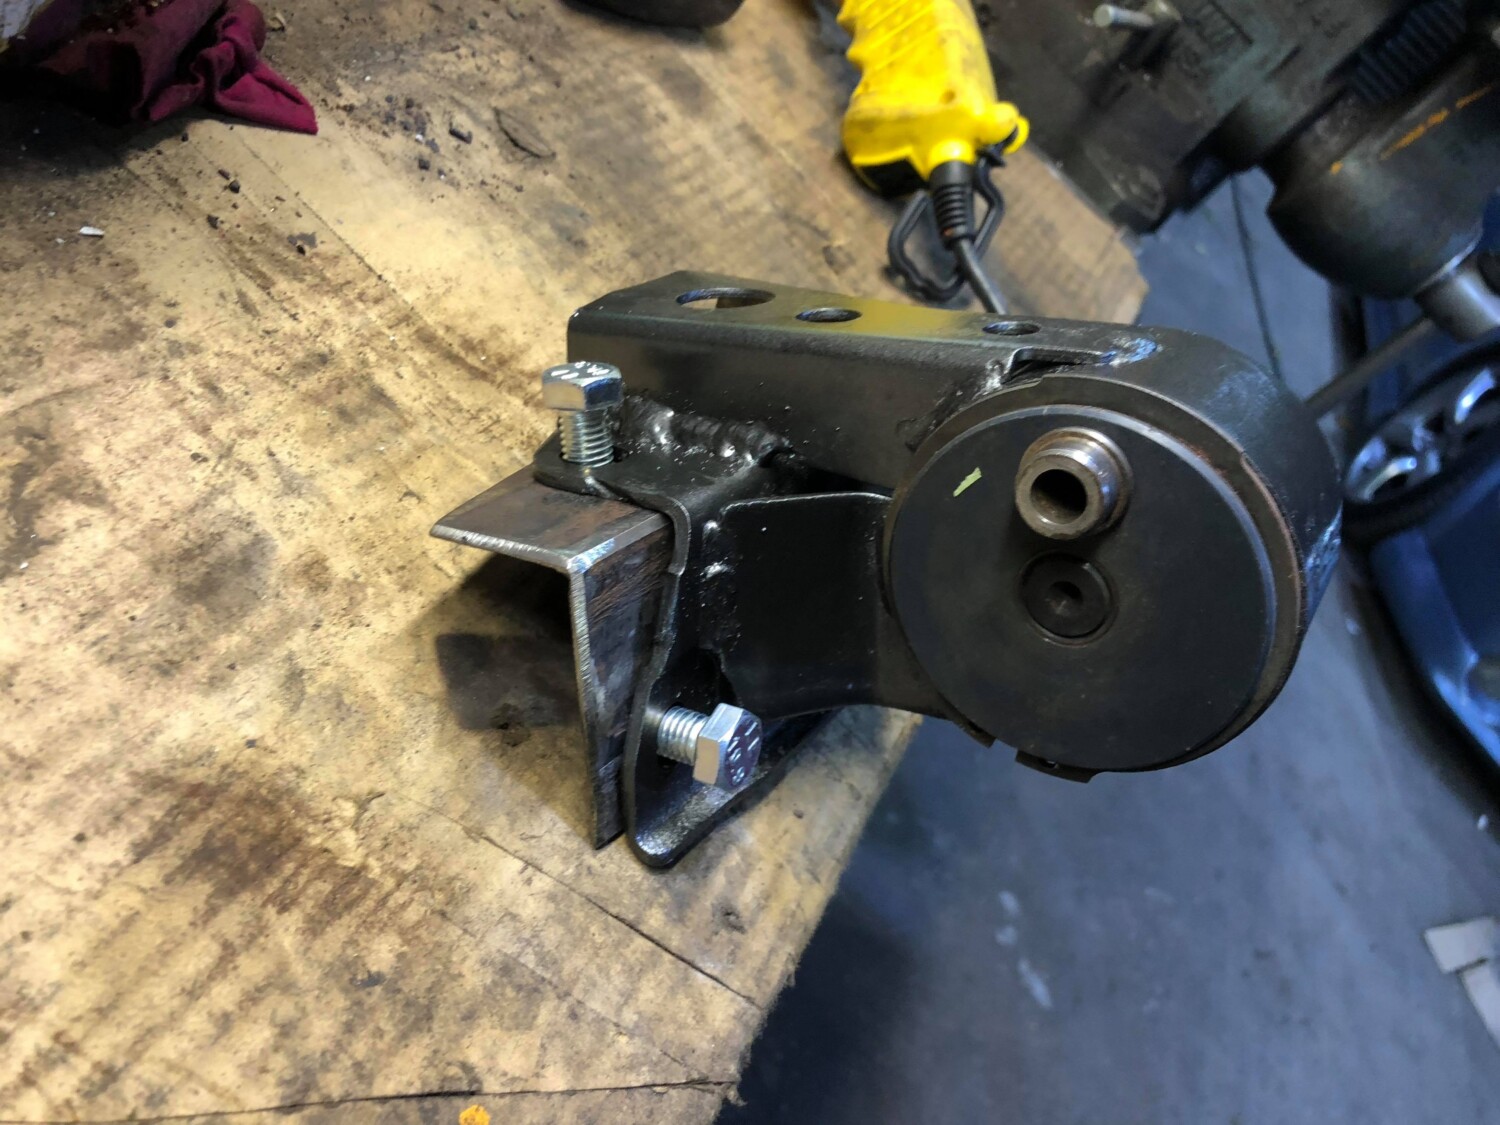
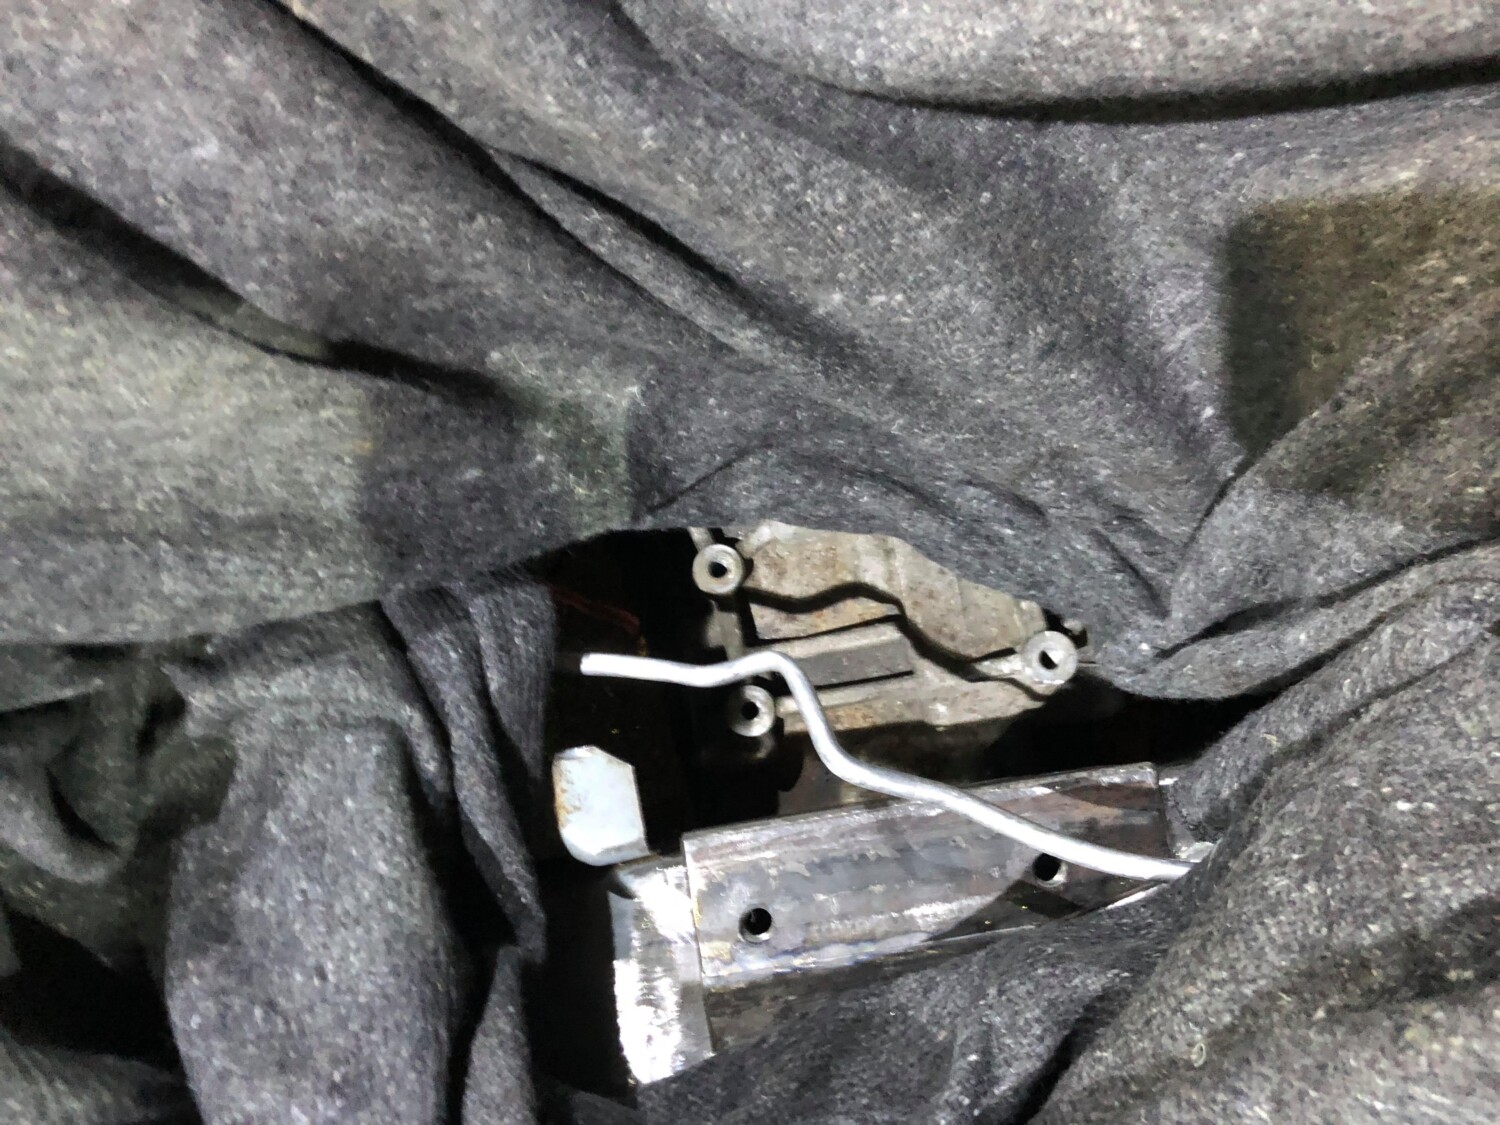
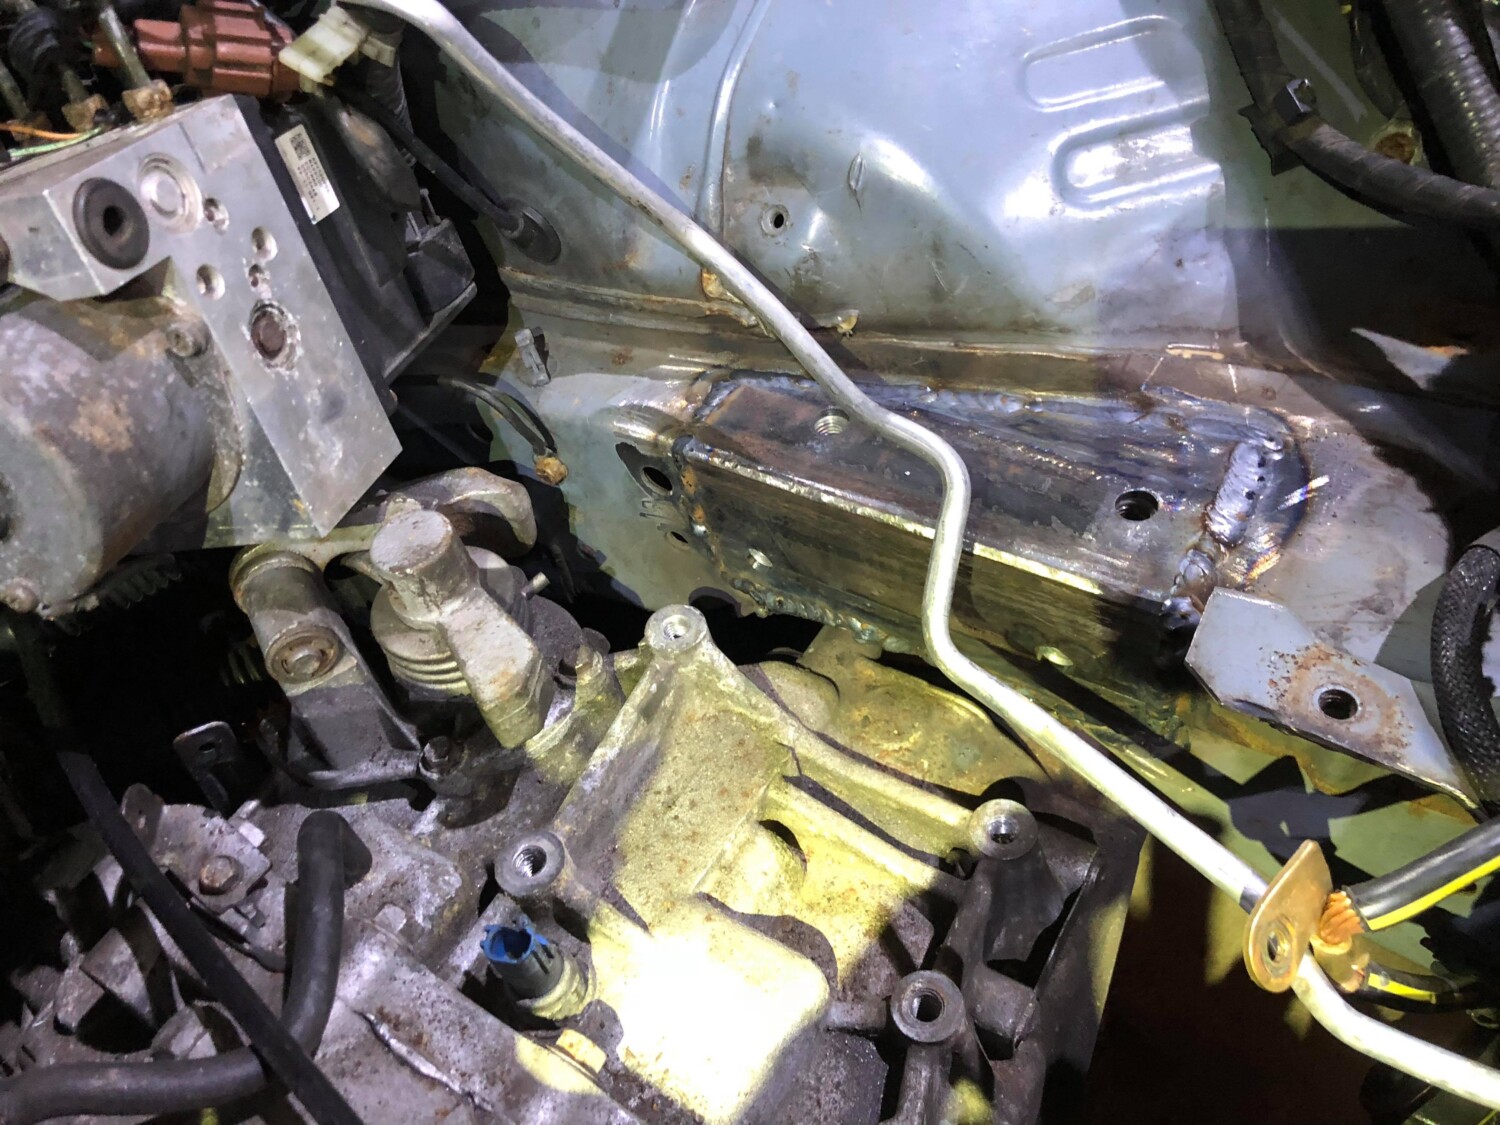
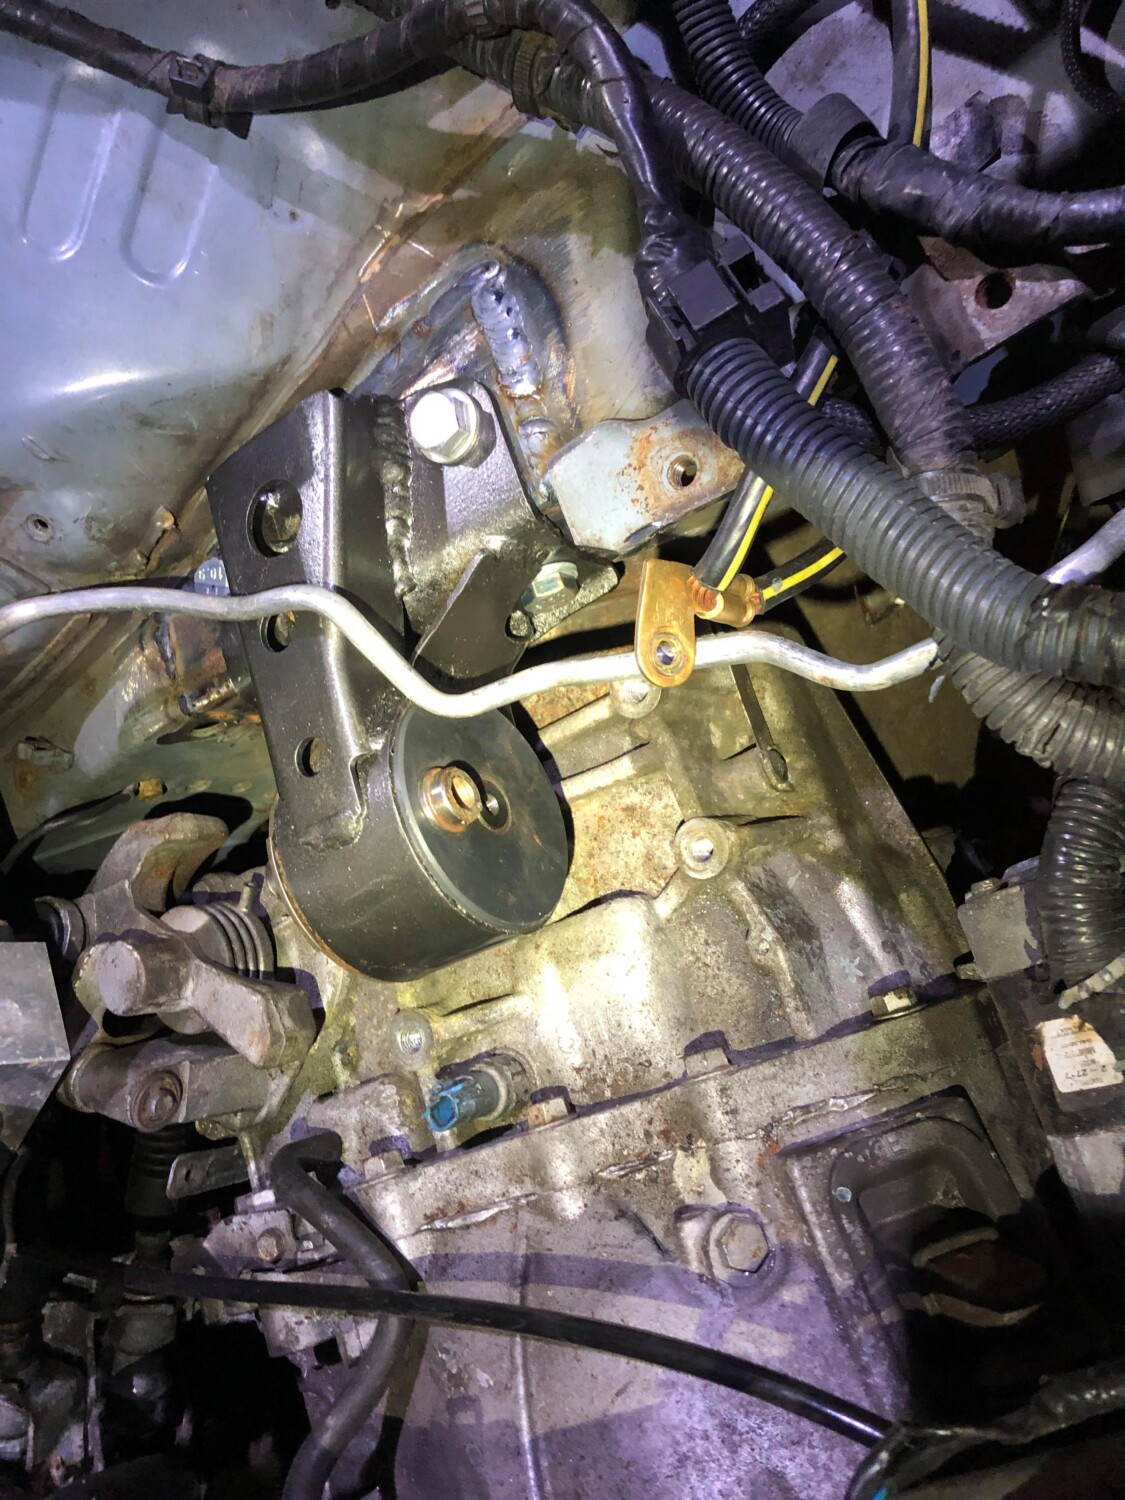
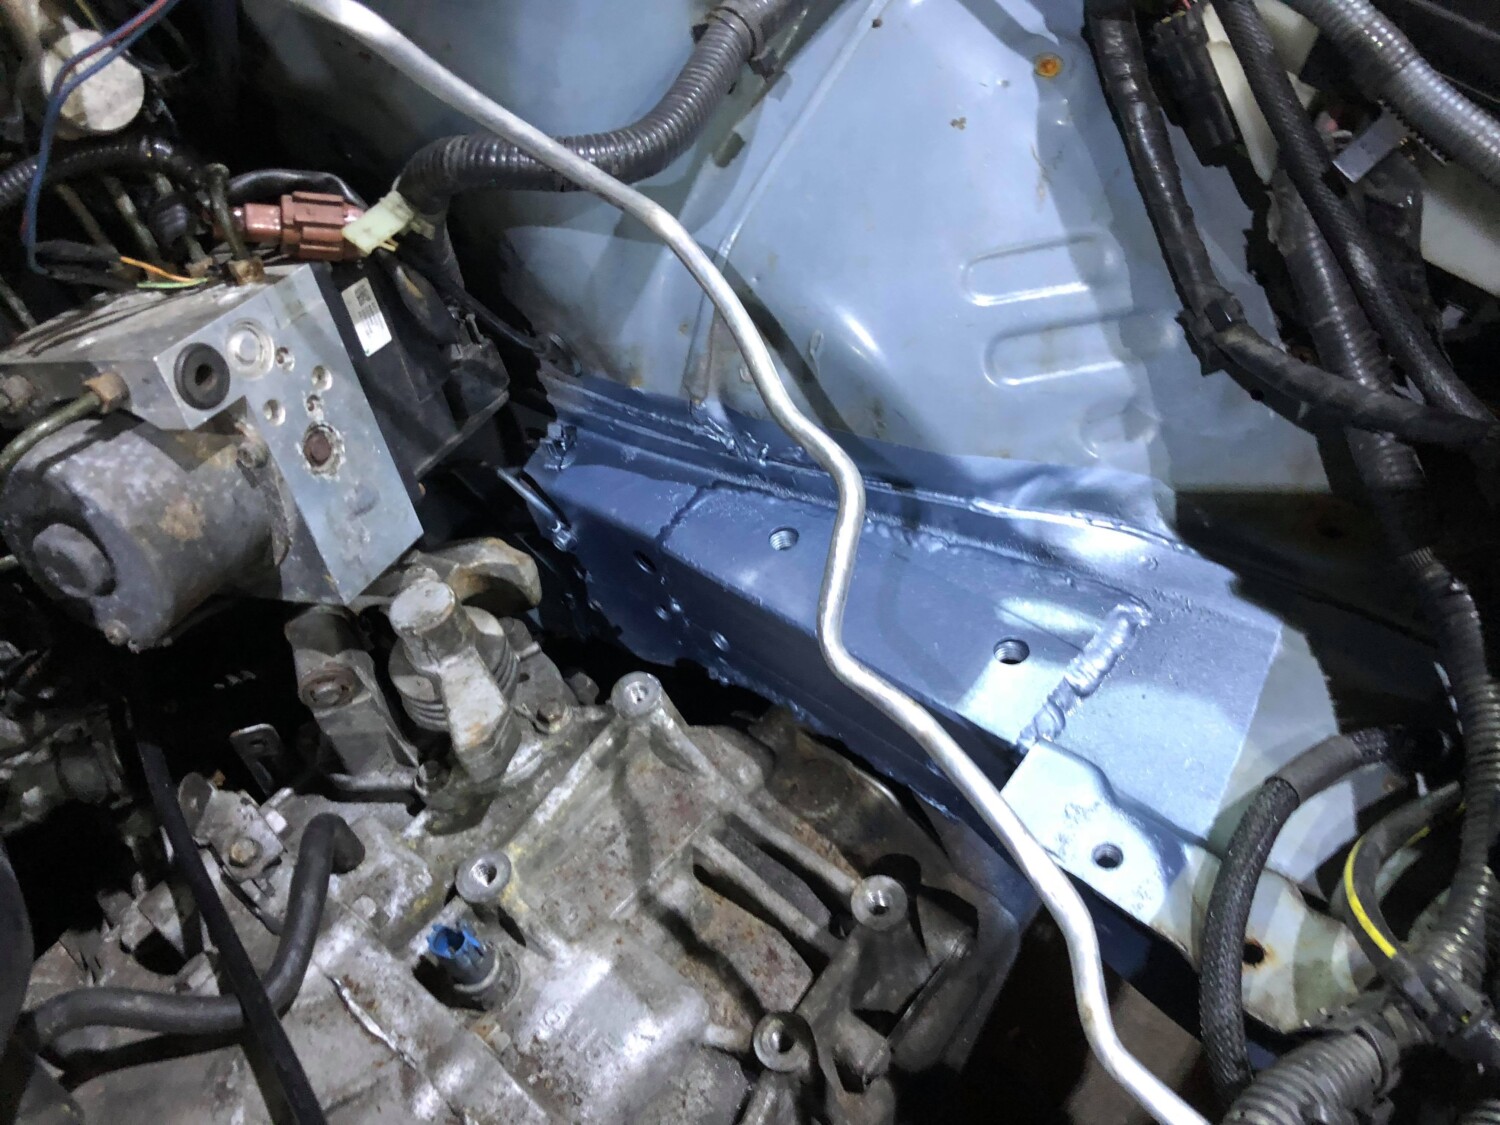
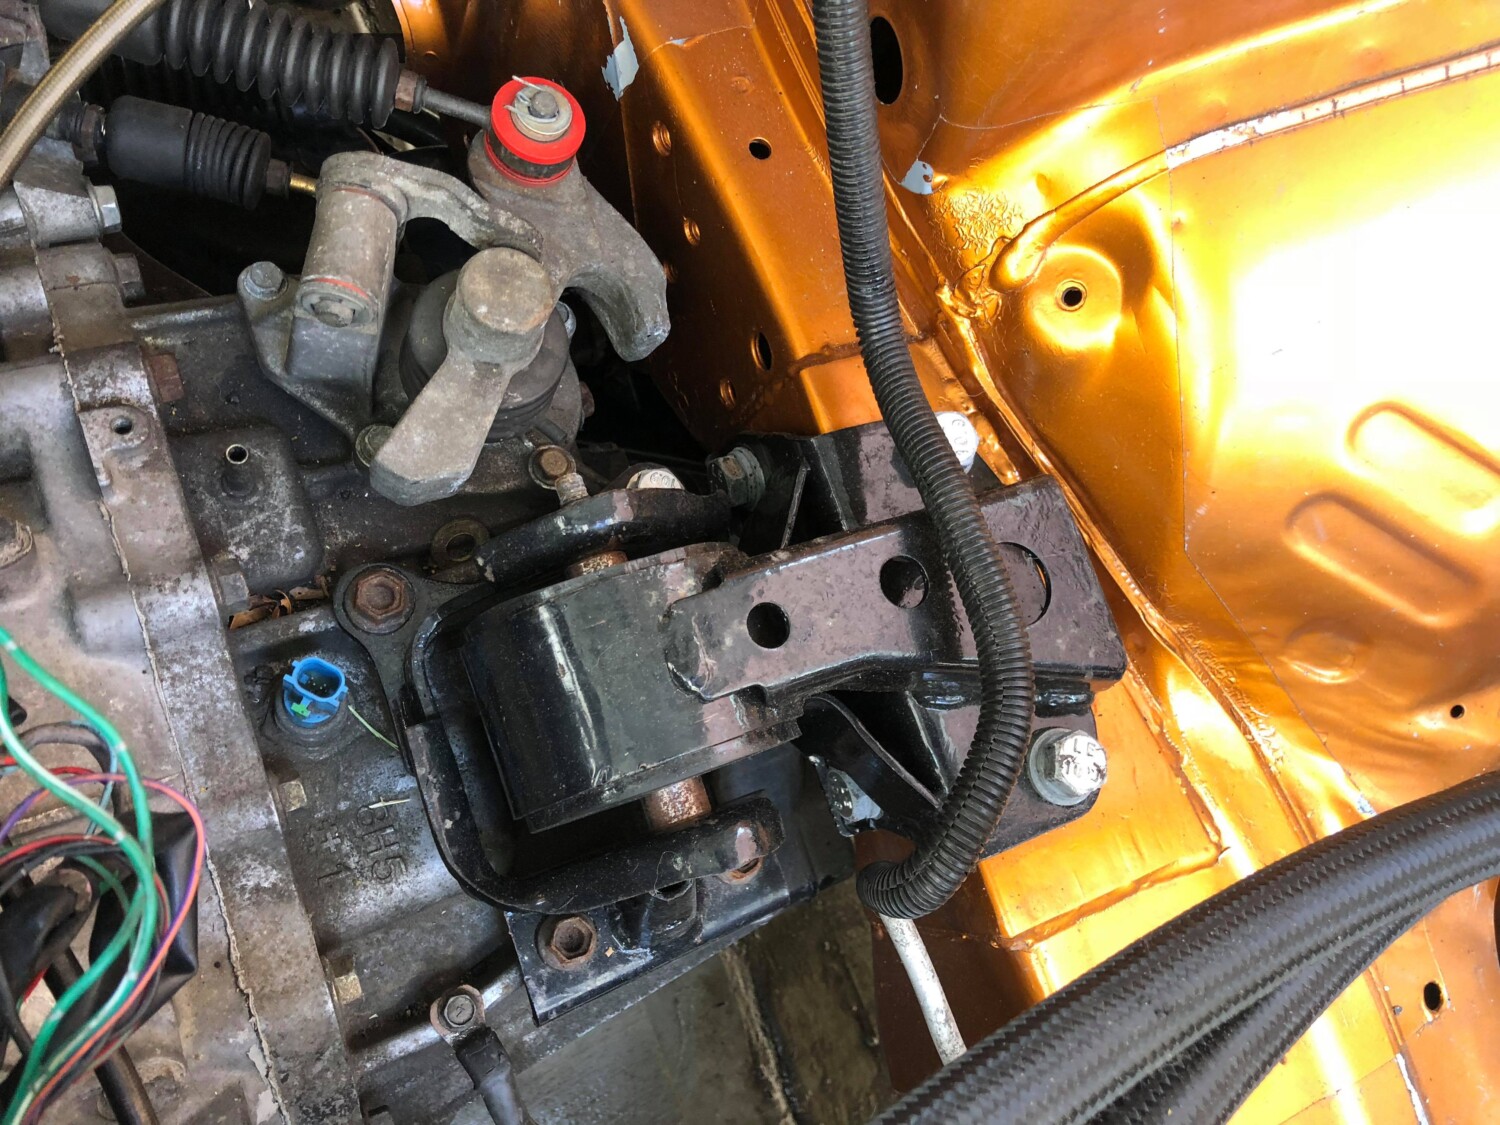
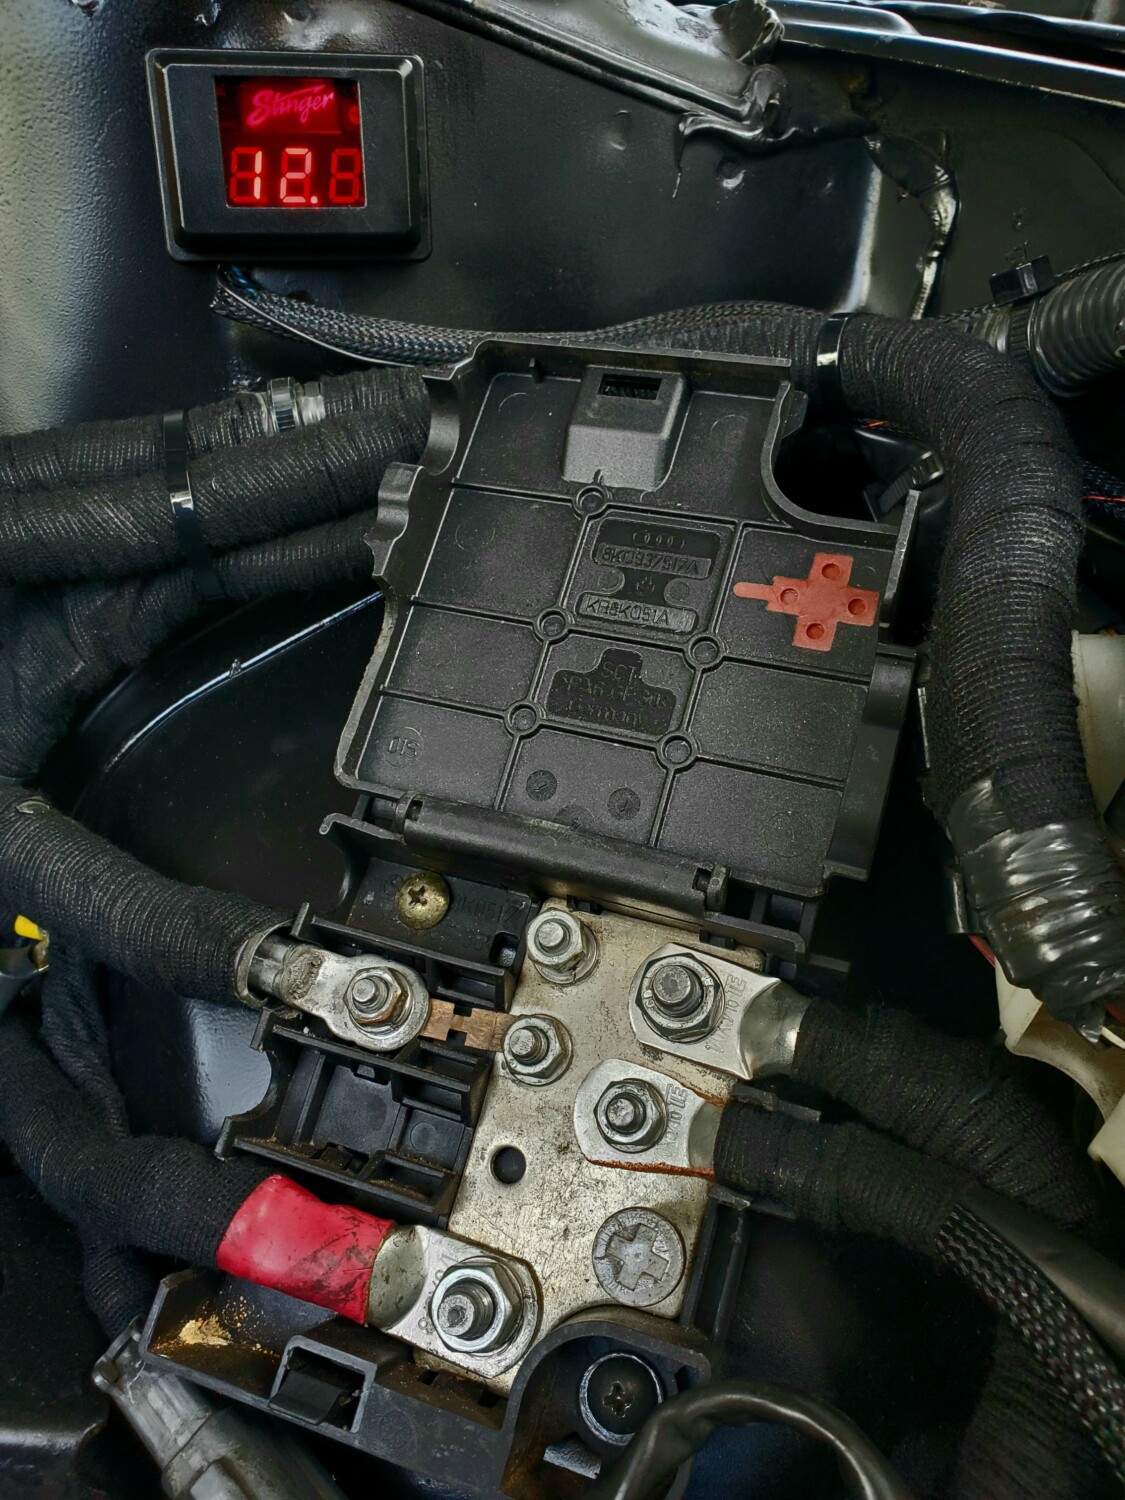
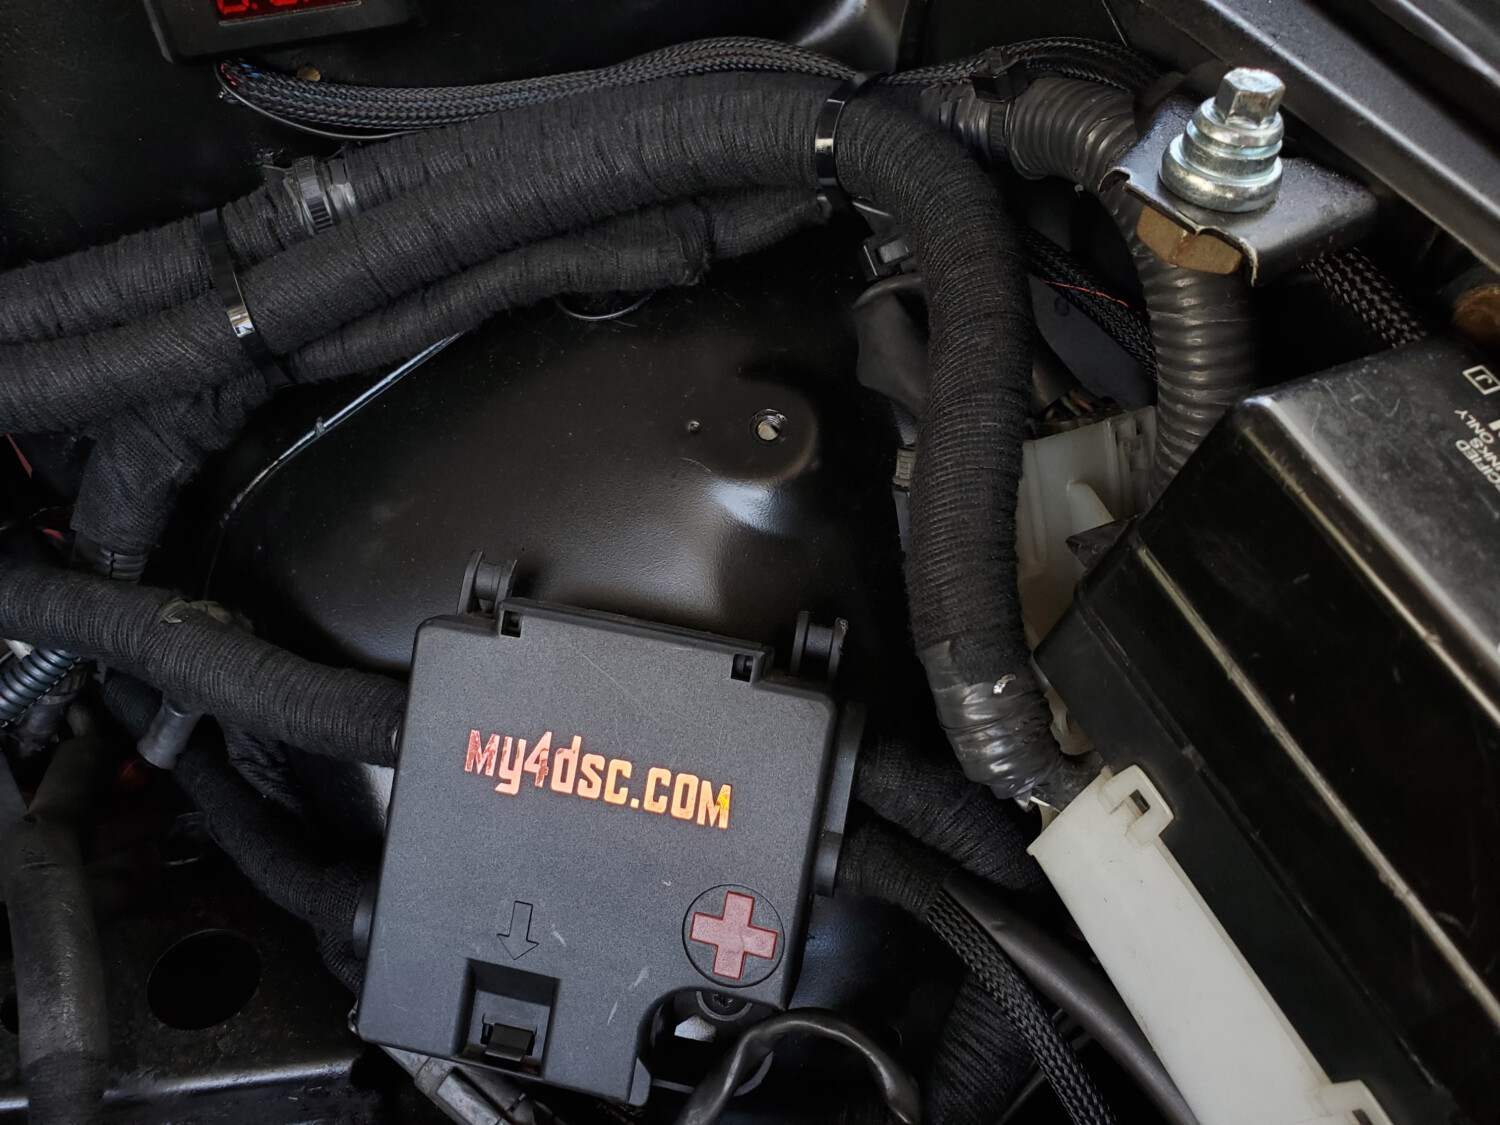
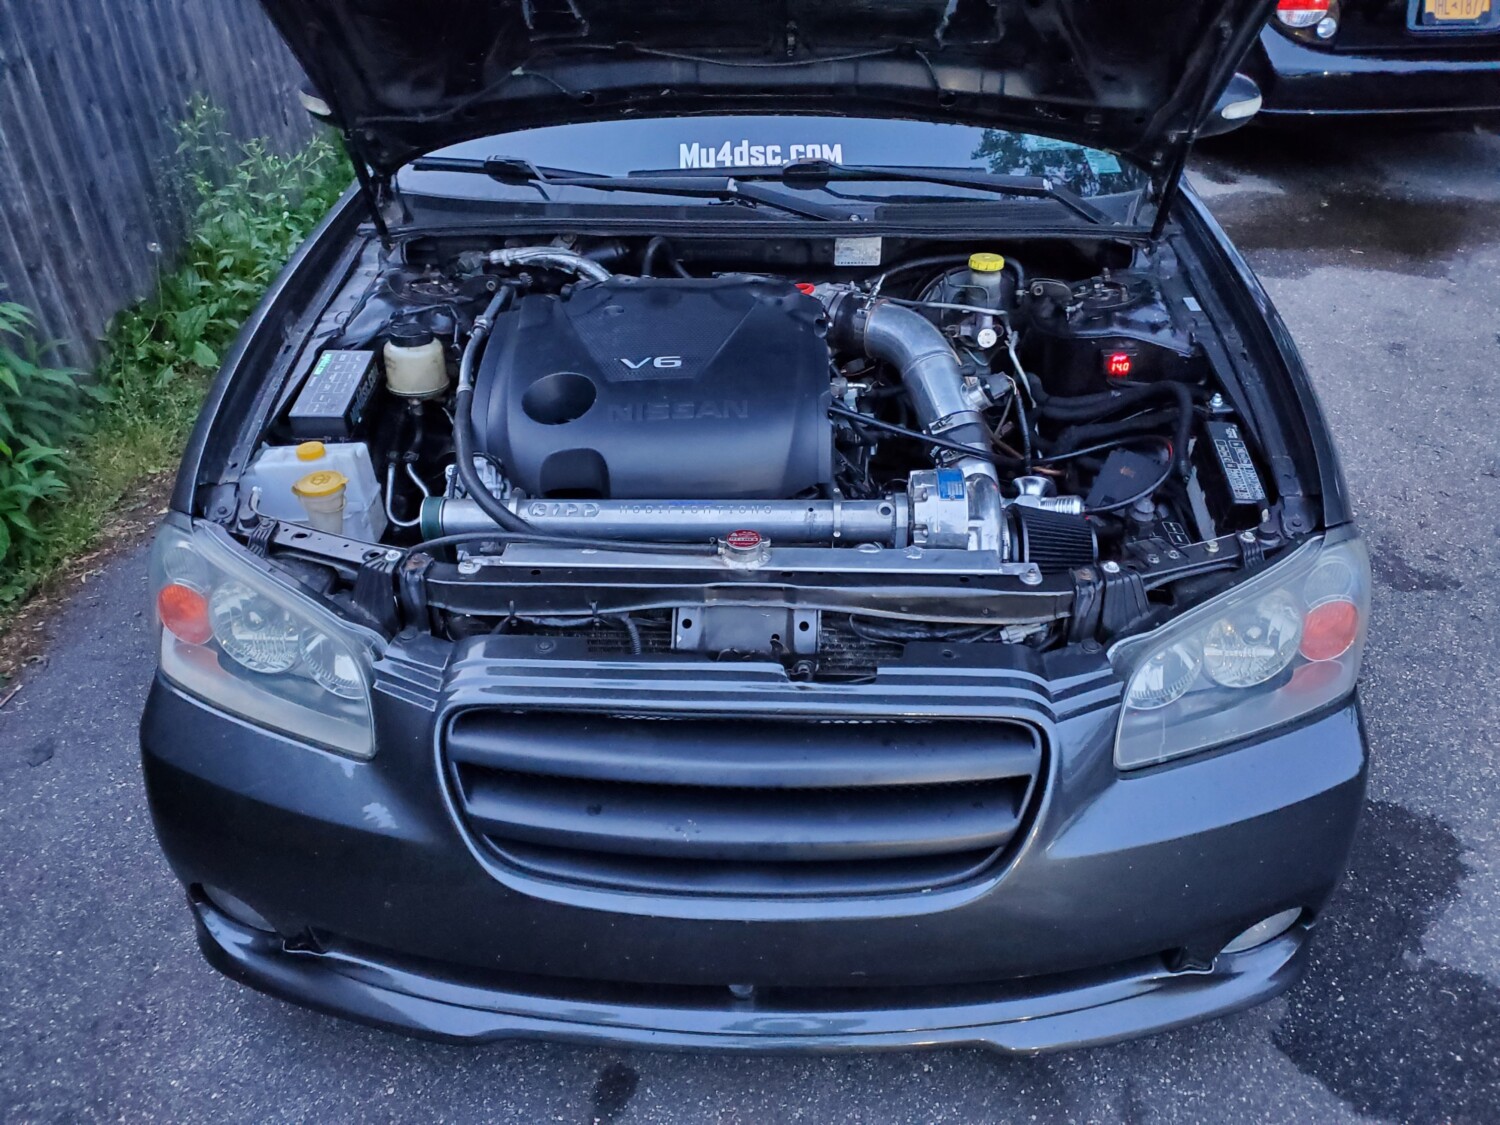
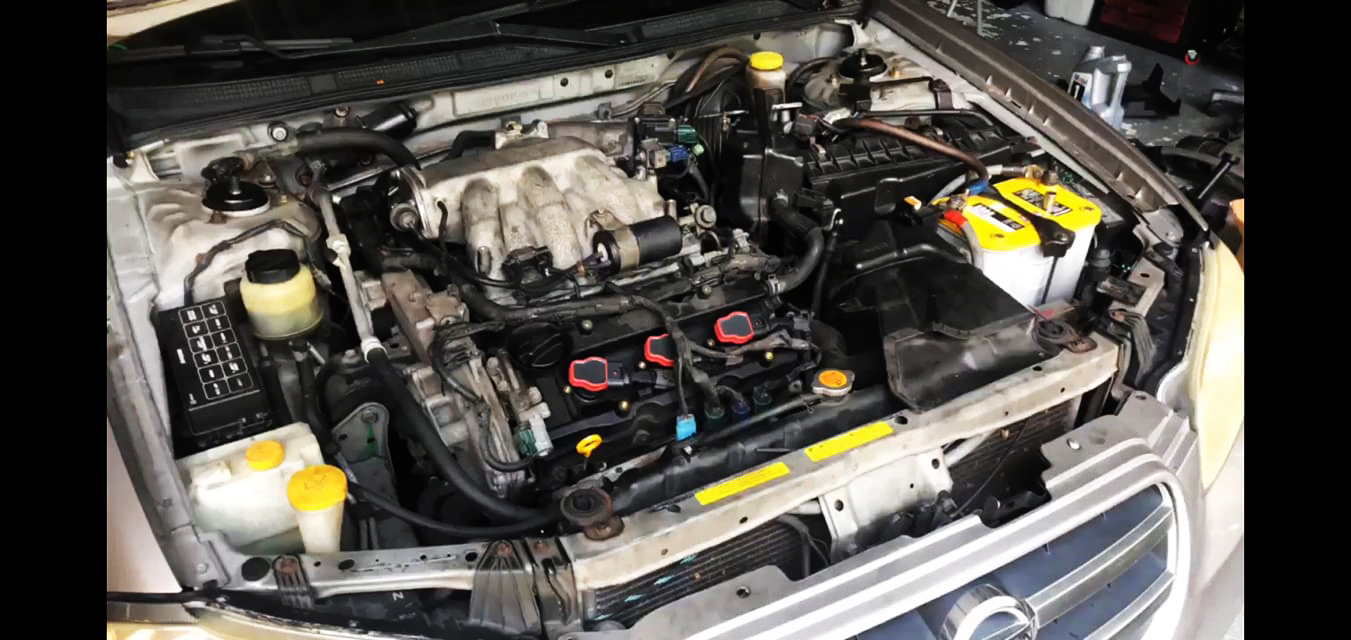
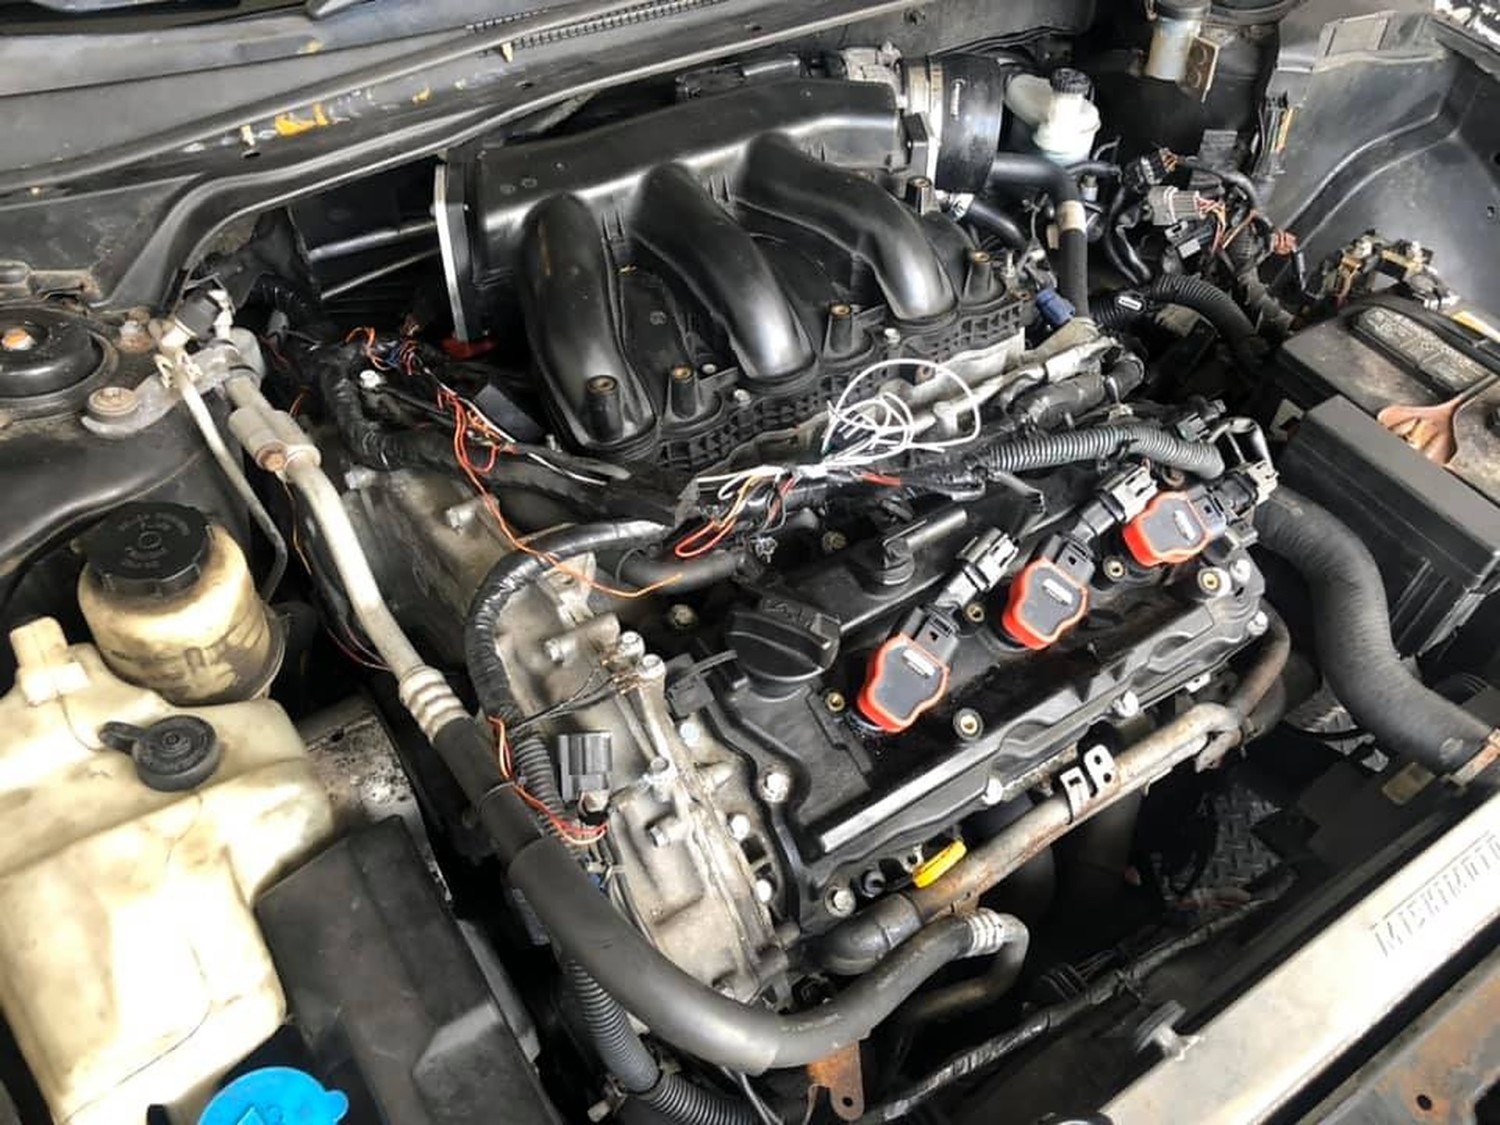
 Installation Photos


")