Well I got my AEM FIC running finally after a week of messing with it, and it does run a 4gen maxima and the timing works on it too. Neat little set-up and a good option vs eManage.
I’m running it on my 1996 maxima with a z32 MAF, 410cc injectors and a t3/t4 custom turbo setup.. and I have a 2008 3.5l in there out of a 2008 maxima.. with a pathfinder tb.
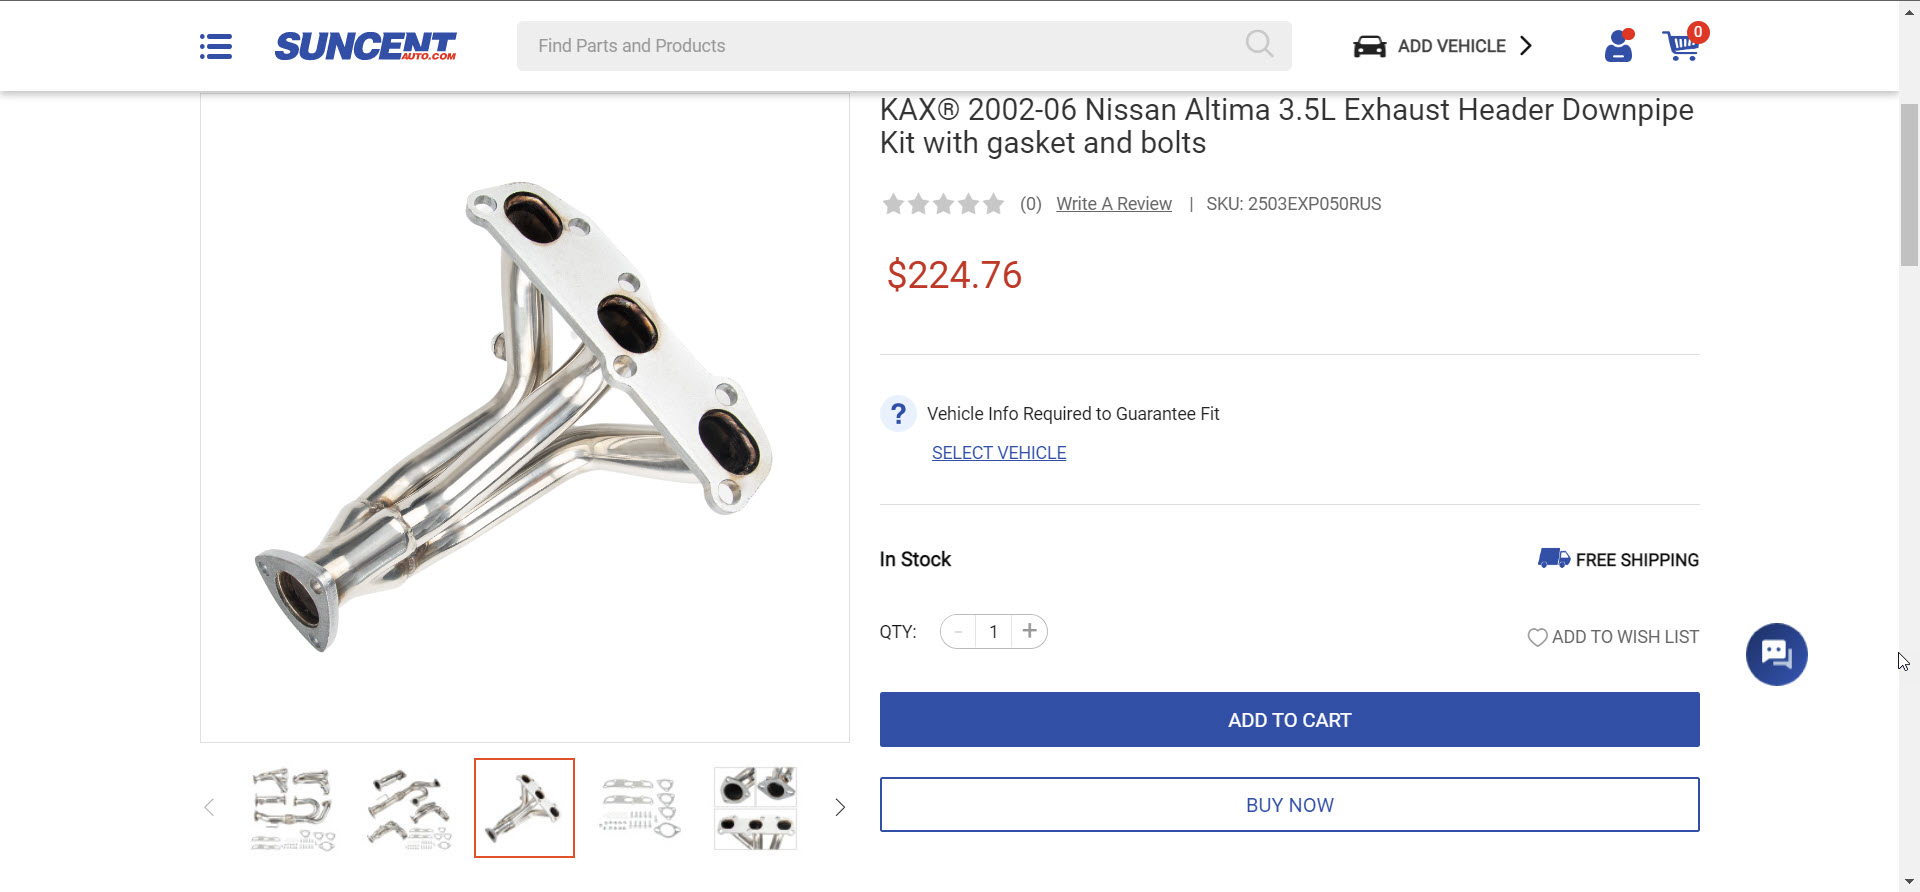
Description: 2002-06 Nissan Altima 3.5L Exhaust Header Downpipe Kit with gasket and bolts Part Number: 2503EXP050RUS Price: $224.76 (use coupon code DRIVEfor 10%. Comes out to $202.28). We are not affiliated this company for any discounts, just found from Google.
Important Note:
As you’re aware these require modification of y-pipe for perfect fitment. Please research it. This has always been known with the Altima VQ35DE headers. They are NOT plug-n-play. But for the price, they are very well worth it. These also come with a downpipe so it makes an even more awesome price.
A few maxima members have already ordered and confirmed this is a legit shop. They’ve received their ordered with no issues.
Well it’s not much of a how-to really, and it’s not much of an upgrade either.
But nonetheless, a Reman from AZ done by the same company is $160 for a ’96 I30 (125 amp stock w/125 and 110 amp options, 110 = $130’ish IIRC) vs $210 for a ’04 I35 (110amp stock w/no 125 amp aftmrkt option listed)
I30/GLE = $160 125amp 5.5 Gen = $210 110amp
There’s really nothing to it. the pulleys all line up the same and everything, you just need to use a hammer to tap the bushing until it lines up with the location of the 5.5 gen one. If you lay them both on the table with the pulley facing down, you will see that they are nearly identical and what needs to be changed.
Hold the aluminum casing nearest the bushing between the edge of the table and your stomach, than tap, you don’t want to be tapping the bushing on that mount while resting the alternator on the pulley, you could snap the case or do damage to the alty, this will all become apparent and if you can handle replacing your alternator you are smart enough that this will be common-sense to you.
So for anyone else that falls in this position you will need a 7-rib serpentine belt at no less than 53 inches no more than 53 3/4 routing the belt the same way just instead of going around the AC pully from the idler pulley go straight from the idler pulley to alternator pully and so on.
I used a Duralast 535kk7 and I still had a tension pully from when I replaced all pulleys a year ago and I used it in the place of the OEM idler pulley it is just a little smaller than the idler pulley and everything fit perfectly no problems at all. So hopefully this helps someone as much as it would have helped me.
Option 2 via Danblueheron
Just completed this project. I used a 540K6 belt. It’d 6 rib not 7, but works fine. I also replaced the upper idler pulley with a factory tensioner pulley because it is a little smaller. You need a little extra clearance if the belt isn’t going around the ac. Hope this helps someone!
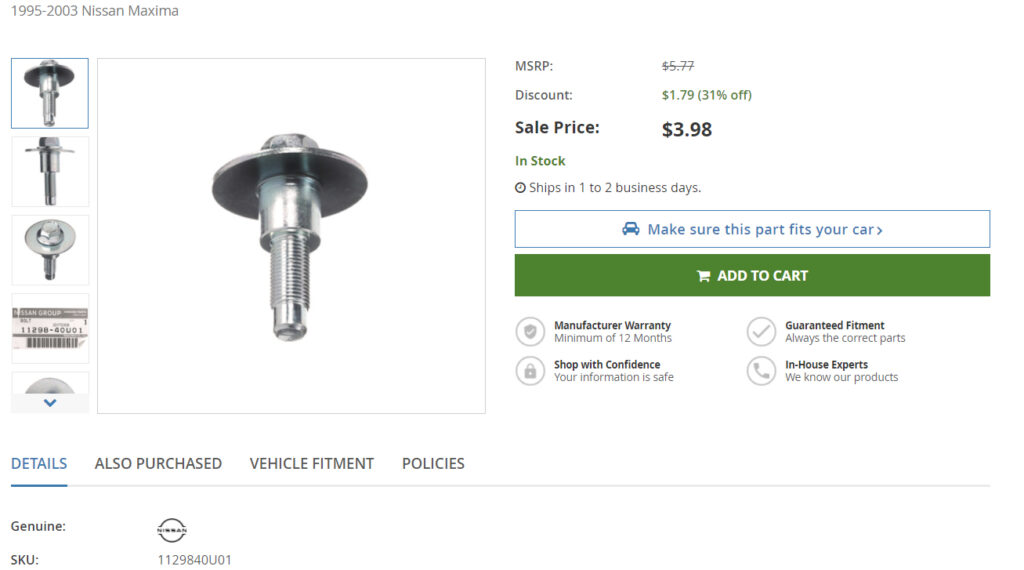
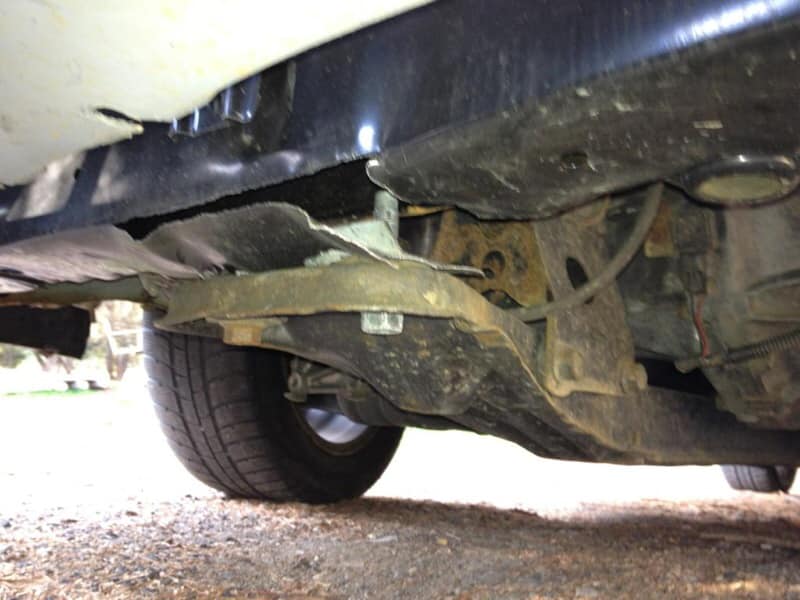
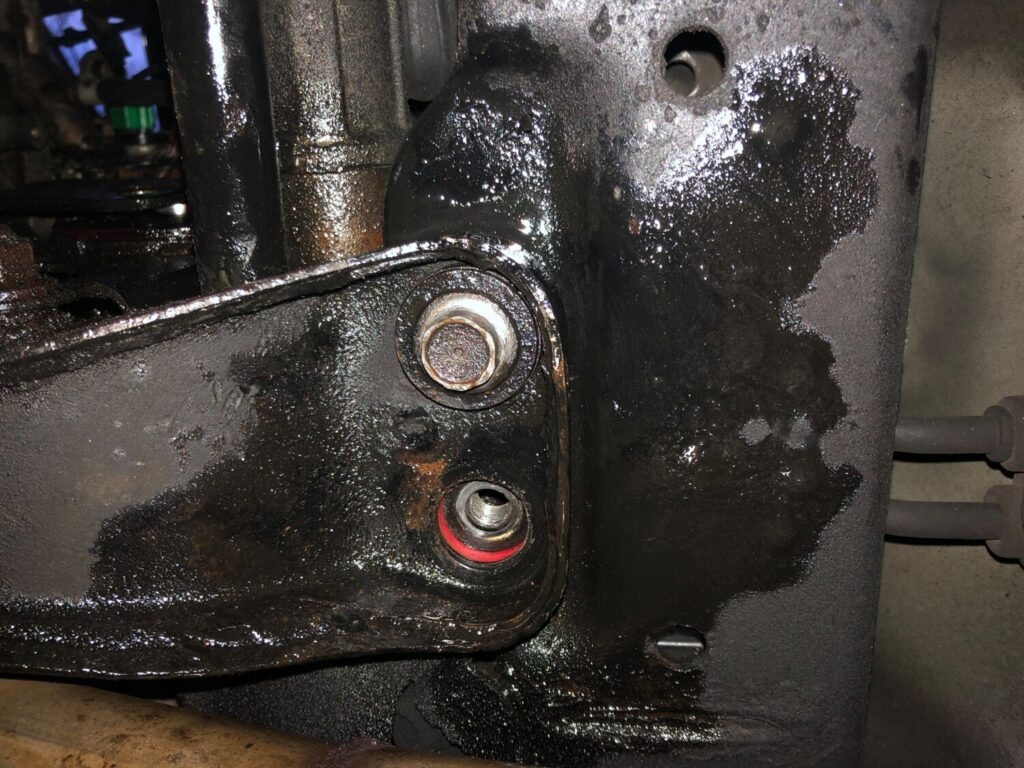
Applies to 1995-1999 and 2000-2003 Nissan Maxima. The cross-member bolts show up as two different part numbers but they are the same exact bolt. You can enter the part numbers online and order from whichever site you prefer.
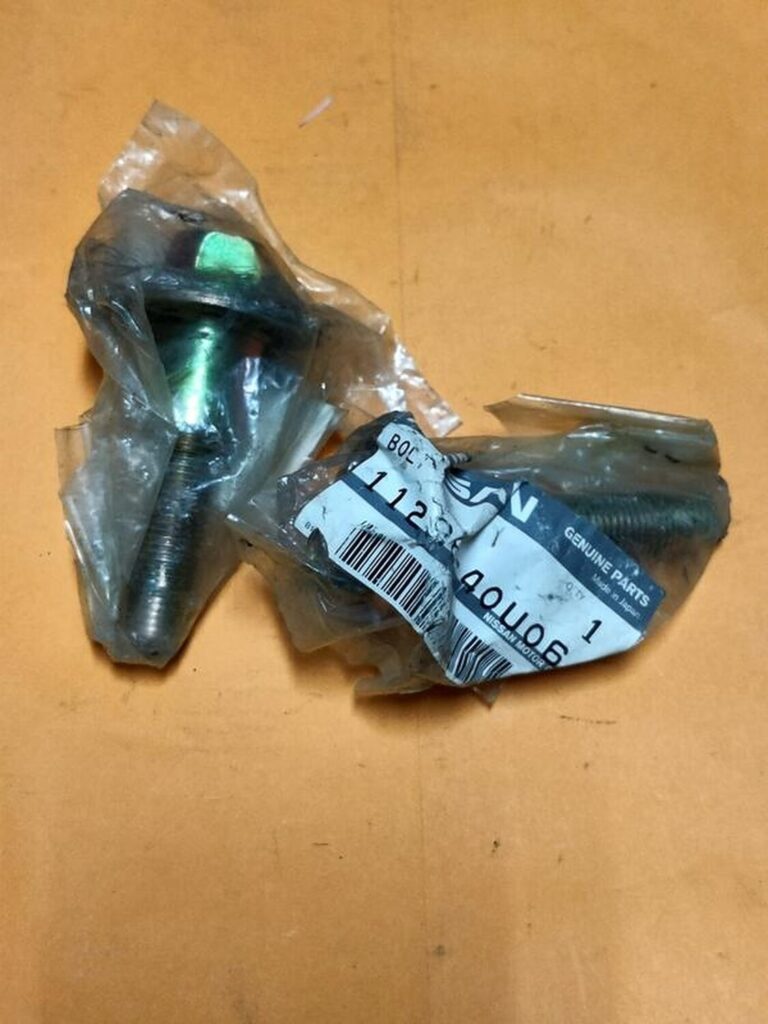
1995-2003 Nissan Maxima Engine Crossmember Bolt:
Part Number: 11298-40U01 / 11298-40U06
Price: $10.00-12.00
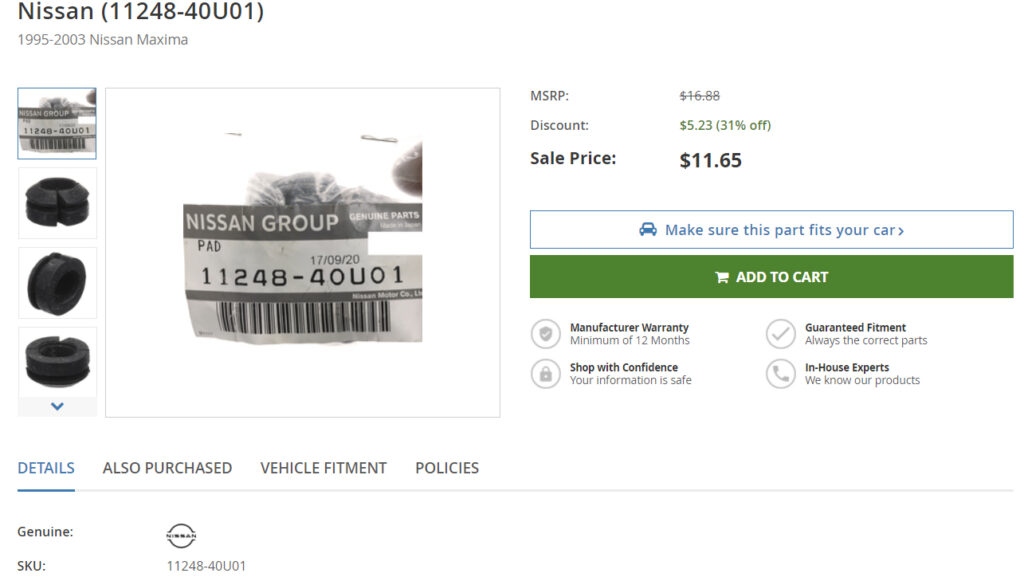
1995-2003 Nissan Maxima Engine Crossmember Mount Bushing:
Just a lil knowledge share on VQ engine Info for Nissan Maxima’s. I know many probably never new what the “K” stands for. VQ30DE, VQ30DE-K, VQ30DE-T, VQ35DE.
VQ –– Engine Family 3.0/3.5 –– Liter Displacement D –– DOHC (Dual Overhead Camshafts) E–– Multi Point Fuel Injection
————————– K –– Kaizen (Japanese word which translates to “improvement”. It was only applicable to 00/01 5thgens. Basically an improvement over the 1995-1998 VQ30DE. The firewall plates did not specify the “K” in the name plate. So you will still see VQ30DE.)
————————– T–– Turbo Version of Engine. Mostly JDM vehicles.
There has been a lot of discussion in the Nissan Maxima community around the crankshaft pulley and whether it’s a dampener or balancer. Despite how often people get them confused, a crank pulley, a vibration damper, and a harmonic balancer are three different things. Kind of like they’re, their, and there. The crank pulley on a VQ acts as a vibration damper, but it is not a harmonic balancer. The VQ is internally balanced.
What is often called Harmonic Balancer is really a Harmonic Damper. Nissan doesn’t use either term. The factory service manual identifies the part as Crankshaft Pulley. The main purpose of a harmonic damper is to control harmonic vibration, not to balance the engine’s rotating assembly. It has nothing to do with engine balance. That’s the elastomer ring that binds the outer pulley to the inner pulley. Just about every car manufacturer uses a thin rubber ring between two concentric pieces of a crankshaft pulley. The amount of damping can be varied by how thick the ring is.
Additional Info:
As for the underdrive pulley vs. light-weight stock pulley… the light-weight stock size pulley will help you rev faster and may free up some horsepower because it is lighter than the stock pulley. An underdrive pulley (UDP) will do the same things, but it will do them a little better because it is smaller and even lighter, and, due to its smaller size, also takes less power away from your engine to drive your alternator and air conditioning compressor. Most people don’t really notice the loss in electrical power or AC efficiency unless they have big audio systems.
It’s important to note that both pulleys are solid and do not have vibration dampers. Also, the UDP will require you to use a smaller accessory belt. Take those as you will.
Most UDP failures have been the pulley itself due to cheap quality. The majority of VQ owners have never had an issue with “upgraded” pulleys.
I noticed the 5th gen injectors are 4 hole, and the 5.5 gen are 18 hole. The flow rates are slightly different 306cm/min – 5th gen 294cm/min – 5.5 gen. Besides that, they looked identical.
The article talks about how more holes help atomization. So my thought was, why not try some 18 hole injectors in my 5th gen LIM and see if it helps.
Here is a pic of the 5.5 gen injectors (missing the pintle cap. Many of the caps were stuck in the LIM. I had to pry them out and pop them back on.
First a little back story on my 00VI swap:
August of last year I completed the 00VI swap with the 4th gen LIM and IACV. 5th gen TB, UIM (obviously), and EGR delete.
June of this year I swapped the the 4th gen LIM with the 5th gen LIM. (I had no way to tune at the time of my initial 00VI. I added a Emanage Blue in the spring) I felt a little bit of improvement over the 4th gen LIM. Not a big boost, but every little bit helps. Tuning is not my strong spot, so I’m running on a basic street tune. I’ll work on getting the map fine tuned when I get around to it. WOT runs 10-12 AFR.
I took a quick trip to the junkyard and picked up 6 5.5 gen injectors. They fit right in, no issues at all with the install, even the plugs are the same. It was more of a pain to take the UIM off for the third time in a year. I cleaned them first, just as I did with the 5th gen 4 hole injectors.
I didn’t touch the tune, I figured the difference was small enough I could take on the task of tuning later.
My first impression is WOW. These new injectors are great!!! I can’t believe I haven’t heard about this on the .org
Mid throttle low RPM made the most improvement. Not a lot of gain at high RPM, but no losses. The best gains are below 3500 rpm at mid throttle. Idle seems a little smoother to boot. This is a great mod, especially if you are doing an 00VI with the 5th gen LIM. I can’t get over how much more power I have below 3000rpms. Without touching the tune from the 5th gen injectors, I’m running 12-12.7 at WOT. SO that problem seemed to take care of itself.
It’s too early to tell, but I’m hoping my gas mileage might go up slightly also. You know the spot your used to resting your foot to keep a certain speed (25mph, 55mph, etc.) I had to re-learn my position, I found myself slowly accelerating with my current foot position.


")


")


")

")


