


Community Member Credit: NZ 4th gen cefiro
So I’ve had my “new” 5th gen Maxima (actually same as an i30 here in new Zealand) since last Thursday and based on the information on this forum I’ve attempted the ECM protective measures that many of you discovered with considerable time and effort (pain?), for which I am very grateful.
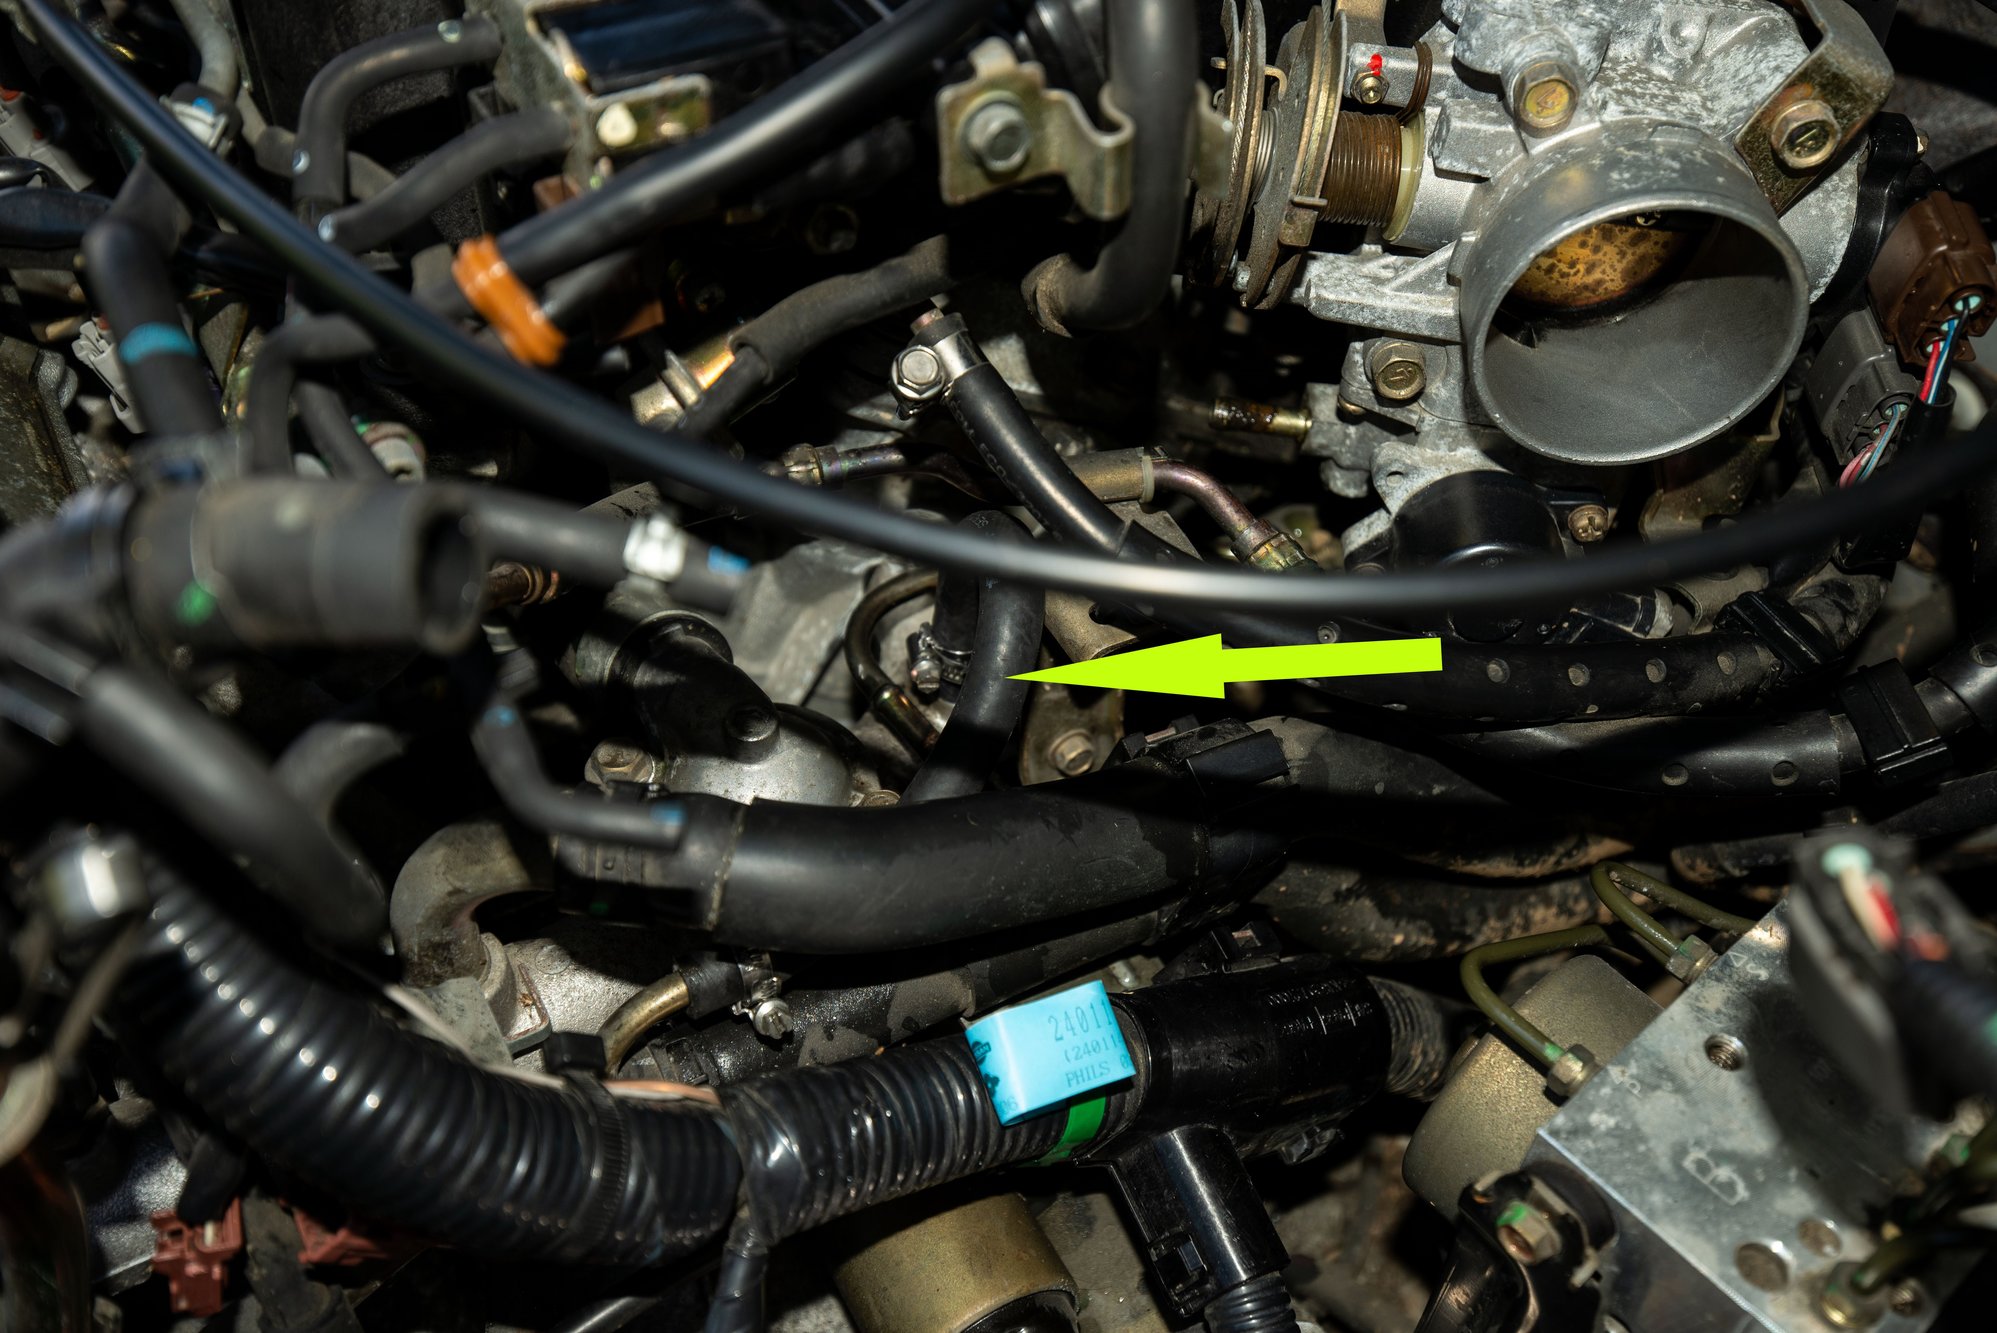
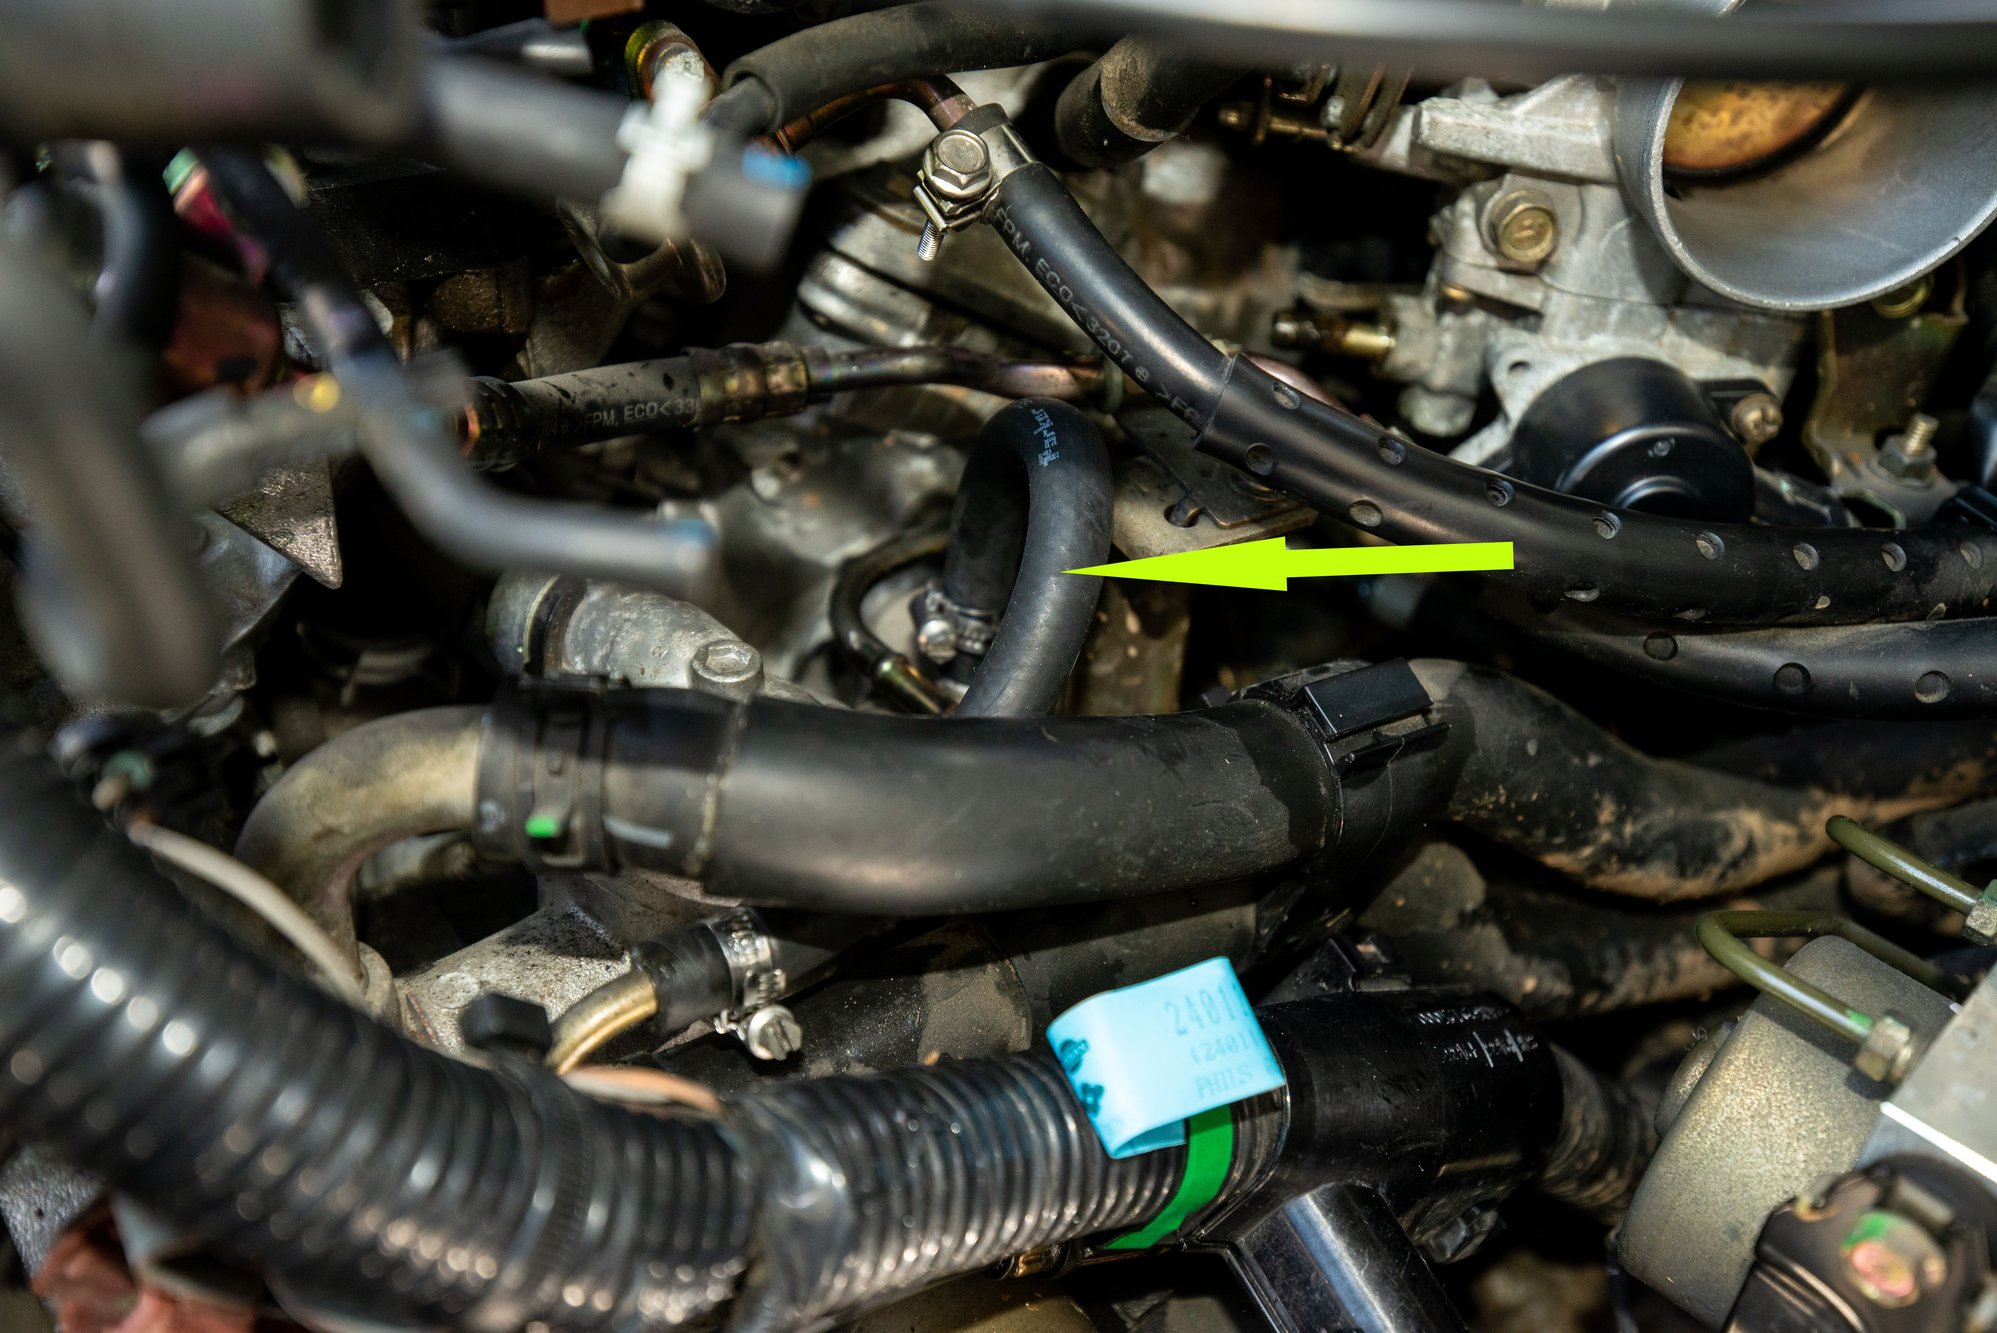
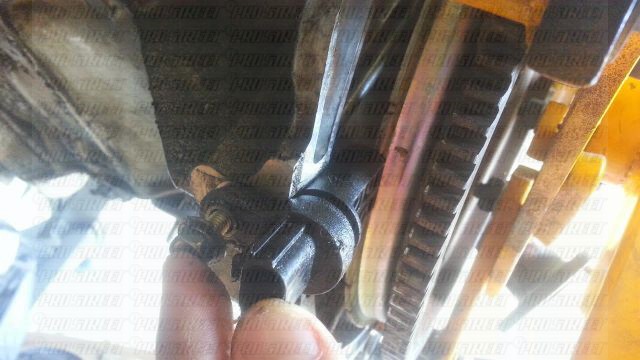
I am not sure if I have done it correctly, but the car seems to be running fine with no leaks. I couldn’t reuse any of the old hoses (or couldn’t figure out how to do it) so I just got a new section of coolant tube and cut it to length and just connected it to where the lines lead back to from the IACV , though I am a little concerned about whether the bend is too tight, being a piece of straight tube and all. I damaged the old hoses anyway, I hate those clips that are used to secure them and it took me quite a while and a few expletives to get them off, in the end I just cut the line directly under the IACV it was damned near impossible to get pliers on the clips in that section.
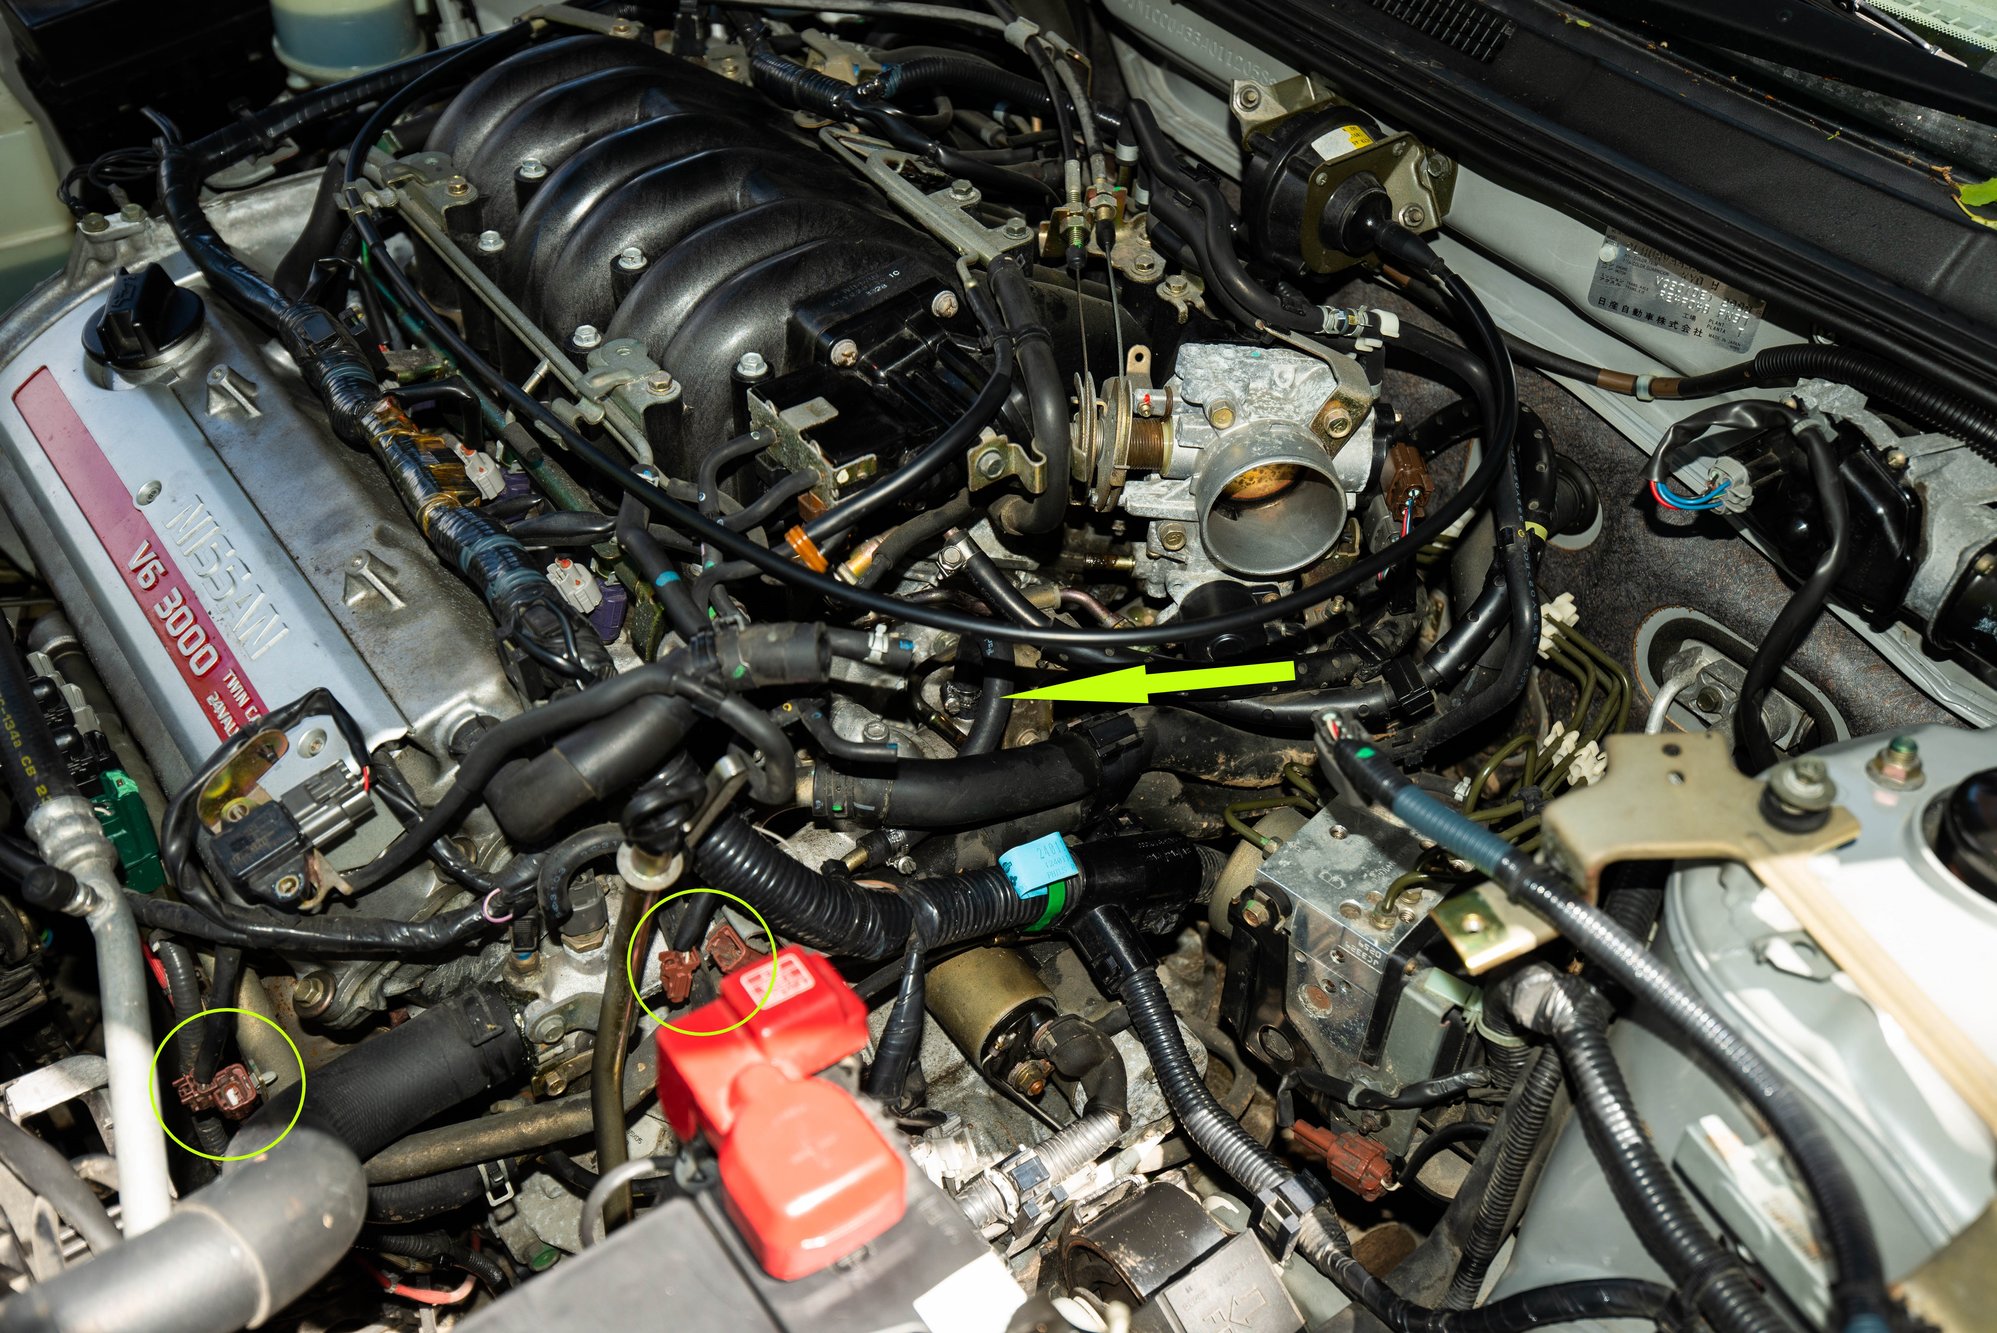
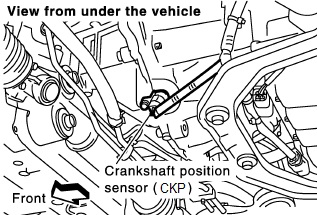
I disconnected the electronic engine mounts (I think I got the right ones) and taped over the connectors so no friendly mechanic can do me a “favor” later on, then replaced the 15A fuse with a 7.5A in “ENG CONT1”, so hopefully I’ve reduced my exposure to the cooked ECM issue. I will get an IACV replacement at some point, but they are horrifically expensive, an Australian company is selling them in NZ (OEM) for a cool $500.00.
I also replaced the drive belt which was pretty stuffed and noisy, then attempted the power steering pump belt which was not a success, I think I might have stripped the adjuster screw trying to get it off, I realized too late that there is a pivot bolt that must be released first and no amount of trying could get my hand and a spanner in there, so I just tightened the adjuster as best I could and locked it down again, hopefully it holds! that one might be for the mechanic.
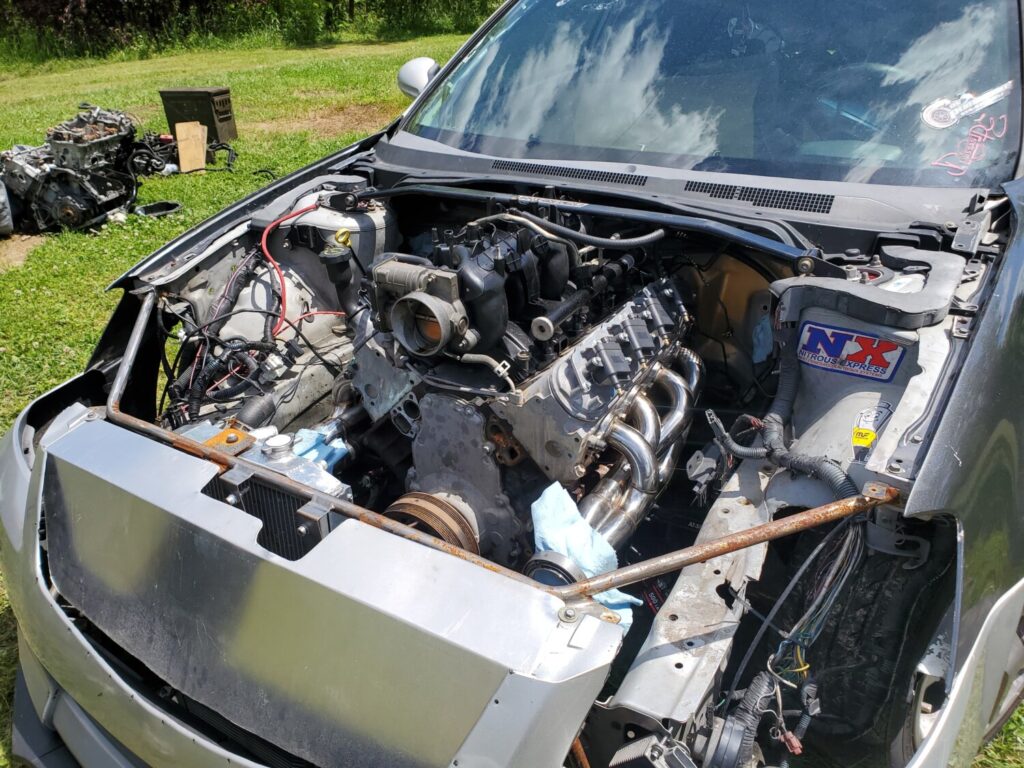
After I put it all back together the car runs very quiet (I didn’t realize how noisy a worn belt can be) and at lower idle than before, I think that is because the airbox was not firmly secured/tightened to the throttle body and there may have been an air leak, so that is a bonus.
The car has done 161,000km (100,000 miles) and is exceptionally tidy for it’s age, so I think I’ll plan on keeping it for a while, but I’ll be sad to see my 4th gen go, I’ll have to find a good home for her.
Some pics of what I did below, sing out if I’ve done something wrong, there are many more knowledgeable people here than myself and I’d rather be called an idiot and learn something than kill my car with kindness.
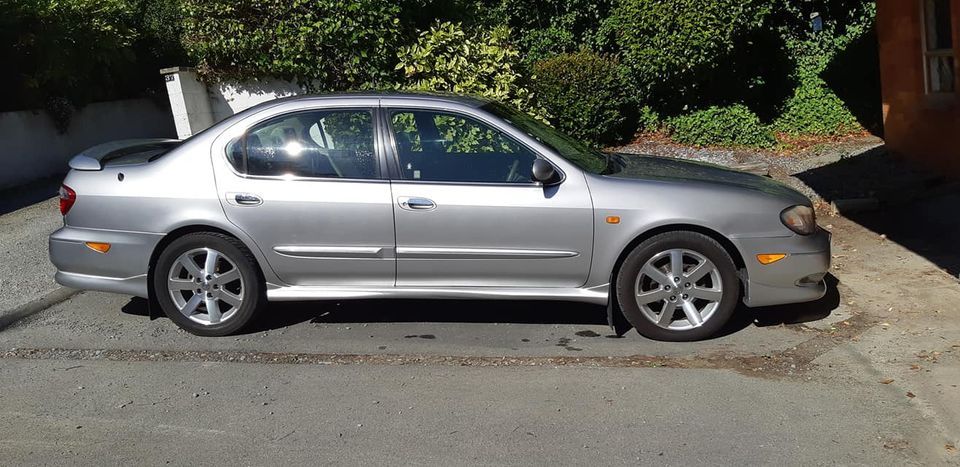
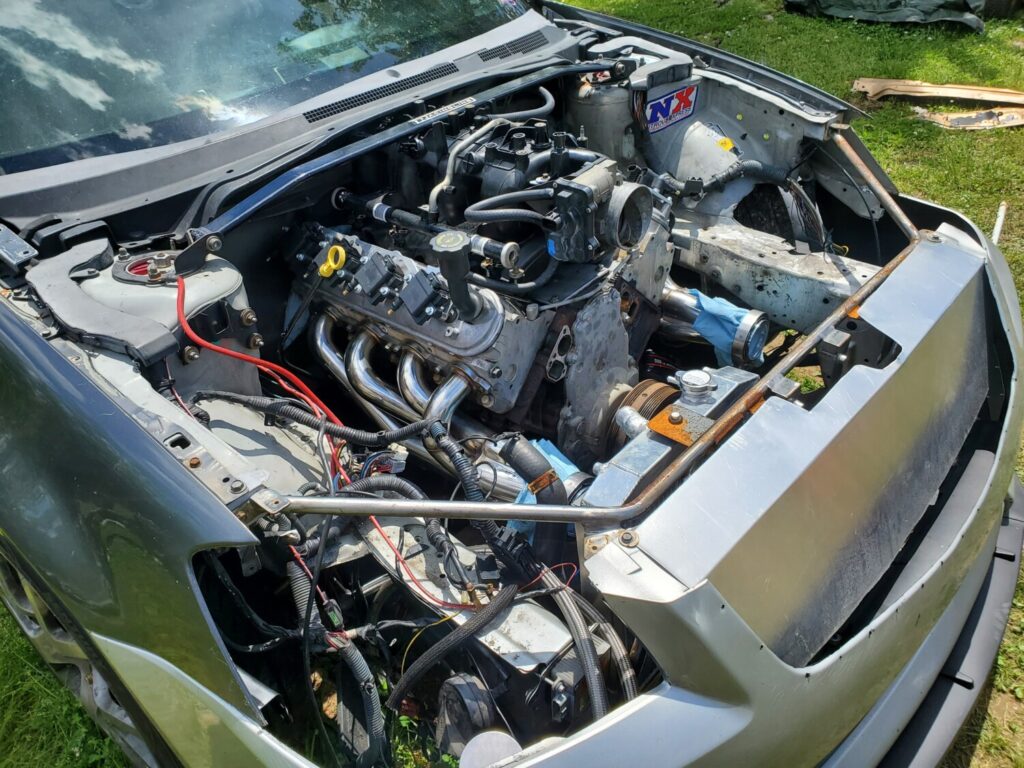
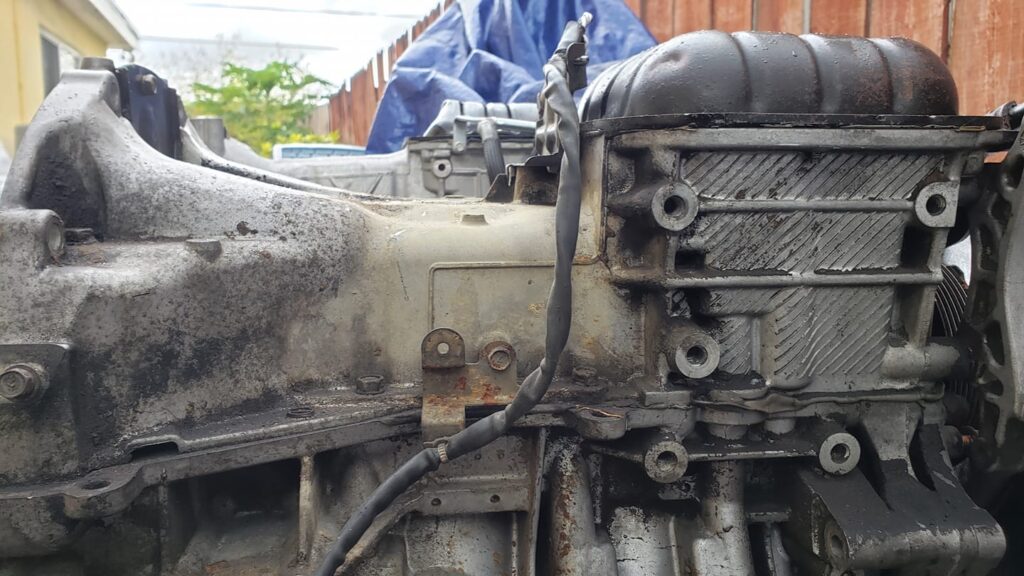
Photos of coolant bypass (and circled engine mounts connectors) and a pic of the car that the previous owner sent me, I could post some more pics if anyone is interested in what the NZ version of these cars is like.
![]()


 | YouTube Videos")

")


 22630-44B20")


")


")


