


![]()
Material: High Quality Polypropylene (PU)
Front Size (2PCS): Approx. Length-890mm, Width-80mm, Height-350mm
Rear Size (2PCS): Approx. Length-890mm, Width-80mm, Height-350mm
Order Link 1: https://www.ebay.com/itm/266164968848
Order Link 2:https://www.ebay.com/itm/385046183876


![]()
Community Member Credit: angryfx
1- Take the 6 clips out of the grill.
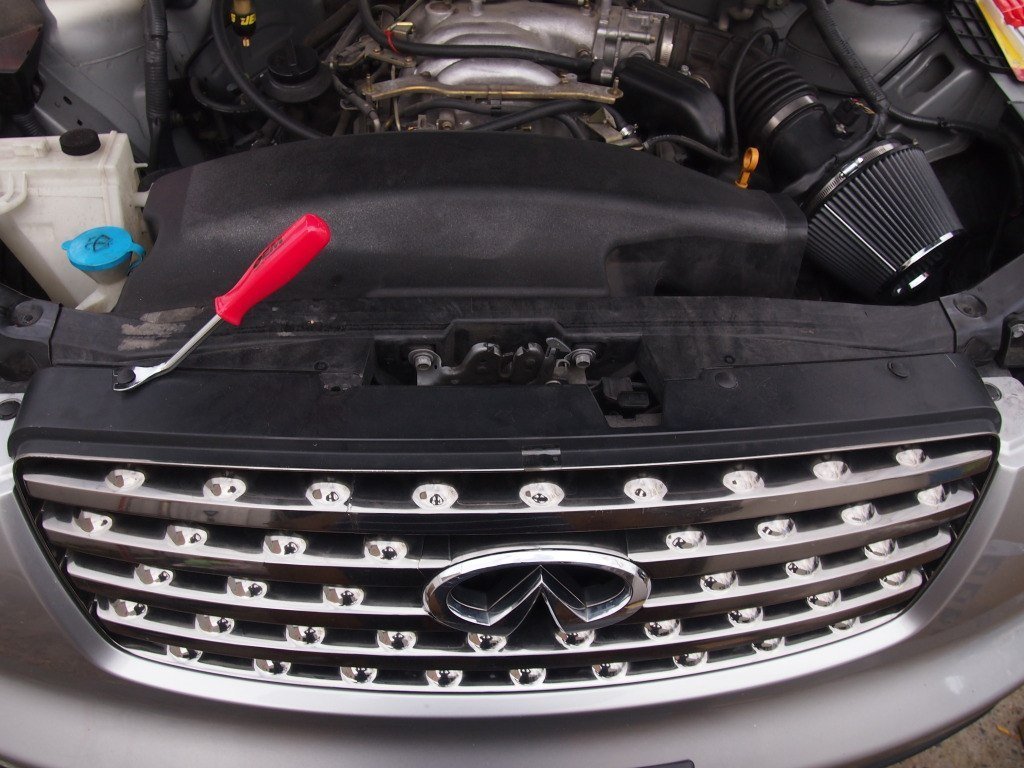
2- The grill is now free but there are 4 clips that are attached towards the radiator that you use
a plier to take out…. close up of the clip…

3-the holes were where the clips were held in place to the bumper.

4-the headlights are held by 4 screws. 2 on top and 2 at thhe bottom… one behind the front bumper
and the other behind the wheel wells.

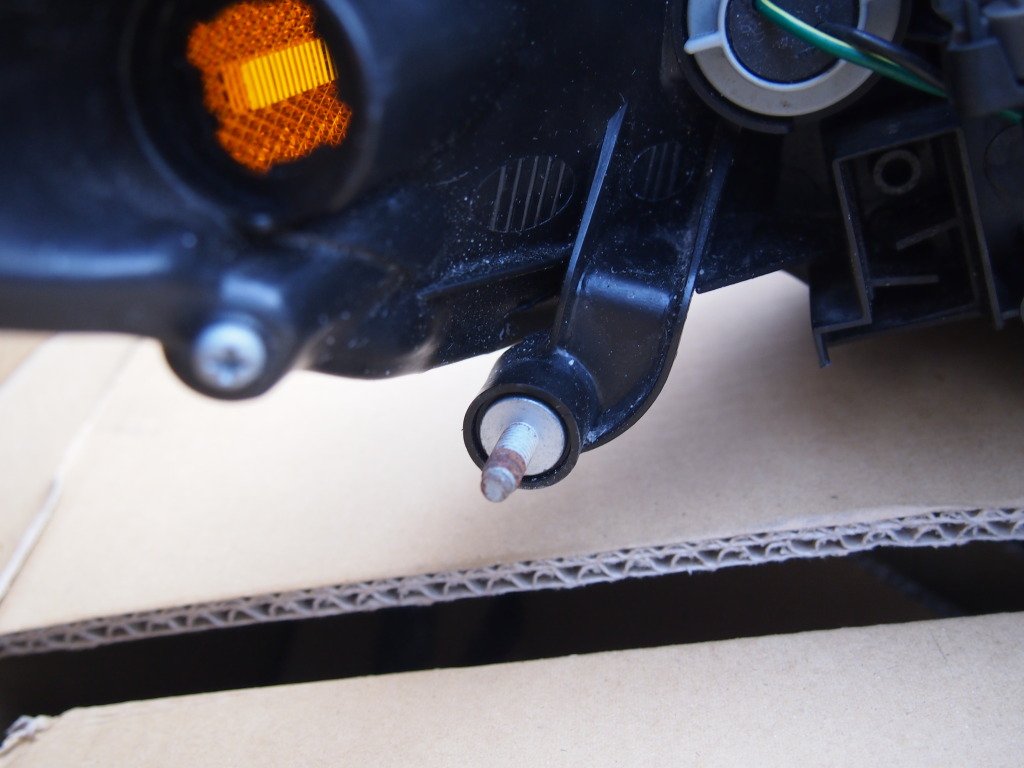

5-to remove the bumper you will have to remove 10-15 bolts depending on how many you have under the car
by the bottom plastic cover… but you have to remove 2 screws that hold the bumper to the fender…on each side..
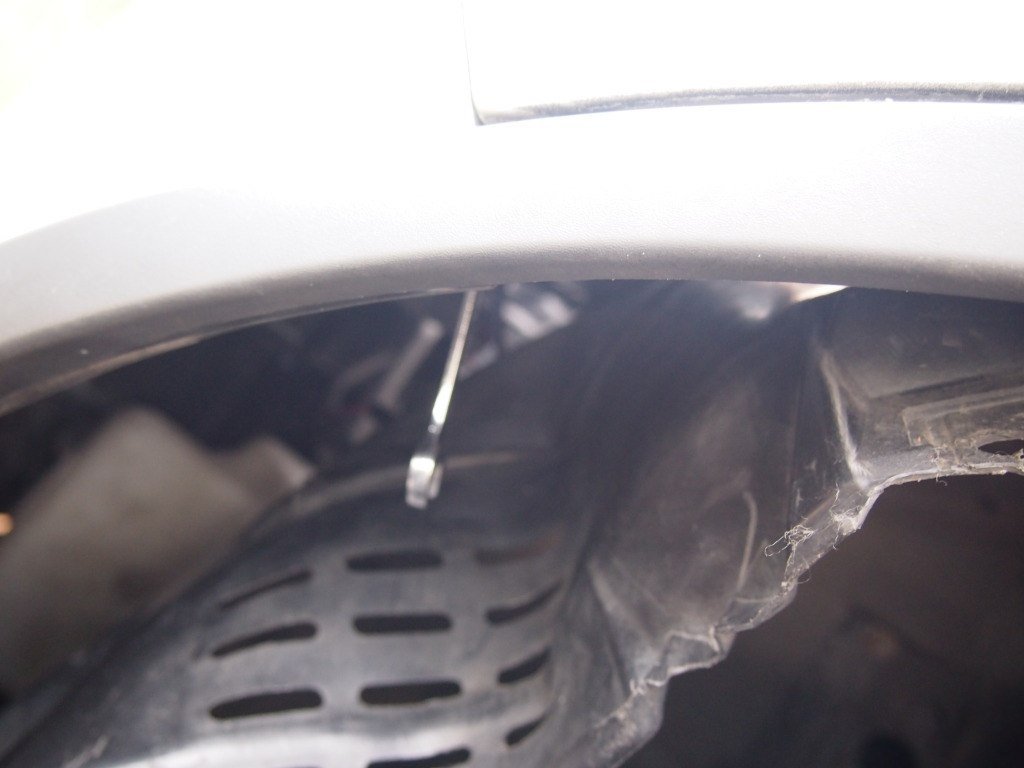

hard to get a nice pic so these are some supporting pics..

6- once you unbolt these 2 bolts then you will see that the bumper will kinda wobble… they are still
held in place by 2 clips right under the headlight housing… if you pull the bumper you will see them.


7- when pulling on them be careful i broke 1 of the clips but when putting them back in i found it
not to be bi issue with just 1 clip instead of 2 but still be careful…
8- with the bumper off or hanging by 1 or 2 screws at the bottom… you can now access the bolt under
the headlight. this shoul be the last bolt to remove… unplug all th electrical harnesses/wiring…
take em out gently…
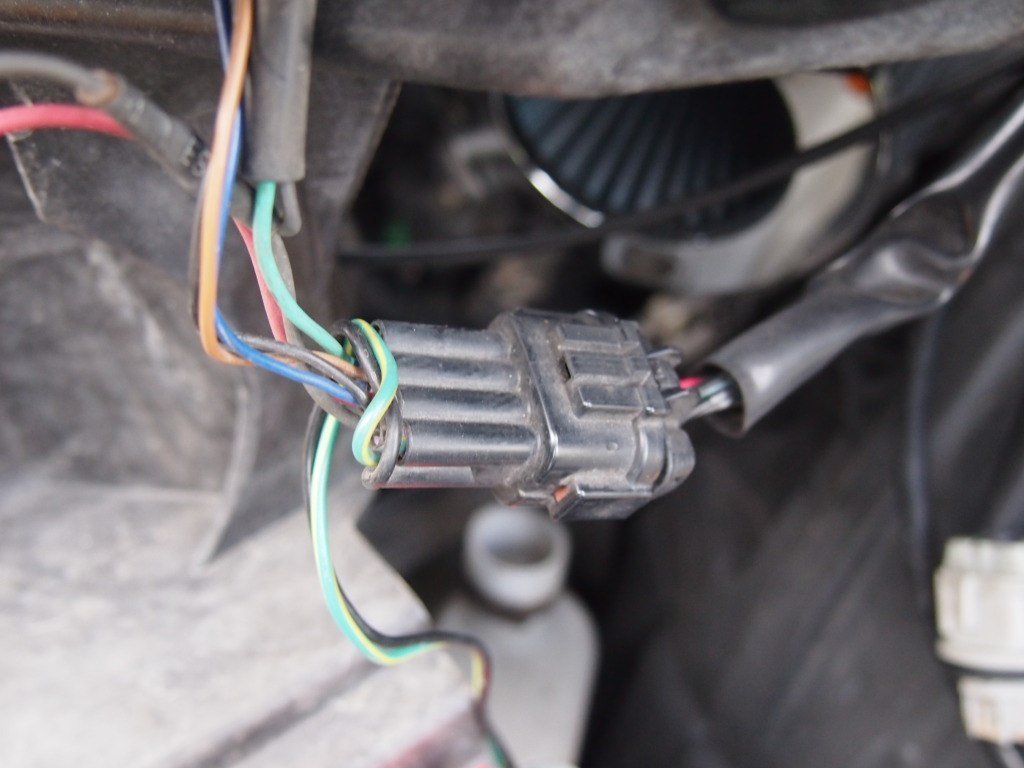
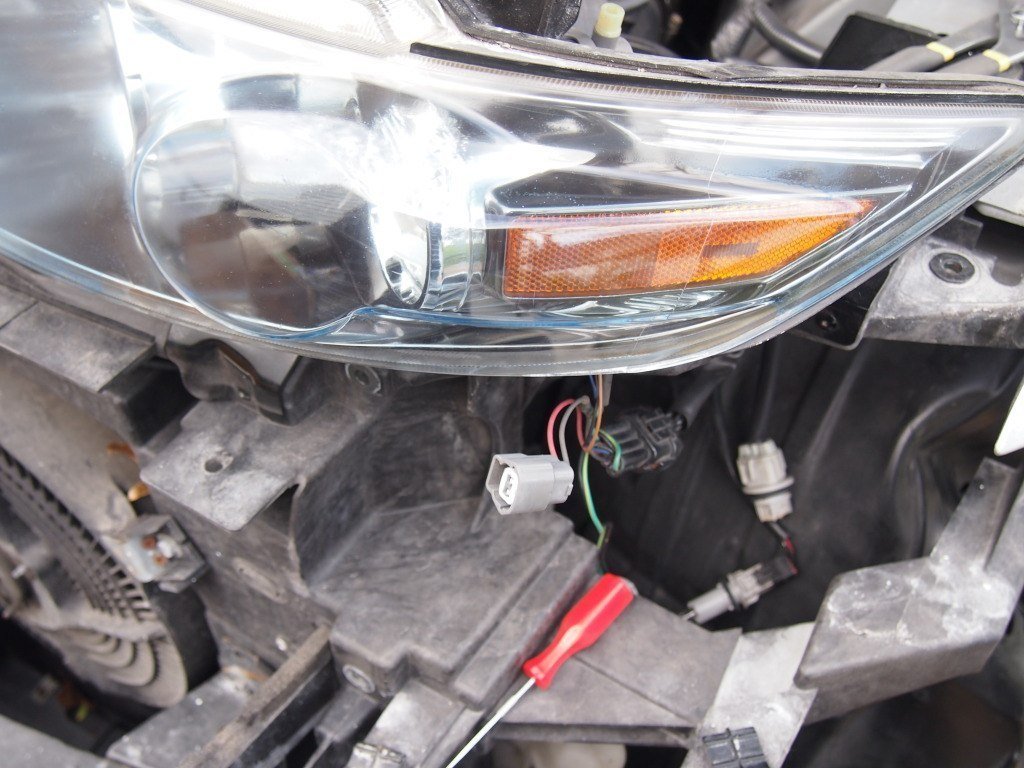
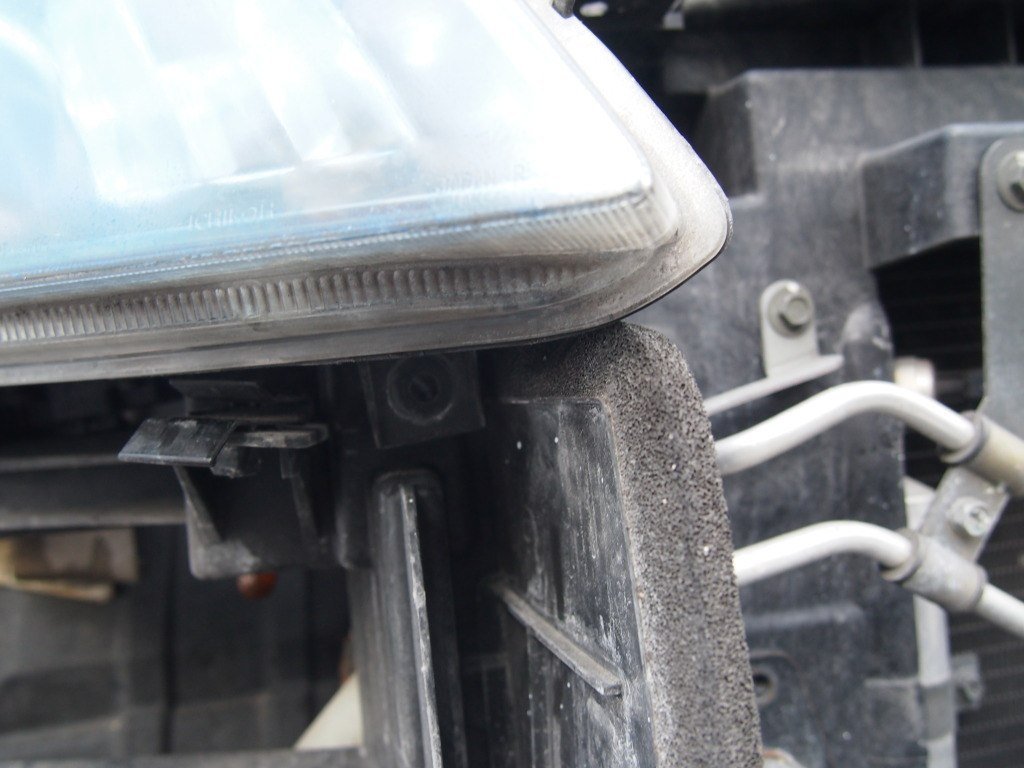

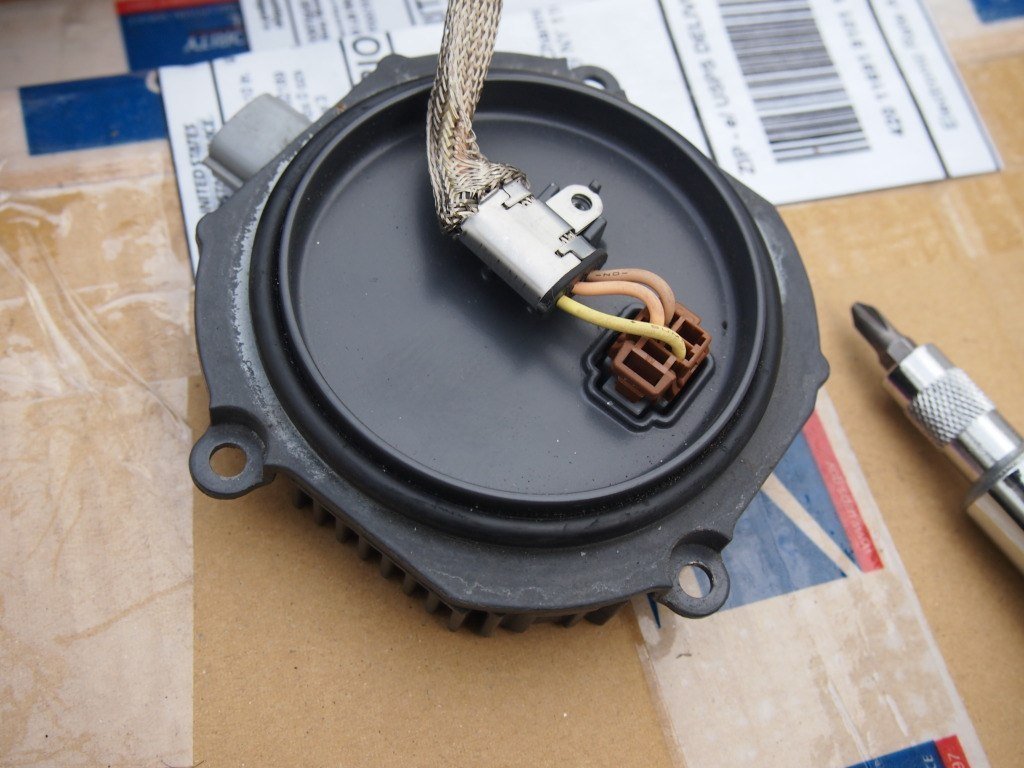
9- once you take the headlights out you can now exchange the ballast (3 screws) held in under the headlight.
and the light bulbs..(unclip the metal pin and take the bulbs out..

this is the ballast ( i didnt know until today)
now take the silver holder out by twistin like a regular bulb
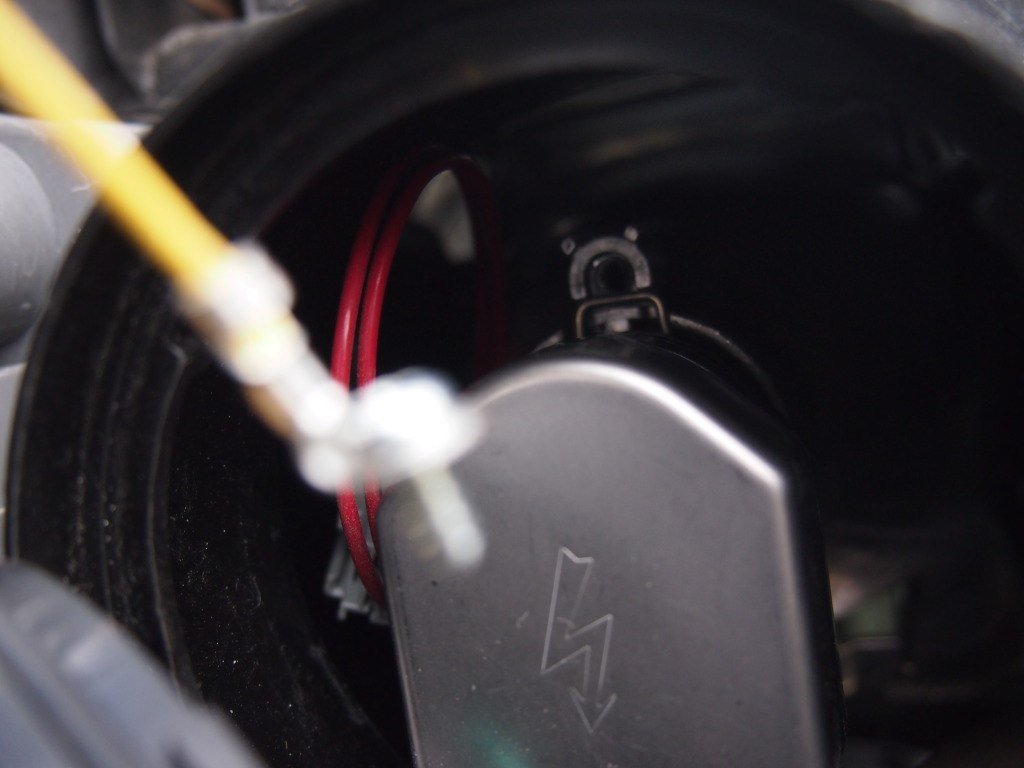
you will see the rear side of the bulb

unclip thes metal sprins by pushing them with your thumb n finger n open the latch….

10- do it to the other side and put the bulbs and the ballasts back in …..
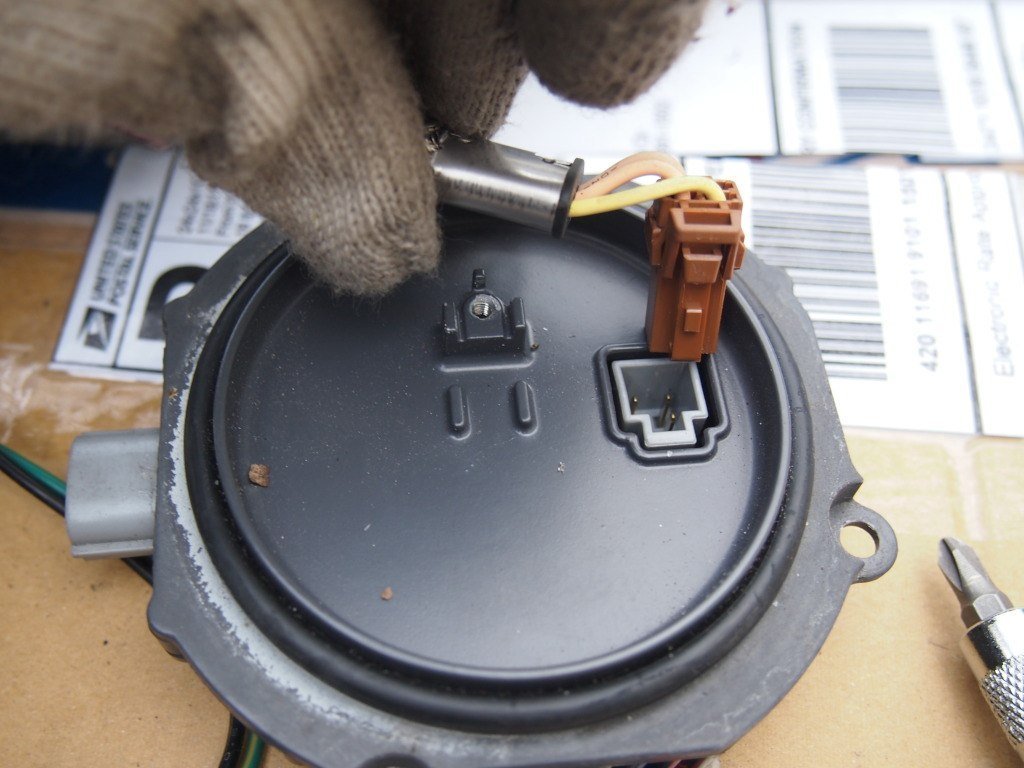

11- if you are going to do DTRL SWAP now is the time …. cut the black wire cover tape

12- i used a nipper to cut the tabs because i was lazy…

13 – please refer to dtrl swap thread for more info if you have any question.
14 – put headlight back in and connect all the wires

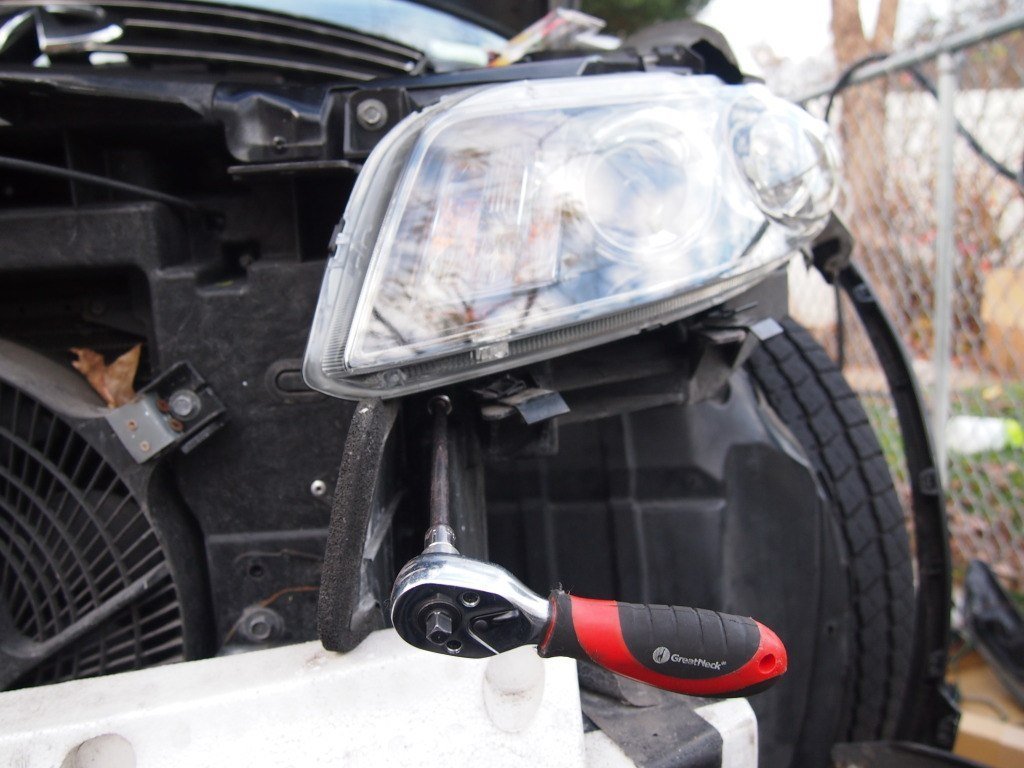
15 – put the bumper back in …..

16 – PUT GRILL BACK IN AND CHECK THE LIGHT TO SEE OR OF THEM ARE WORKING WELL CLEAN AFTER
YOUR MESS AND FEEL GOOD DONE!!!!

![]()
Credit: Rockony
Product Description: X AUTOHAUX 2.5m 8.2ft Car Universal Rubber Bumper Lip Splitter Body Side Skirt Protector Carbon Fiber Pattern
Order Link: https://www.amazon.com/dp/B07Z5R63VJ
Price: $18.69


![]()
Order Link: https://www.tbwperformance.com/aluminum-under-tray-for-09-15-nissan-maxima-7th-gen
Price: $189.00
The OEM undercarriage is missing a fairly vital component. We have designed a skid plate/under tray to cover up the bottom of the engine, which will protect and help keep it clean. This design is vented for airflow improvement and optimal cooling. By having this on, you will improve airflow both through the radiator and the aerodynamics under the vehicle.
Installation is simple and will use the new provided hardware. Hardware consists of new plastic push clips, bolts and speed nuts. Because Nissan did not use a stock piece here, there are no threaded bolt holes. We include self-tapping bolts to secure this to the frame. Optionally, you can use rivets, or nutserts (not included).
**Updated design to allow fitment of larger aftermarket Y-pipes**
FITS:
2009-2015 Nissan Maxima


![]()
Credit: Gerson Flores
Order Link: https://www.tbwperformance.com/aluminum-under-tray-for-09-15-nissan-maxima-7th-gen
Price: $189.00


![]()