Tag

Exterior & Lighting

Browsing

Member Credit: Angel Peña, Jose Rivera & Azeem Malik

When you first glance at the 2019 Nissan Maxima, you’ll quickly take notice of the updated exterior headlights and tail lights. Now if you already own a 2016-2018 8thgen you’ve likely already asked the big question…. will the 2019+ Maxima headlights and tail lights fit my car? Below is what you need to know:

Front: The headlights do fit fine. But as noted in the pics below, there is a small gap under between the bumper and headlight. But the good news is that if you swap the bumper, headlights and grille… you will be all set. This is exactly how the 04-06 6thgen Maxima’s swapped to the 07-08 refreshed bumper and headlights. It also appears you may get a “headlight error” on the dash after the swap. When we get more info, we will update this post on how to resolve it.

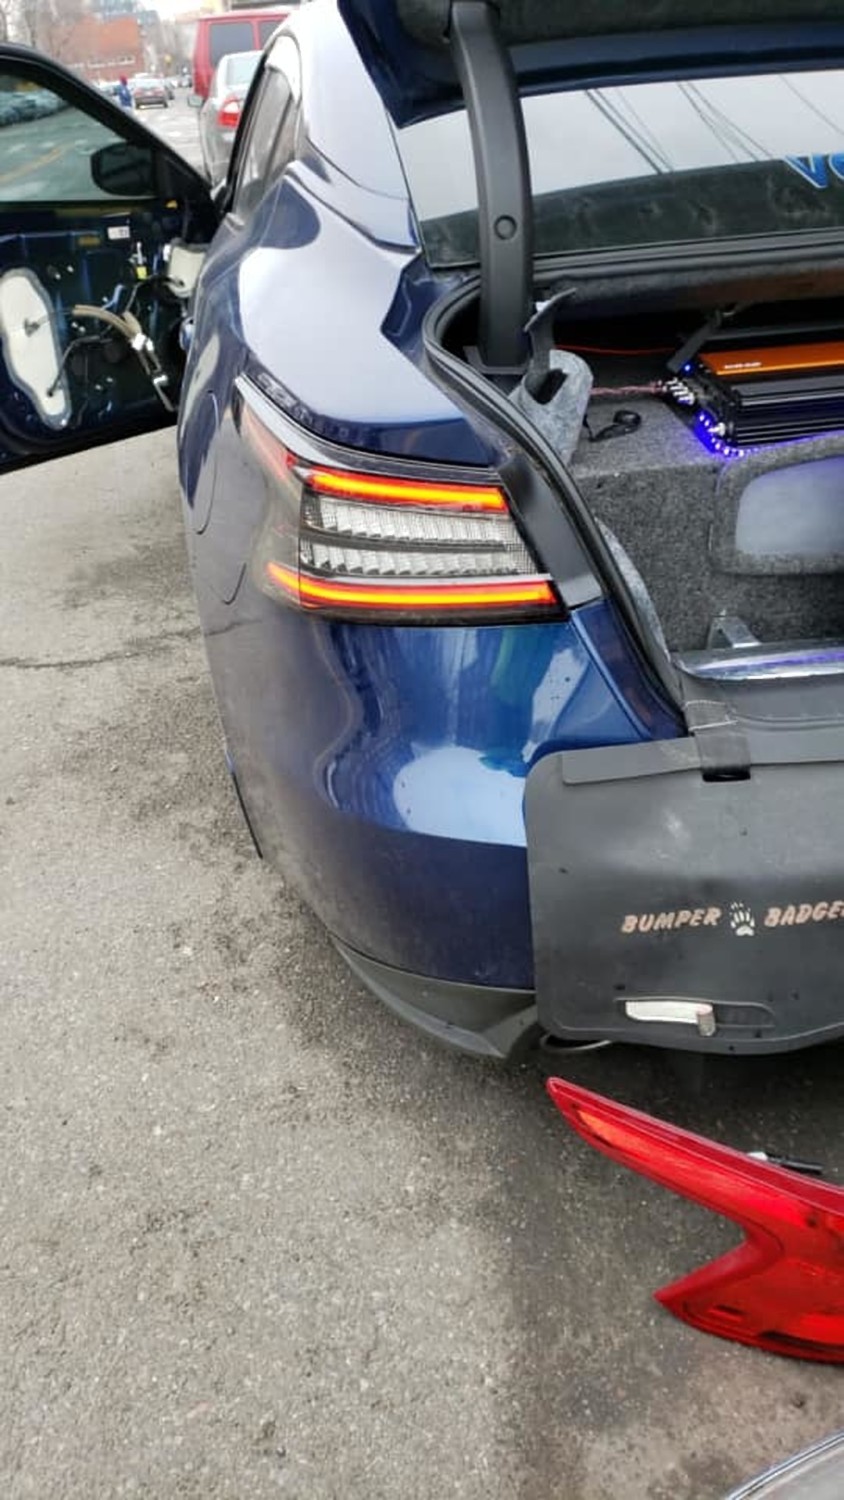
Rear: Direct Fit. Plug-n-Play. Will not throw any error codes.

Note: For the rear, you may need to get some resistors to avoid hyper-flashing if you have upgraded LED bulbs. Resistors are just a few bucks and a quick fix. You can get the on eBay for $5-$6 bucks. Search for 50W 6ohm Load Resistors. The headlights themselves are around $800-$1K for the full set.

Part Numbers:

Front:

  • 26545-9DJ0A – Backup Lamp Assembly-Left-Hand
  • 26540-9DJ0A – Backup Lamp Assembly-Right-Hand

Rear (Total Approx. $740):

  • 26545-9DJ0A – Backup Lamp Assembly-Left-Hand (Approx. Price: $130.00)
  • 26540-9DJ0A – Backup Lamp Assembly-Right-Hand (Approx. Price: $130.00)
  • 26555-9DJ0A – Combination Lamp Assembly-Rear, Left-Hand (Approx. Price $240.00)
  • 26550-9DJ0A – Combination Lamp Assembly-Rear, Right-Hand (Approx. Price $240.00)

Front Headlights

Original

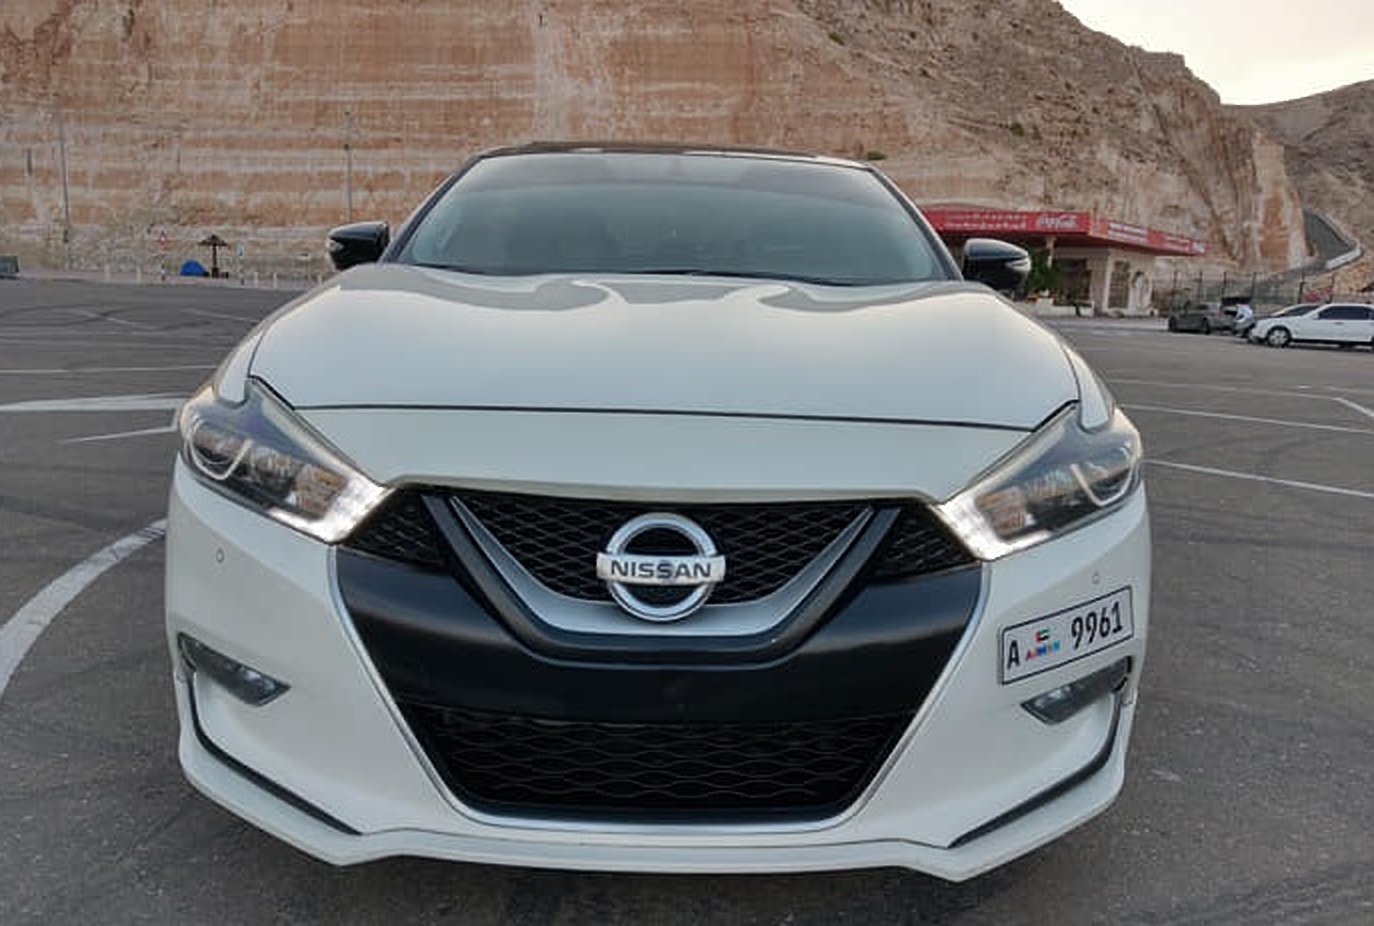
Swapped to 2019 Headlights with 2016 Bumper

Here you will notice the small gap.

With Full 2019 Conversion… Much Better and perfect fitment:

Rear Tail Lights
Original 

Swapped to 2019 Tail Lights. Direct fit and plug-n-play. 

Video’s of Rear Tail Lights by Jose Rivera

Loading

The following directions can be utilized in the replacement of HID bulbs in the 2002-2003 Maxima. These instructions cannot be utilized with other years of the Nissan Maxima. One person can accomplish this task with no no problems. Please view pictures with steps for additional detailed information.

Tools needed: 10mm deep socket or wrench

The 2002 and 2003 Maxima utilize D2R HID bulbs. These bulbs fit into the headlight housings in a certain direction based off the key as seen in the picture. Bulb orientation has the bulbs power wire in the “down” position, thus this “bar” will be on the bottom when installed.

When handling the bulbs, DO NOT touch the bulb as oil from your fingers will shorten their life.

Step 1. Disconnect the battery. I chose to disconnect the negative battery terminal. Due to the tight confines within the engine bay, the drivers side is tight and will require the battery to be moved unless you have hands the size of a child. Using the 10mm socket or wrench, loosen the two nuts from the battery tie-down. One loose enough, you can disconnect the hooks and move the battery out of the way. This will give enough space to work. On the passenger side, there is nothing to move. You simply have to work around the windshield washer tube.

Step 2. The HID bulb has a sealed cover (utilizing a rubber O-ring). To remove this cover, twist counter clockwise to release and you will be able to remove it. Cover Removed

Step 3. Once the HID cover is removed, you will have access to the socket. To remove the socket from the HID bulb, twist counter clockwise and pull backward. You may need to wiggle it somewhat but it will disengage.

Step 4. The most difficult part of the installation seems to be figuring out how to disengage the retaining ring from the HID bulbs. Per the diagram, you will need to depress each “hooked” end of the ring inward (toward the front) and slide inward to toward the bulb. Once each side is done, the bulb will loosen up and you will be able to remove it. Do not touch the bulbs. Picture of retaining clips

Step 5. Time to install the new bulbs. Remove the bulbs from their packaging without touching the glass section. To install the bulbs, use one hand to hold the retaining clip out of the way (it is hinged from the top) and slide the bulb in. It is easiest to insert the bulb with the “power wire” on the bottom as this should align the bulbs key. Once inserted, twist the bulb slightly left and right to ensure it is in. Move the retaining clip over the bulb and re-engage each end of the clip.

Step 6. Reinstall the socket but leave the cover off. Once both new bulbs are installed, temporarily reconnect the negative battery post and turn on the headlights to make sure both bulbs are functioning appropriately. If all is well, reinstall the HID covers and Remount the battery (remember to tighten down the negative battery post).

Loading

Member Credit: dafertilizer

Passenger Side Light Overall Wiring

High Beam
Red connector is connected to the 2K harness green wire as shown in the next photo

The blue connector is wired to the blue wire that I put there, it is the power wire from the 2K harness, it powers both the high beam and the HID.

Turn Signal
The right side wire from the Grey plug on headlight, is for the running light, and connects to the brown/red wire in the turn signal plug.

The right side wire of the brown turn signal plug connects to the ground (black wire) on the car turn signal plug, and the left side wire of the brown turn signal plug connects to the green power wire on the car plug.

The middle wire coming out of the the center grey plug is connected to a chassis ground, and the picture got cut off, so you cannot see the left wire of the grey plug is connected to the same blue power wire that the high beam light is connected to here:

The right side wire from the Grey plug on headlight, is for the running light, and connects to the brown/red wire in the turn signal plug.

The right side wire of the brown turn signal plug connects to the ground (black wire) on the car turn signal plug, and the left side wire of the brown turn signal plug connects to the green power wire on the car plug.

Loading