![]()


On February 22, 2022, all Nissan vehicles equipped with telematics hardware compatible for use with the 3G cellular network will be unable to access NissanConnect Services and NissanConnect EV features.
The NissanConnect Services and NissanConnect EV & Services telematics programs will be affected by AT&T’s decision to discontinue its 3G cellular network. On February 22, 2022, all Nissan vehicles equipped with telematics hardware compatible for use with the 3G cellular network will be unable to access NissanConnect Services and NissanConnect EV features. New enrollments for these vehicles will also no longer be allowed after June 1, 2021. After this point, customers who are not already enrolled in a telematics trial or subscription will be unable to access services for their vehicle. The decision to discontinue 3G network coverage was not made by Nissan and this change is not within Nissan’s control.

![]()

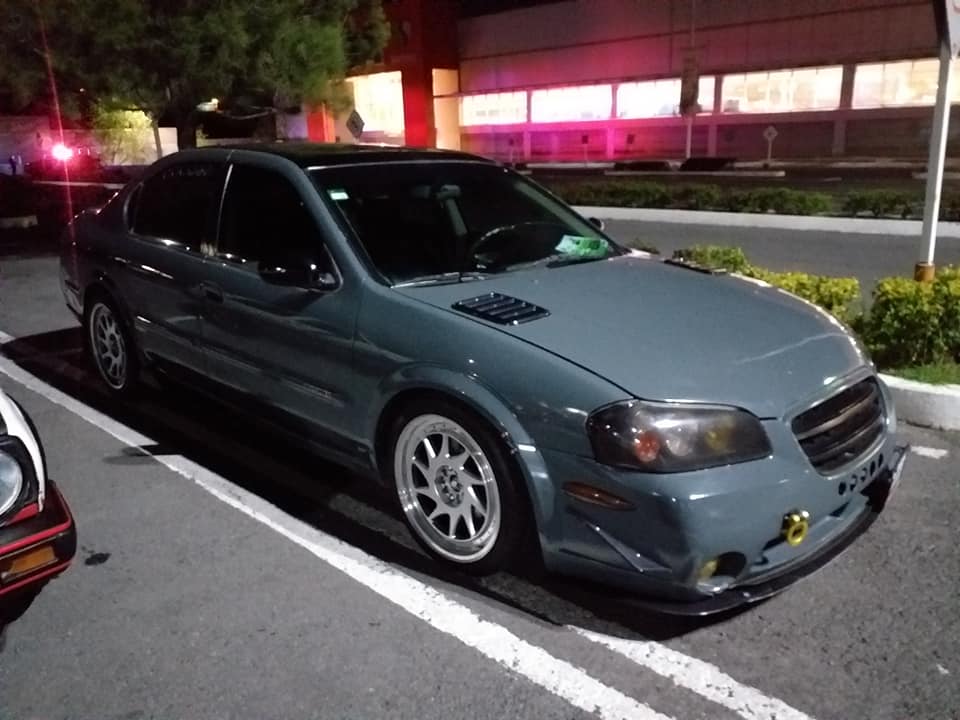
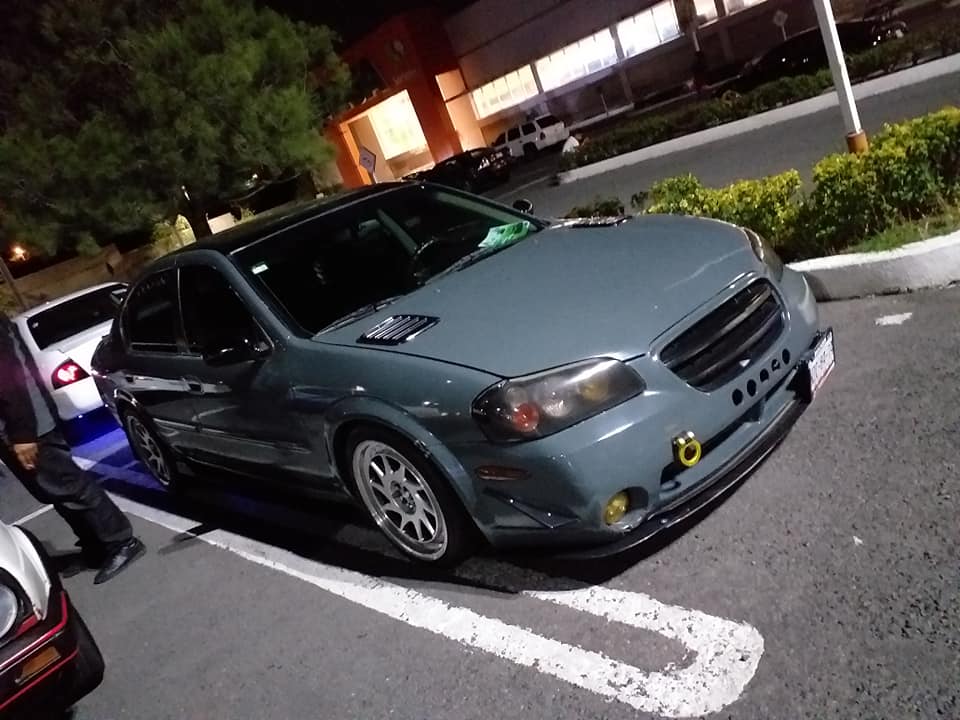
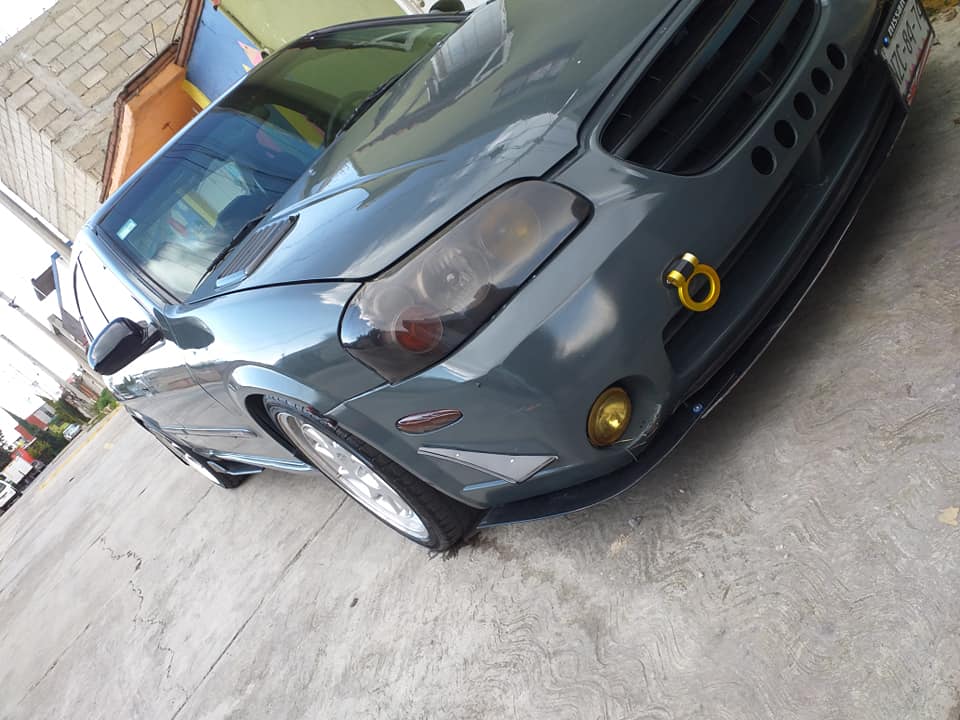
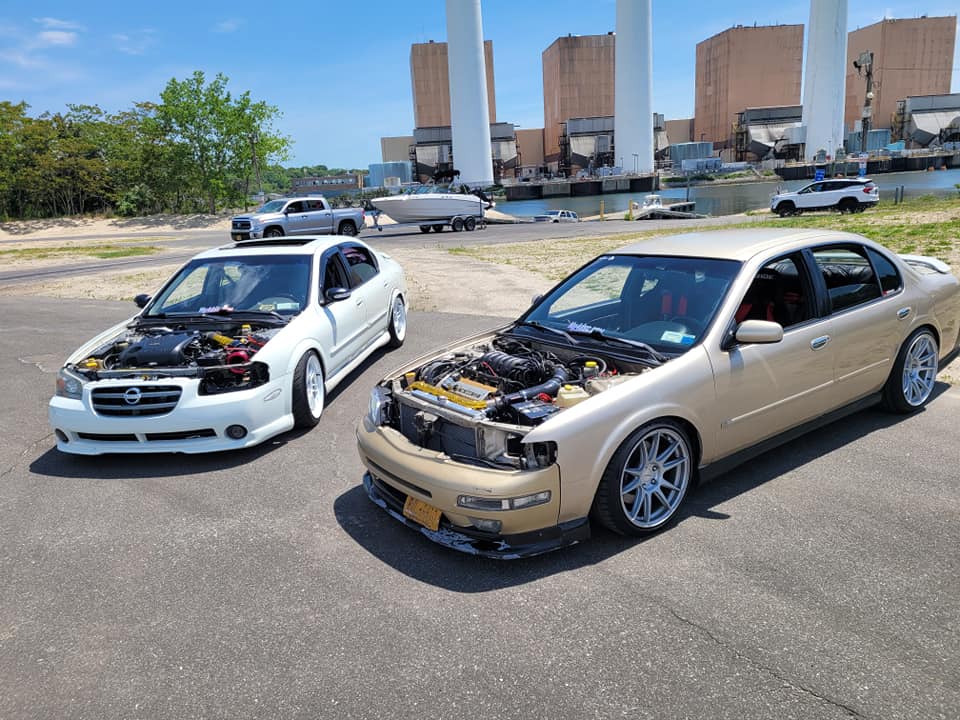
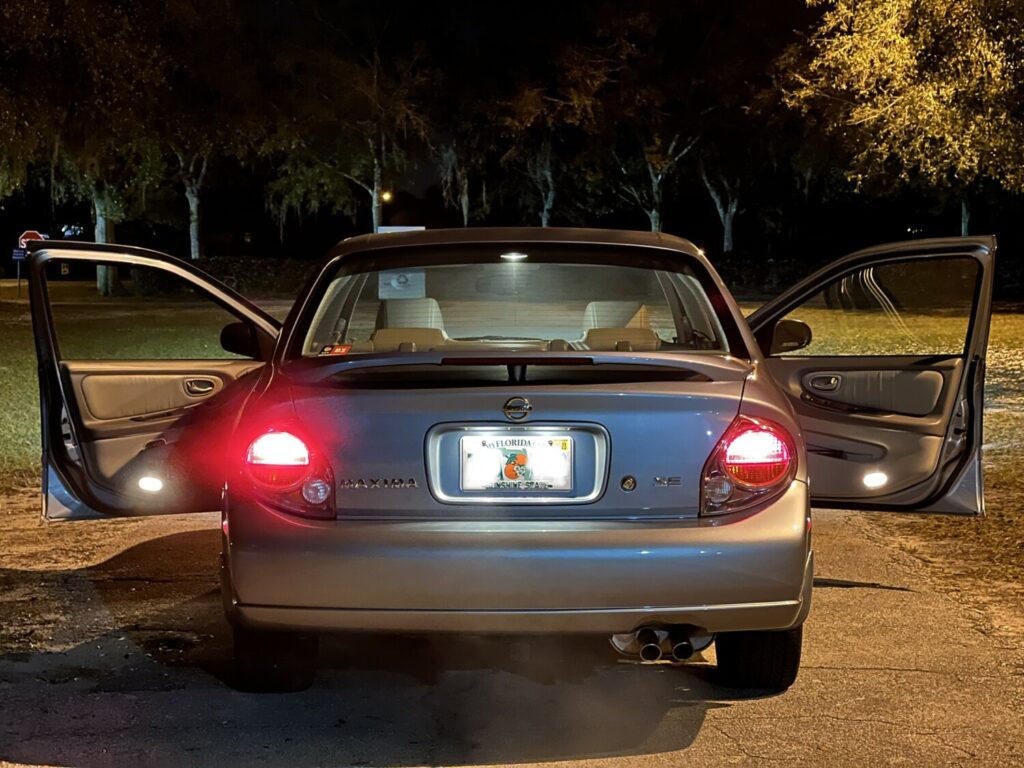
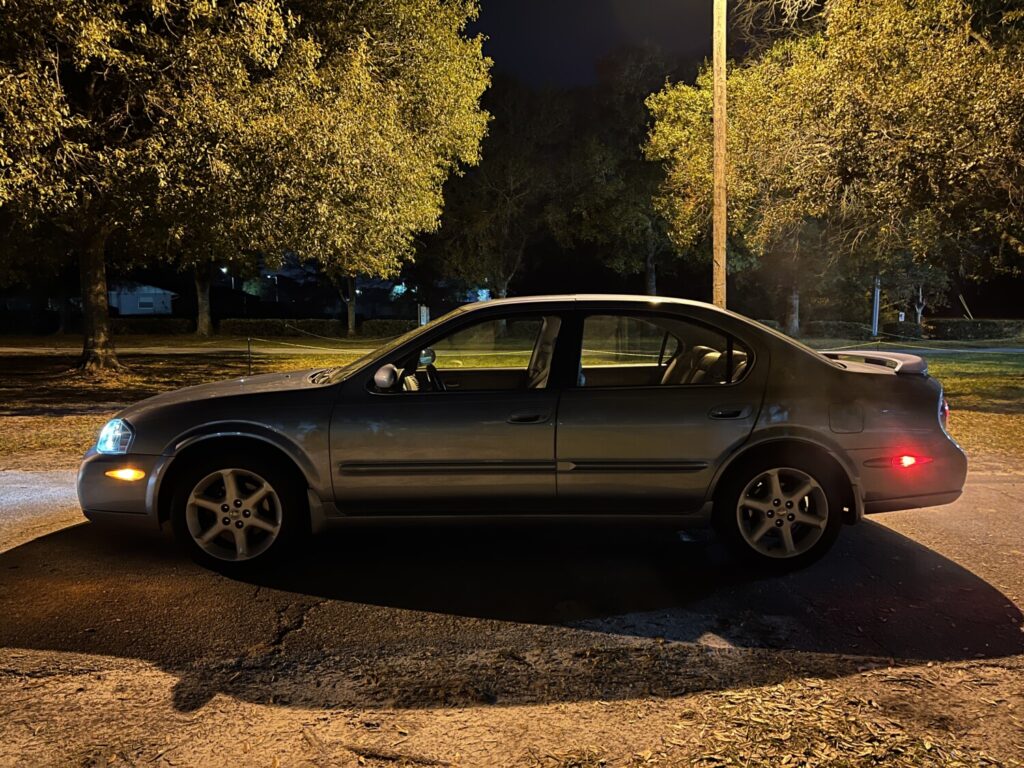
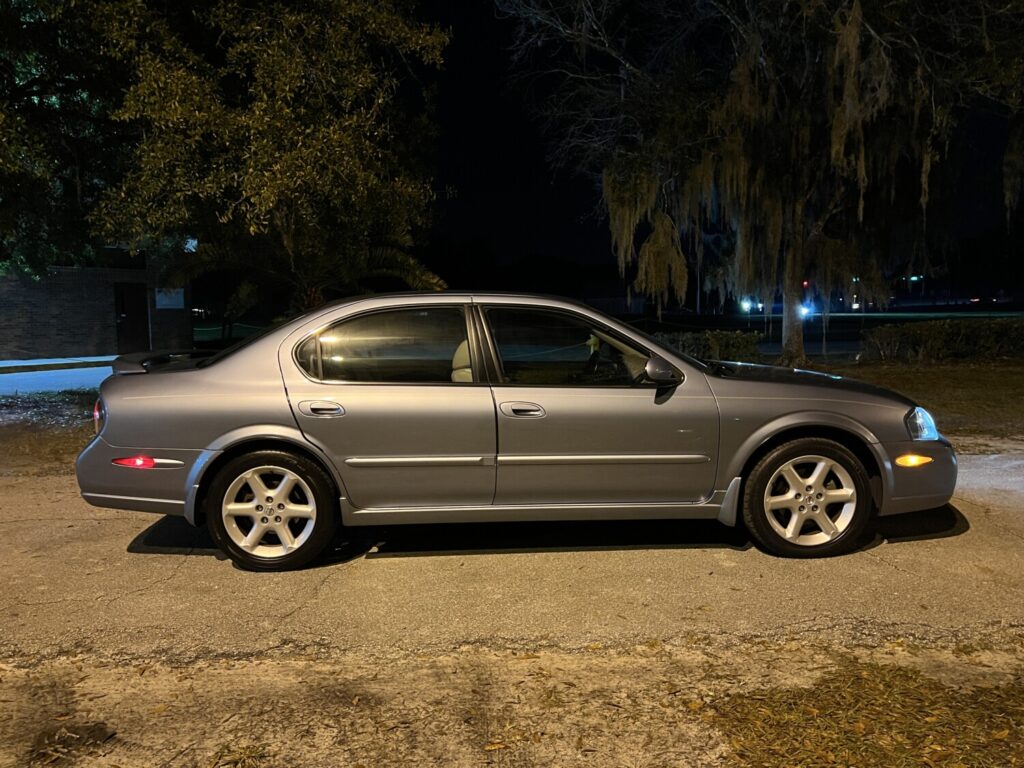
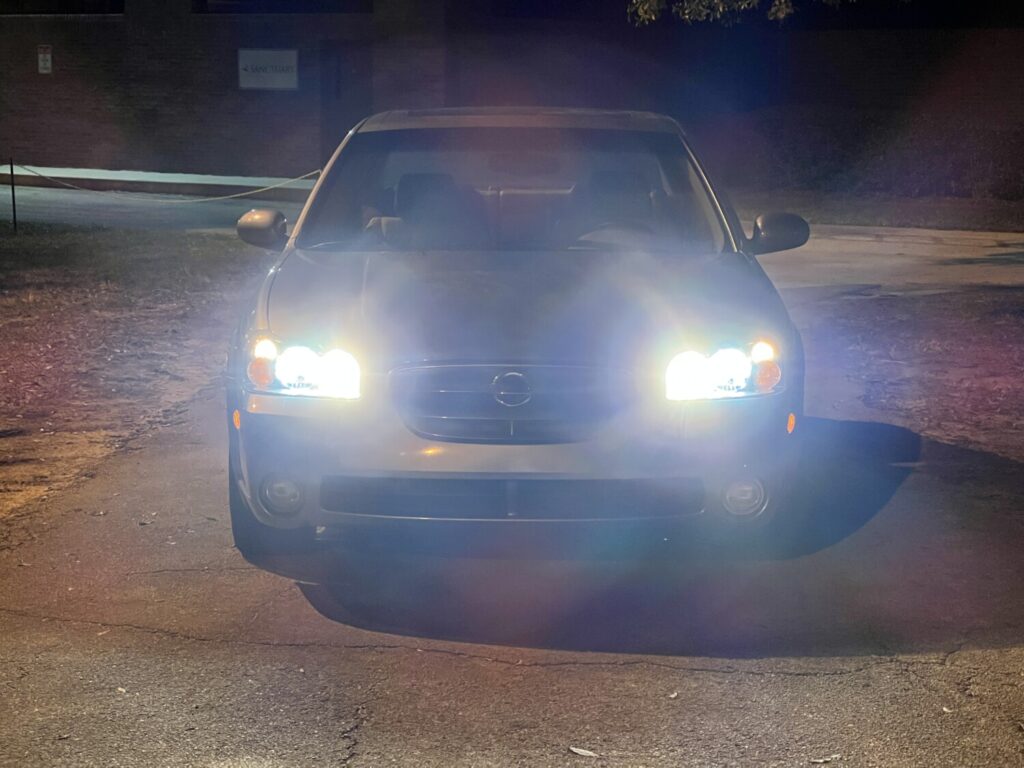
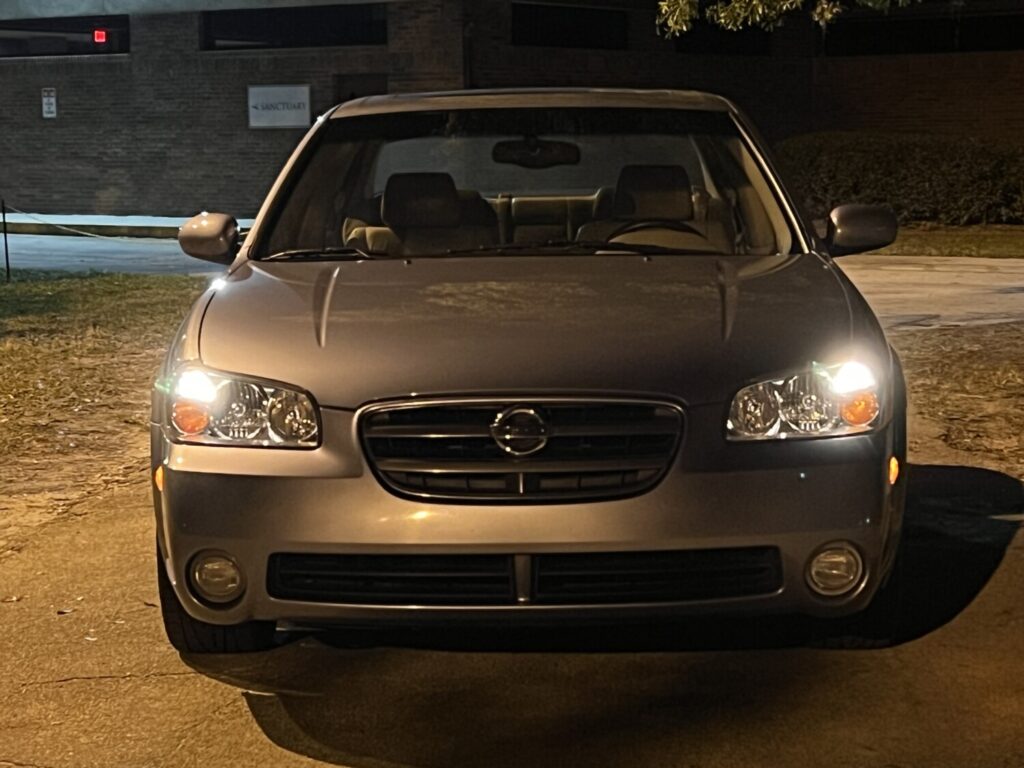
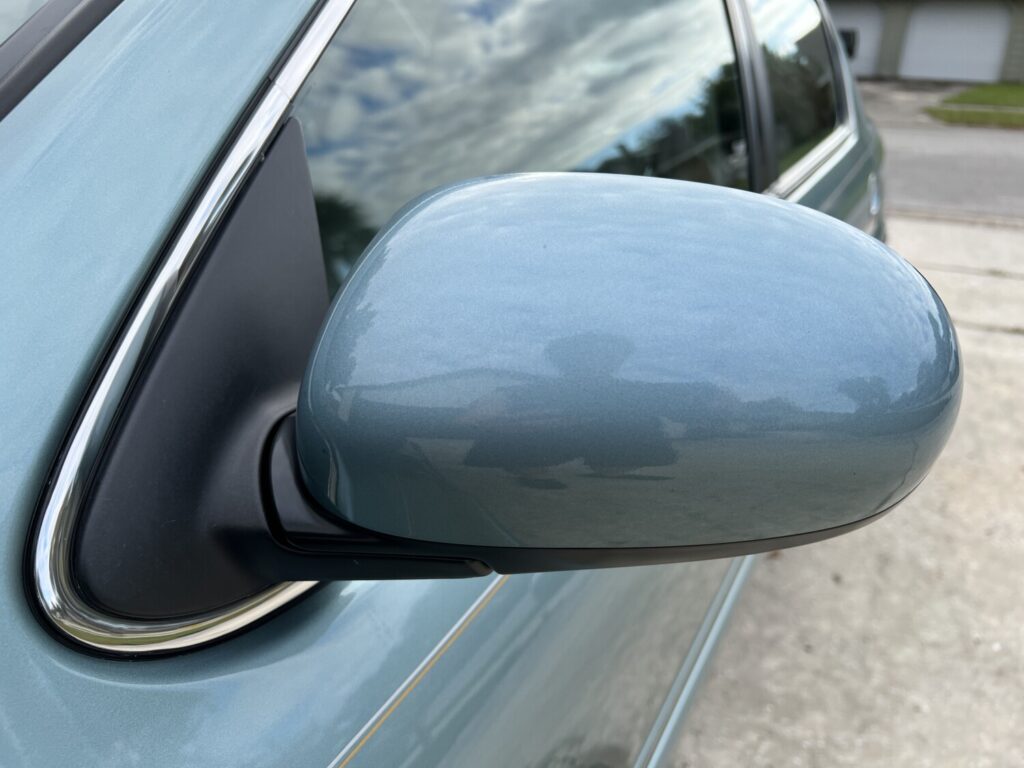
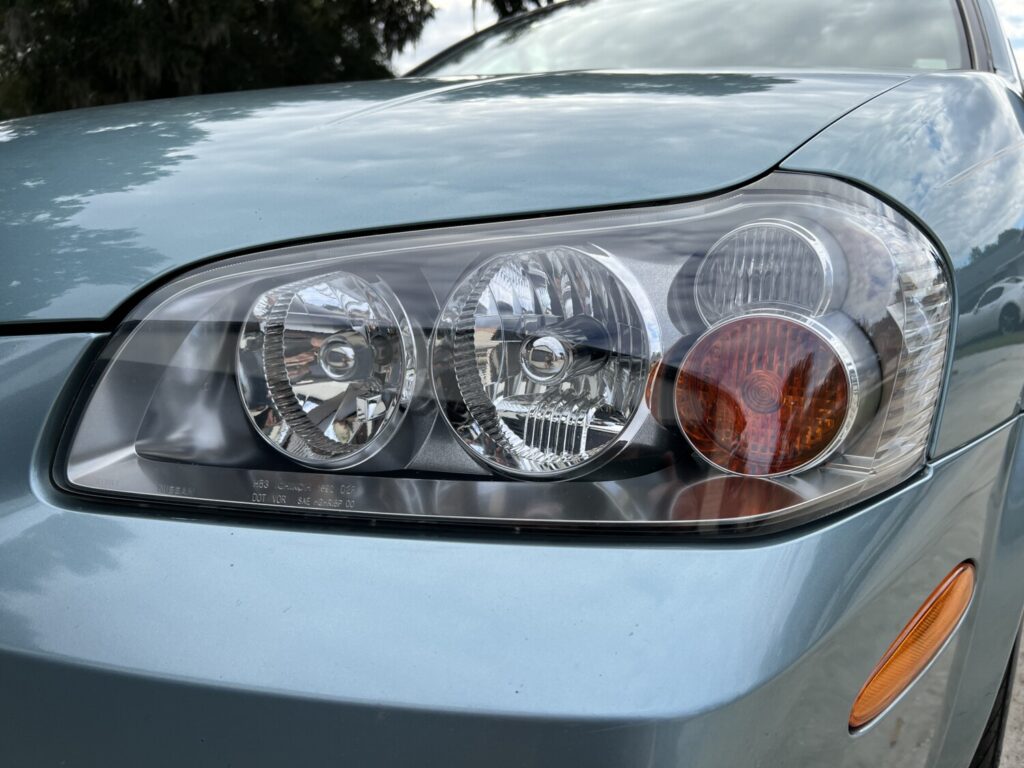
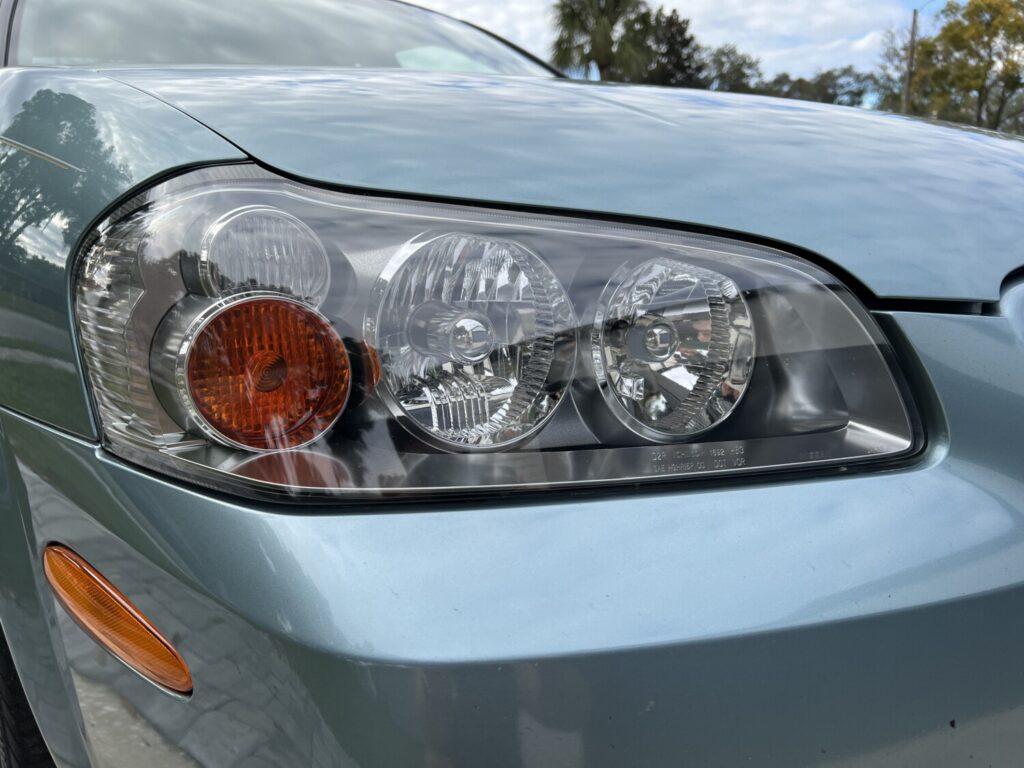
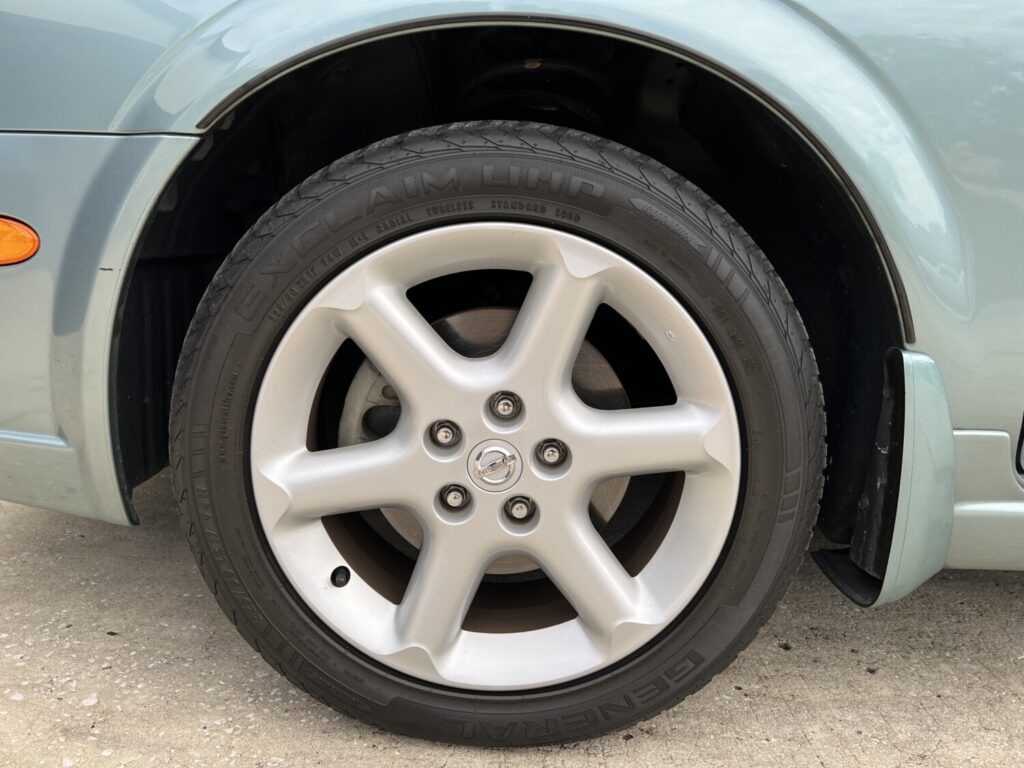
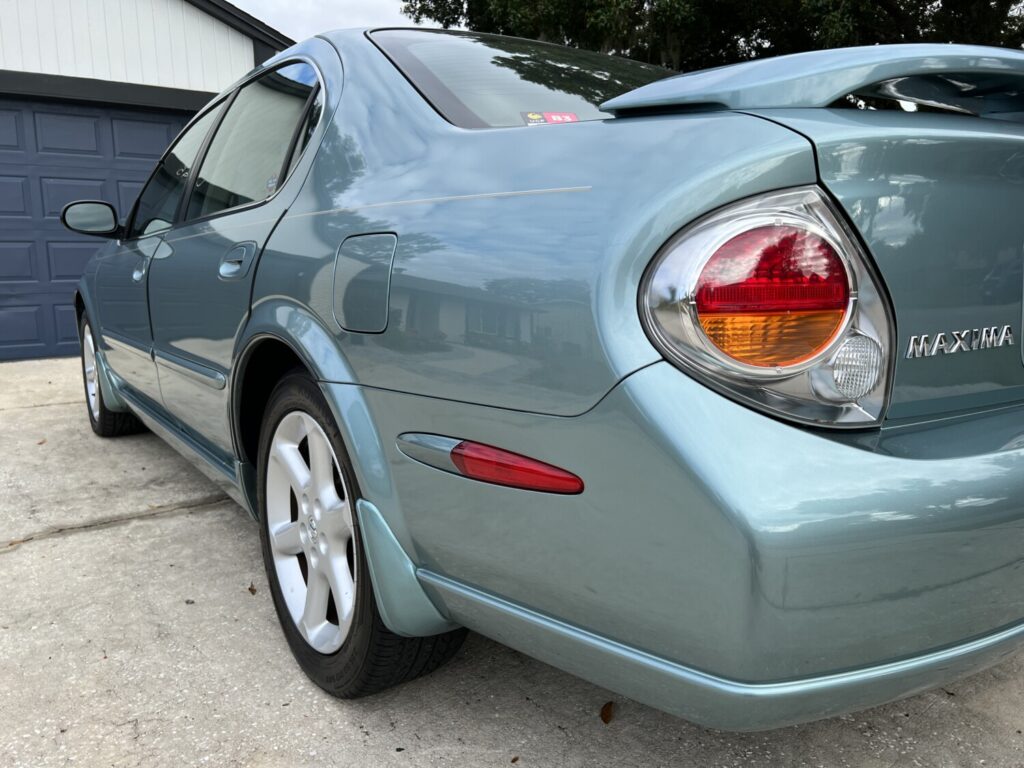
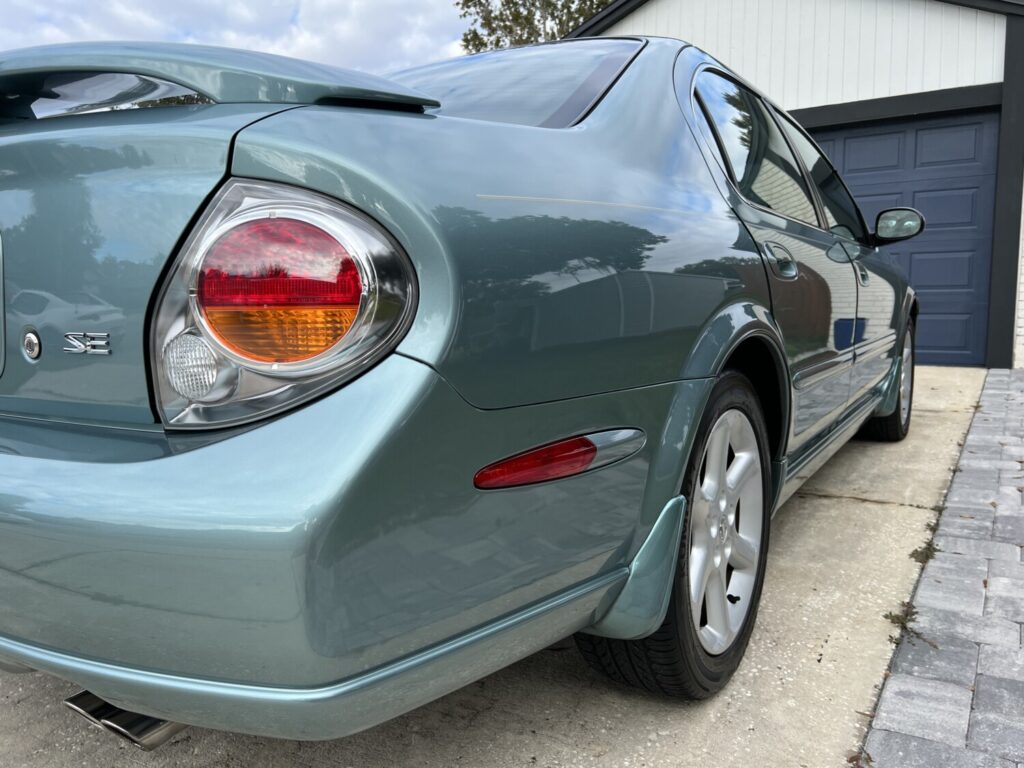
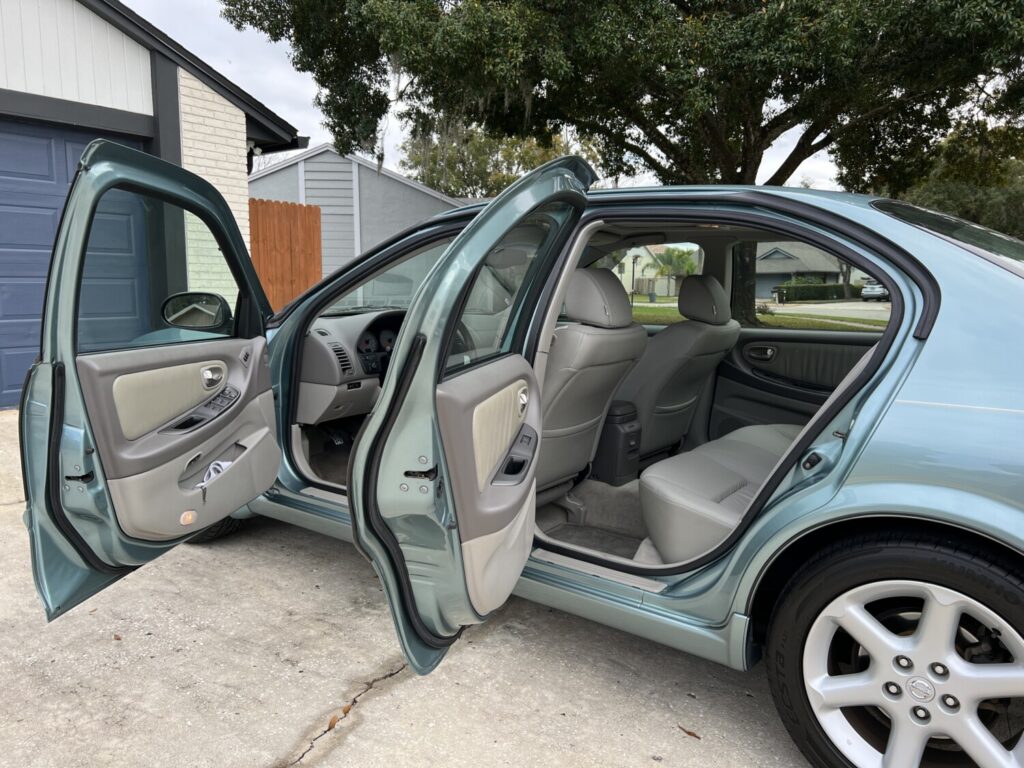
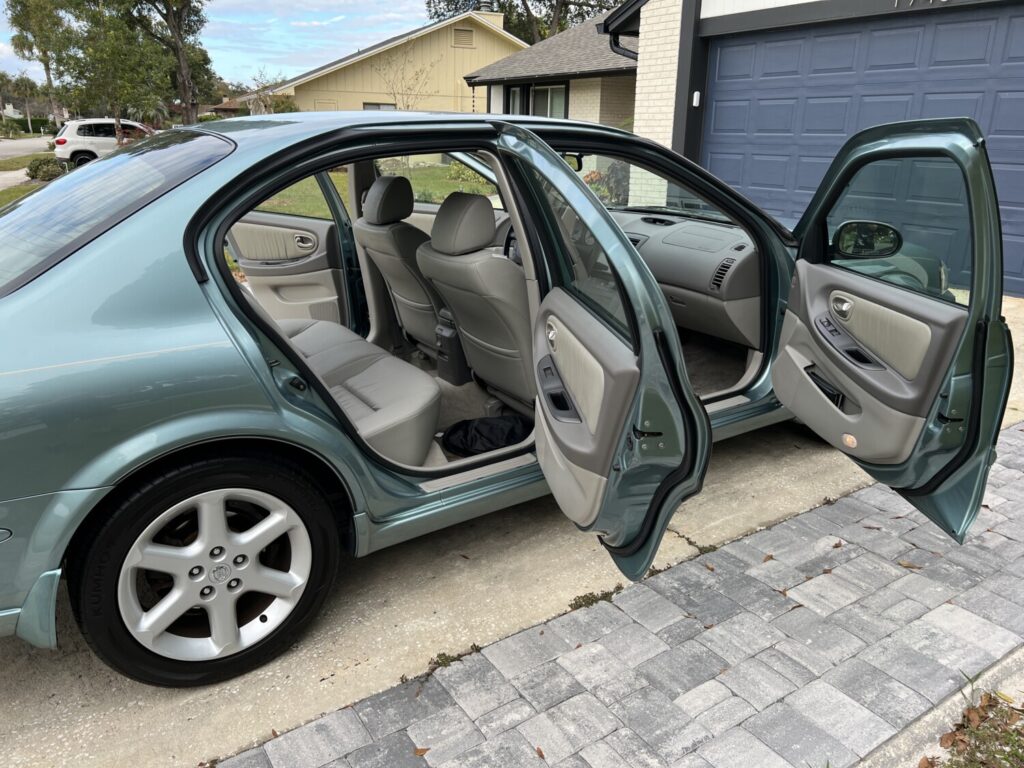
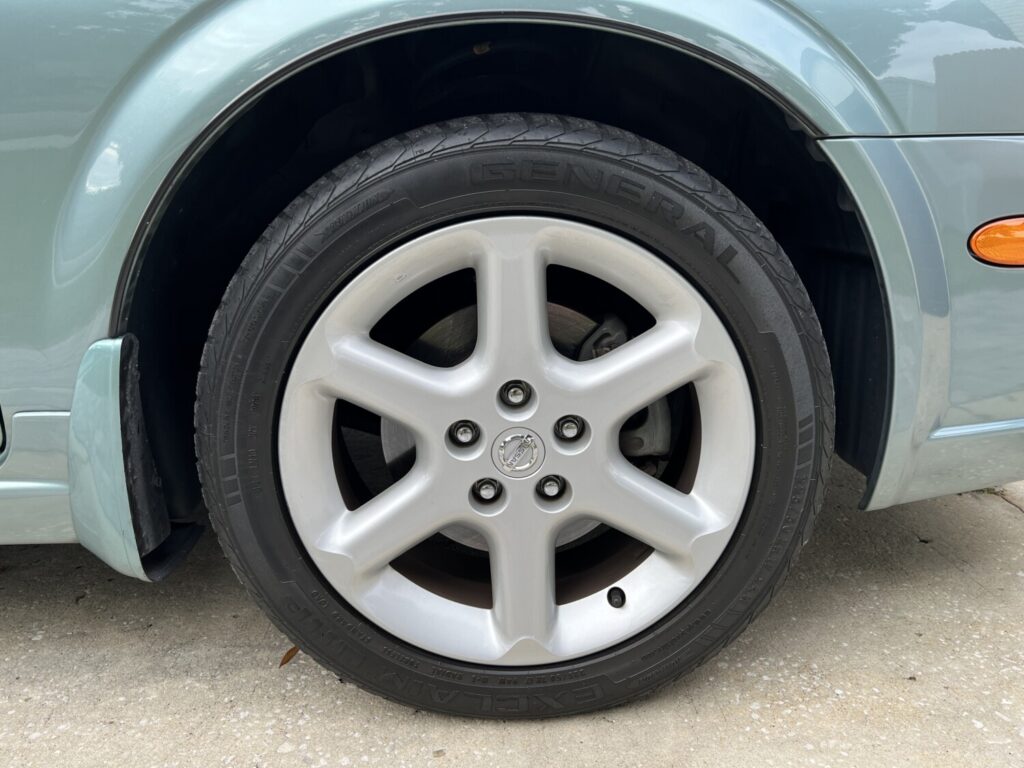
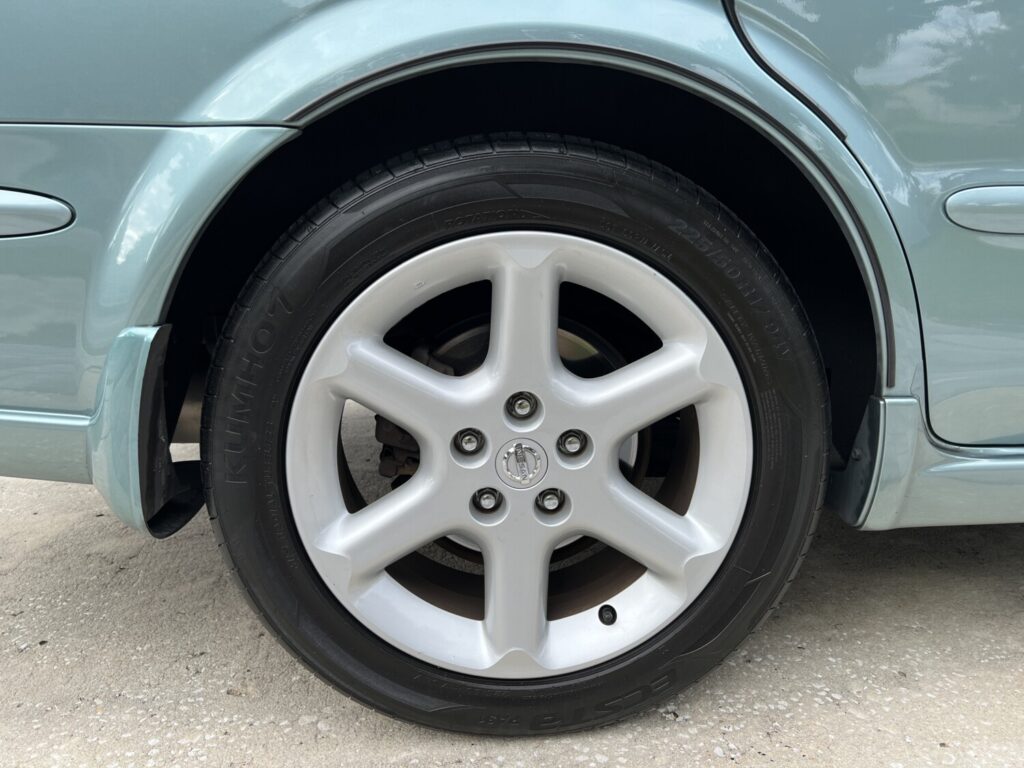
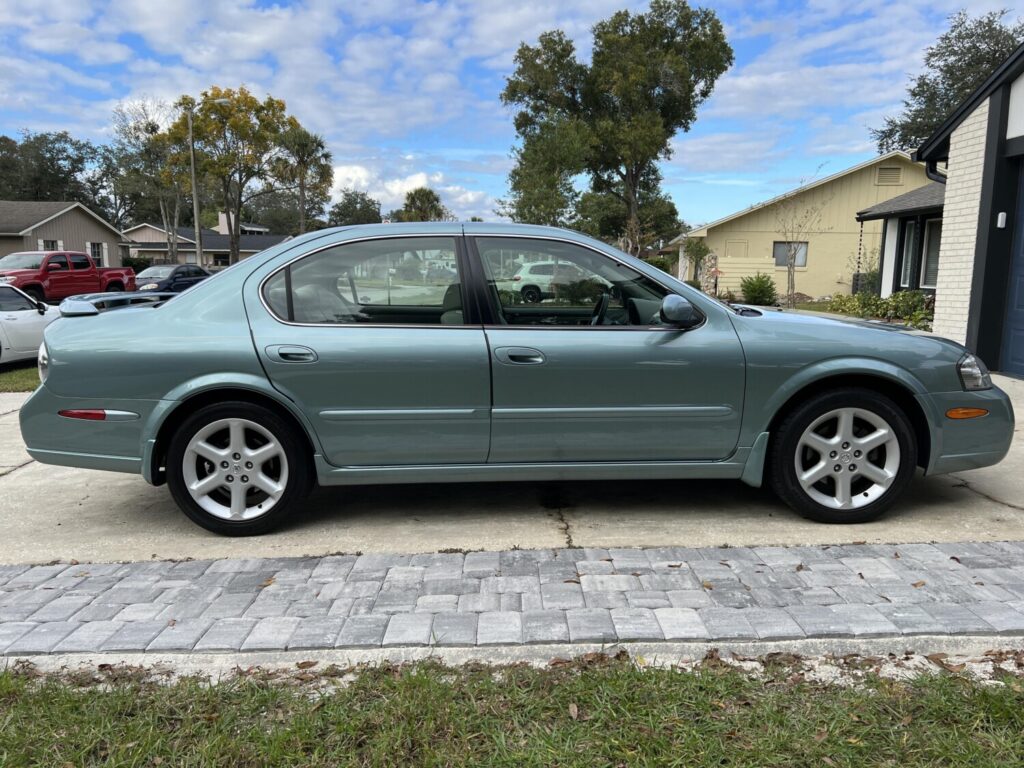
Community Member Credit: TBlueMax
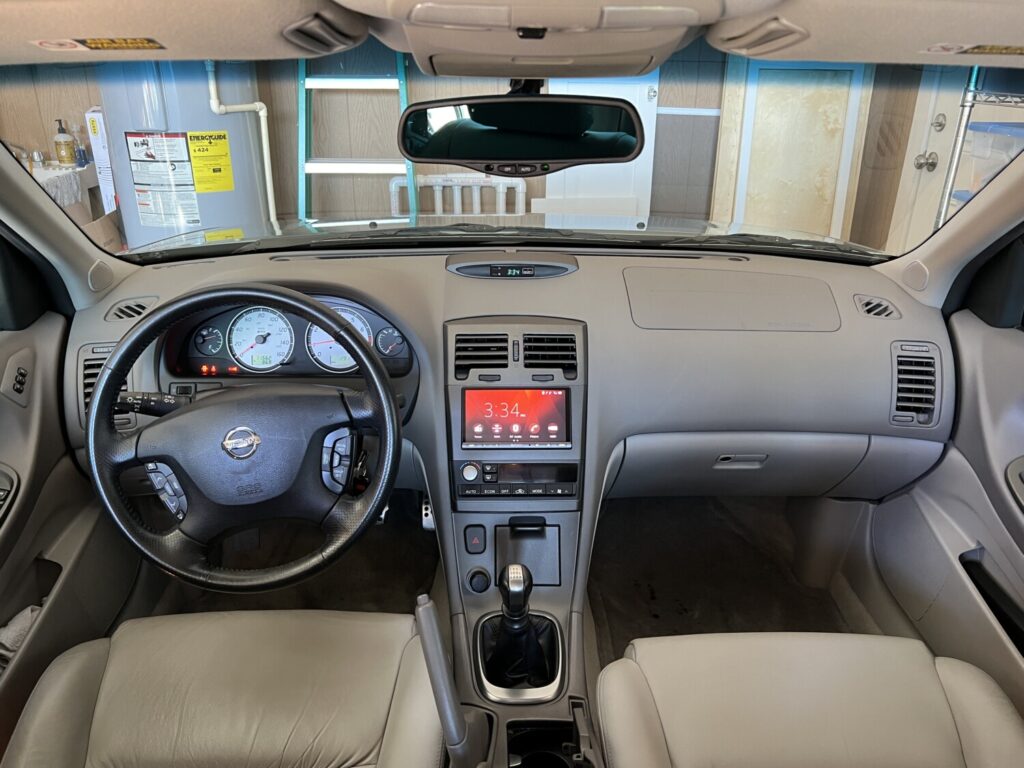
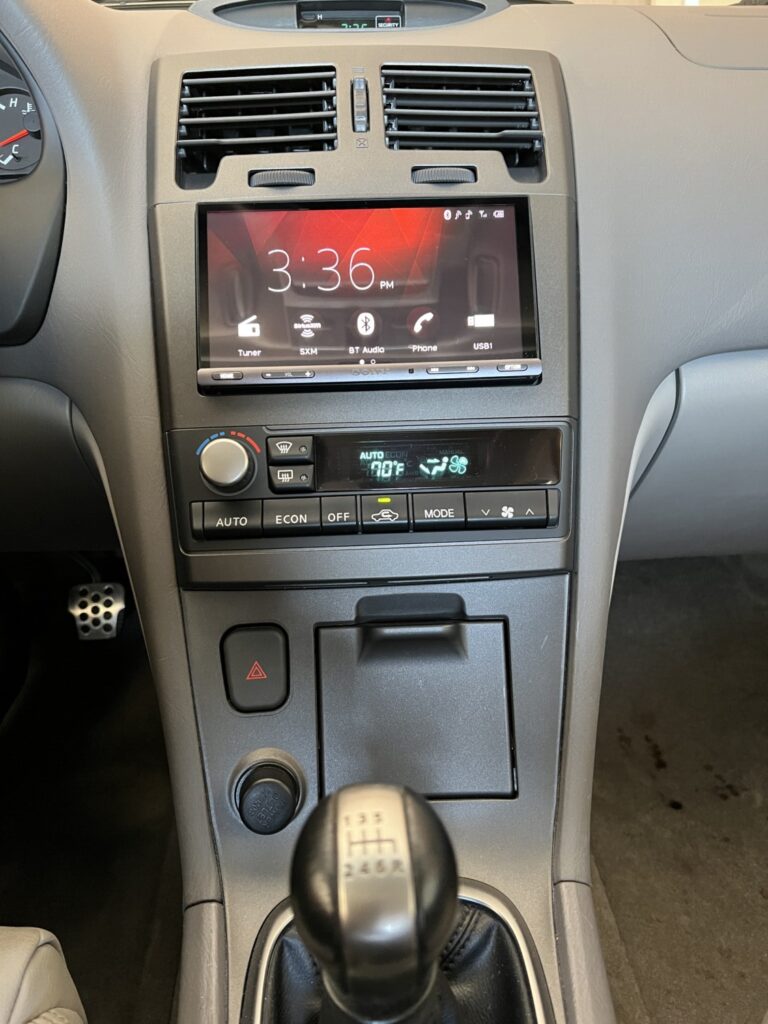
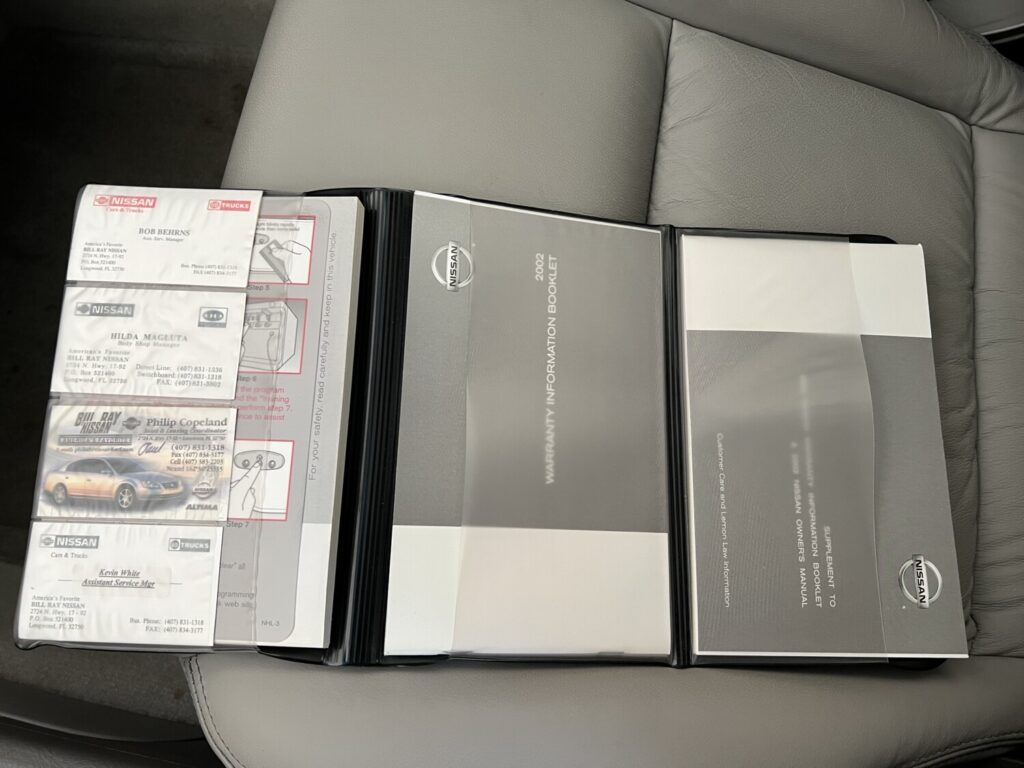
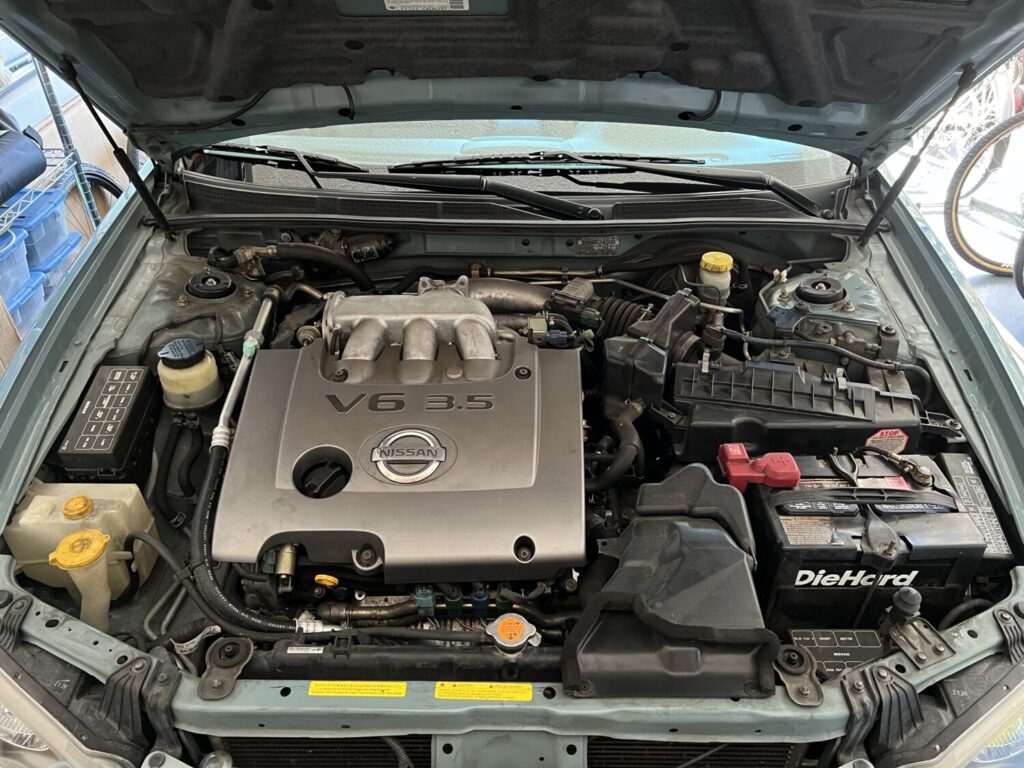
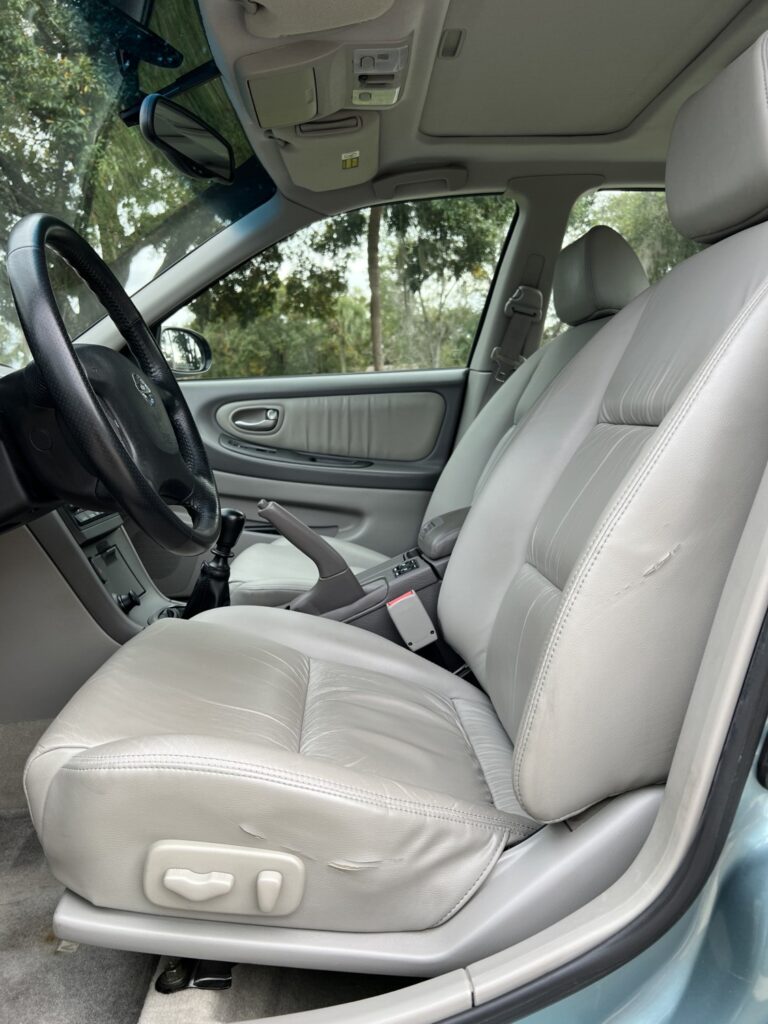
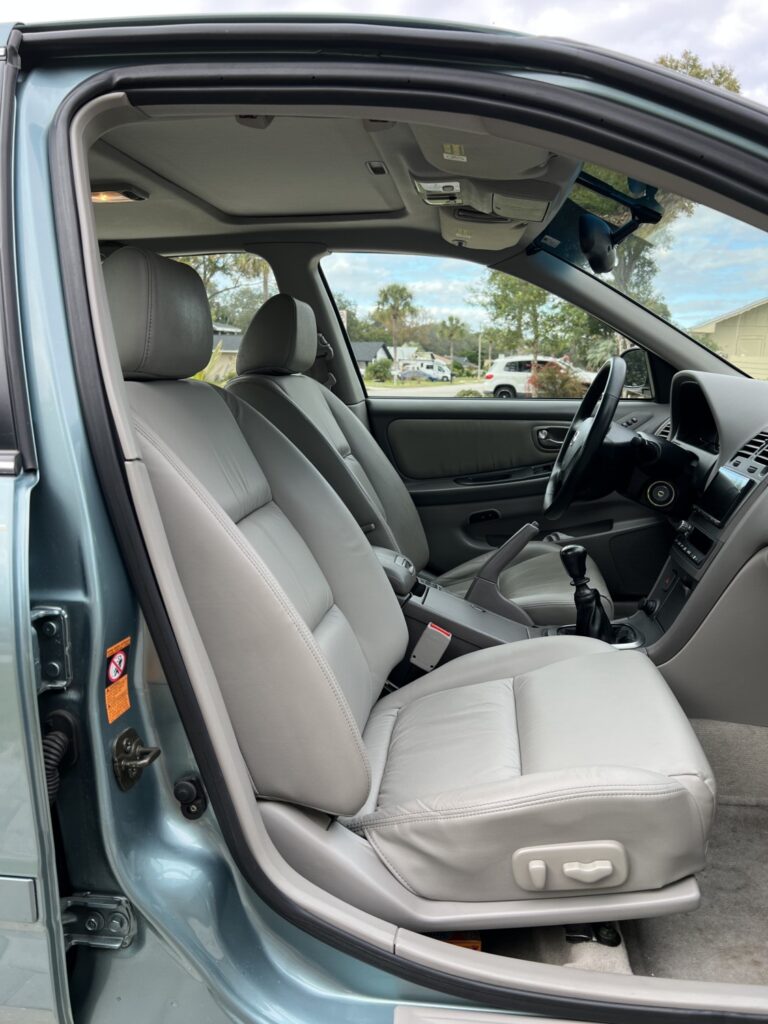
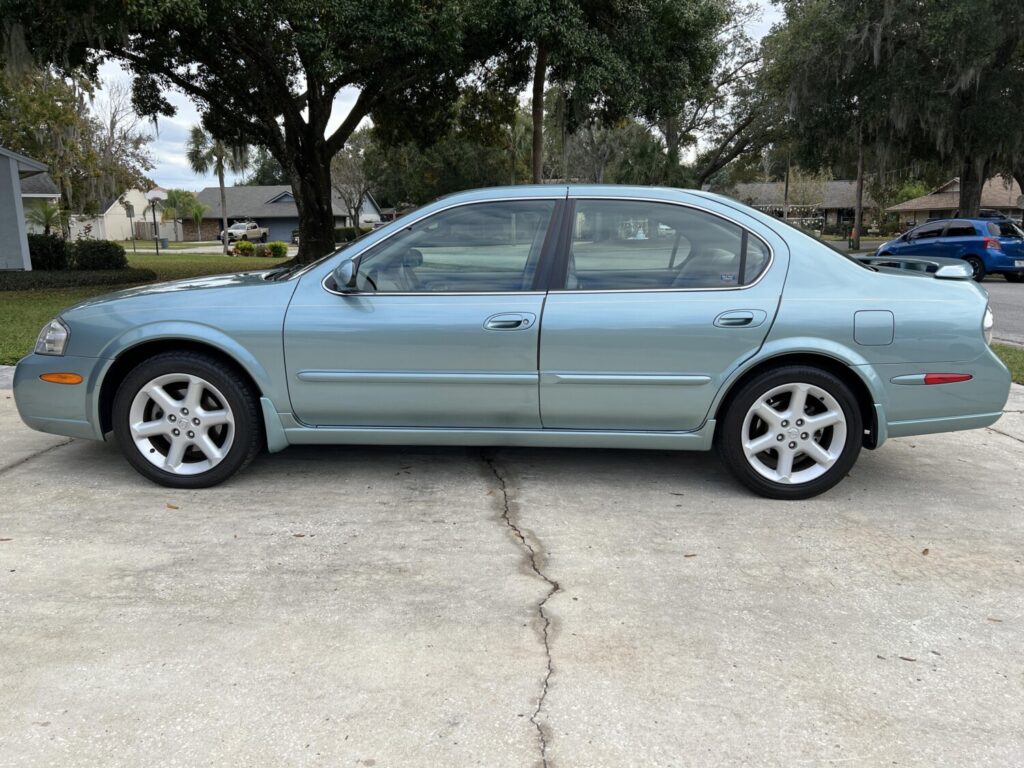
I purchased this Tungsten Blue with Tan leather 2002 Nissan Maxima SE 6MT from Billy Ray Nissan in Longwood, FL back in 2002 and have driven it gently and kept it regularly serviced ever since. Recently replaced the battery January 2021, had a major service in May 2019 (spark plugs, coolant flush, A/C recharged, etc.), front/rear struts replaced, brake pads replaced, rotors resurfaced, fluid flushed in January 2015, and regular maintenance according to either time or miles.’
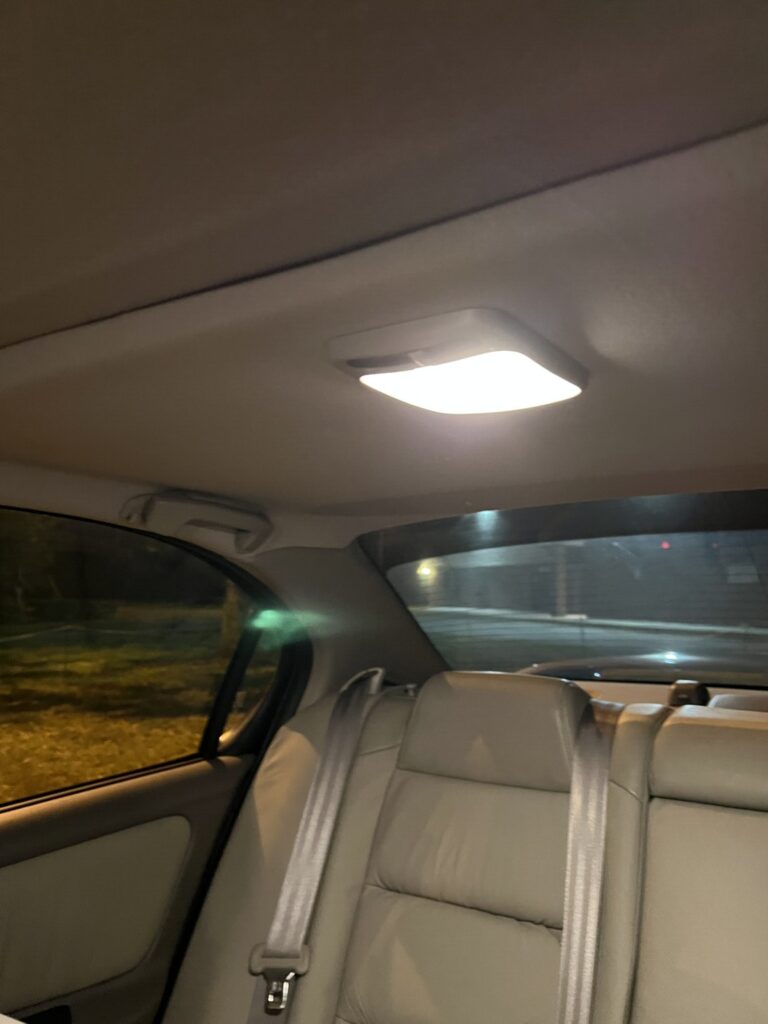
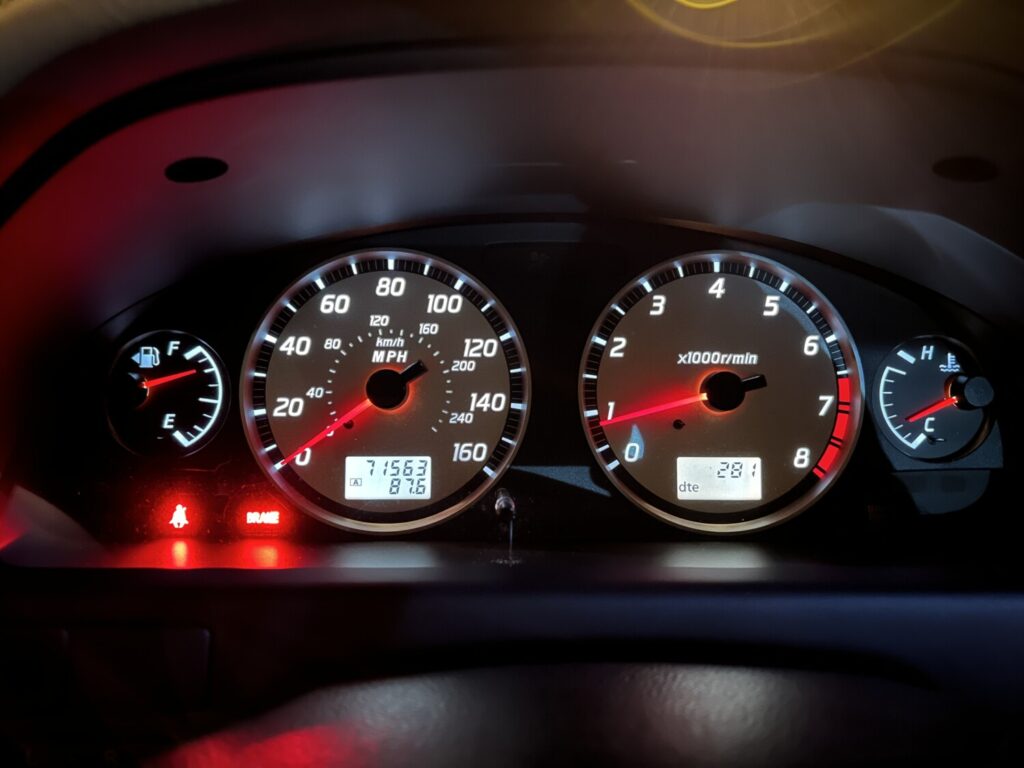
It’s a low mileage car at just over 71,562 miles these past 19 years and has been garage kept at home and work since new. Hand washed and waxed regularly and no drive-through machine washes. No drivetrain, suspension, or appearance mods.
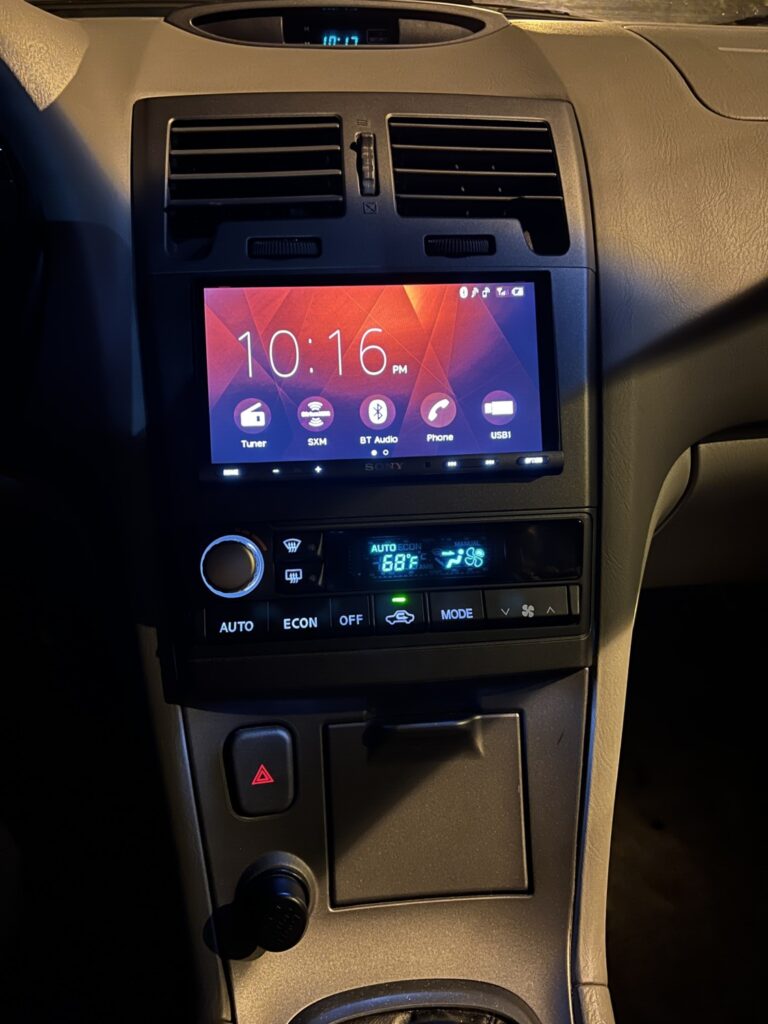
In May 2018 I had the factory head unit swapped out for a Sony XAV-AX5000 7” Apple Car Play, Android Auto, Media Receiver with Bluetooth and have zero regrets as it’s worked really well and has been a welcome upgrade.


![]()
")
")
If you are considering upgrading your Nissan Maxima to a newer engine model, we recommend going with the 2016+ Gen3 VQ35DE Nissan. They have also come down in price and present a great option for a low mileage and newer engine. We’ve seen them as low as $850-$900 depending on mileage. There is also nothing wrong with considering a Gen2 VQ35DE (2009-2015) engine especially when you can get them at a much lower costs than Gen3. Ultimately, you make the decision on what is best, cost effective and convenient for you.
Overall, the 2016+ Gen3 engine has many new improvements over the previous 2009-2015 7thgen Generation Model Maxima. According to Nissan, the 2016+ engine has upgraded 61% over the previous engine. It also applies lessons learned and new technology from the legendary Nissan GT-R, such as sodium-filled valves.
We’ve dubbed it the “Gen3 VQ35DE” to differentiate between the different years of the VQ35DE engine. When you hear Gen3, you know it’s an 8thgen 2016+ motor vs 7thgen.


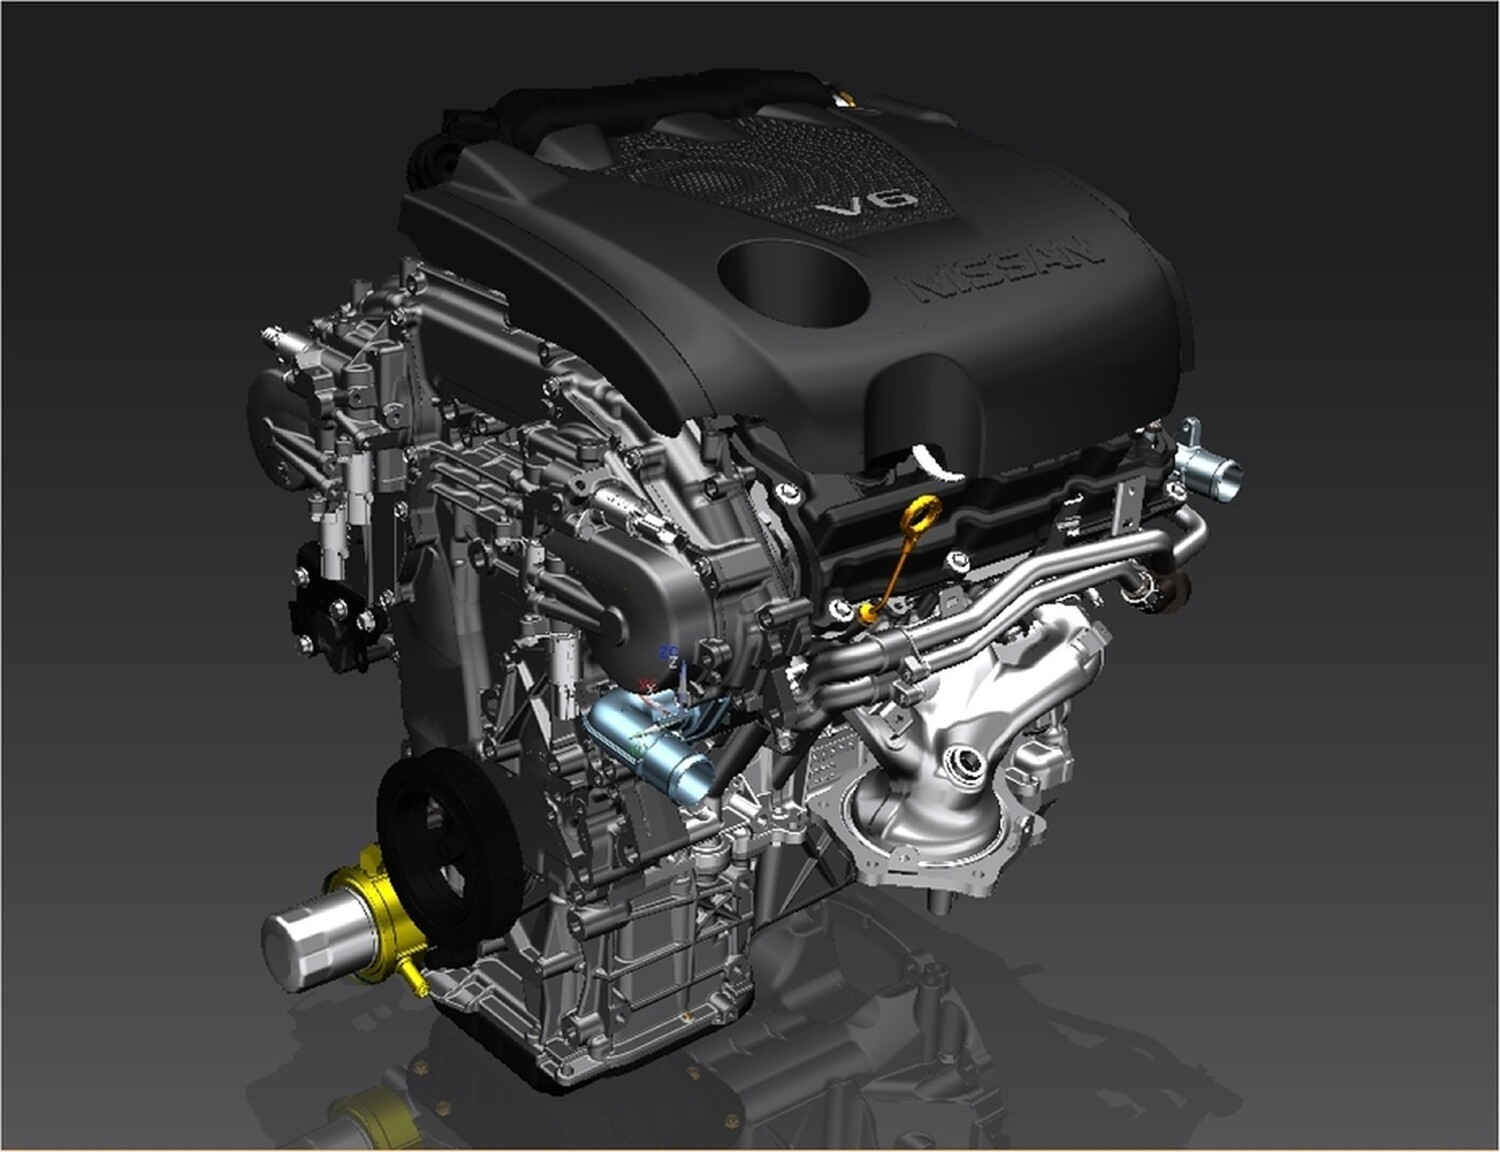
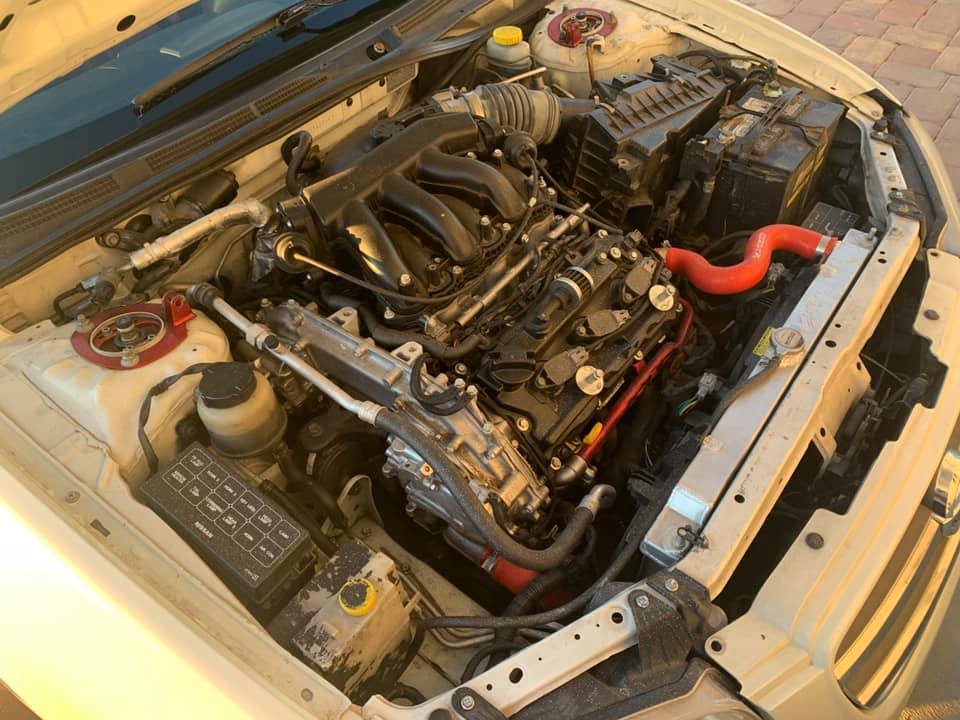
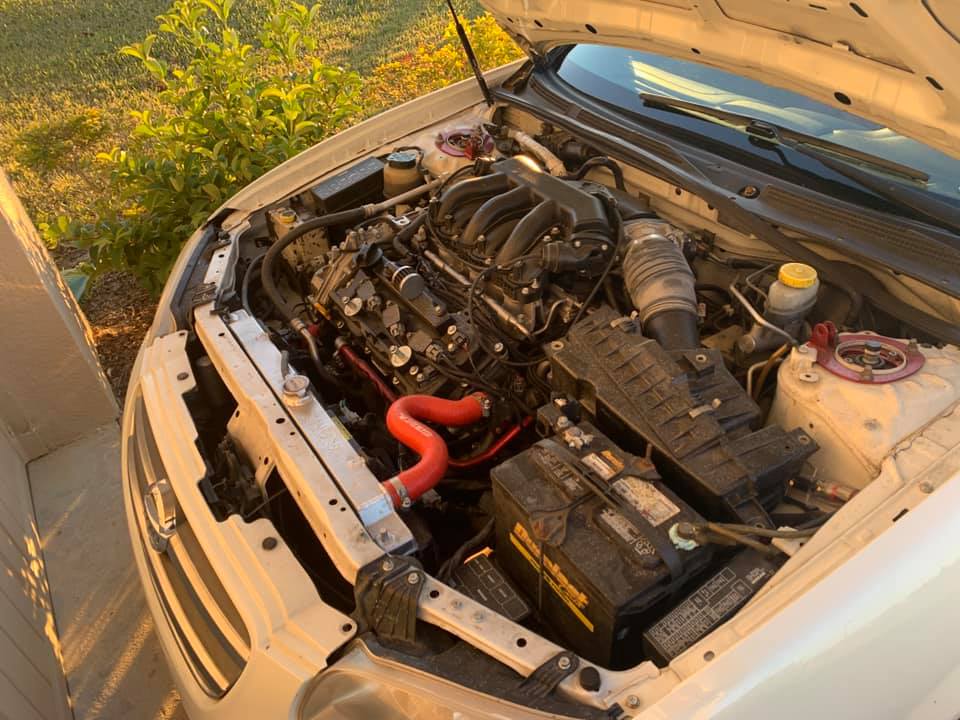
The newer 2016+ 8thgen Motor has more solenoids than the previous 7thgen Motor. If you are putting this in an older Maxima, you need to hook up the solenoids noted in the photo.


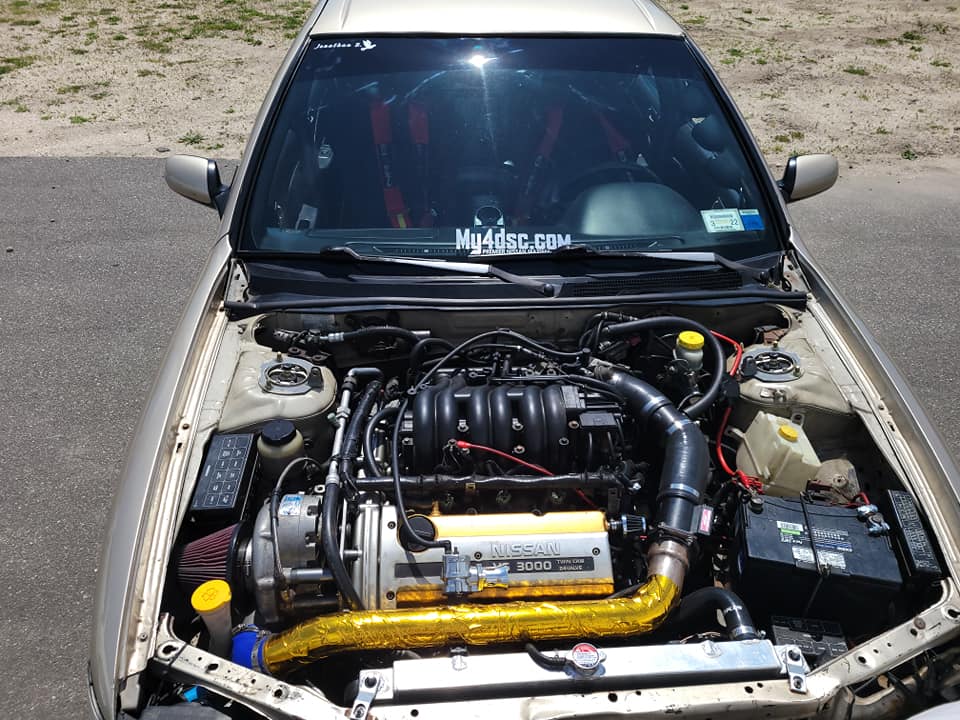
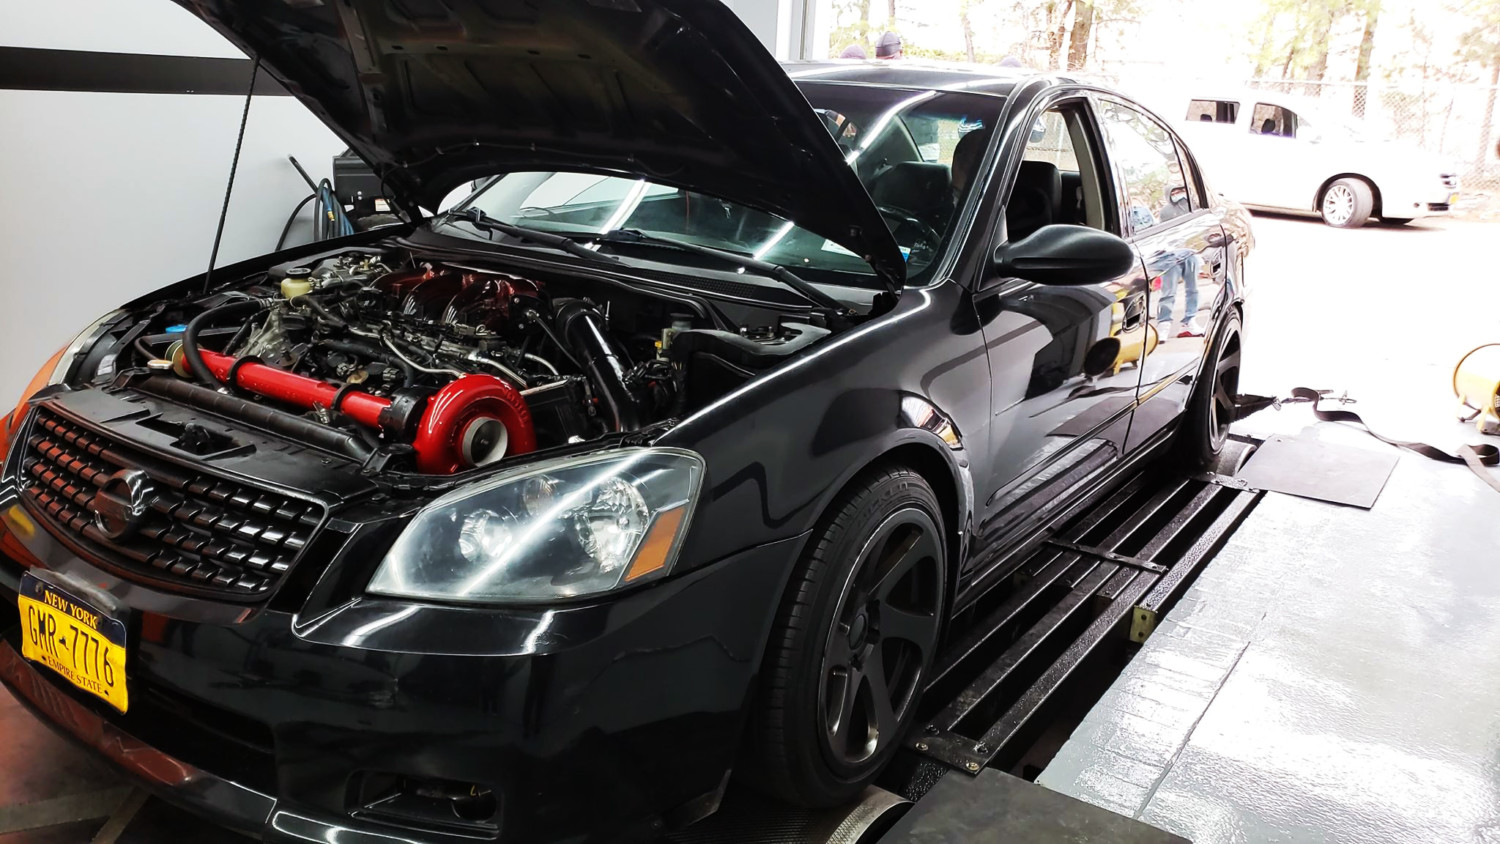
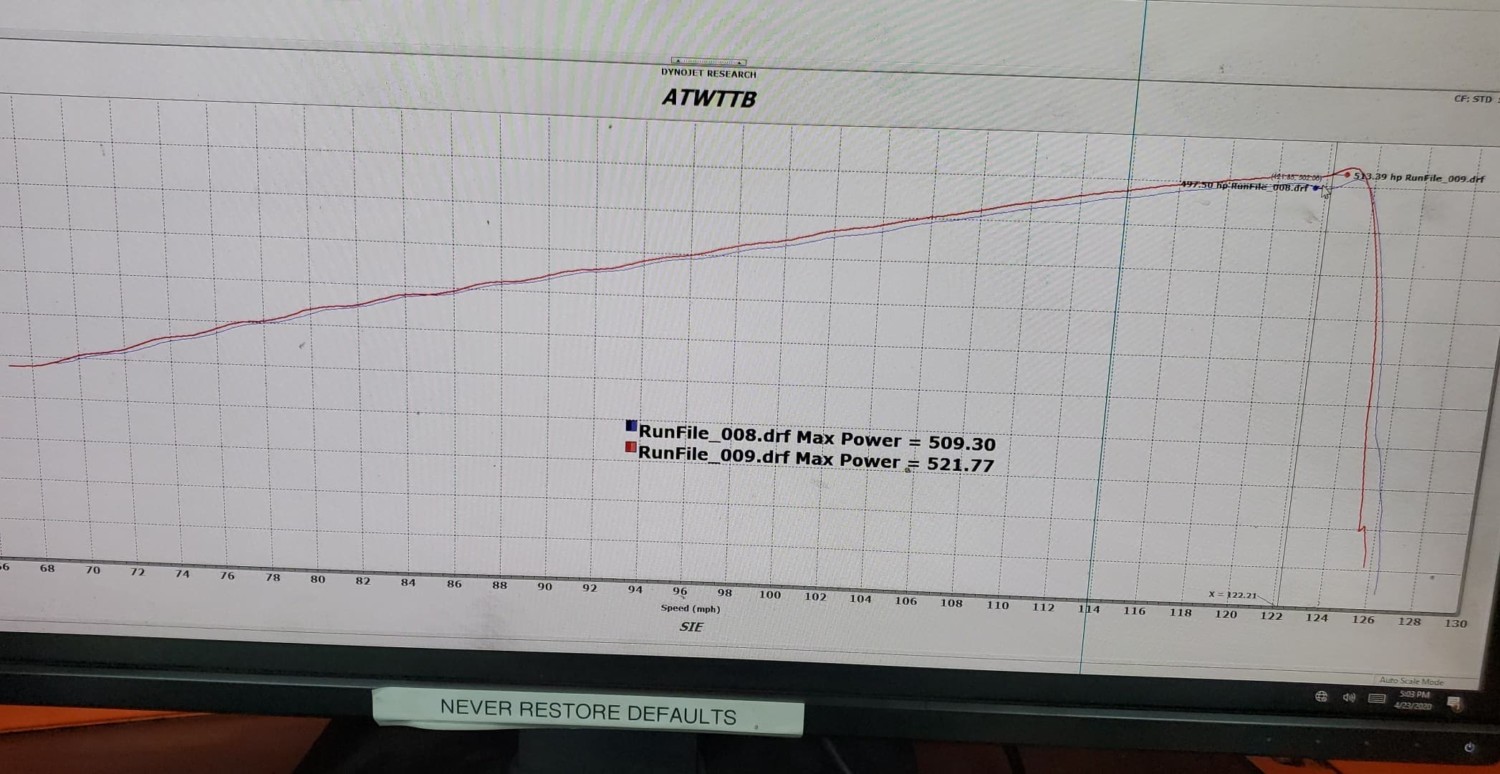
Altima SE-R – 521WHP GEN3 VQ35DE (UNOPENED), Tuned on UpRev by AdminTuning (No Cams or EVT)
![]()
")
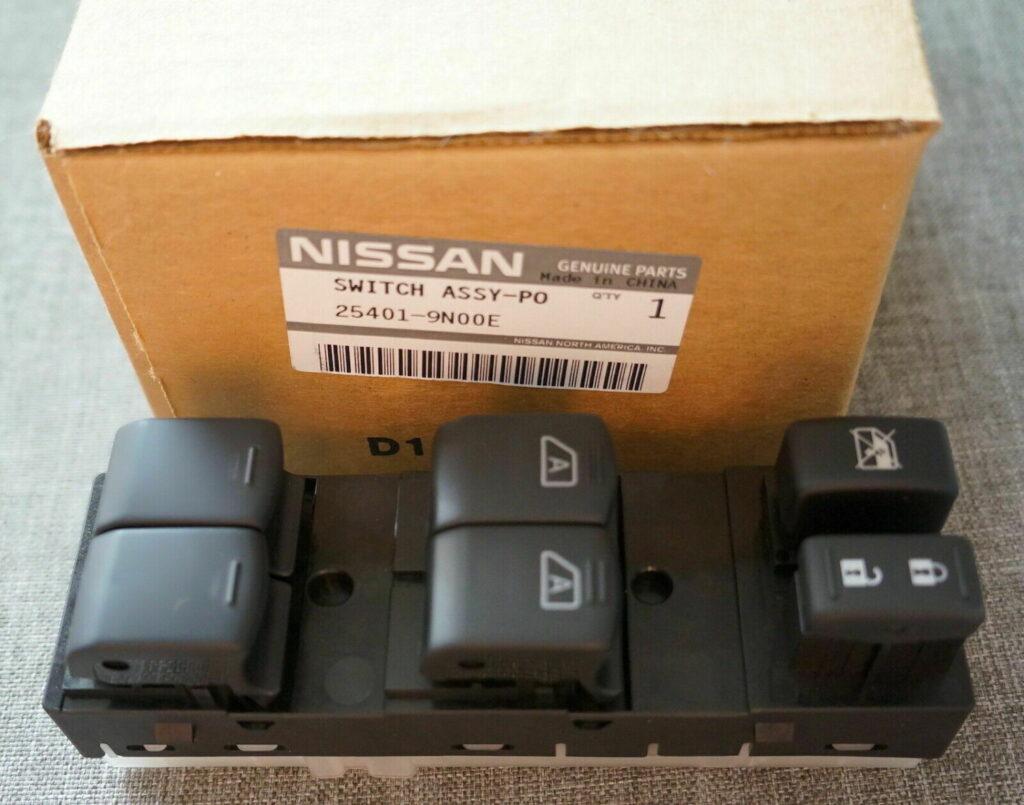
Community Member Credit: Eddy
OEM Part Number: 25401-9N00E
Price: $60.00-$80.00
Symptoms
![]()

Community Member Credit: Eddy
If you are having issues opening your trunk, you can use the emergency inside trunk release lever. It glows in the dark so you can easily find it.


You can try checking the wires shown below to see if any are broken. Many owners have resolved their issues by re-splicing any broken wires. This appears to be a common issue.


You can also try to check this button as well.

![]()