Credit: Digital
This is a very cheap mod, as I did it with only $20 worth of supplies.

Supplies Used for modification:
- Duralast 1/8″ x 3″ flathead screwdriver (AutoZone)
- Two 5oz cans – Duplicolor Auto Spray – Black (AutoZone)
- One 5oz can – Duplcolor Auto Spray – Clear Coat (AutoZone)
- Clear silicone (Home Depot)
- Heavy winter gloves (for removing hot parts from oven)
- Painters tape or Masking tape (HomeDepot)
- 400 grit wet sand paper (AutoZone)
- Simple Green (AutoZone)
Step 1:
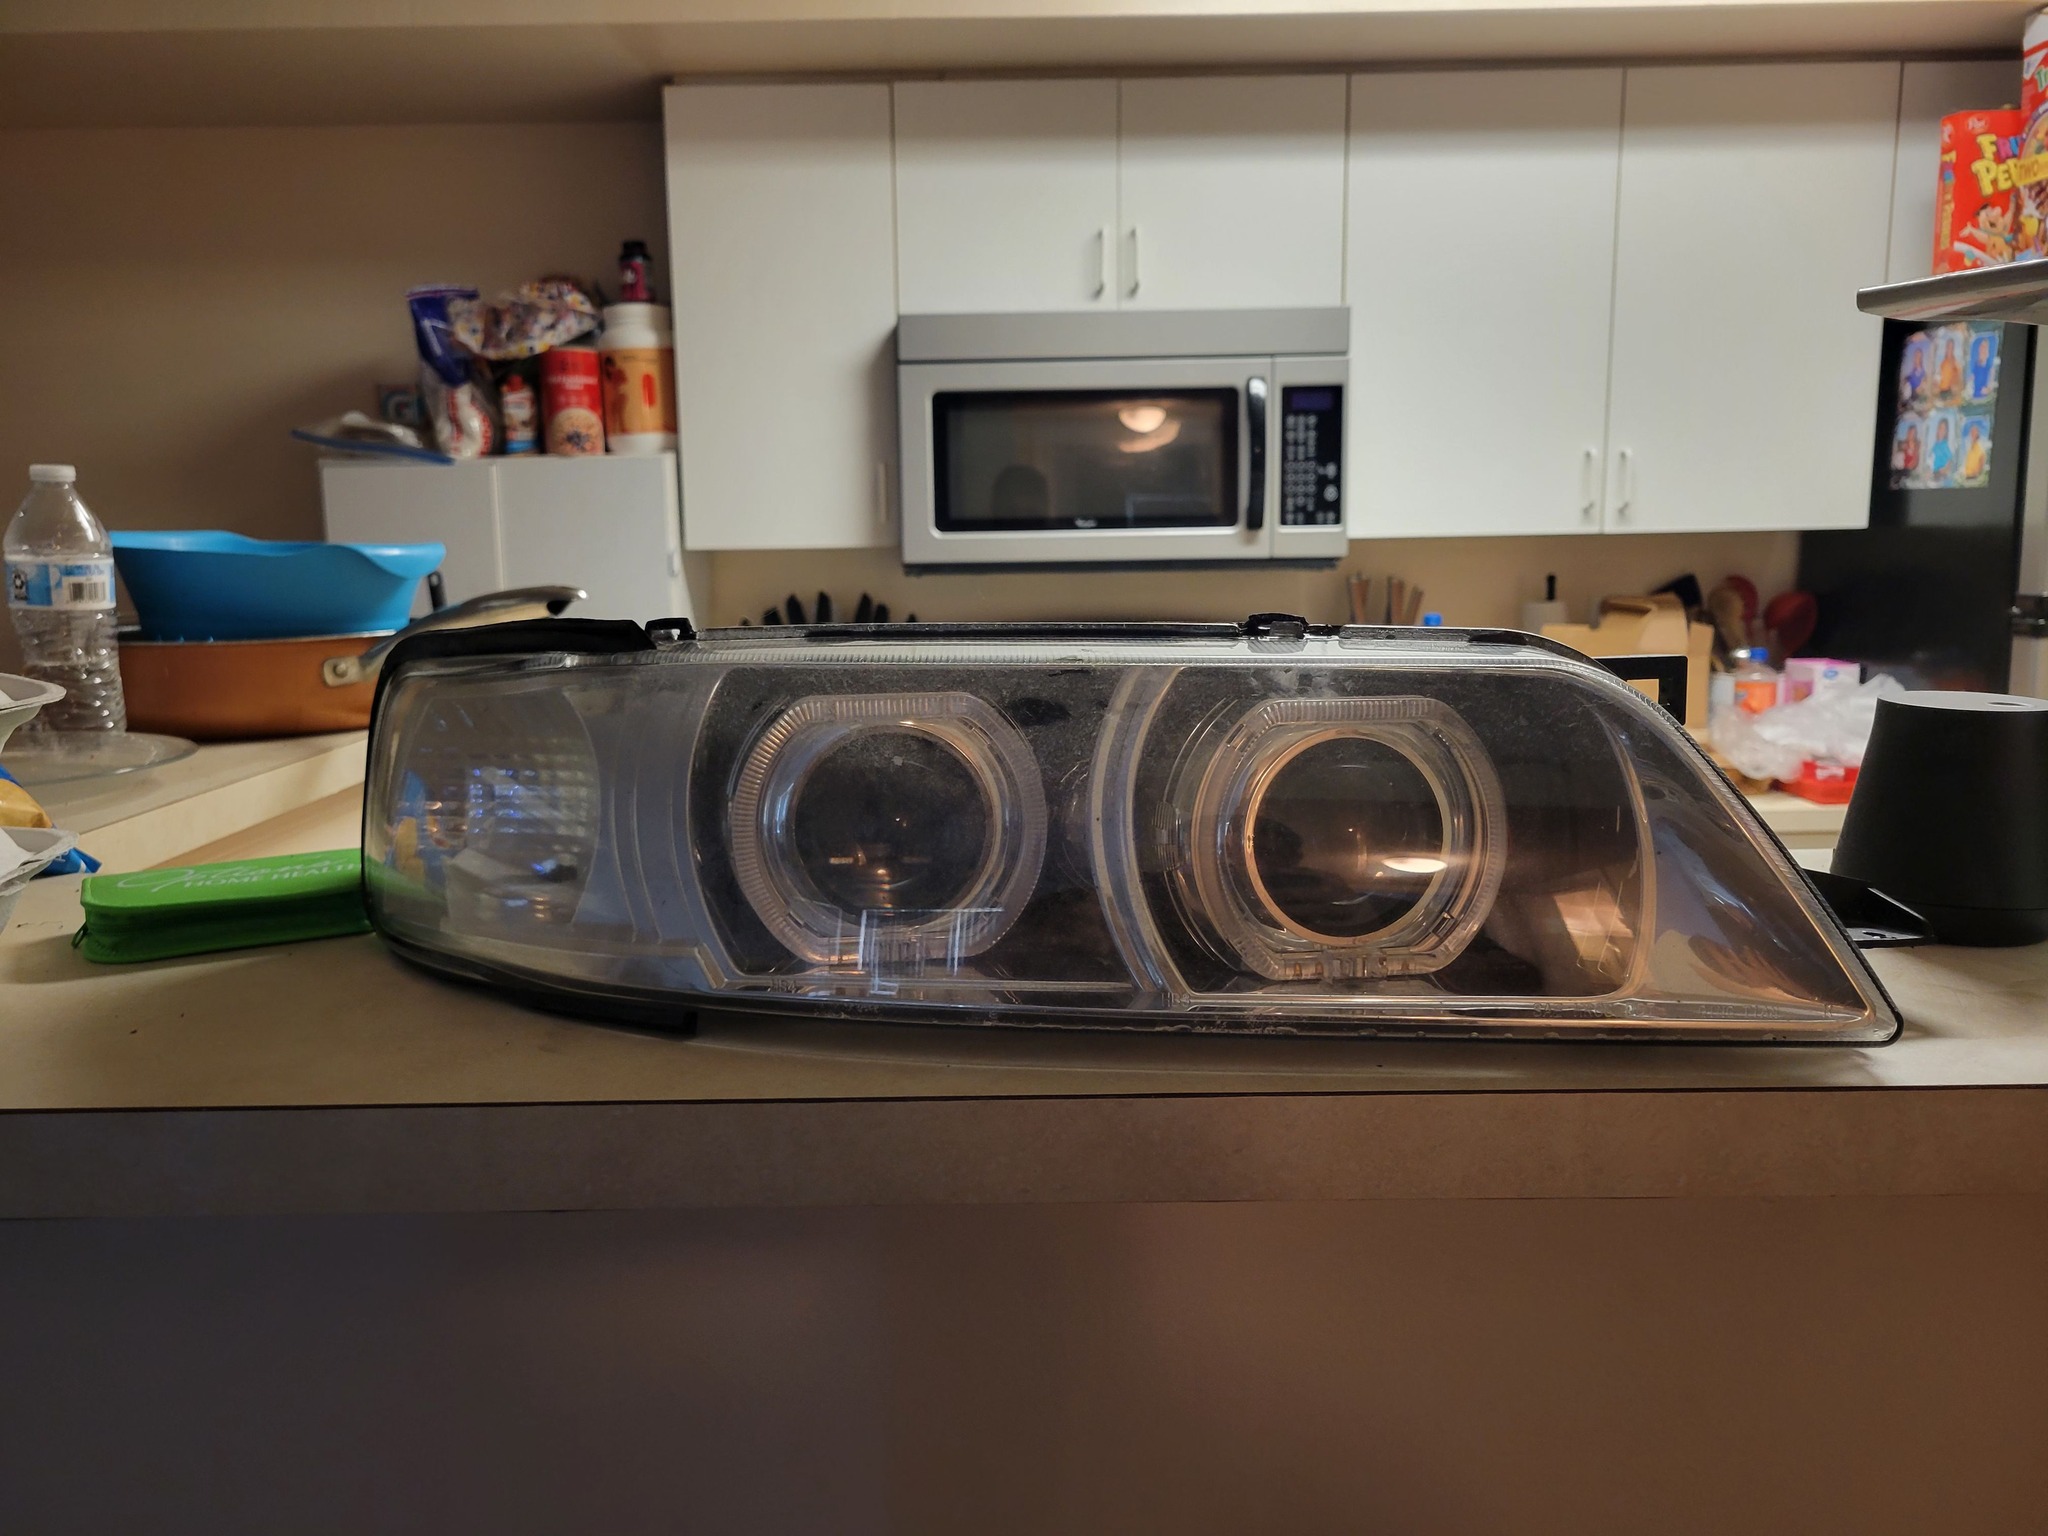
Remove your headlights and corners, this took some time cause there is a good amount of screws to remove. Also, remove the 5 metal clips that hold the headlight on the housing.

Step 2:
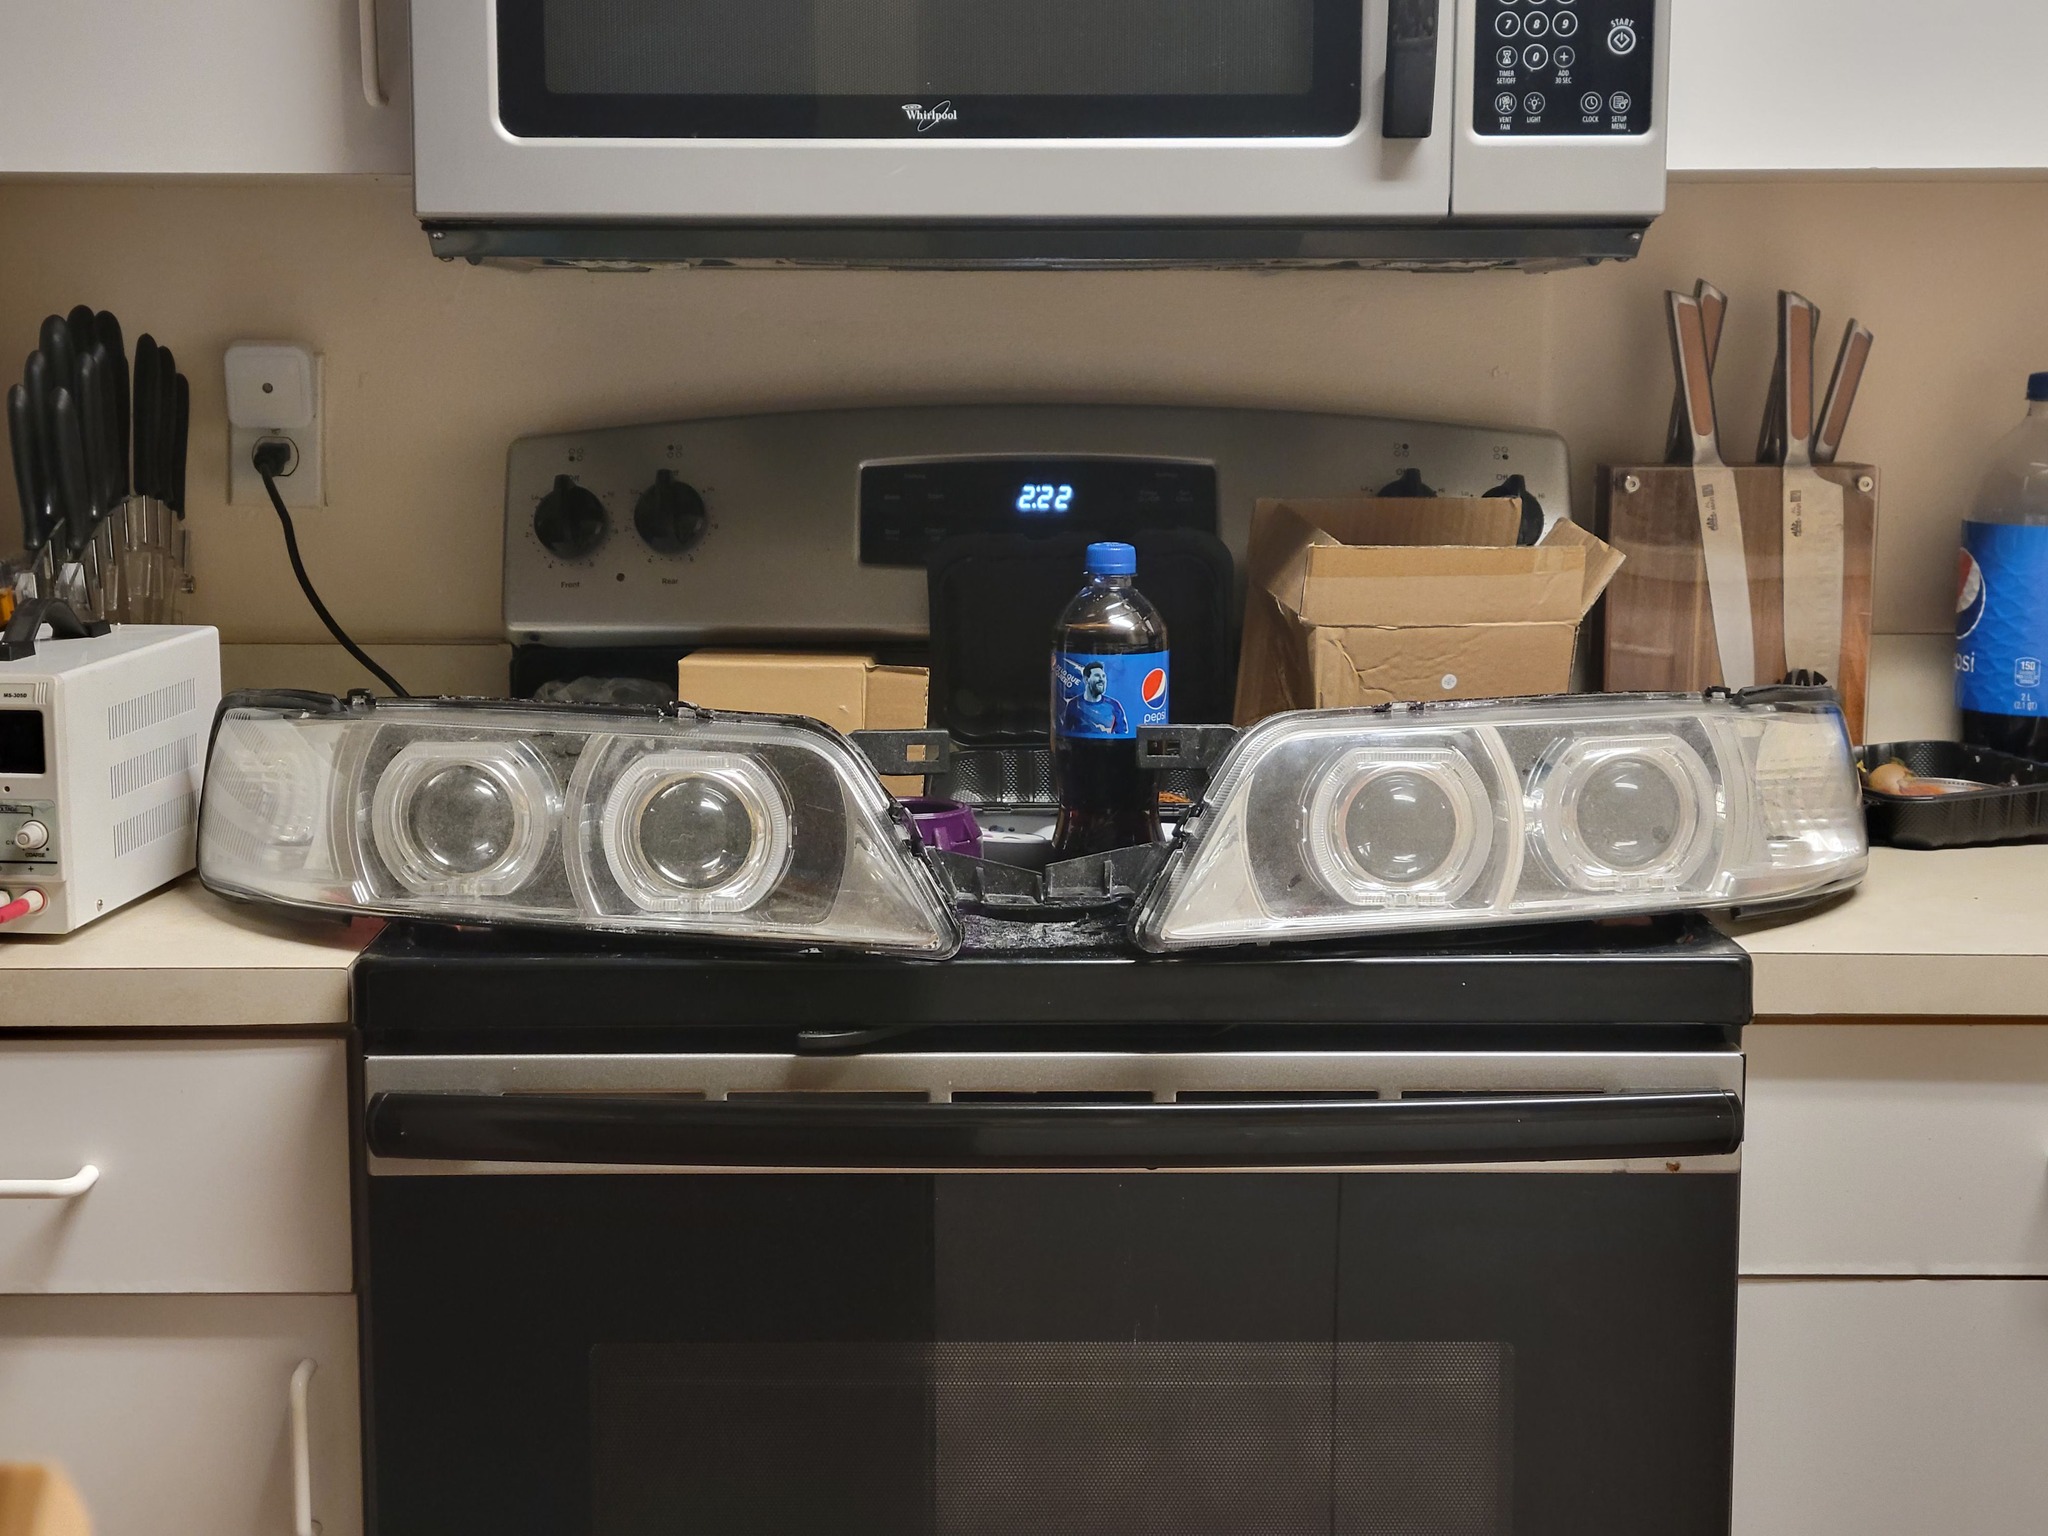
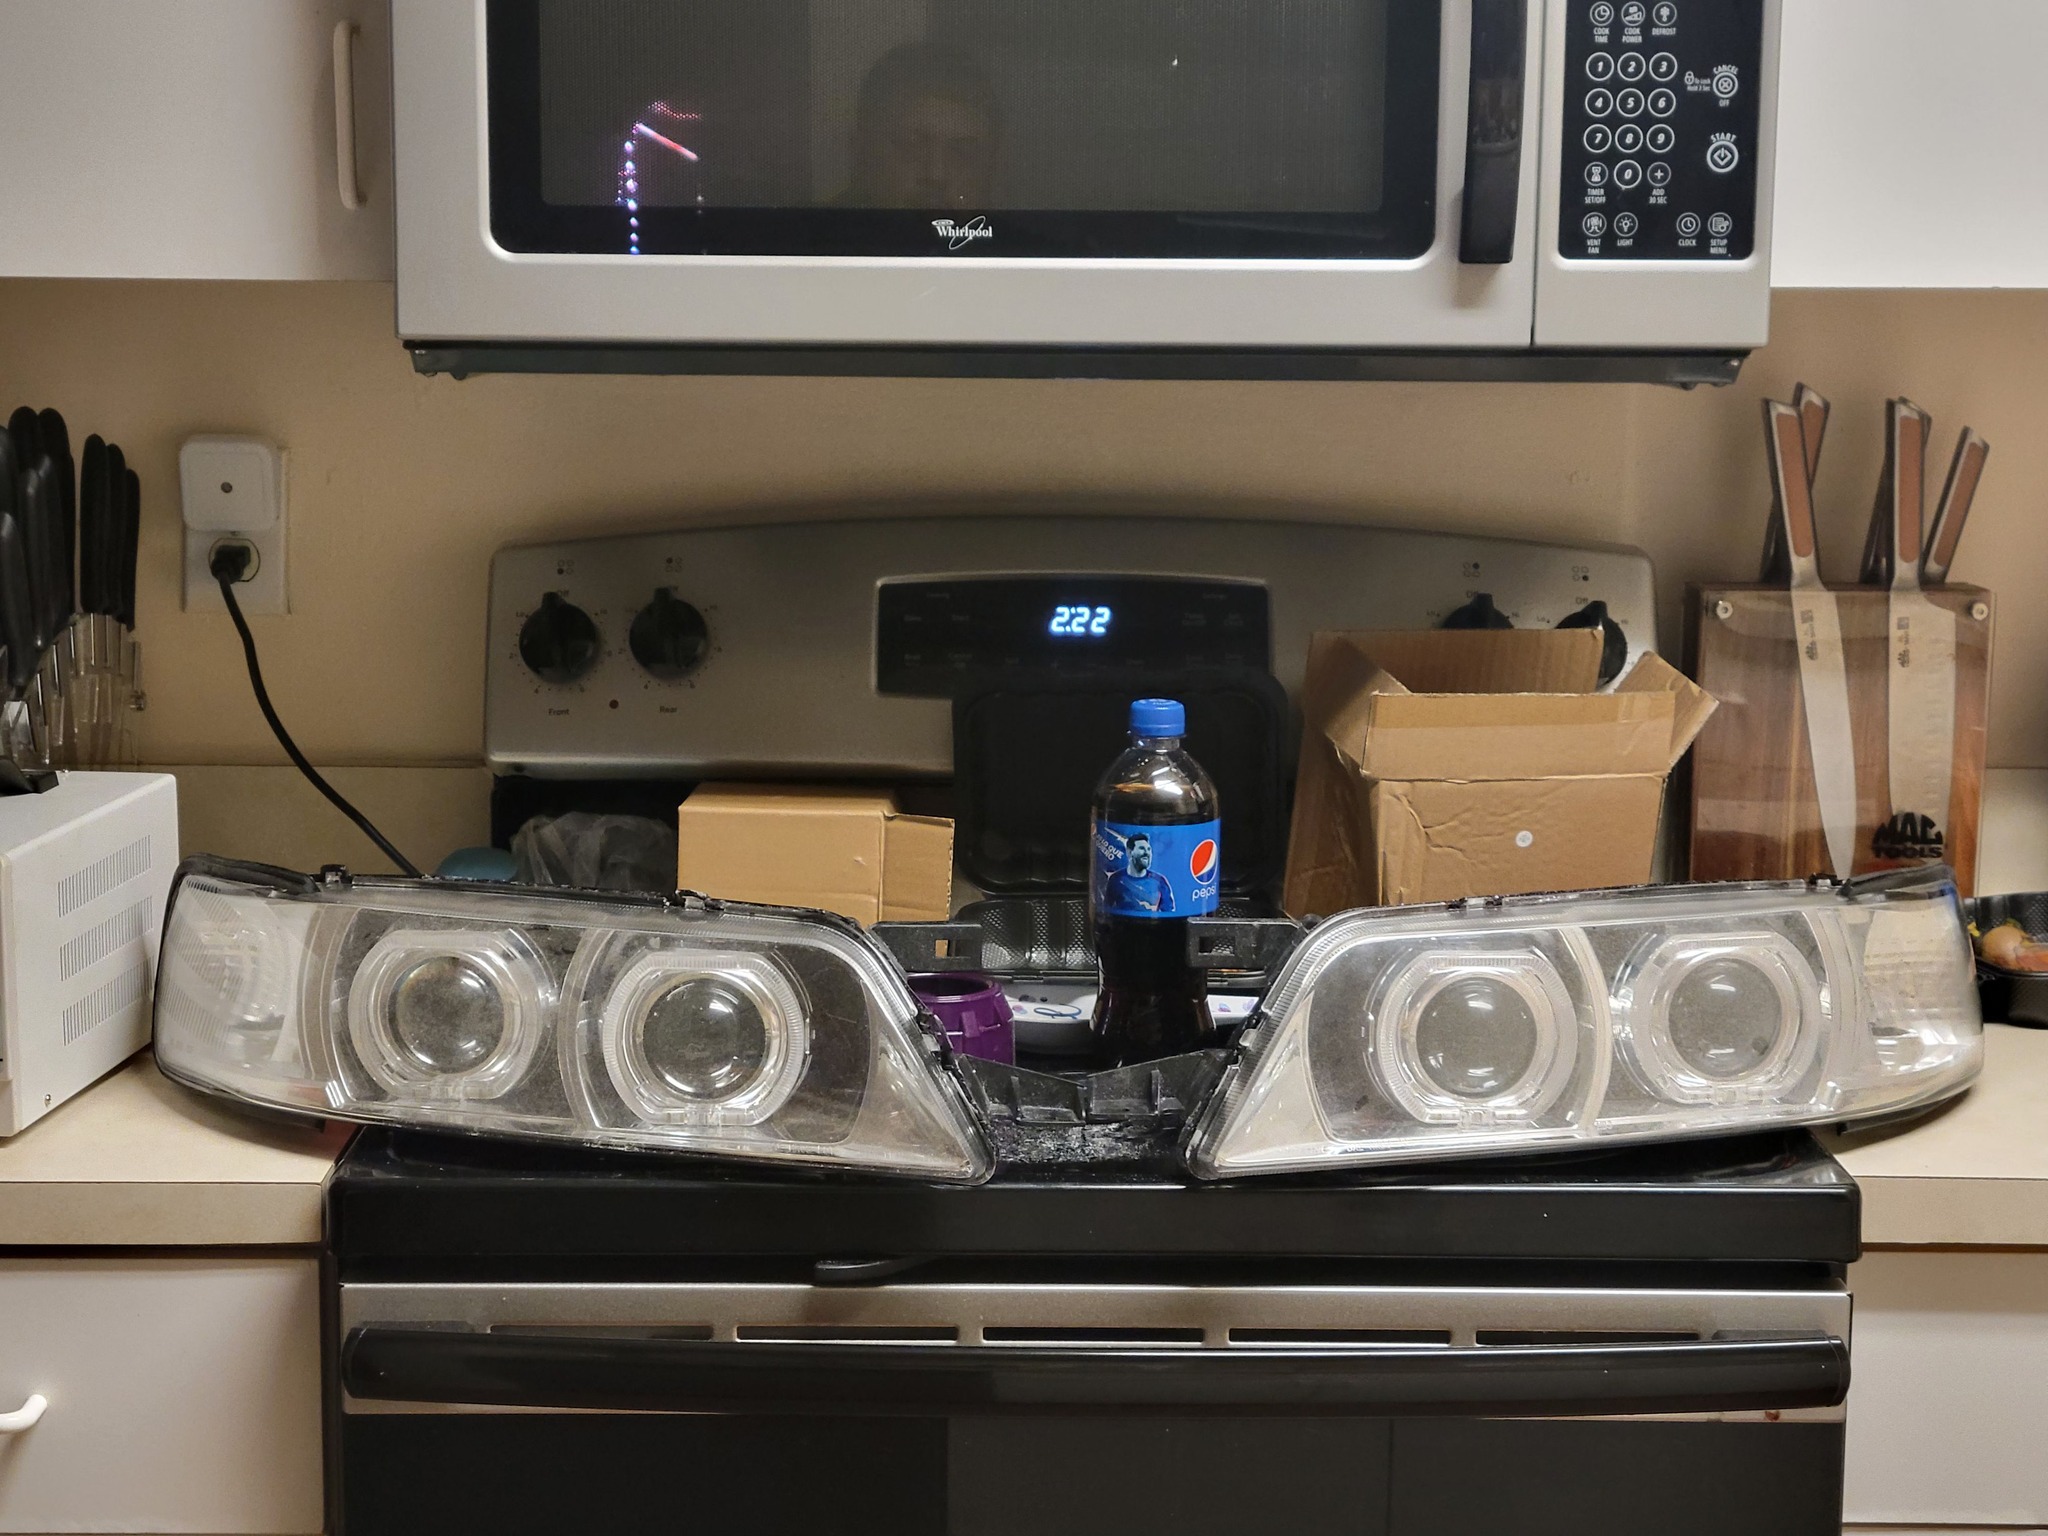
Preheat your oven, set it to 250 degrees. Once the temperature has risen to 250, put ONE HEADLIGHT in at a time. Do not put it on the floor of the oven, put it on the metal grate that all ovens have (i.e where you would place a pan in the oven to cook).
Make sure the grate is in the middle of the oven and you place the headlight in the middle of it. Close the oven and set a timer, or microwave timer to 10 minutes. You should smell the glue heating up, and the smell, don’t worry it will go away, and your food will not taste like glue (just a lil FYI for those with wives or mothers who may bug out about it).
Step 3:
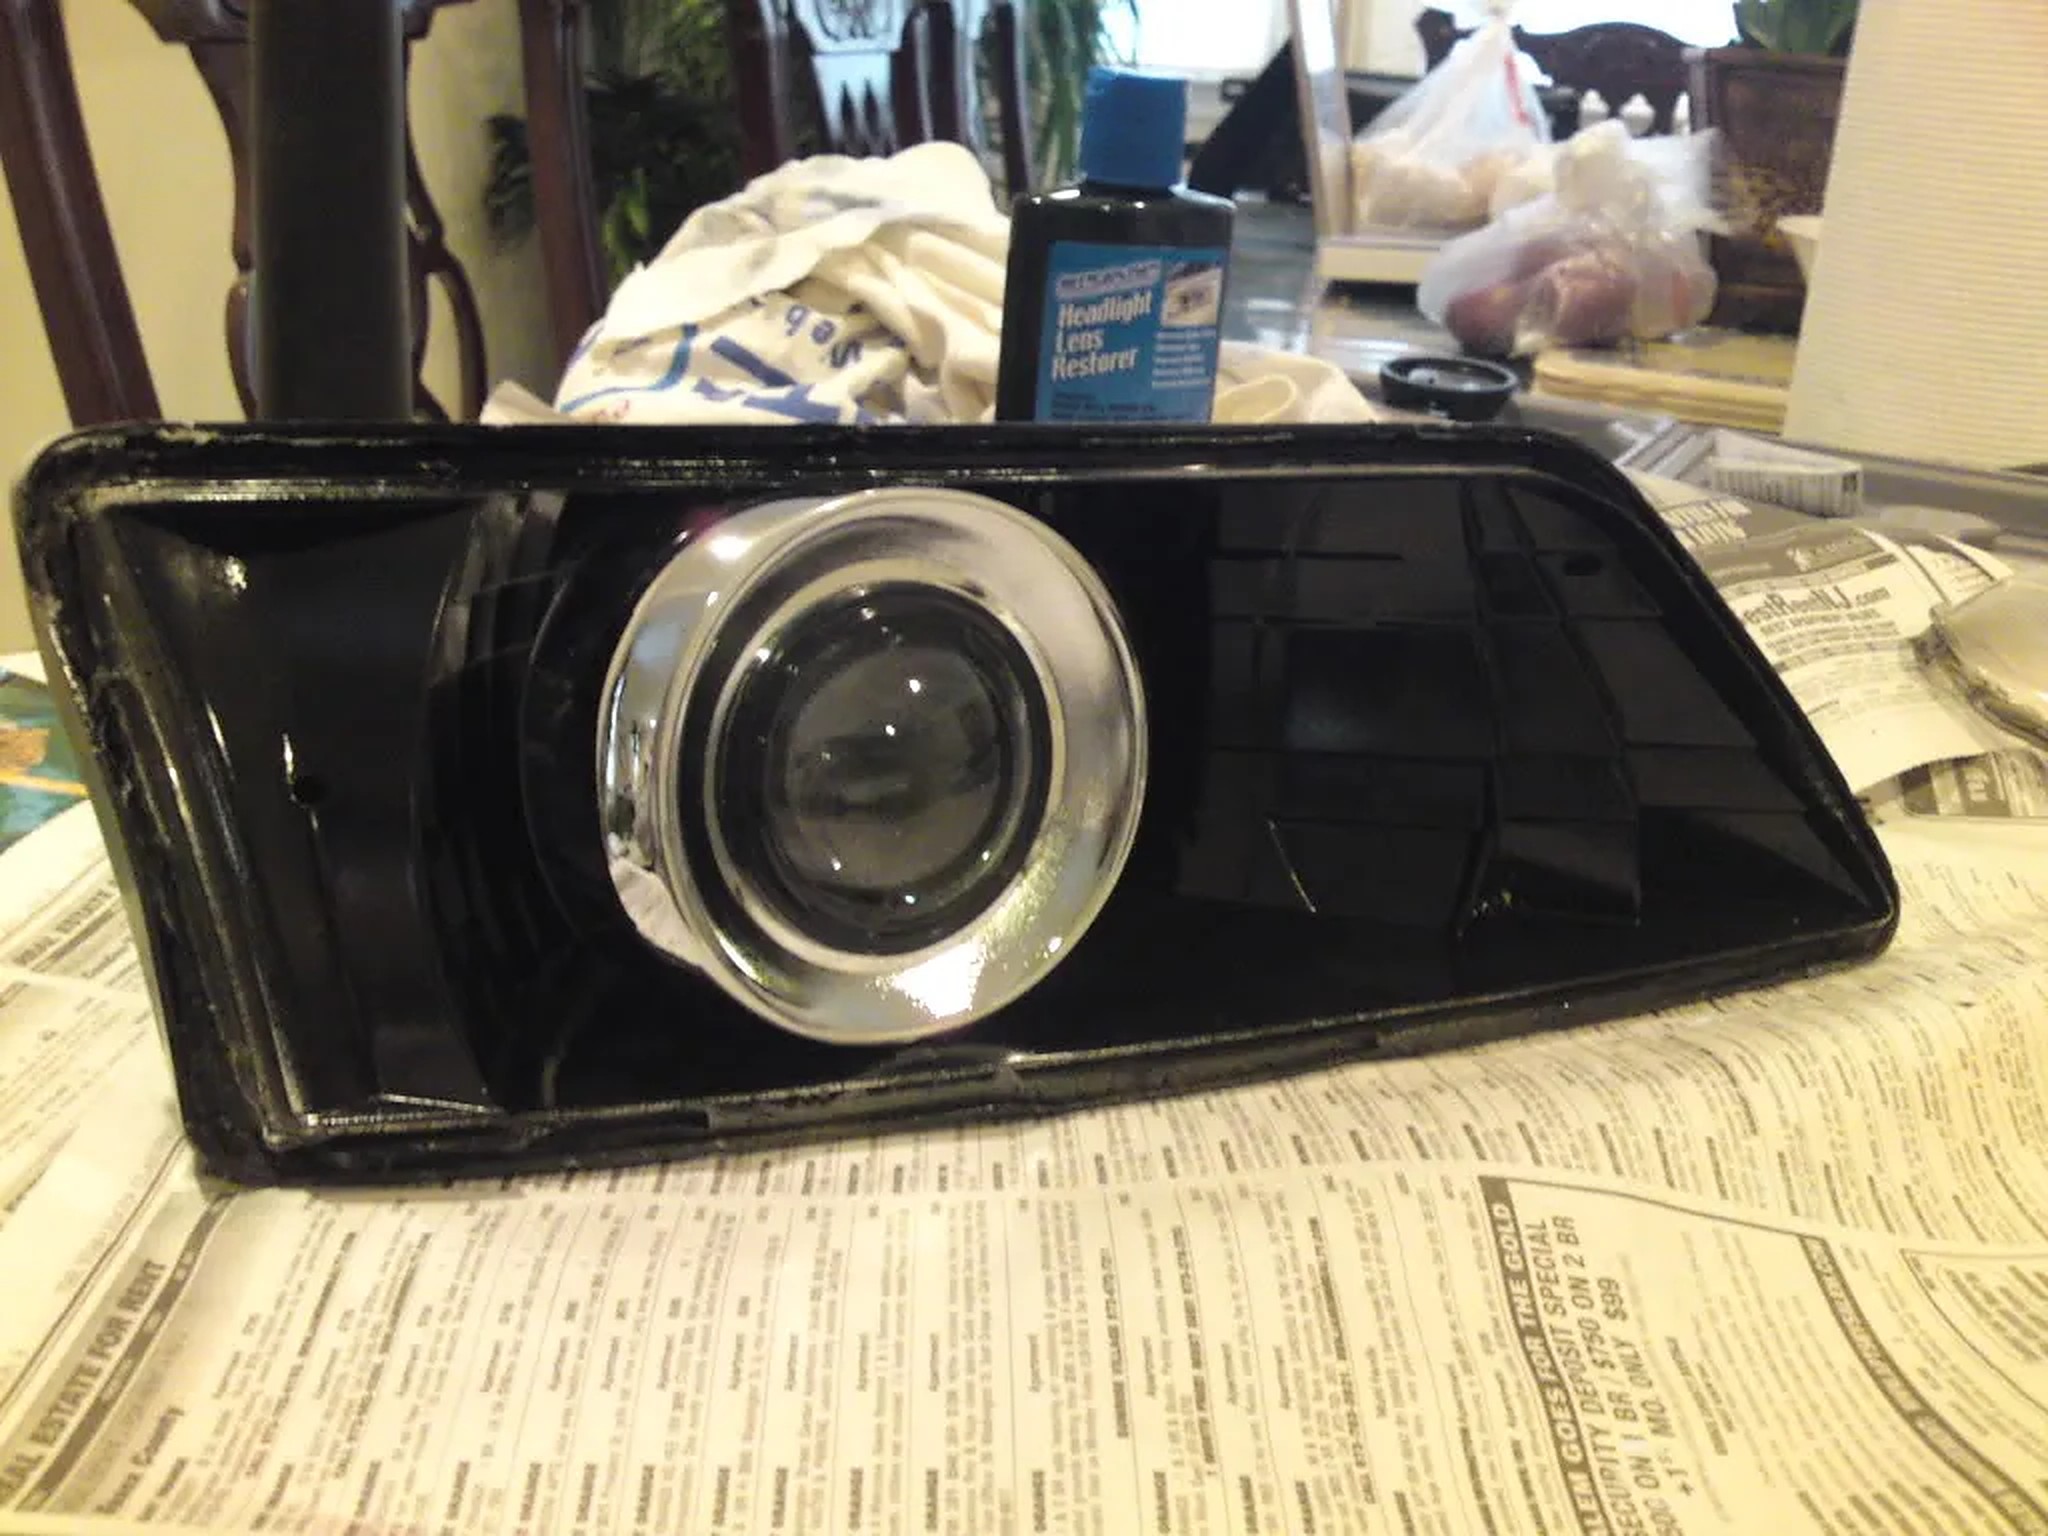
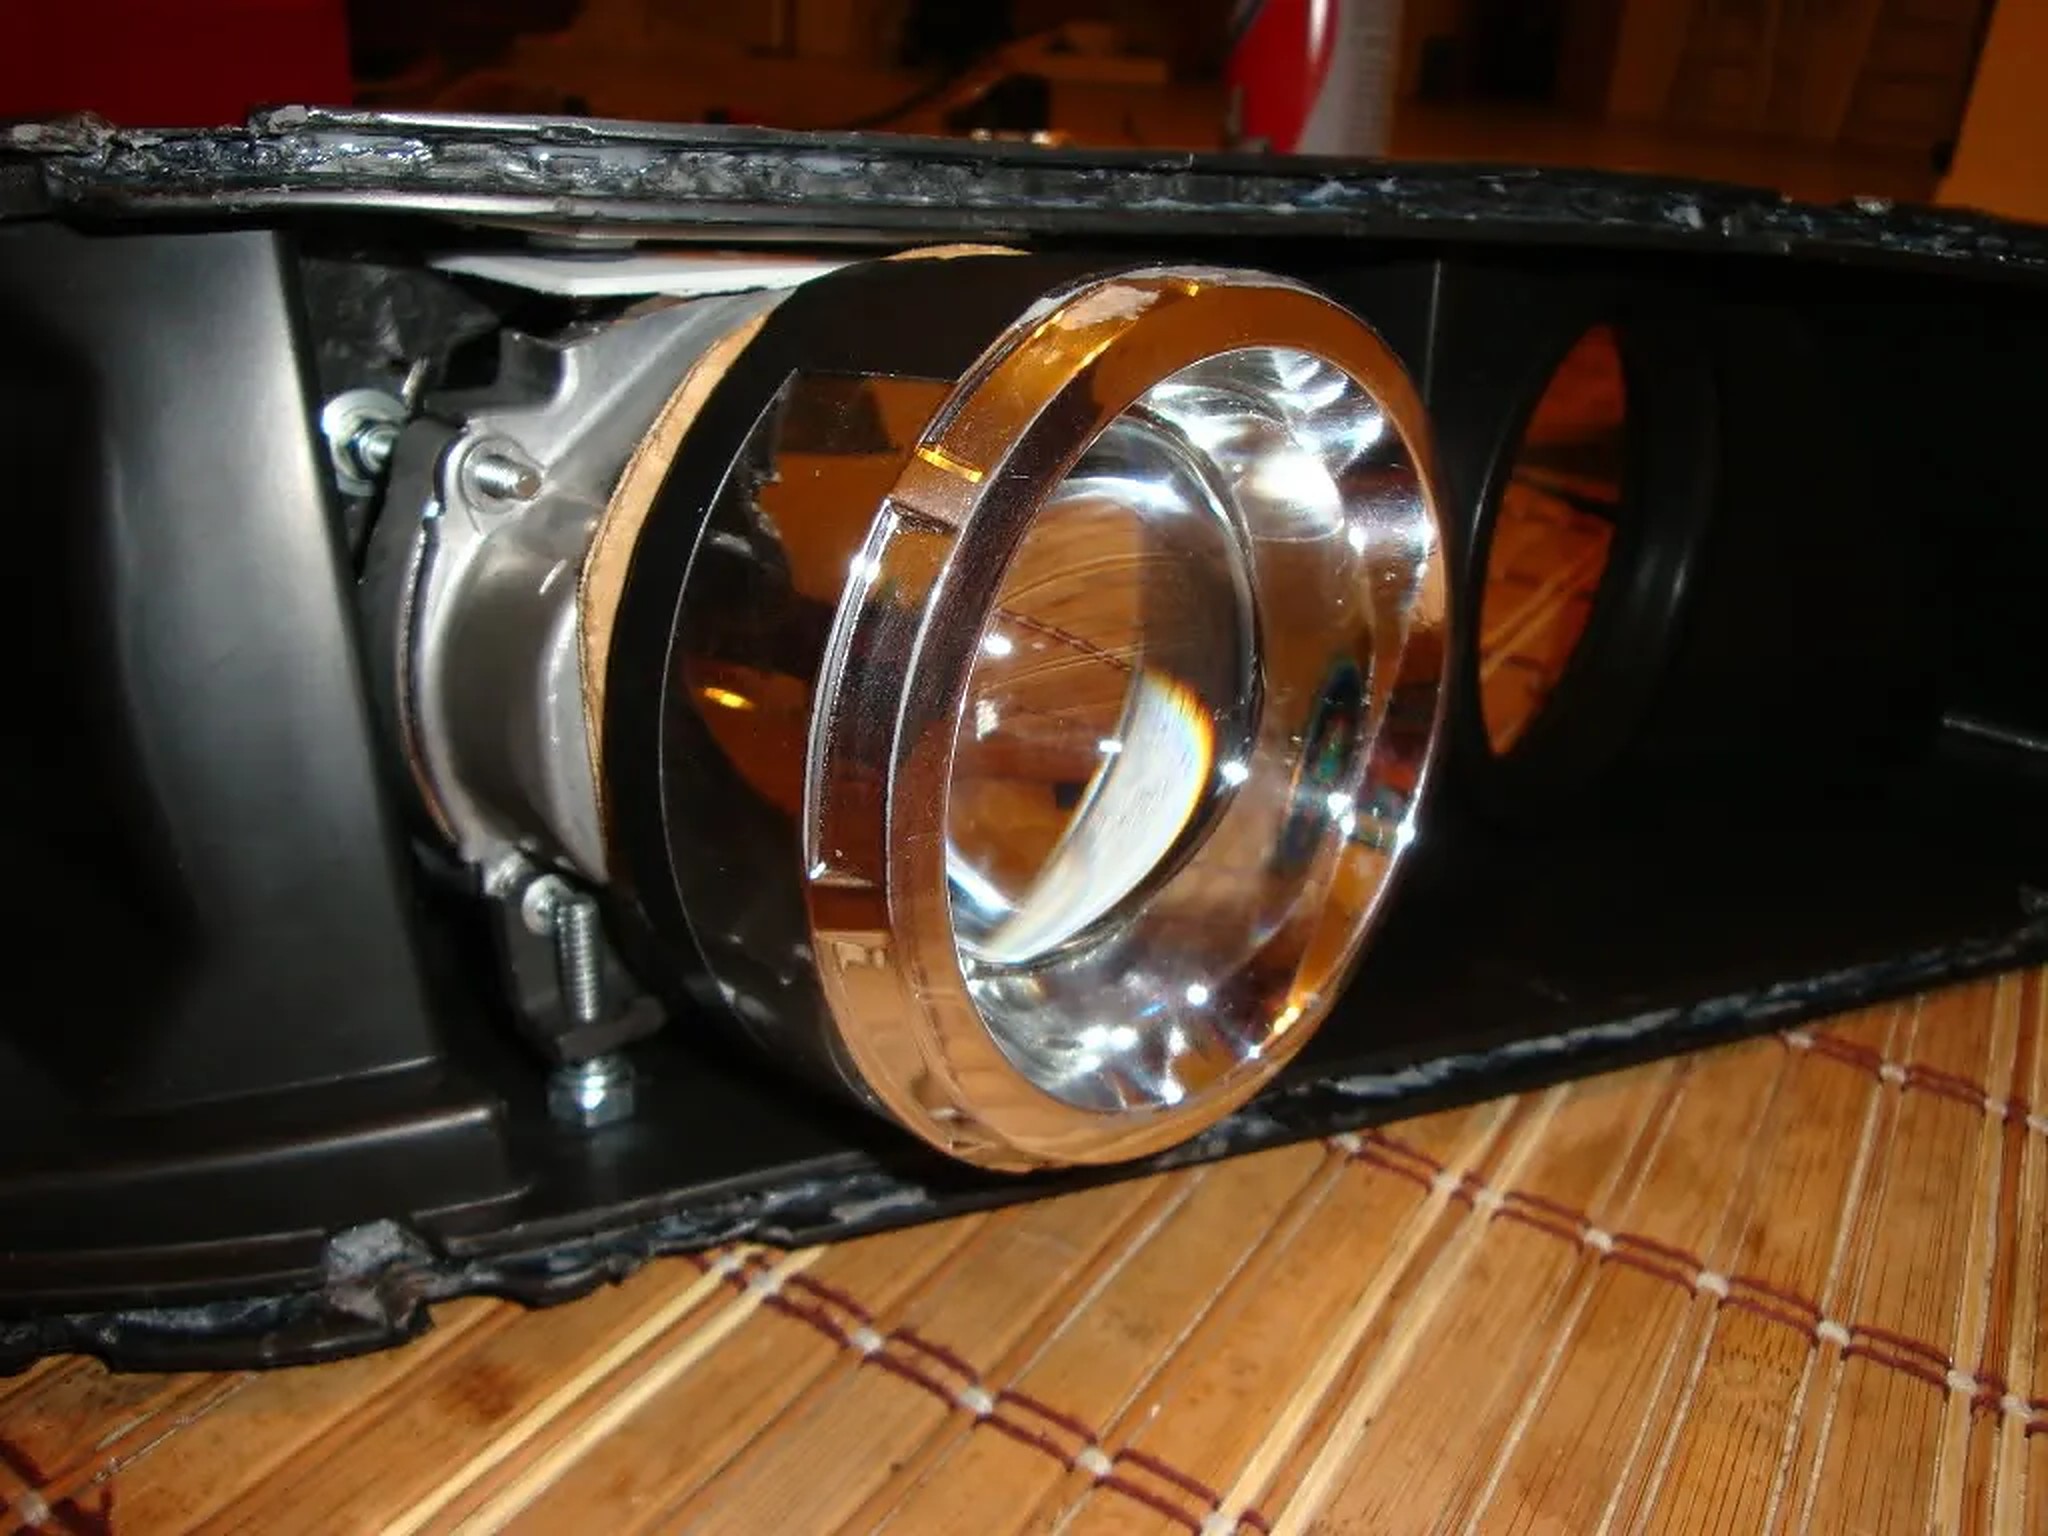
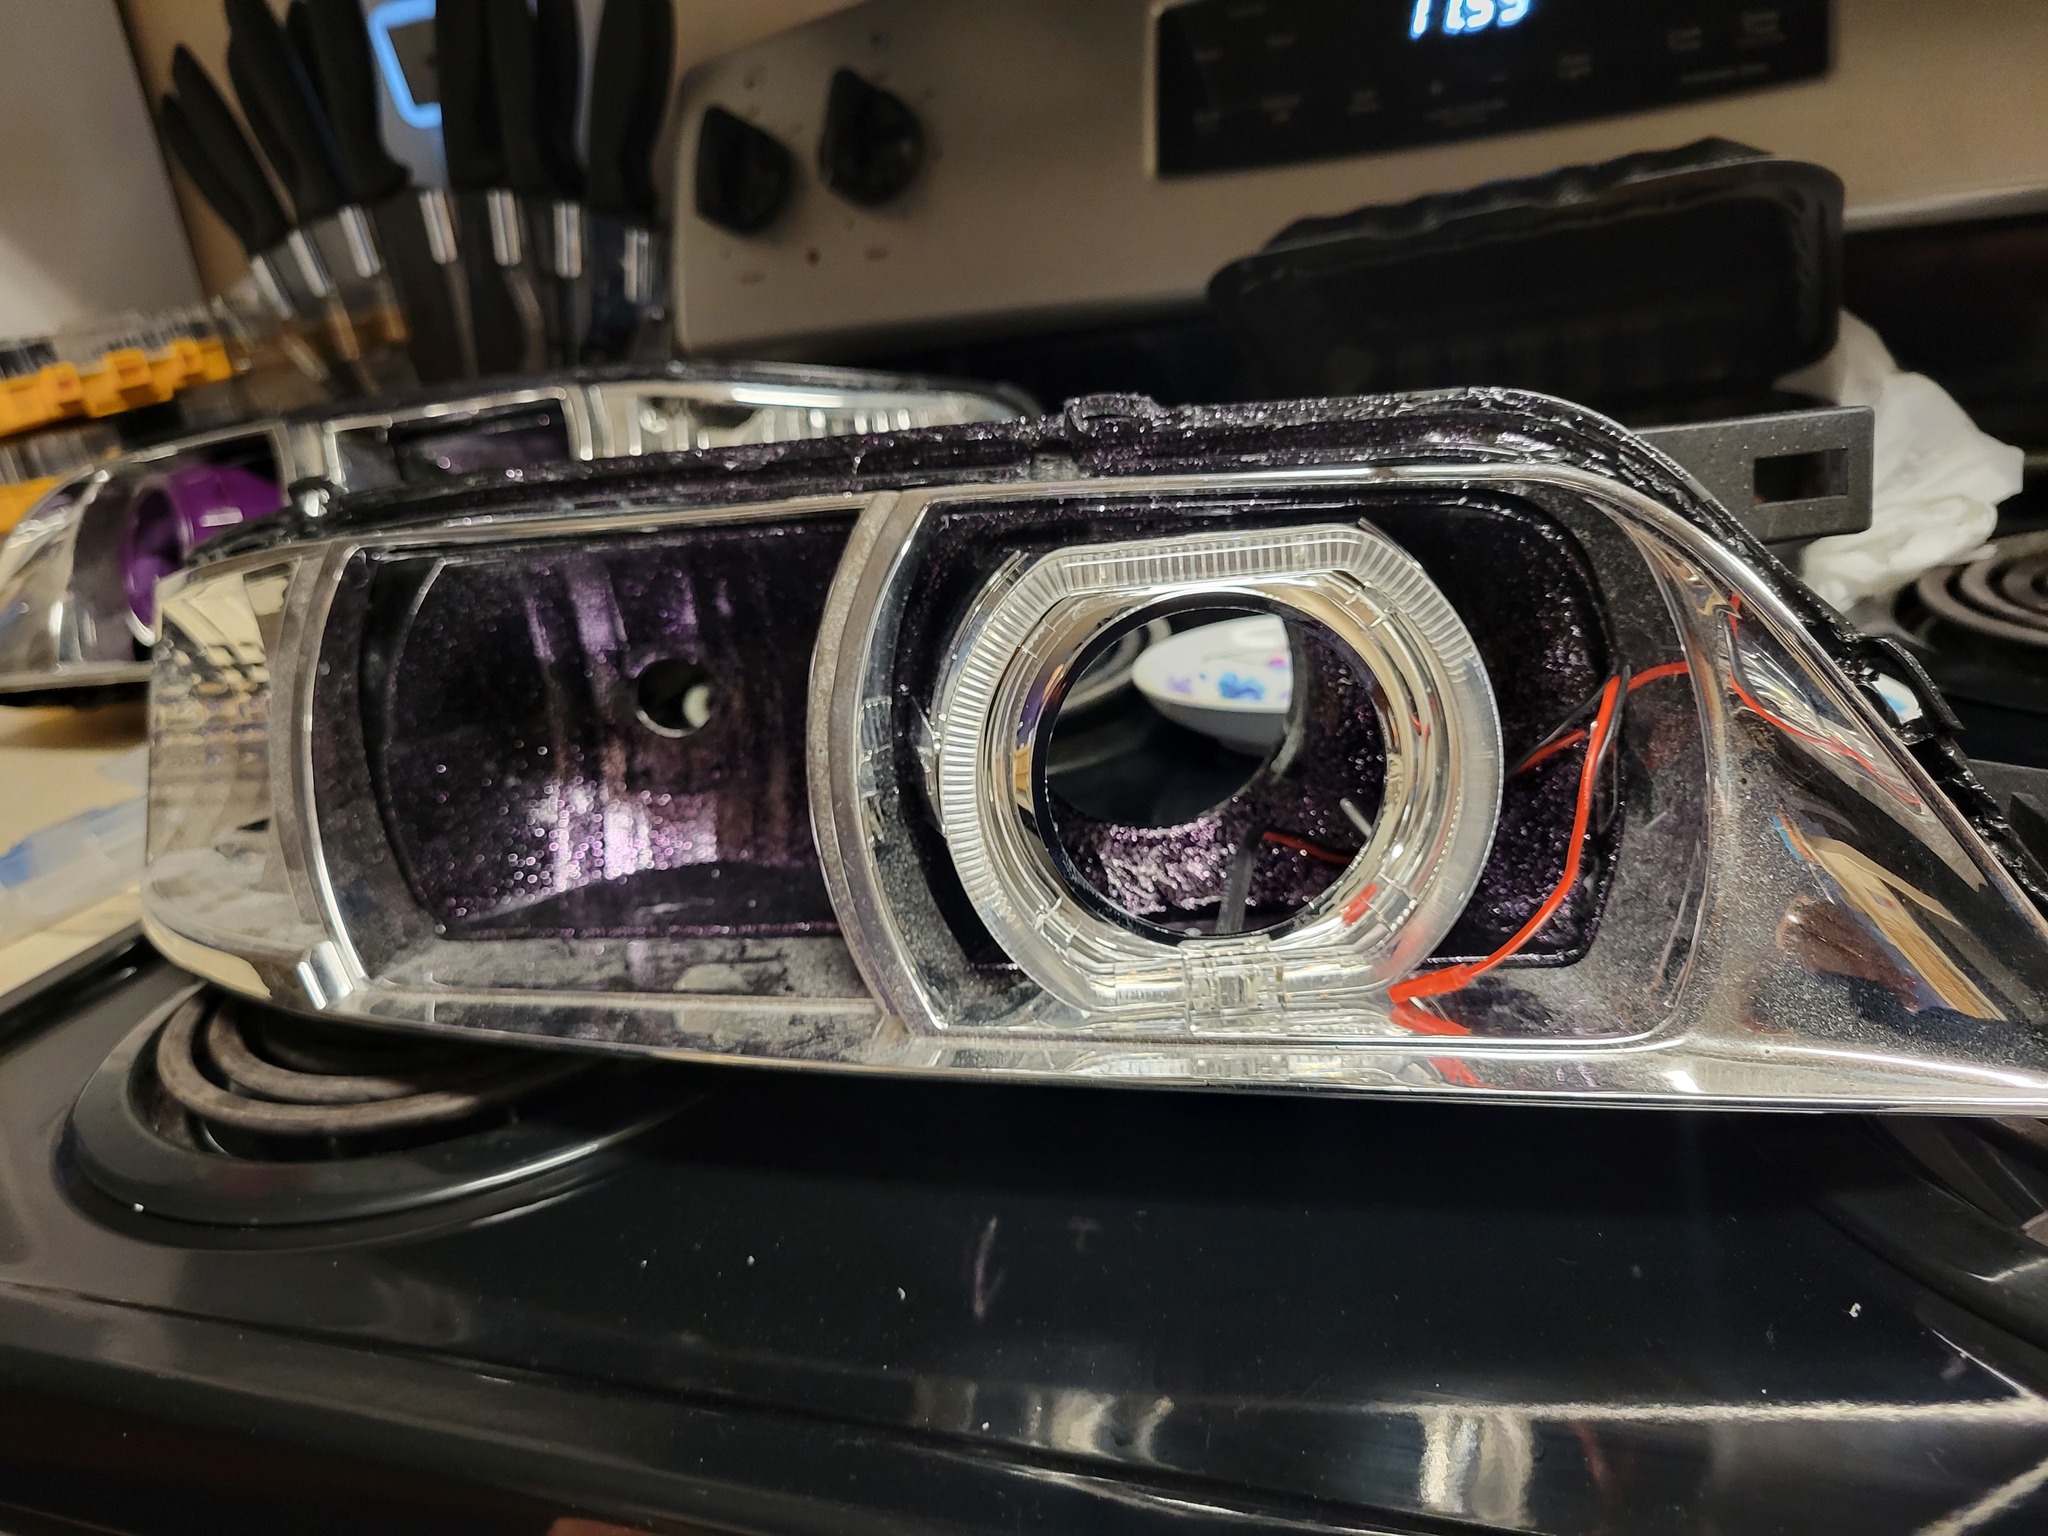
Get your gloves and carefully remove the headlight from the oven, be careful of the metal on the headlight, you will get burned if exposed skin touches this part. Place the headlight on a piece of newspaper, and use the thin flathead screwdriver to carefully pry apart the headlight. Do this carefully, cause if you rush, you may break something, and that would not be good.
Here is what it will look like after you completed that step.

Step 4:
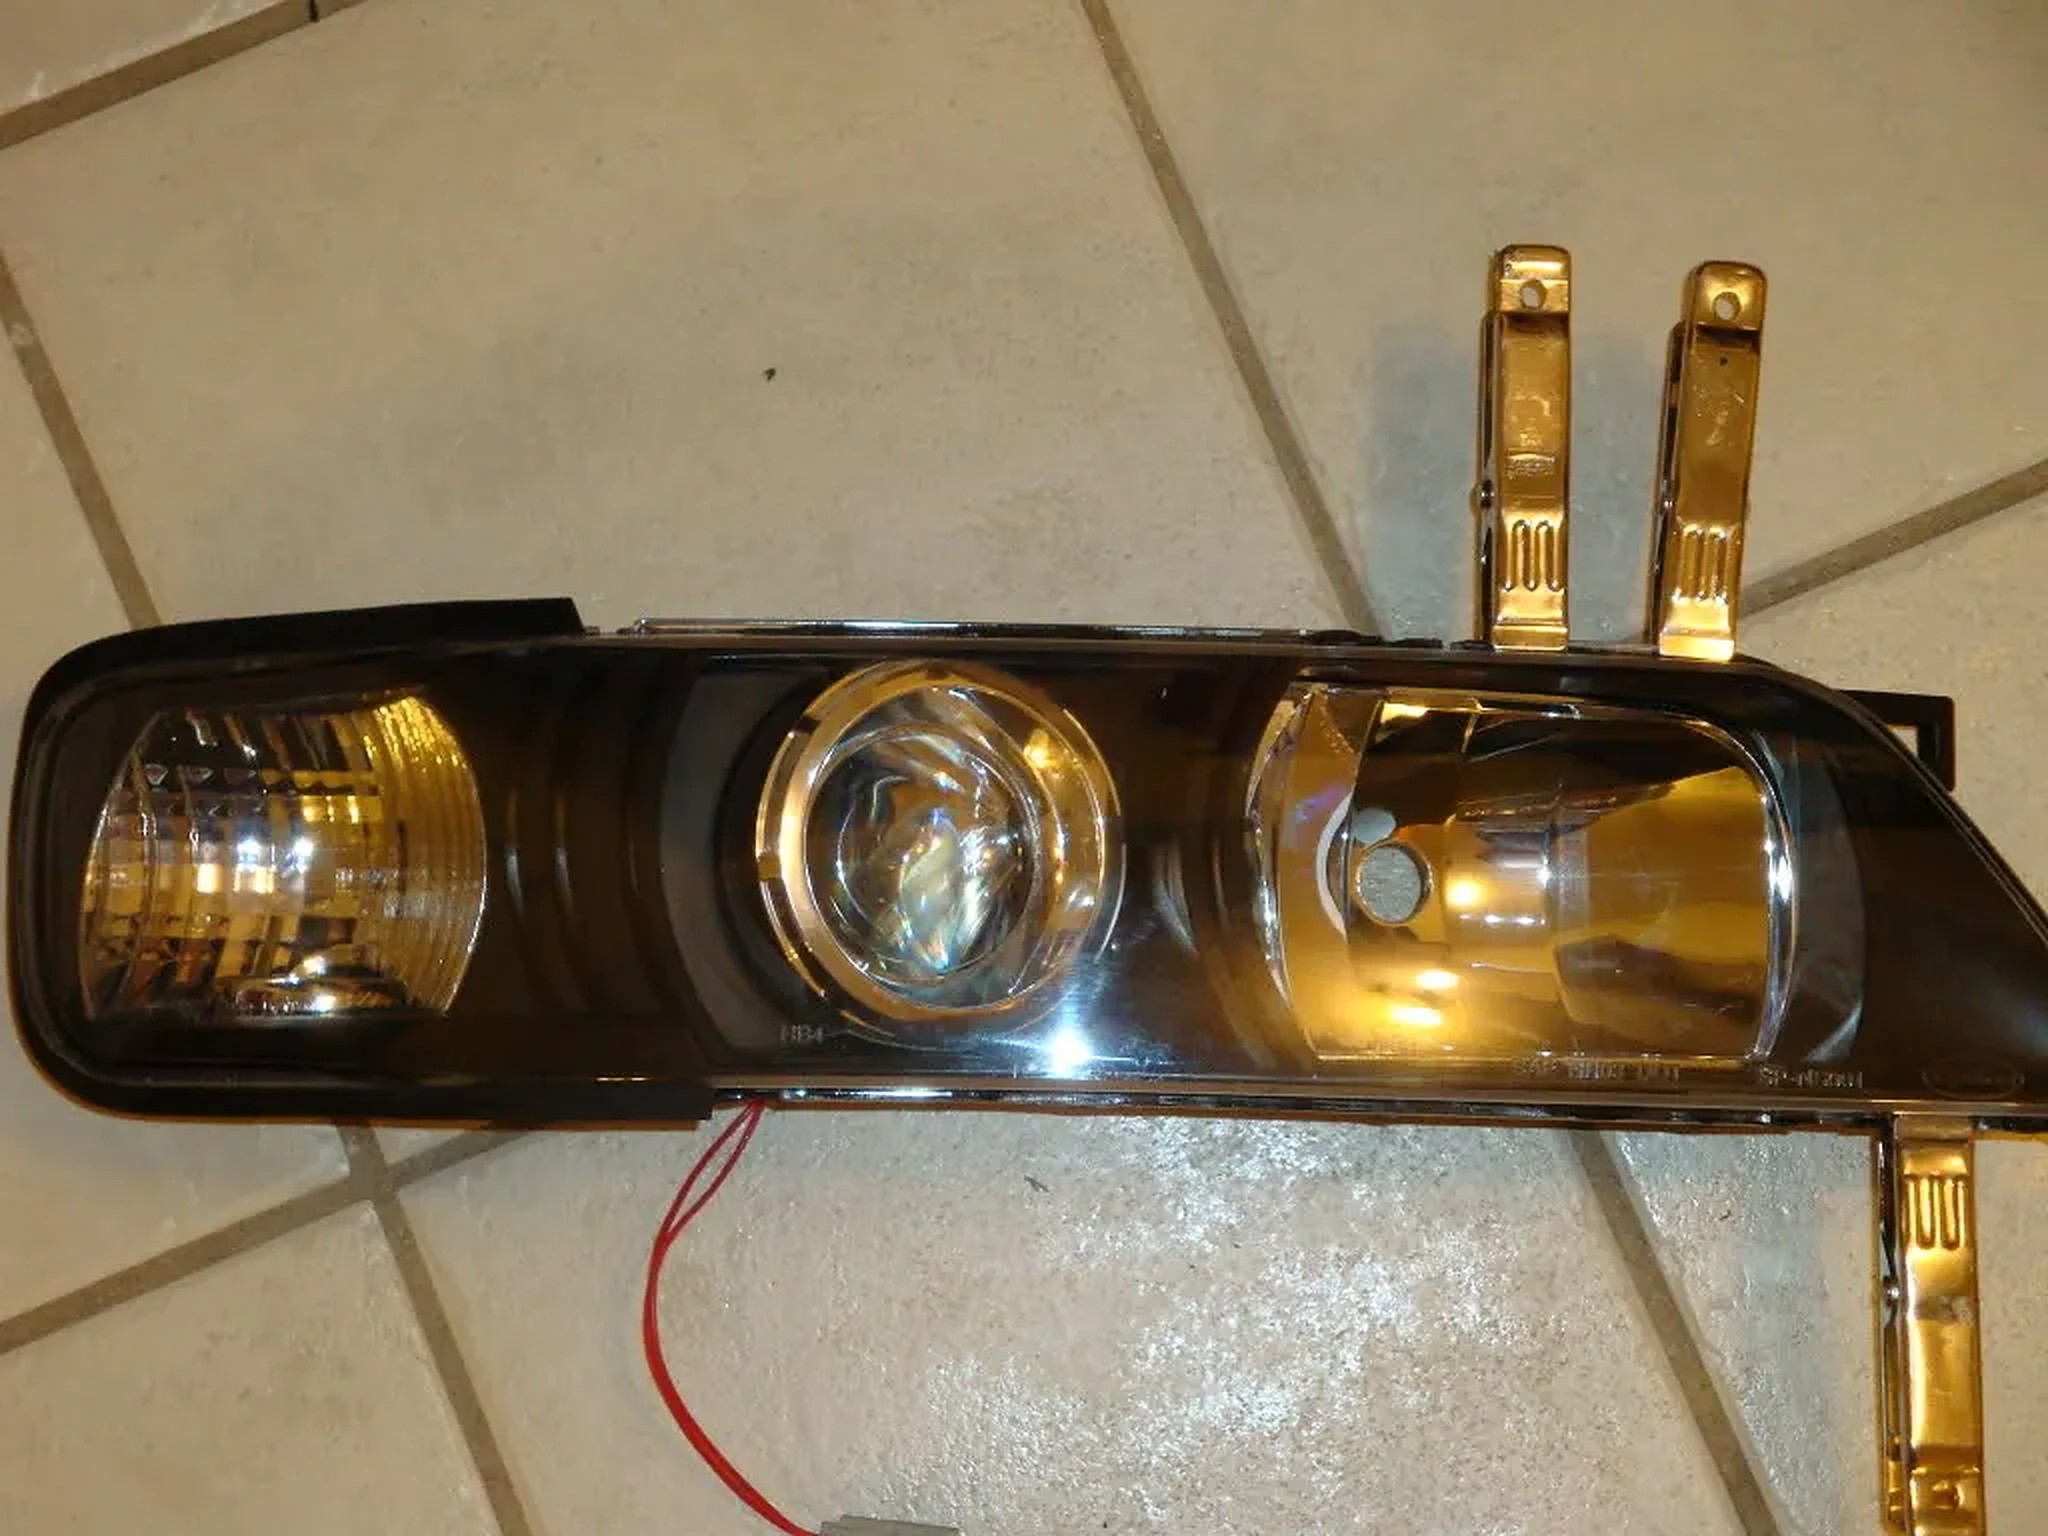
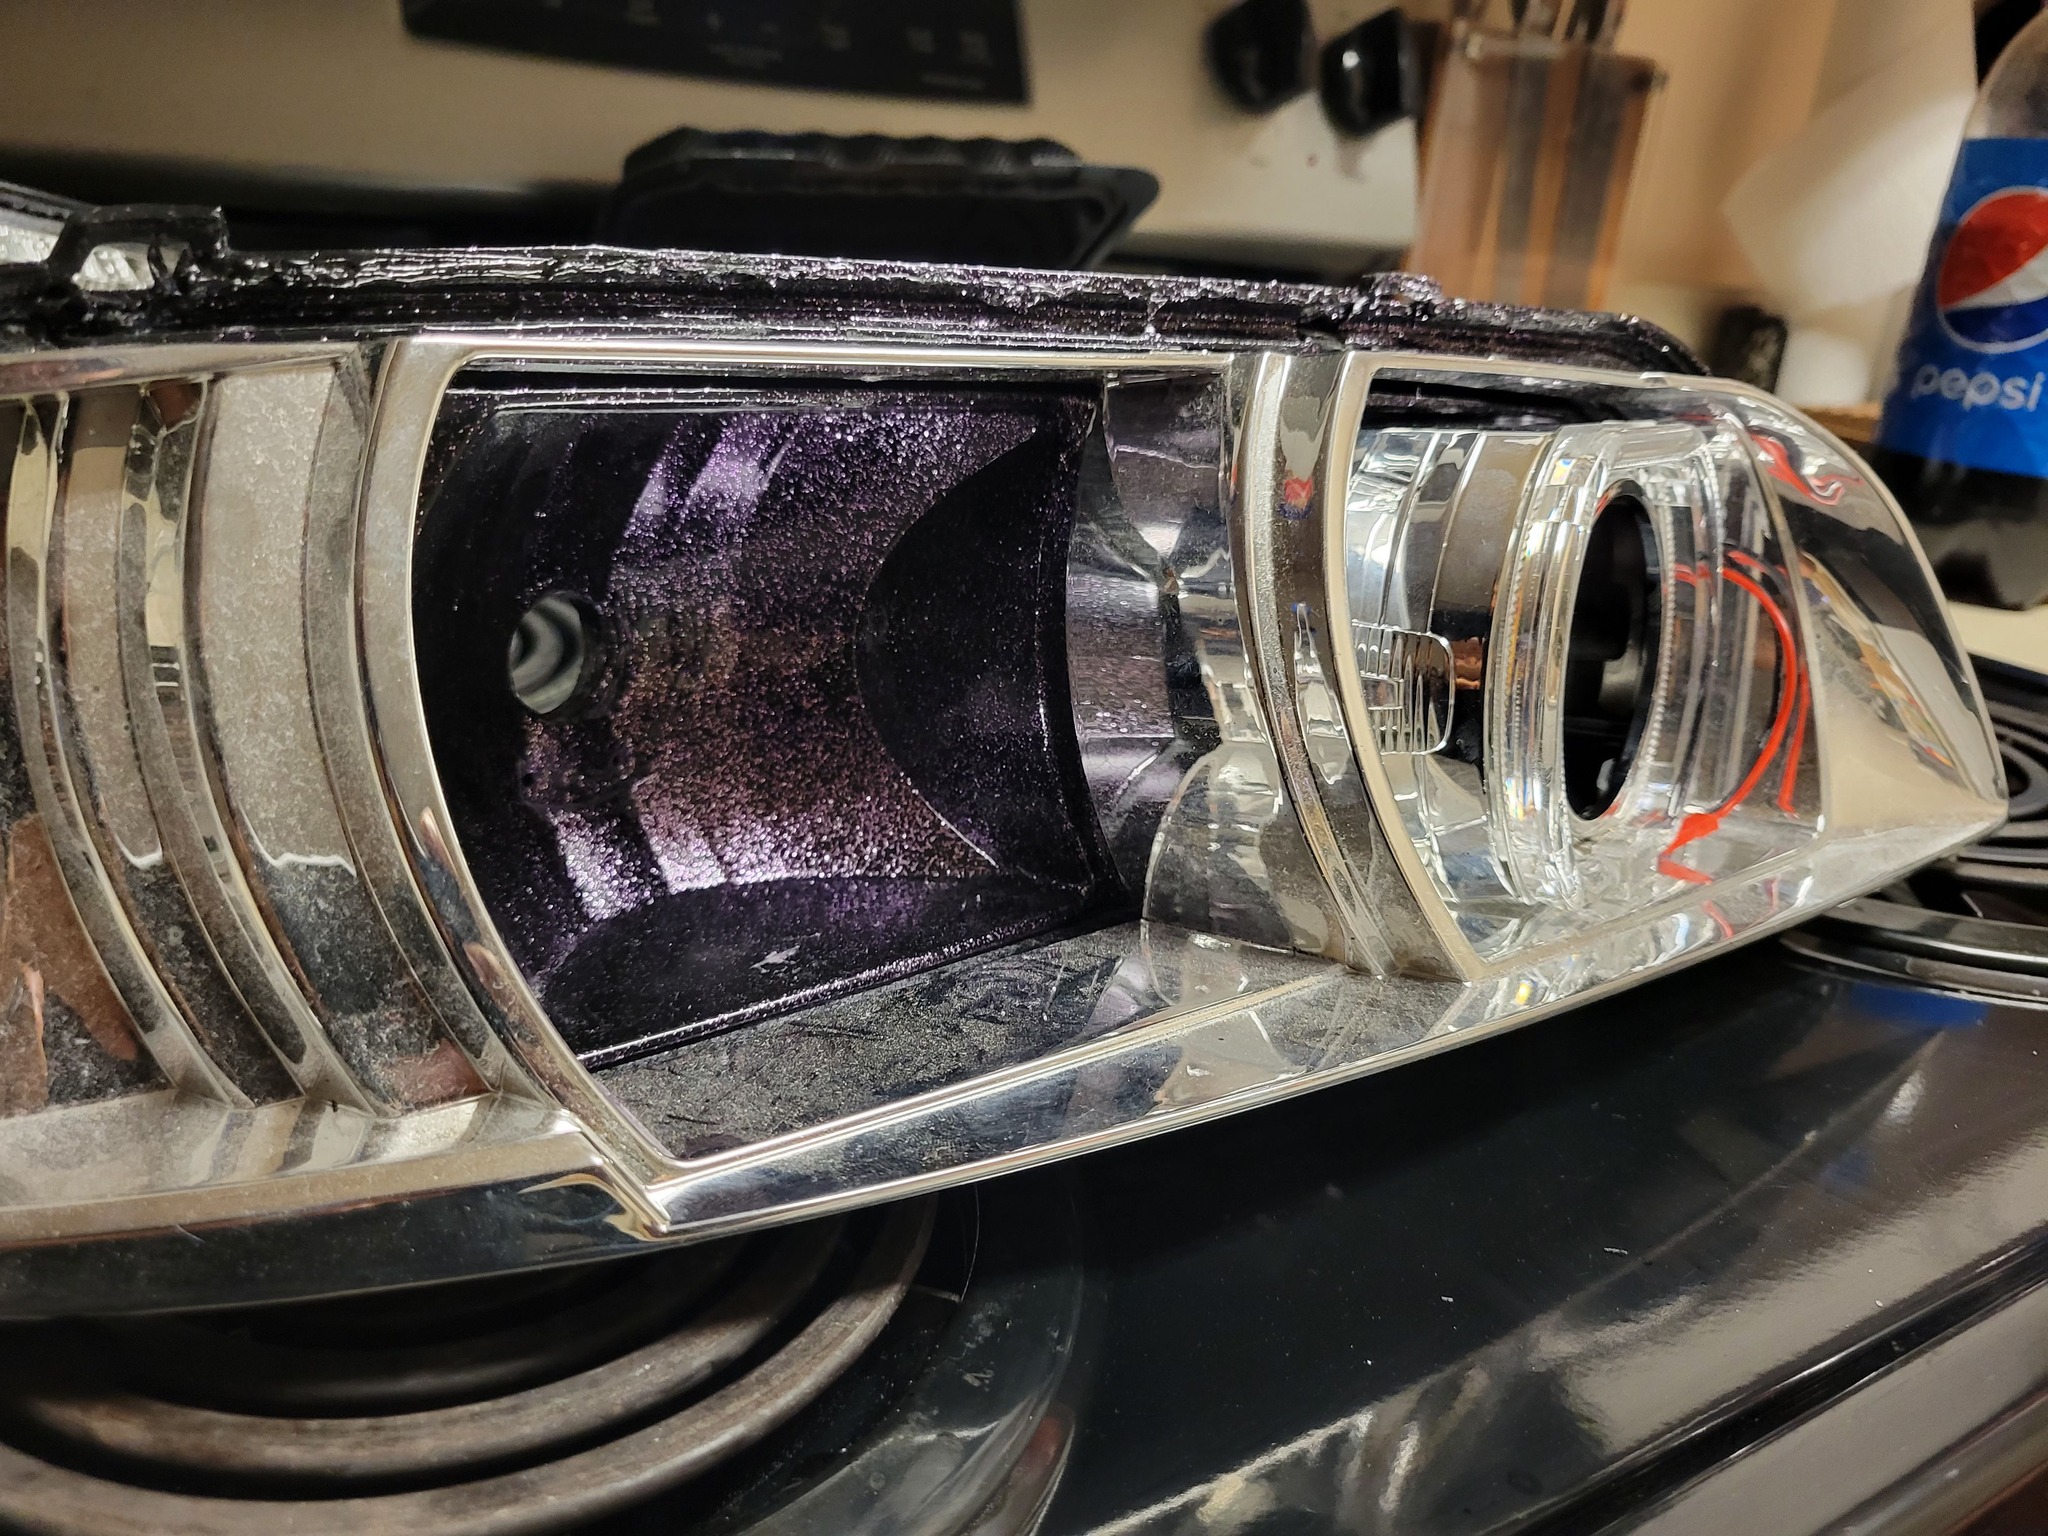
Let the headlight cool down a bit, then with being careful about where you are touching, tape up the places where you do not want paint to go. I did one fully with tape, and one with tape and newspaper. I found that using newspaper and tape was quicker to achieve the goal of completion, rather than using all tape. It was also much easier to remove once finished.

This picture below is of how I taped the diamond cut clear corners used for this mod. Stock corners will
not achieve the same type of look that this corners will. Those who have done this mod with stock corners know what I mean.

Step 5:
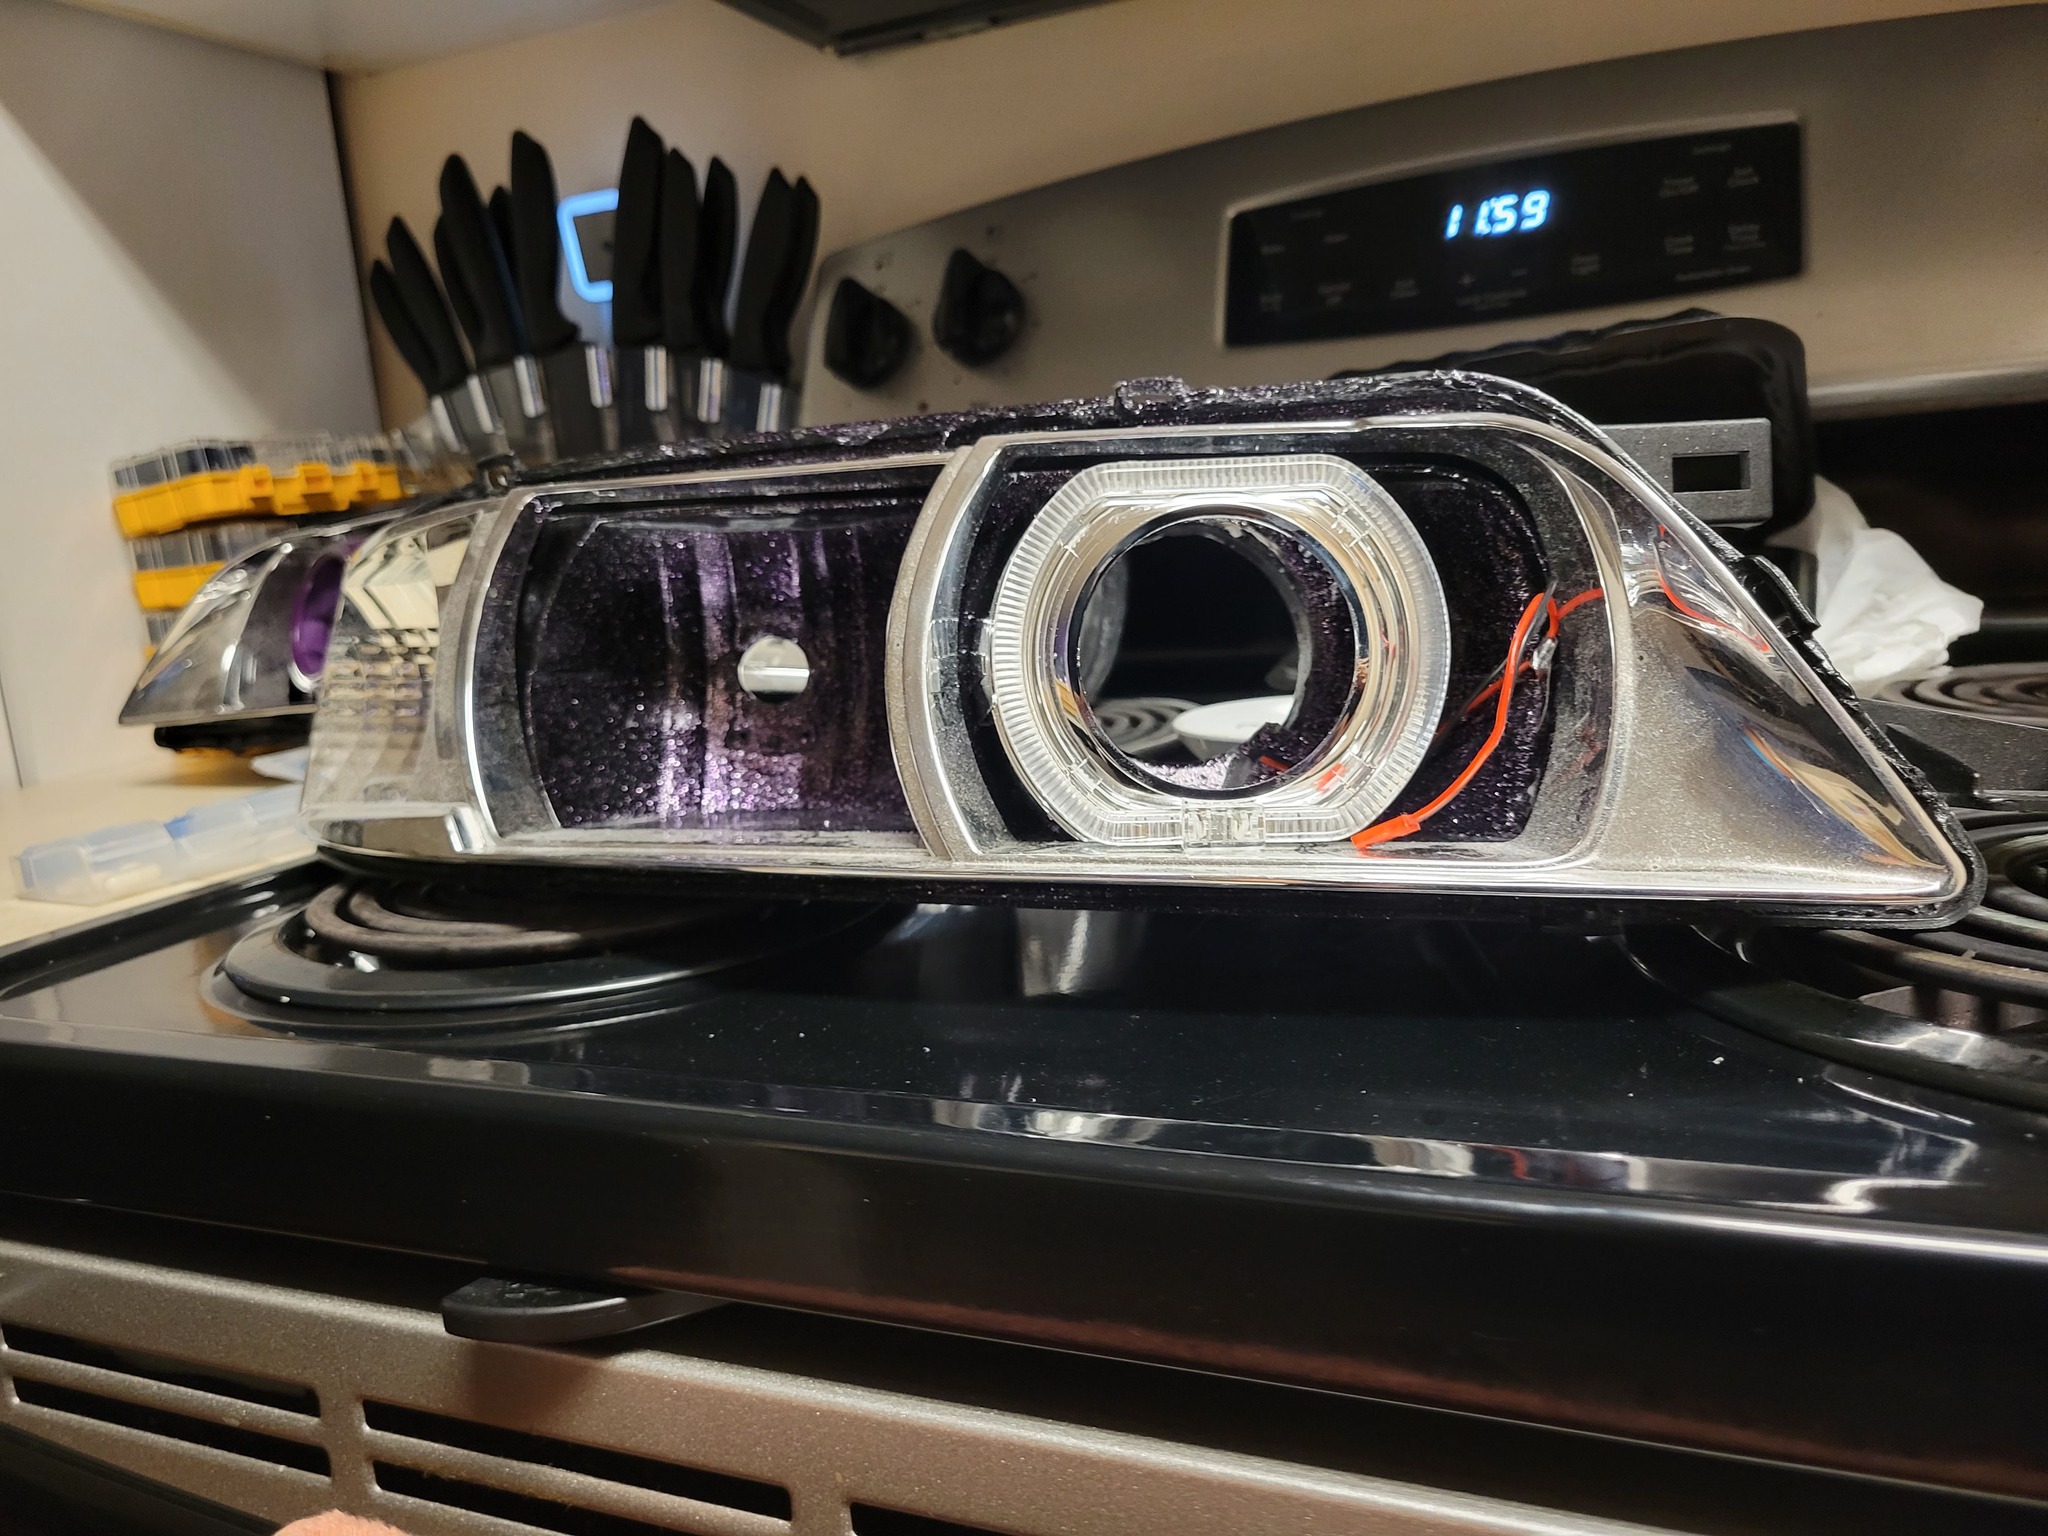
This might be a little backwards, but it’s how I did it, so that’s how I’ll write it. After taping everything up, I took the 400 grit wet sand paper (the grey looking sand paper) wet it, and lightly sanded the chrome parts of the lights that I will be painting black. This helps the paint stick to the housing better. If you do this mod with out the sanding, it probably won’t come out as good. You don’t have to sand everything off, you just have to make sure the surface is all scratched up, so the reflective coating that was on there is removed, so the paint will adhere better.
After you sanded them down, lightly spray the simple green on the part you’ve sanded, to remove any excess dust or grease, etc. I used a dust sprayer also to make sure any lint from the towel I used wasn’t there.
Step 6:
You are now ready to paint. Make sure you shake your paint very well before you start painting. Shake for at least a minute in order to get the paint mixed well. Also, be sure to make a few test sprays before painting the actual headlight, since the paint in the first few sprays may look brownish, you don’t want that getting on your headlight. Not that it would make your headlights brownish, it’s just good to do a few test sprays on another surface to get accustom to how the aerosol paint will disperse from the can.
Paint with light layers of paint. Holding the can about 6-12 inches away from the surface. I must recommend many layers of light coats, so the paint holds better, and has a deeper color black from the many layers. With using many layers, it will also withstand the test of time better.
Be sure to look at the light from many different angles. Also, in different lights as well. I was almost ready to bake mine back together and I found a few spots that the paint remarkably did not hit, so I had to do a couple more shots from a different angle in order to achieve paint in that area of the headlamp.
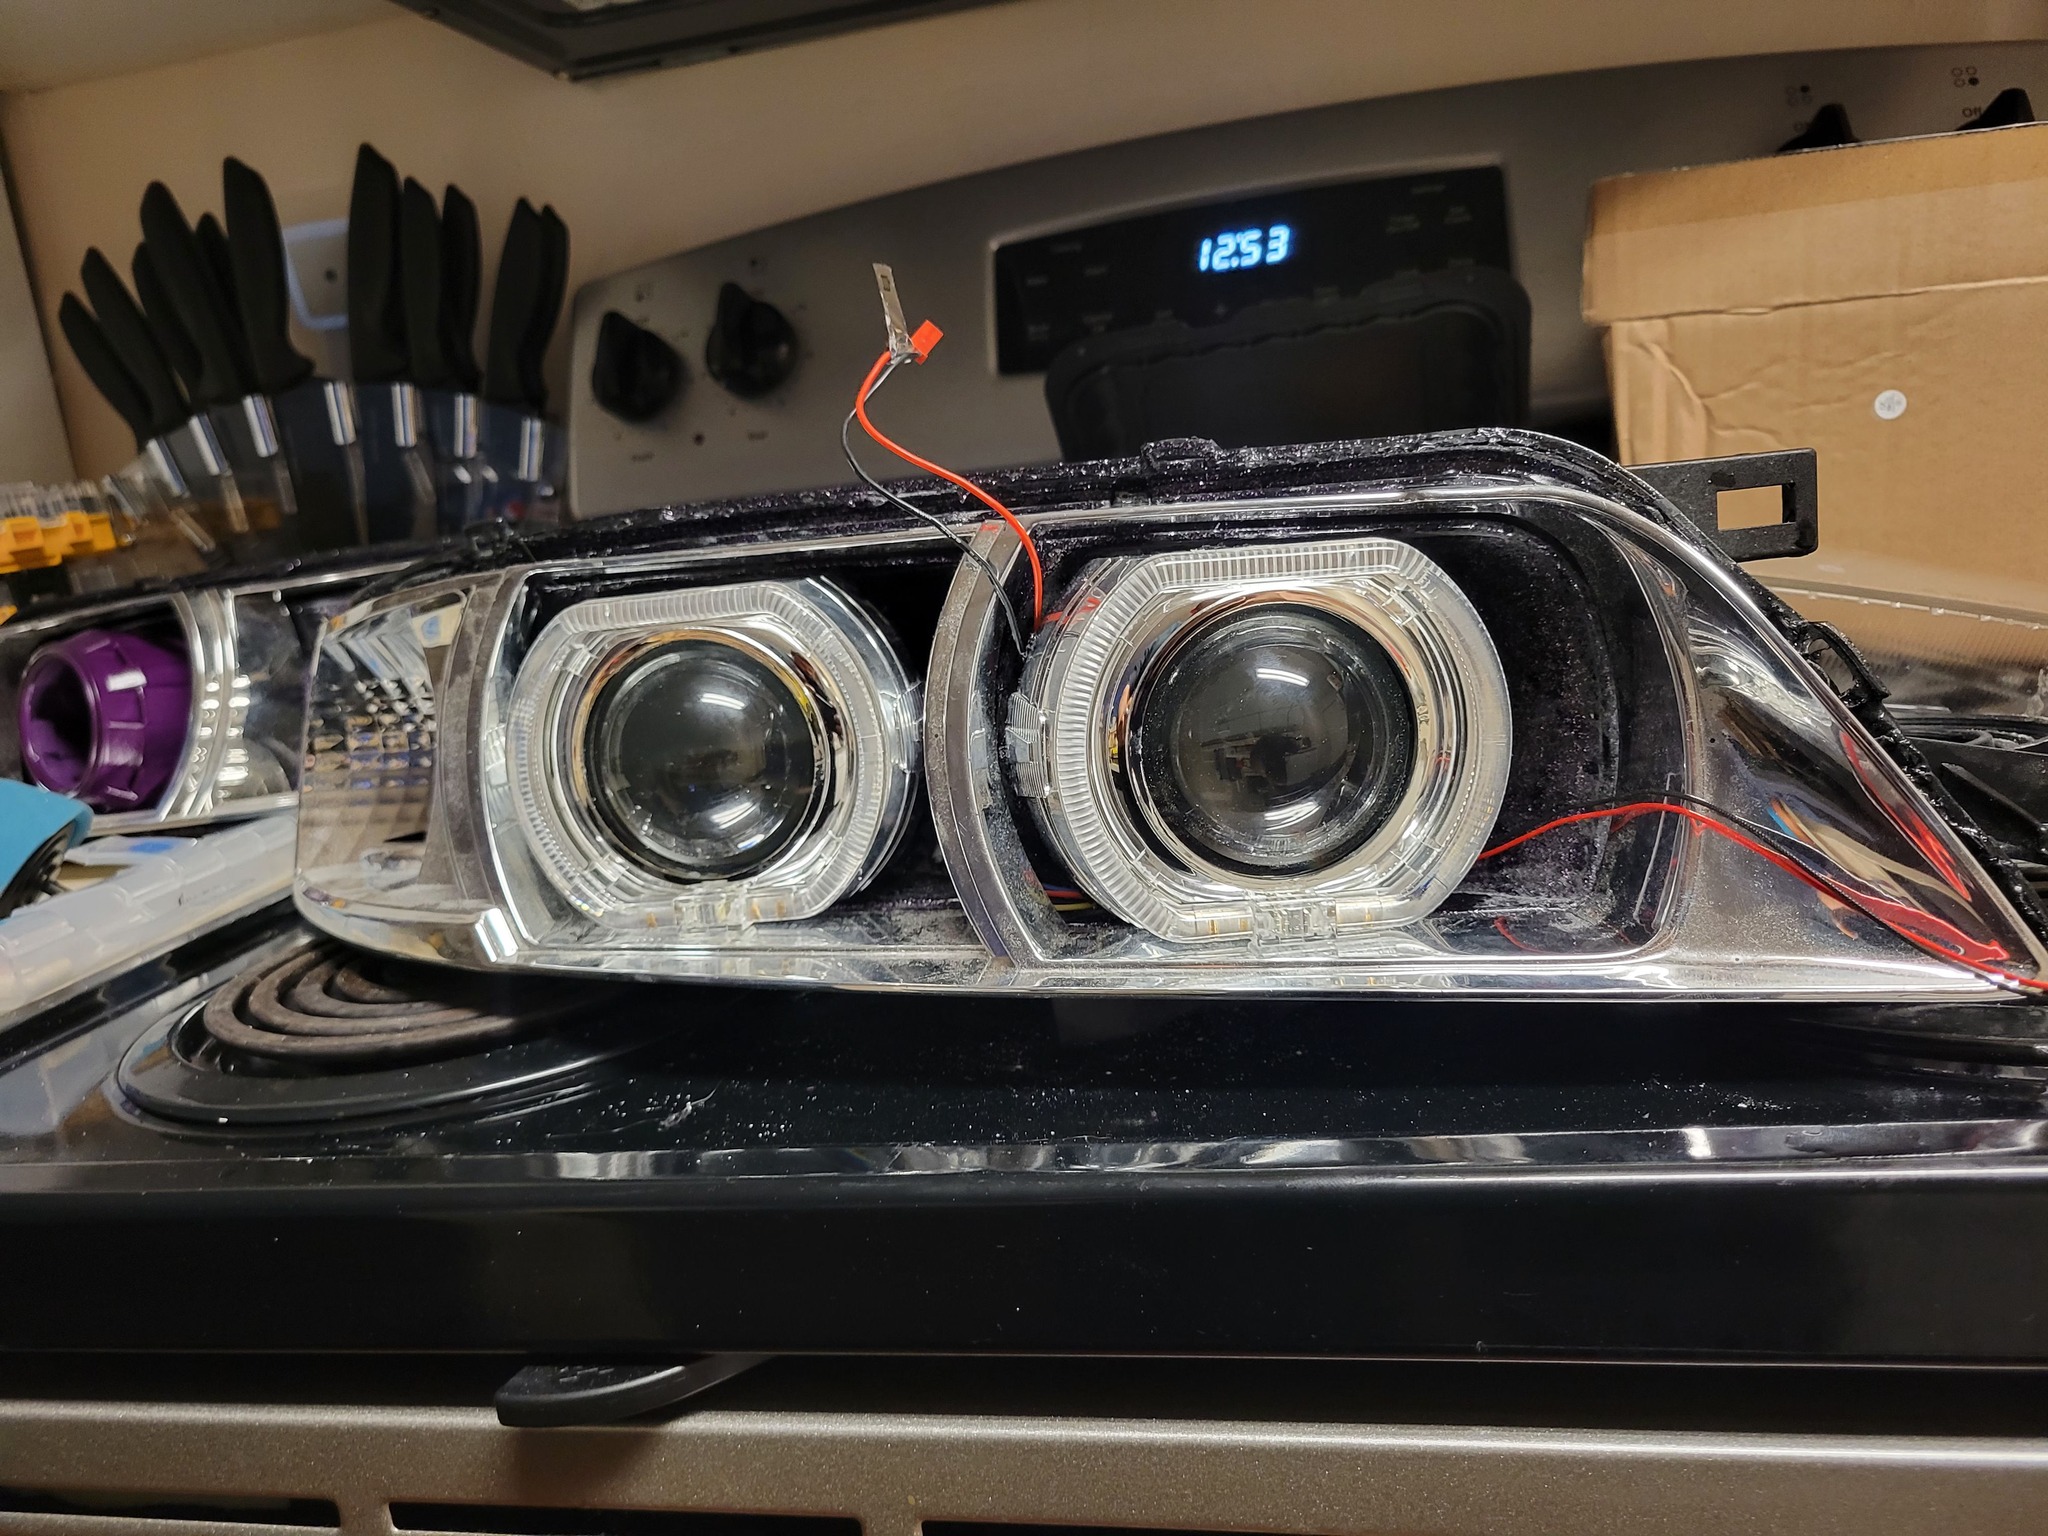
After painting both the corners and the headlamps, I used up 1 entire can, and about 80% (estimated) of the second can. I also used up the entire worth of the clear coat as well. The clear coat I also used in layers, but I put it on a little thicker than the actual black paint. I made sure I had a good coating on there, so the clear coat could be used as a slightly reflective area.

Below are pictures of the corners painted.

Step 7
Now after you have painted, I know there is an urge to get the lenses on and get them back on your car. Resist that urge to complete, and let them dry over night. Cover them with some newspaper so dust or specks of dirt or lint to not fall on the paint itself while drying. Note: The paint SHOULD be dry in less than a couple hours, but I preferred to play it safe and let it dry over night.
Step 8
After letting the lights dry over night, go back and remove the newspaper from the lights, and in no time, throughout this modification should you “check to see” if the paint is dry. The paint will dry completely and perfectly over night. When handling the lights after, do not touch the paint, you don’t want to risk any fingerprints on your paint, especially once you turn them on at night and show someone your new lights, you don’t want to see your fingerprint there. I picked them up from the sides and brought them to the oven.
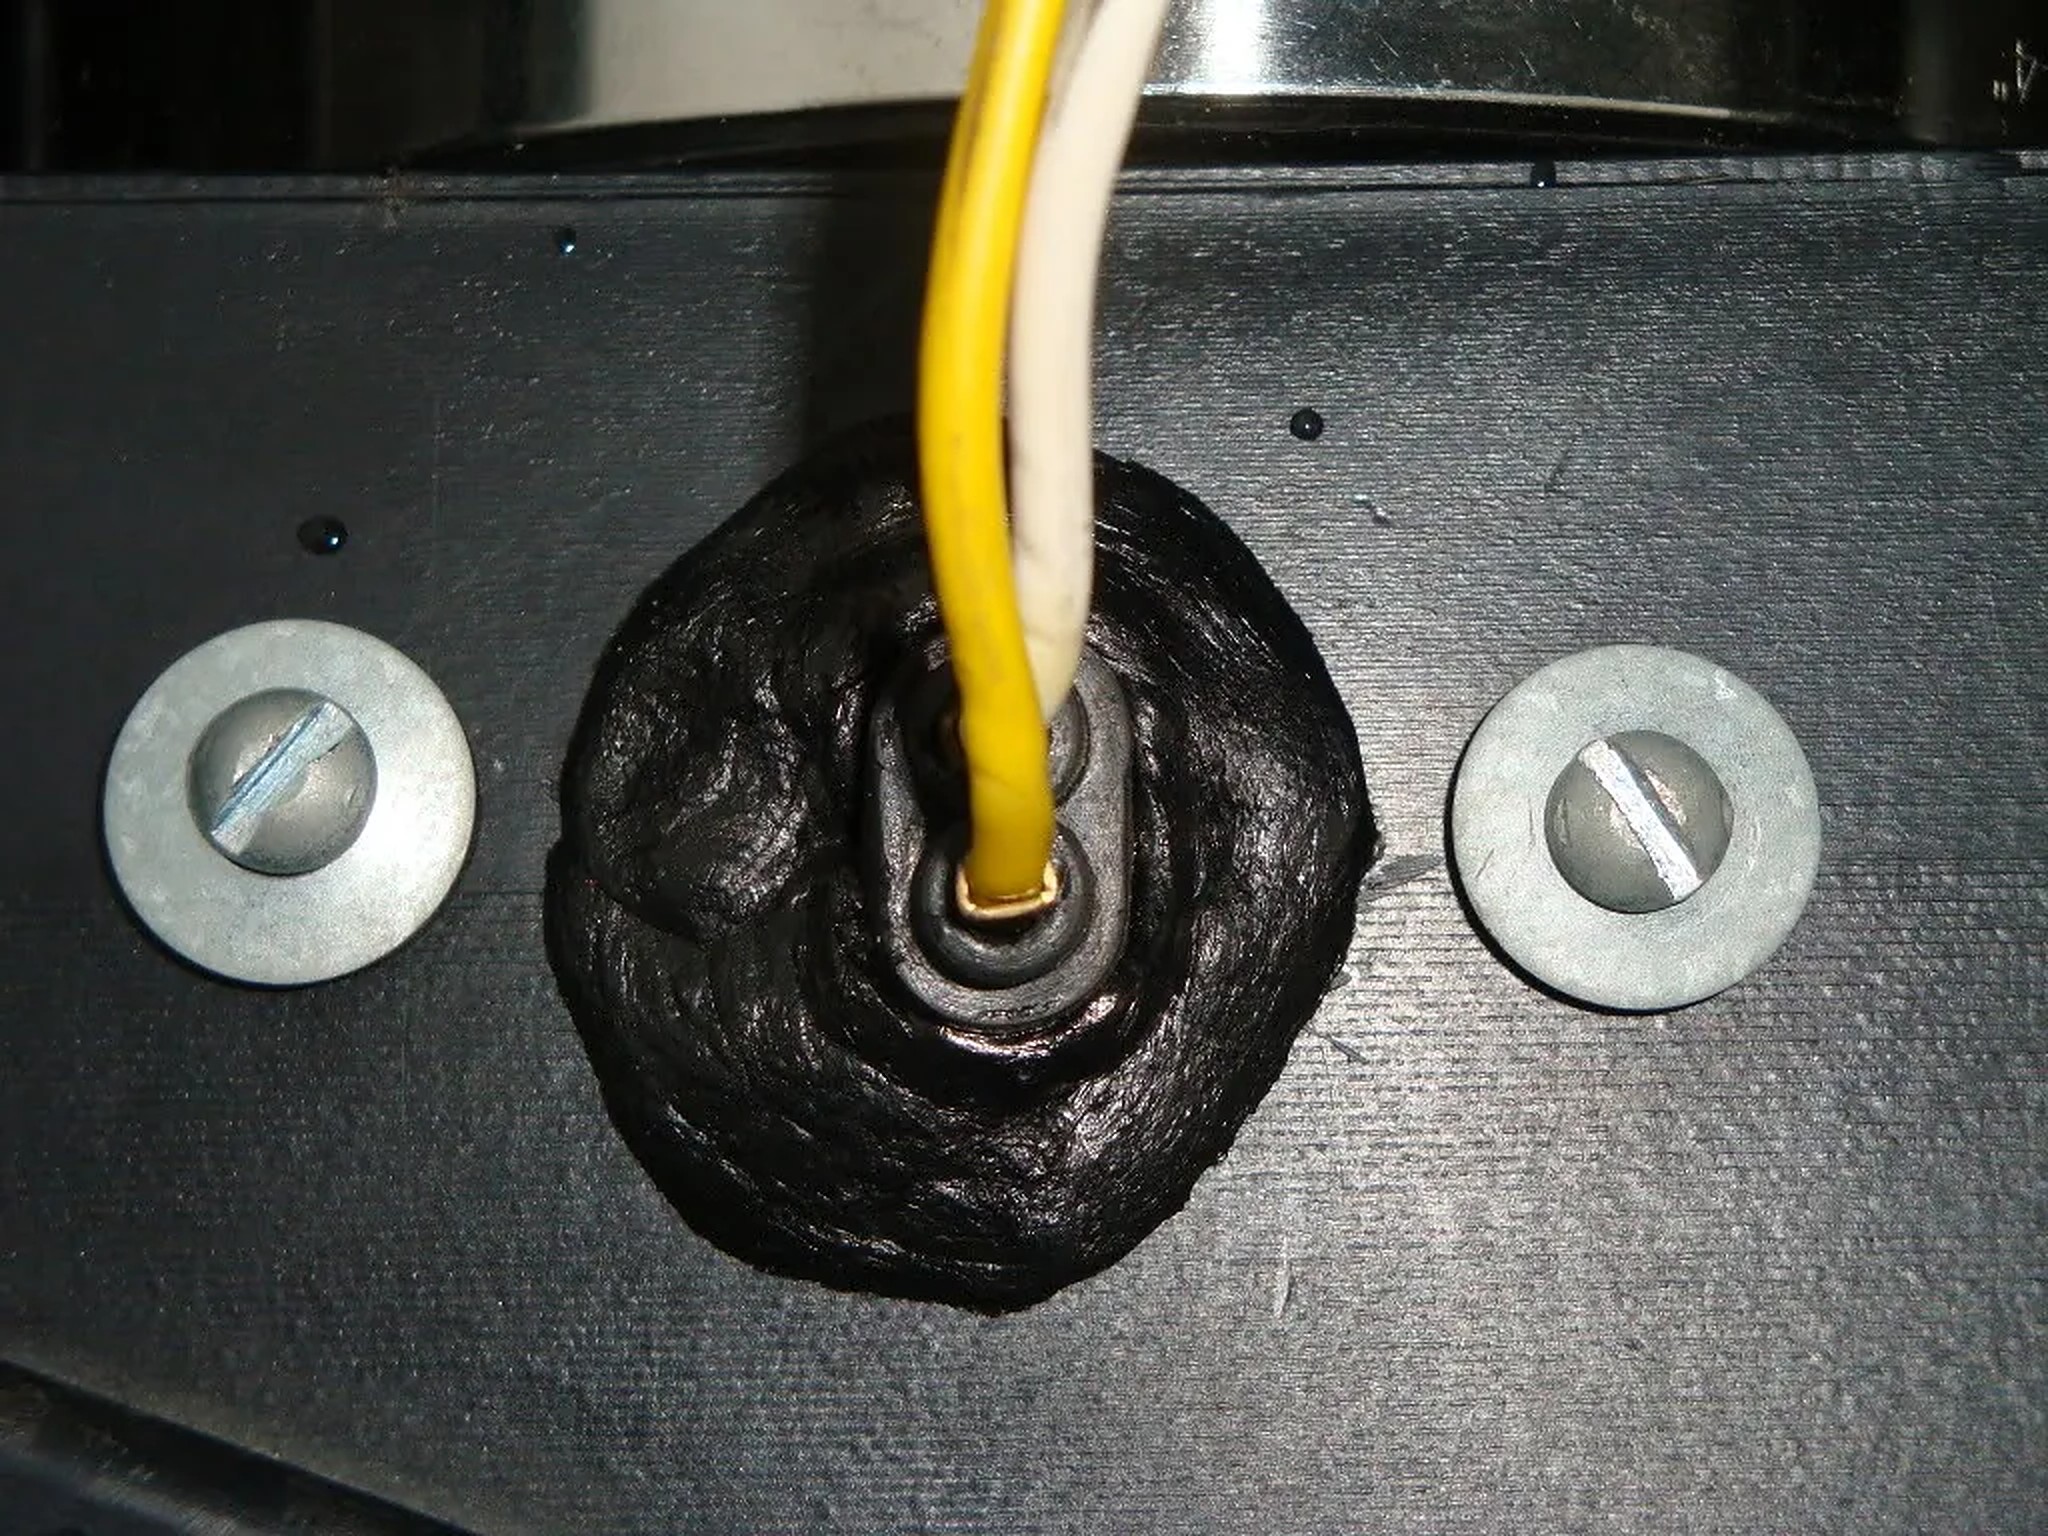
Press the plastic back onto the glue carefully but firmly. Be sure to have the edges of the plastic line up correctly so water will not get into the light housing. At this time, the oven should be heating to 250 degrees, and a timer should be set for 10 minutes. Now repeat the heating process, 10 minutes, one light at a time. Be wary though, the smell of the glue plus the paint getting hot, will burn your eyes and nose just a bit (just a fair warning for you) so when removing the lights be sure to get horizontal with the oven, to avoid having those putrid smelling gases hit you in the face when you open the oven to remove your lights. Also, please do remember to have your gloves ready for this process as well. I mean I would hope you’d have them seeing that you needed them in the first place, but some people do forget so this is a reminder, HAVE YOUR GLOVES READY! 🙂
Step 9
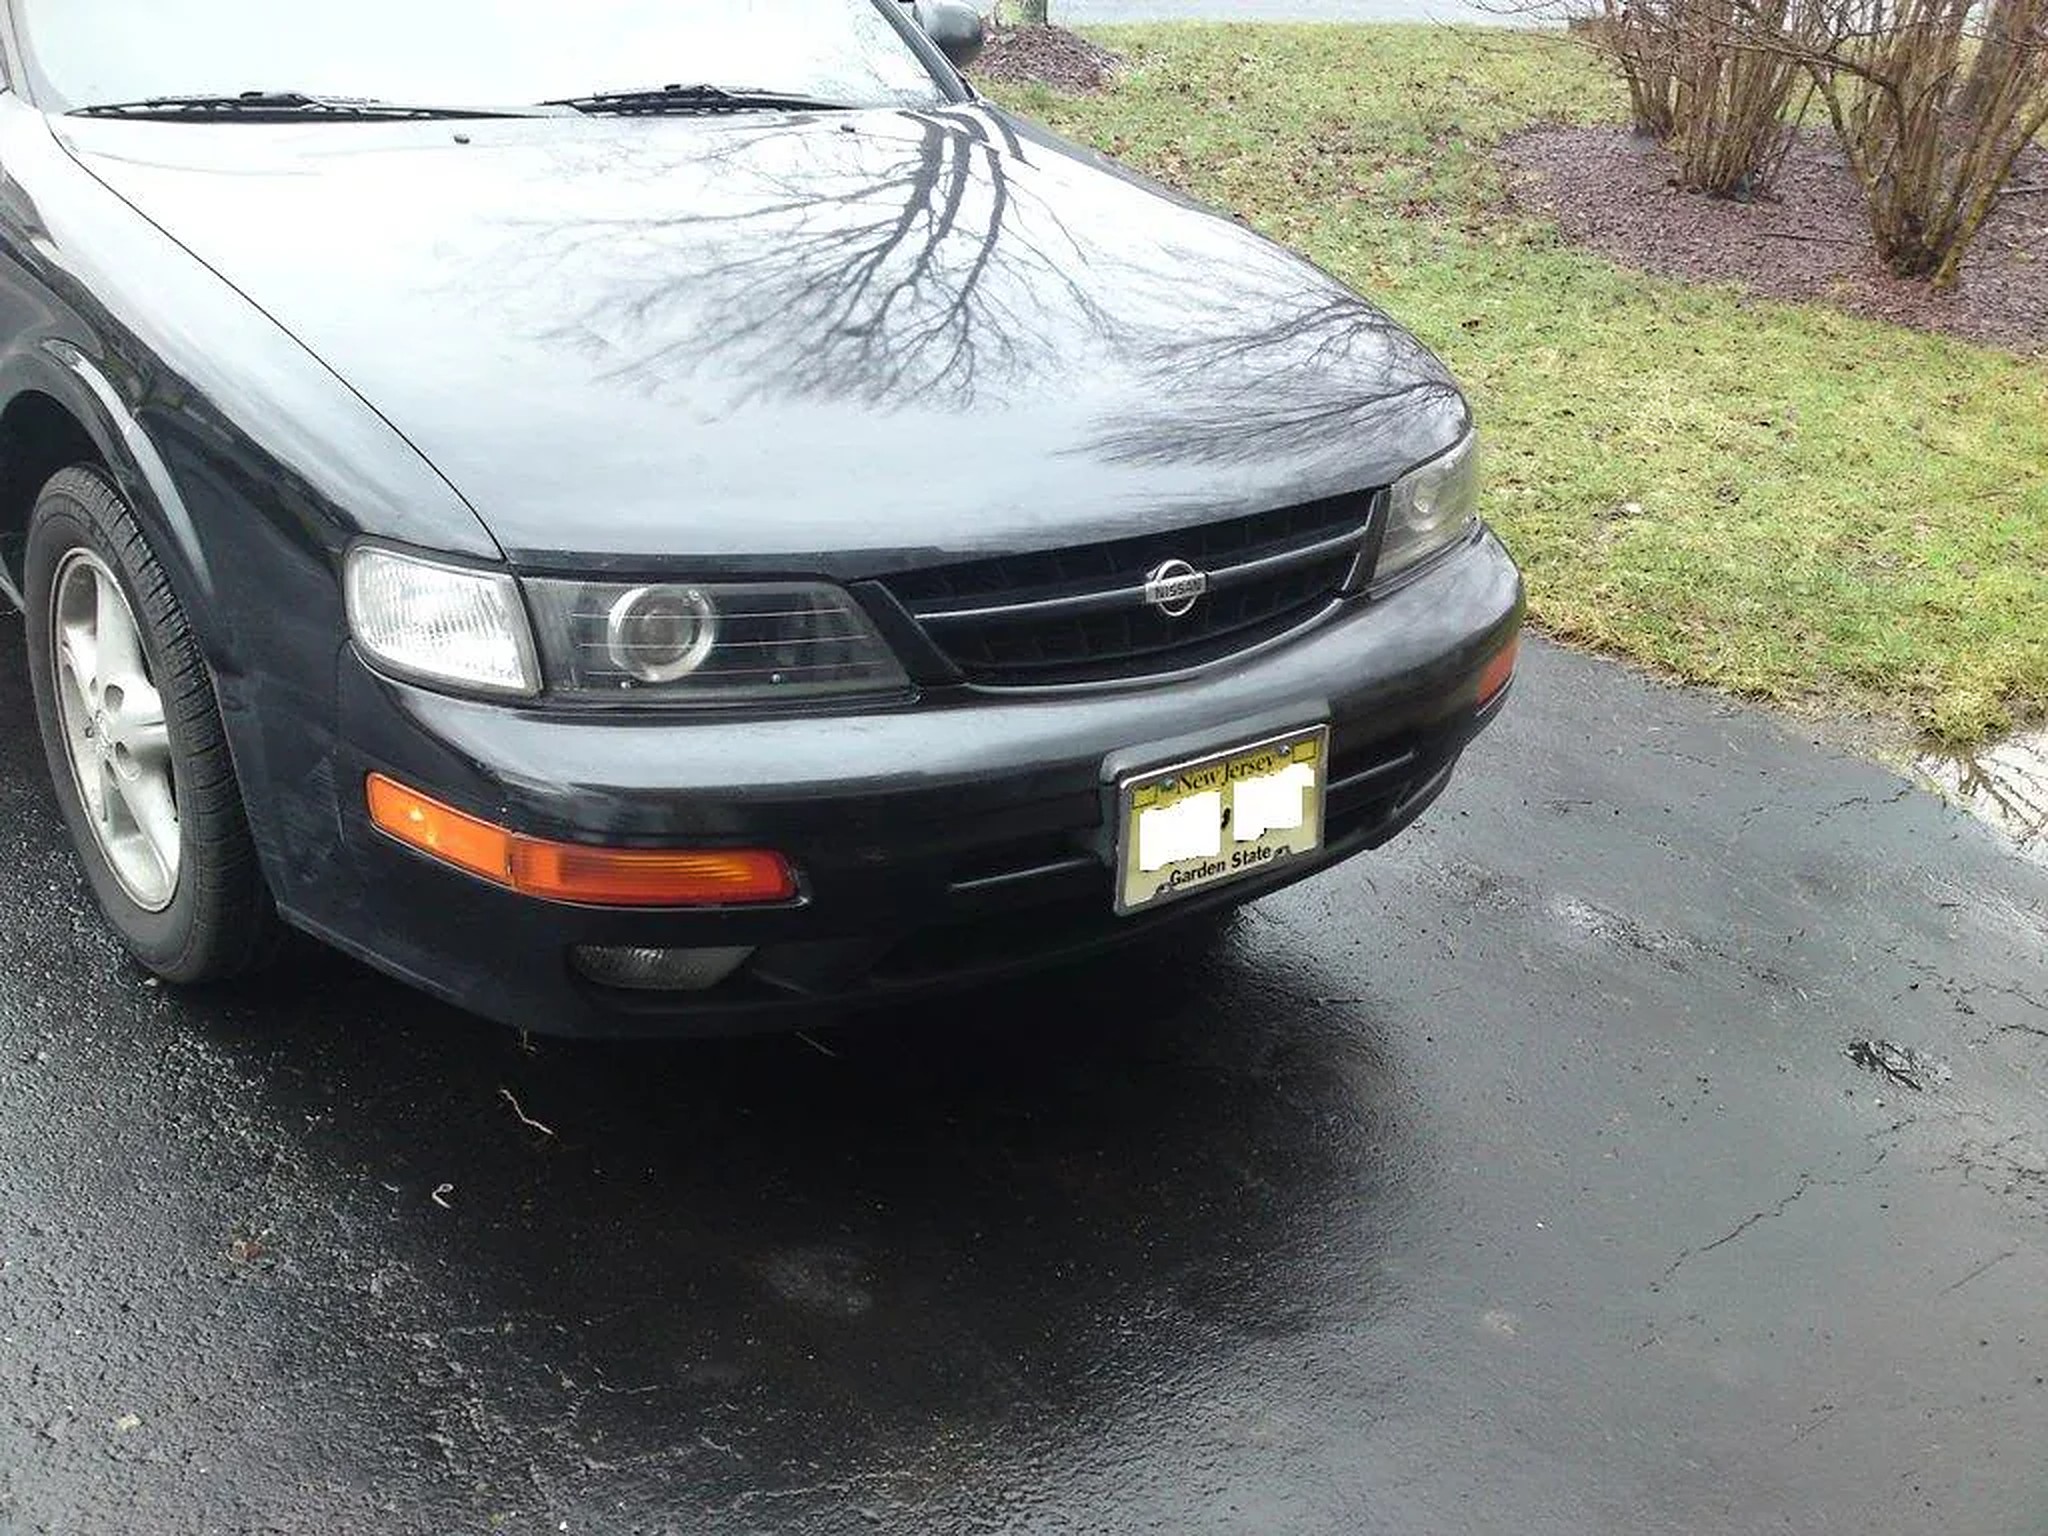
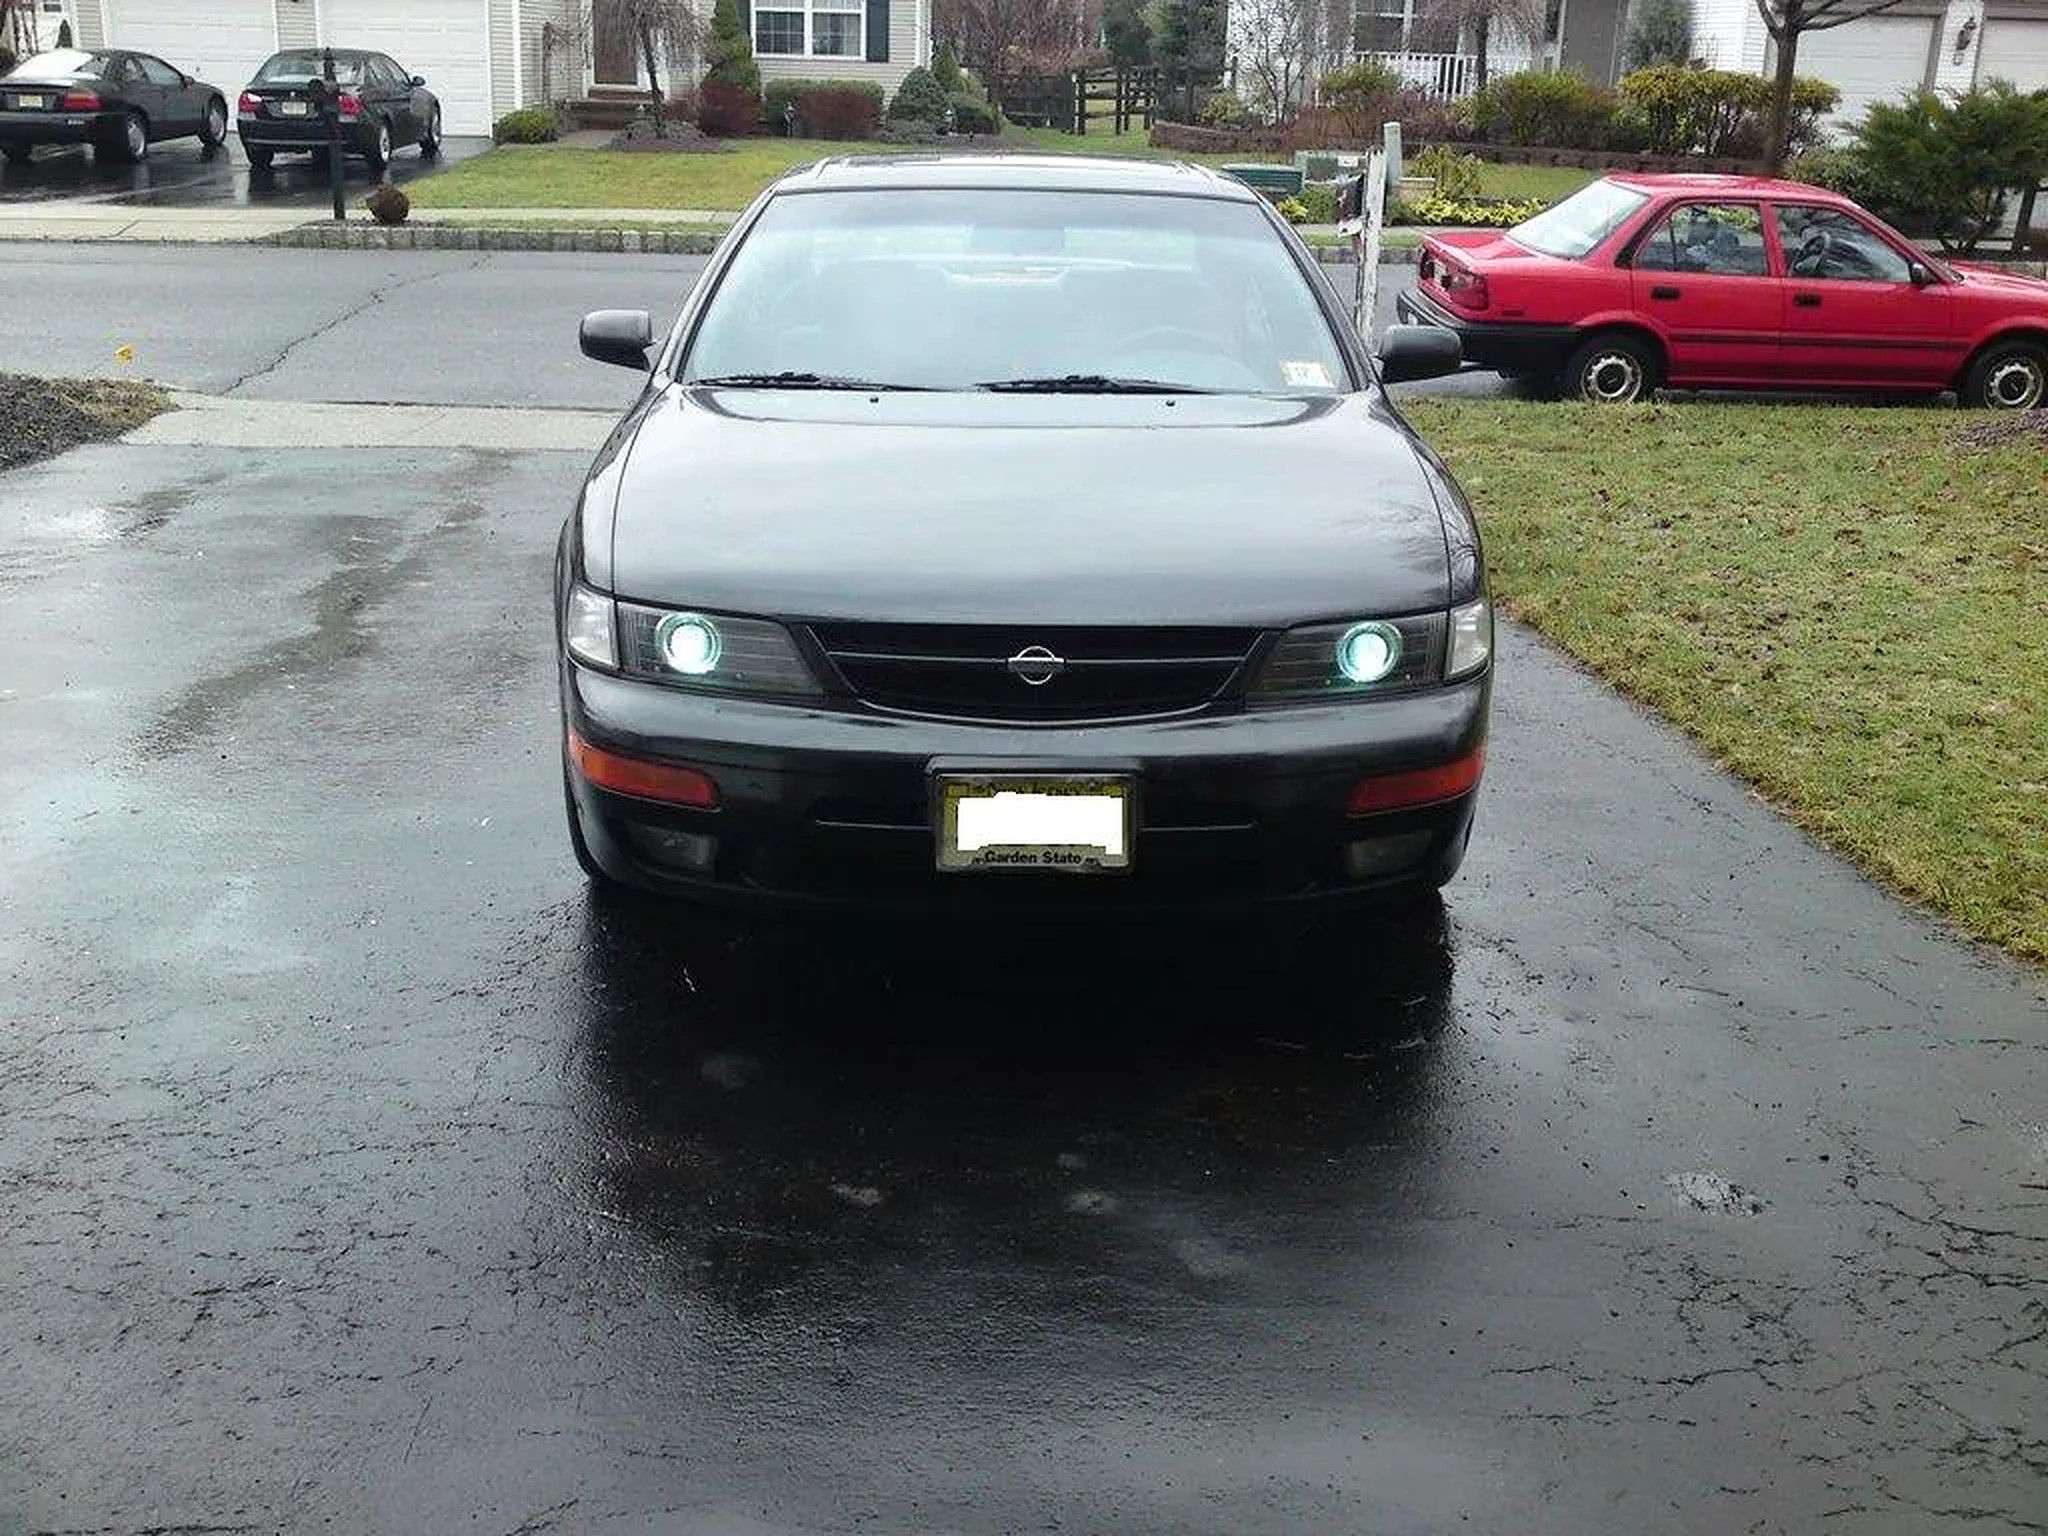
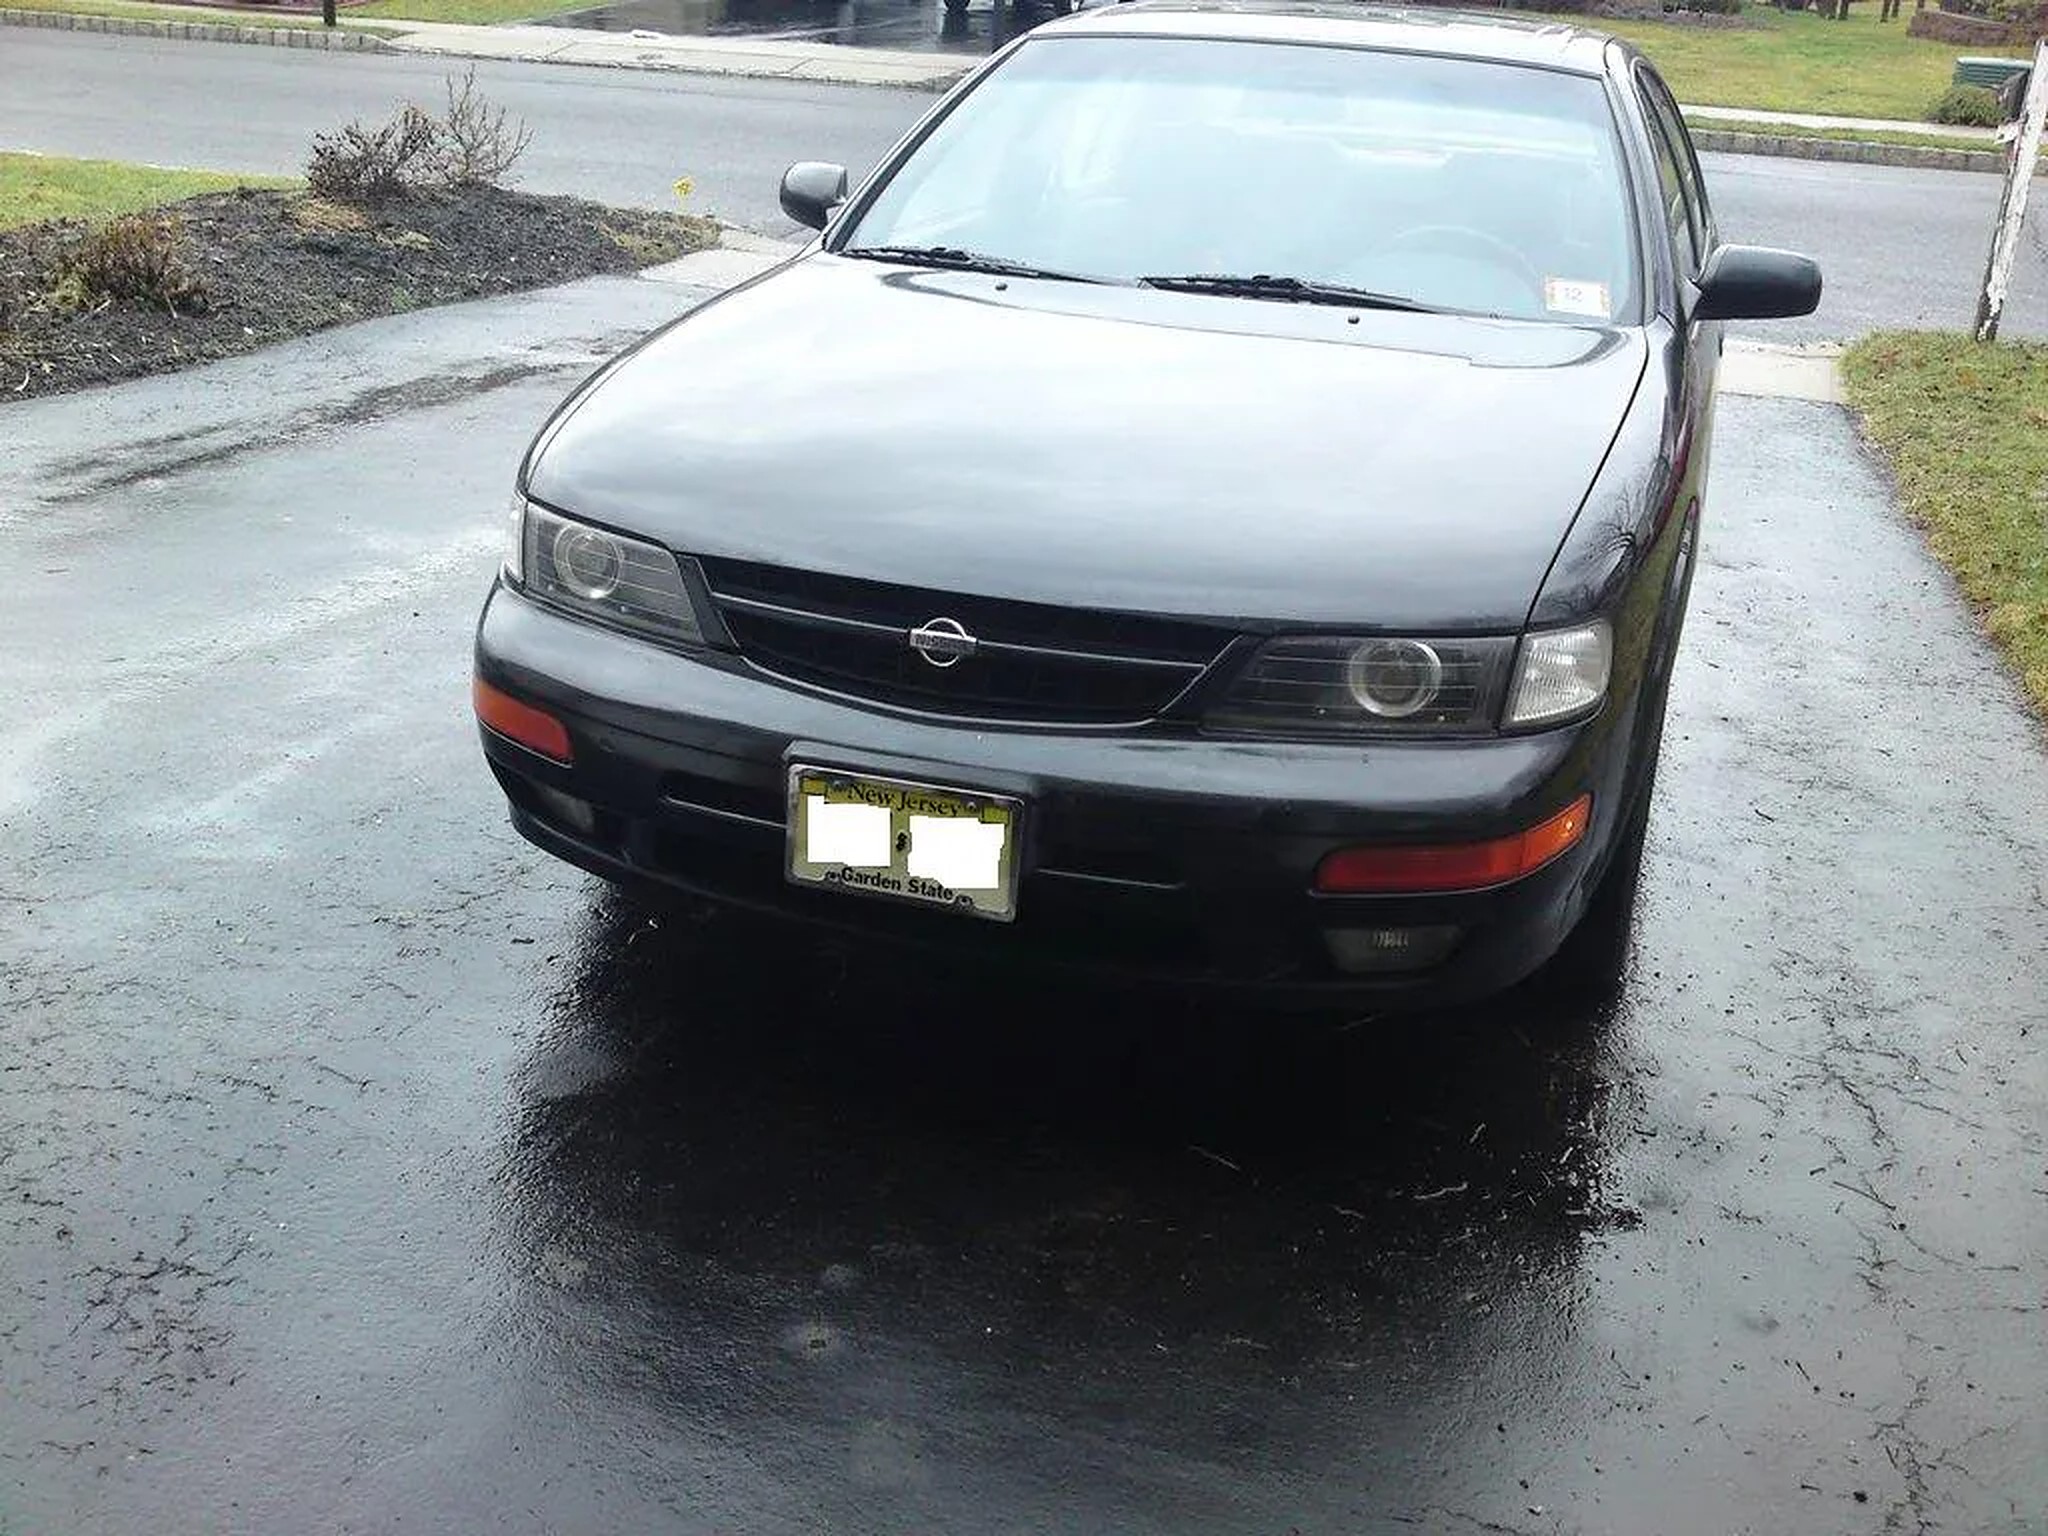
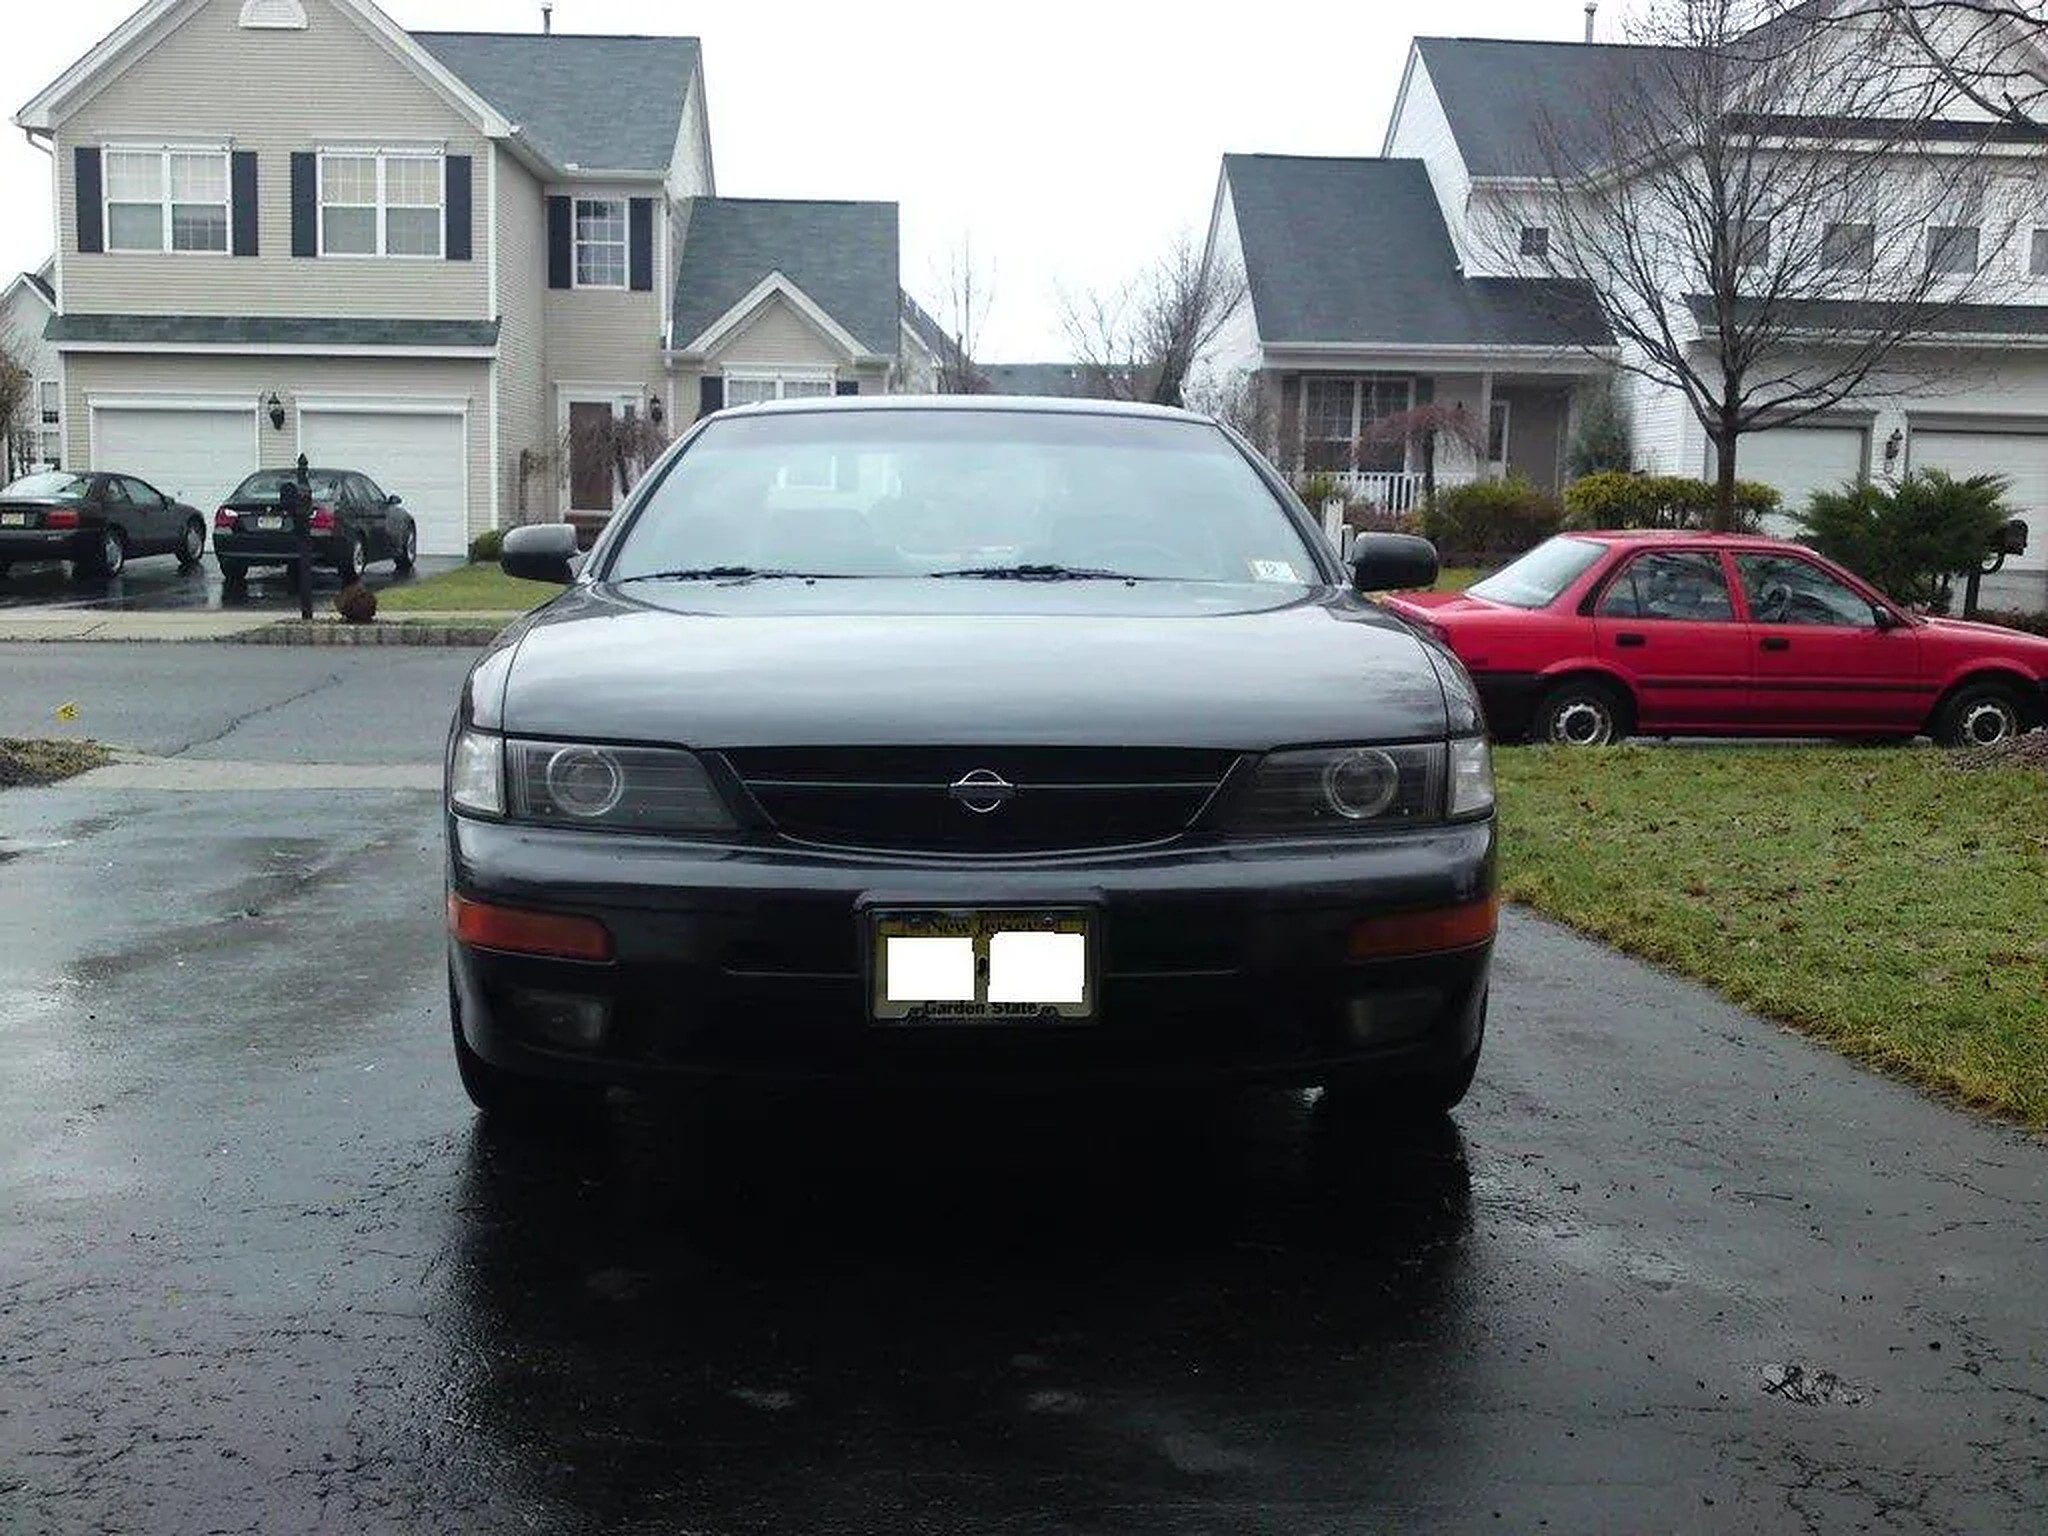
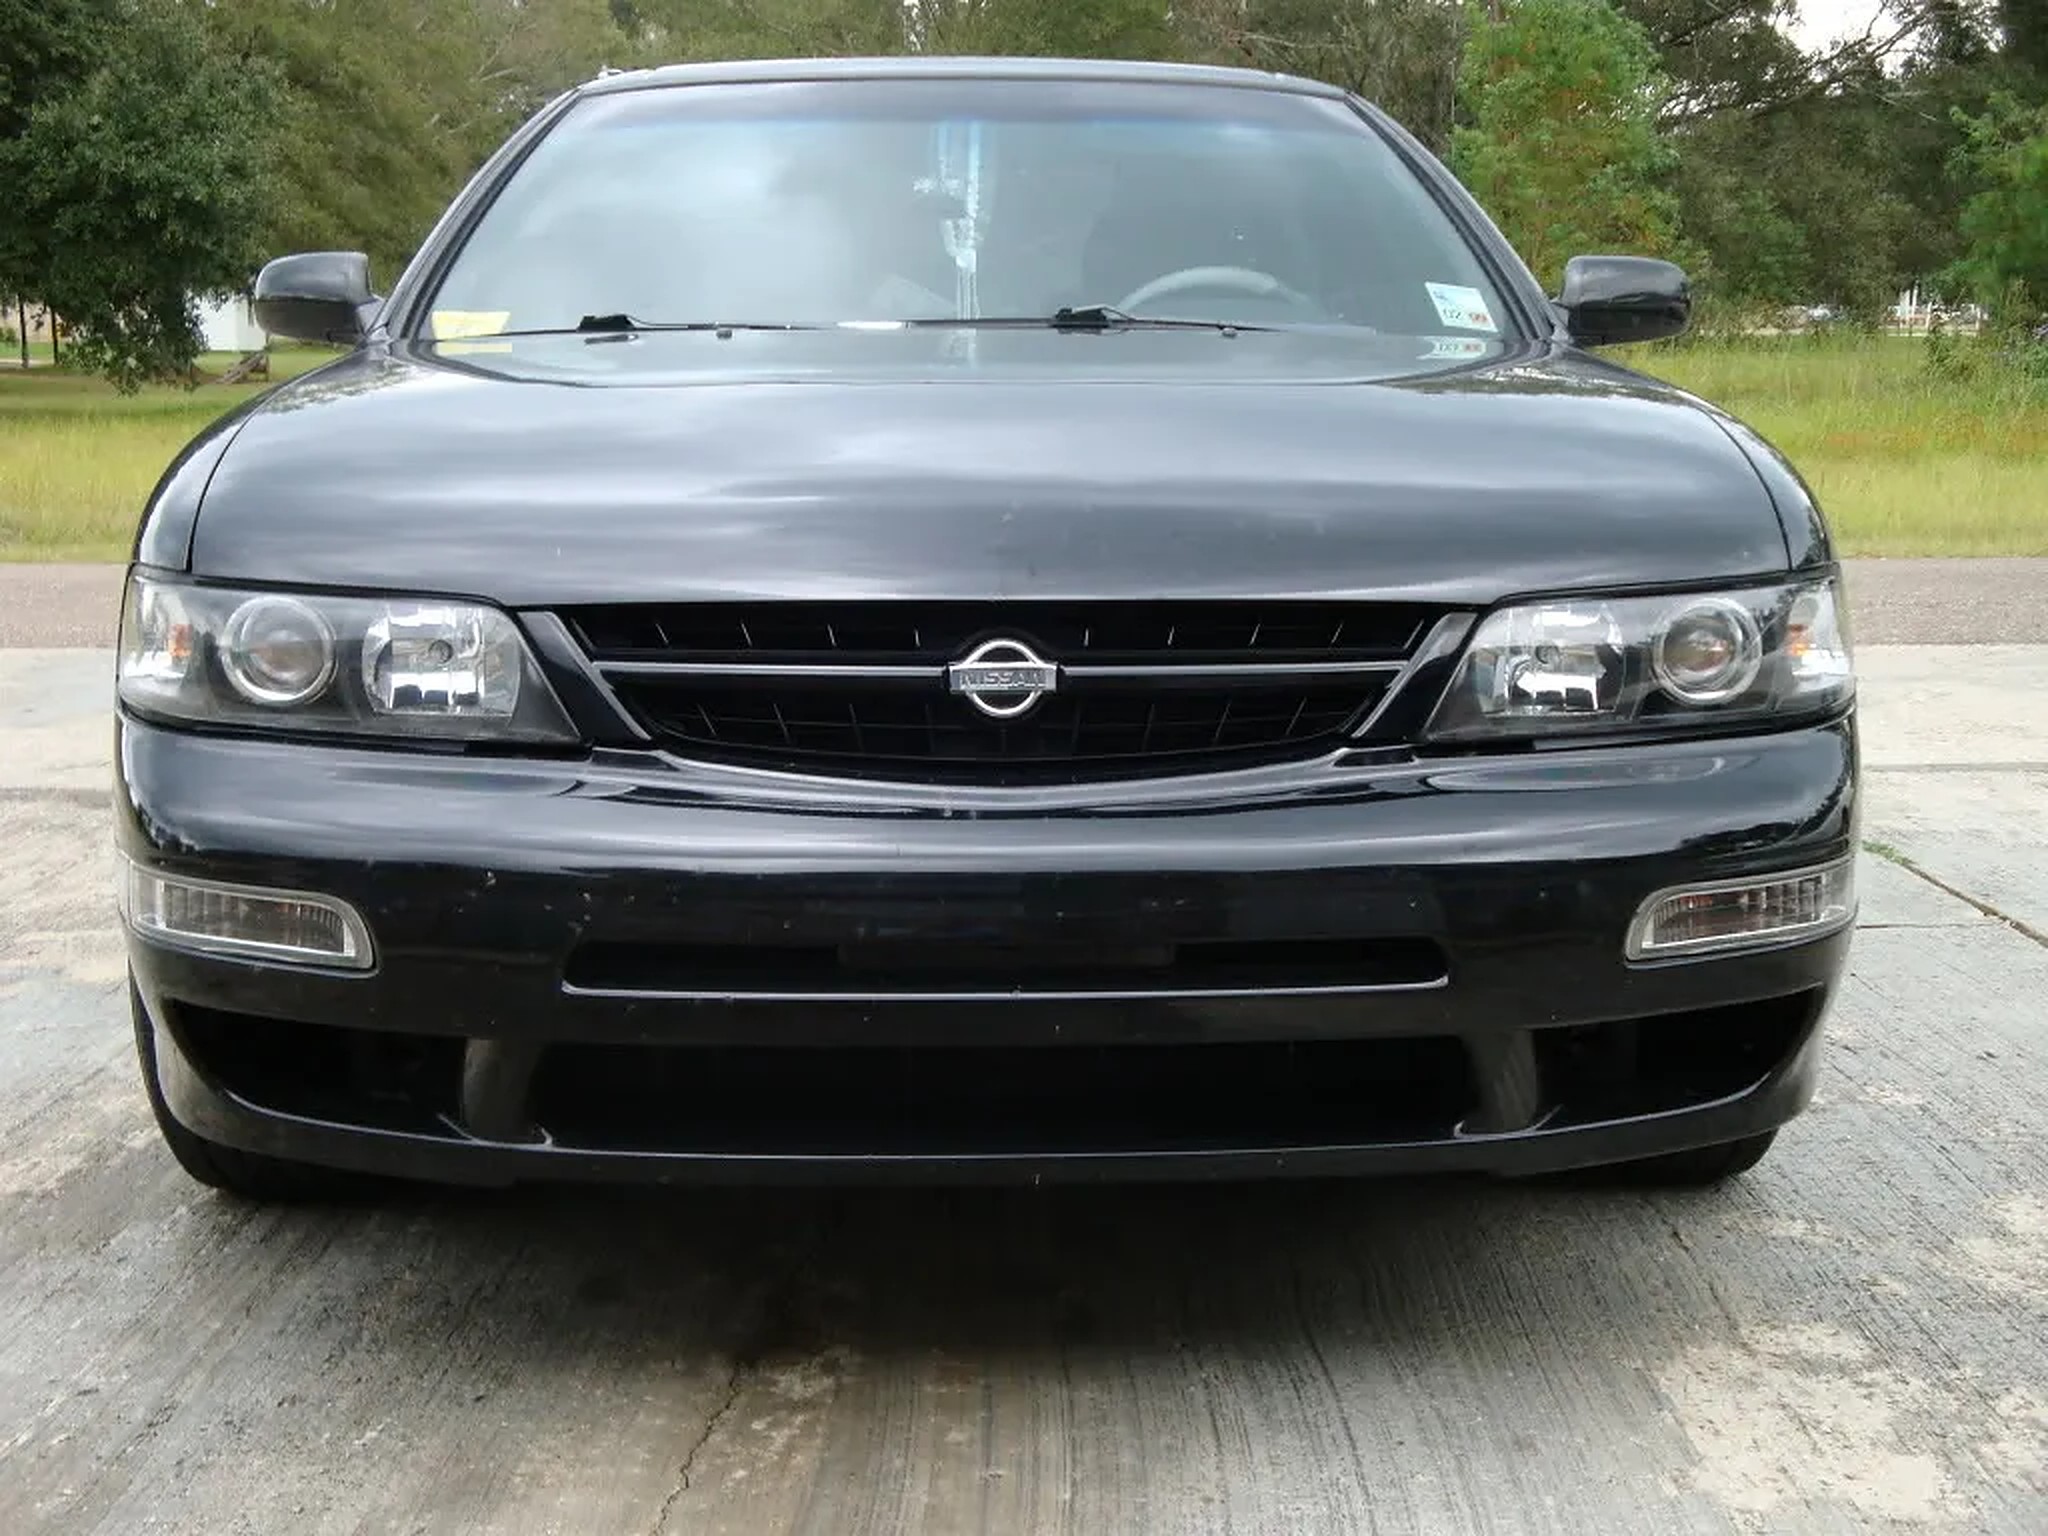
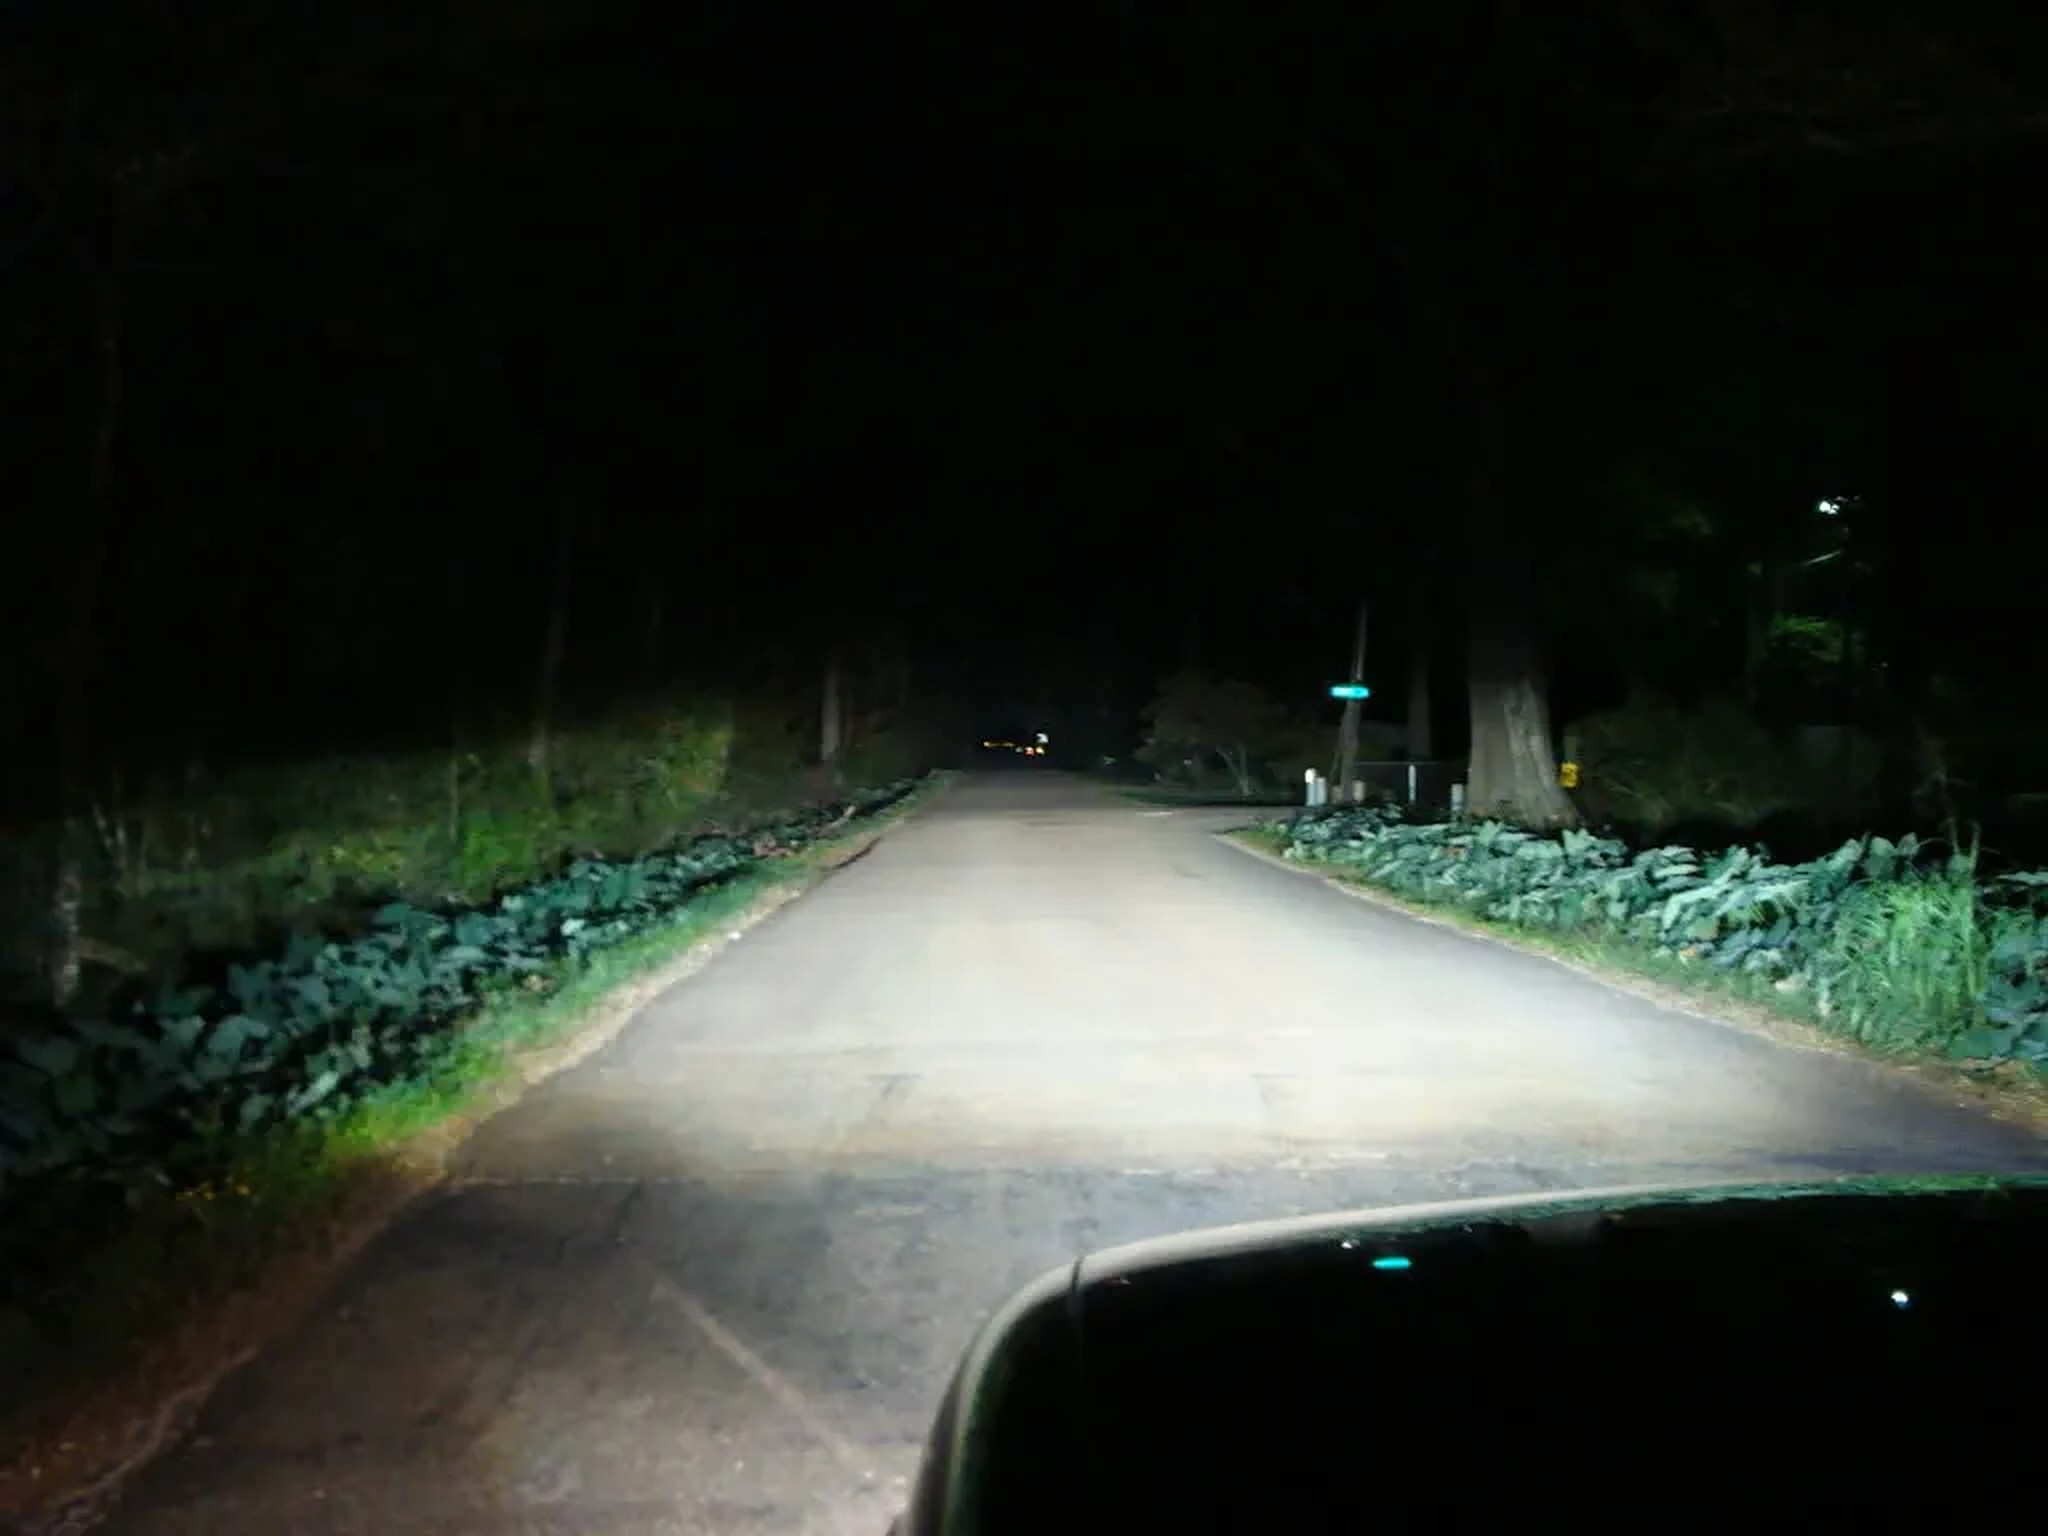
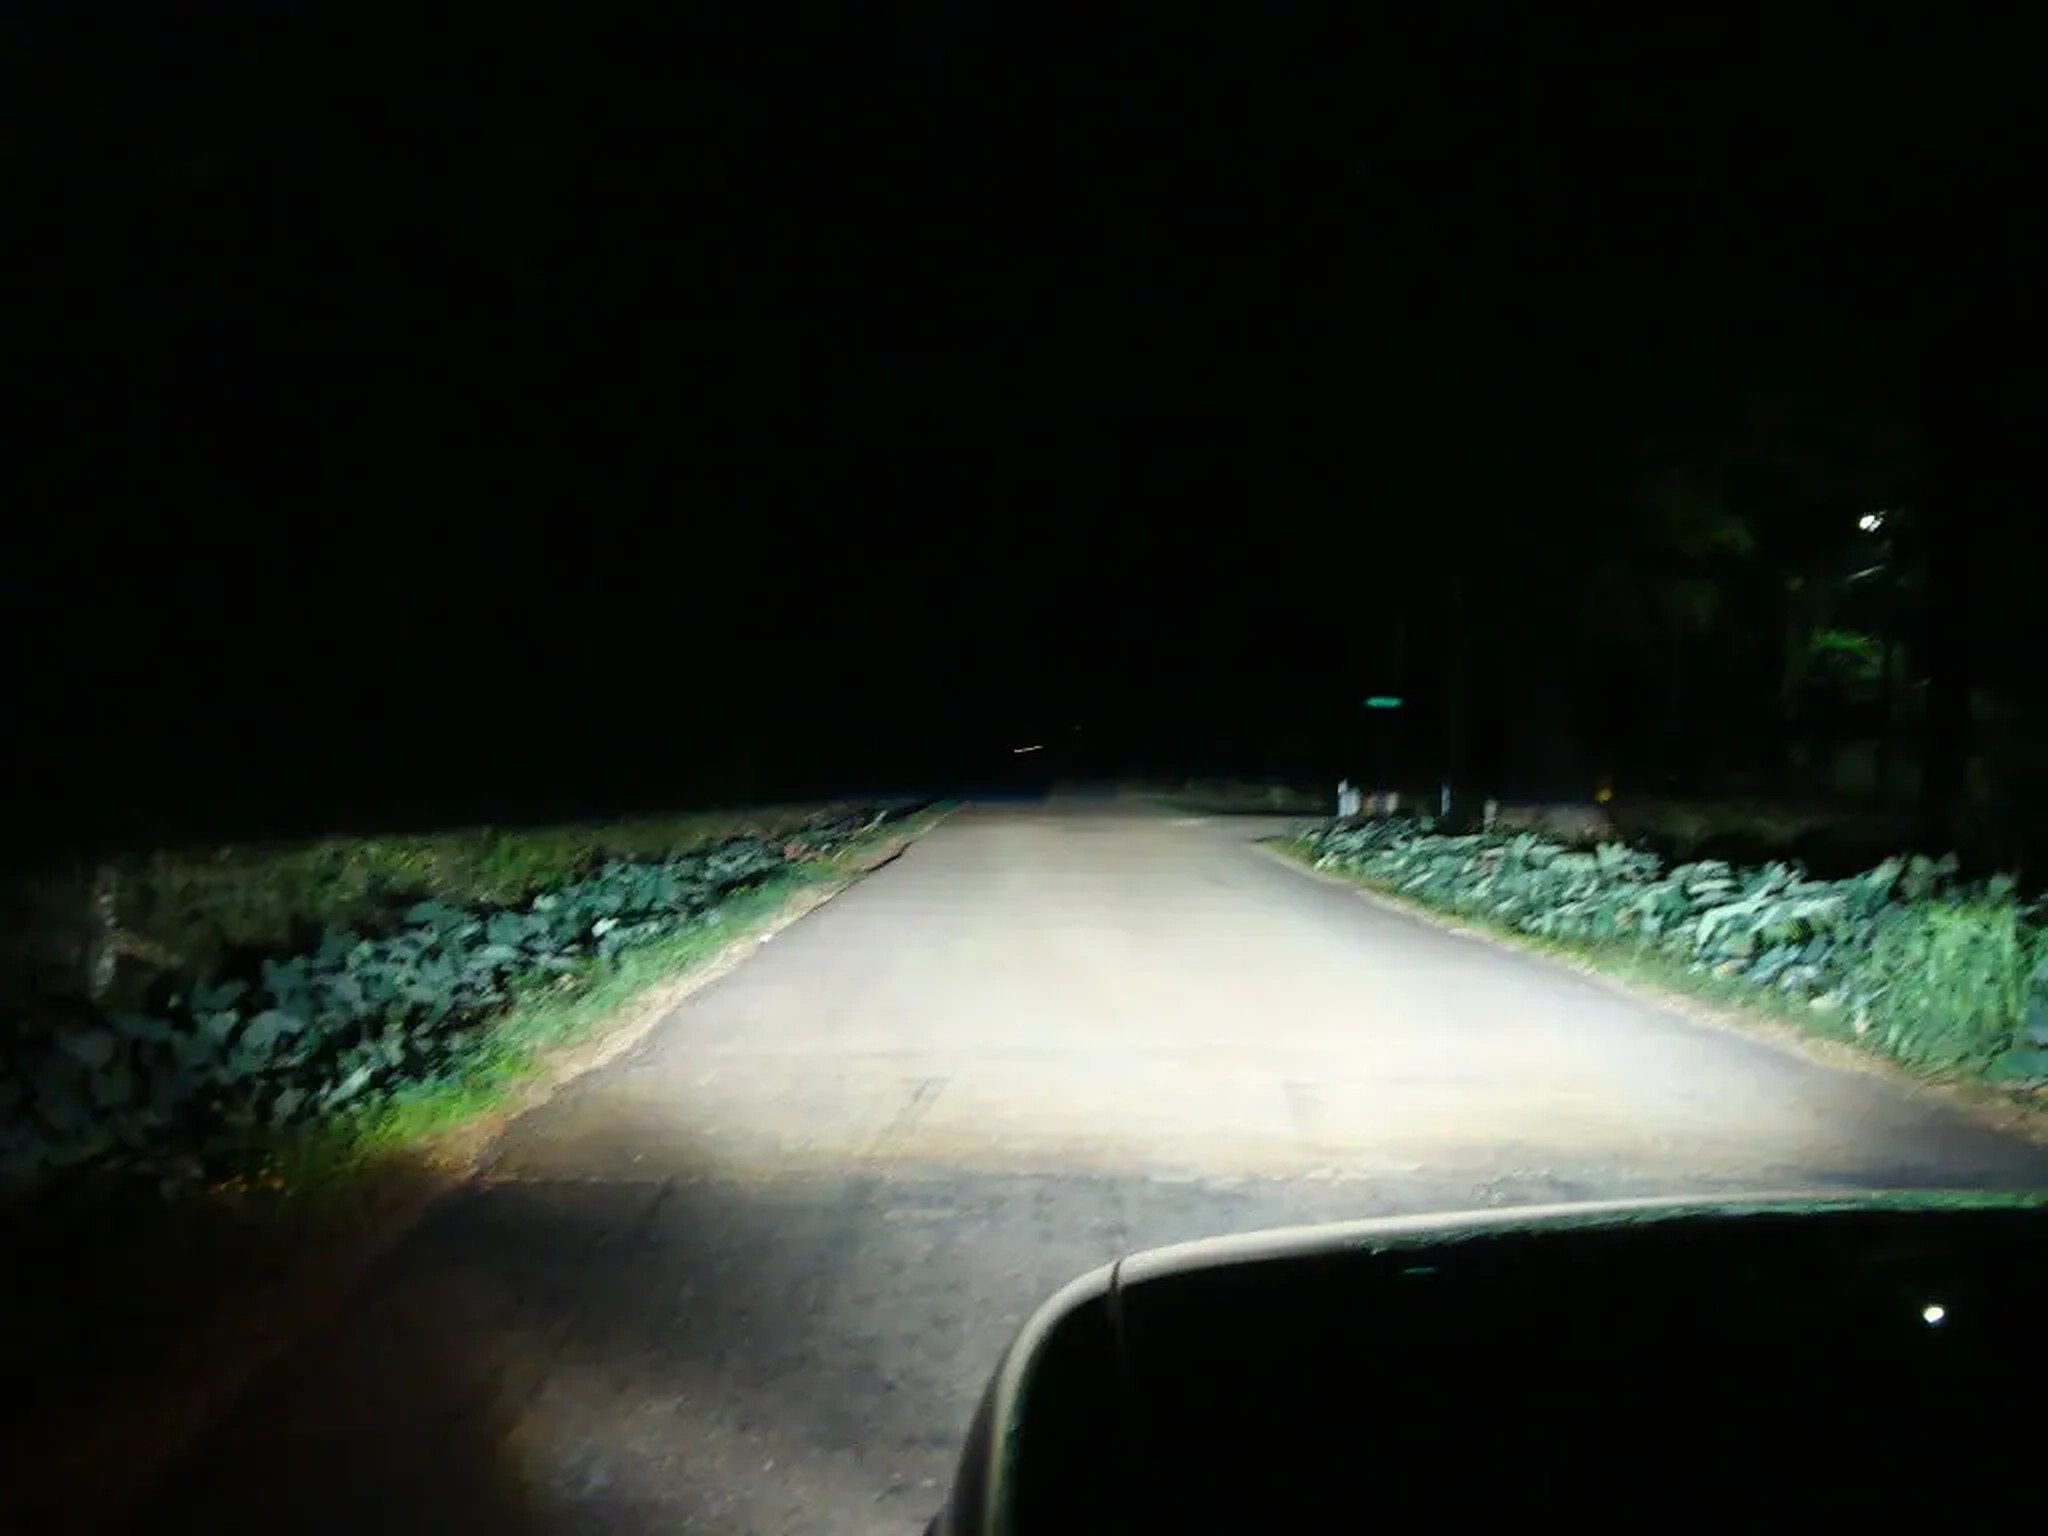
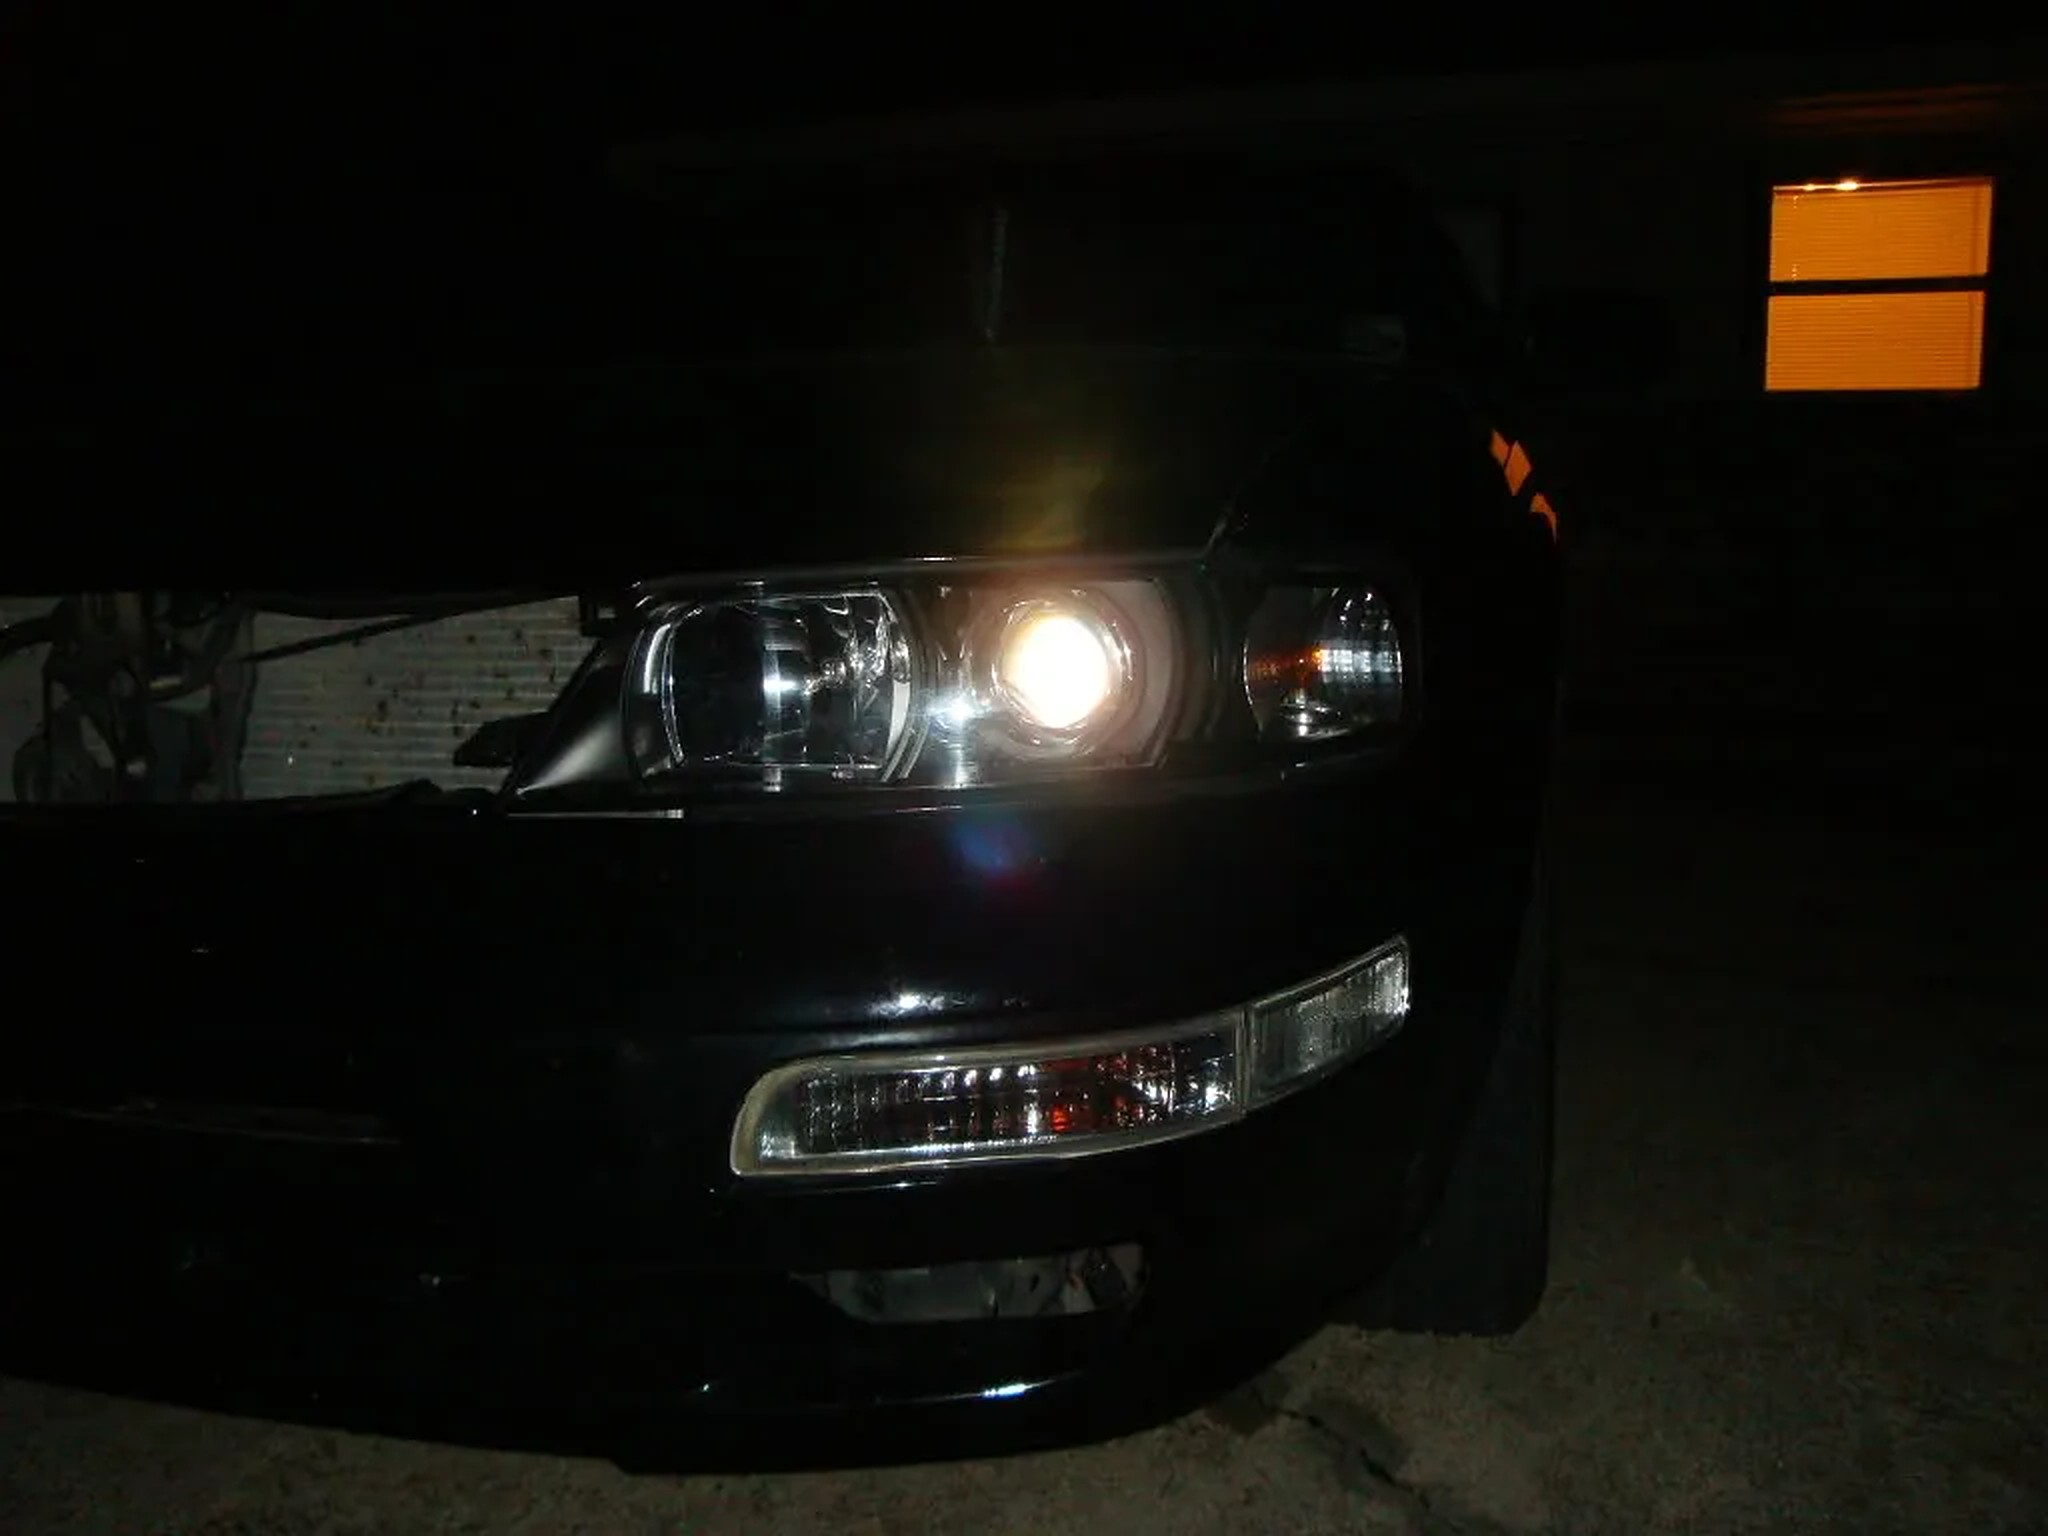
Put the 5 metal clips that you originally removed from the headlights back on the headlamps. If you prefer, you can silicone around the headlight housing lightly, in order to be sure they are water tight. I did not do this, cause I was lucky, and even thru heavy rain storm (12 hours straight) there was not a drop of condensation in the headlamps or corners. Now put the headlights back on the car, and look at the final product. Best 20$ you’ve probably spent in a while, and a good look for your ride. Custom lights. 🙂
Step 10
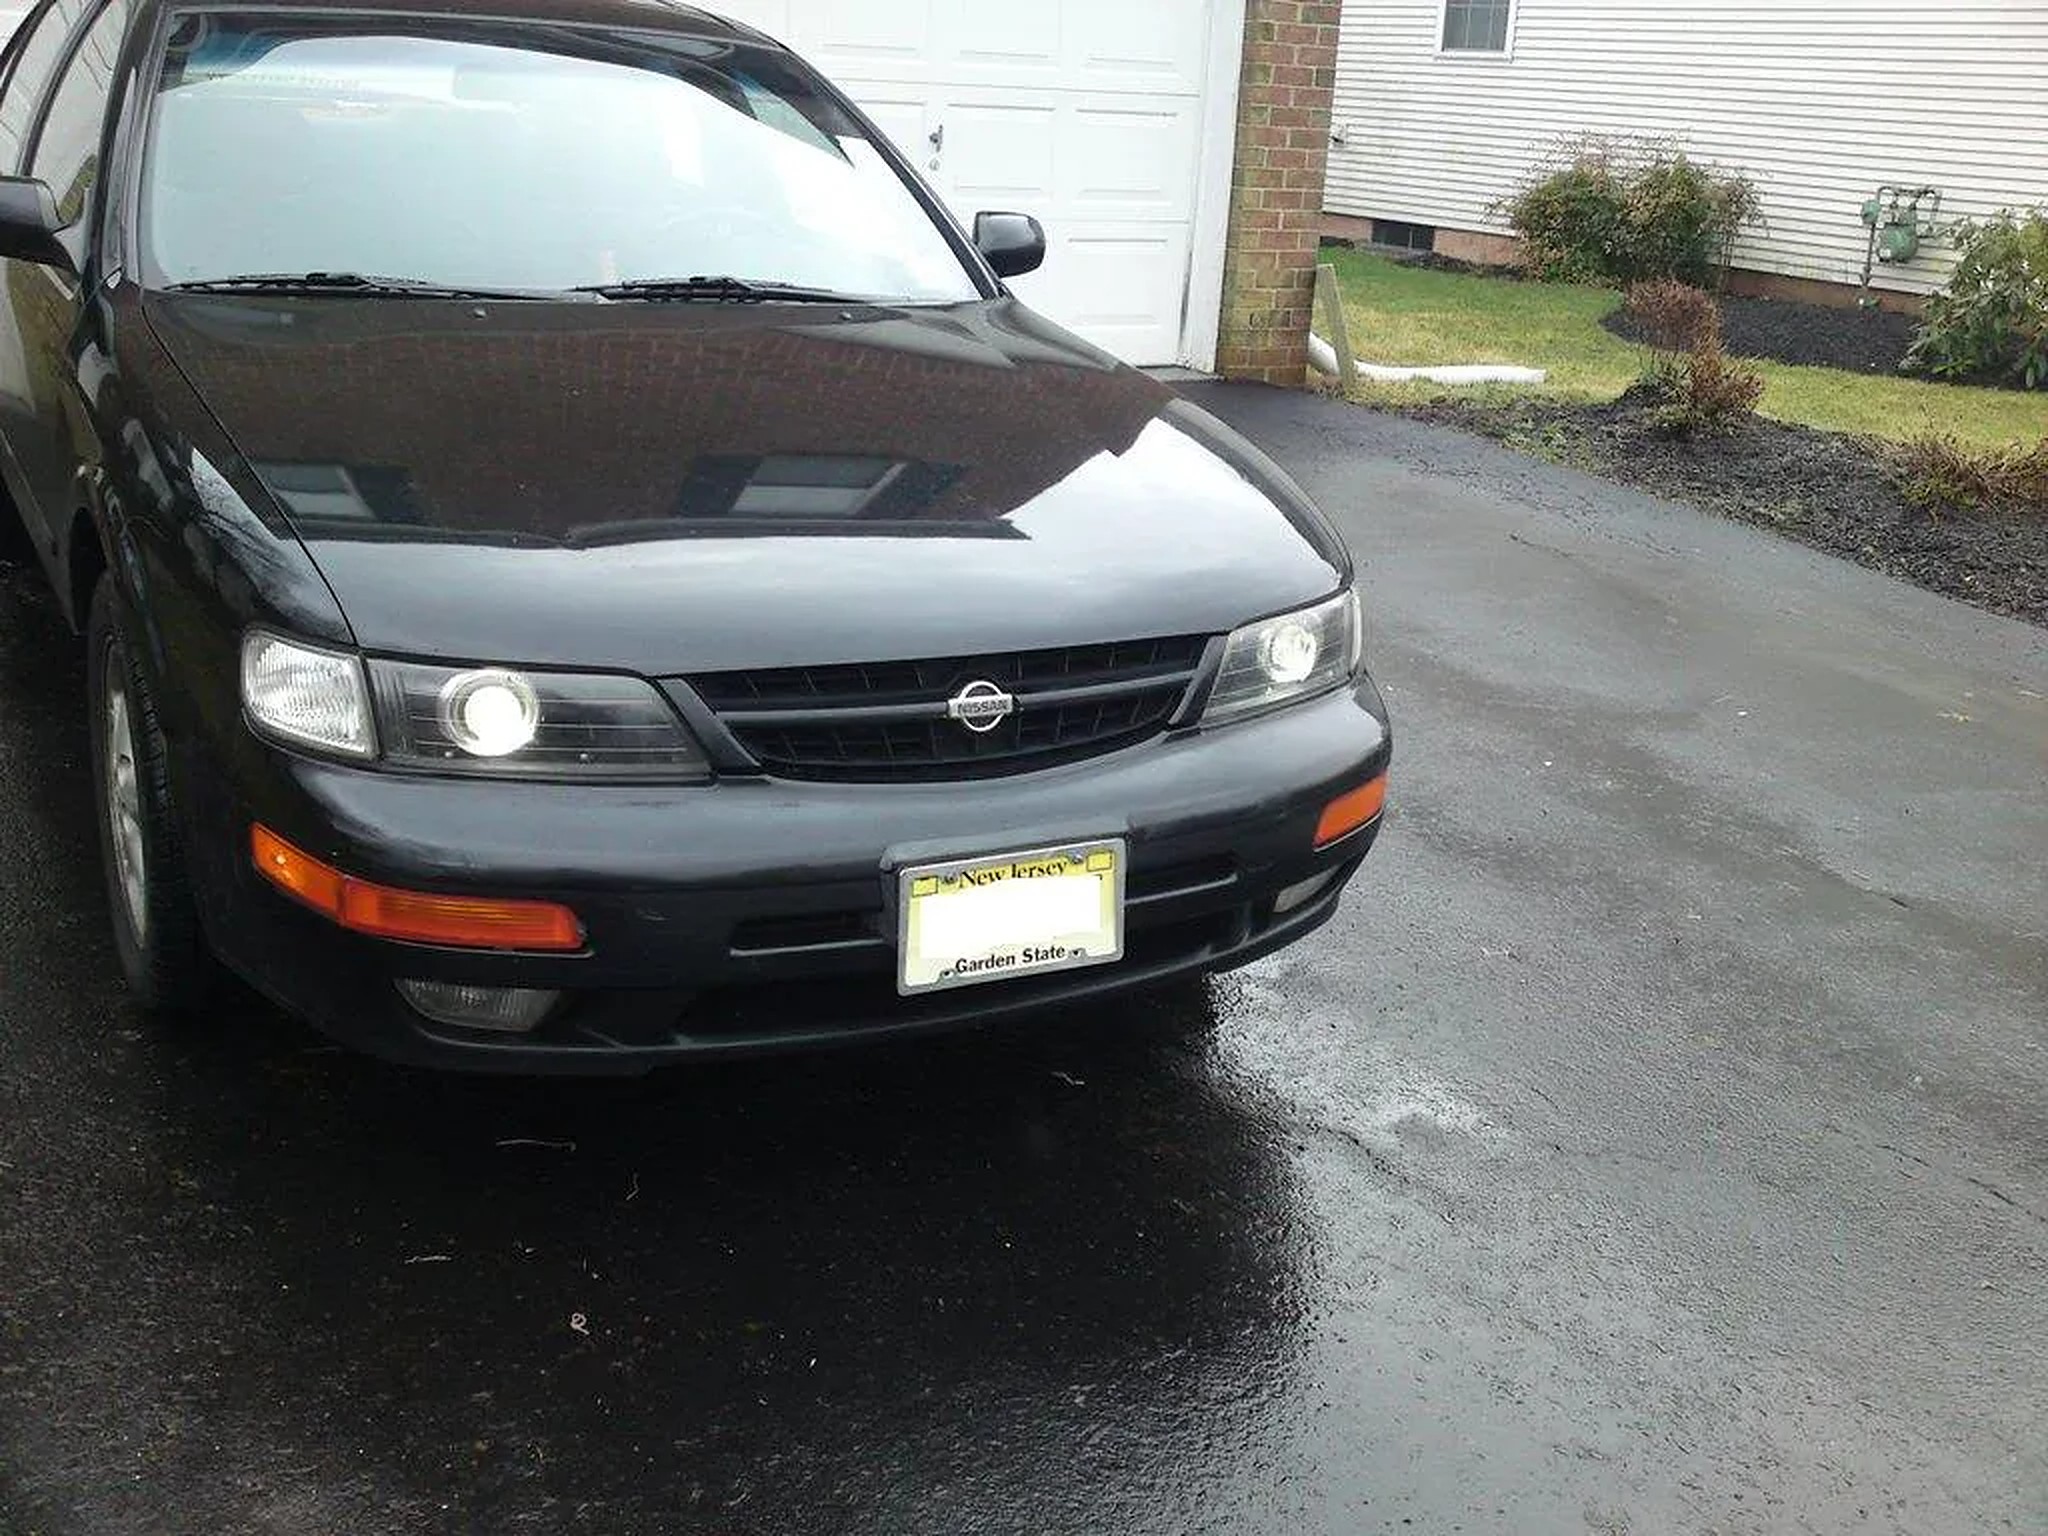
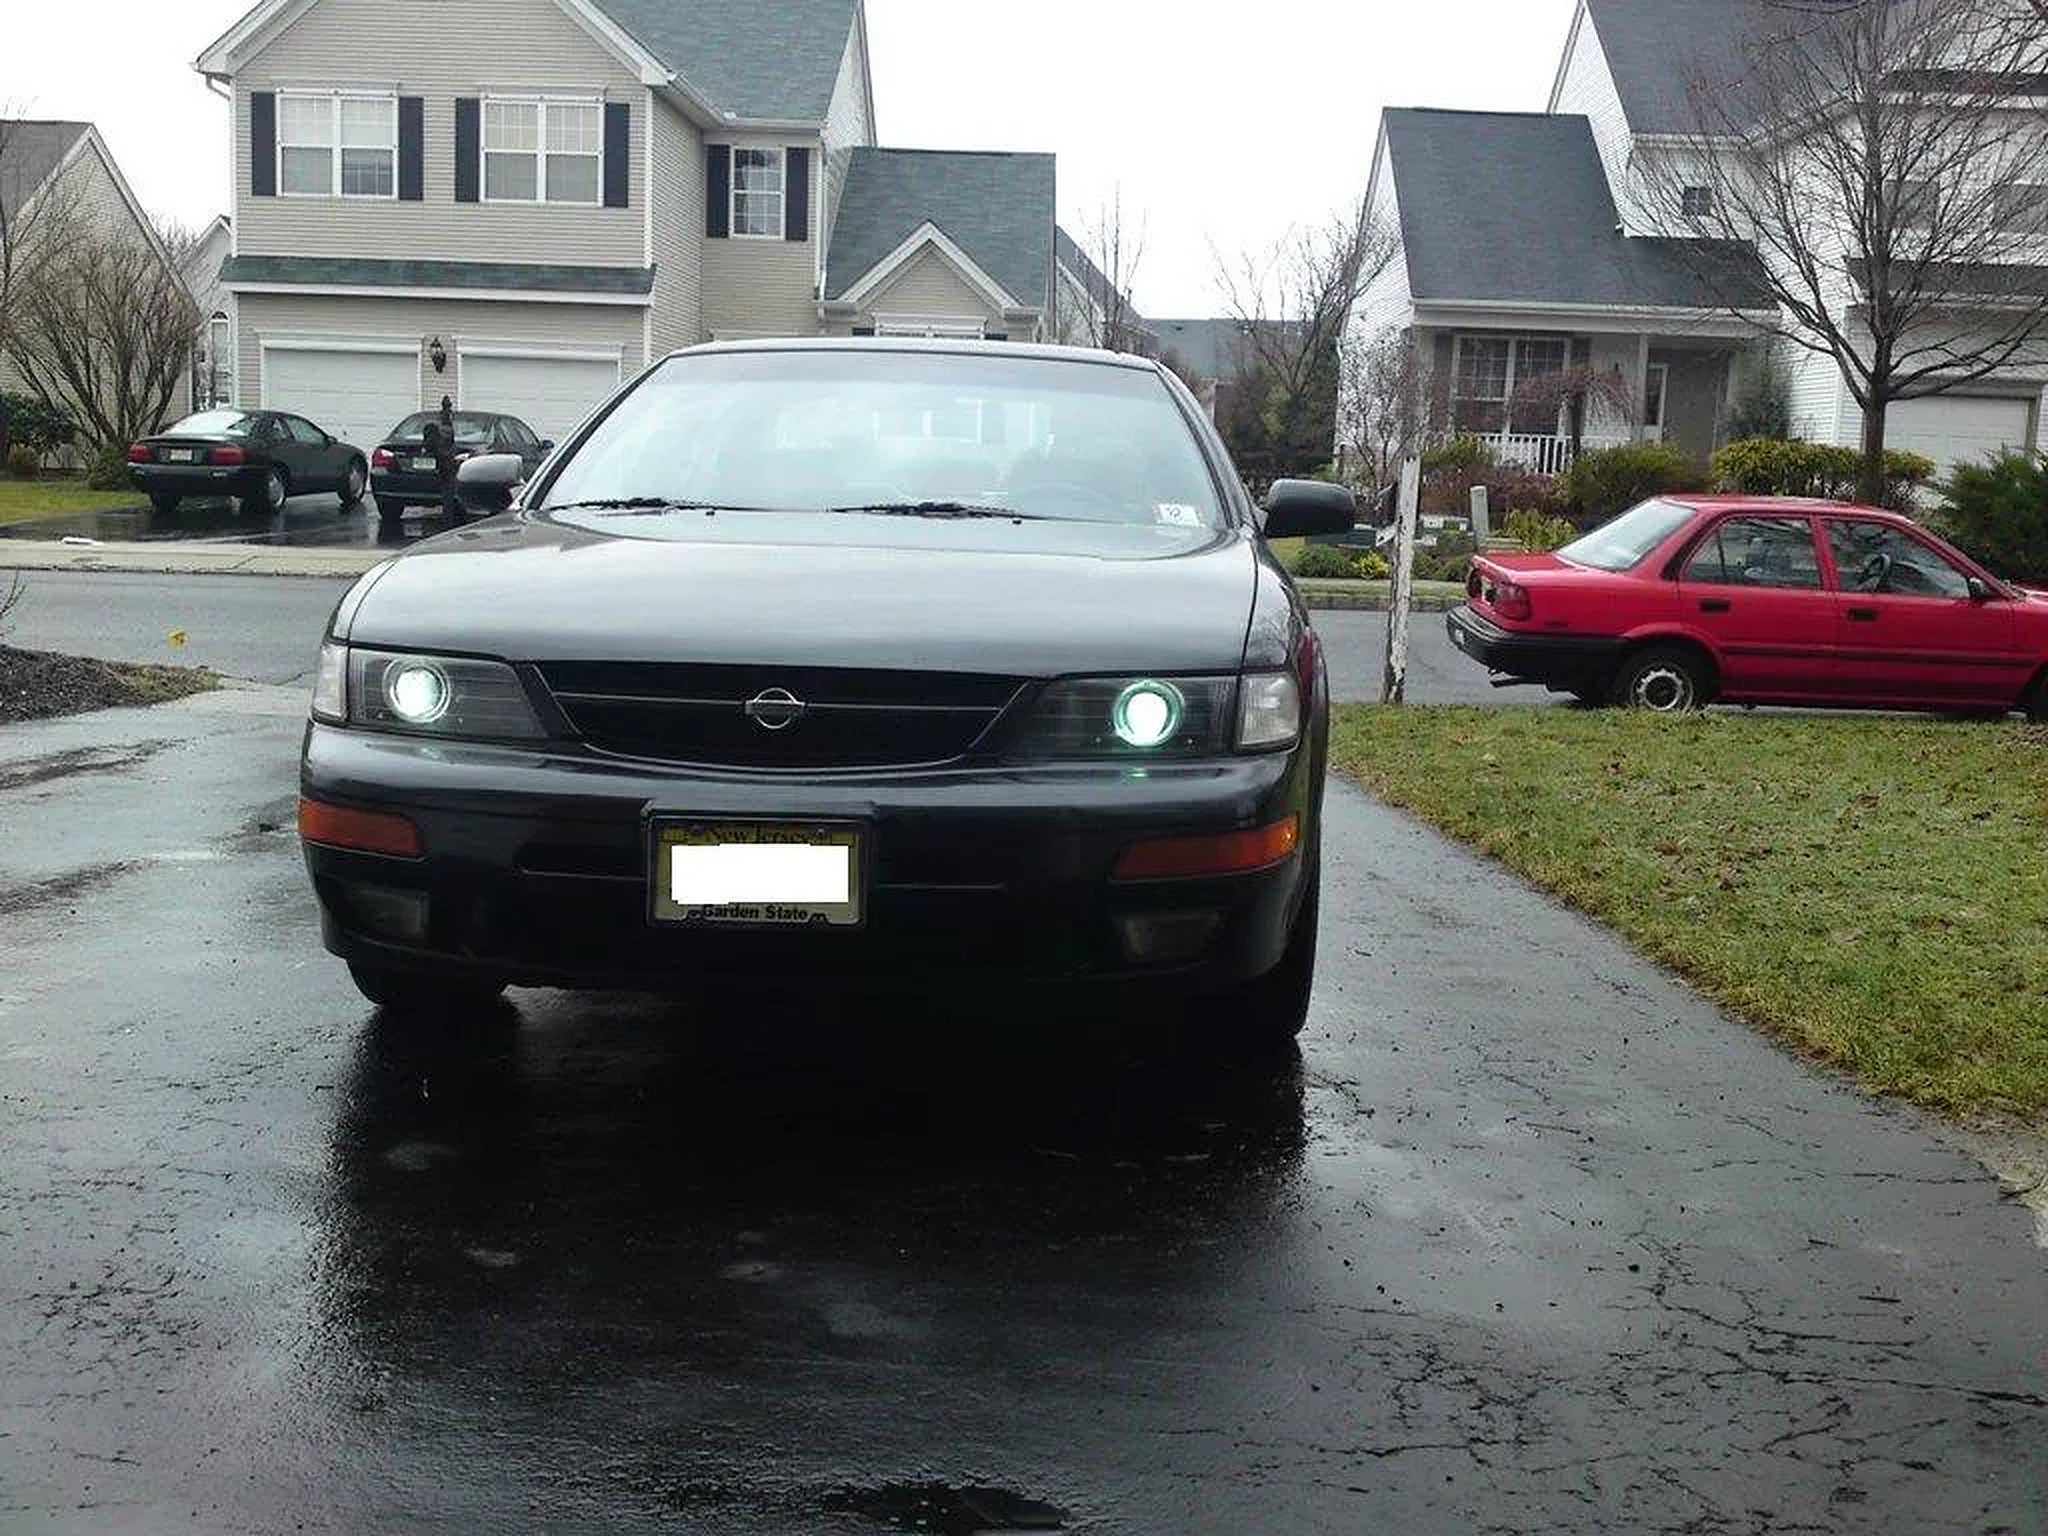
Now get a nice camera, preferably a SLR, and take some pics! If you have any questions, please feel free to contact me via e-mail.
Here’s a few more pics of the finished mod.


![]()