Torx bit (on some models) – otherwise metric socket (size unknown)
Old towels
Channel locks
Purchase clear lens from Home Depot or frosted lens from Tap Plastics (contact info below):
Tap Plastics Inc
4538 Auburn Bl
Sacramento, CA 95814
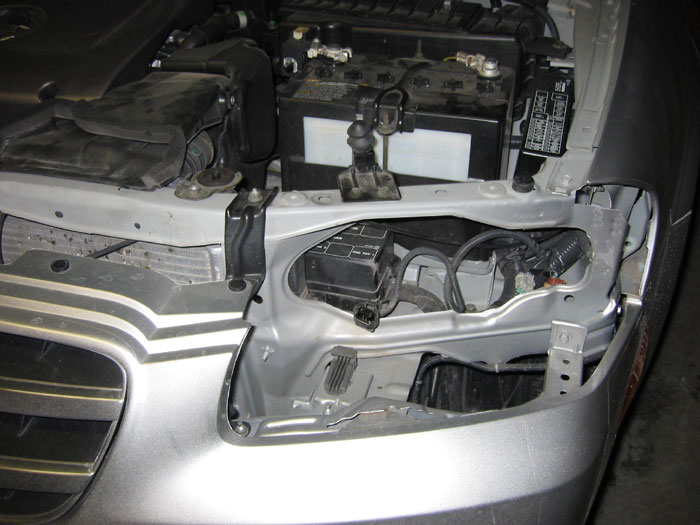
Clear Leans from Tap Plastics 1. Remove headlight from the vehicle. Take care not to scratch the fender with the metal mounting pin.
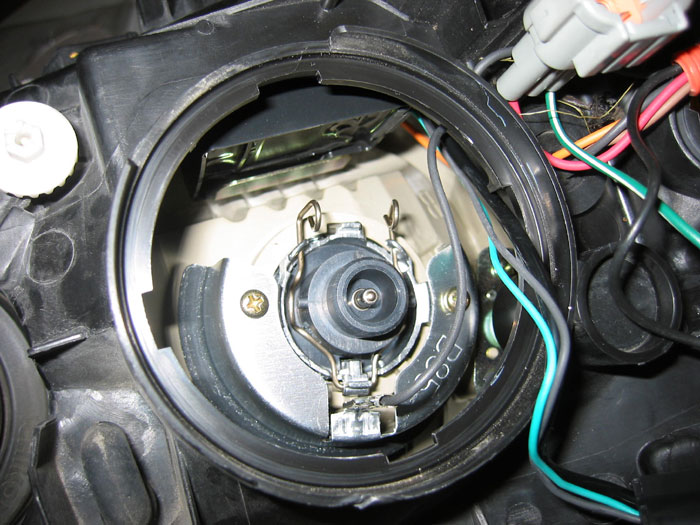
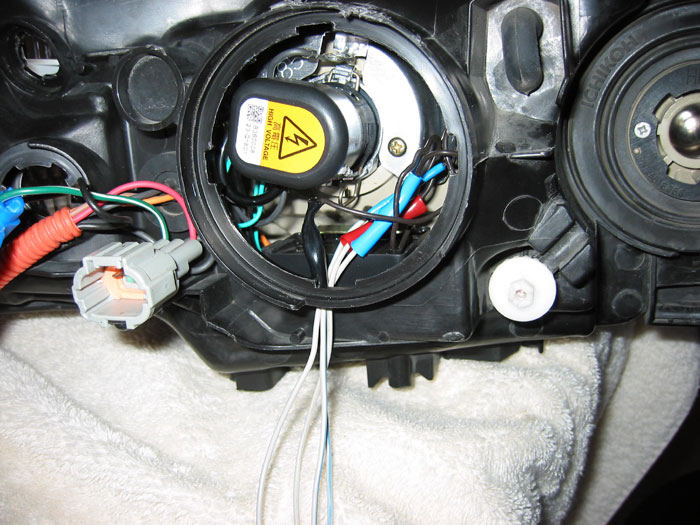
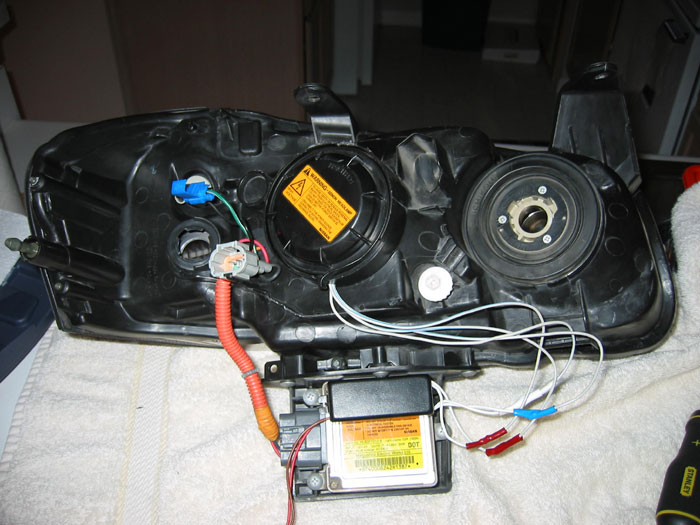
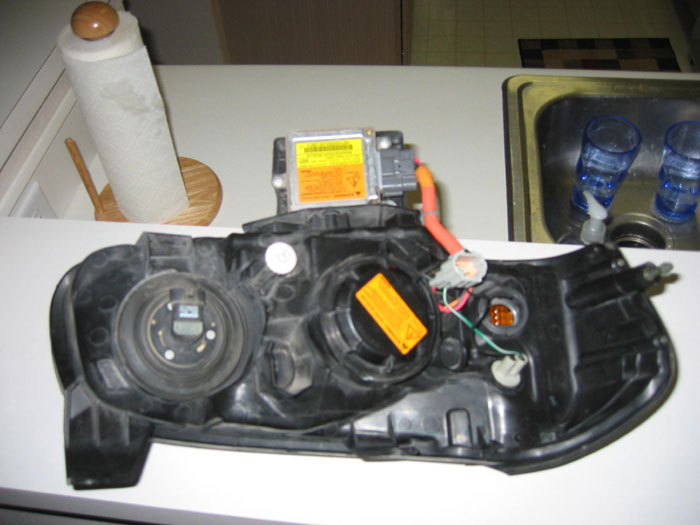
2. Remove bulbs and ballast from headlight. The ballast has a yellow and orange sticker in the picture below. It is attached with 3 screws.
To remove the HID bulb, rotate the plastic cover counterclockwise. Then squeeze the 2 metal pins toward each other. Take care not to touch the bulb!
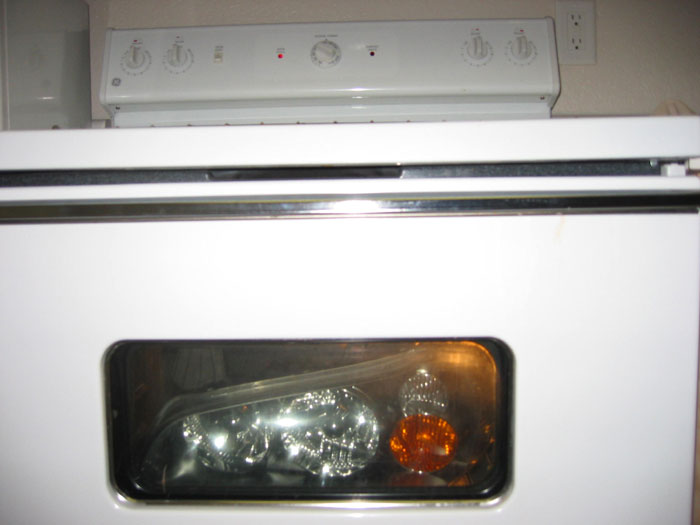
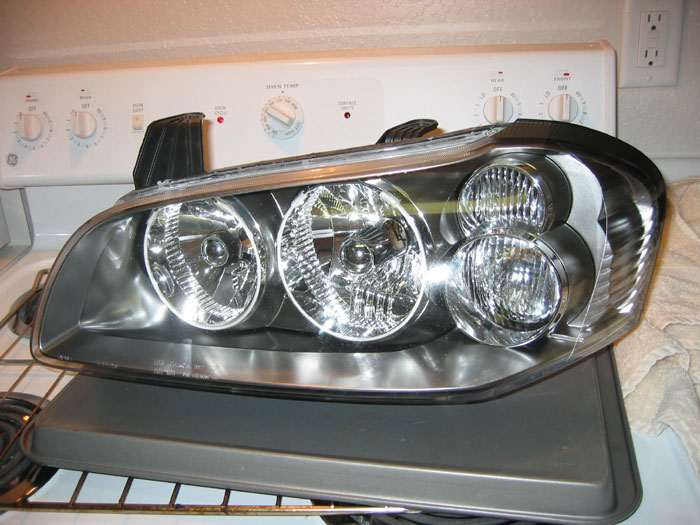
3. Bake headlight in the oven on cookie sheet for 15-20 minutes at 200 – 250 degrees. The scary part:
4. Remove headlight from the oven with old towels (will be very hot)
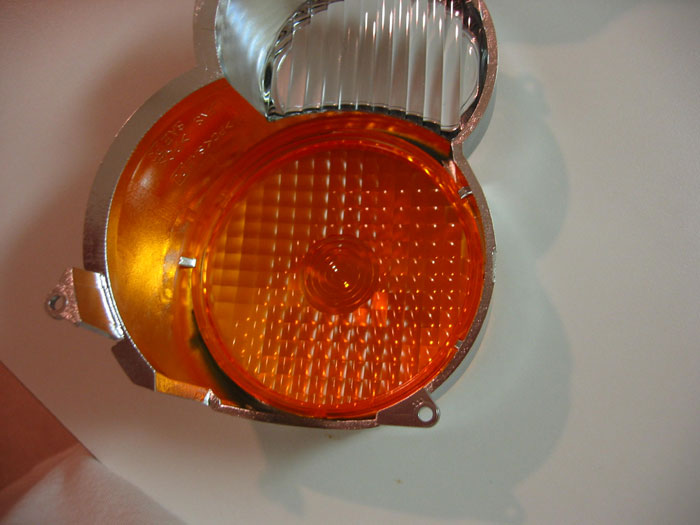
5. Remove amber lens carefully. Use a small flathead screwdriver to pop lens out of tabs. Silver tabs are visible below.
6. Use the amber lens to trace onto the clear lens
7. Cut out the clear lens with Dremel. Lens from Tap Plastics comes pre-cut and drops right into place.
8. Install clear lens taking care to ensure that it fits snug under the tabs. If the lens is a little loose, apply 90-second epoxy lightly around the edge to assure a tight fit
9. Reassemble headlight as best you can and return headlight to oven
10. Bake for 15-20 minutes at 200 – 250 degrees
11. Remove from oven with old towels (will be very hot)
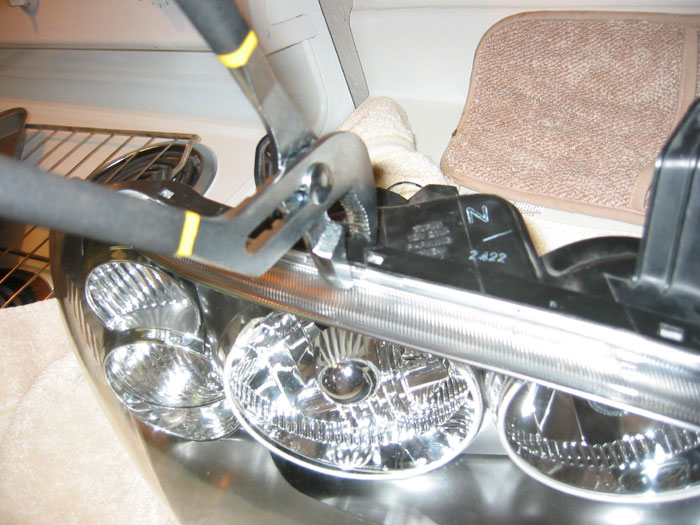
12. Use channel locks to assure a tight seal
13. Reinstall headlight
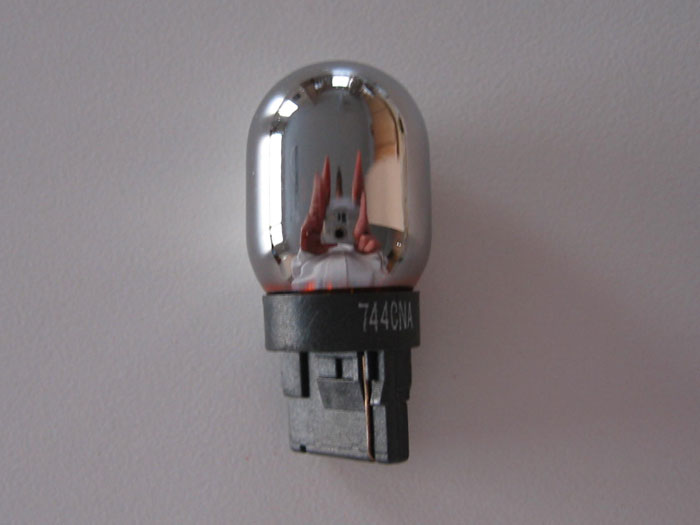
14. To produce a clear effect and retain amber blinking, I suggest using a chrome blinker bulb:
I purchased mine from autolumination. Alternatively, you can create your own by spraying the stock bulb with a light misting of silver paint.
You can find these online using the part number. There are other manufacturers as well. I find this to be a simpler option in getting rid of the orange lens on the headlights. Gives the headlights a much cleaner look.
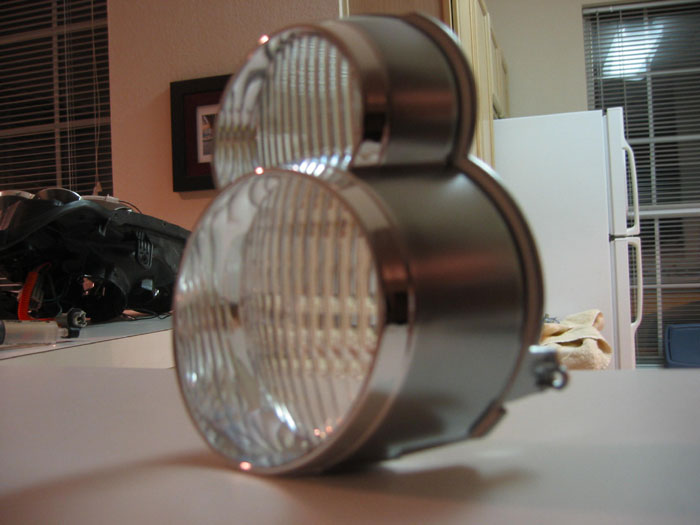
Part Number: ML11P2 Part Description: Intermatic Malibu ML11P2 Floodlights Price: $20-$30 (Set of Two)
This how-to is for getting rid of the orange side makers on your 6thgen headlights. Headlights look so much better with clear side markers.
Materials needed :
OEM Headlight
Florescent Light Cover (Home Depot)
Silicone
Sandpaper 60 Grit to 100 Grit
Clamps (2-4)
Pliers
Chisel
Knife or Flathead screwdriver
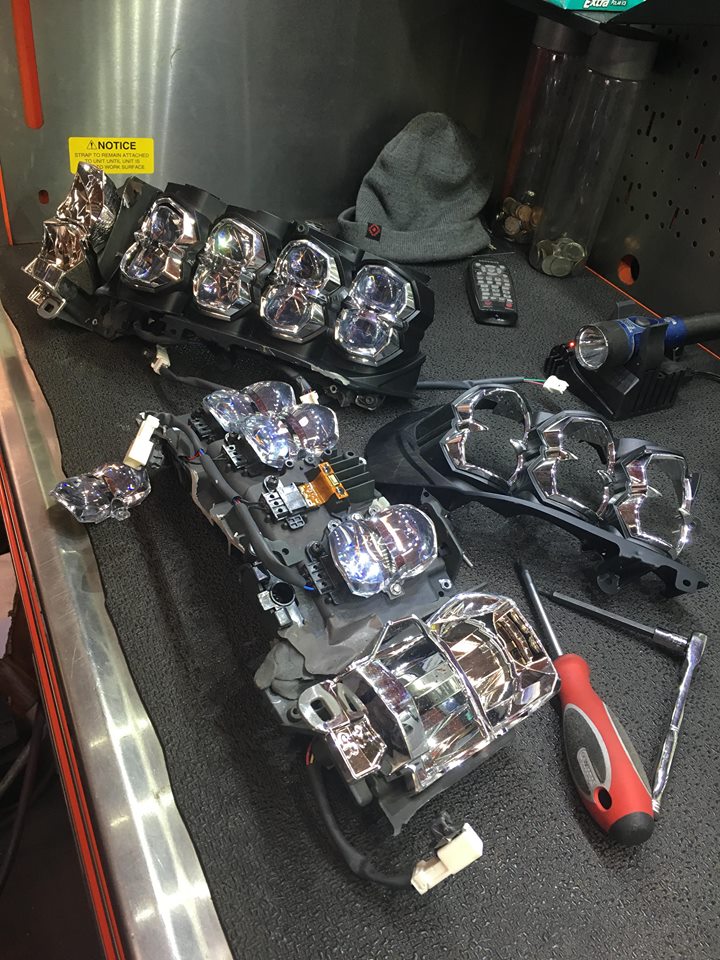
I took the headlights off and I took the HID ballast and the D2S bulbs out of them and place them away from the heat. I didn’t use an oven instead used a heat gun letting me have more control.
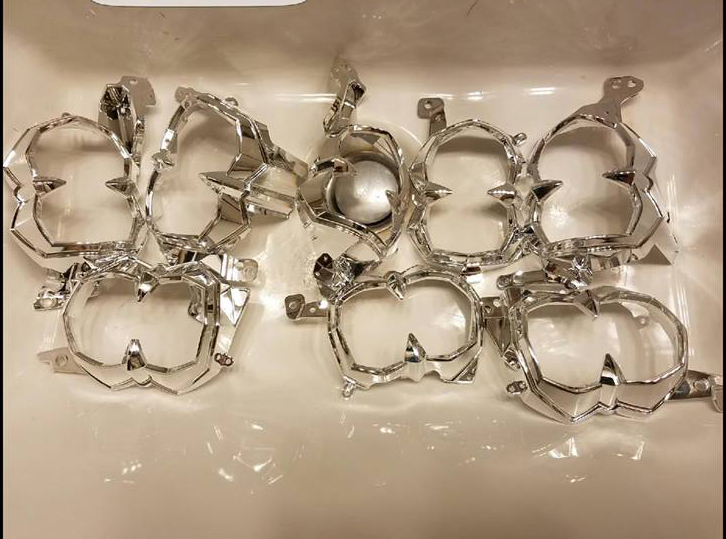
Next when you open the headlight cover there is a screw on the lense take out the black screw and then slowly pull out the chrome piece containing the amber piece. Once done take a knife or a screw driver ( flat head ) and slowly pry out the amber piece the lower part is easier to take out but you have to jiggle out the upper part because is tight.
Take the florescent light cover * under 10 $ from home depot* and using the chisel cut a piece that can be used to trace out the amber piece in which you would replace. Use the chisel to cut the piece of florescent light cover to a smaller size or use a pair of pliers to clamp out the unnecessary pieces that are remaining and close to your out line.
Getting near the outline that you traced? Then is time to start sanding I used 60 grit and then worked with 80 to 120 .. but mostly 60 and here are the end results but close enough keep sanding until is small enough to fit back into the lenses.
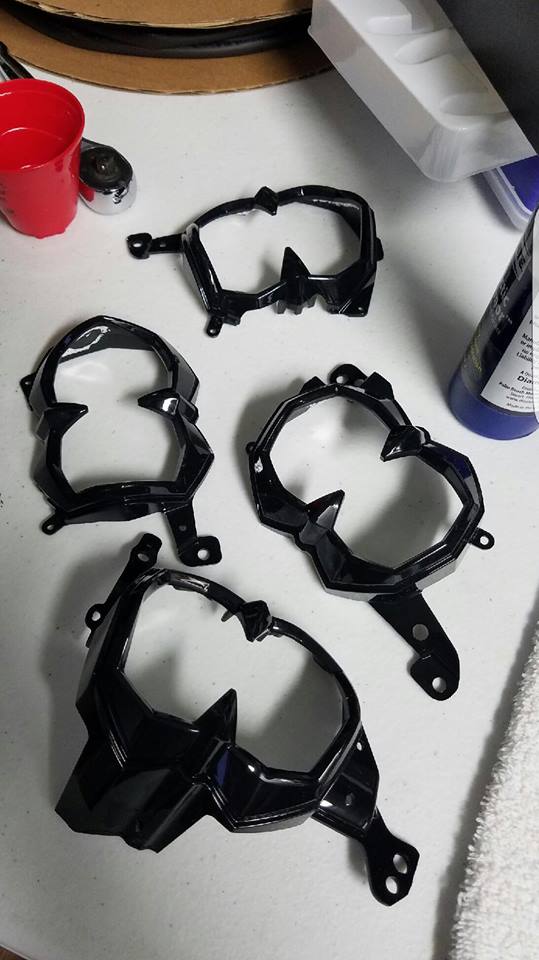
Use silicone to glue it on the edges of the chrome piece all you need is to use the tip or something to align it to the edge so that it won’t show the glue . next use clamps to hold it in place and leave it there until it dries. After its dried put back the chrome piece into the lenses and screw it in heat up the oven or use the heat gun to put it back together and then just repeat to the other side.
Put back your D2S bulbs and ballasts all these came off fine for me just with patience and screwdrivers.. All is done take a walk outside and put it back into the car and put it all together and get some stealth bulbs .. I used Sylvanias 1157’s that are clear when off but orange when lit.
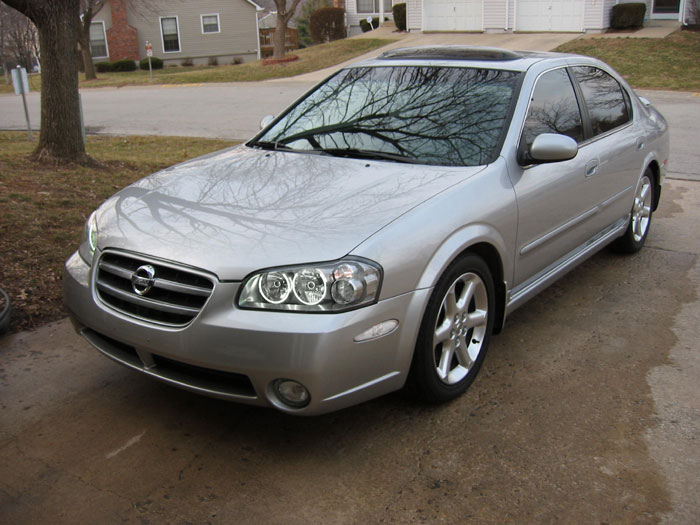
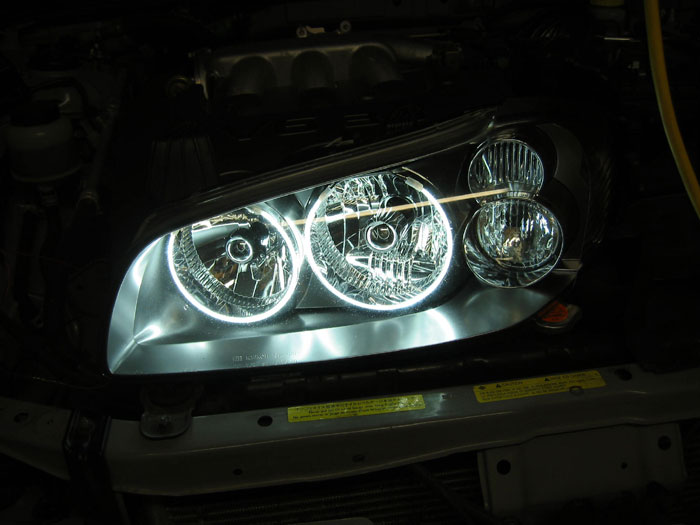
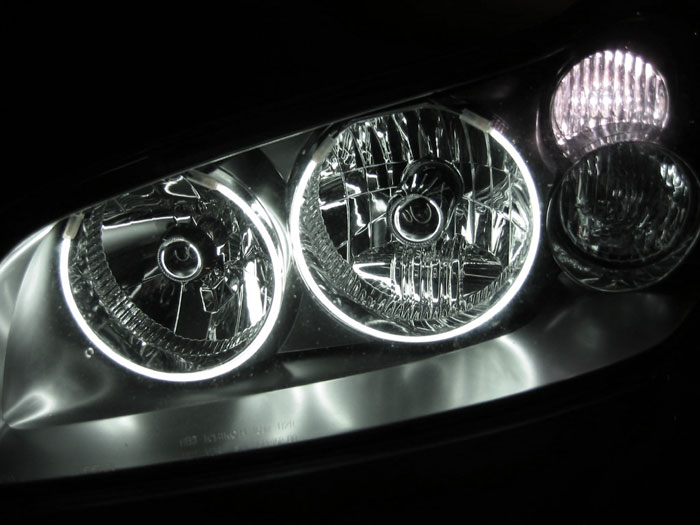
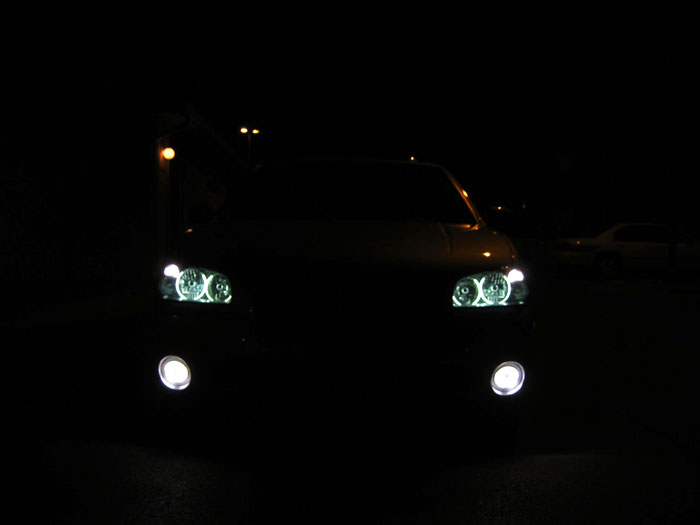
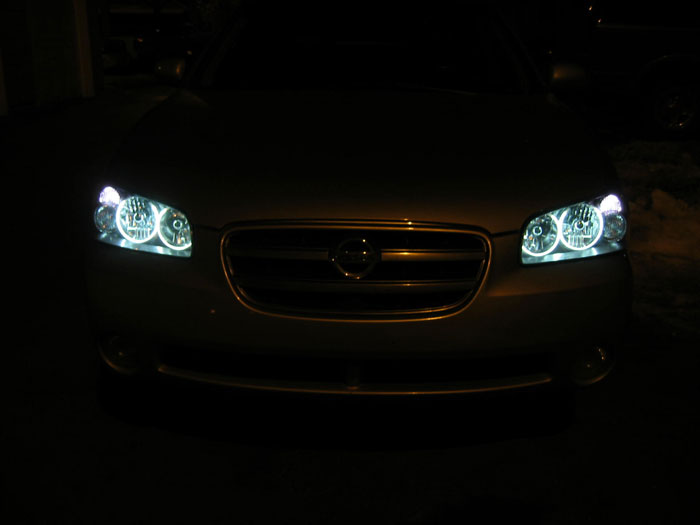
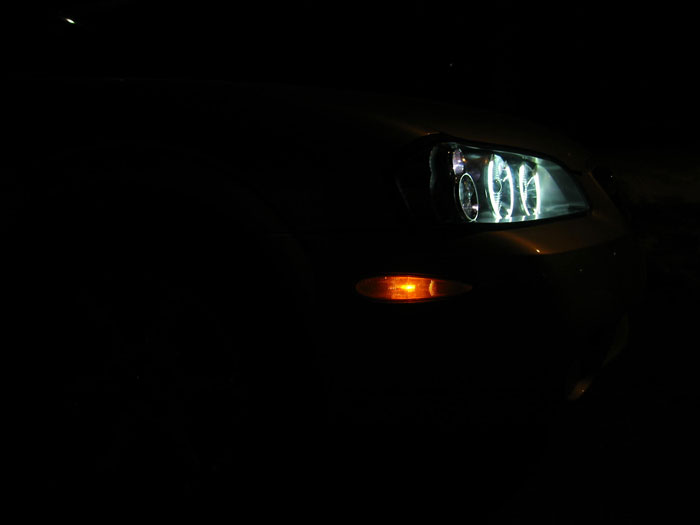
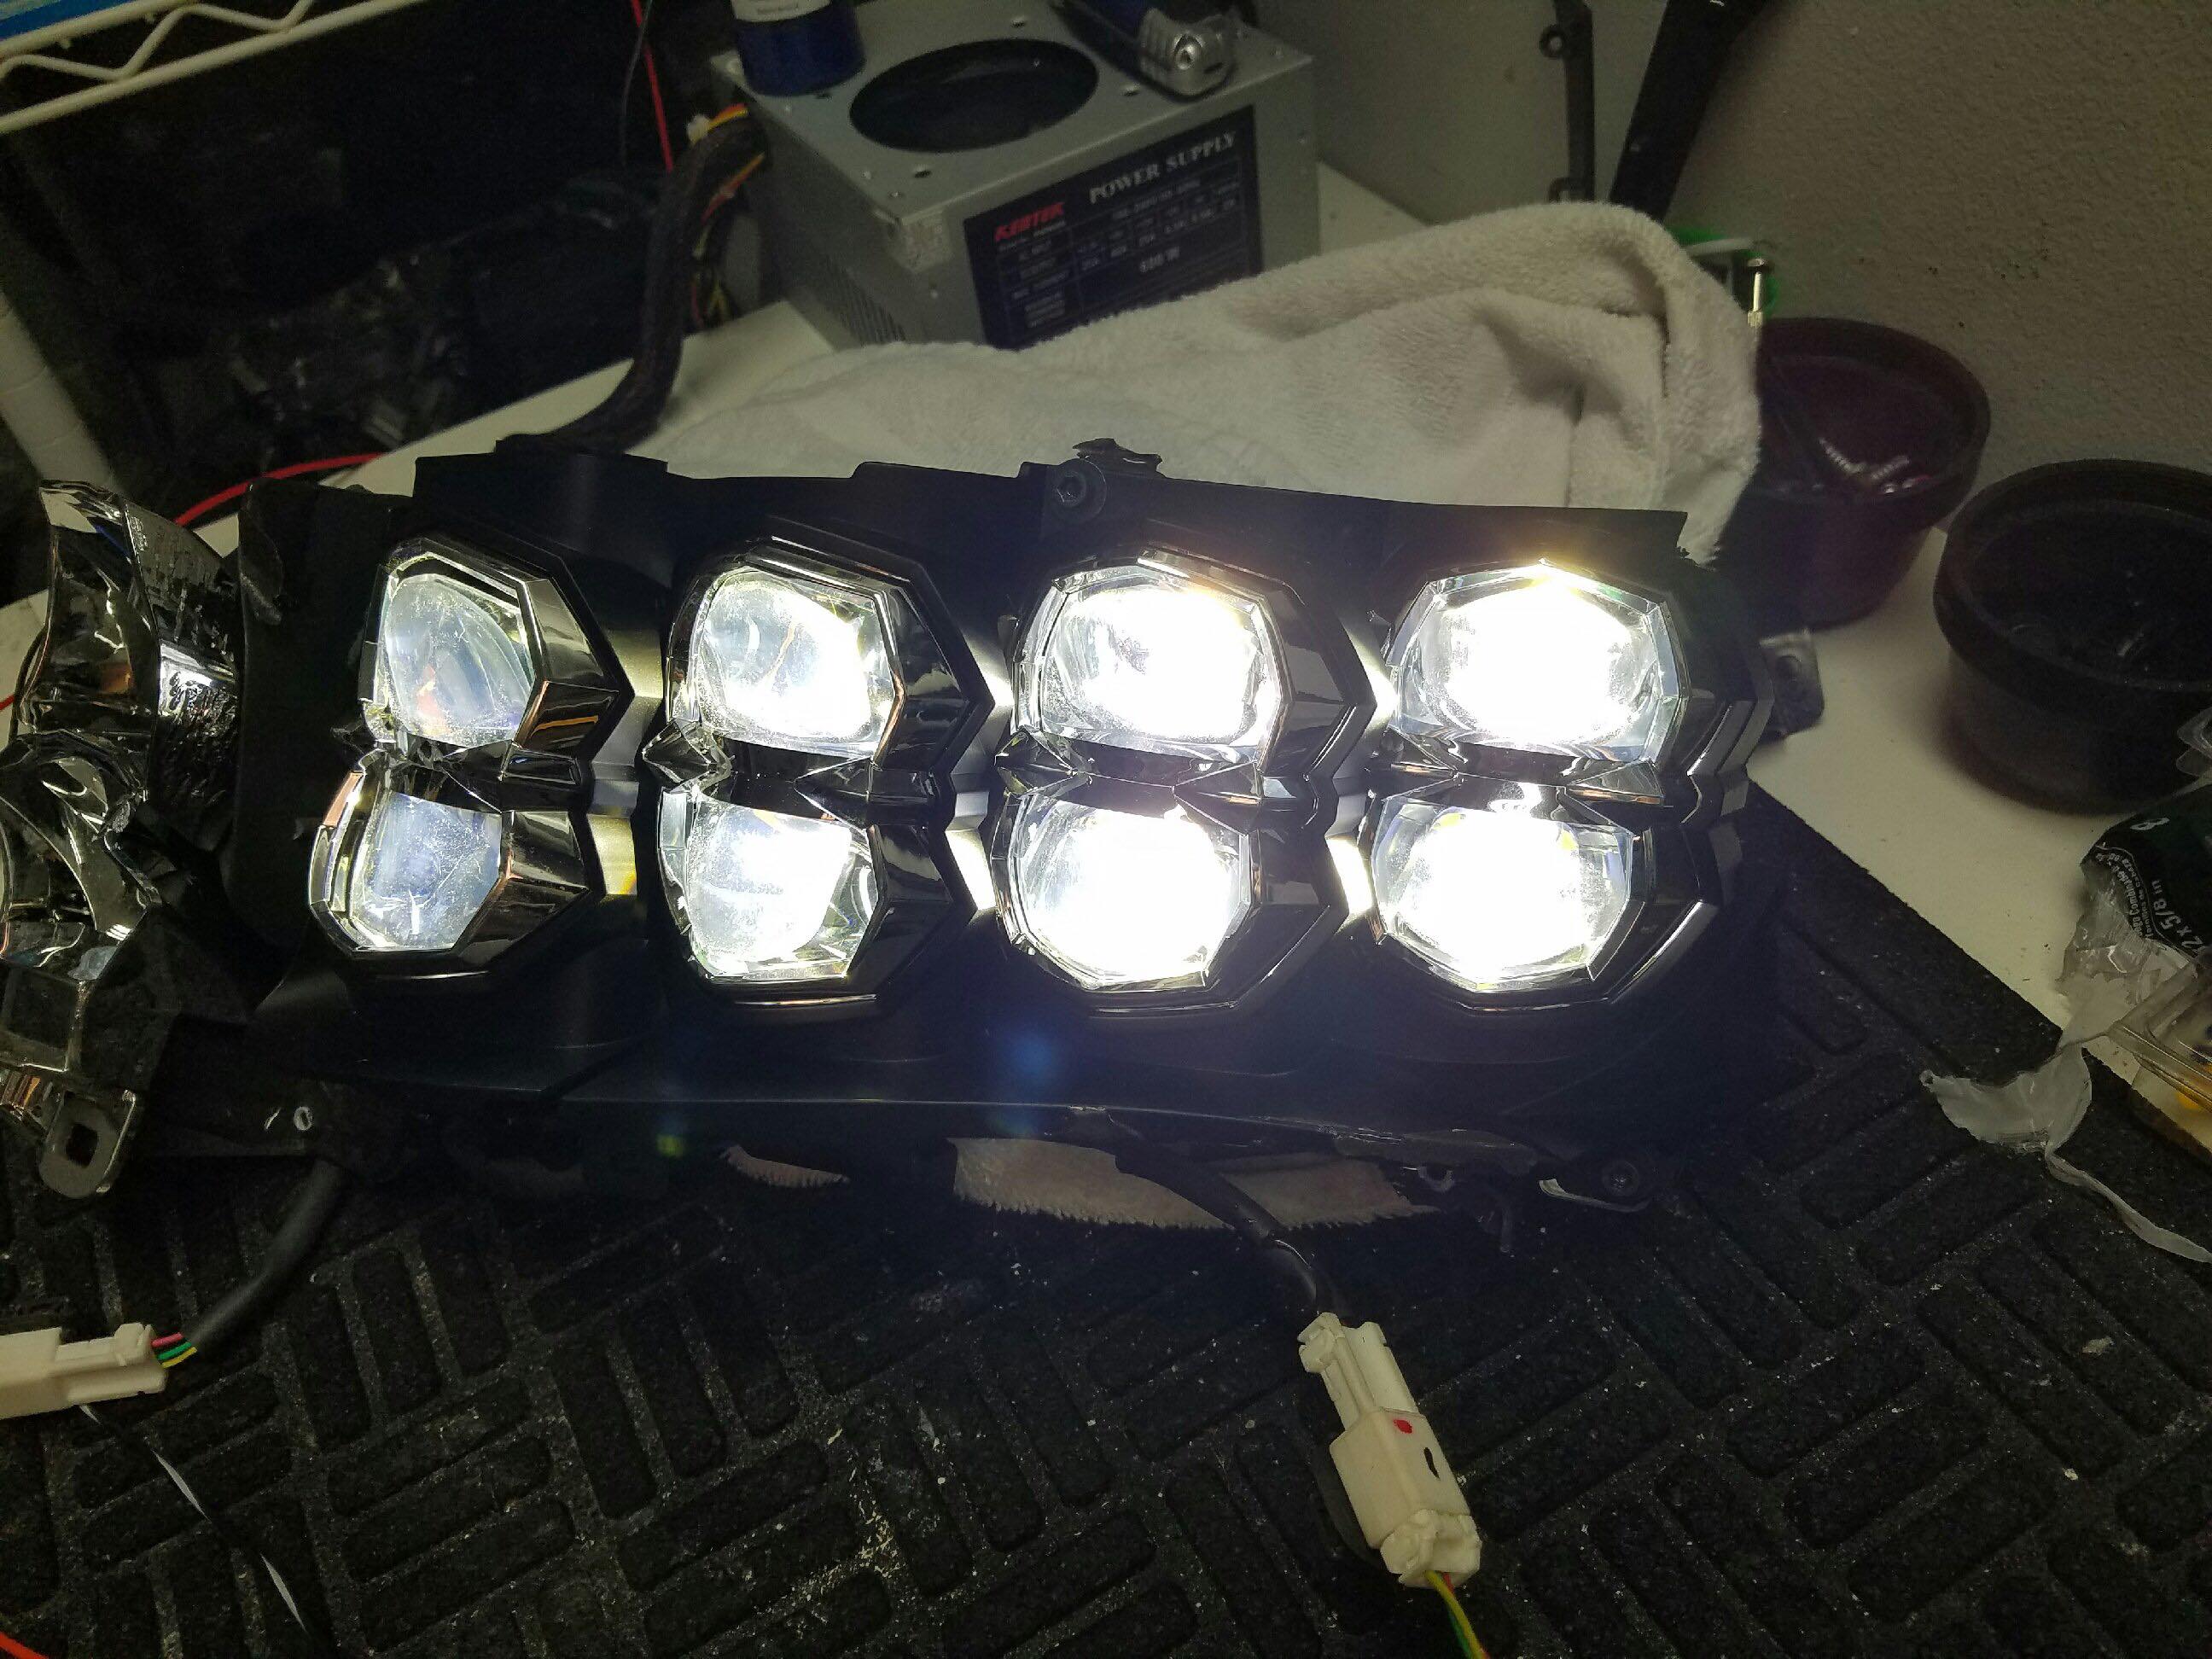
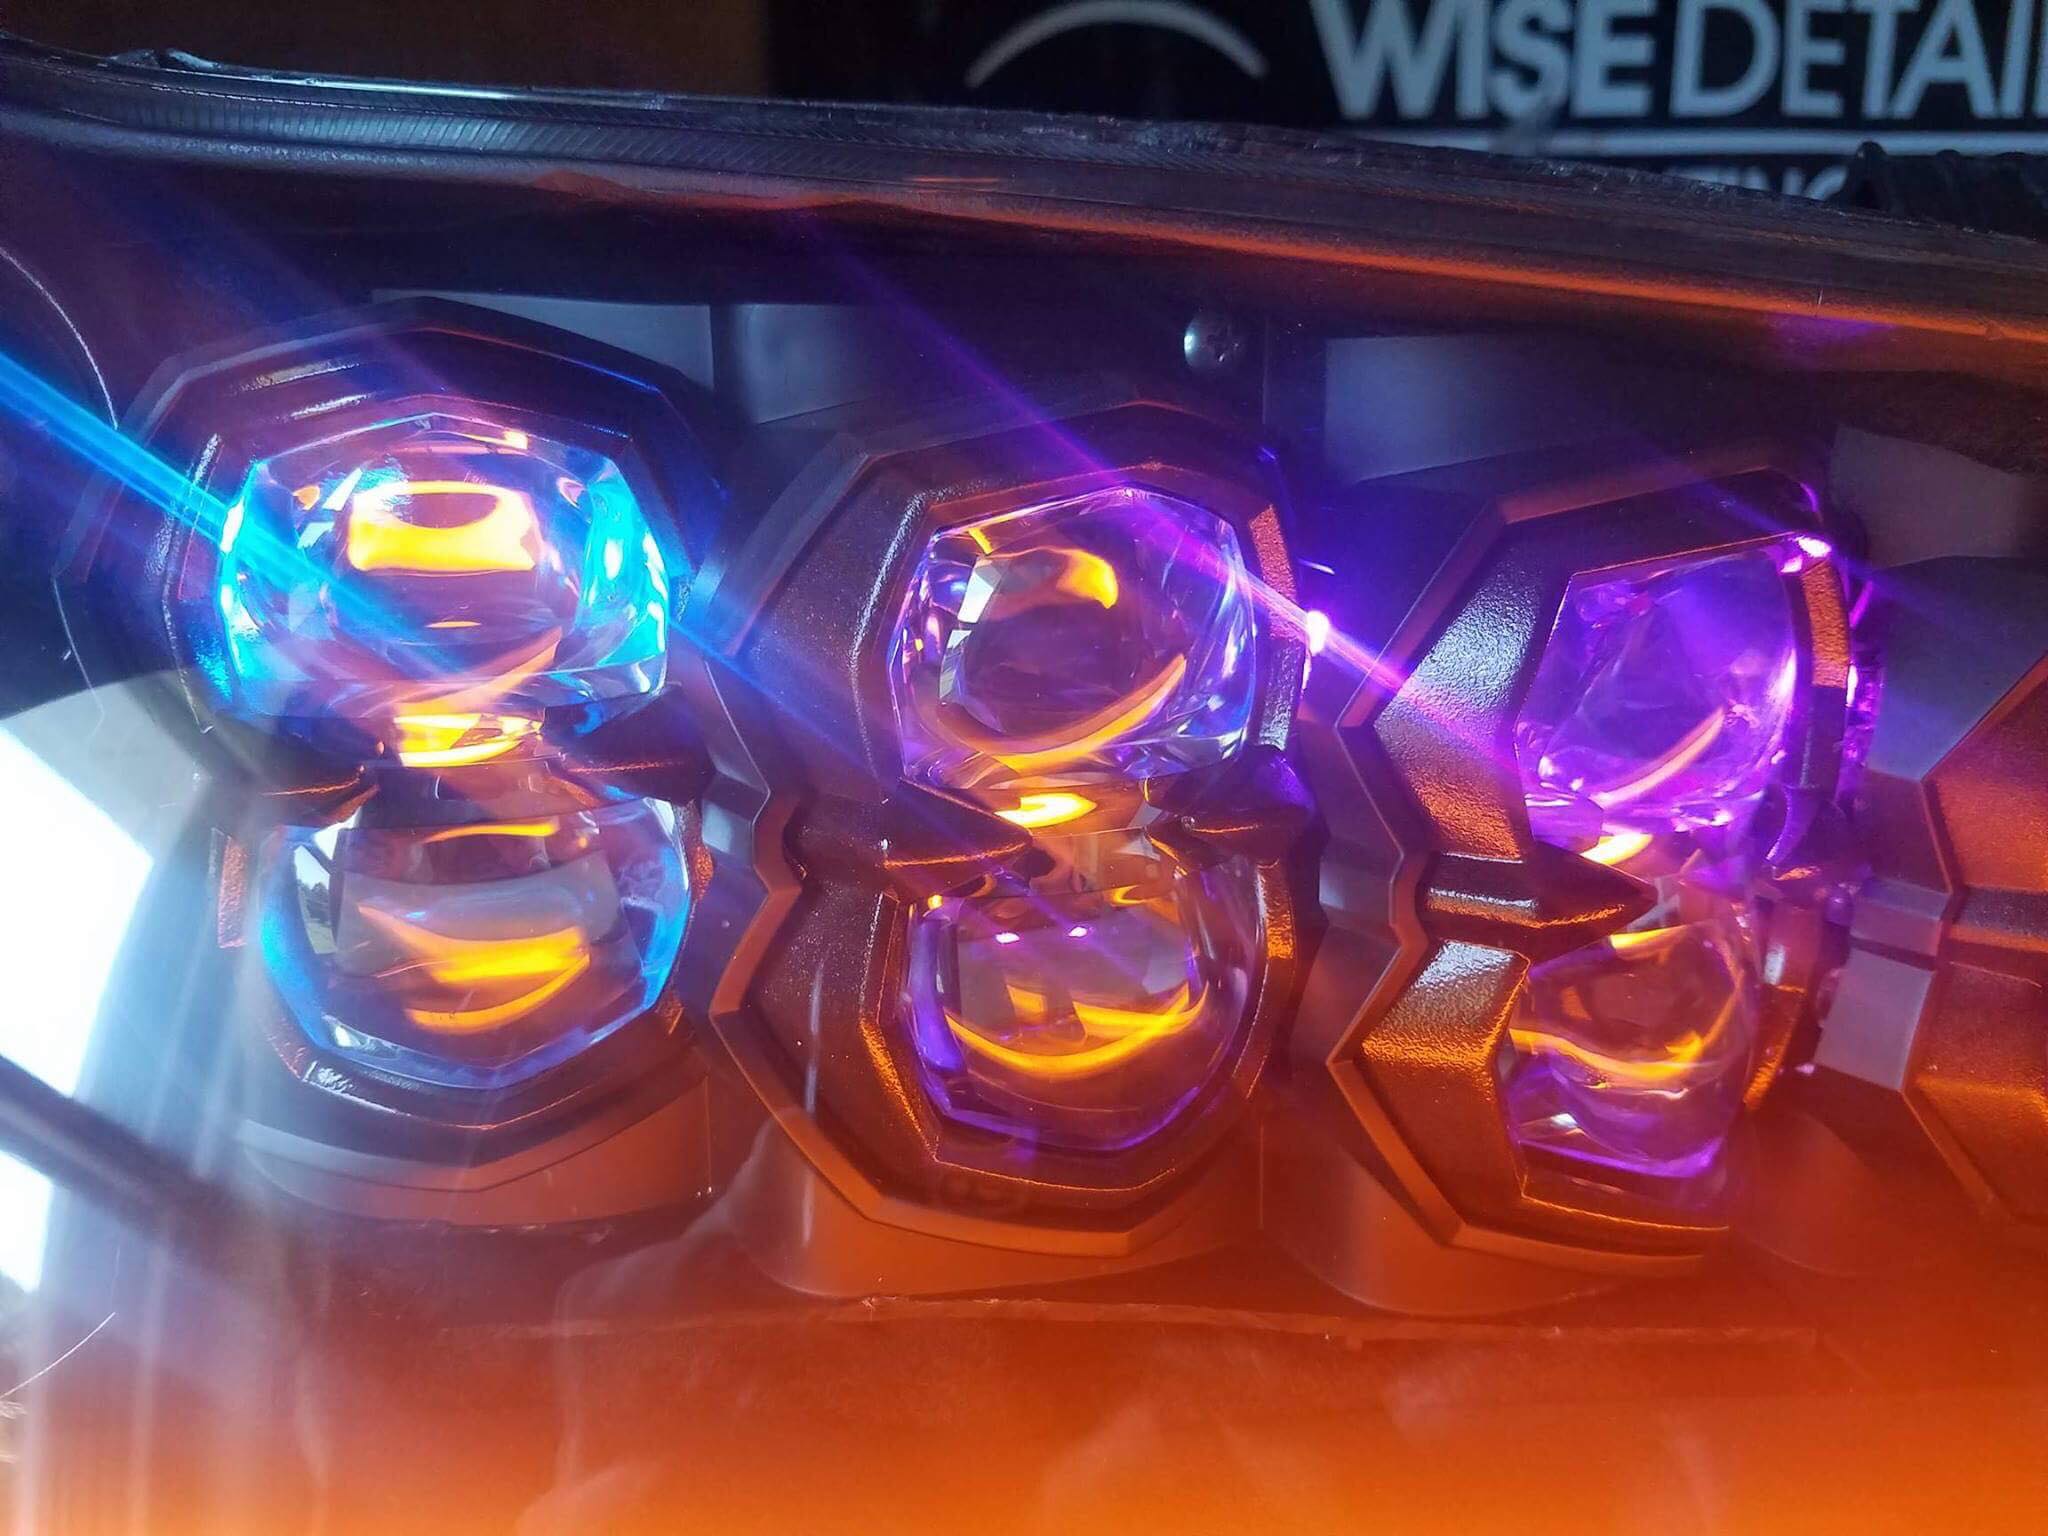
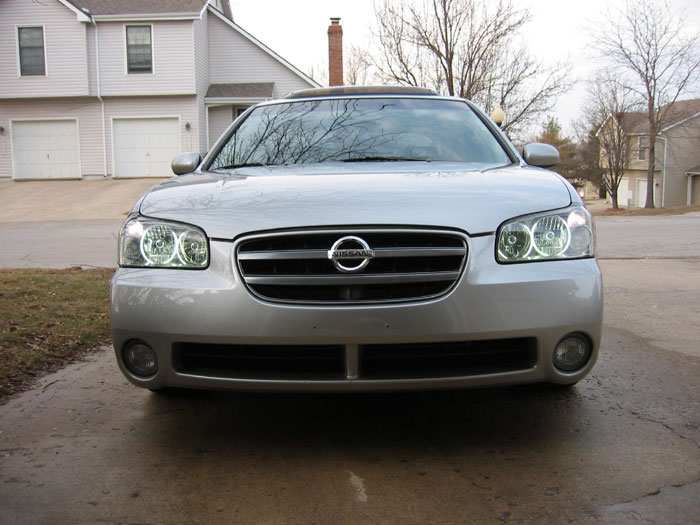
Pictures simply don’t do this lighting justice. Umnitza has a great product here that mimics the angel eye look found on select BMW’s, and in my opinion, clearly surpasses it. The DDE’s are ultra bright, very white, and an excellent compliment to the factory Maxima HIDs.
Umnitza provides a great how-to on CD-ROM when you purchase the DDE’s, but this how-to is helpful as a preview & supplement to the process. I performed this install multiple times and learned a few lessons along the way, so I’ve thrown in many of my own tips.
PLEASE NOTE: If you had the Nissan HID Anti-theft kit installed, the process for removing the headlights is much more involved and NOT outlined below. If your Max has the datadots install you likely have the HID anti-theft kit as well. DataDot stickers are placed on the front windows and possibly the headlights when the kit is installed. The additional bracketing itself isn’t easily visible so these stickers are the easiest indication. If you’re not in the NY area your car likely doesn’t have this kit. Sorry, to avoid abuse, I can’t provide any information on removing the kit.
Tools:
Oven
Cookie sheet
Small flathead screwdriver
Torx bit (on some models) – otherwise a 10mm socket
Socket Wrench
Old towels
90-second epoxy
Channel locks
Scissors
Toothpicks or Cotton swabs
Rubbing alcohol
Electrical tape
For optional hardwiring (highly recommended):
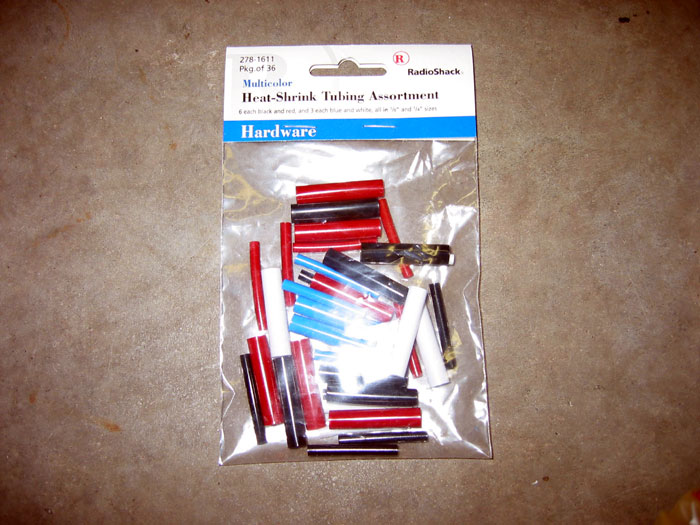
Heat-shrink tubing (optional) – Available @ Radioshack:
Heat gun, lighter or matches
Wire strippers
Soldering Iron
Solder
To wire the DDE’s as defeatable daytime running lights:
SPDT switch (single pole dual throw)
Around 25 feet of 22 gauge (or thicker) wire
Heat-shrink tubing – Available @ Radioshack
Heat gun, lighter, or matches
3 slide connectors
Drill
Drill bits
Wire strippers
Crimper (typically part of wire stripper)
Hanger
Electrical tape
INSTRUCTIONS:
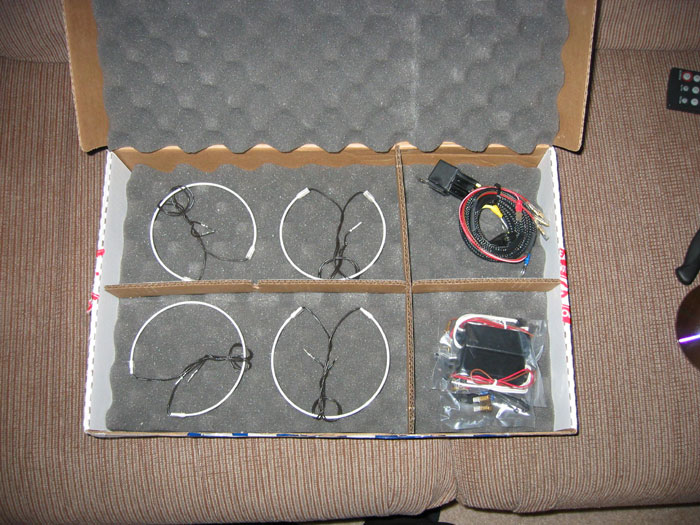
1. The kit:
Test all of the rings in your kit. Take the ballast (the black rectangular box) and connect it’s wires to two of the rings. Then connect the red wire to the positive terminal on your battery and the brown wire to bare metal. The rings should light up. WARNING: When the ballast is connected to power, do NOT touch the brown and red wires together! This will blow your ballast. This warning is straight from Matt at Umnitza.2.Remove two bolts on top of the headlight (may be torx in some). Carefully pull headlight out. Pressure tabs will release. It takes surprising amount of pressure to pull the headlight out so don’t be afraid to pull. Take care not to scratch the fender with the metal mounting pin.
3. Remove the following from the headlight unit:
– All bulbs
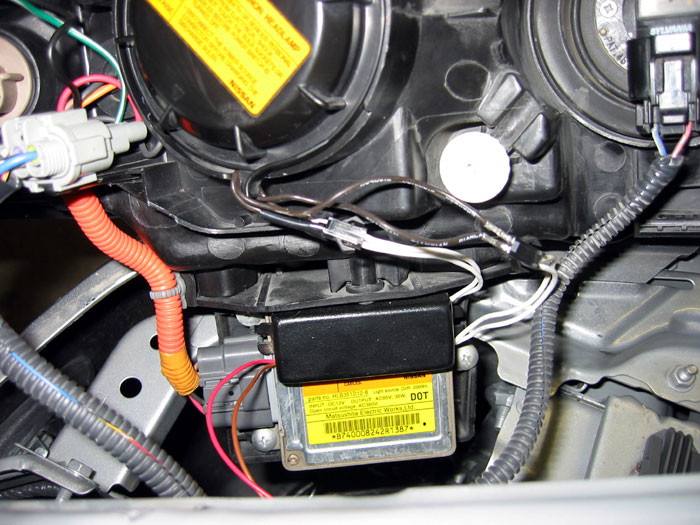
– The ballast. The ballast has the yellow and orange sticker in the picture below. It is attached with 3 screws.
– Three small screws that secure the clear housing on the front.
Everything else, including the remaining wiring, will be fine in the oven.
To remove the HID bulb, rotate the plastic cover counterclockwise. Then squeeze the 2 metal pins toward each other. Take care not to touch the bulb!
4. Wrap the headlight in an old towel and bake the headlight in oven on cookie sheet for 15-20 minutes at 200 – 250 degrees. The towel is a good idea to assure no part of the housing is directly touching the cookie sheet. Don’t let this part scare you. As long as you follow baking instructions you have nothing to worry about.
5 .Remove headlight from oven with old towels (will be very hot)
6. At this time you can also clear the blinker if you prefer
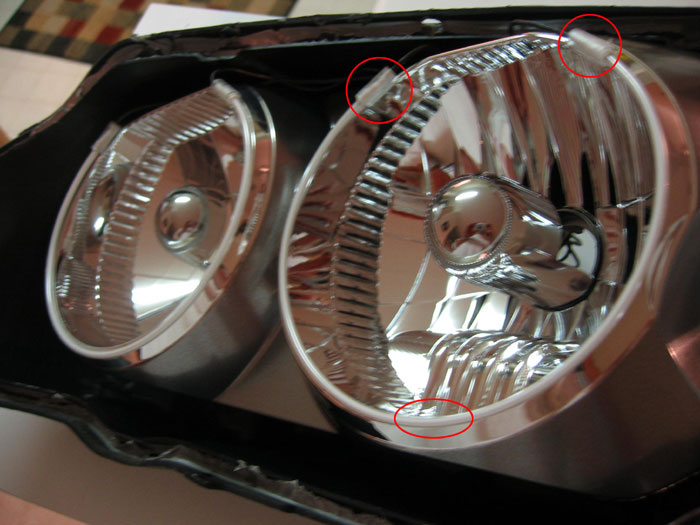
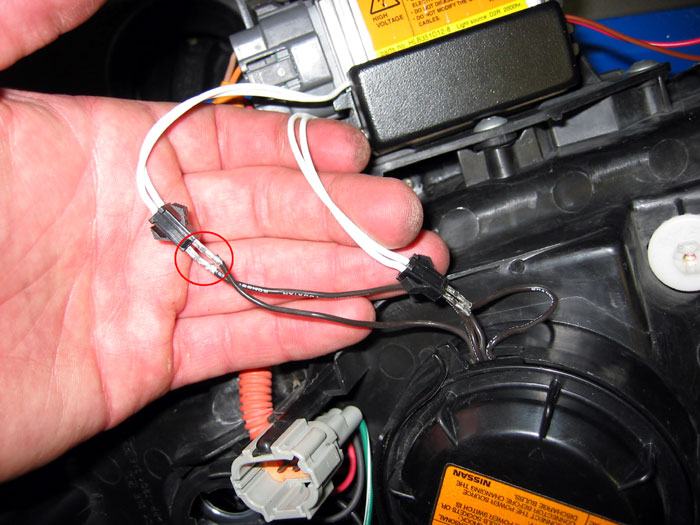
7. Use toothpicks or cotton swab to attach ring to the headlight with the small amounts of 90-second epoxy. Be careful – the rings are very fragile. Take care not to twist and bend them too much. The spots to epoxy are circled in red. After holding these points for around 2 minutes and the ring should be bonded like cement:
8. Route wires for the rings out the back of the headlight. Take care not to pull the wires
9. Reassemble headlight as best you can and return headlight to oven
10. Bake for 15-20 minutes at 200 – 250 degrees11.Remove from oven with old towels (careful – it will be very hot)12.Use channel locks to assure a tight seal. Go around the entire headlight squeezing it back together tightly while the housing is still hot. Take care not to scar the plastic – it’s easy to do when it’s hot. Using this process will assure a proper seal. No additional sealant is necessary since the factory sealant is reused.
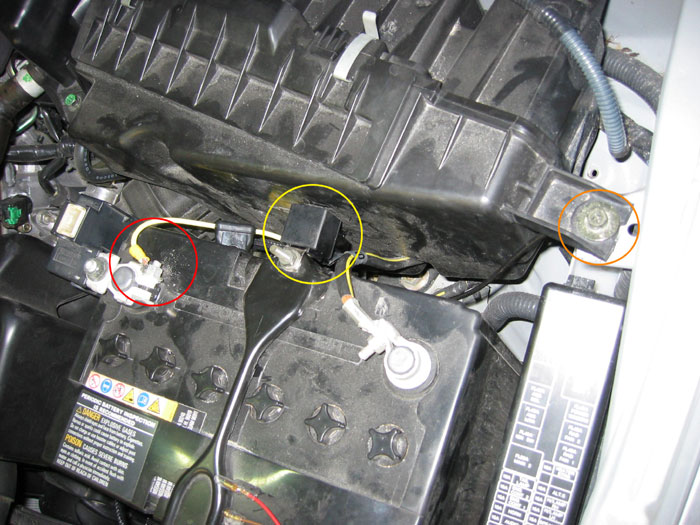
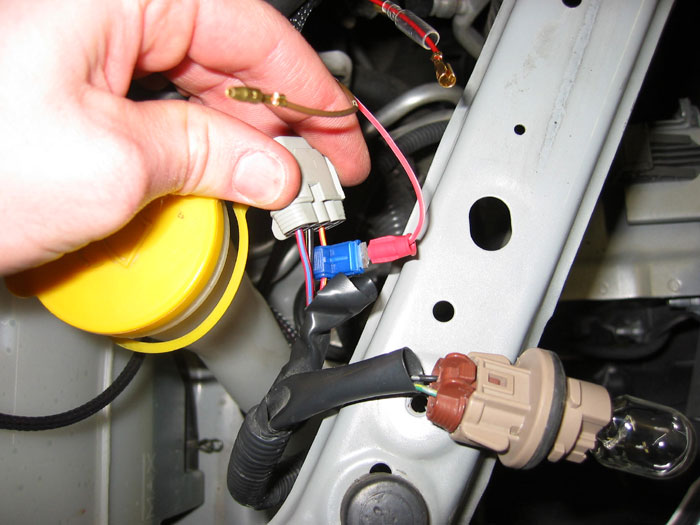
13. Connect power wire (with fuse removed) to positive terminal on battery (circled in red), ground wire securely to bare metal (circled in orange), and relay to battery tie down (circled in yellow). Be sure to scrape the paint off underneath the air box screw so the ground is attached to bare metal. Any spot where the ground can be attached to bare metal will do, so feel free to look around for alternative locations.
14. Decision time. Connect the red trigger wire to a switched power source. There are three options:
– Use the provided quick splice: Splice the red into the green wire with white stripe on the parking light or the red wire with the yellow stripe on the headlight connector. Wired this way, the DDE’s will come on when the parking lights or headlights are turned on.
– Wire the DDE’s to a switched 12V source. Wired this way, the DDE’s will be on whenever the car is on. Instructions here.
– Wire the DDE’s to a switch. This can allow you the best of both worlds: When the switch is “on” the DDE’s come on whenever the car is on. When the switch is “off”, the DDE’s come on whenever the parking lights or headlights are on. This is the setup I chose. Instructions here.
Quick Splice:
Spliced into red wire with yellow stripe on headlight clip:
15. Mount ballast for DDE’s near the headlights. One good option is the back of the headlight ballast. There aren’t many other good options since the wiring is so short. Be sure to clean area thoroughly with alcohol before attaching the ballast to assure a good bond.
16. Time to connect the rings to the ballast. This means there’s another decision to make:
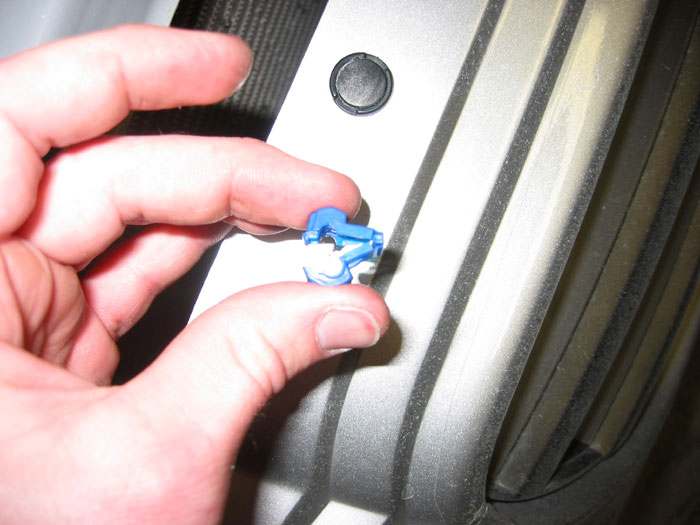
– Use the provided connectors. I (and others) had problems with the connections coming loose over time. Therefore, I don’t recommend using the provided connectors. If you choose this option, make sure the small points on the connectors are oriented on the same side as the points on top of the black connector. See pic for proper orientation:
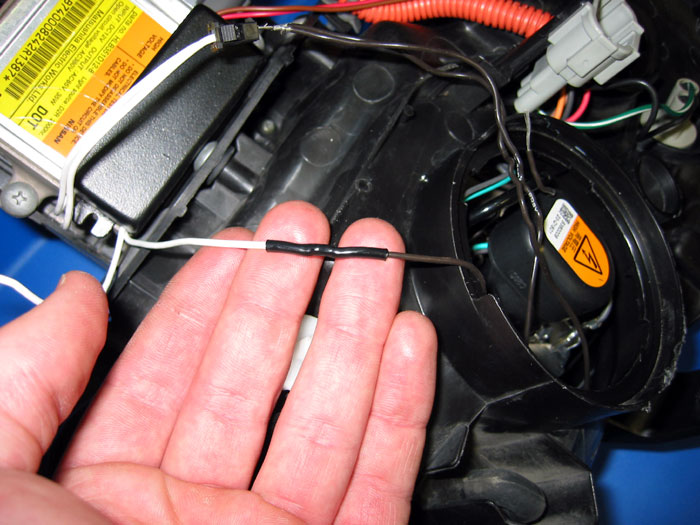
– Hard wire the rings to the ballast. Because I had problems with the connectors coming loose, I decided to hard wire the rings. This is pretty simple. Just cut the connectors off, slip heat shrink tubing over the wire, solder the wires together, slide heat shrink tubing over the connection, and shrink the tubing over the connection with a heat gun, lighter, or match. The result:
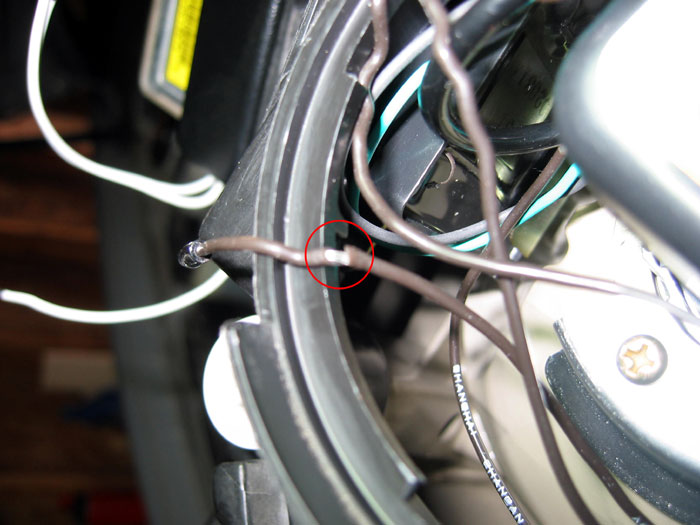
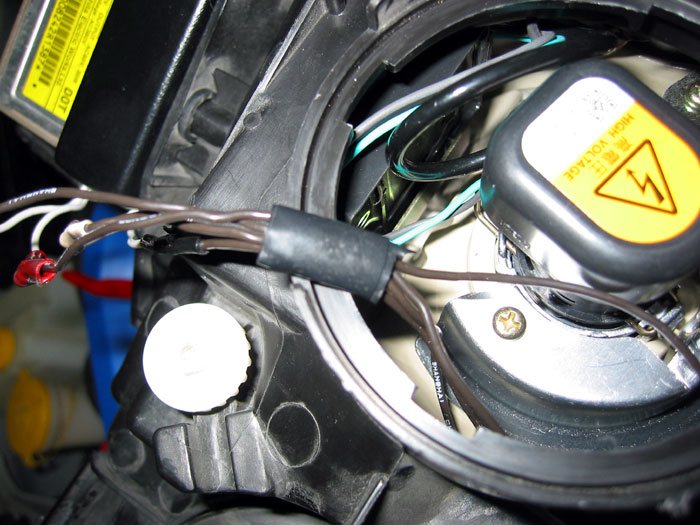
17.I also had a problem with the cap over the HID bulb rubbing through the insulation on one of my wires. To avoid this, I highly recommend either wrapping the wires in electrical tape to provide extra protection or drilling a hole under the dust cap and rerouting the wires the cap. I chose the latter. If you chose the electrical tape route, the cap will be hard to get back on with the electrical tape wrapped around the wires, but it can be done. Make sure the wires aren’t tugged on as the cap is tightened – try to hold them in the same place as you twist the cap.
The wire that was damaged by the cap rubbing through the insulation:
The added protection with the electrical tape:
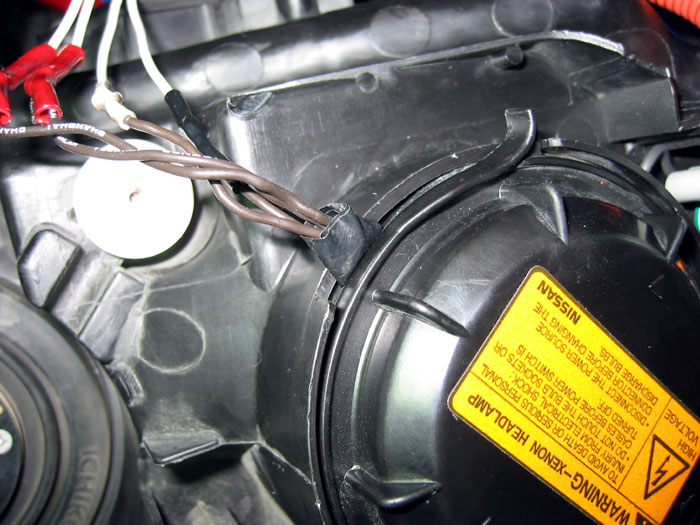
The alternative method I highly recommend is rerouting the wires by drilling a hole under the dust cap:
18. Reinstall headlight. Make sure to repress the headlight firmly to assure all pressure tabs are connected.
19.Use the black ties (included) to secure the wiring as you route the wires through the engine compartment.
20.Insert fuse and leave the parking lights out overnight to allow the hot air in the lights to escape.
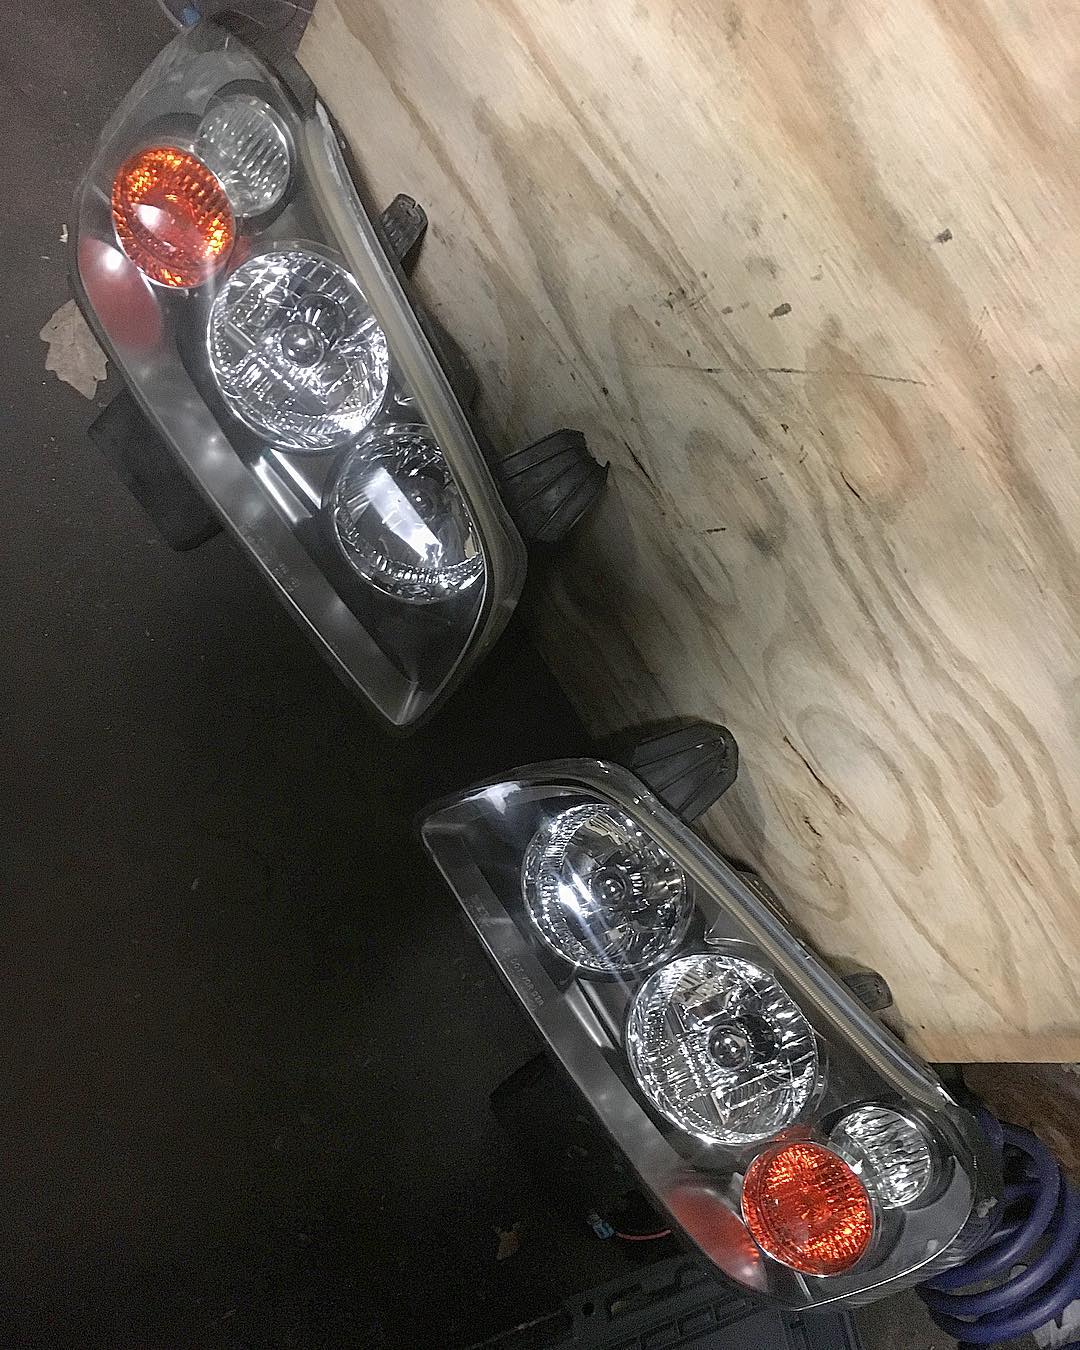
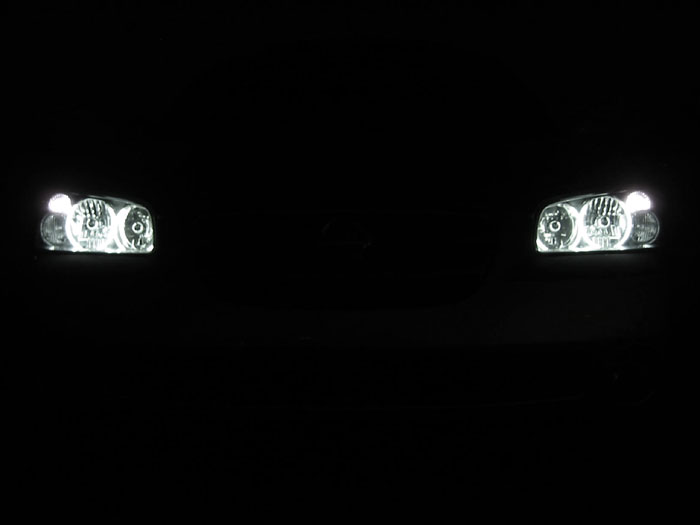
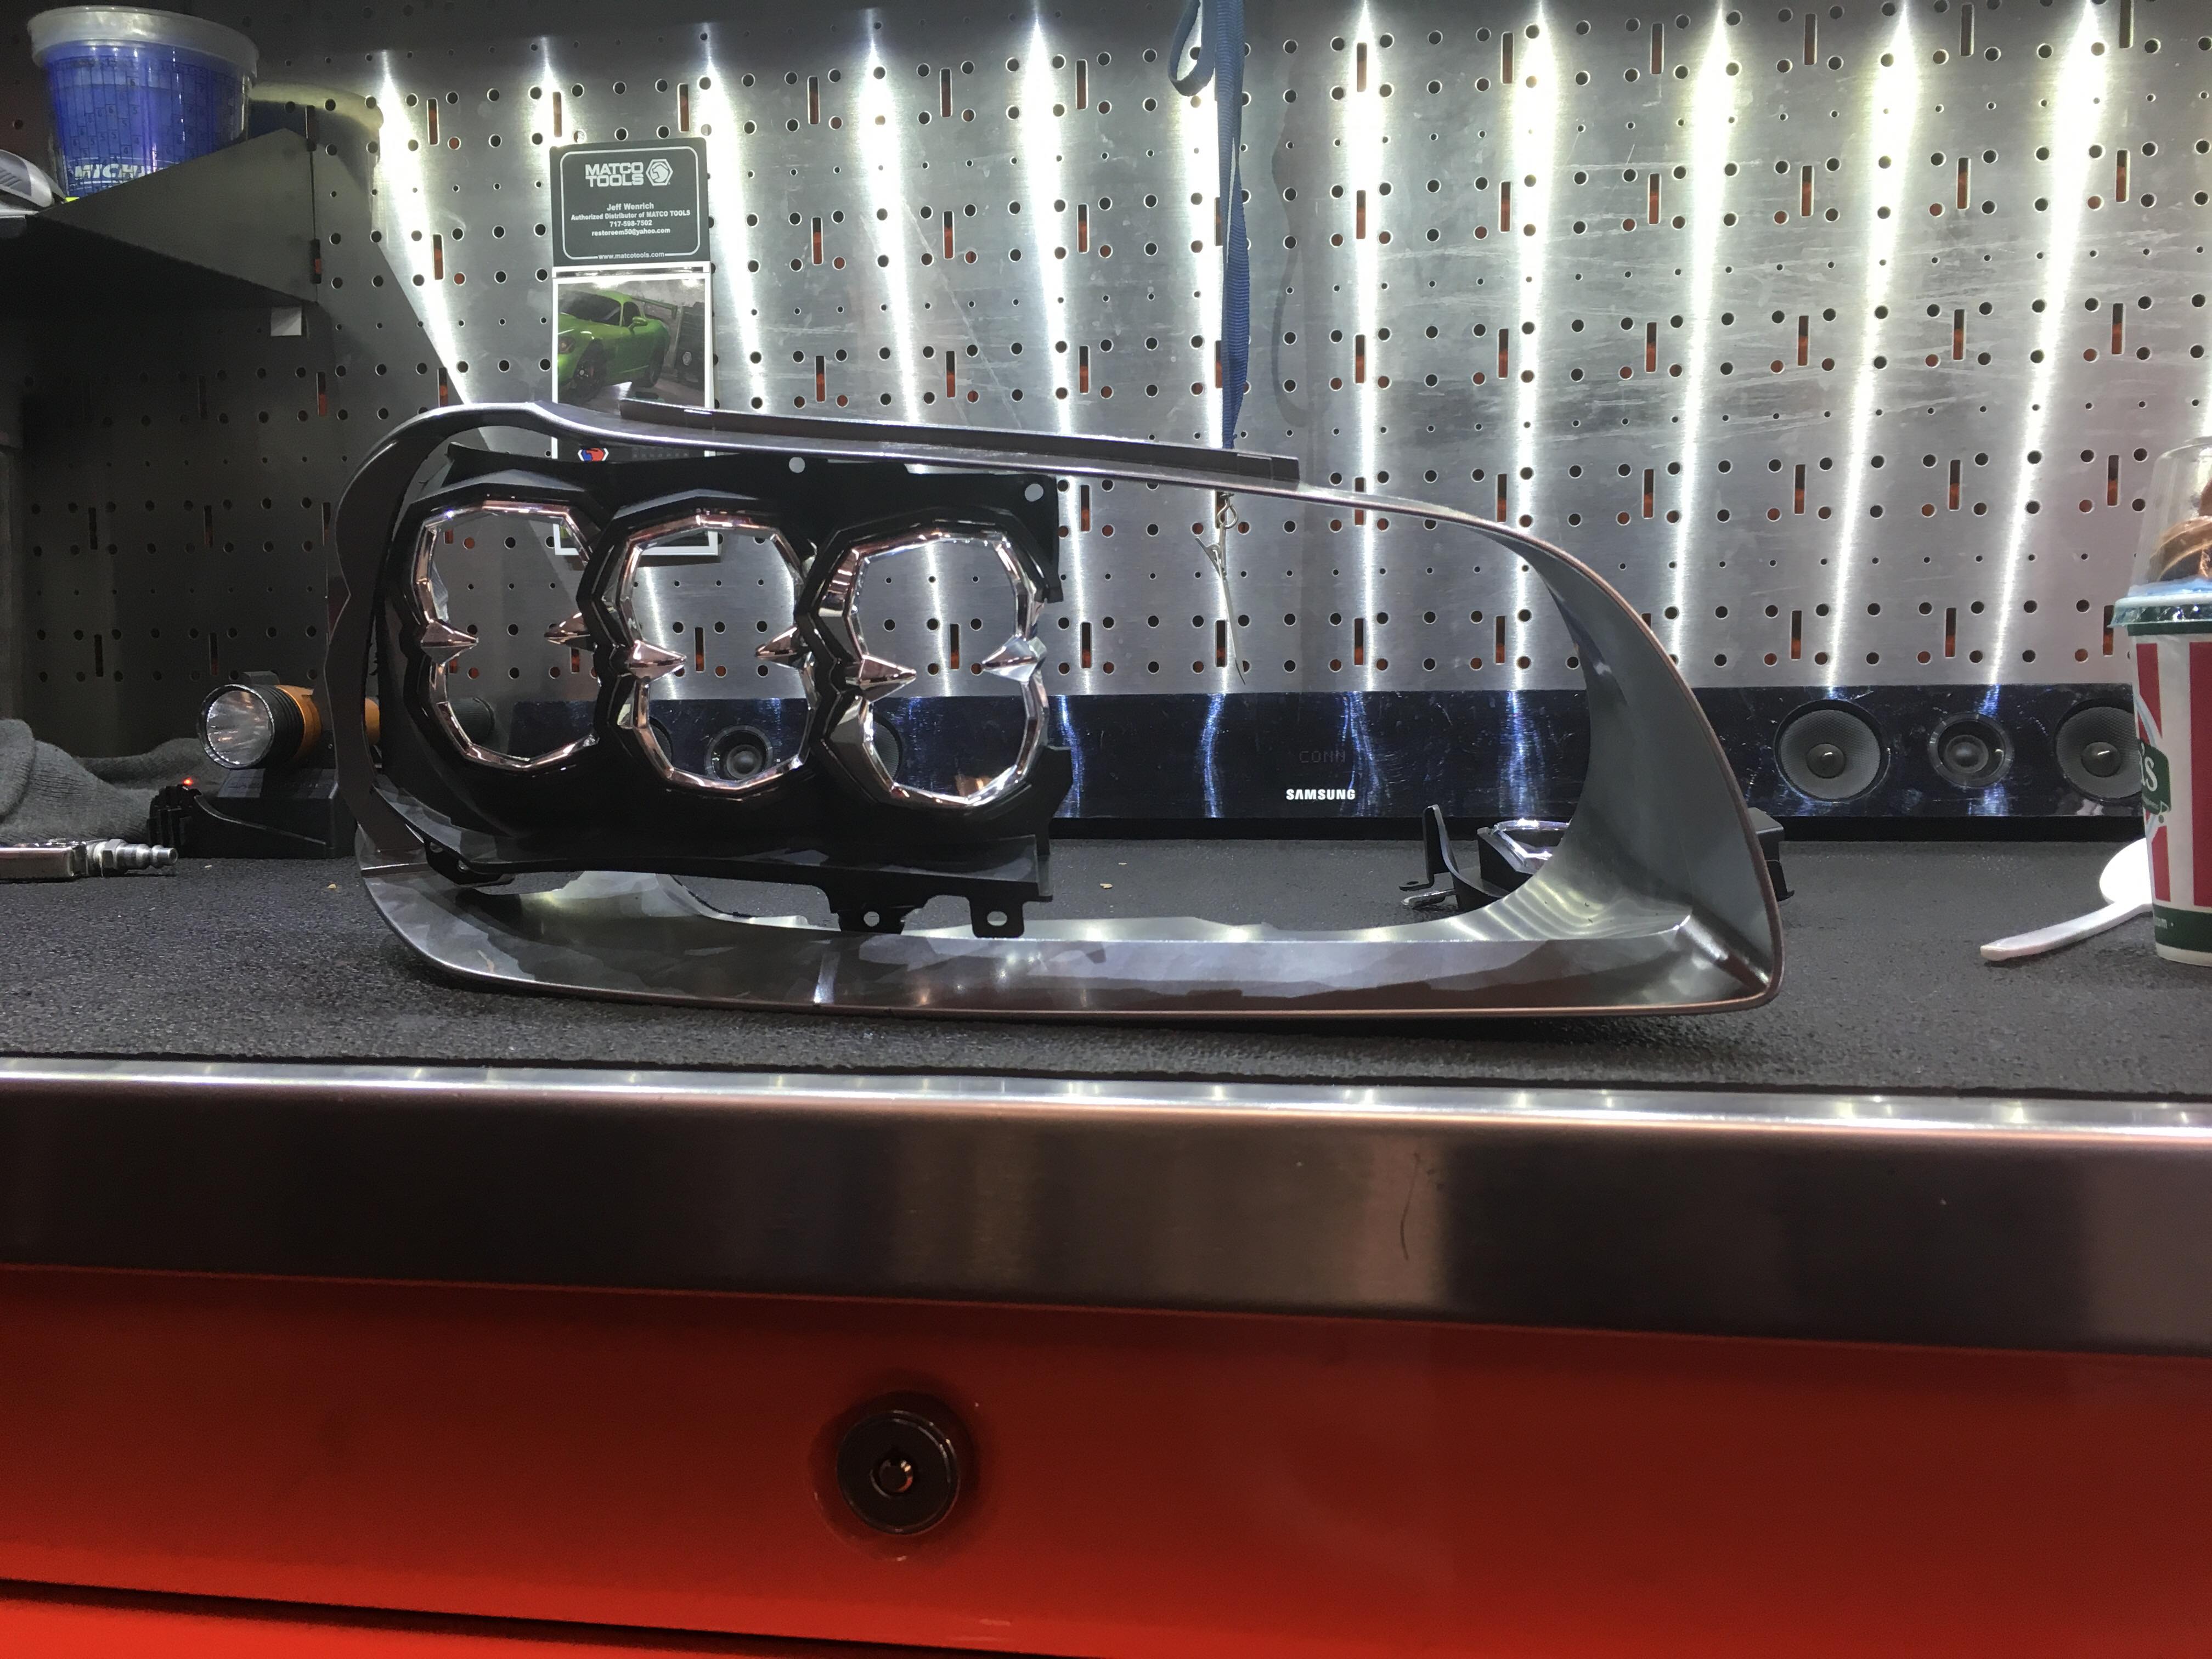
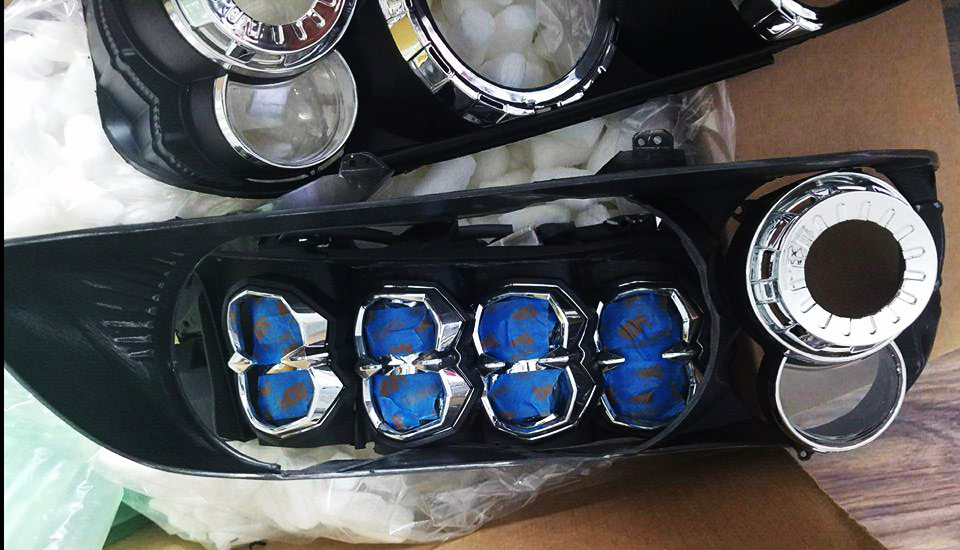
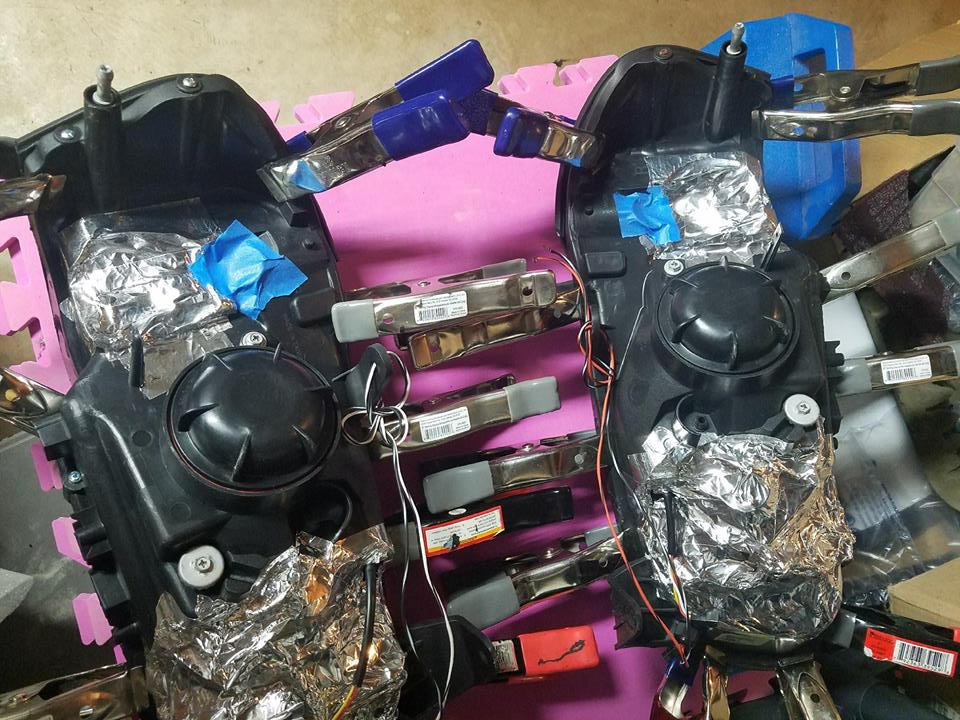
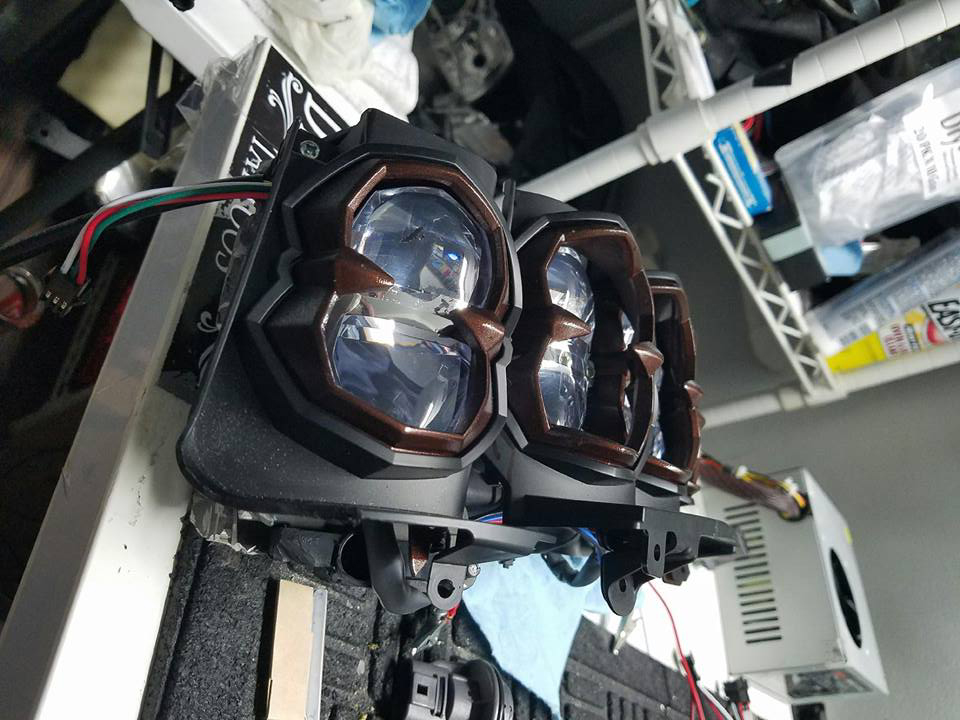
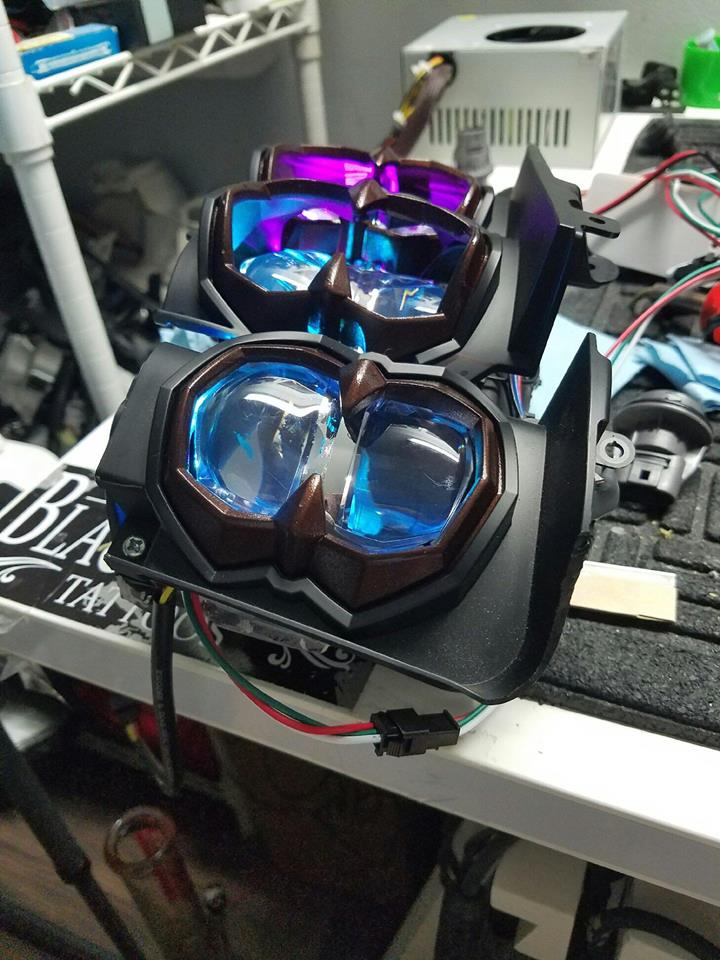
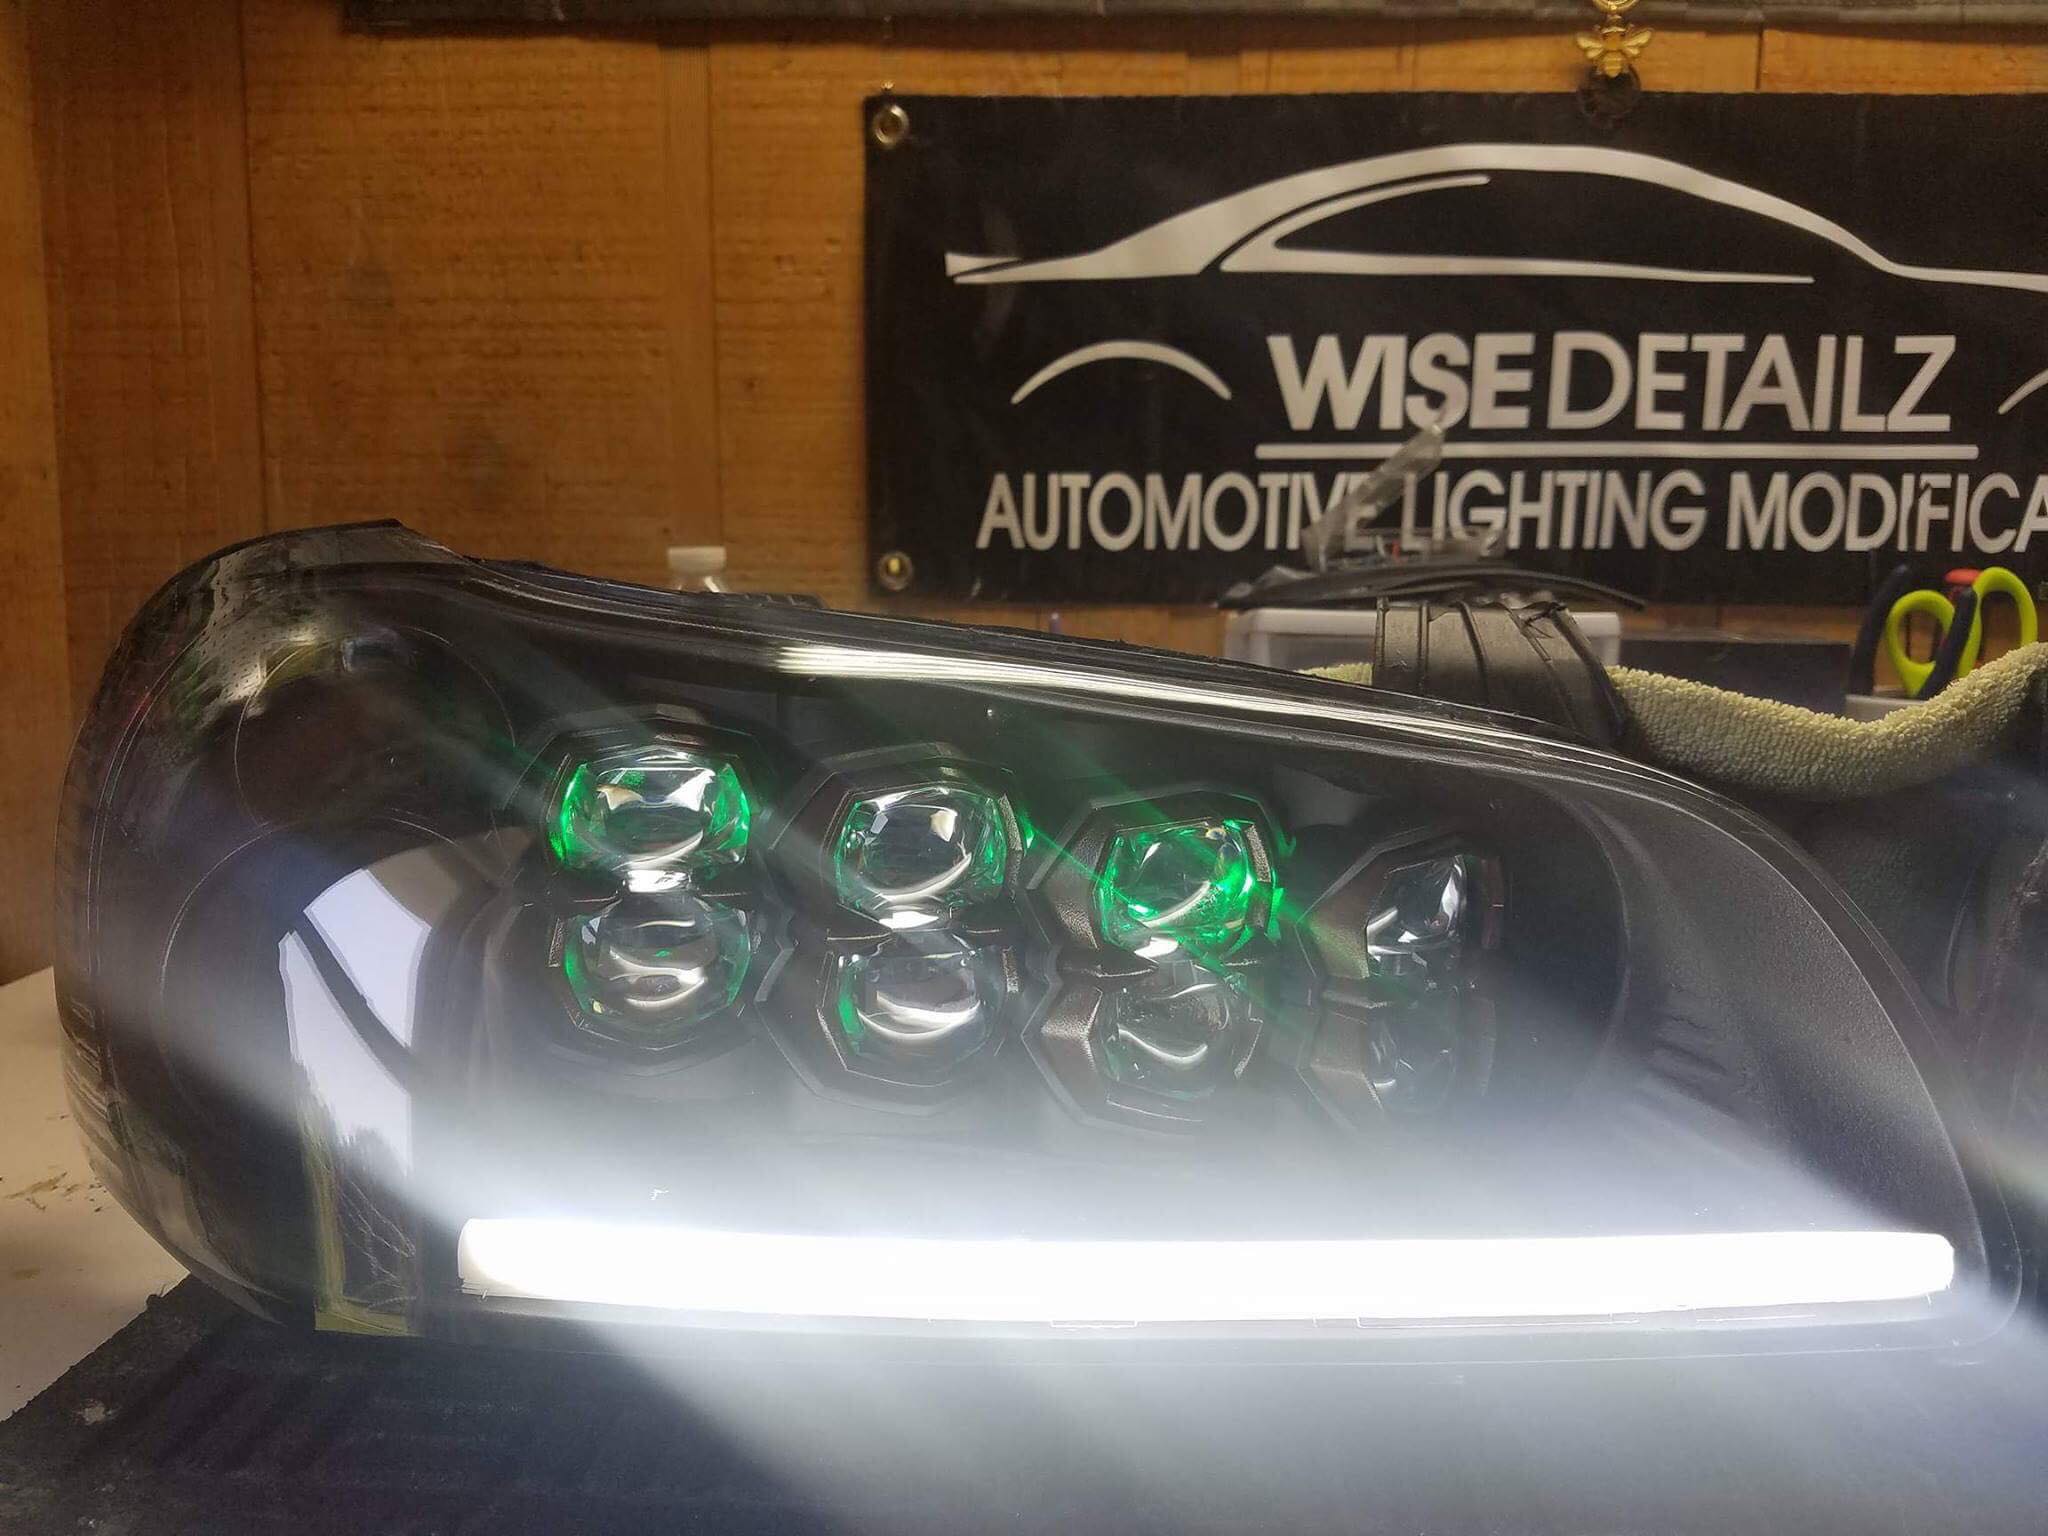
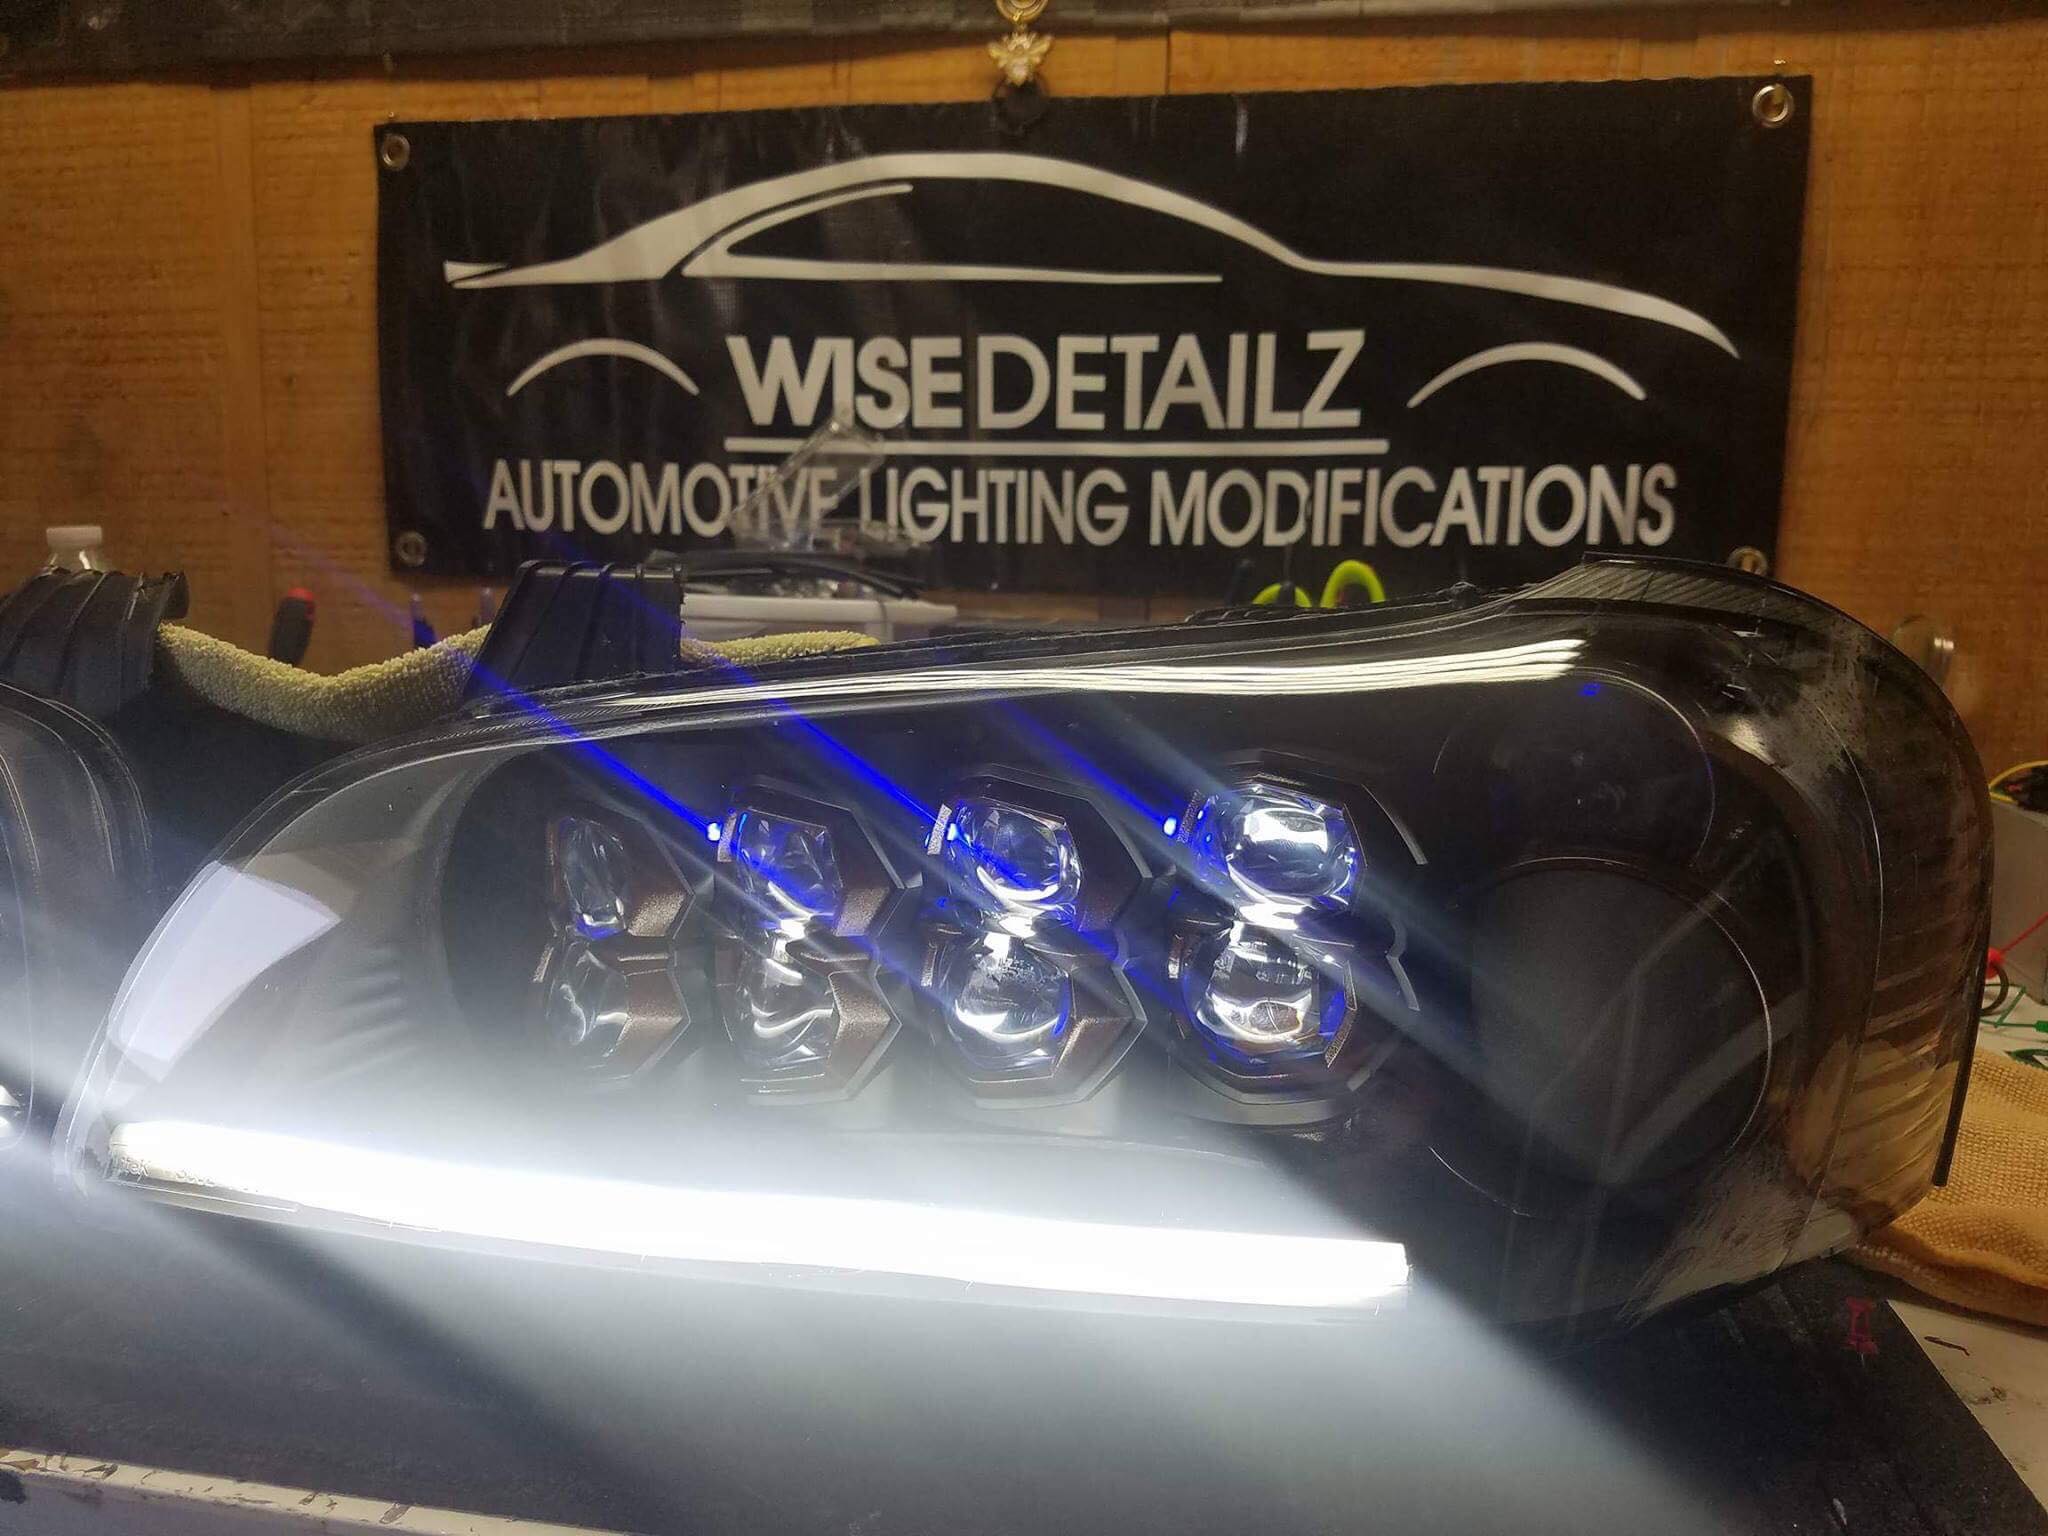
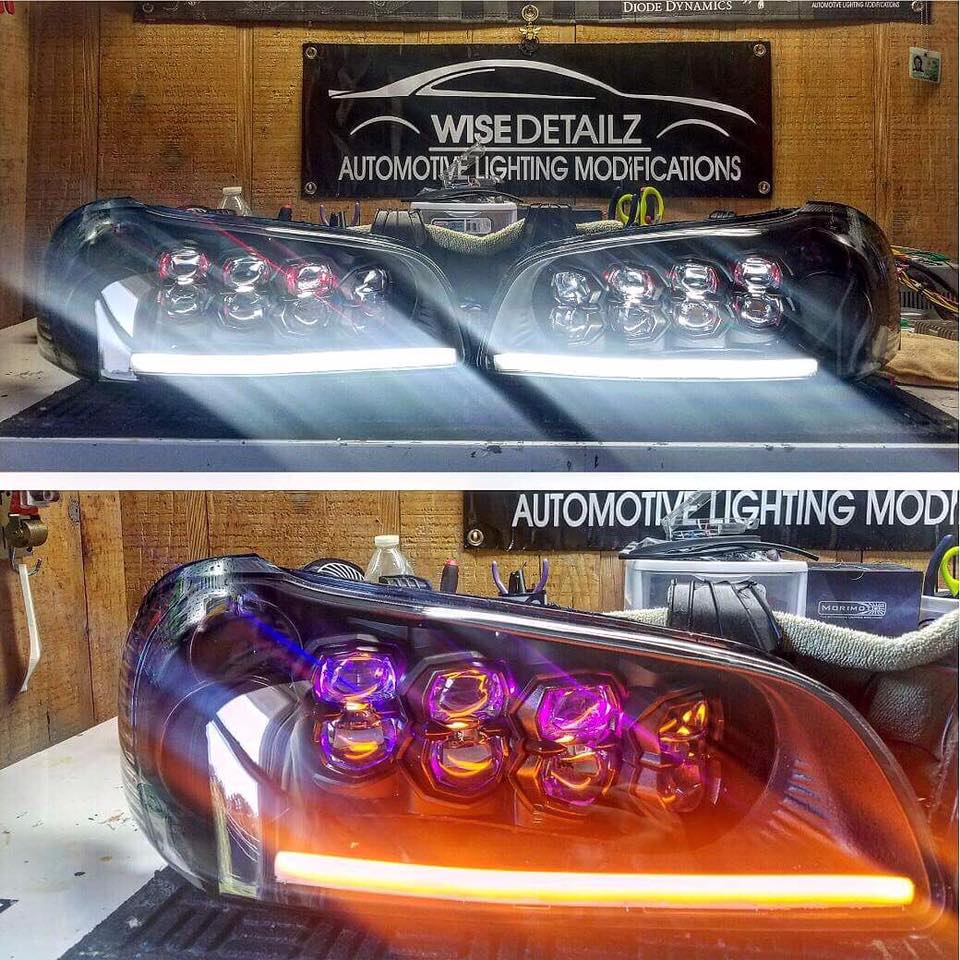
This is a one-of-a-kind headlight setup on a 2002 5.5 Gen Maxima. Work was done by Wise Detailz. The car is currently still under construction. Fully mounted pictures on the car will be posted soon.


 1. Remove headlight from the vehicle. Take care not to scratch the fender with the metal mounting pin.
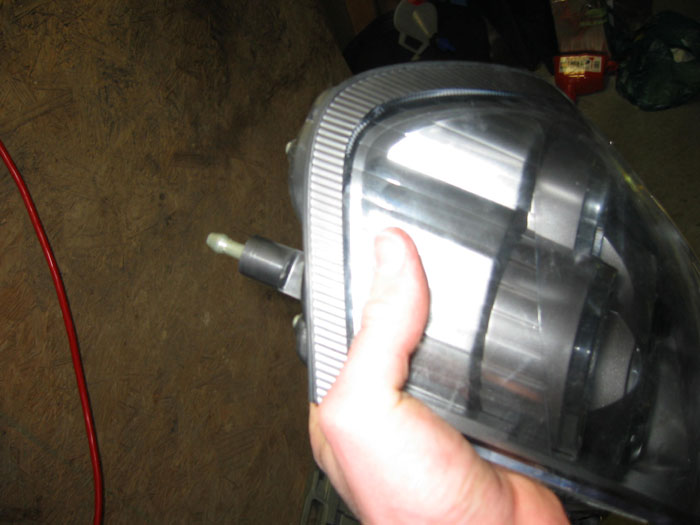


")