Tag

Interior, Exterior & Lighting

Browsing

Member Credit: Charles Downer

Tools & Materials Needed

  • Ratcheting Wrench
  • Screwdriver (Phillips)
  • Wire Cutters
  • Gauge Wire
  • Lots of Patience

REMOVING OLD SEATS:

  • Remove bottom of rear seats held in by 4 tabs directly under that can be pulled for a quick release…that section slides out after release
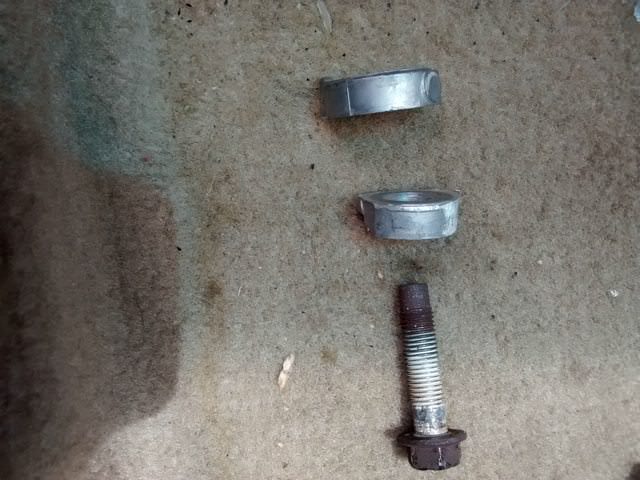
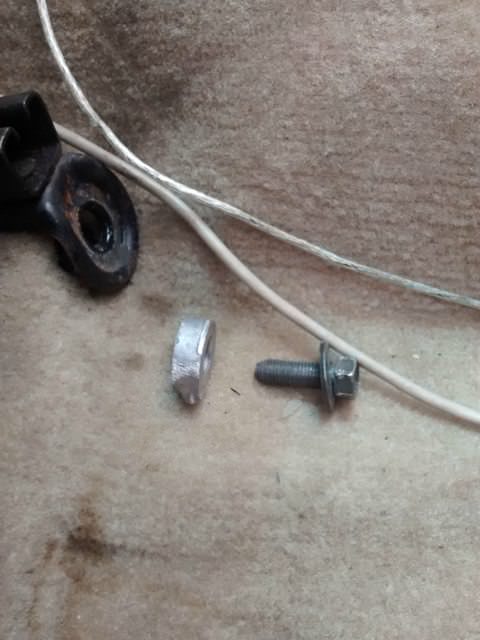
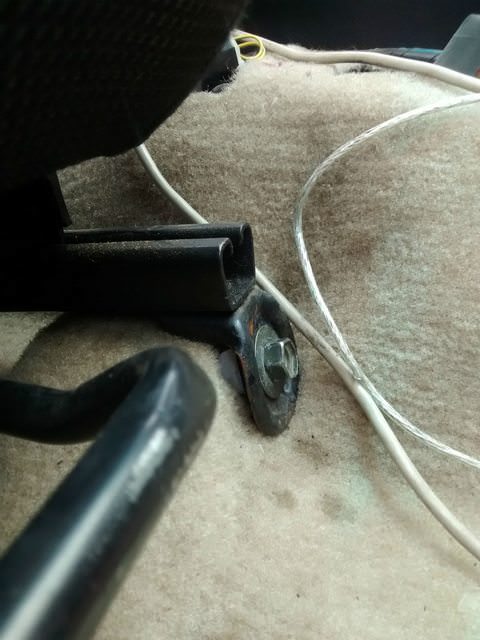
  • Remove bolts (14MM) that are holding the back part of the rear seats then remove the rest of the seats
  • Get rid of the middle seat belt held in by (14MM) bolts as well
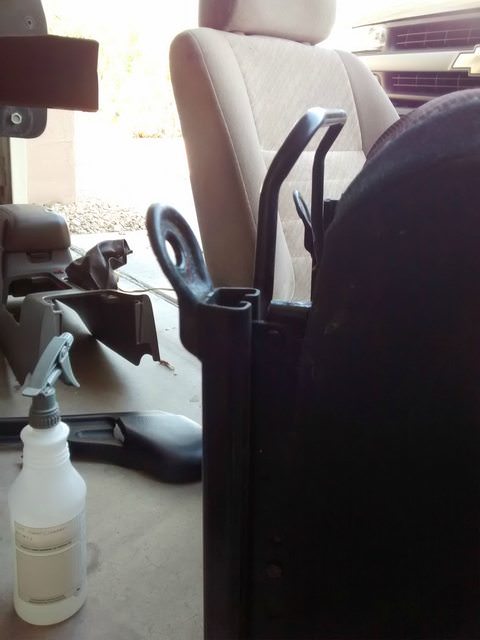
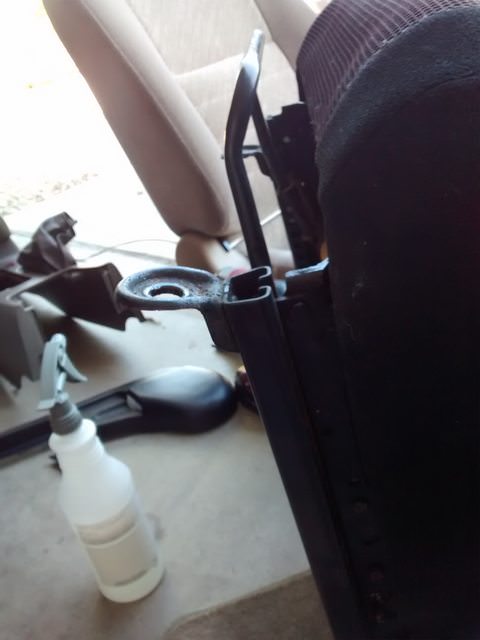
  • Take off the seat brackets and bar for the original seats held in by (14MM) bolts
  • Remove the pillars held in with clips holding in the rear deck
  • Pry up the rear deck held in by clips as well and remove black tape covering holes meant for rear window shade

WIRING UP THE SEATS AND SHADE

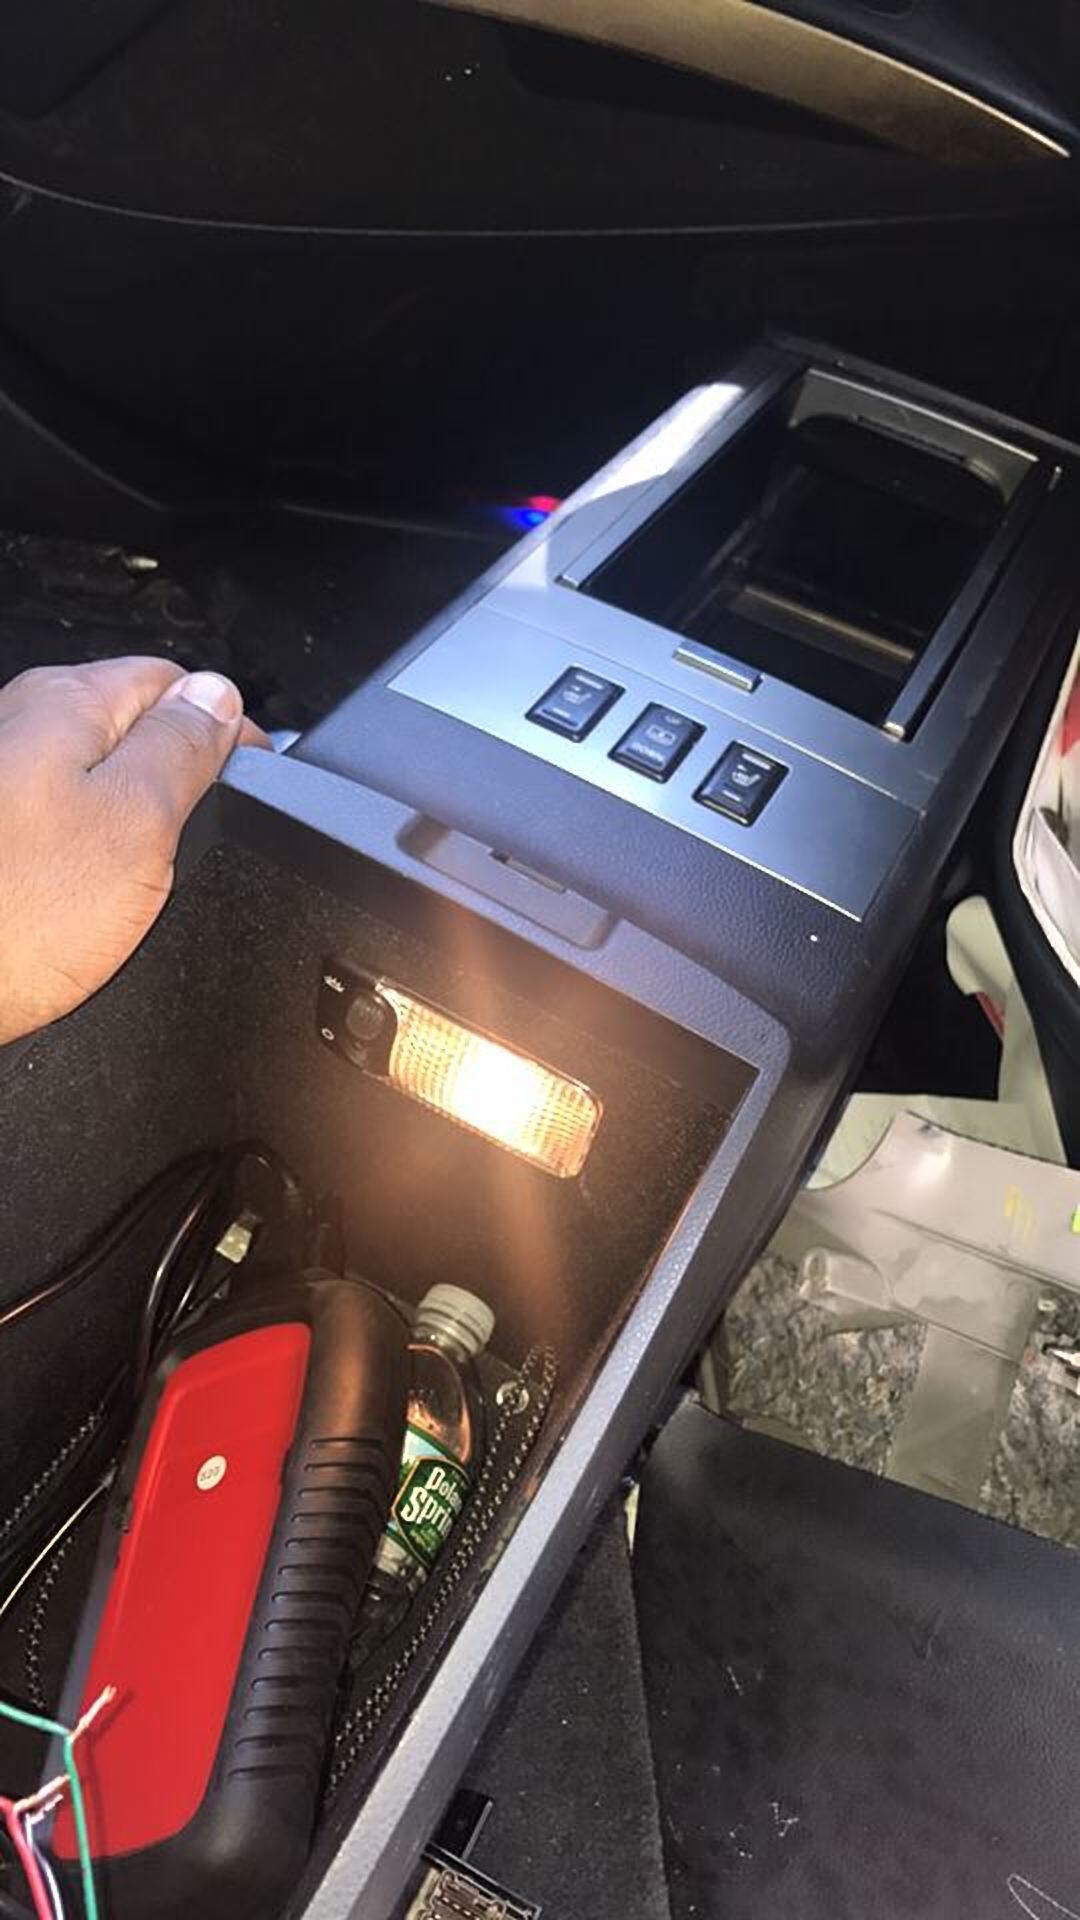
  • The front armrest will have to be pulled as well to get access to the front buttons and install the rear deck shade button in between the heated seats buttons (04-06 only). The harness for the rear deck shade is already there even if your car does not come with the elite package…the plug is taped off with gray electrical tape to the side.
  • To wire up the elite package you have to splice into the front seat harness…mostly color matching until you come across 2/3 wires that do not match anything…these are power wires (white/black on the rear deck shade…light blue on the rear heated seats…red/green on the original harness)
  • If the harness isn’t long enough to reach the front you will have to buy additional wire and extend it. The rear deck shade harness can be spliced into the rear heated seats harness and the rear heated seats harness into the front heated seats harness. Be sure to solder it or tape everything up nicely so it can work properly.
  • Before putting everything back together test and see that things are working properly.

PUTTING THE ELITE PACKAGE TOGETHER

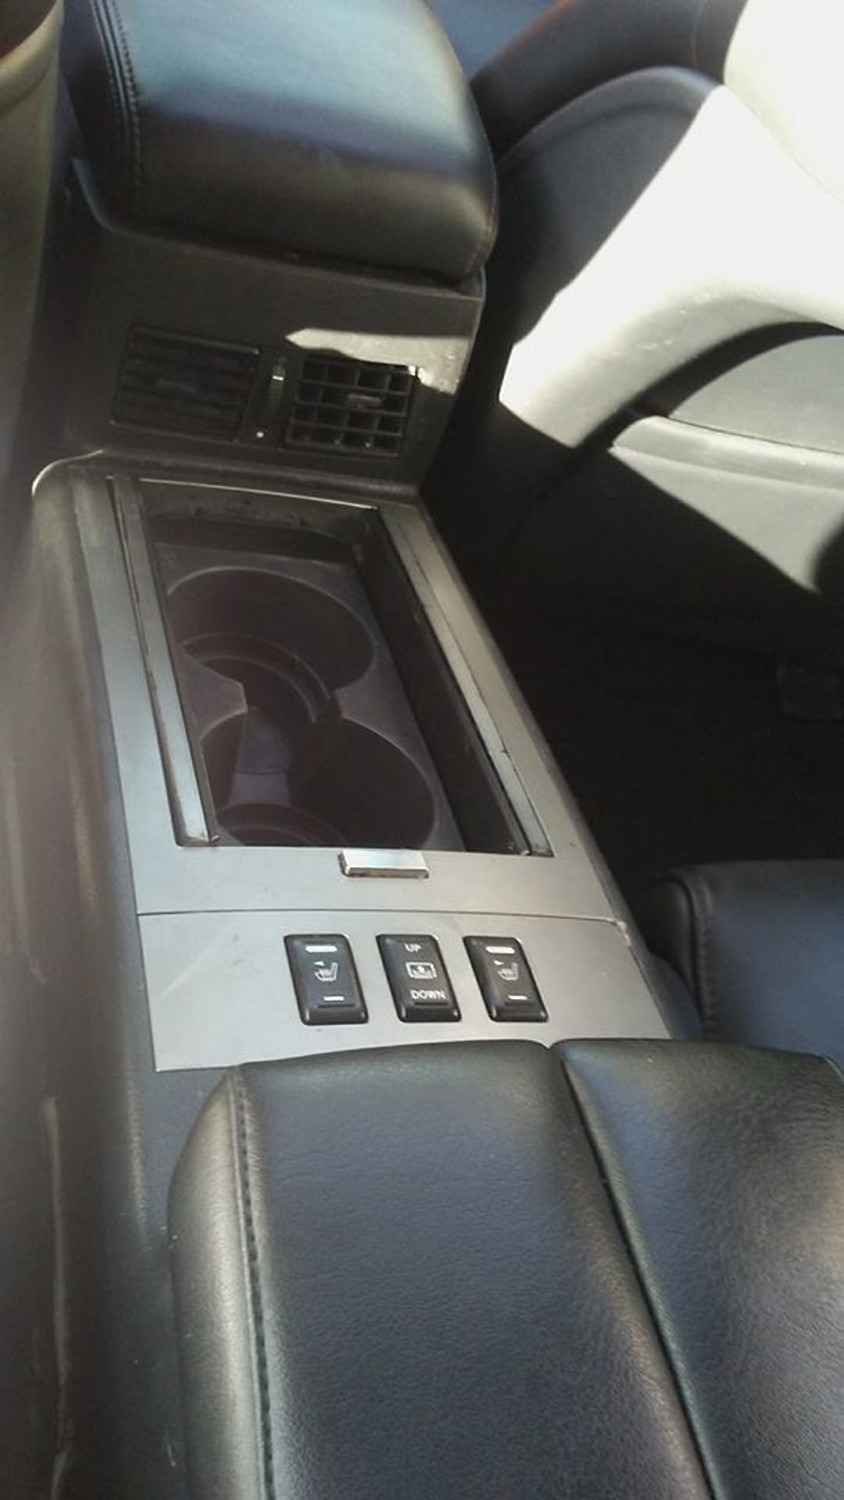
  • Remove the old rear vents from the back of the front armrest and install the one for the elite package
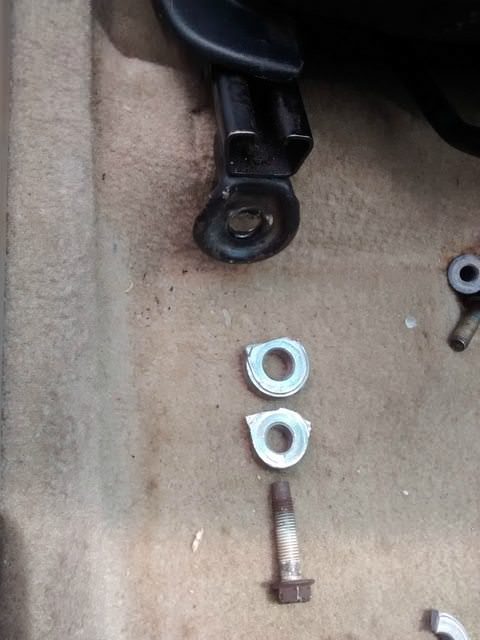
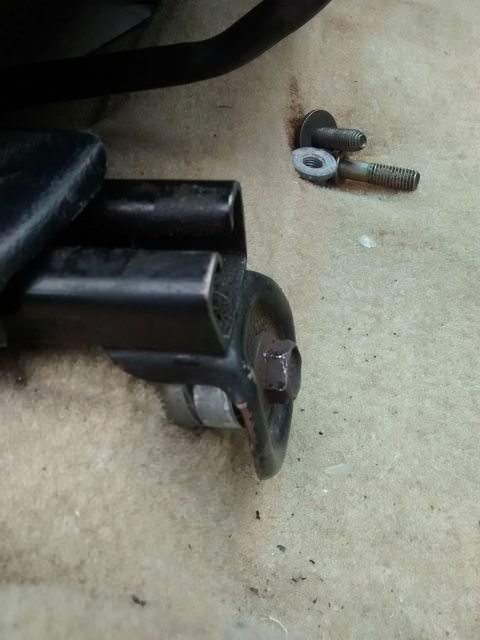
  • Install the seat plate/bracket bolted in by about 8 (14MM) bolts
  • Install the seat & armrest bar bolted in by about 3/4 (14MM) bolts
  • Install the rear deck shade bolt it in with 4 10MM bolts…2 of them are pretty difficult to get in due to lack of space…I got them all in but the 2 right spaced ones are only about halfway in
  • Reinstall rear deck for elite package & rear shade
  • Reinstall pillars that hold in rear deck
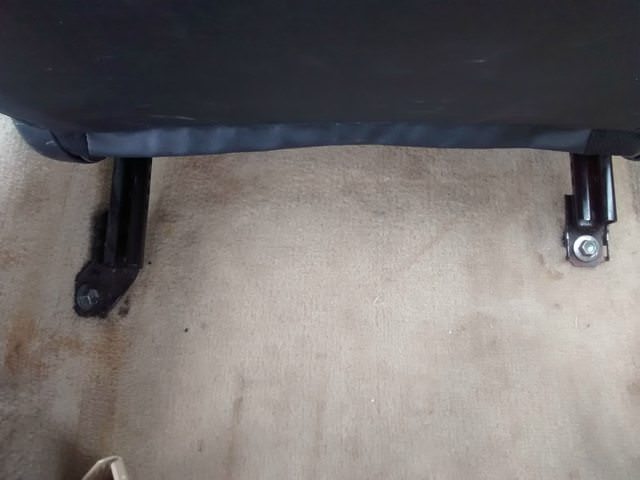
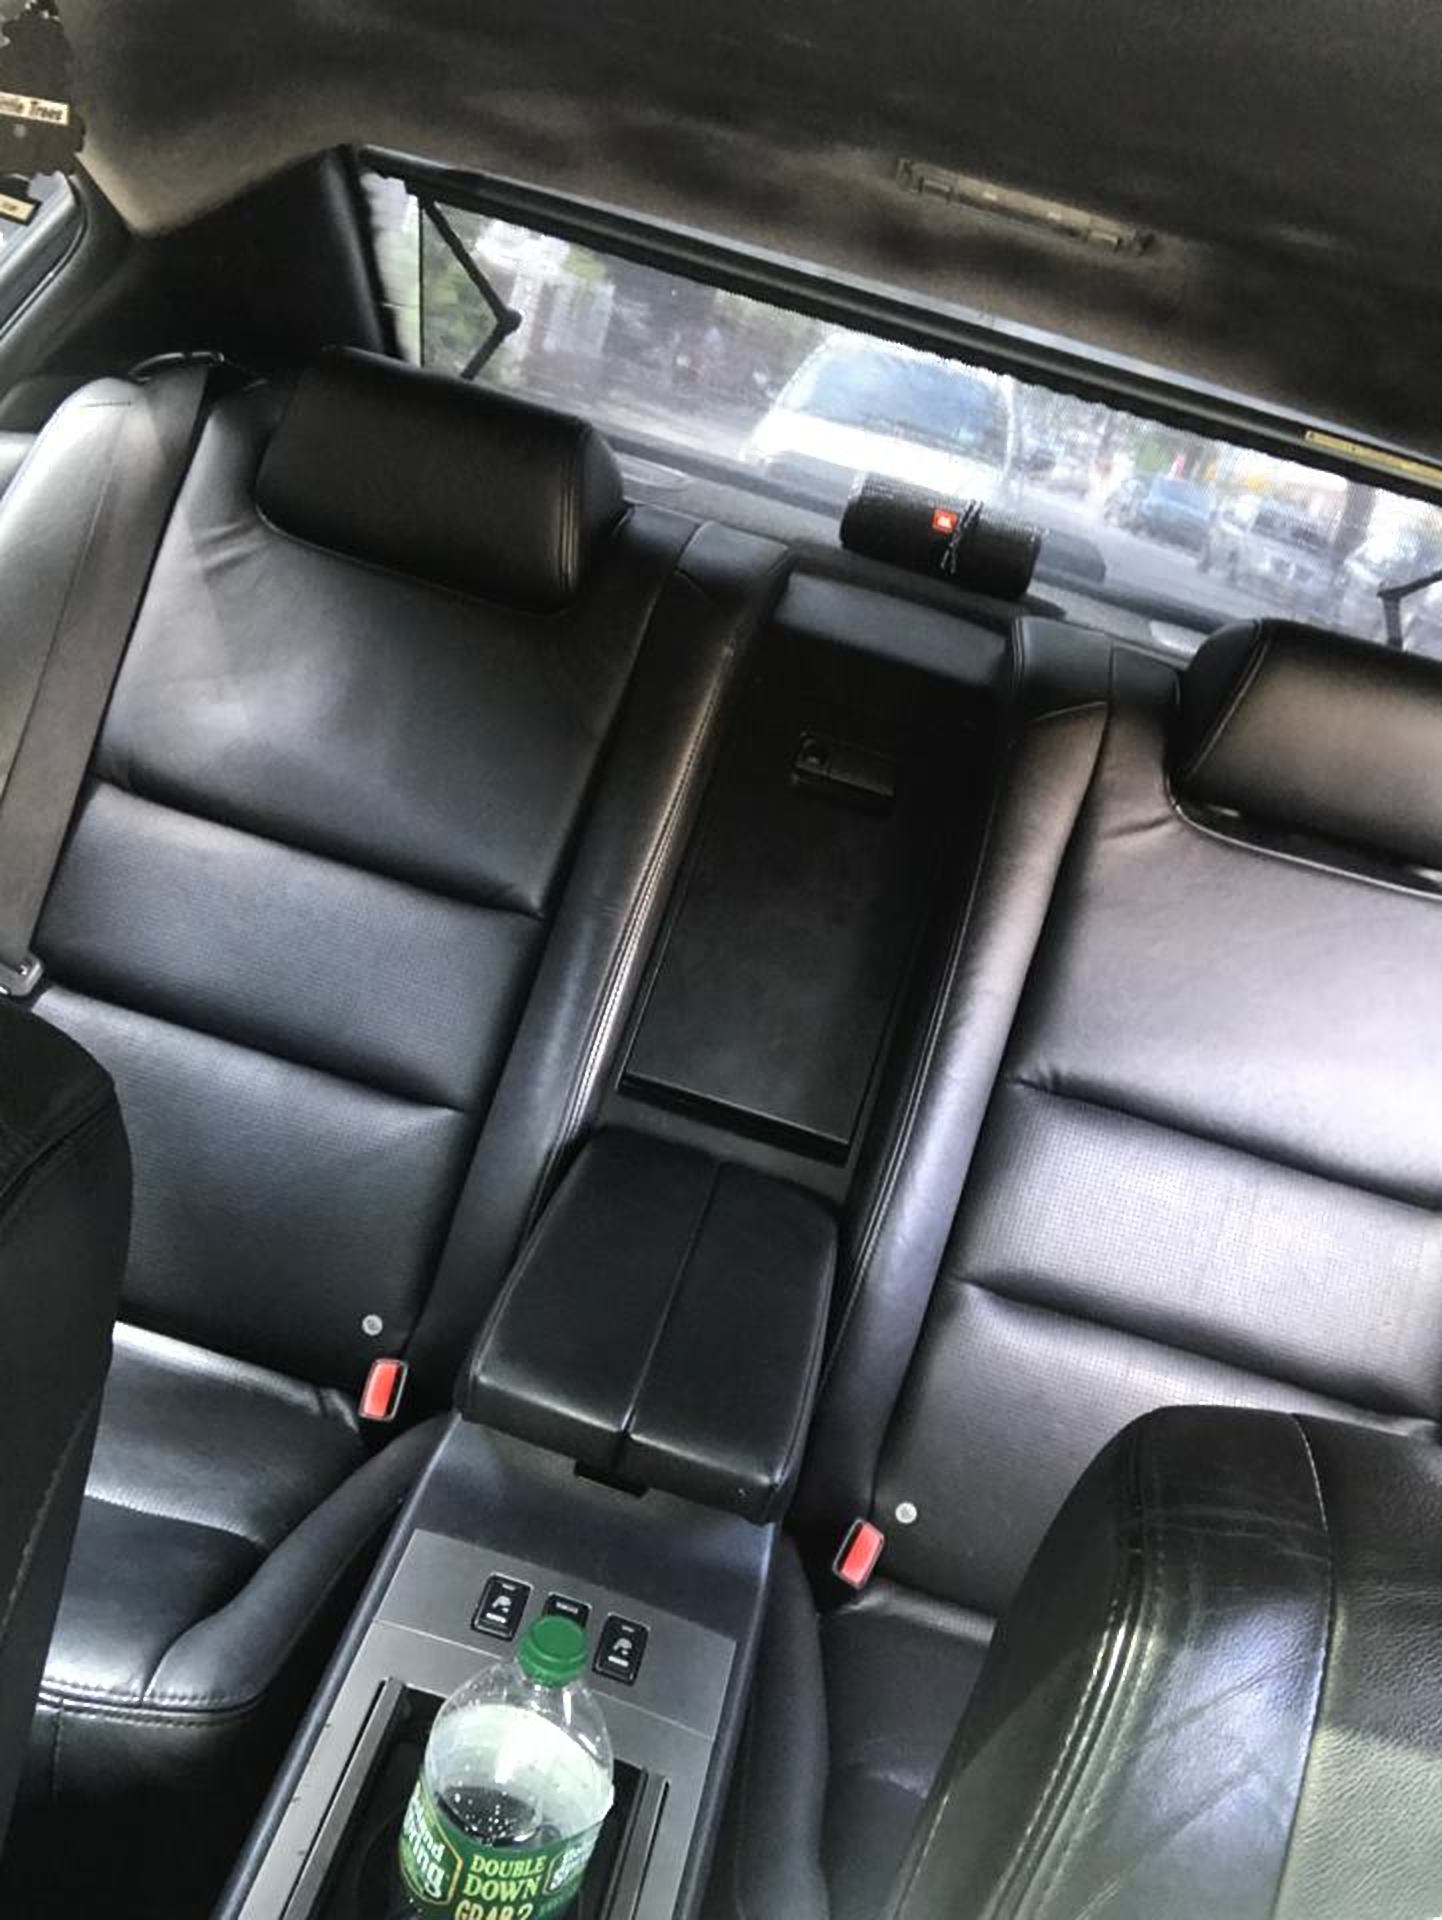
  • Install rear seats that sit on the hooks on seat plate installed earlier…also bolted in on the bottom…2 bolts per seat
  • Install rear armrest which slides directly into the back of the front armrest
  • Install side panels for armrest popped in by clips
  • Install side bolsters which fills the gaps between the seats and door moldings
  • Install the bottom of the rear seats
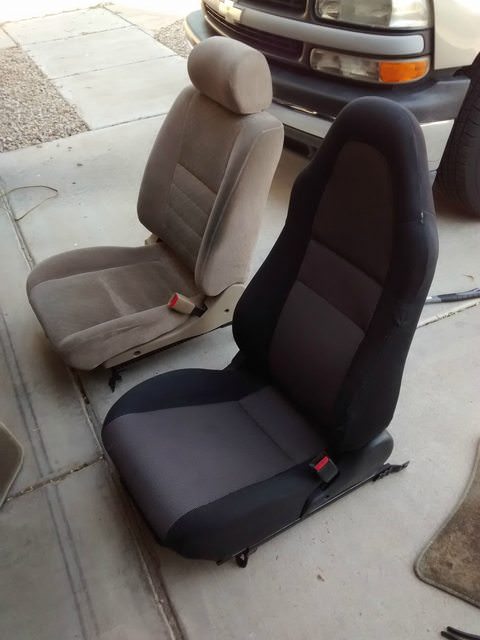
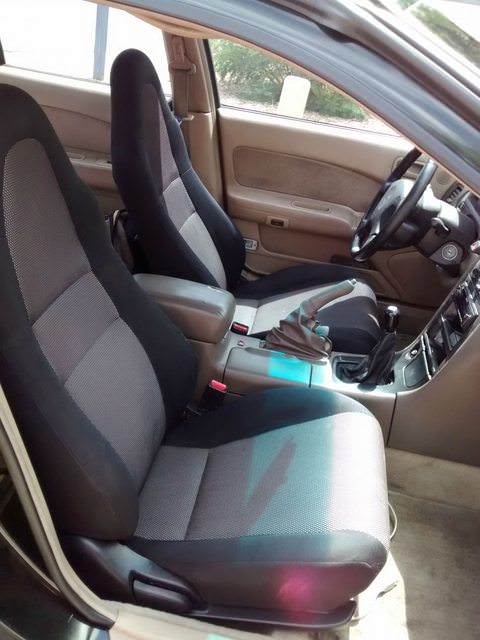
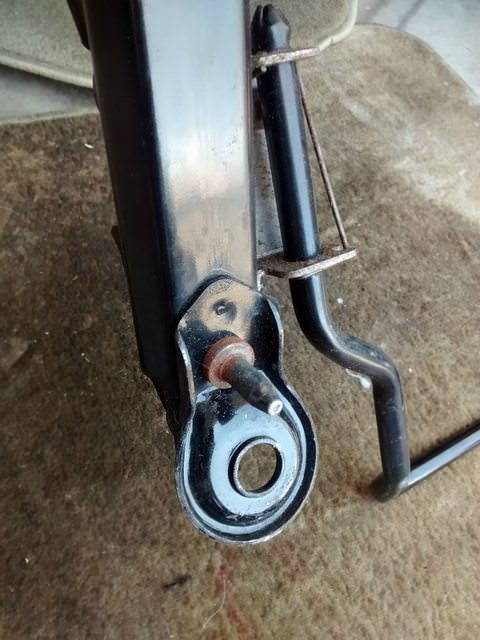
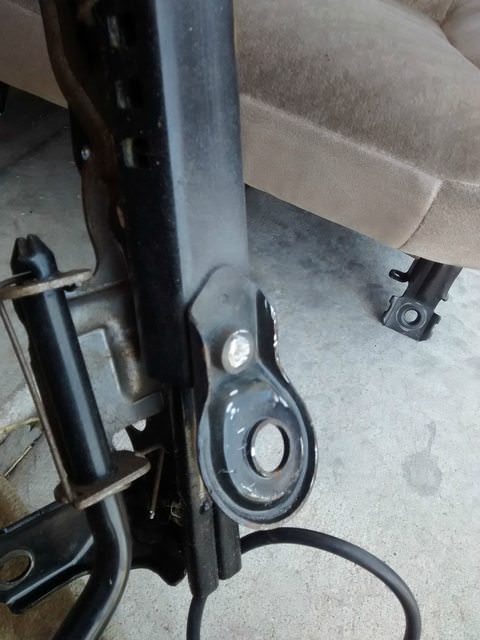
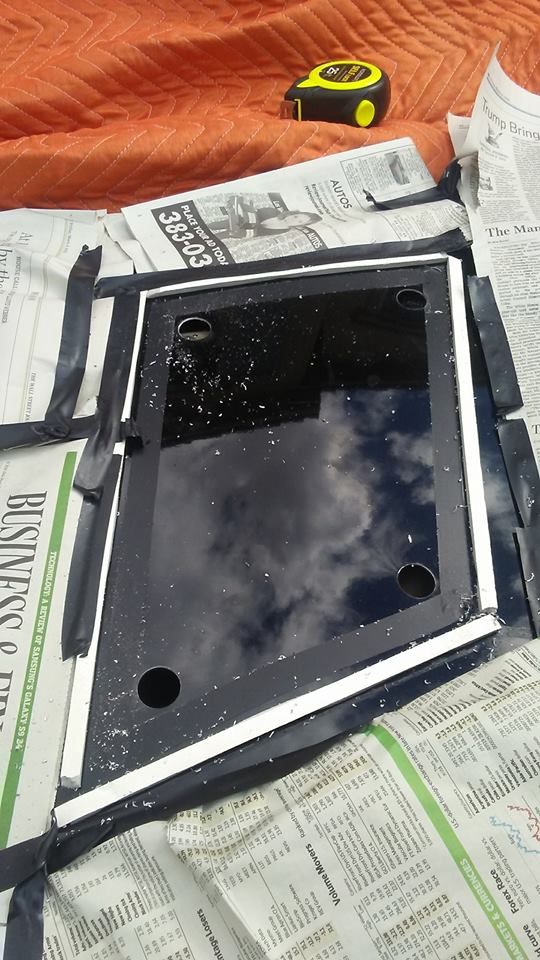
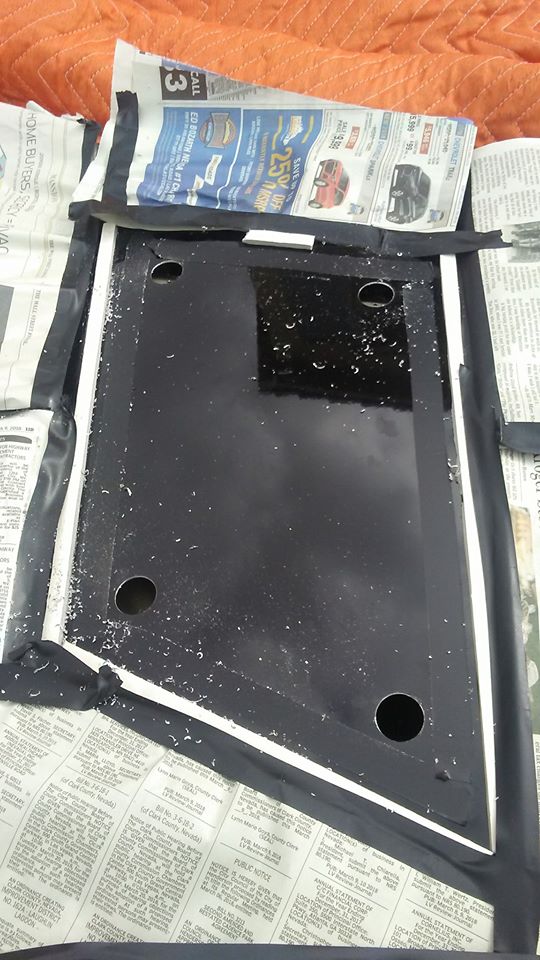
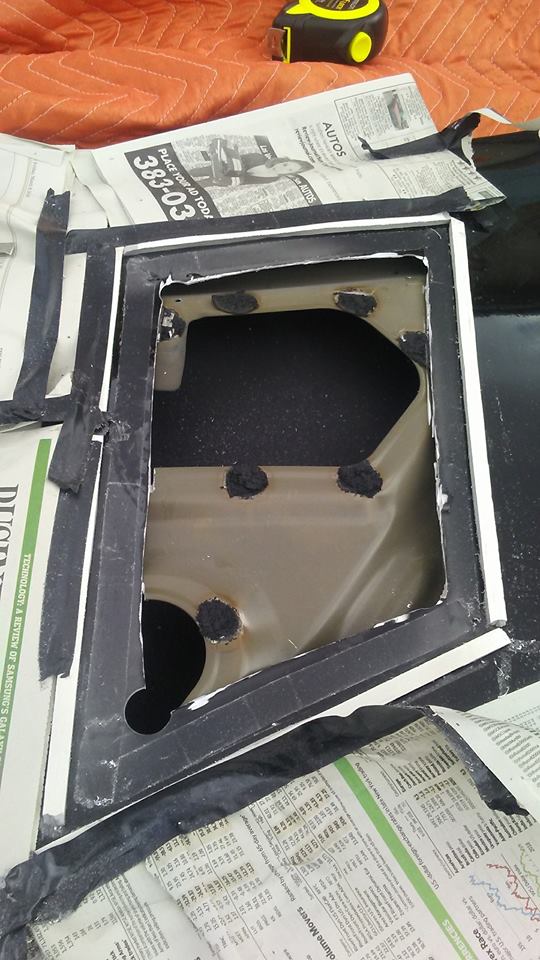
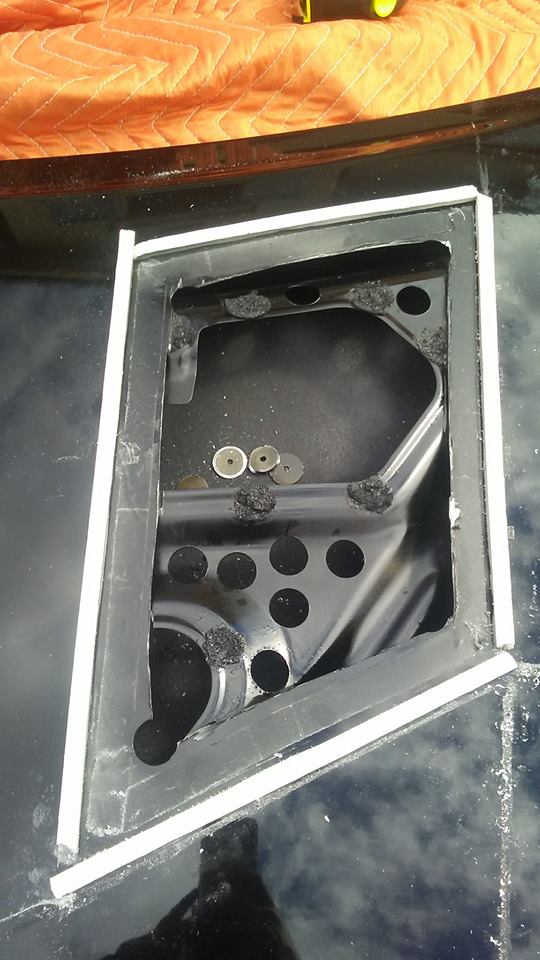
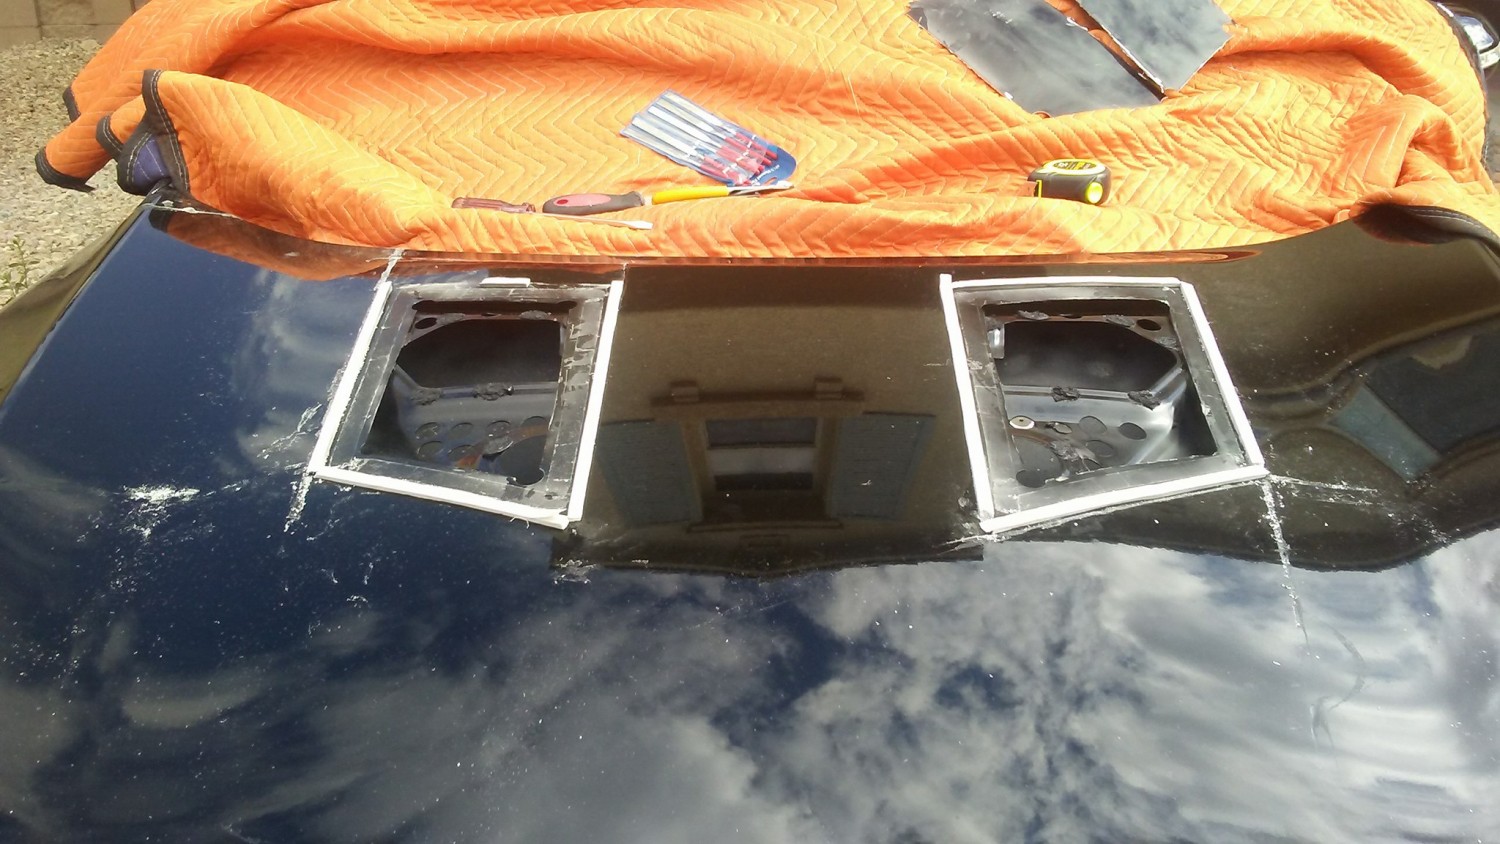
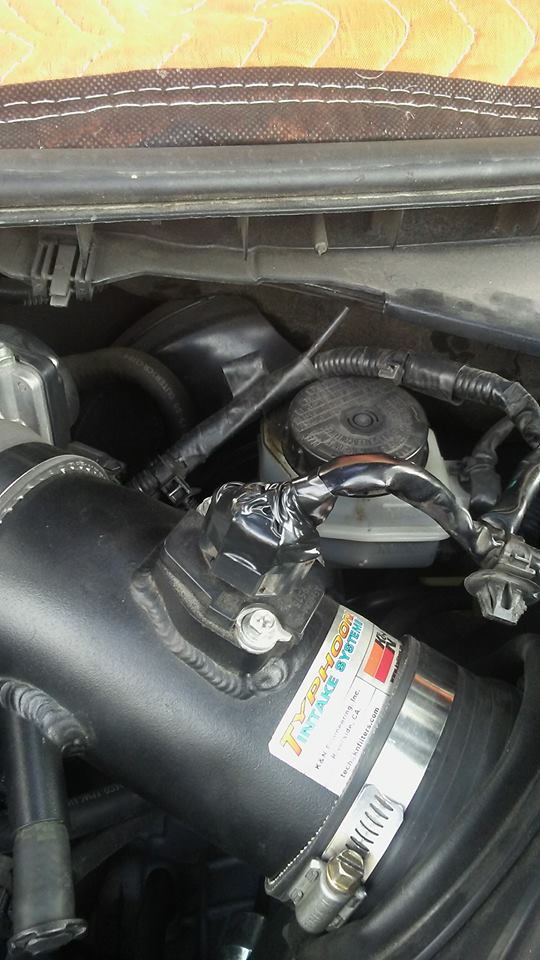
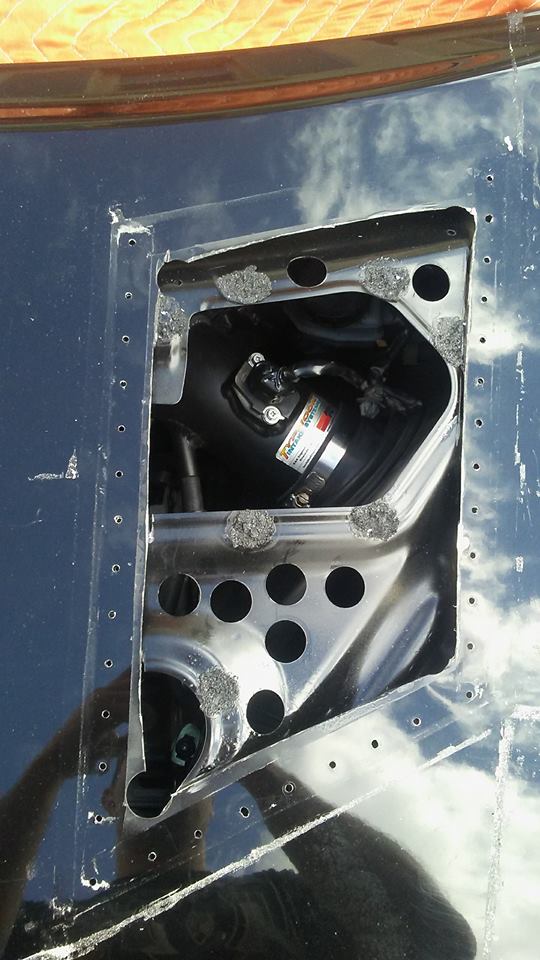
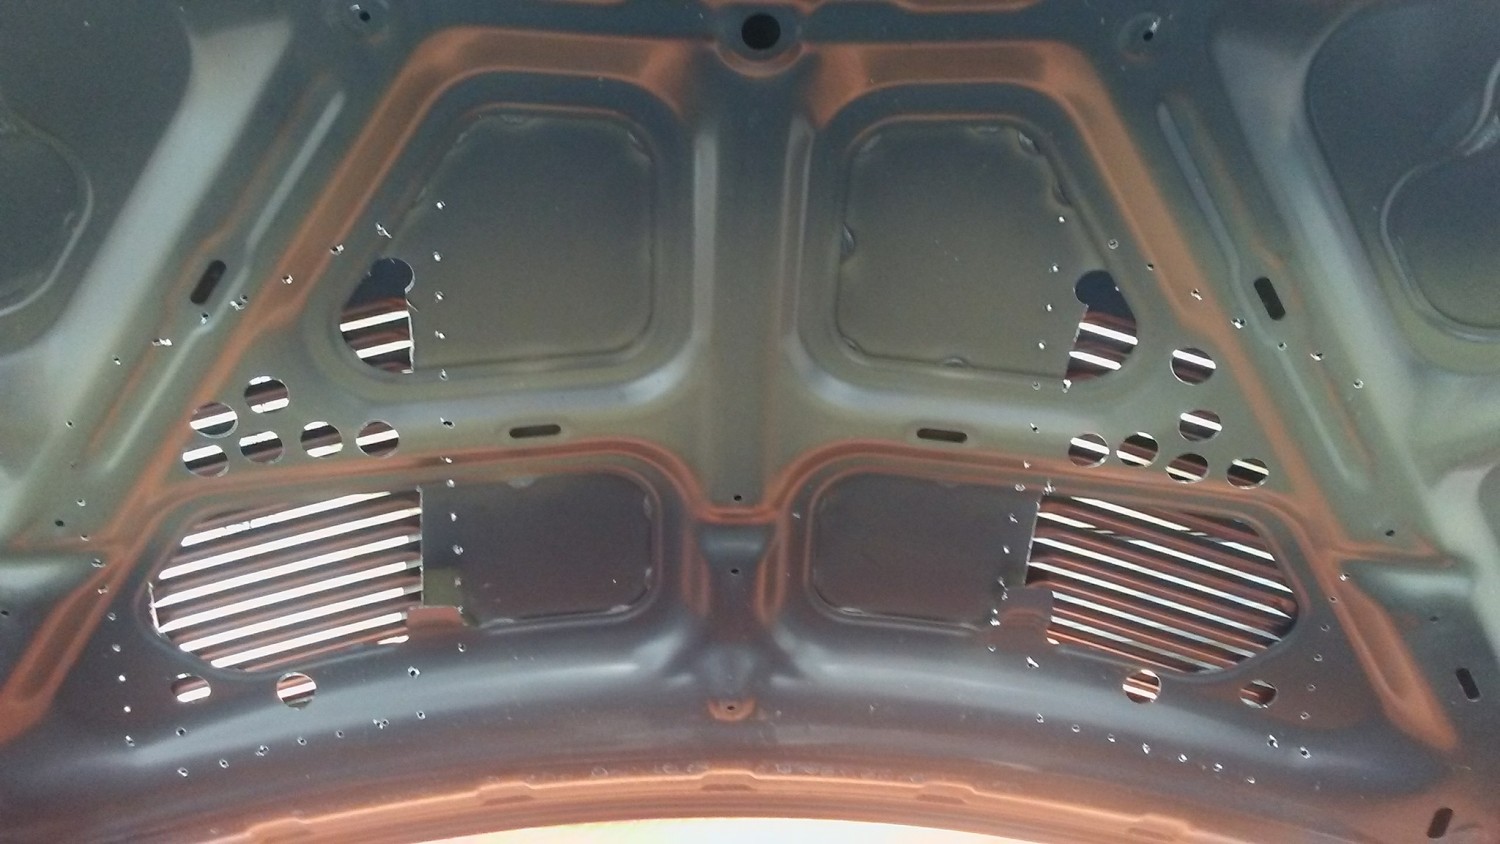
Reference Photos:

Loading

Member Credit: Adam Chevront

This is the first official 7thgen with a 6thgen Nissan Maxima Elite Interior. And best of all, it only cost him $30 bucks via a junkyard run.

Some notes:

  • Elite has a longer rear seat length
  • A lot of trimming was required (plastics and metal brackets)
  • Elite length approx. 38 inches
  • Swapped out the AC runner with the 7th gen one and has working rear air and cup holders slide smooth.

Loading

Member Credit: EddyMaxx

Do you have the symptoms below:

This morning while I was driving to school, my instrument cluster just stopped working… I.E. Speedometer, odometer, fuel gauge, rpm’s, even the blinkers (though these worked, just wouldn’t get the clicking noise or the visual indicator on the instrument cluster). The odometer would show my mileage, but didn’t change at all. The cluster lights weren’t as bright during the day as they usually are. Also, the A/C – Heater system wouldn’t turn on, cruise wouldn’t work (kinda made sense though since the speedometer wasn’t working). – mattpattberg

If so, then the first thing you need to check is if you have any coins on top of your radio dash. If you remember having coins or actually see coins there, one of them may have dropped into AC Amp case and caused it to burn out. Usually pennies and dimes. You will now have to replace the AC Control Amplifier. Most members buy it used from eBay or local junk yards.

This may also trigger a U1000 CAN Communication Line – Signal Malfunction code.

Part Number: 27760-7Y000 (AC Control Amplifier)

You can follow the replacement how-to here: https://www.my4dsc.com/replace-ac-control-amplifier-6thgen-maxima/

Used Replacement (27760-7Y000 AC Control Amplifier).

Loading

Member Credit: Jason Sadler

You need 10mm socket, metal drill bit set with a good drill, self tapping screws, 2 hinges, 2 latches, and a friend to help you out when you get tired of drilling or holding the trunk lid up on your back…and yes you need the winnie the ooh blanket to protect your car when you lay the trunk lid down and metal shavings go everywhere.

The stock mounting of the trunk lid, 2 bolts on each side that need to remove that hold up the trunk lid. I bought the hinge from Home Depot for $5.49 and had it bent at a hardware store after taking my trunk lid off and finding out what angles were needed. I drilled 3 completely new holes for the hinge and used self tapping screws attaching to the trunk lid, same spot as the stock mounting piece.

This is where it get inventive and tricky, I used a simple locking latch from Home Depot for $2.49 that is used to slide lock fences or what have you, I drilled a hole in the arms of the trunk lid support and the sliding latch will slide the locking pin into the actual arm of the trunk lid support so that it will sit up normally. If you unlock, or unlatch the sliding latch so that it does not slide into the arm, you will let the trunk lid hinge down and sit “flip flop”..

This is also where the other side of the hinge gets bolted onto the mounting arm of the trunk lid. I used three screws for each and you can tell how well the hinge is secured on there. 4 holes drilled to secure the latch onto the trunk lid and then a bigger hole onto the mounting arm for the trunk lid where the latch slides into, you can also see the hinge fully mounted on the car.

And my friends, that is all there is to it really, when you want the trunk to sit flip flop slide the latch out of the mounting arm and flip flop it.. just remember, you cant close the trunk when it is flip flopped.

Pictures of the trunk flip flopped.

Depending on how far the hinge you buy swings around, your trunk may sit differently than mine does.. nothing extreme, but it just may be at less of an angle then mine. It is all about the bends you make, and it would be impossible to write out how I made the angles.. it’s something you need to just look at and see.

If you do not mount everything correctly you may have issues closing the trunk because it will not line up exactly as it did when it was stock.. you can try and remount everything again or just finagle it into place when you close it or open it like i do.. mine is off a little bit to the left, but it doesn’t bother me to shift it back and forth when I close the trunk, it sits the same when it is closed…

That is basically everything.. enjoy!

Additional Photos:

Loading

Member Credit: Eddy

  1. Disconnect battery negative terminal.
  2. Remove the CVT finisher.
  3. Place the shift lever in the Drive position.
  4. Separate the chrome finisher from the shift knob by pushing it down.
  5. Remove the shift knob (1) by removing the spring clip and pulling up. Then remove the chrome finisher (2).
  6. Set the parking brake.
  7. Pull up to release the clips and remove CVT finisher.
    Click the image to open in full size.
  8. Disconnect the bulb housing from the assembly.
  9. Pull up on the rear portion of cluster lid C, once the 4 bottom clips are disengaged, pull rearward to release molded clips at the top of cluster lid C.
  10. Disconnect the electrical connectors.
  11. Remove front air control, storage bin, hazard switch, aux in jack, and power outlet.

    Click the image to open in full size.

  12. Remove cluster lid D screws using power tool.
  13. Pull cluster lid D toward rear of vehicle to release clips.
  14. Disconnect the electrical connectors.
  15. Remove the audio switch (if equipped) and the center vent ducts.
    Click the image to open in full size.
  16. Remove the screws (1), disconnect electrical connectors and remove the center stack (2).
    Click the image to open in full size.

Loading

Member Credit: Chris Goss

In my 08, I put the heated steering wheel switch to the left of the steering wheel just because it was easier and shorter wire runs. Run a wire from the battery with an waterproof inline fuse holder with a 10a fuse in it. Connect that wire to terminals 1 and 3 on the relay. Run a wire from terminal 5 on the relay to terminal 1 on the clock spring and terminal 5 on the heated steering wheel switch. Run a wire from terminal 2 on the relay to terminal 2 on the switch. This is the switch, relay and clock spring that you need. Notice on the clock spring that it has a little two wire plug. That is what you need. That is the one for the heated steering wheel. Most that you will find listed on ebay do not have that plug.

This will make the job easier. I found one on an Infiniti heated steering wheel. Probably going to be tough to find.
It plugs into the back side of the clock spring.
You will need a tap a fuse with a 10a fuse. Run a wire from it to terminal 1 on the switch.
Run a wire from terminal 2 on the clock spring to ground. Run another wire from terminal 6 on the switch to ground.
Terminals 3 and 4 on the switch are for illumination. You need to tap into wires running to terminals 3 and 4 on TCS switch. You can tap into the illumination wires running to any of the surrounding switches.
I know it shows in the illustration that the heated steering wheel switch is located by the heated seats switches. Location isn’t important. It’s wherever you want to put it.
When looking at steering wheels, this two wire plug is what you are looking for. Red and black are the wire colors. Search for 04-08 Nissan Maxima heated steering wheel.


Loading

Member Credit: schmellyfart

Greetings everyone, today I will be showing you how to install MKIII MR2 (ZZW30) seats in your A32.

First off, the most important part – weight.
A32 ’97 SE Power Cloth Driver Seat = 44lbs
A32 (unknown year&trim) Manual Cloth Driver Seat = 40lbs
ZZW30 ’02 Spyder Manual Cloth Driver Seat = 34.8lbs

A32 ’97 SE Manual Cloth Passenger Seat = 36.2lbs
ZZW30 ’02 Spyder Manual Cloth Passenger Seat = 32.8lbs

My total weight savings: ~12lbs taking into account longer bolts and spacers.

All weights measured to the tenth were done with an AMW-TL440, The rest were done with a bathroom scale. I plan to update the old bathroom scale weights in the future.

What you will need per seat:

  • [1] ZZW30 Seat
  • [1] Longer bolt
  • [1] 1/8″ washer
  • [1] 3/8″ Spacer
  • [1] 3/4″ Spacer

The longer bolts I used were taken off of a precat from a 99 Cali Spec.
The 1/8″ washer I had laying around. The 3/8″ and 3/4″ spacers were salvaged from an aluminum 7th gen engine mounting bracket.

First order of business is to trim off these locating tabs near the front two bolt holes.

Next, bend the front two mounting ears down about ~70°. Don’t bend it too far, you can always bend it down more, but the more that the joint is bent back and forth, the weaker it will become – which can lead to premature failure.

Rear mounting points. The 1/8″ washer goes underneath the rear bolt hole nearest the door. This can be shimmed to your personal preference, but so far the seat feels pretty level.

Front mounting point, exhaust tunnel side gets a 3/8″ spacer.


Front mounting point, door side gets (2) 3/8″ spacers totaling 3/4″ and the longer bolt.

The least frustrating way to bolt the seats in is to get the two rear bolts a couple turns away from being snug, so that there is still a fair amount of wiggle room. Then insert the spacers on the front and get those bolts started. Tighten up the front bolts, then the rears.

The way I have attached these seats makes the slider mechanism a little sticky, so extra effort will be required to ensure that the slider is locked into position after moving the seat.

Lastly, these seats do sit a little lower than stock. And they make it feel more like a race car

Loading

Member Credit: Adam Chevront

I know ill get roasted by some and that’s ok. If you really research the tools you have and how to use them then any job isn’t bad. This took me a few hours but I’m happy with the results. Morning drive this morning and intake and plenum didn’t even get warm. That’s what I’m talking about.

Loading