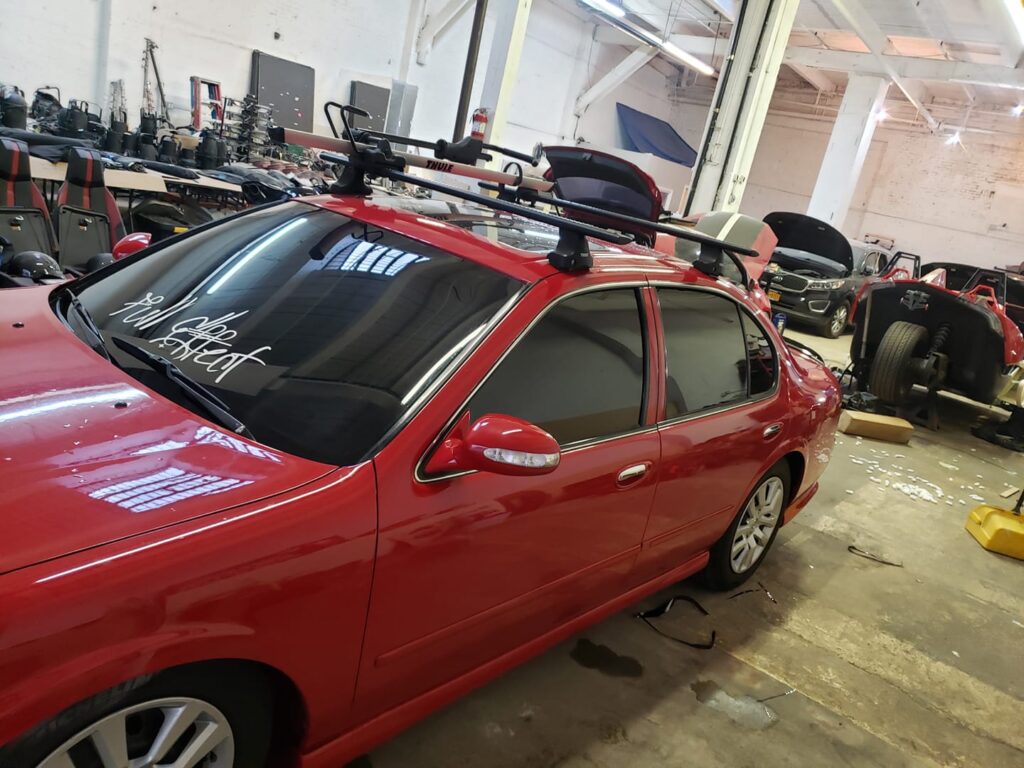
Credit: Zirdam1zed

![]()


")
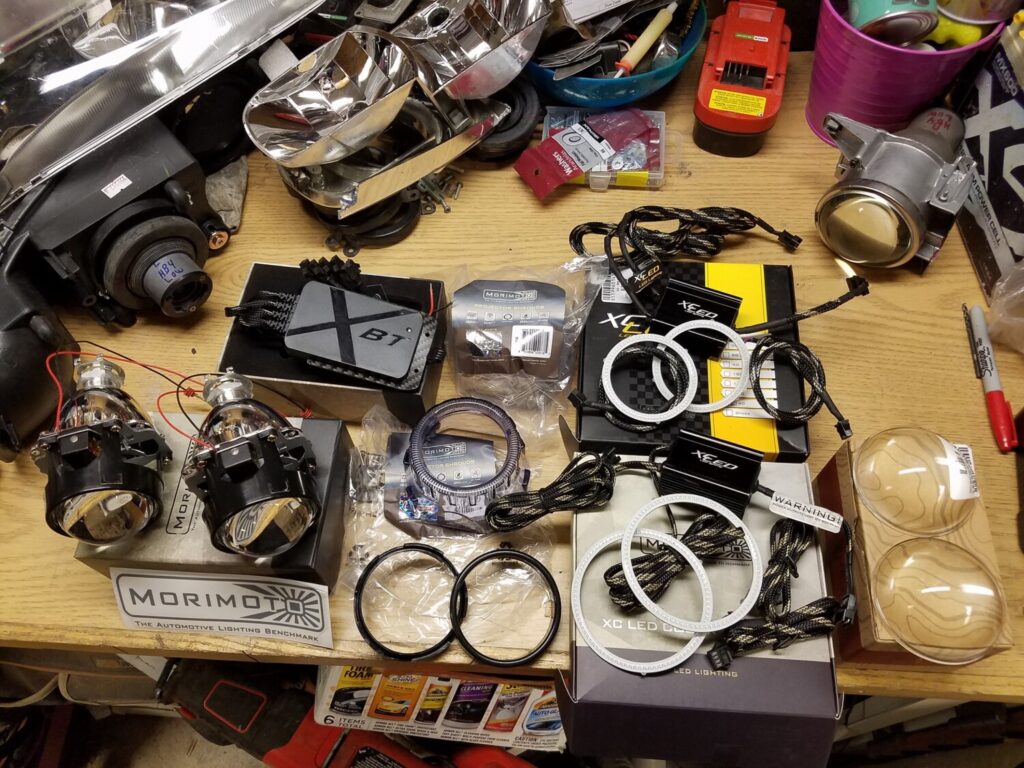
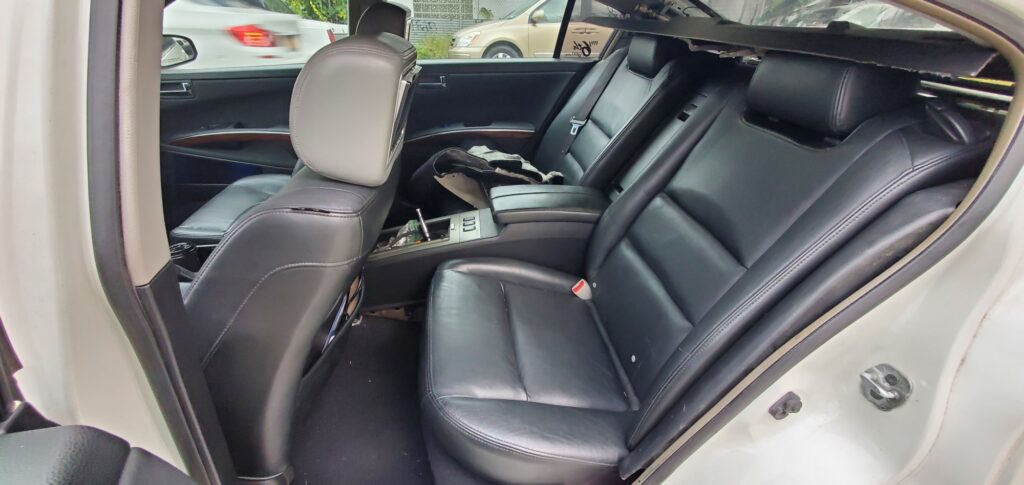
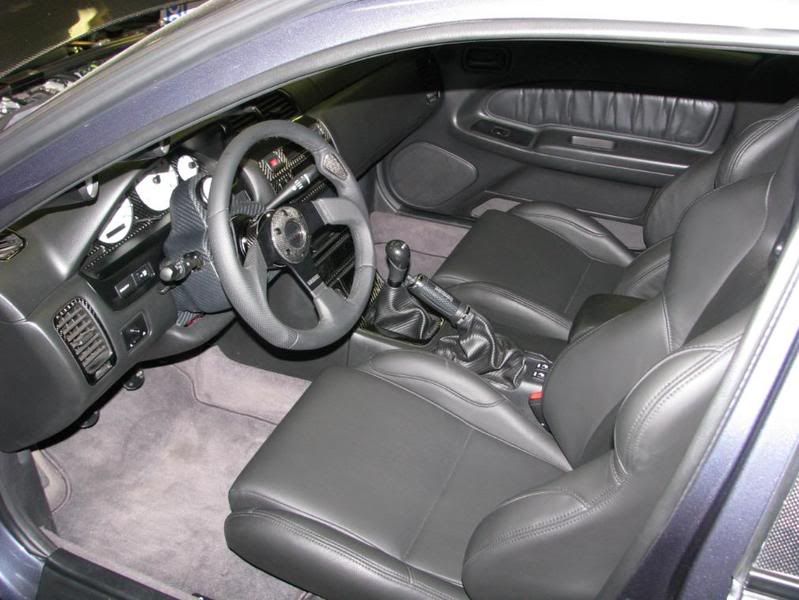
Community Member Credit: EddyMaxx
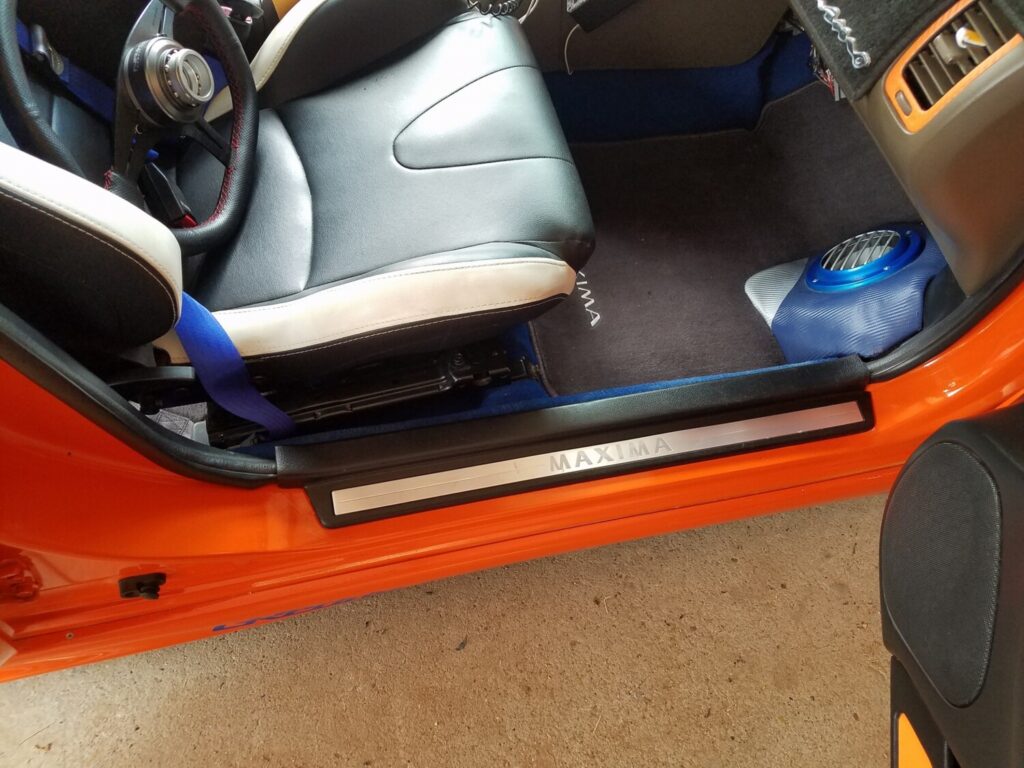
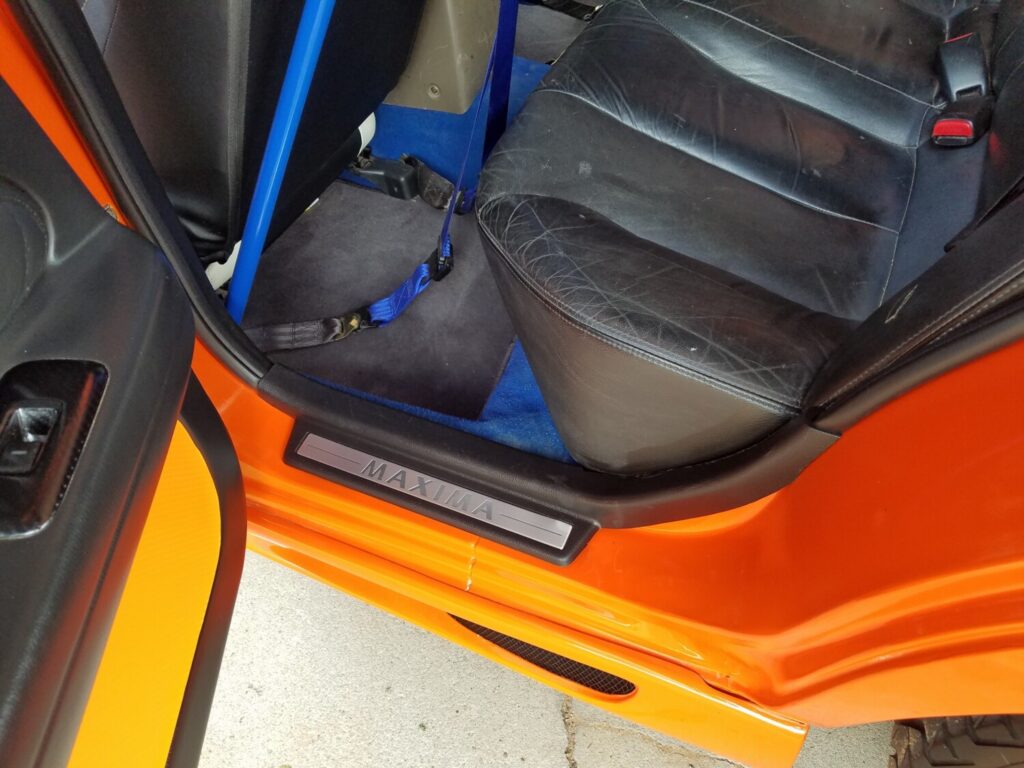
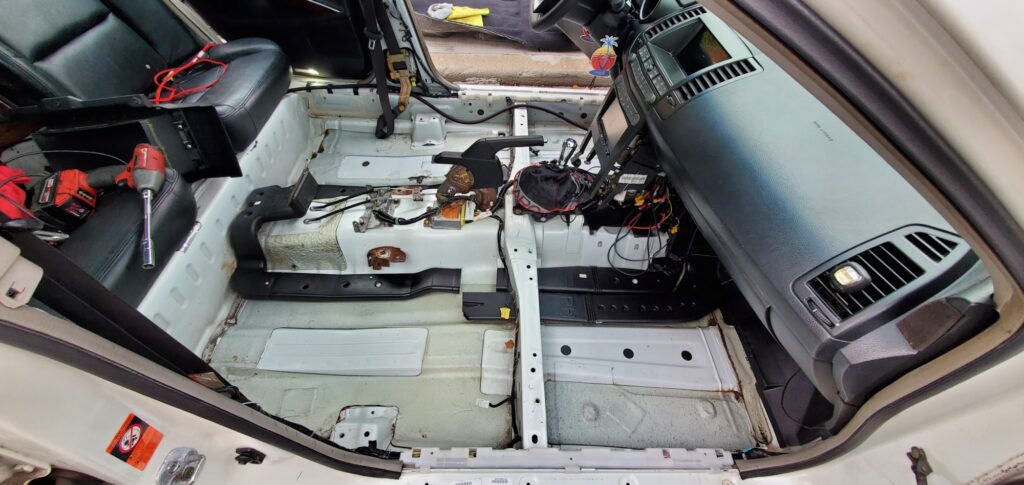
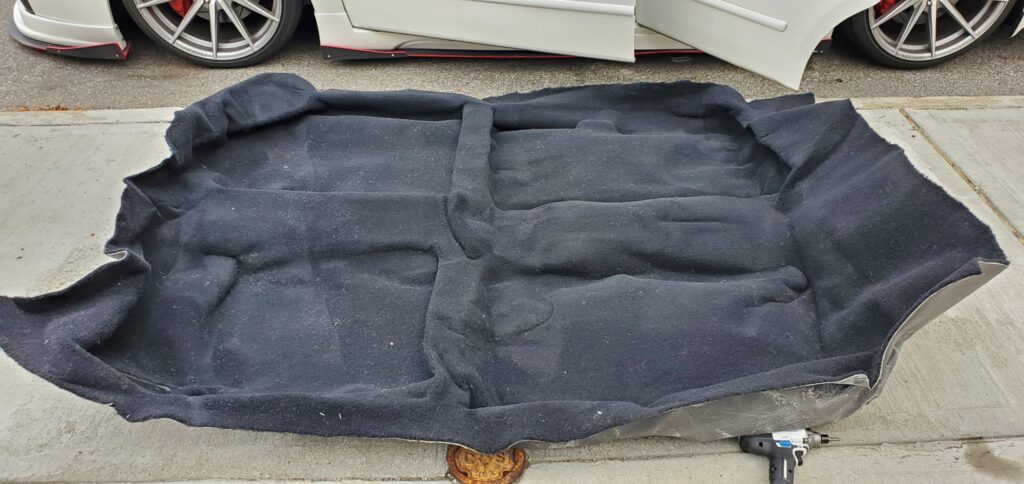
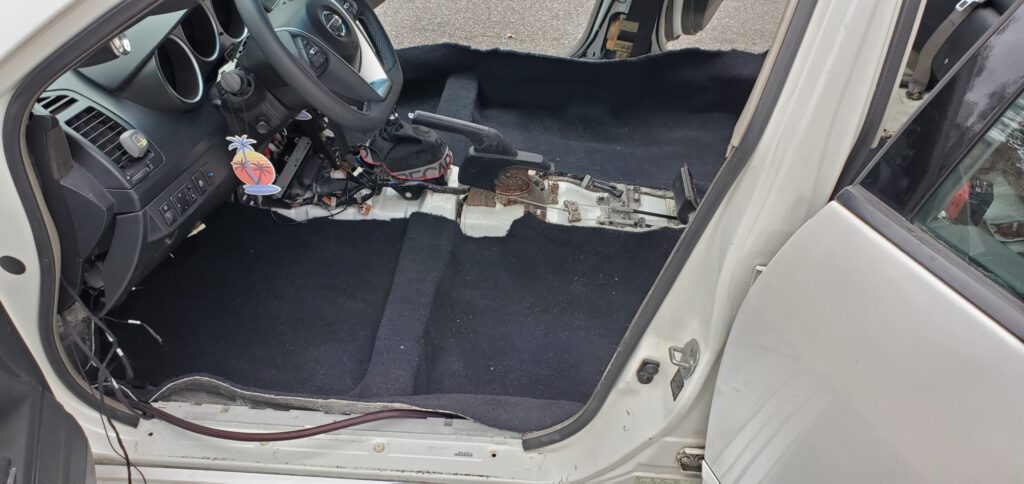
I decided to finally swap out my full interior to an Elite Edition. Given I was re-doing everything, I purchased a brand new carpet. Below are the details:
Part Number: 10022
Order Link: https://www.stockinteriors.com/AutoCarpet.asp?Itemid=10022&ModelId=319
Price: $257.45 (Includes Mass Backing @ $64.00, Shipping @ $40.90, Discount $11.40)


![]()

Community Member Credit: PAREDLINE
For all of you with a seat motor that doesn’t go forward or back- I fixed mine today. It finally got on my nerves enough. I didn’t take pictures but while it’s fresh I will summarize. There is nothing wrong with the motor itself. What happens is one of the contacts inside the motor bends and doesn’t make contact with the shaft. As a result of this, the motor doesn’t work. The first thing you need to do is get the seat off.
Step 1: If the seat is in a position where you cant get access to the bolts do the following:
From the back seat, the floor look under your driver seat. You will see (or feel) two screw shafts going from the front to back. About 1/3 of the way back from the front you will see a 10mm bolt on each side.
Remove this bolt on each side. It might be a little tricky because you cant really see it but you can probably feel it. I used an open-end ratcheting wrench to remove mine.
Once you do this, the seat will move forward and backward freely.
Step 2: Remove the seat bolts. 2 in front. 2 in back.
Step 3: You don’t need to remove the seat. What you will need to do is rest the seat on its back so the bottom is facing the front of the car.
Step 4: If you haven’t done step 1 yet. Do it now.
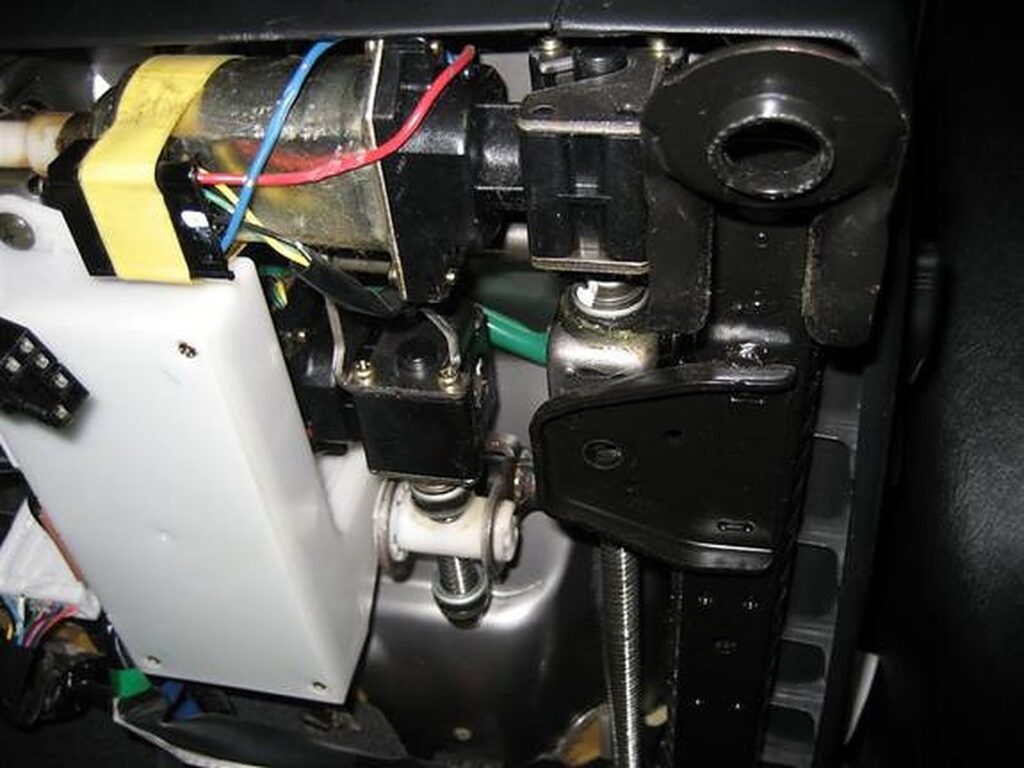
Step 5: The motor that’s in the front of the seat is the one you have to fix. Give it a few taps. See if it works now. Chances are it will. Only you’re not done. You will see a motor with a shaft that runs from left to right. 90 degrees to the screw shafts.
Step 6: There are 4 Philips screws on each side of the front of the seat. Remove these screws. The motor should drop out of the mechanism along with the horizontal shaft and the screw shafts. If it does not drop out, you unbolted the wrong bolts.
Step 7: Take the entire thing to a clean working spot. Loosen the 3 screws holding the motor together. Take the metal cover off the motor. Inside is a magnet so you will have to pull a little.
Step 8: Once the cover is off, pull on the shaft of the motor so it disengages
Step 9: You will see two metal contacts near the base of where the shaft is inserted into the drive mechanism (the thing you just pulled out)
Chances are one or both of these contacts are not making contact with the shaft.
They both should be in contact with the shaft for the motor to work. Simply bend the one that’s deformed back towards the center.
Step 10: Reassemble everything with the motor. You can clean out the inside but don’t use anything that’s too strong that it will strip the lubrication.
Step 11: On each of the screw shafts there is a mounting site where the shaft mounts to the actual seat. These must be in the same location on each side of the seat or else the seat will be crooked.
To ensure you assemble them in the same location (it gets a little tricky here) first screw them by hand so that both sides are on the bottom (furthest away from the motor).
Then turn both of them 5 turns toward the front. or 3 turns or 7. Just turn them both the same amount.
Step 12: Reassemble the entire assembly back onto the bottom of the seat.
Step 13: Reattach the 4 Phillips bolts on each side
Step 14: Reattach the harness to the seat motor.
Step 15: Using a helper, one person holds both of the mounting sites on the screw shafts while another one presses the button to move the seatback. This will move the mounts back to where they mount onto the seat.
Replace the 10mm bolts you removed and make sure the location of the mounts along the screw shaft is exactly the same on both sides.
Step 16: Replace the seat and bolts. Everything should be working.
I had no idea what I was doing in the beginning so I removed the seat back and the airbag harness was there. I disconnected that. I don’t know if it’s essential. I would do that just to be extra safe.
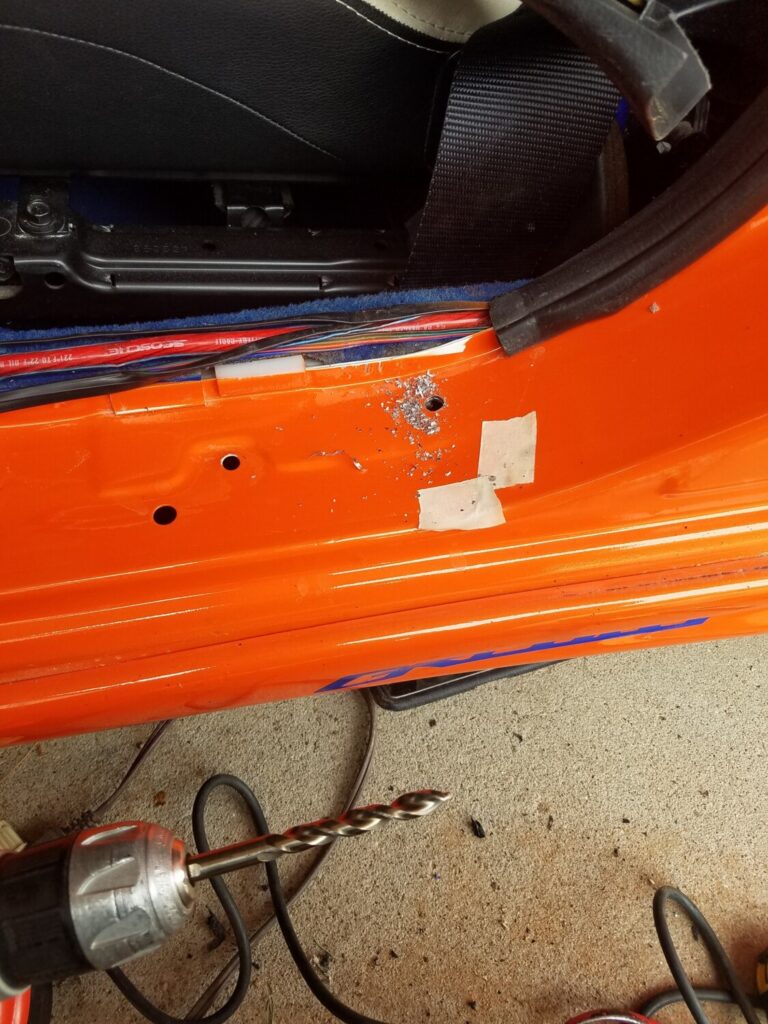
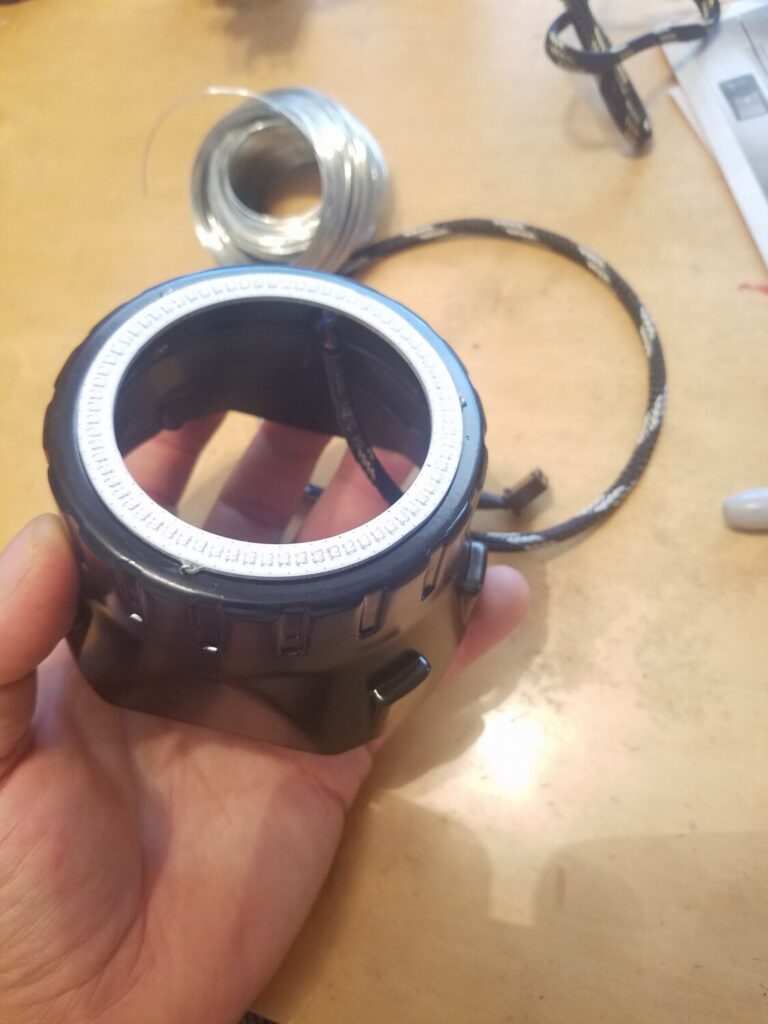
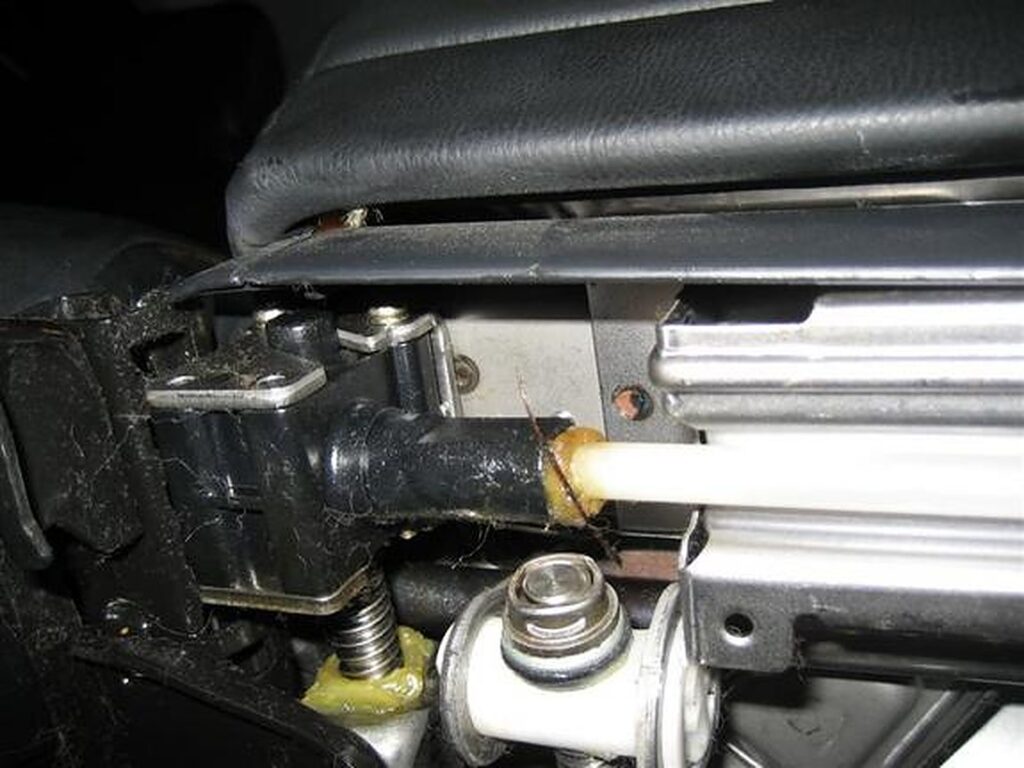
Well – After manhandling the plastic trim enough, I was able to get it out of the way to get most of the screws out. The top screw closest to the console ended up getting stripped. After a few choice words, I found that I could separate the flex shaft from the motor housing and remove only the side that was attached to the motor.
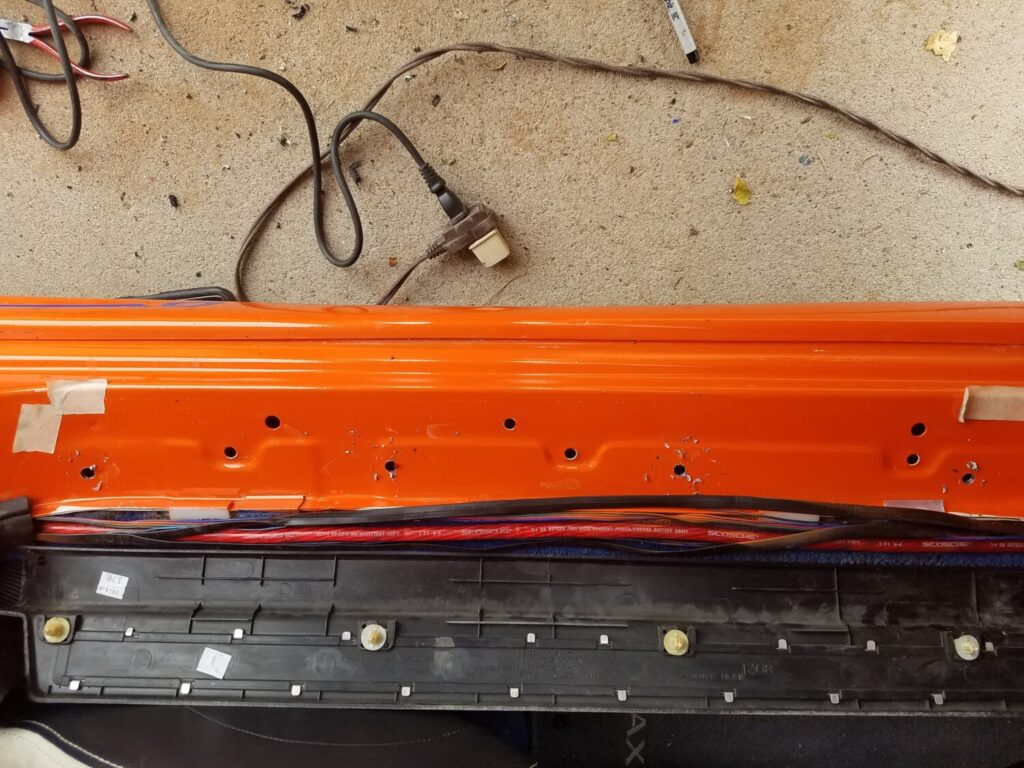
Here’s a pic of one side removed from the seat.

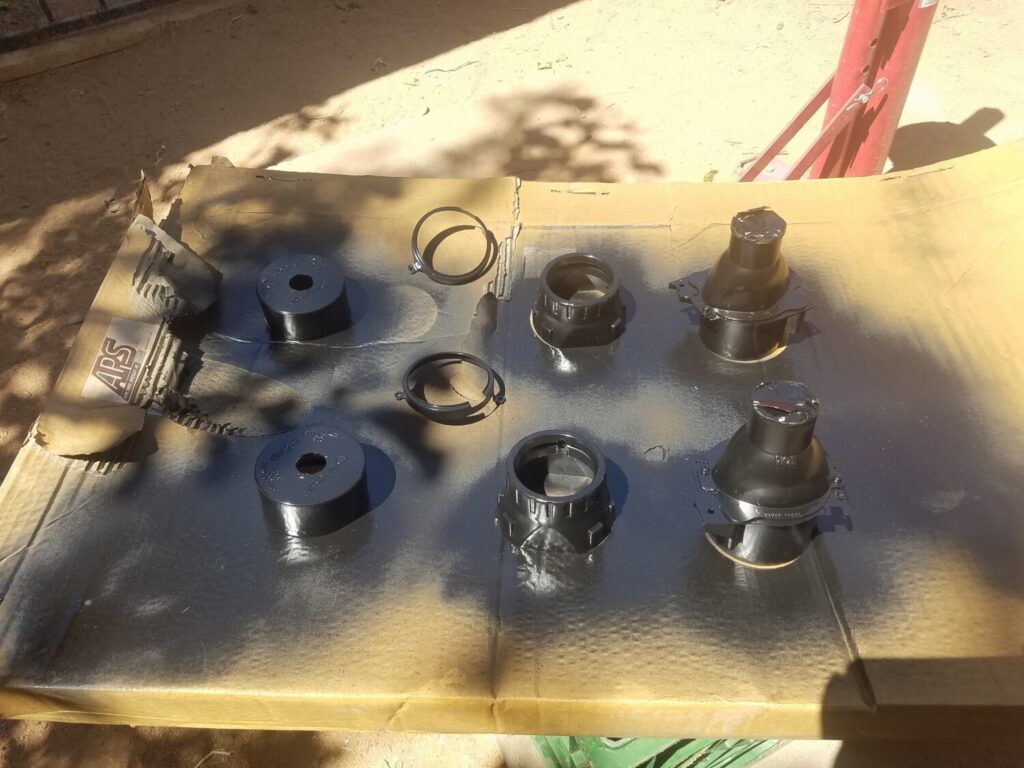
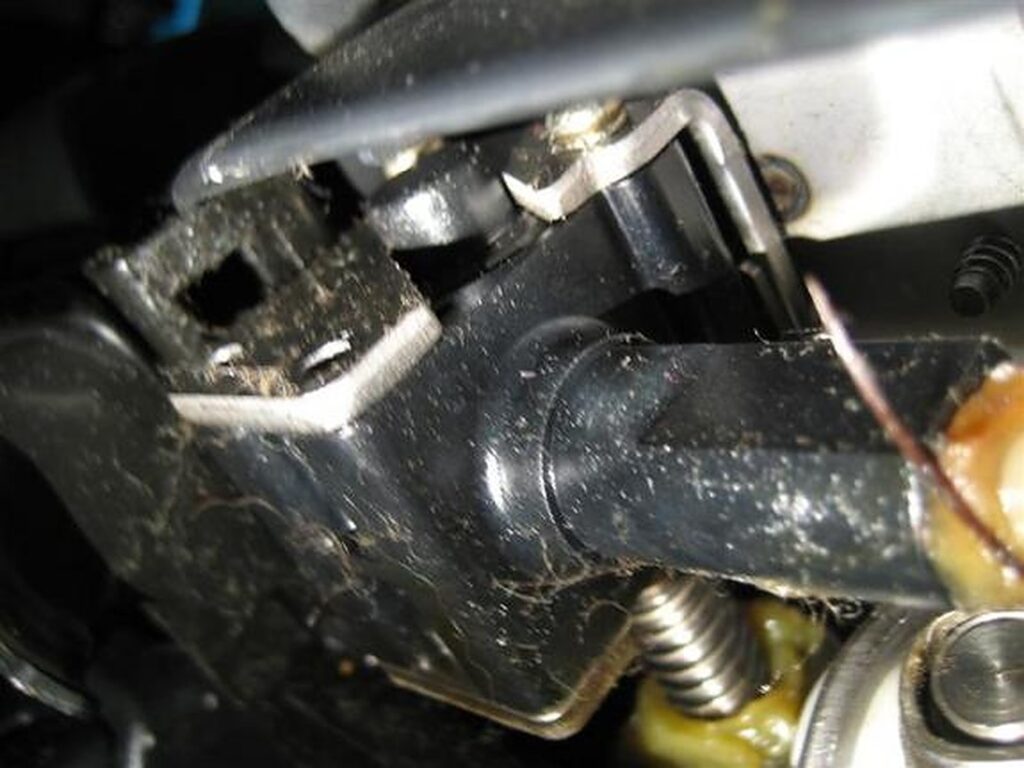 Here’s the unit w/ motor cover removed.
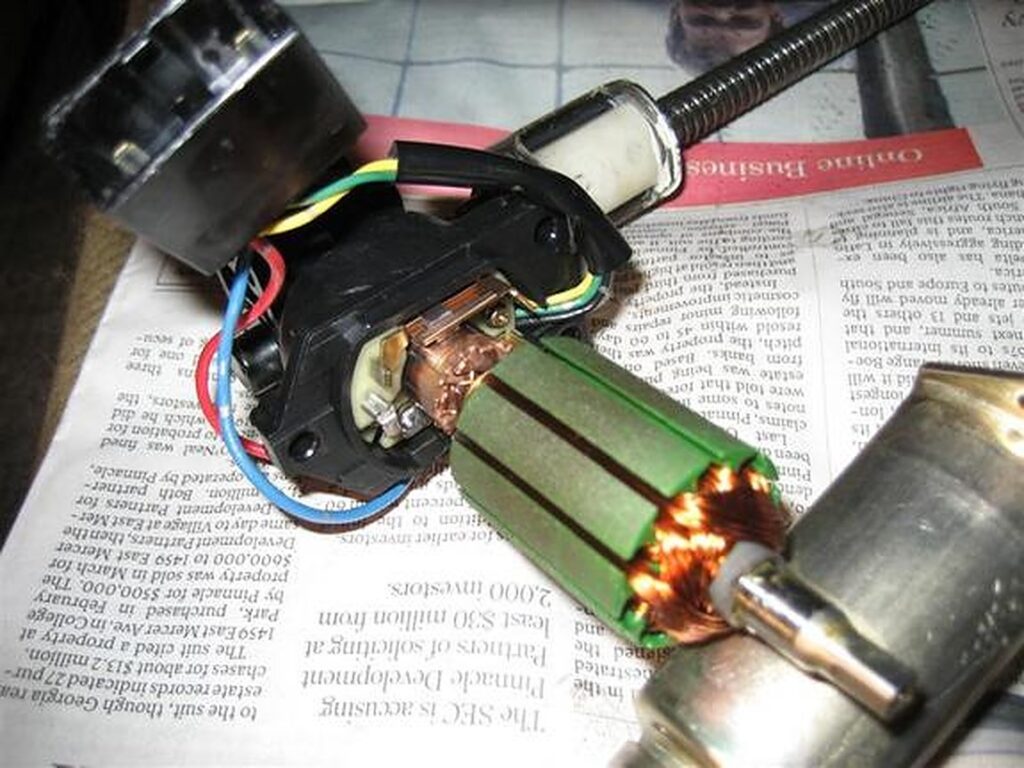 Here are the metal contacts (brushes) from step 9.
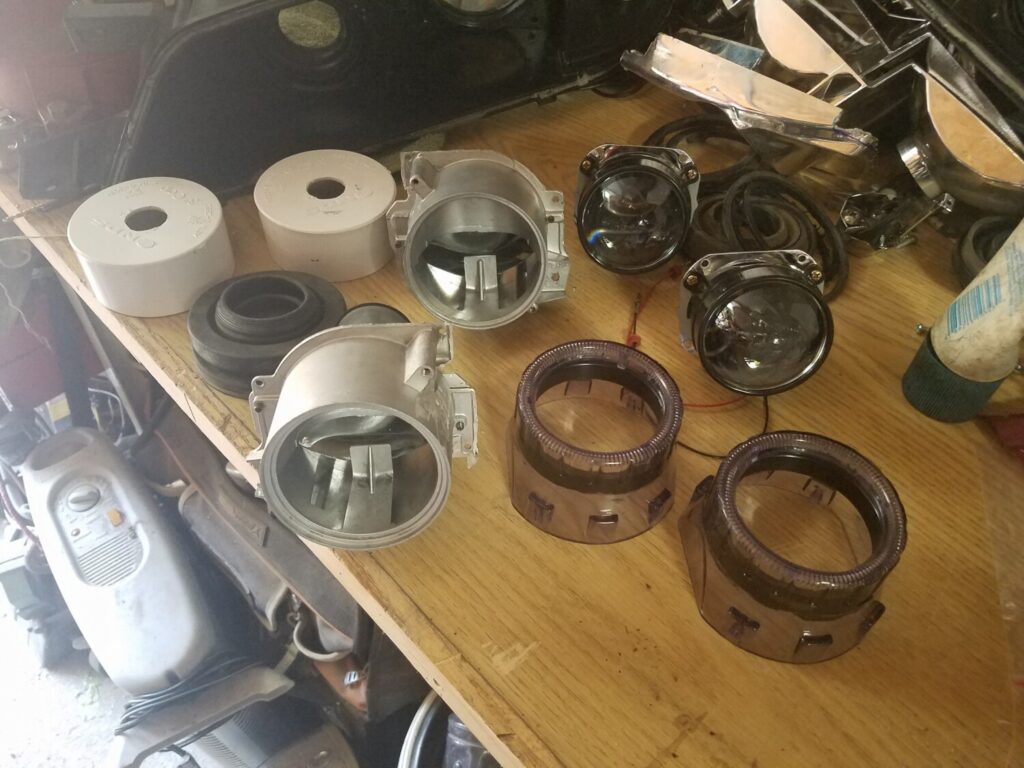
 You can see how the bottom brush is barely making contact. This is the piece you’ll want to “tweak” to make better contact with the shaft or “commutator”. You’ll want to clean the shaft/commutator and brushes as much as possible to remove carbon buildup that will inhibit electrical contact. Alcohol or electrical contact cleaner works well.
Put everything back together and works great.
I thought about doing this a while back – even started removing the seat bolts…just couldn’t figure out how to get to the back bolts. Removing the bolts in step 1 to allow free motion of the seat was the trick.
 Additional Member Info (Credit: farhanm)
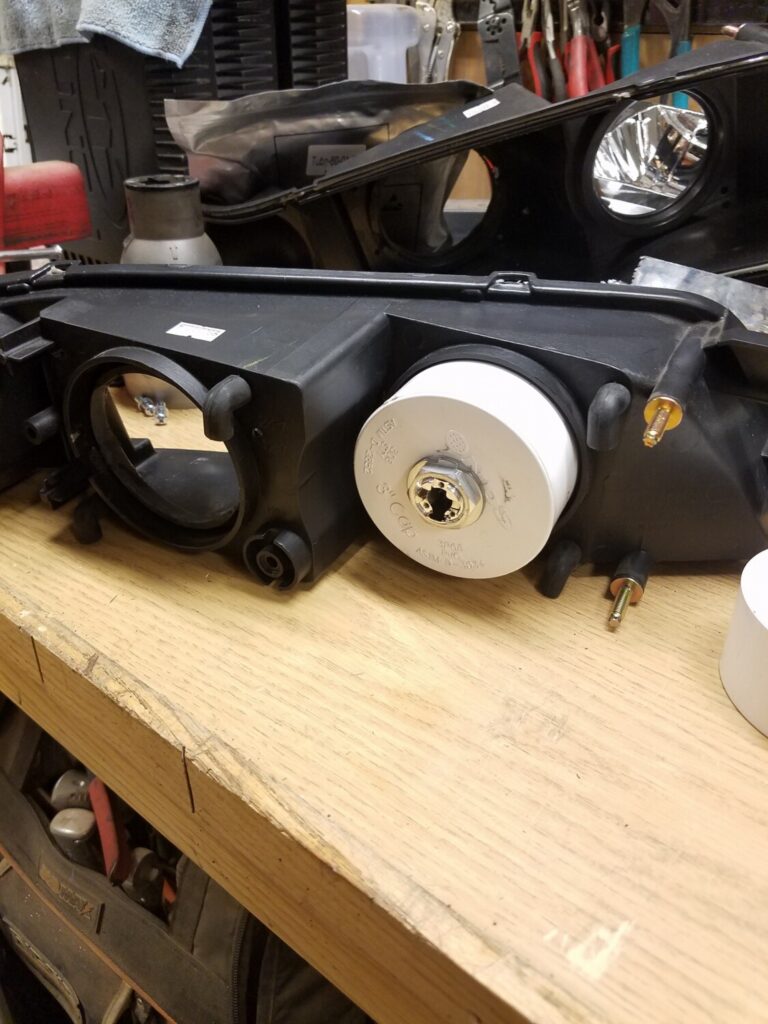
I used this and the TSB diagrams to open up my 2003 maxima driver side power seat. The problem was that the seat only moved from one track. the left side track( towards the door) didn’t move. Anyways so I opened up the motor and assembly to find out that the plastic cog that’s suppose to make the worm gear move is all messed up. Therefore the motor turns but since the cog is messed up, the worm gear doesn’t move and the seat doesn’t slide.
I was wondering if I could just replace the plastic cog. everything else is fine. here’s the picture of the cog I am talking about.
They do sell the plastic cog. It fixed my 2 yr. broken seat. The dealership wanted $1100 to fix. It should have been $500 if you replace the motor and screw assembly. The plastic cog is $40 (pretty high for a 39 cent plastic part but is the cheapest option.
If you figure out that you need gears, here is a link: https://www.odometergears.com/products/Infiniti/Seat+Gears+%28ALL%29+01-Present/98
There is a motor kit for the back and forth sliding that I think is still available.
![]()


![]()

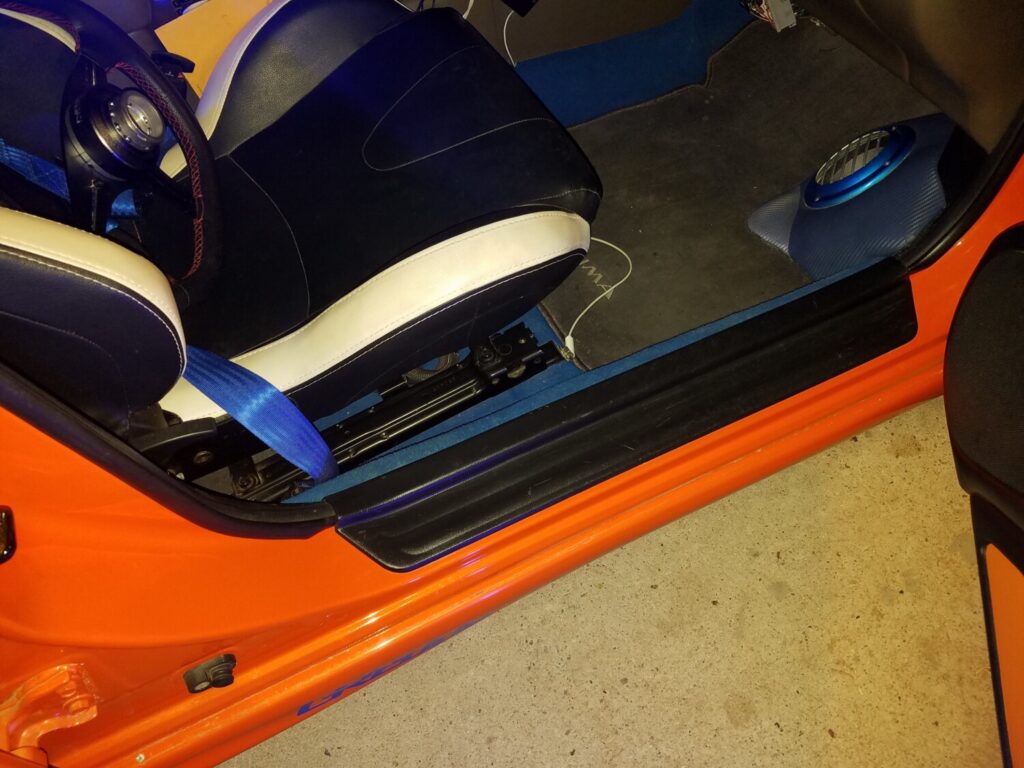
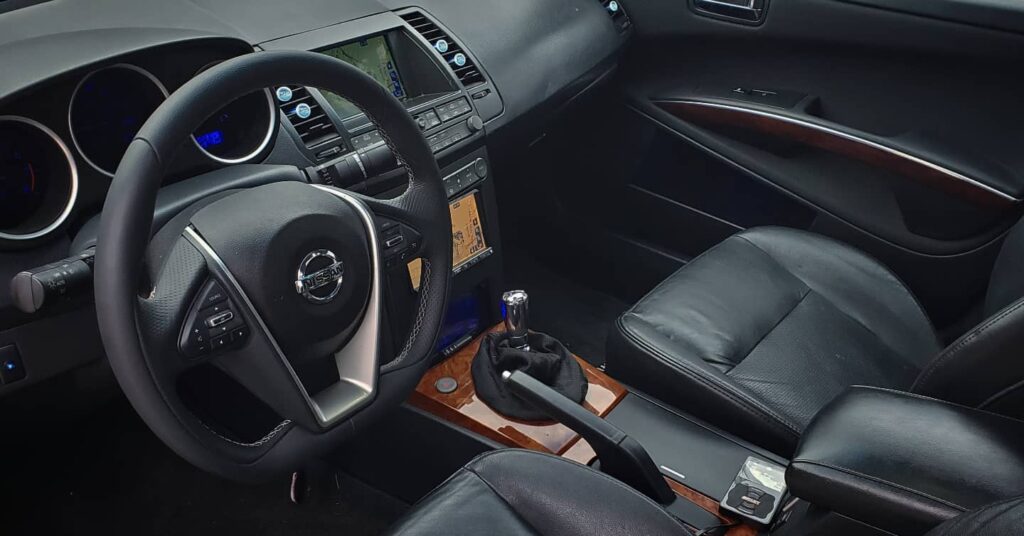
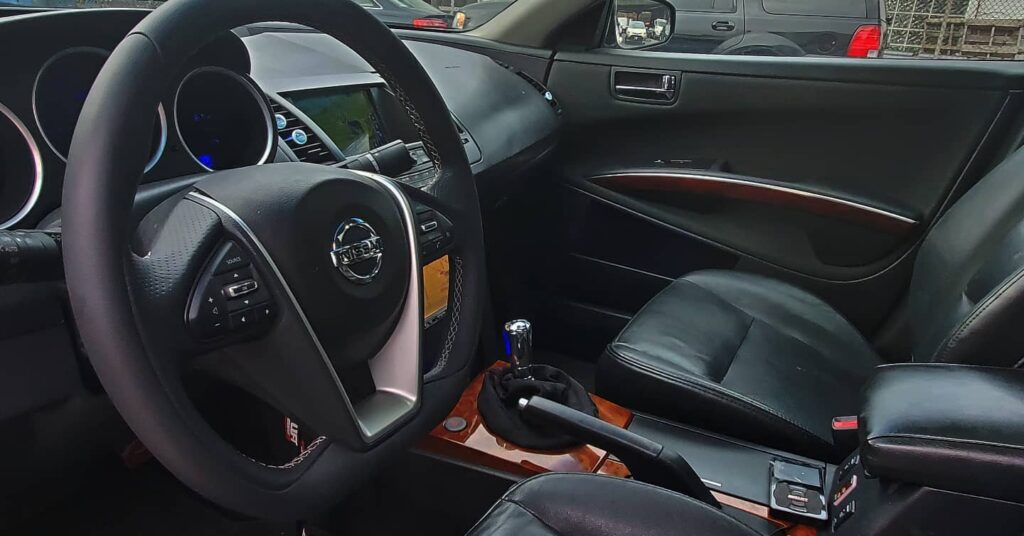
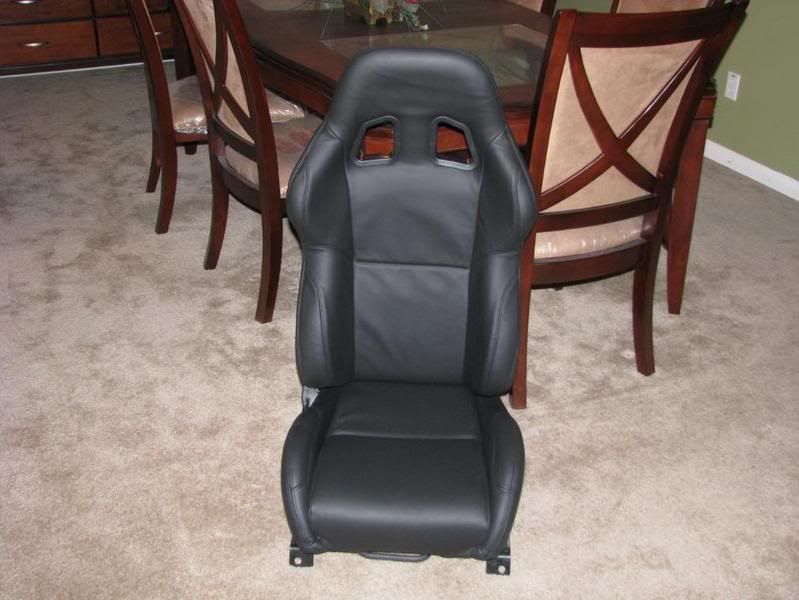
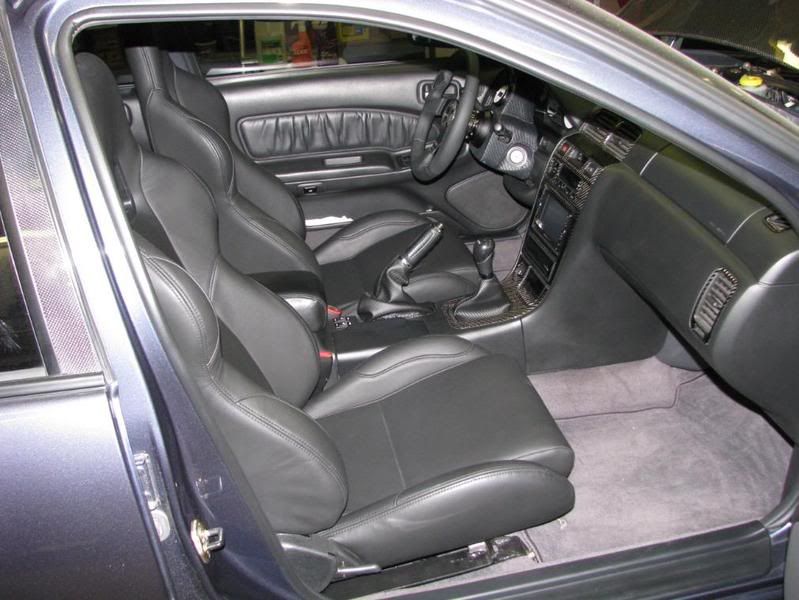
Community Member Credit: The Wizard
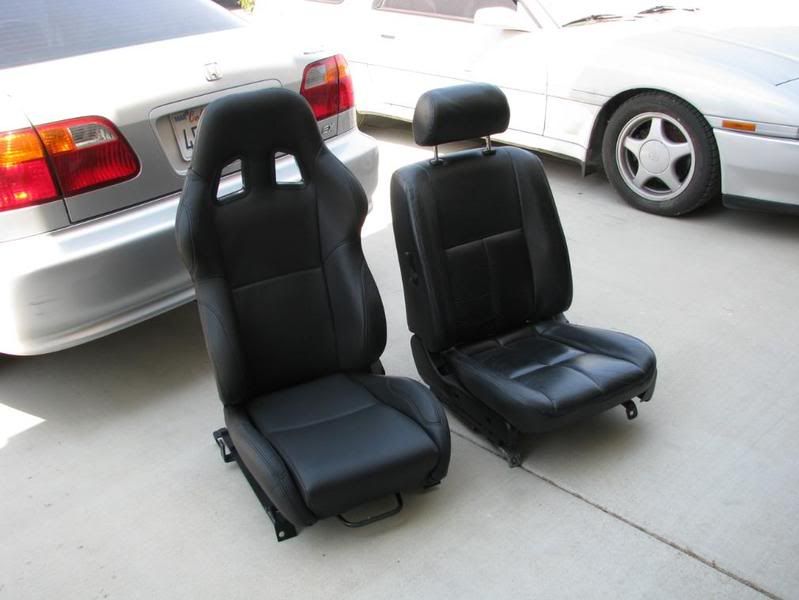
These are full leather Corbeau A4 seats. I splurged for the double locking sliders for aesthetic reasons and ease of adjustability. The double-locking sliders added $20 (each) to the cost of the bracket.
They feel great and hold me very well during aggressive driving…. and my car smells like a brand new car. Gotta love leather when it’s brand new!
On with the pics. Here’s the seat itself.
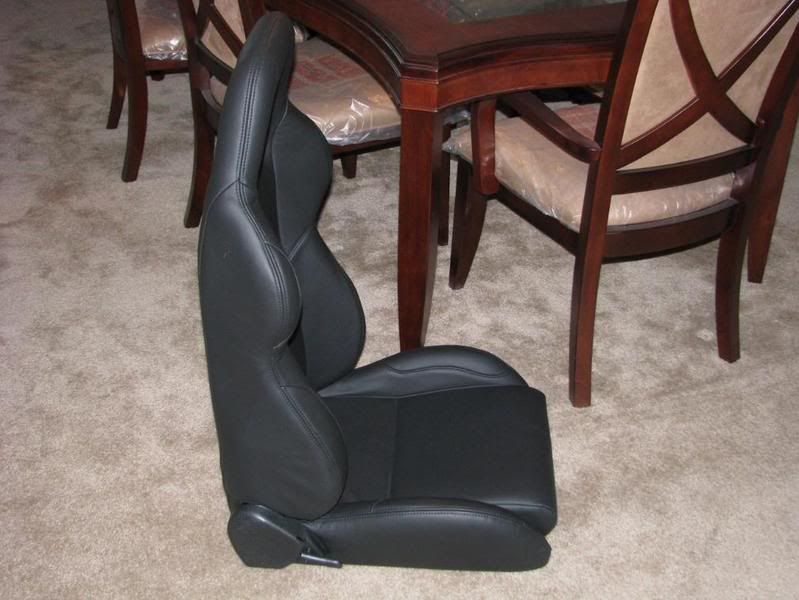
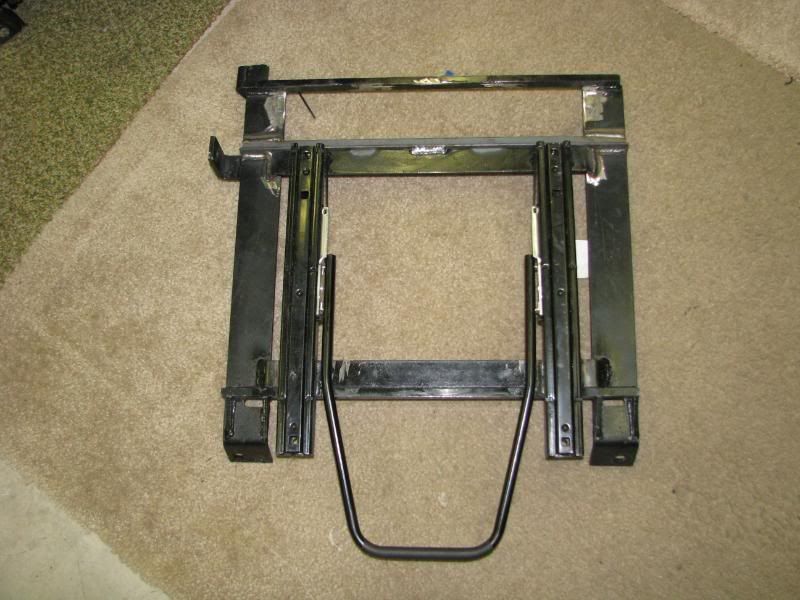
Here’s a picture of the bracket with a double locking slider the way it came originally.
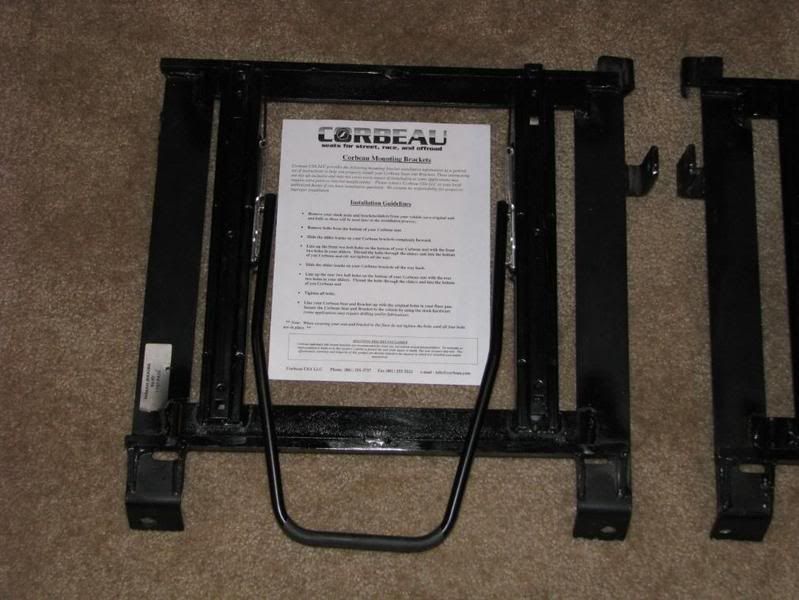
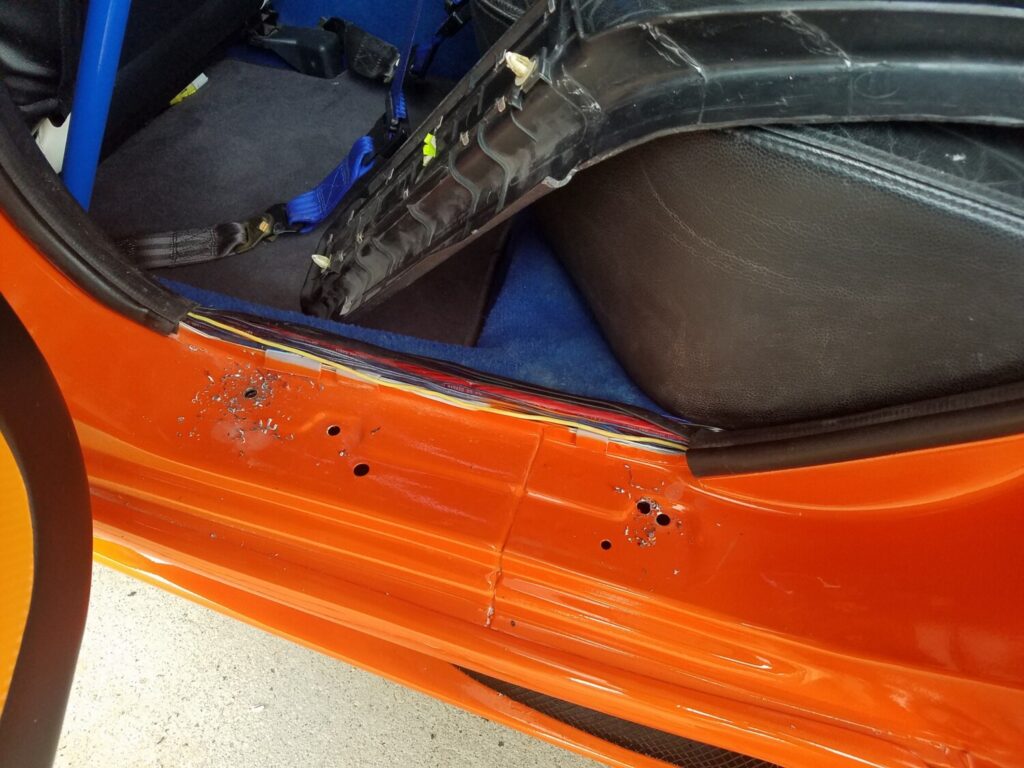
After I installed the seat, and with the seat in the utmost forward position, I couldn’t push the clutch in comfortably. With the seat all the way back, it almost touched the back seats! So I took matters into my own hands, cut off the brackets, moved the bracketry up 3.25 inches, and rewelded. See pic.
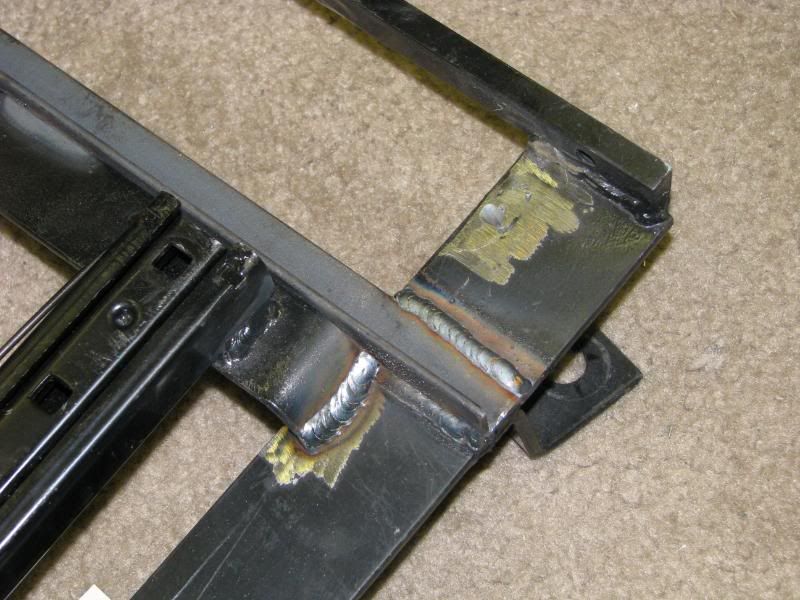
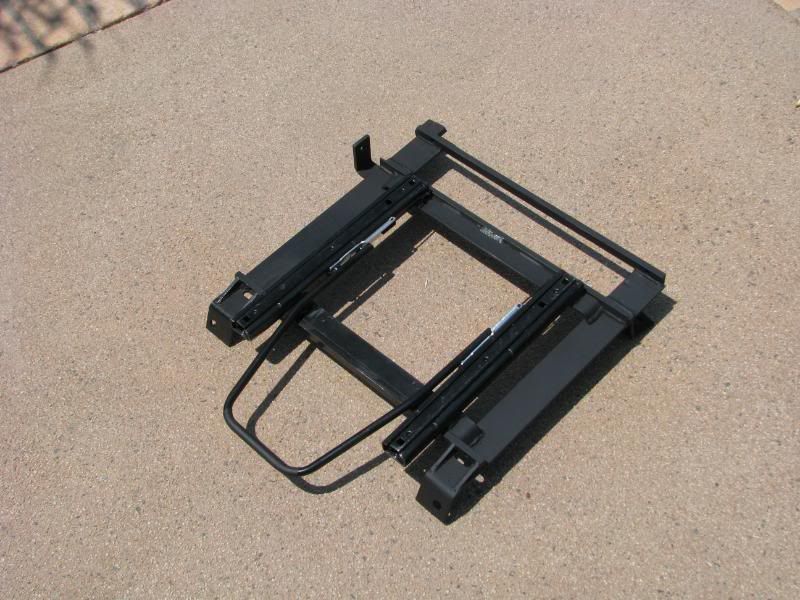
All done and repainted.
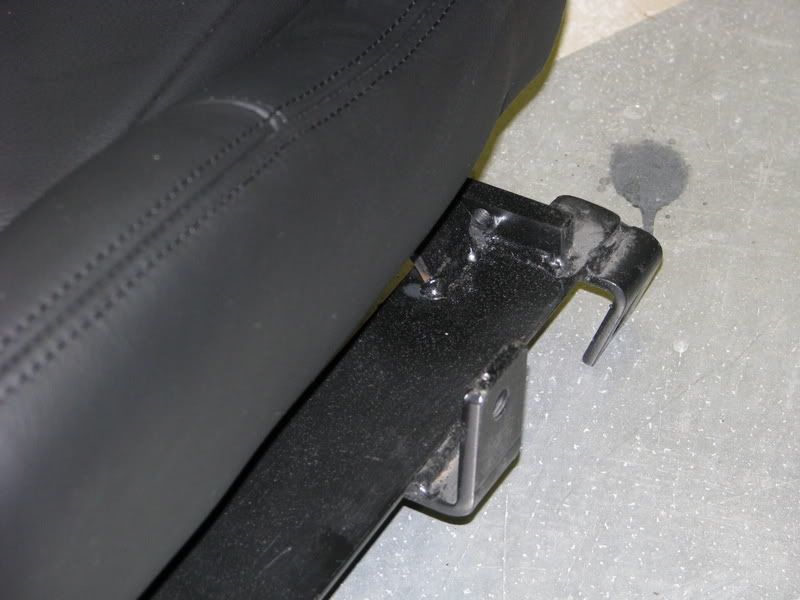
Seat Bealt Mount
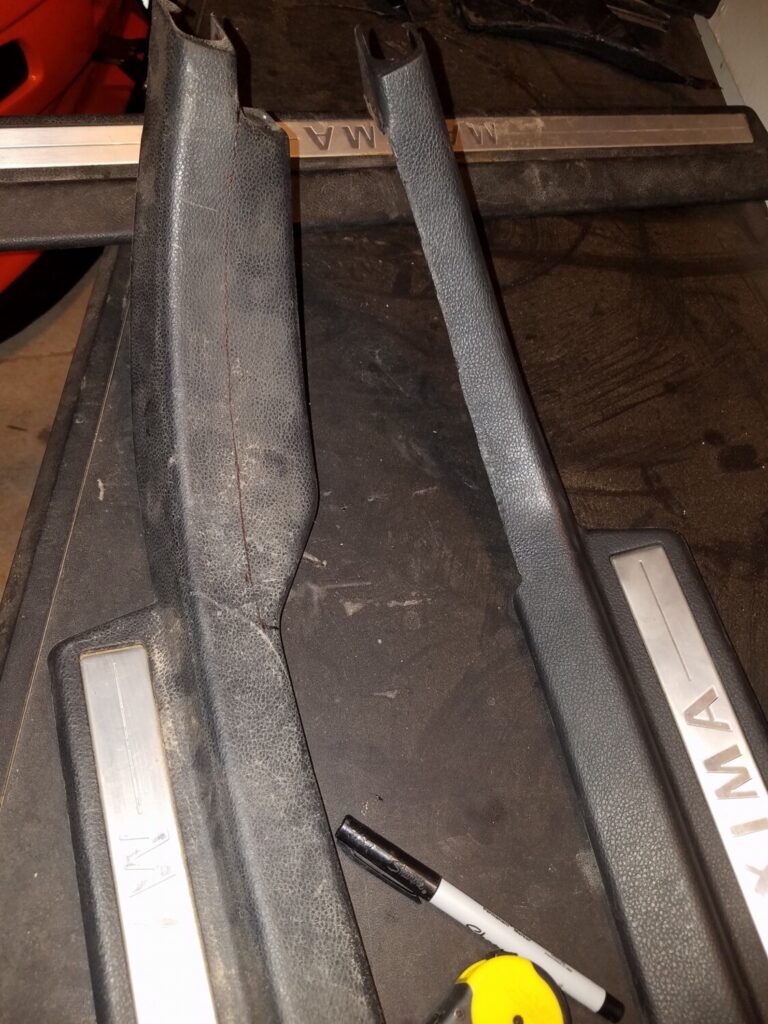
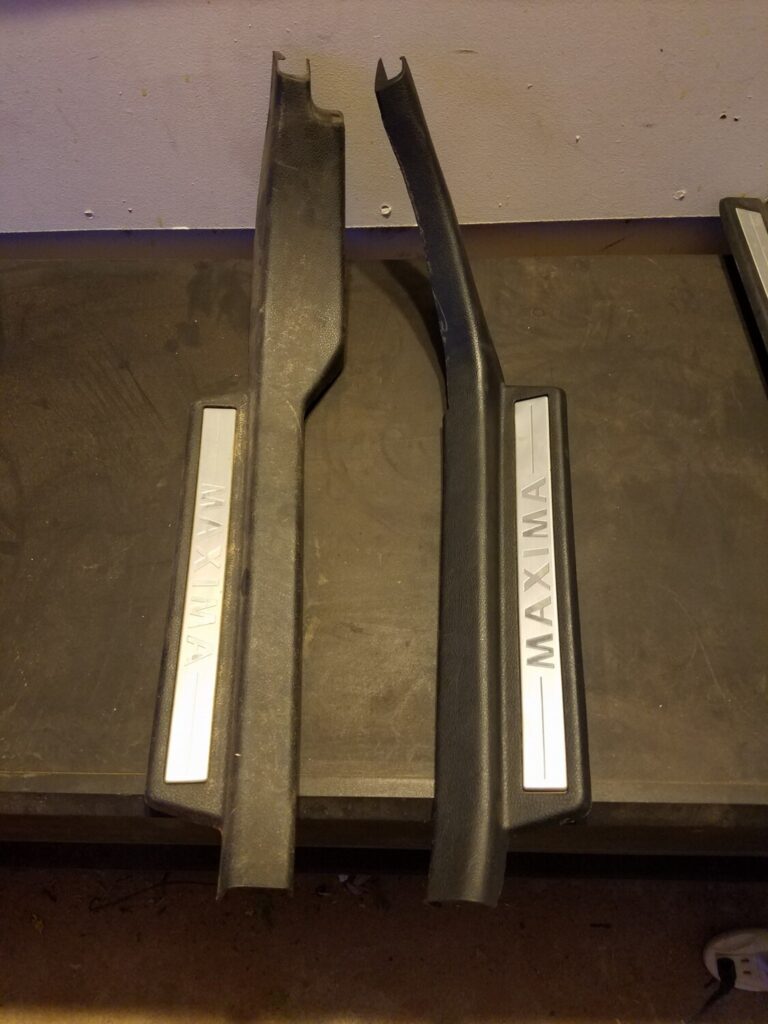
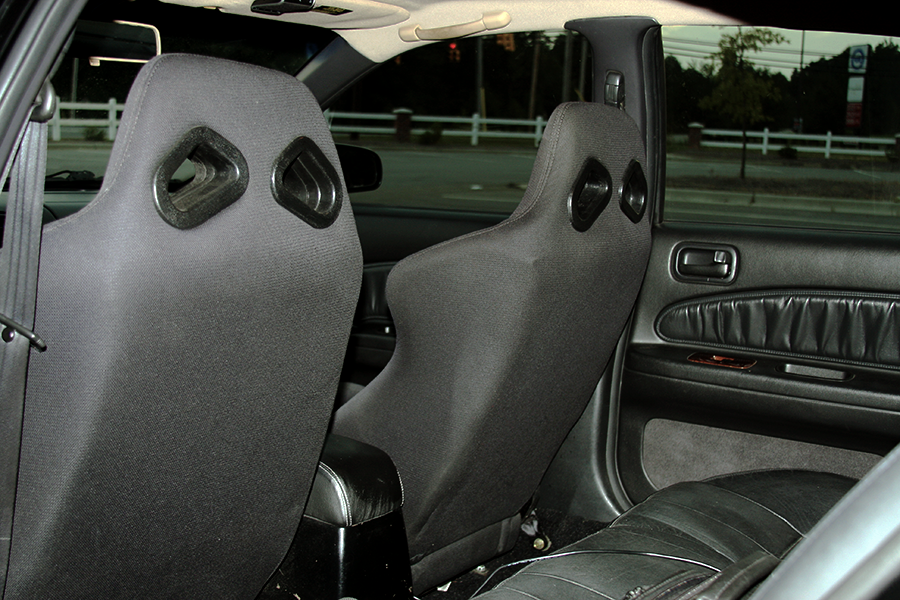
Here’s a comparison pic. outside of the car.
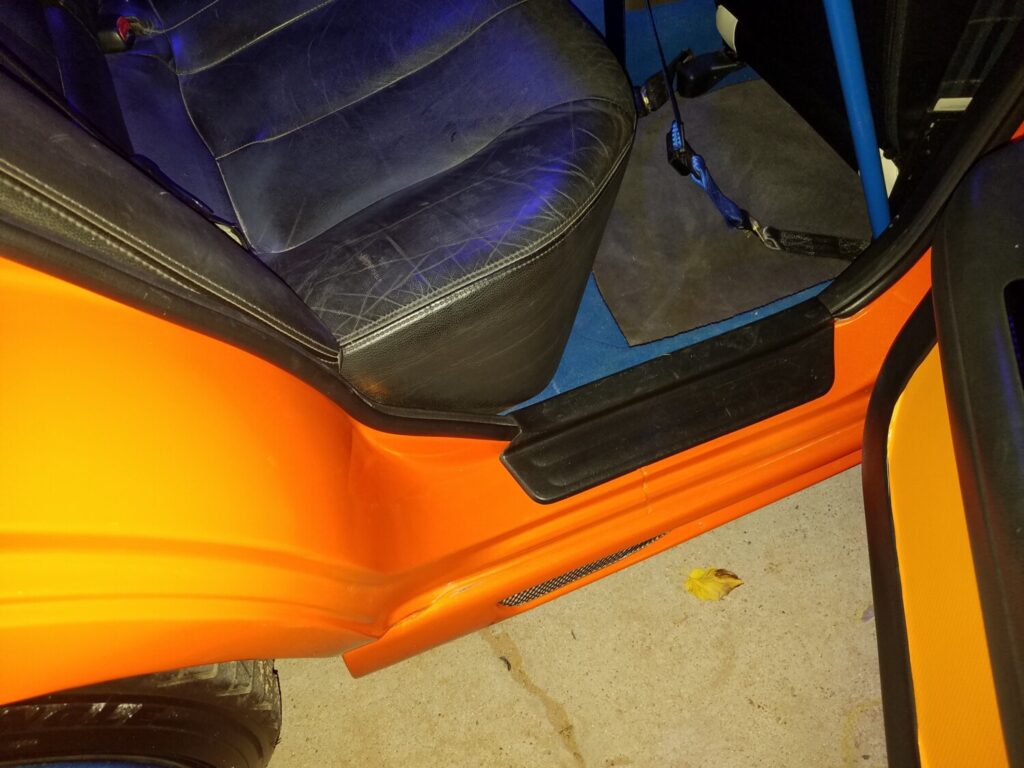
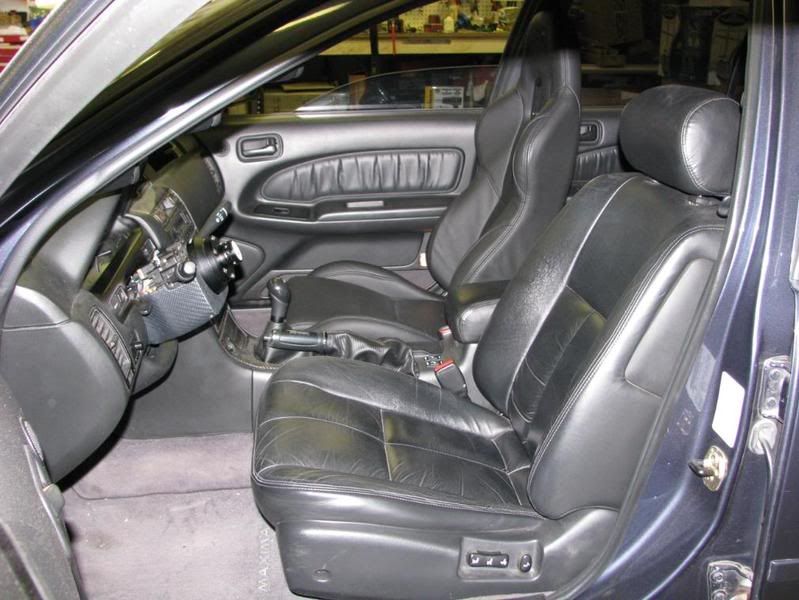
Comparison pic inside the car
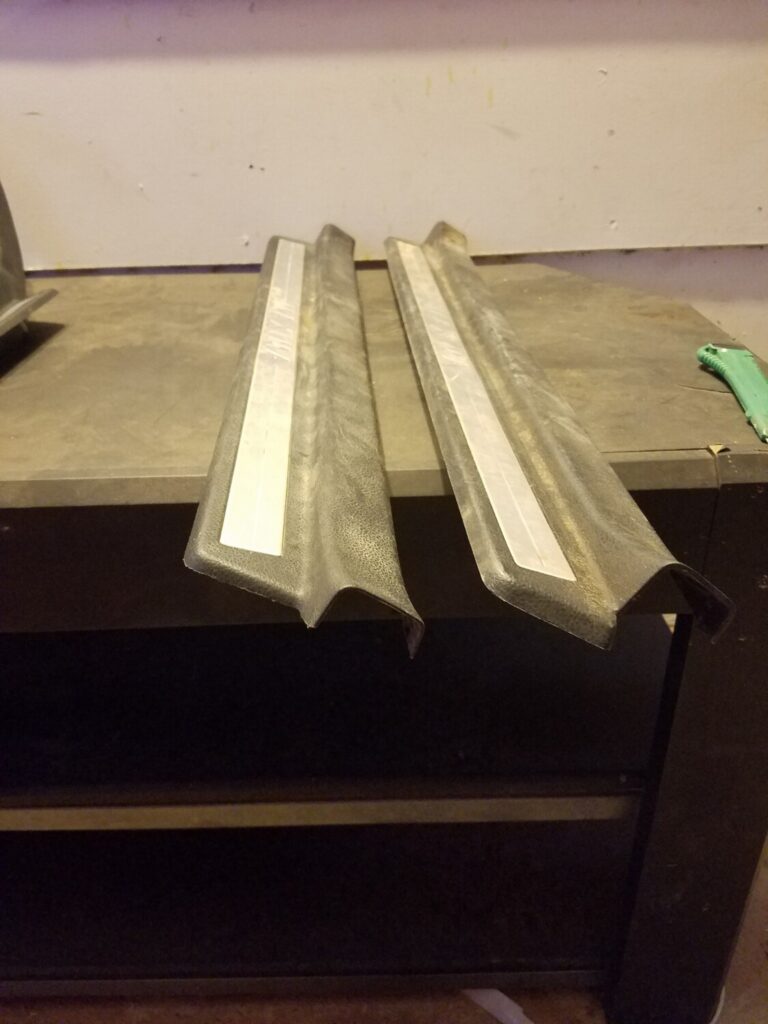
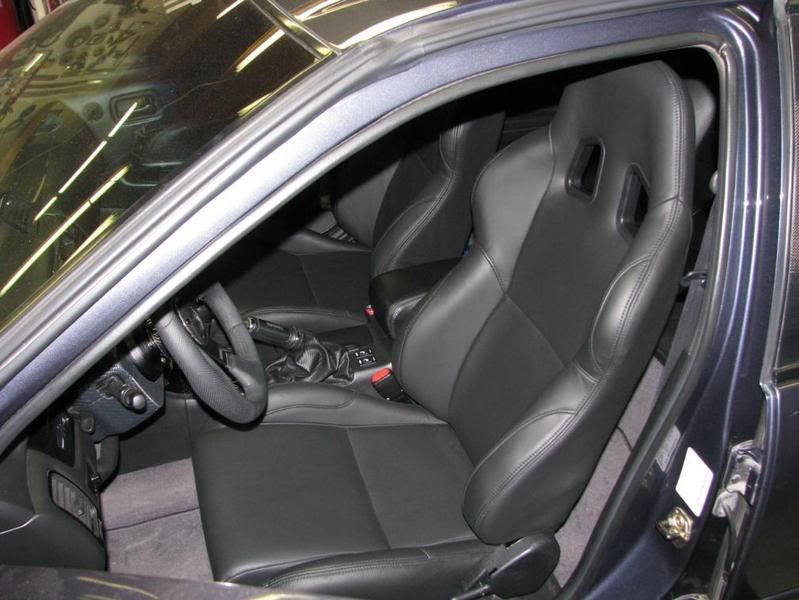
Another angle
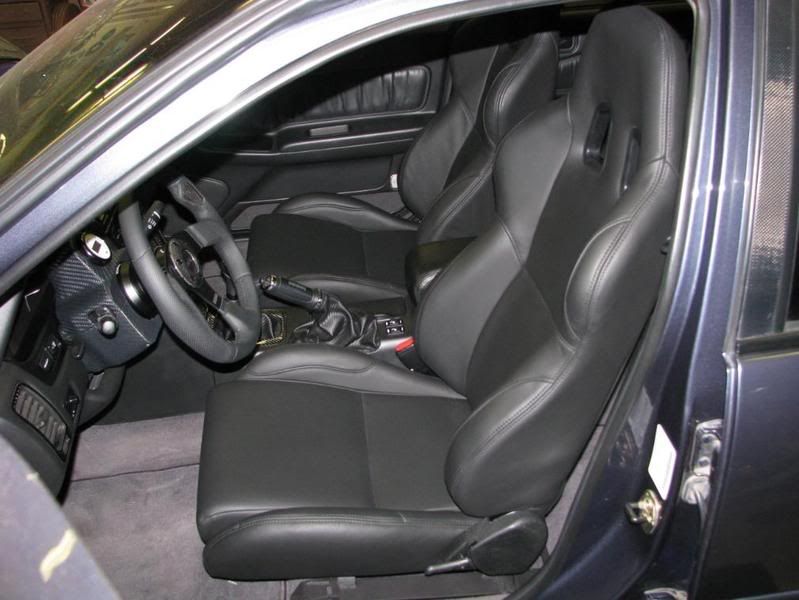
Both seats installed

![]()