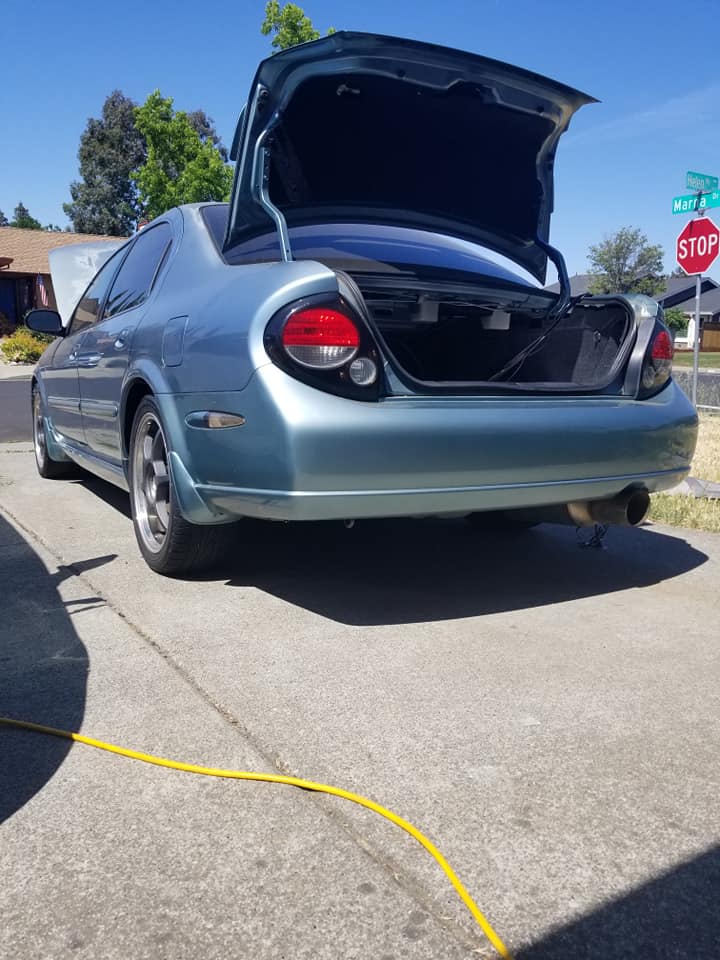
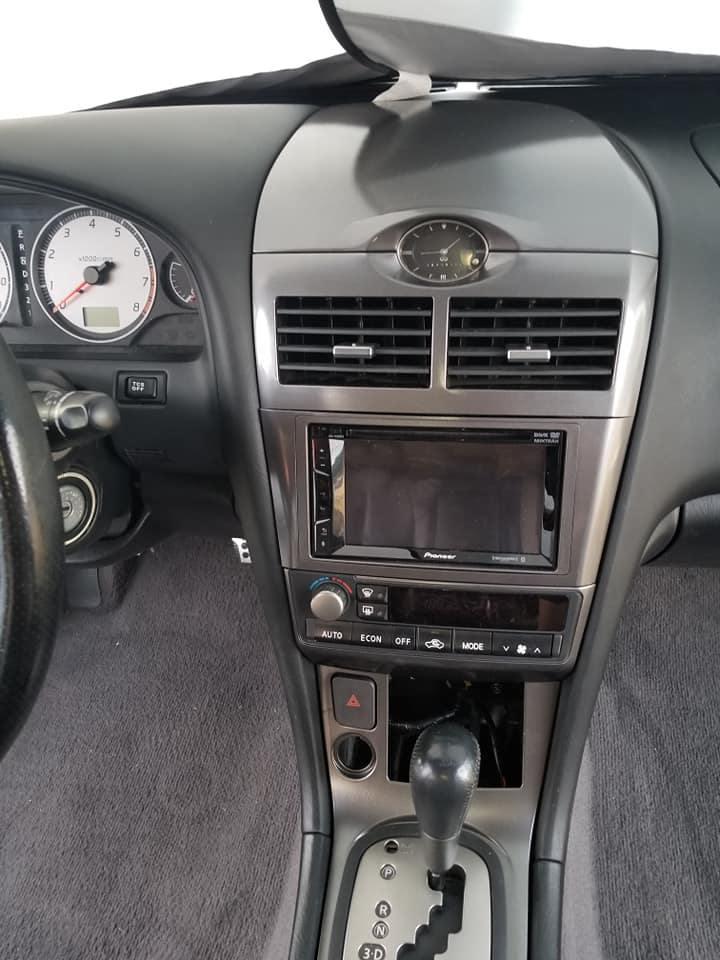
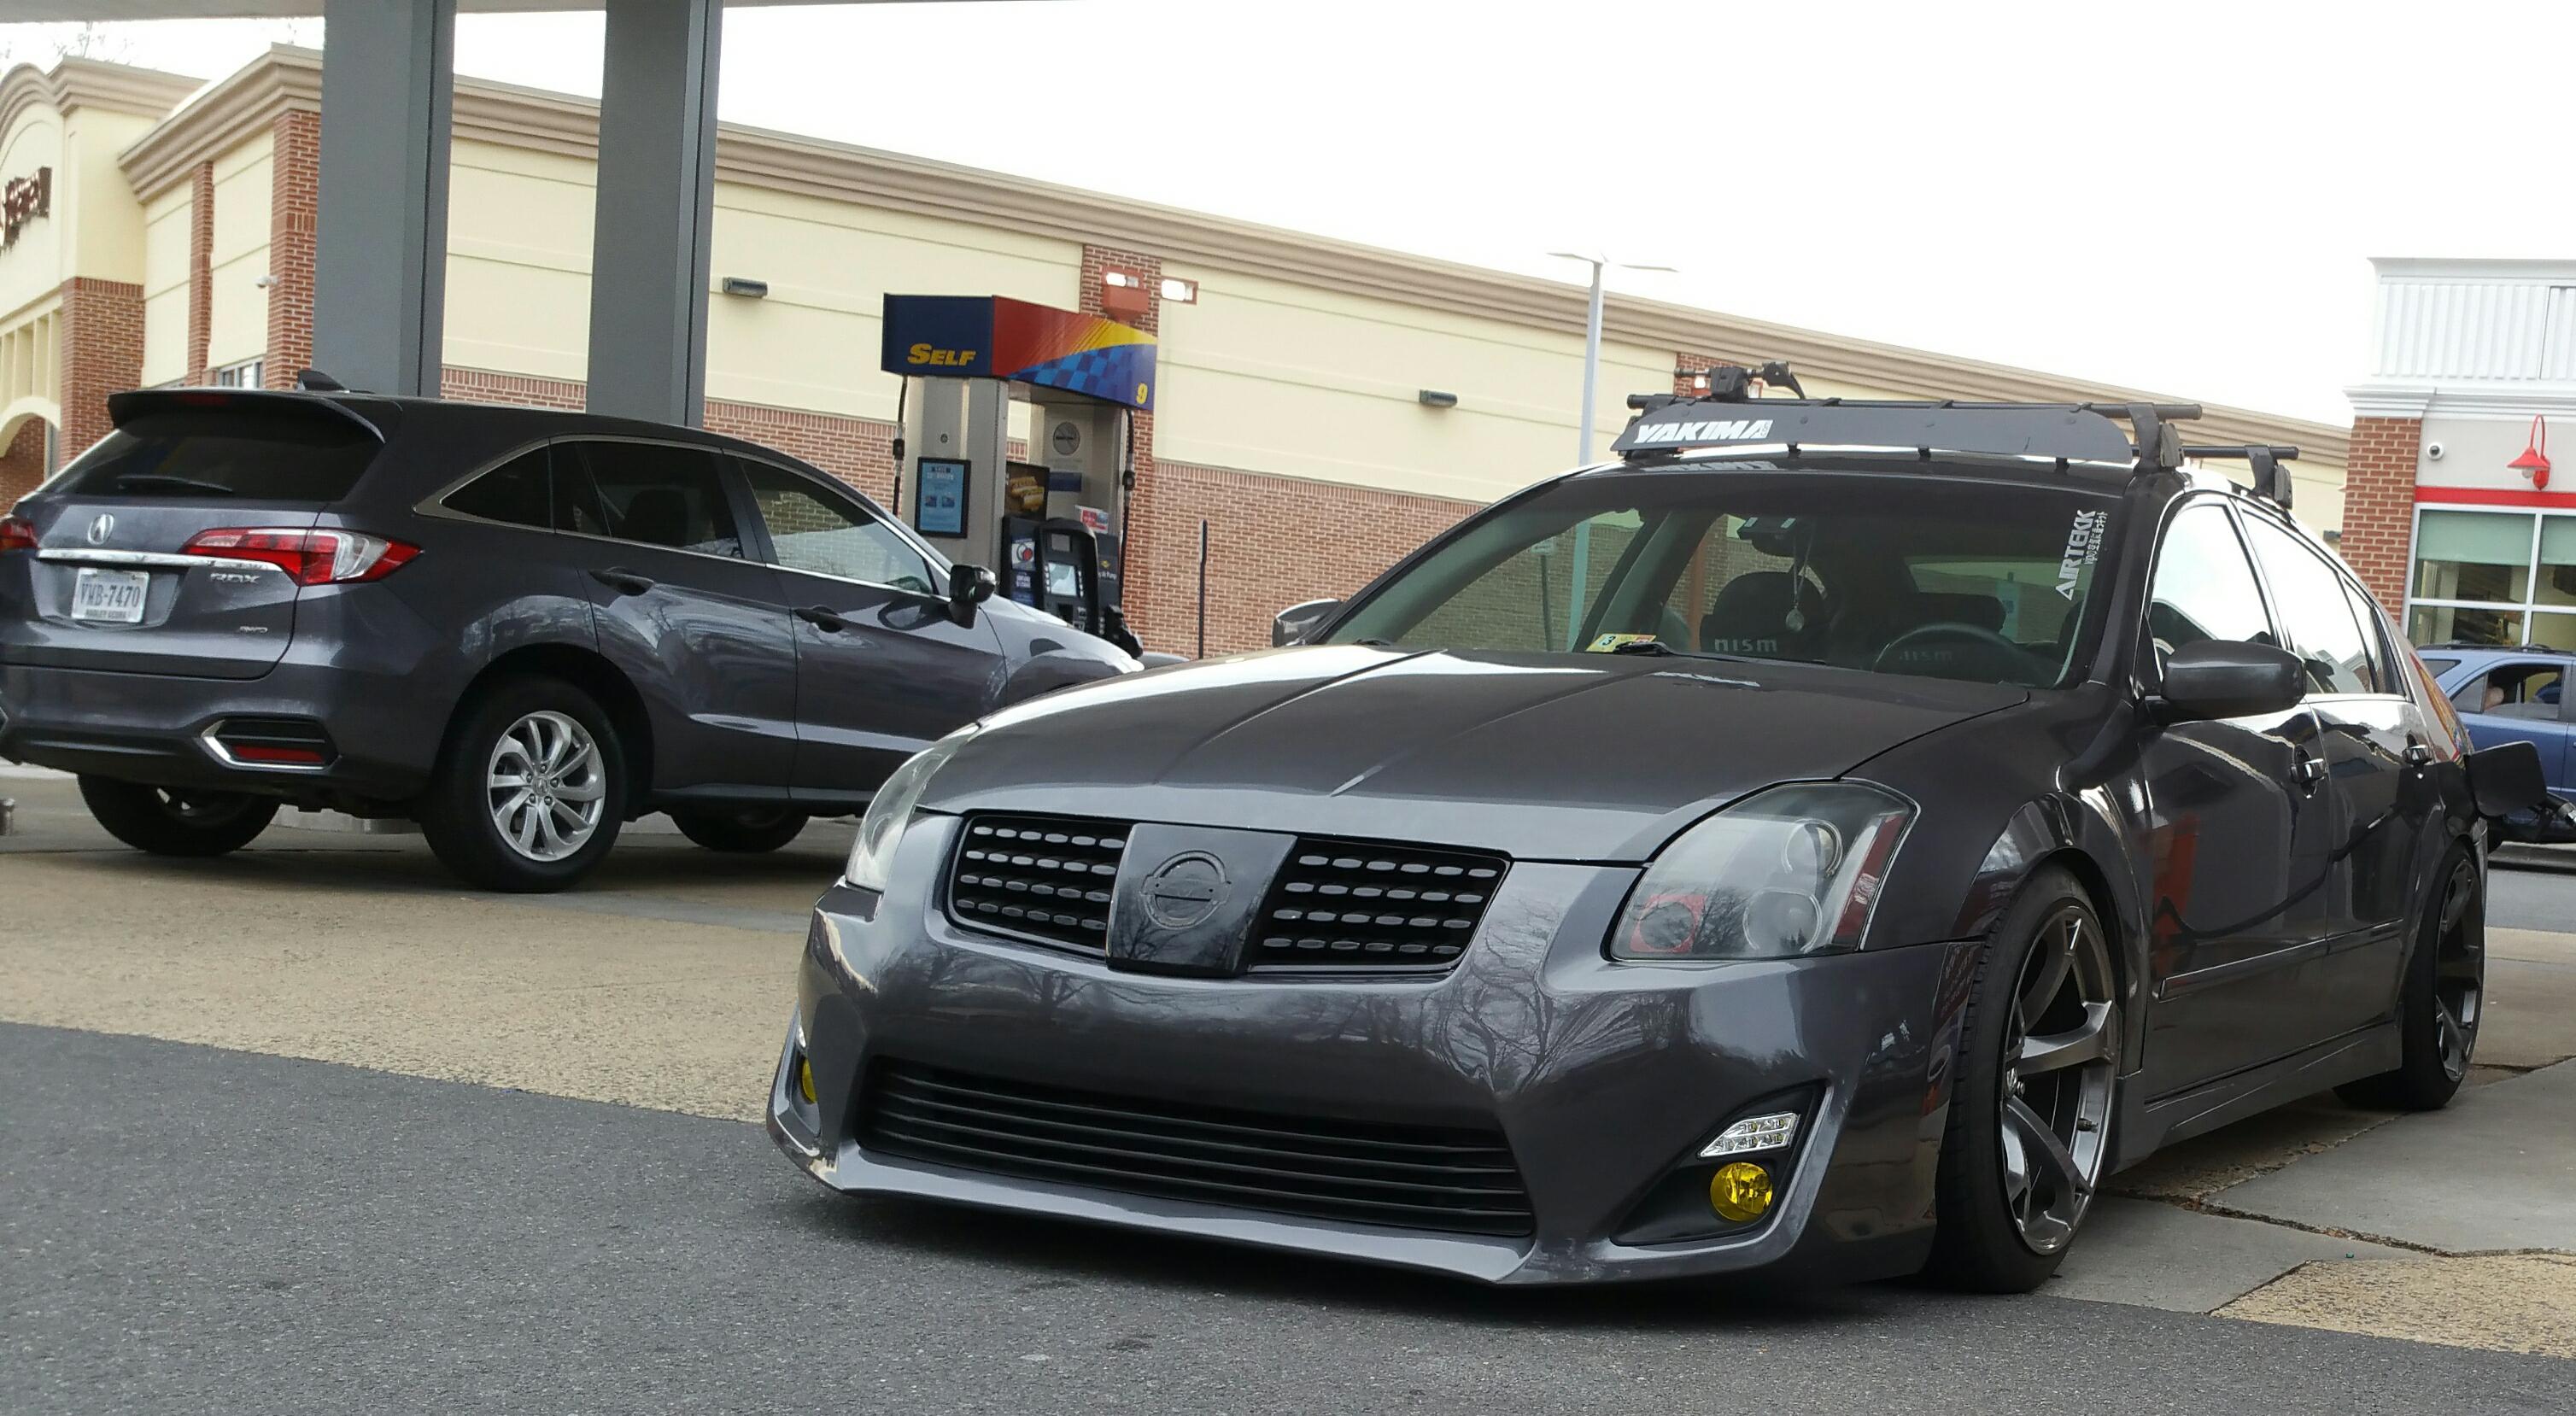
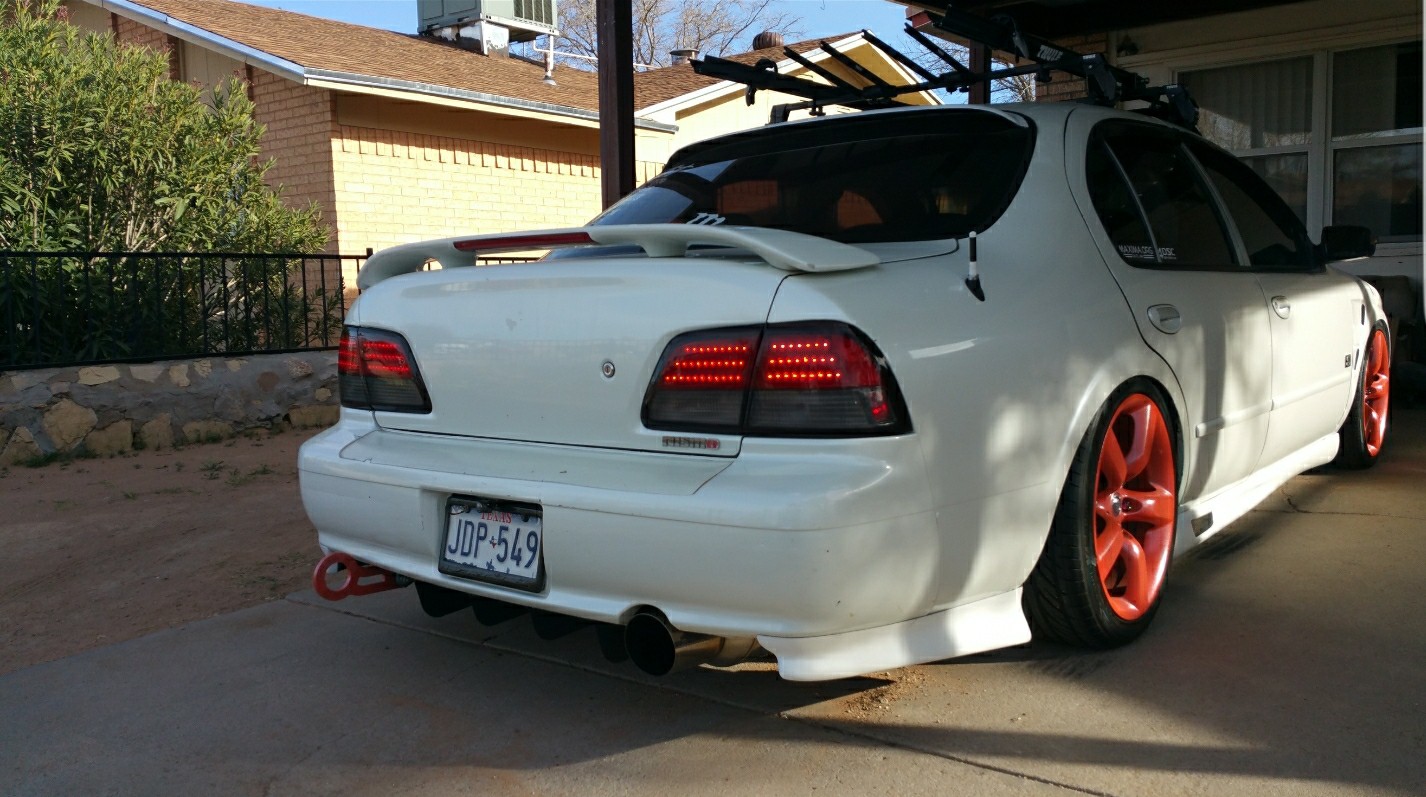
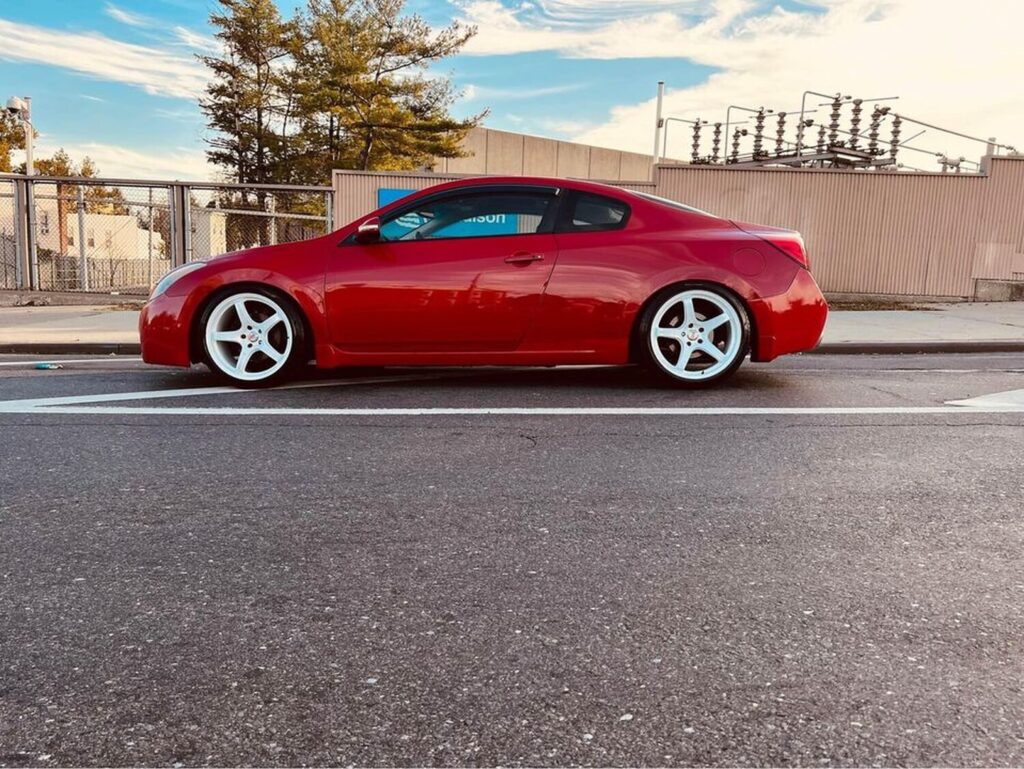
Community Member Credit: Justin Funck / Albert Jandura


![]()


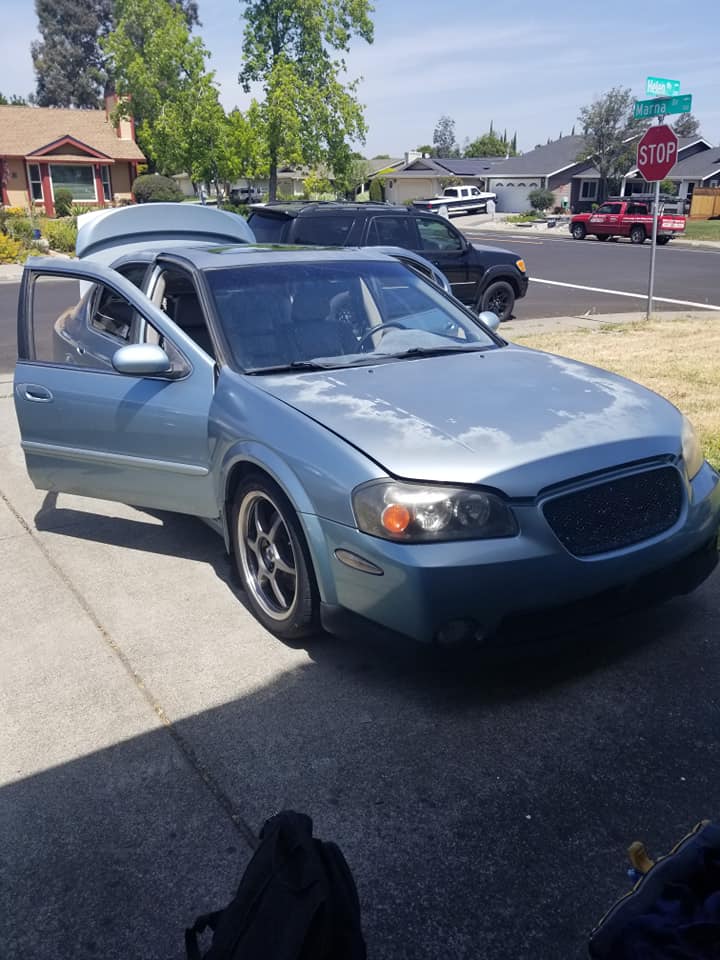
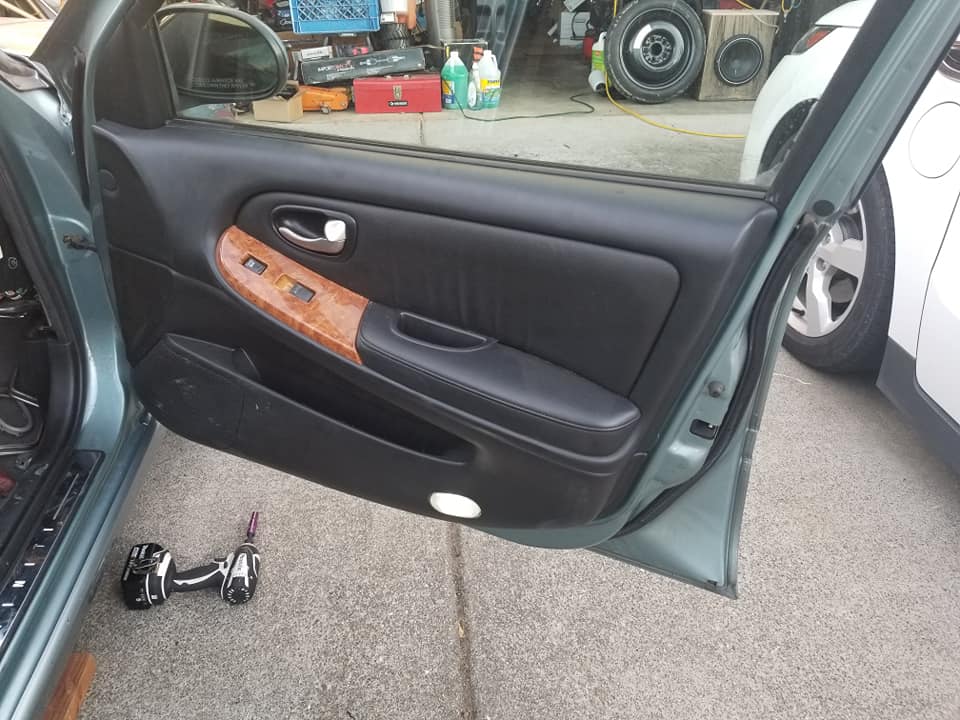
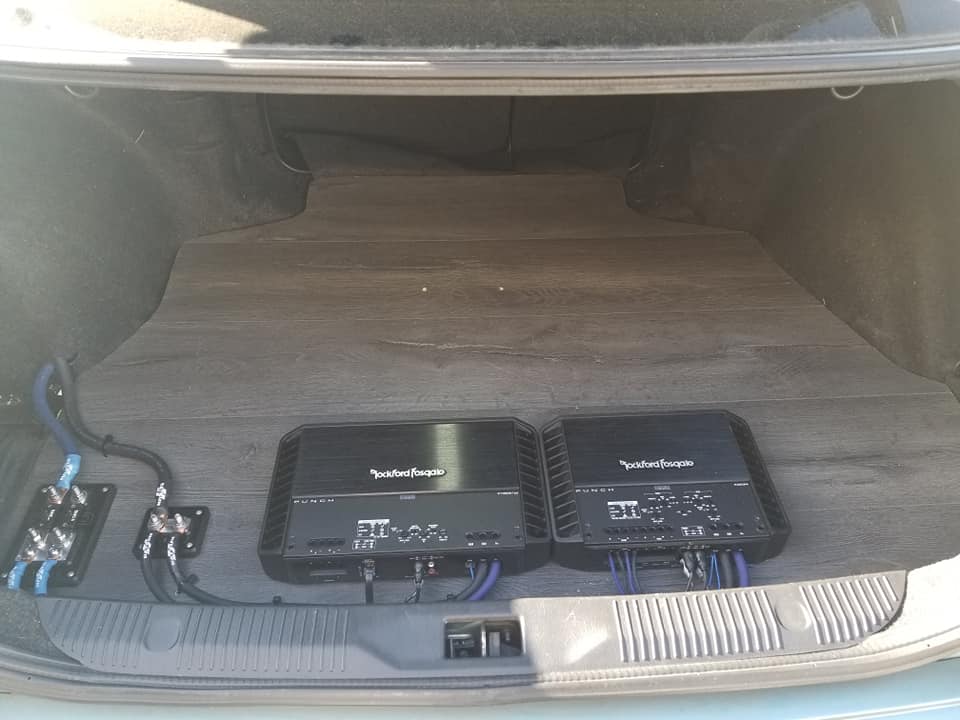
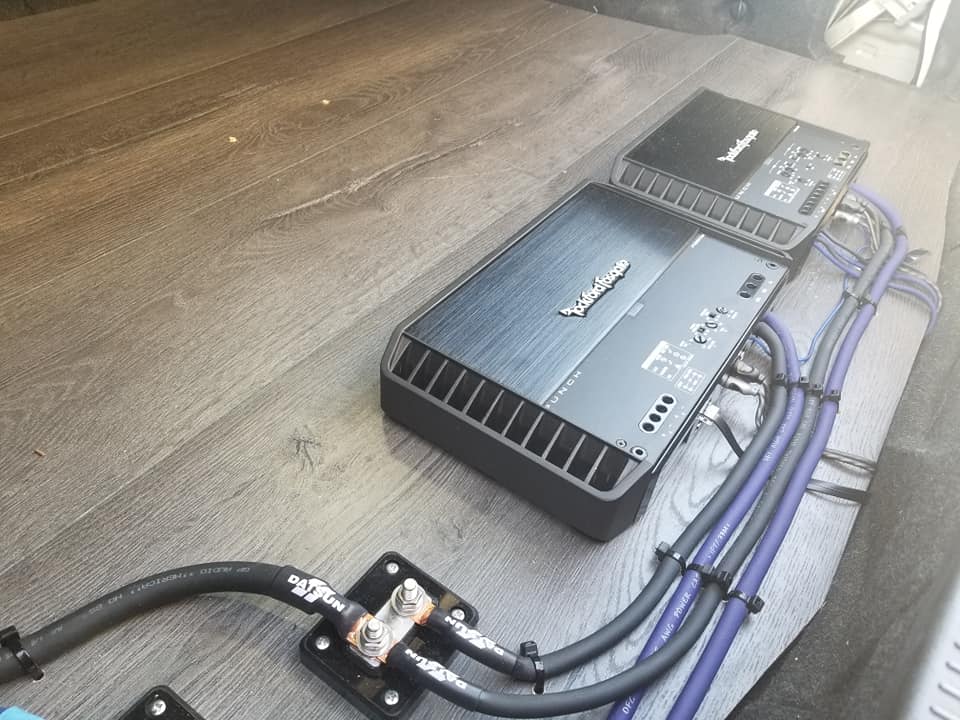
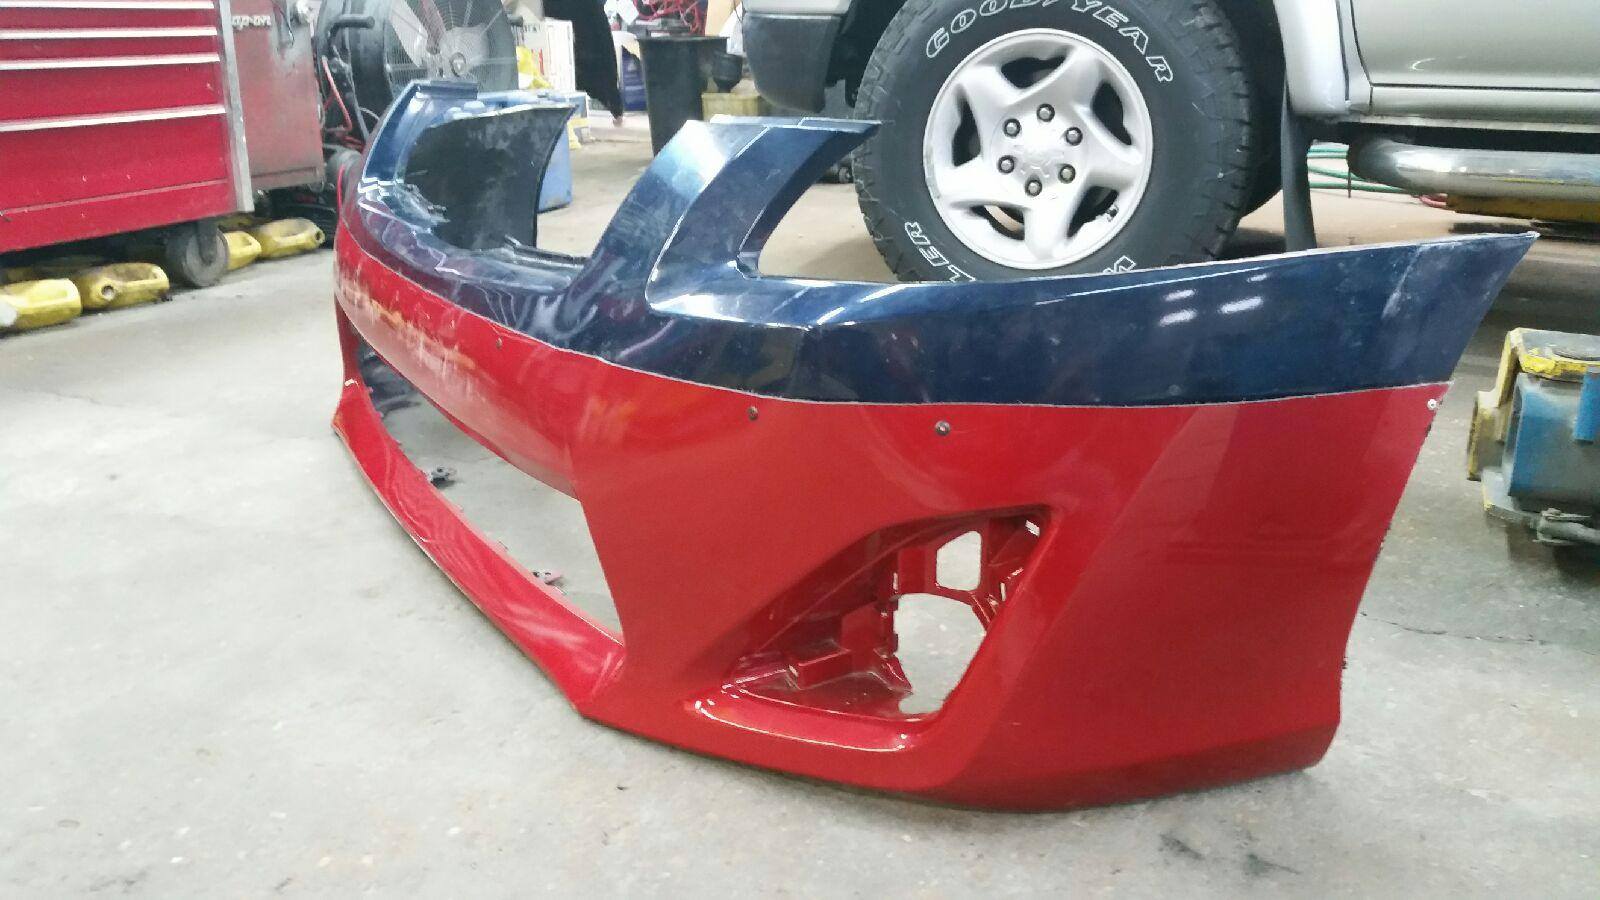
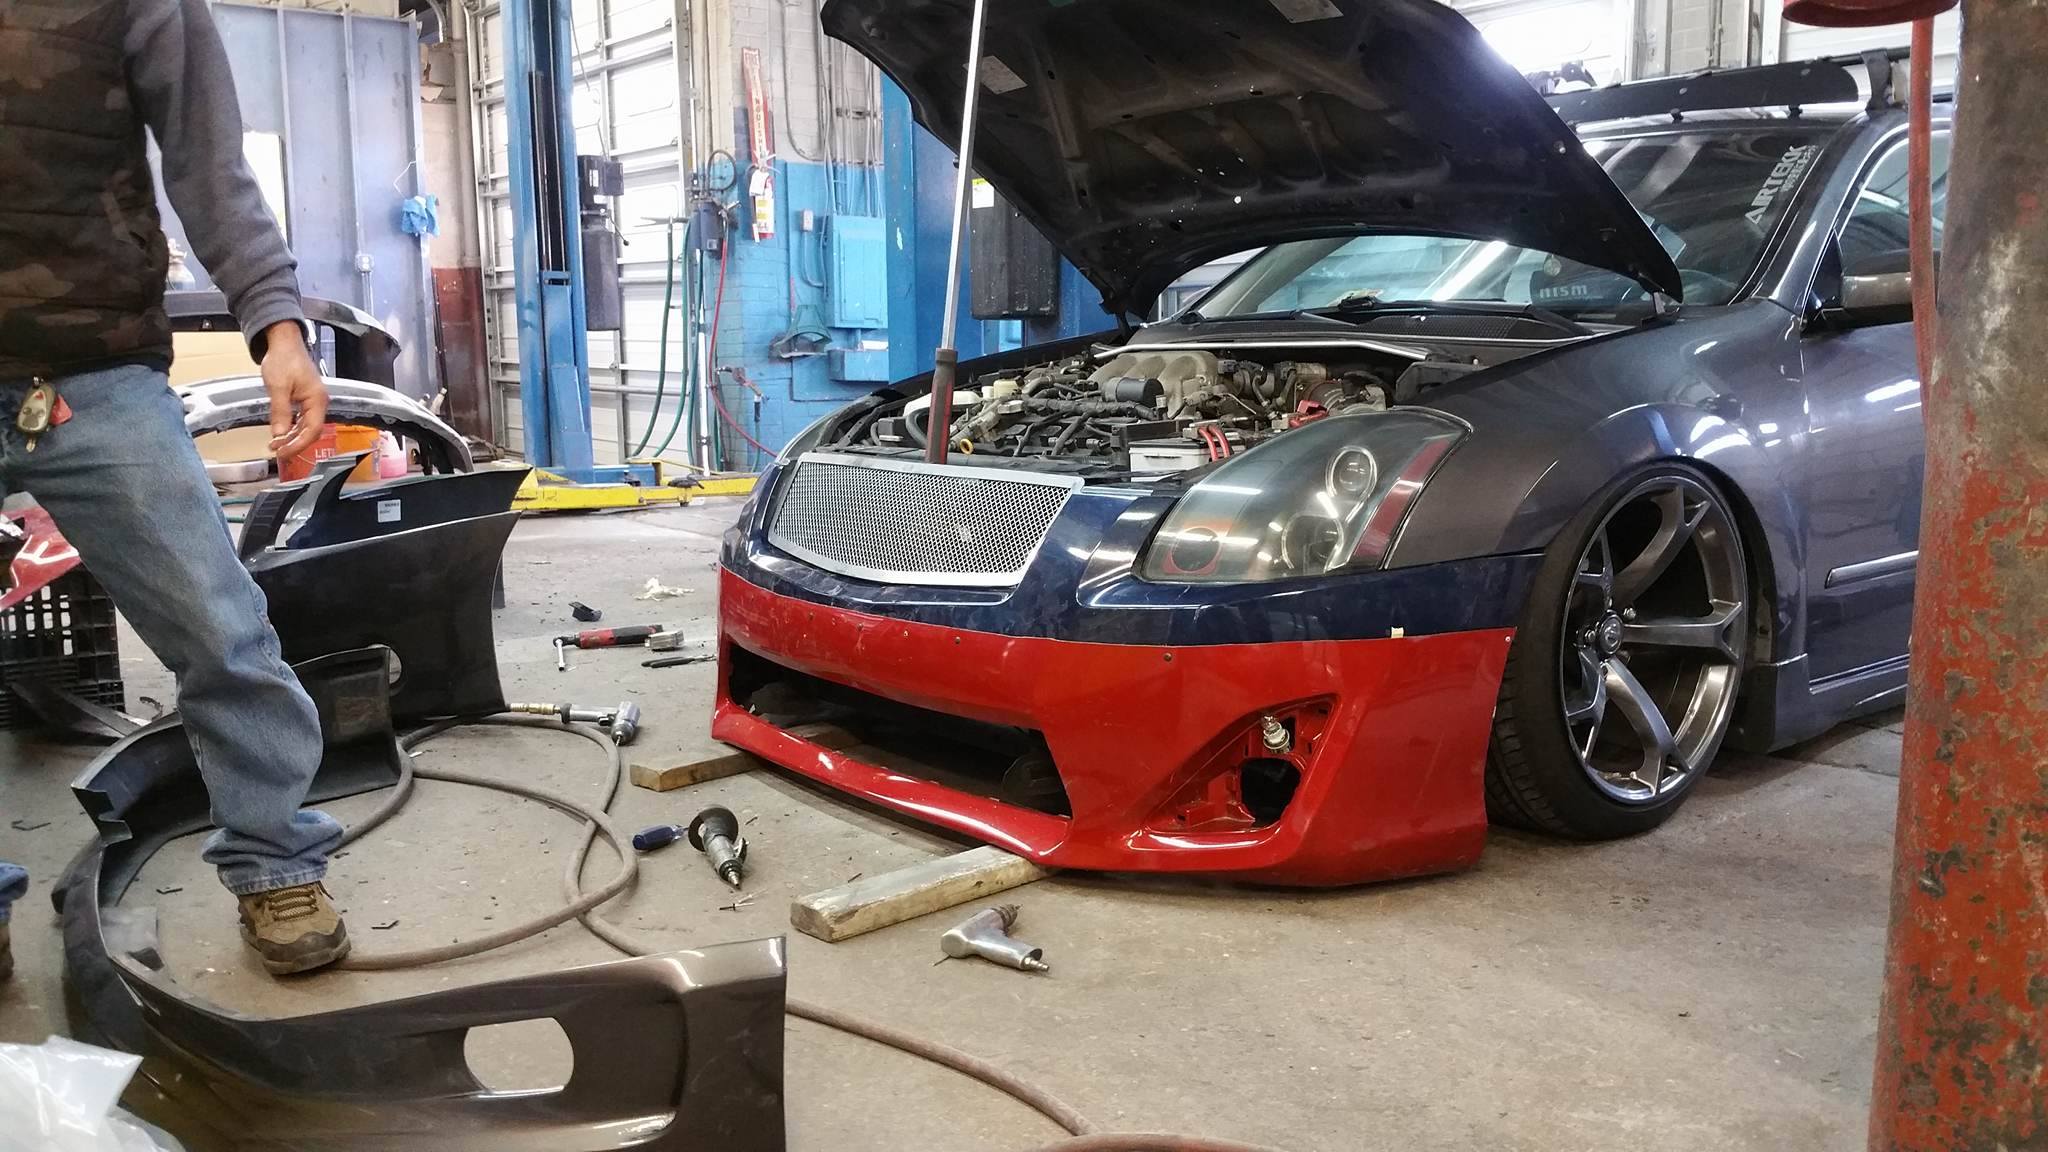
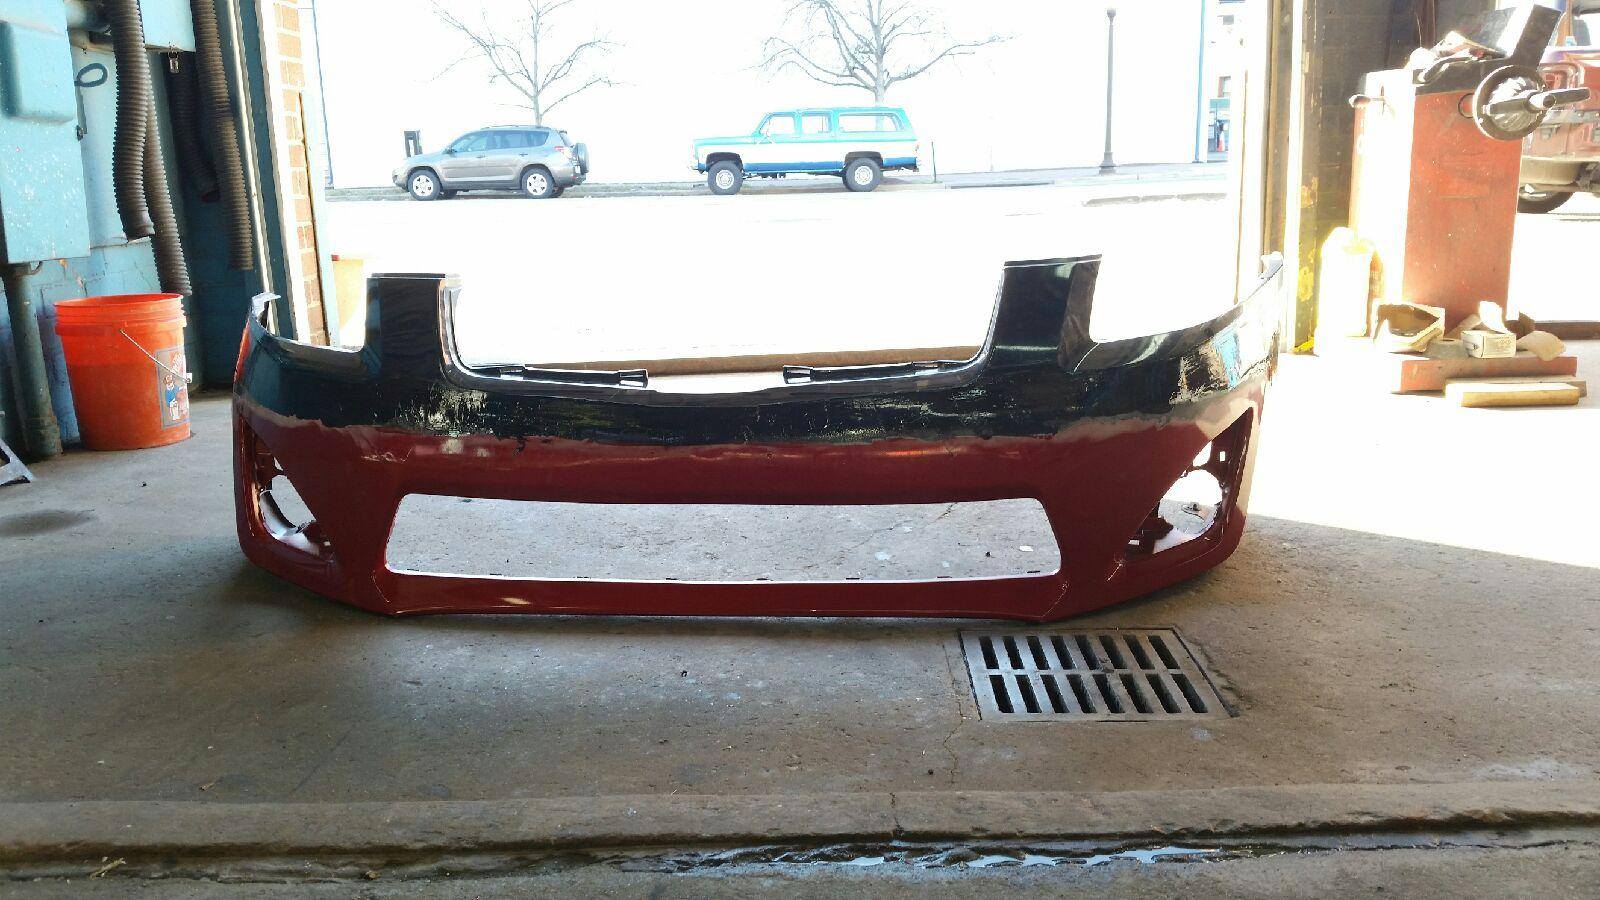
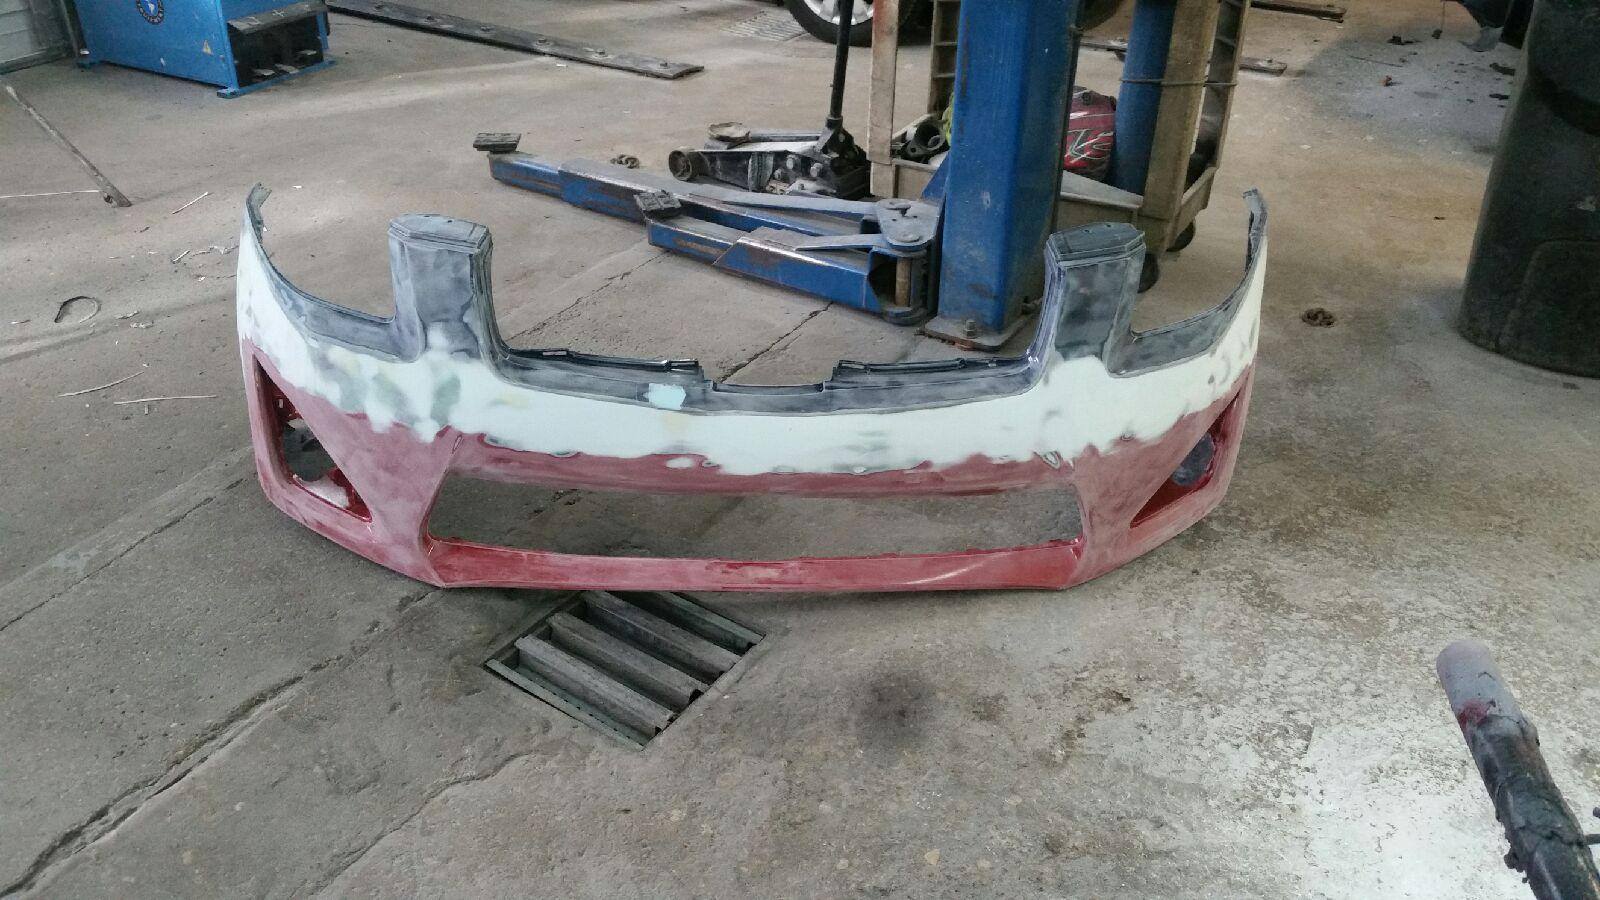
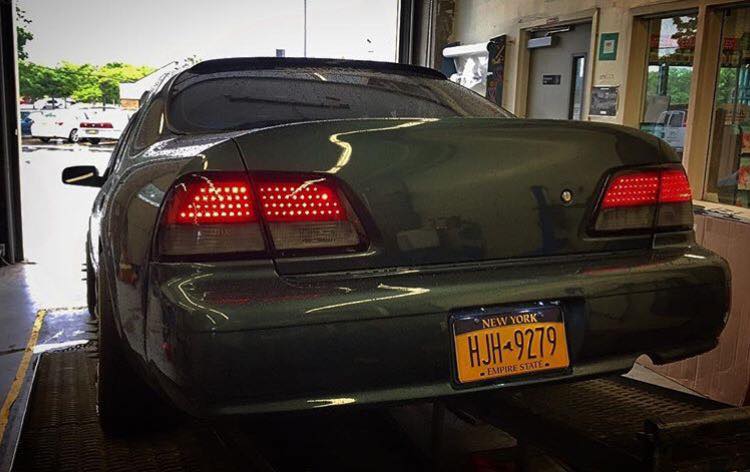
Member Credit: Anthony Tang
This is a 2005 Nissan Maxima with a custom-molded Camry Hybrid Bumper.


![]()

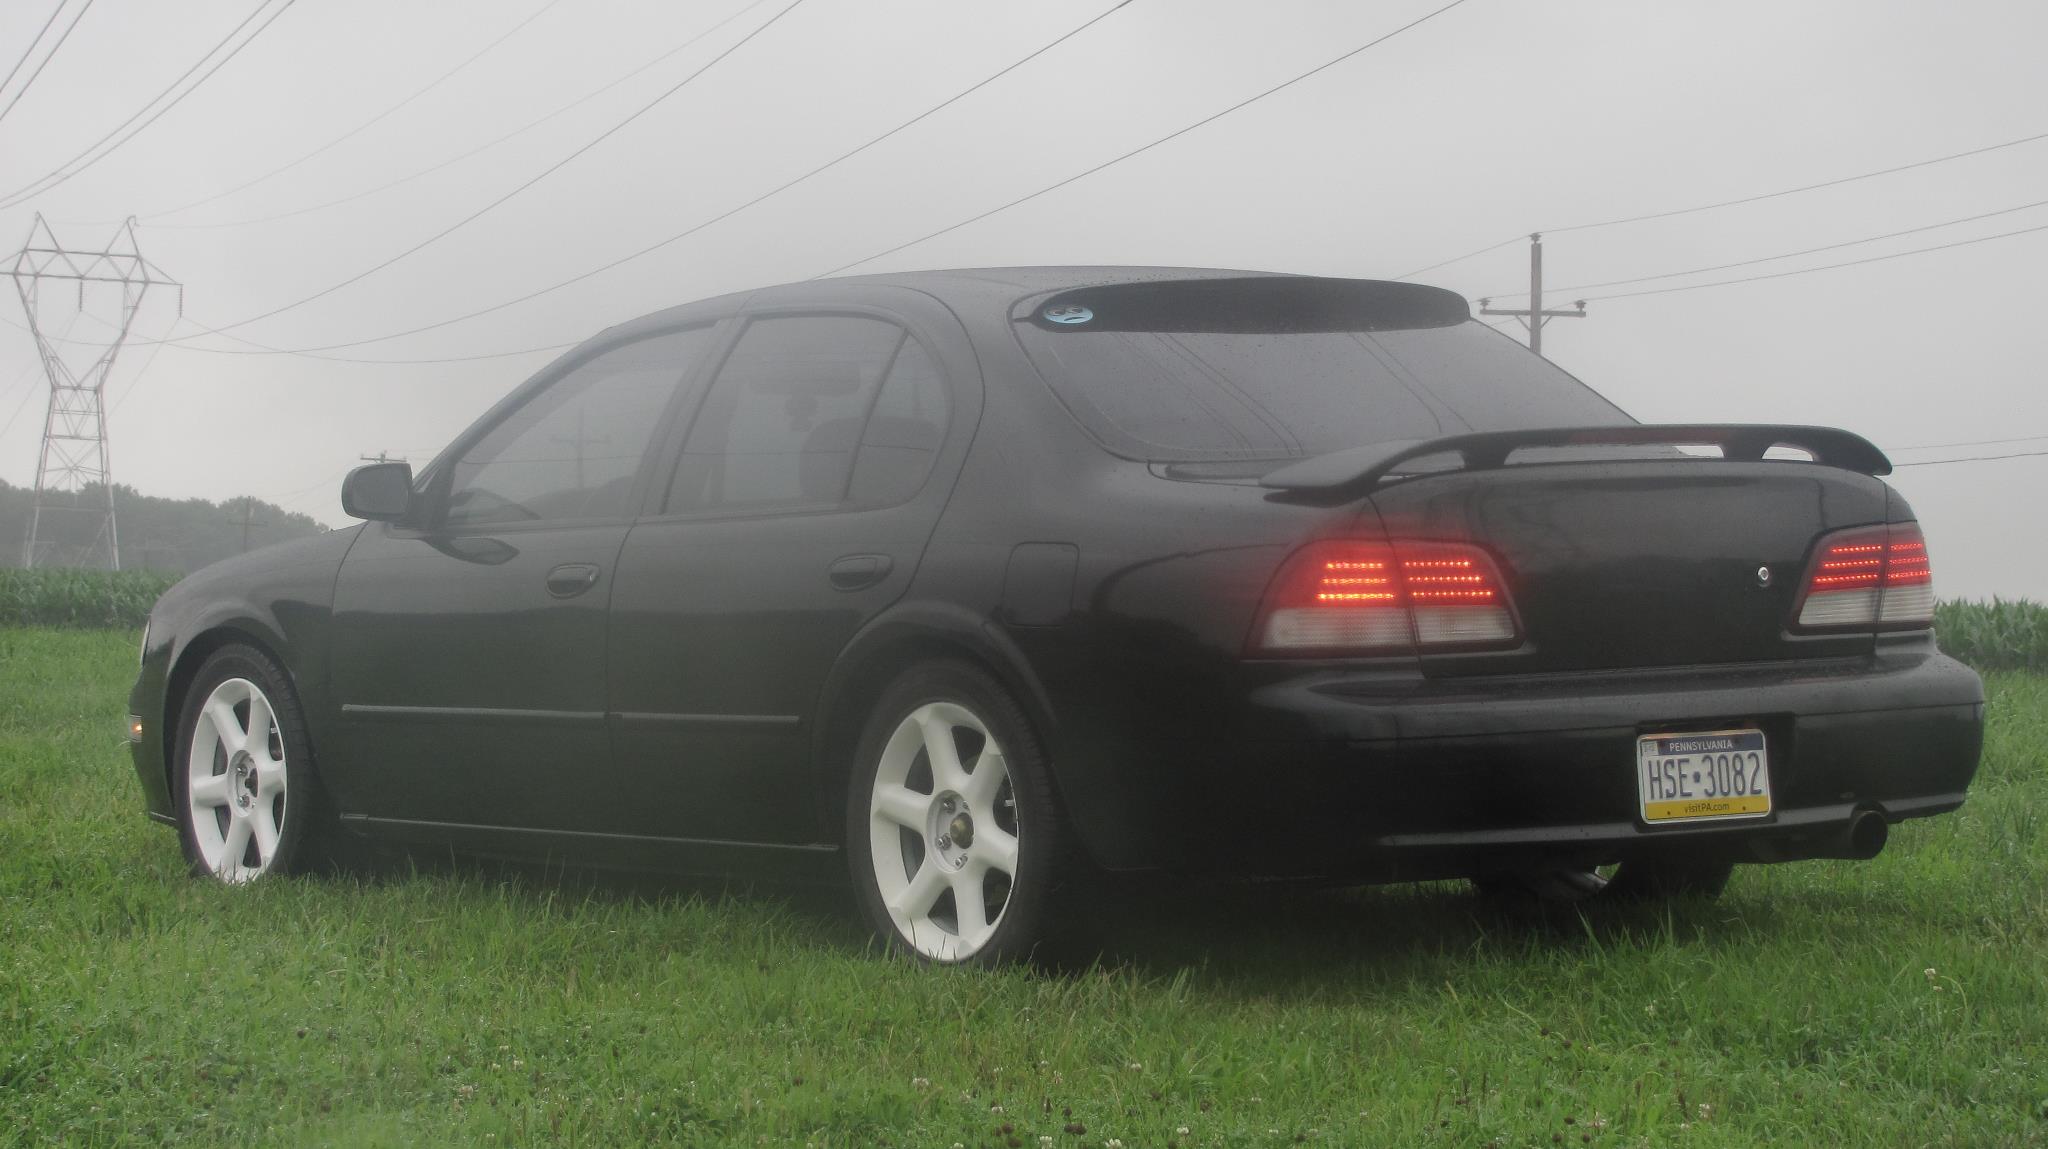
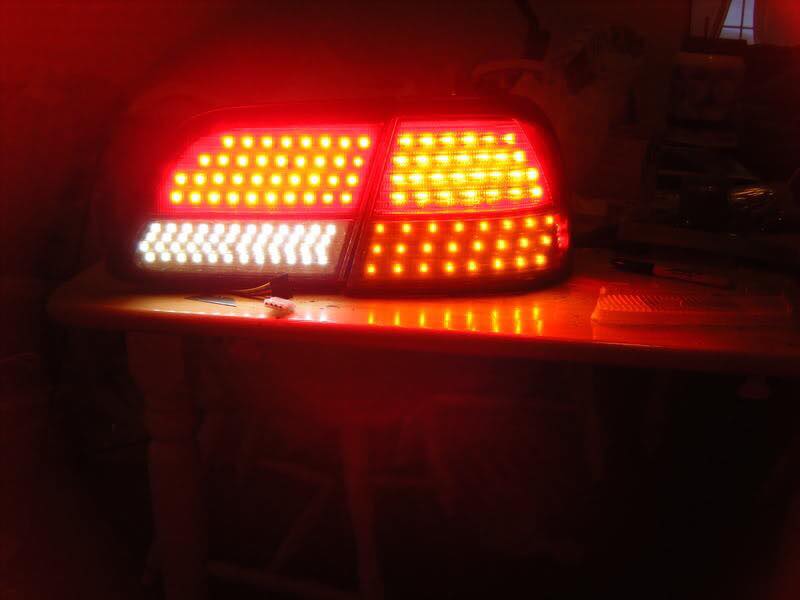
This is a gallery of 1995-1999 4thgen Maxima LED Tail Lights.


![]()


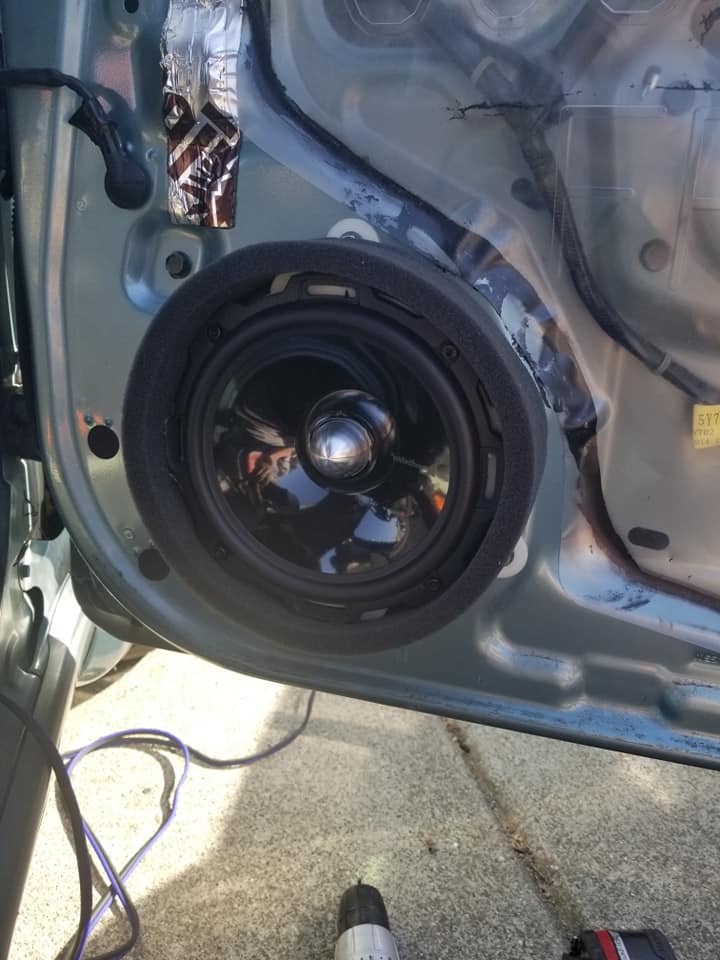
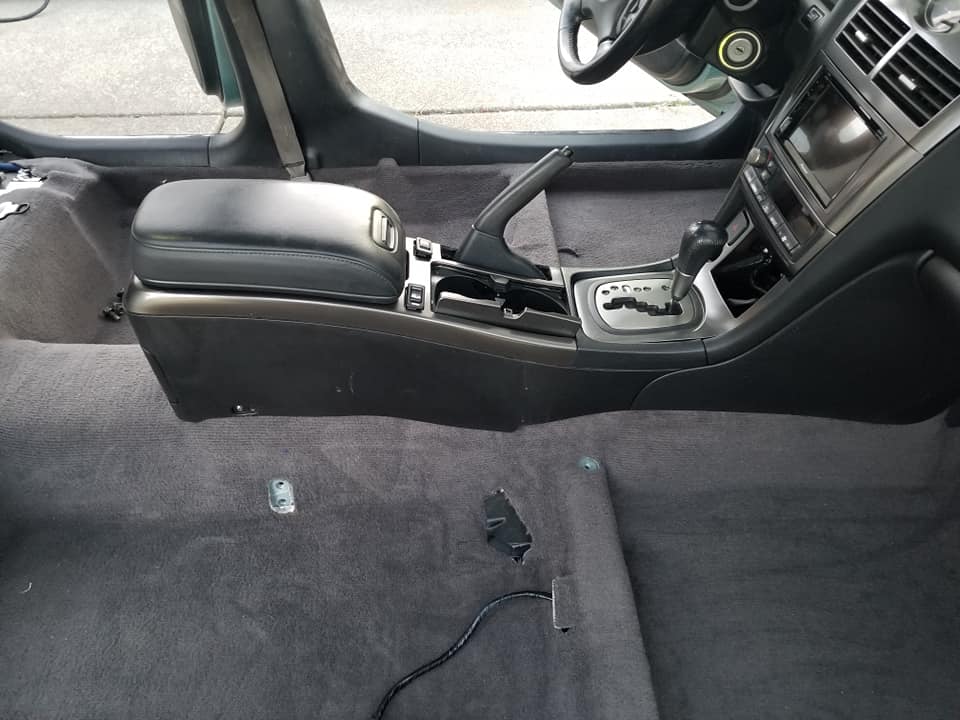
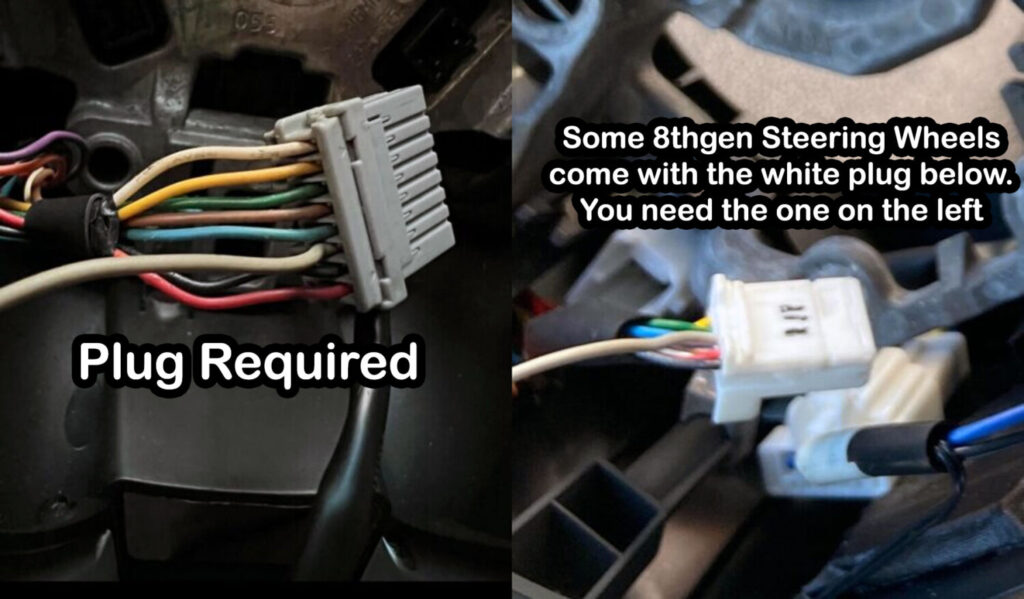
Community Member Credit: Nelson Andino
Notes:


This is the plug you need to use.
2016-2017 Airbag Setup
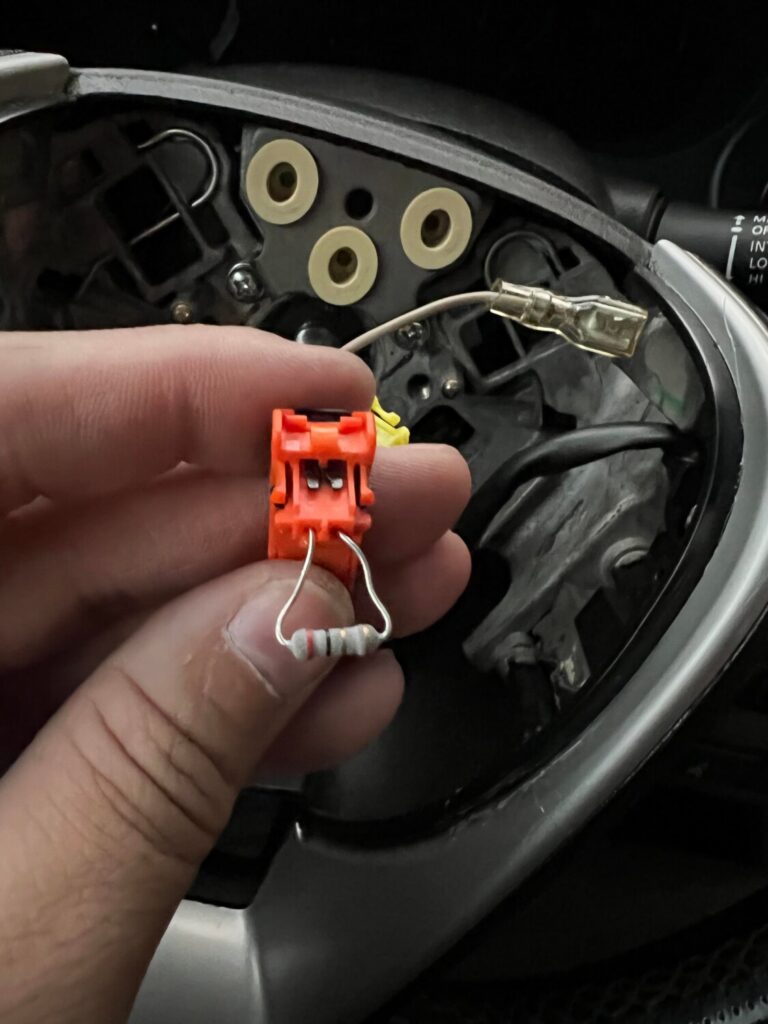
2018-2021 Airbag Setup
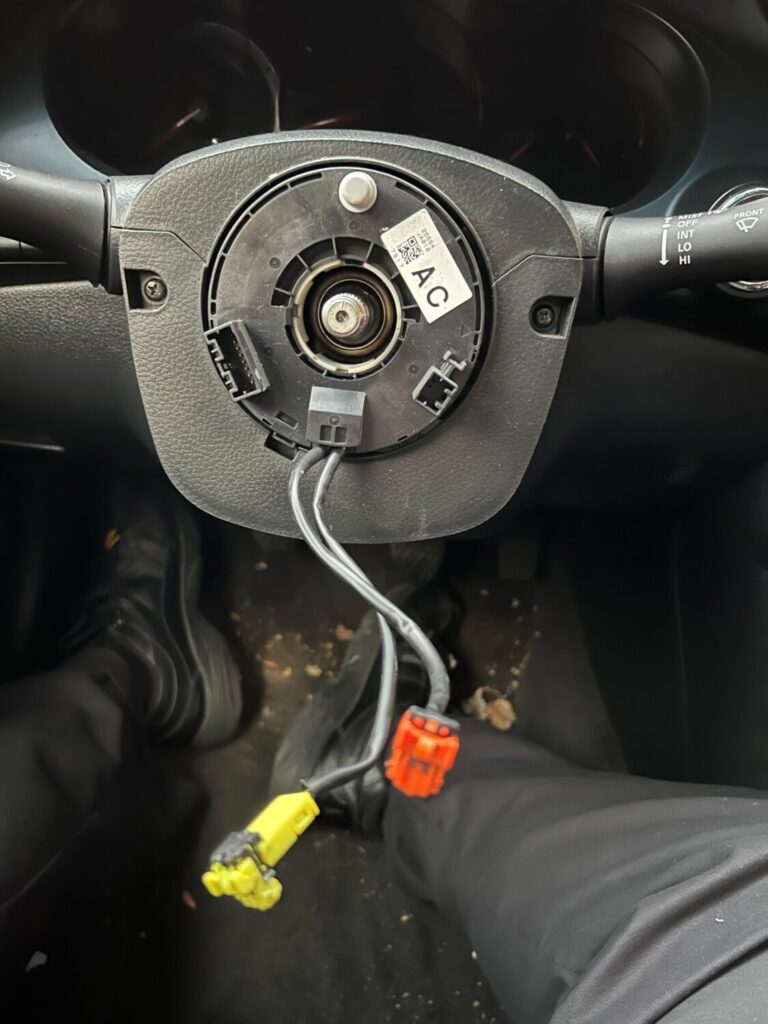
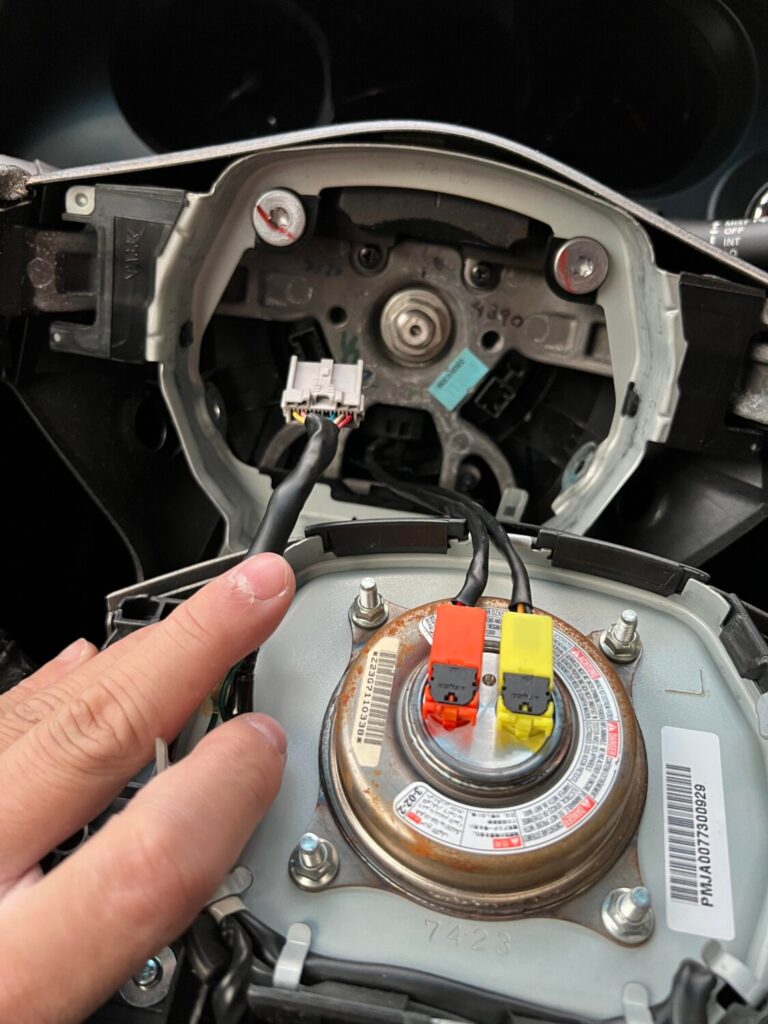
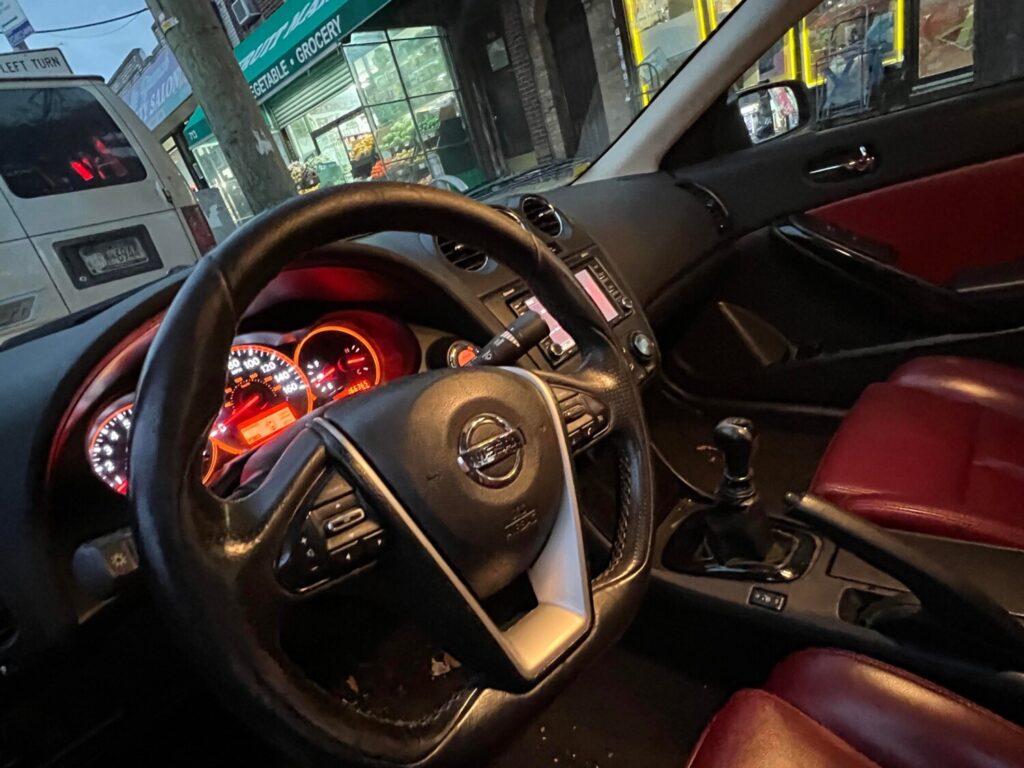
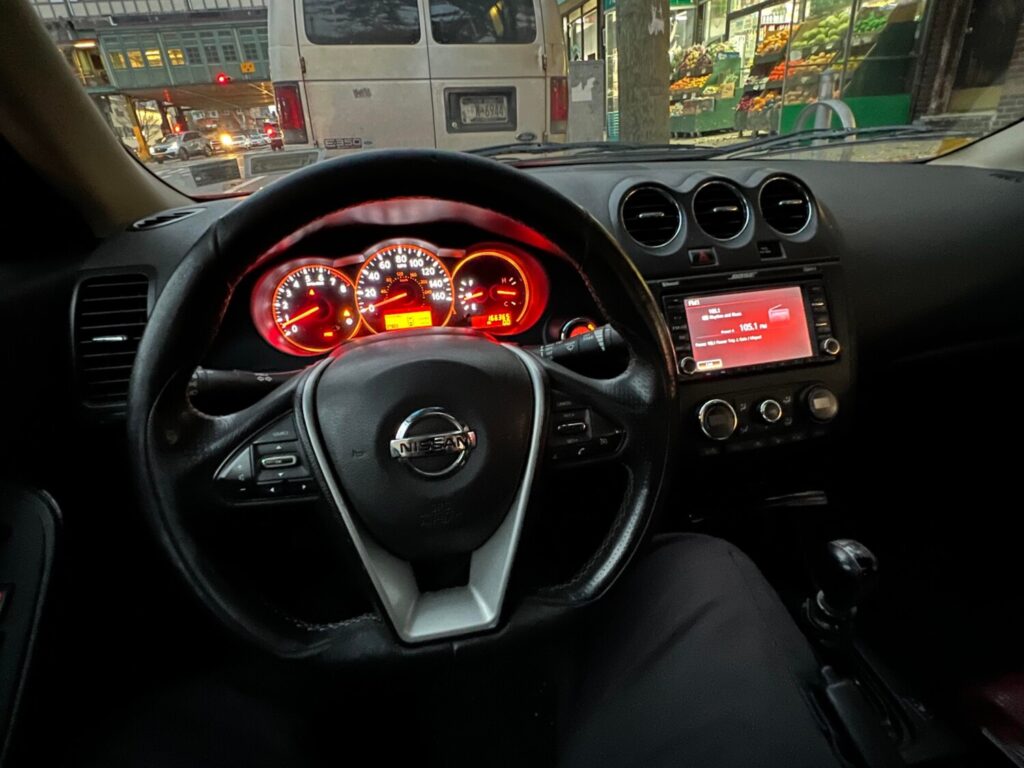
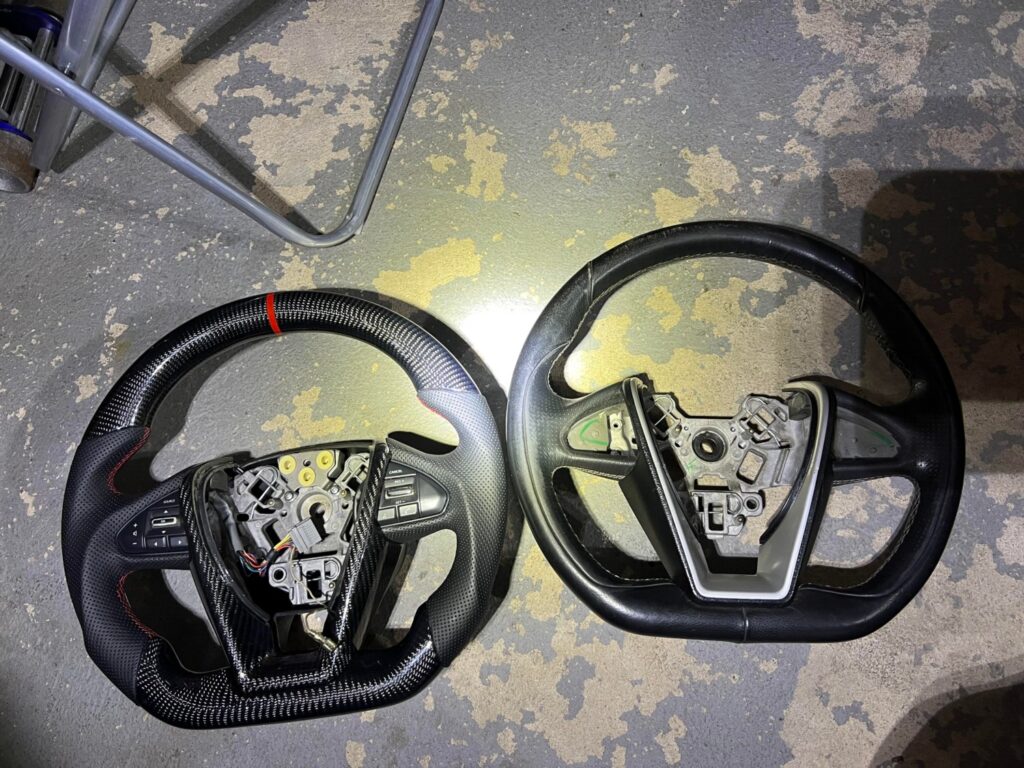
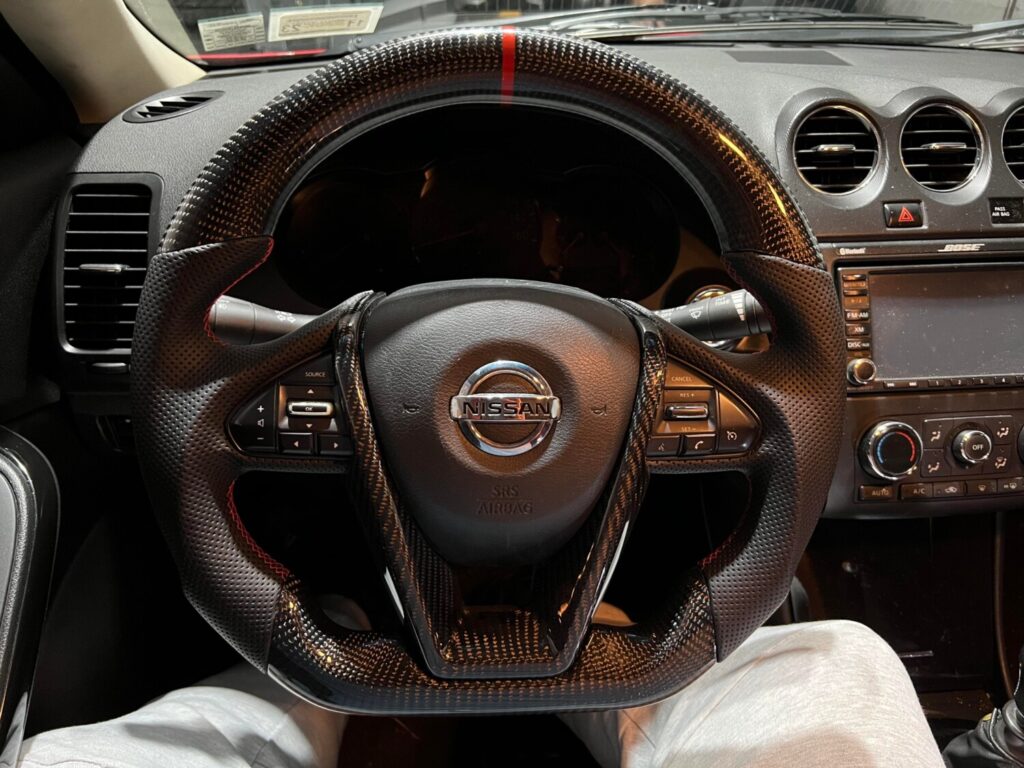
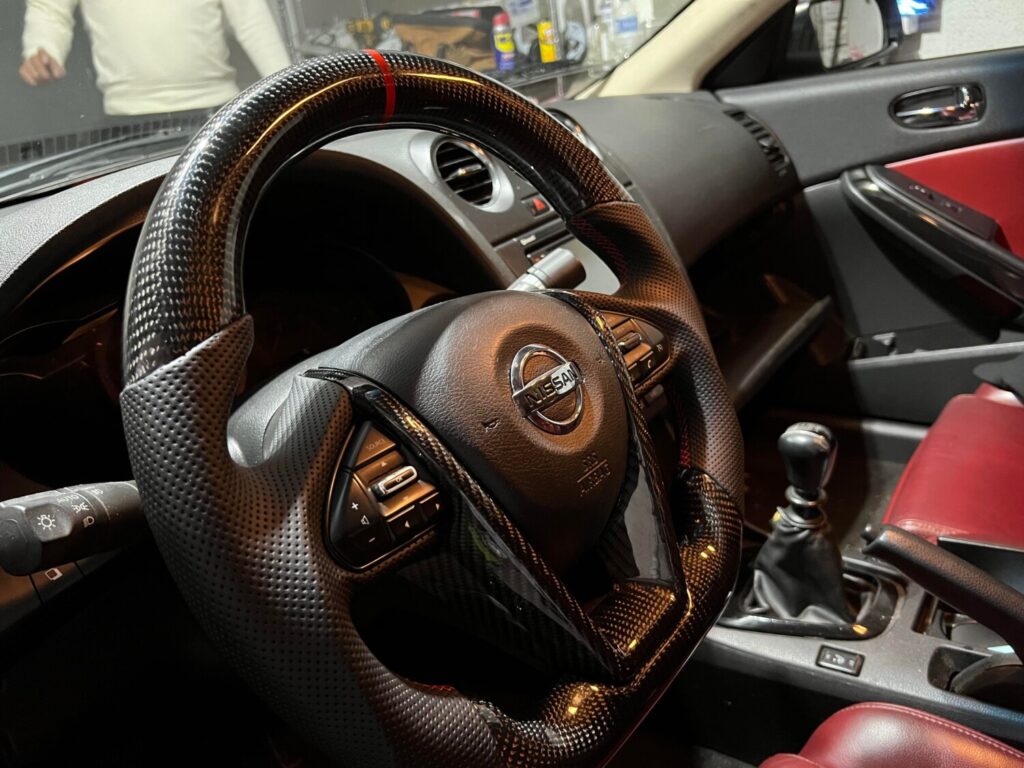
Upgrade to Carbon Fiber

![]()

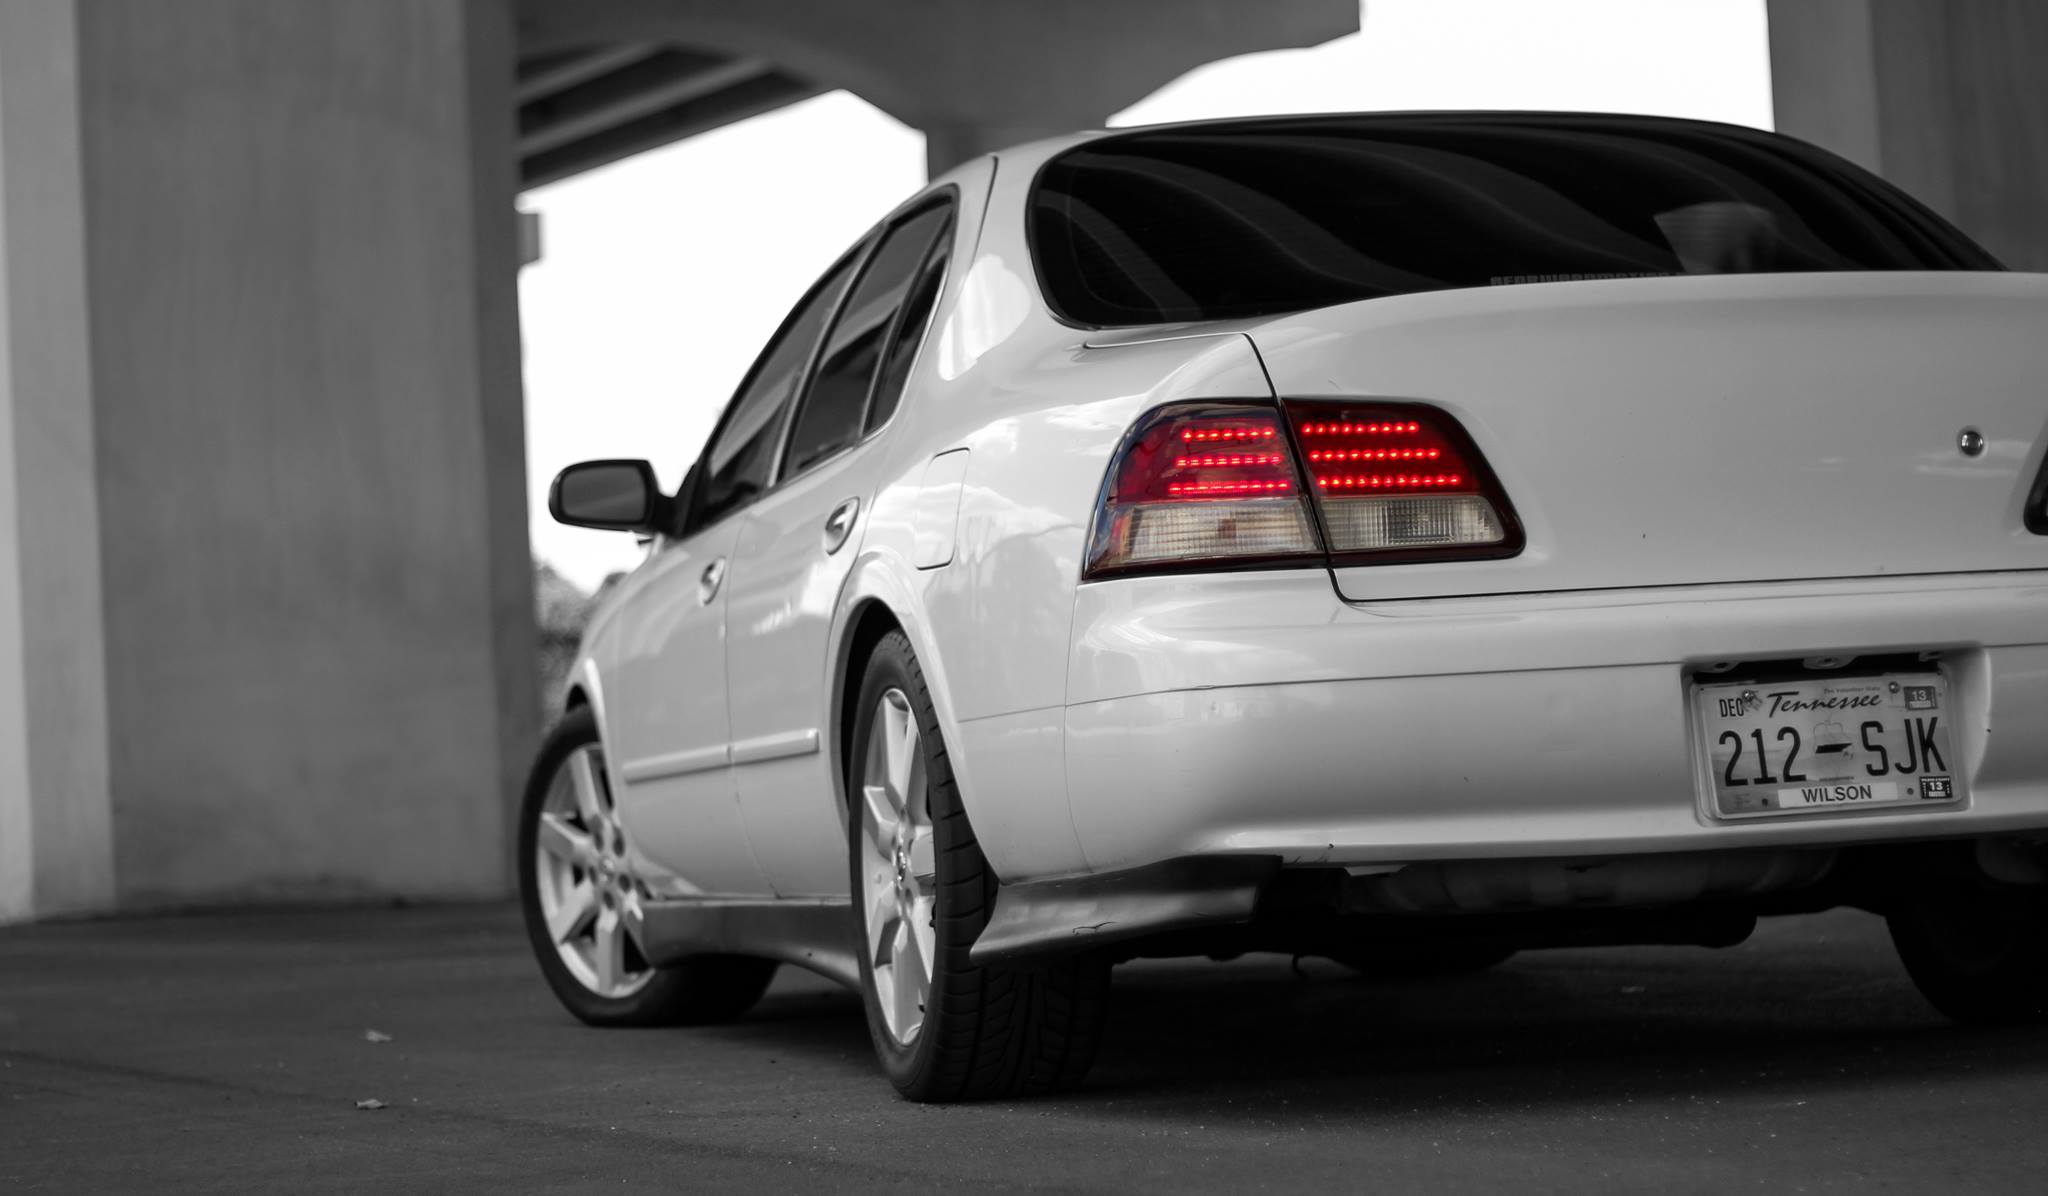
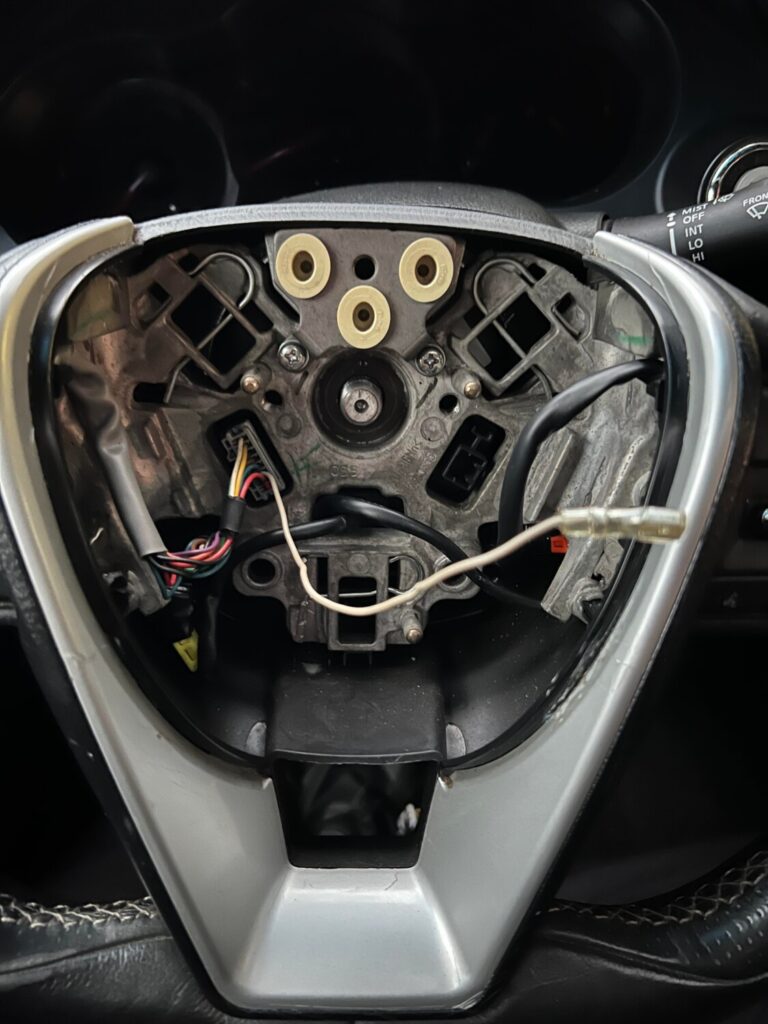
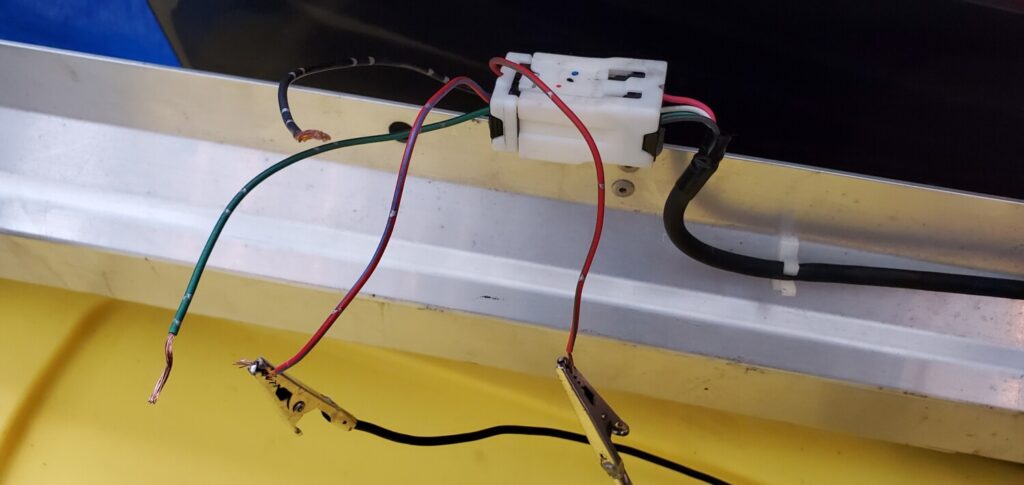
Community Member Credit: Froggmann
It’s very simple to wire but you will need the plug if you want to use the factory button. Sunshade, not so much but it’s good to have a disconnect.
Wiring is real simple:
Basically, the sunshade is always hot, and supply’s power to the red and green wires. Once one of the grounds is triggered, the shade will go into operation in the direction it was grounded (Red gets grounded, the shade goes up. Green gets grounded, the shade goes down)
A simple way to make a harness:
Grab about 15 feet of wire equal lengths, 14-16 gauge in three different colors preferably red, green, and white. Tie them to a stationary object and stretch them out. tighten your drill chuck on one end and then start twisting. GO until it starts curling over on itself.
As for the factory button, if you can’t find a plug for it then temporarily install a momentary “on-off – momentary on” switch and just poke it out under the center console. 2nd gen I30s are getting a little more common so you should be able to find the plug sooner than later.
![]()
![]()
![]()


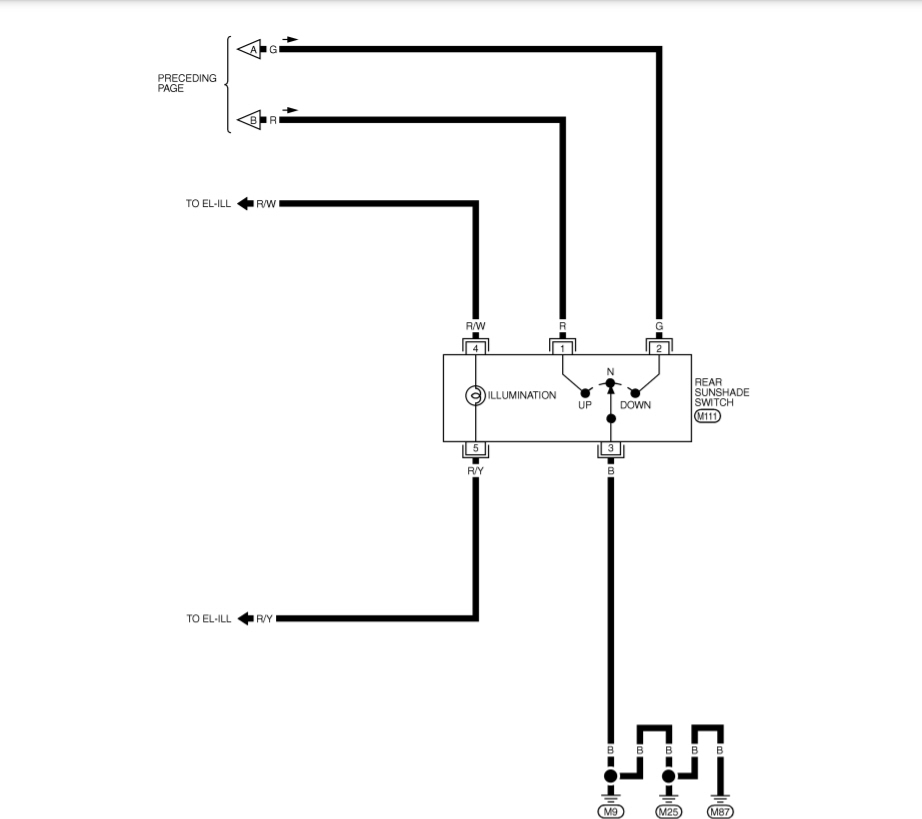
FSM Wiring Diagrams

![]()

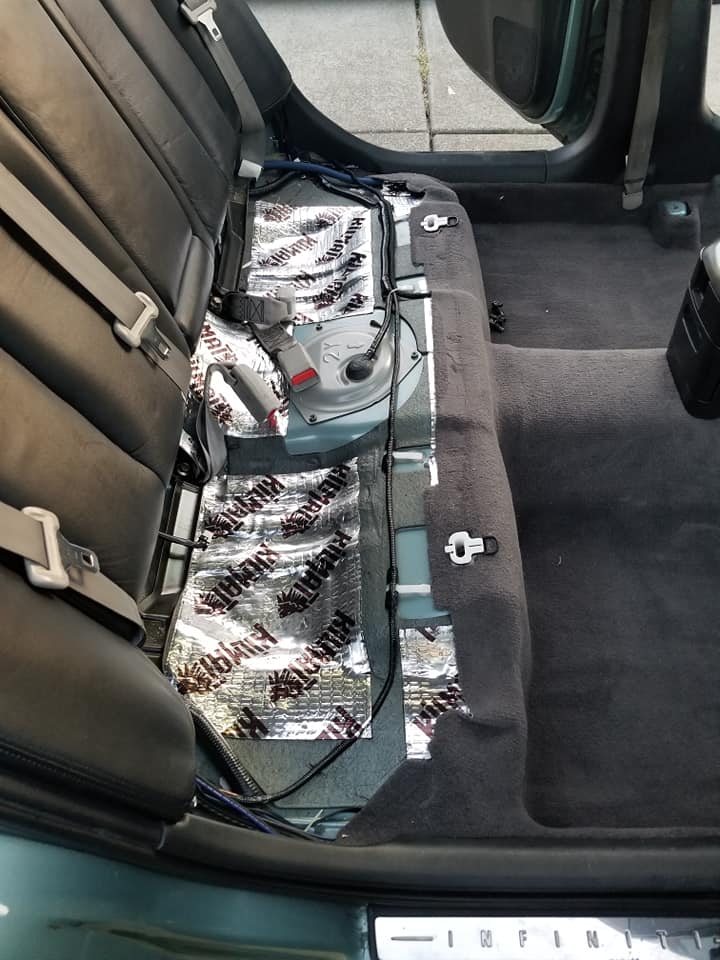
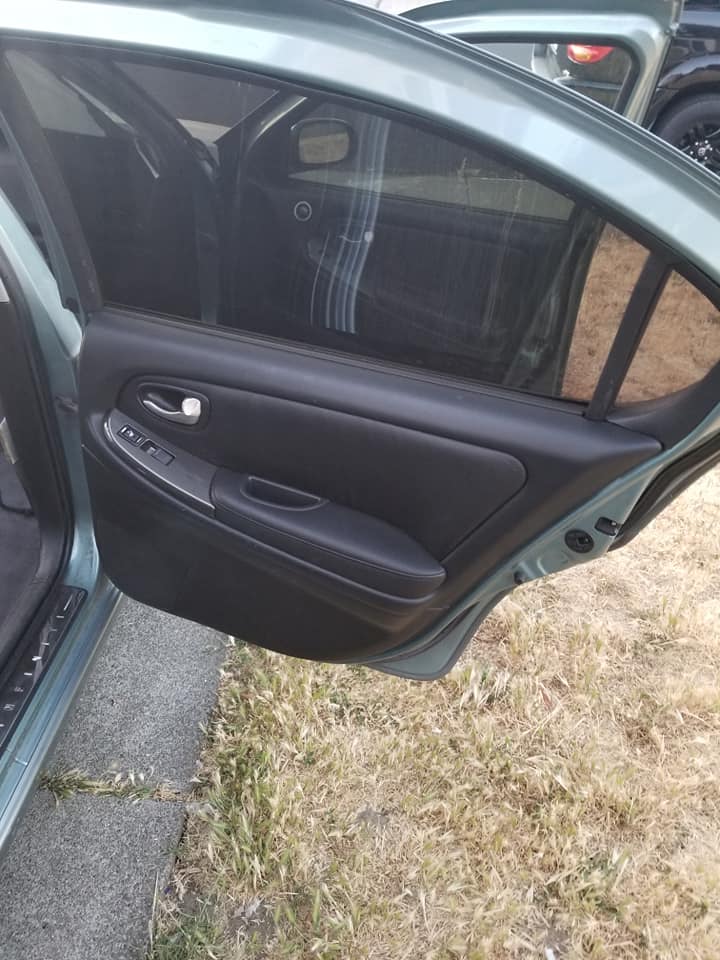
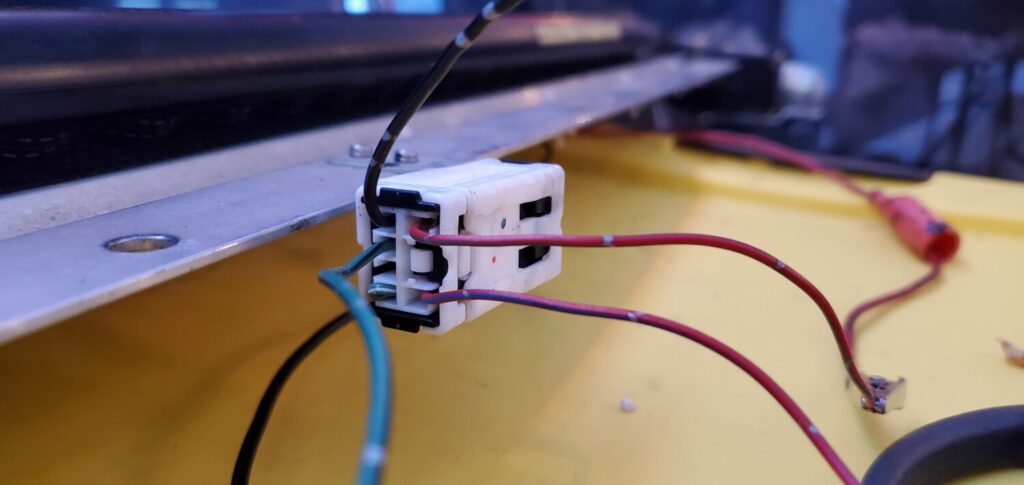
Community Member Credit: Eddy
This is the wiring for the rear Elite Package shade on the 2004-2008 Nissan Maxima.
| Color Plug | Color Harness | Purpose |
| Red/Green | Red | Power + |
| Black | White | Up – |
| Green/Black | Green | Down – |
| Red/Blue | Black | Ground – |
![]()

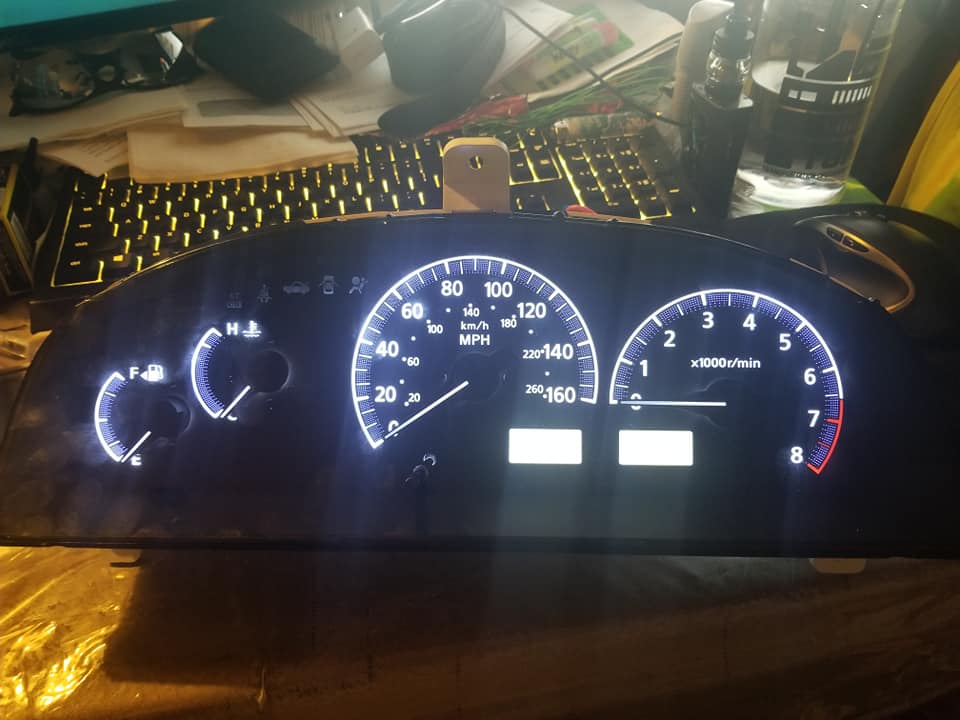
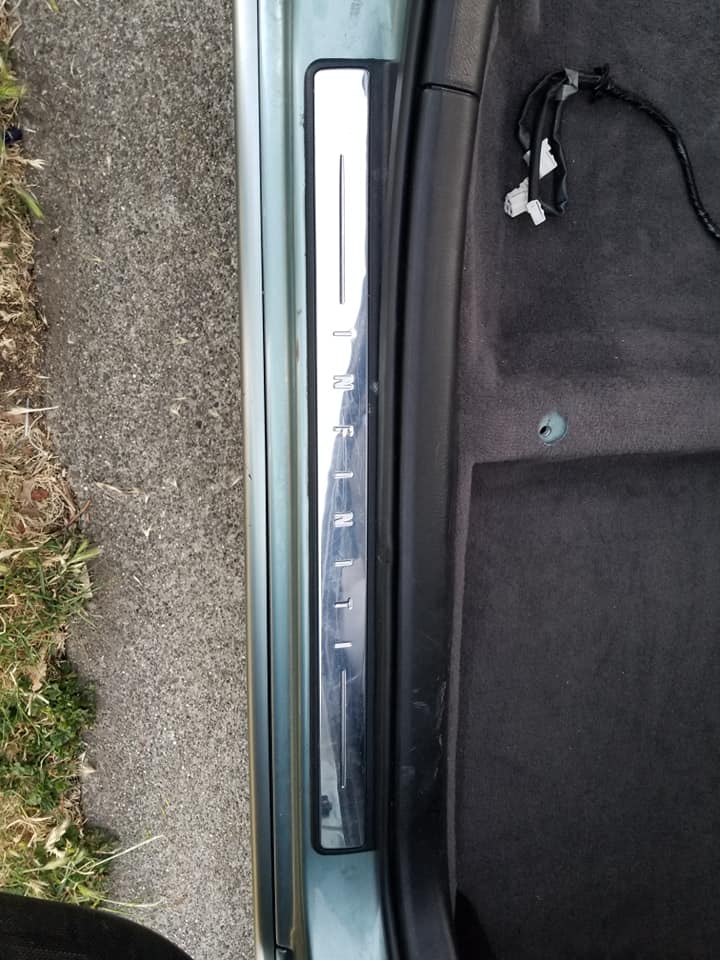
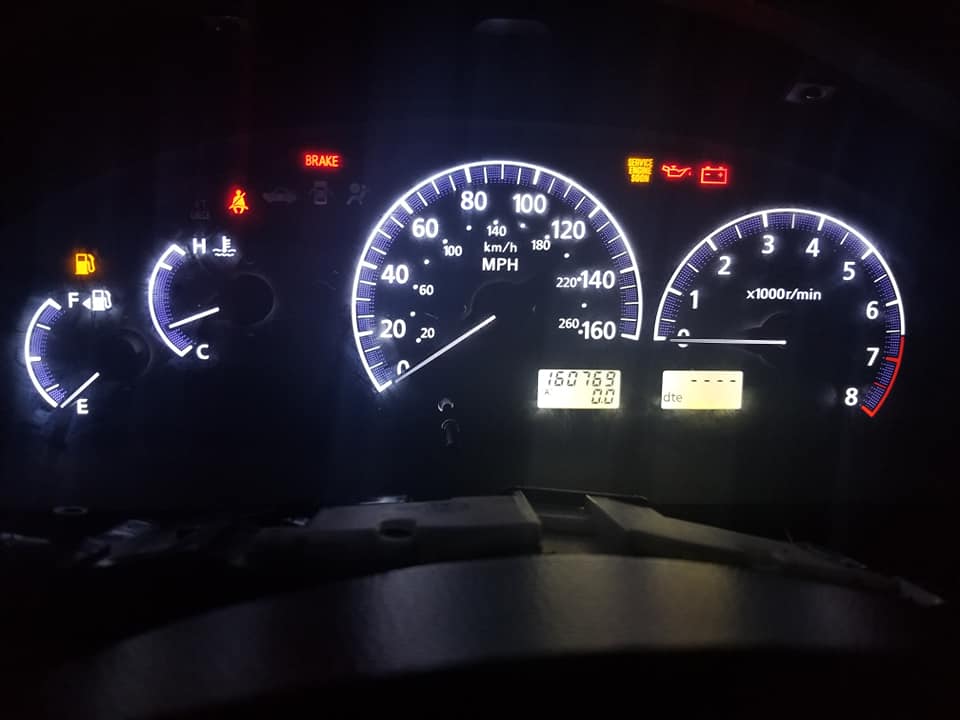
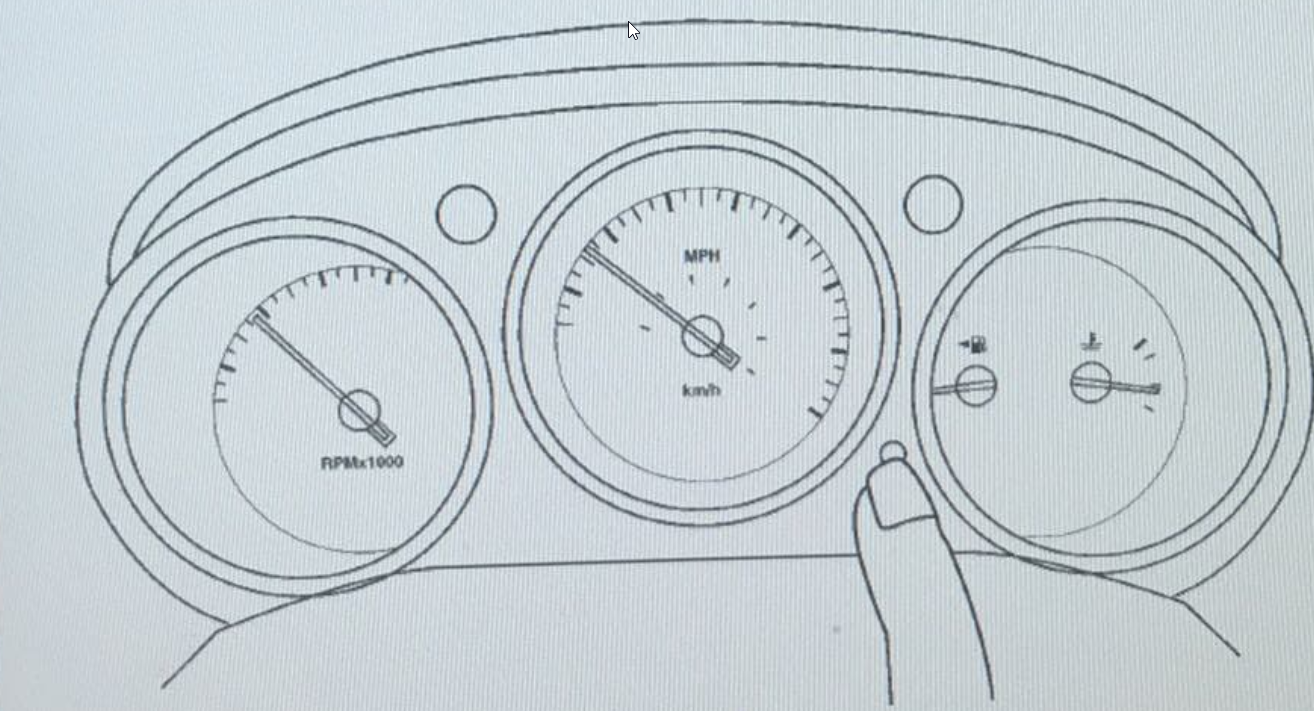
Member Credit: Albert Jandura
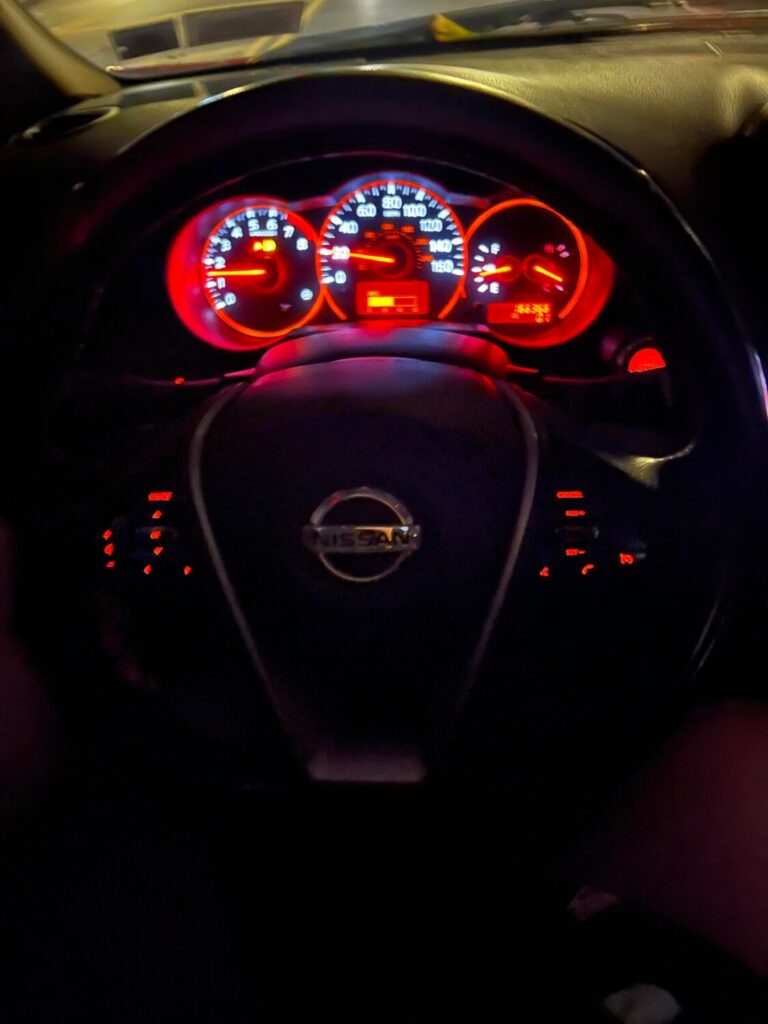
If you are looking to customize the lighting of LED’s on your Nissan Maxima cluster/odometer, you will need to re-calibrate the needles. The needles need to come off as part of the modification process and if not properly calibration the RPMs and MPH readings will be off.
Many of the 6thgen members like to upgrade their 04-05 clusters to the revised and improved 07-08 clusters with custom LEDs. This procedure will allow you to calibrate your needle easily. Save money by doing it yourself.
OPERATION PROCEDURE
![]()


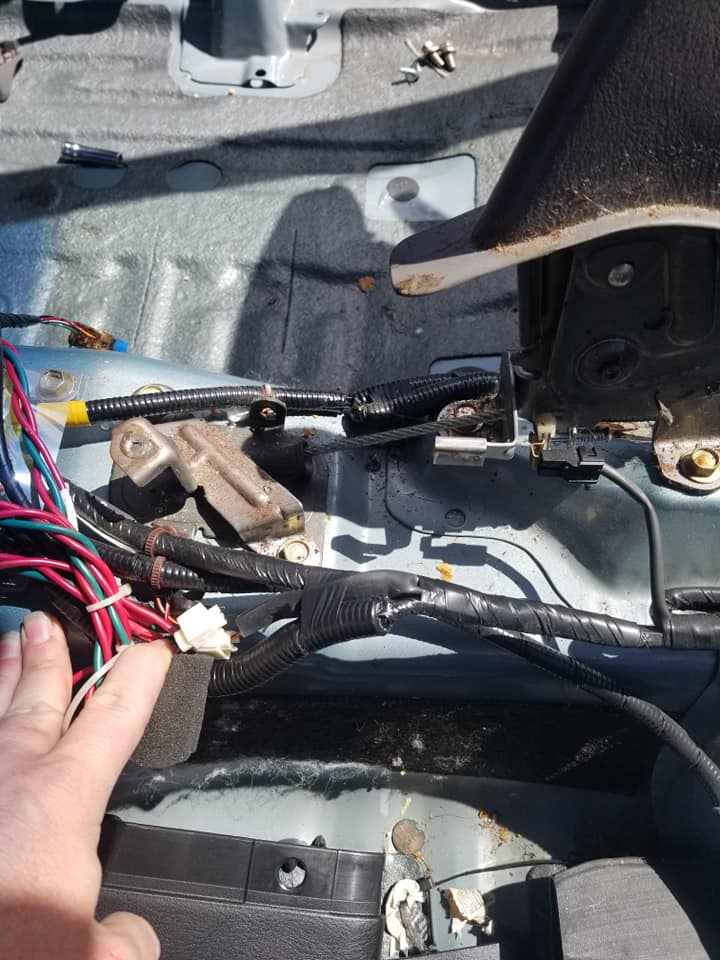
Community Member Credit: Eddy
If you are having issues opening your trunk, you can use the emergency inside trunk release lever. It glows in the dark so you can easily find it.


You can try checking the wires shown below to see if any are broken. Many owners have resolved their issues by re-splicing any broken wires. This appears to be a common issue.


You can also try to check this button as well.

![]()