![]()


")
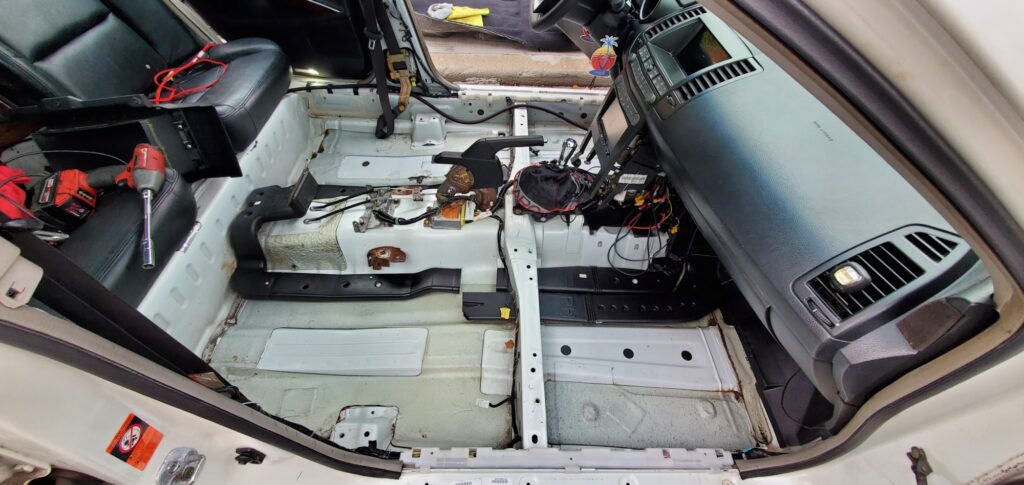
Community Member Credit: EddyMaxx
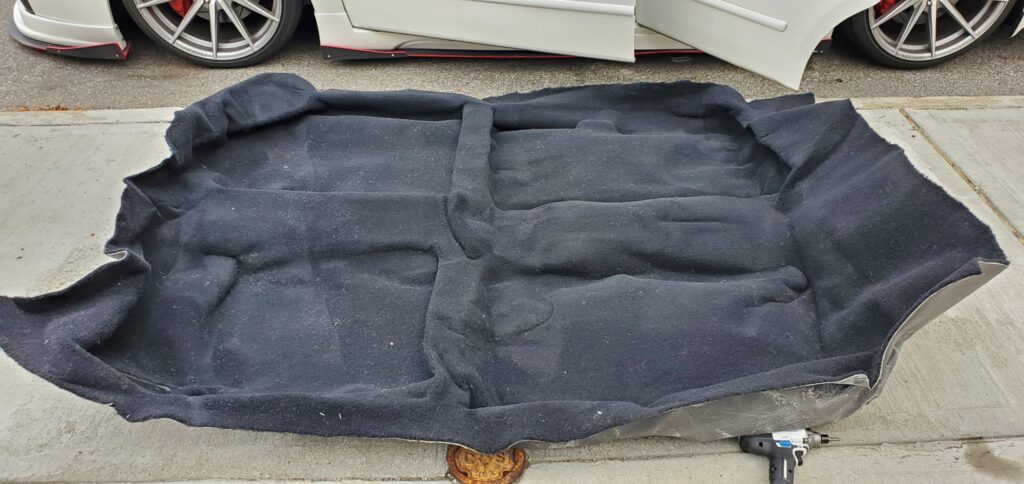
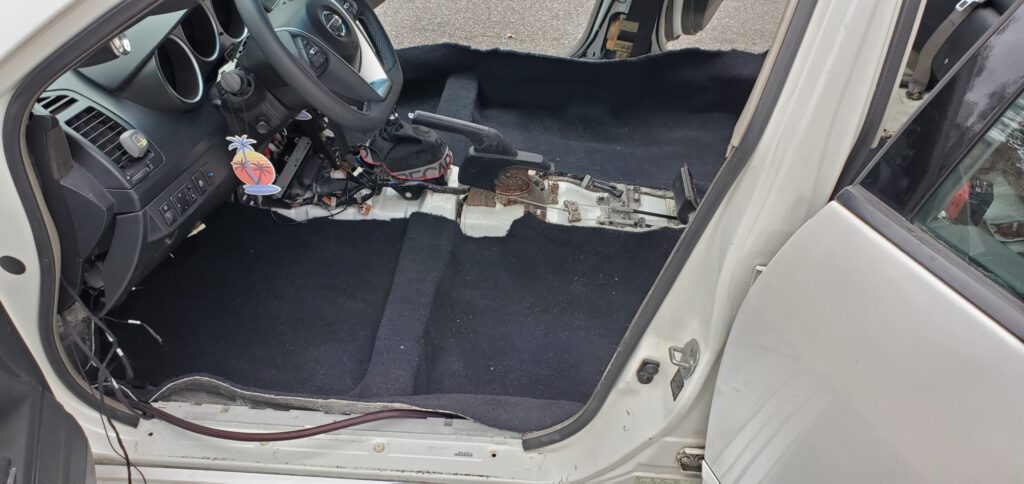
I decided to finally swap out my full interior to an Elite Edition. Given I was re-doing everything, I purchased a brand new carpet. Below are the details:
Part Number: 10022
Order Link: https://www.stockinteriors.com/AutoCarpet.asp?Itemid=10022&ModelId=319
Price: $257.45 (Includes Mass Backing @ $64.00, Shipping @ $40.90, Discount $11.40)


![]()

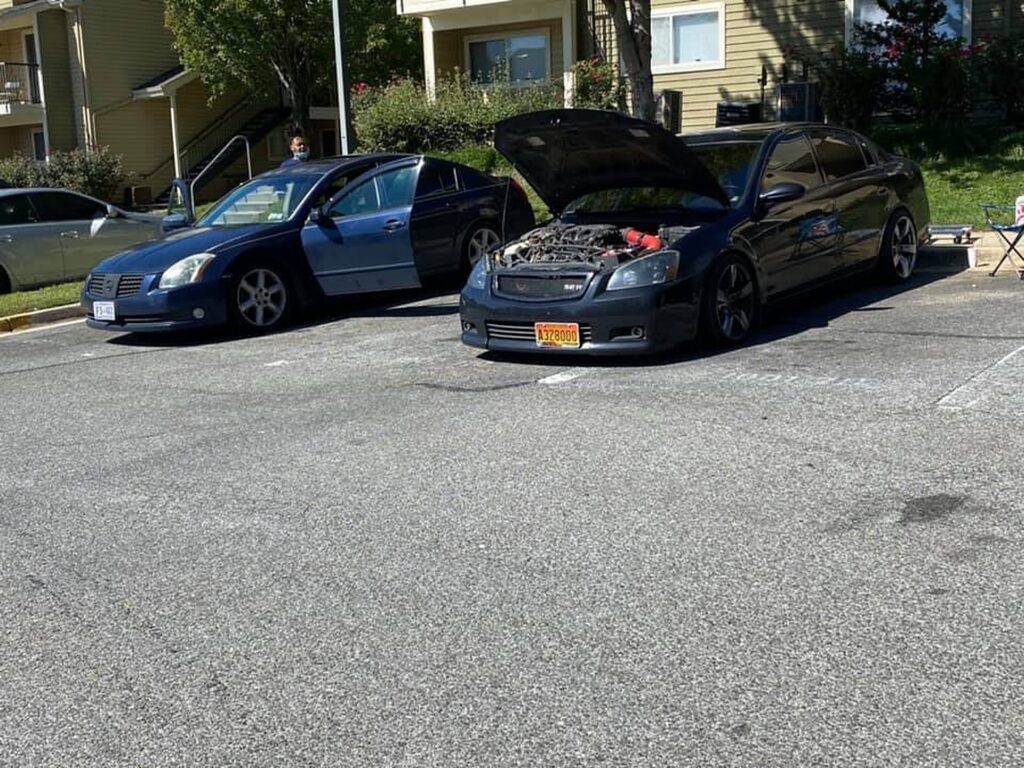
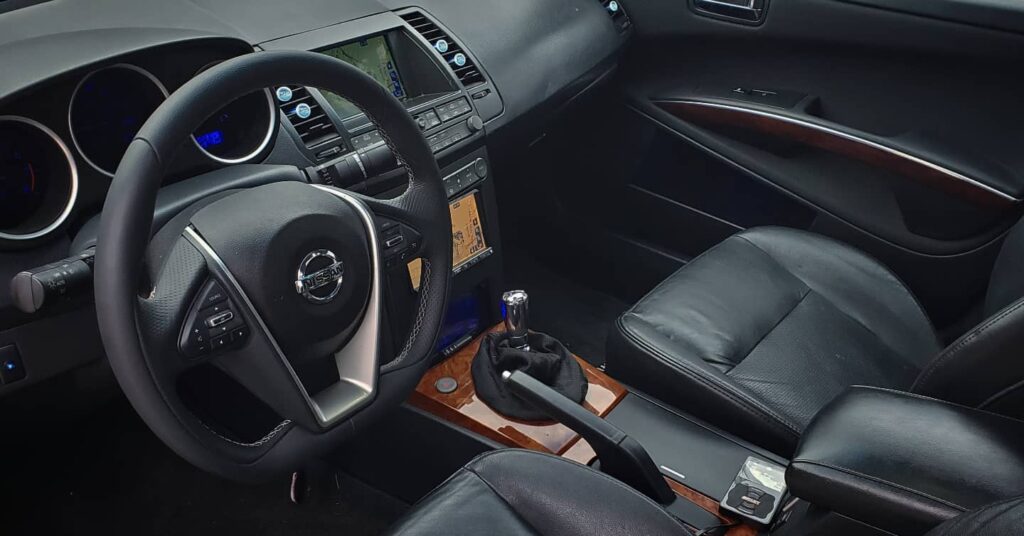
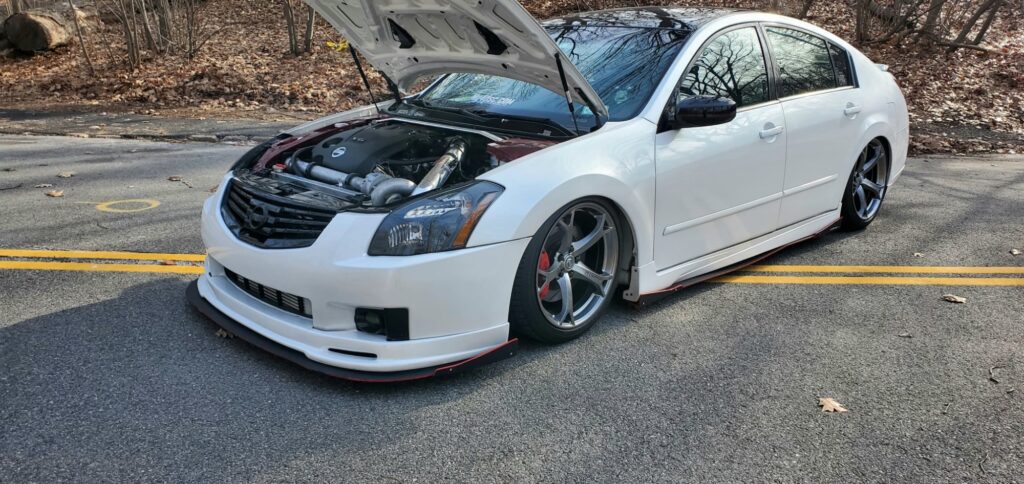
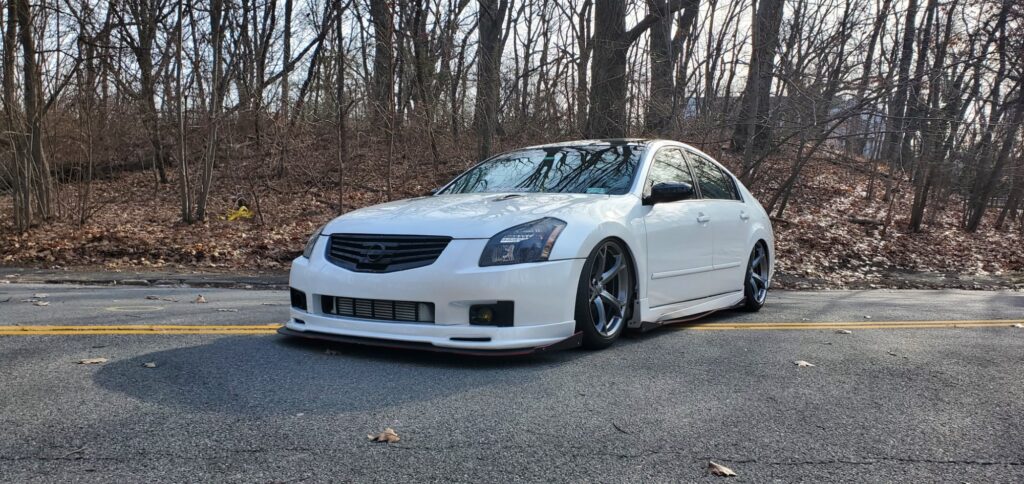
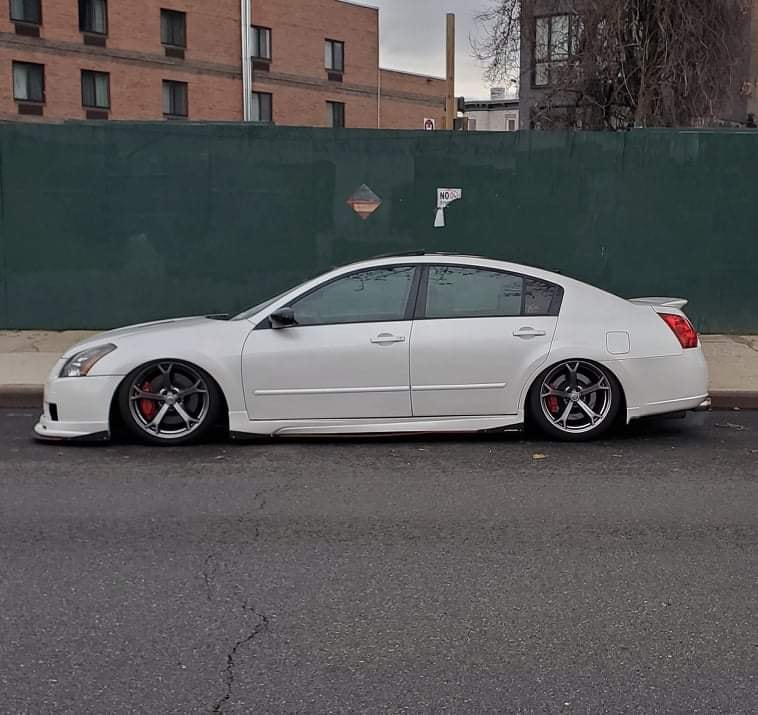
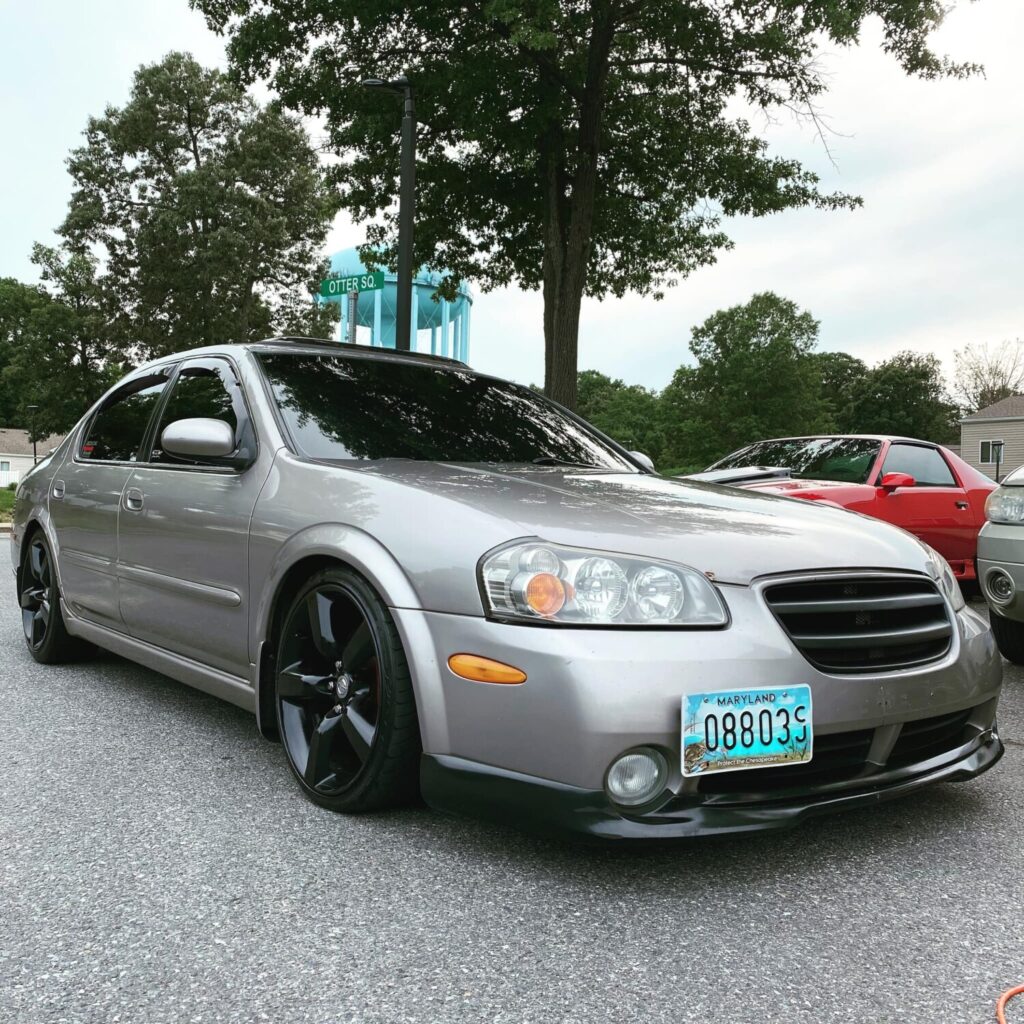
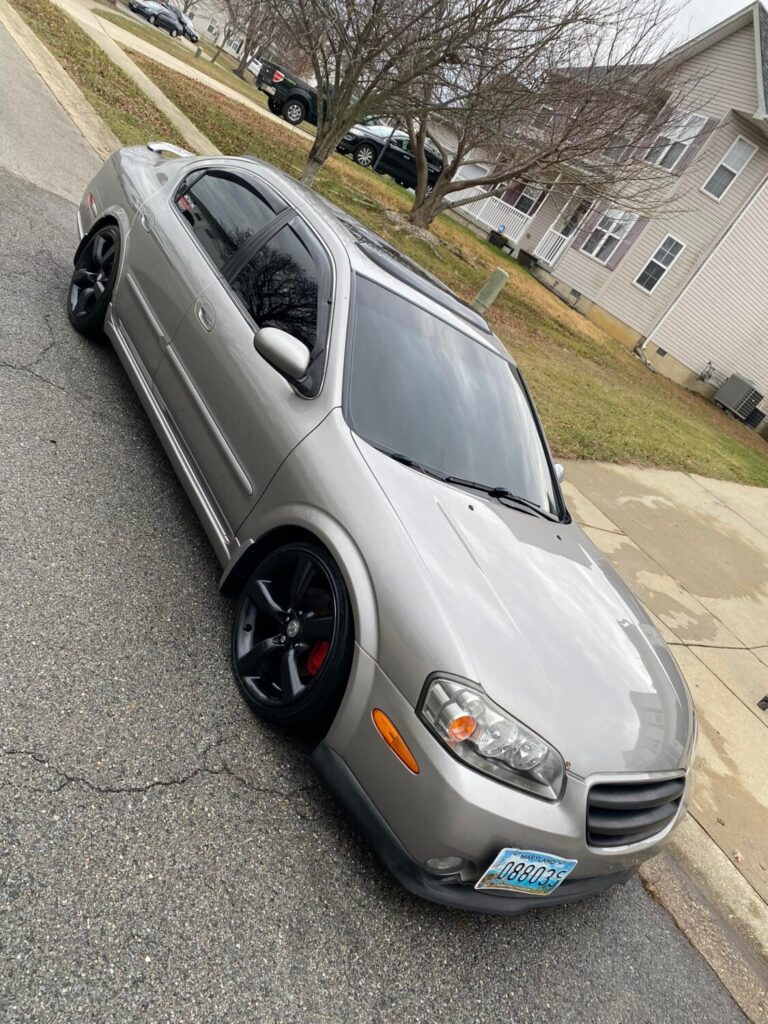
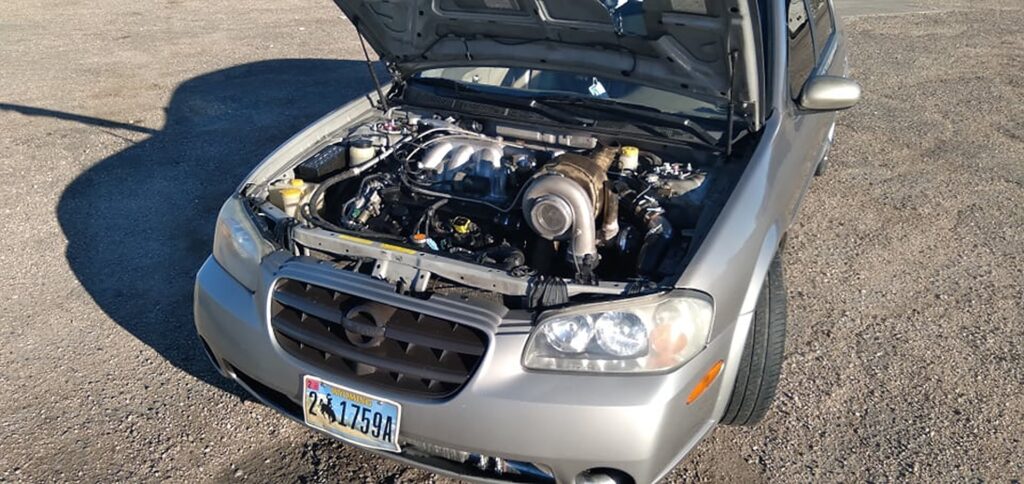
Owner: Drew Diggs
Year: 2002
Model: Maxima
Color: Tan
Transmission: 6-Speed Manual
Trim: SE

![]()

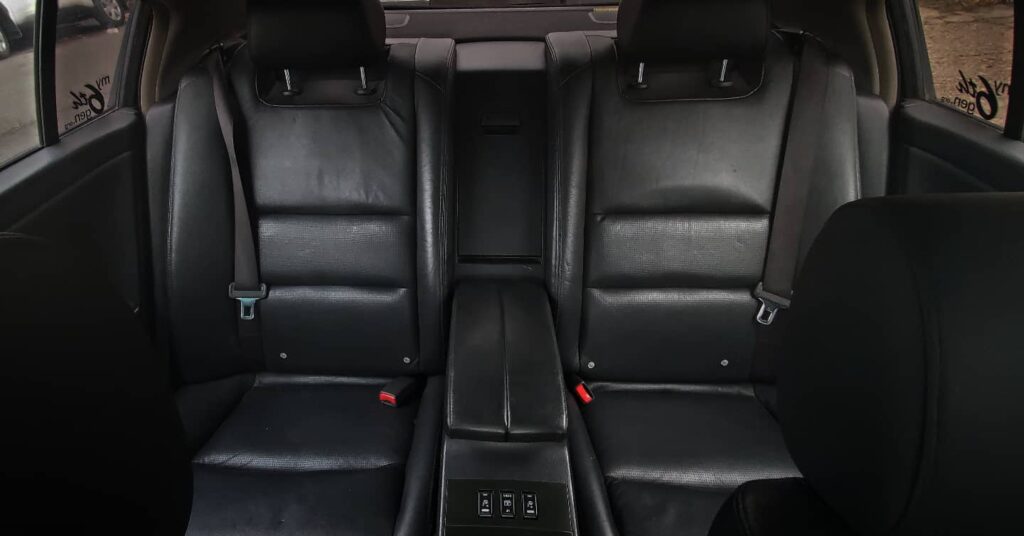
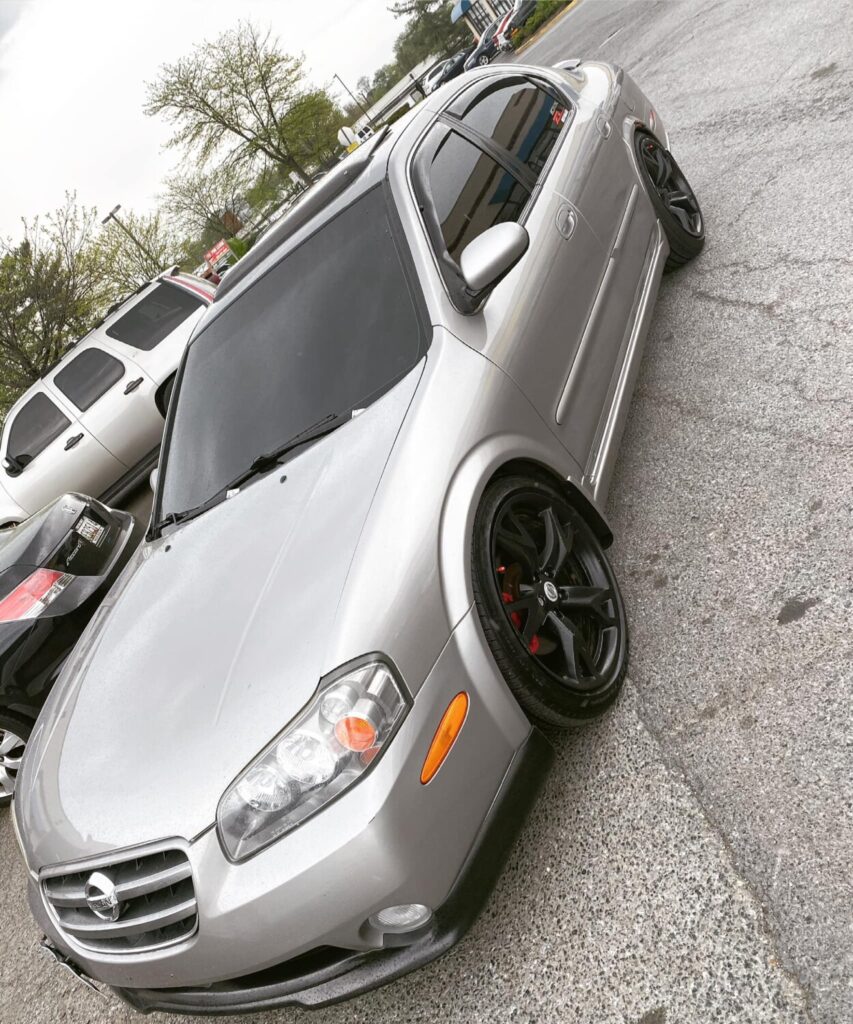
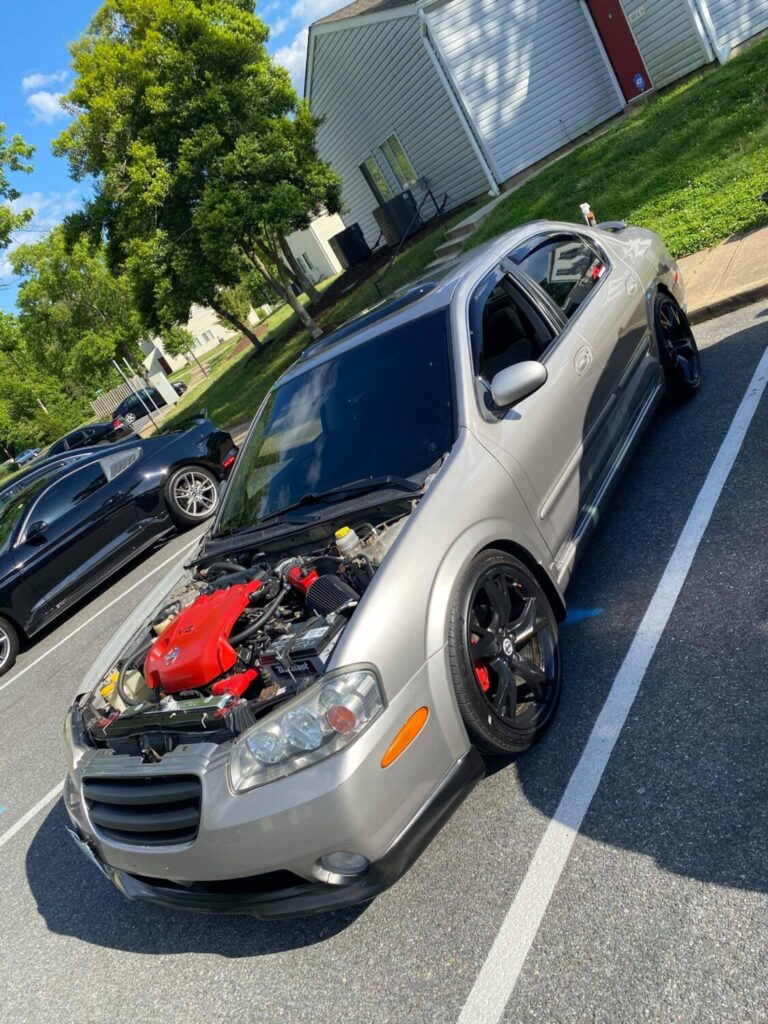
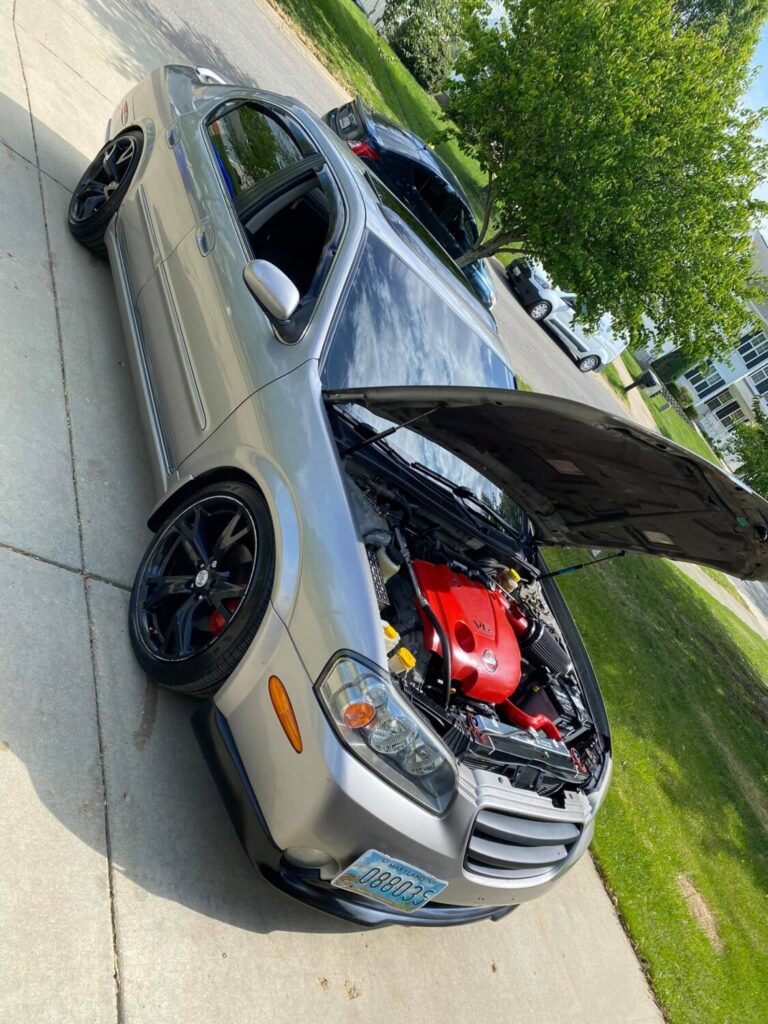
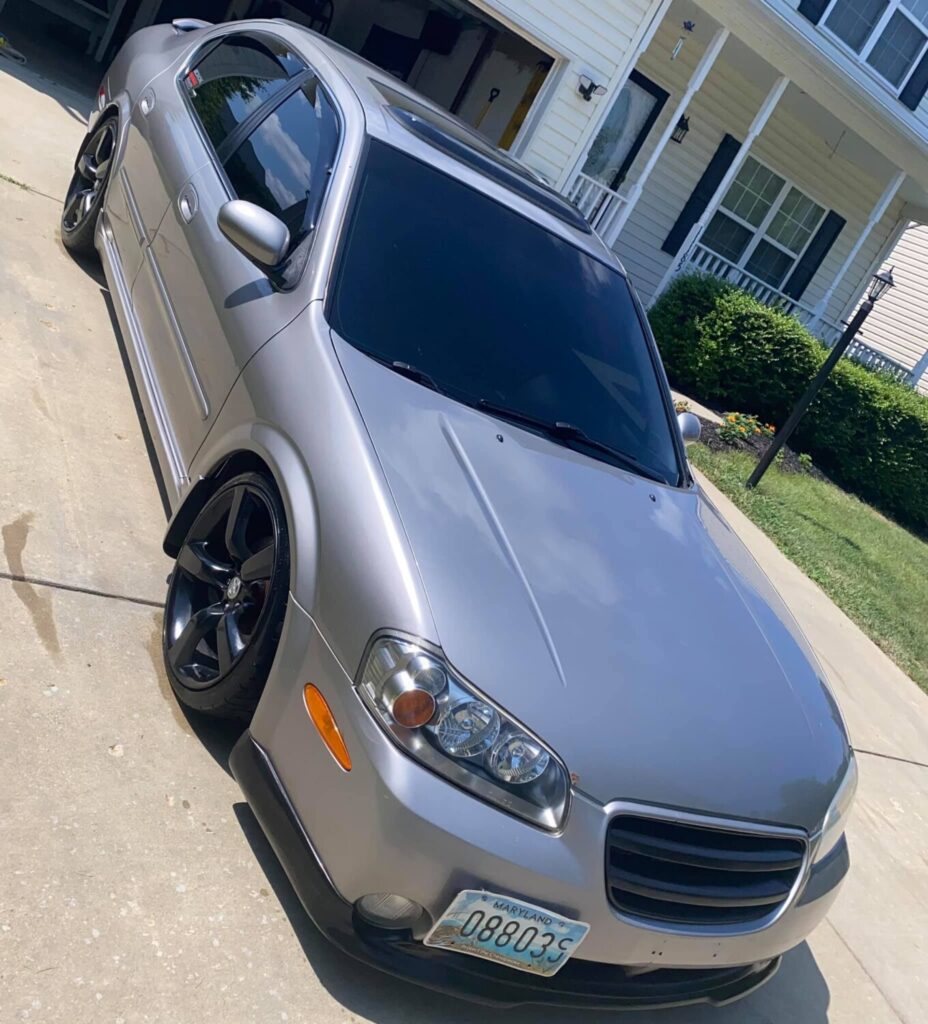
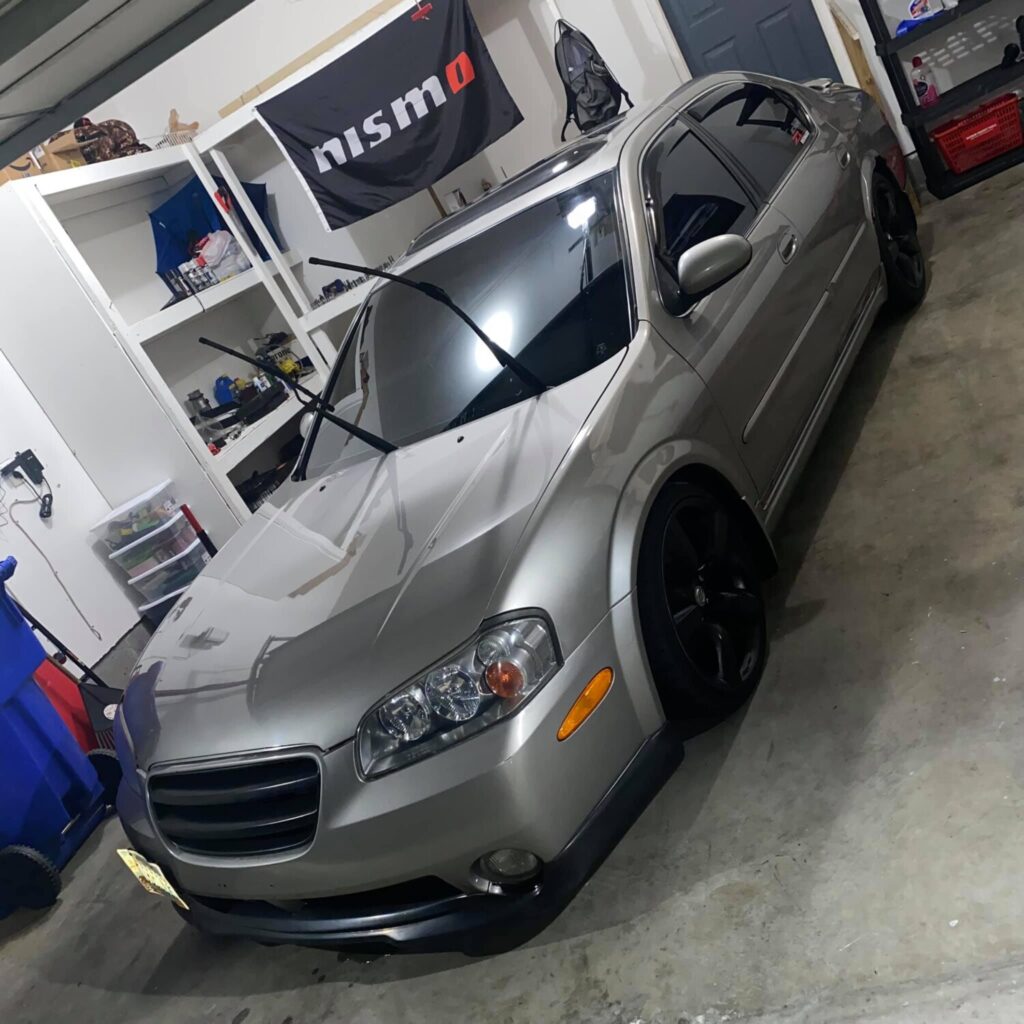
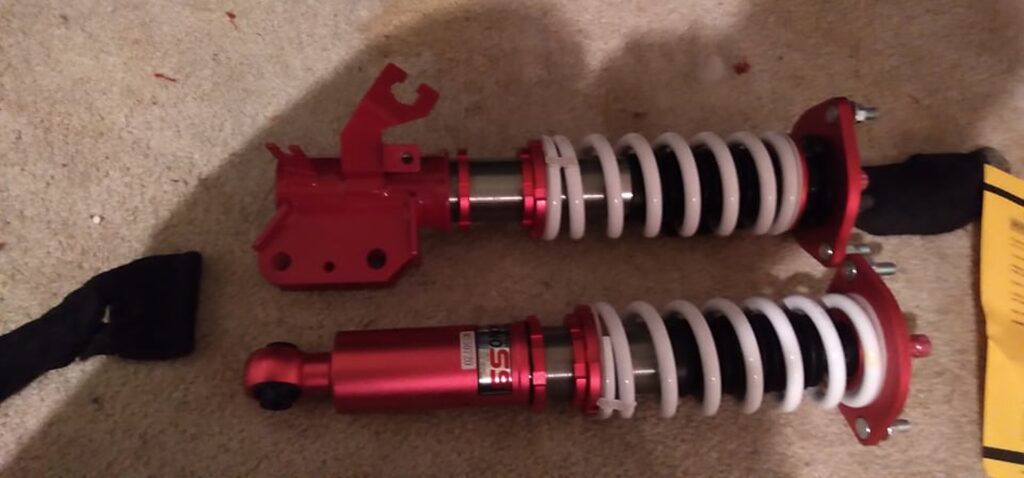
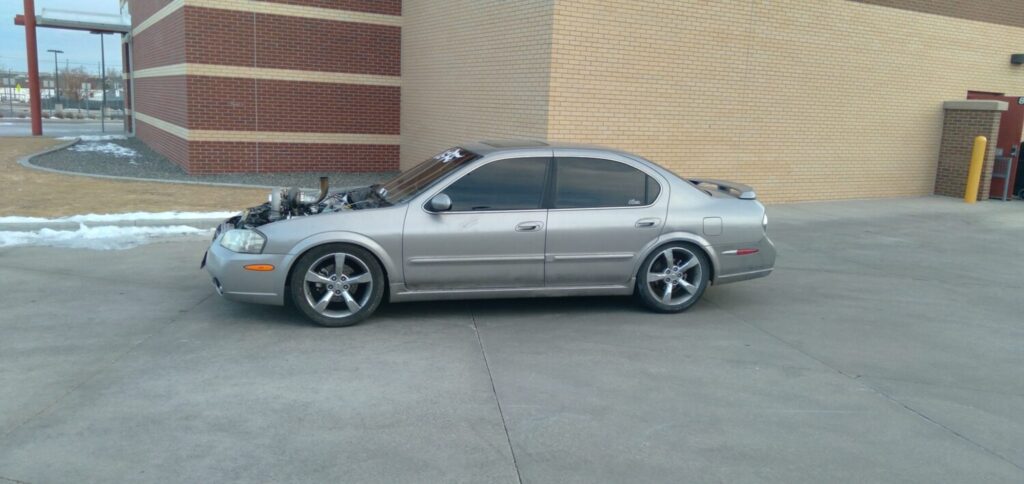
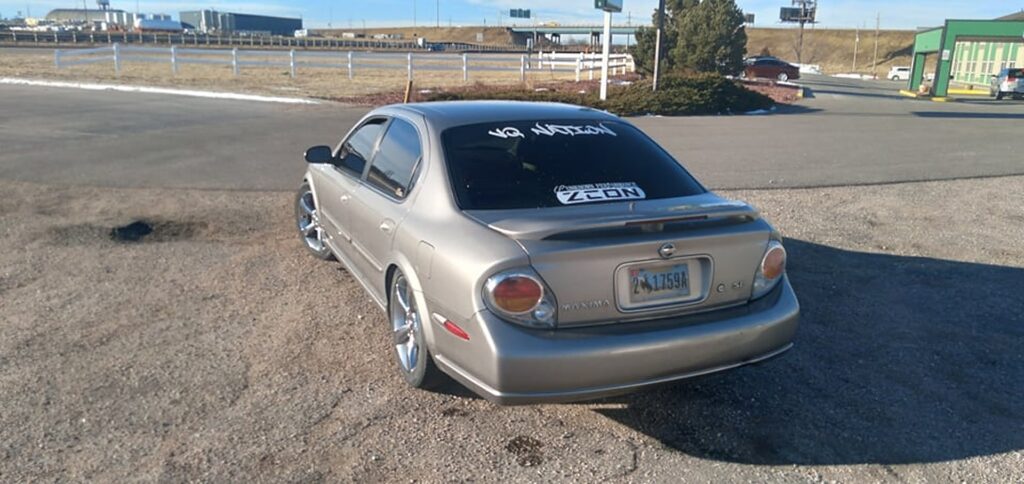
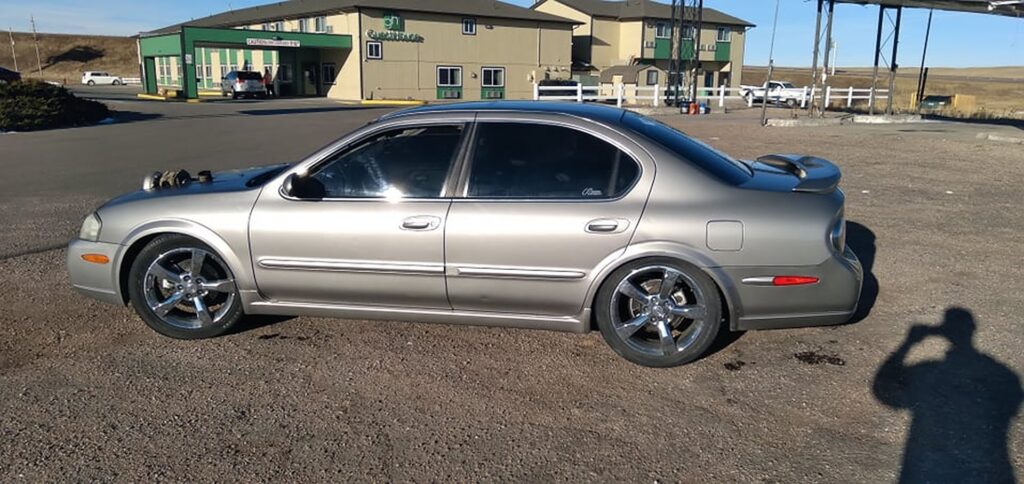
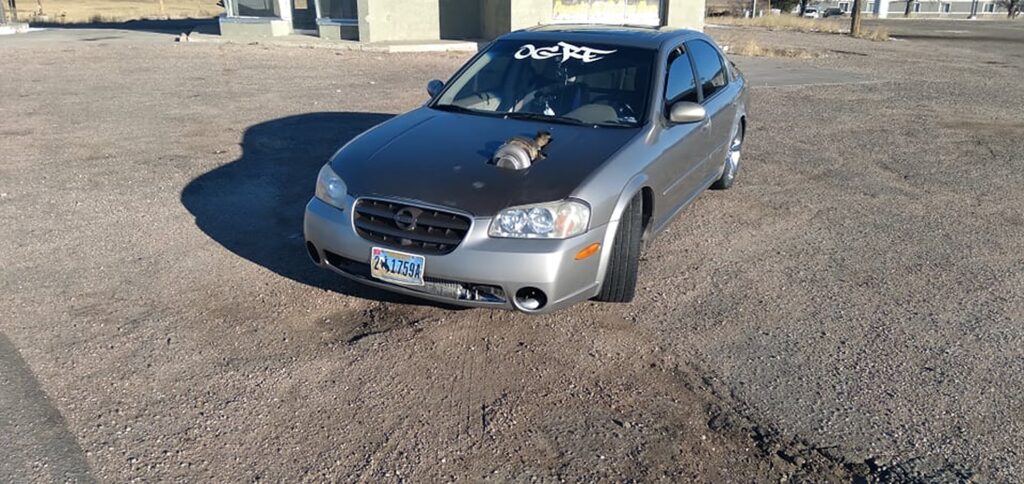
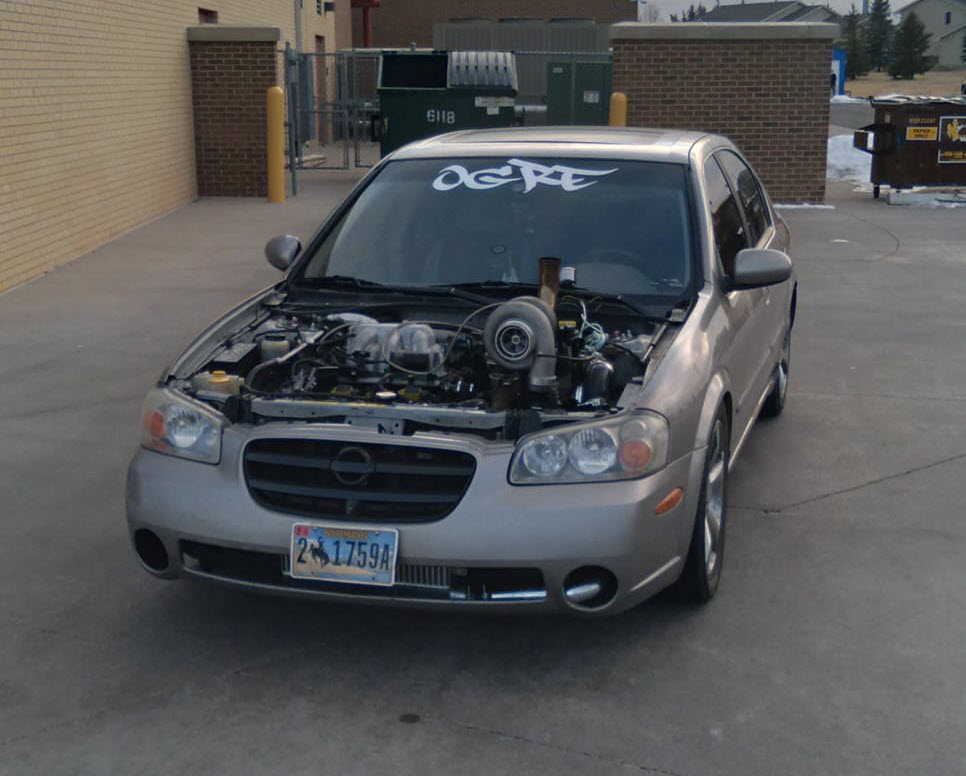
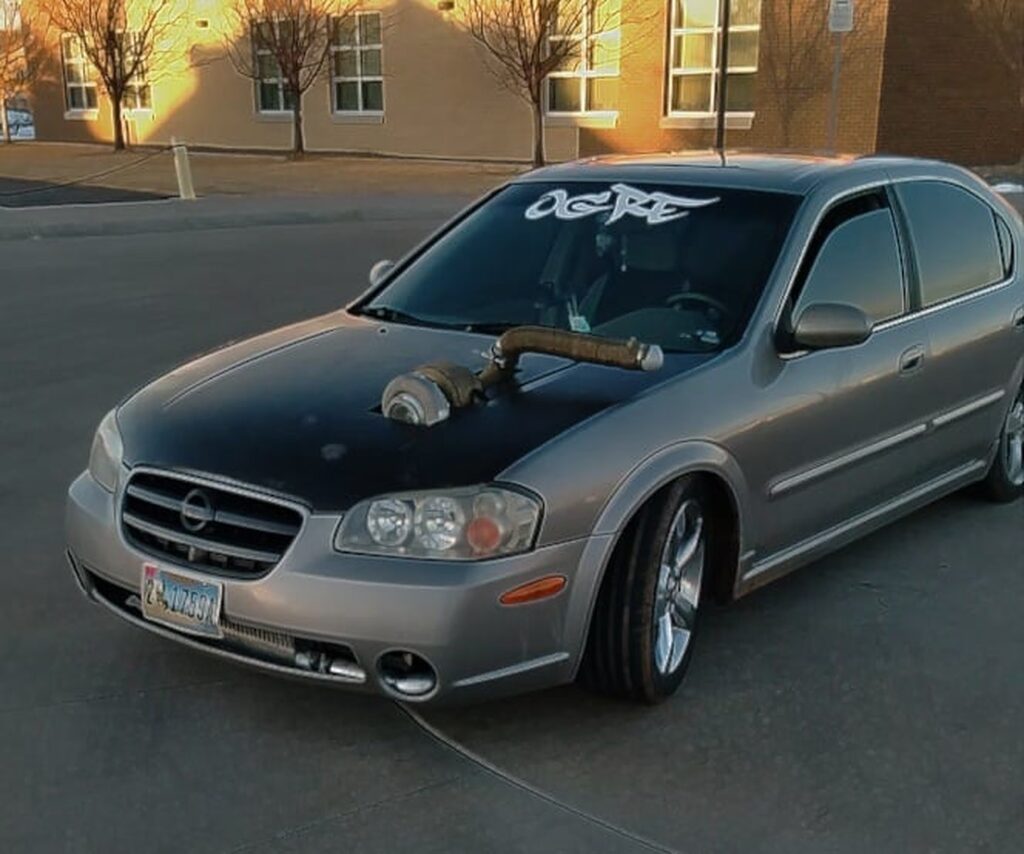
Owner: Derick A Gifford
Year: 2002
Model: Maxima
Color: Sterling Mist
Transmission: 6-Speed Manual HLSD
Trim: SE


![]()


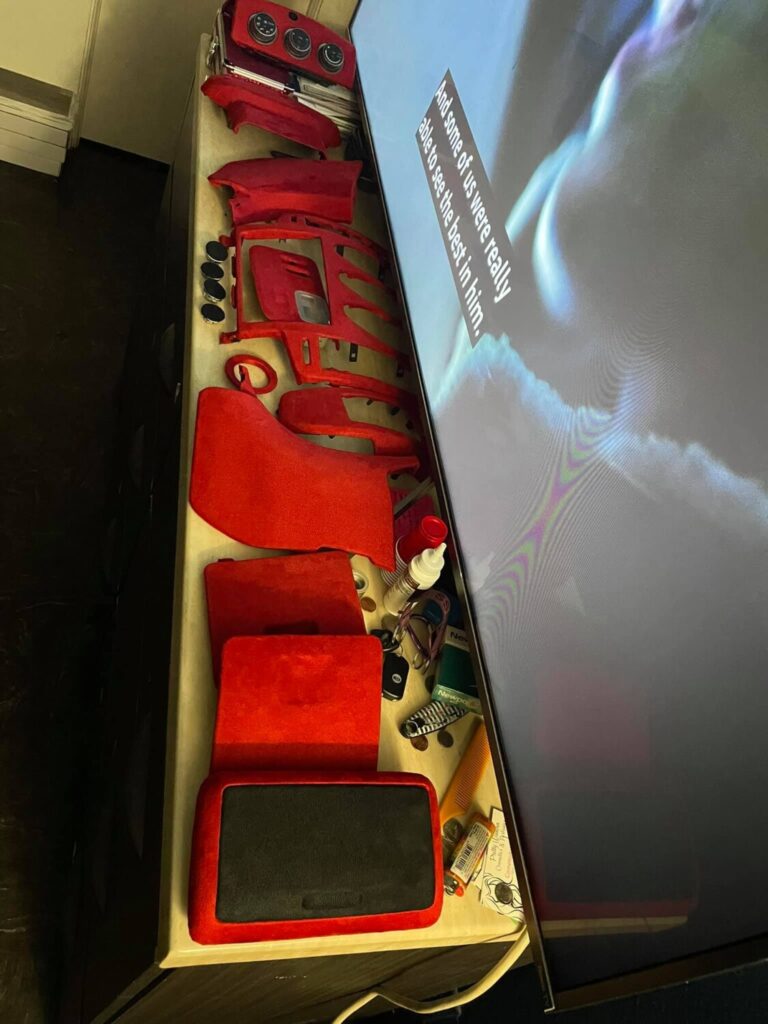
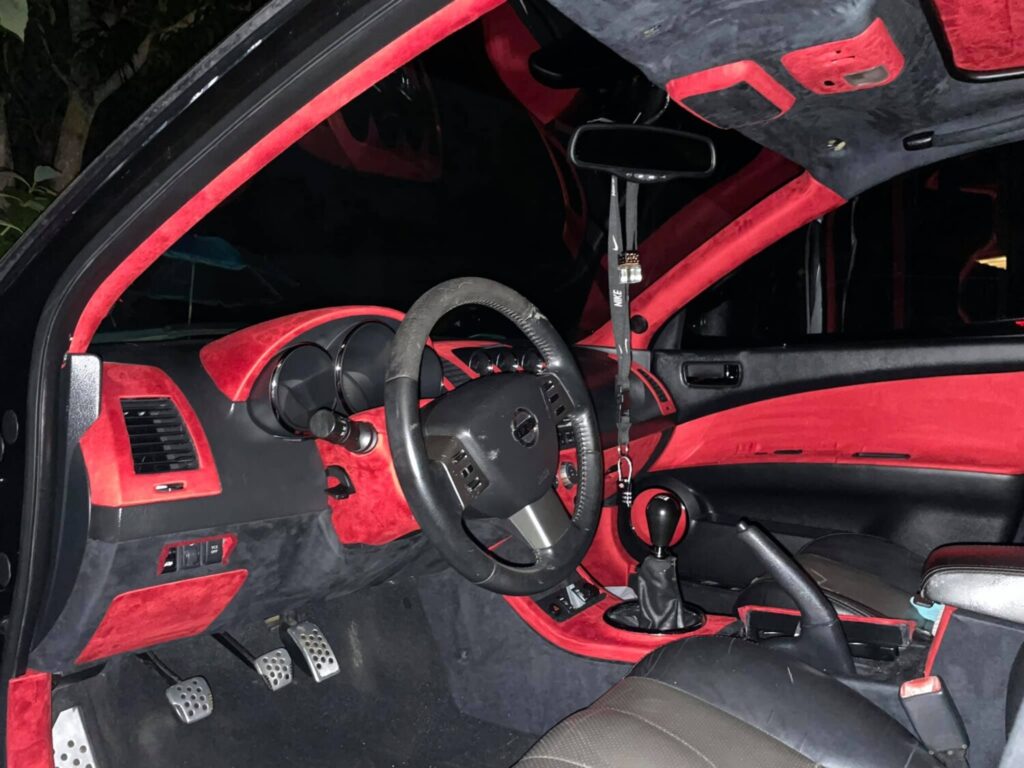
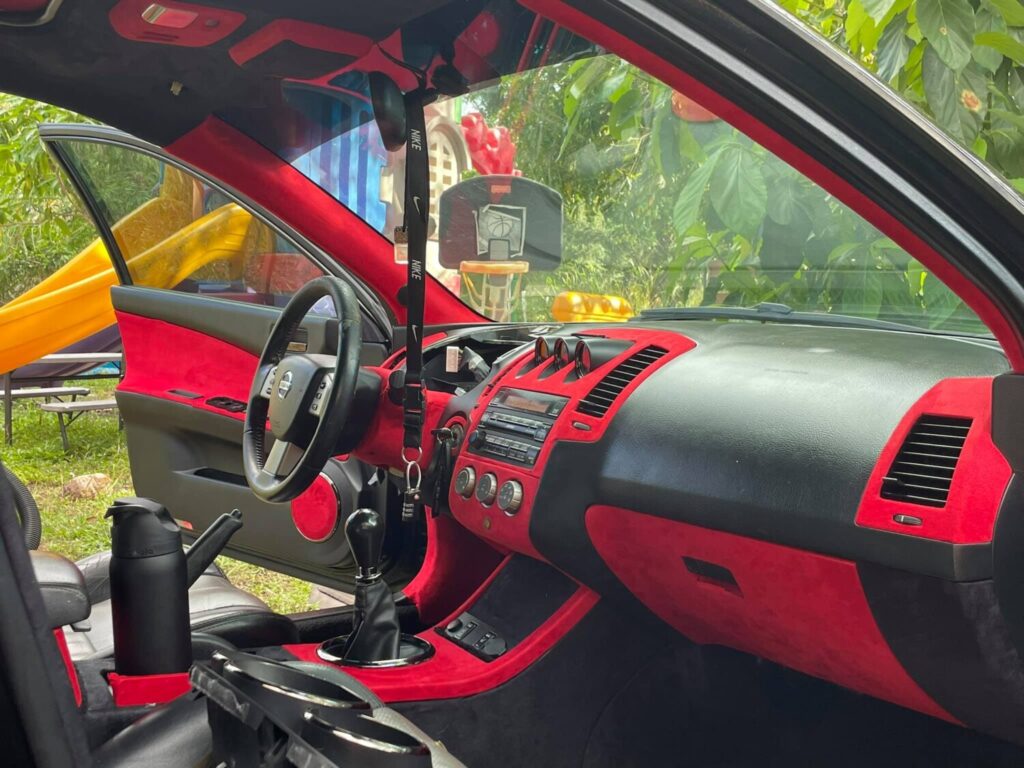
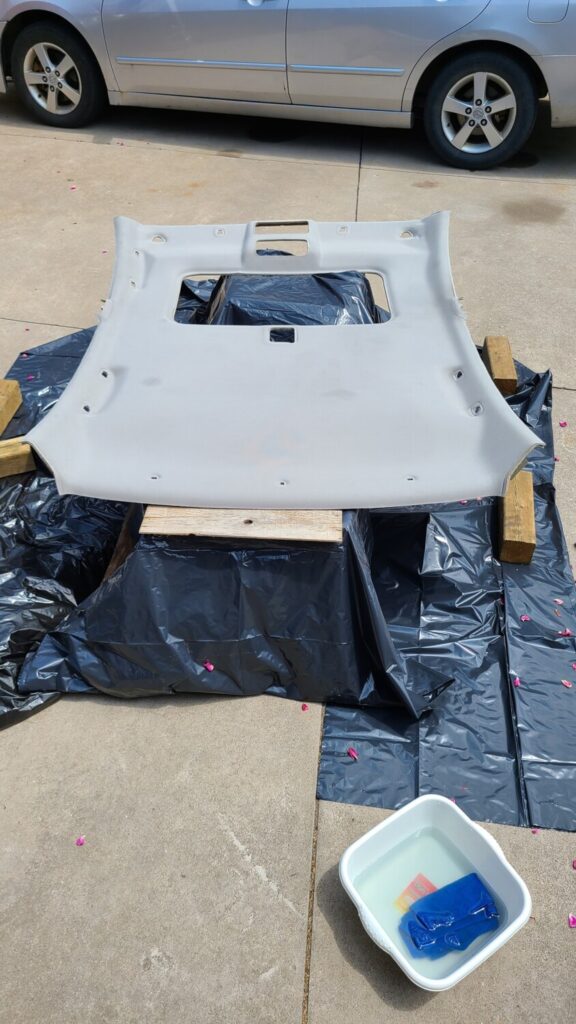
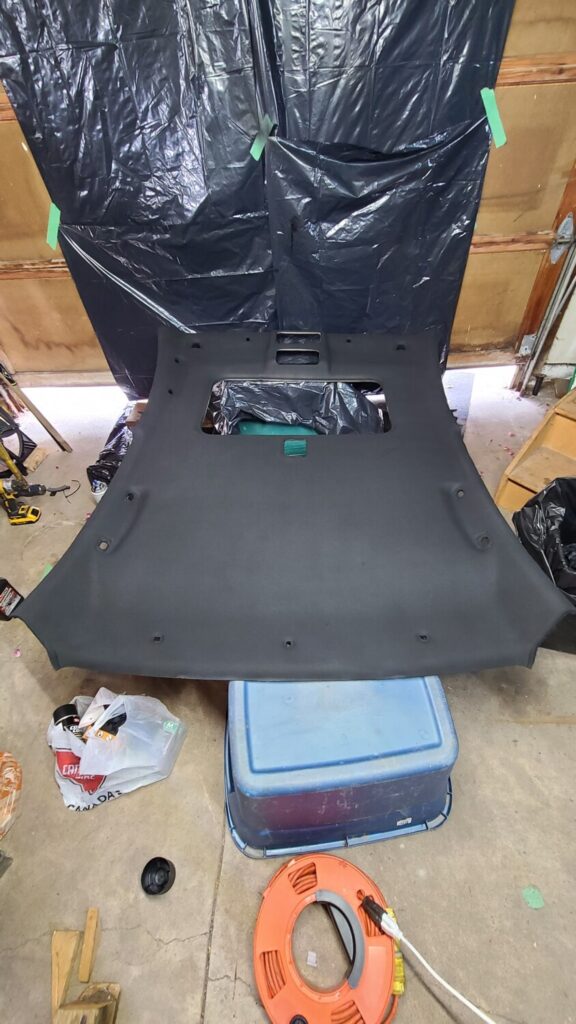
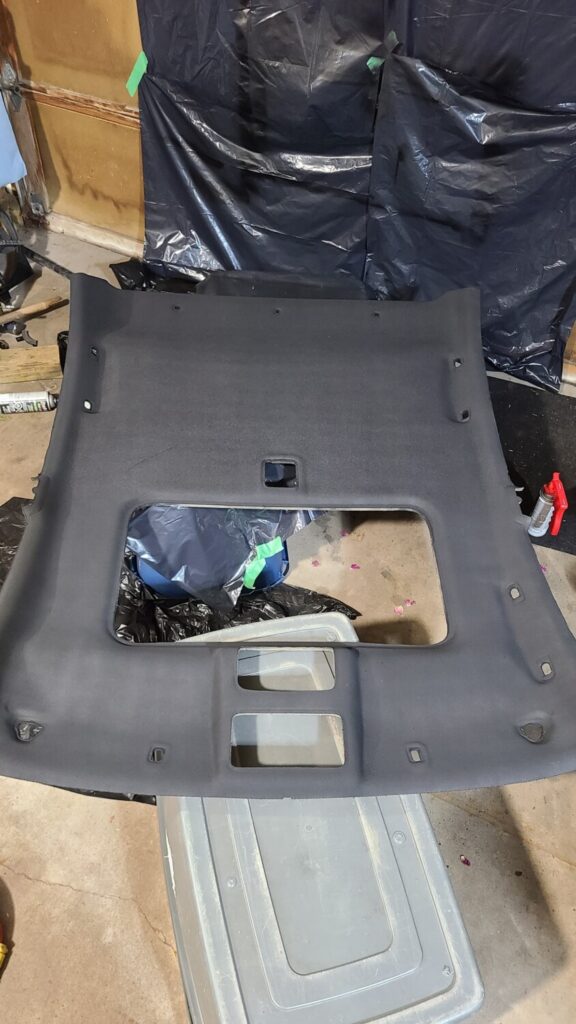
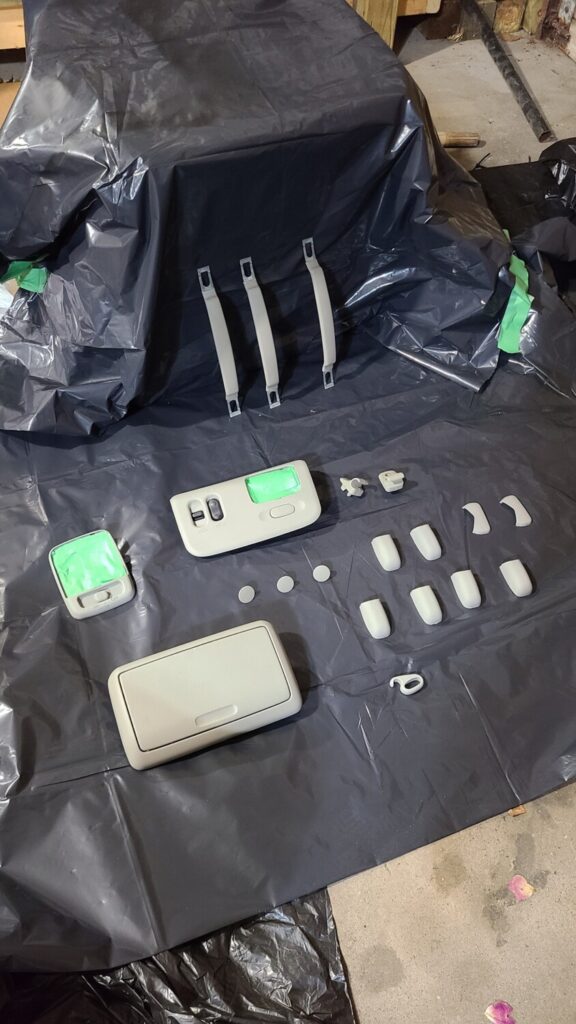
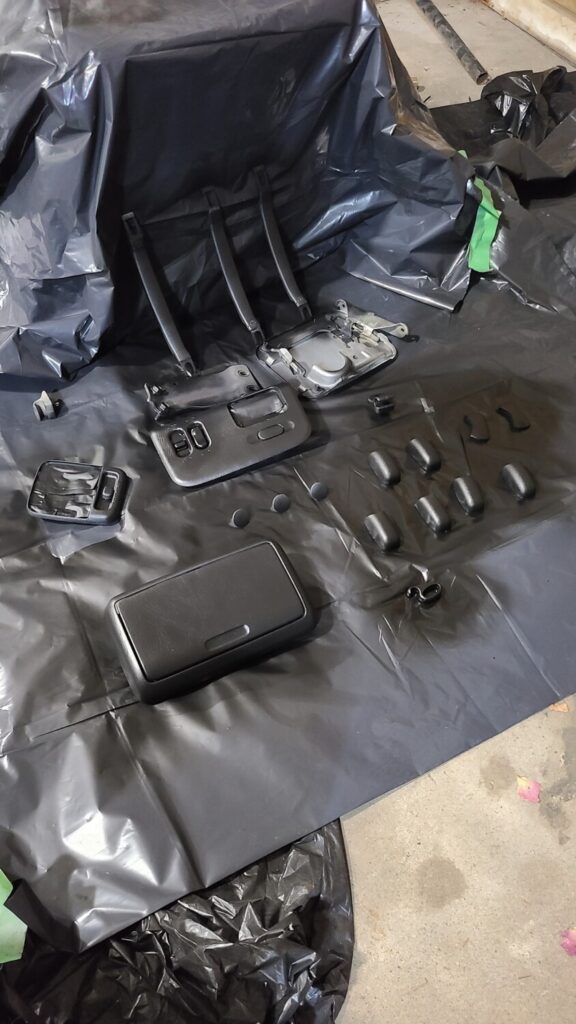
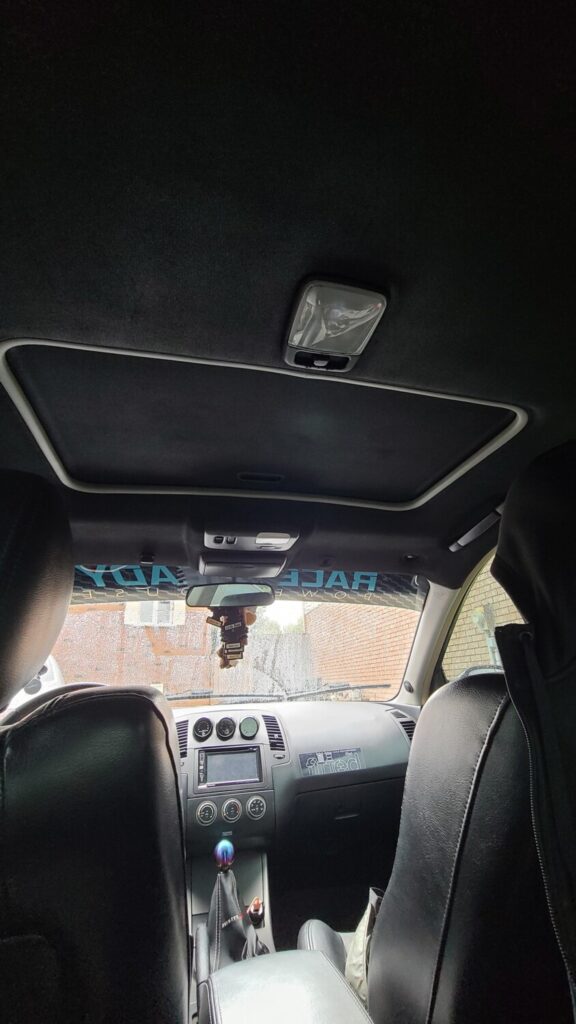
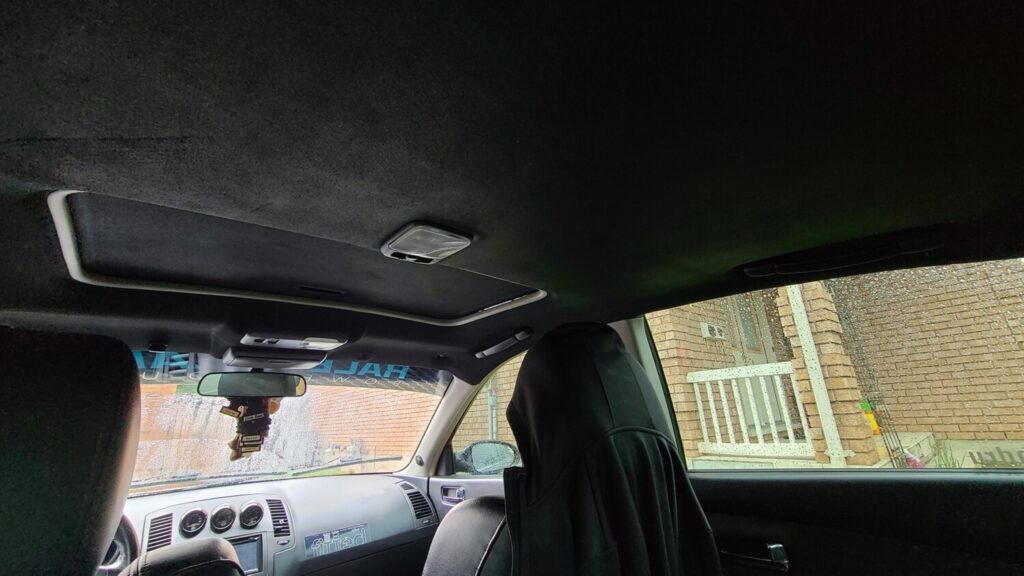
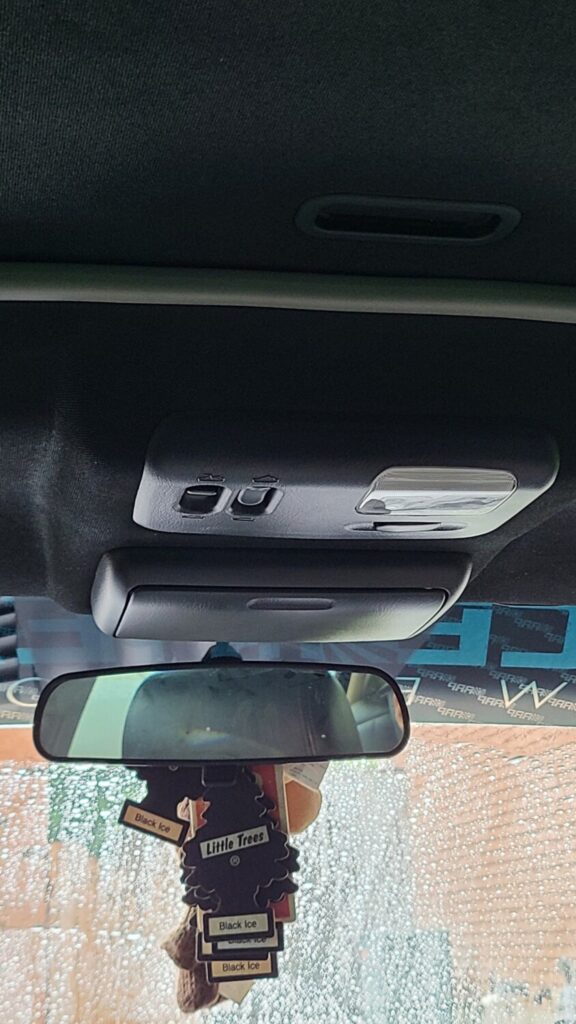
Community Member Credit: Robert Mandru
Had a roof leak which soiled my headliner 2 years ago. Finally made the effort to dye the whole thing along with the plastic bits. Still have the sun visors to do but man is it cozy as hell!
I started with SEM Color Coat but then ran out of it and was forced to use Duplicolor Vinyl & Fabric paint. I do not like the Duplicolor, it left the headliner hard and a tad shiny but it did lay on quicker and in less coats. The SEM paint required A LOT of layers but left a verrrry clean look and the headliner still feel relatively soft. I wish we had SEM readily accessible here in Canada but we don’t.

![]()


Community Member Credit: 9BlackMaxMS
I figured I would take everyone through a step-by-step process of how to do it. It is really an easy job and anyone can do it.
Parts Needed:
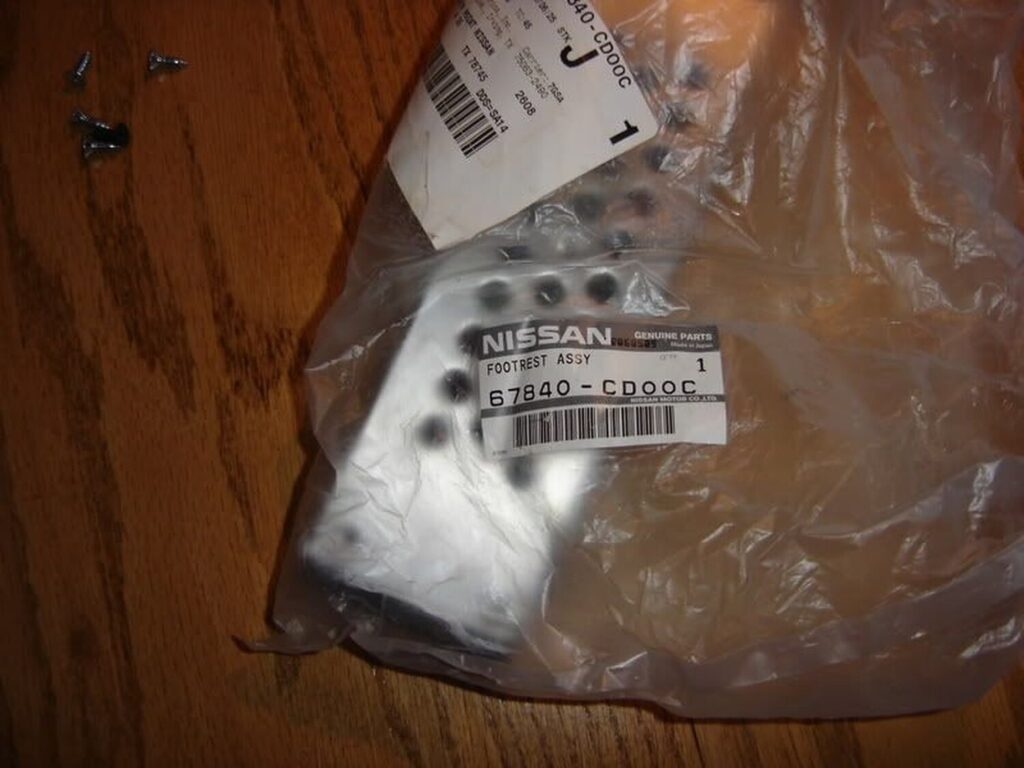
(1) Nissan 350Z Footrest Assembly: Part # – 67840-CD00C ($23.68)
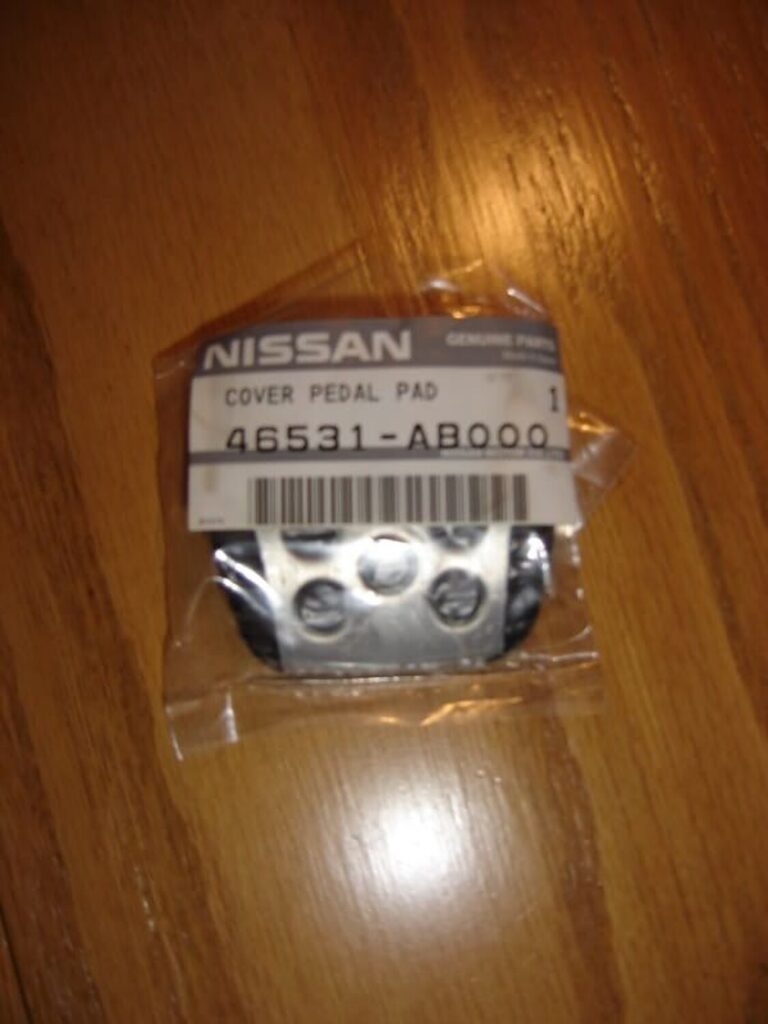
(2) Nissan AE Maxima Clutch/Brake Pedal Cover: Part # – 46531-AB000 ($19.14 ea.)
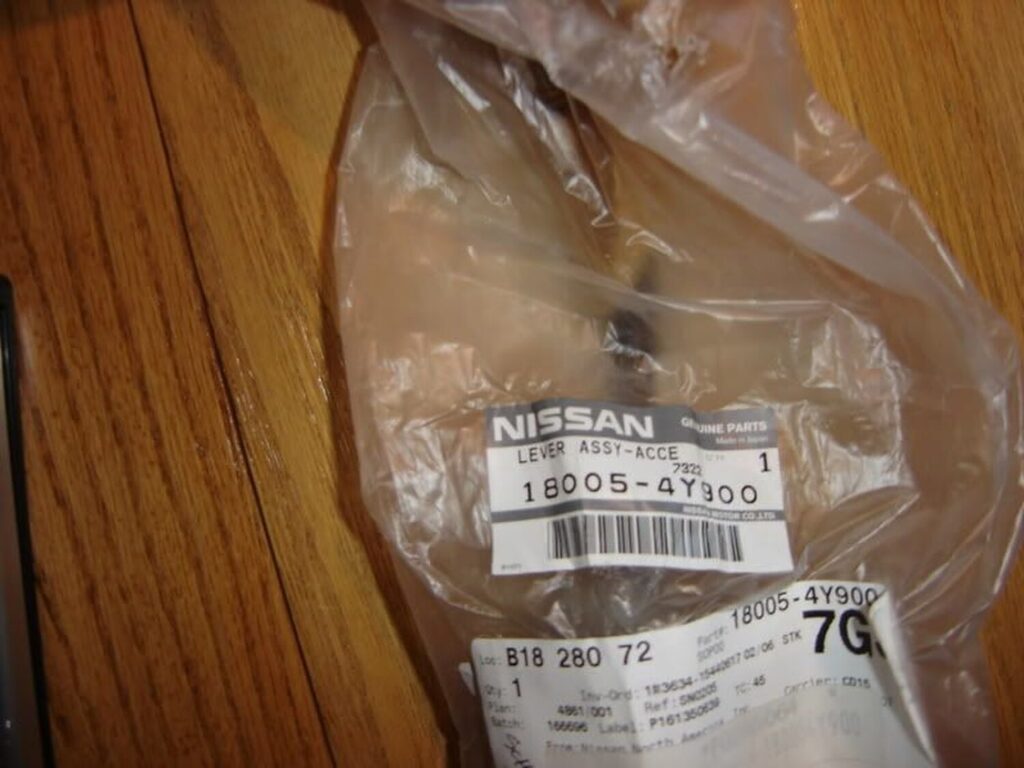
(1) Nissan AE Maxima Gas Lever Assembly: Part # – 18005-4Y900 ($27.76)
(1) 8×1-3/4 Flat Philip Head Zinc Finish Screws ($1.03)

I got the OEM parts from Dave Burnette at Southpoint Nissan at cost, and after shipping my grand total of parts came to $99.50 with the screws added in.
Tools Needed:
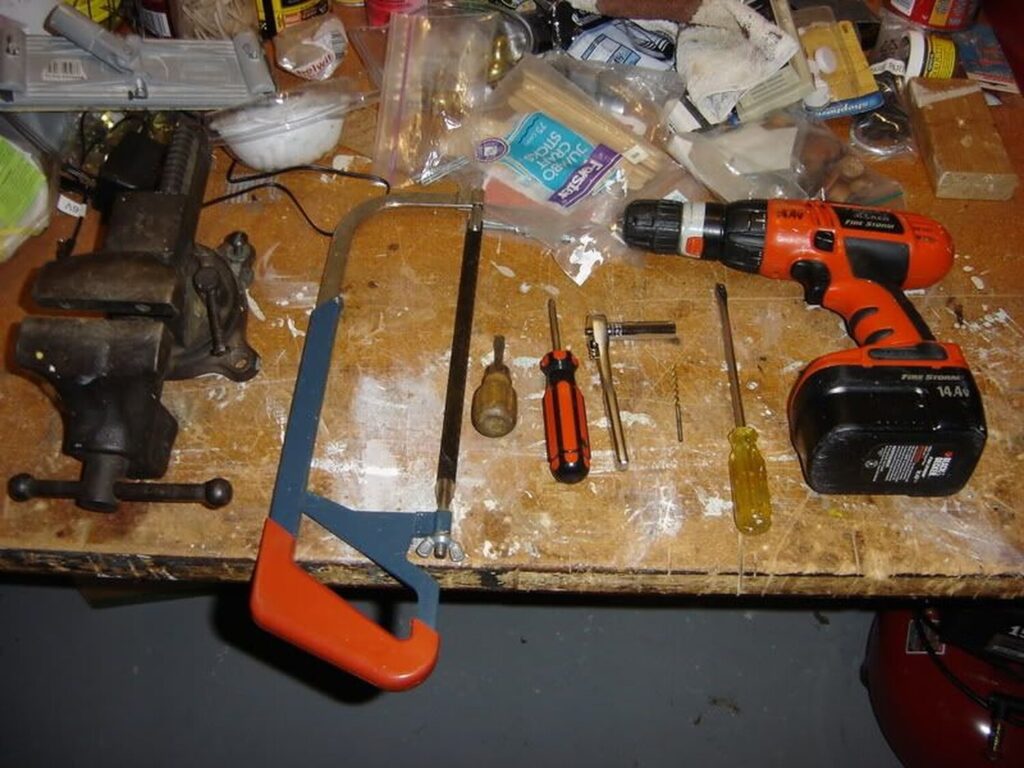

The 350Z does not come from the factory with an elevated spot for a dead pedal, therefore there is a lot of unnecessary plastic that needs to be cut away.
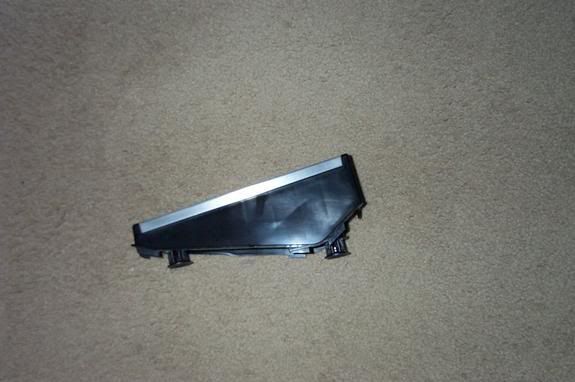
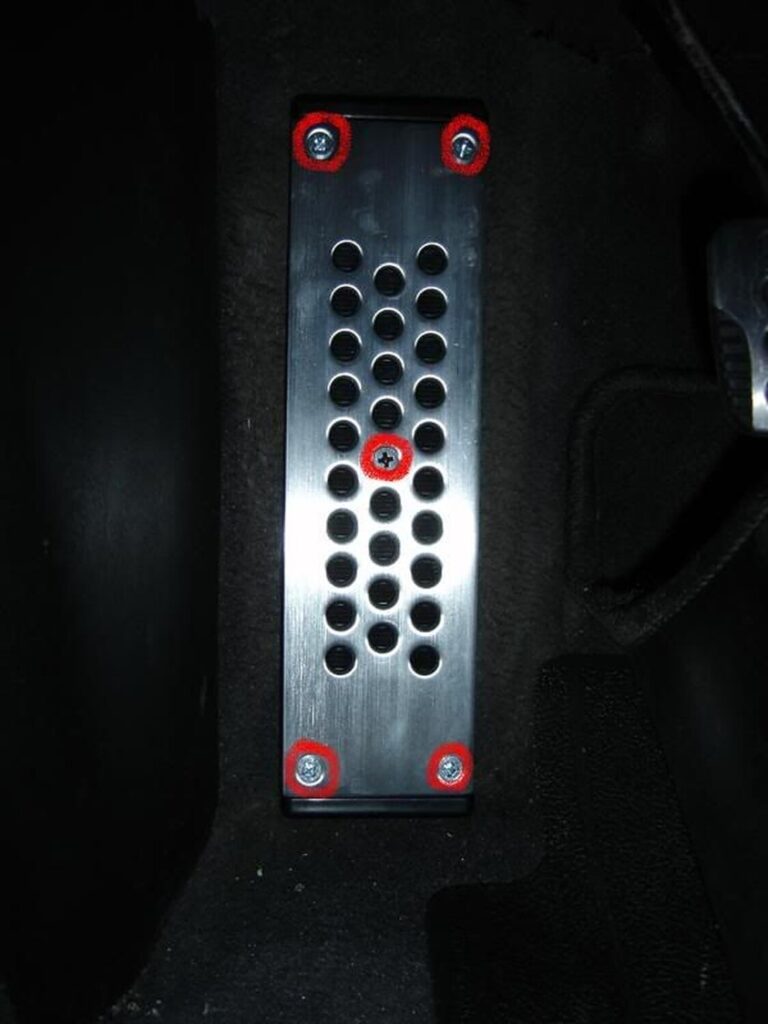
First, remove the five (5) screws (four silver metal ones at each corner, and one black one in the center). Put the aluminum cover in a safe spot as it is very bendable.
Once separated, clamp the black plastic base to the bench vise and start sawing away. Leave about 1/2-3/4″ of clearance between the top and the side of the pedal. Next, use the bench grinder or a sander/sandpaper to finish the edge of the pedal and to even out the base. It should look like this when finished:
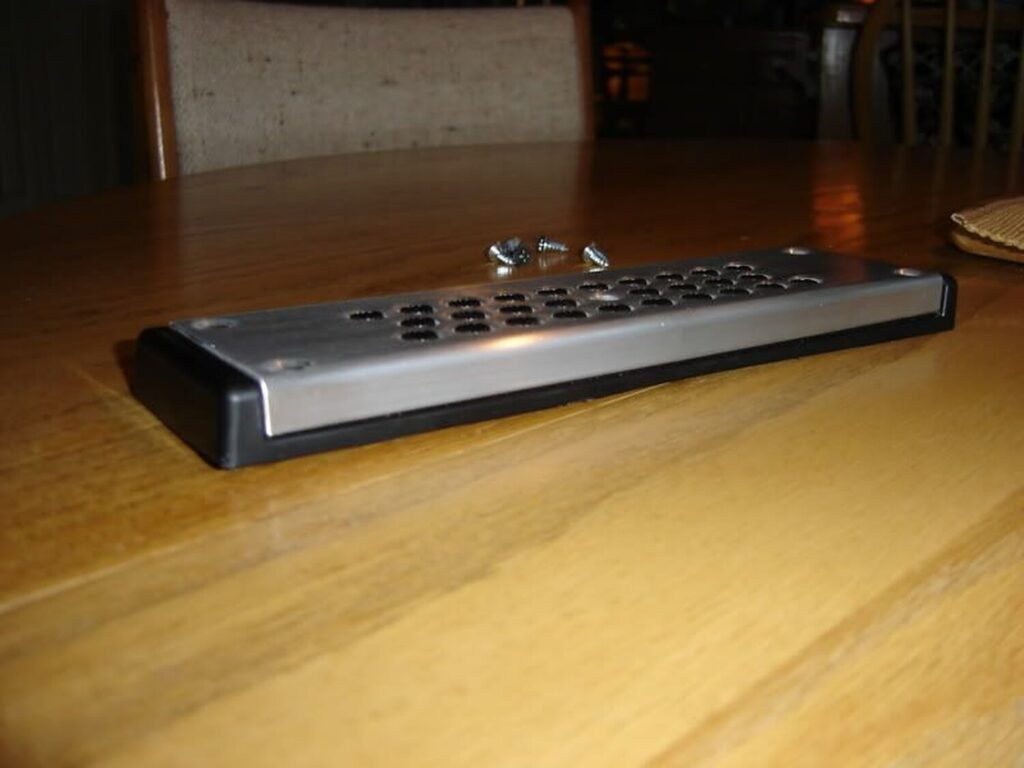
Now that your dead pedal is correctly cut and finished to your liking, use the small Philips head screwdriver and screw in the small black screw to secure the aluminum plate to the base.
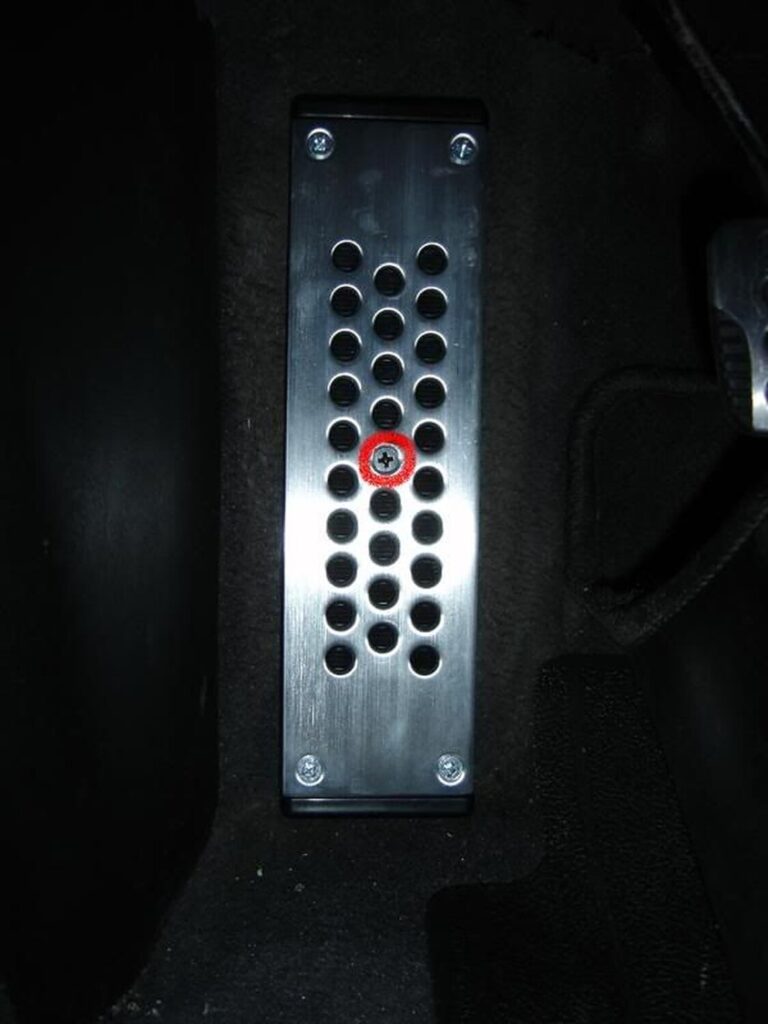
Go outside into your car and place the pedal where you would permanently like to place it. Rest it in place and begin drilling. You can drill directly through the carpeting. After drilling the four holes, take one 8×1-3/4 screw and fill in the four holes you just drilled. Voila, your dead pedal is installed and secured safely.
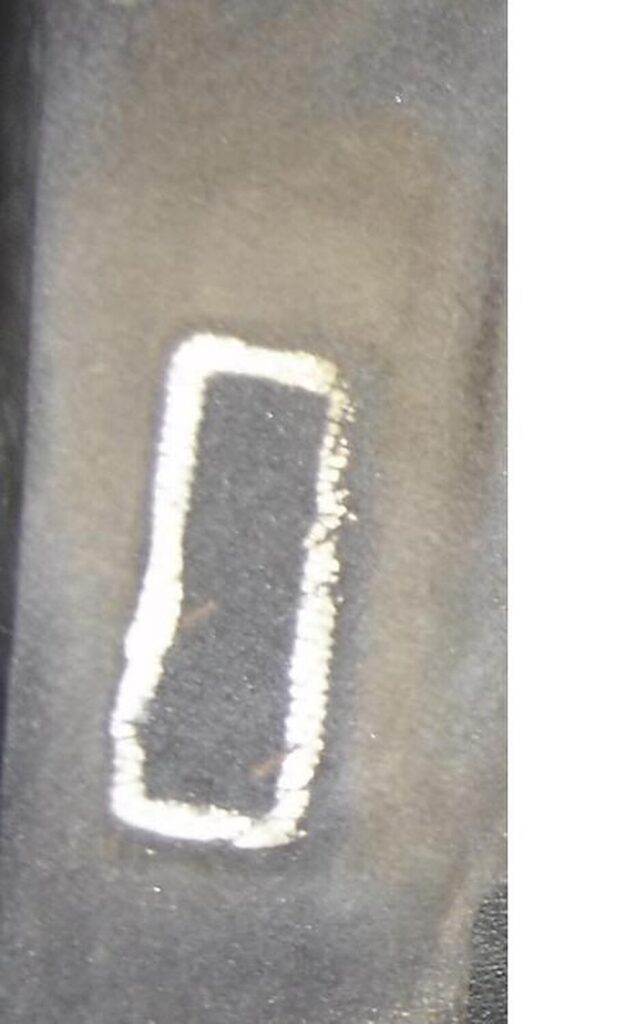
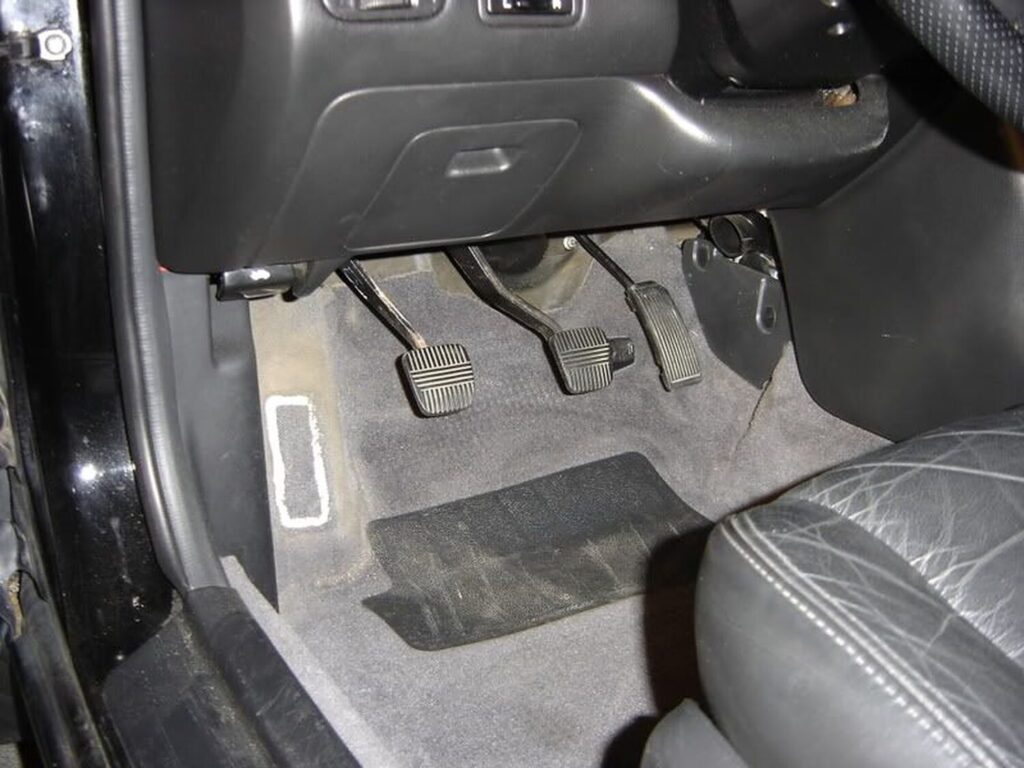
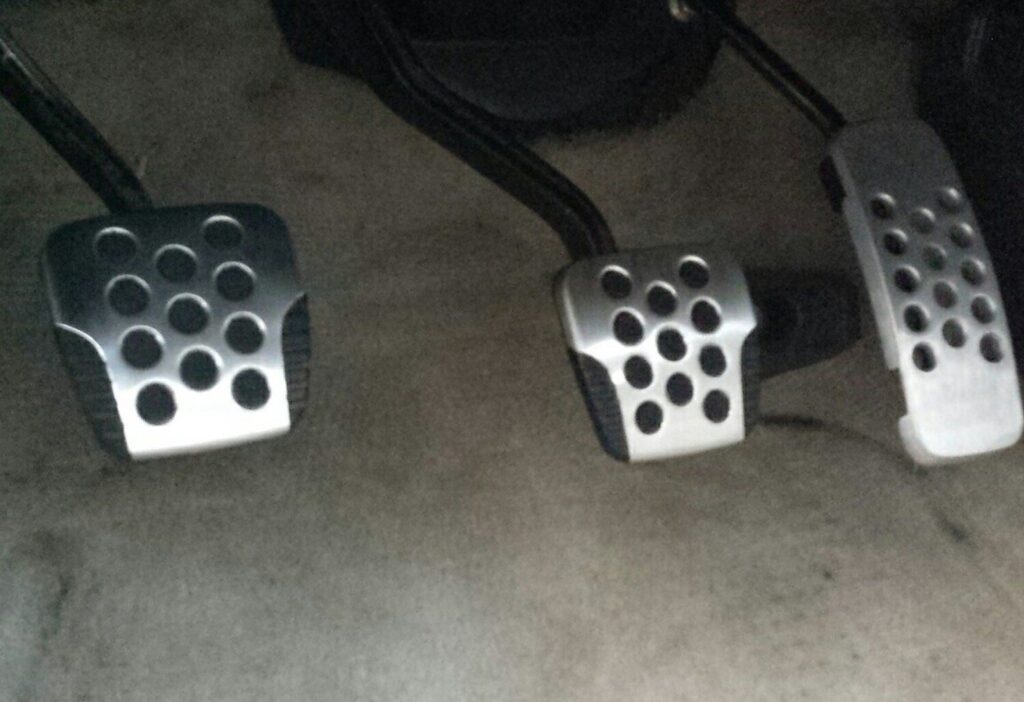
Before:
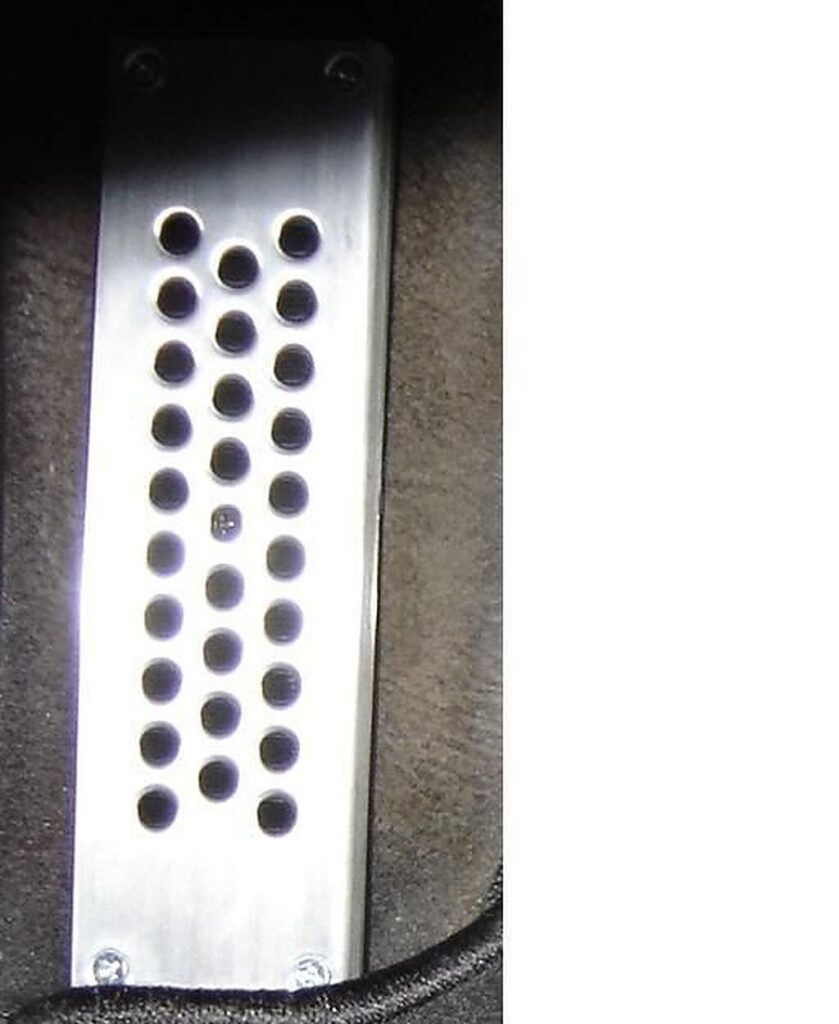
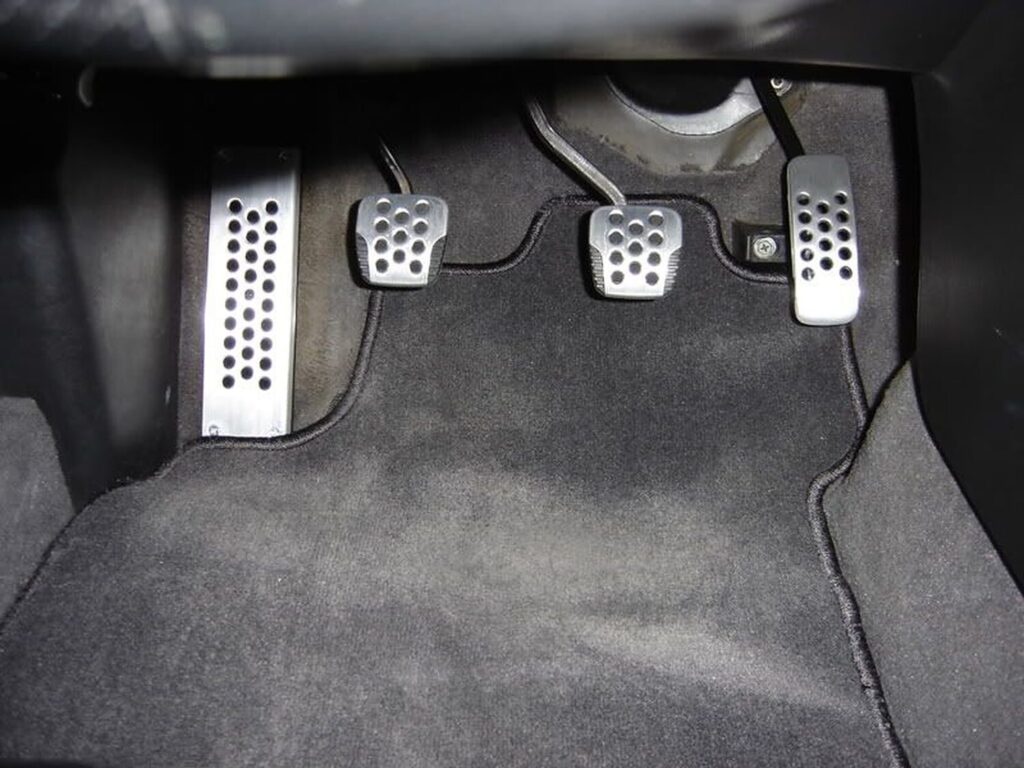
After:
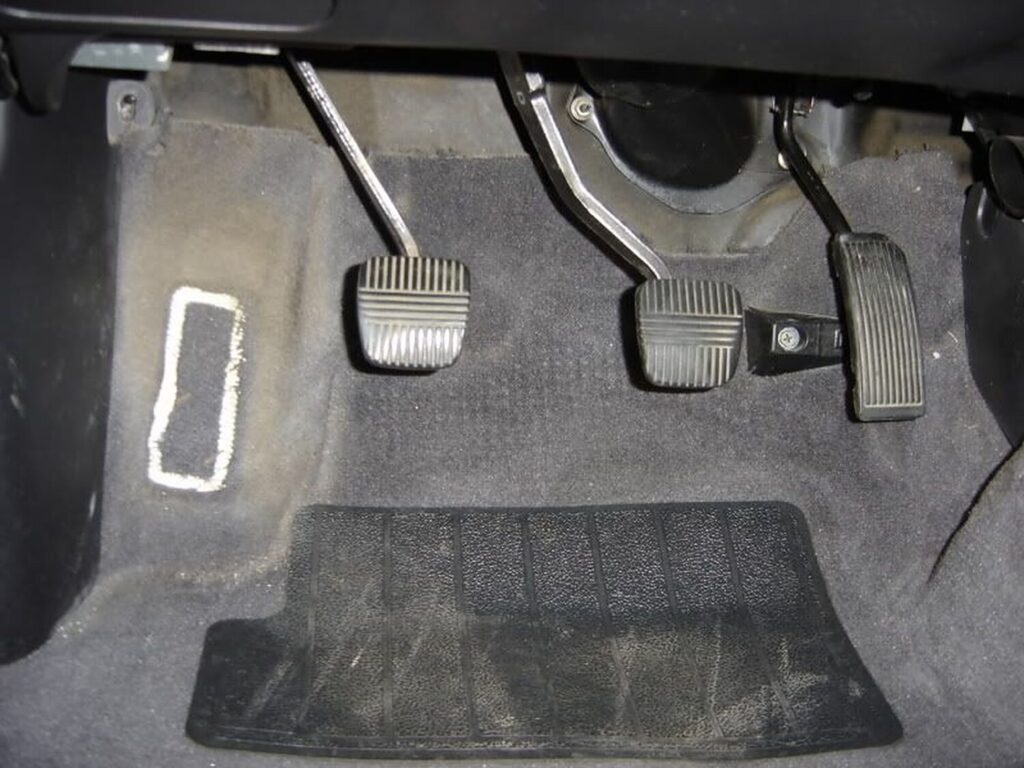
First off, if you have an automatic, you complete this task with only one pedal (clearly) but can use the same method as I did.
Begin by peeling back the old clutch and brake pedals. They should come off with little effort. I found it best to reinstall the new pedal cover in a specific order, making each corner/side easier to slip on. Using the stubby flathead screwdriver, slide the top right corner and right side on. Next, use the flathead to flip the backing away while you set the top left part of the cover in place. Continue this process until you get the entire cover on.
I found it best to install the cover in the following order:

Continue on and do the same for the brake pedal.
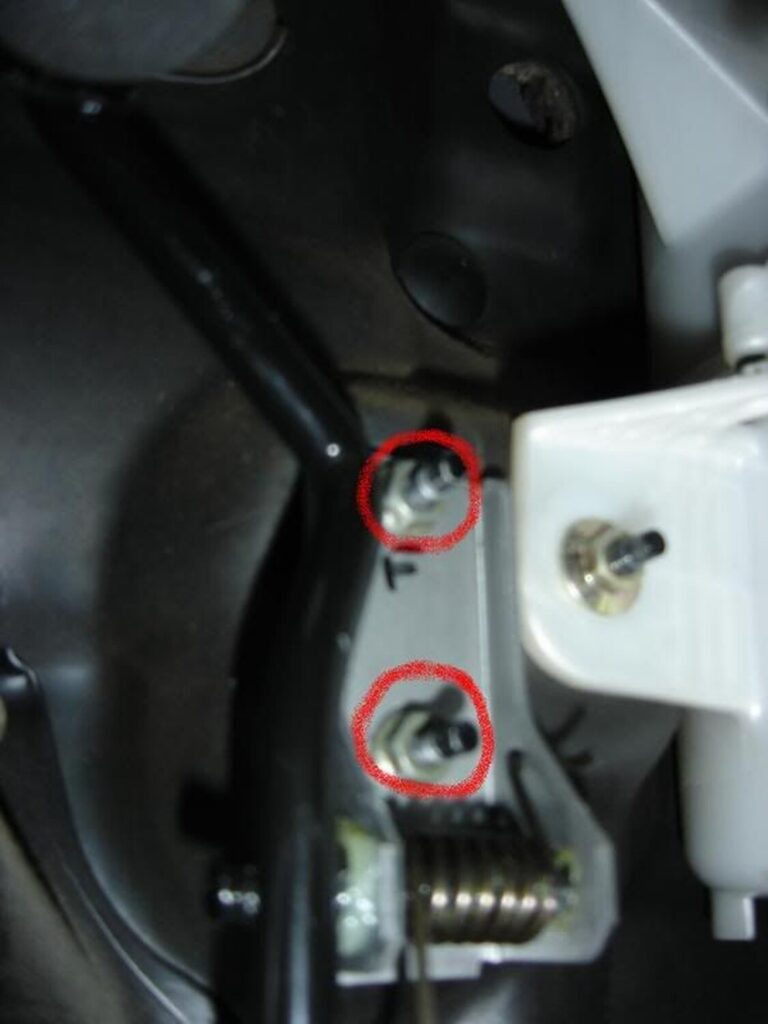
Begin by removing the throttle cable from the very top of the pedal assembly. It is kind of tricky, but if you wedge your long flathead screwdriver between the plastic clip and the metal on the pedal arm, it will pop free. The cable is located where these two red arrows are pointing to:

Next, unbolt the two 10mm nuts holding the pedal bracket in place (located on the firewall). Once these are taken off, the whole gas pedal assembly (pedal and arm) will fall out.
Continue the re-installation of the new pedal in reverse order of taking out the old one (first bolt in the two 10mm nuts that hold the pedal to the mounting bracket, then clip in the throttle cable).
You are finished. Put back your floormat and enjoy.
Before:
After:
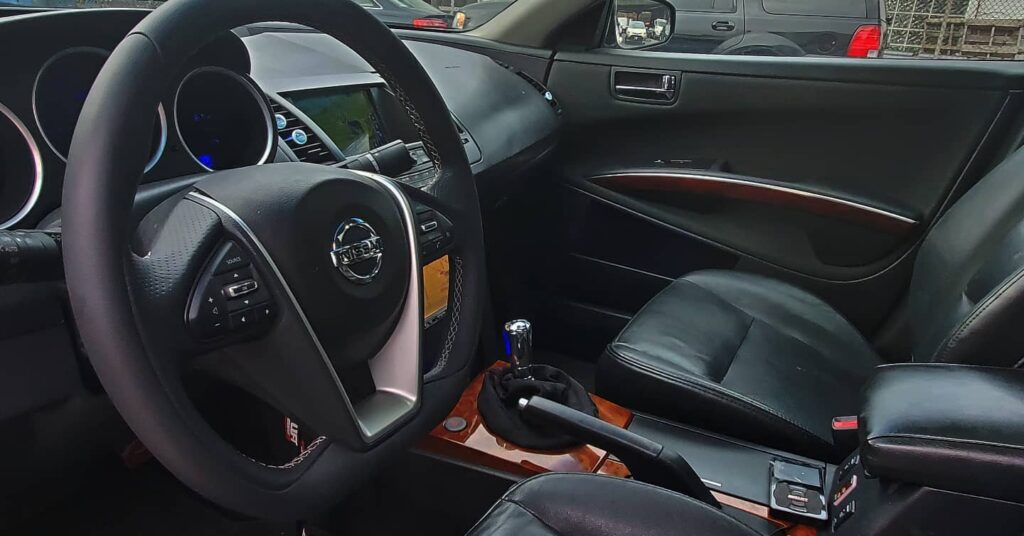
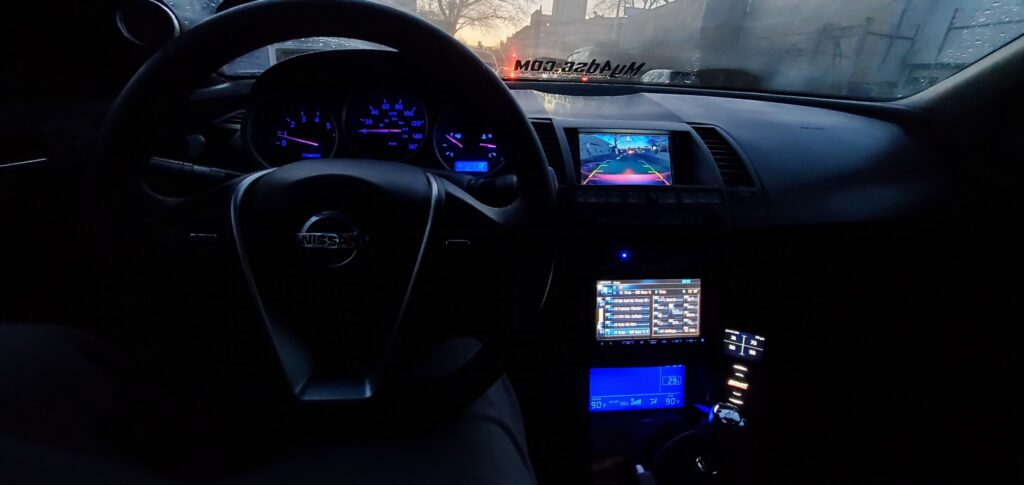
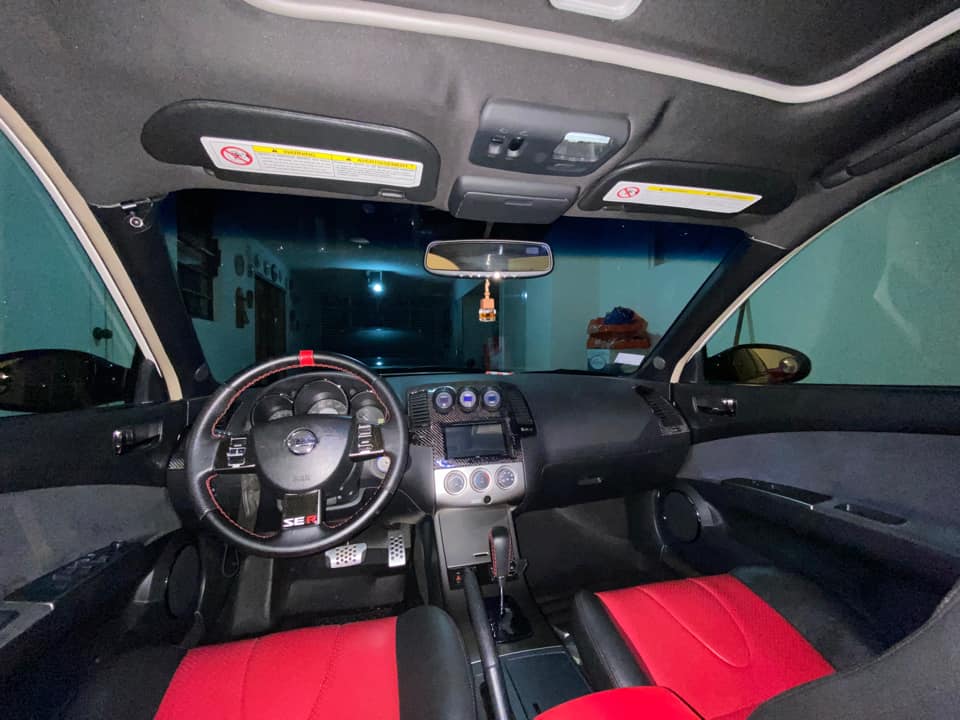
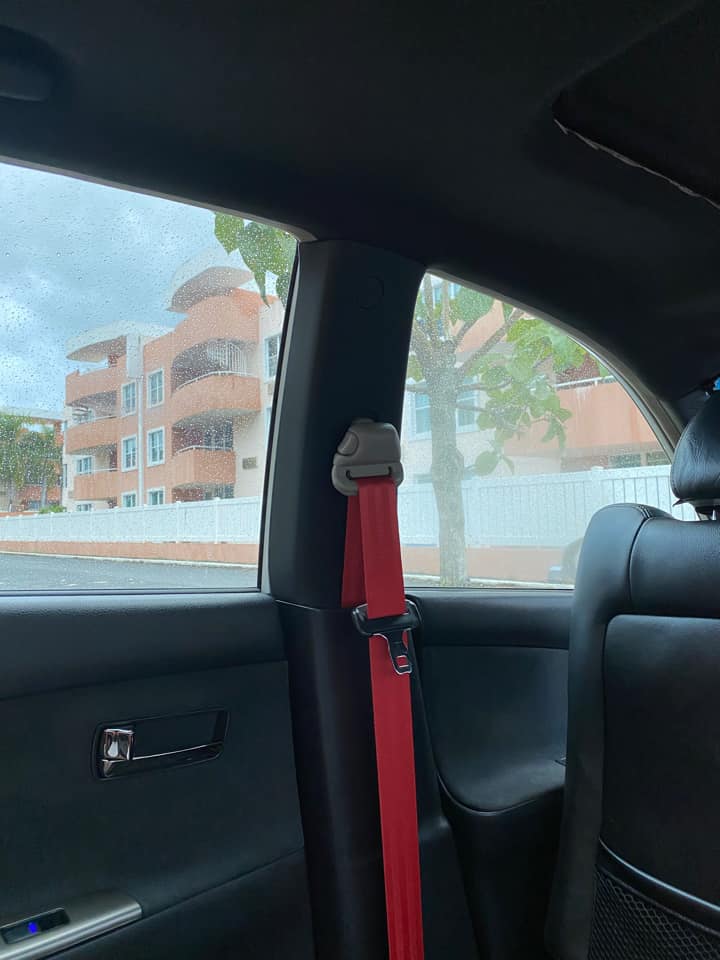
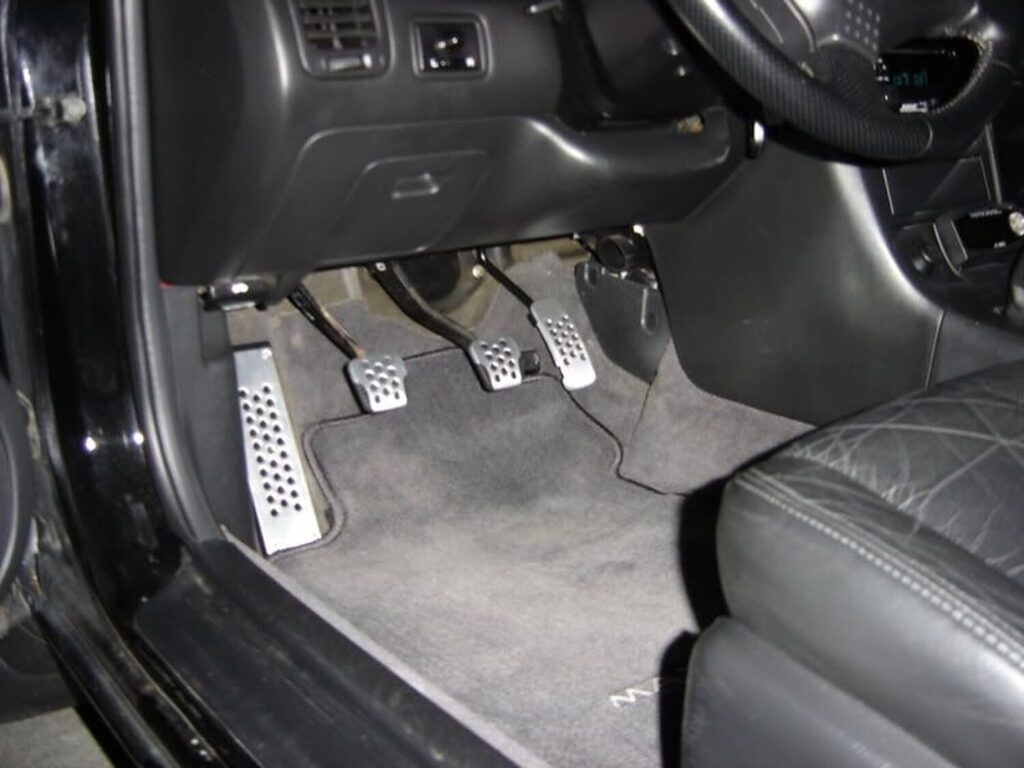 Additional Photos (2002 Maxima)
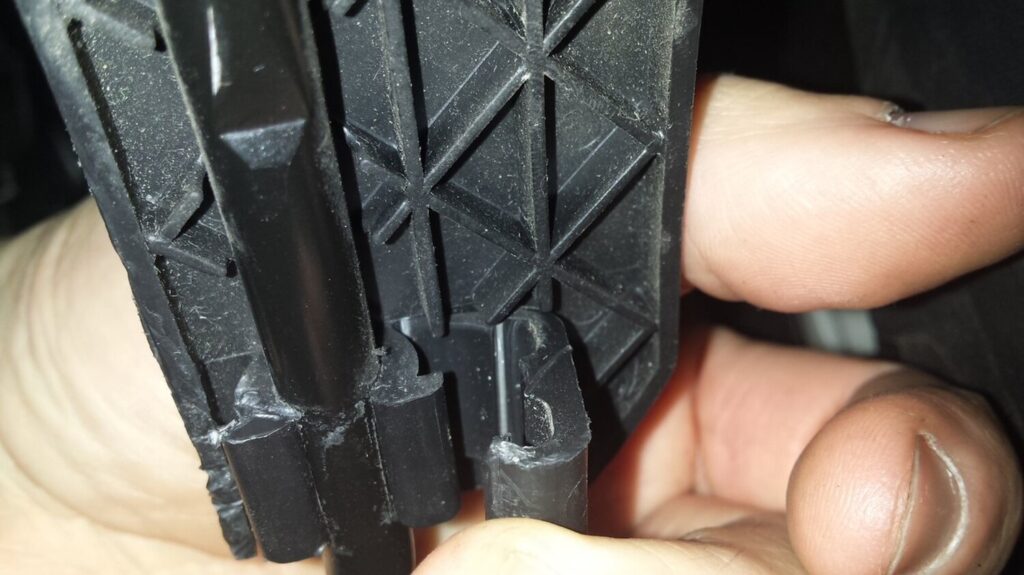
![]()
")
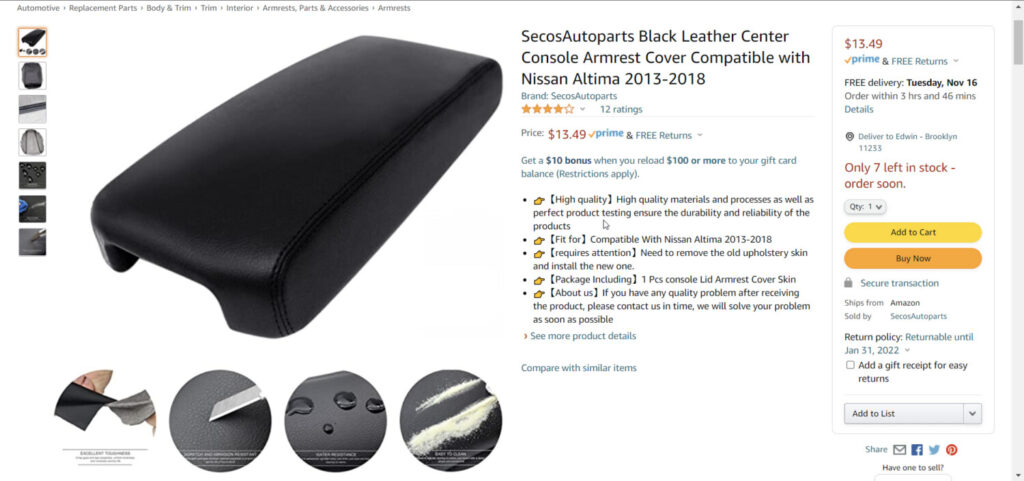
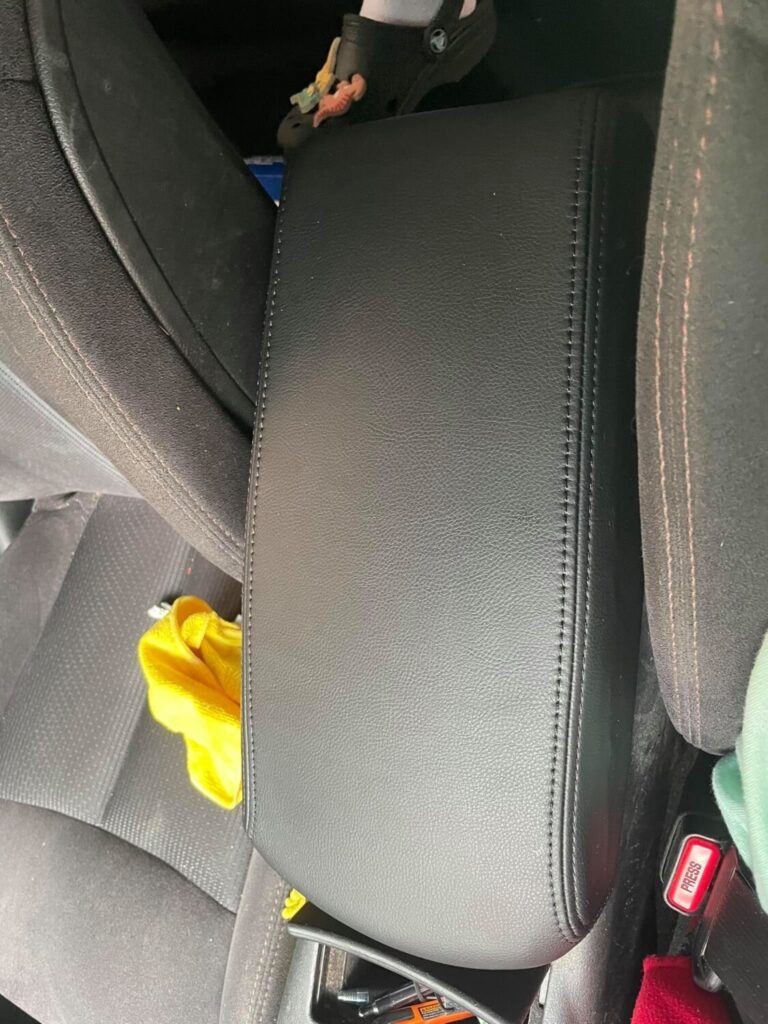
Community Member Credit: Steven Christopher Harrison
Anyone who needs to replace their armrest $13 on Amazon took 15 minutes to do before and after. Although it says Altima, it 100% fits the Nissan Maxima.
Order Link: https://www.amazon.com/dp/B08PKG1Q84/ref=cm_sw_em_r_mt_dp_ASASPVHX6AFFRVWNE6MG?_encoding=UTF8&psc=1
![]()