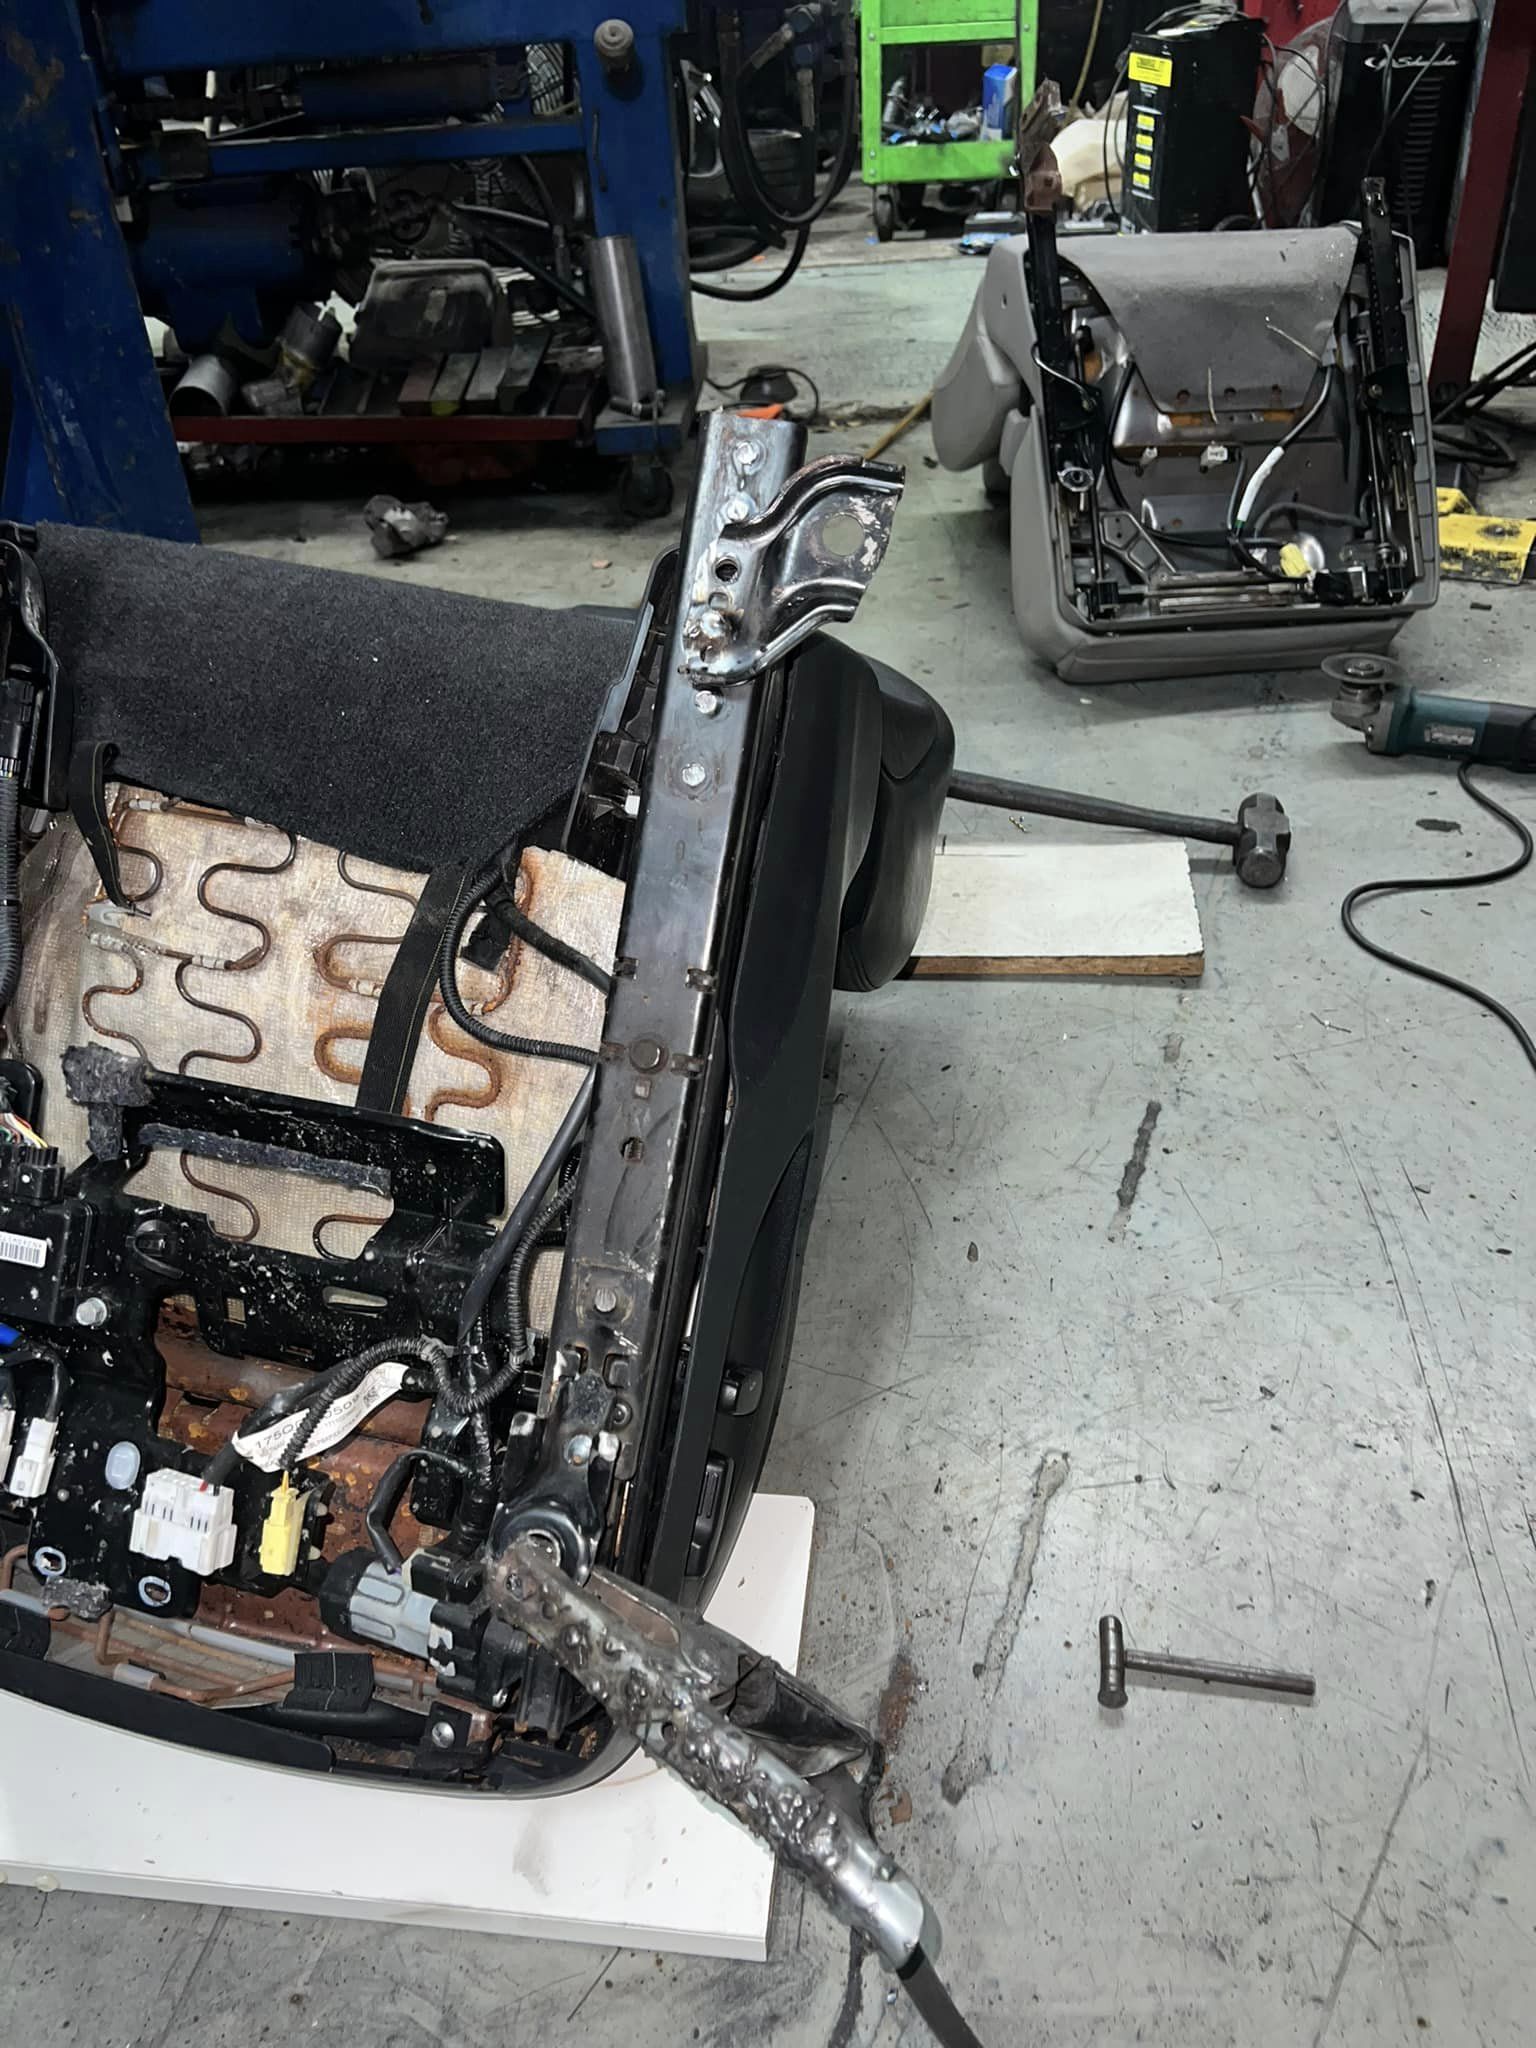
Just finished disassembling the G35 passenger seat.
Update – 2/8/2008: Successfully installed the passenger seat and modified the G35 cushions to fit on the 5.5 gen pan. Currently working on integrating the rails and controls. More details and pictures to come. The driver’s seat swap will have to wait until next week, as it needs to be completed in one session.
Here’s the latest update, folks:
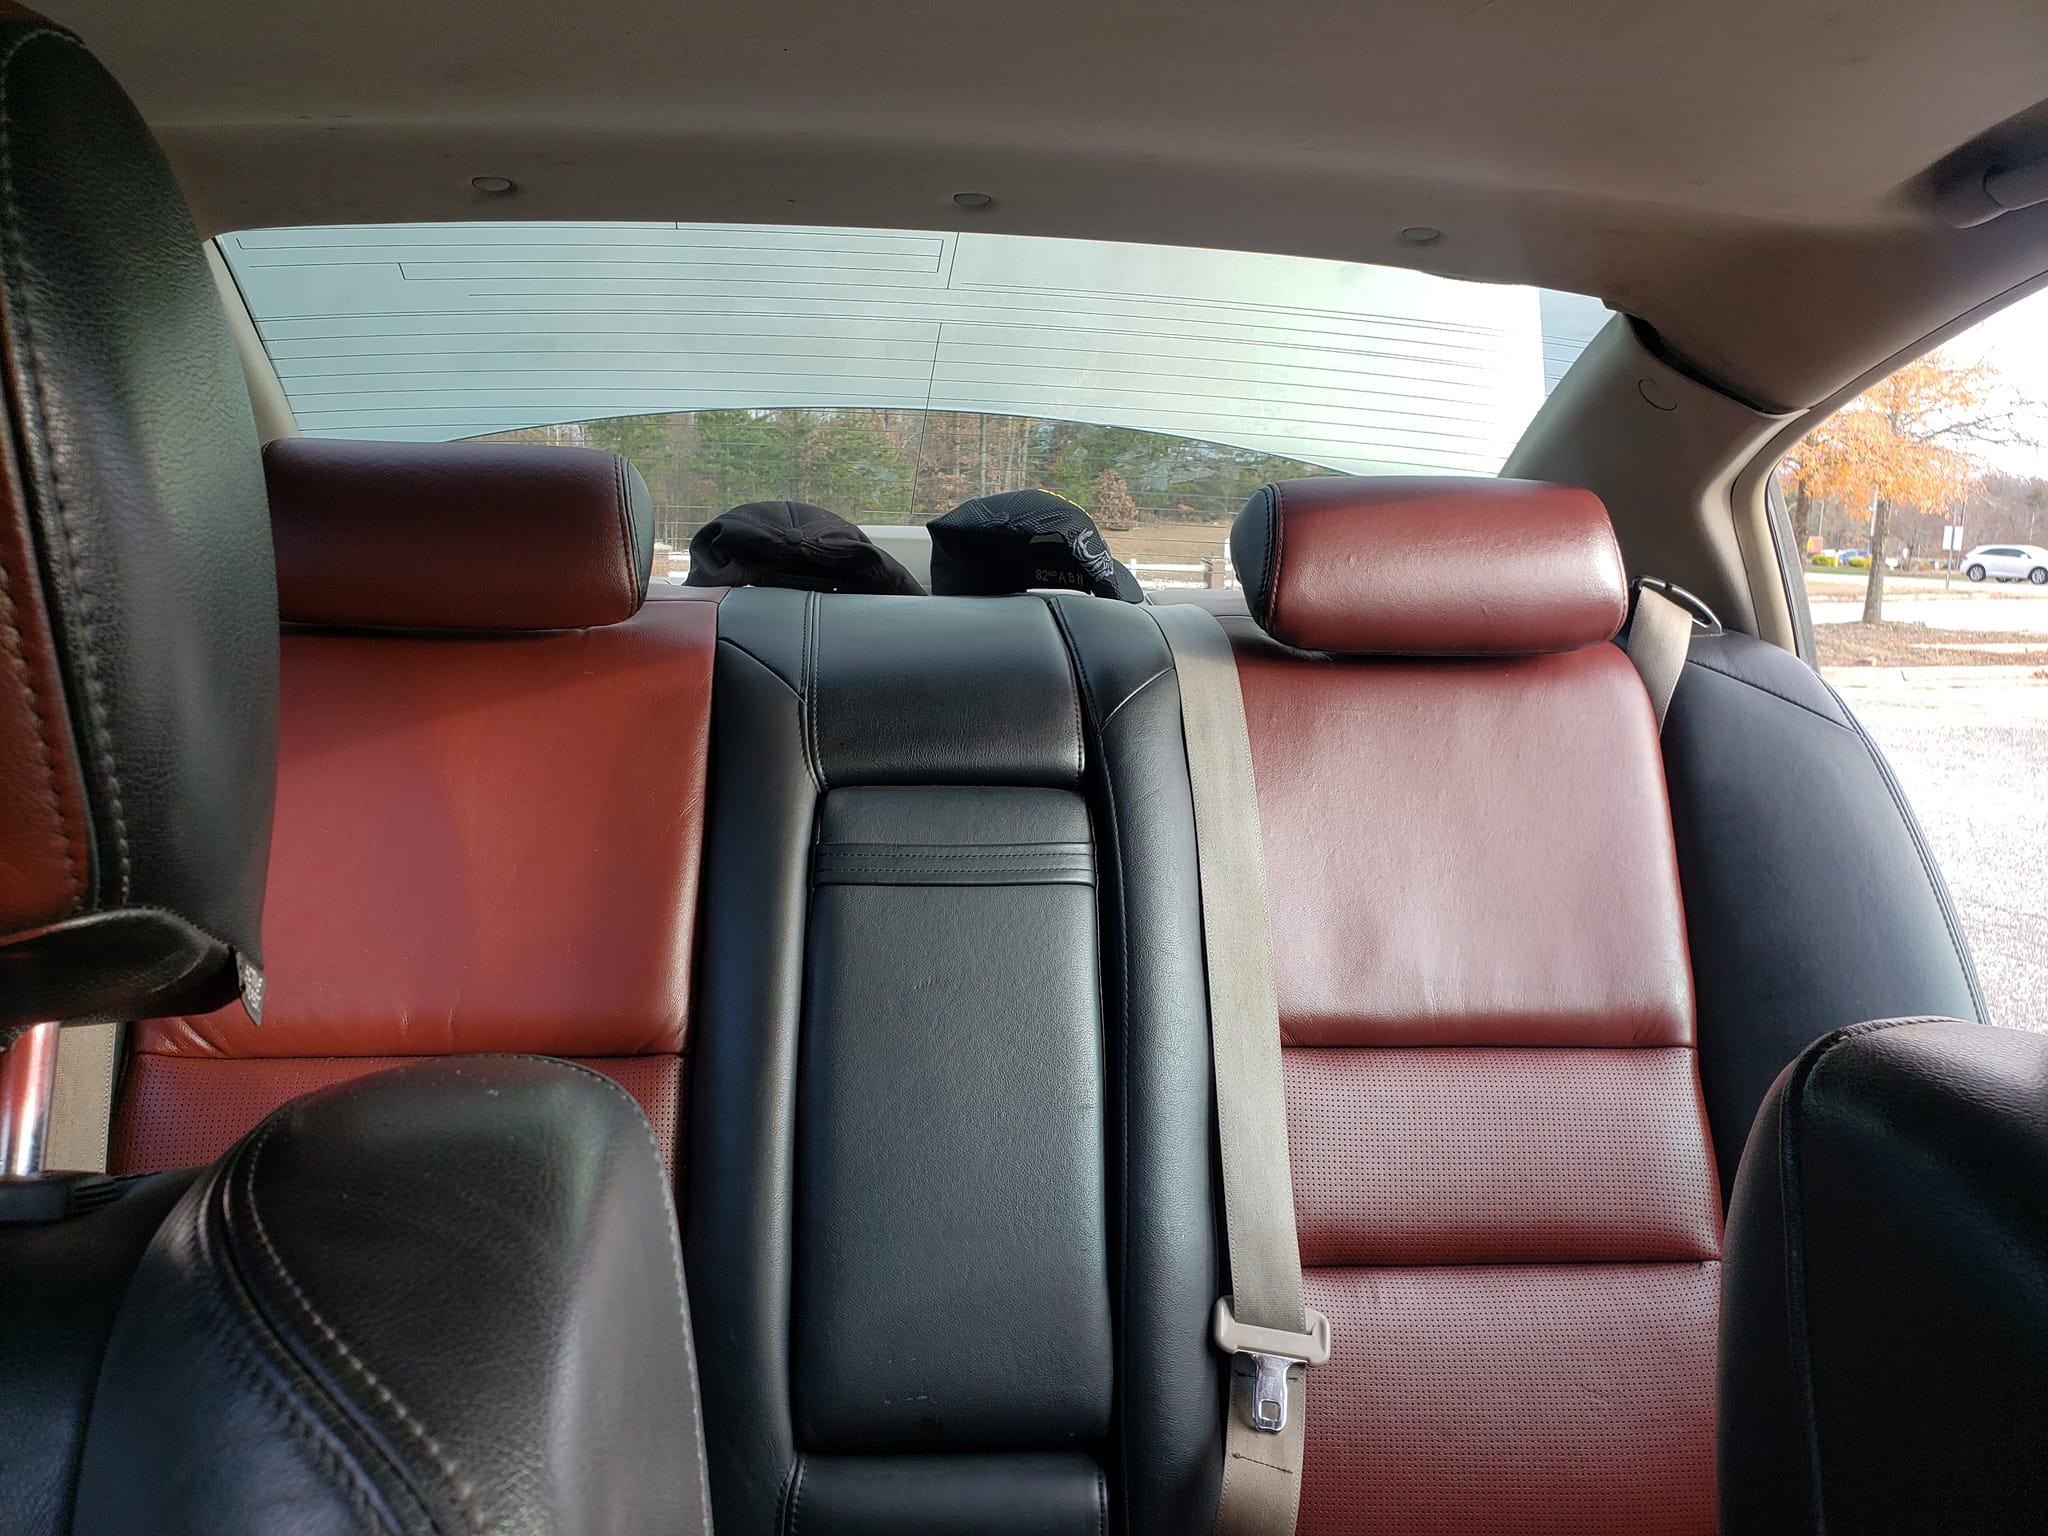
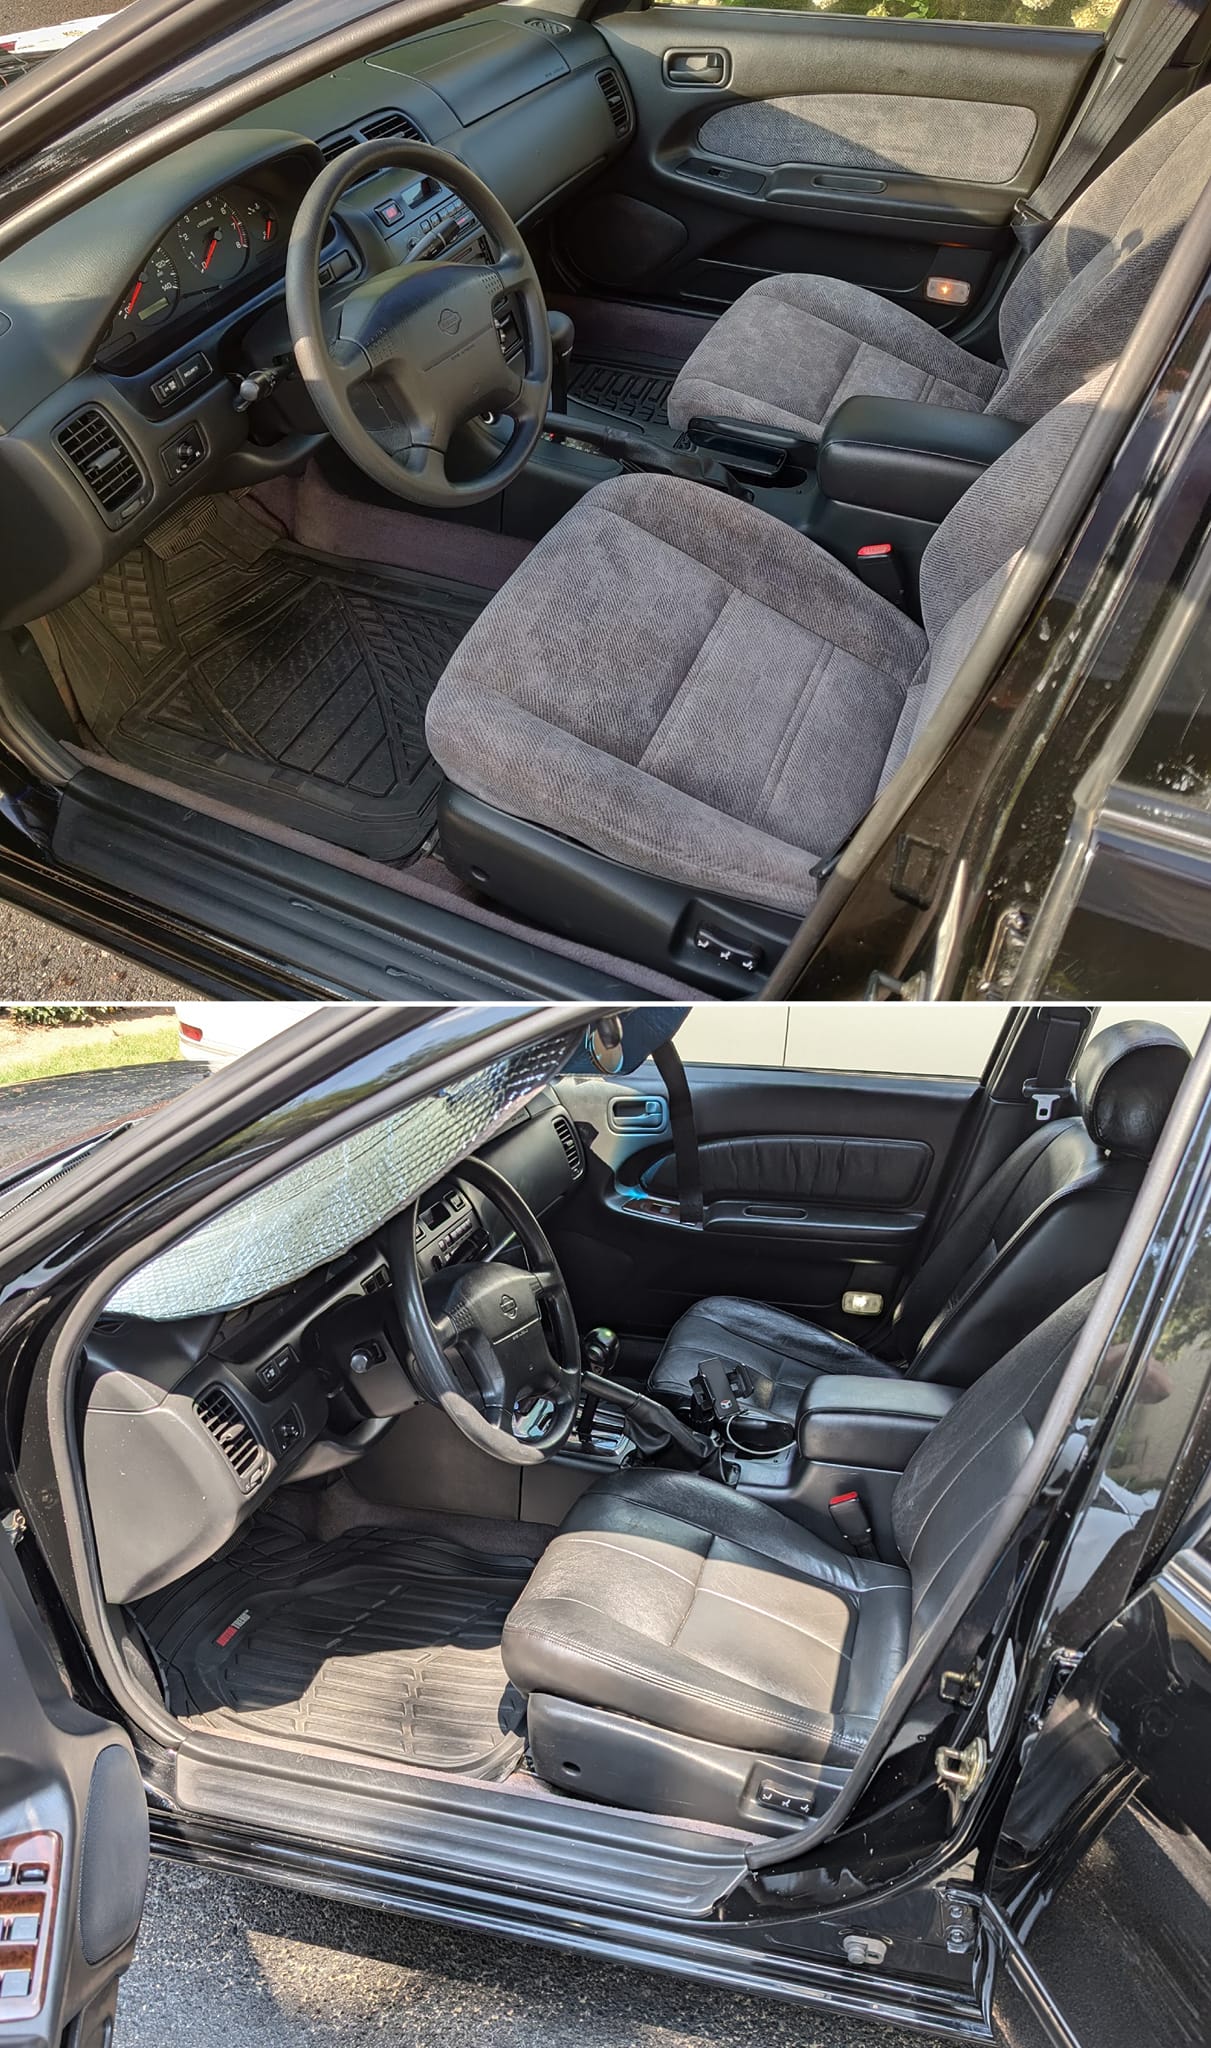
Top Cushion: The top cushion (where your back sits) bolts directly onto the Maxima frame without any issues, utilizing the existing bolts and notches. It fits perfectly and functions well.
Bottom Cushion: However, the bottom cushion requires some foam trimming underneath to fit properly on the G35 frame. While it doesn’t align perfectly as it would on a G35 frame (I’ll share pictures to illustrate), it’s manageable and can be made to work.
Clips/Retainers: The main task now is to ensure that the clips and retainers fit onto the Maxima seat pan. This way, we retain the Maxima hardware, making wiring a breeze. I’ve chosen not to deal with side-airbags in this process.
Still on my to-do list:
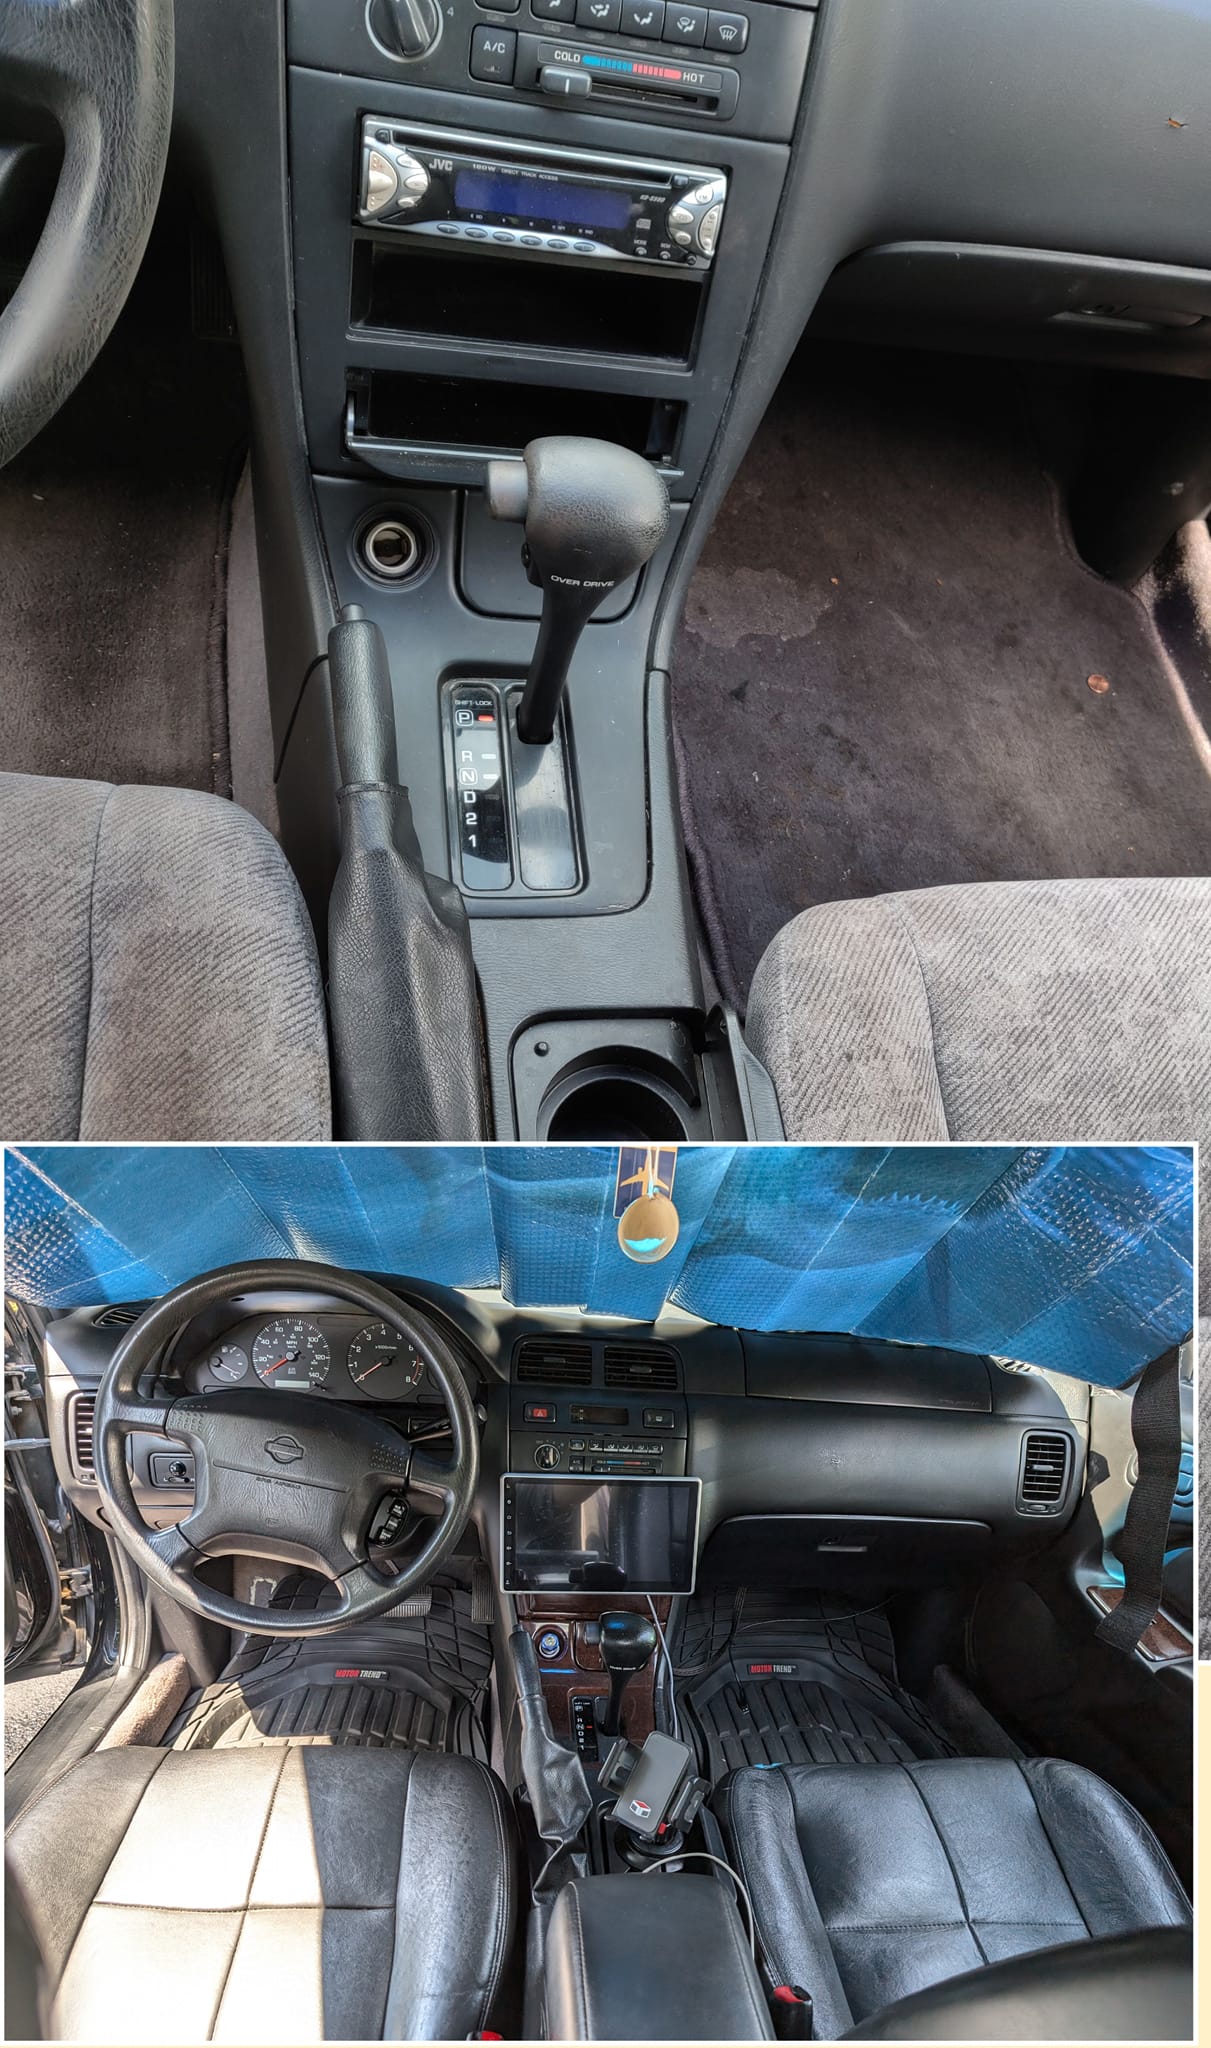
Switch Spot: I’m figuring out how to fill the spot where the G35 cushion has a switch slot. It’s not very noticeable since it’s next to the center console, but I want it clean and seamless.
Power Switches: I’m looking for a suitable place to position the Maxima power switches. Unlike the original seat, the G35 seat doesn’t have a cutout on the door side. Right now, they’re connected but just resting next to the seat.
Heated Seats: I’m eager to add heated seats, which would be fantastic right now. I’ll have to investigate under the center console for this. Since the connections from the G35 cushions are power and ground, splicing shouldn’t be too challenging if needed.
When I tackle the driver’s side, I’ll document each step with pictures. Most of the time spent on the passenger’s side was figuring out our next moves, so I’ll make sure to streamline the process and provide a clear guide. Stay tuned for updates!
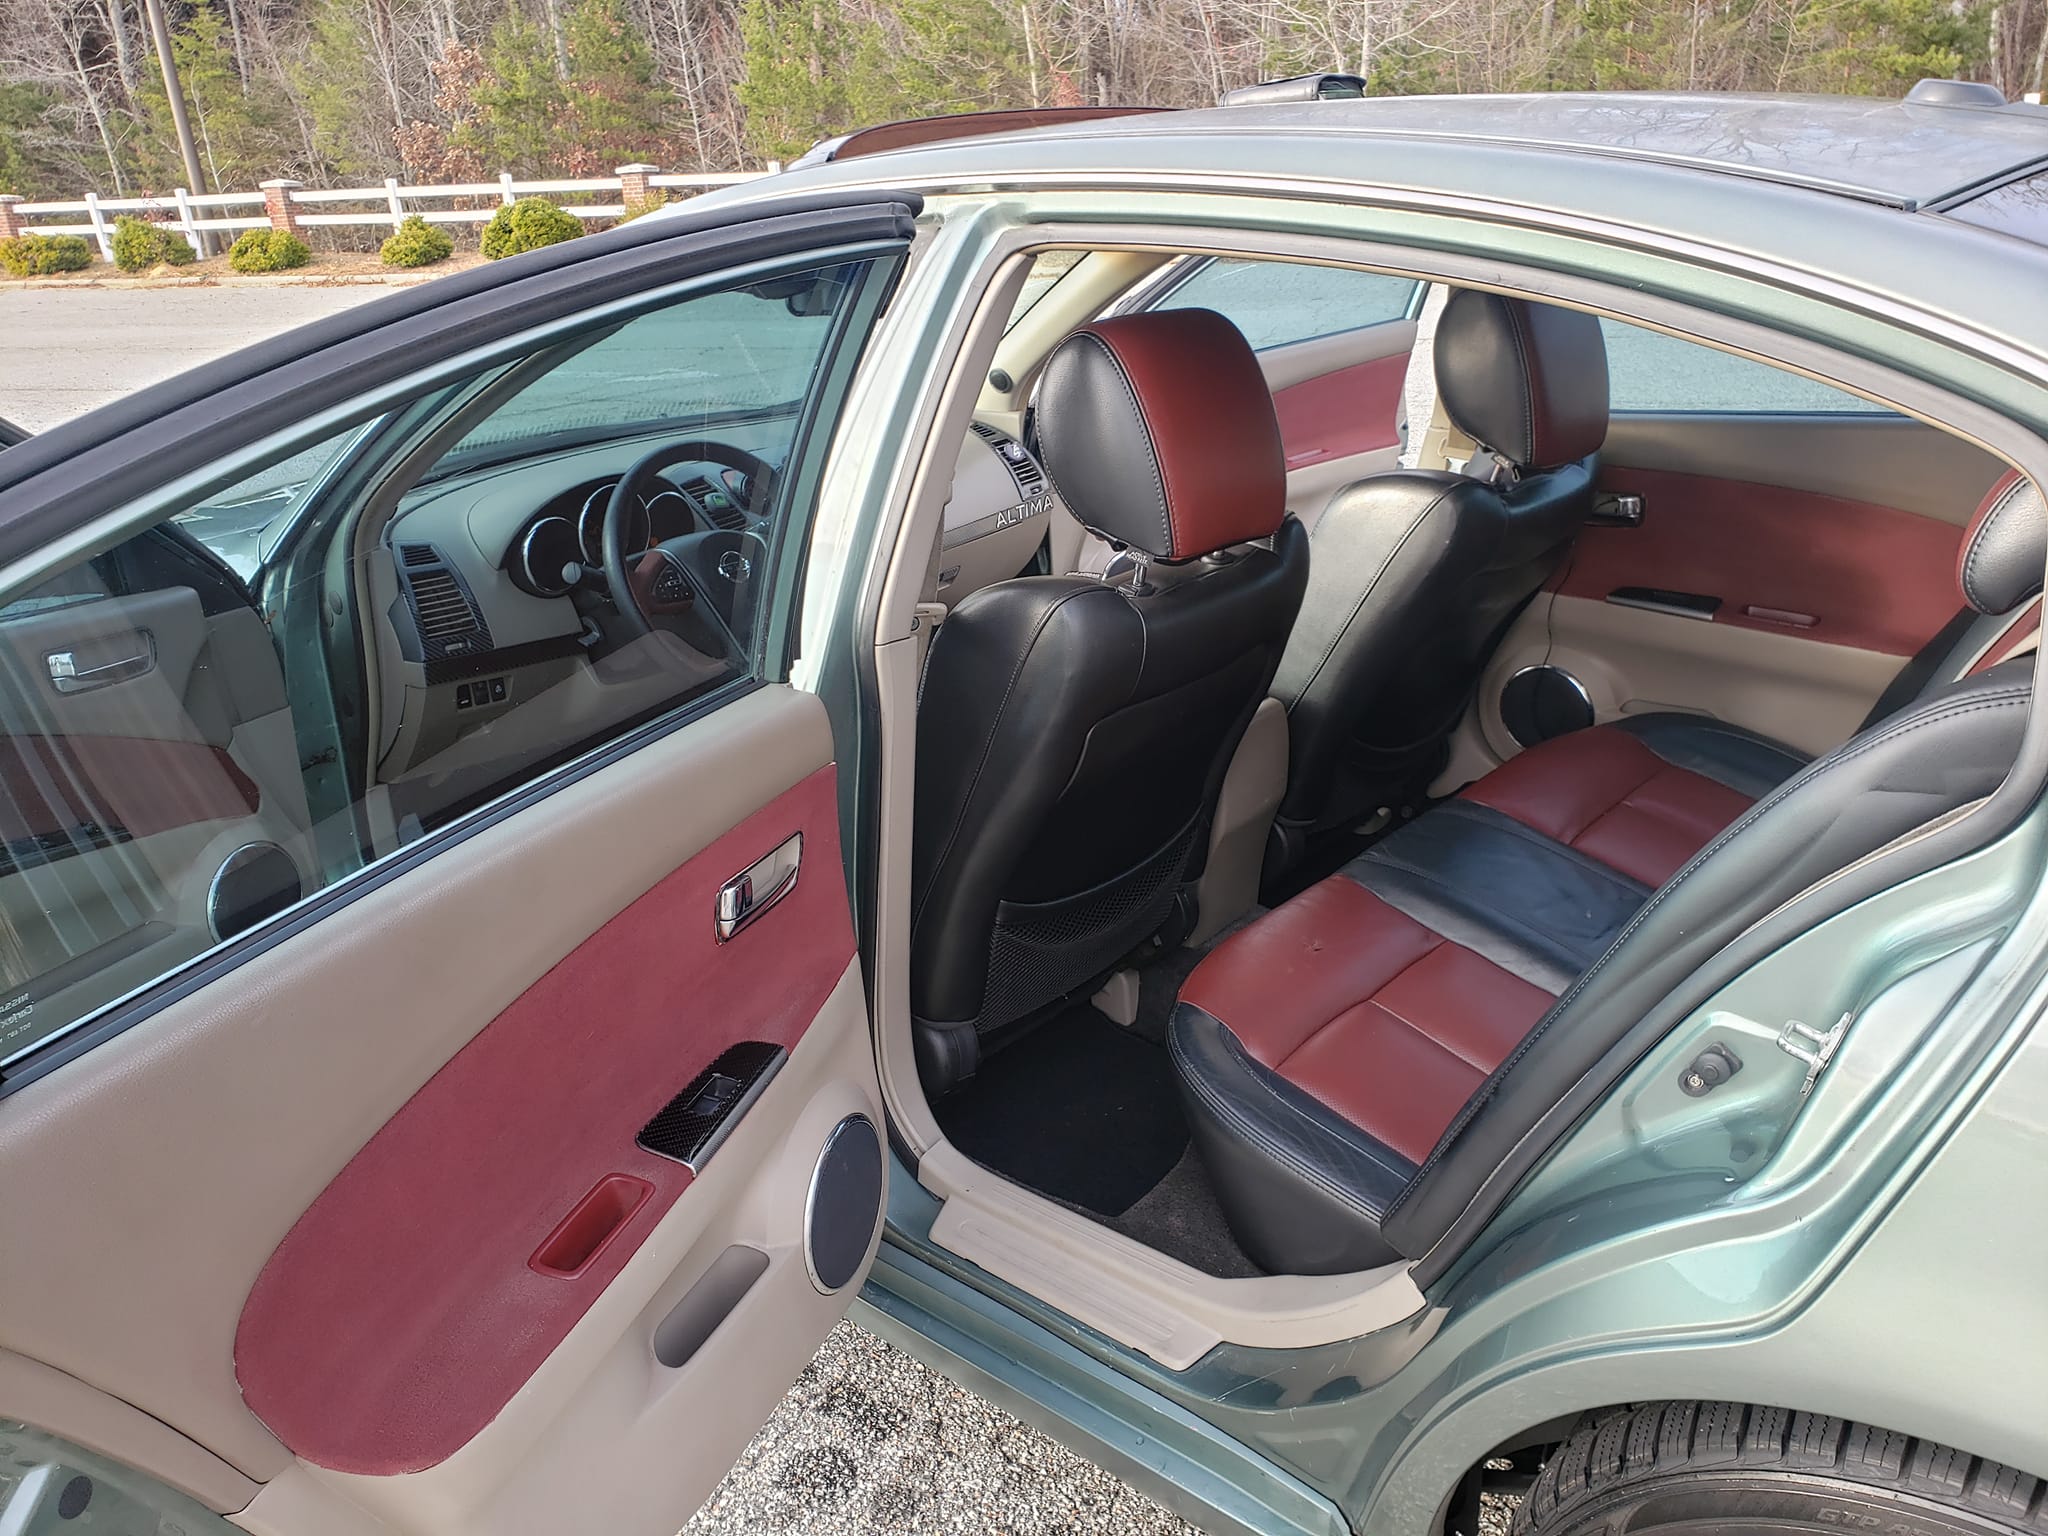
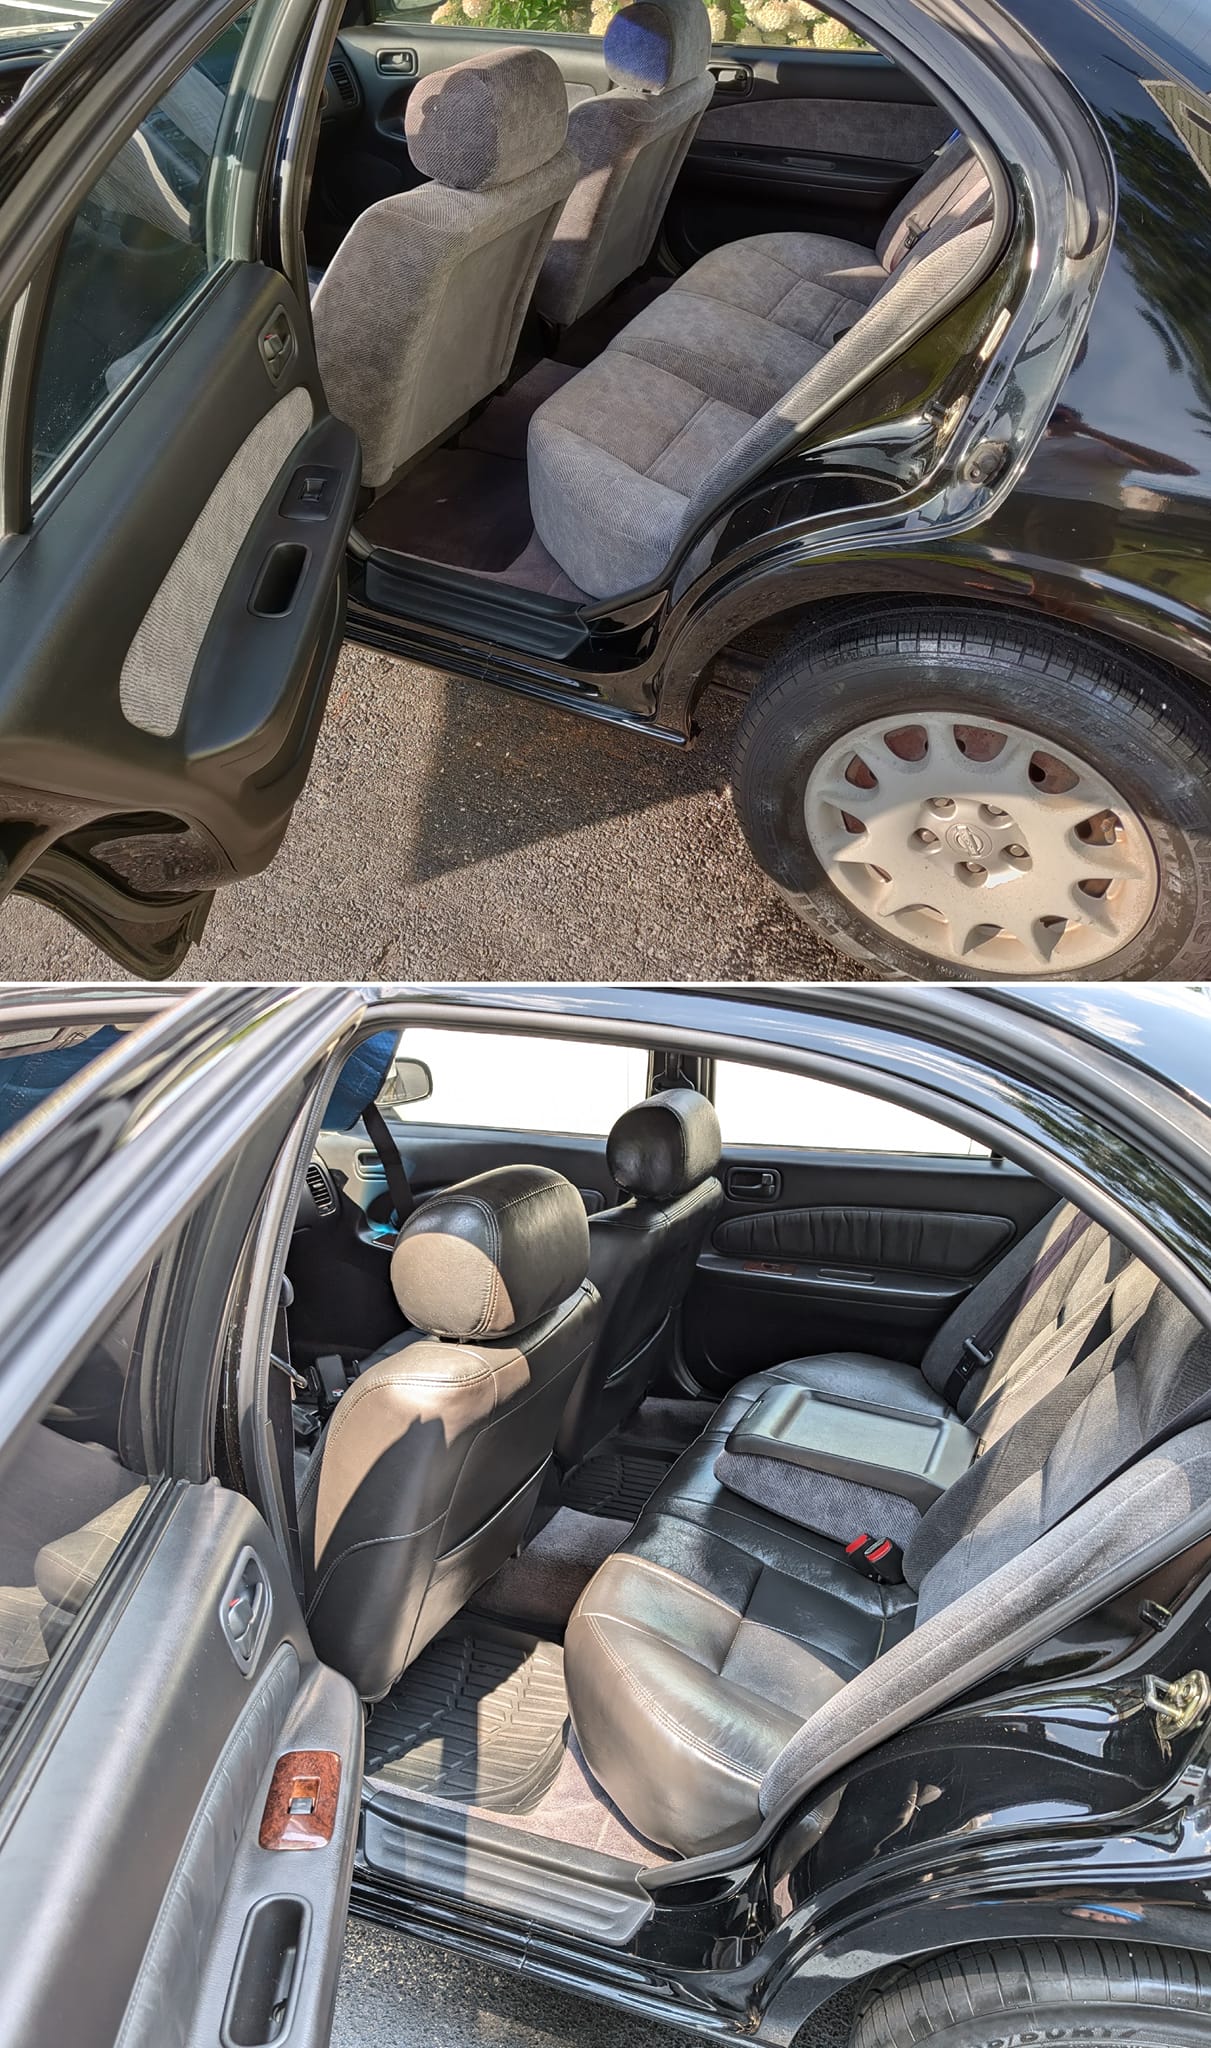
Update: Exciting news — both seats are now officially installed in the car! I dedicated most of the morning to fixing the suspension and installing the driver’s side seat. I made sure to capture important steps with photos, and I’m planning to create a detailed DIY guide for installing the cushions into the Maxima hardware. Unfortunately, the heated seats and fixing the switch holes will have to wait for now.
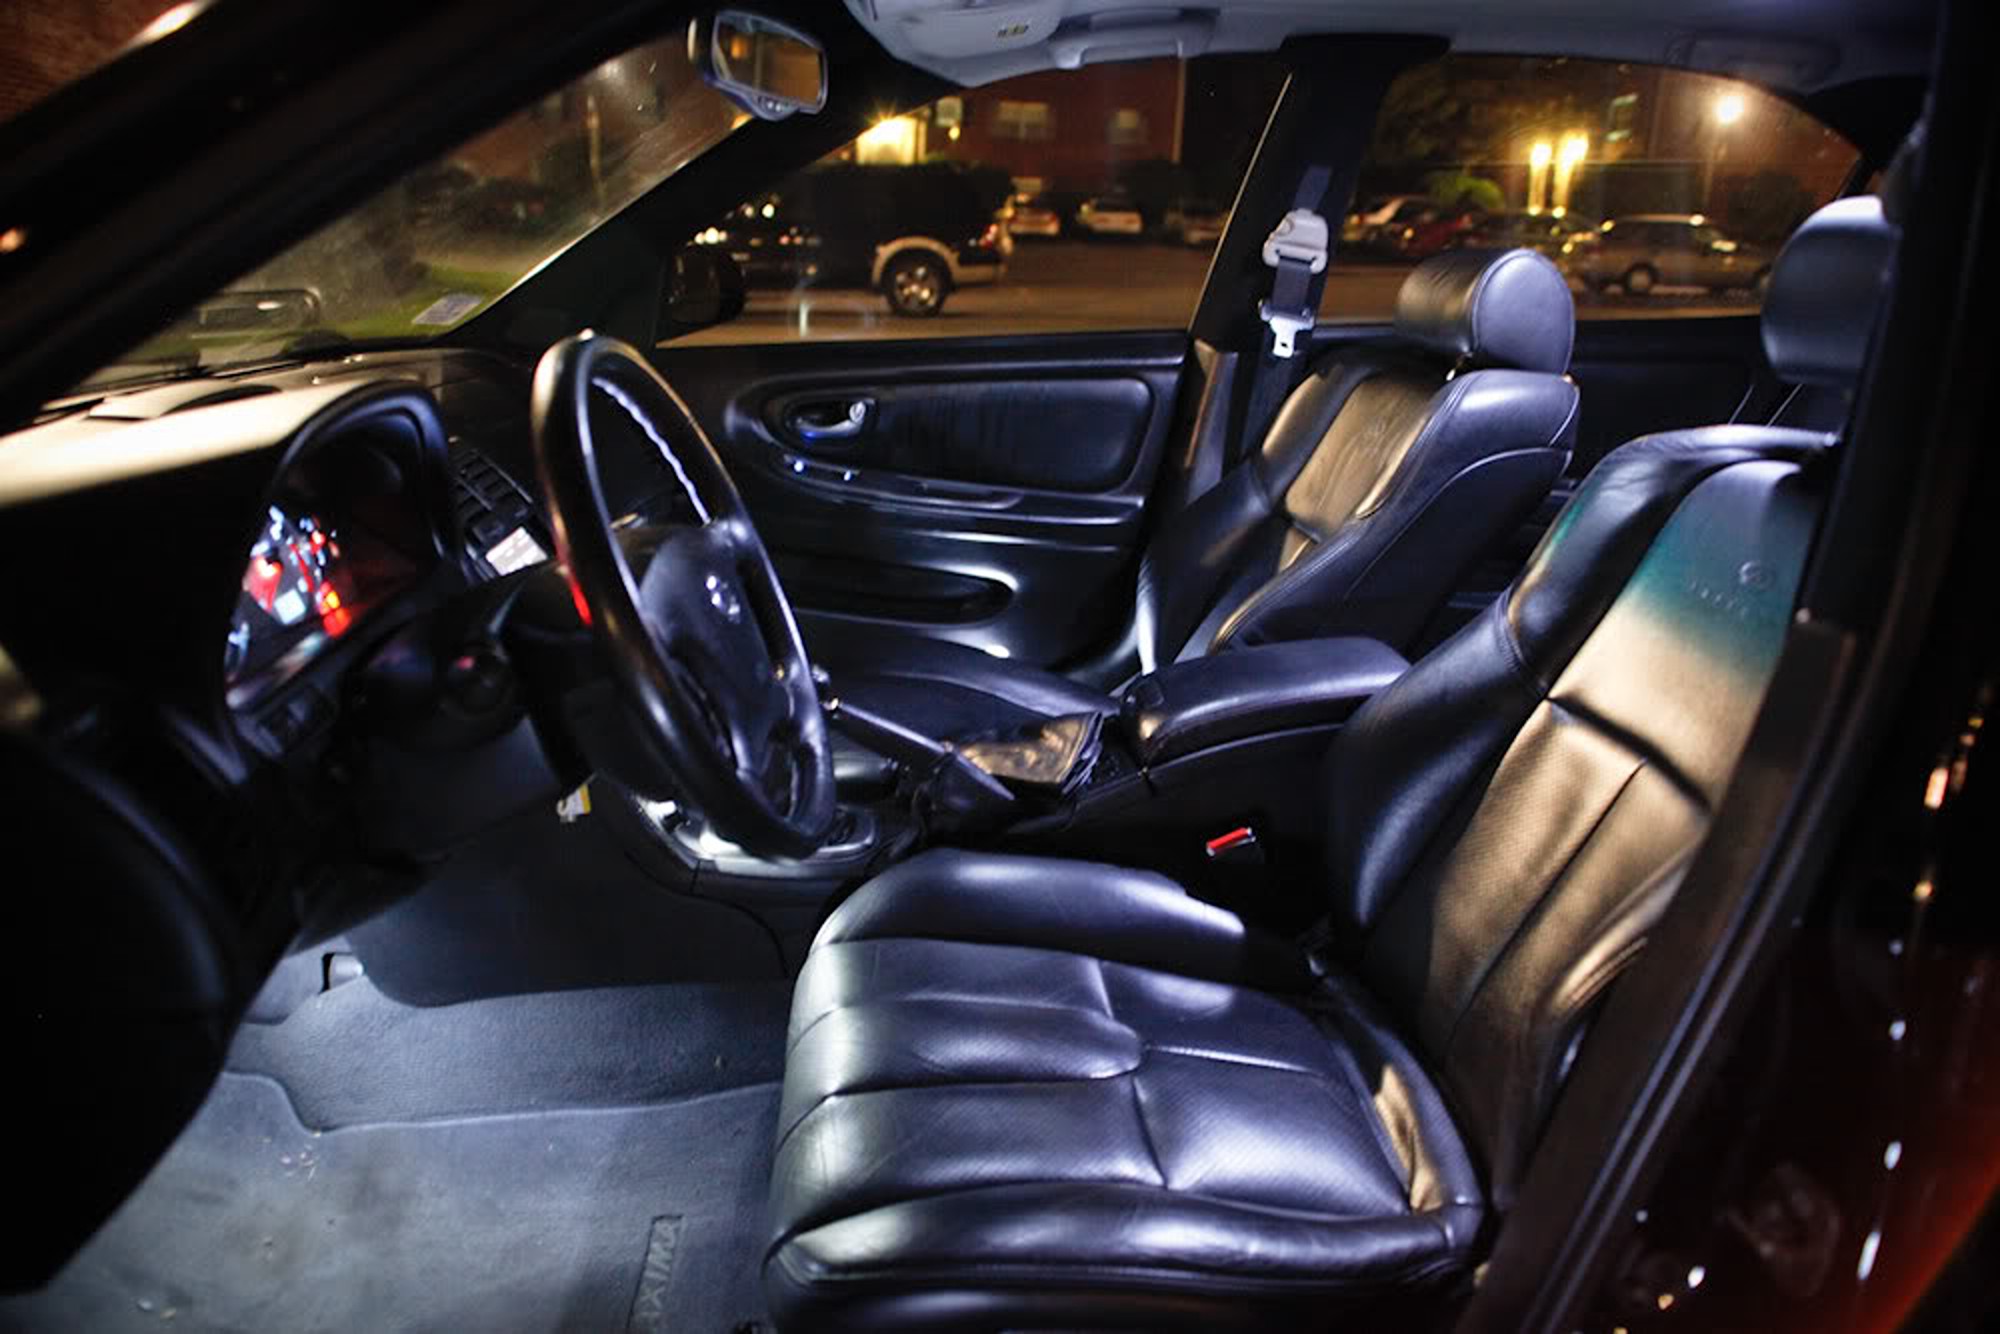
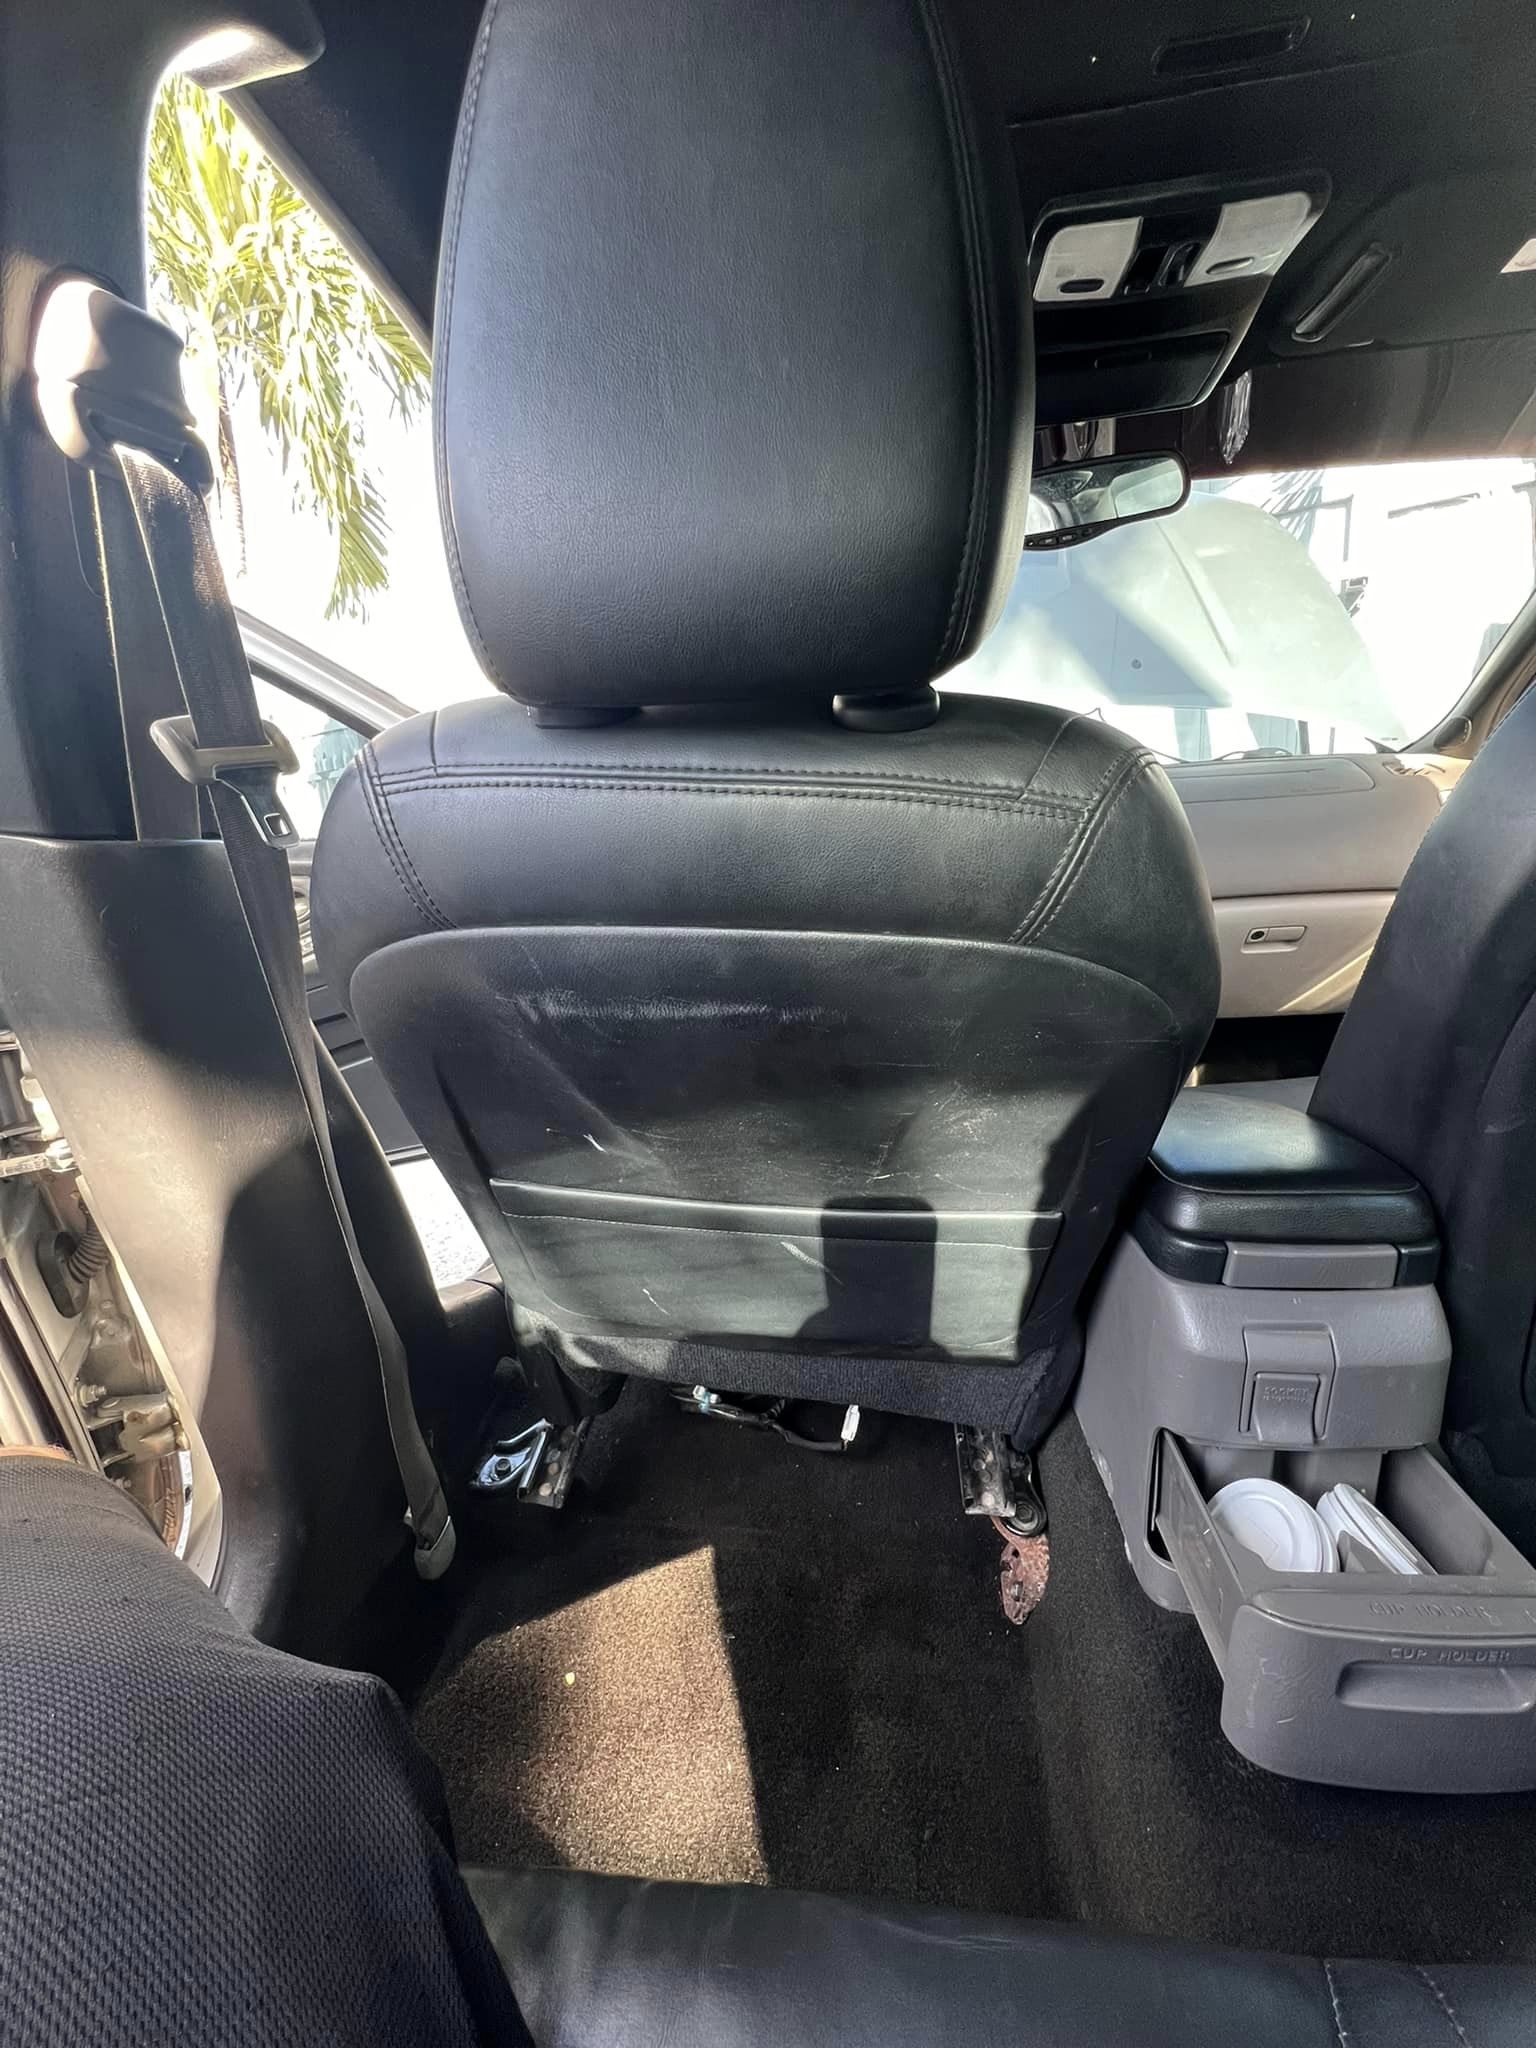
A big shoutout to Dark-V and StealthMax for their invaluable help with these seats over the past week. Here’s a picture of the passenger seat fully installed for your reference. Stay tuned for the DIY guide and more updates!
Latest Status Update:
Both seats have been successfully installed.
Controls are operational on both seats, except for the passenger seat reclining function. It seems I may have shorted the motor while plugging it back in. Tip: Wait for a while to let the charge dissipate, or disconnect the battery first before working on electrical connections.
I have not yet attempted to activate the heated seats.
Controls have been mounted on the passenger seat only; the driver’s seat controls are connected but not yet mounted.
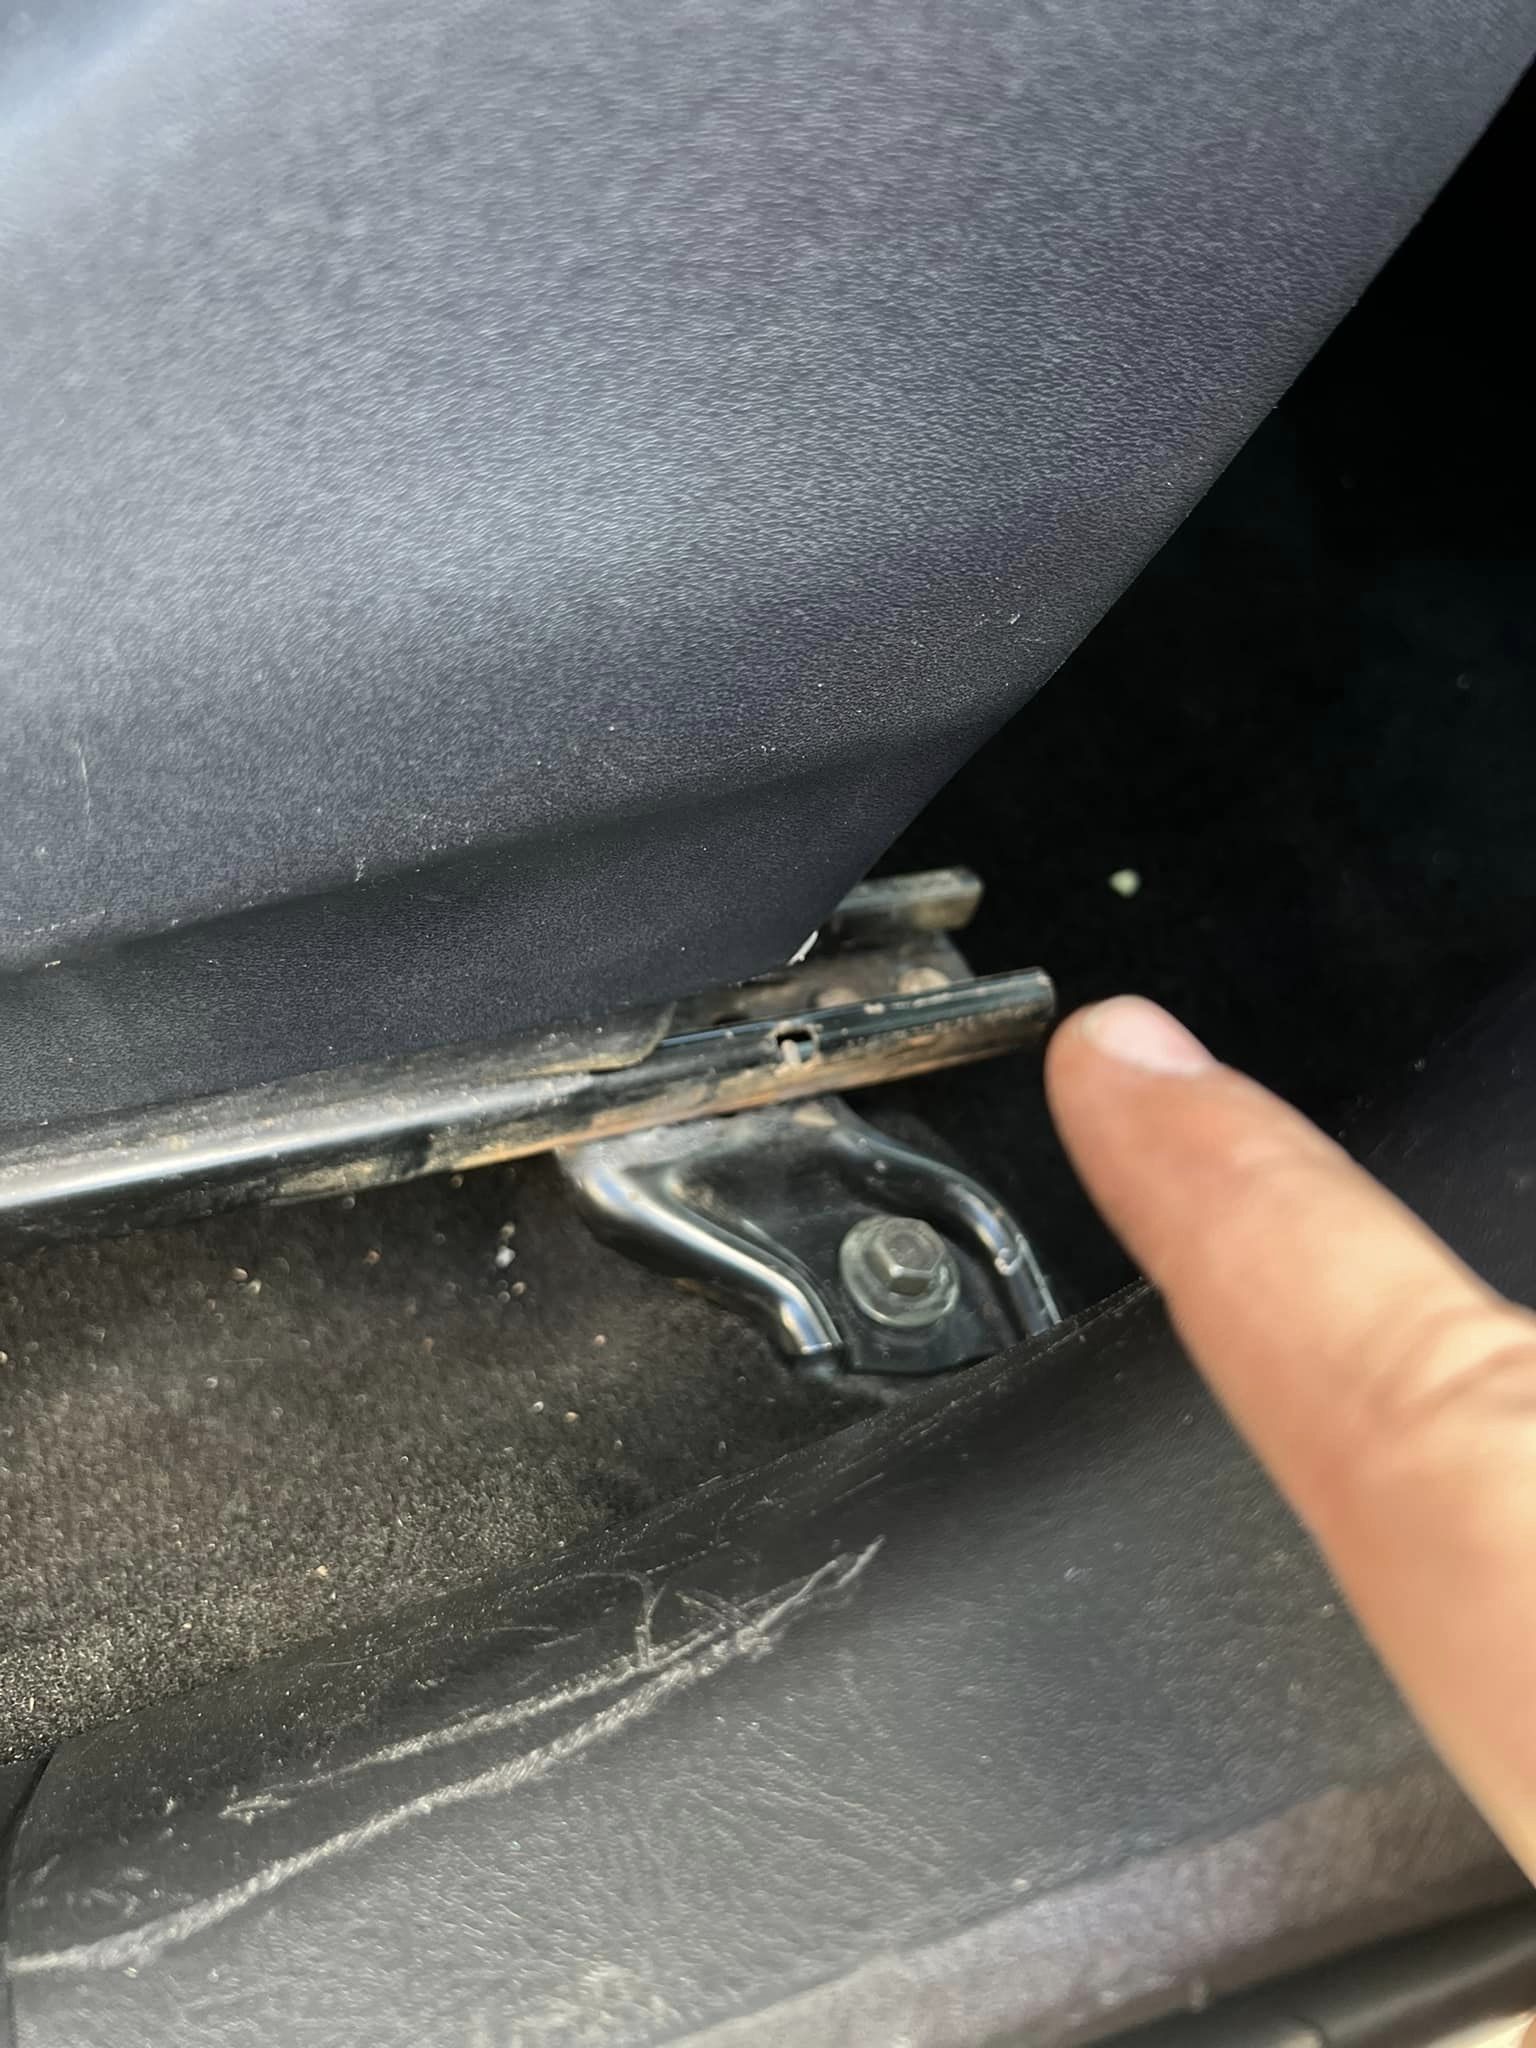
There are no modifications, just straightening the bottom part of it because the Q50 rails are wider.
The Maxima brackets are finally getting welded onto the Q50 seats. Wiring is simple; only tap into the negative and positive, and the seat goes forward and back, up and down. Can’t wait for the outcome!
I only need positive and negative feedback on the seats to work. Yes, the seats are slightly slanted towards the left and right, and they are also too close to the center console. However, I will be removing them again and welding the brackets on the opposite side further inside so they can sit right in the middle. As for them being tilted, my dad gave me the idea of using washers or a certain type of spacers with longer bolts to raise them from the opposite side so they can sit as straight as possible.
The last picture shows the driver-side OEM harness connecting to my Q50 harness. I did this so I can simply get the plug from the OEM seat, connect it to the main body harness, and tap into the Q50 harness. This acts as a bridge in between, making it plug and play.
The installation was very simple. Just take off the rail brackets that attach the seat to the floor of the car and weld those on the rails of the Recaro.
Seat height modified to accommodate 6”3 driver with helmet.
It’s actually a passenger side seat that I modified for the driver. Recline knob is still accessible. My car didn’t come factory with side airbags so that wasn’t an issue for me.
Found a set of Heated 7th gen seats locally that were in good shape. Got them home, cleaned them up, some modifications using the 5th gen bottom frame and 7th gen backrest and voila they work great!
Still to do:
Add some leather on bottom of frame to cover up some open areas
Mate heated seat wiring to 5th gen harness
Figure out how to fit 7th gen thigh extender on 5th gen driver frame
Complete driver side
I can already say the 7th gen seat is so much better to ‘hug’ the body. I have 5.5 gen seats and I always slide around. Something to liven up the interior as part of celebrating 350k miles!
Update 4-14-2023
And we have successful test fit and working! Minor sticking of the position switches that need a little filing and re-fitting. I was also able to use the 7th gen side trim. Thigh extension also fully functional
Next thing will be to get the power lumbar working.
Tried the seats around the block and just love the hug feeling vs sliding around in the 5.5gen seats I had!


")