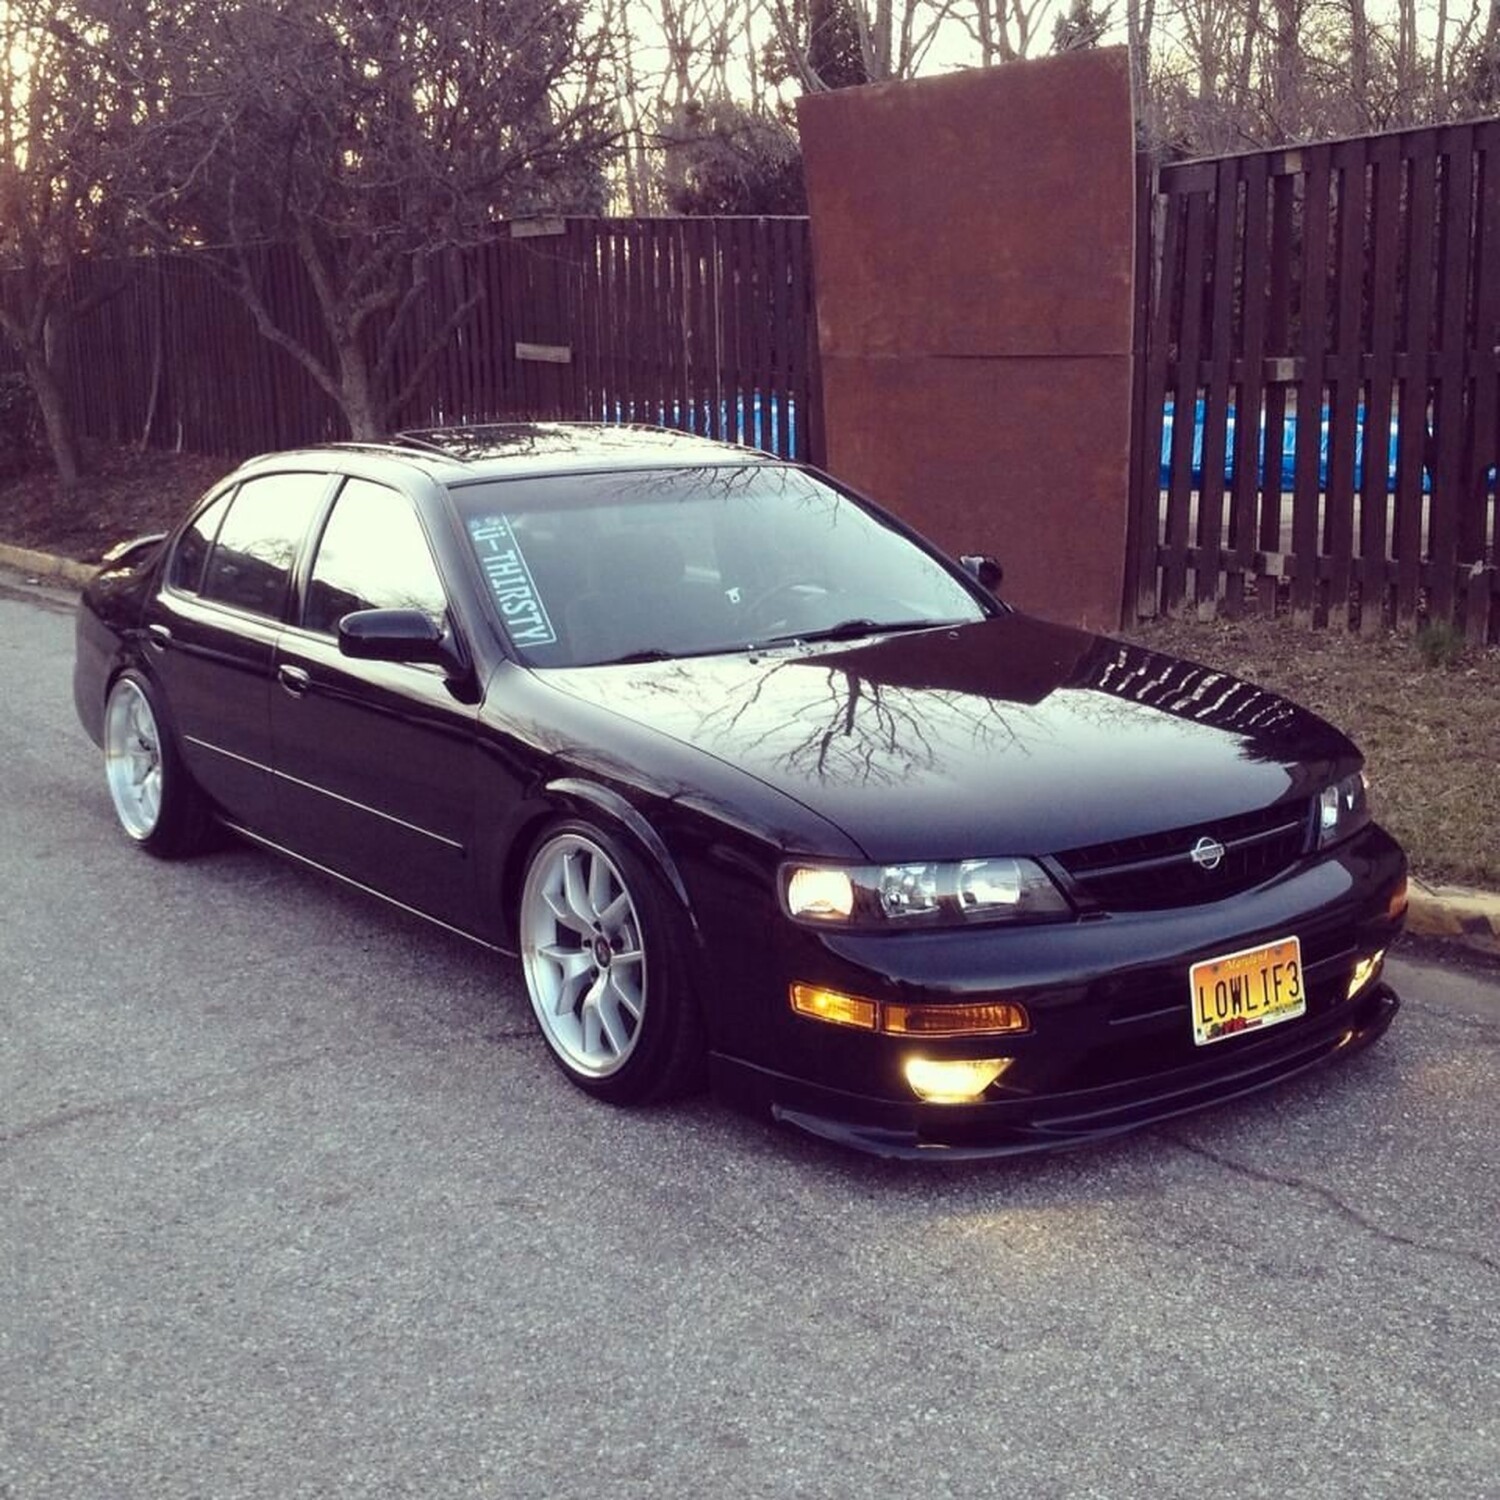
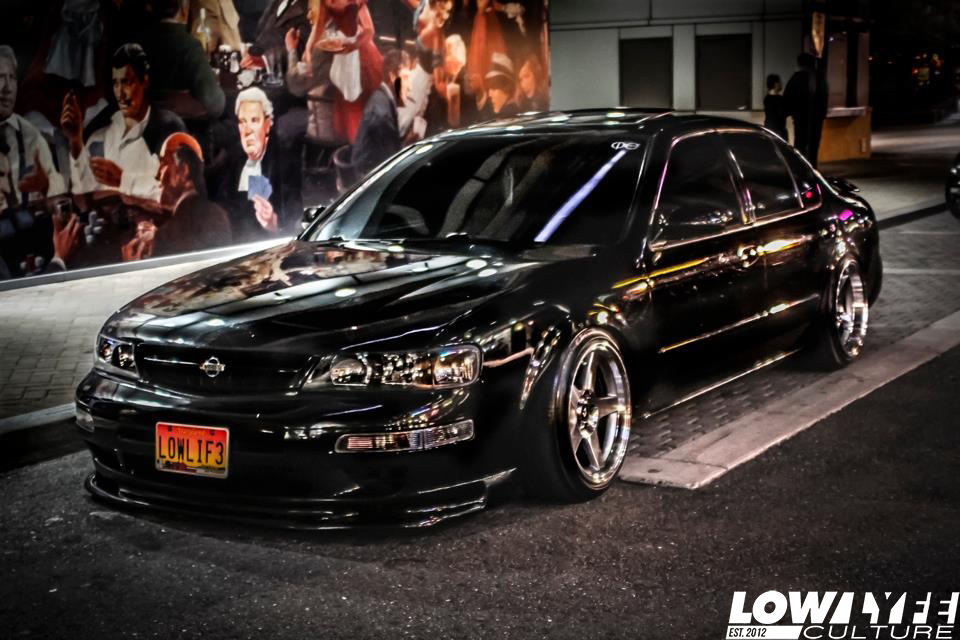
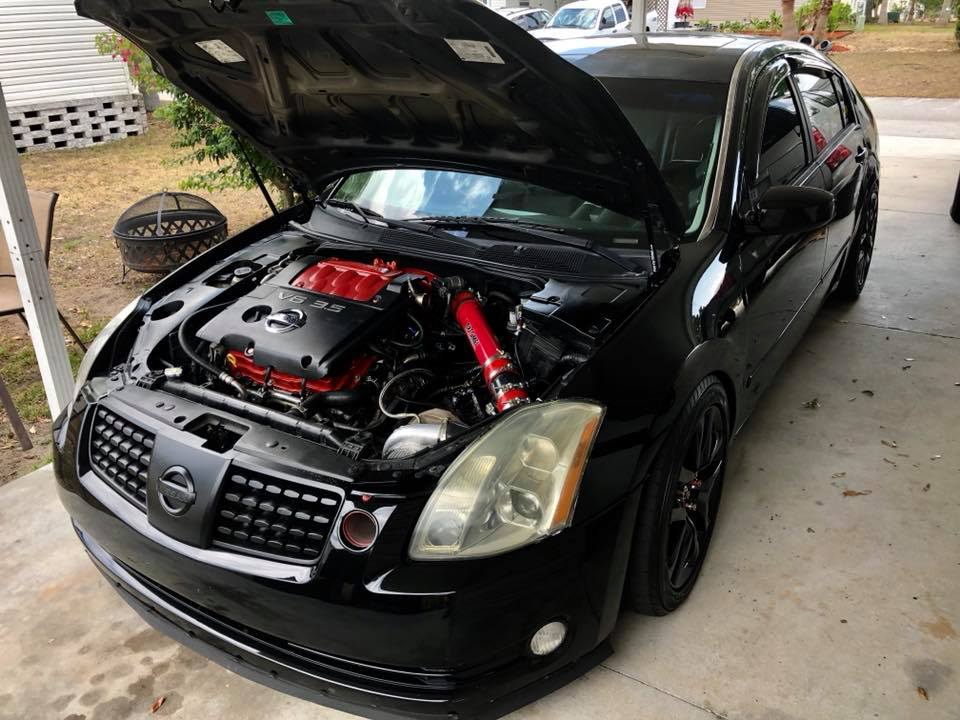
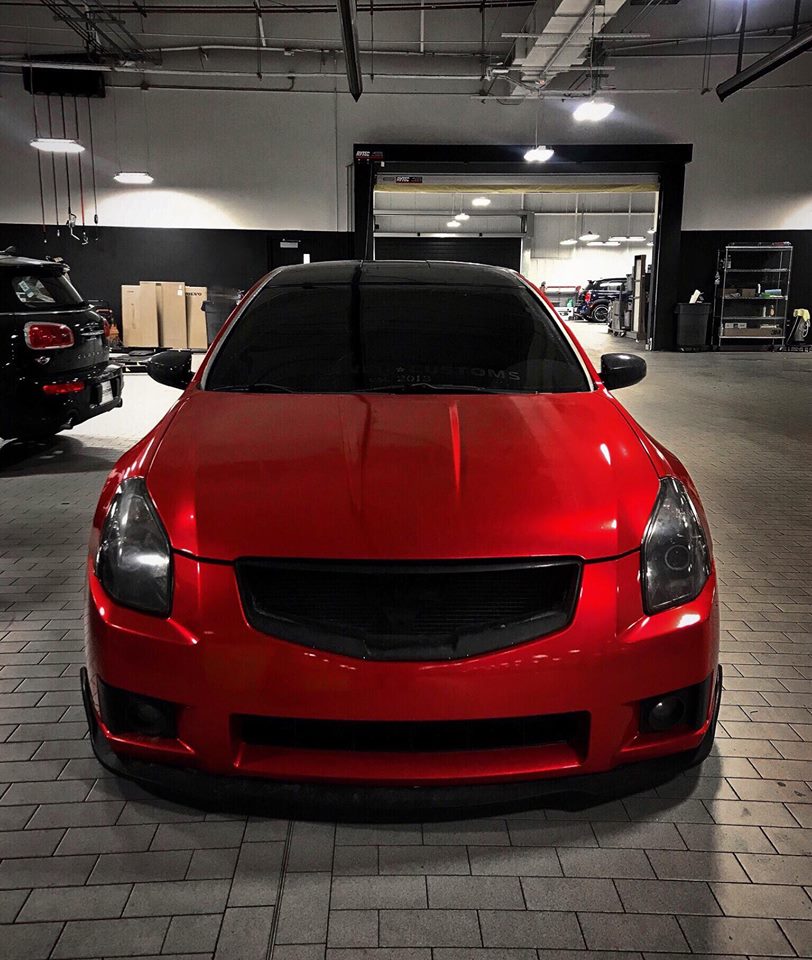
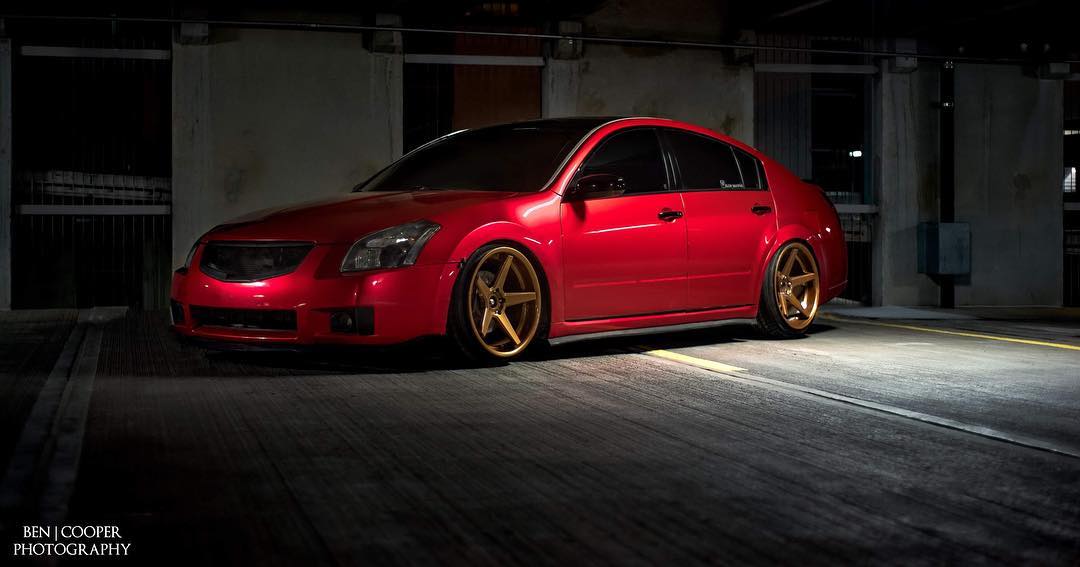
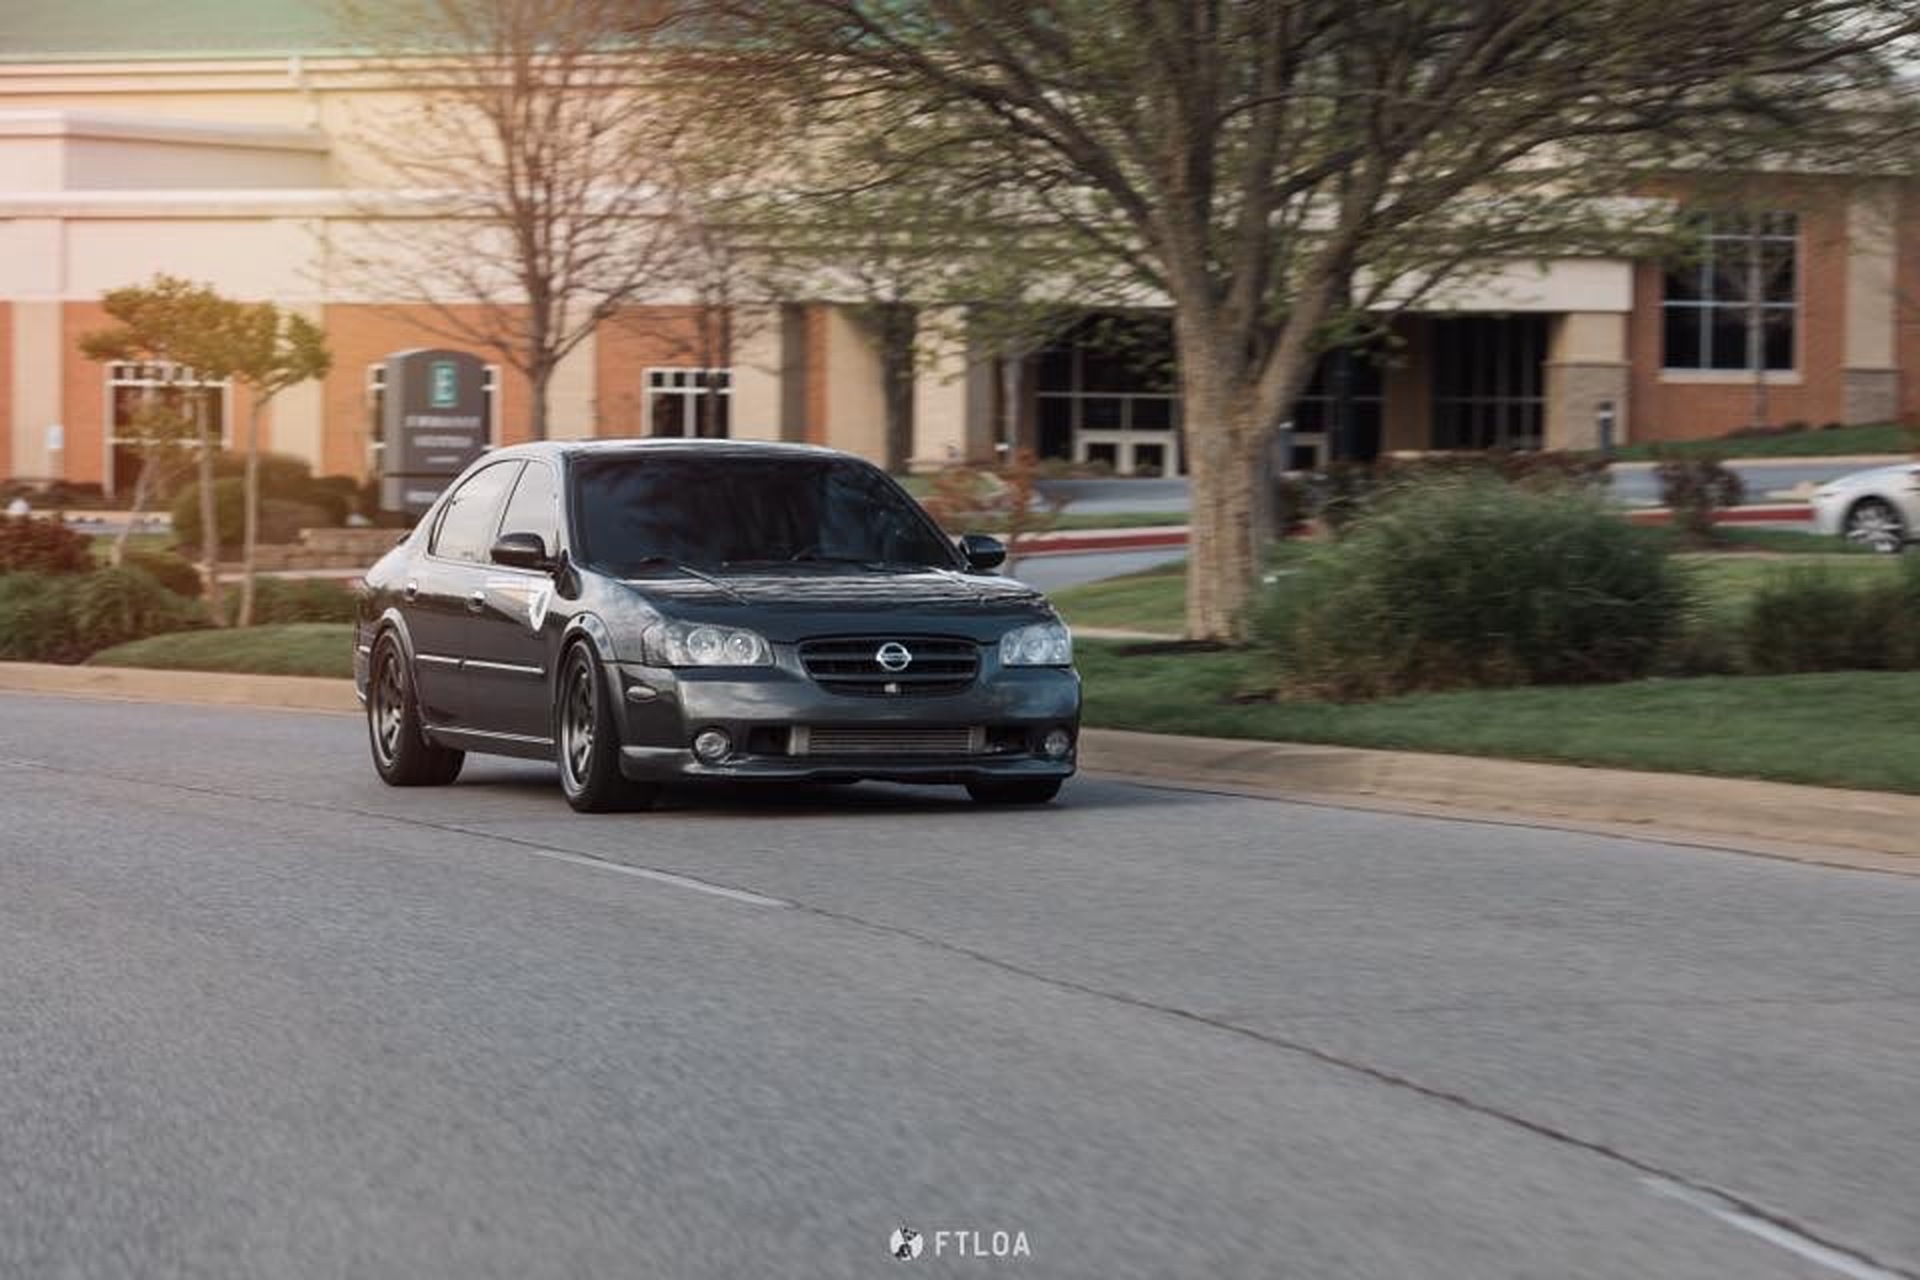
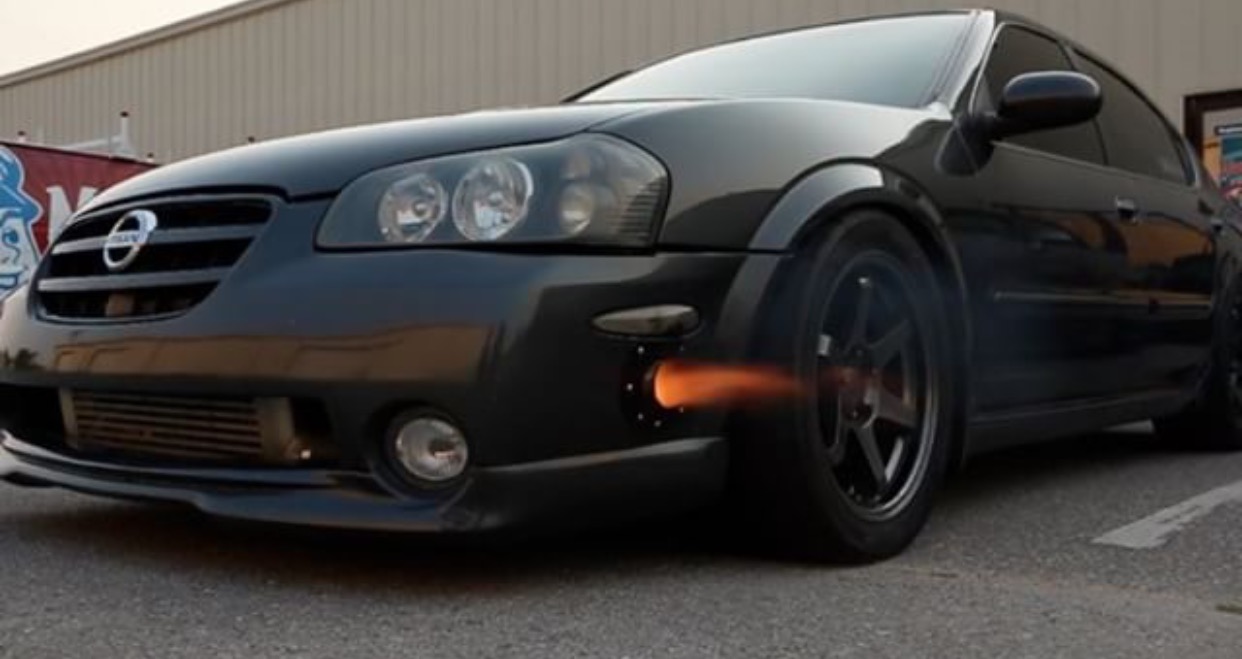
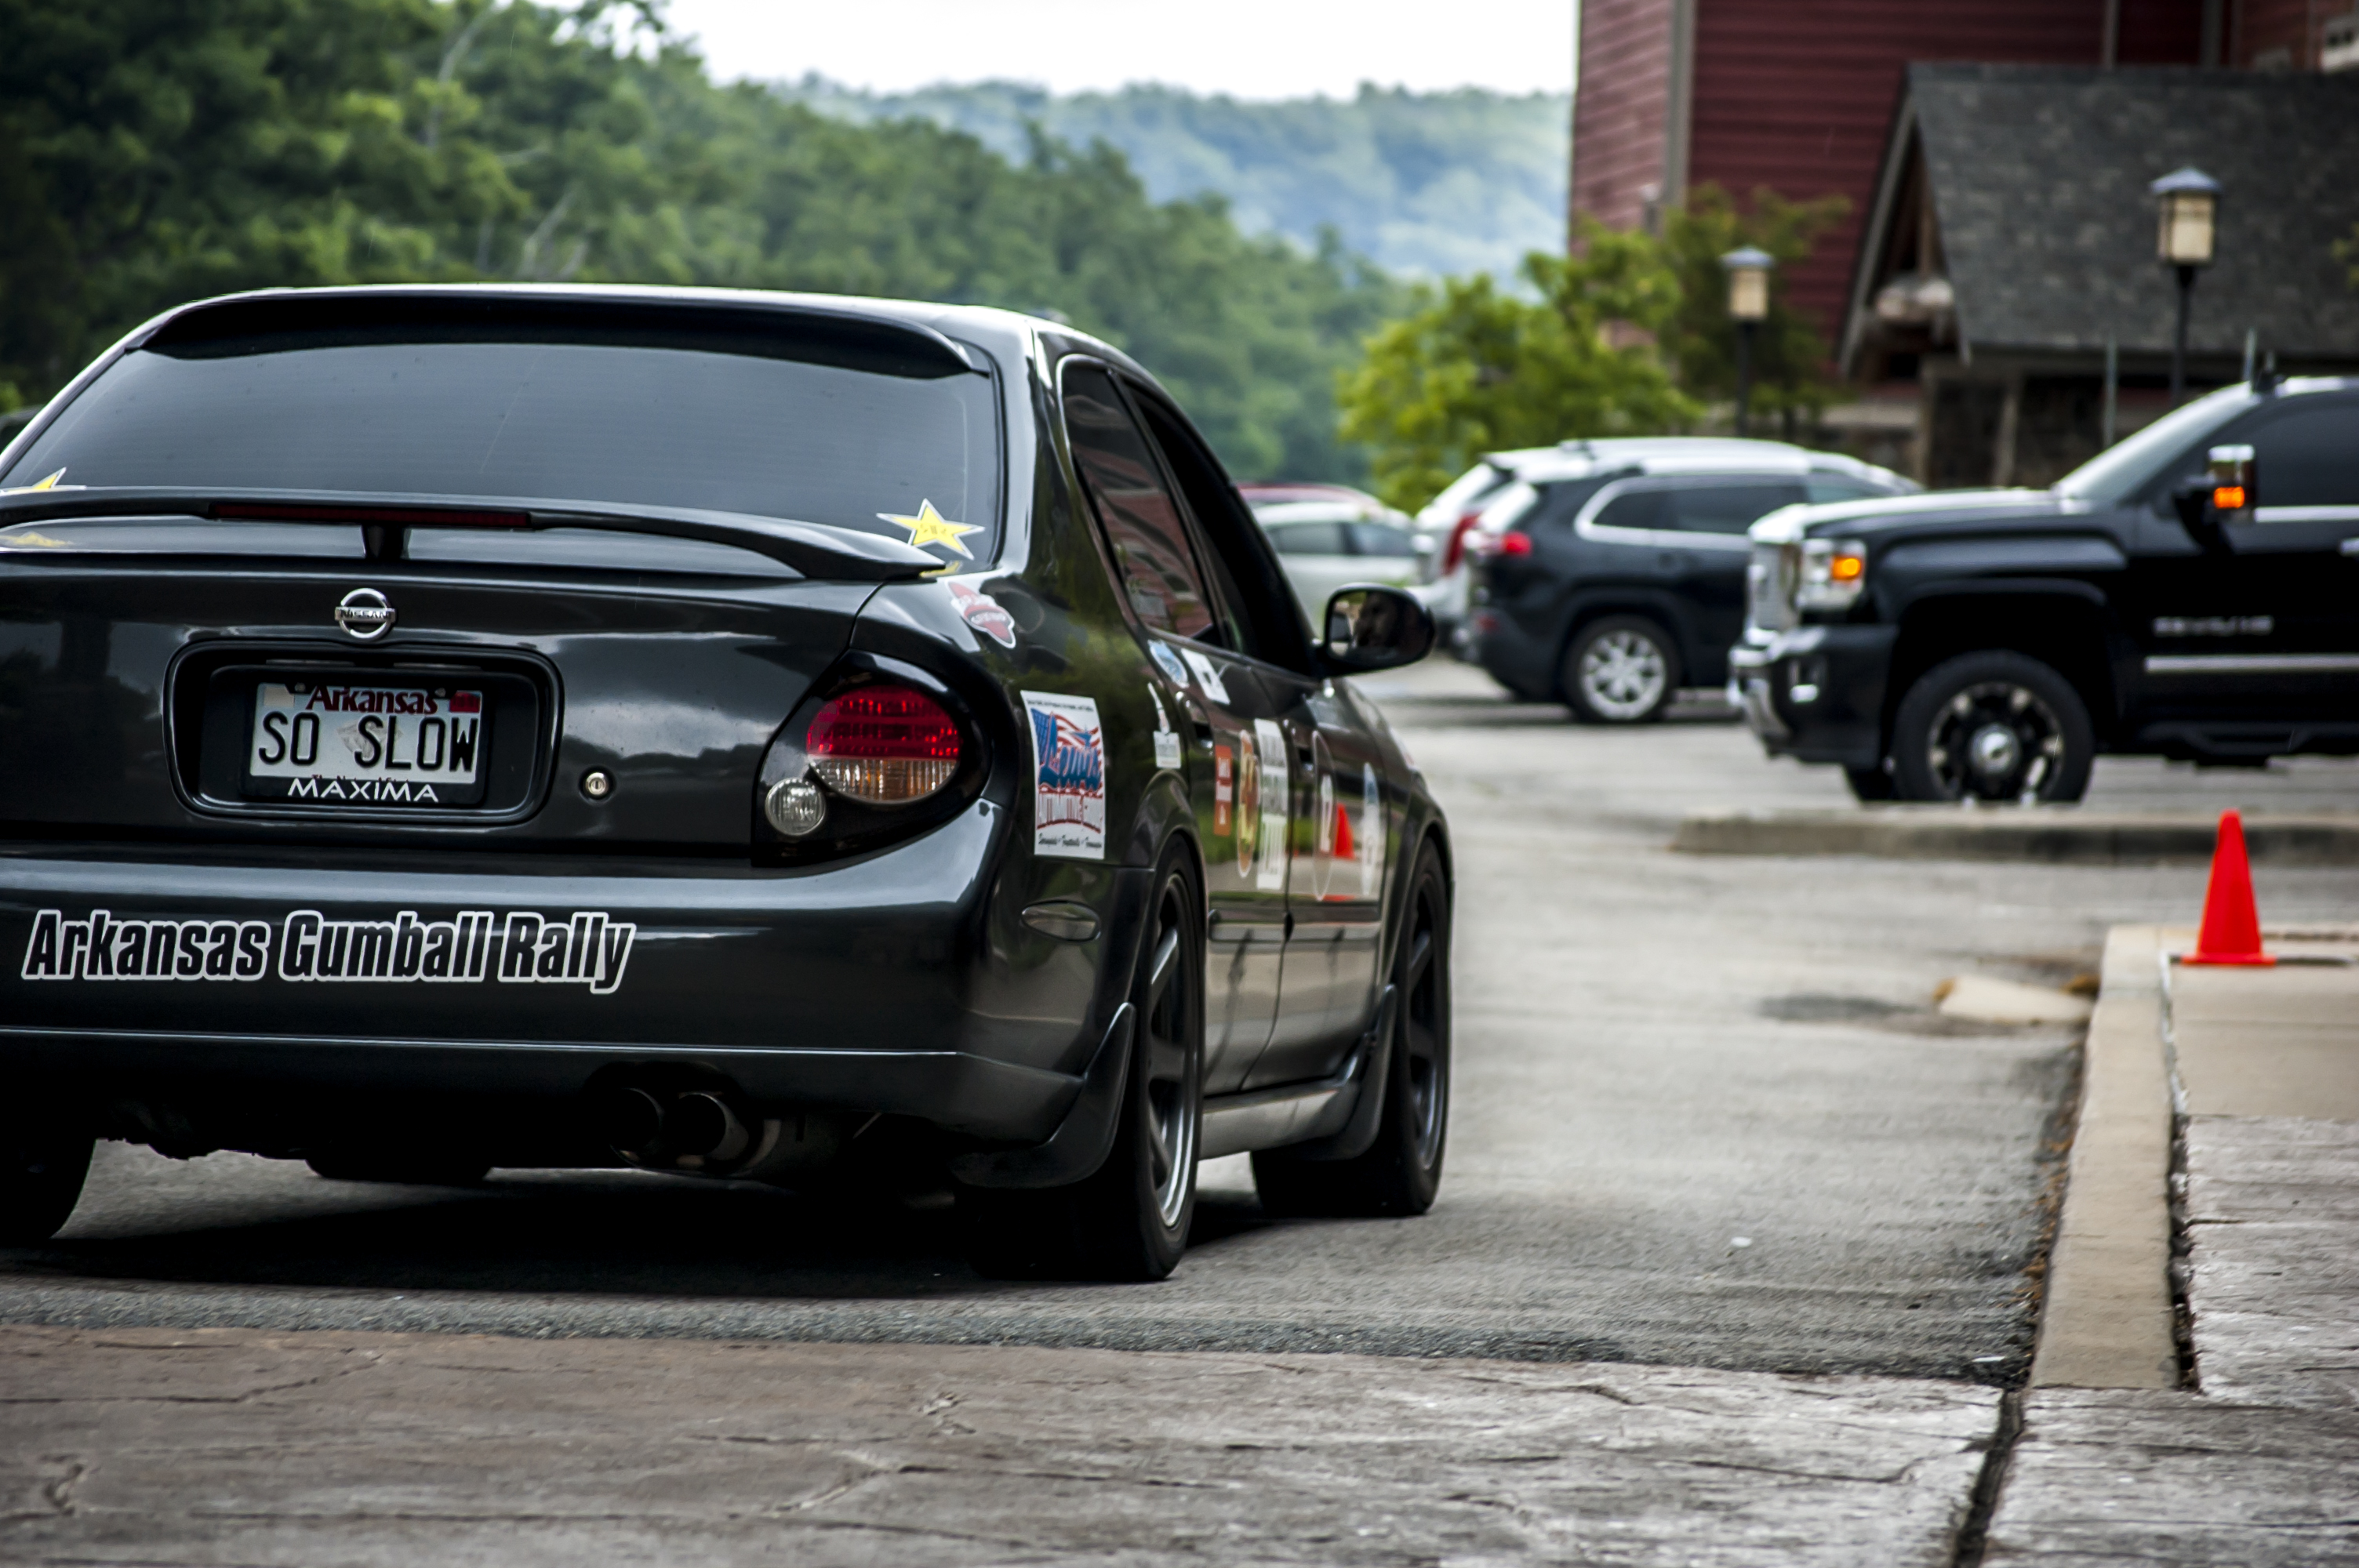
Bought the car, loved the style and just had a desire to go fast. Underdog car, no one expects to be drug by a Maxima that’s just rolling out. – Jeremy Merriman
Performance Numbers:
Street Tuned 100% on the old setup (stock head, head bolts, factory 366 turbo, 1000cc injectors, stock cams)
531/481 10psi
658/542 18psi
723/635 21psi
xxx/xxx 23psi
xxx/xxx 26psi *all numbers corrected*
Videos:
Full Mod List / Specs:
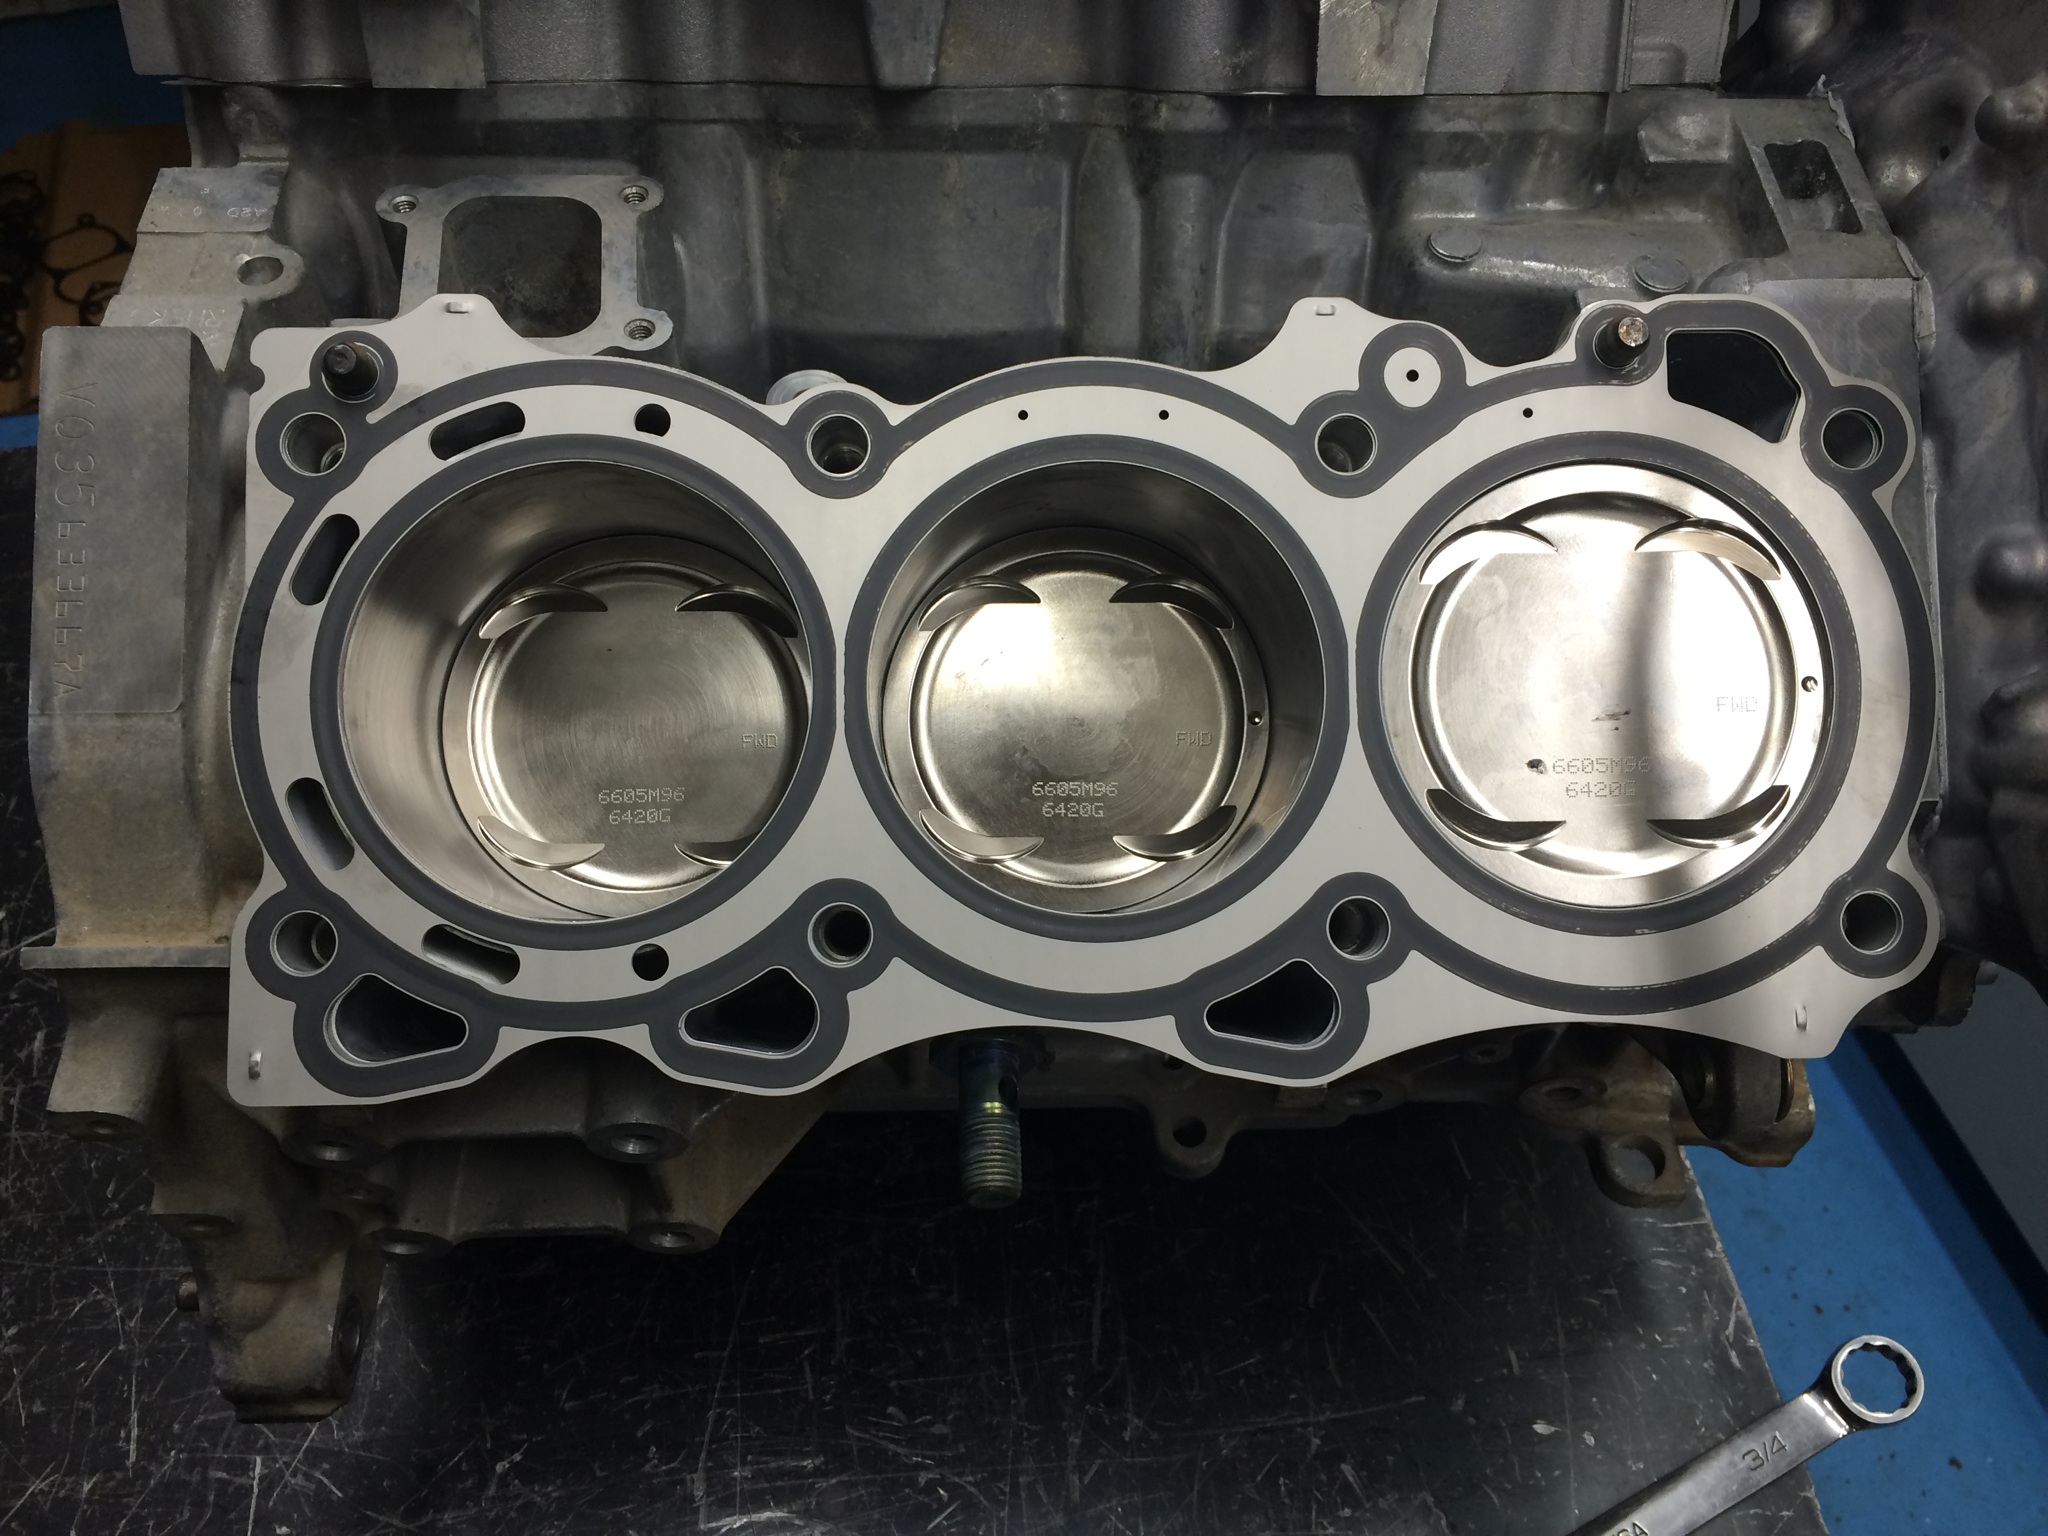
Stock block
30 over bore size
8.8:5 Weisco Pistons
Eagle Rods
L19 Headstuds
625+ Rod Bolts
EPS Galley Kit
Over-sized crank
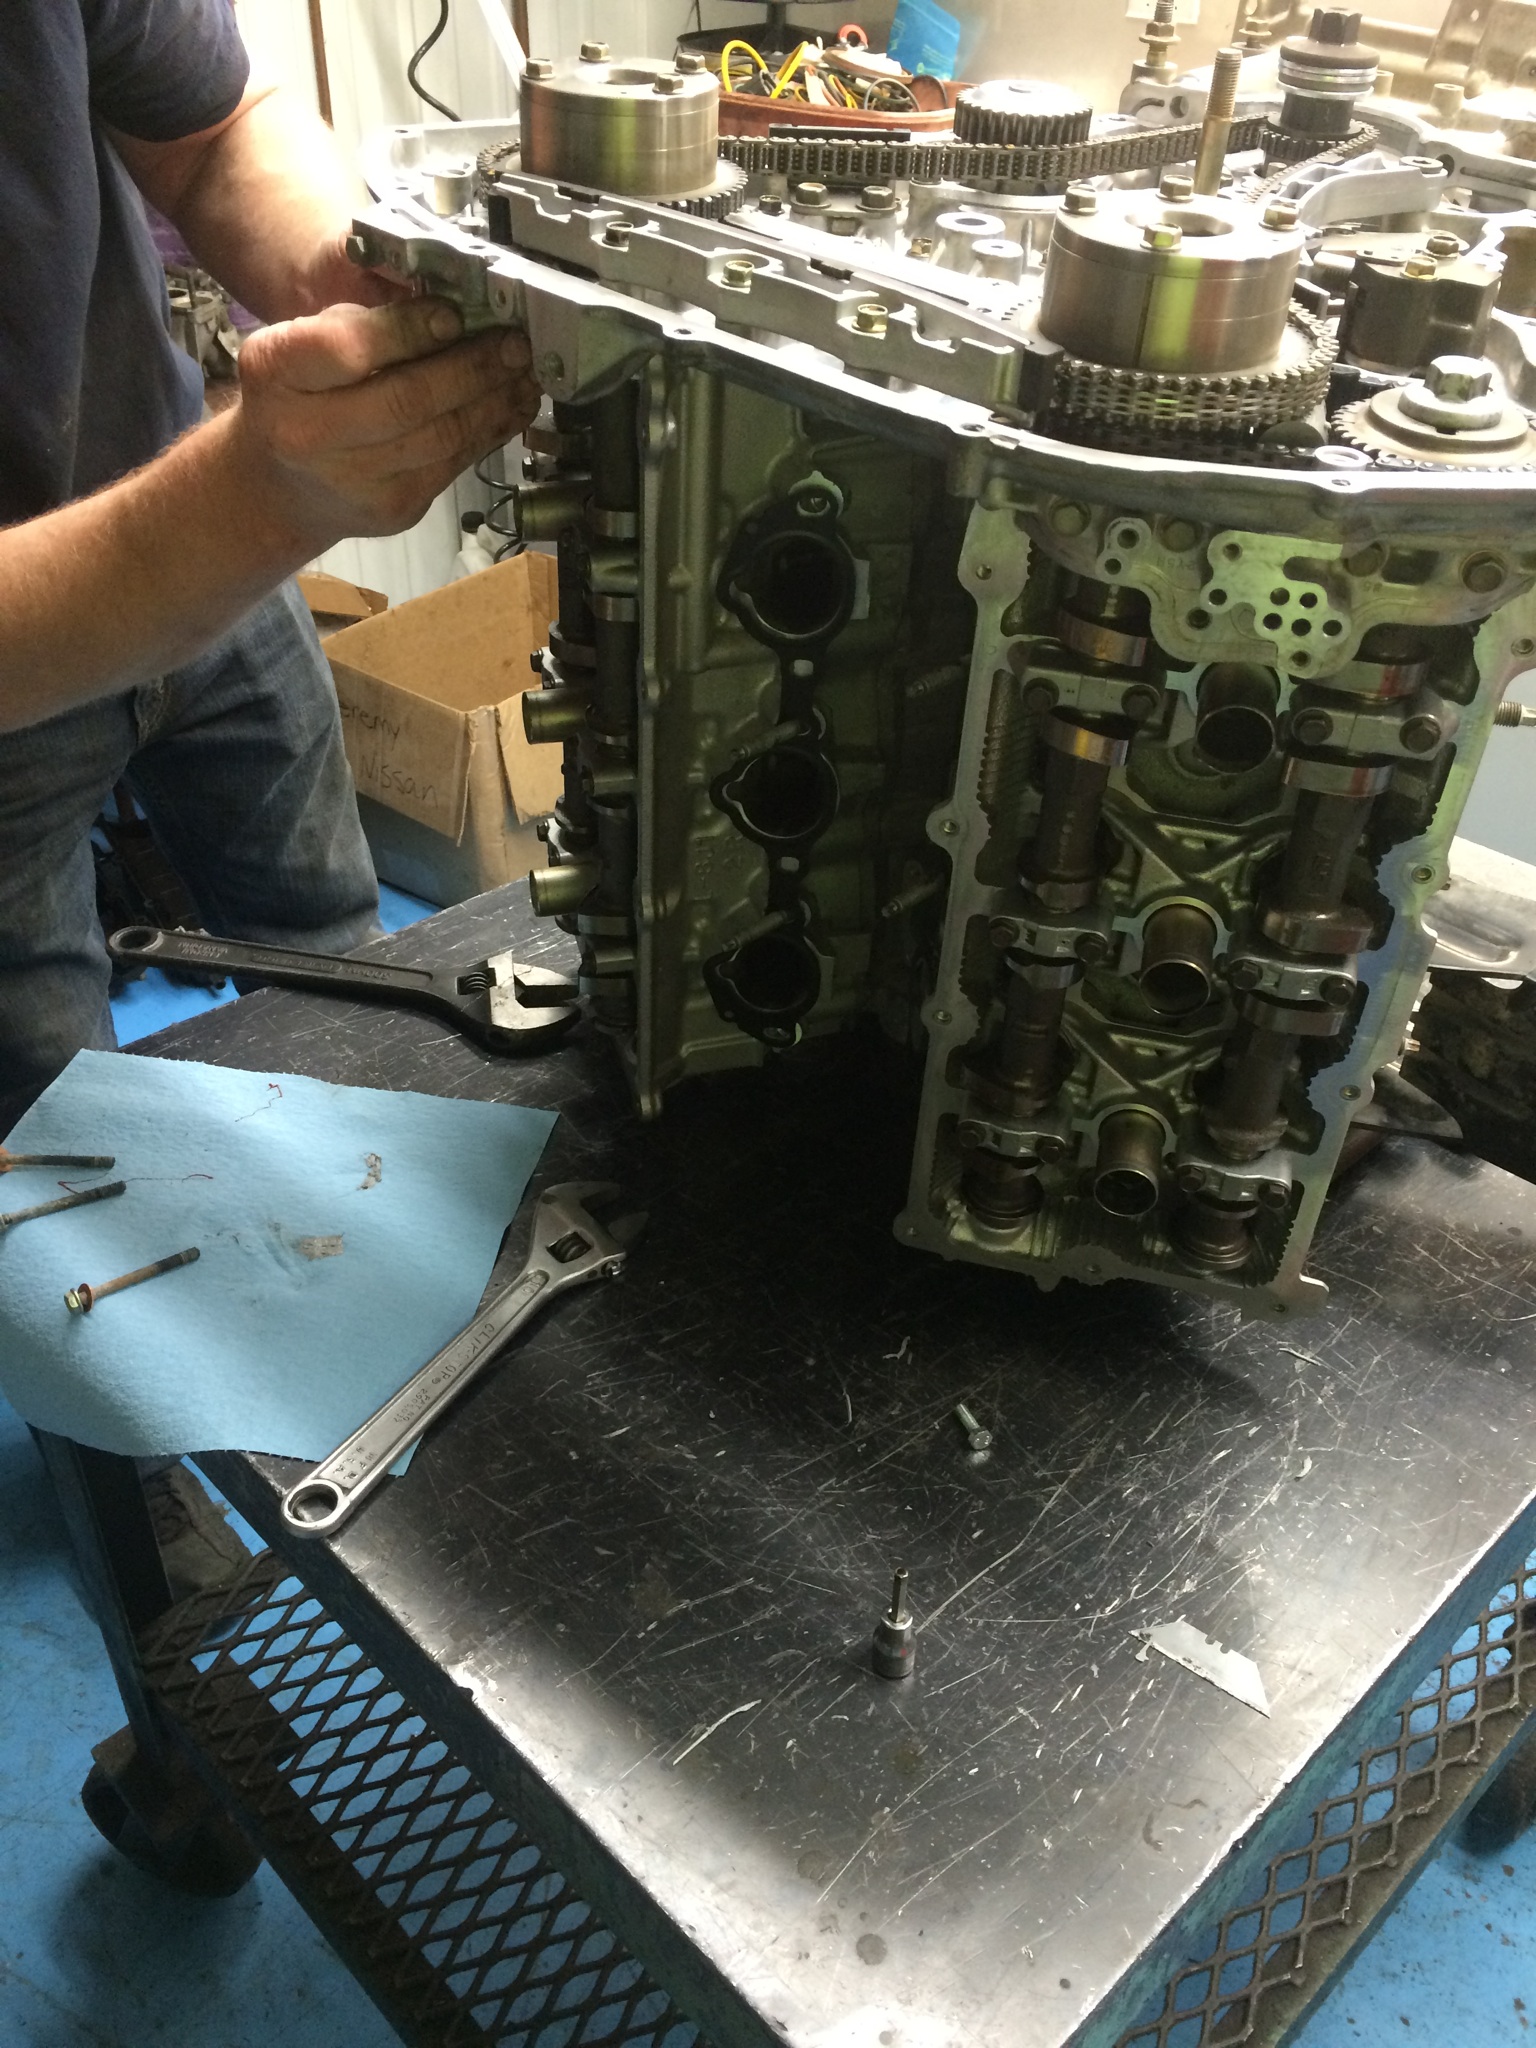
Ported Heads
JWT S1 Cams
BC Springs and Retainers
Cut Titanium Valves
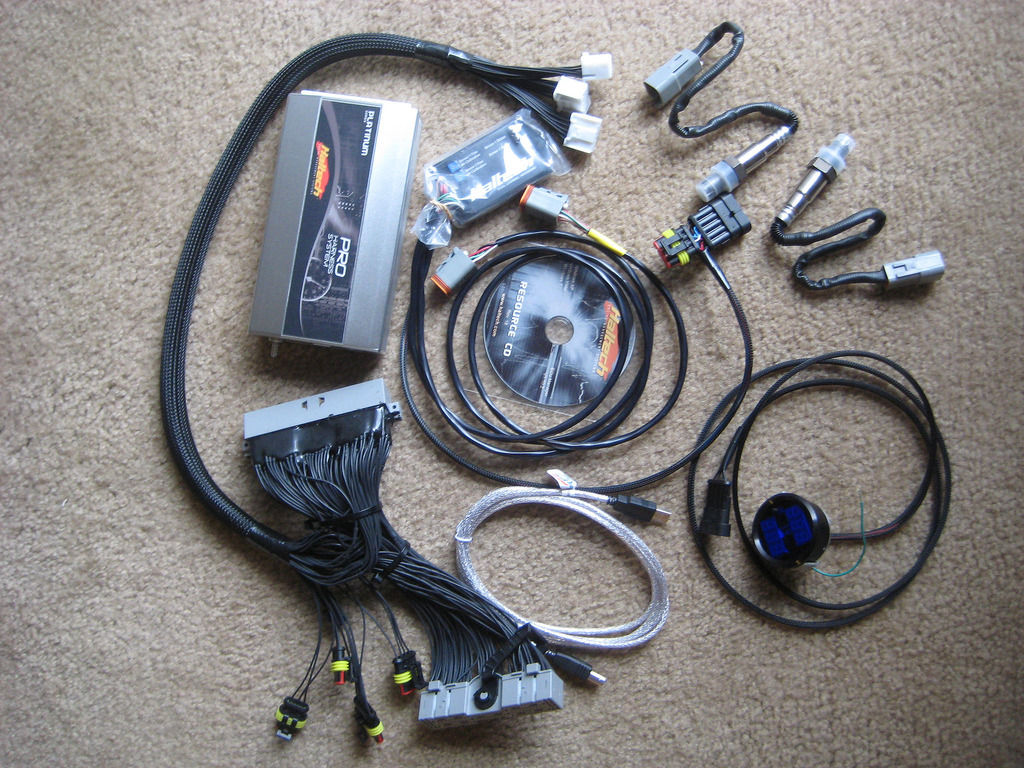
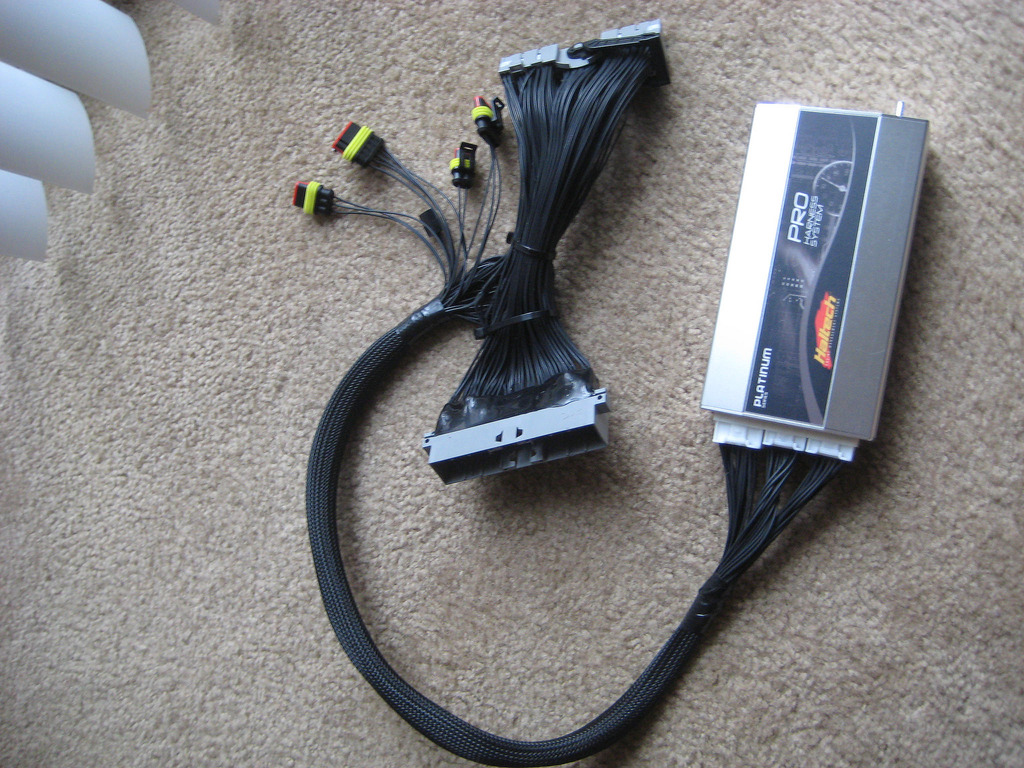
Haltech Stand-alone ECU (all the features)
Magnus Flow Control Valve
HKS Headgasket
Custom Admin built 6speed trans with LSD
Admin axles with 30% larger carriers
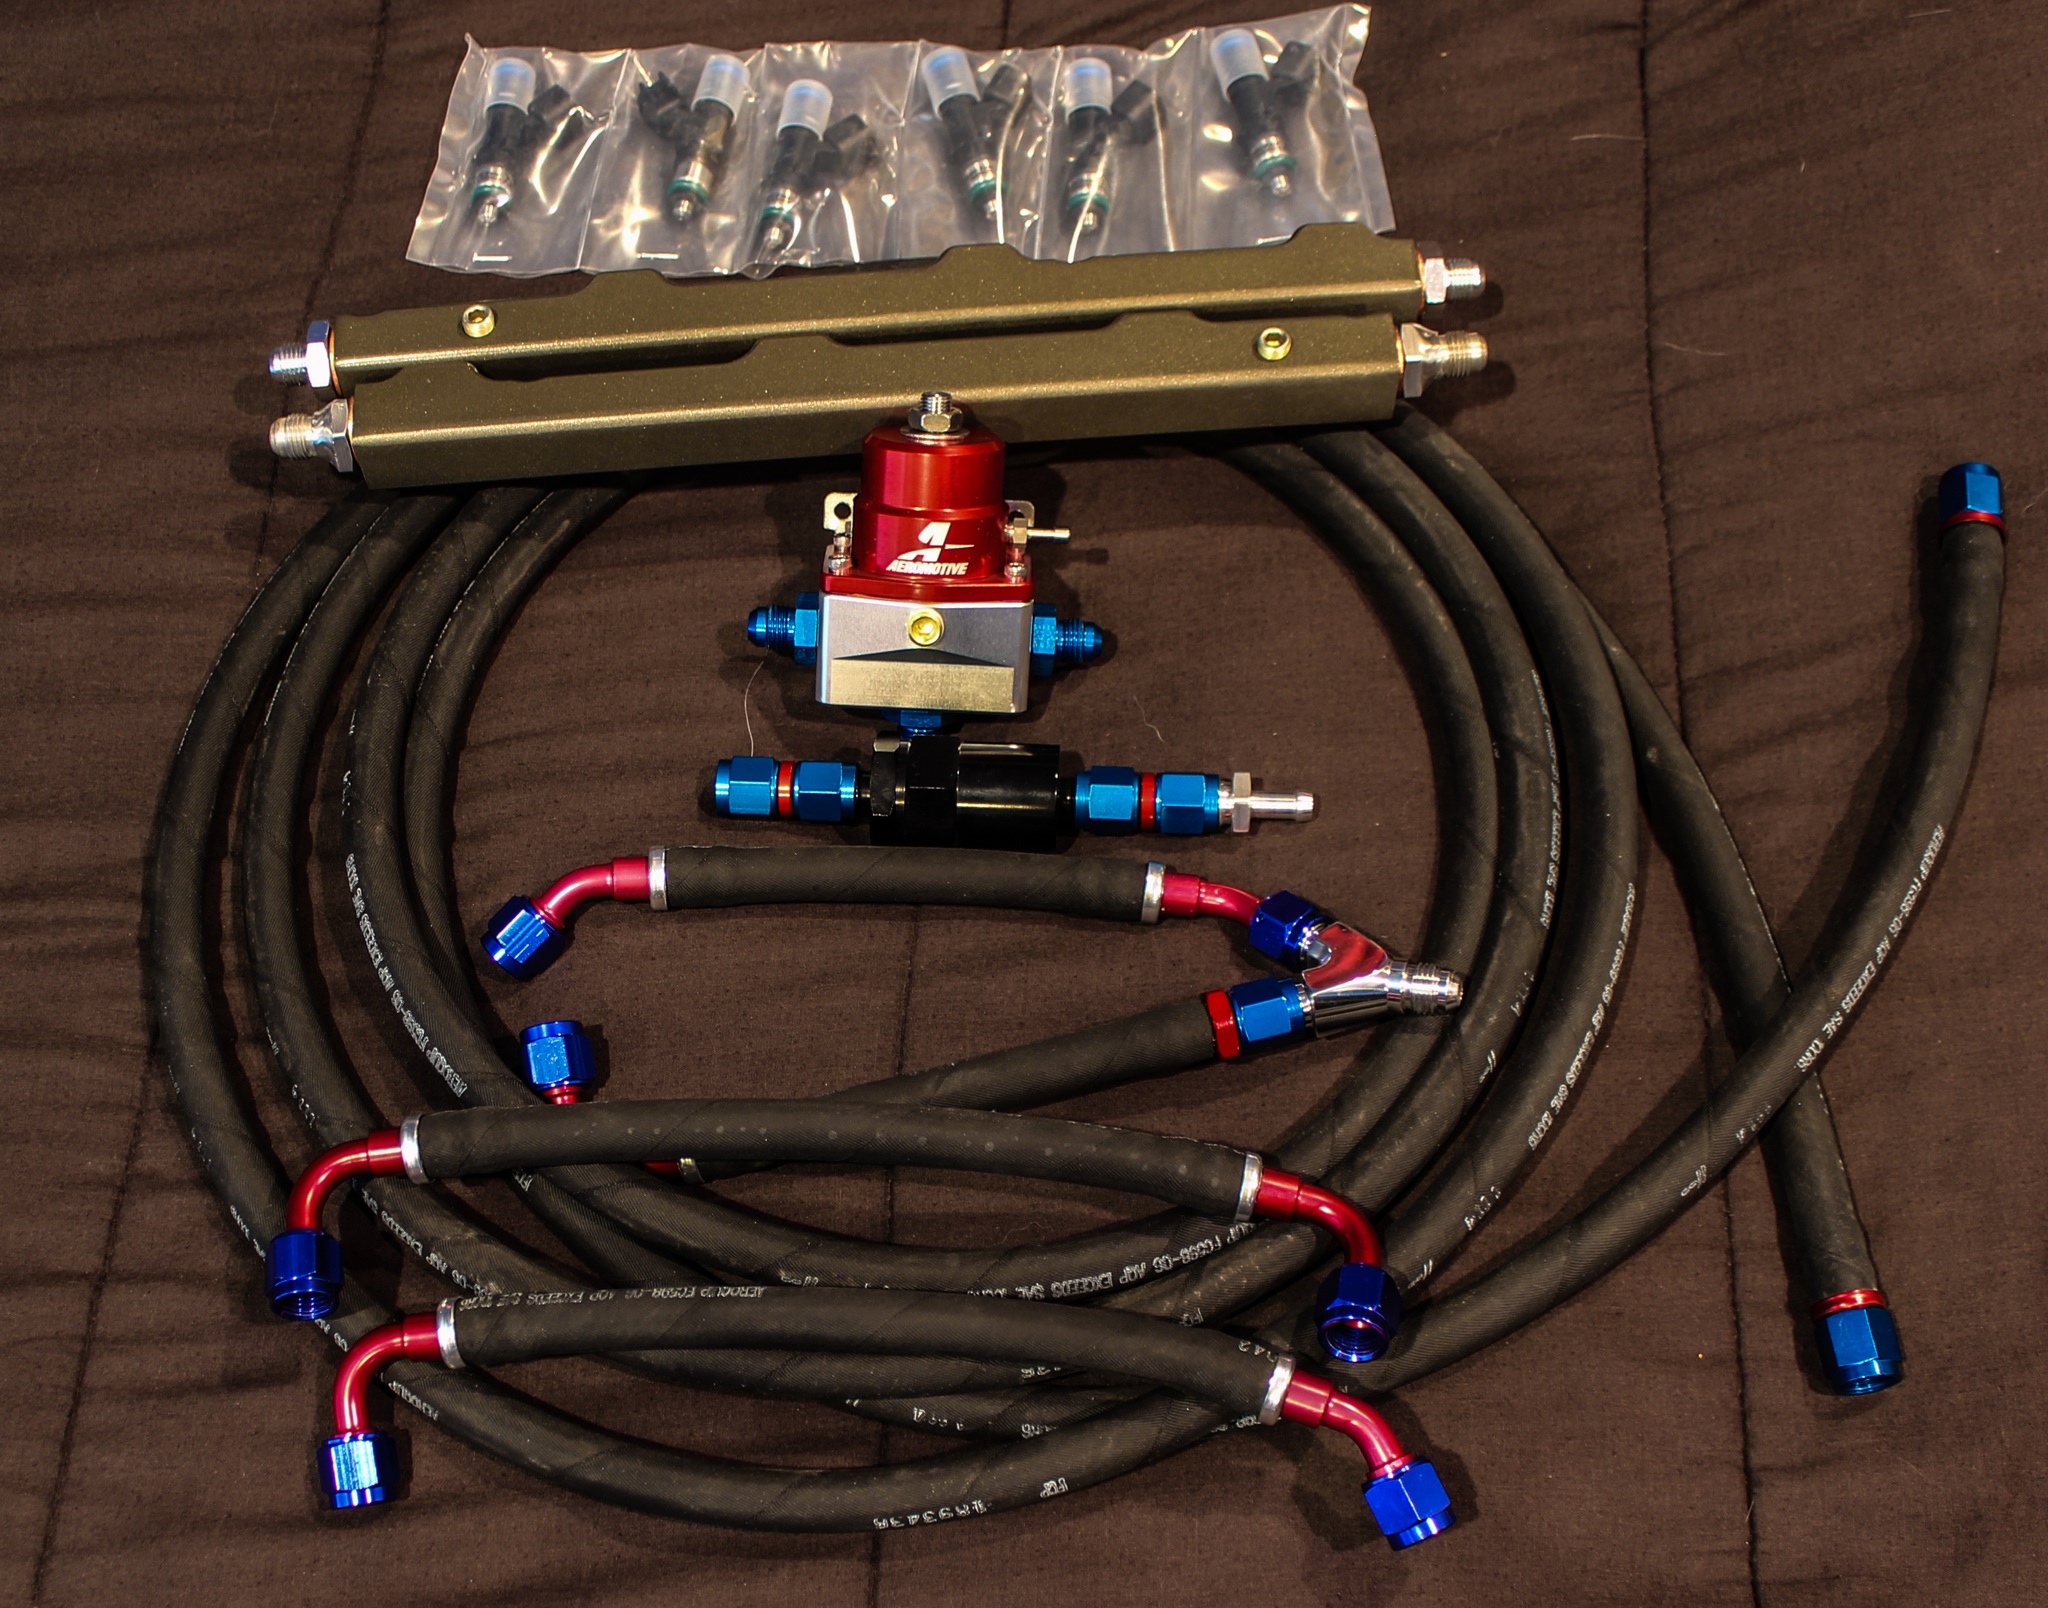
Admin Fuel system -6 feed and -6 return
Aeromotive regulators
ID 1700x injectors
Walboro 450 high pressure in tank pump
Borg Warner 366 with compressor swap and wicked wheel upgrade
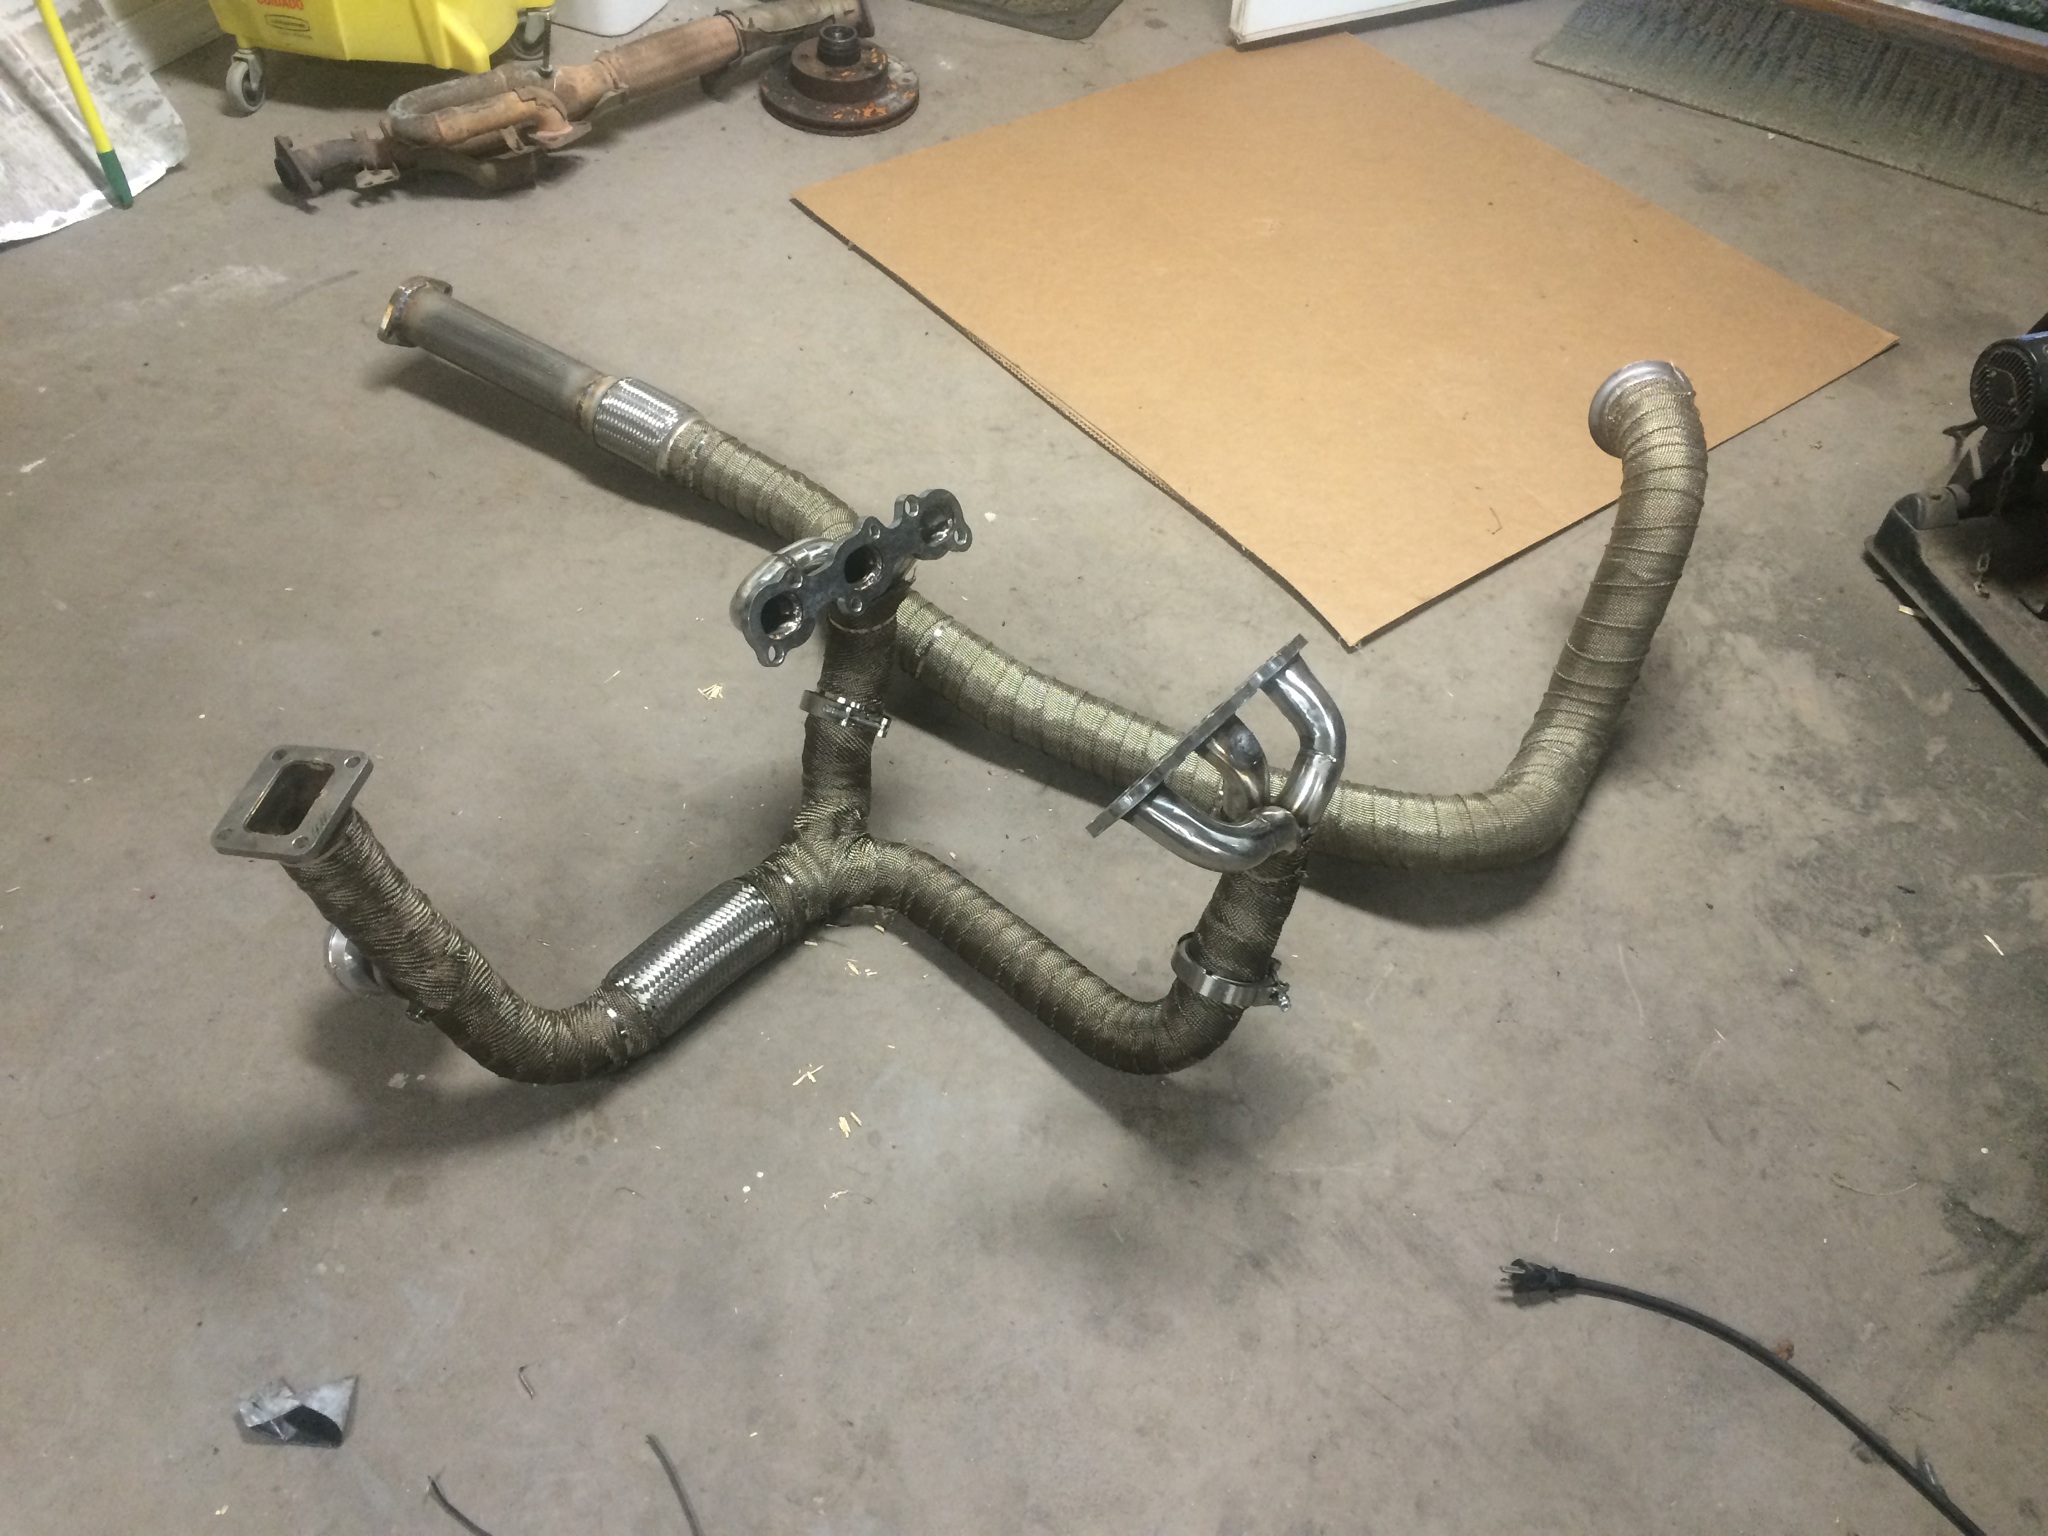
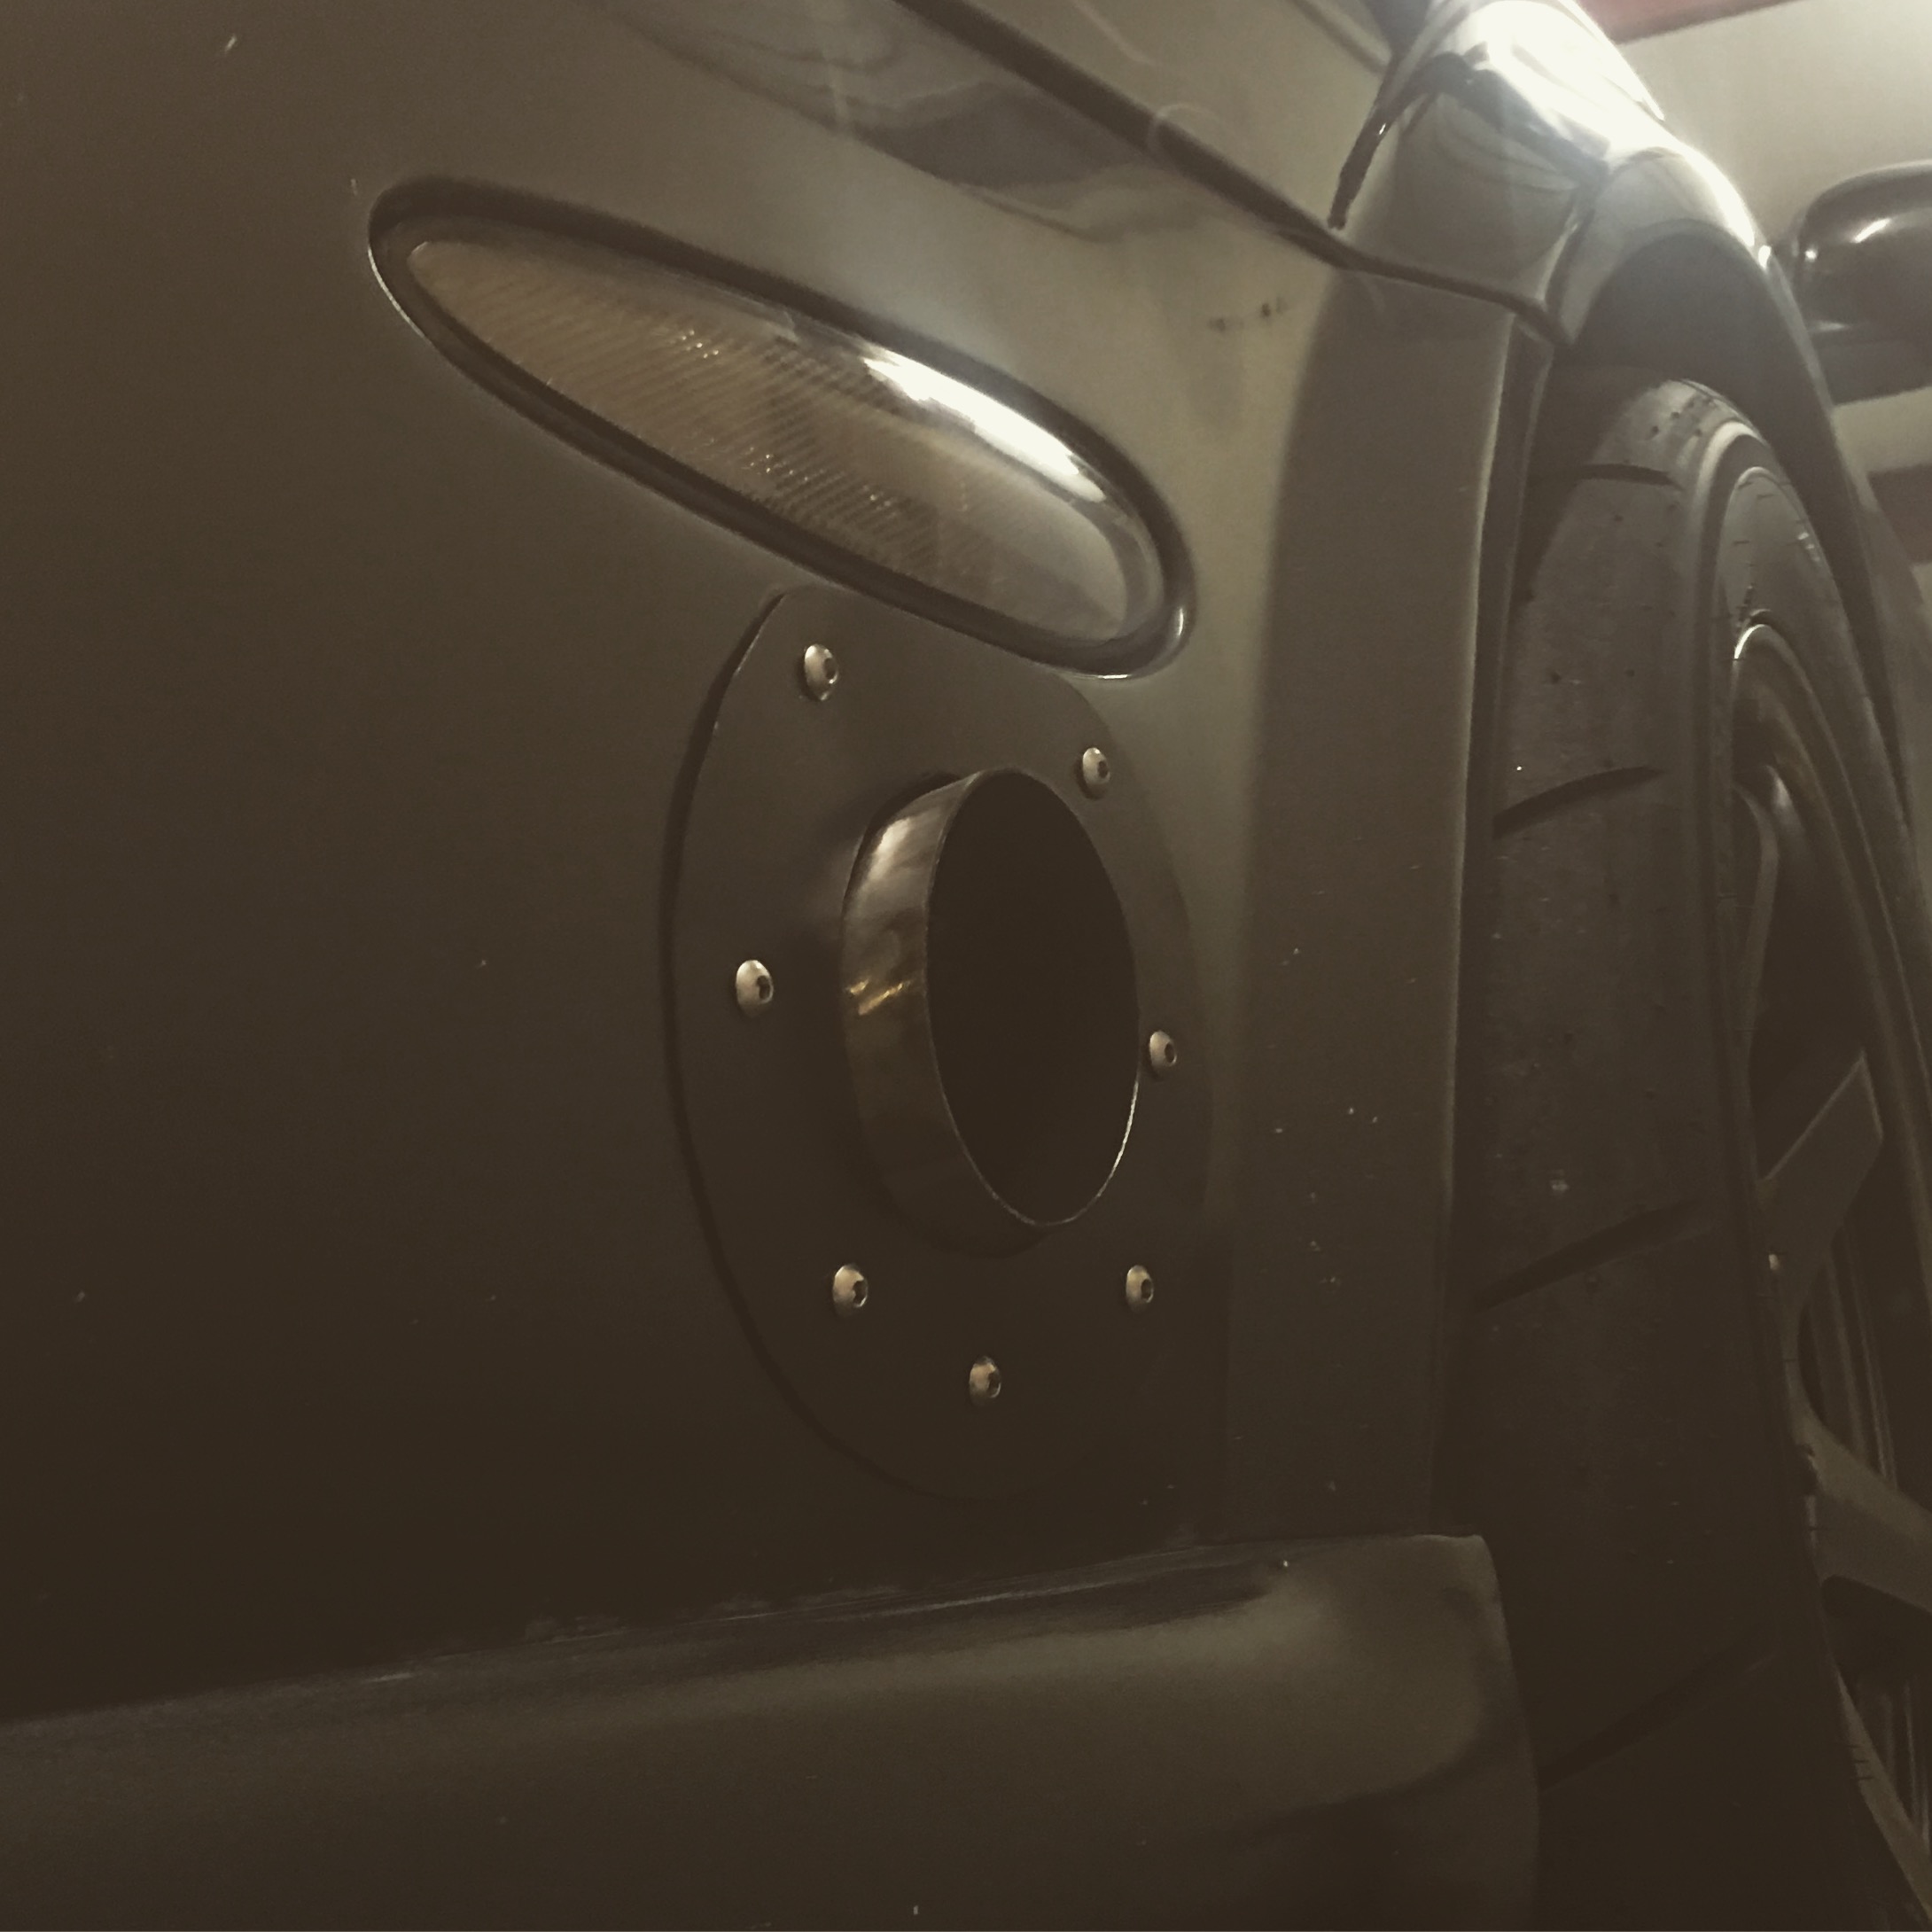
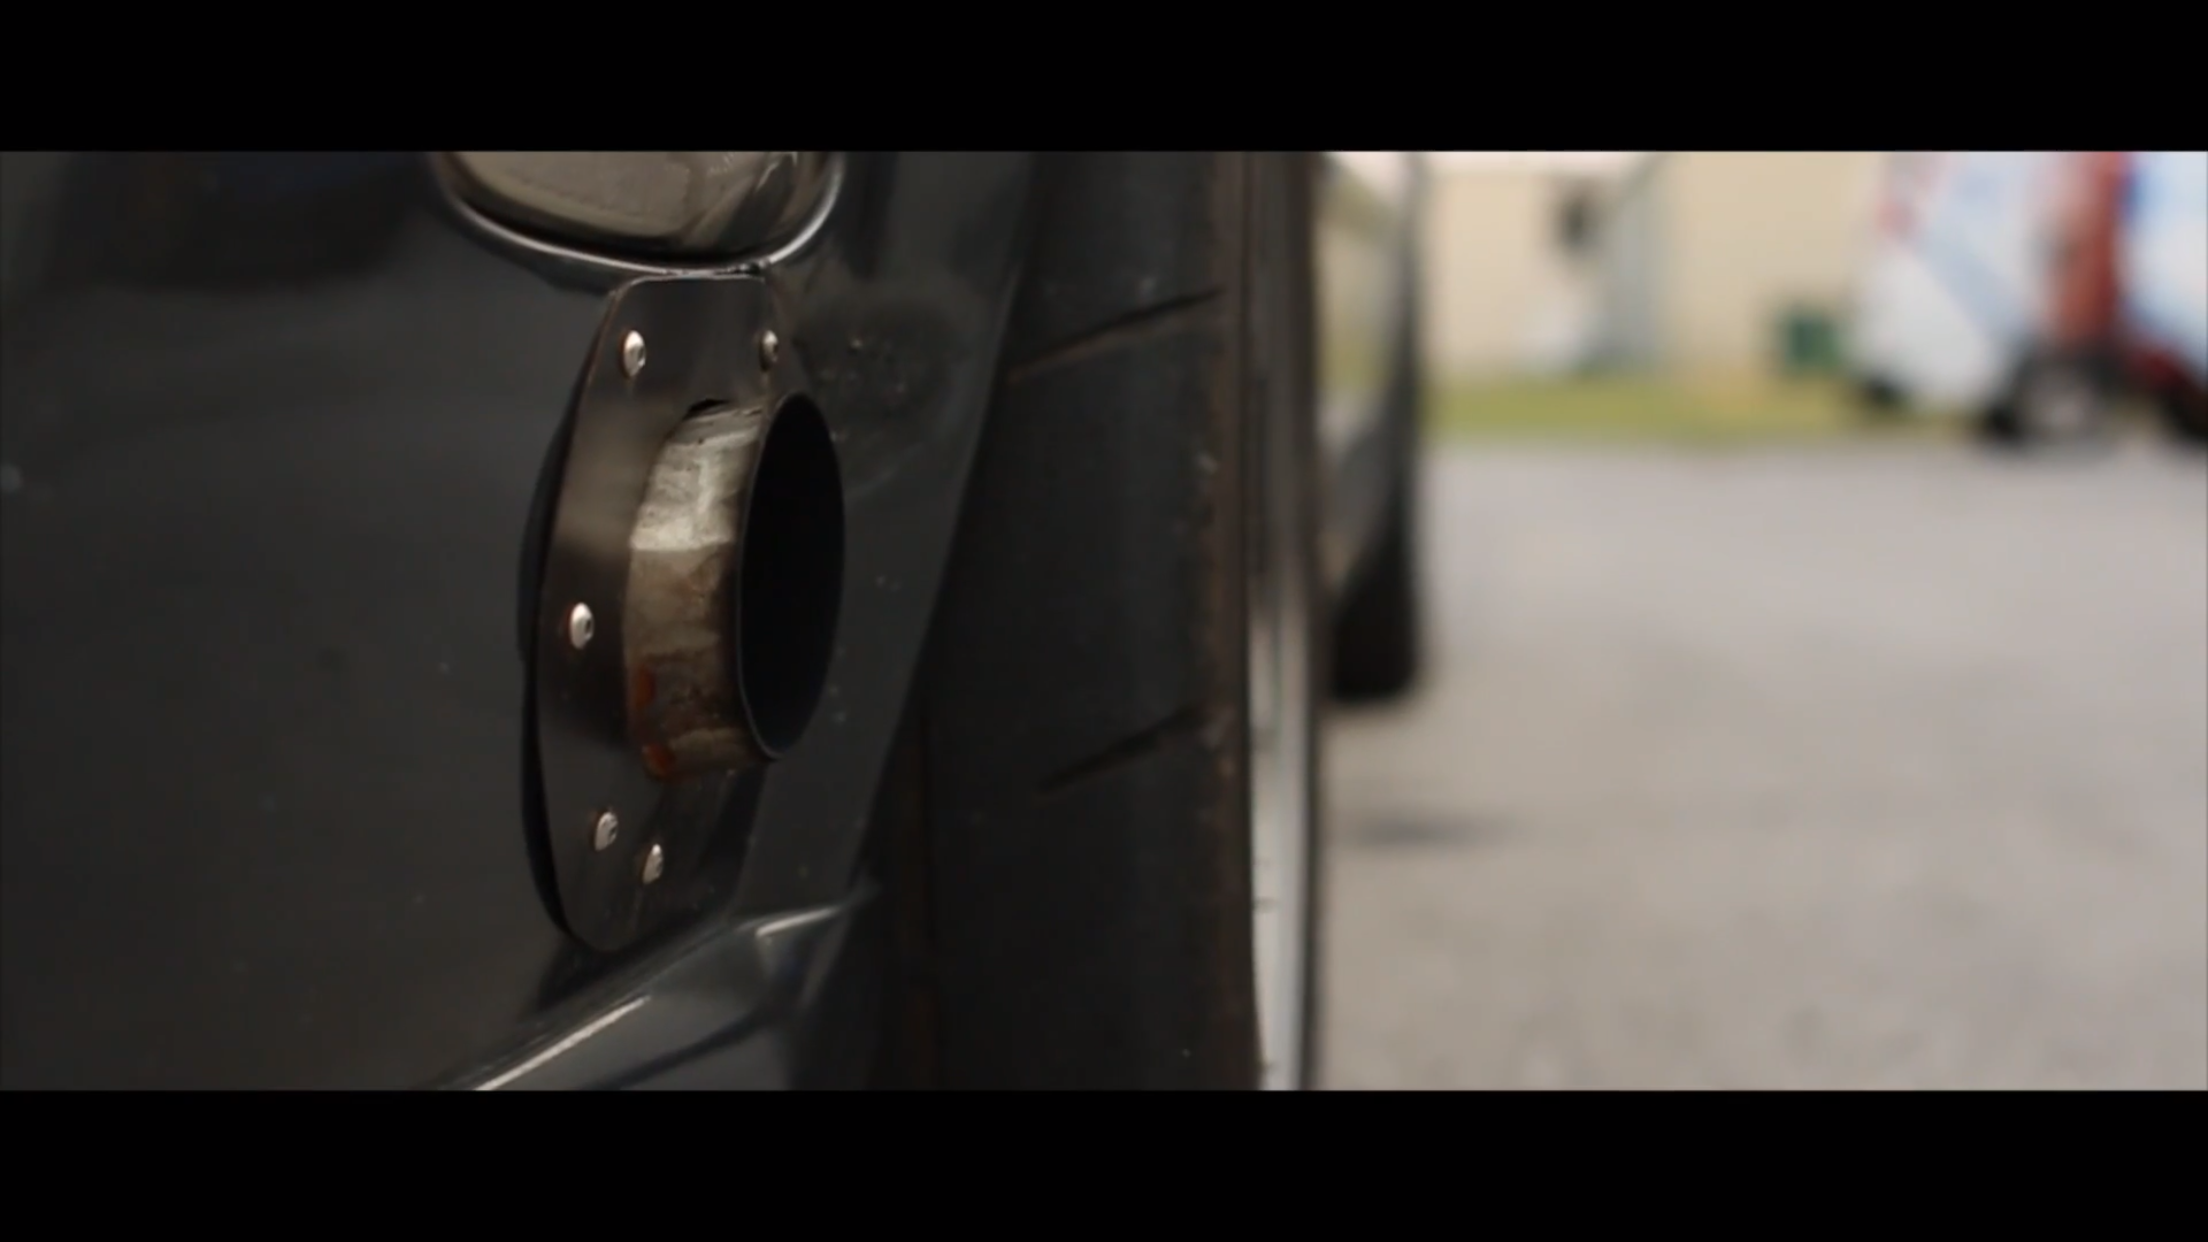
4” stainless fender exit exhaust
2.5” stainless hotside
2.5” charge system
Custom built ClutchMaster Twin disk (1200hp)
Spoils mounted/cut shifter assembly
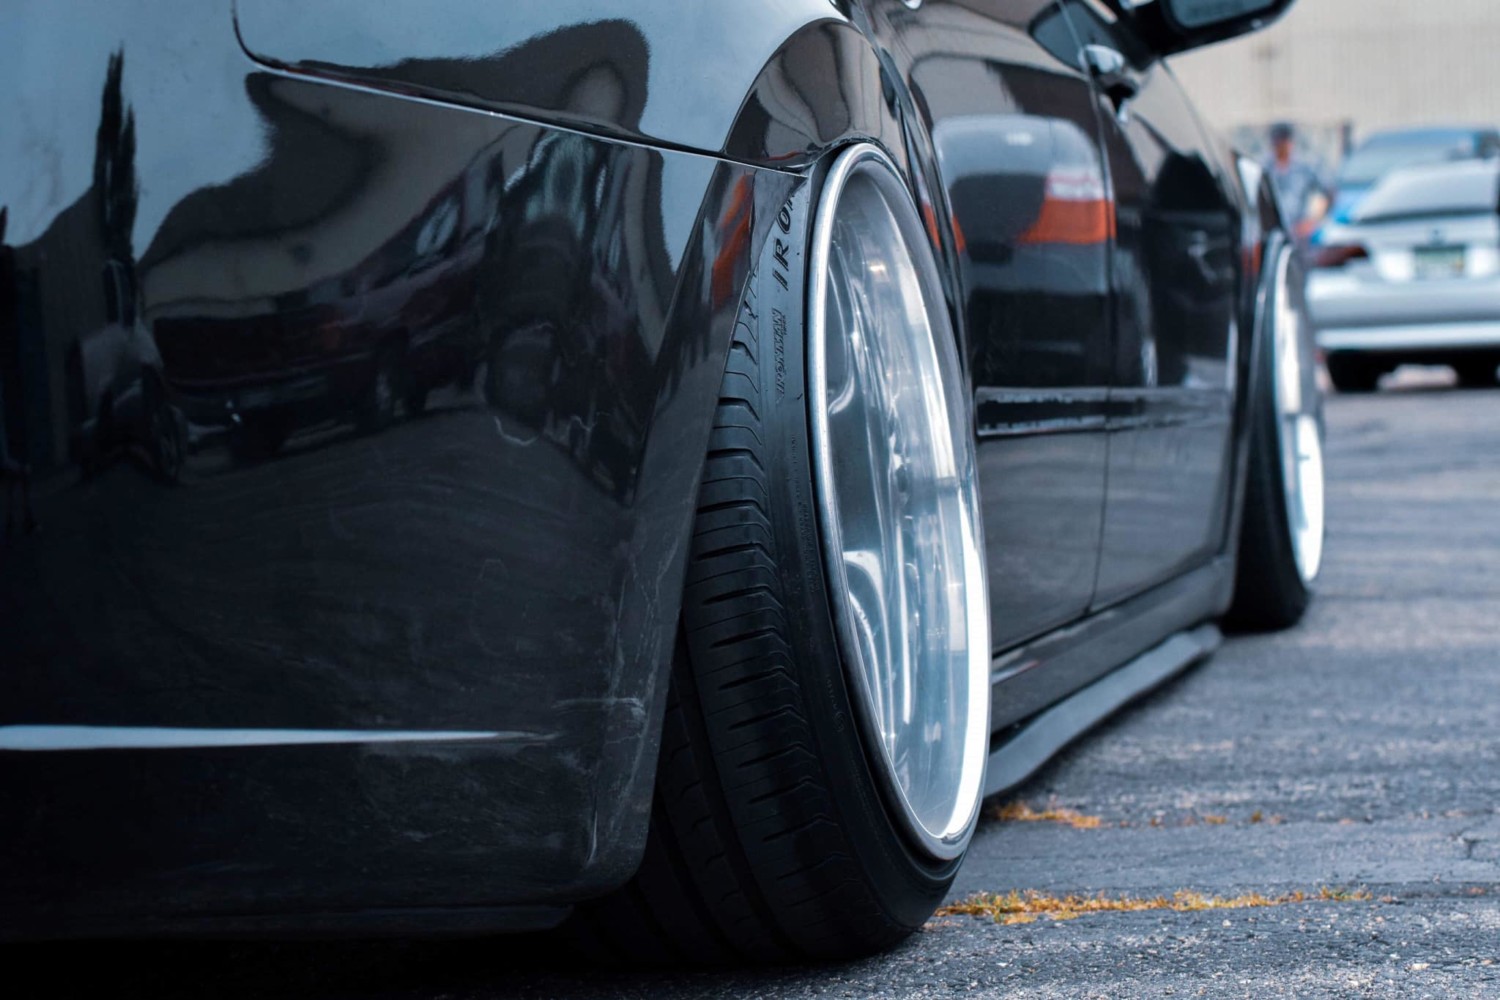
17×9.5 squared wheel setup
NITTO NT05 275/40 Street
NITTO NT05R 305/35 Track
Built BC coils with spring swap
25mm Traction Bars
Adjustable rear panhard with toe/camber correction
Solid core support
Solid subframe connectors
Solid engine/trans mounts
Nismo low open T-Stat
High Flow Oil pump
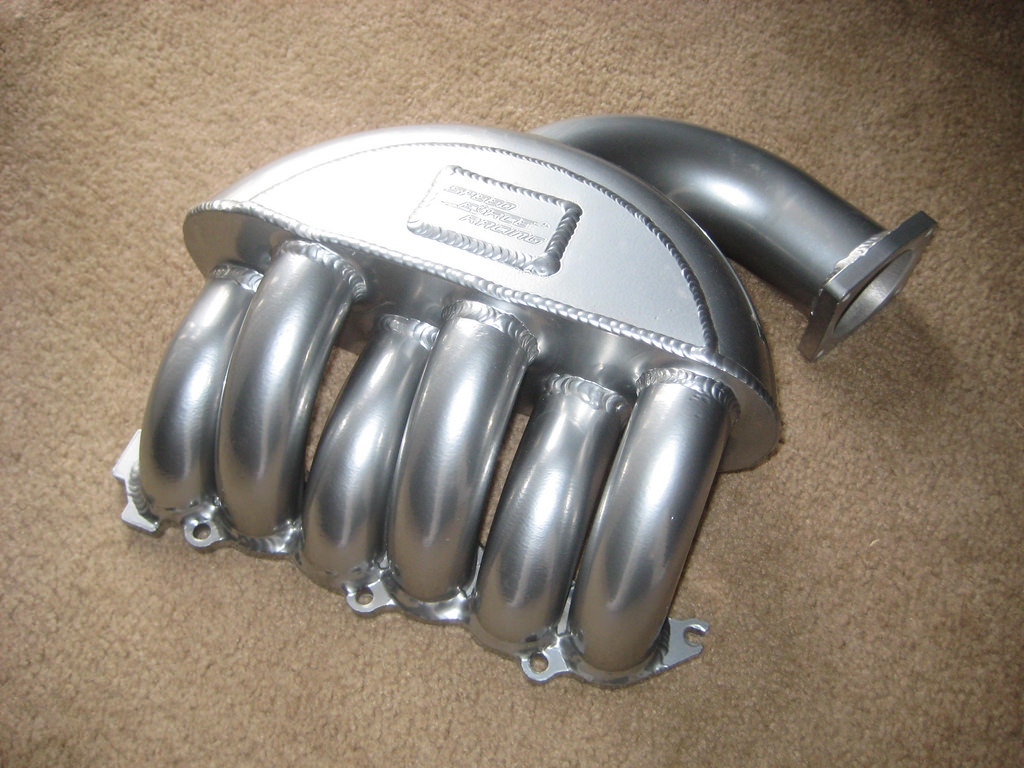
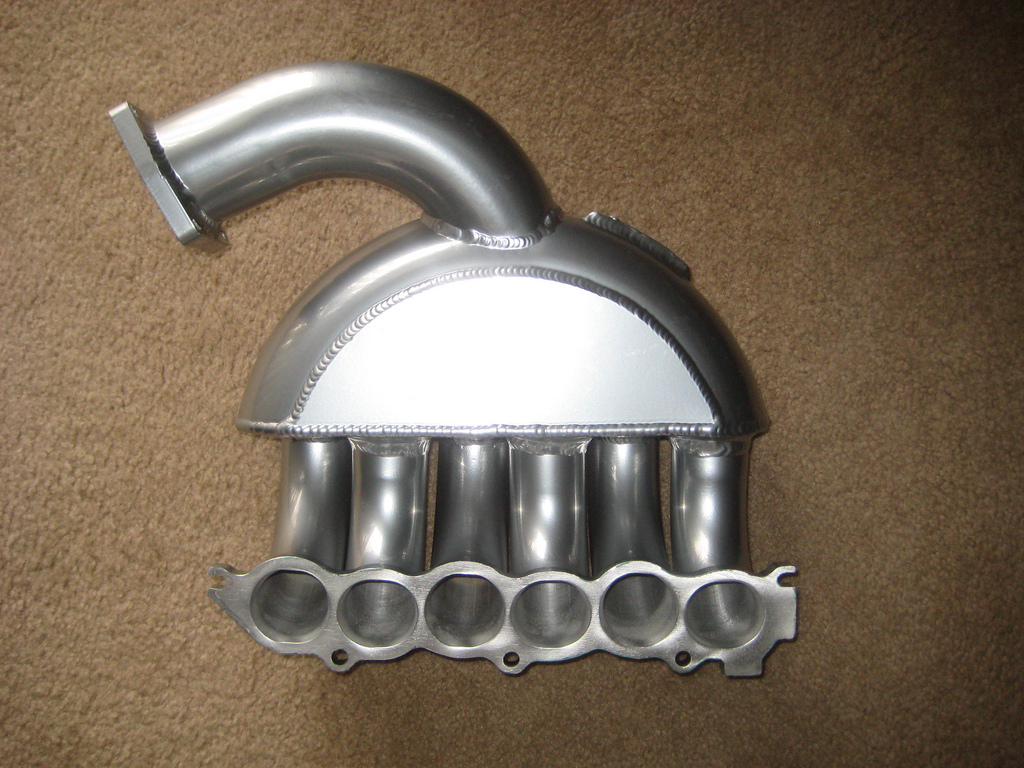
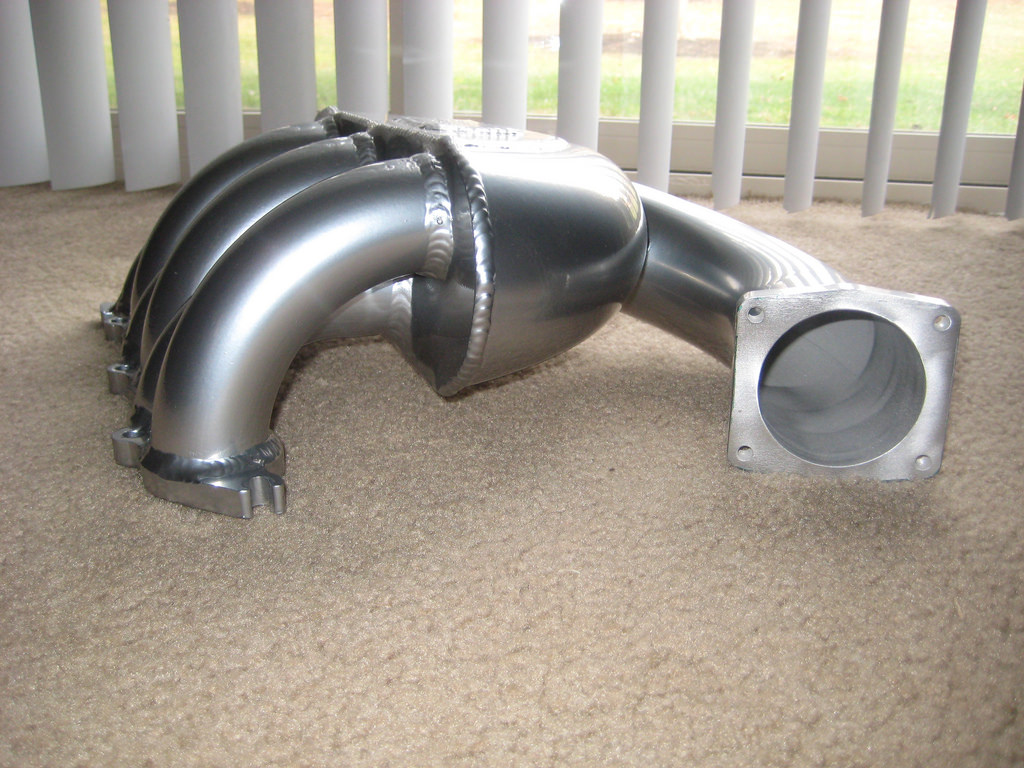
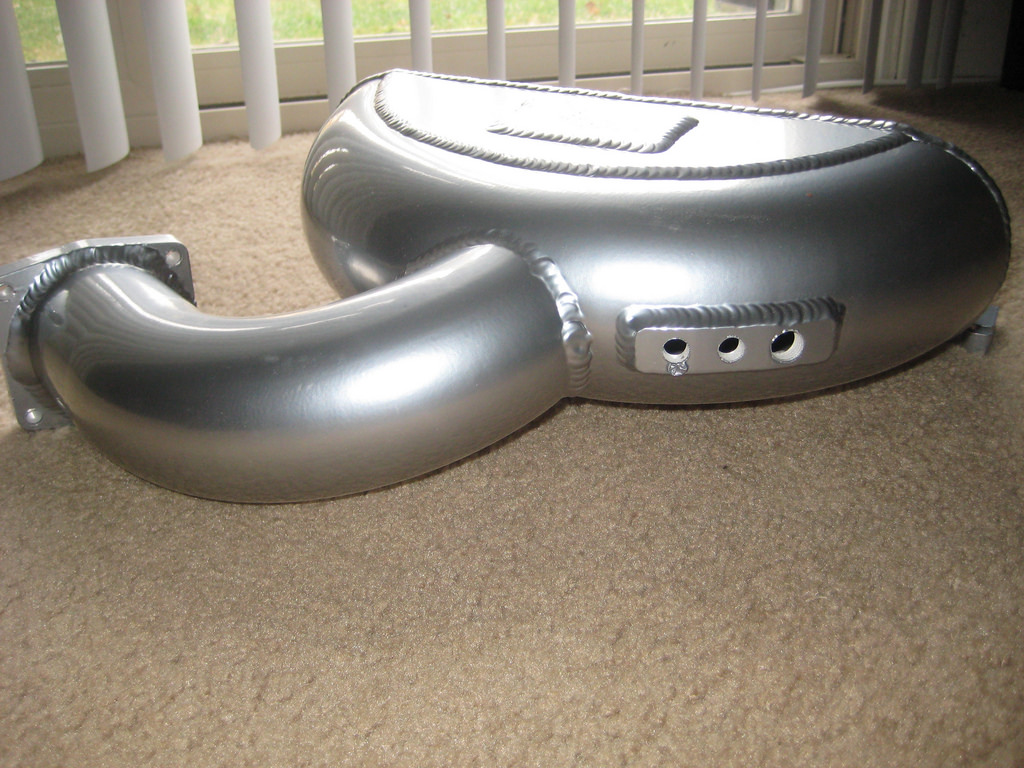
SSIM
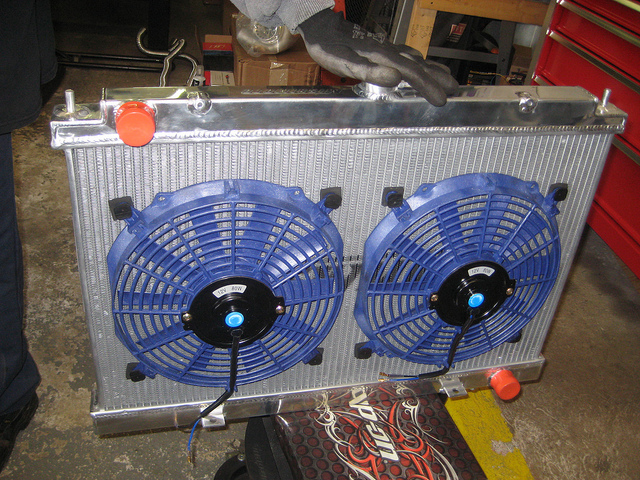
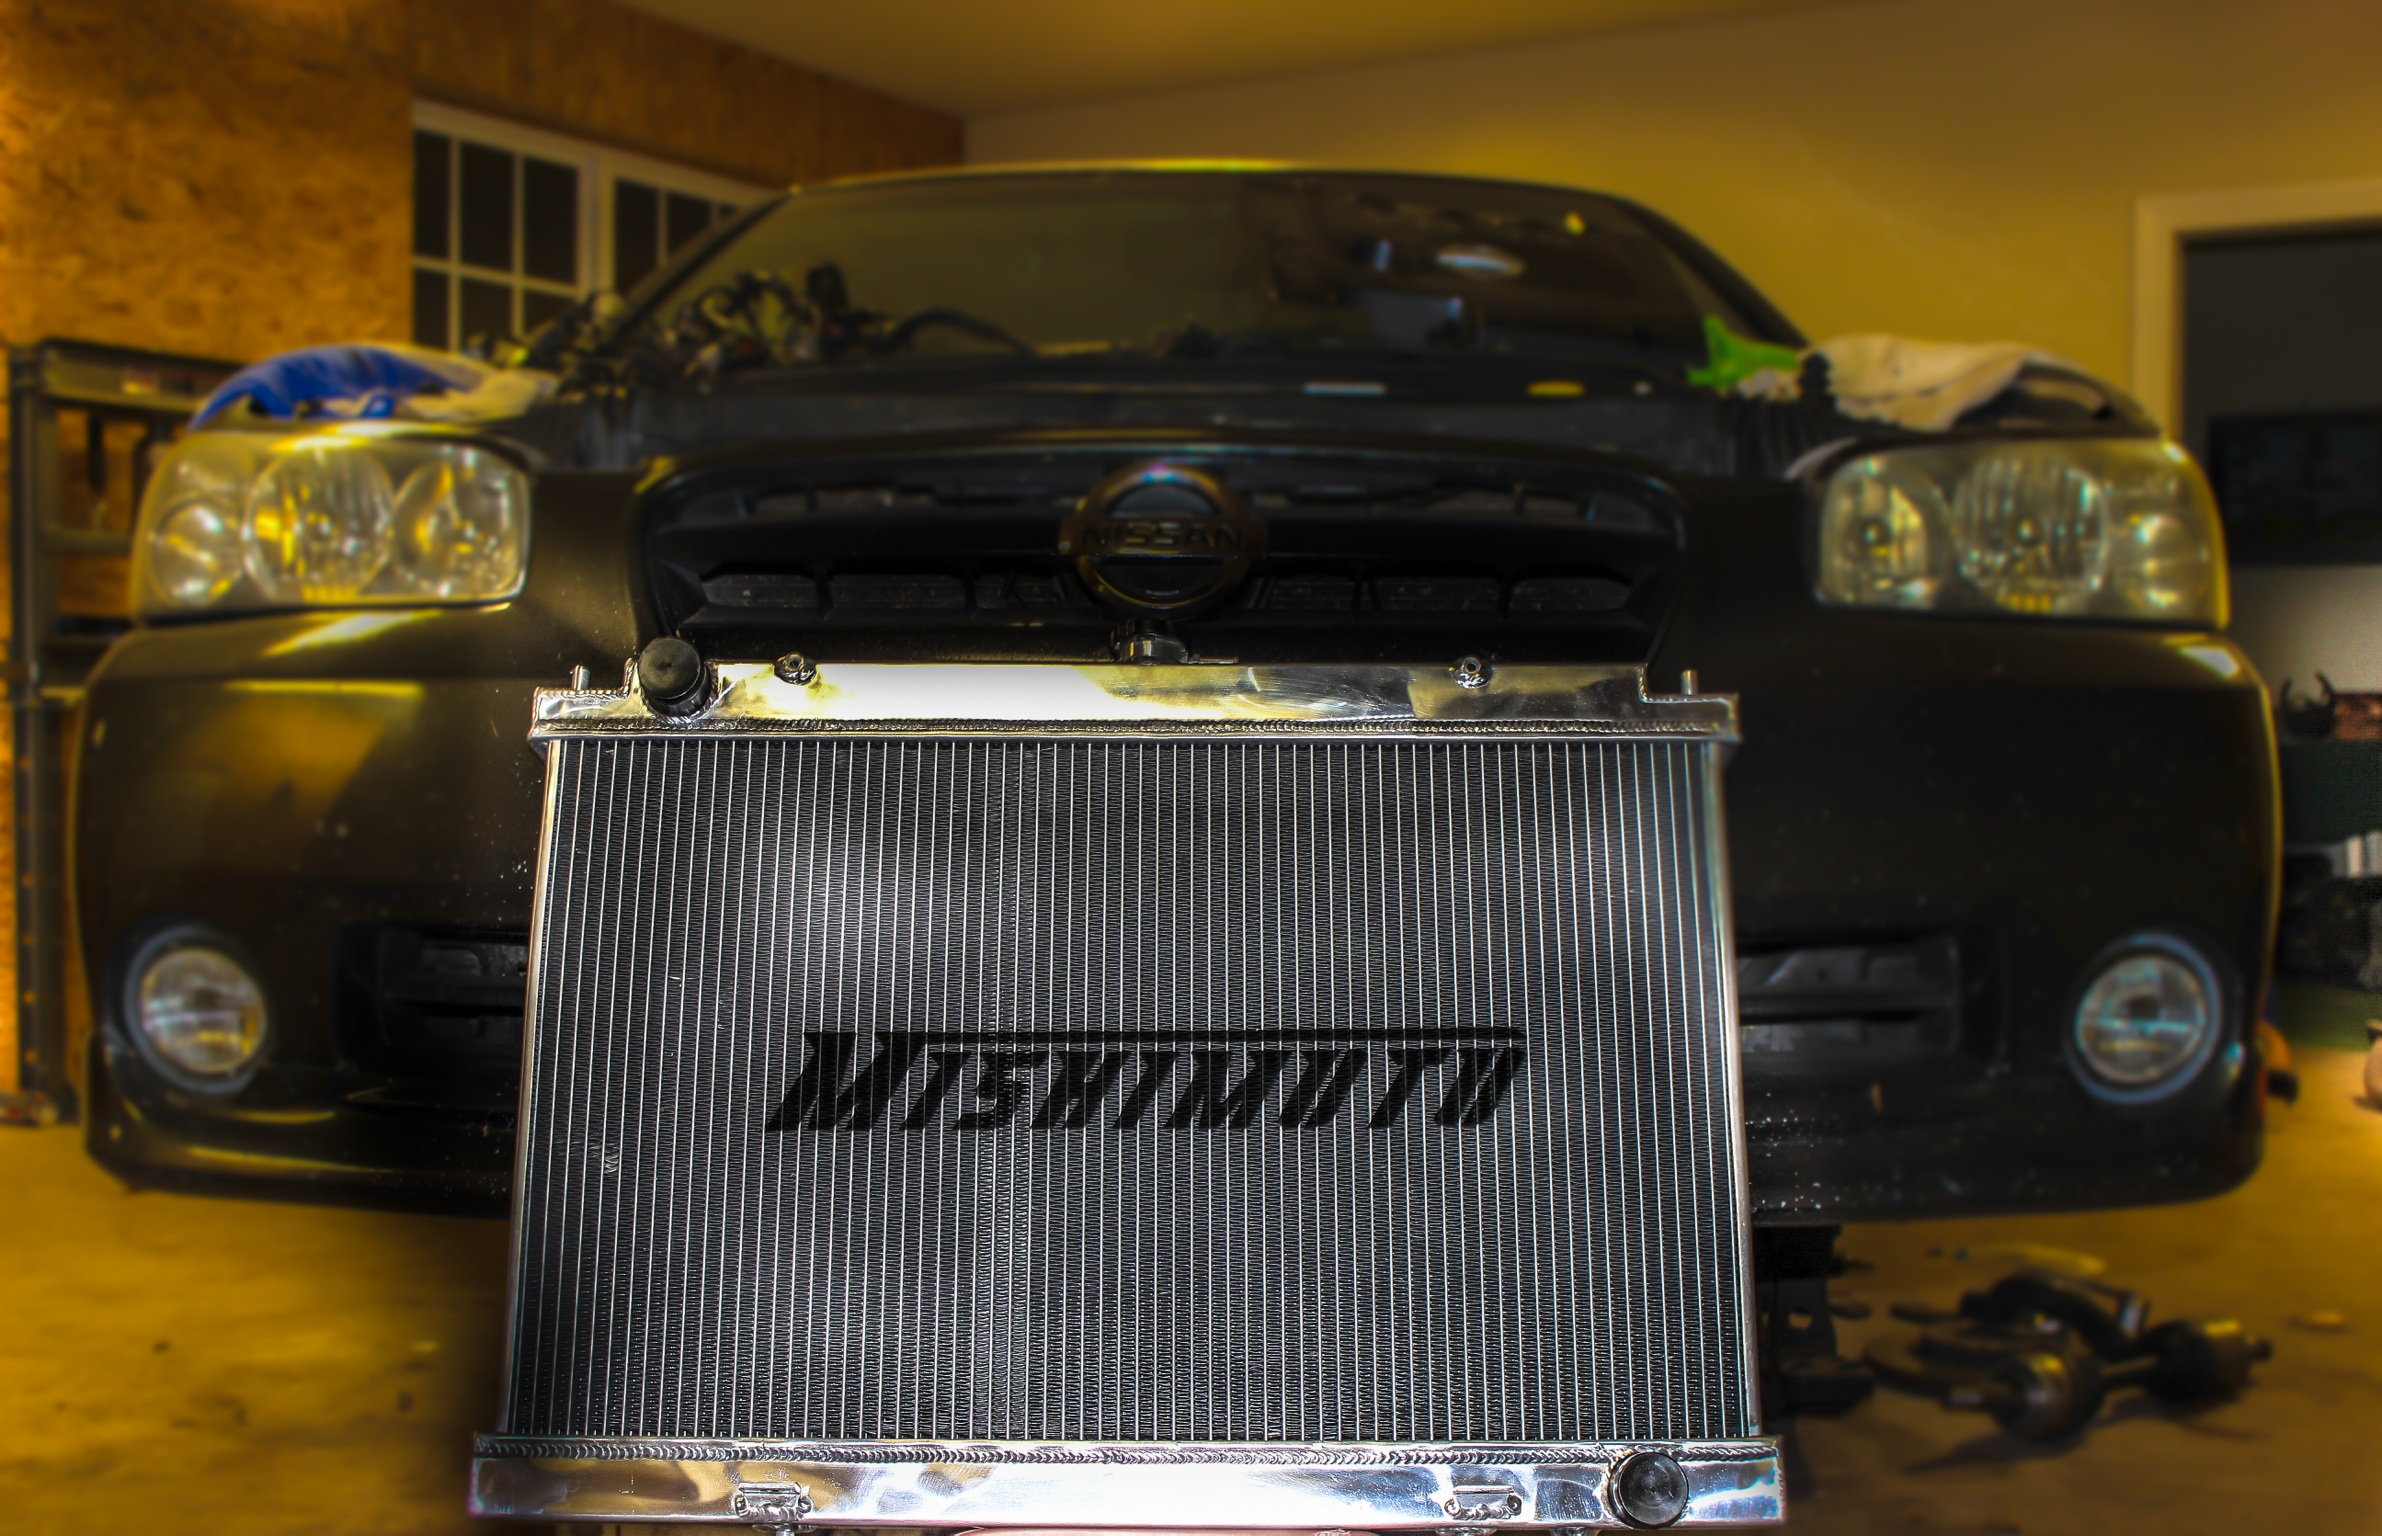
Mishimoto Radiator 80/20 mix with cool gel
Bunch of LED conversions
LIP kits
Tucked and shaved engine bay
ABS deleted
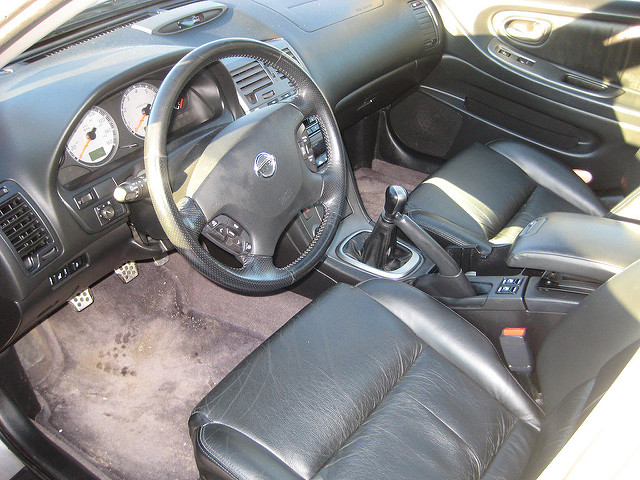
Corbeau LG1 Suede Front seats
5 point camlock harness
4- point cage
Bunch of other things that don’t really matter in life or a lis
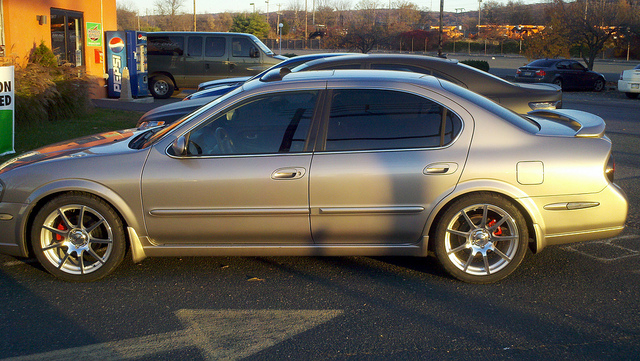
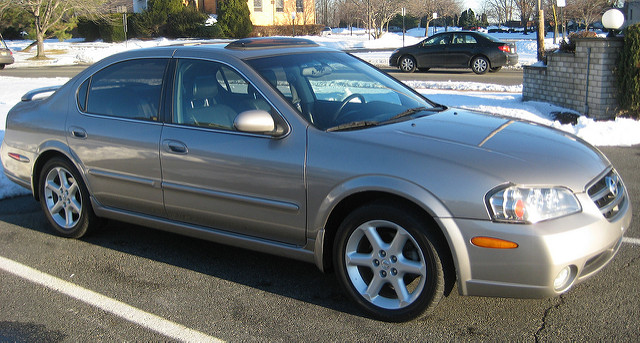
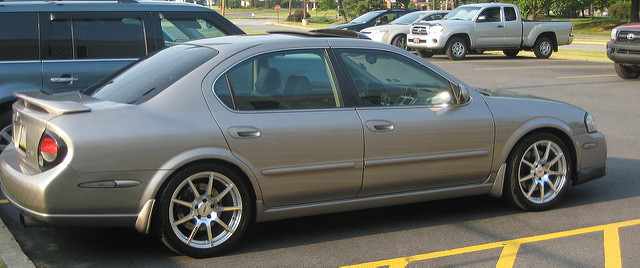
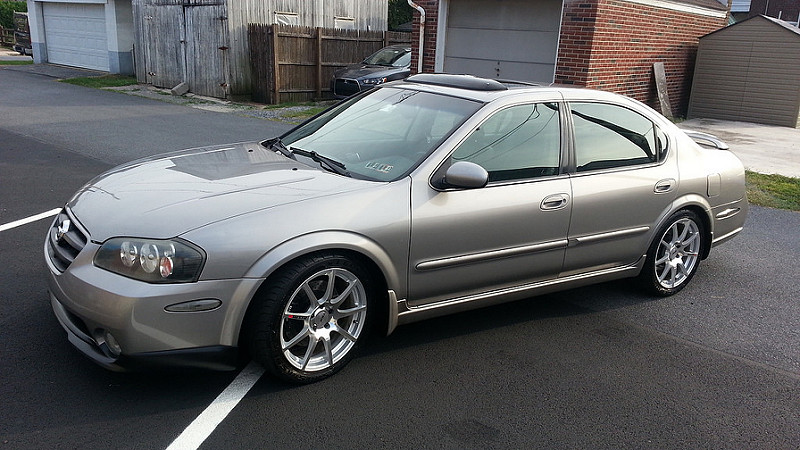
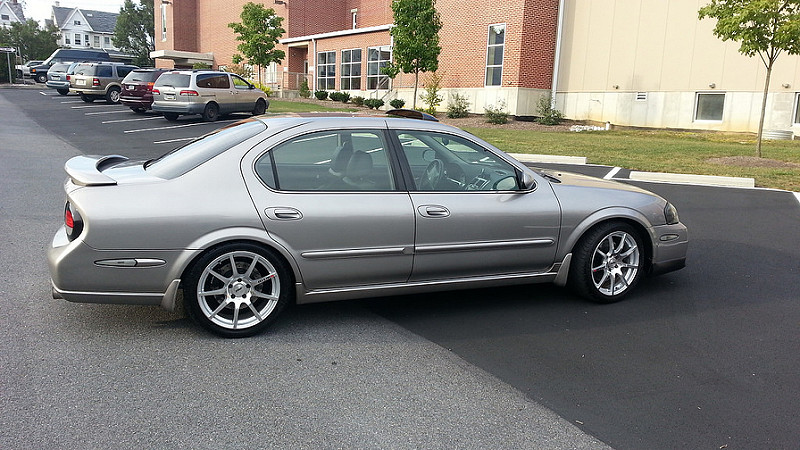
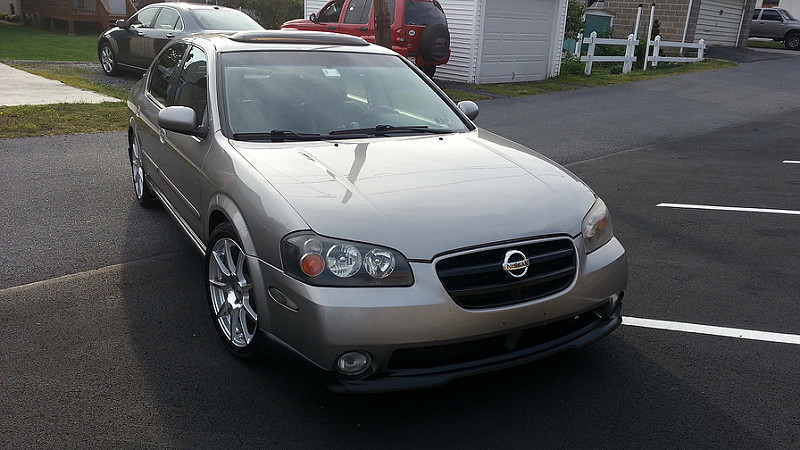
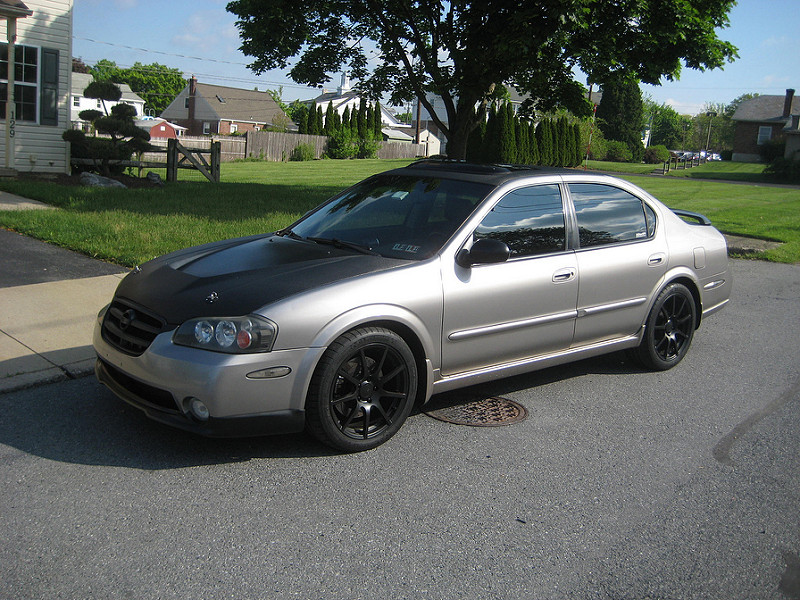
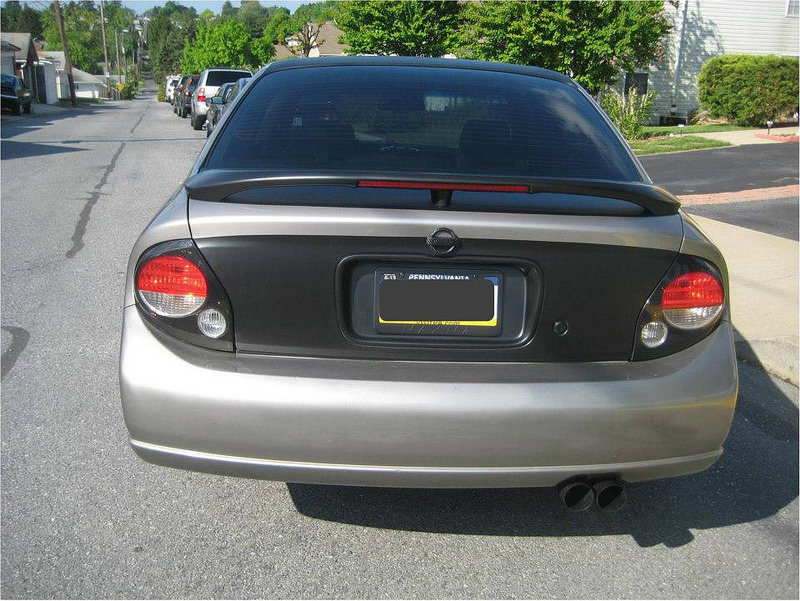
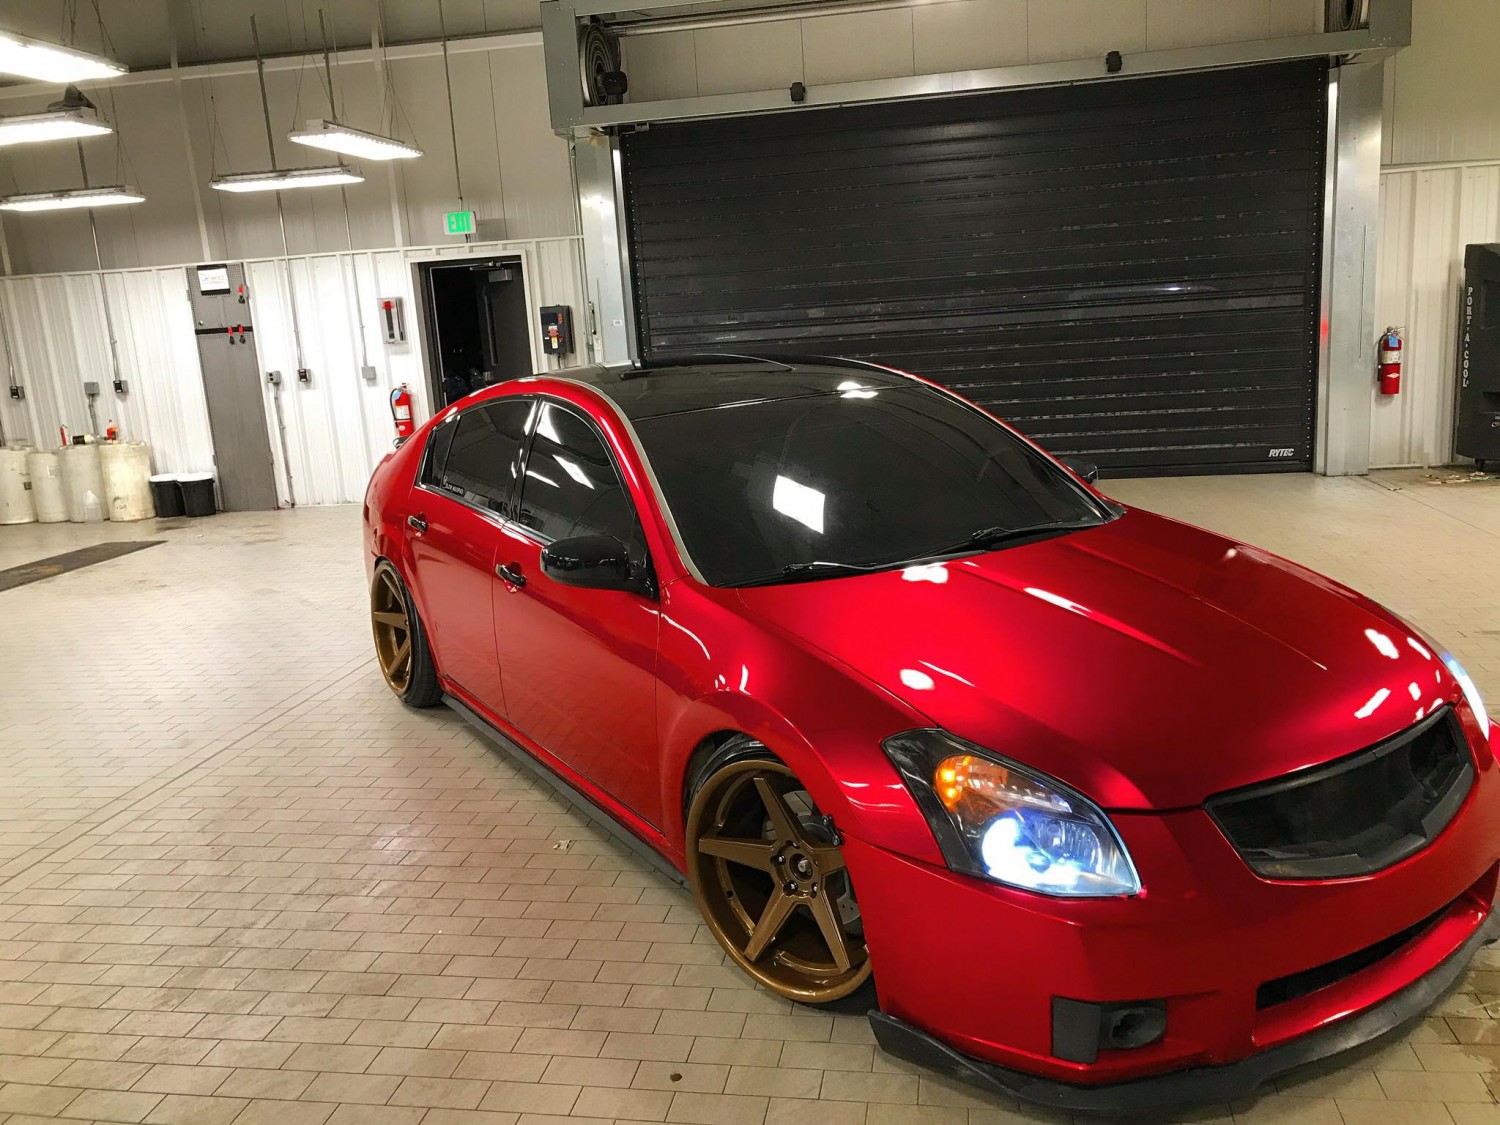
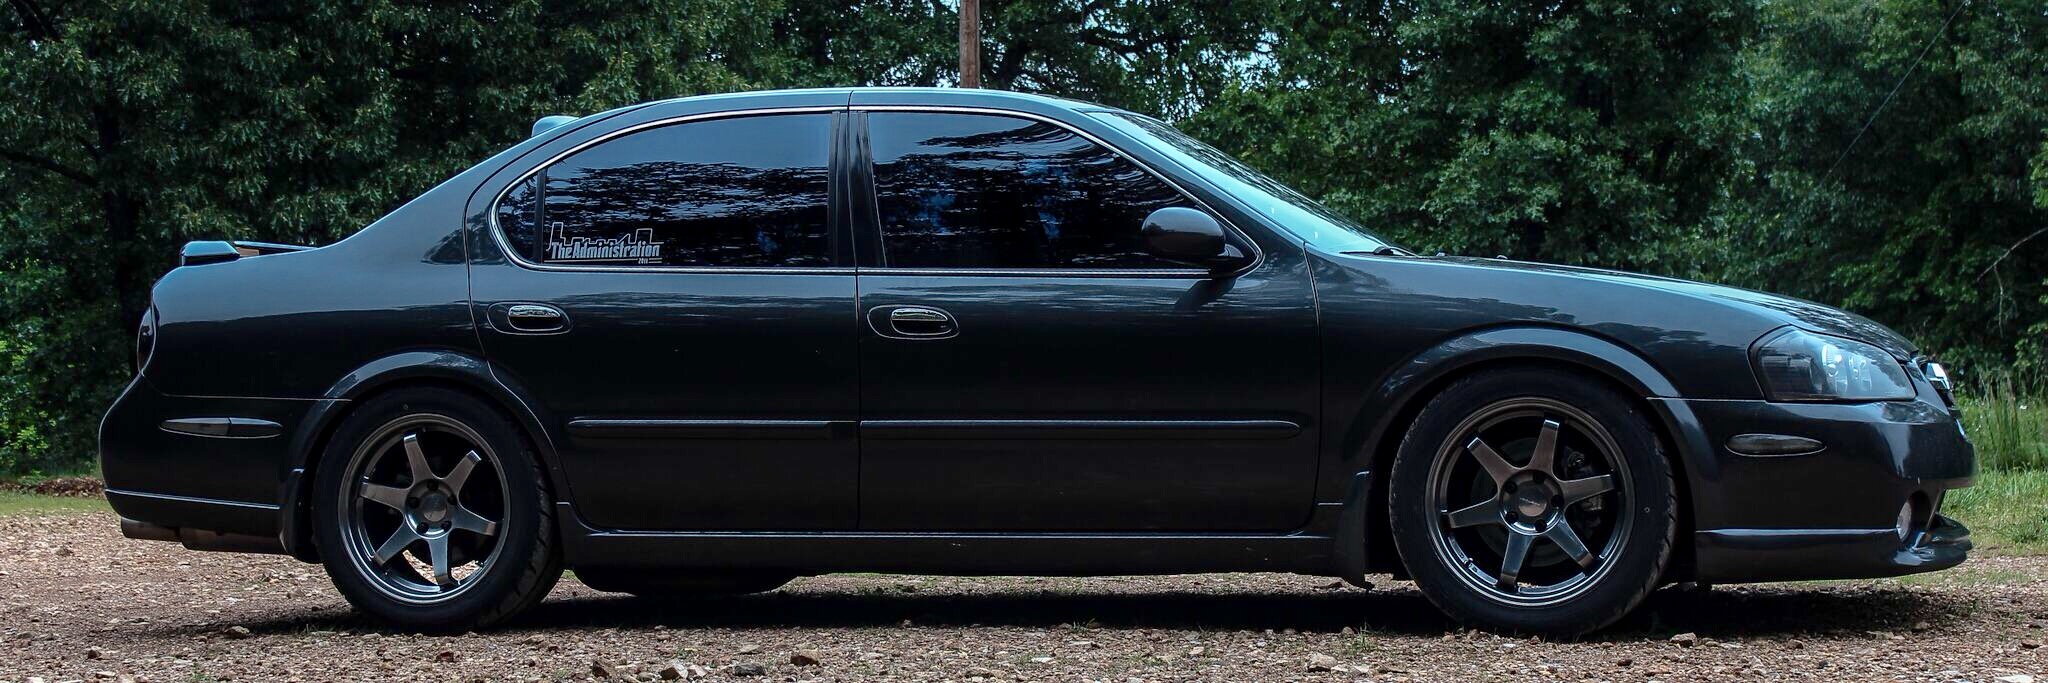
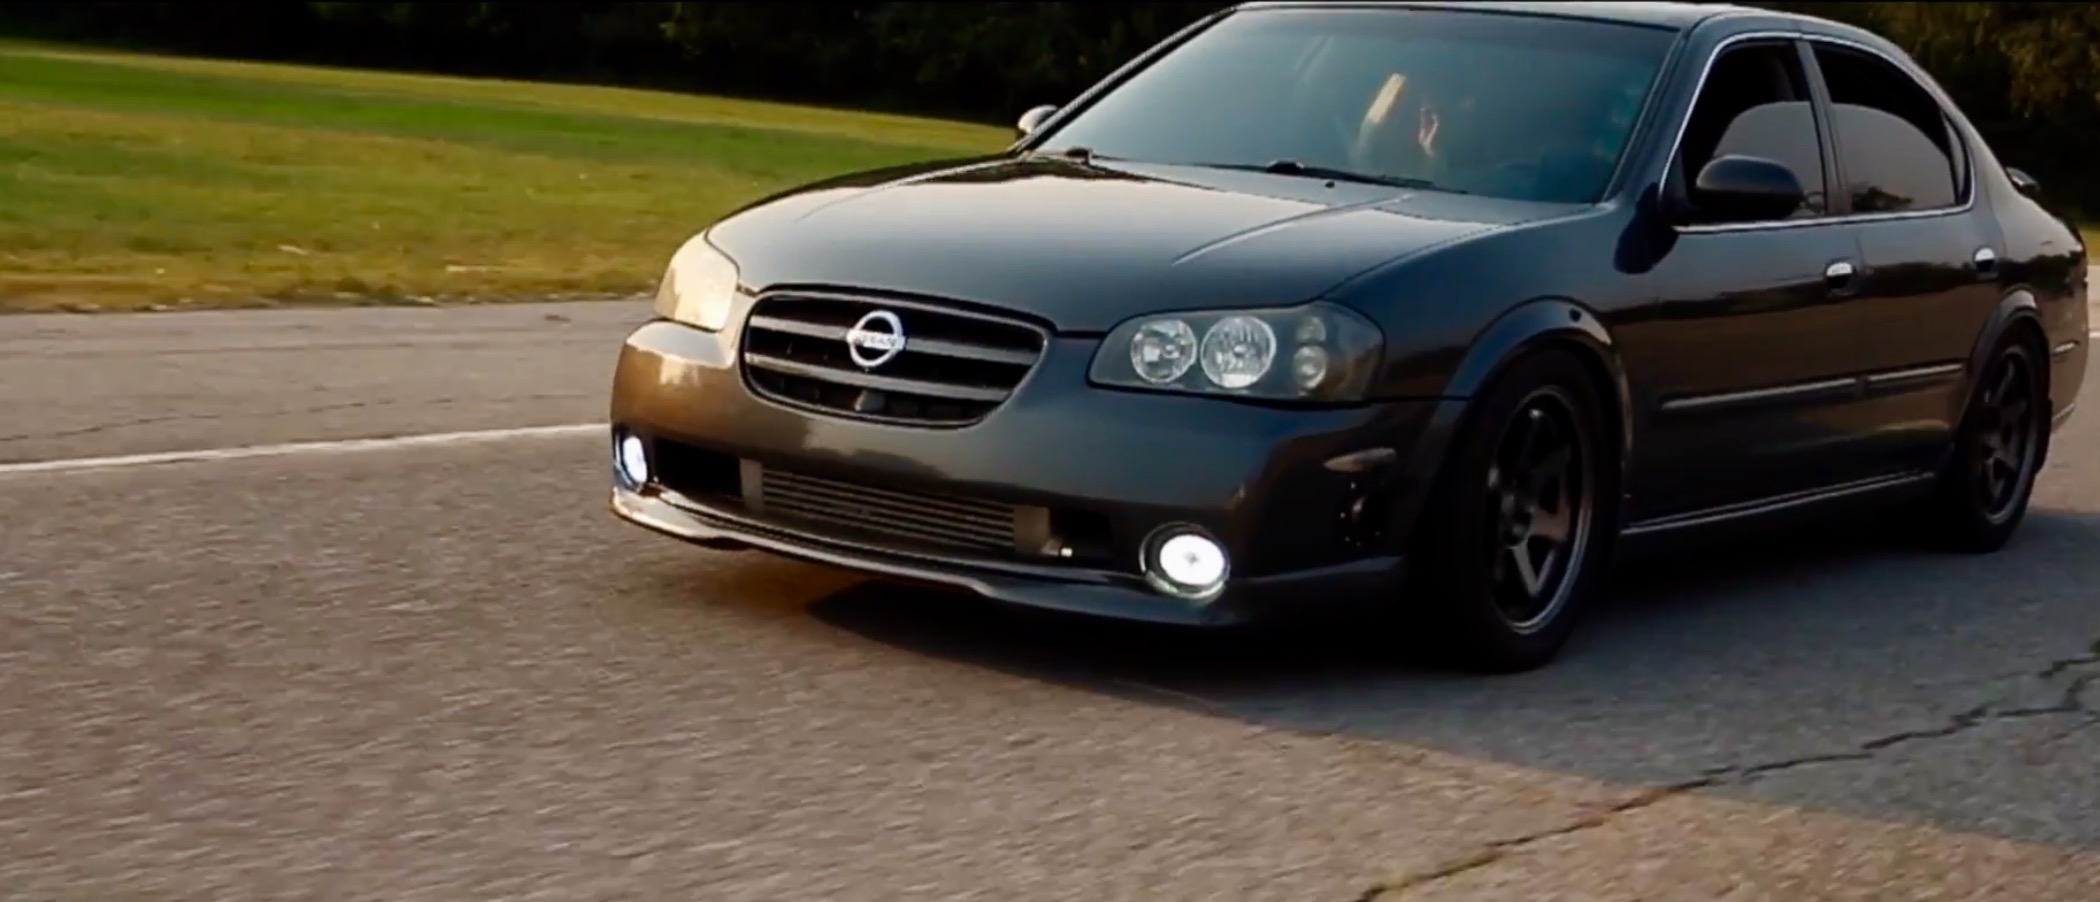
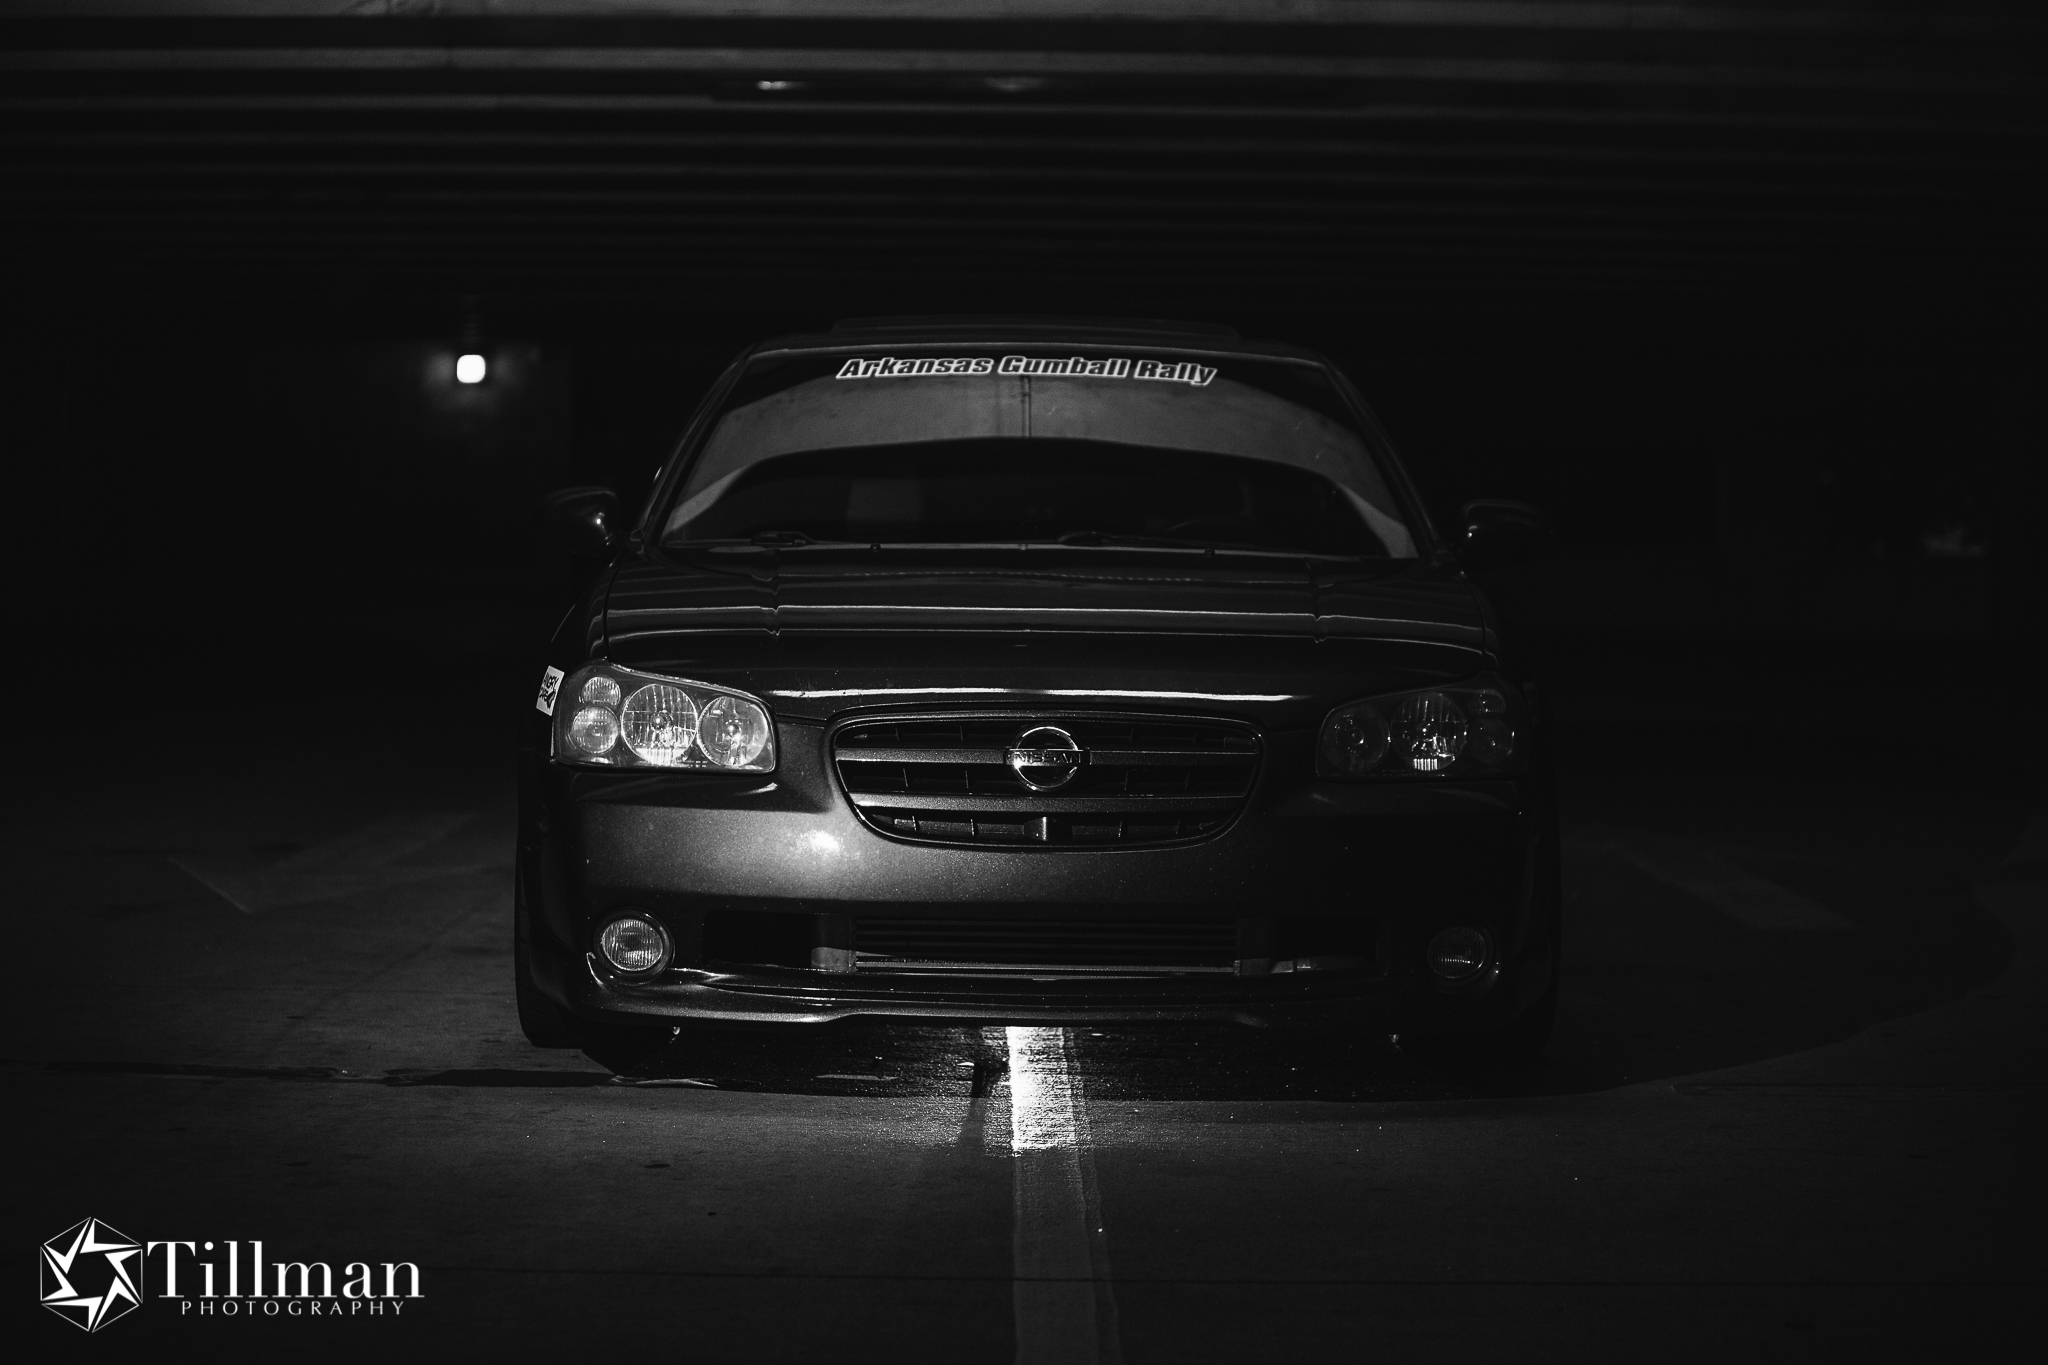
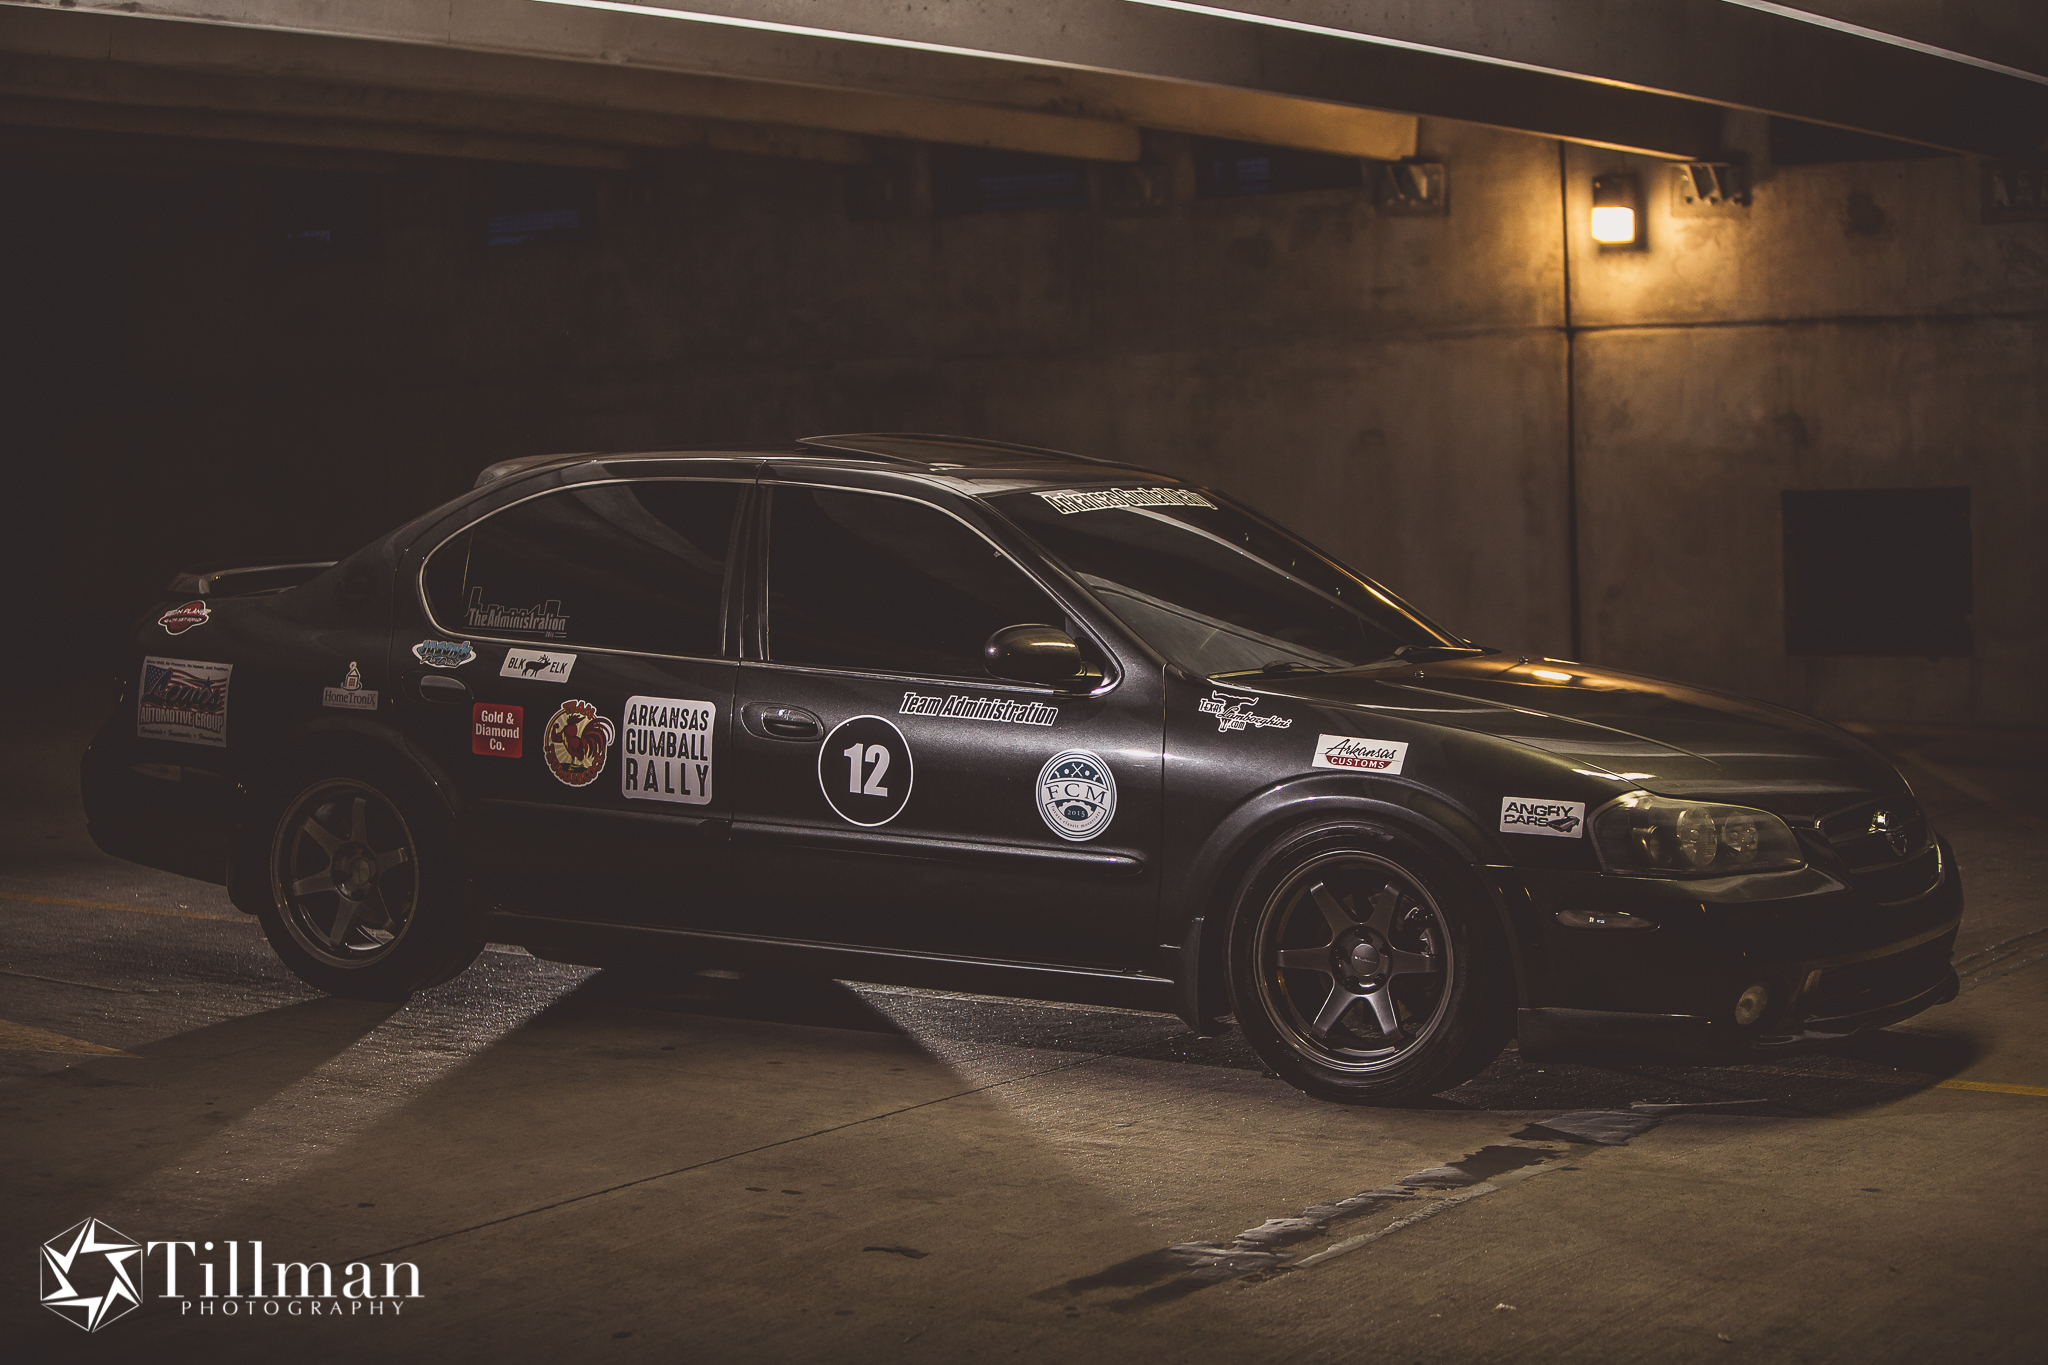
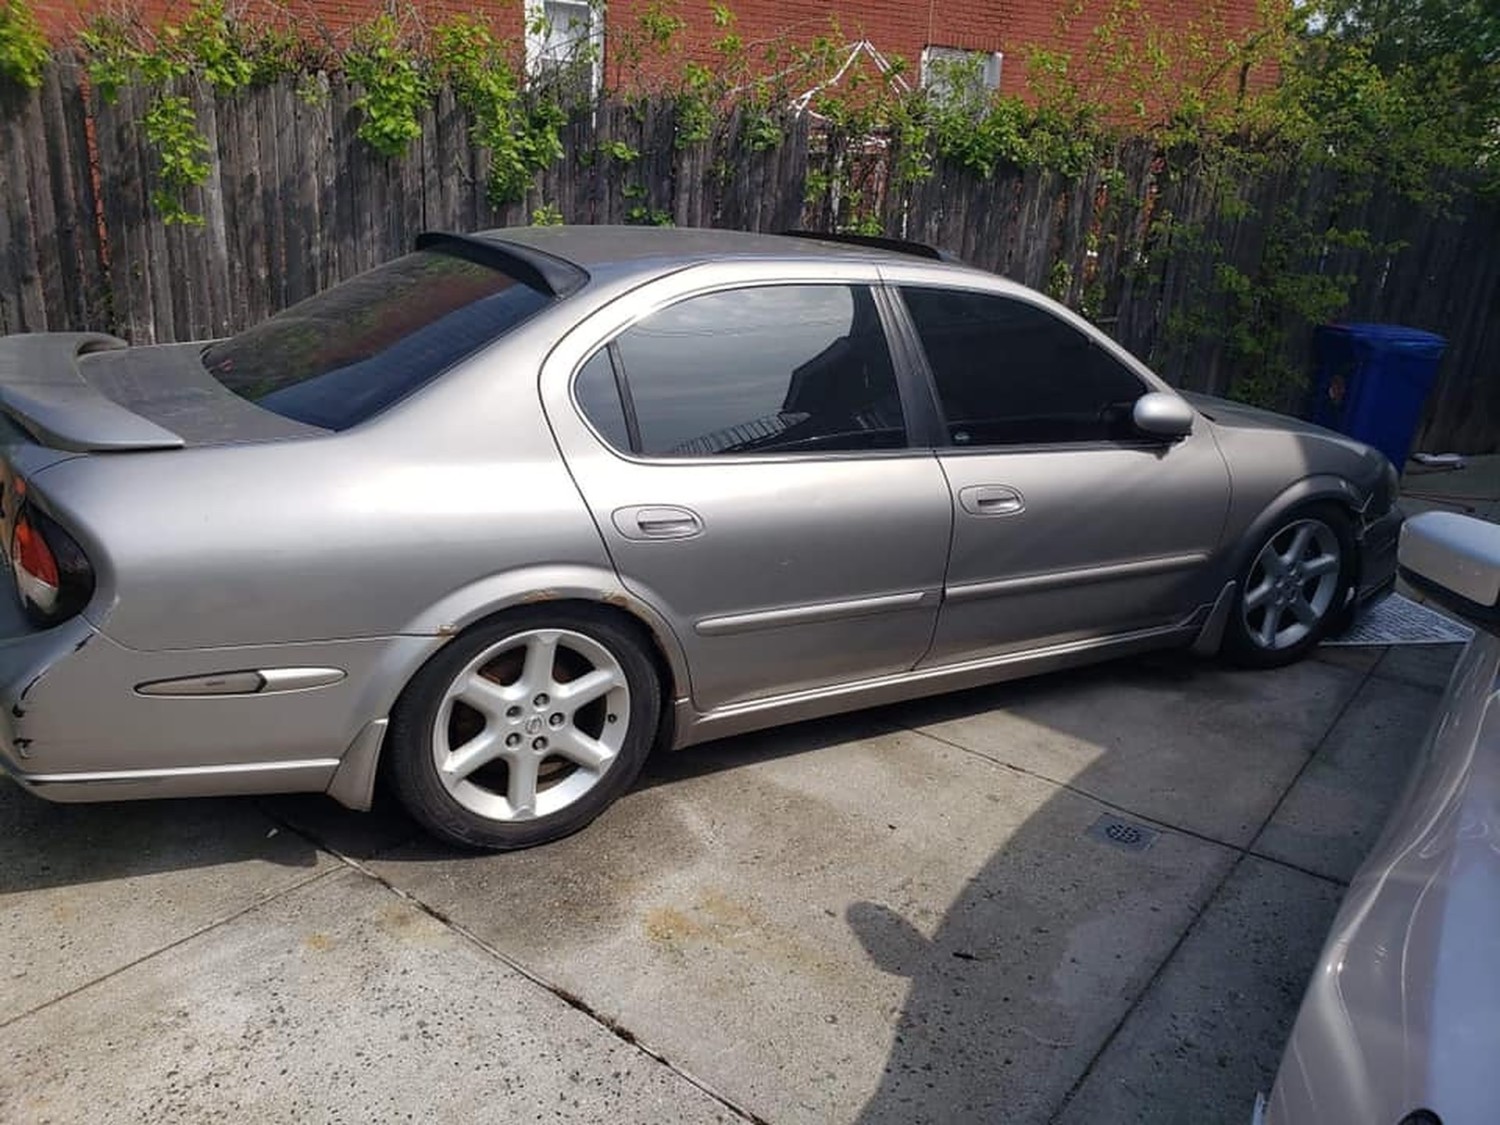
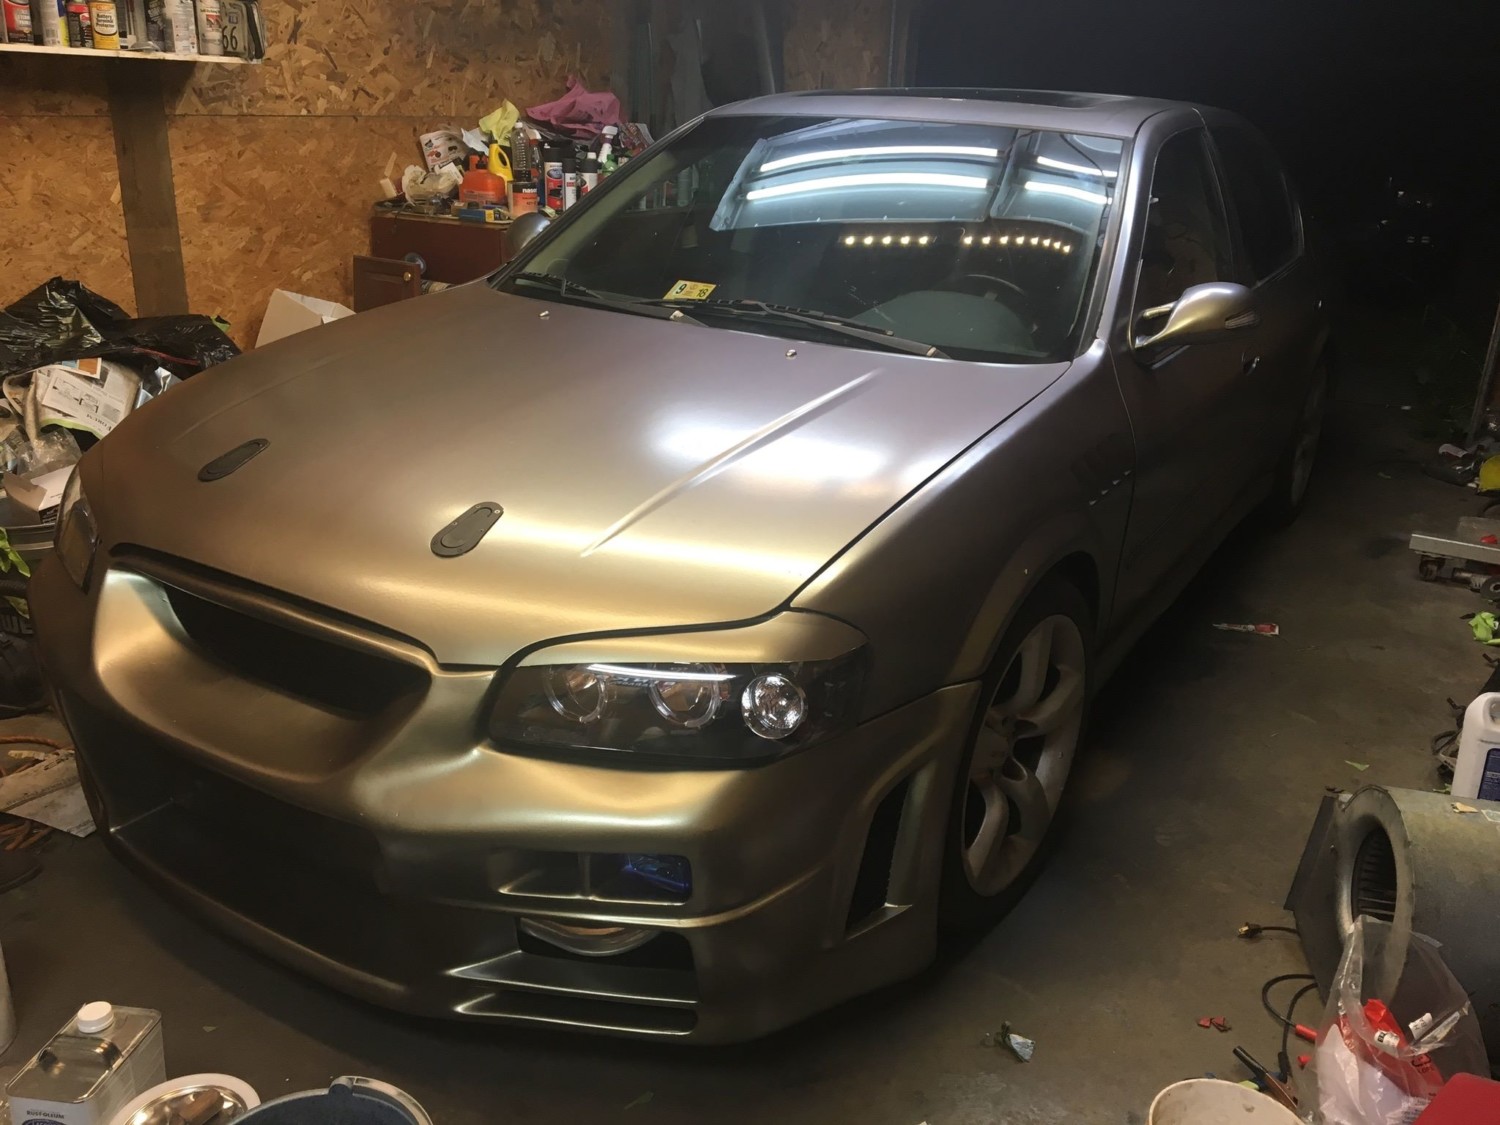
Year: 2002 Model: Maxima Color: Gray Lustre Clearcoat Metallic (KV3) Transmission: Manual 6 Speed Trim: SE
OK, so I completed the end of my N/A journey here and about to start the REAL power! Going with a custom turbo kit. I am going to keep my Cattman headers and the shop will fabricate something out of my y-pipe to use the turbo. Going to use stock 5.8 spring PSI for daily driving and then move to 7.5PSI on a manual boost controller for some SAFE stock block fun!!! I’ll be using the Haltech 350z Platinum Pro to Tune with. Hoping to put down close to 400hp.
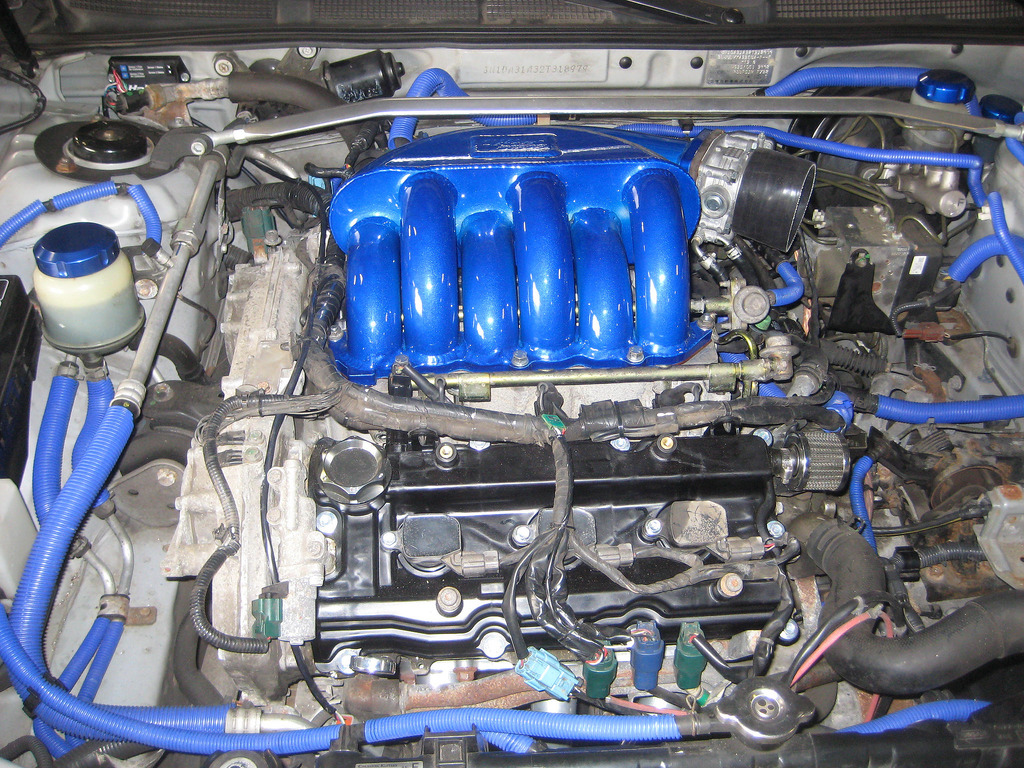
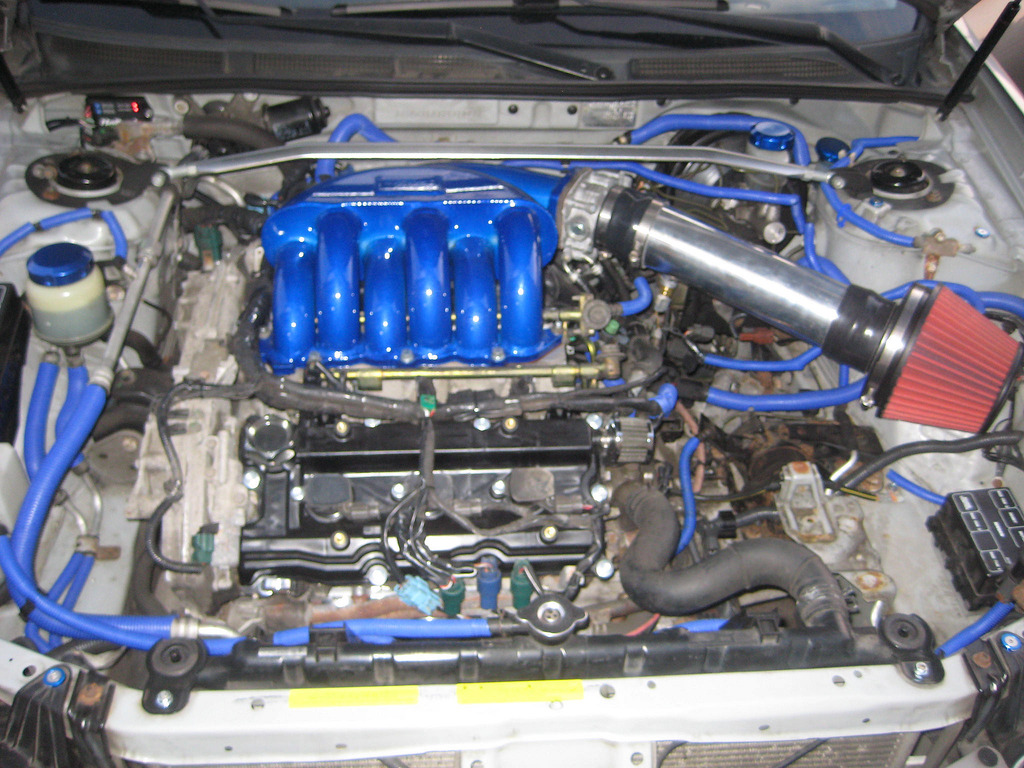
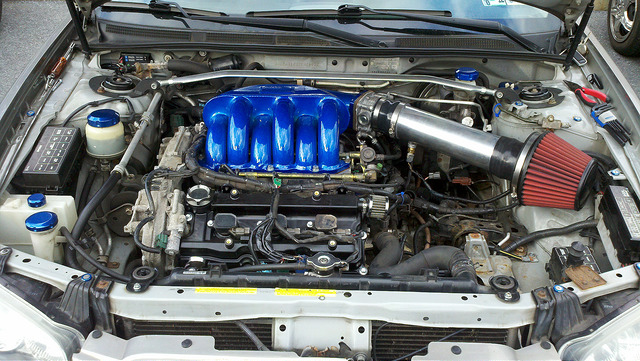
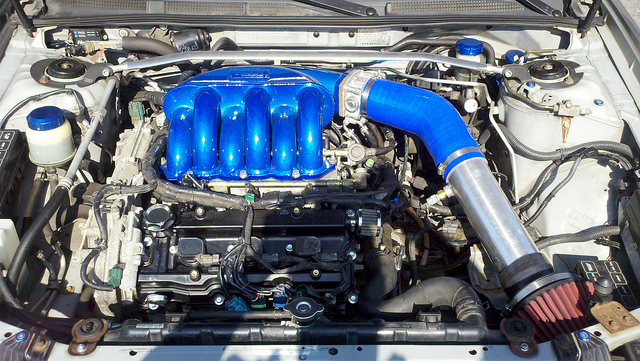
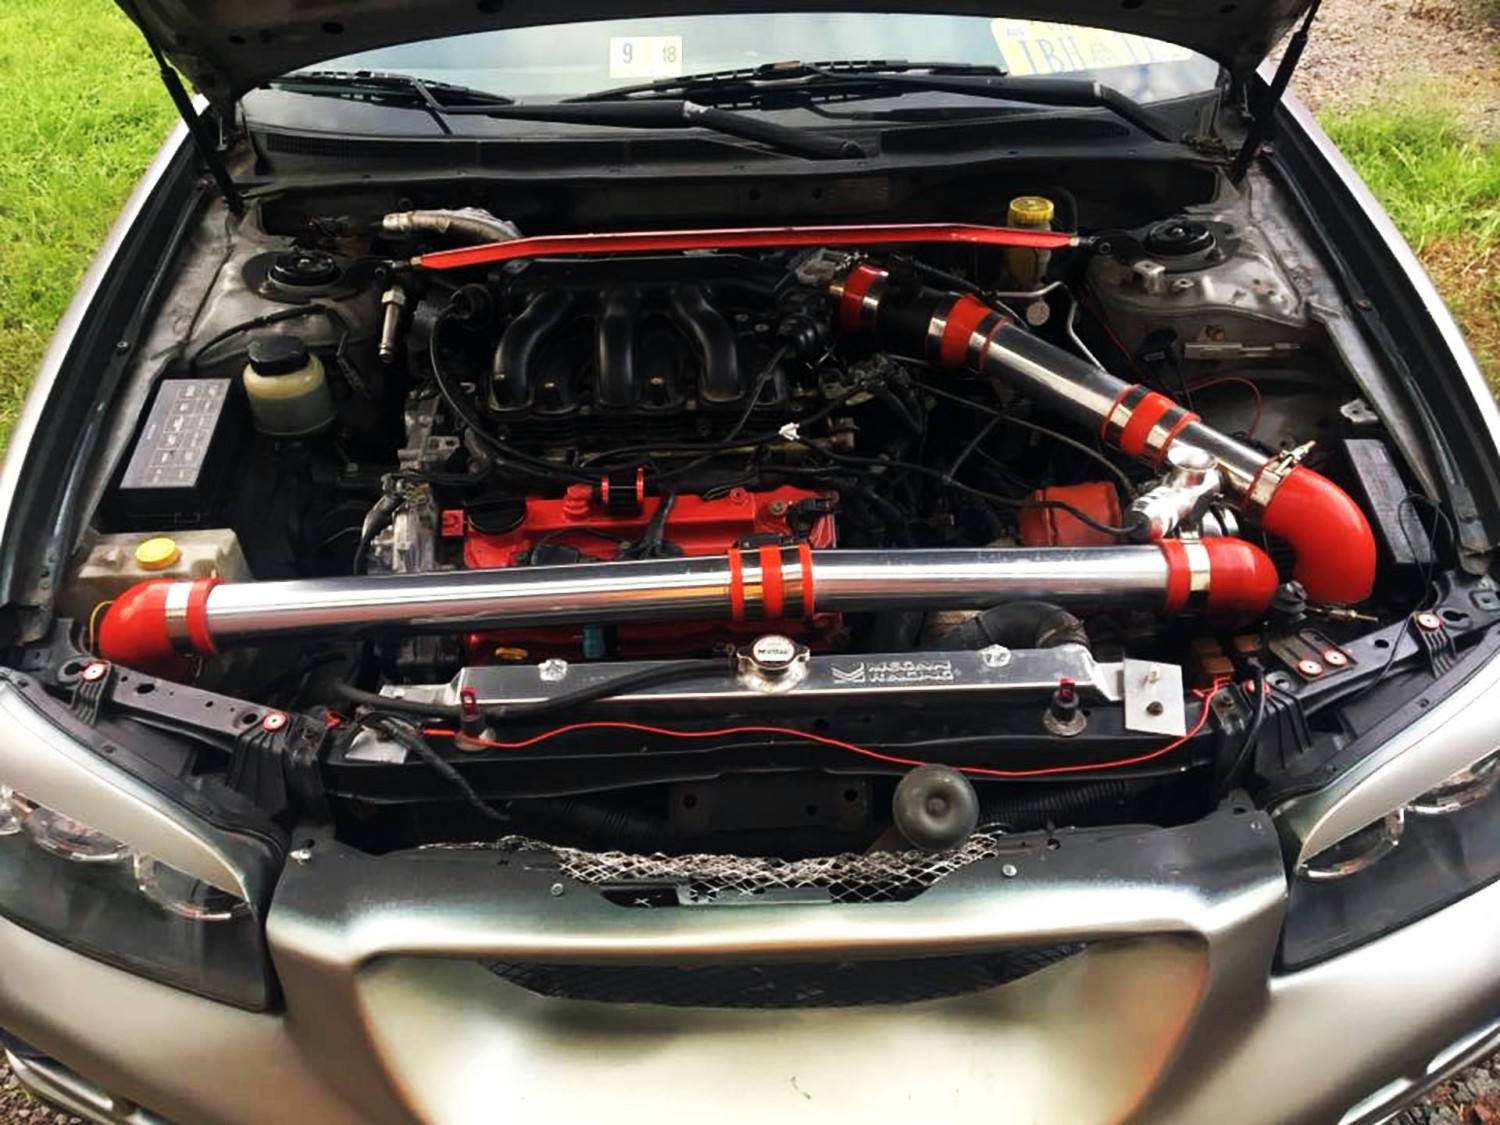
Below are photos of my N/A build:
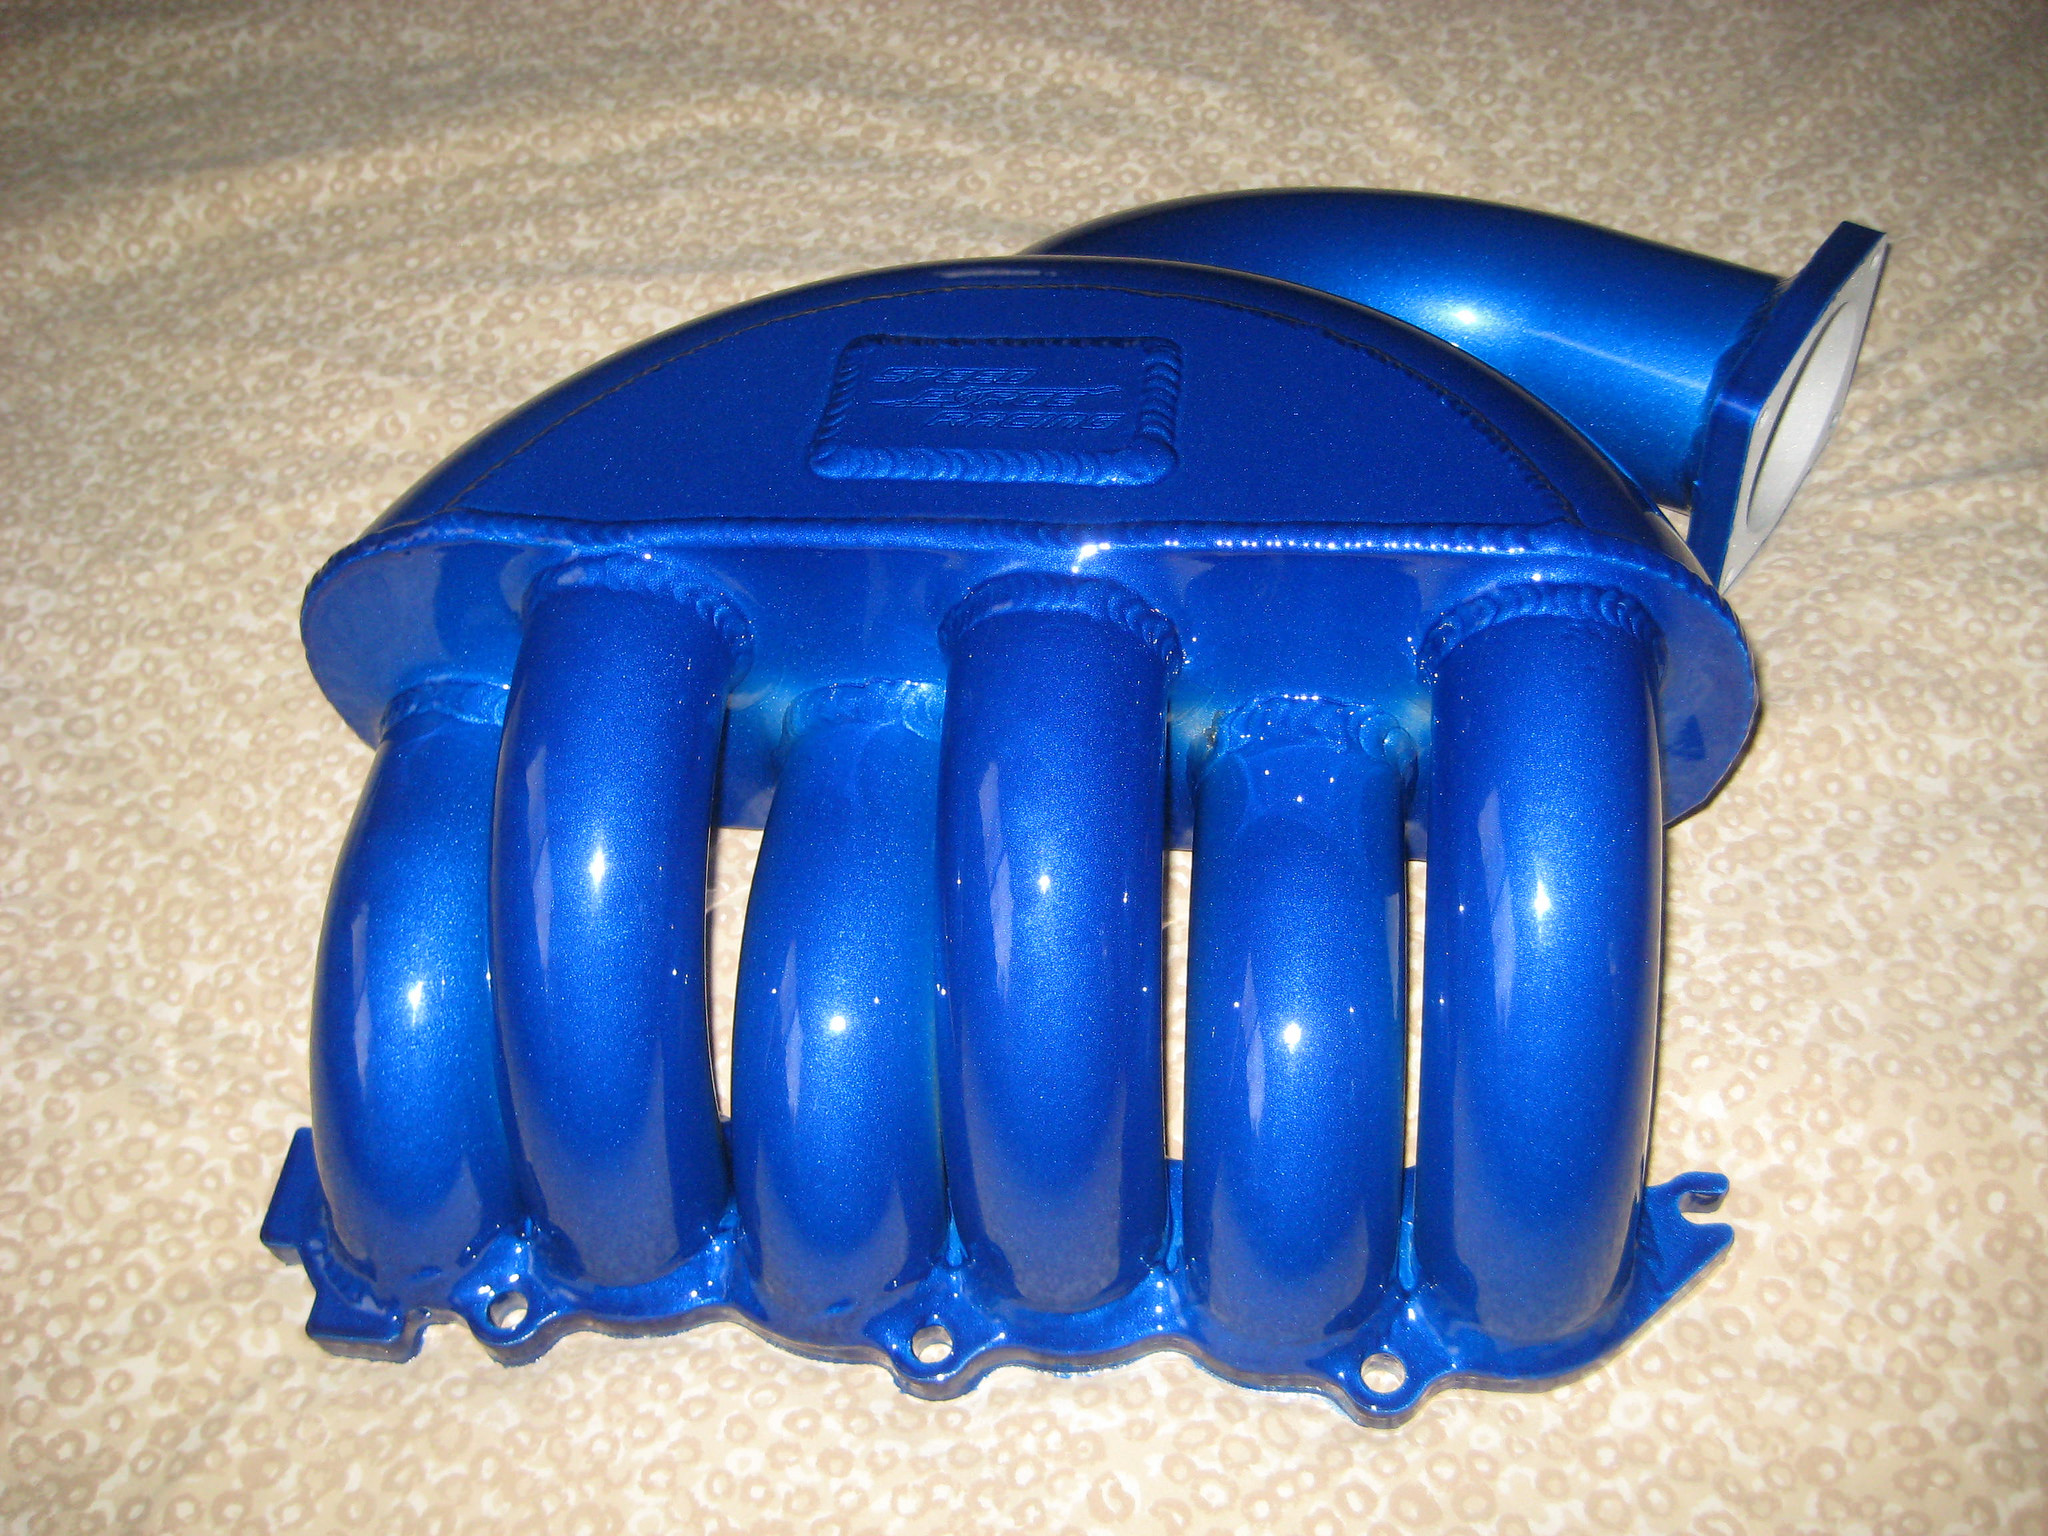
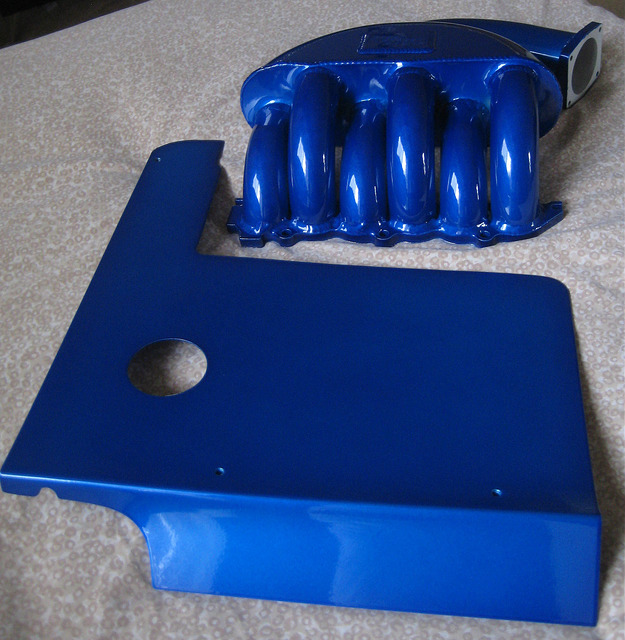
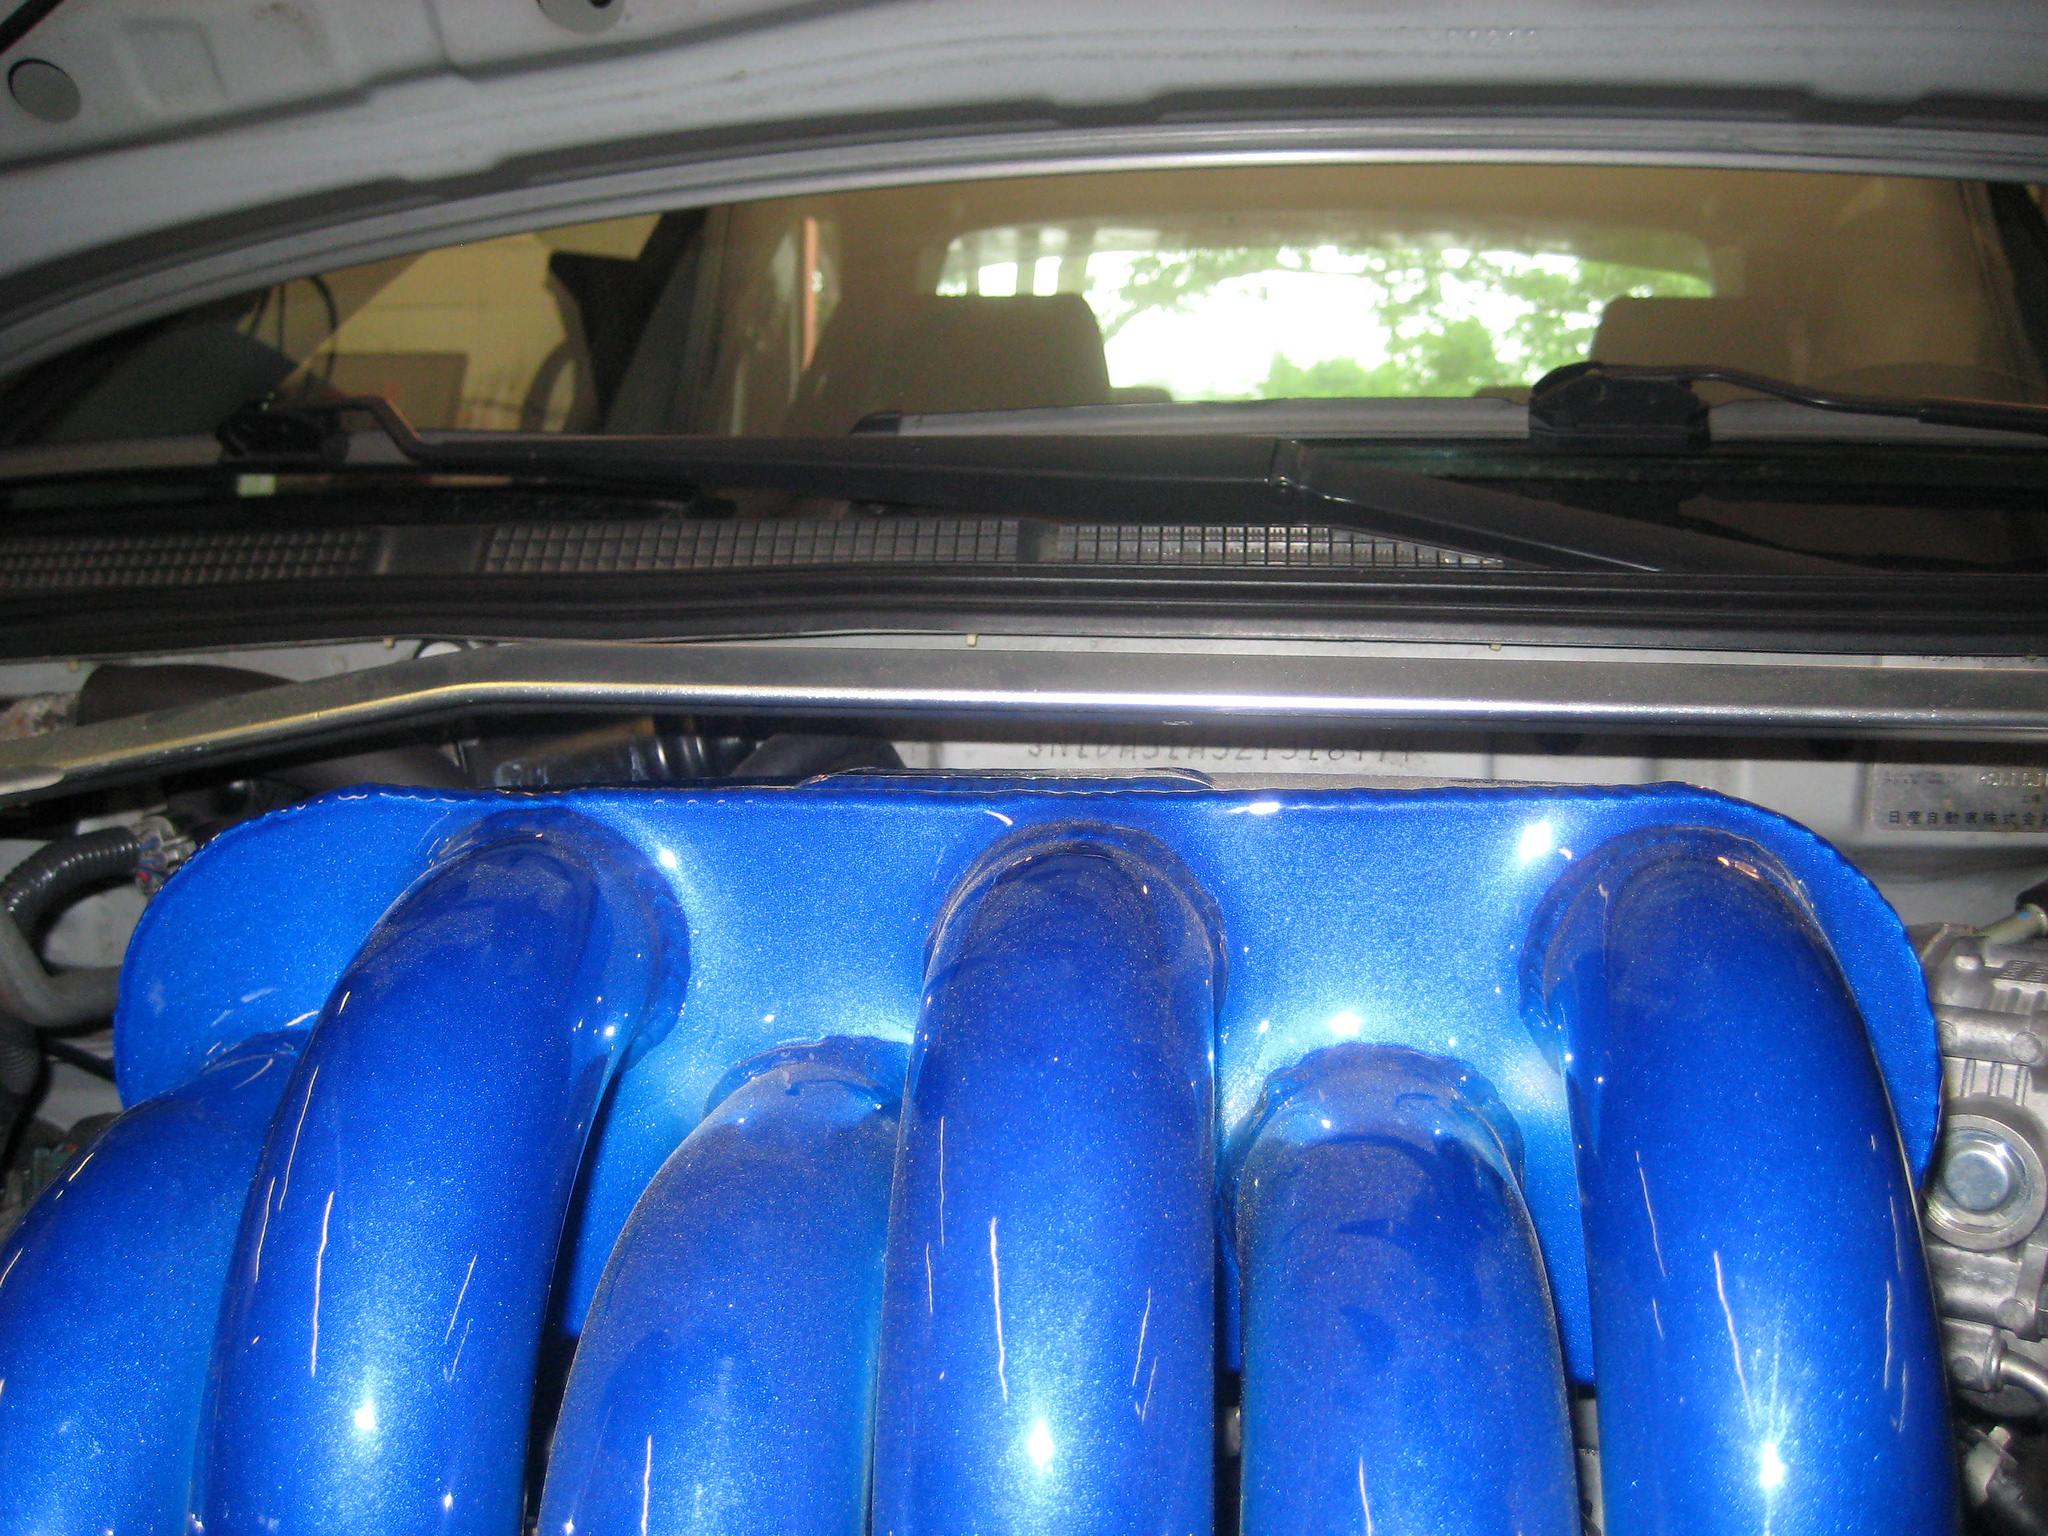
Powder coated SFR Intake Manifold
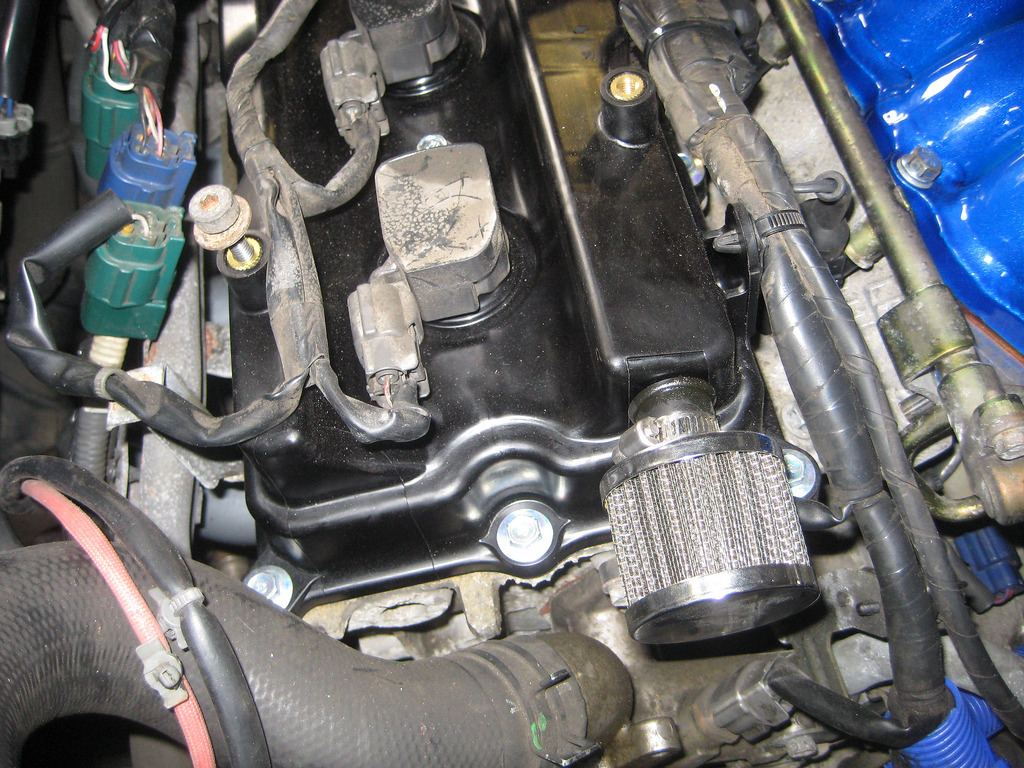
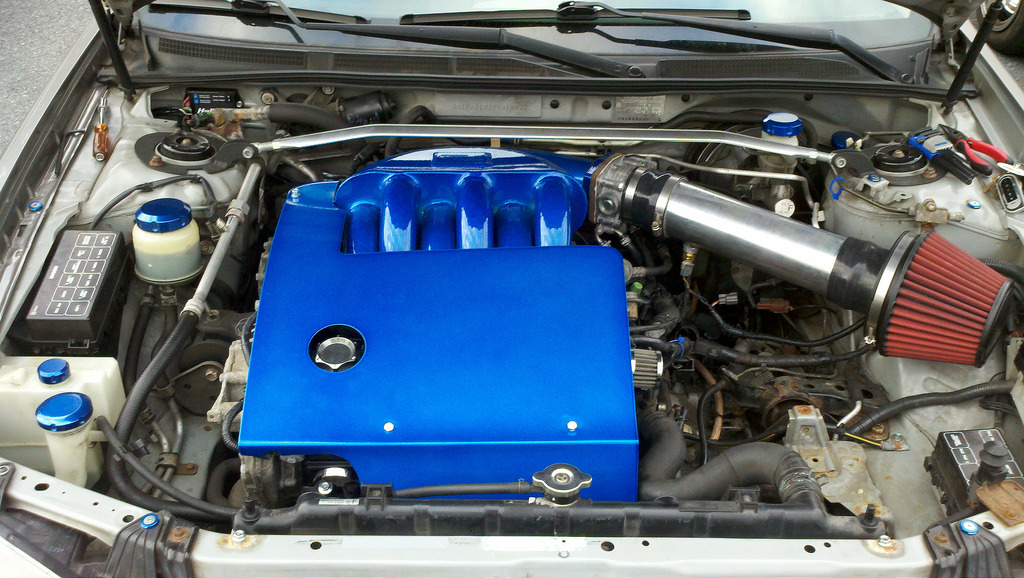
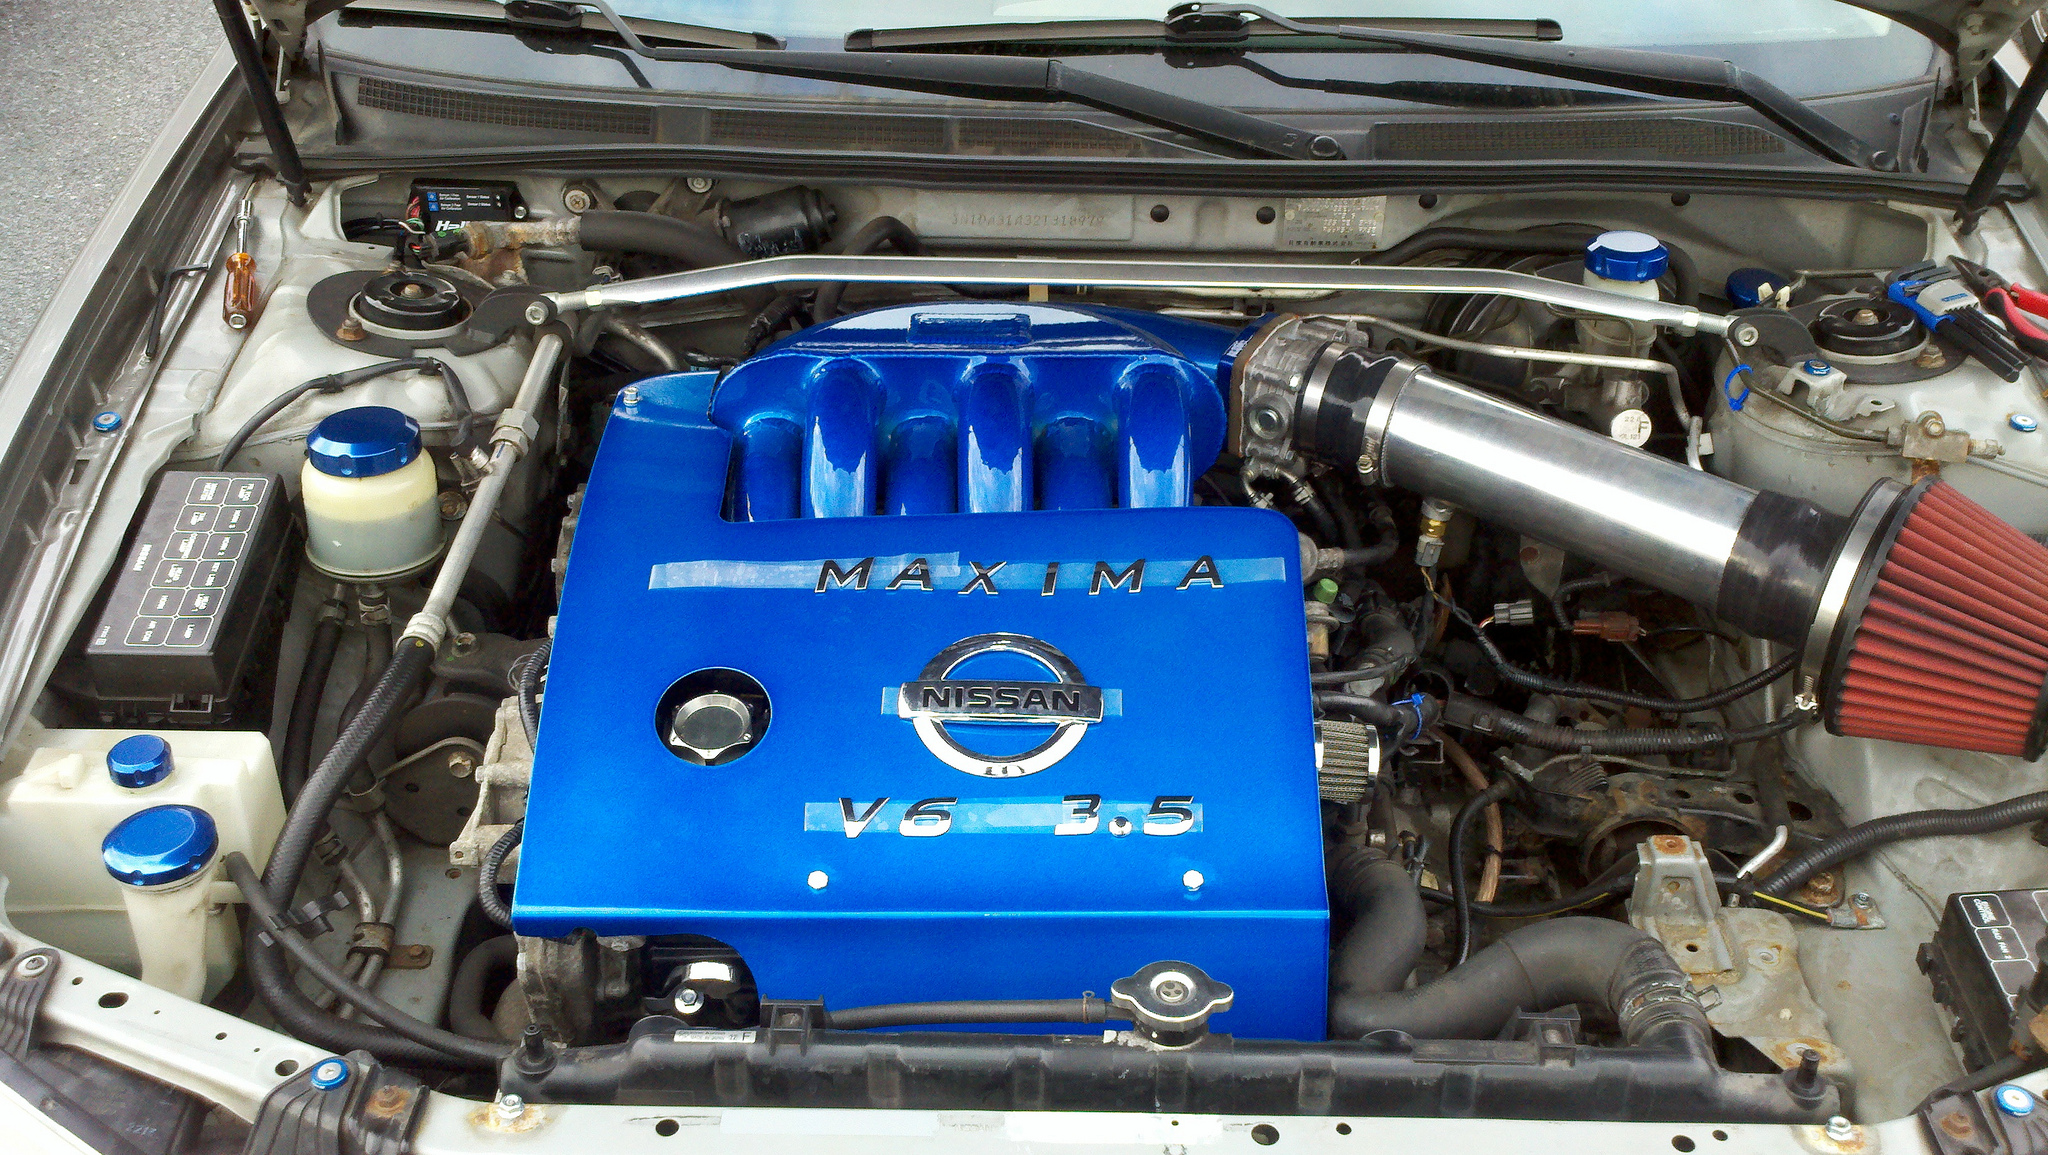
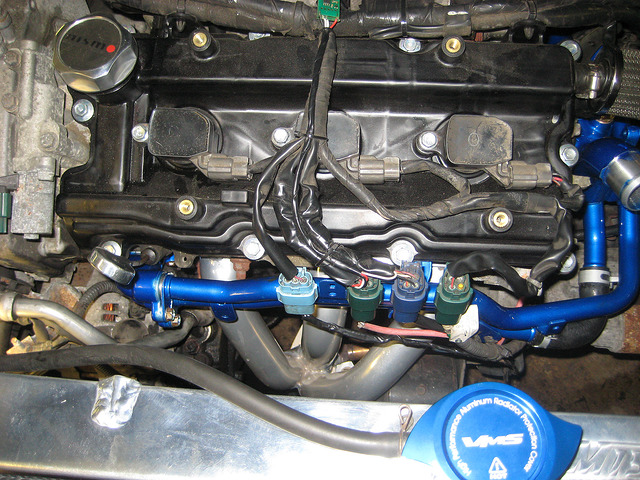
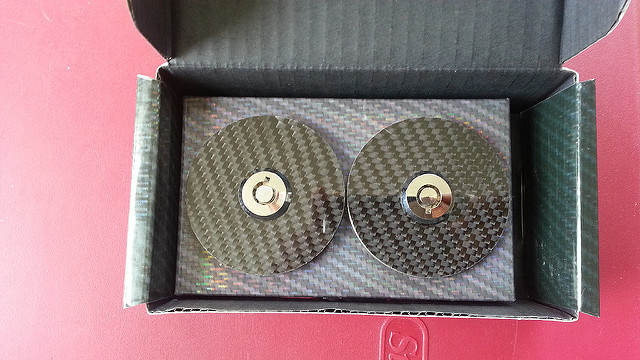
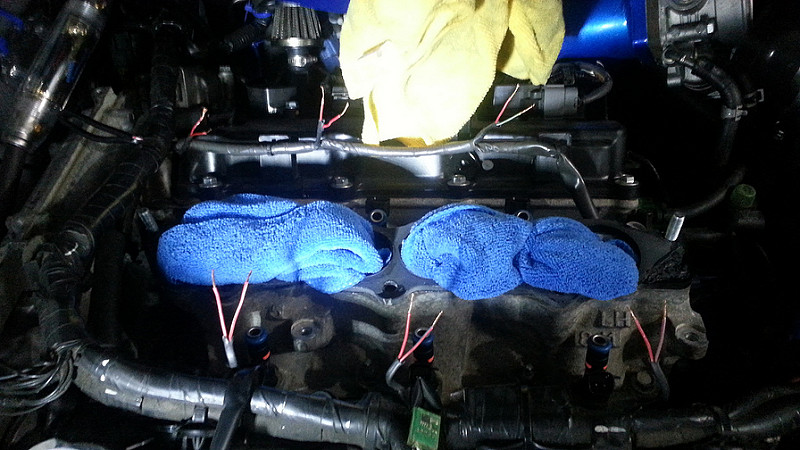
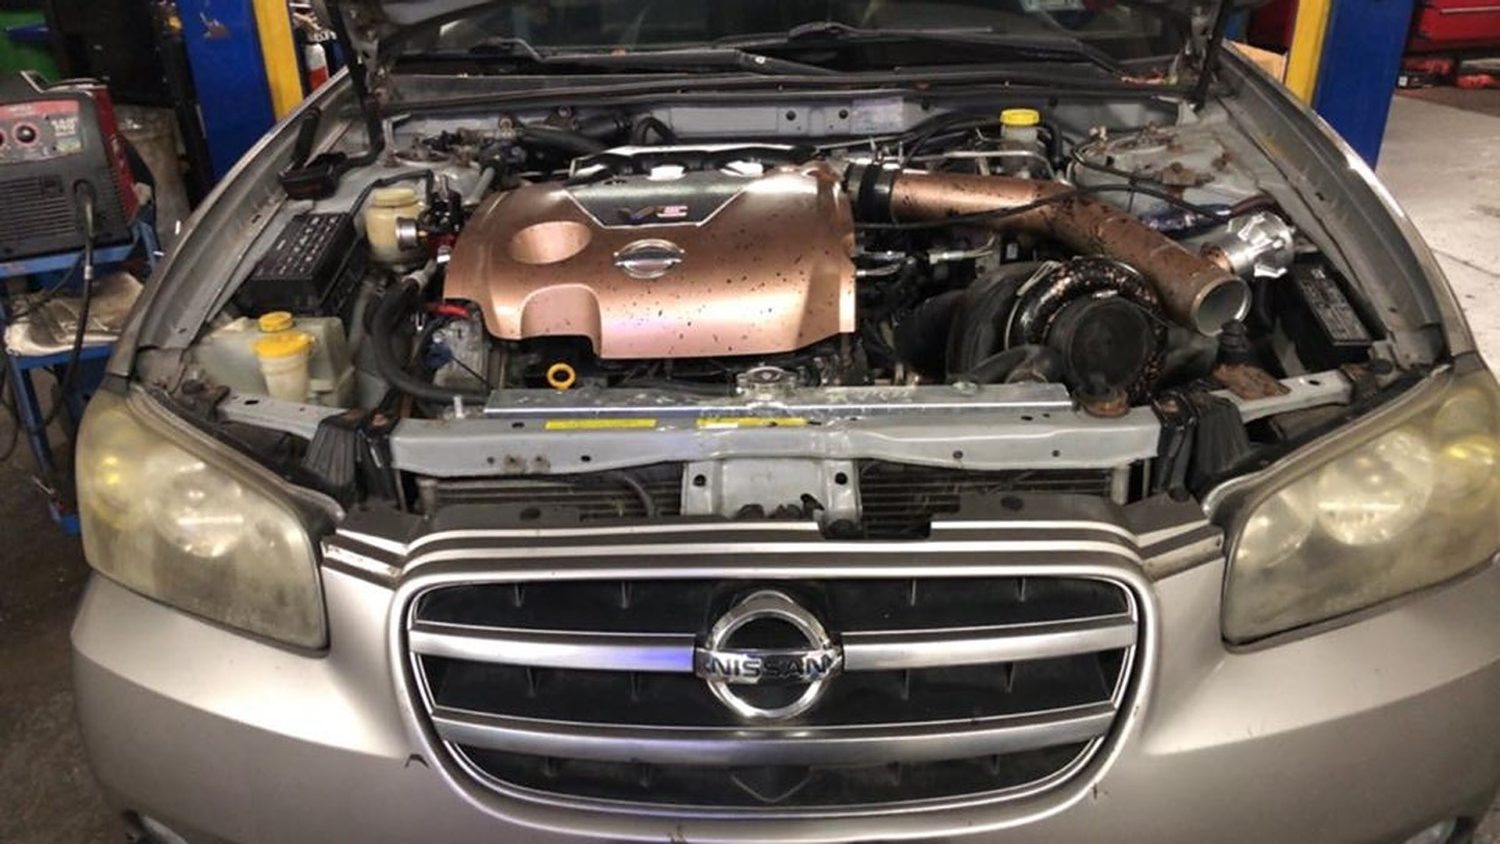
CLOSE UP pf brand new 6th gen valve cover:
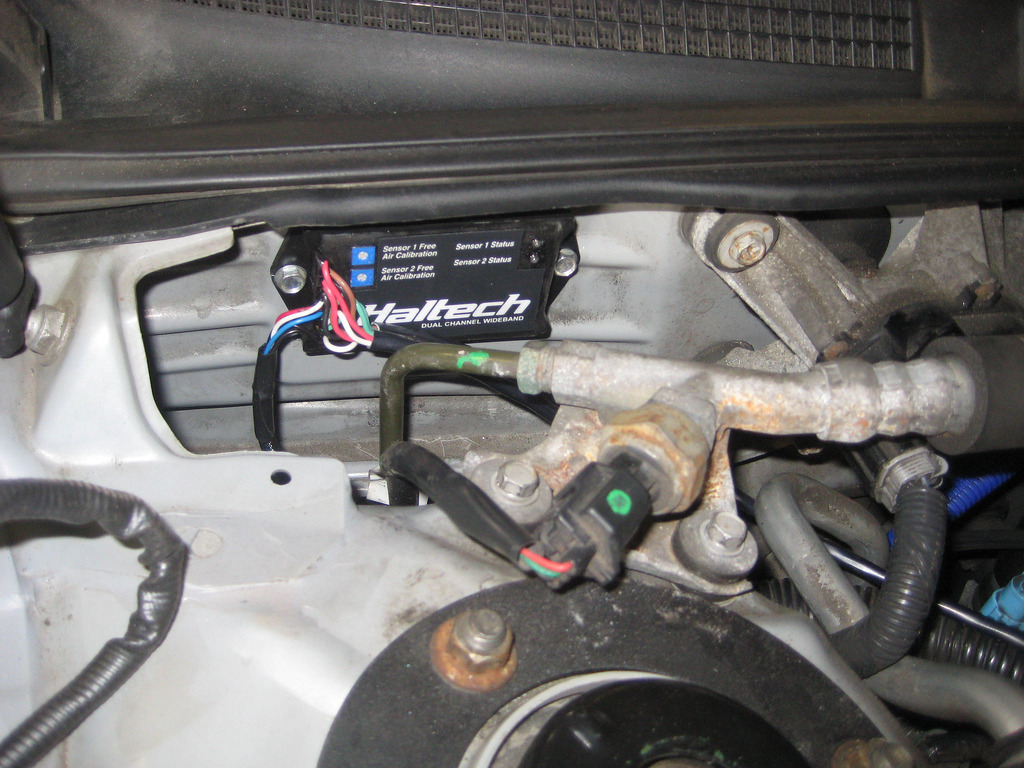
Haltech dual wideband controller in engine bay:
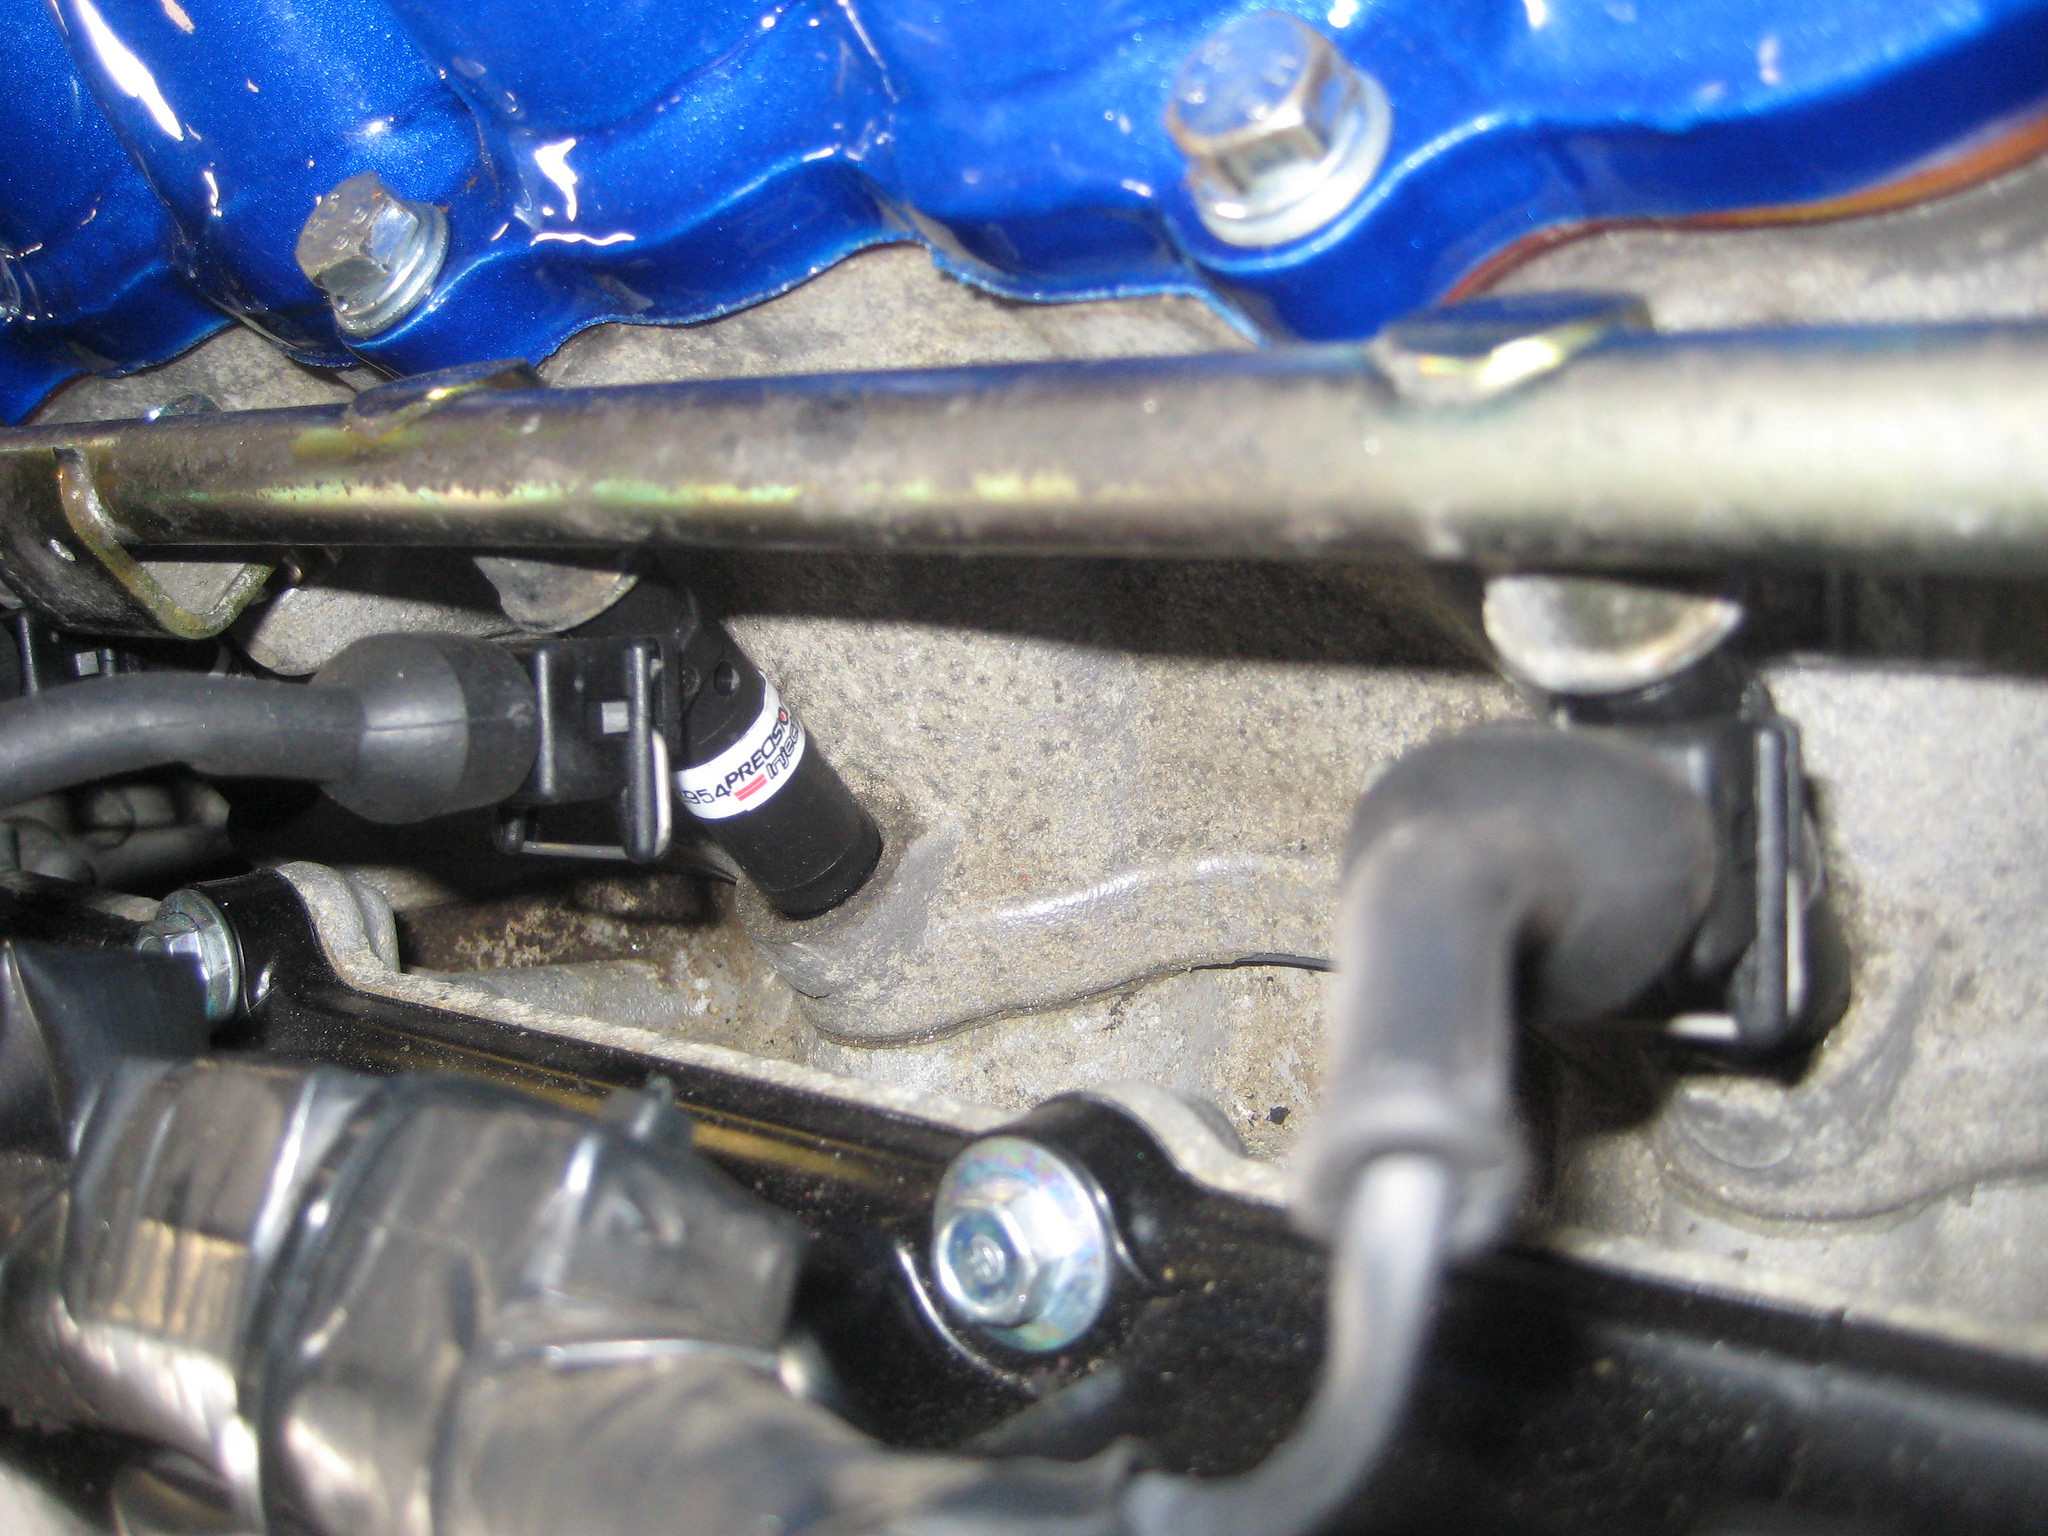
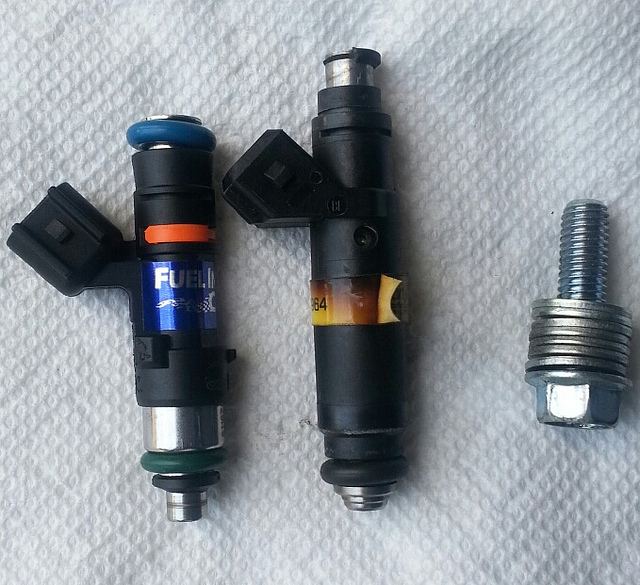
Precision 650cc Injectors:
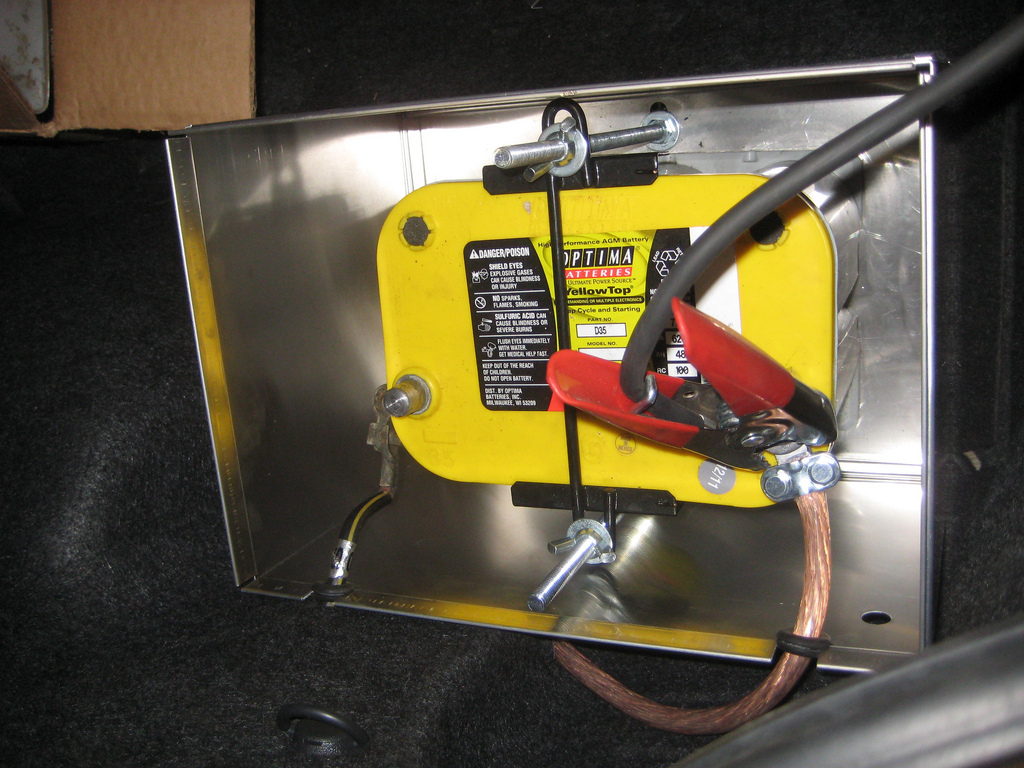
Battery Relocated to Trunk:
Haltech Dual A/F ratio gauge:
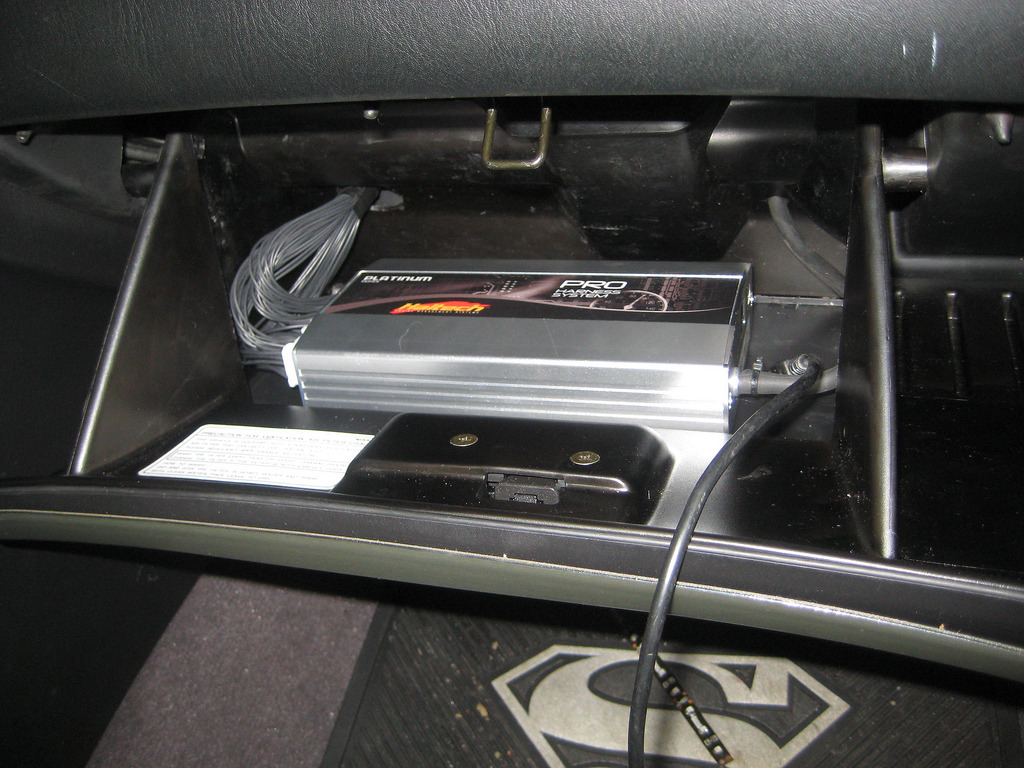
Haltech Platinum Pro in Glove Box:
Inside Car View
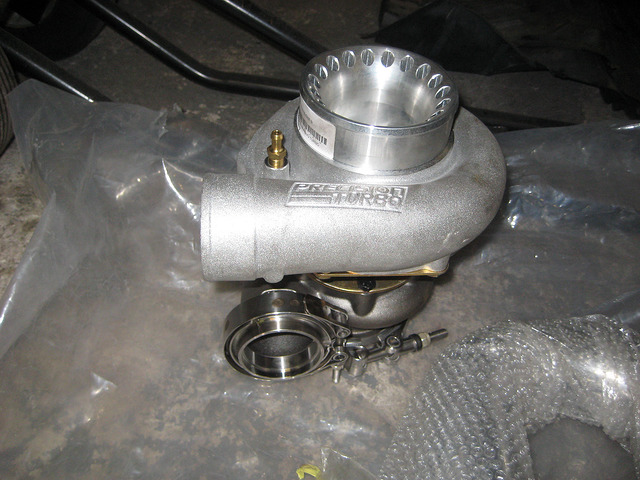
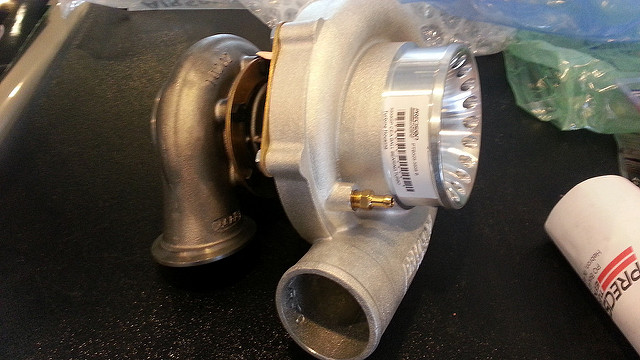
Let’s get this party RE-STARTED!!!! TURBO TIME!
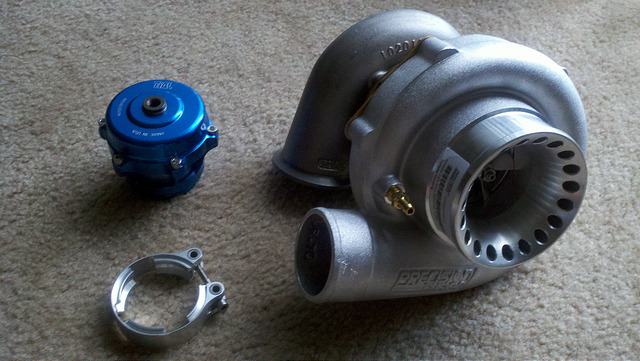
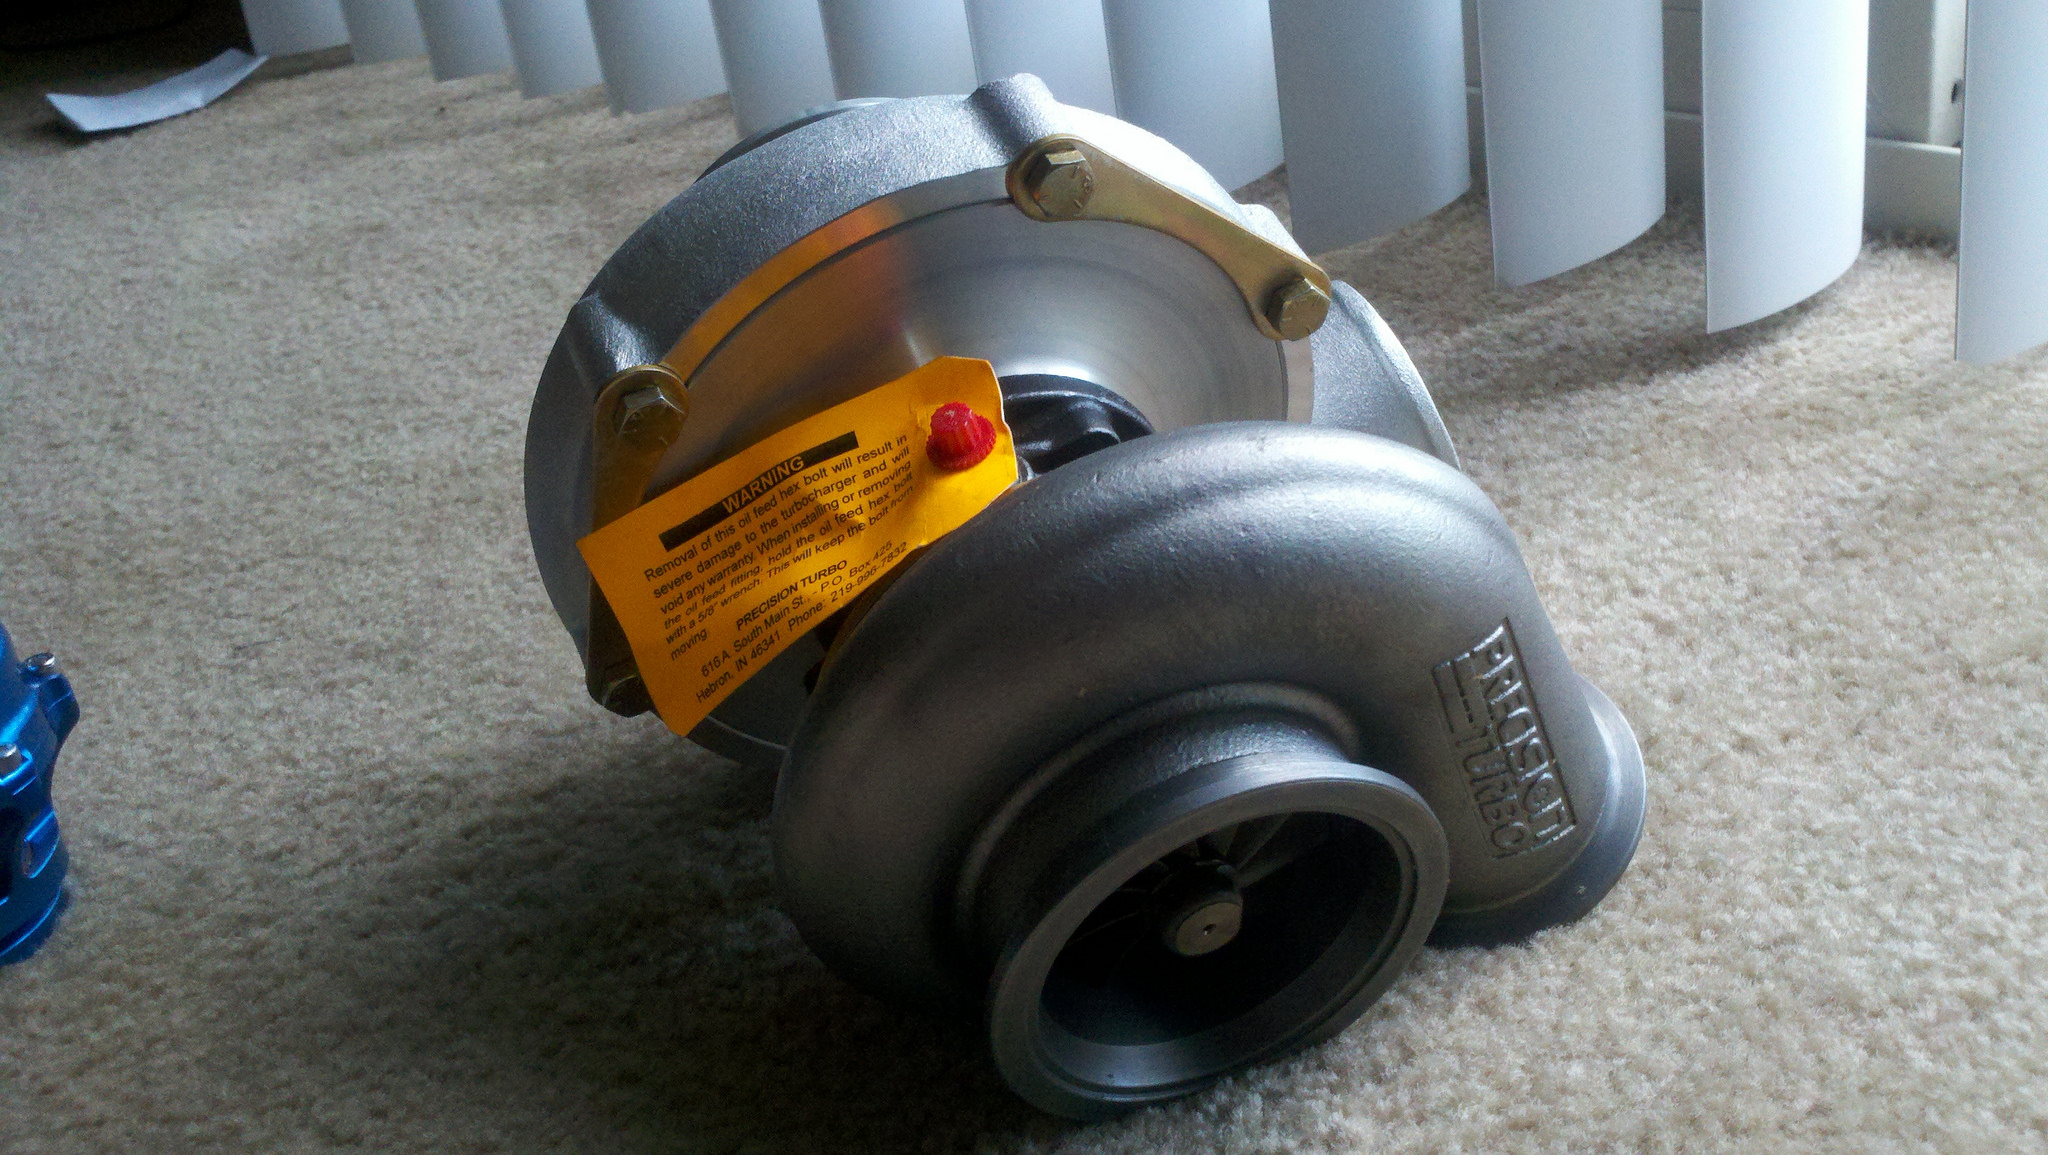
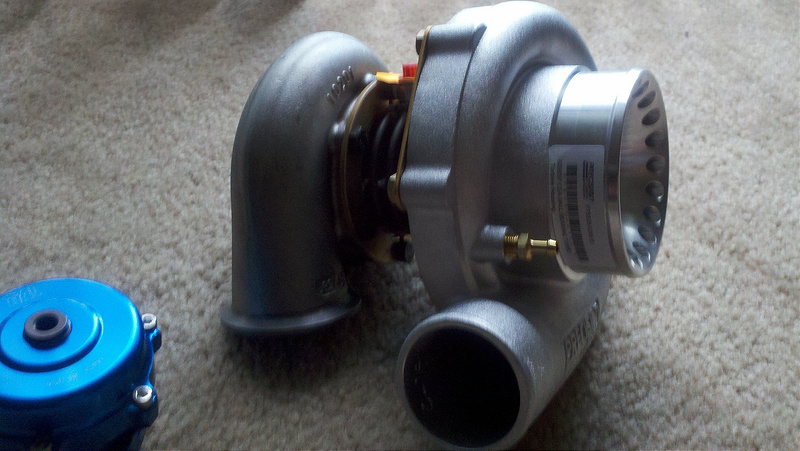
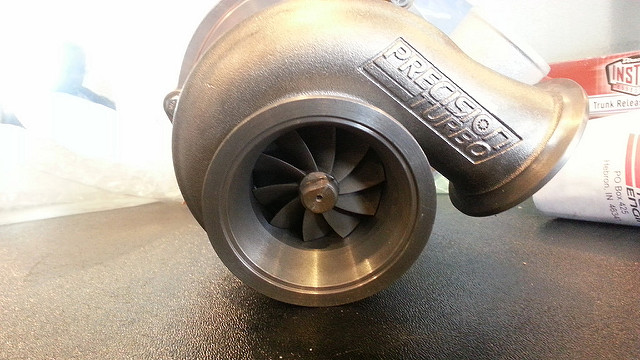
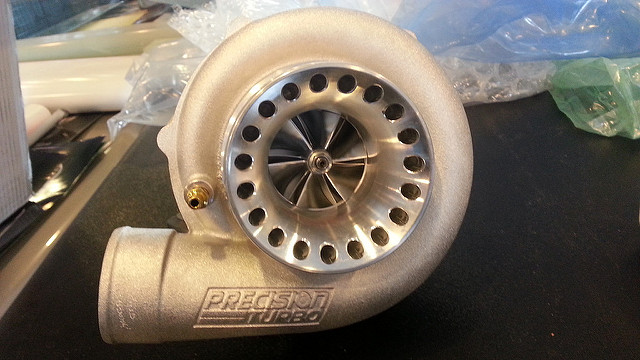
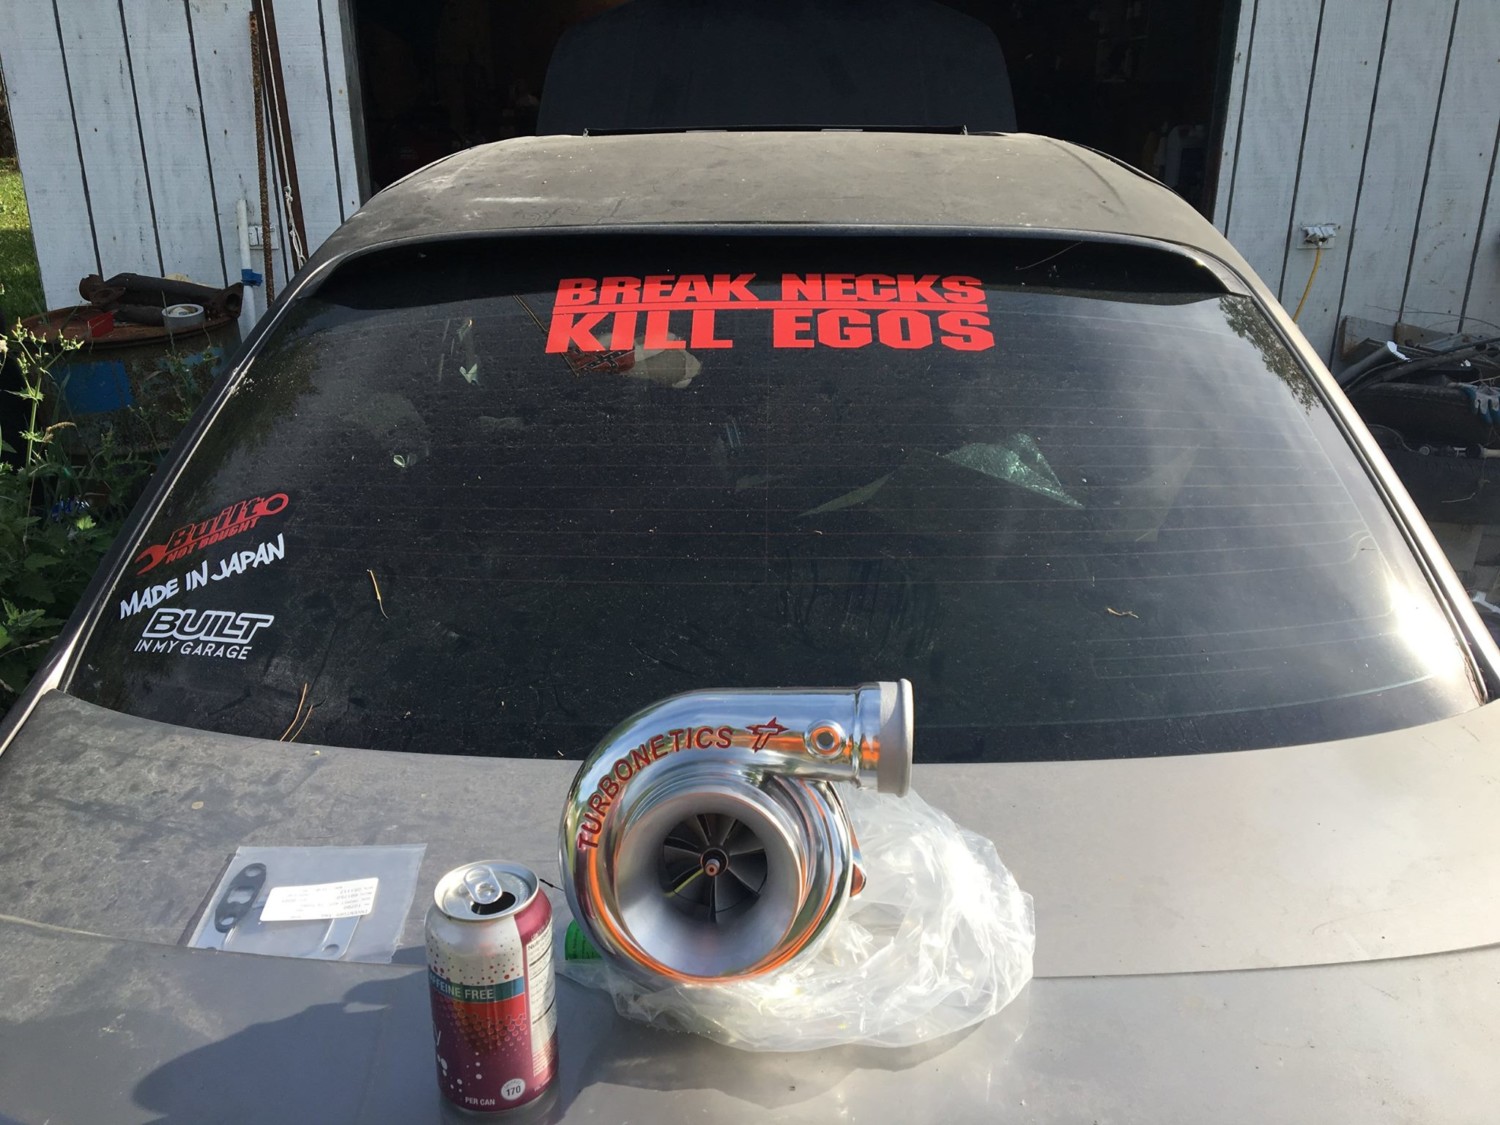
Precision CEA Dual Ceramic Ball Bearing Turbo .82 exhaust and .70 compressor housing:
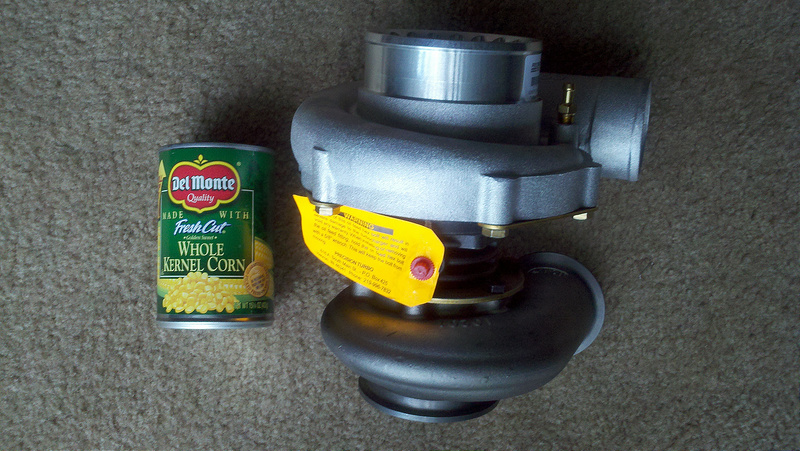
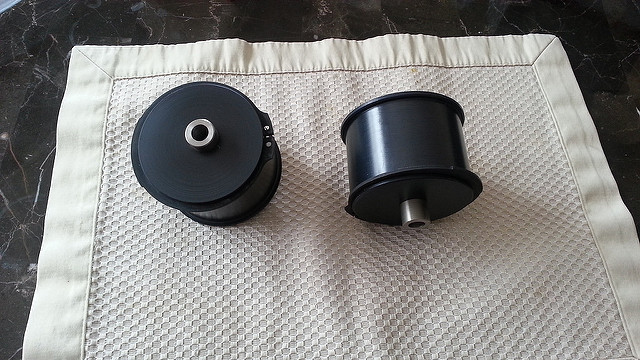
Size comparison:
Actually taking the car in Wednesday to get everything done. Powdercoated the upper radiator brackets, hood sensor mount and these Radiator ends candy blue that are going on the stainless steel chrome flexible radiator hoses I bought. Gonna look hot!!
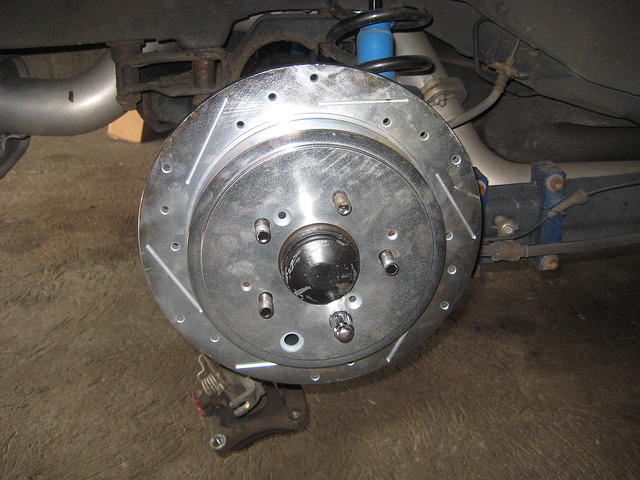
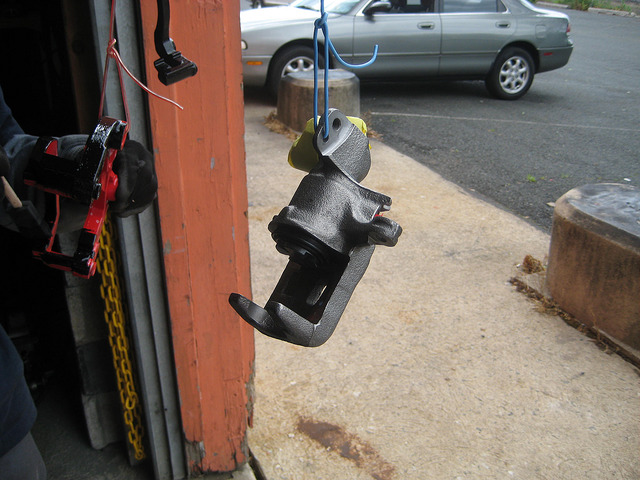
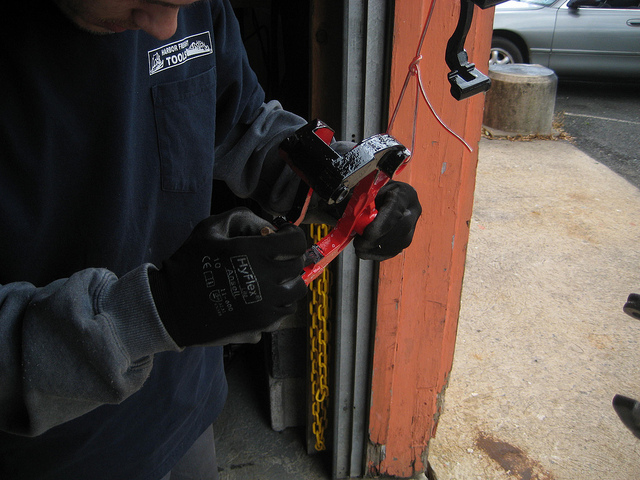
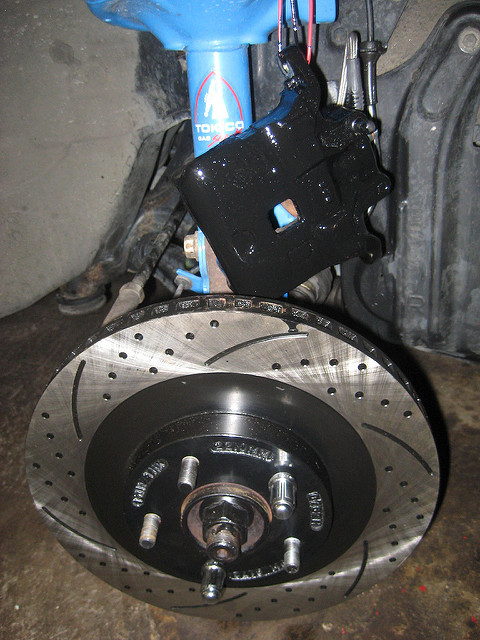
Went by the shop today to drop off the Stillen front lip and my IM spacer that I forgot and they were already painting the calipers and caliper brackets AND had the rear rotors on:
FASTBRAKE REAR BIG BRAKE KIT ROTORS (still have to paint the hub part black):
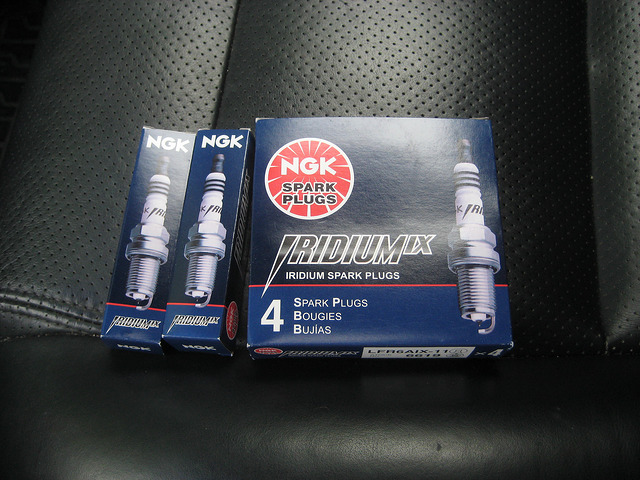
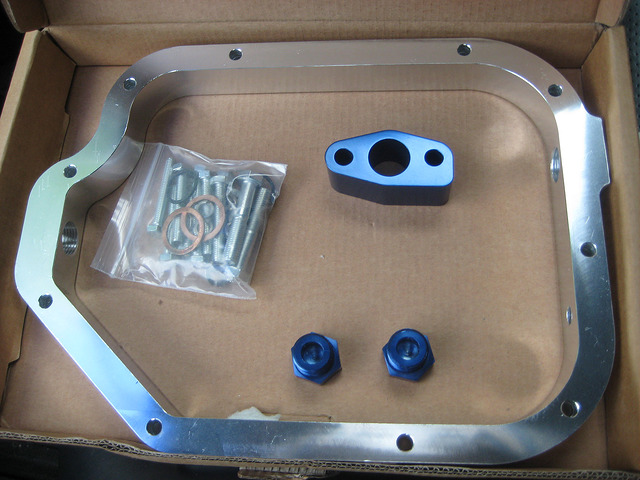
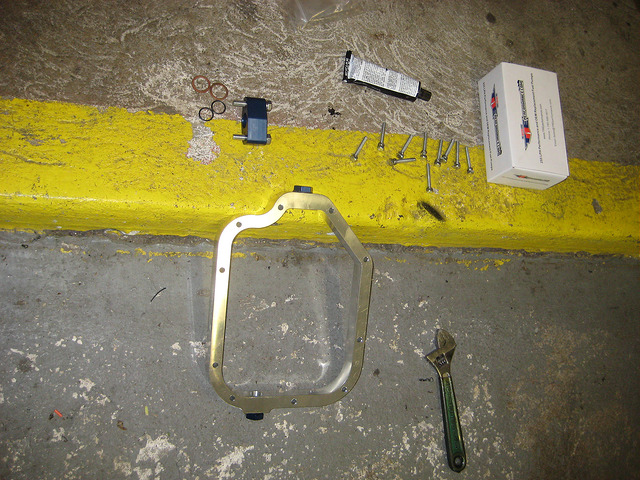
Finally got the One step colder plugs in from NGK and the OBX Oil pan spacer in yesterday and took them to the shop.
OBX Oil Pan Spacer with extra tapped hole for oil return line for turbo:
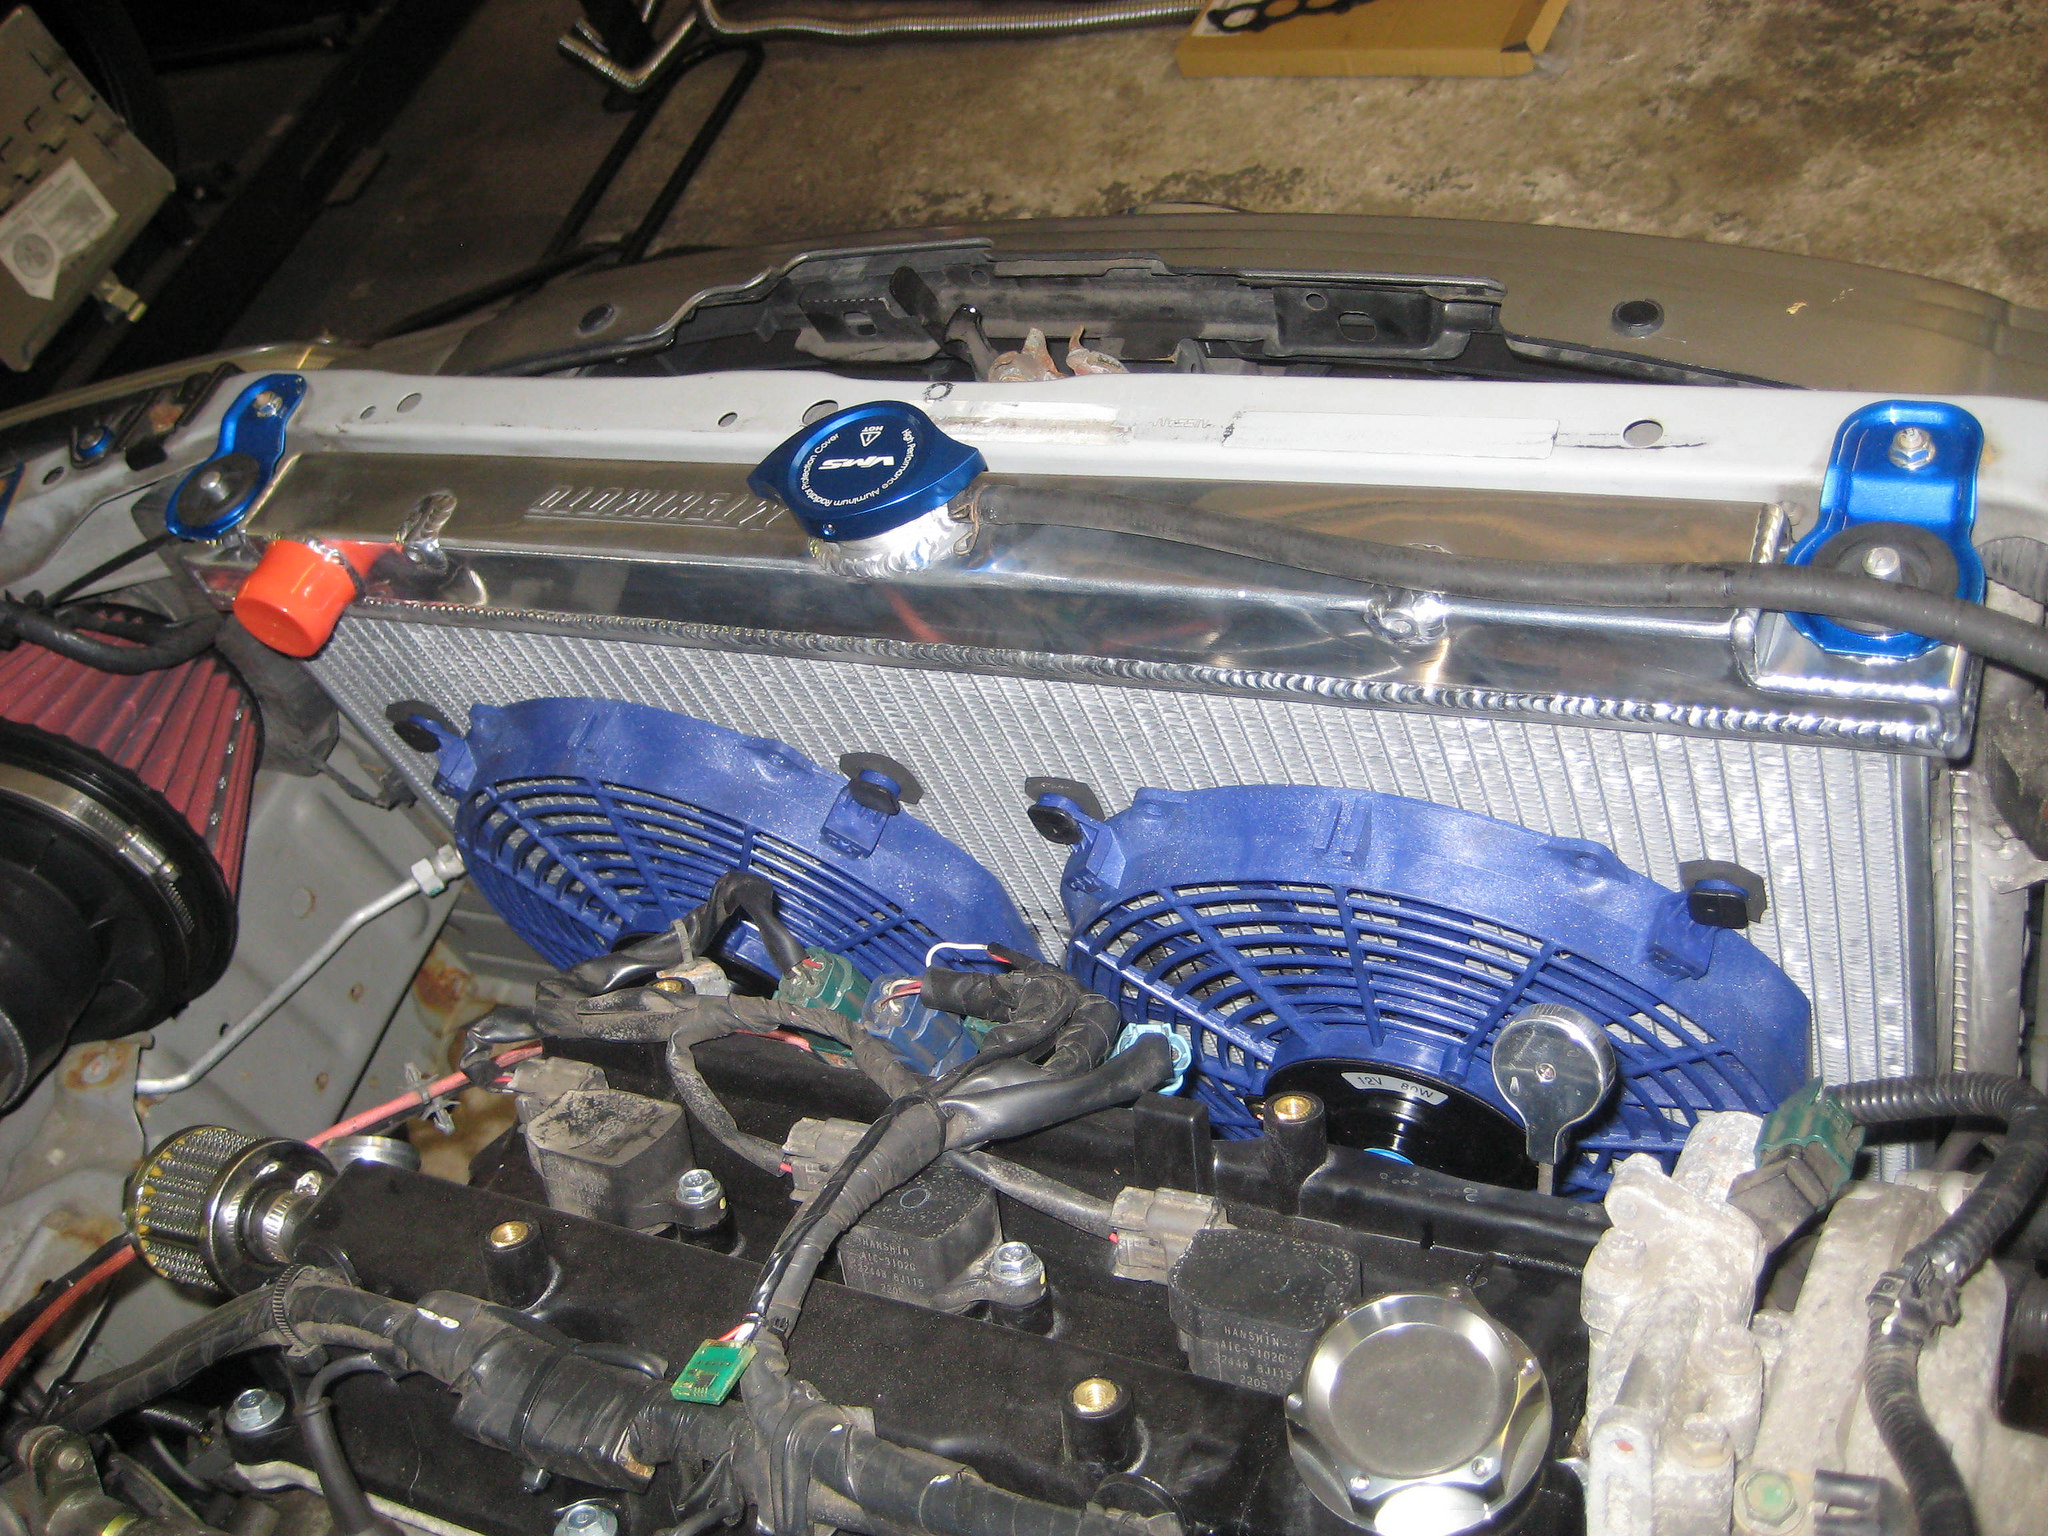
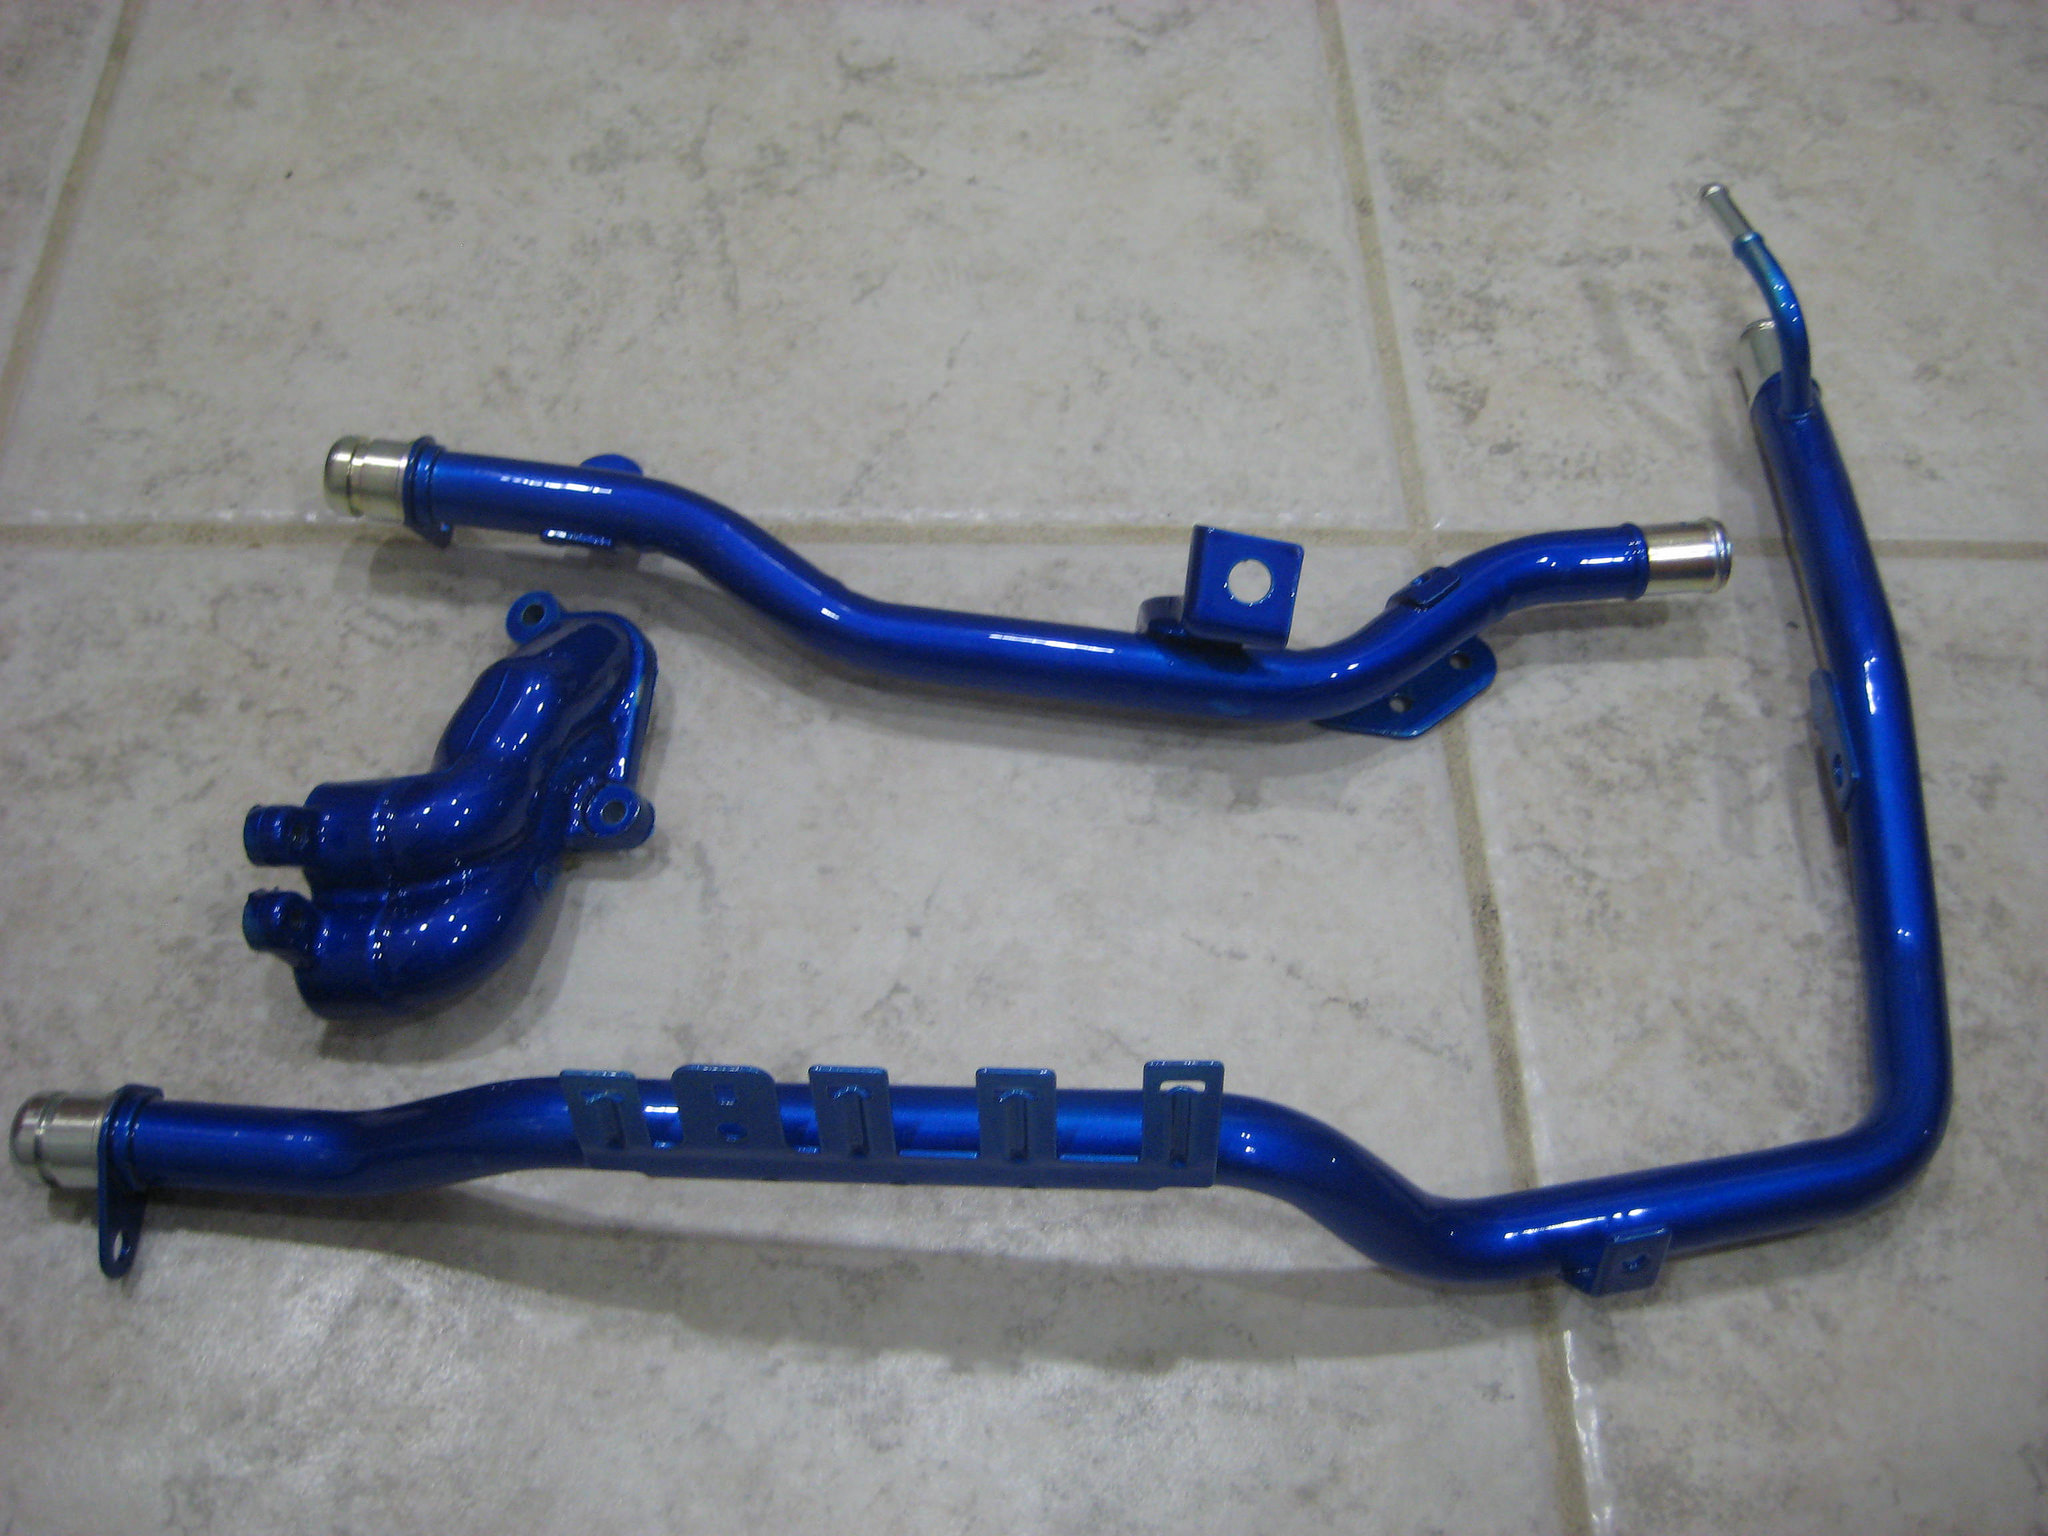
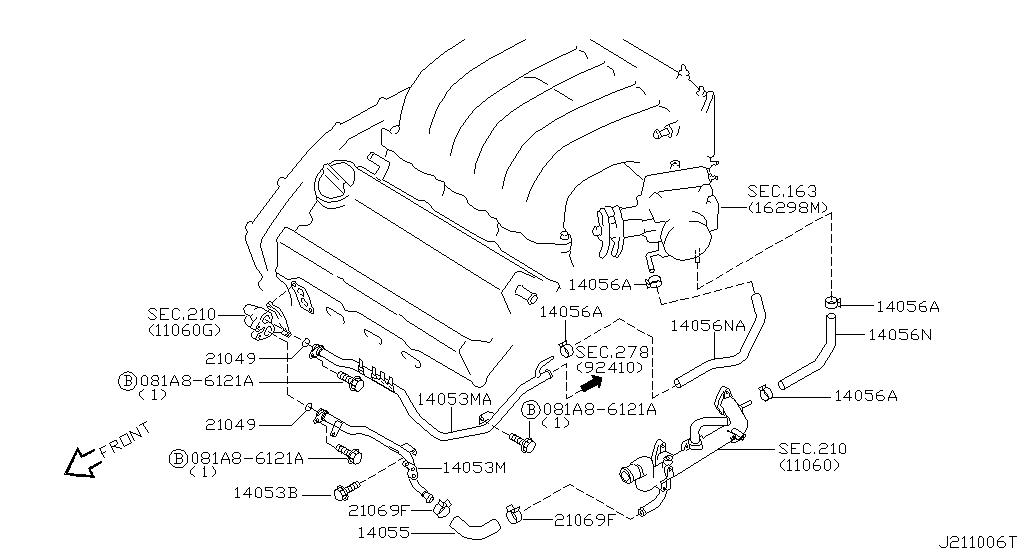
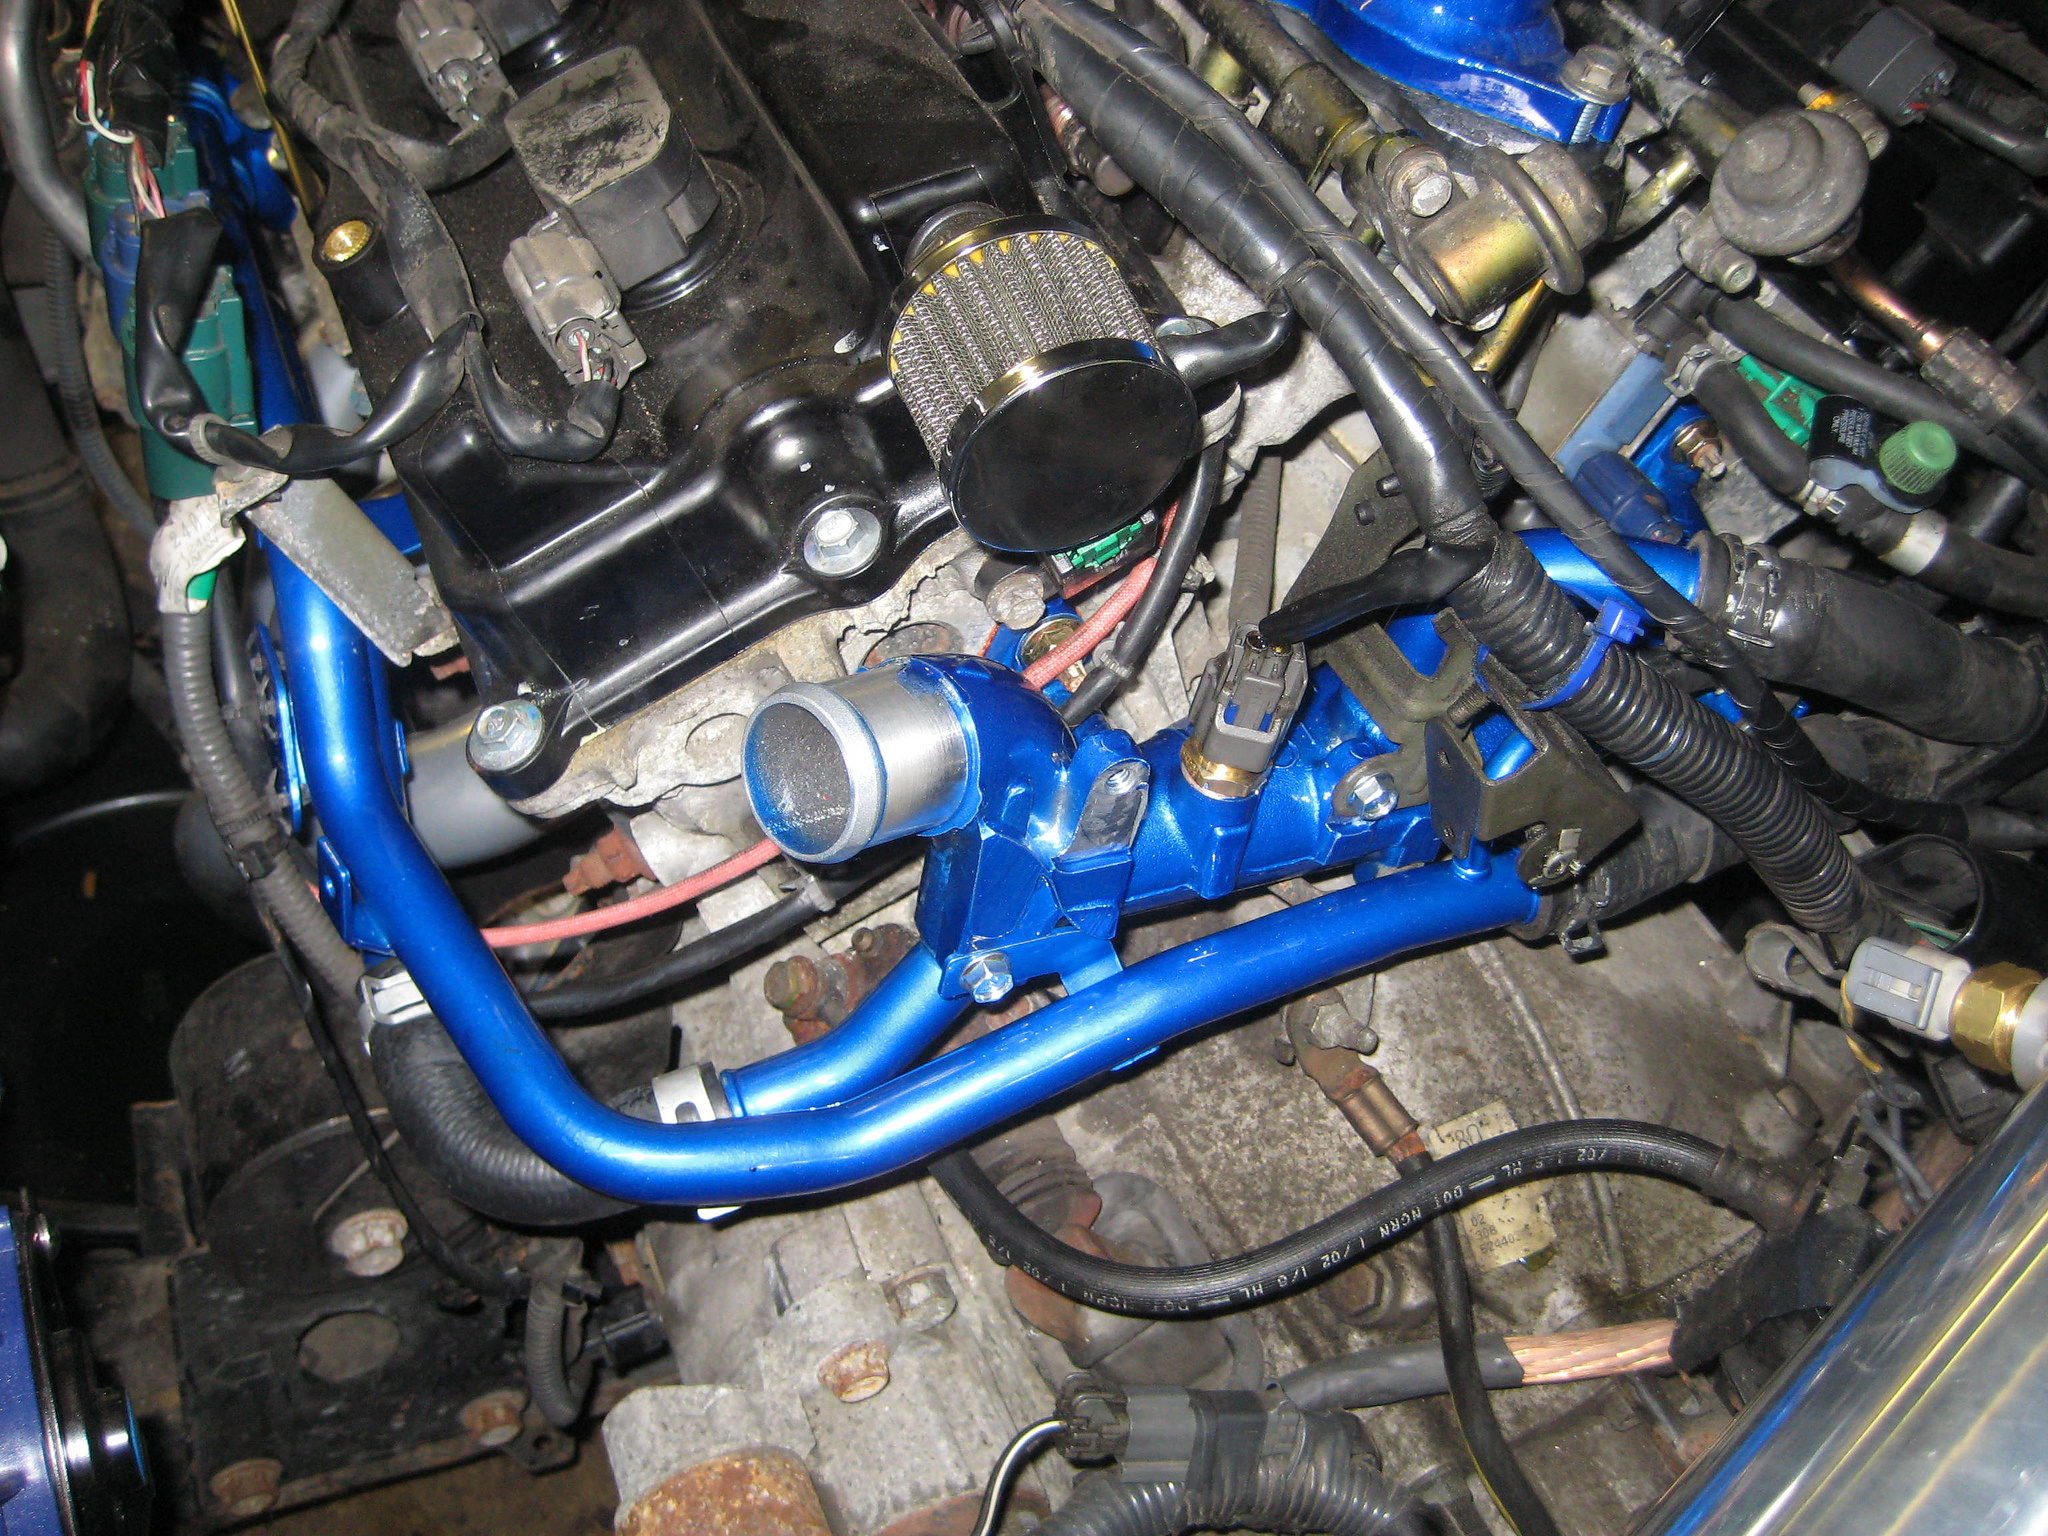
Before I go to work today I’m going to drop by and take some pics of some progress they have made. The ONLY thing that I am currently waiting on to arrive are the coolant lines….front the diagram you can see I ordered the 2 coolant lines that run along the front of the engine, the main coolant line that the 2 connect to with the coolant sensor (11060) and the other connector part that connects the 2 coolant lines on the other side of the engine in the front (11060G). Spoke to the dealer and should be here by tomorrow or Thursday. These parts will be powdercoated candy blue. Got new screws, o-rings and hoses too so everything looks brand new.
Once the car is complete I will take my dremel polishing kit and some 3M metal polish and polish some of the other metal lines to get the gook out. Maybe even touch up some spots where rust is inside the engine. Just want it to look nice!
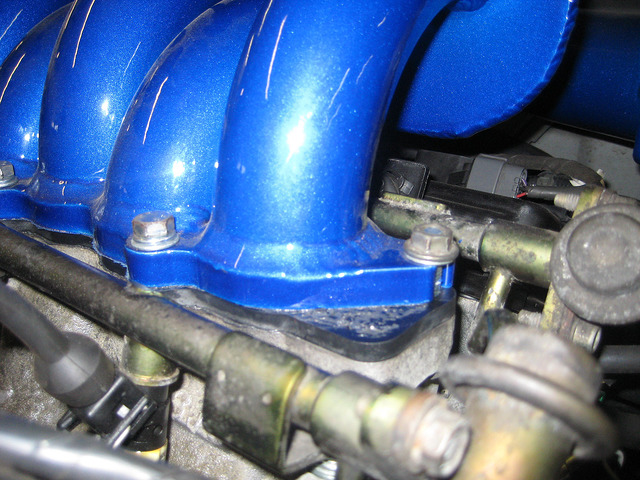
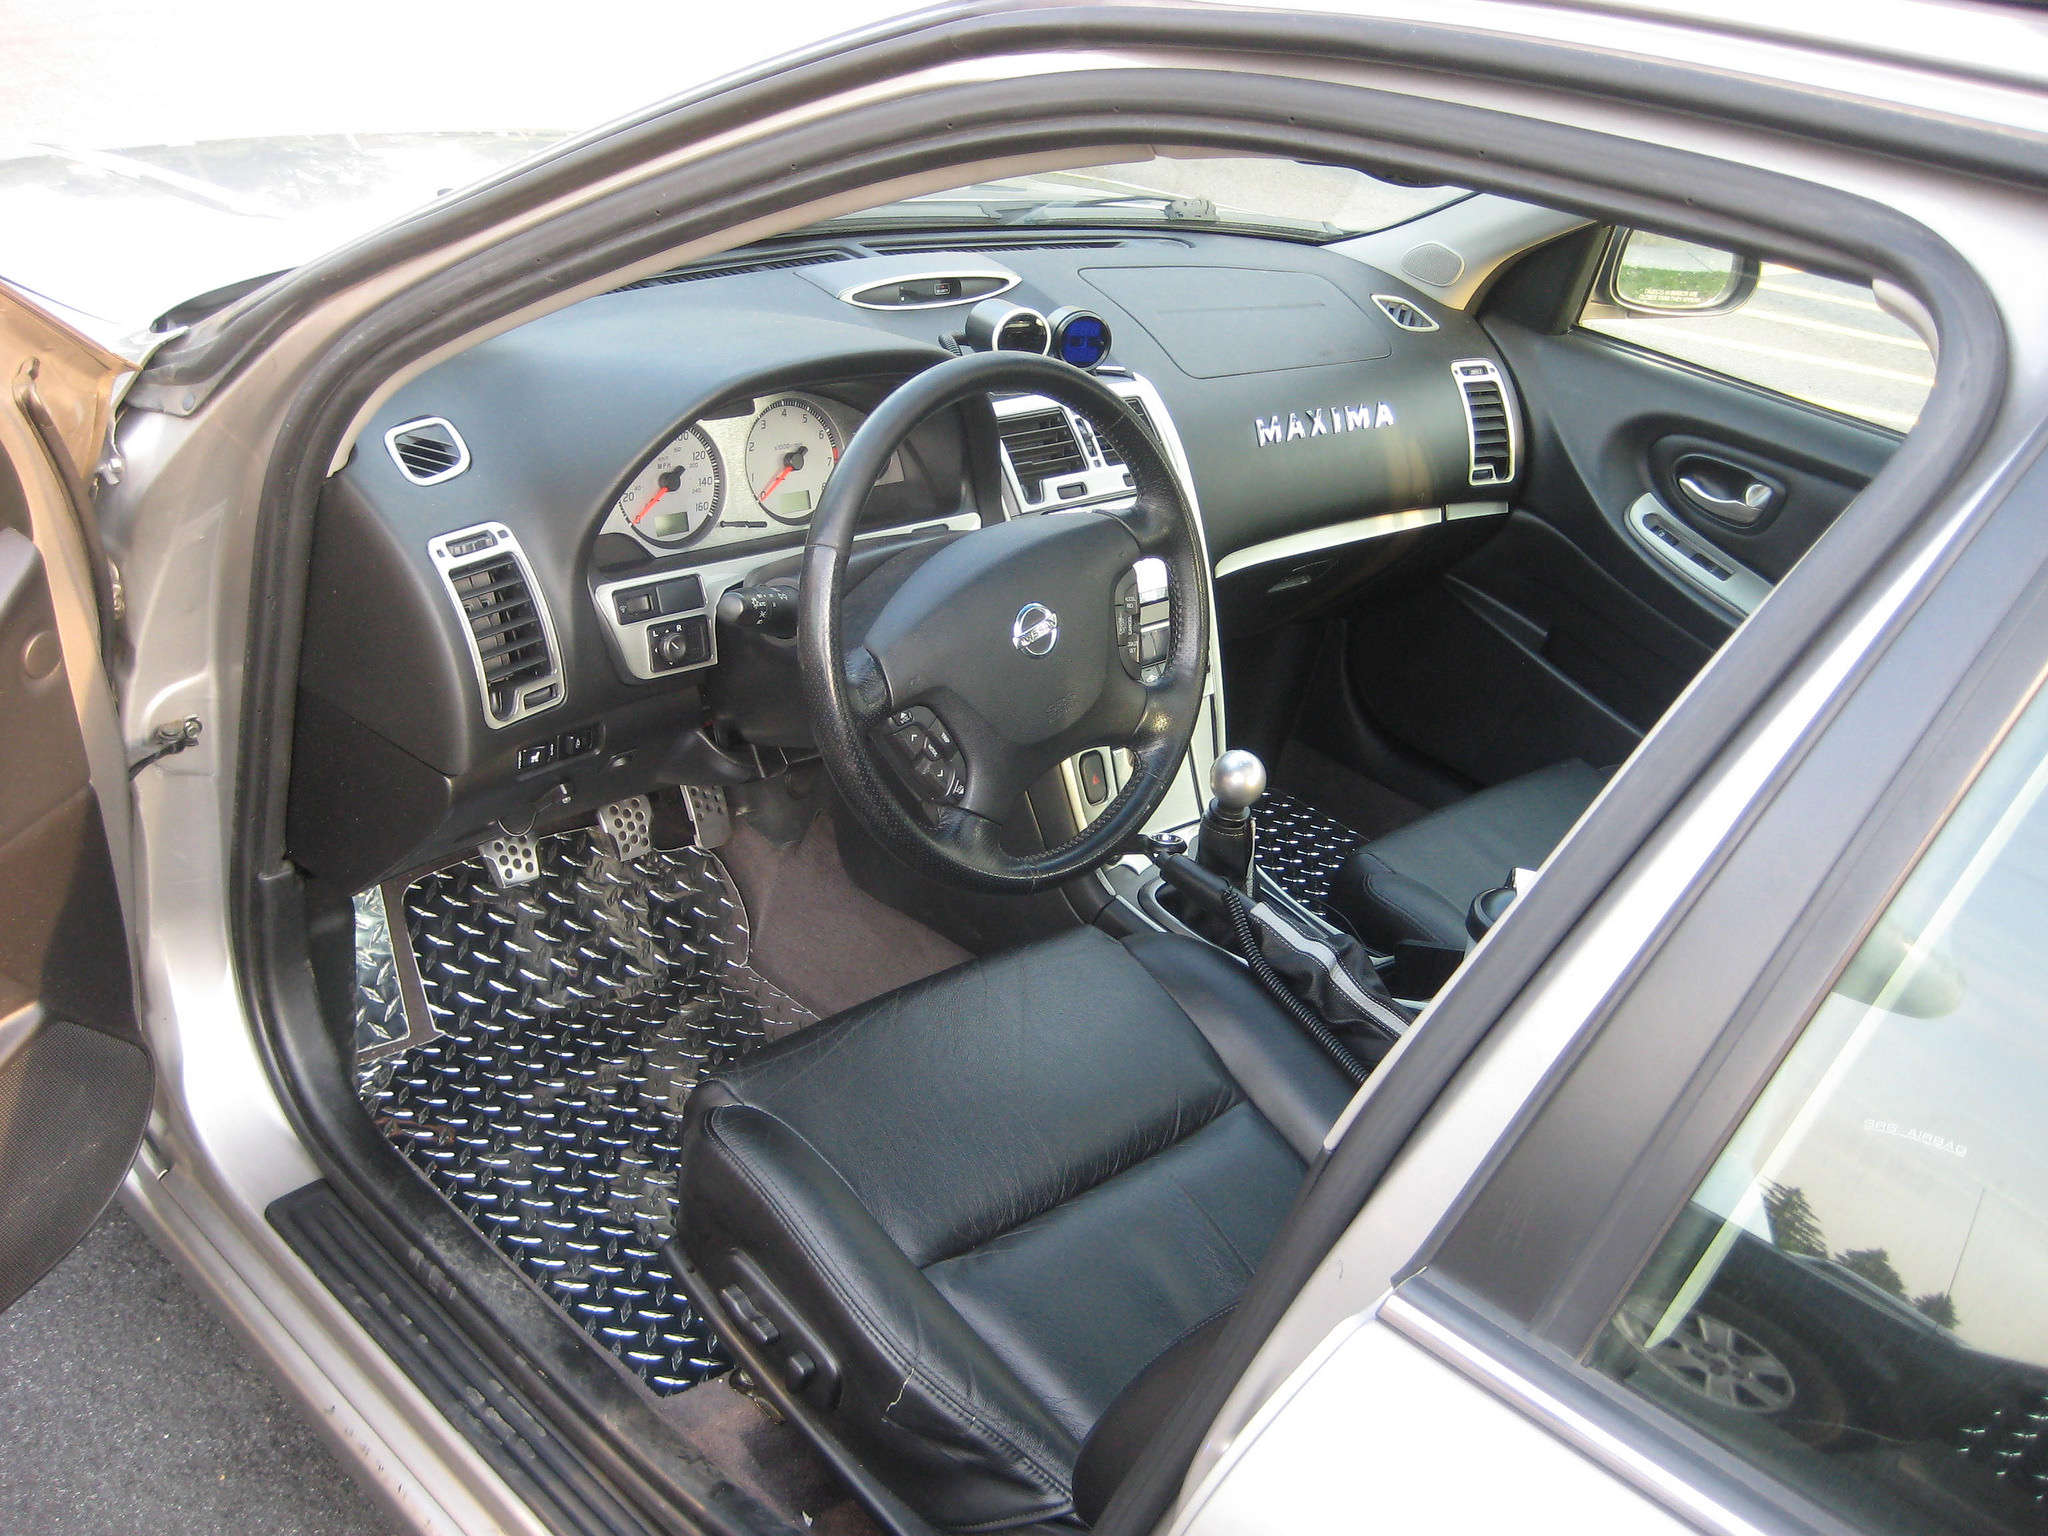
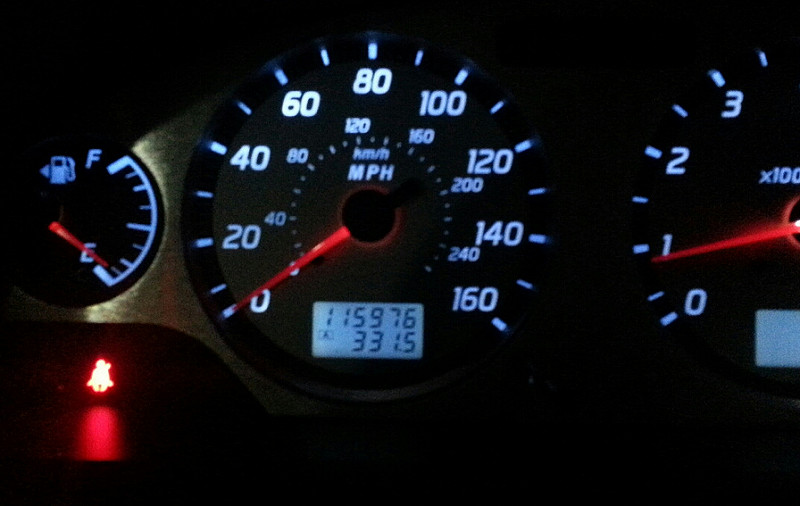
OK went to the shop today and they got the new clear plastic gauge cluster on, got the NGK spark plugs installed and put the NWP spacer on the manifold. As you can see there is plenty of clearance even with the spacer. This will help keep intake temps down so I can make MO POWAH!!
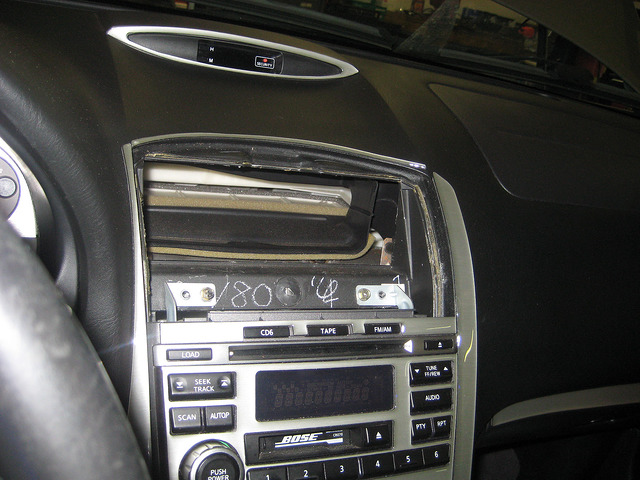
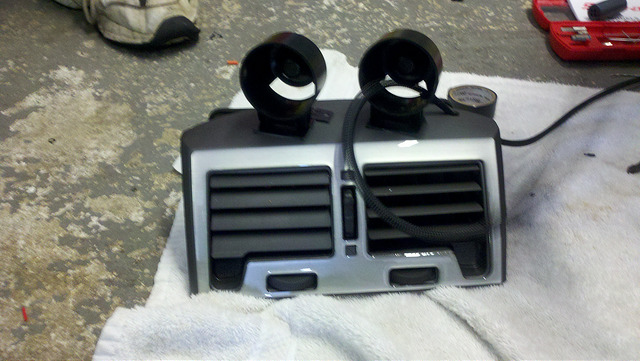
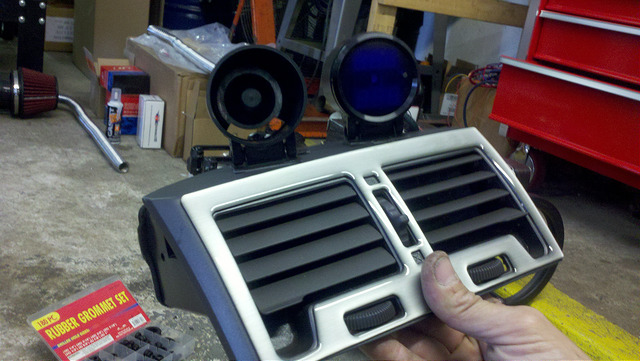
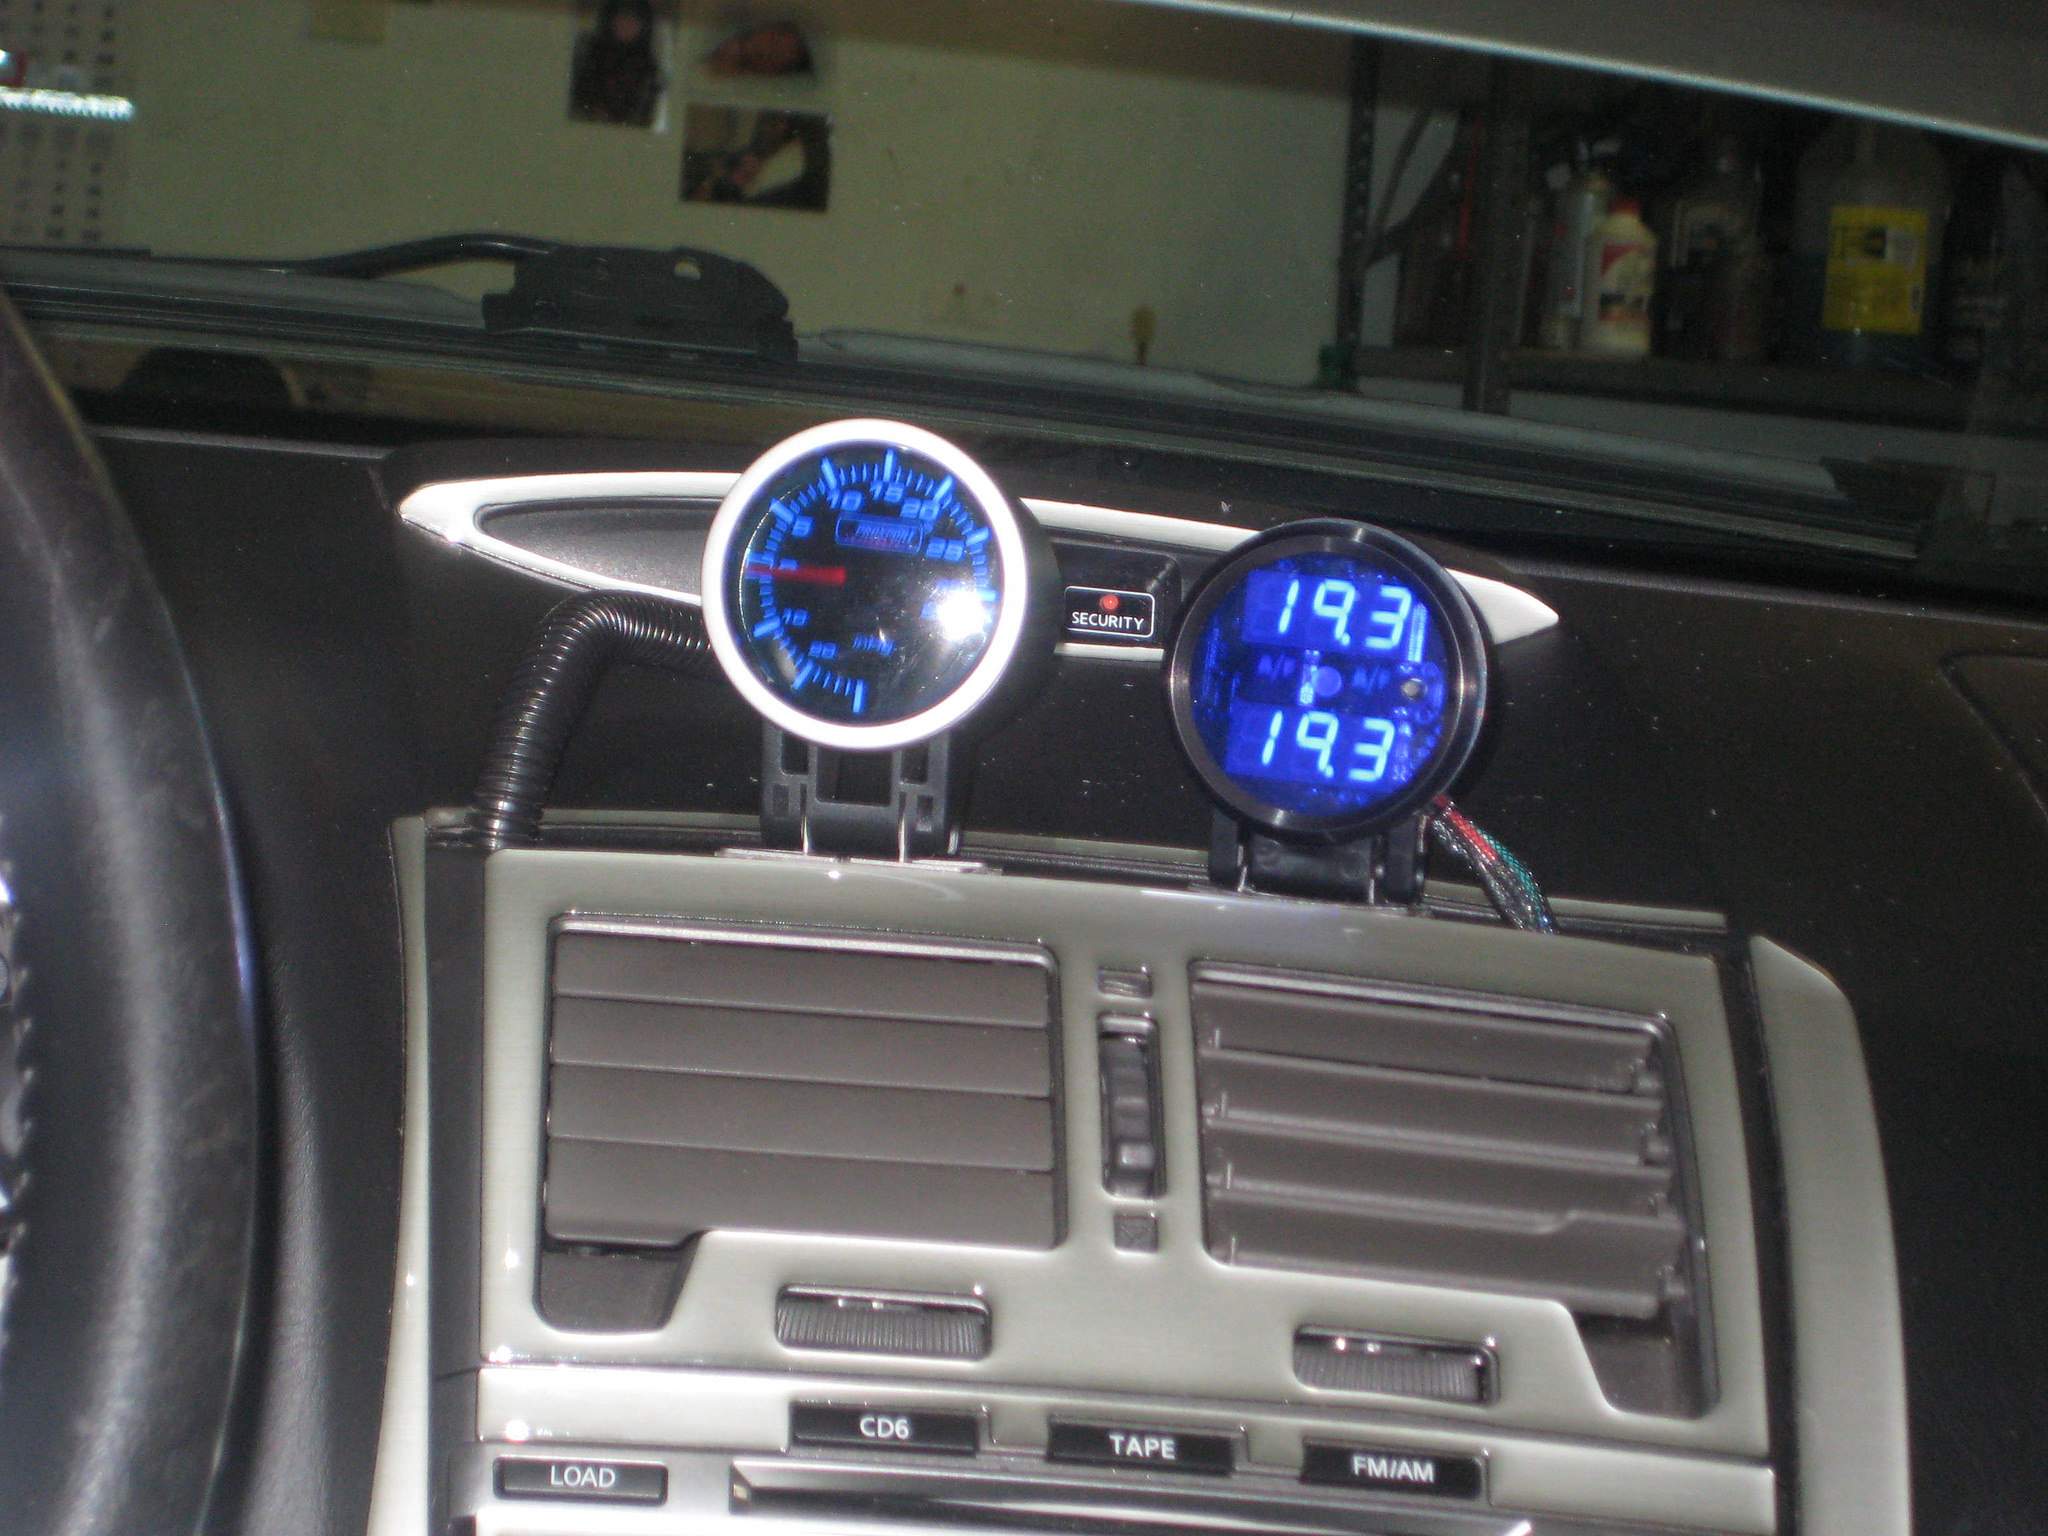
I was also thinking about where to put the boost and AFR gauges. I didn’t want pods along the door (yuck), and I wanted to put them somwhere I could see but be hidden. We thought about glove compartment but there is the airbag on the top and glove compartment wont close if you put them in there. Also I dont want ot have to drive with the GC open..thats WACK!! I was trying to put them on top of the steering column but that becomes intrusive and I cant see the other gauges on the dash. So we settled on this:
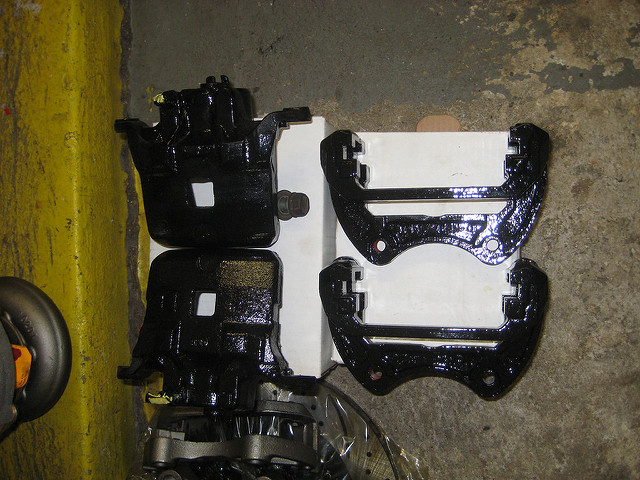
Also getting black lug nuts to go along with the black painted calipers and caliper brackets. They still have to drill the tap holes on the Racing brake calipers…they were too small:
Caliper brackets that came with Racing Brake kit holes are too small for stock screw and will have to be drilled and re-tapped to accept OEM screw……GOOFBALLS:
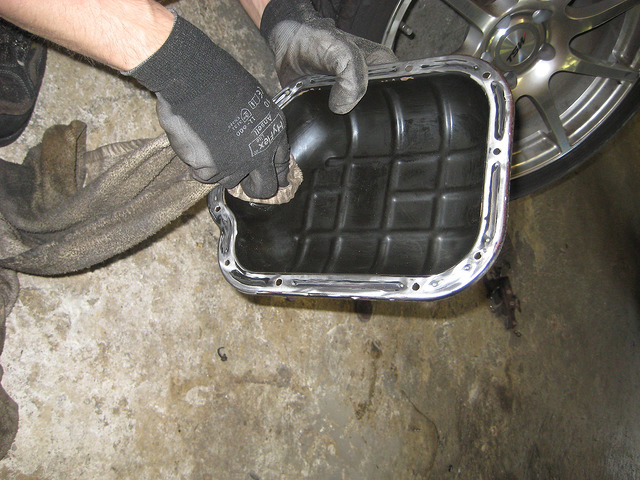
Went to the shop again!! YES I GO EVERYDAY because I’m working afternoon shifts!!! LOL!! Anyway, they had the oil pan off and cleaning it all up to install the OBX Oil pan spacer I bought:
Took a grinder and got all that gasket crap off and cleaned up inside of the pan like BRAND NEW!!
READY TO INSTALL!!!
They ALSO finished the boost and AFR gauge install!!! Looks so DAM HOT!!! Could not get the blue colors to show up good on the camera but will make a video when its all complete. It looks REALLY good when the car was turned on!!!
Pretty much what is left is they have to install front brake kit (still have to tap front caliper holder), connect rad fans and upper hose and powdercoat new coolant lines (line will be in by Monday) and fill radiator back up with coolant. Also install and paint the front lip. Then they can begin installing the turbo and welding the piping up!
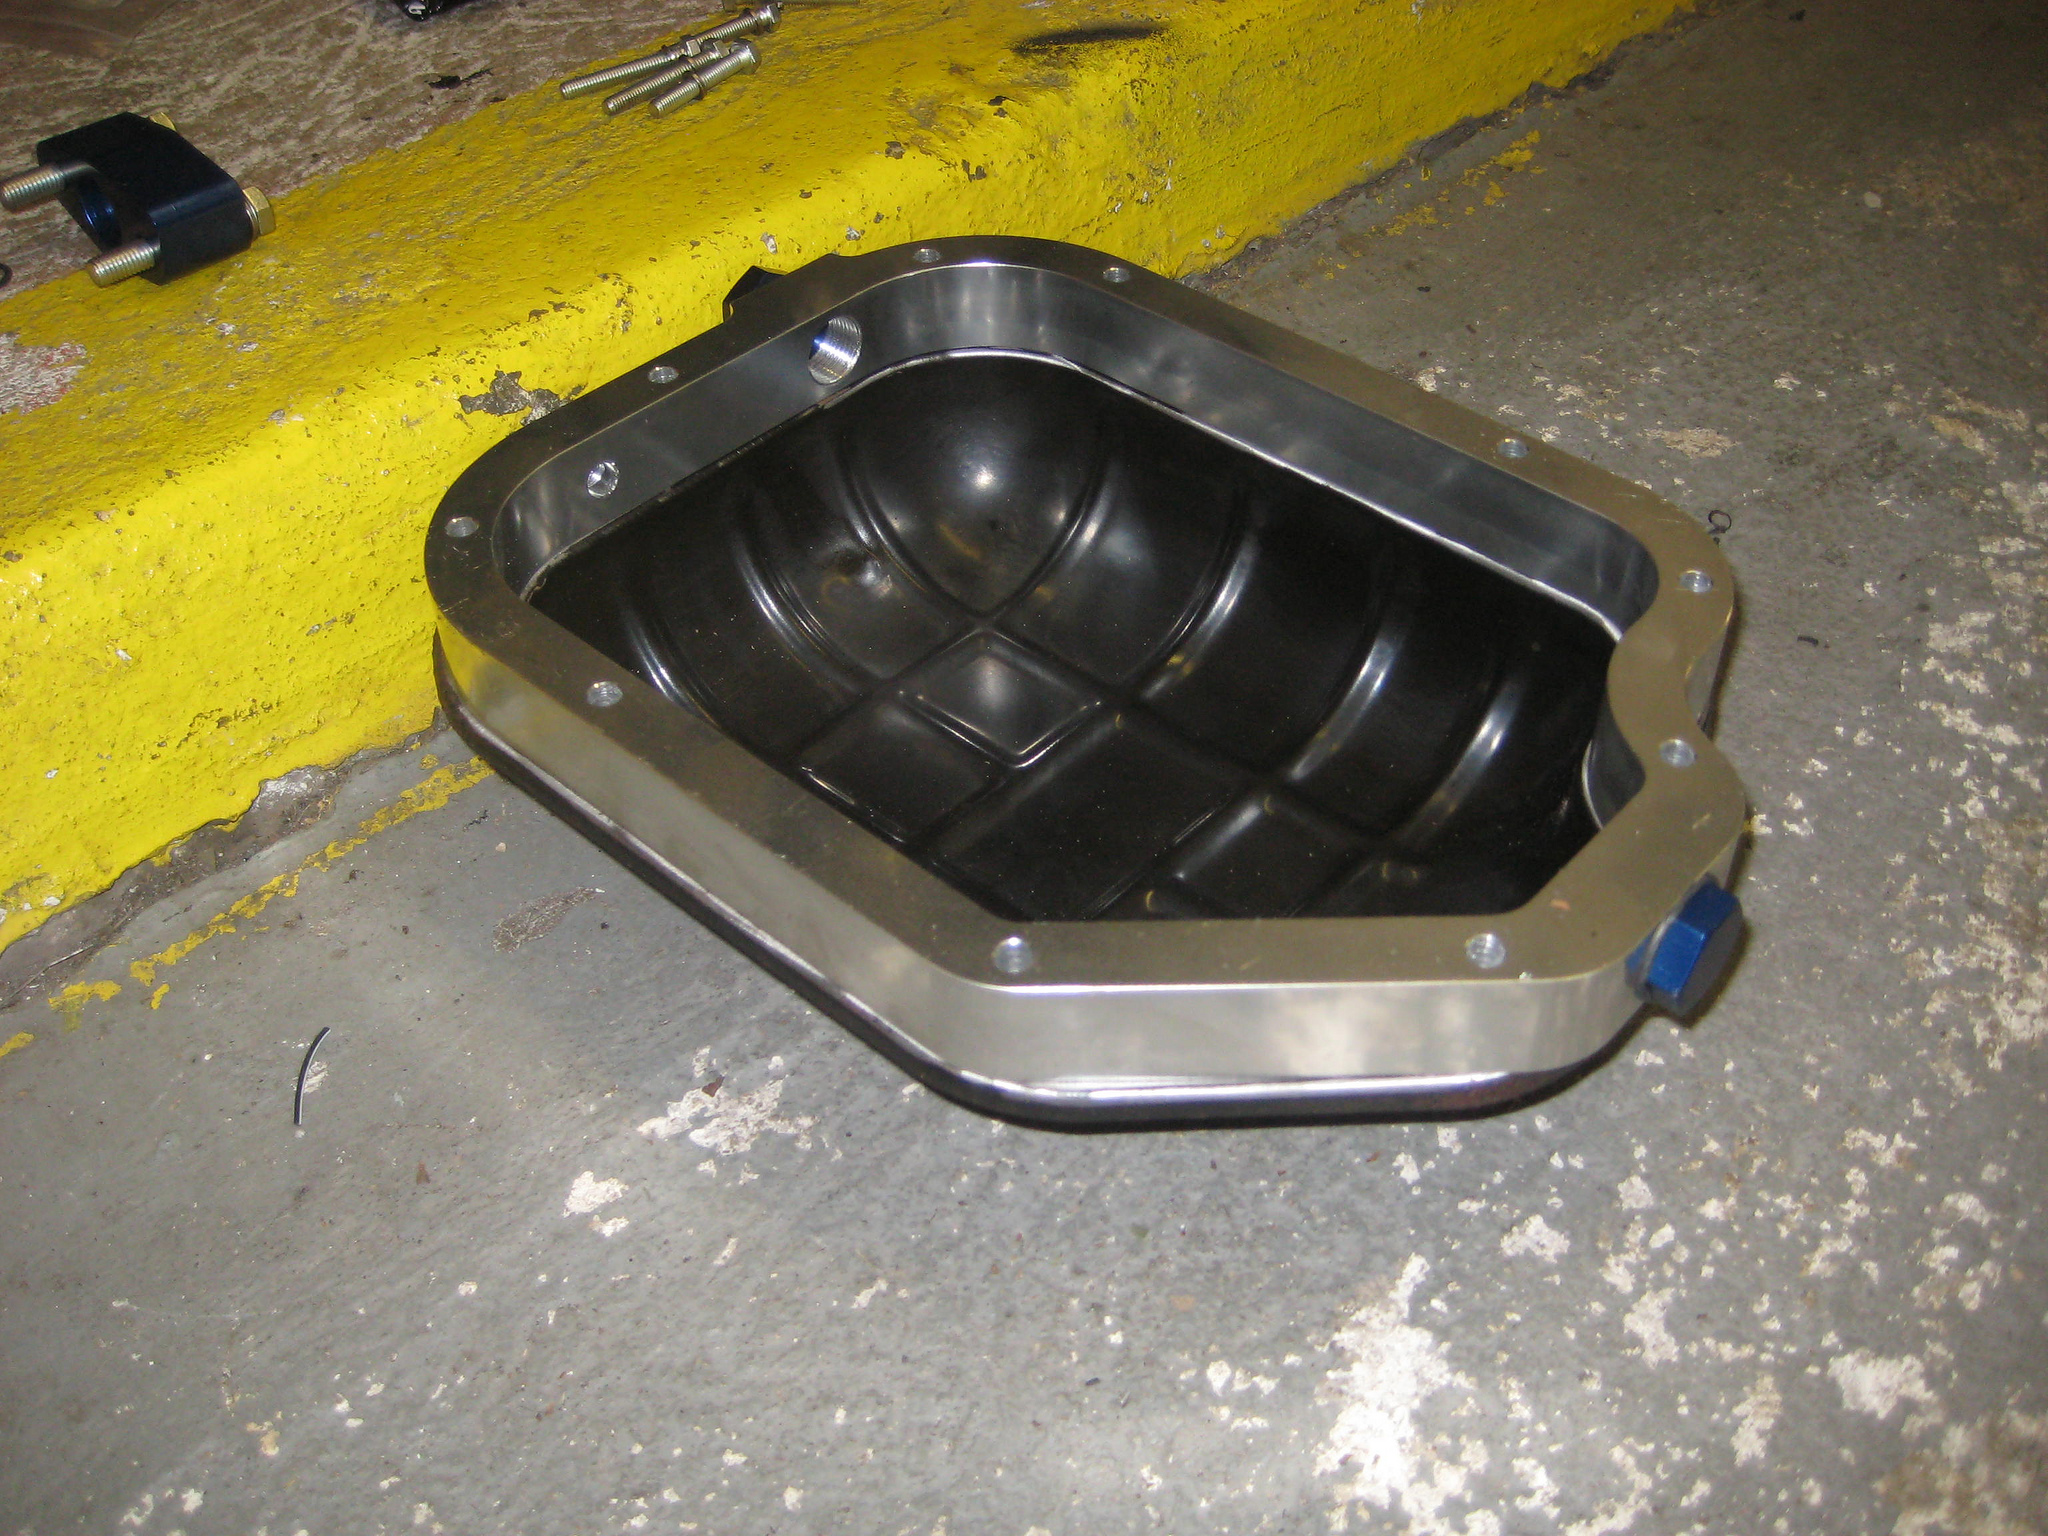
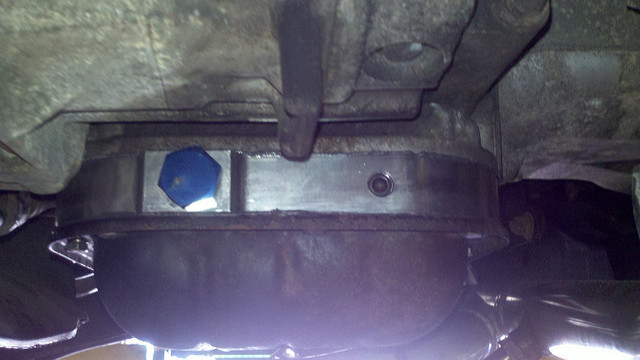
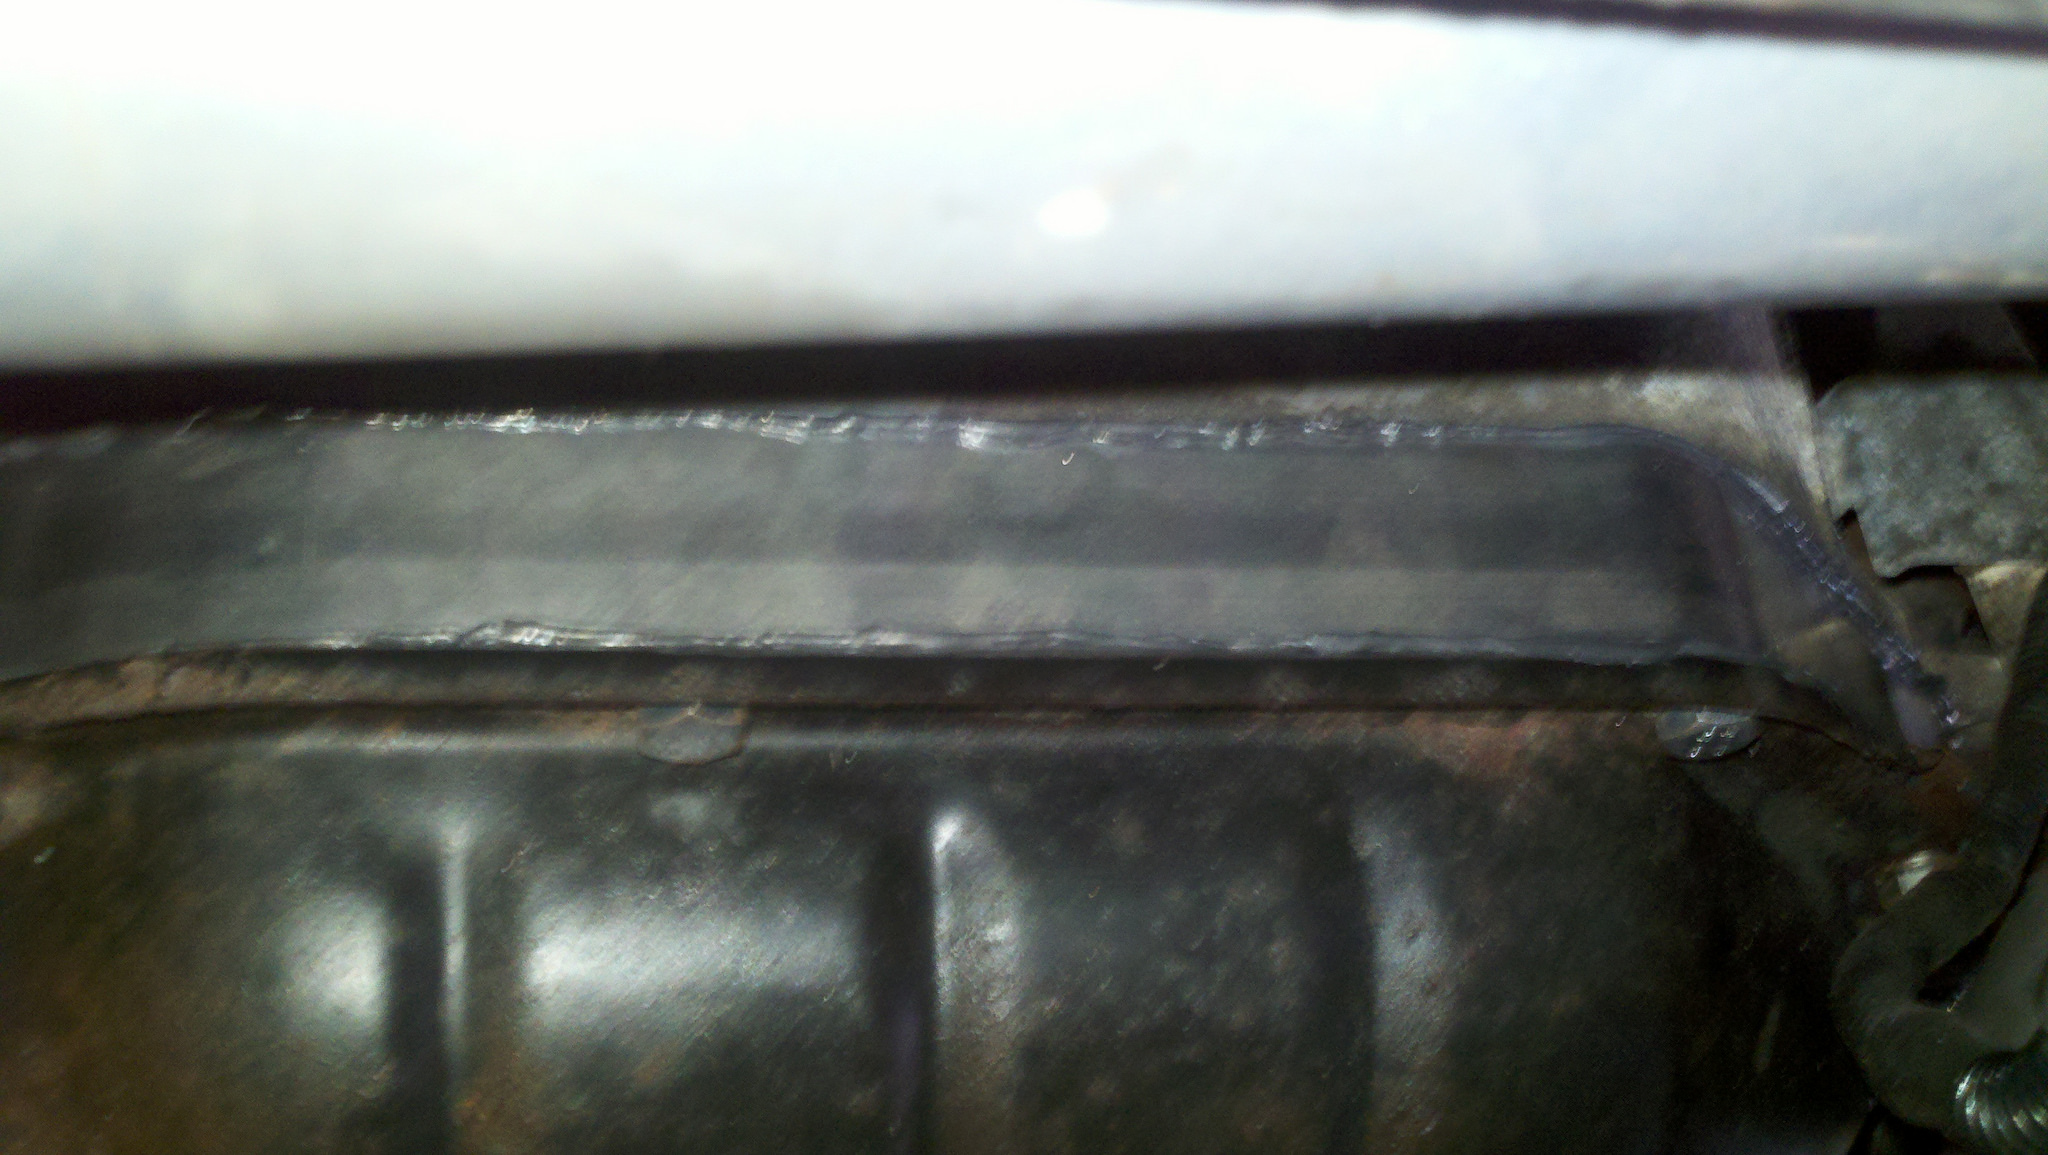
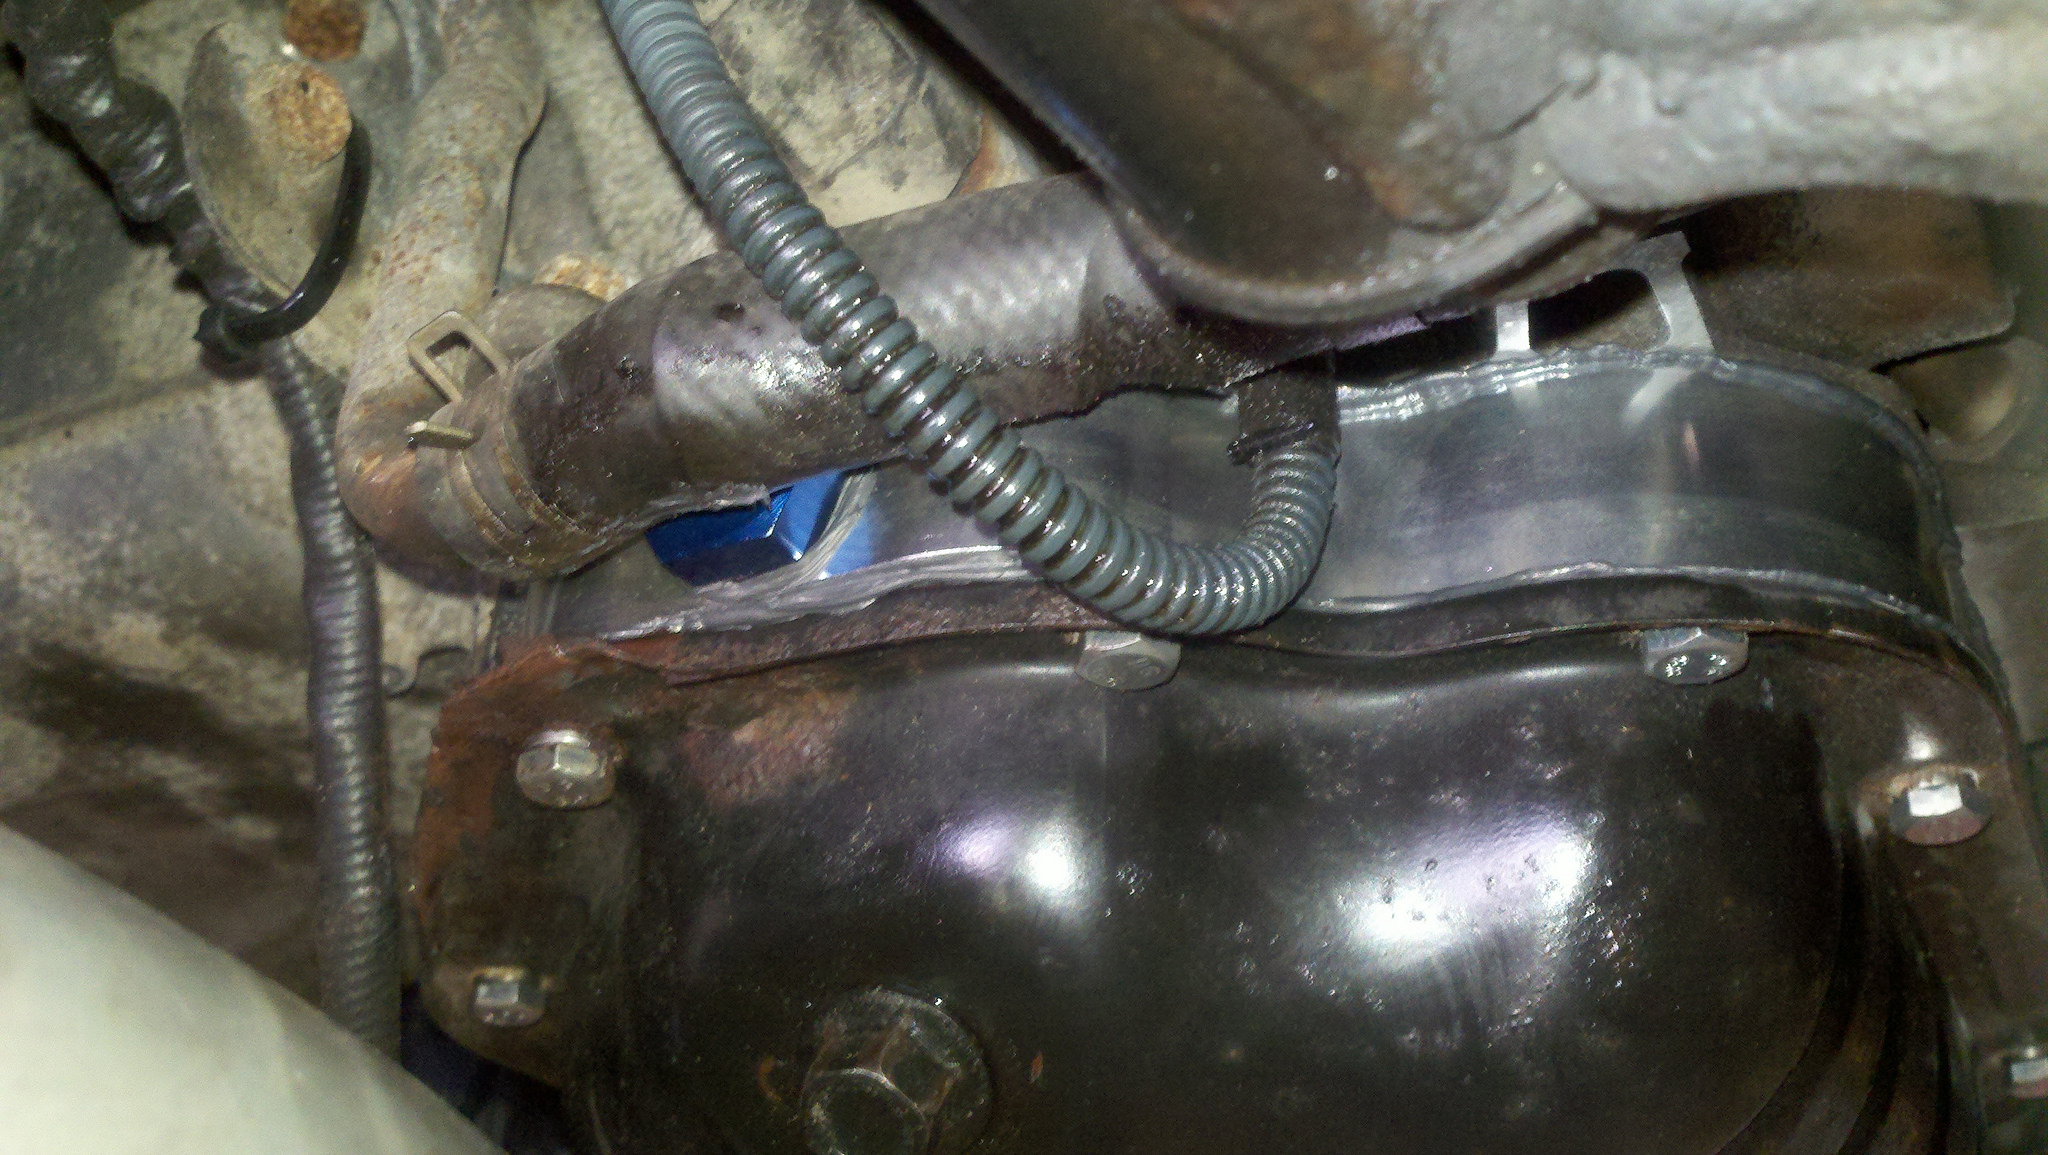
Went to the shop today and they have the oil pan spacer on:
FRONT:
SIDE:
BACK:
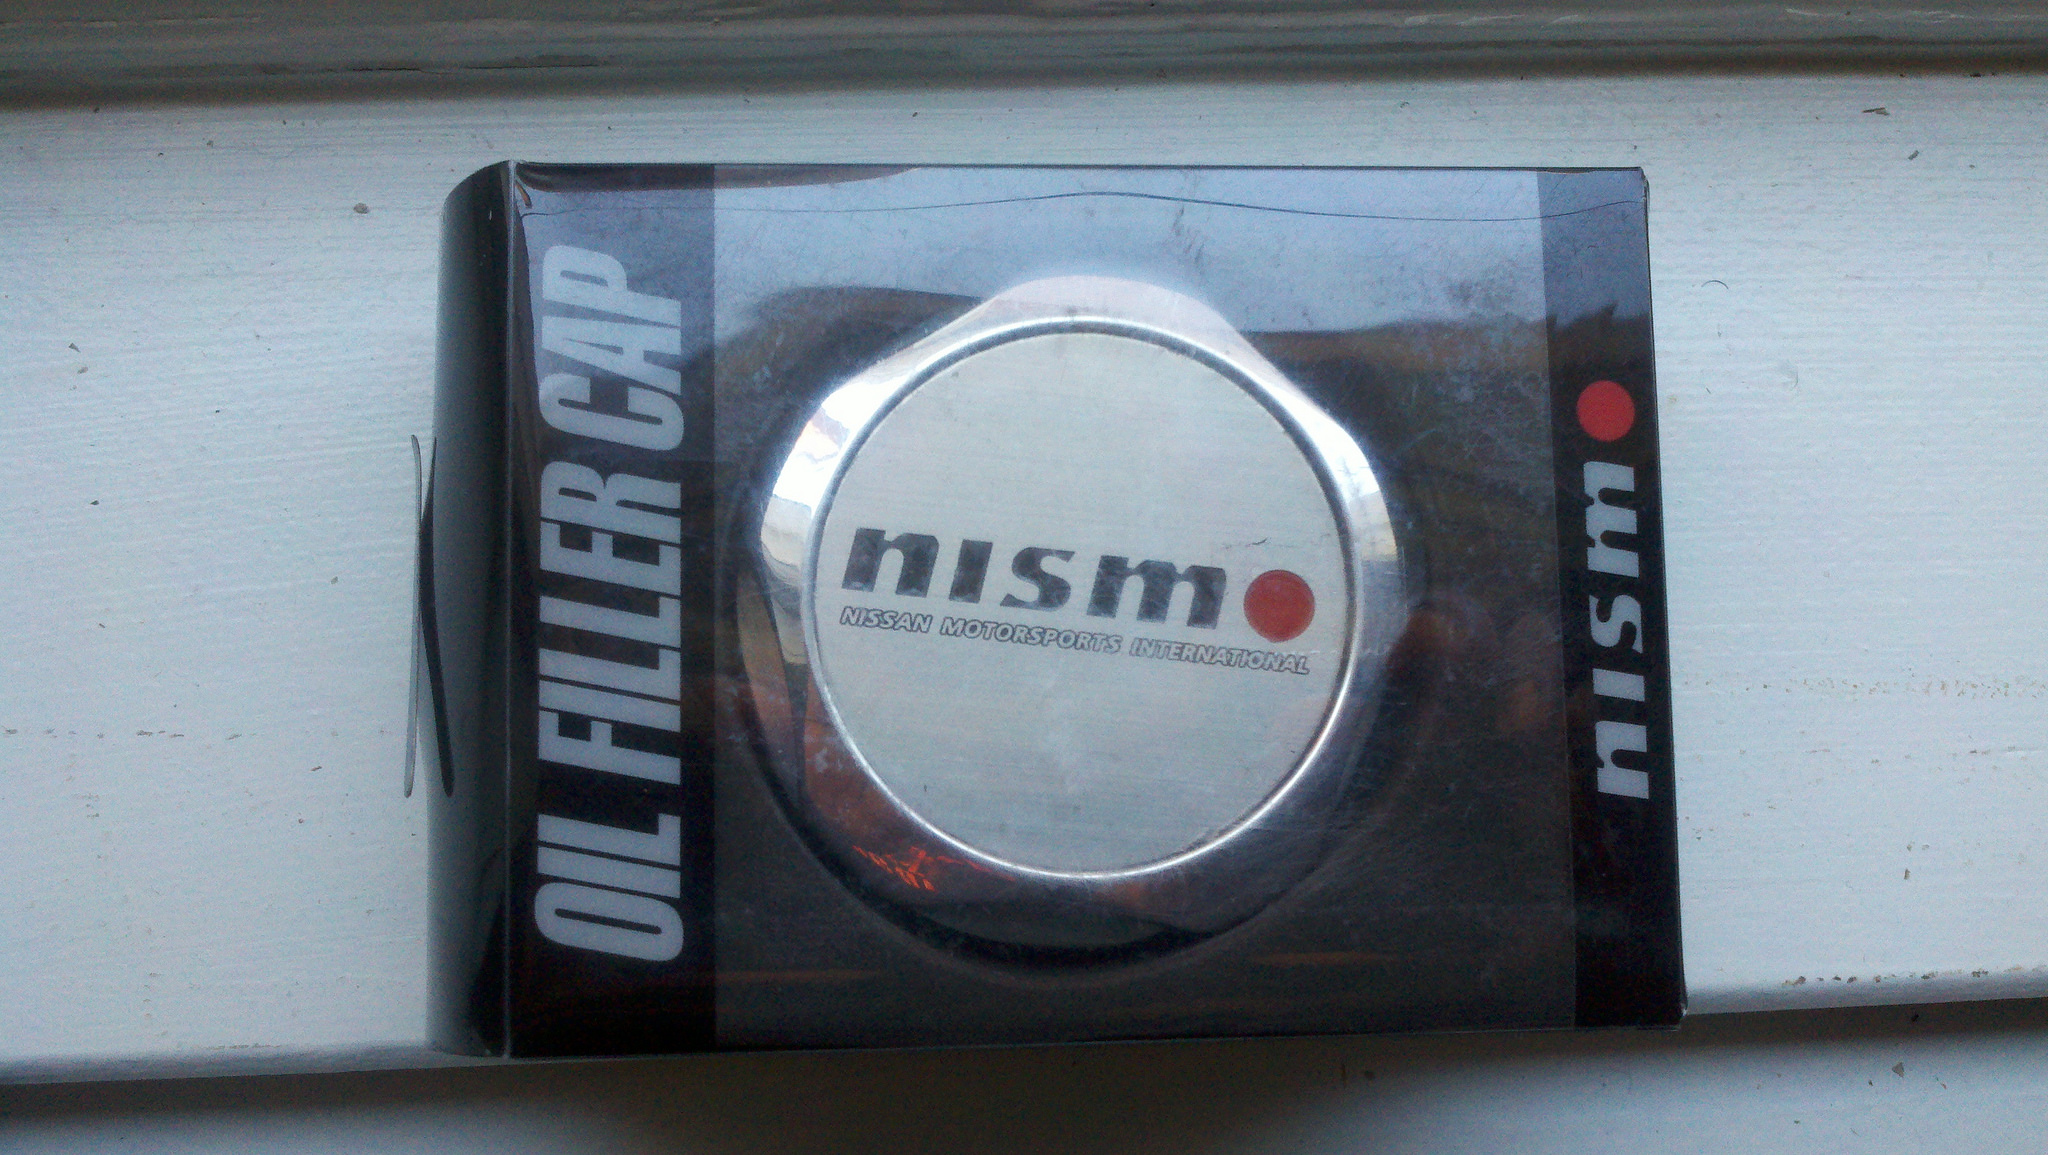
I also bought a REAL Nismo oil cap from Japan. Got tired of that FAKE one with the stick on Nismo label that kept falling off….GARBAGE!!!
Almost done with all the little parts. They already have the fuel pump installed….didnt get pics of that because it was already complete when I arrived (they work fast). Just have to get that caliper brackets re-tapped to put the front brake kit on, put new powdercoated coolant lines on and then they will start with the turbo piping and paint front lip and put it on…then its tune time!!!!
No big update like I thought because the company that the shop ordered the intercooler from has not delivered it yet so they have not finished the turbo piping yet, but they have gotten it started. Here are some pics of what they have so far:
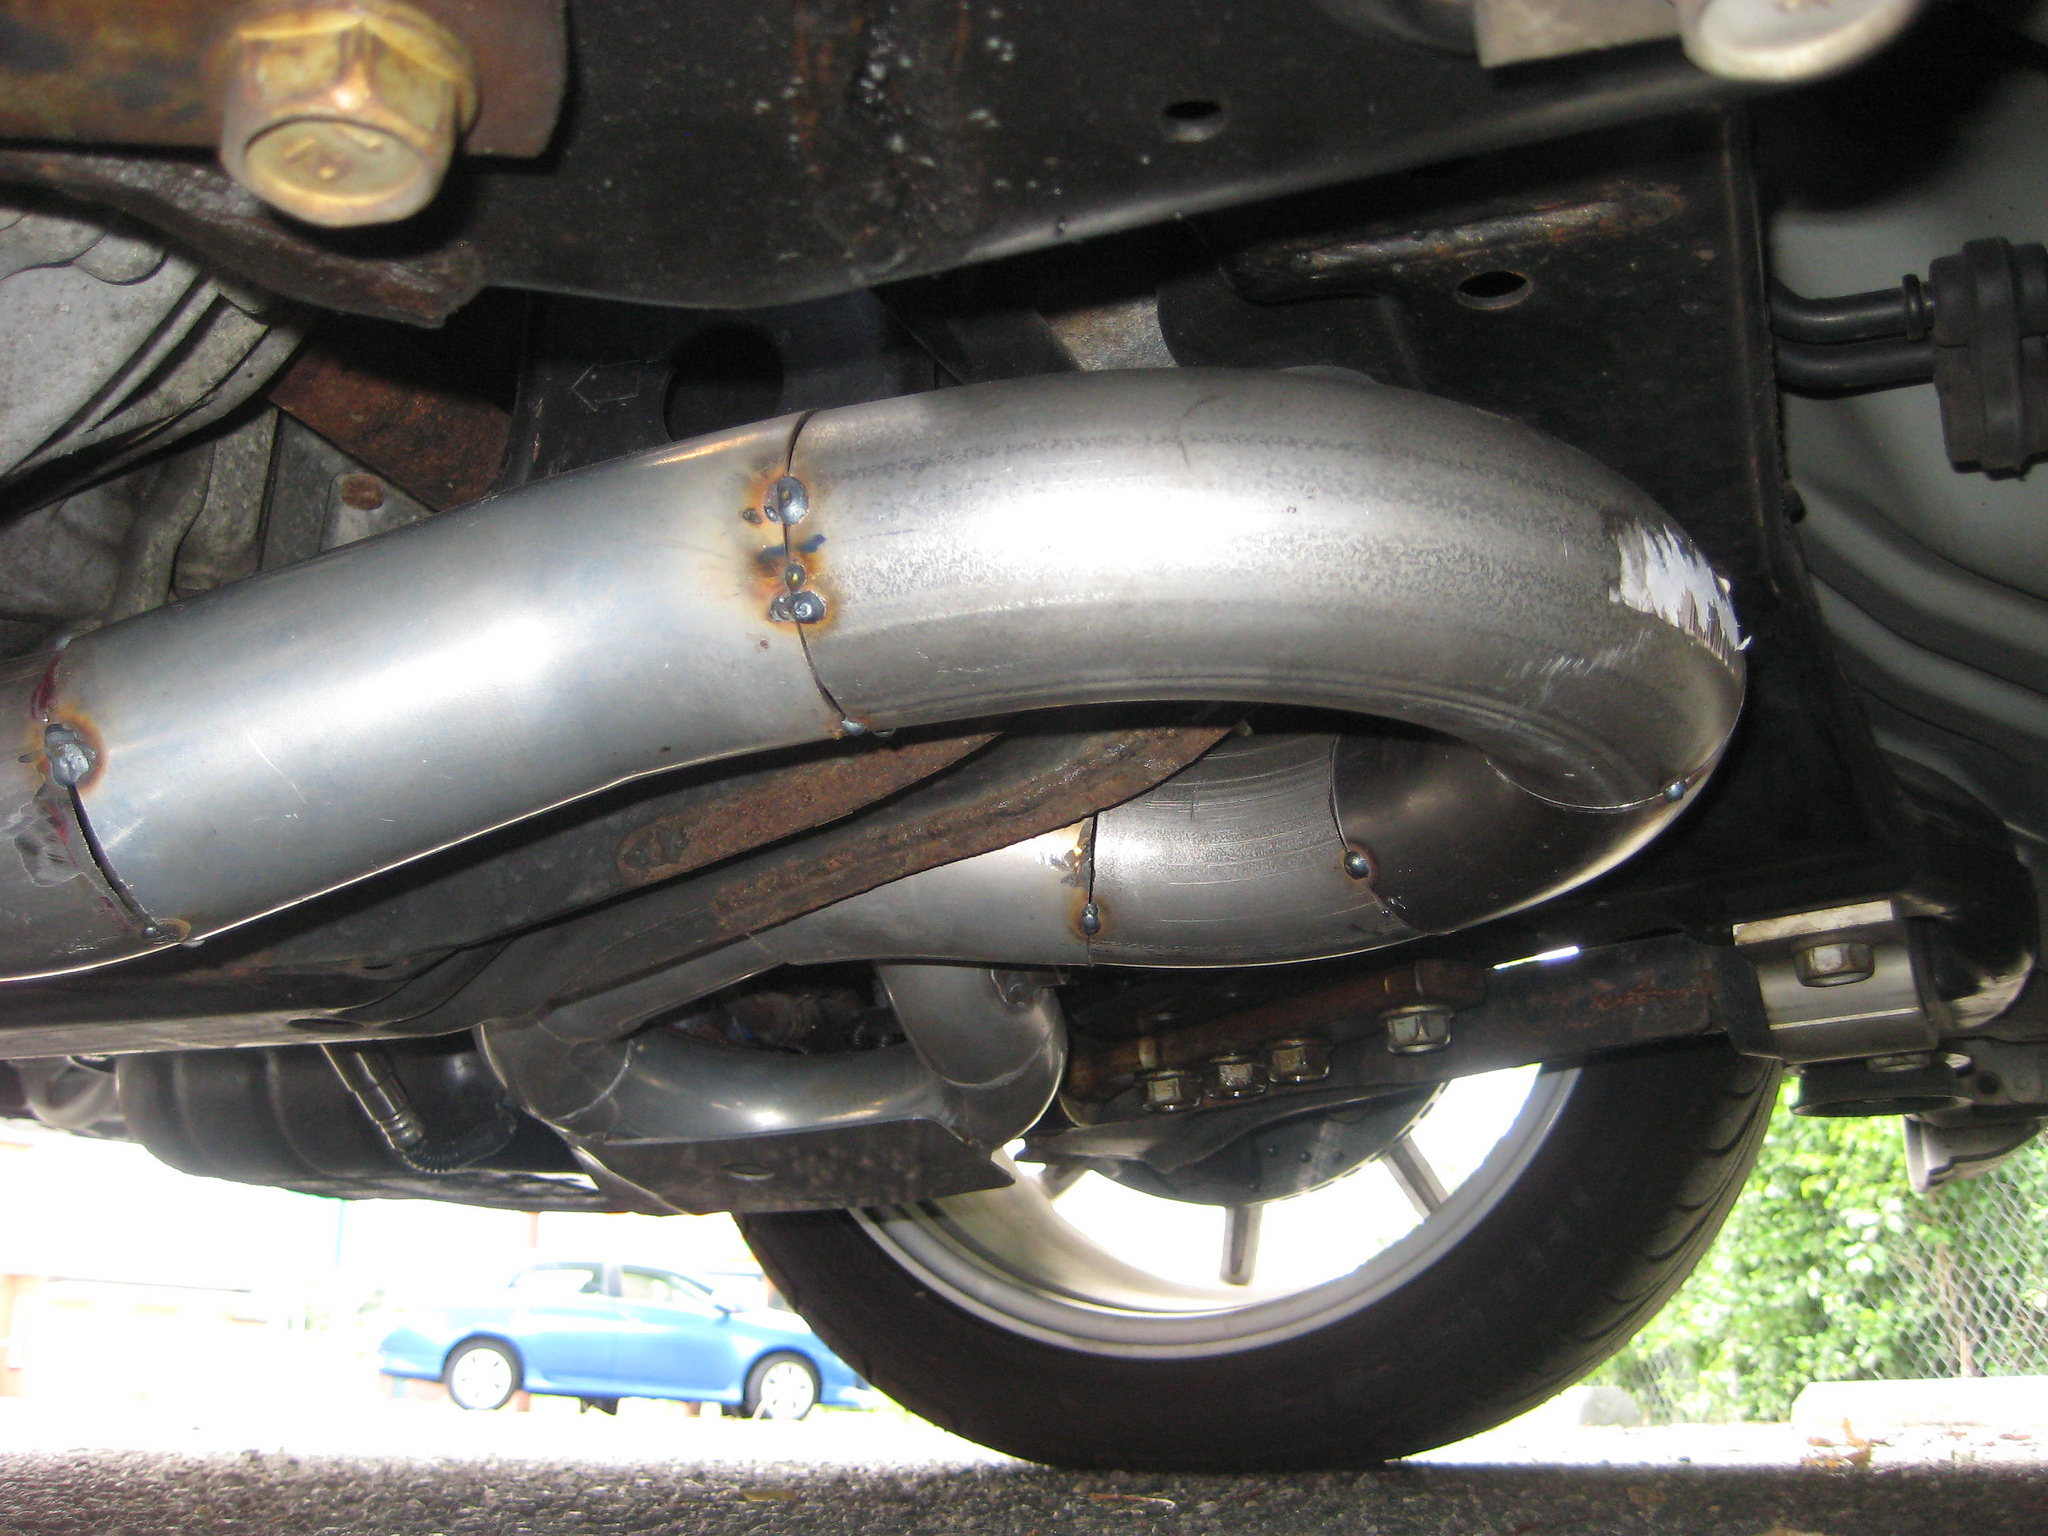
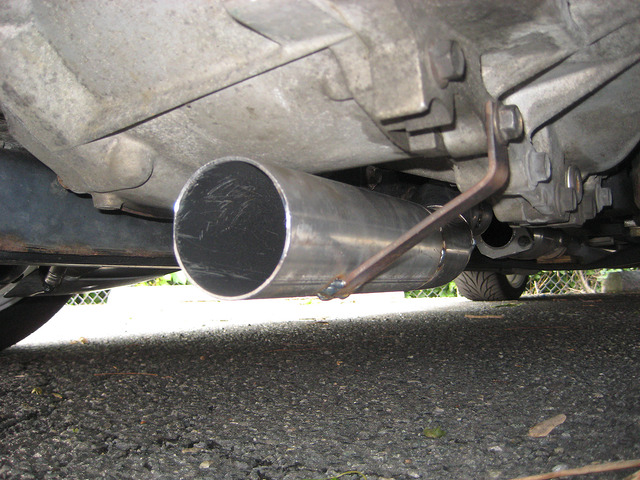
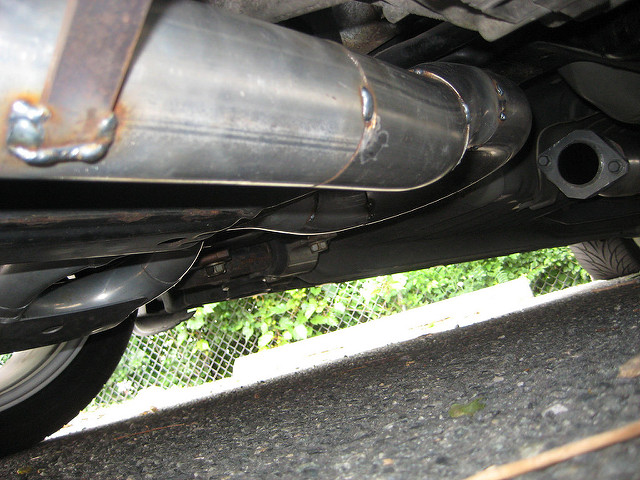
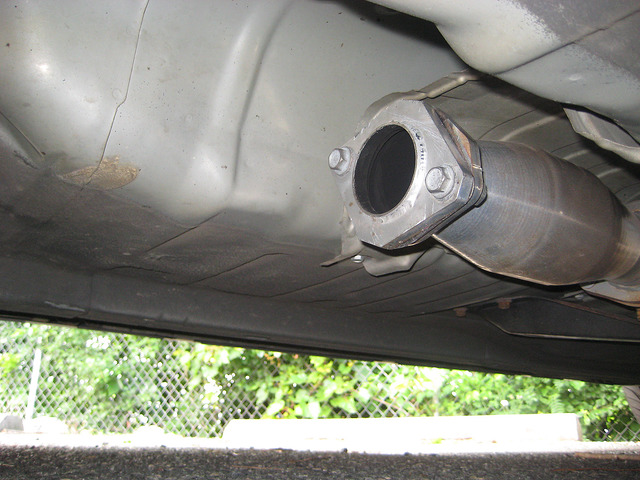
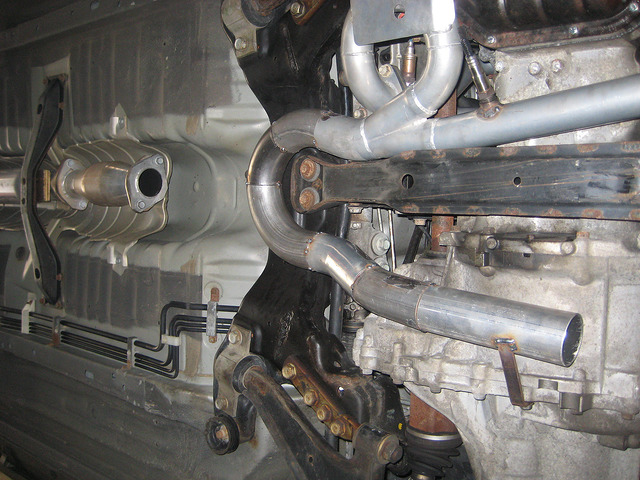
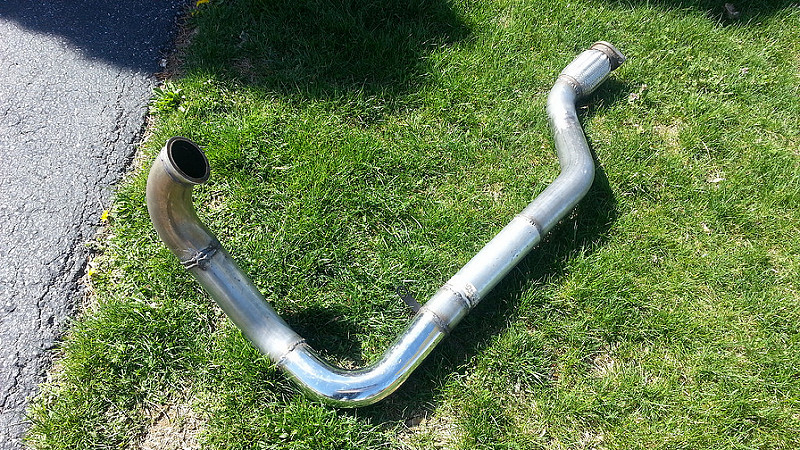
As you can see the entire cattman setup from headers to y-pipe from the cattback will be used…
Cattman fastcat where downpipe will connect:
The intercooler should arrive this week so hopefully they can get this completed this week so I can go and get this thing tuned and running. I’ll post more updates as new things come along.
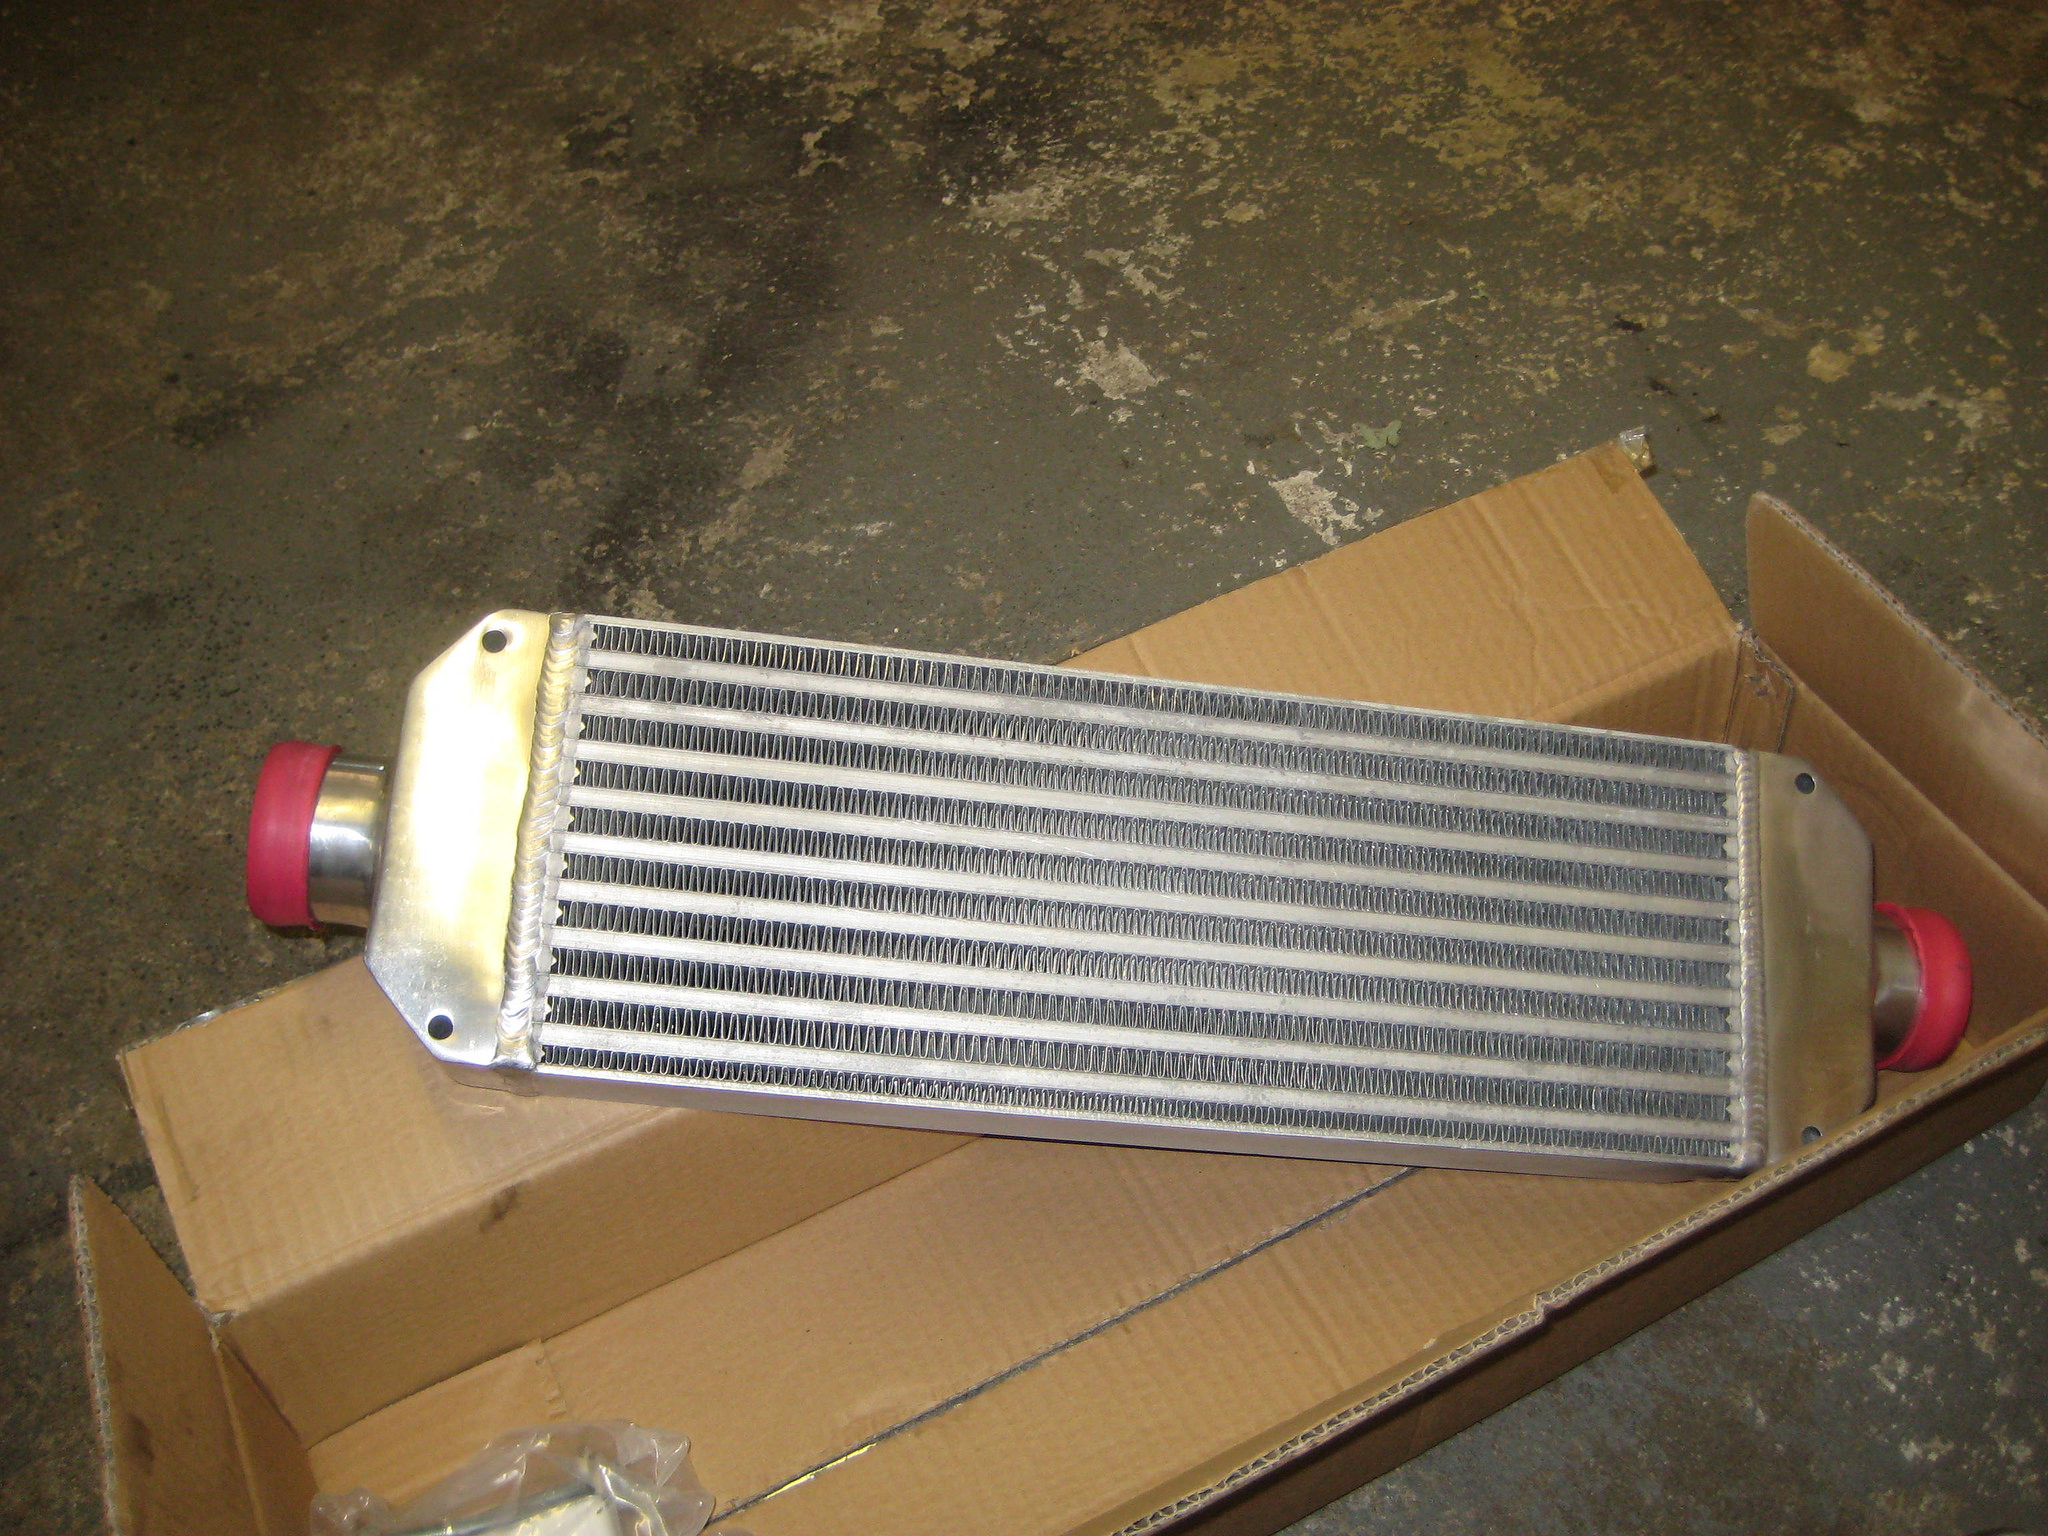
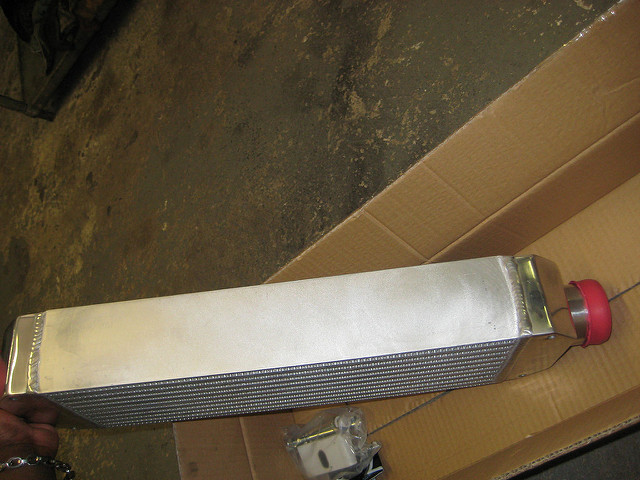
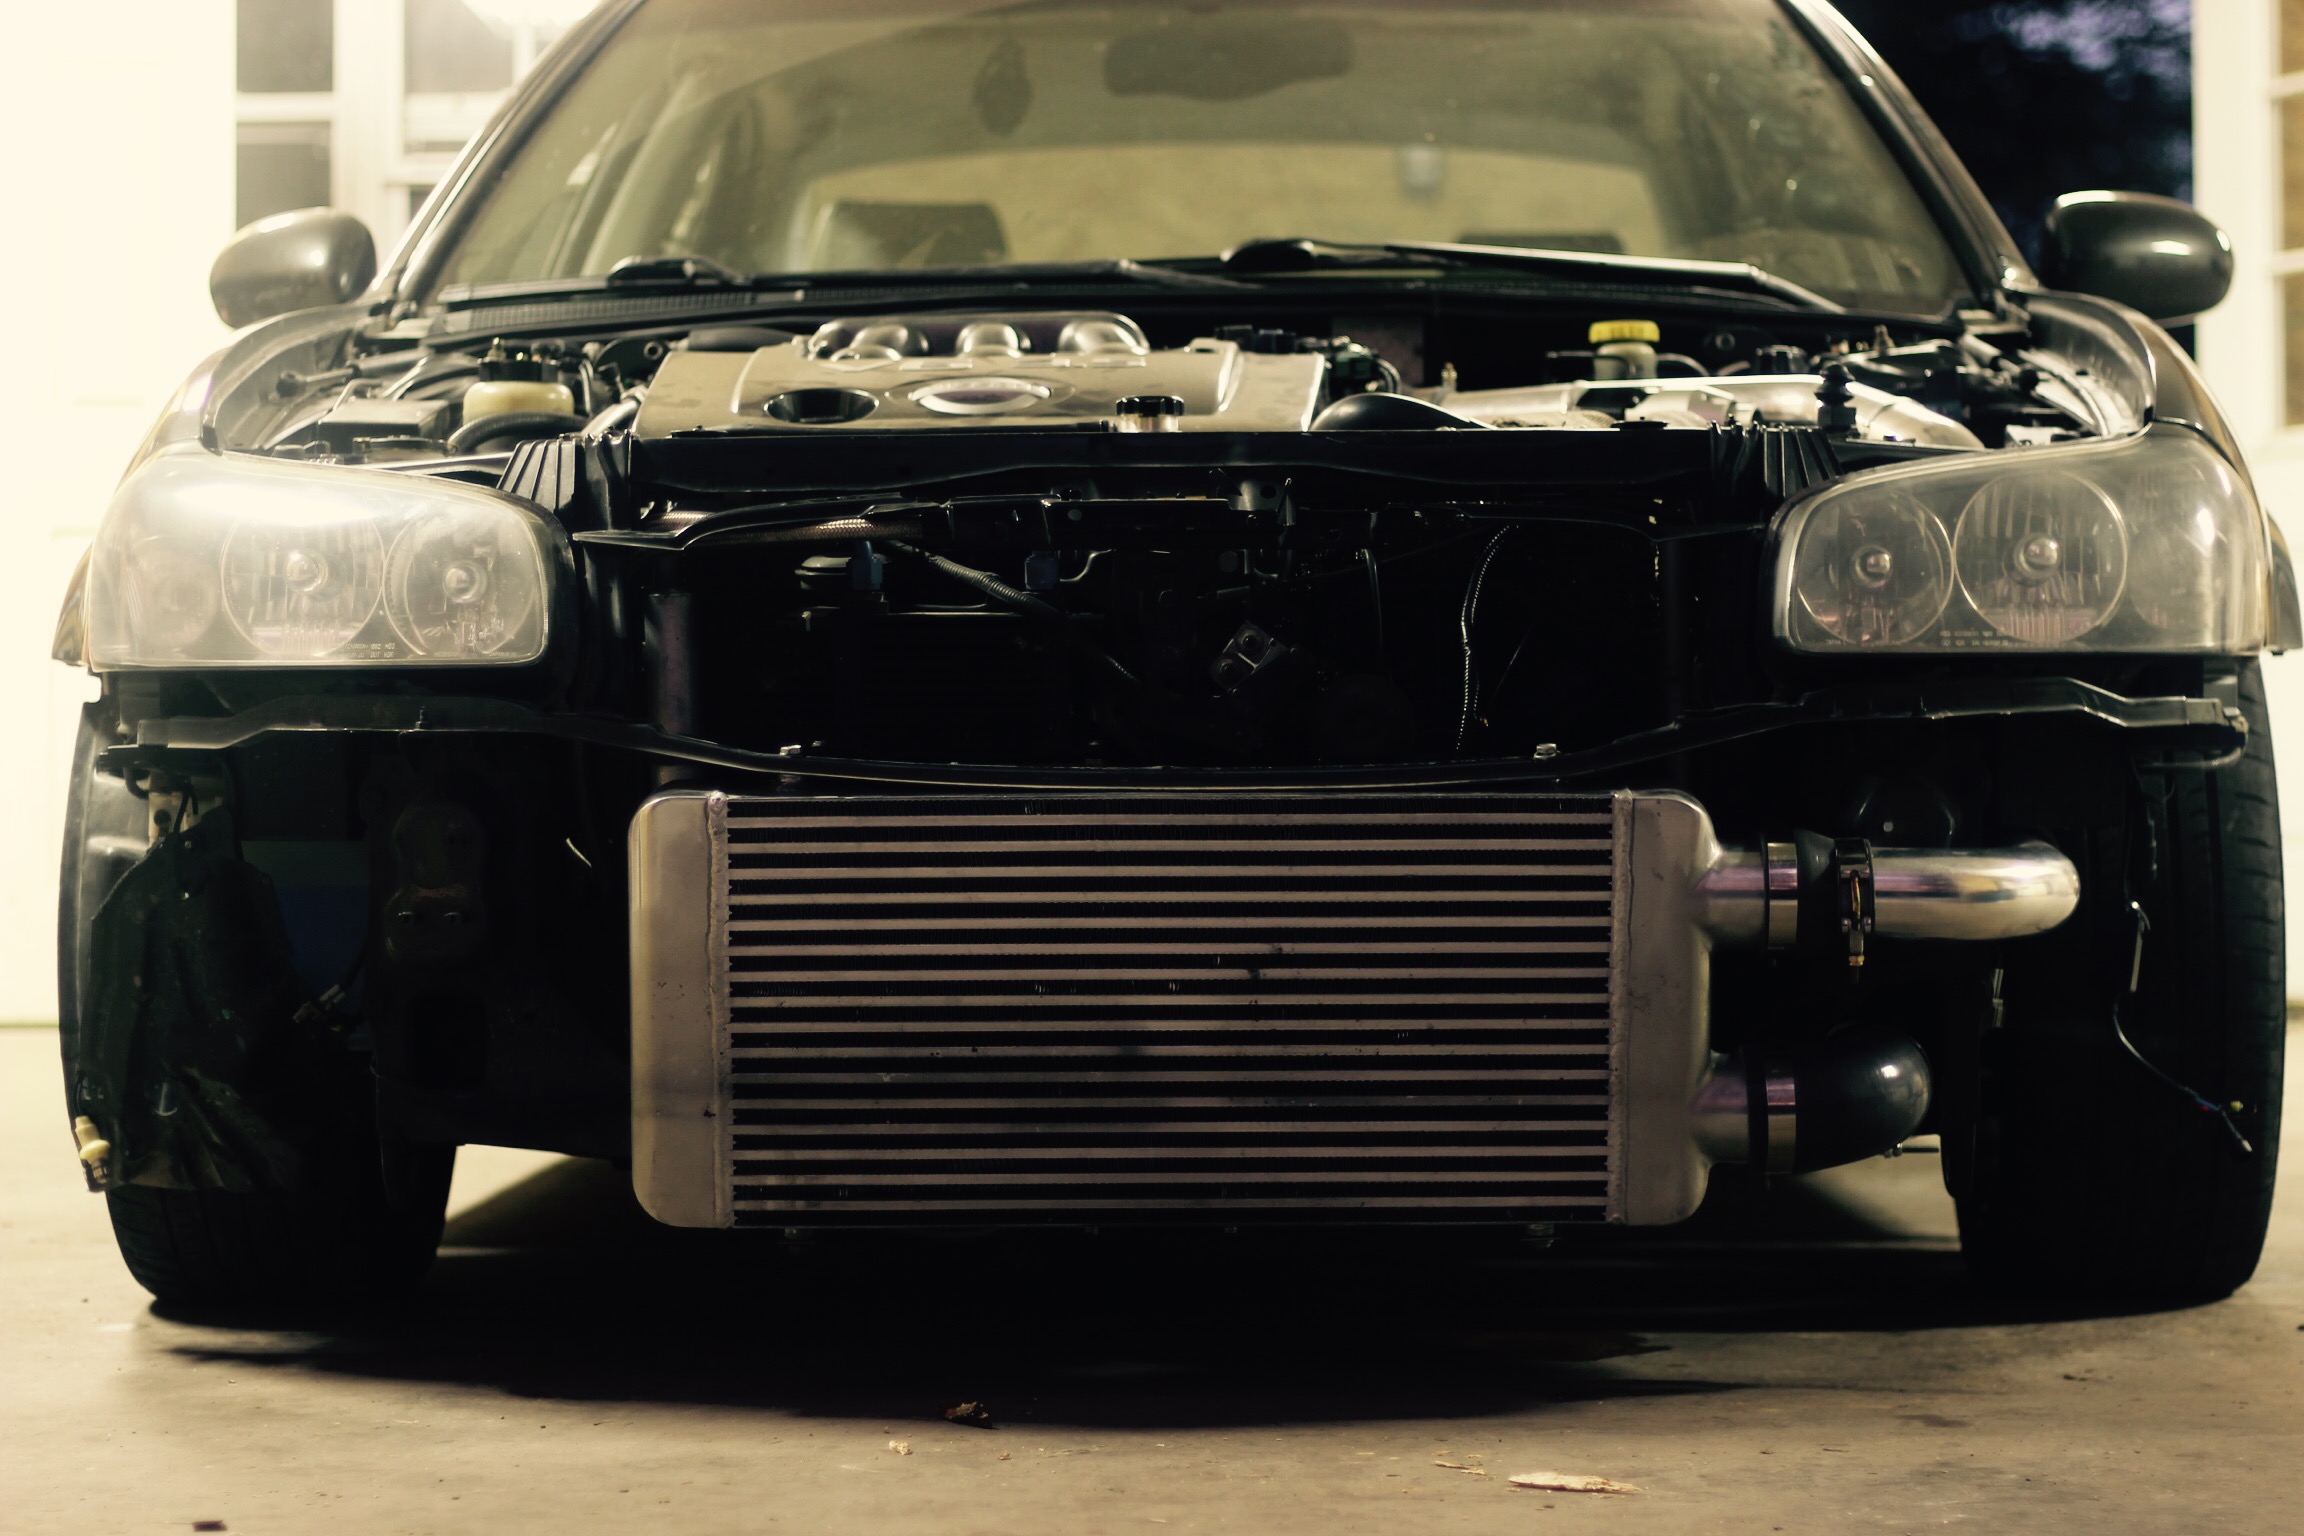
OK intercooler FINALLY came in today……its really nice and thick too. Now they can get to work on finishing all the turbo piping. They were also installing the powdercoated coolant pipes too….should have pics of that tomorrow:
Nice thick intercooler:
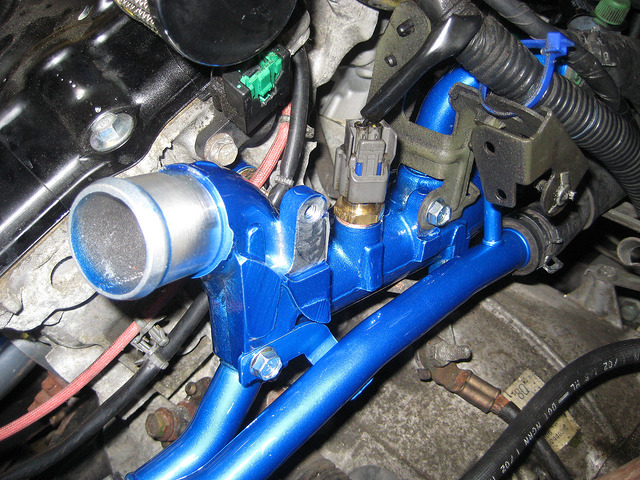
More updates…..getting there. Installing the intercooler now and also got pics of the coolant pipes installed. I also got more pics of the piping because they had the car on the lift:
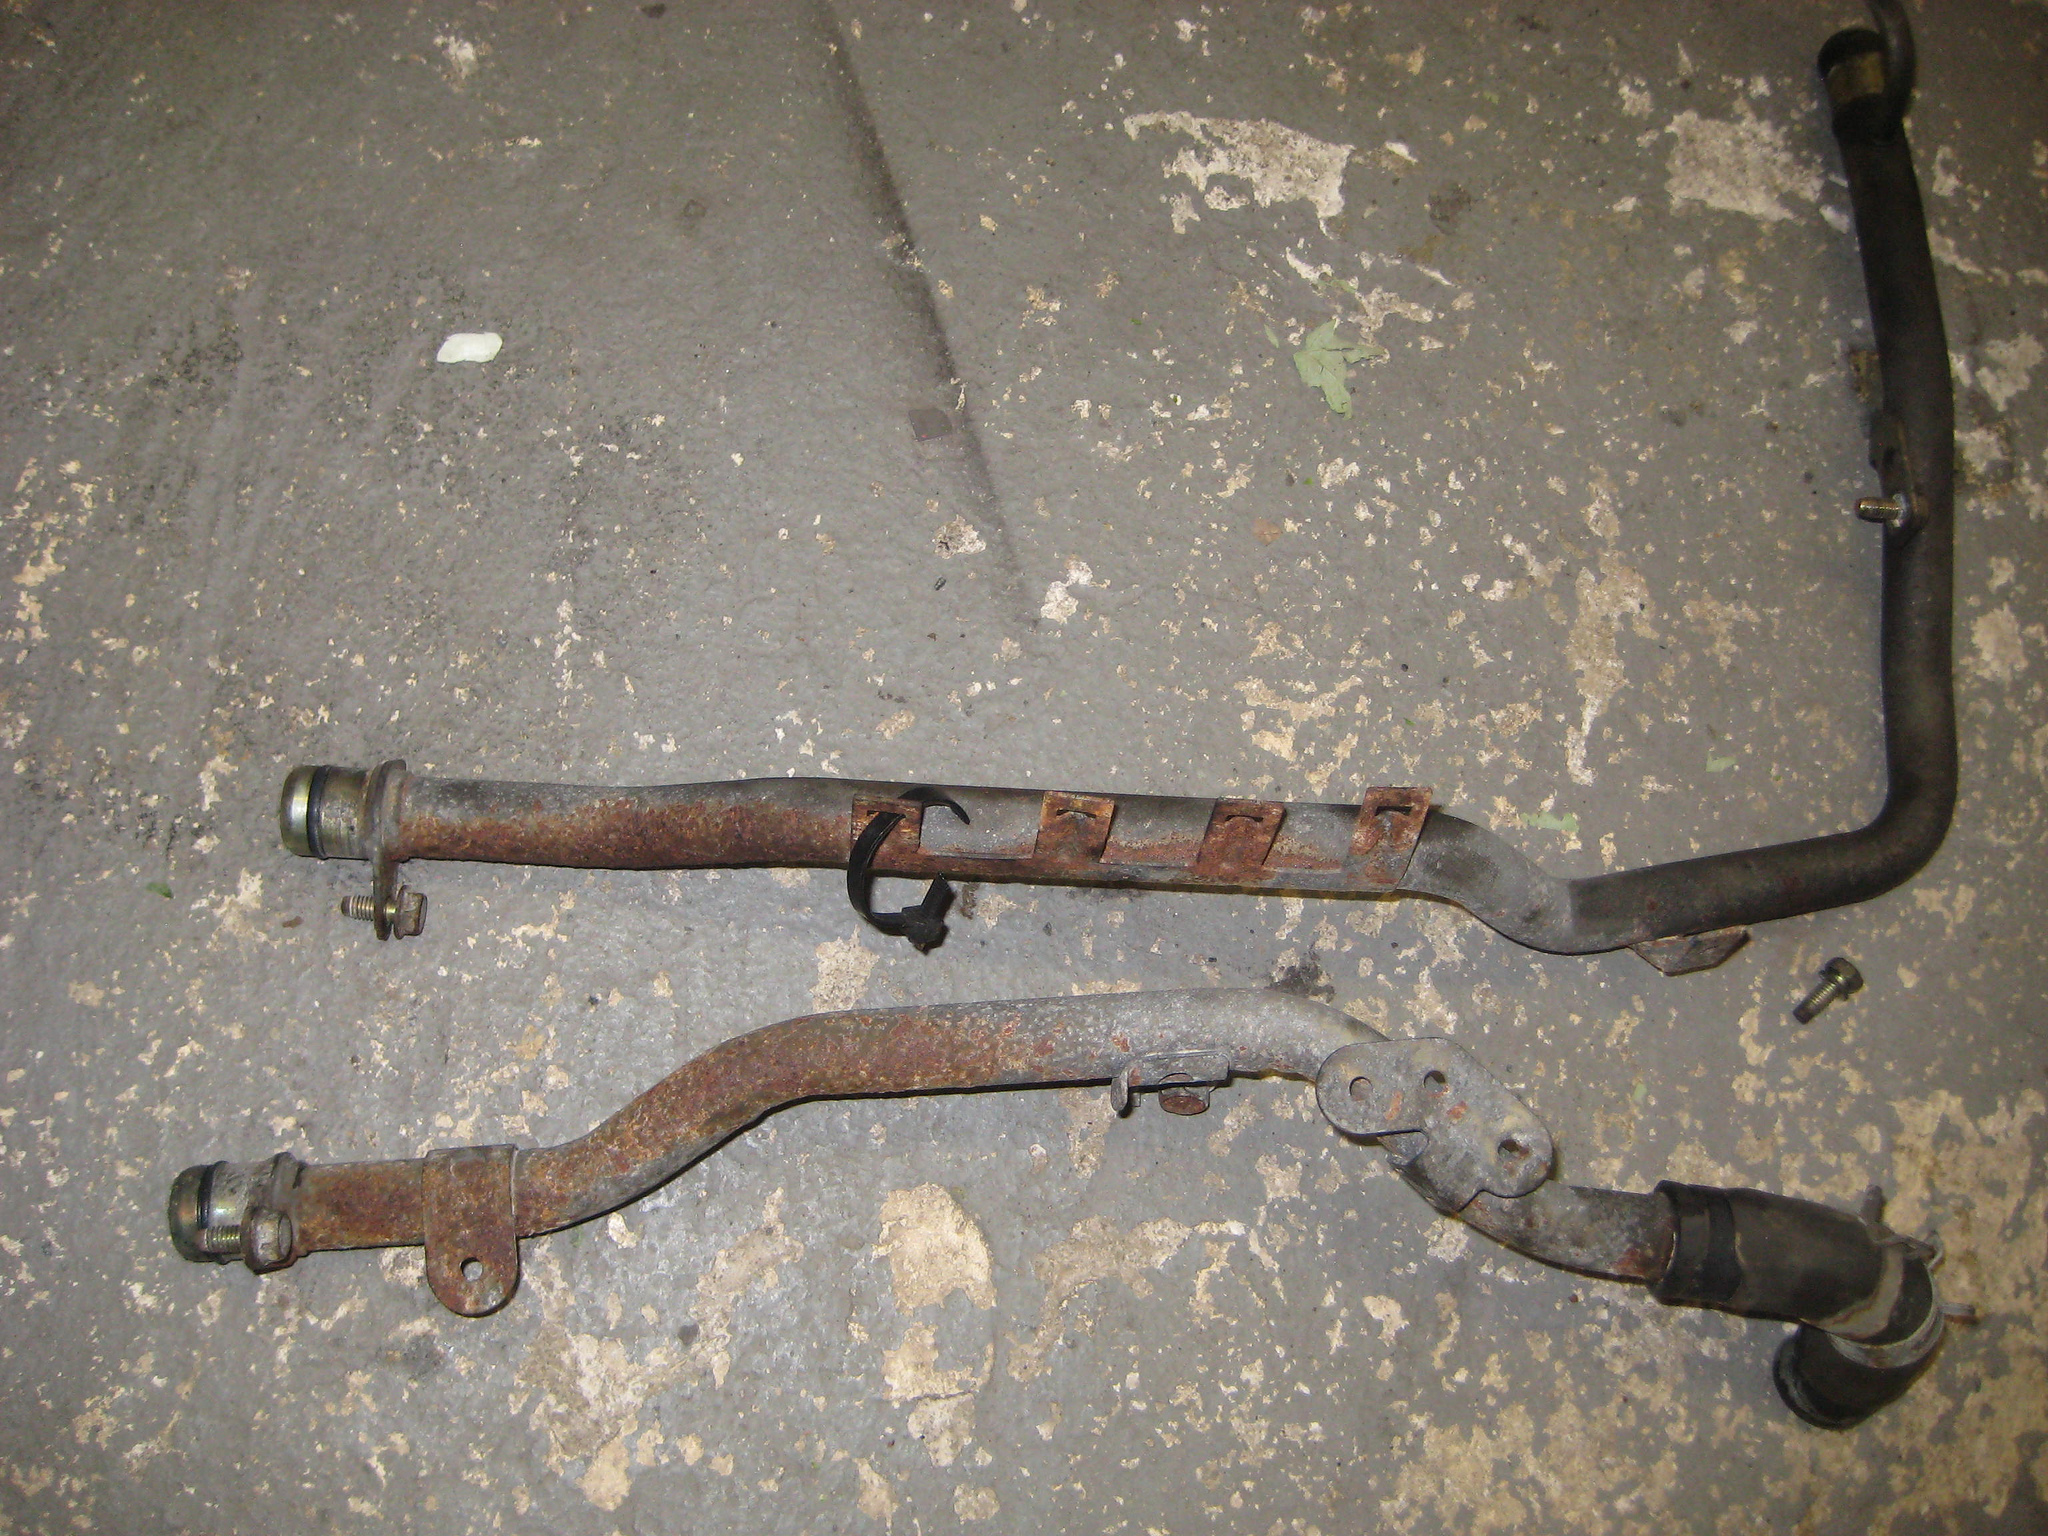
Here are the coolant pipes:
OLD RUSTED UGLY COOLANT PIPES:
THE NEW STUFF!!!
They were mounting the intercooler and starting to weld the piping for the downpipe when I left….so they should be about finished soon. After they have everything welded up they are going to send the exhaust side off to get ceramic coated and they are going to polish the intake piping. Engine bay going to look really nice!!!
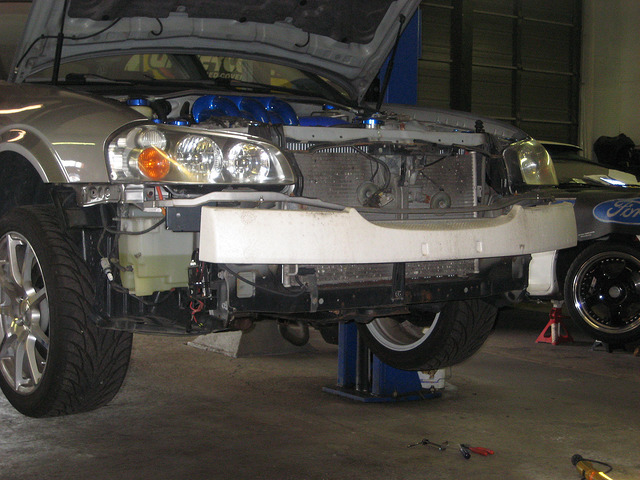
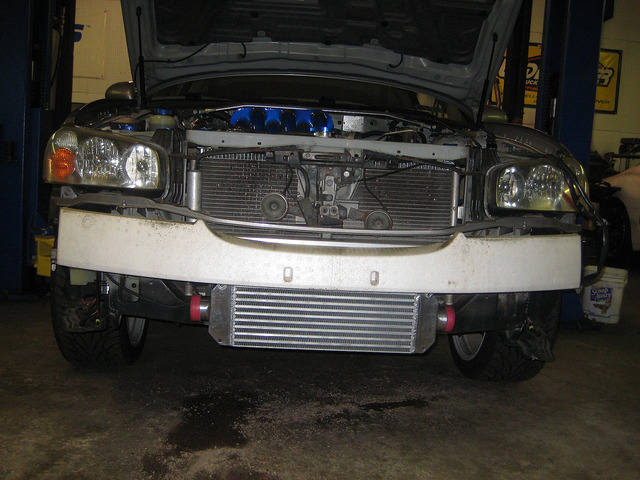
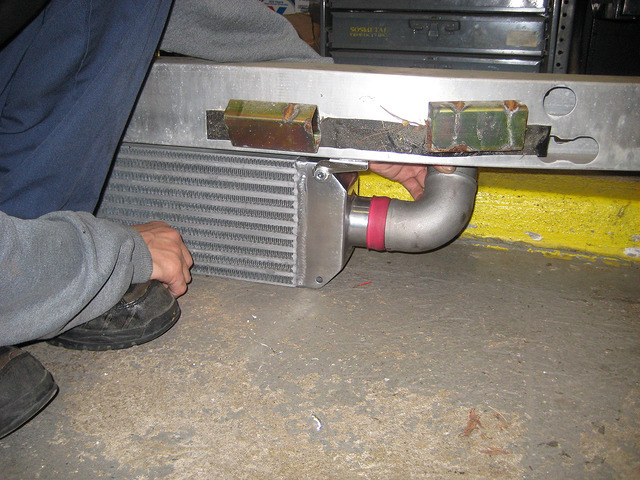
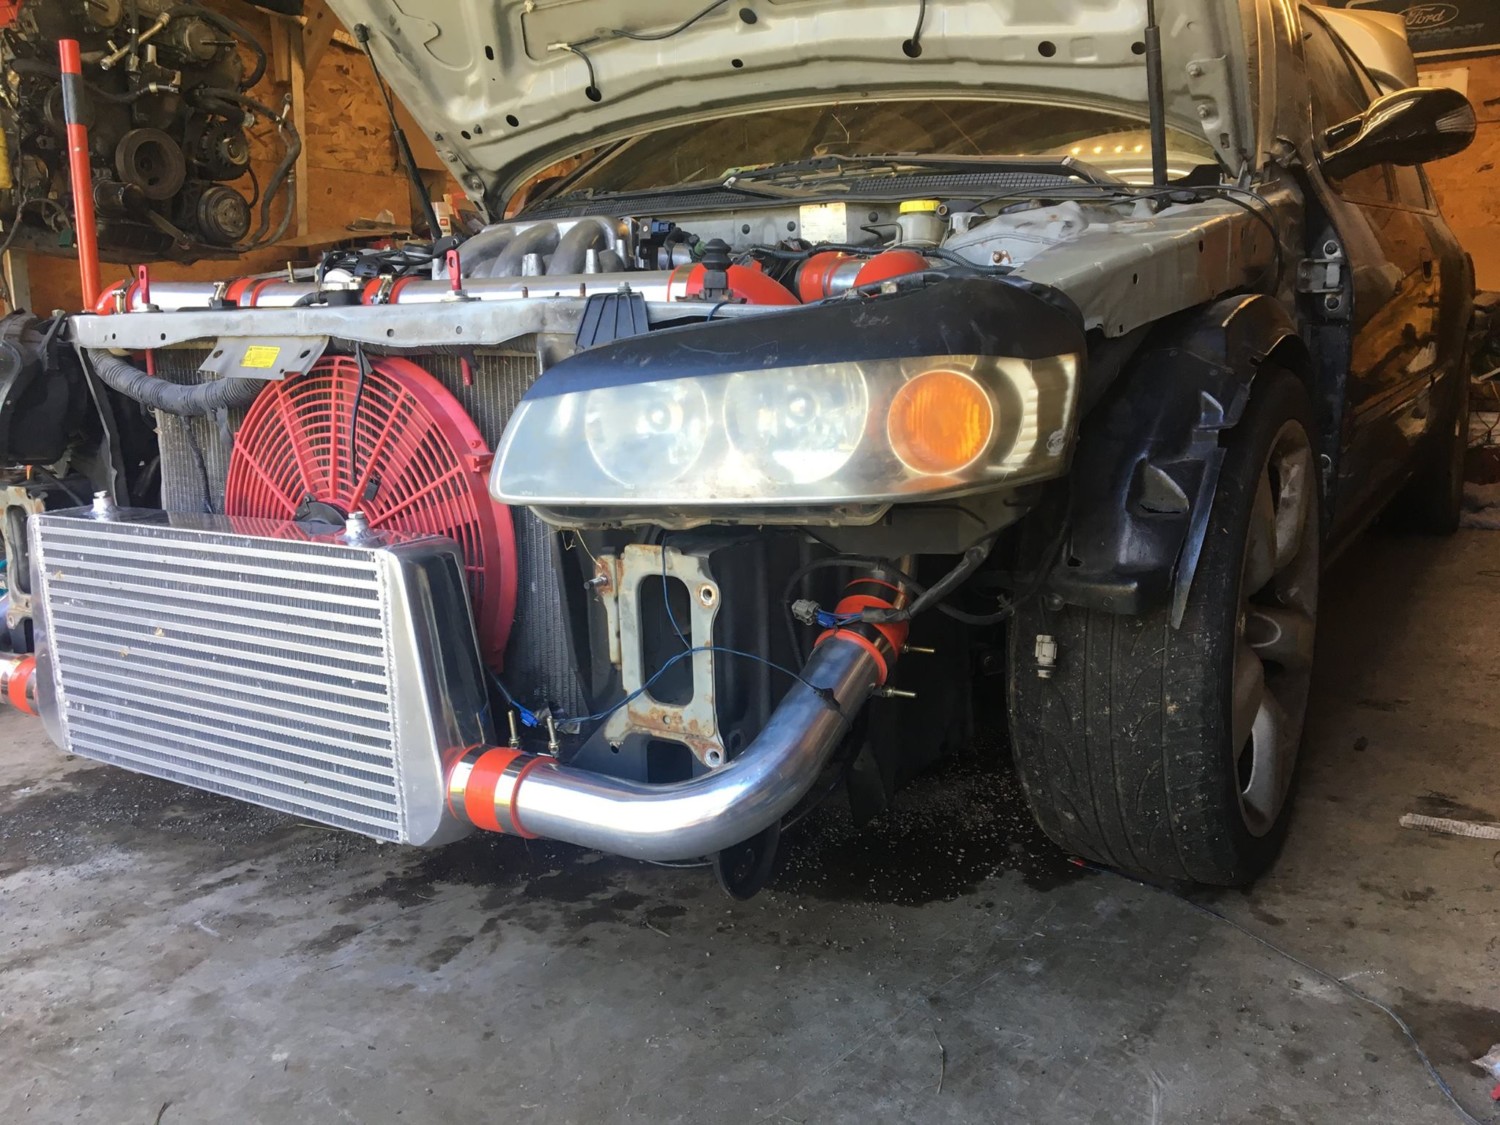
The intercooler is mounted
Intercooler came with these nice brackets which made it VERY easy to mount
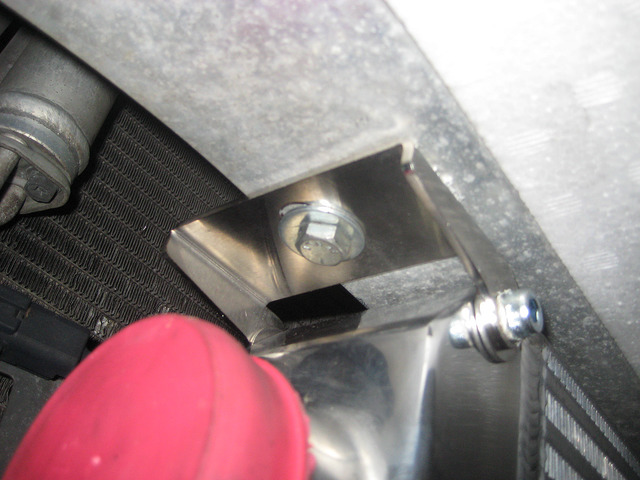
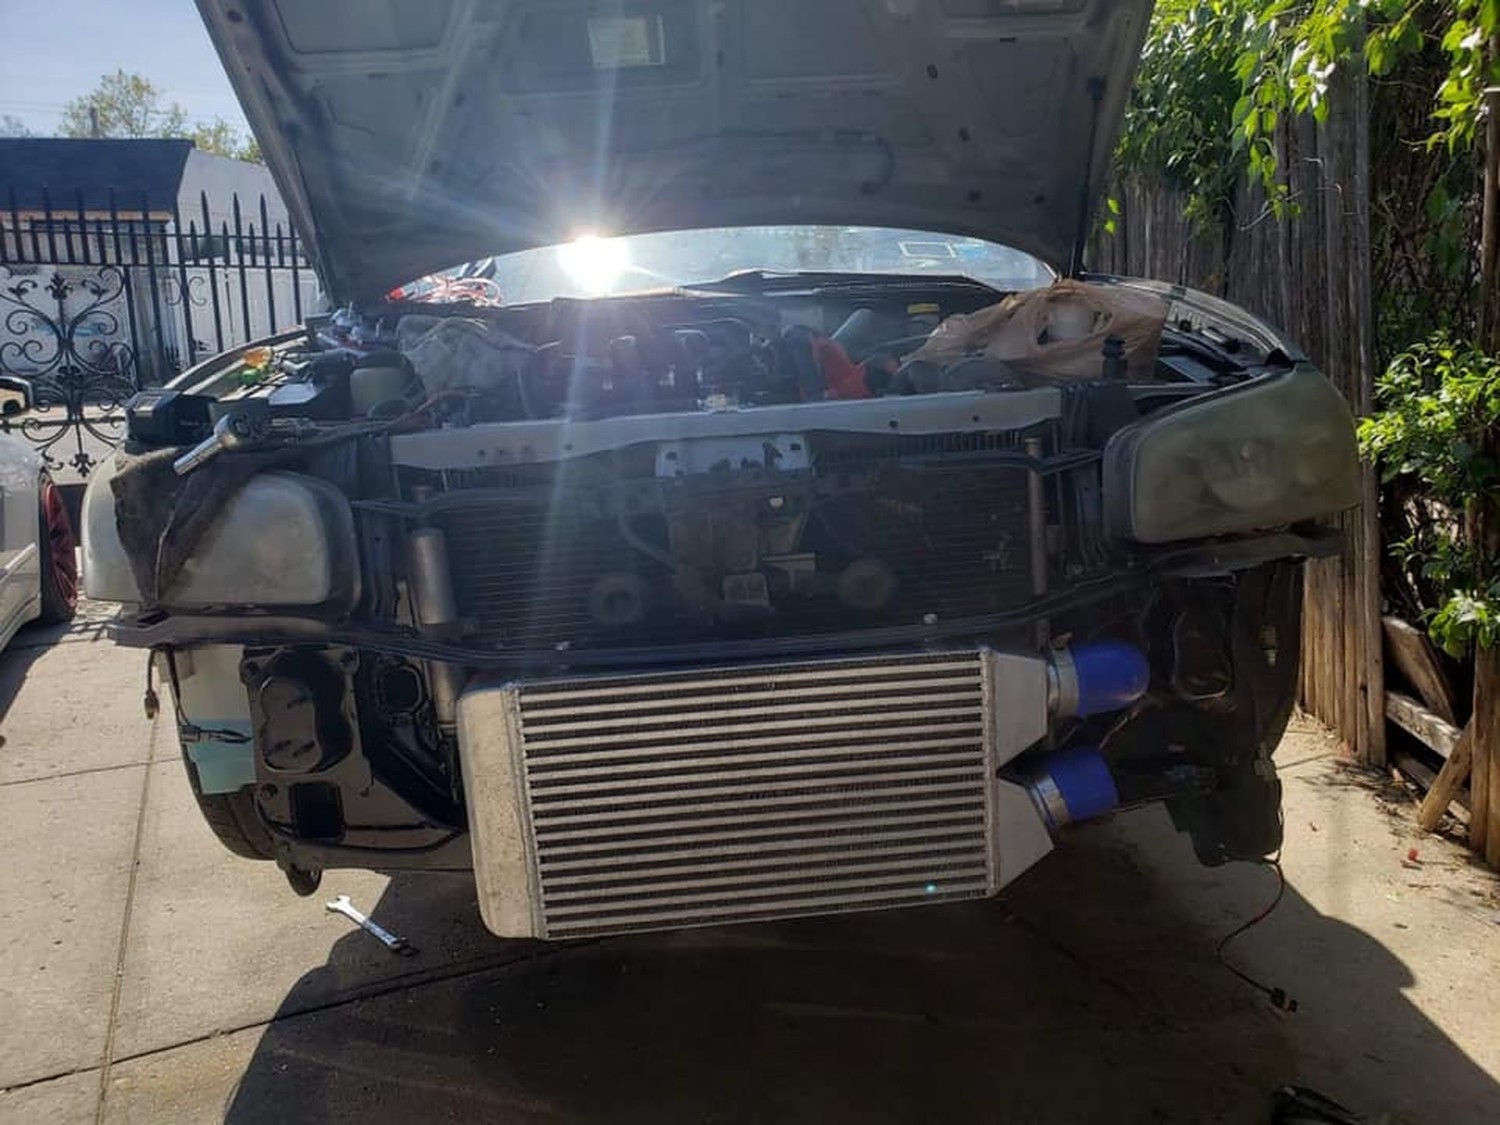
Example of how hotside piping into intercooler will look. Going to have to drill a hole into one part of the front of the engine near the radiator
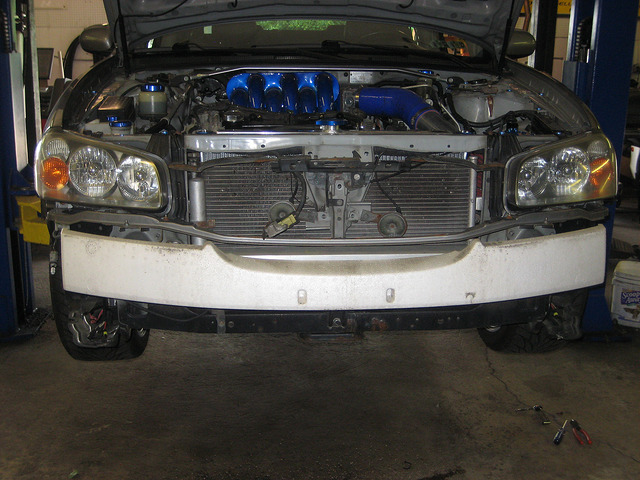
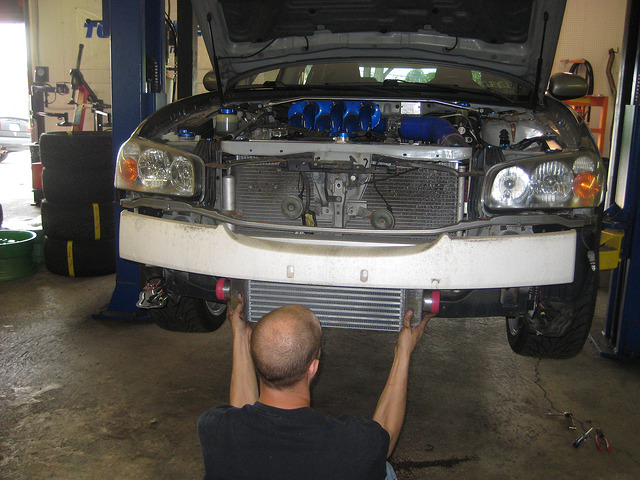
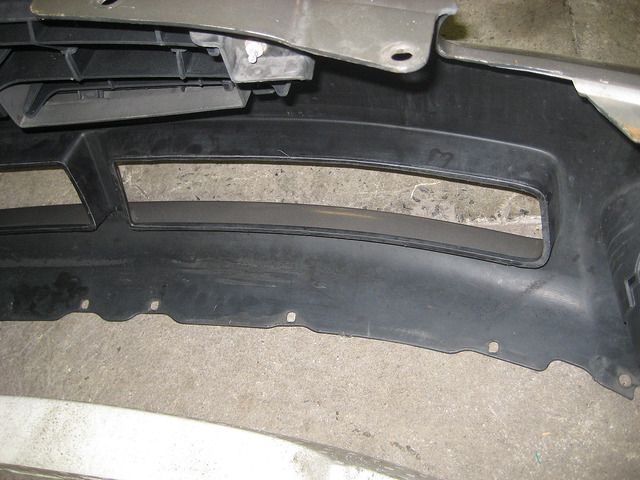
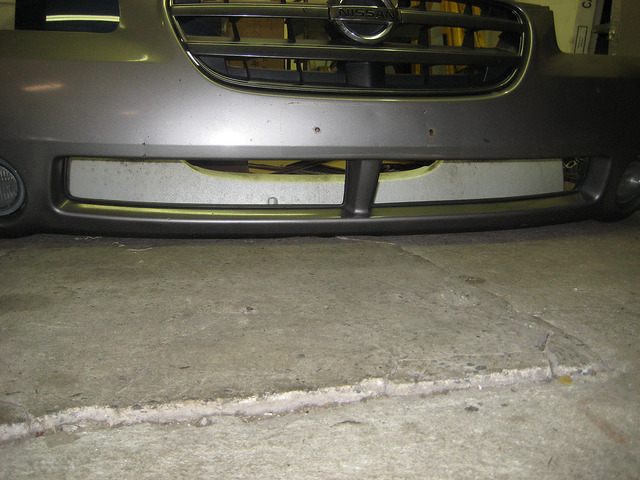
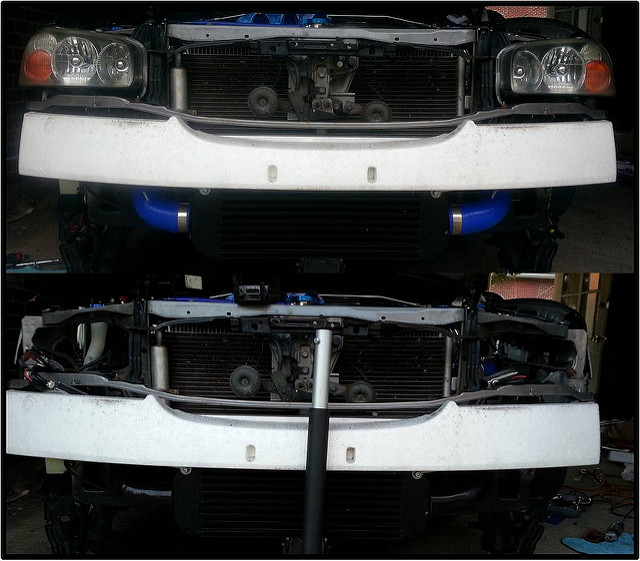
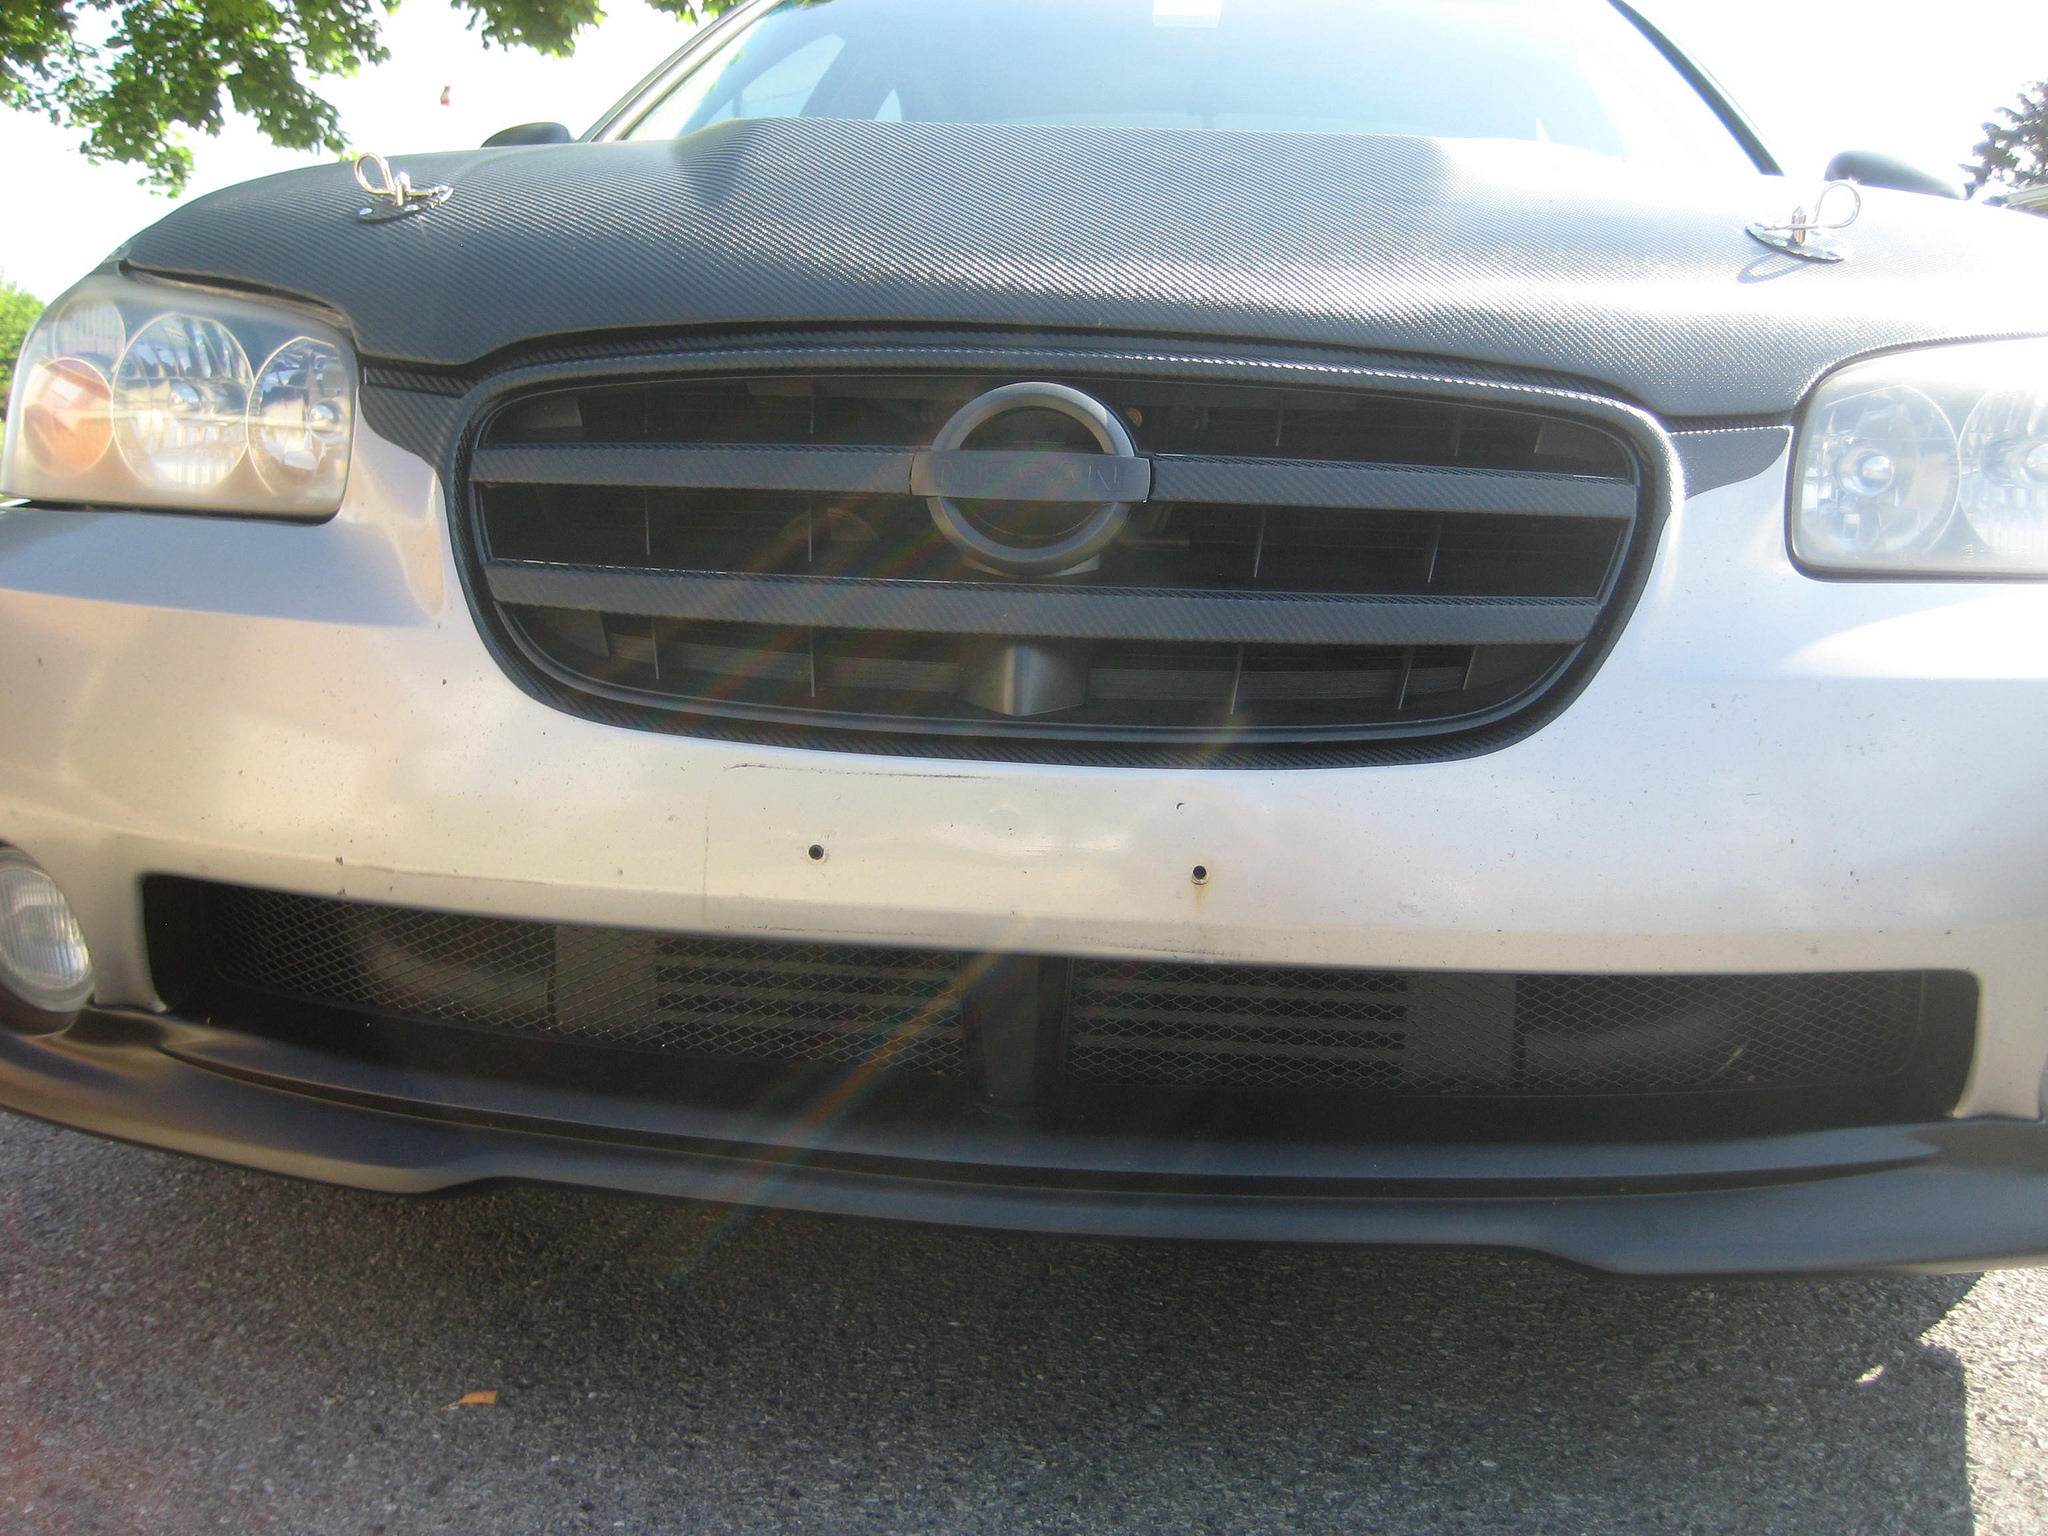
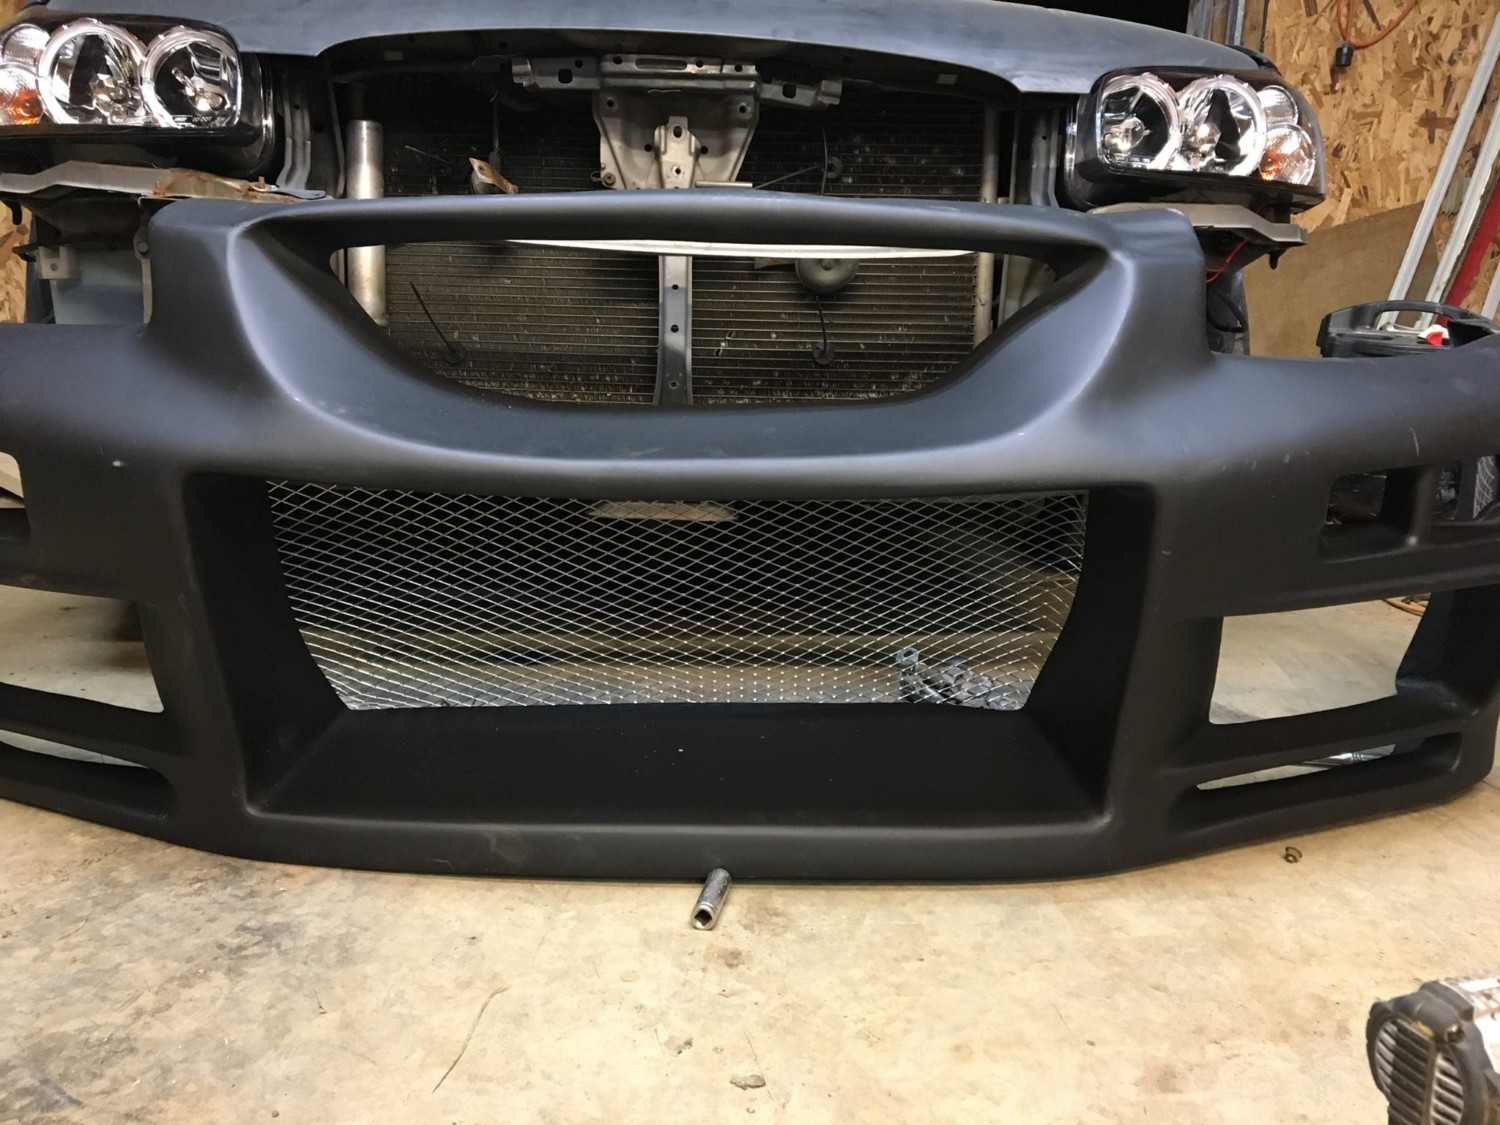
Front bumper lower grill was cut out to make room for the intercooler to fit
View of the front bumper with lower grill cutout. Going to install some black mesh grill in place of the factory plastic lower grill to cover intercooler and make it hidden a little bit
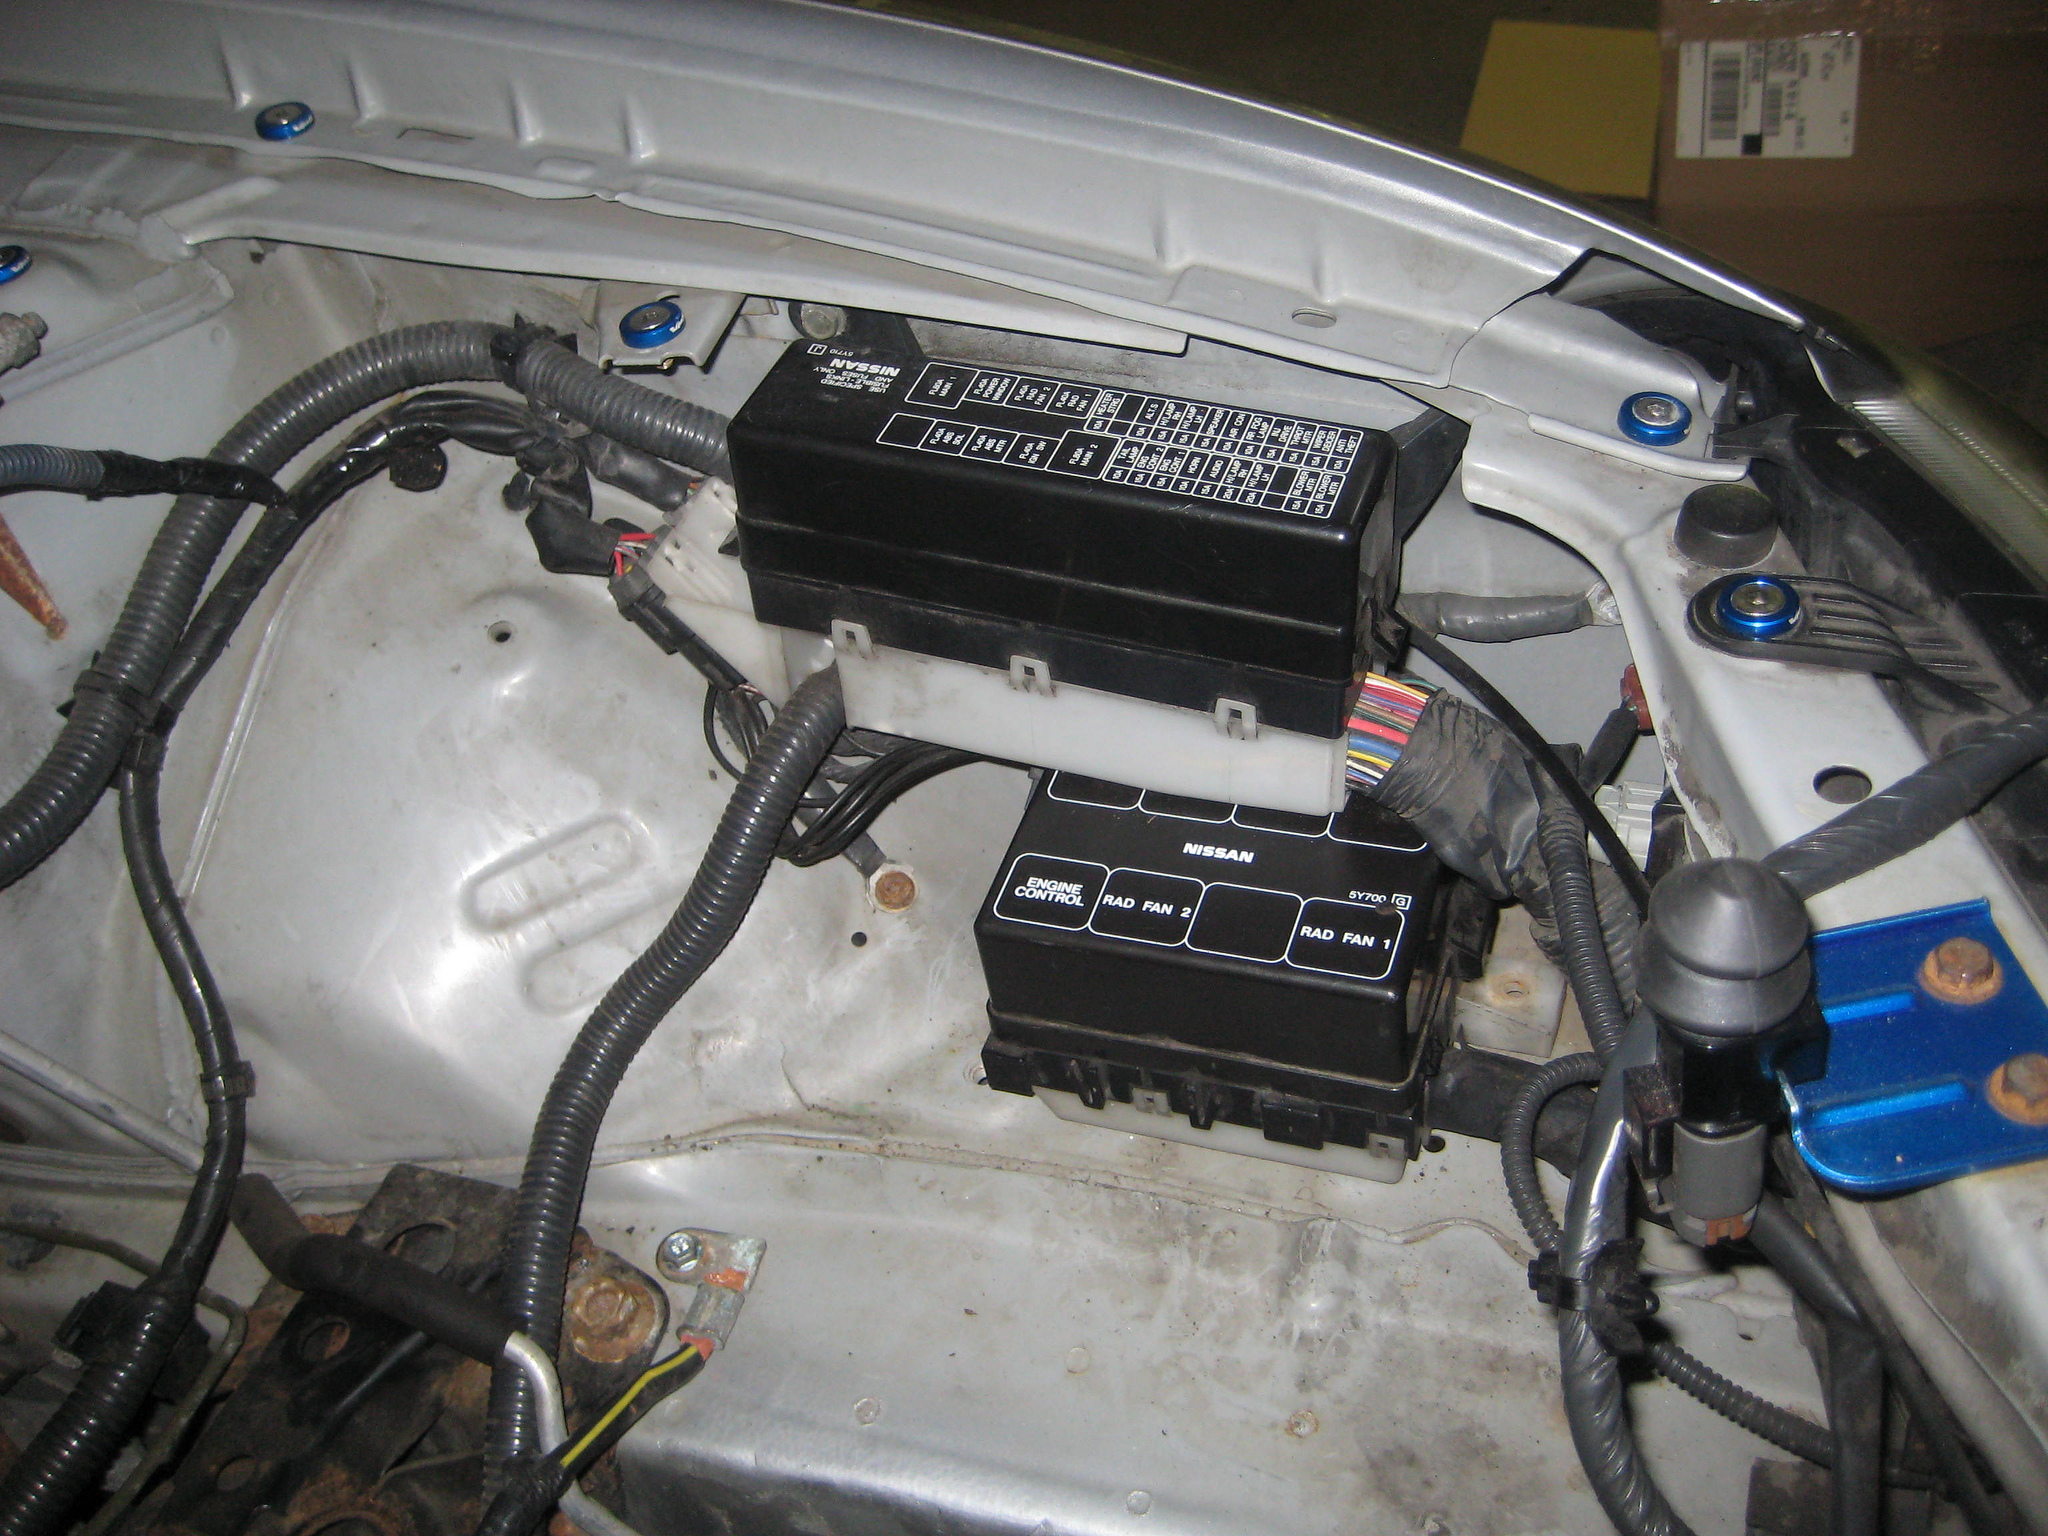
Fuse boxes relocated to make room for the turbo
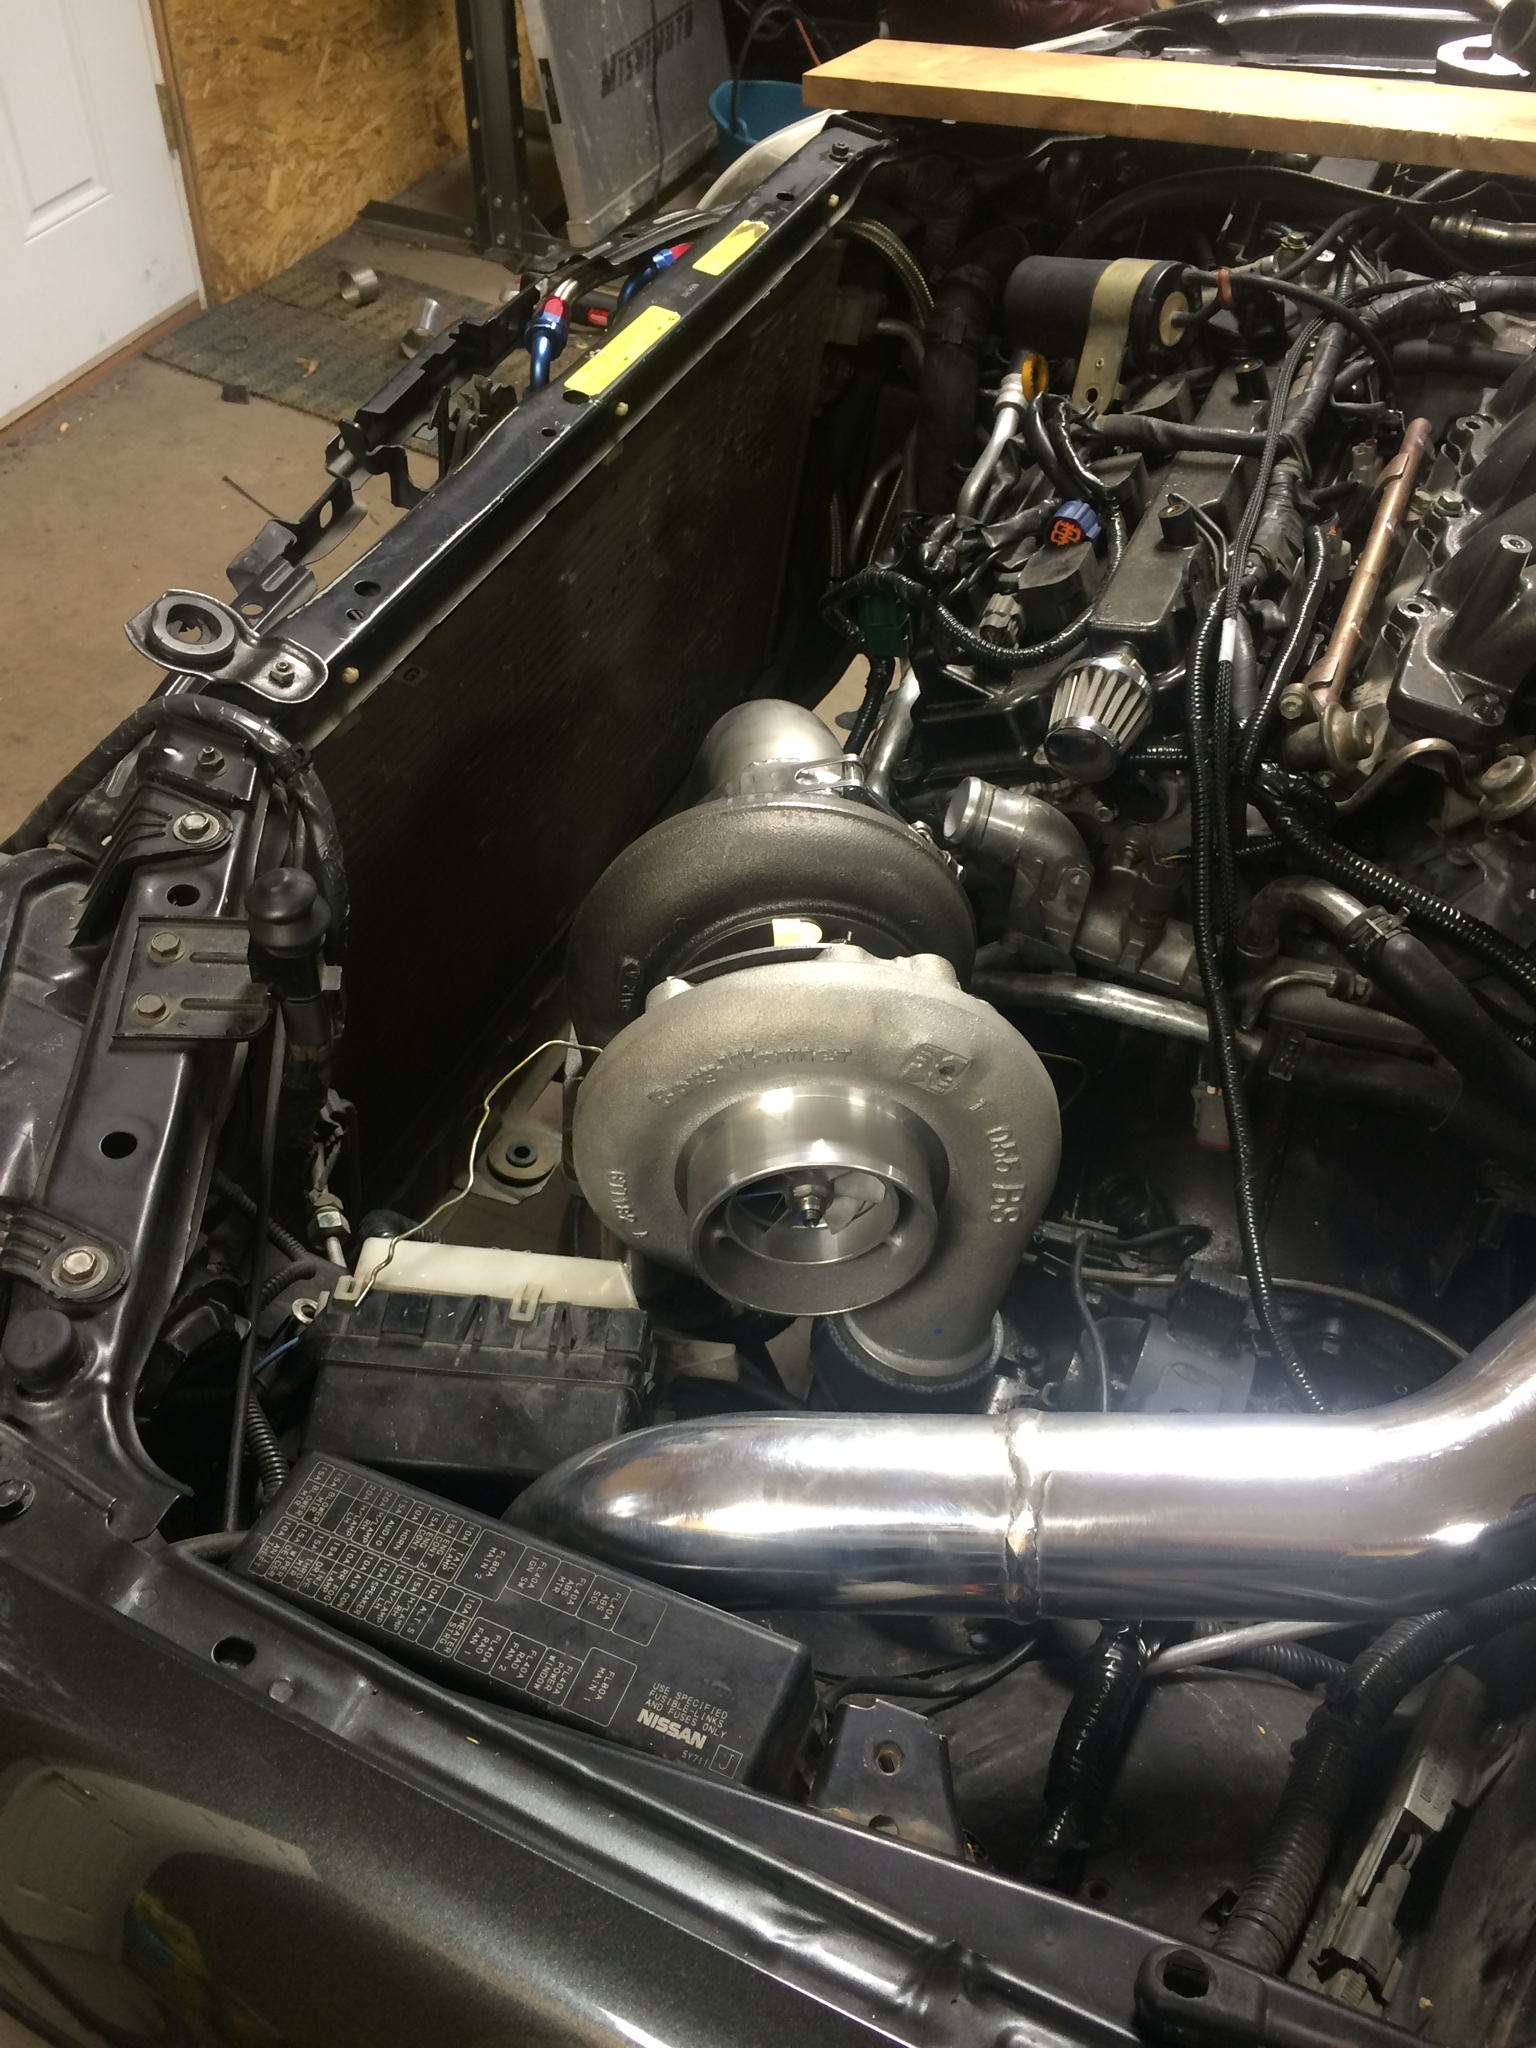
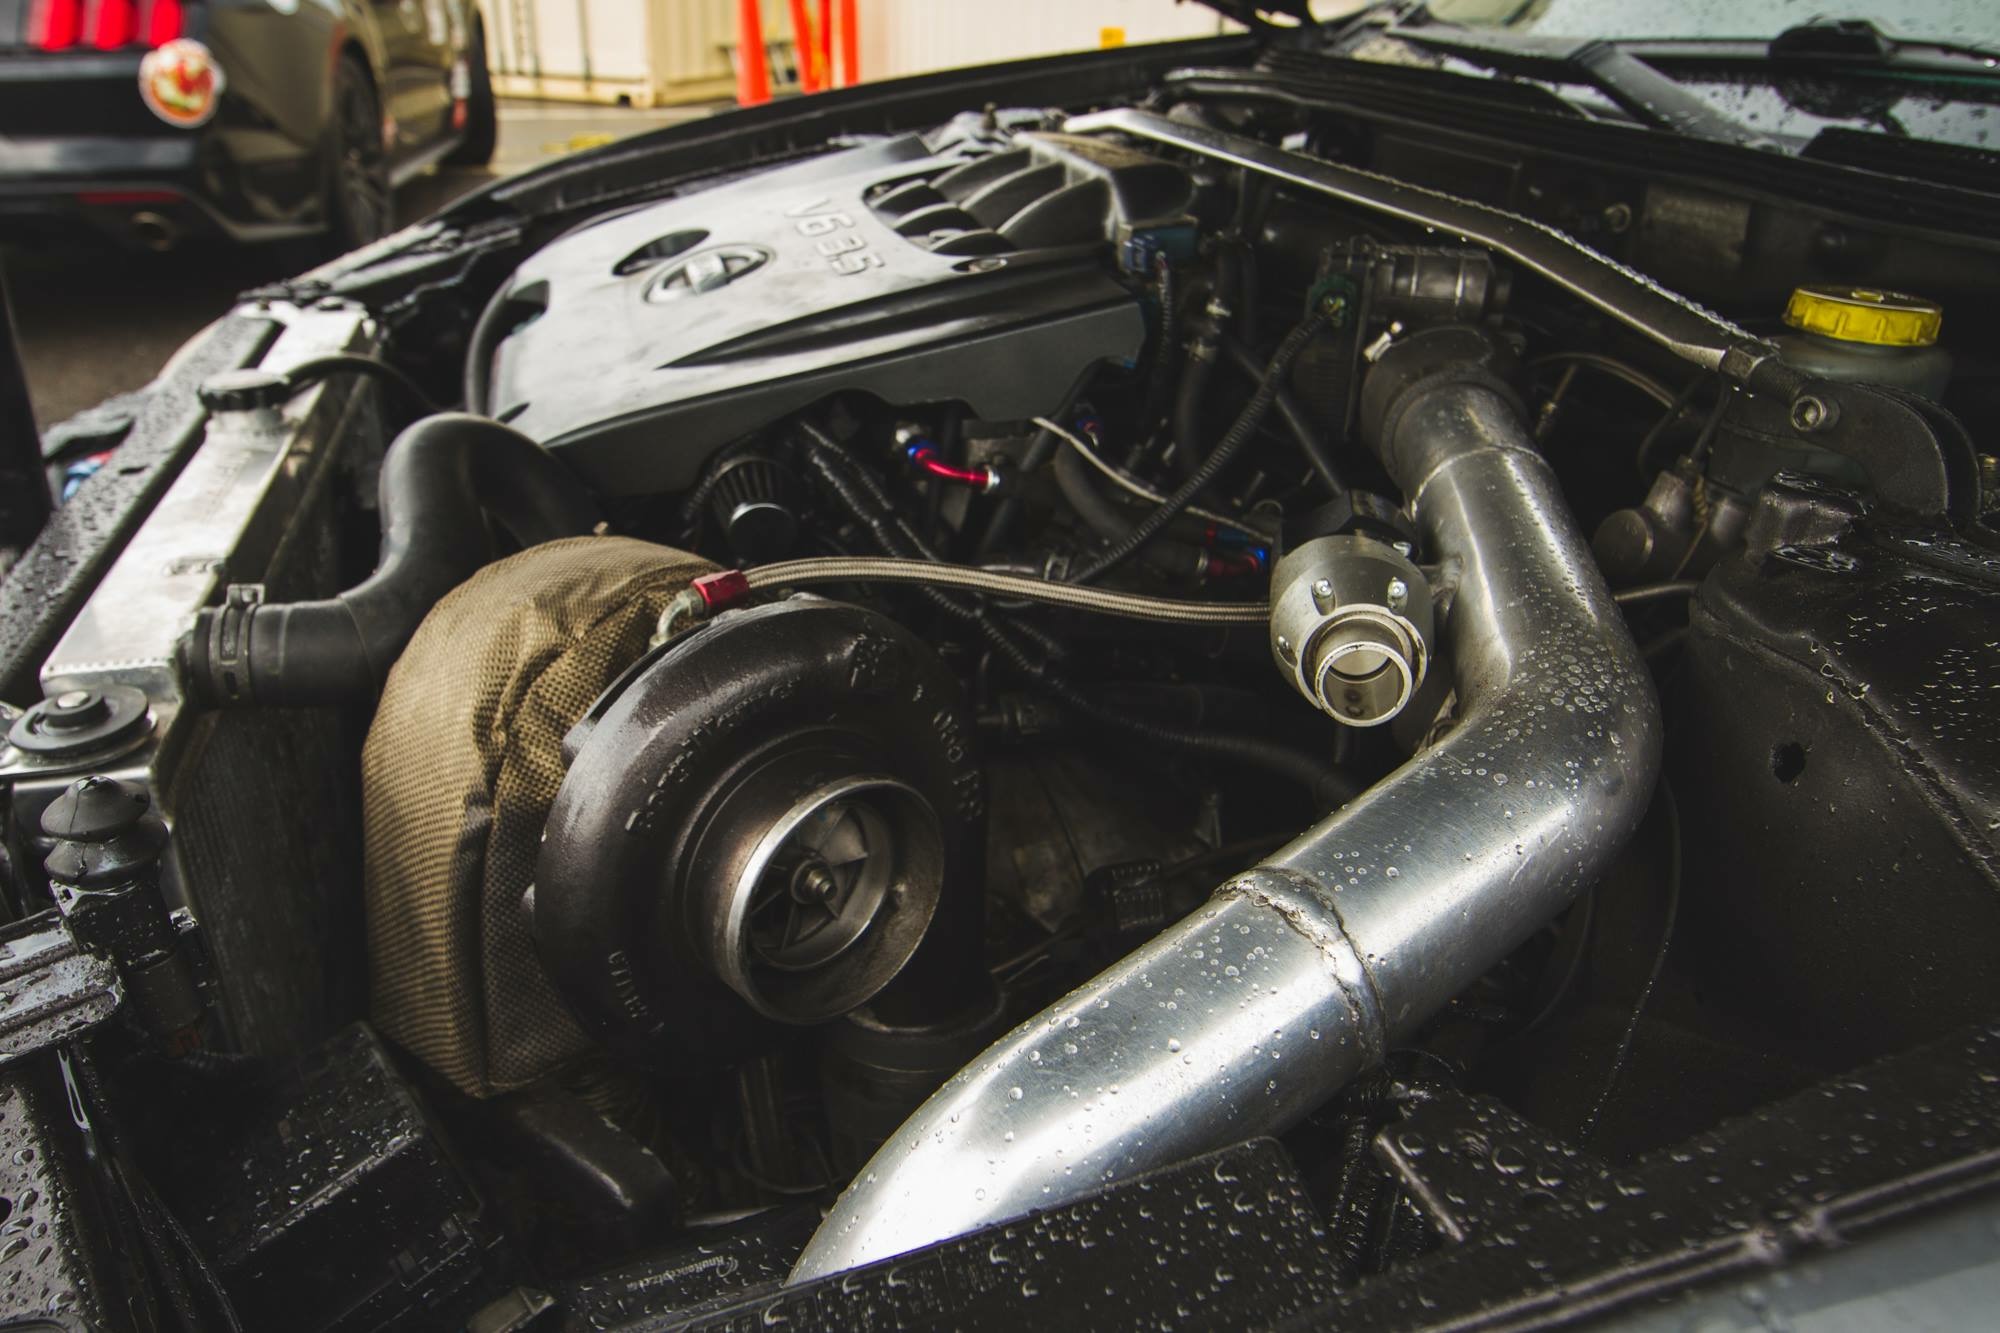
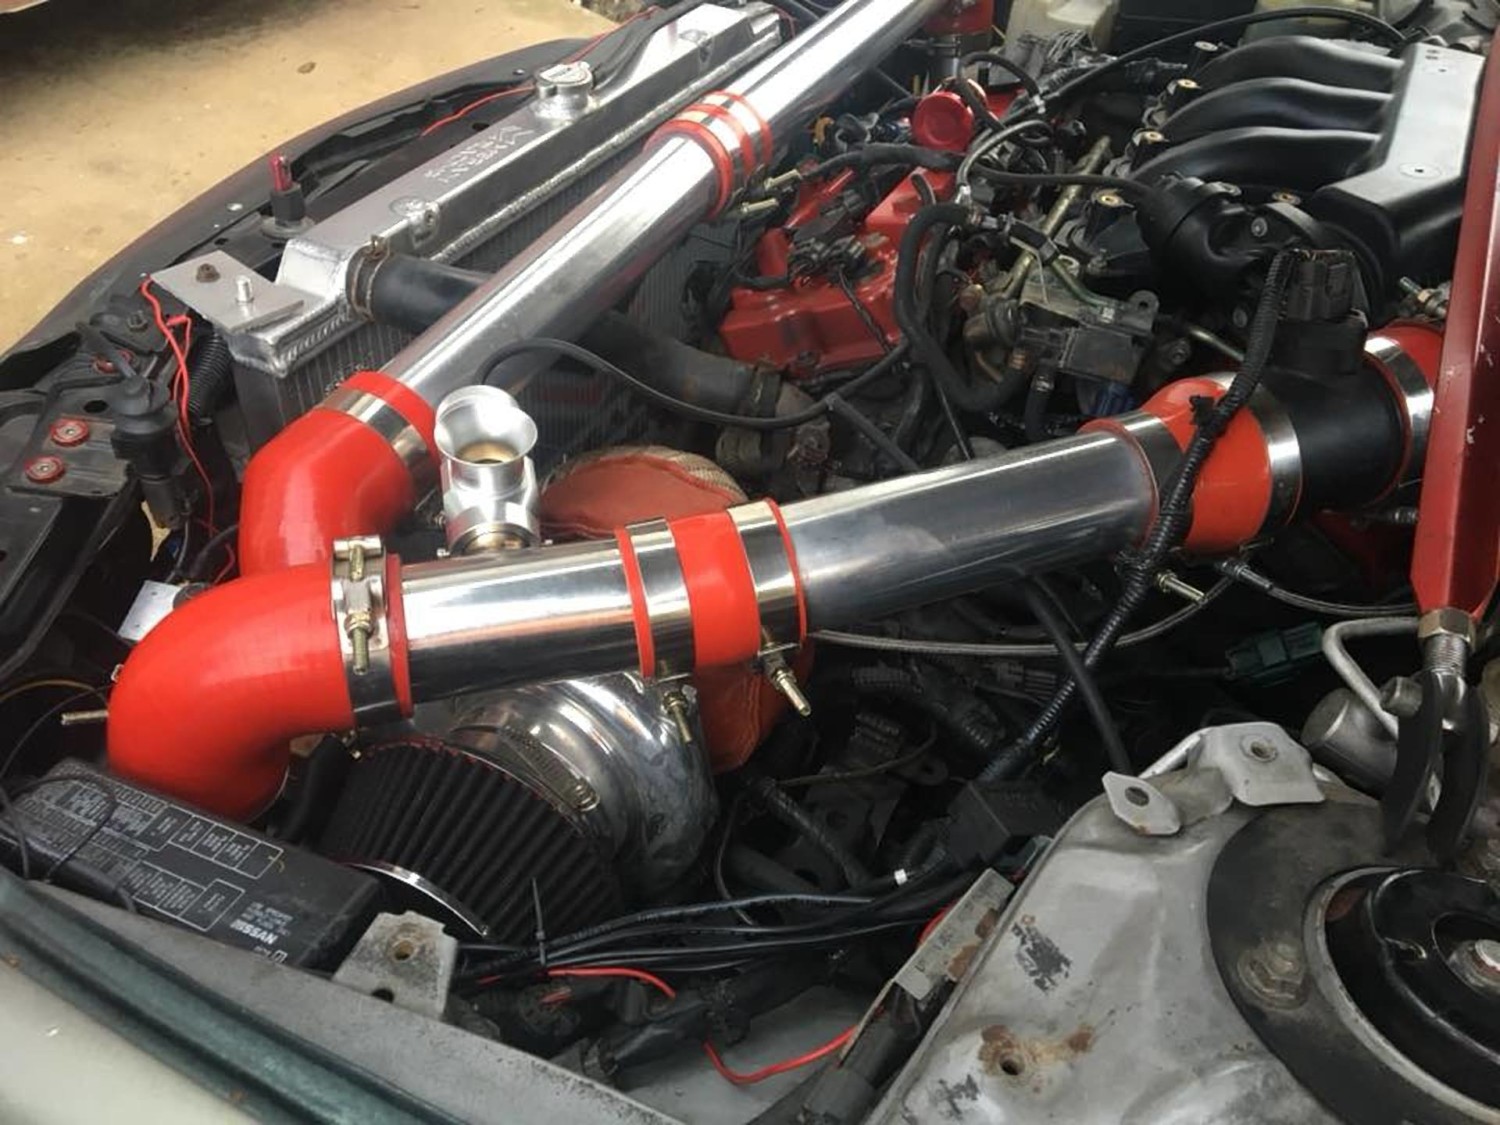
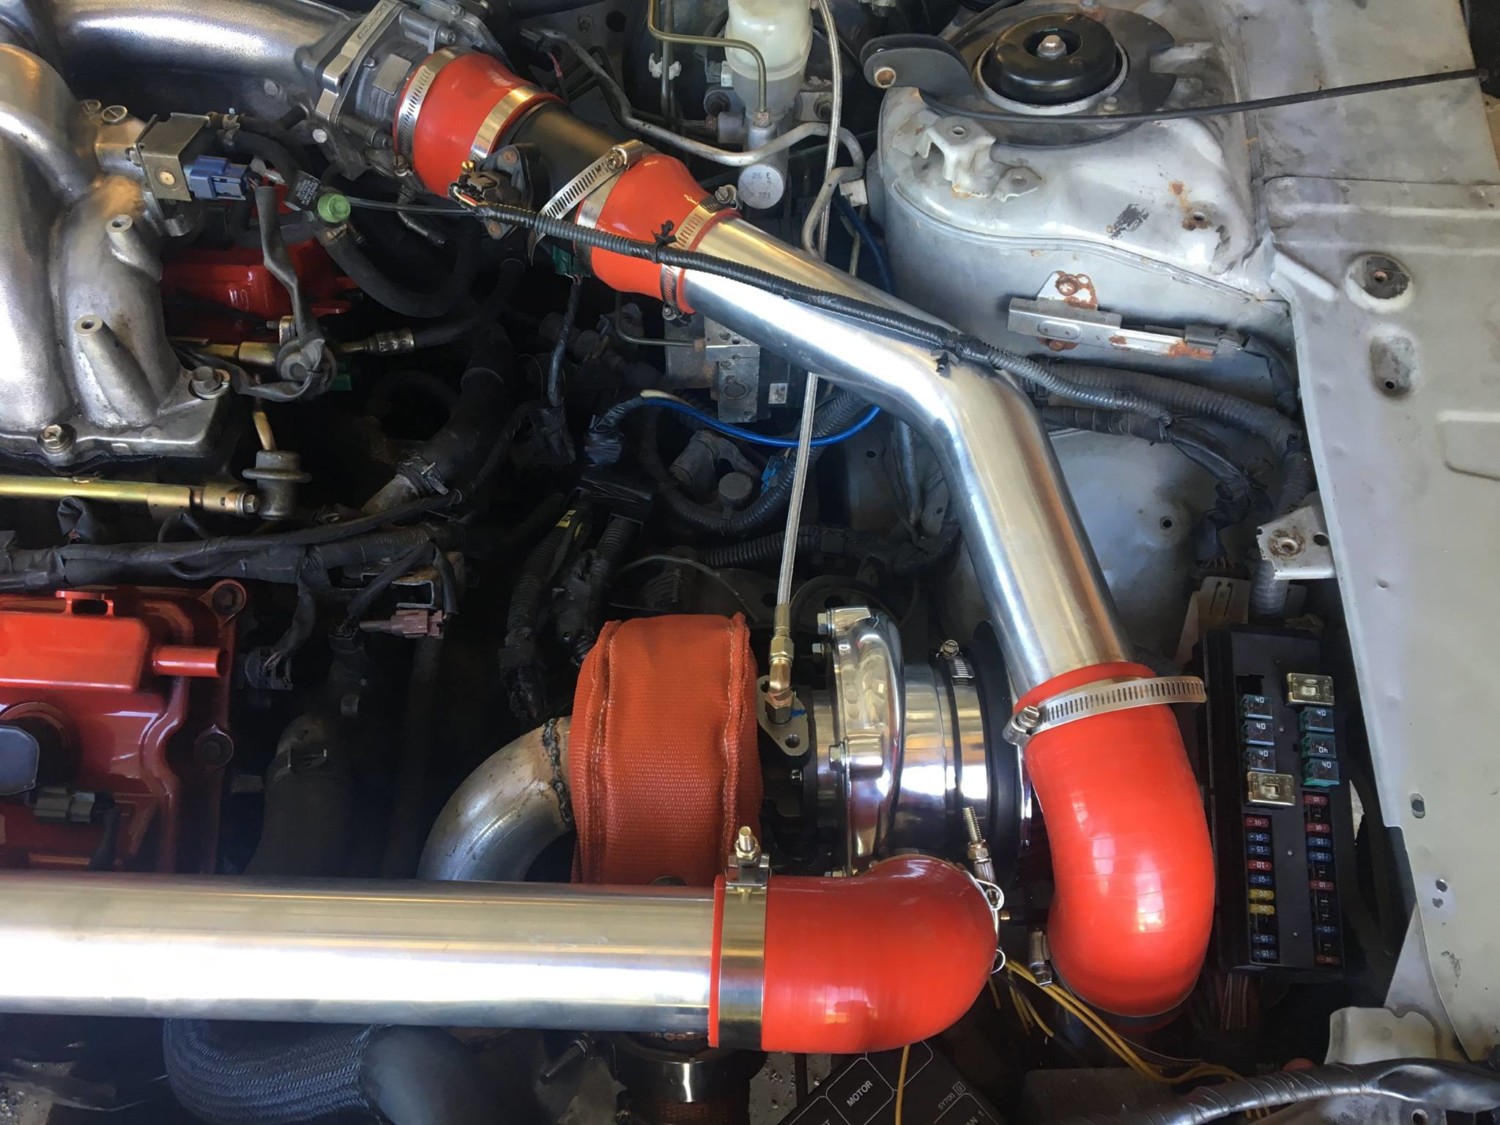
Speaking of turbo…..
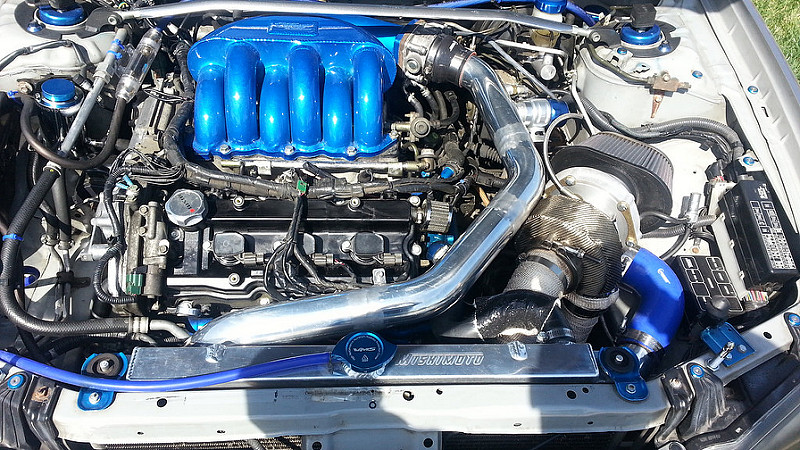
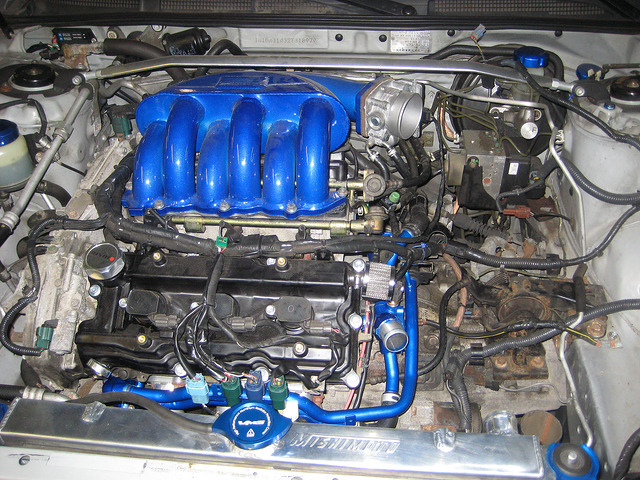
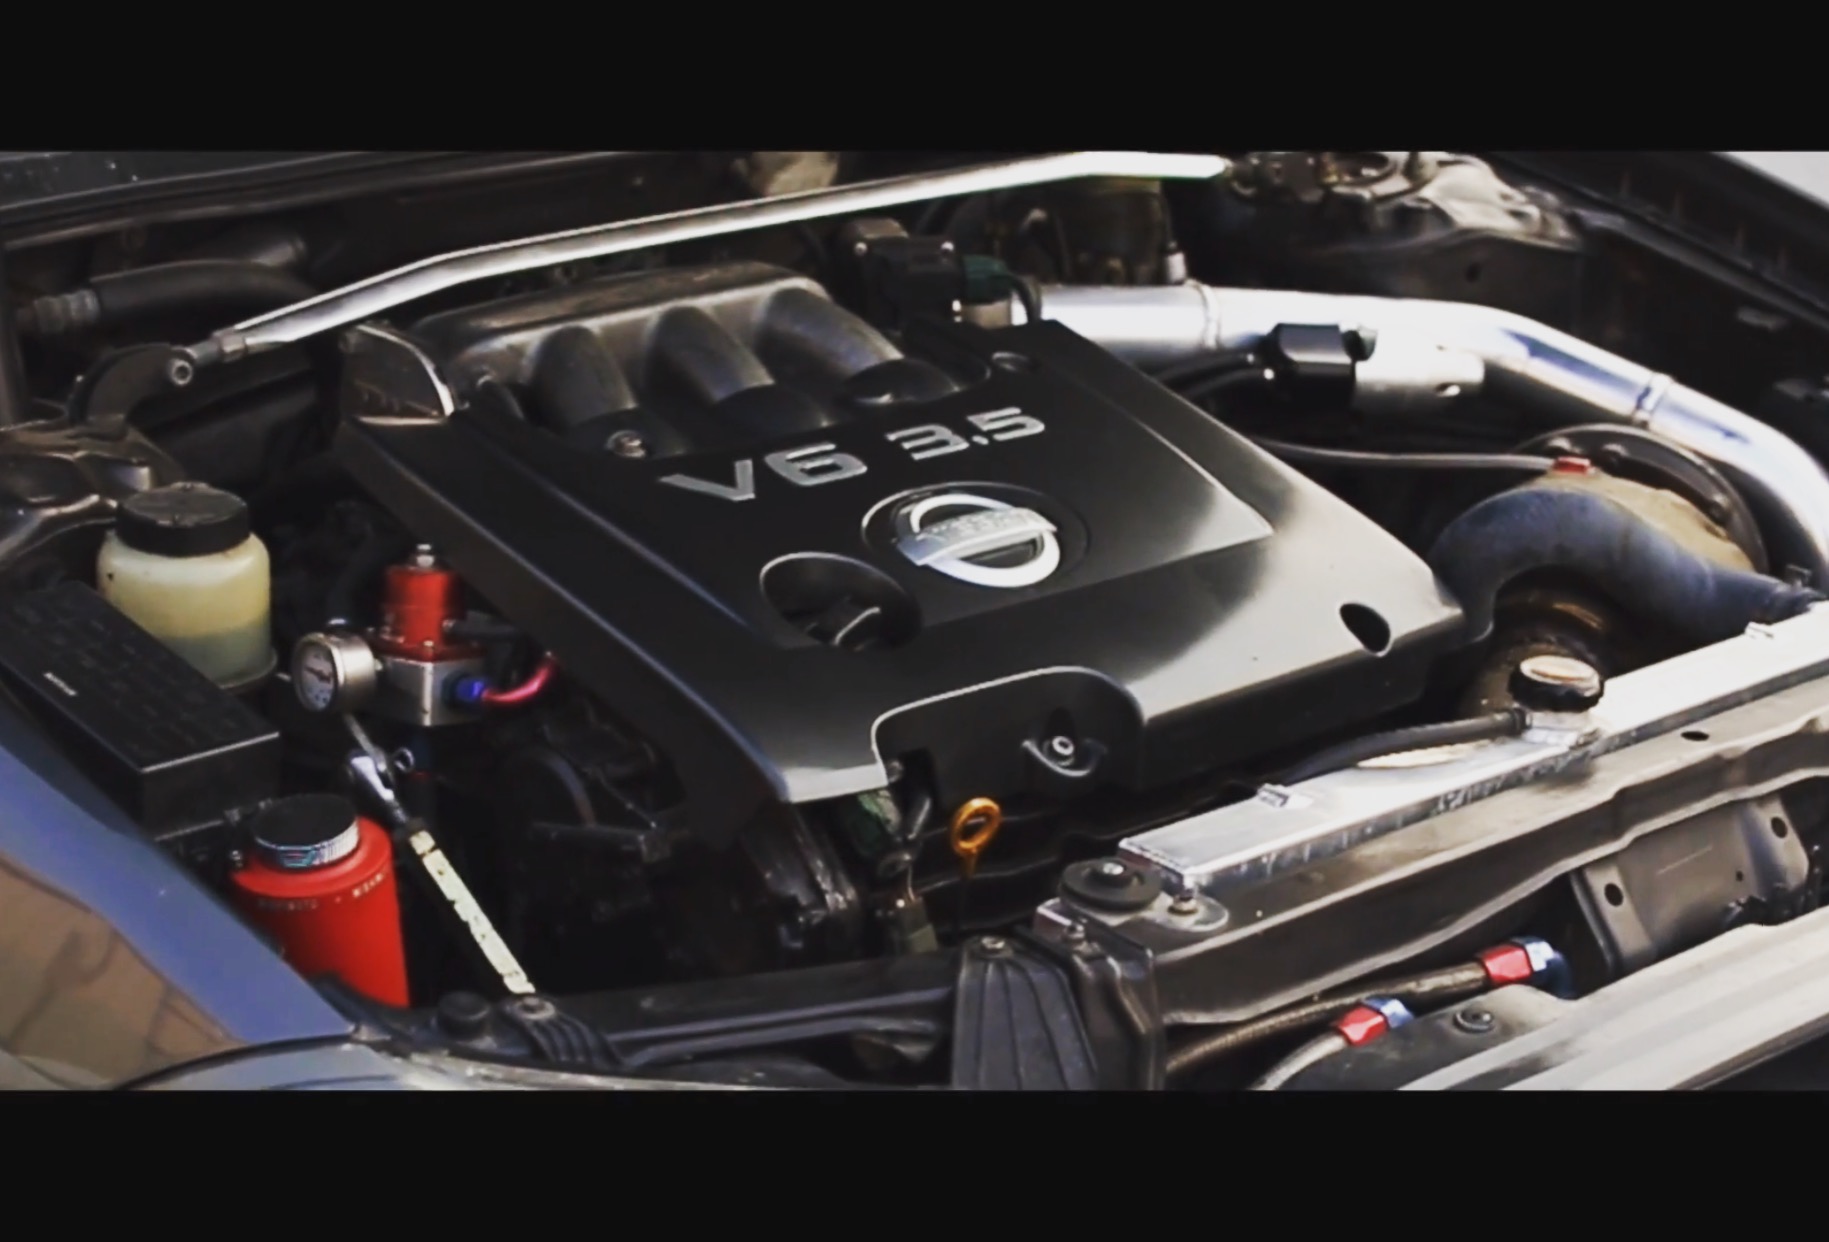
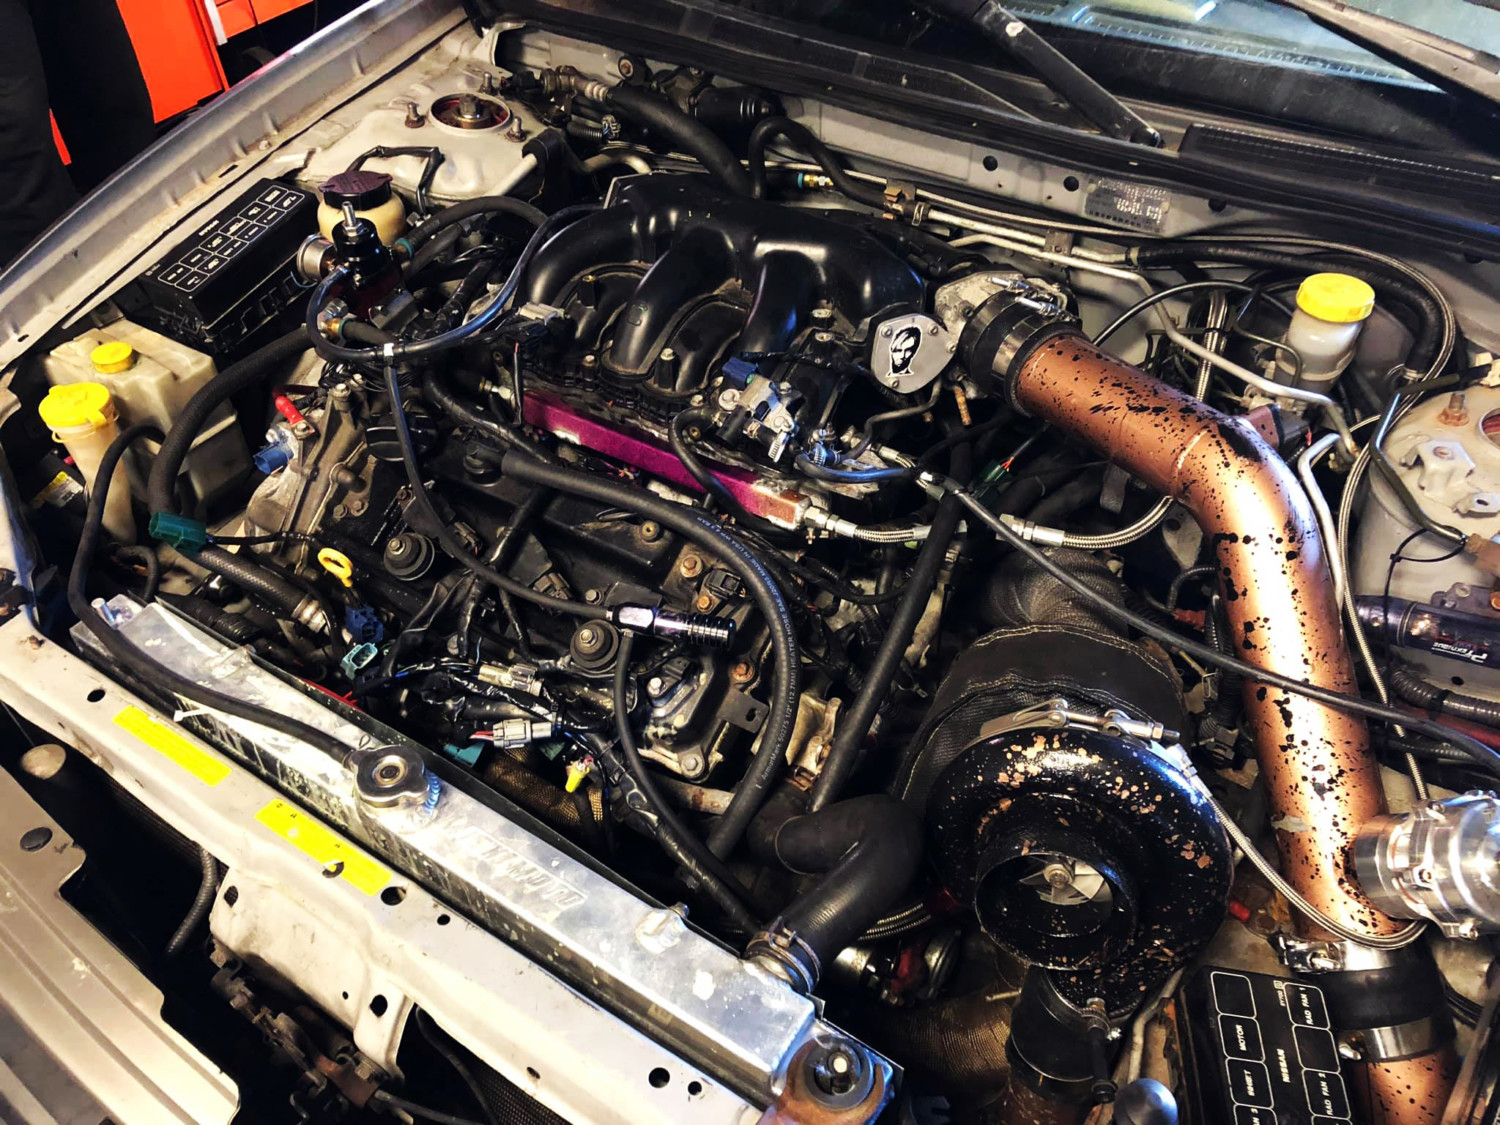
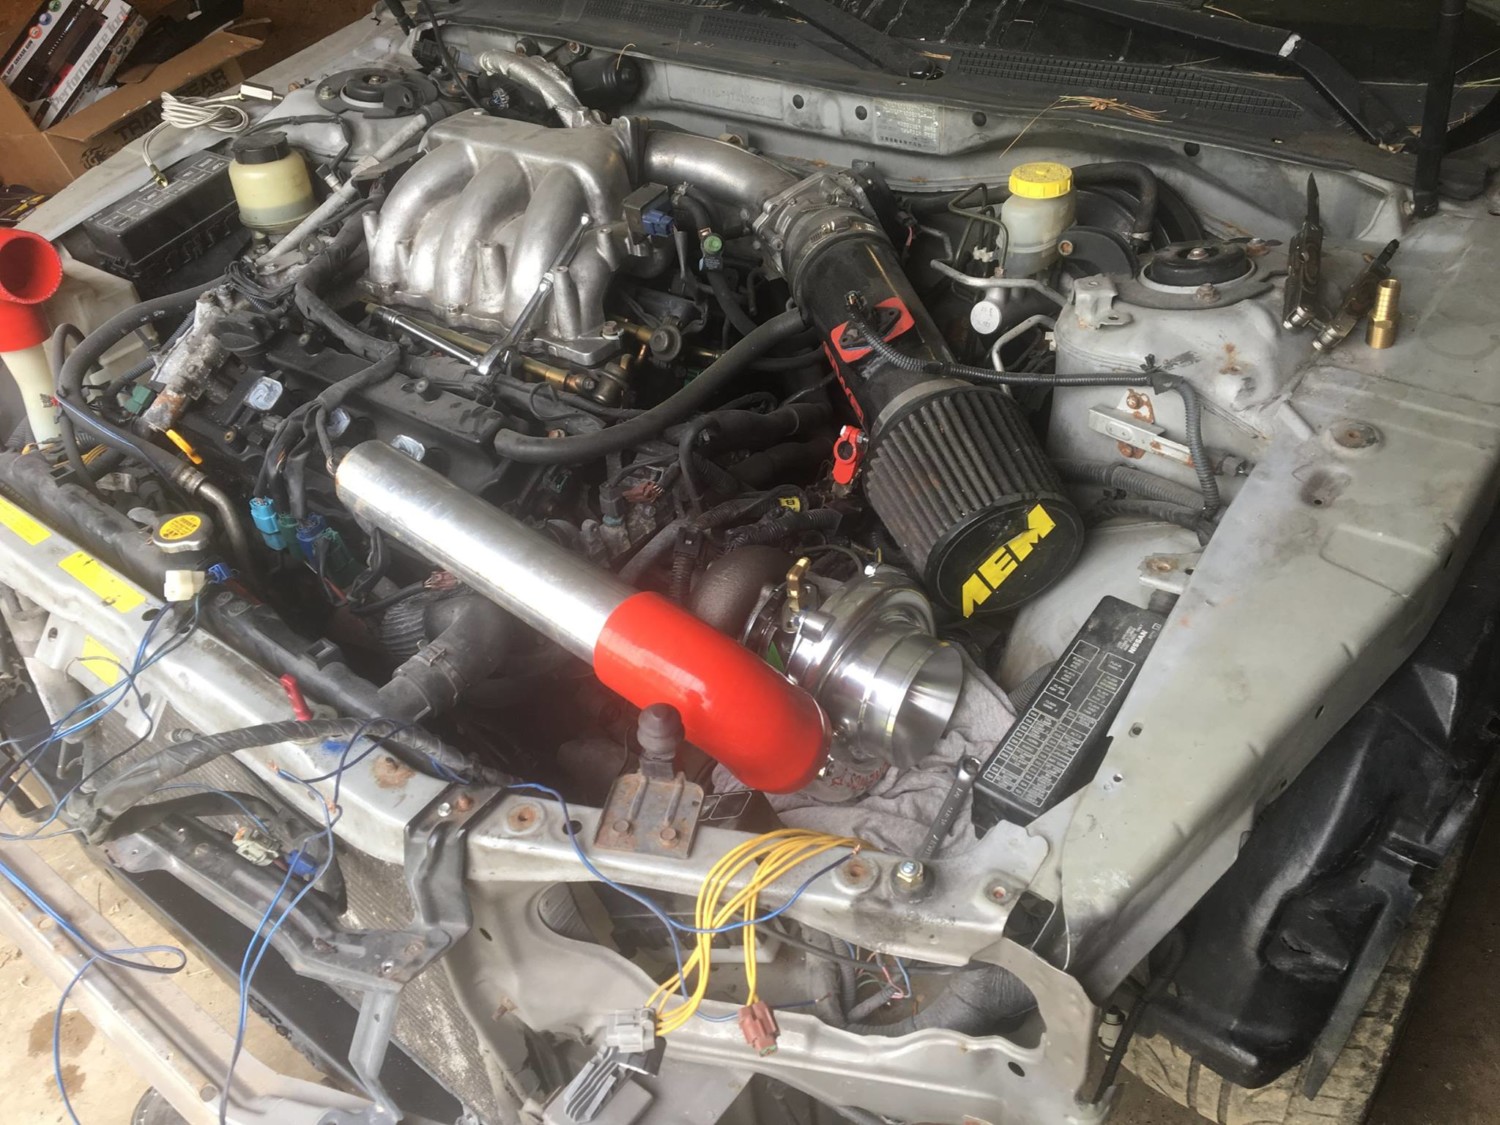
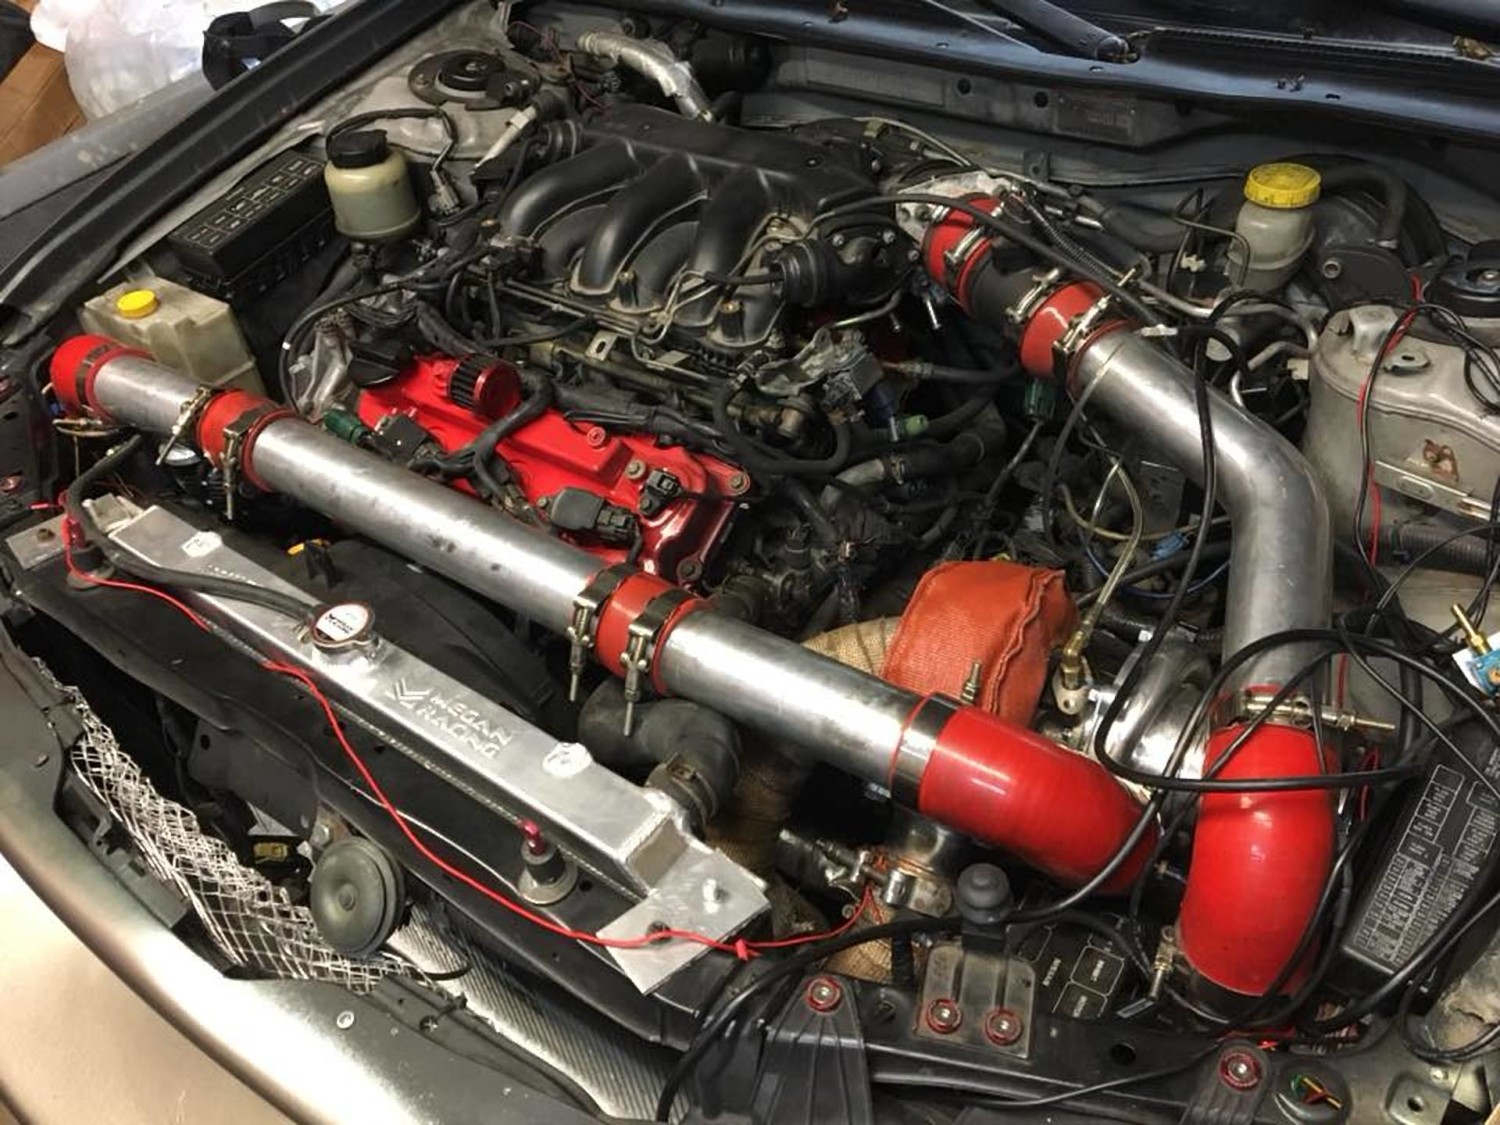
View of engine bay from the top….gonna be so sexy when finished!!
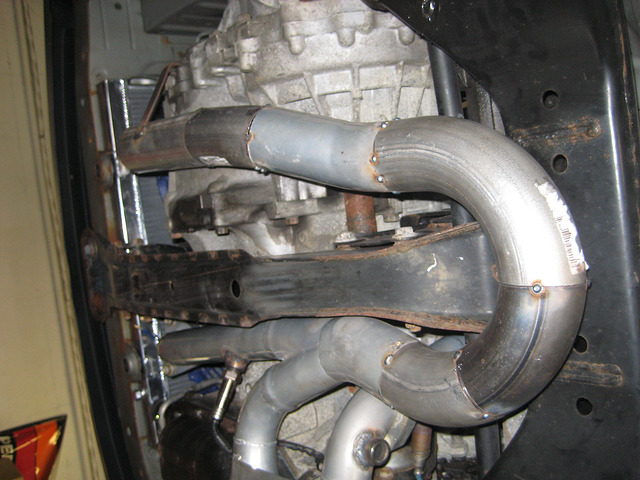
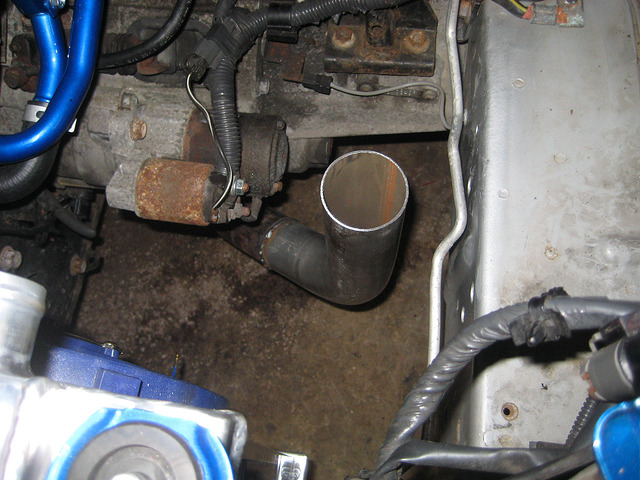
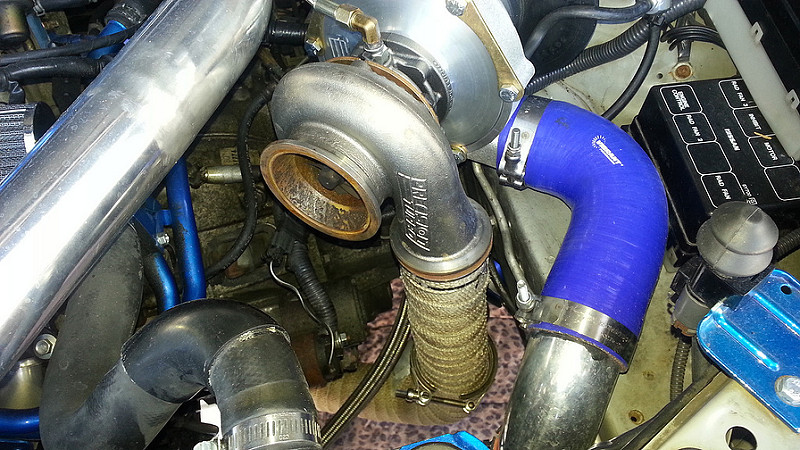
View of exhaust pipe coming into turbo. Another bracket will be welded from the side of the from to the piping to hold it
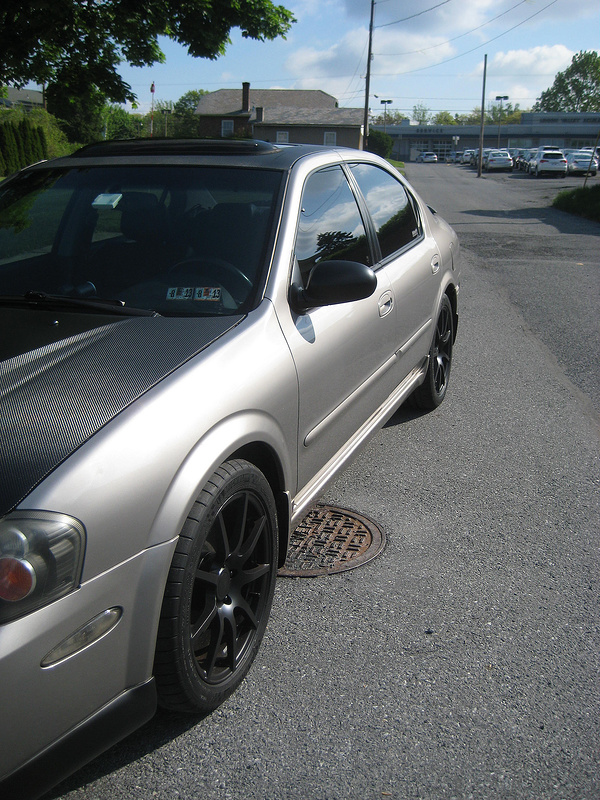
Thats about it for today. I also changed my lugnuts from the silver ones to black to match the outside theme of silver and black. They are spline lug nuts with a key. I am going to sell the original silvers ones with the key if anyone wants them they can PM me. Here are how the black ones look.
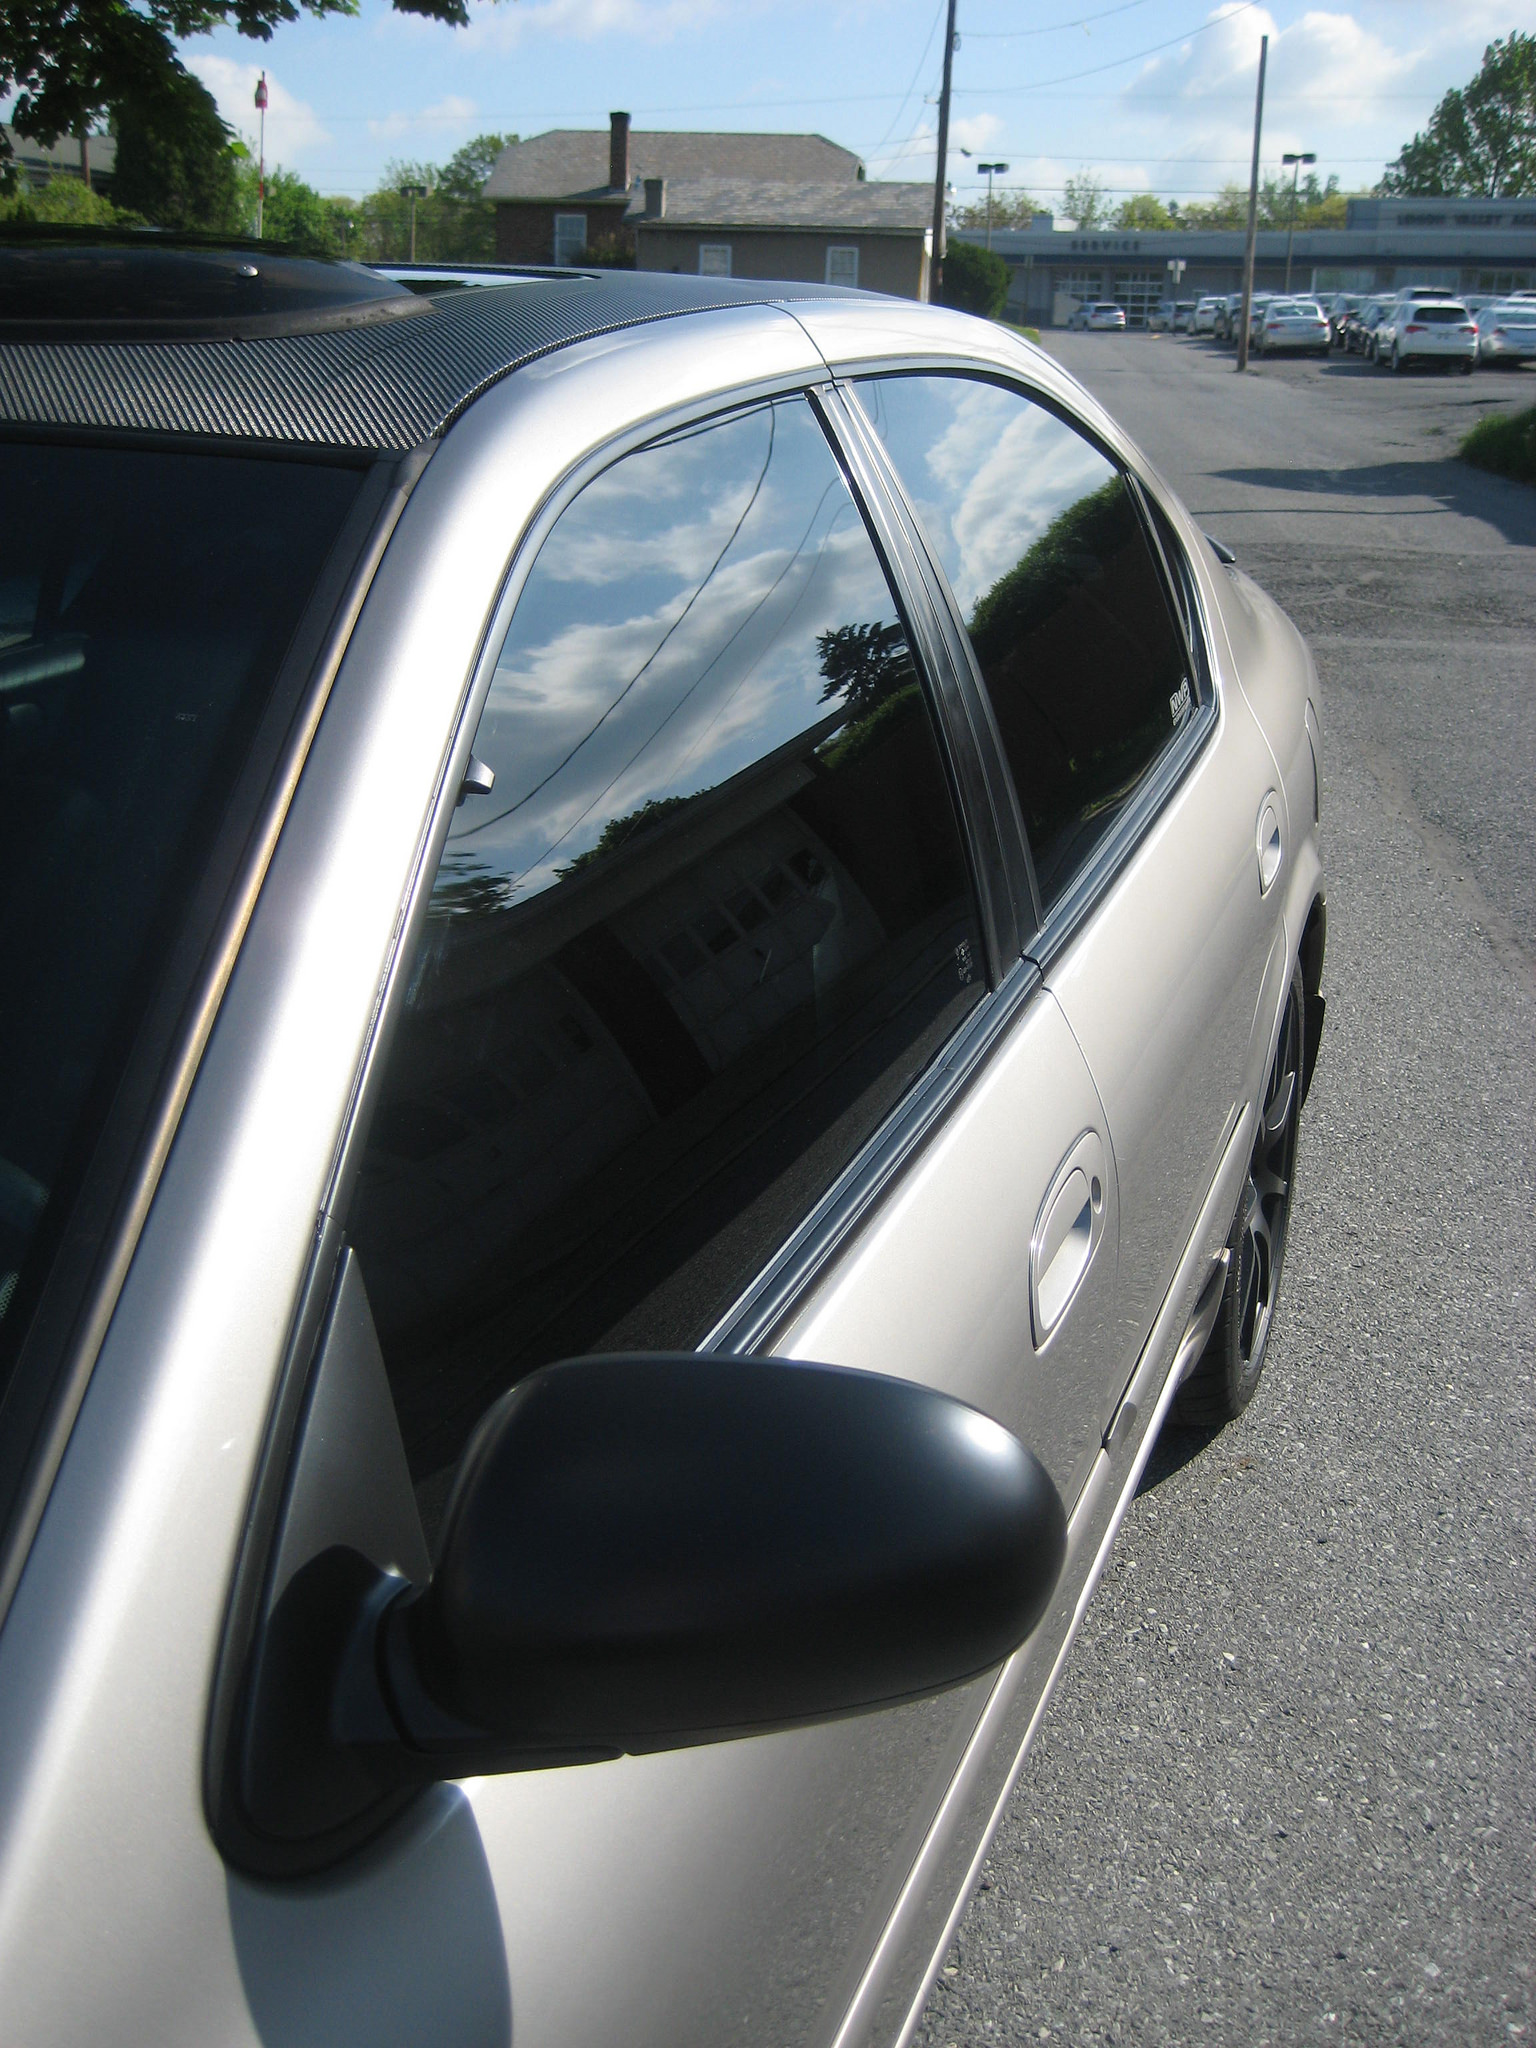
When everything is finished still have to install and paint stillen front lip a satin black, tint all 4 windows 35% (20% too dark and dont want tickets from popo).
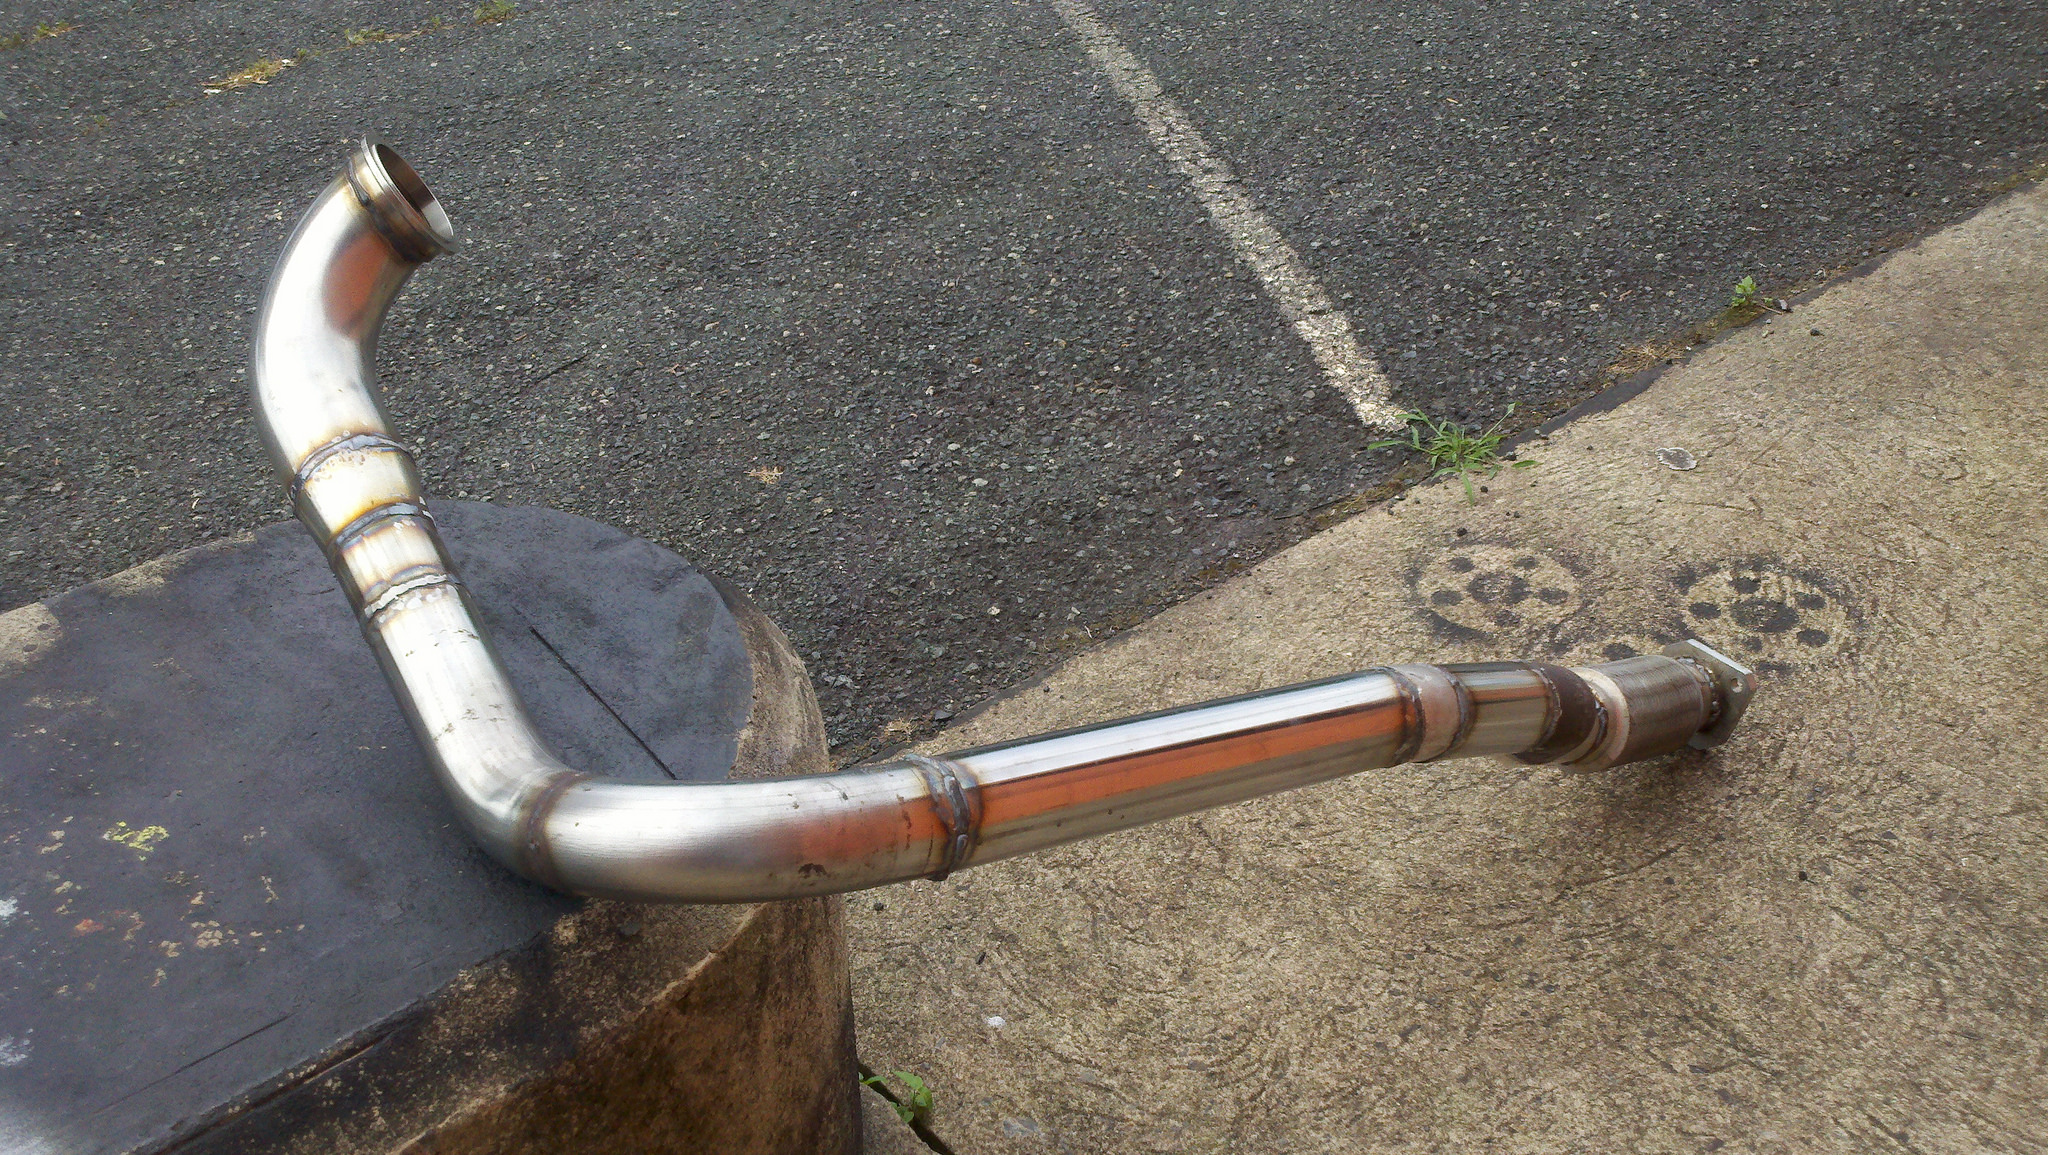
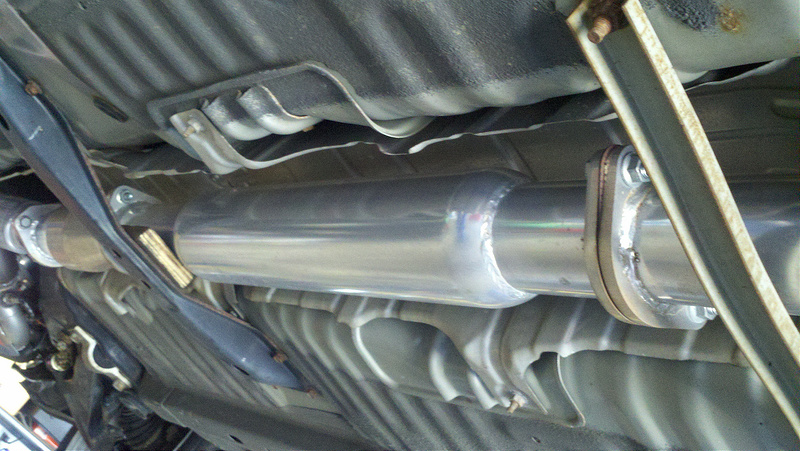
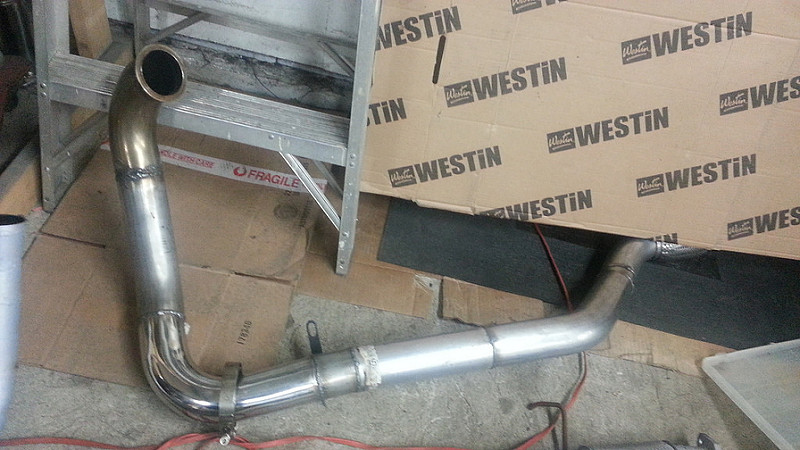
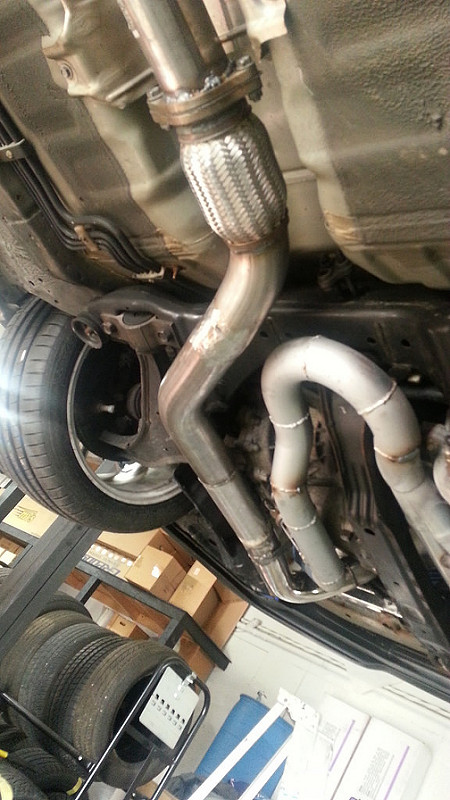
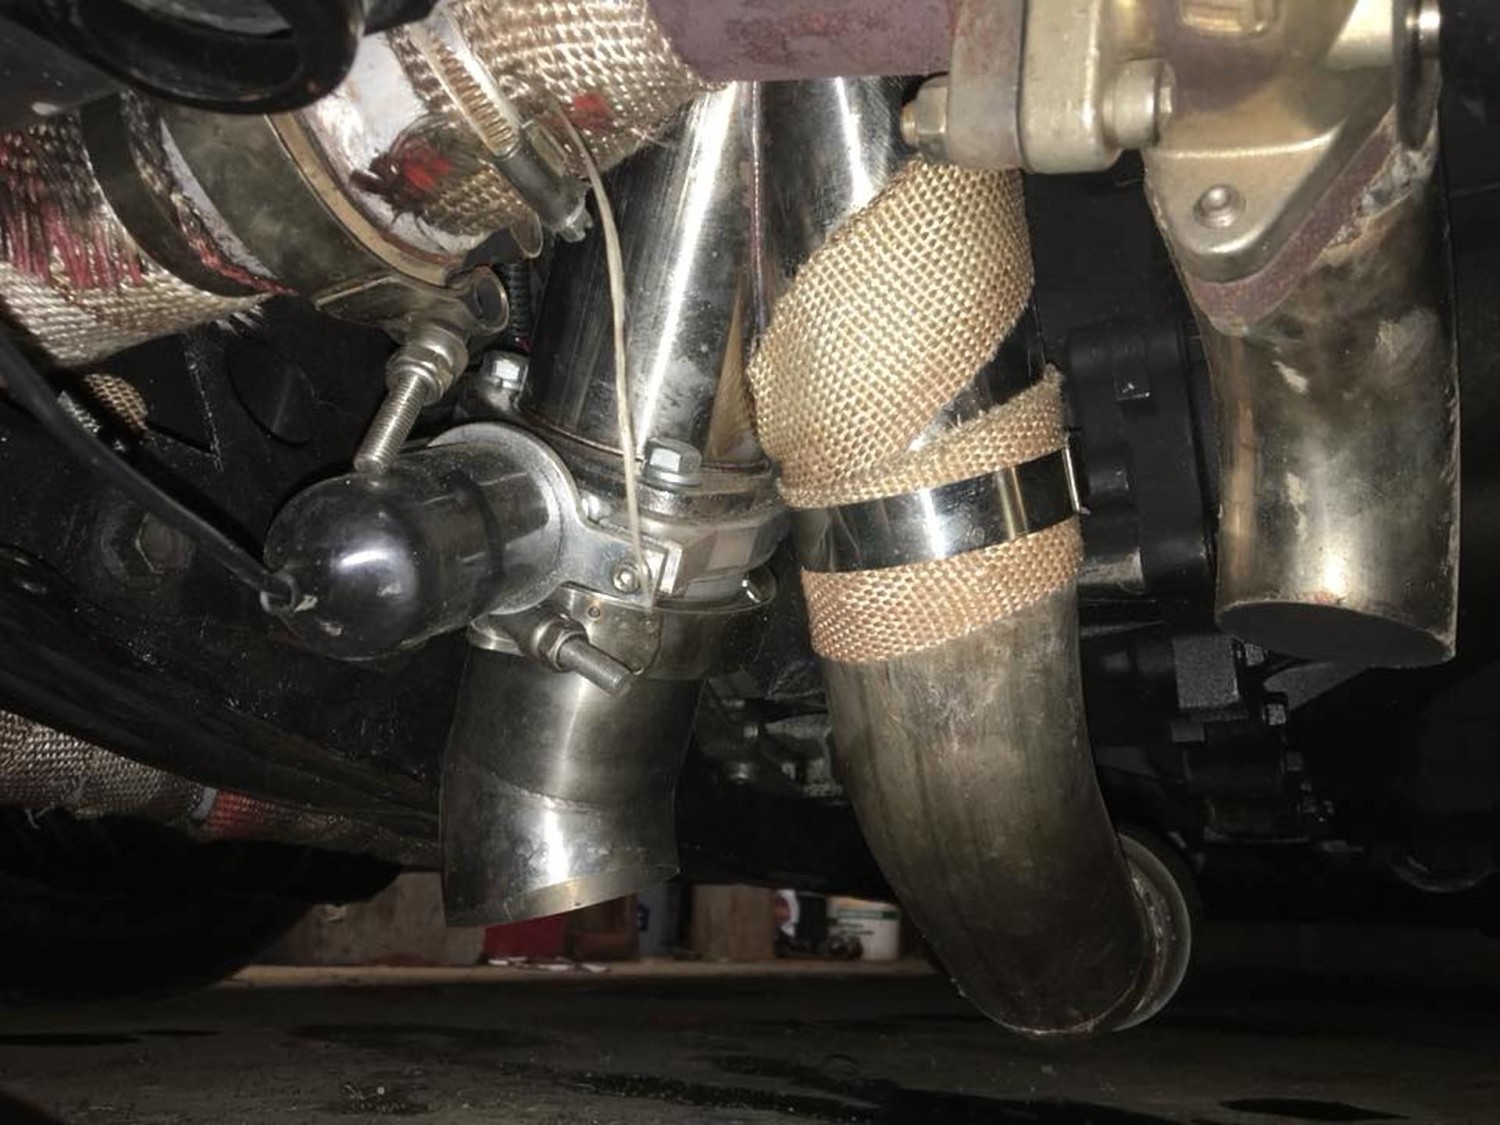
Downpipe (starts 3″ from turbo exhaust then reduced to 2.5″ for clearance under car):
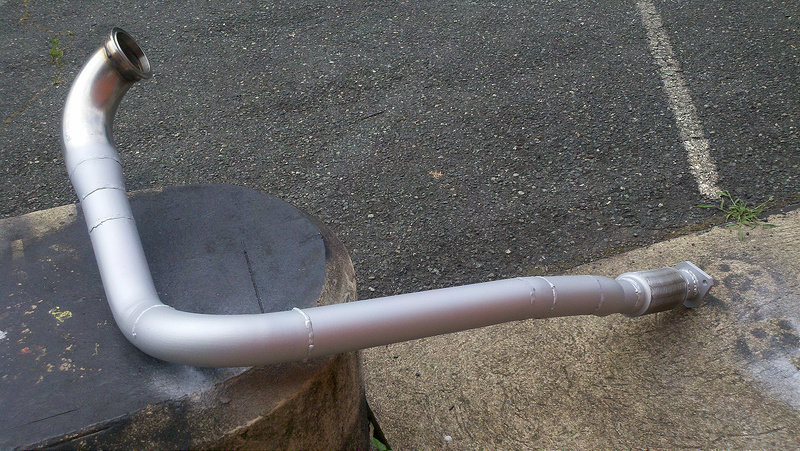
Downpipe sprayed with high temp paint:
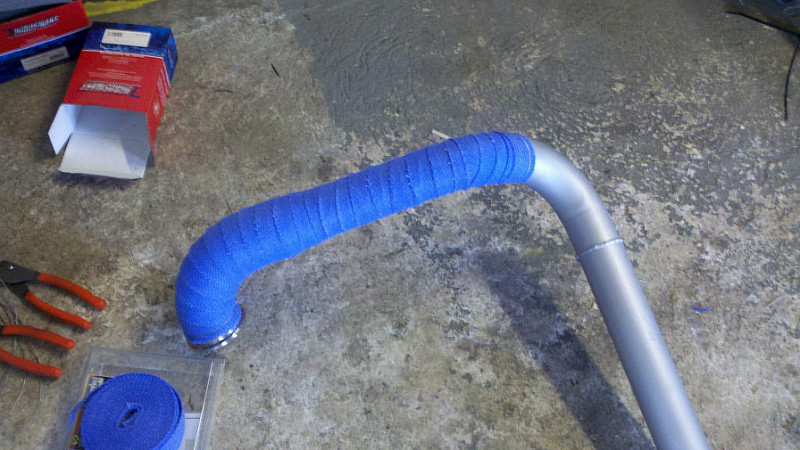
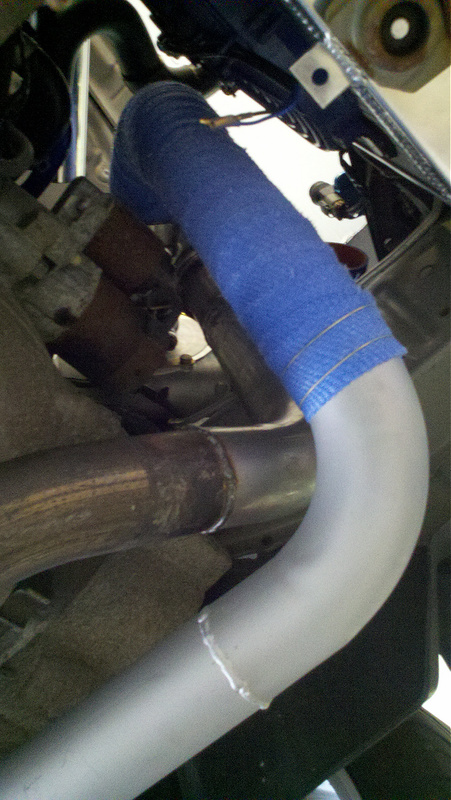
Downpipe wrapped with BLUE heatwrap:
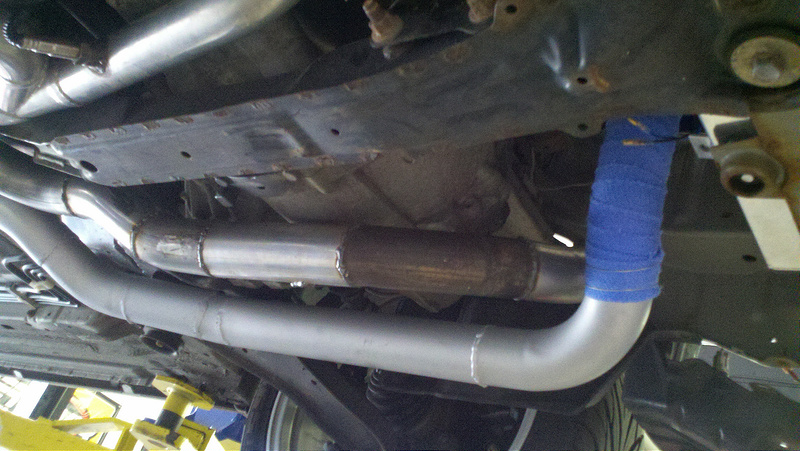
Downpipe attached….
I had ordered some high heat straps to hold heatwrap but they were too small so I have to order some longer ones….in the meantime they used steel wire to hold it until the straps come in………
Just a pic showing a YEAR later how JETHOT sterling silver high temp ceramic coating holds out!!! Even through salt and winter slush!!! Still shining!!!
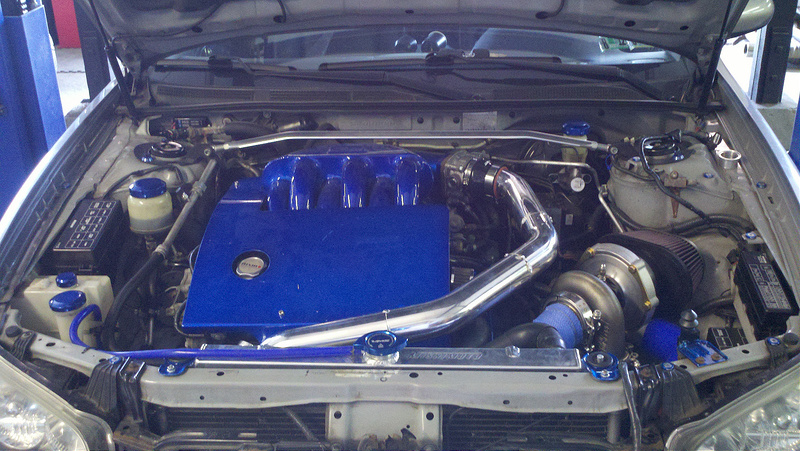
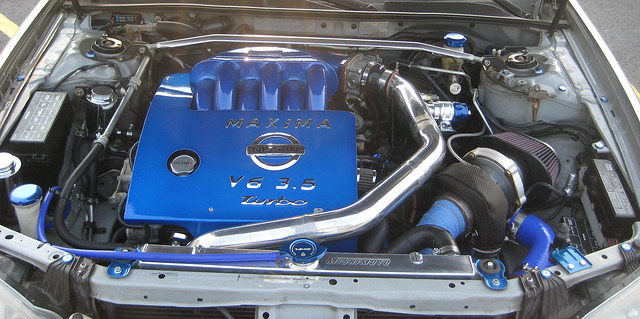
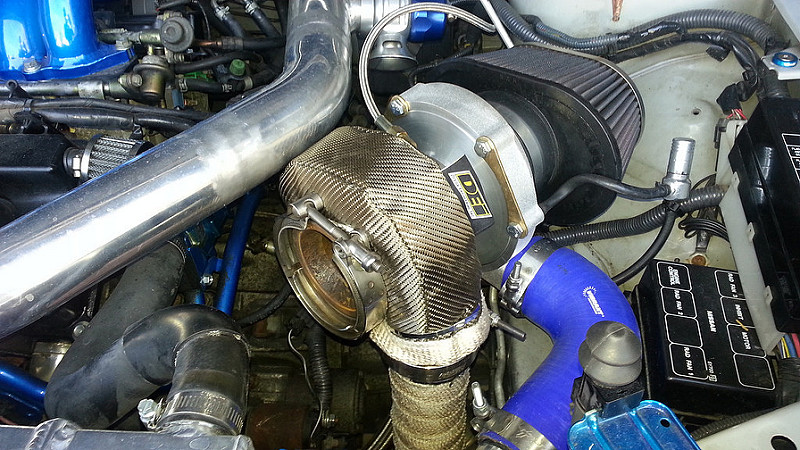
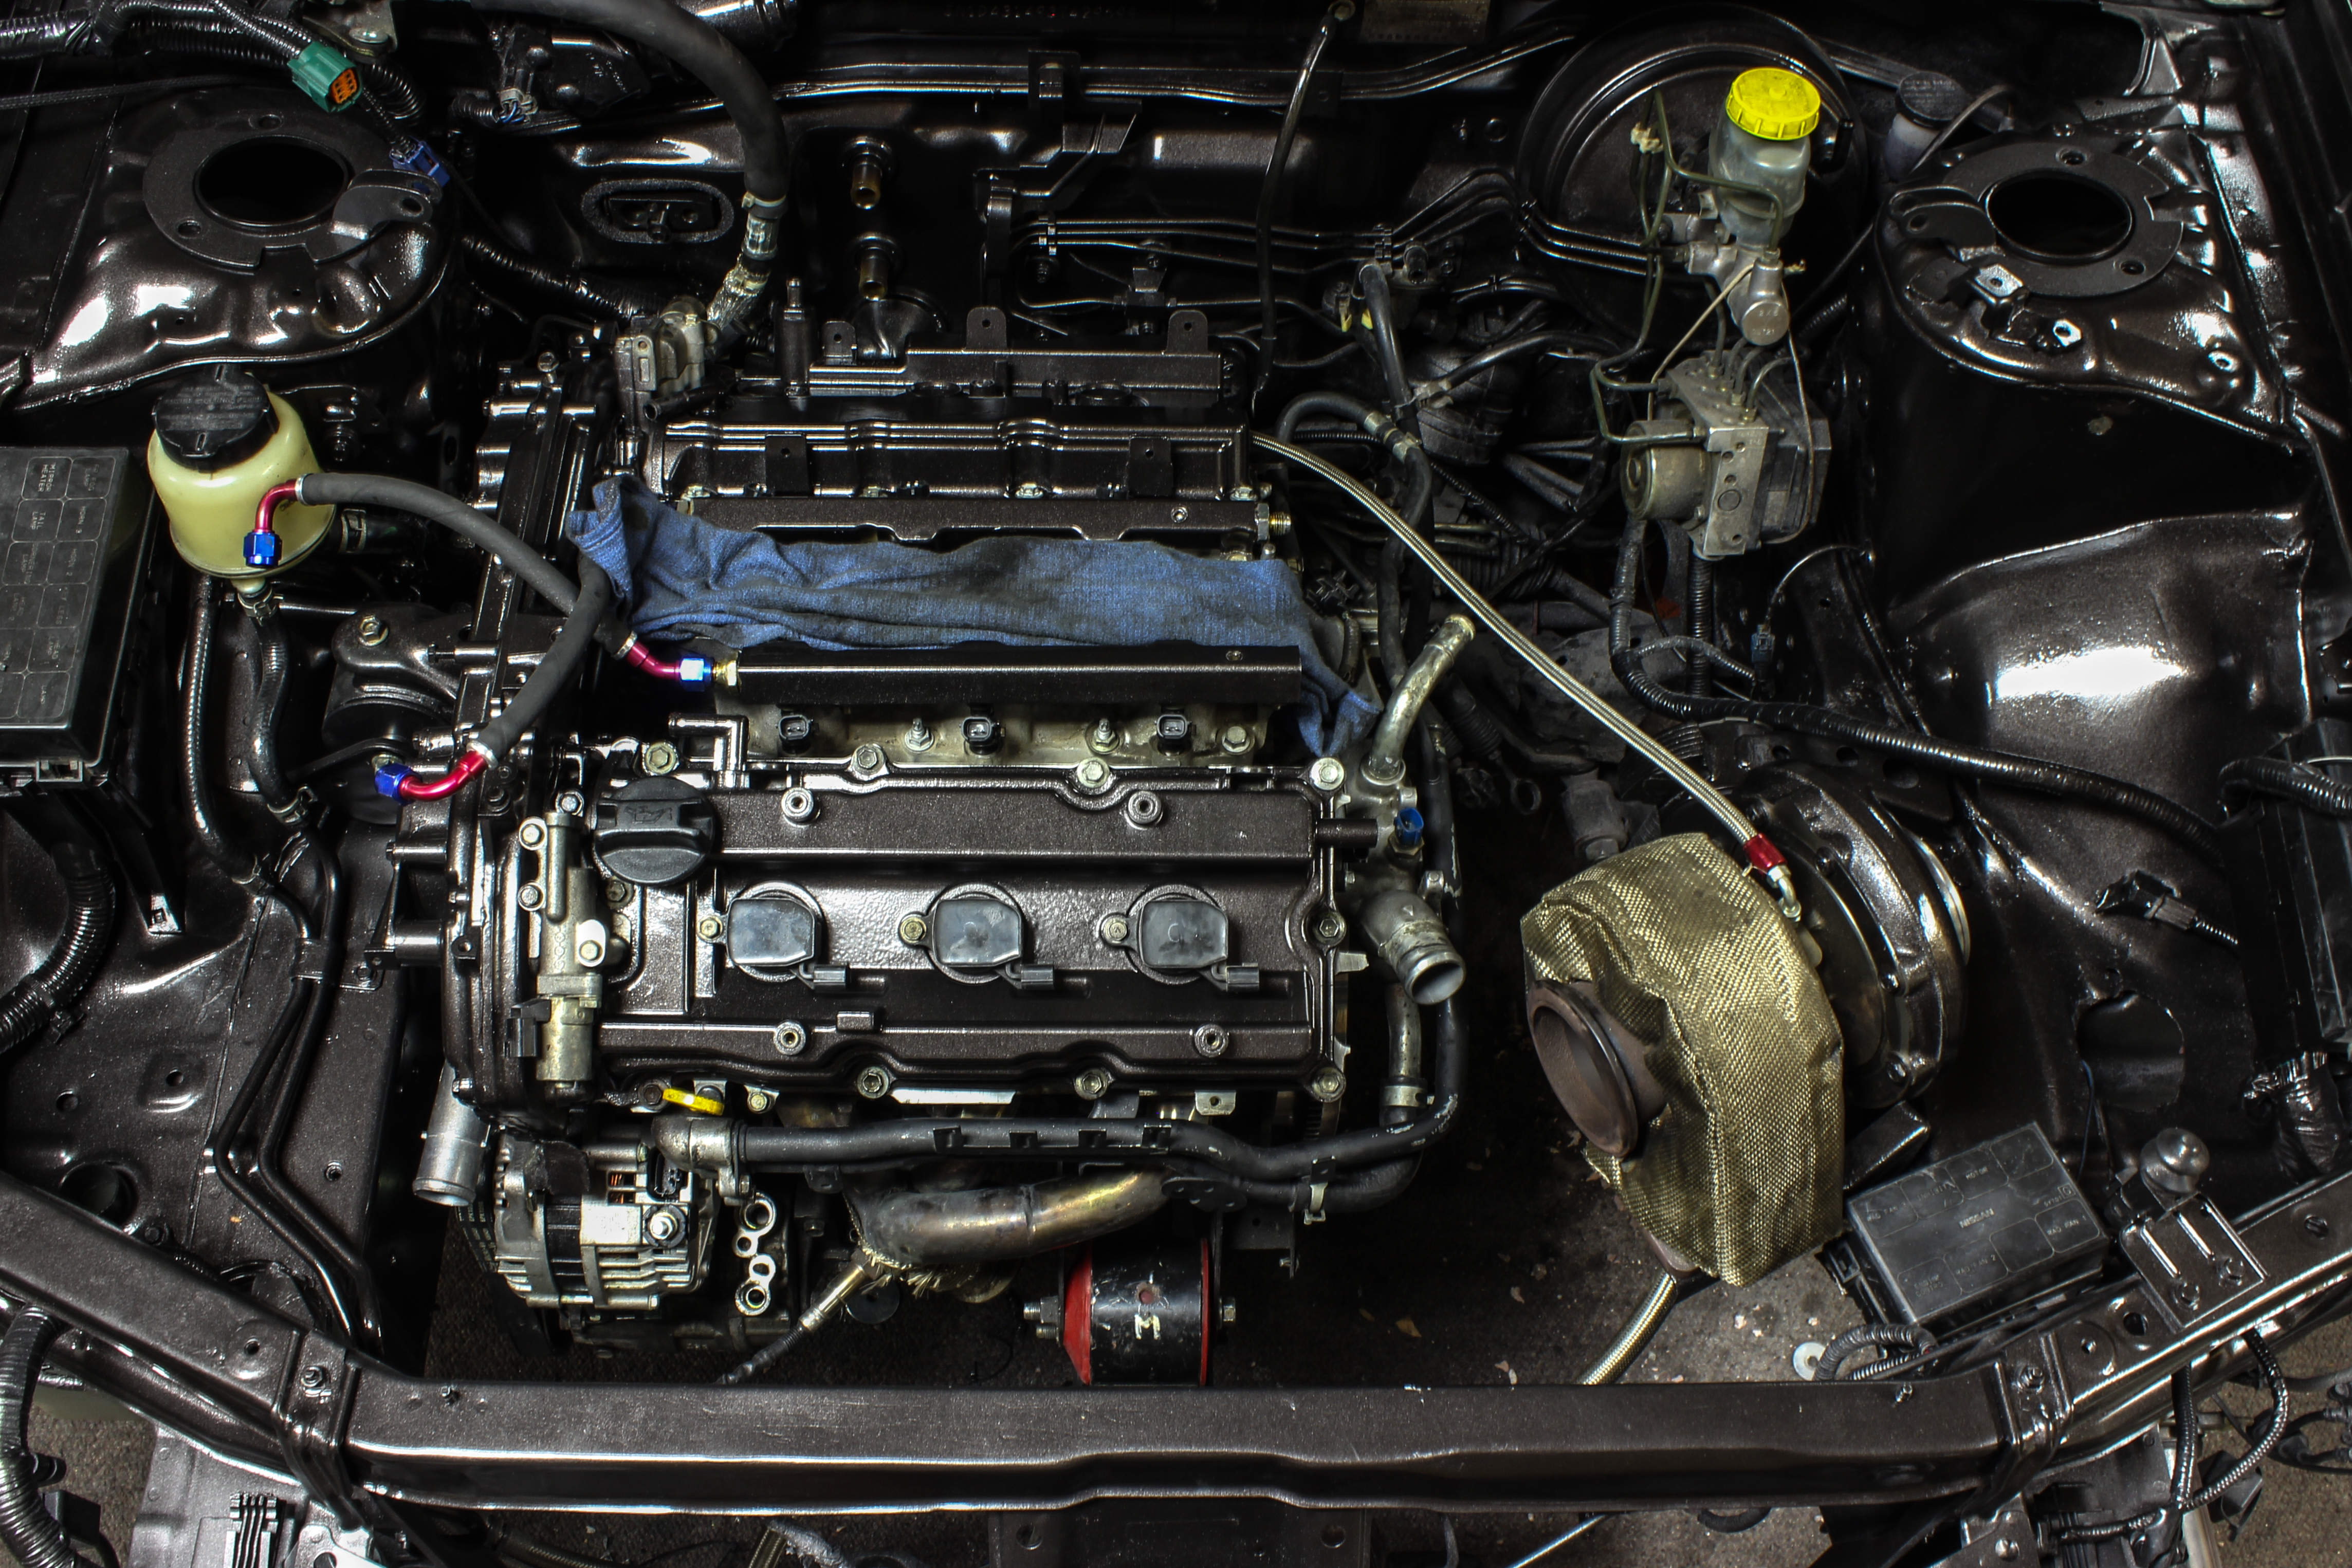
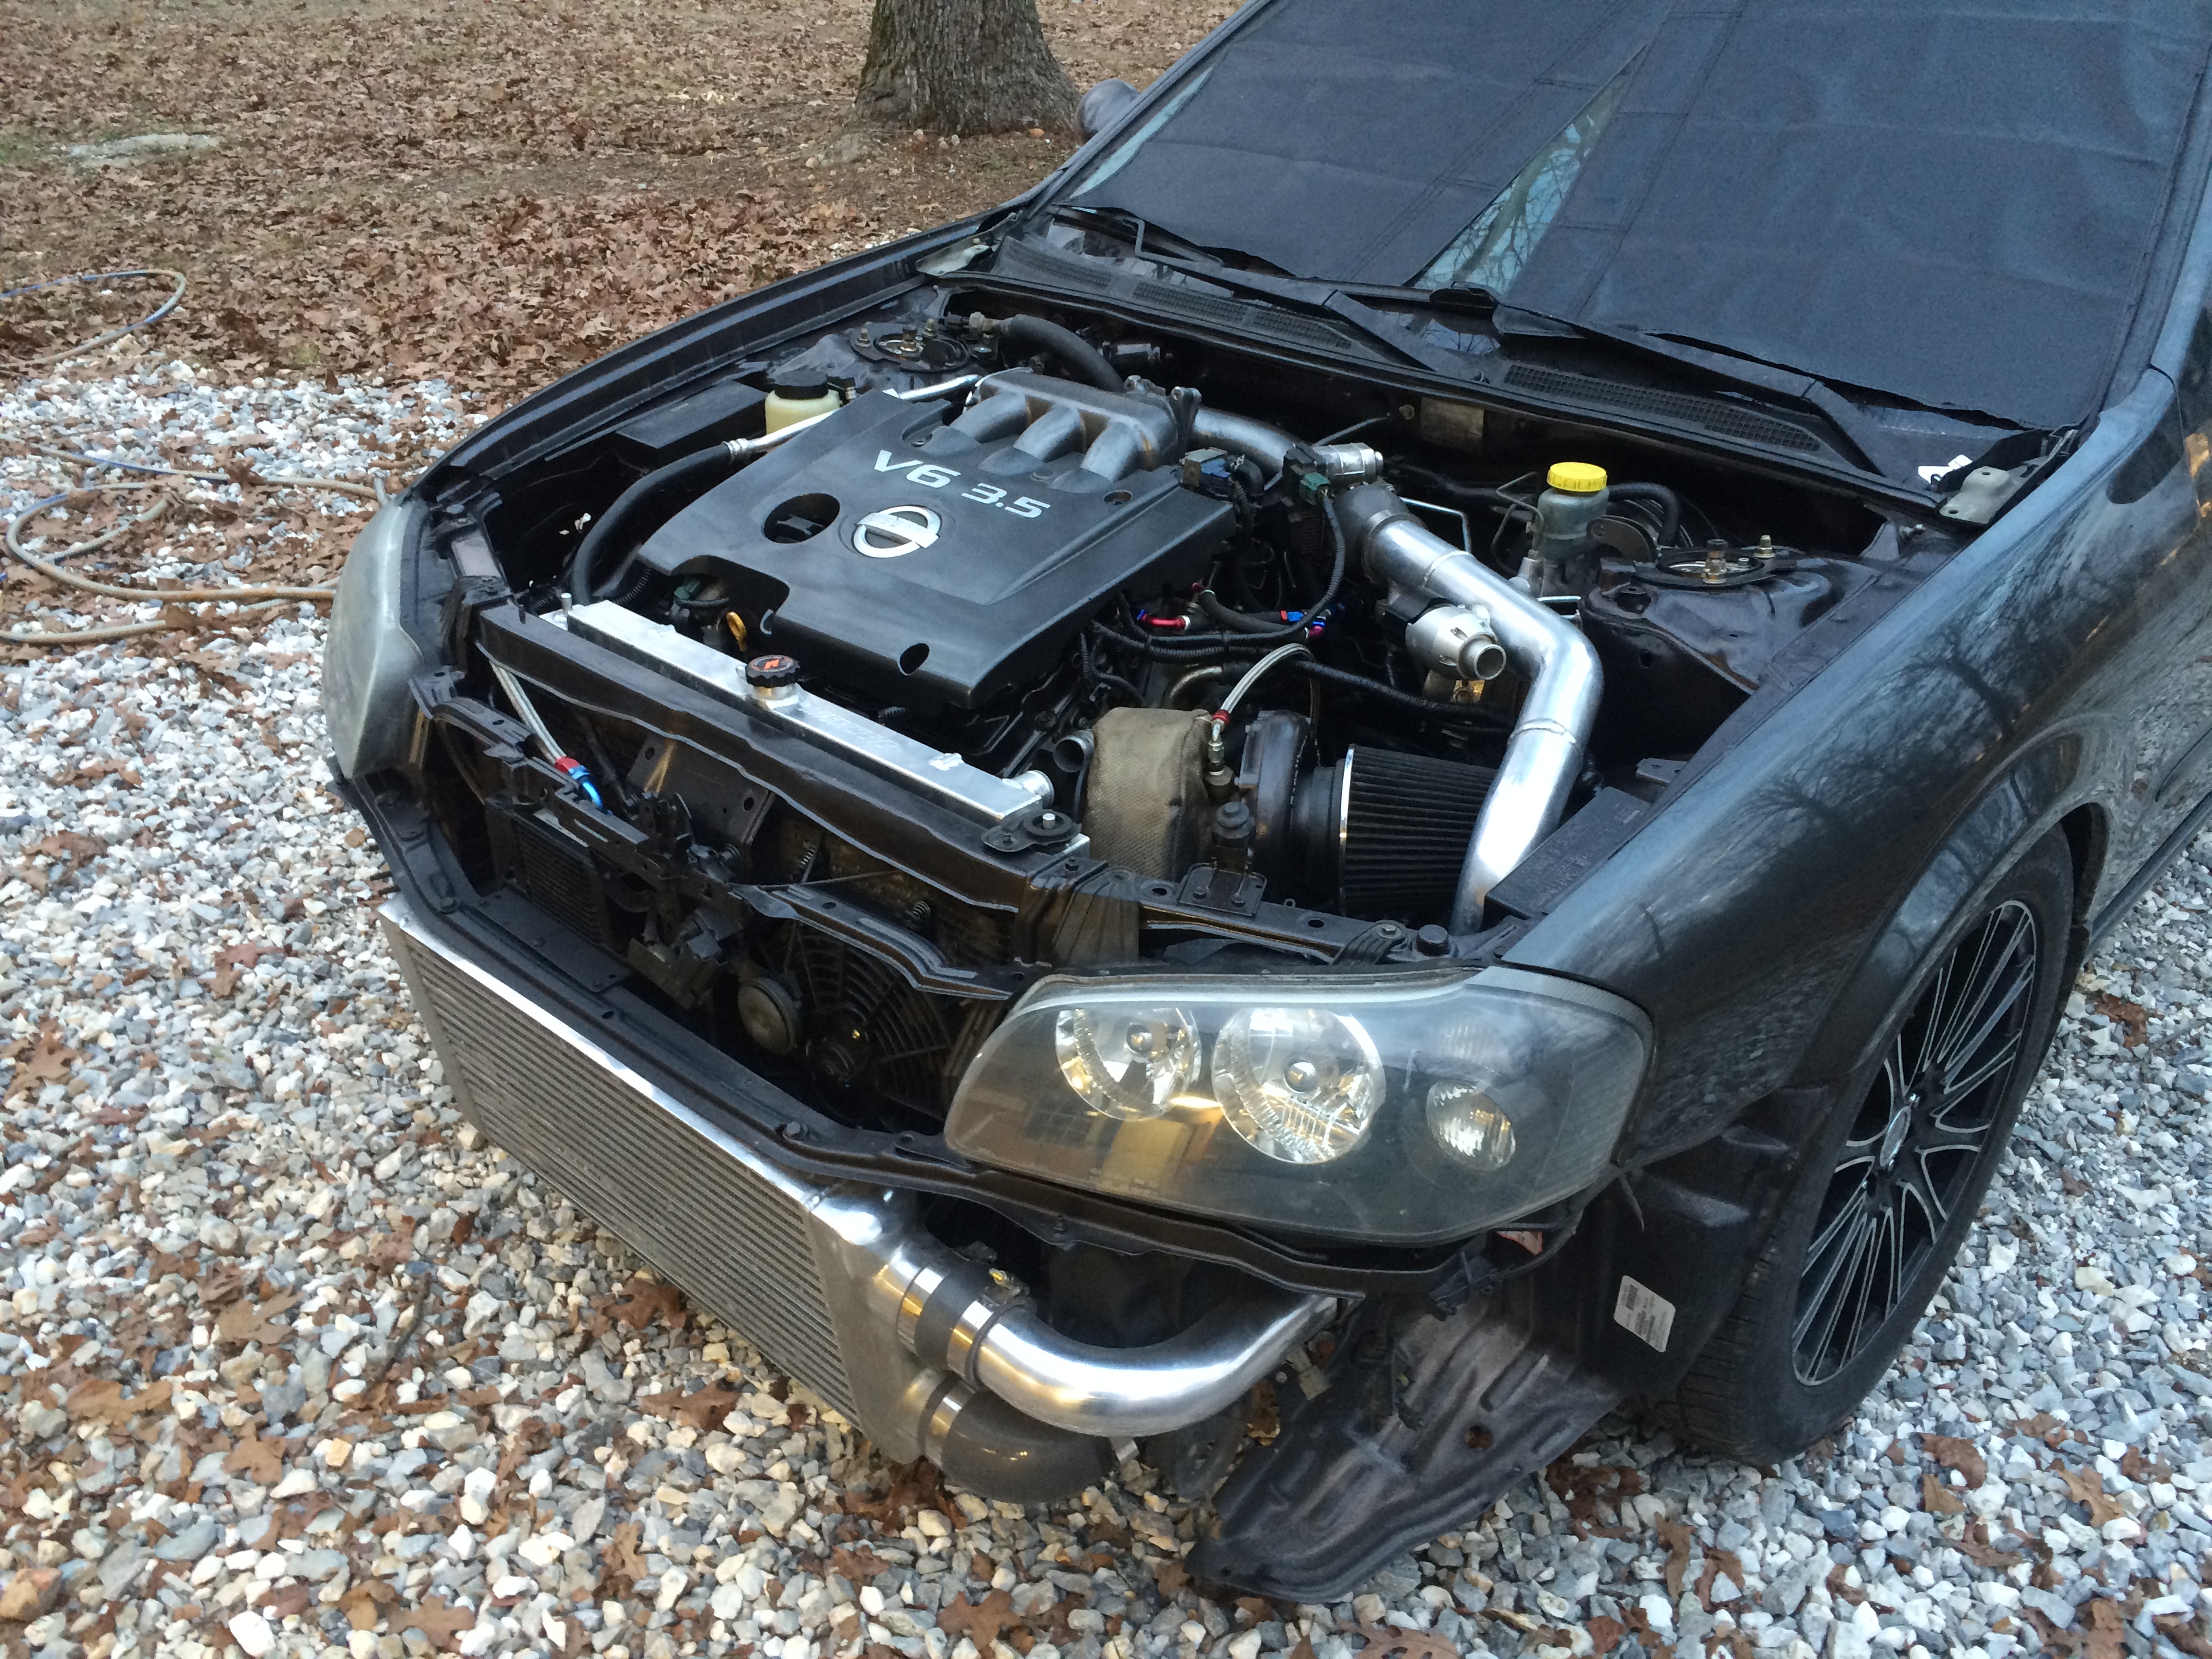
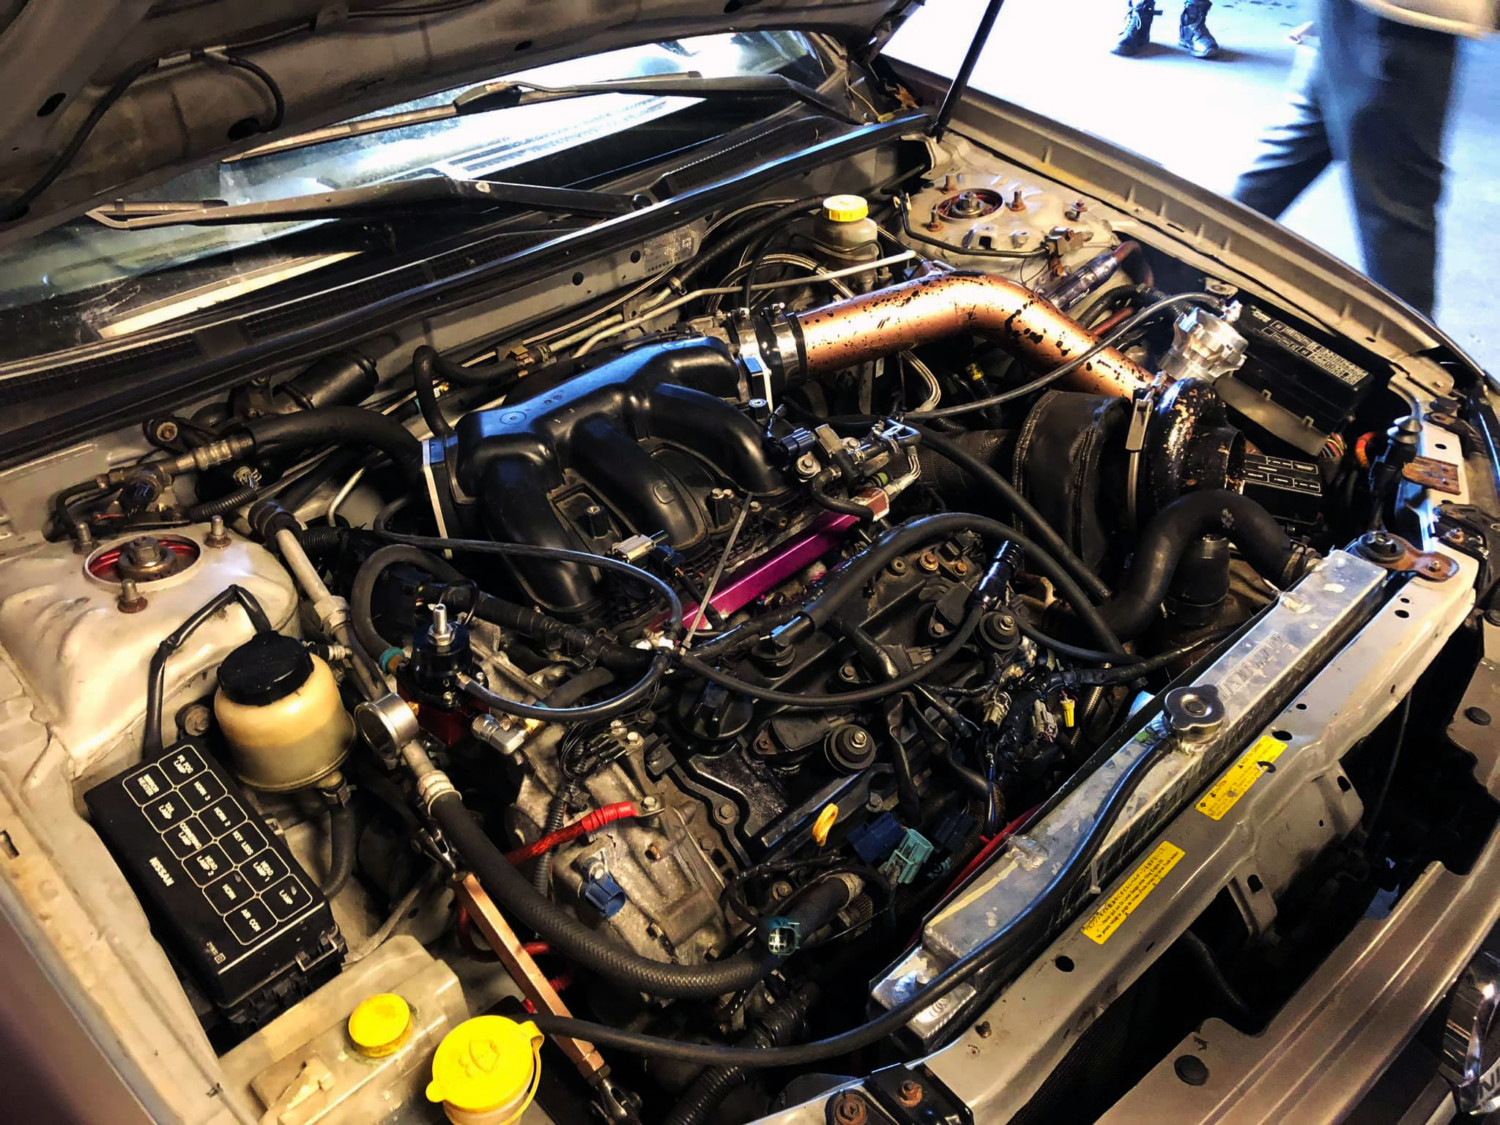
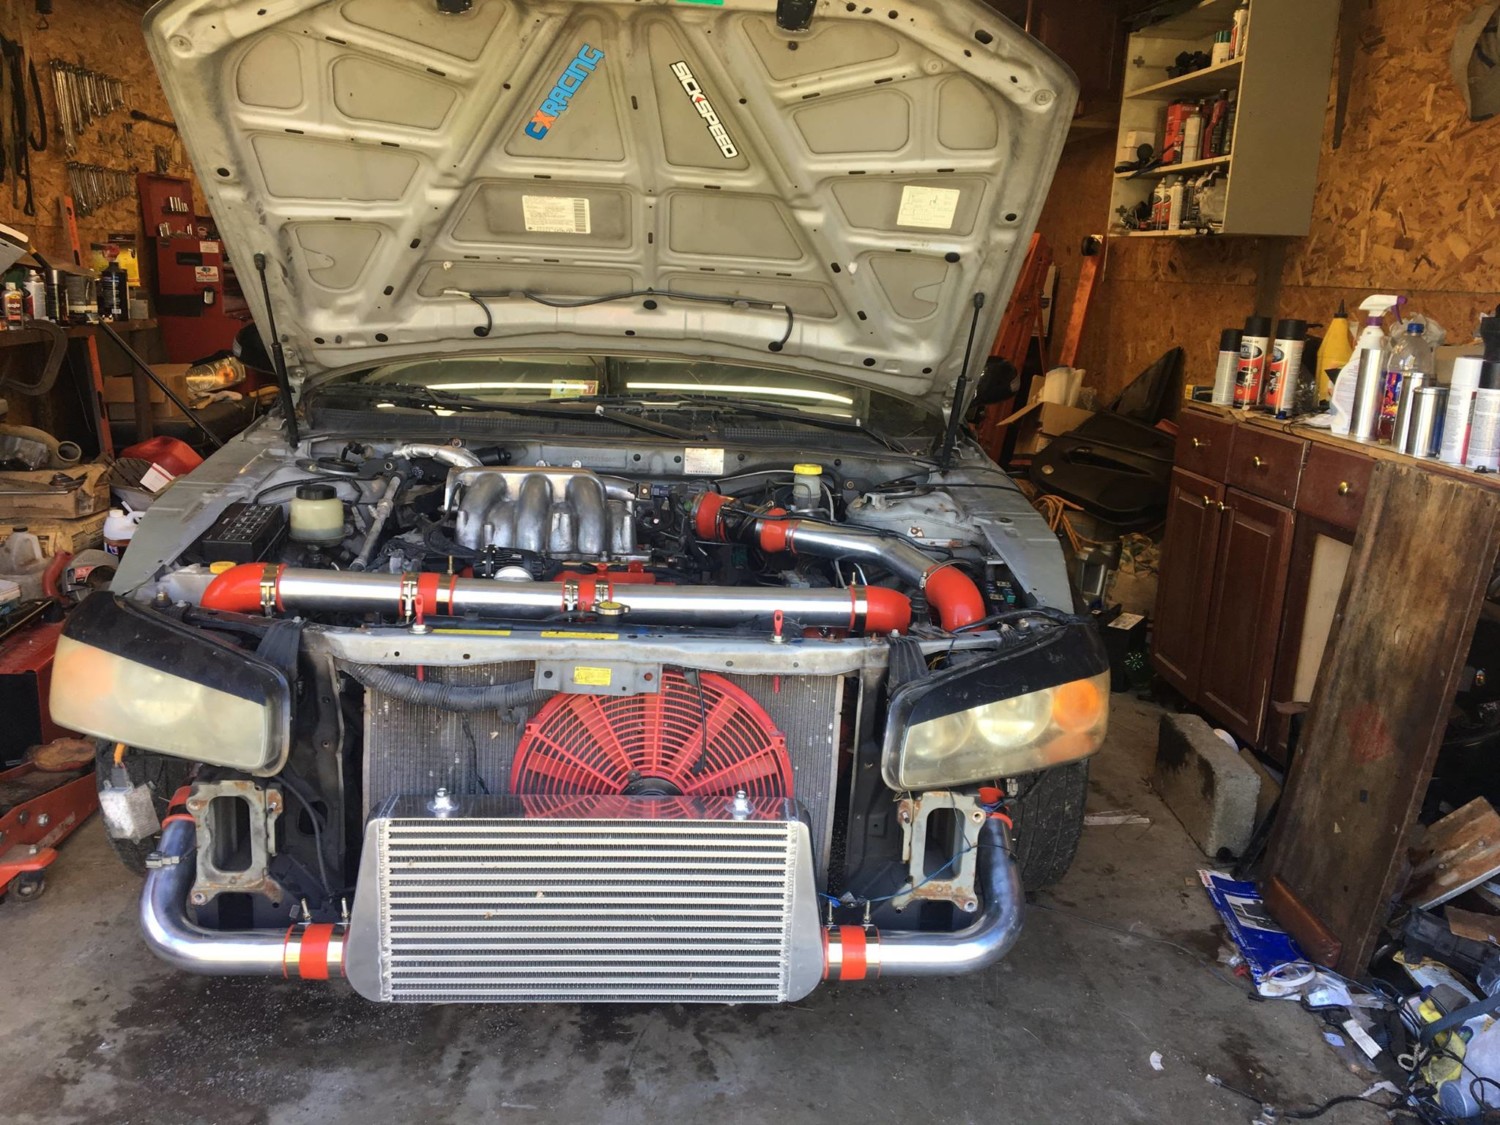
FINAL ENGINE BAY PIC……..(only need to weld intake piping, and BOV, also weld on wastegate and attach oil fittings….)
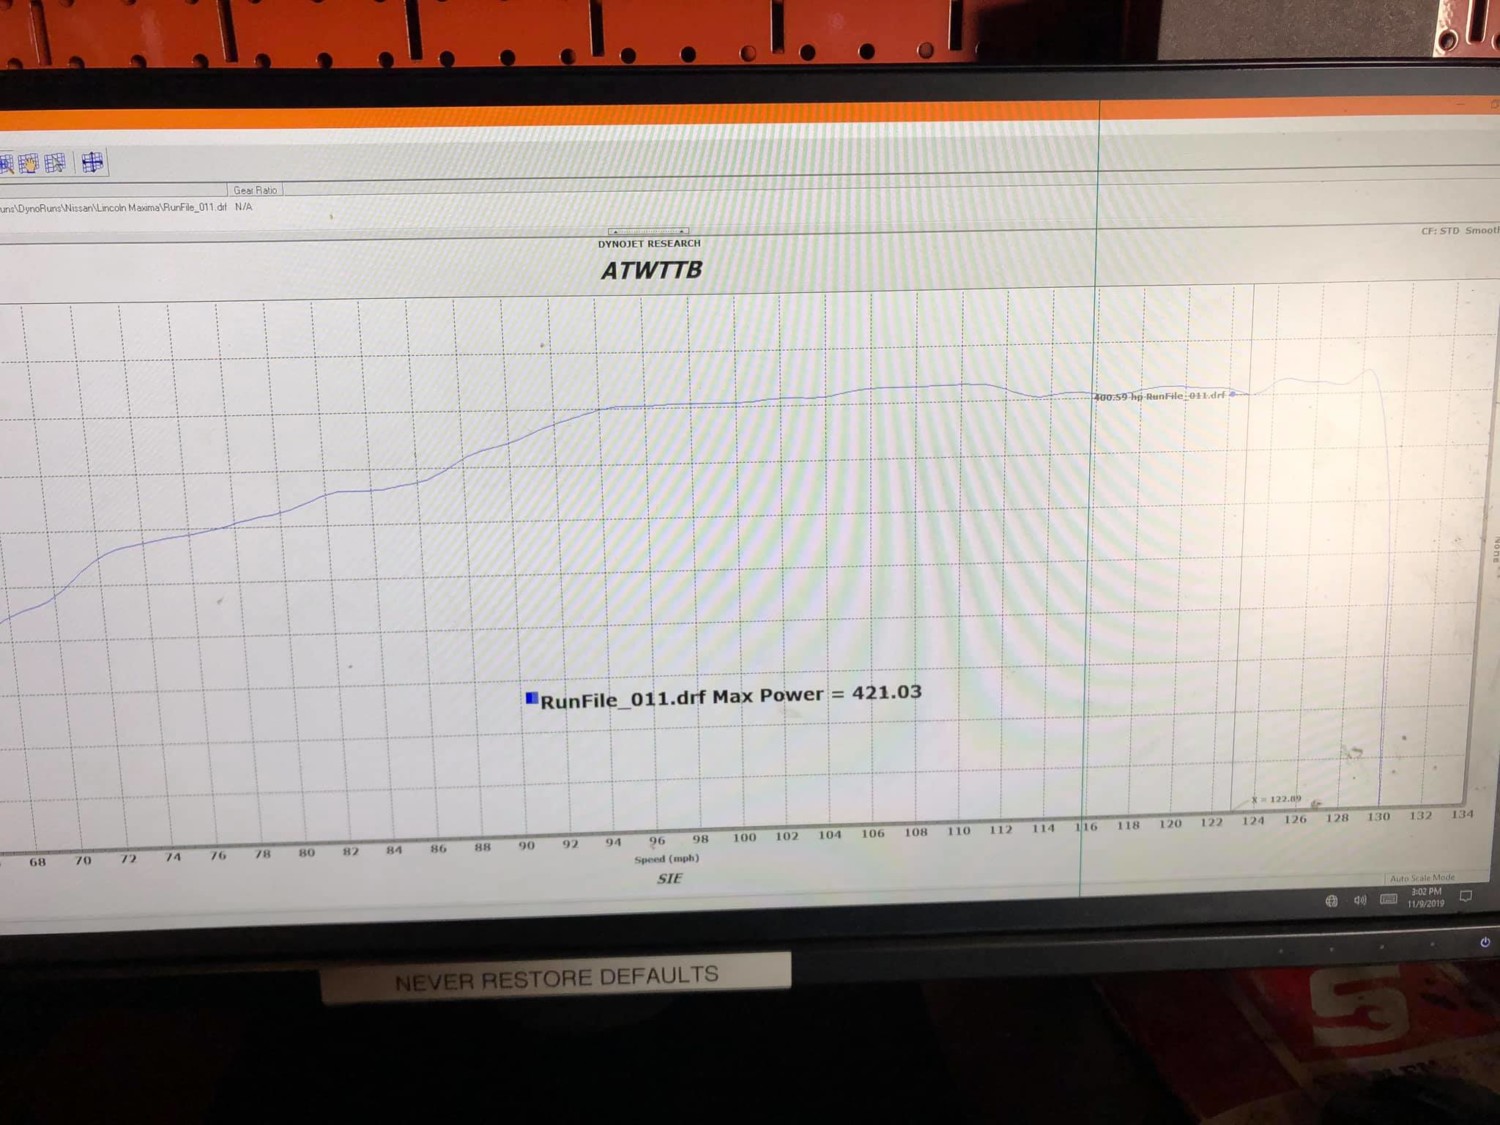
404whp & 393ft-lbs @8psi:
I thought this was VERY interesting..
I took my fully bolted on and tuned ALL Motor Maxima tune and laid it on top of the Turbo tune……
Before (All motor): 275whp @6000rpm & 258ft-lbs @4700rpm
After (Turbo): 404whp @6200rpm & 393ft-lbs @4500rpm
DIFFERENCE: +129WHP & +138FT-LBS @8psi
As you can see there is no lag at all.
At 3000rpms Im making 148whp & 260ft-lbs vs. 127whp & 224ft-lbs.
At 3500rpms Im making 192whp & 288ft-lbs vs. 154whp & 231ft-lbs.
Basically increases through out the ENTIRE RPM BAND!! SWEET!!
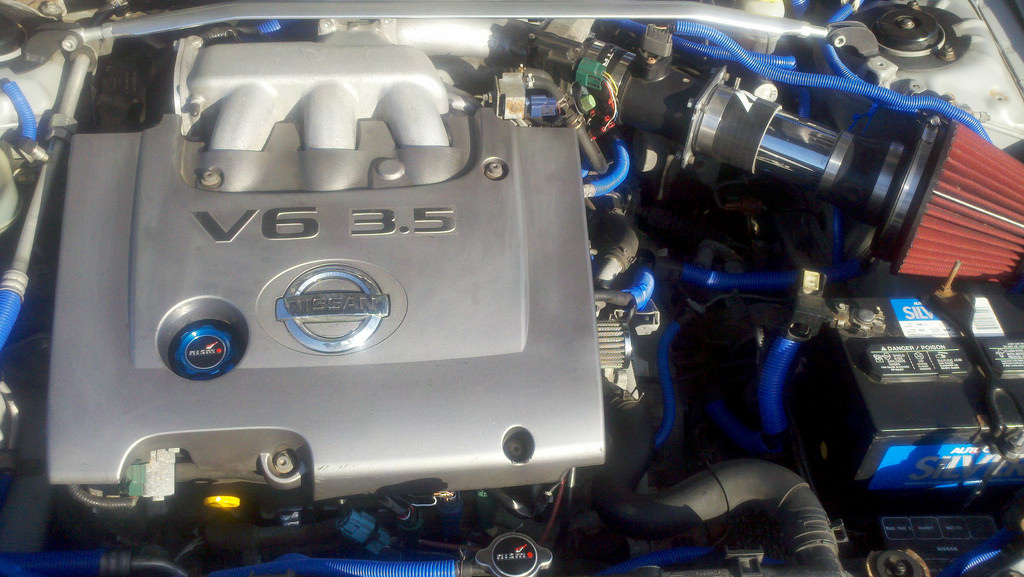
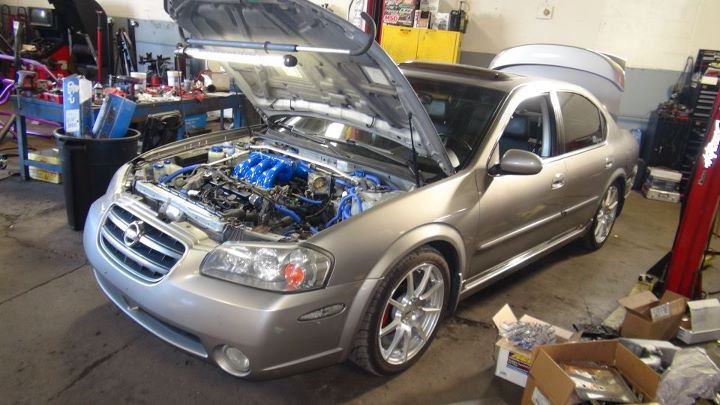
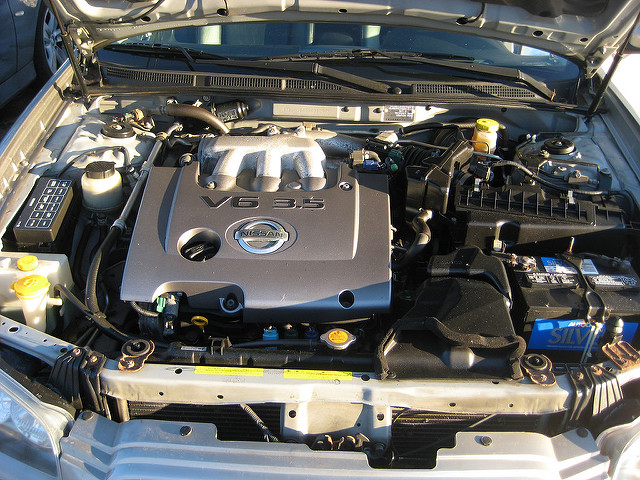
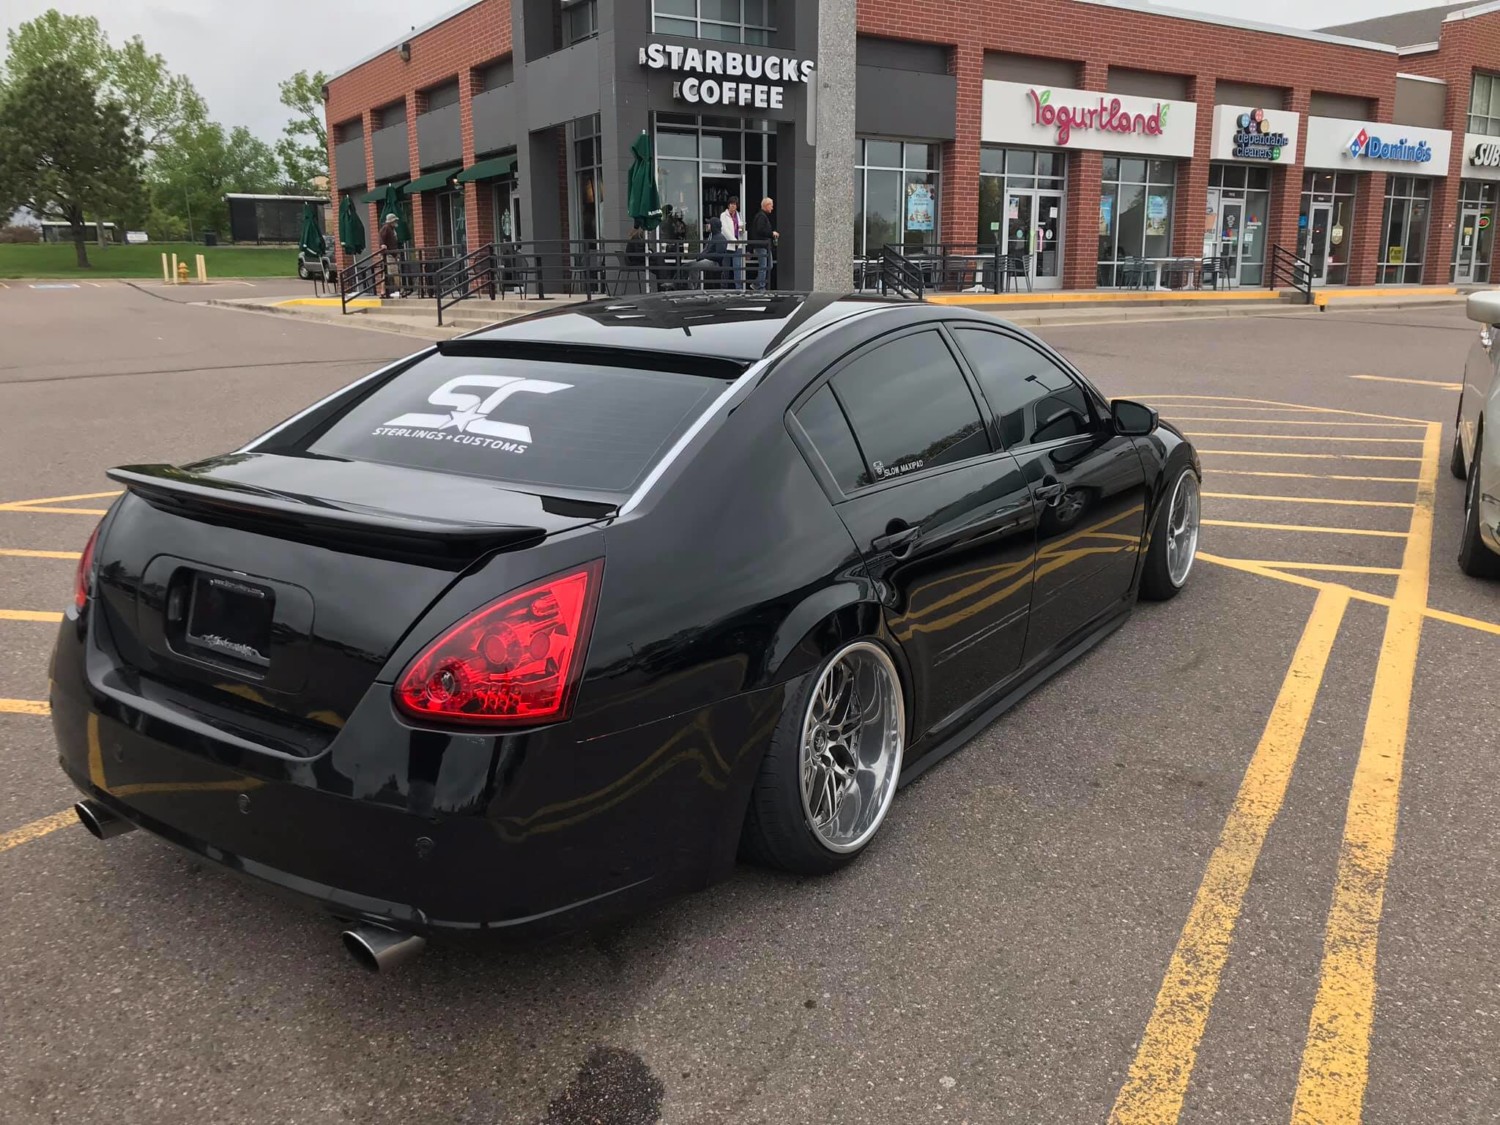
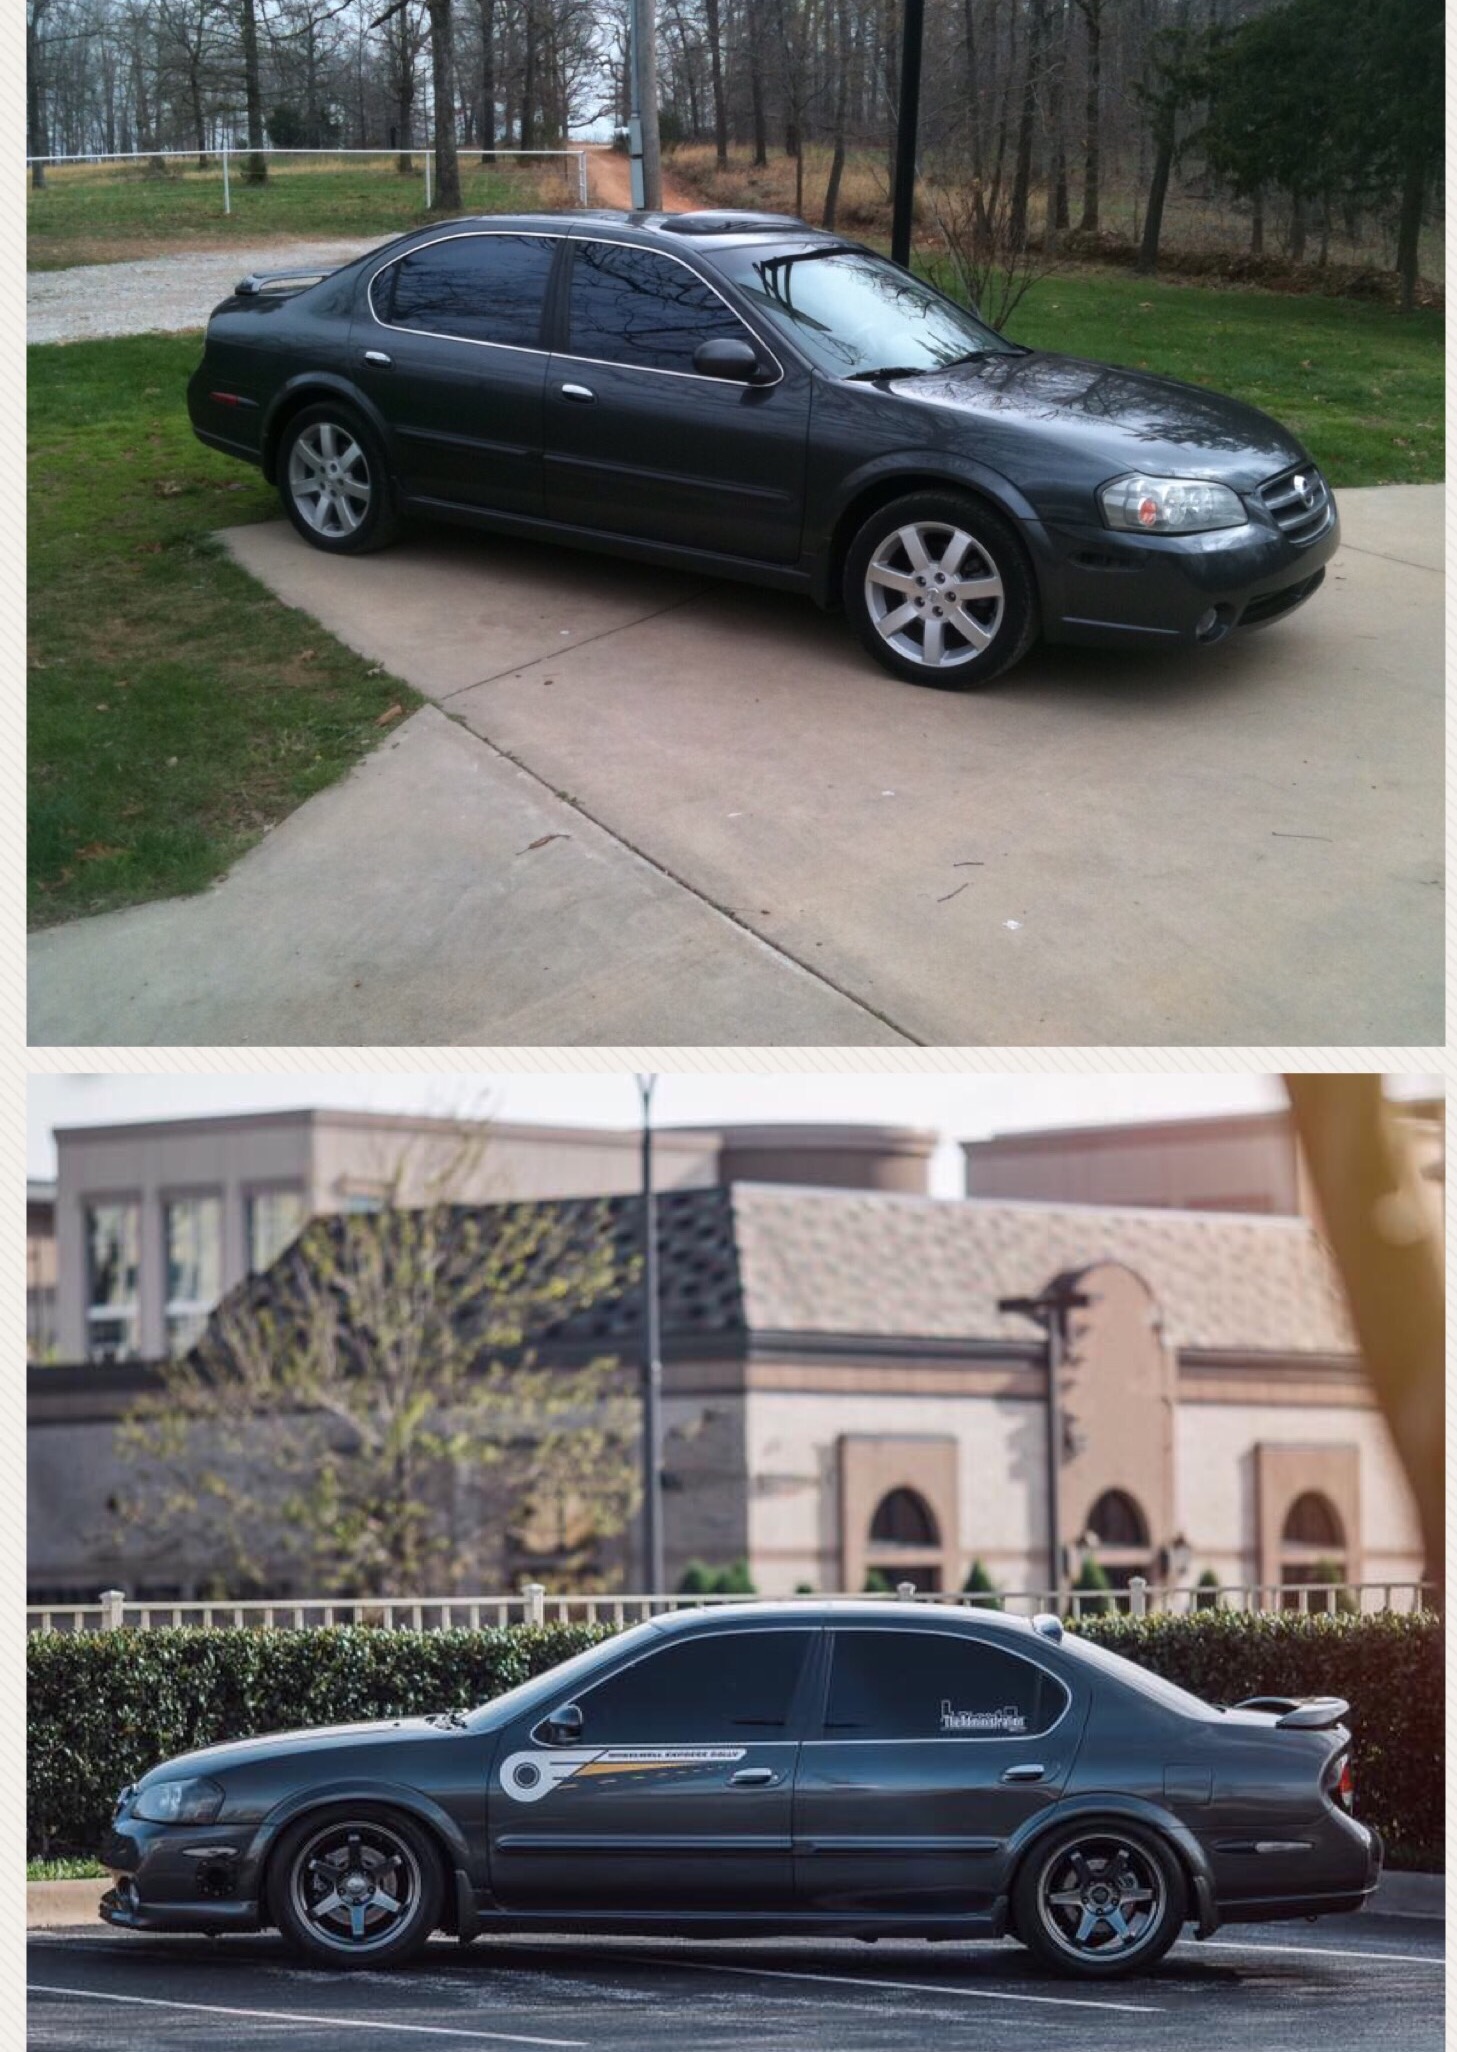
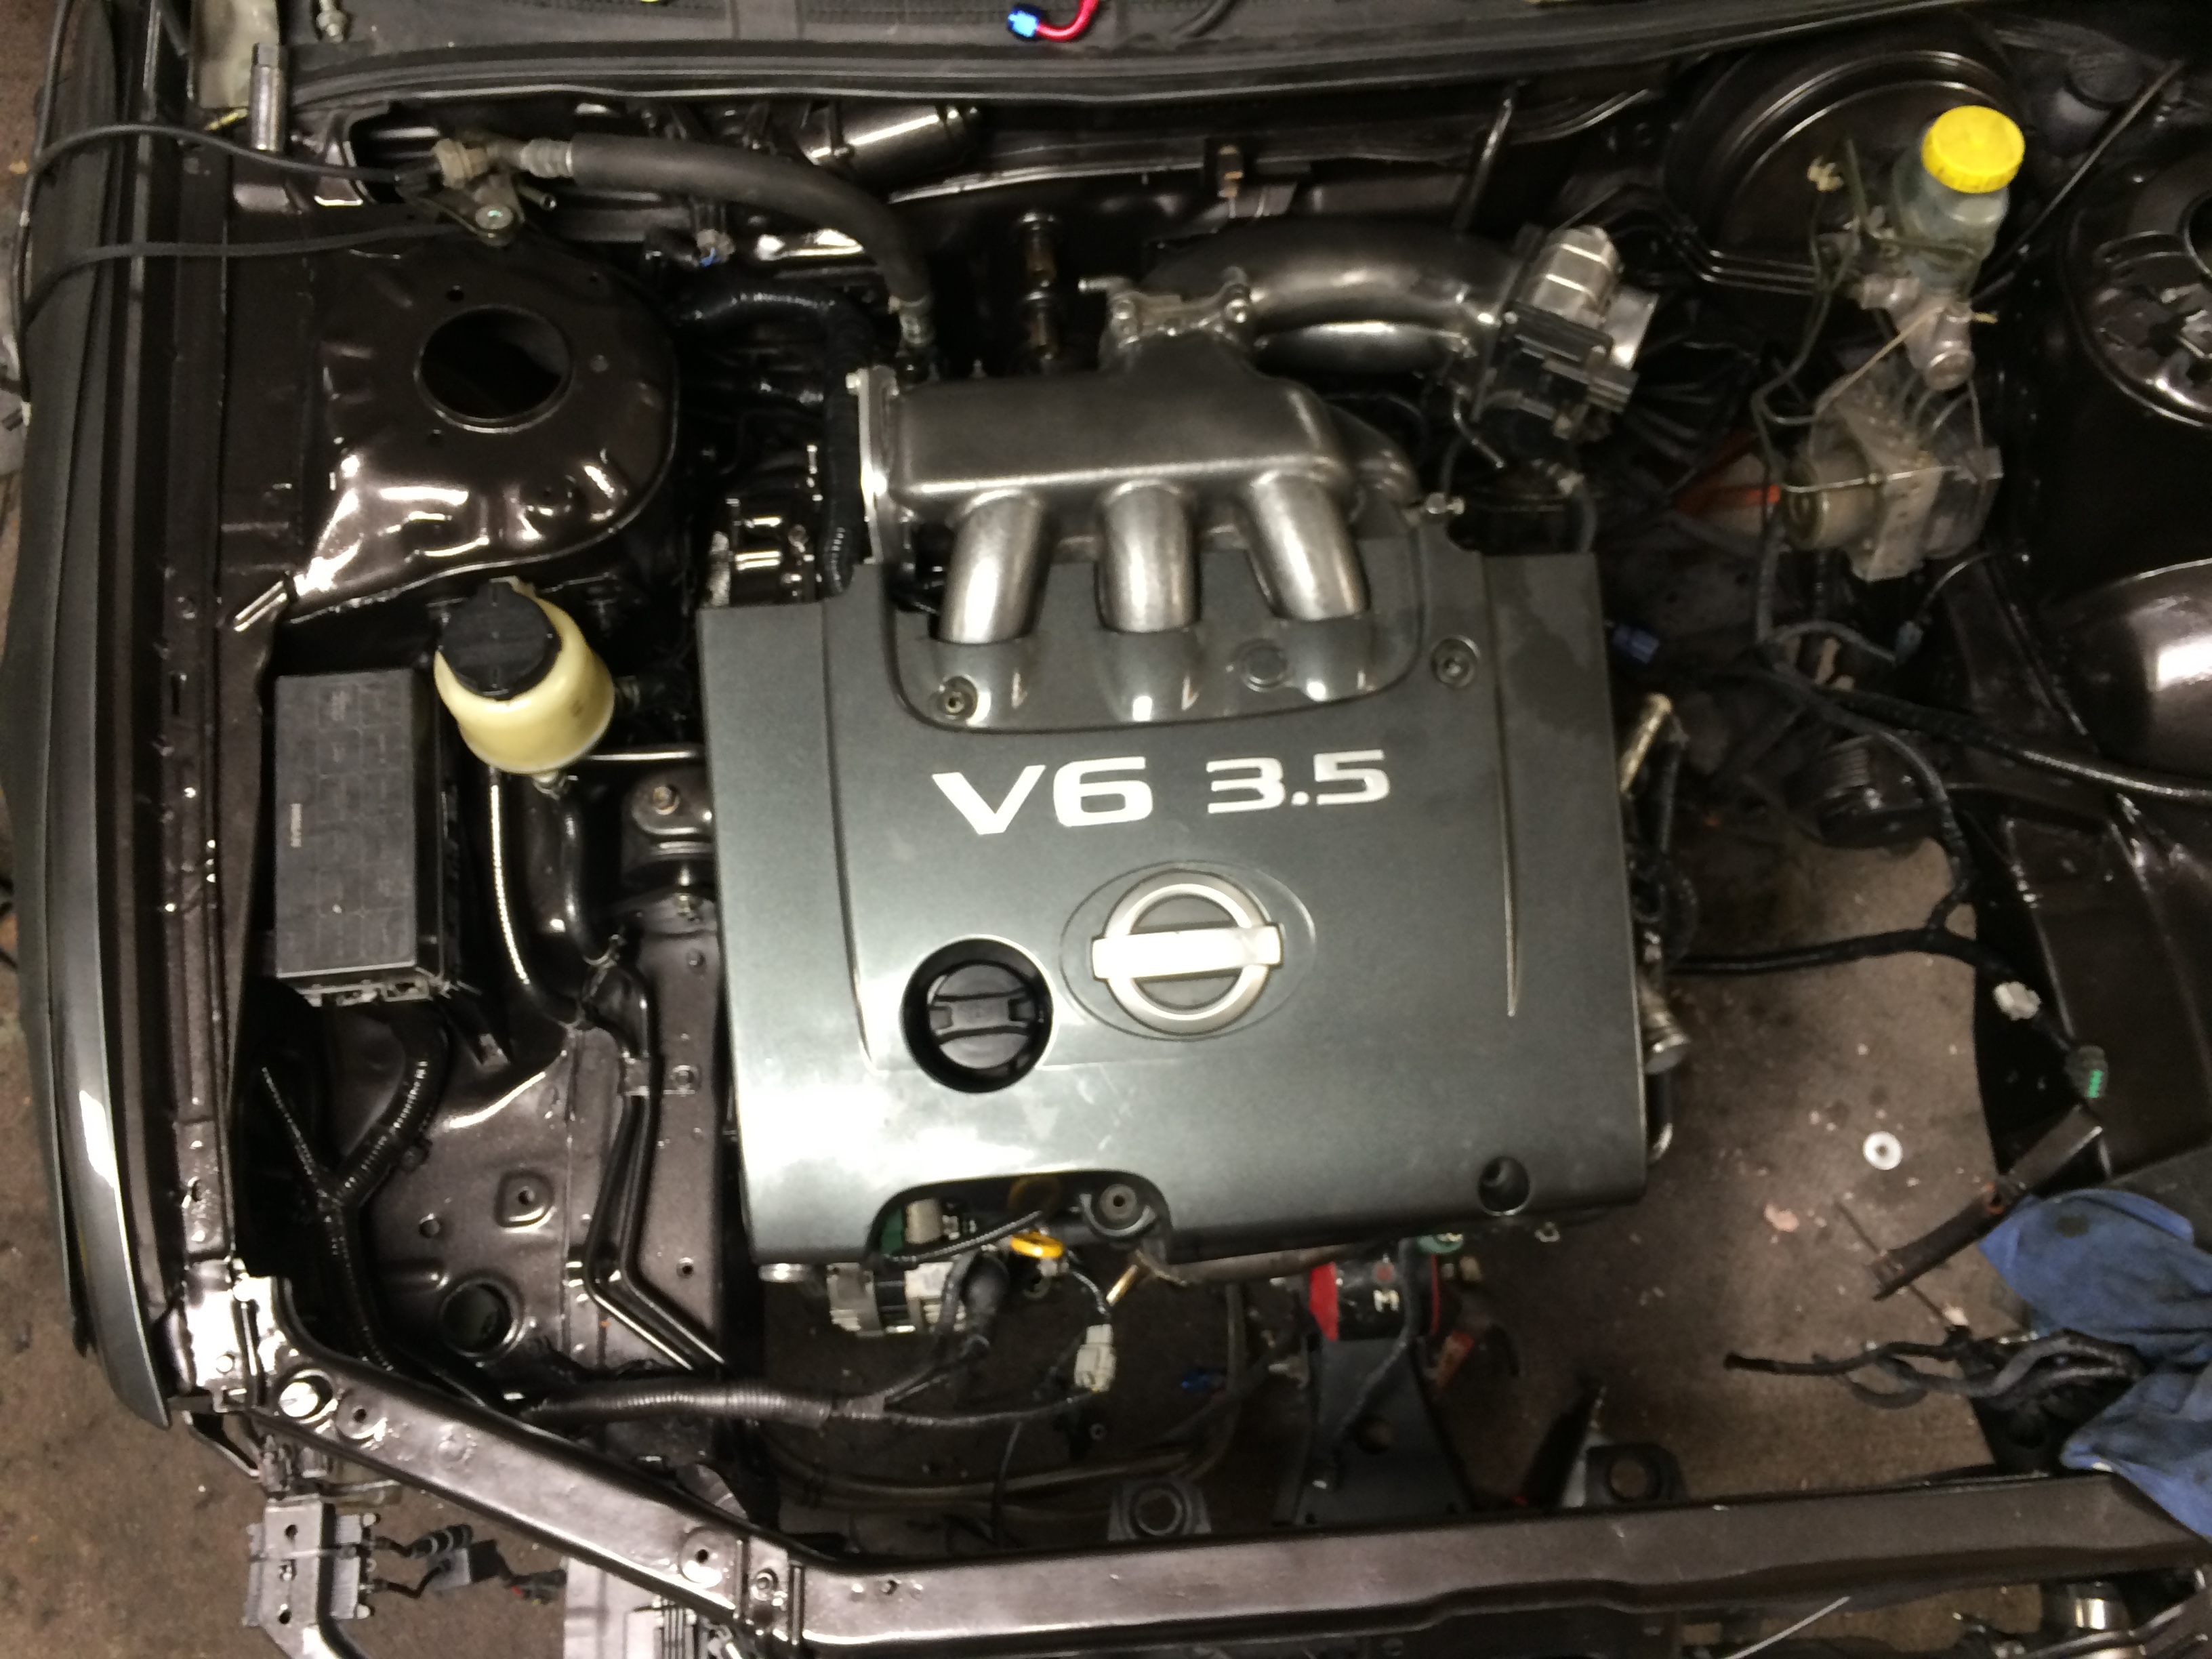
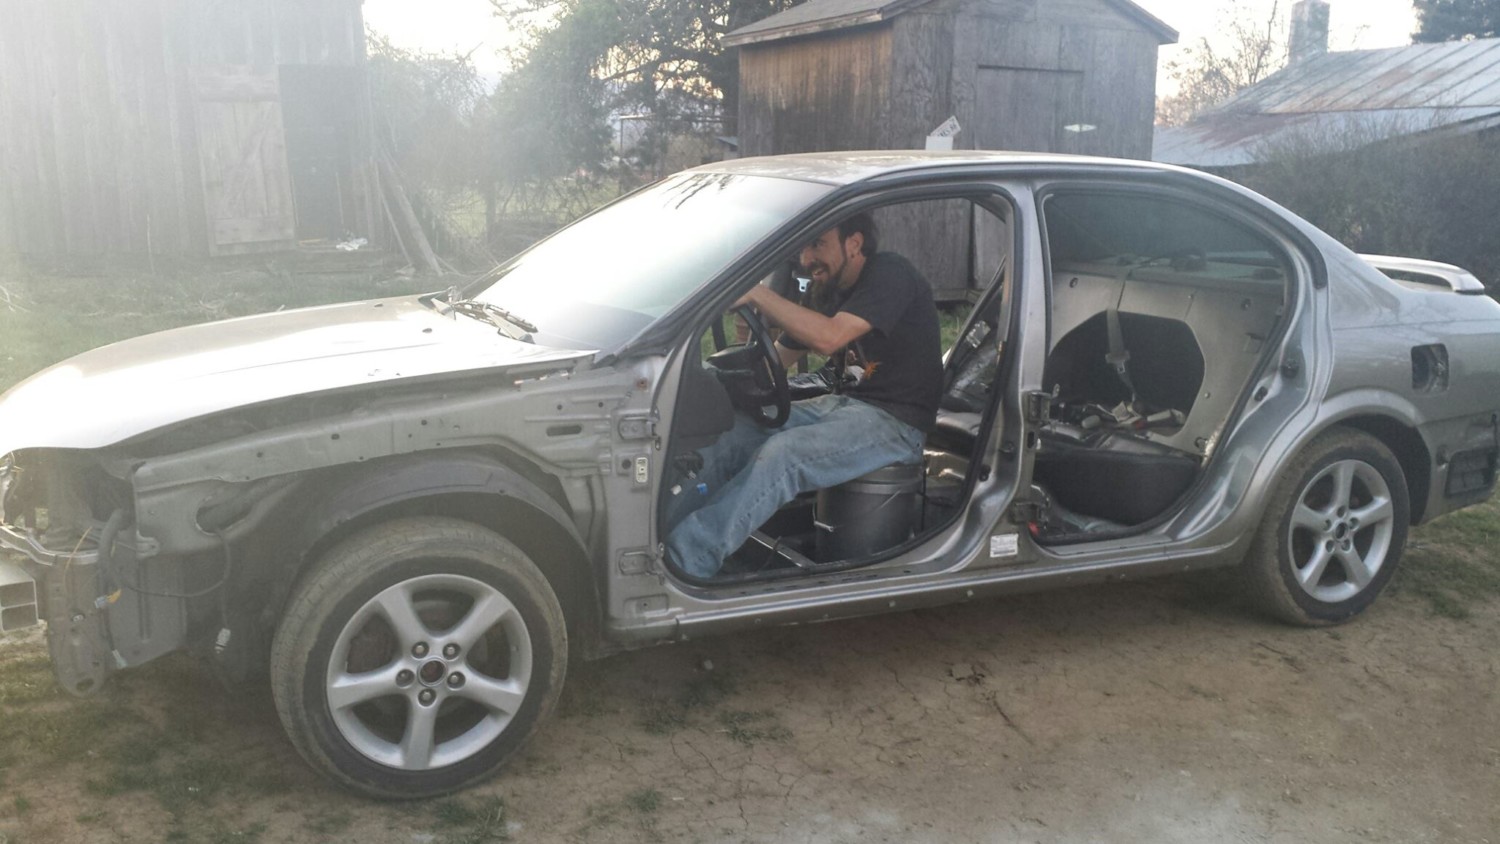
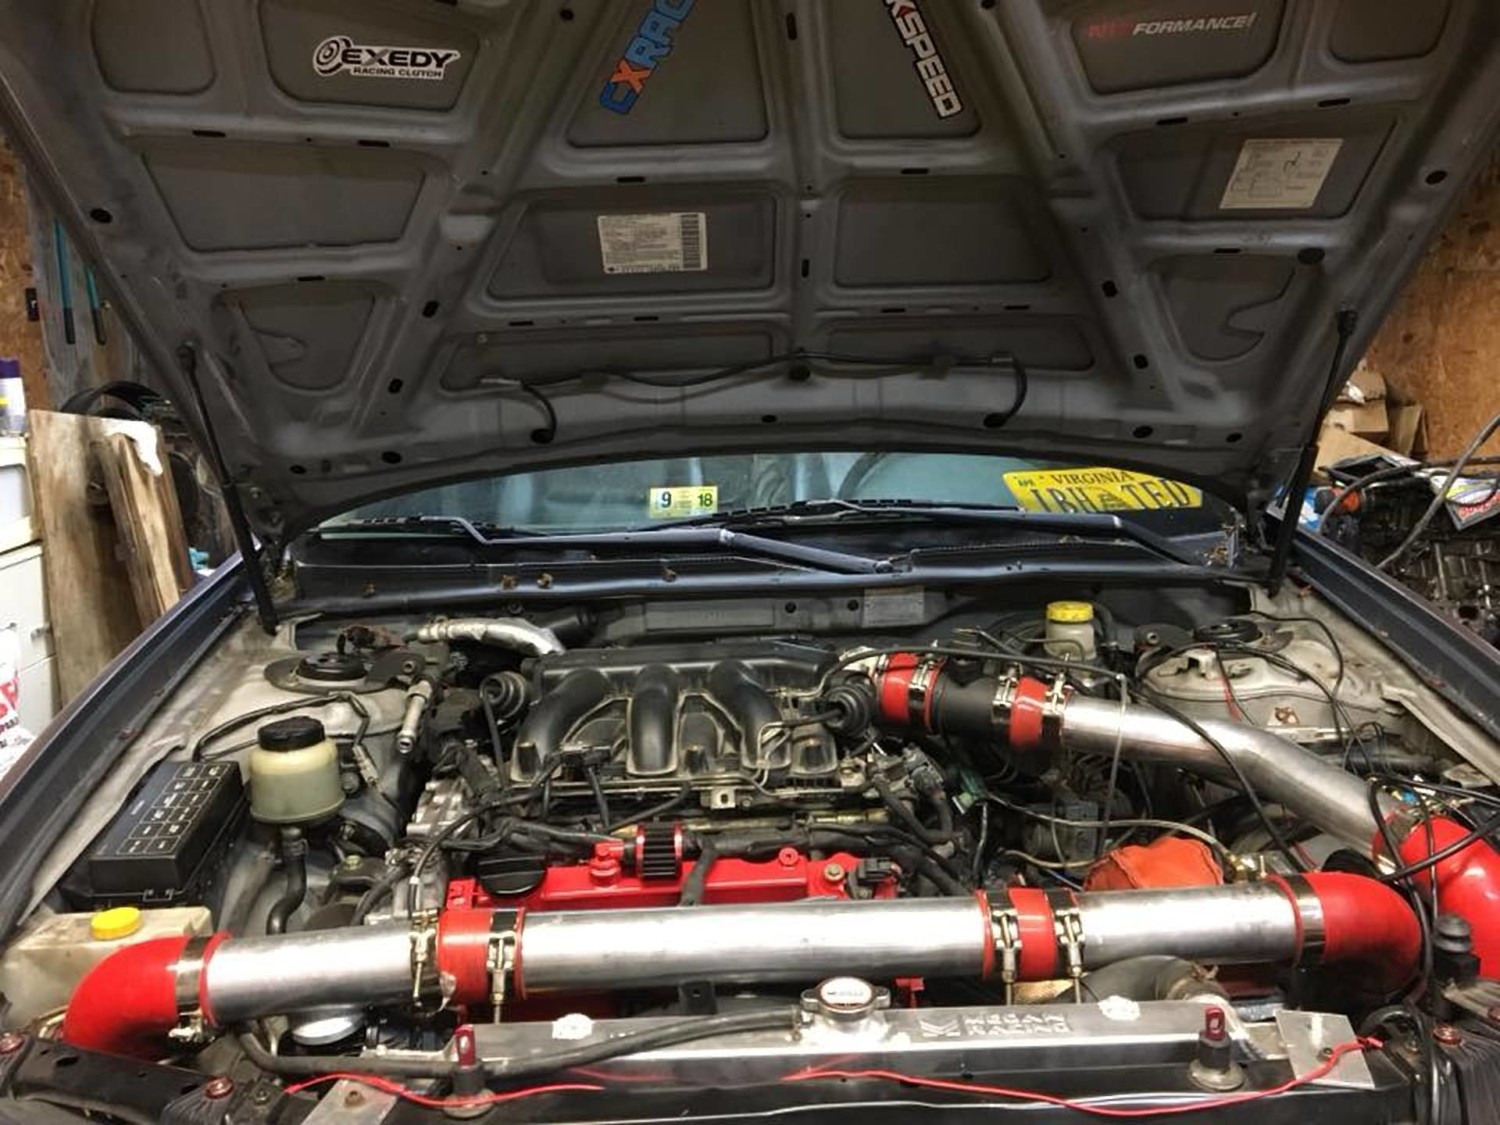
Thought it would be nice to post this here to show where the build came from (Stock) to now:ENGINE BAY
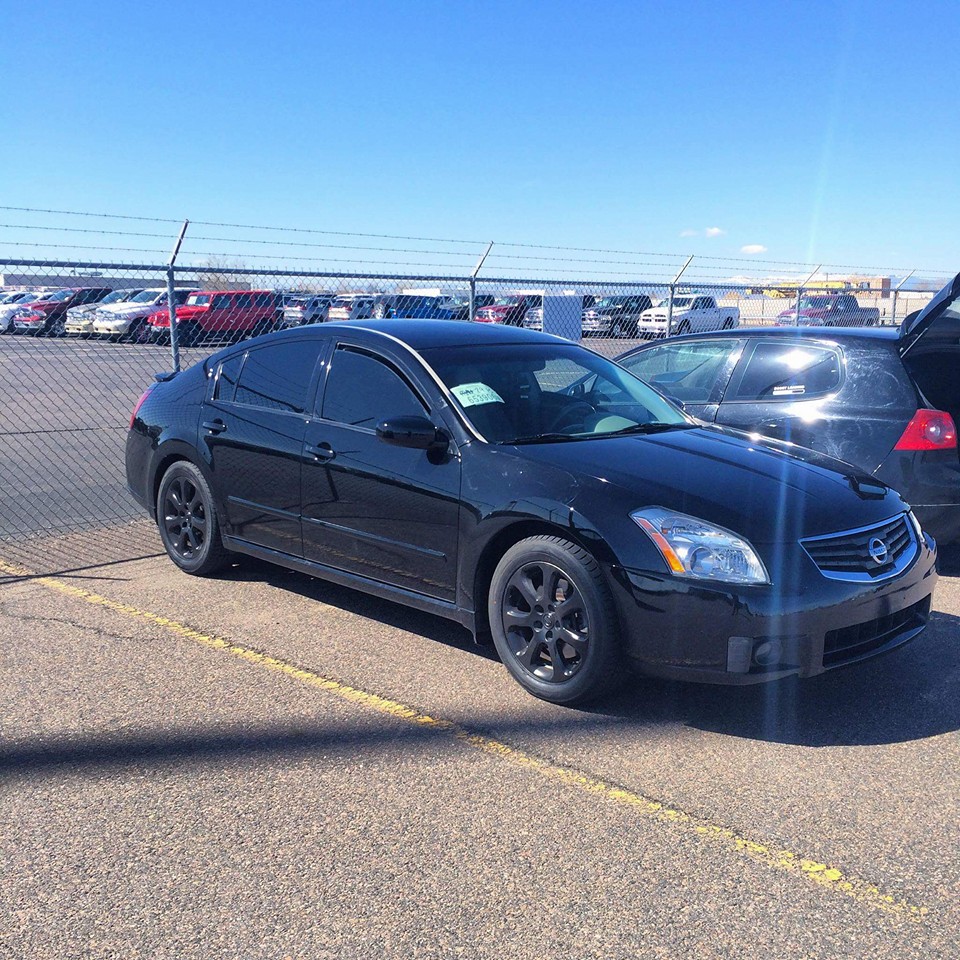
First Bought Stock:
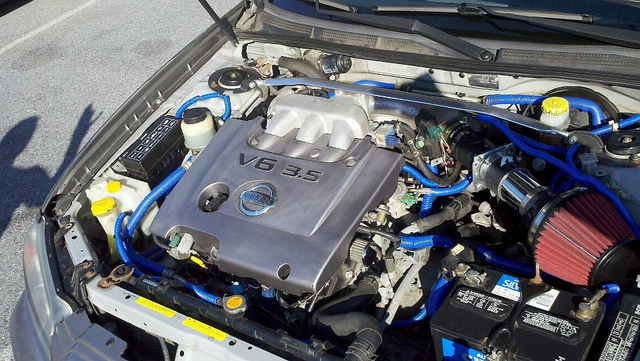
All Motor Full Bolt On No Tune:
All Motor Full Bolt On with Haltech Tune:
Custom Turbo Kit:
STOCK:
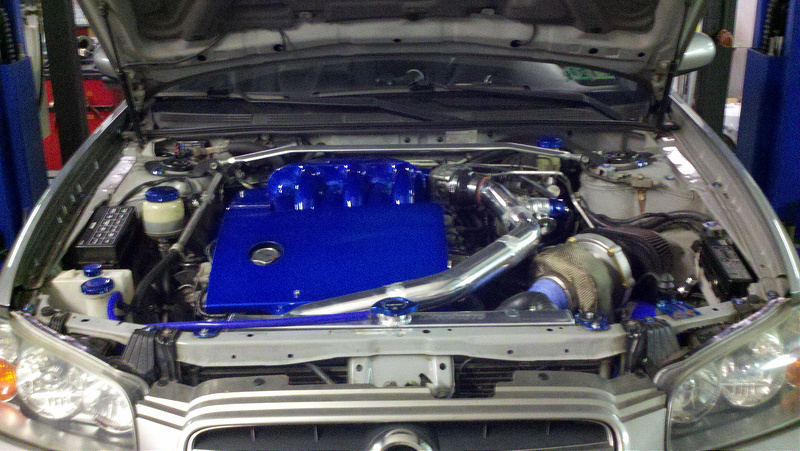
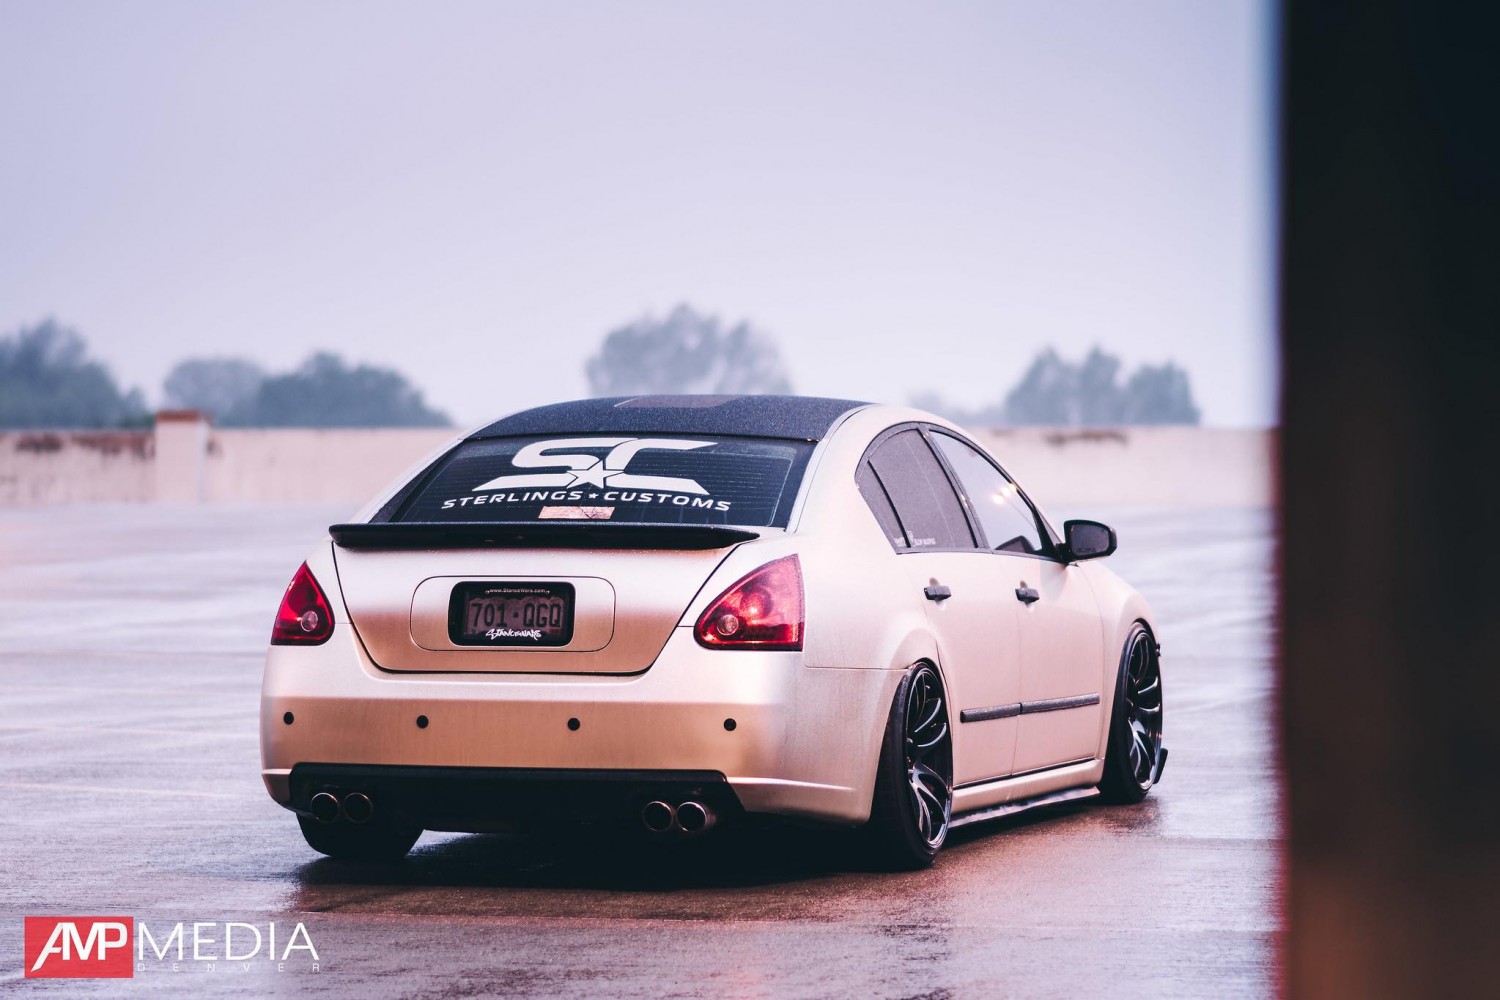
NOW:
STOCK:
NOW:
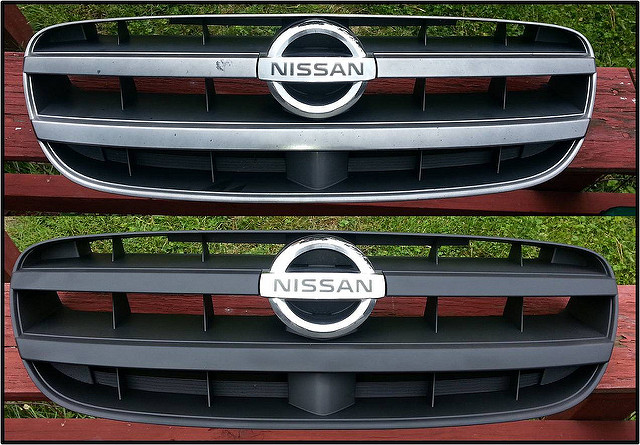
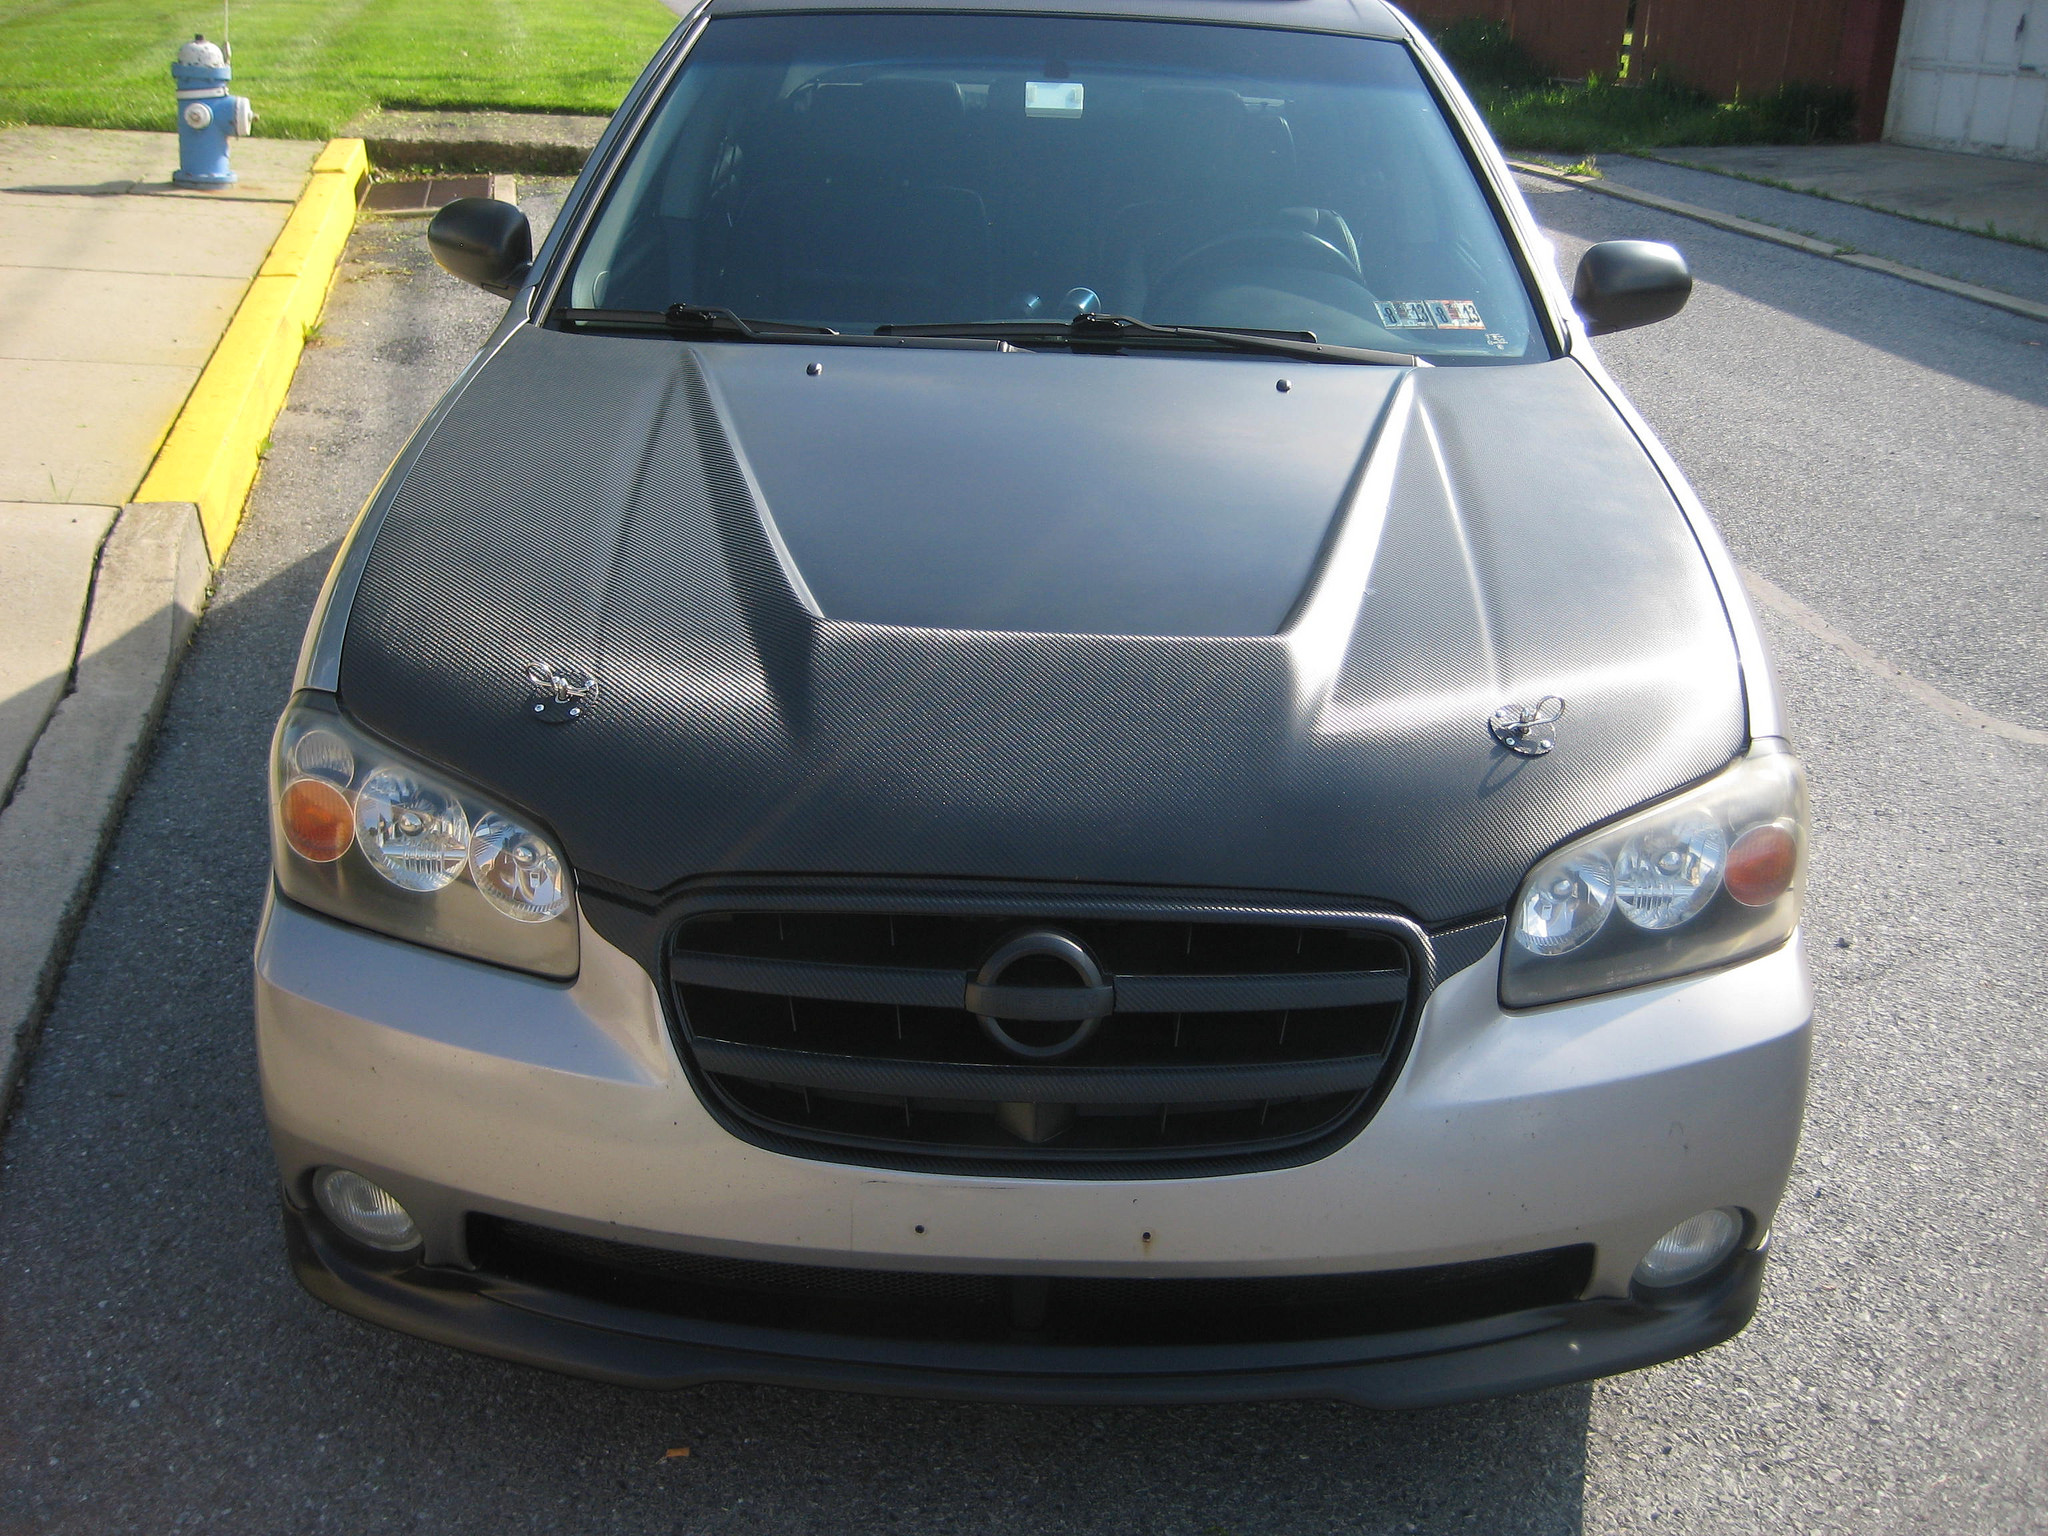
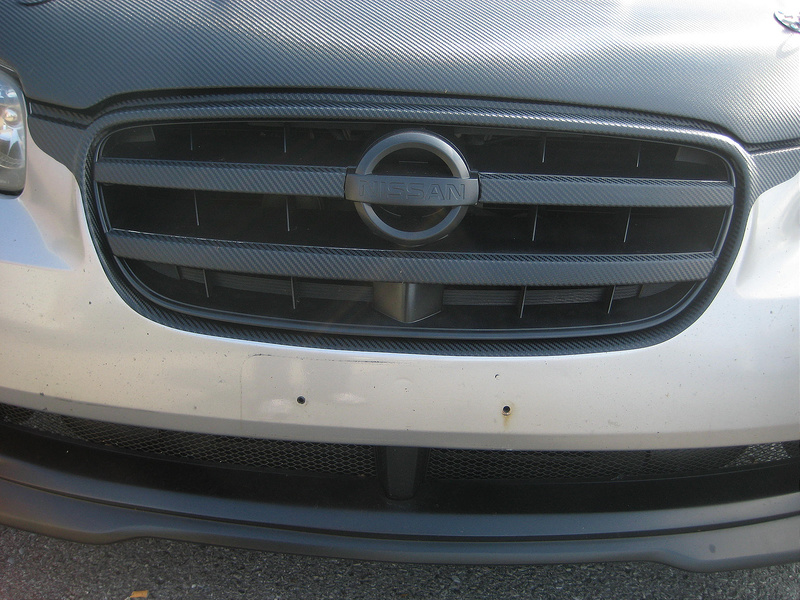
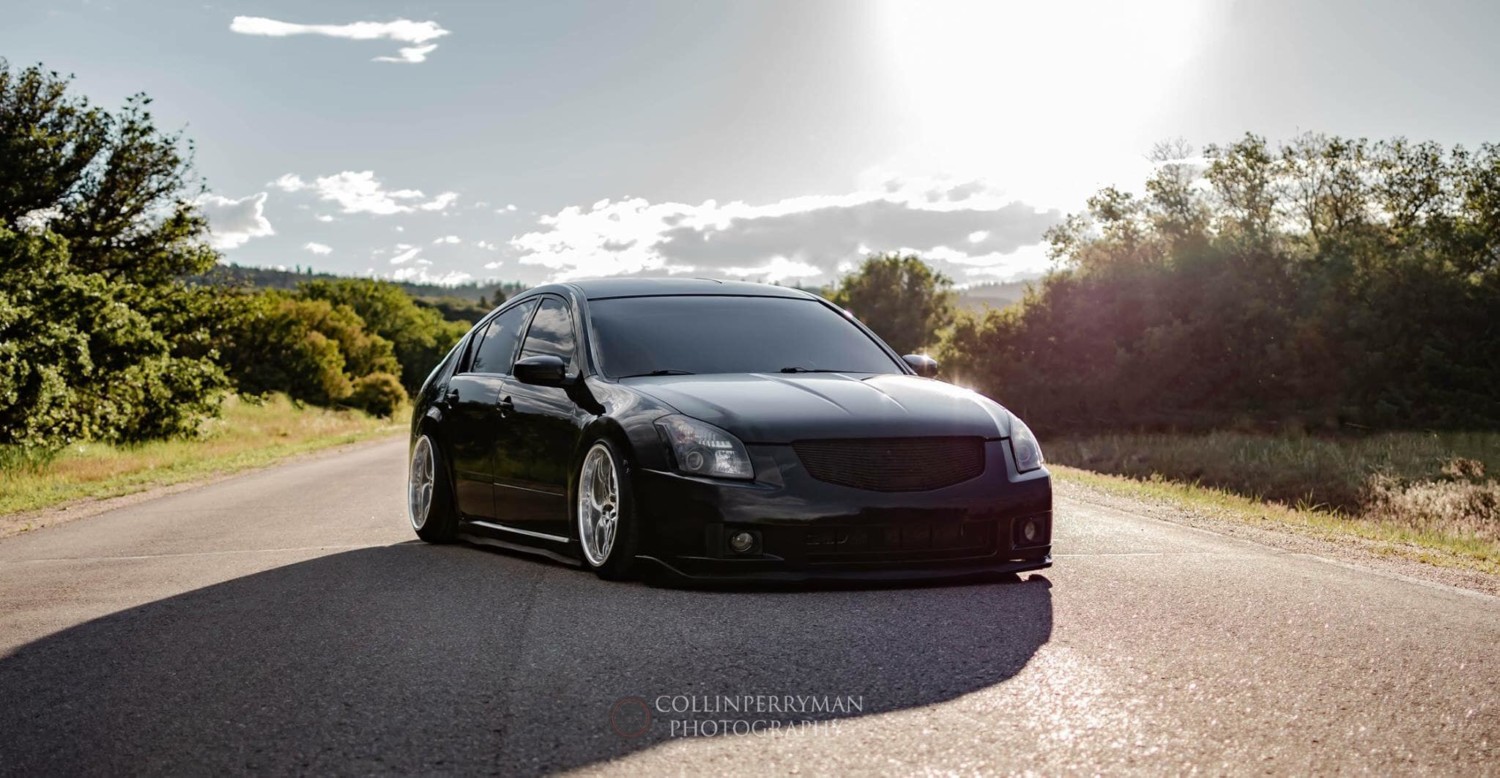
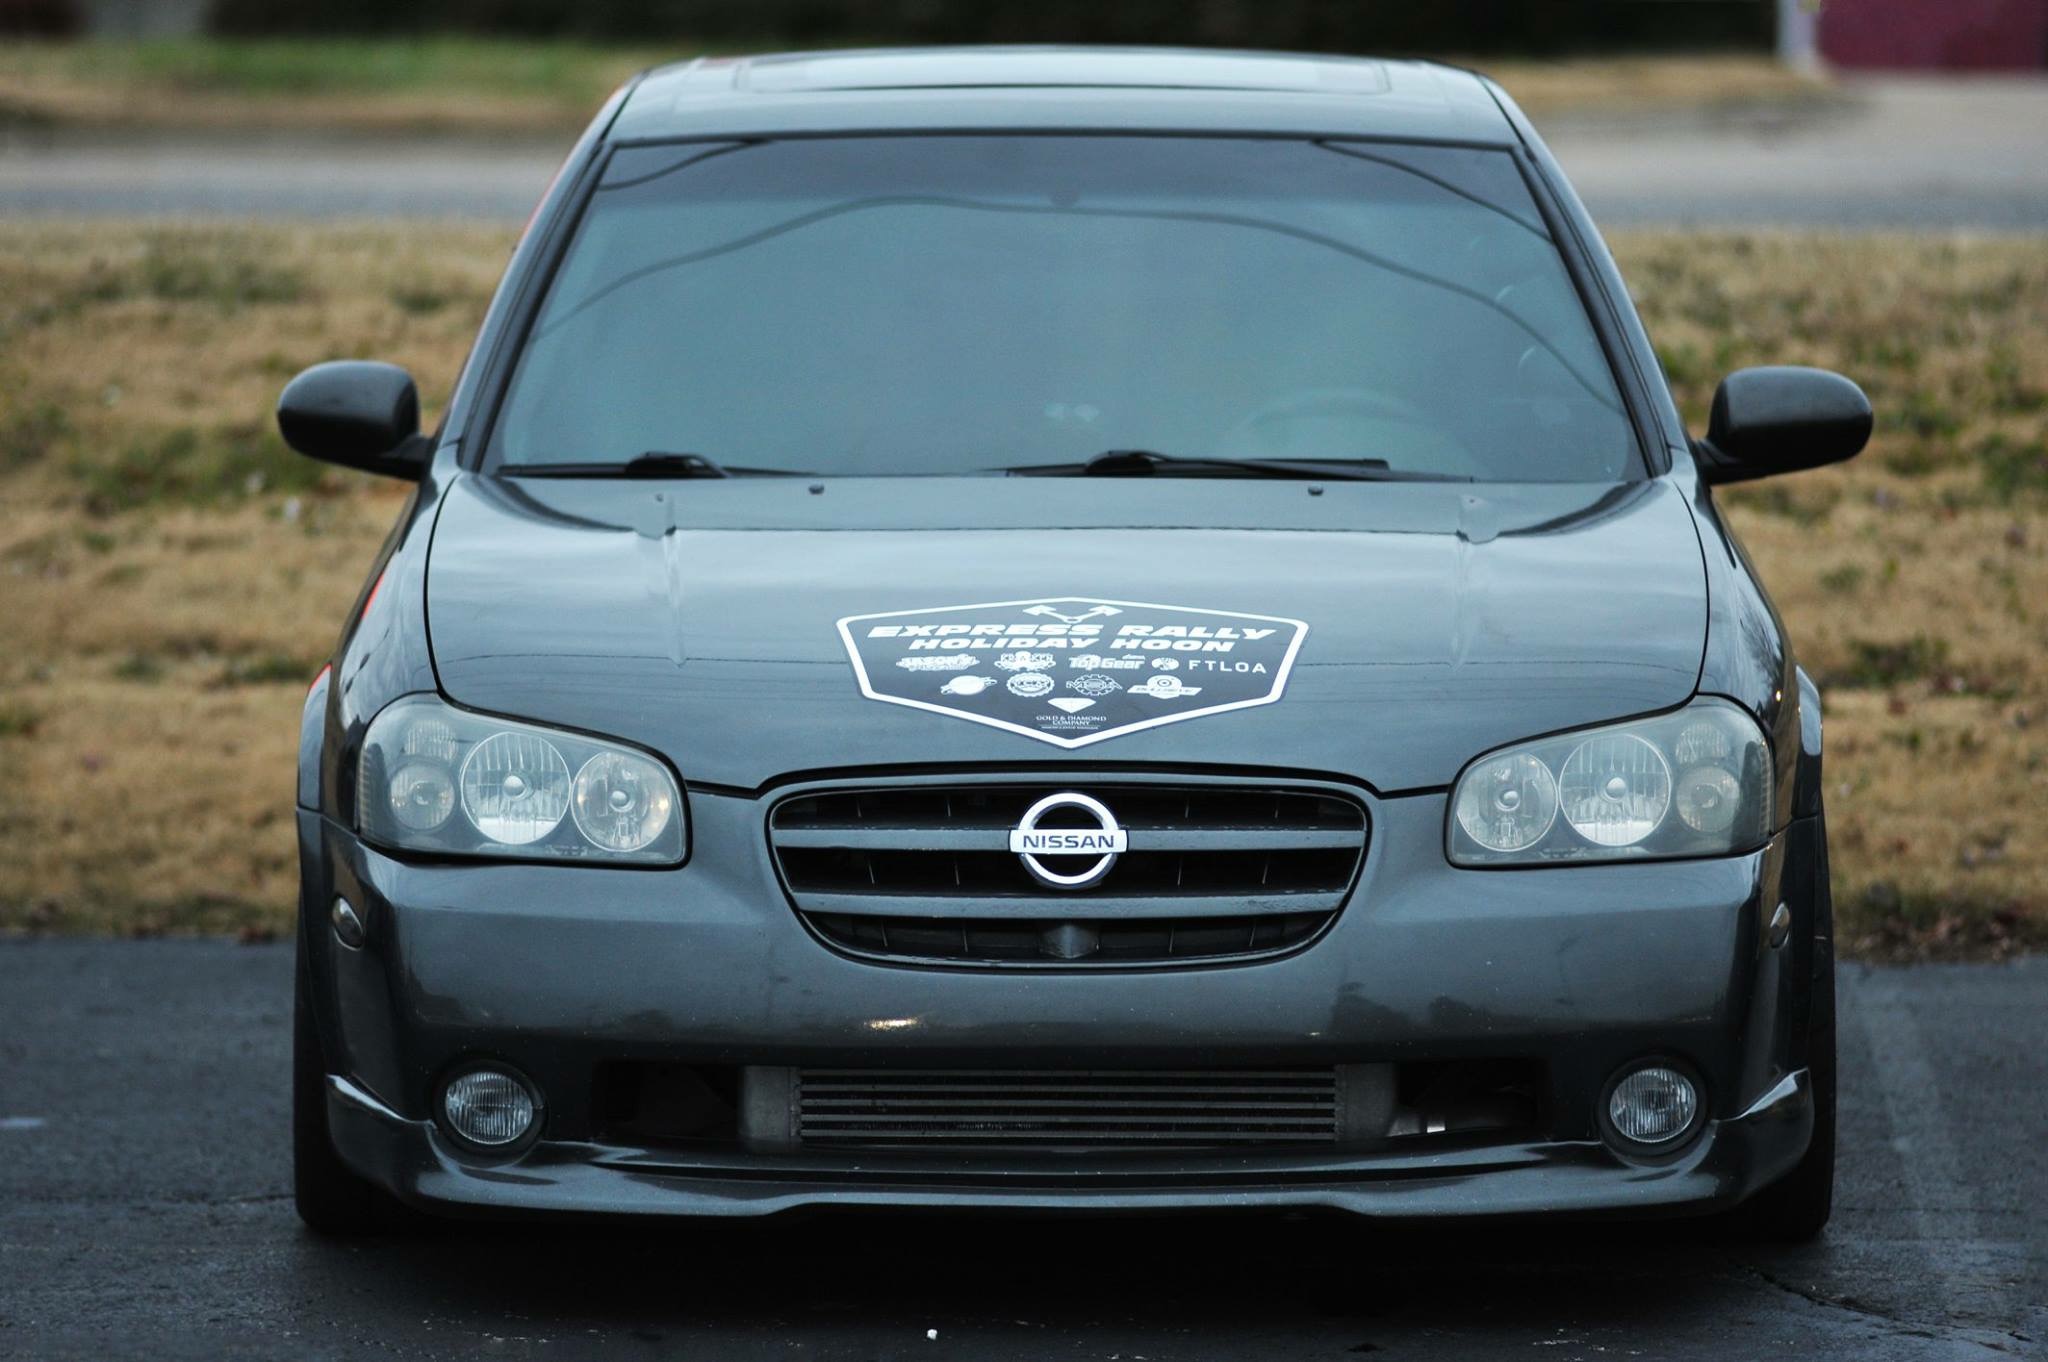
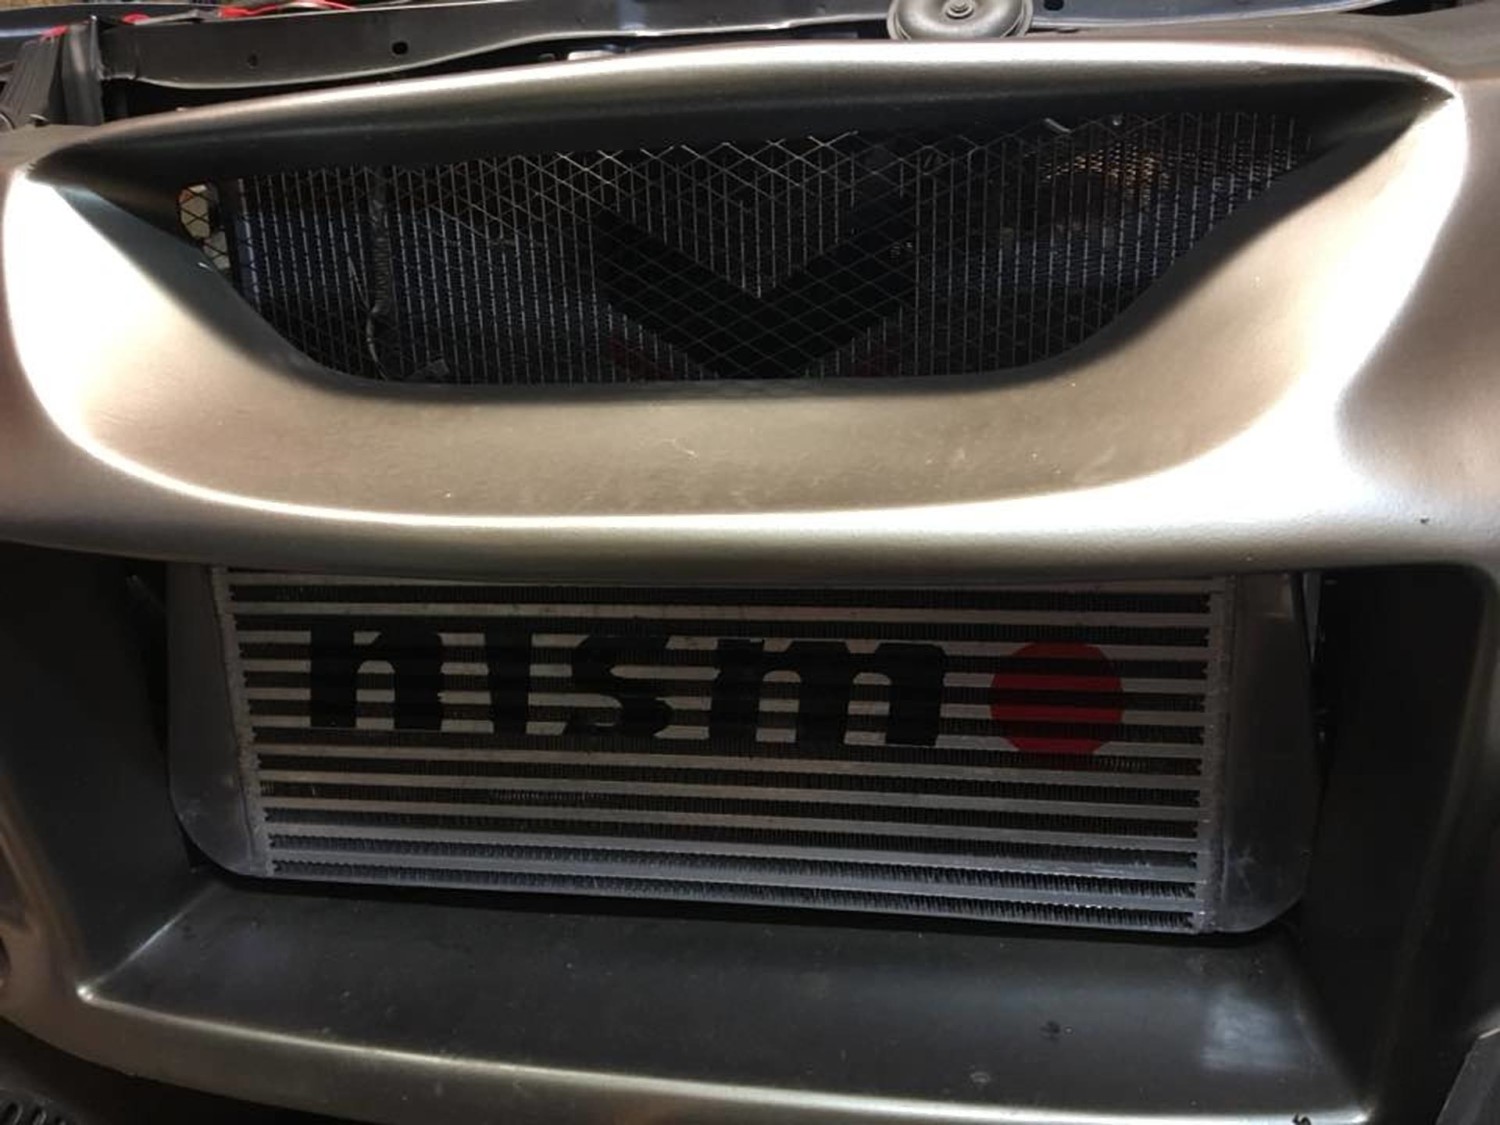
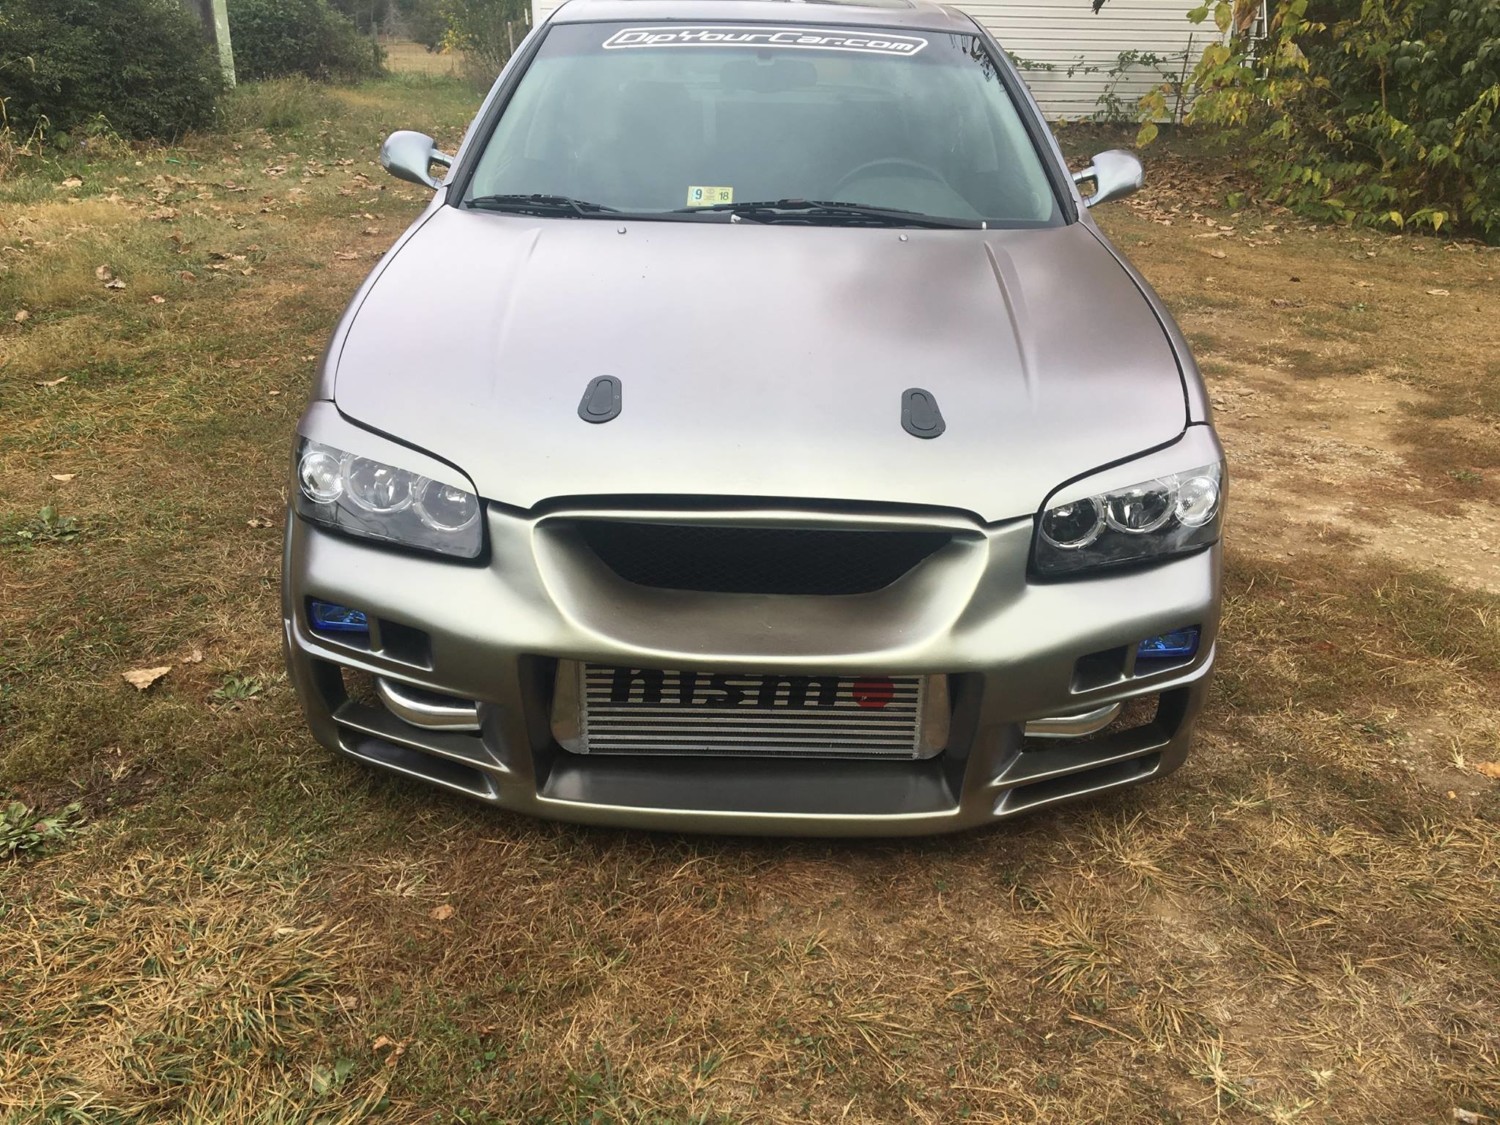
So I decided to do a makeover on the Maxima. I wanted to get rid of those UGLY blue couplers on the intercooler drawing attention to the intercooler ruining the turbo “surprise” lol. I removed the burger and painted my front grill black. Also removed the headlights and going to black out the housing.
Here is a before and after pic of the grill. I wet sanded it then painted it with a low gloss black engine enamel because it should be more durable than regular paint.
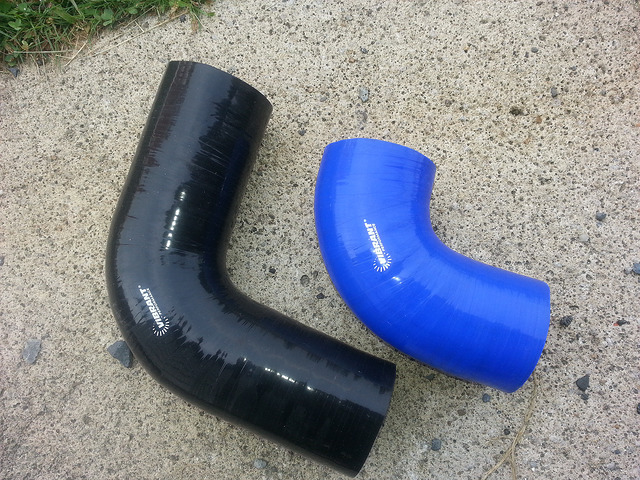
Here is a before and after pic of the intercooler couplers. I absolutely HATED that blue garbage down there. Looks so much more “secret” now.
Here is a pic of the original 90 degree black coupler and the blue coupler on the passenger side that was on. I had to cut the original black couplers with the dremel to match the length of the blue couplers (the drivers side blue coupler was also custom cut as well)……
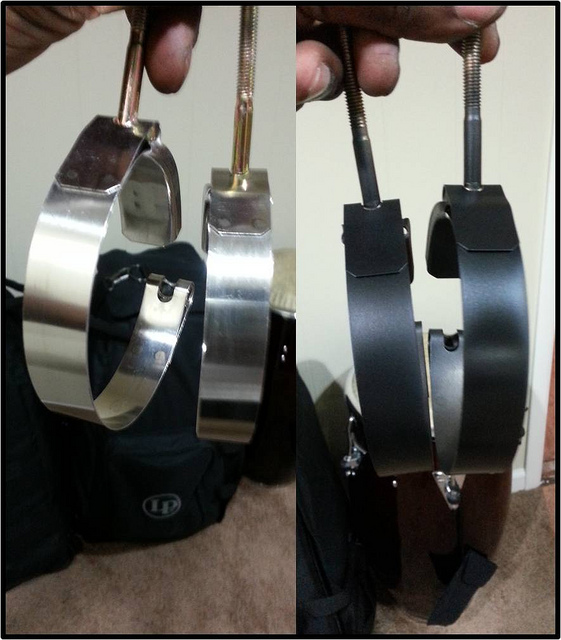
I also had to paint the t-clamps black because dont want no silver to be showing down there…just want it all to be black so no one sees anything.
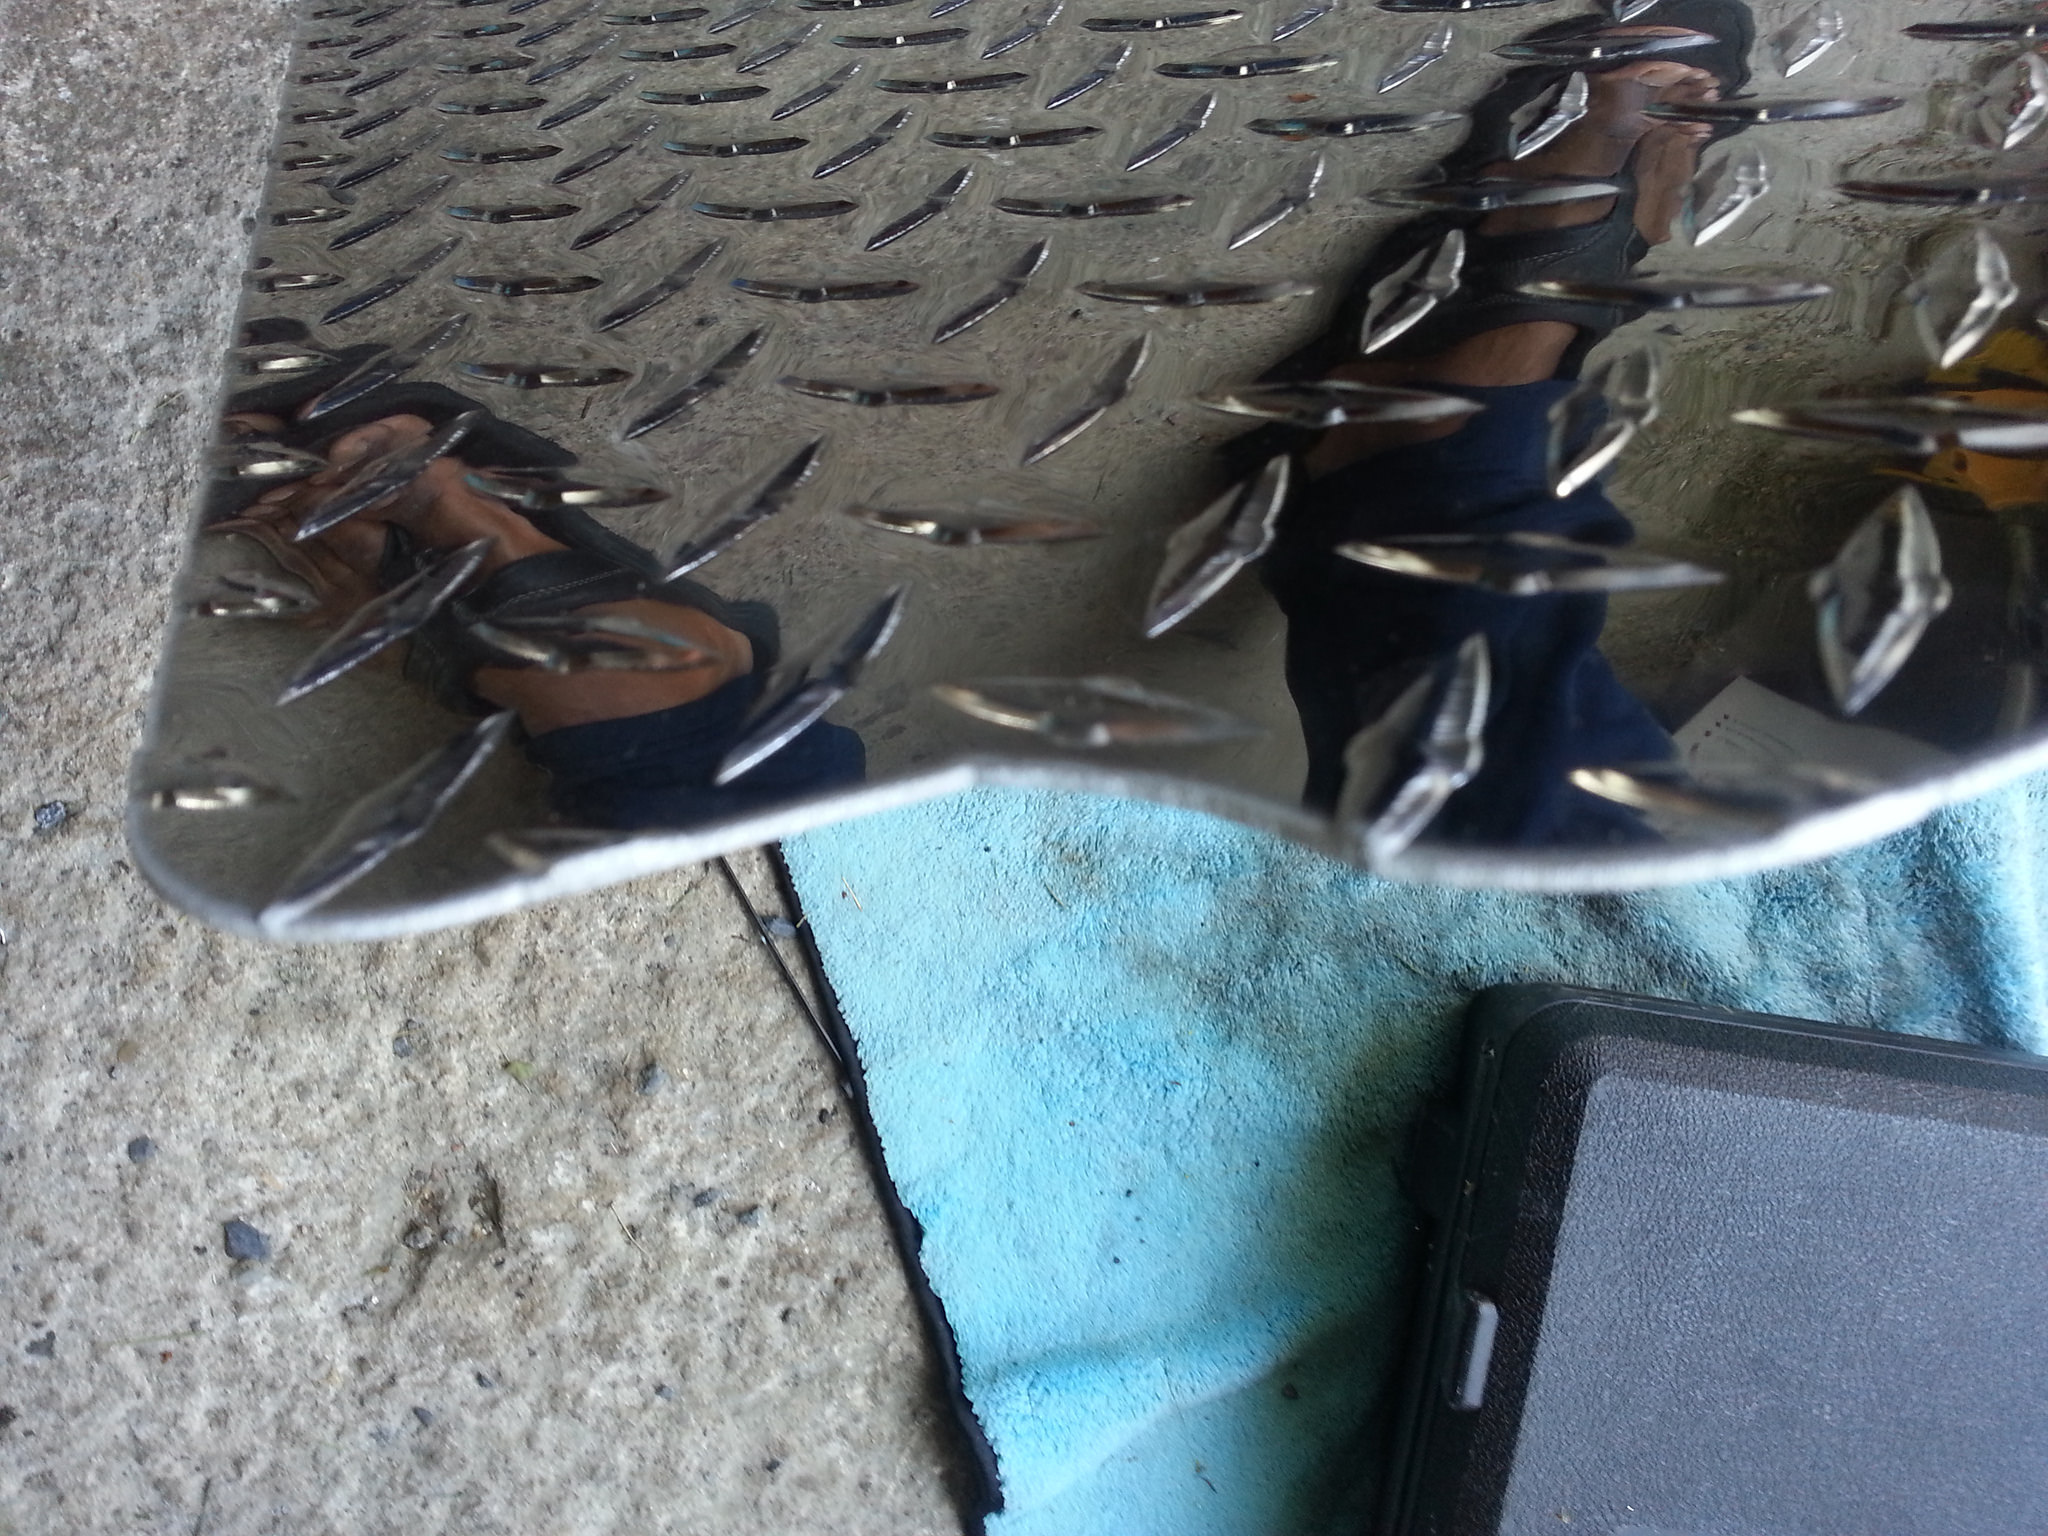
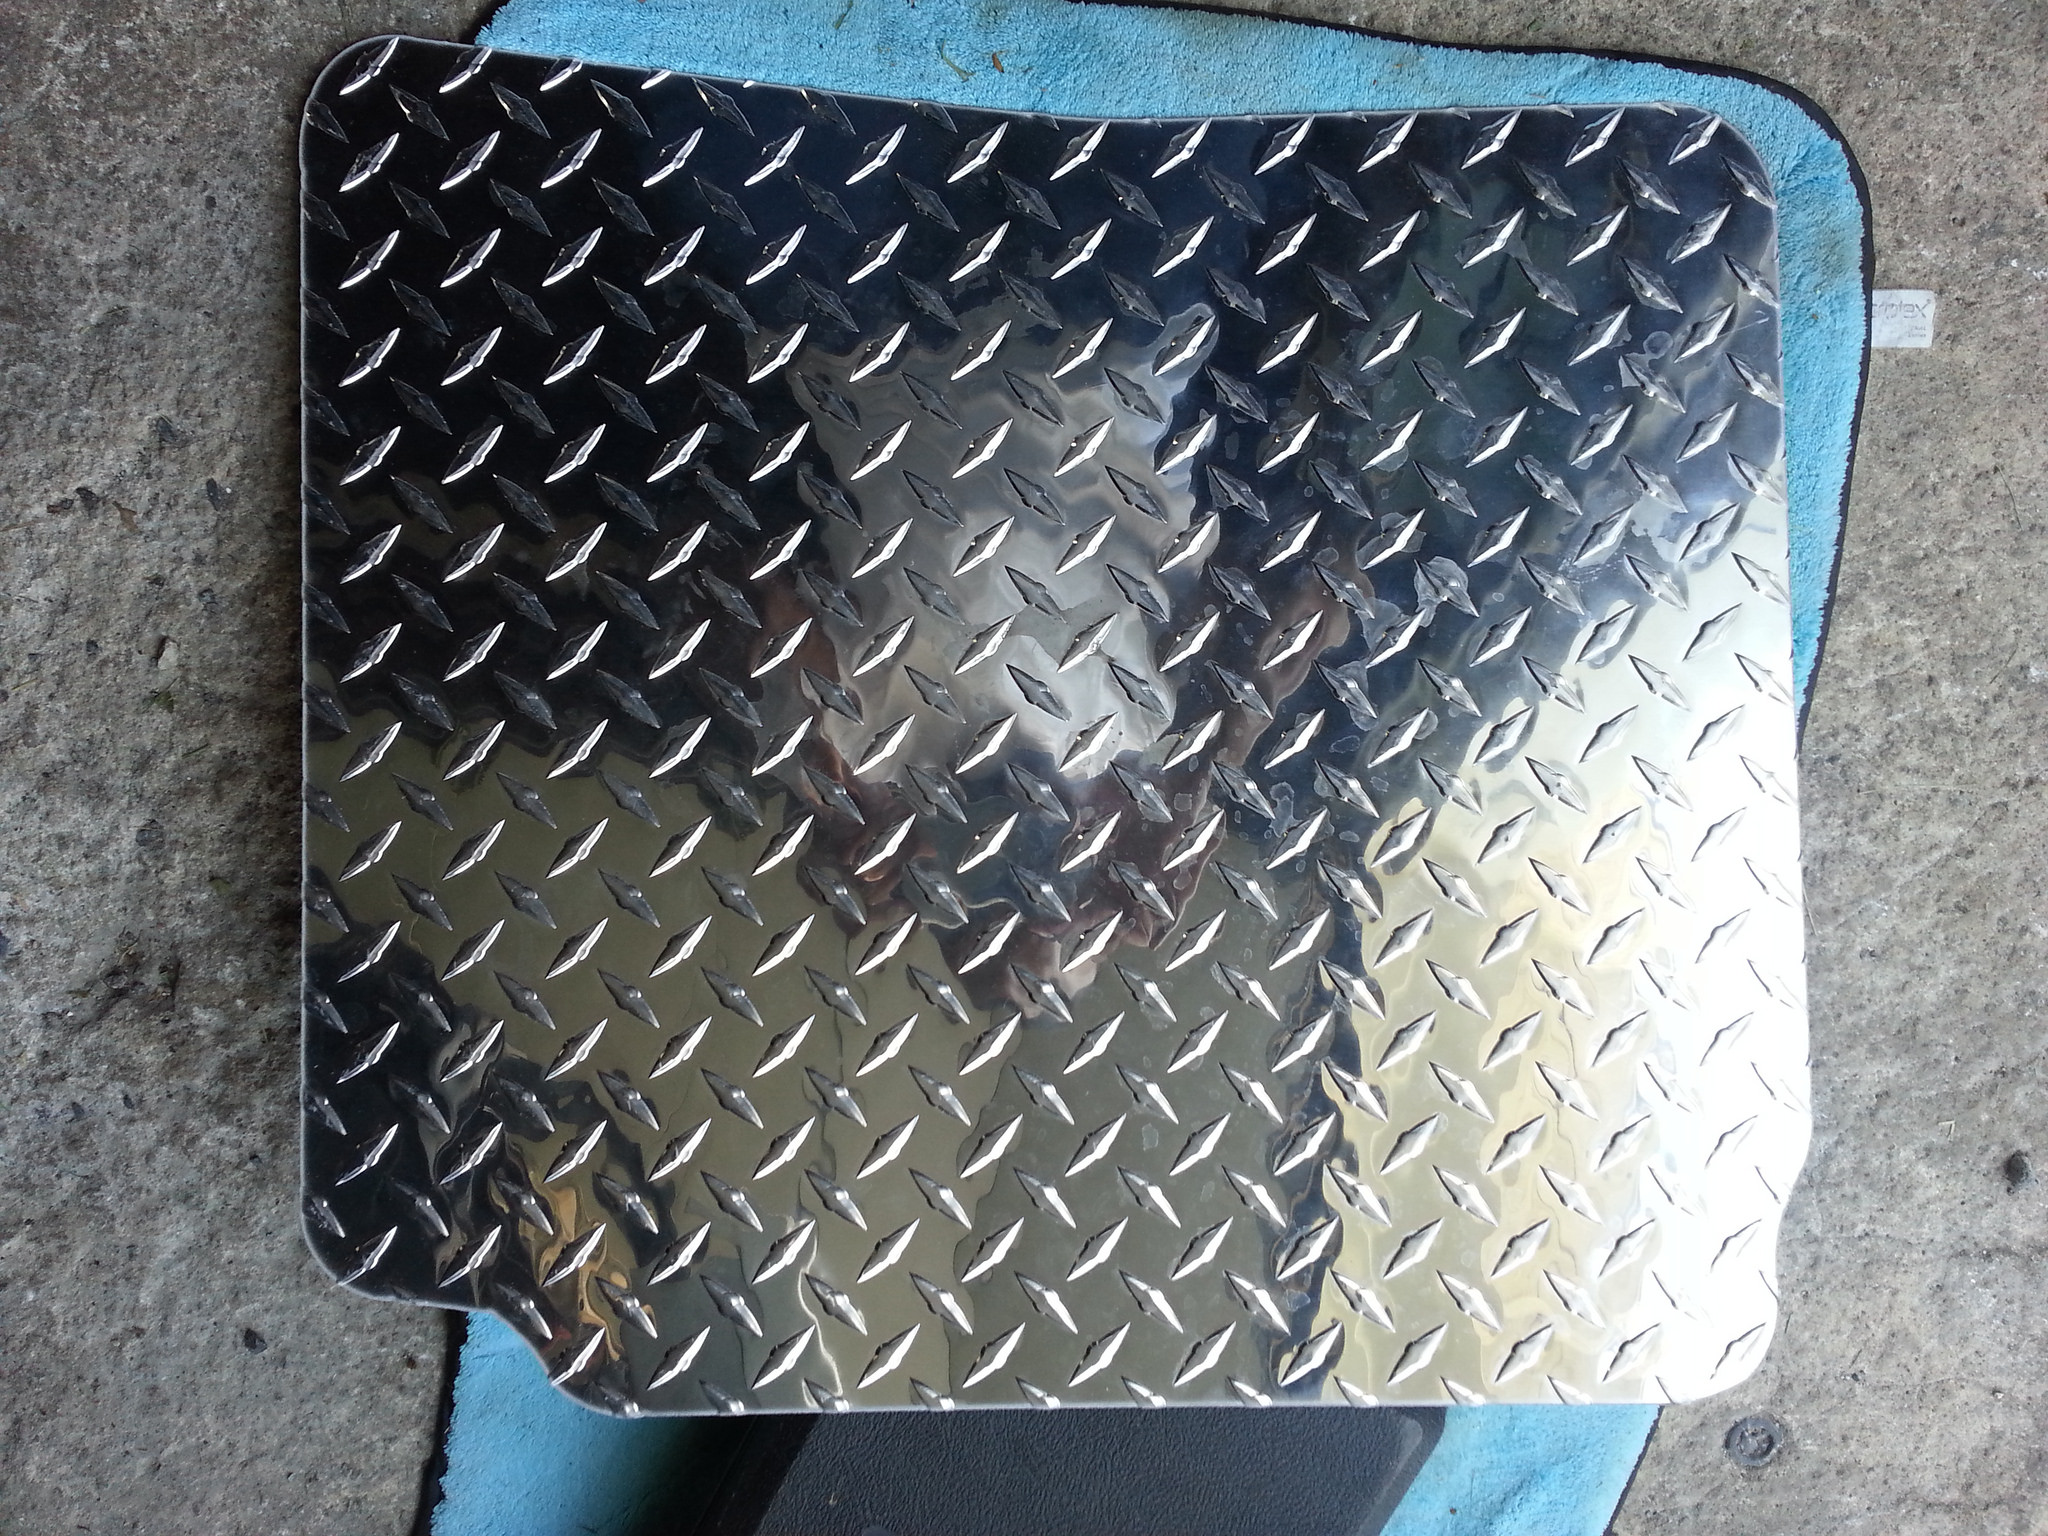
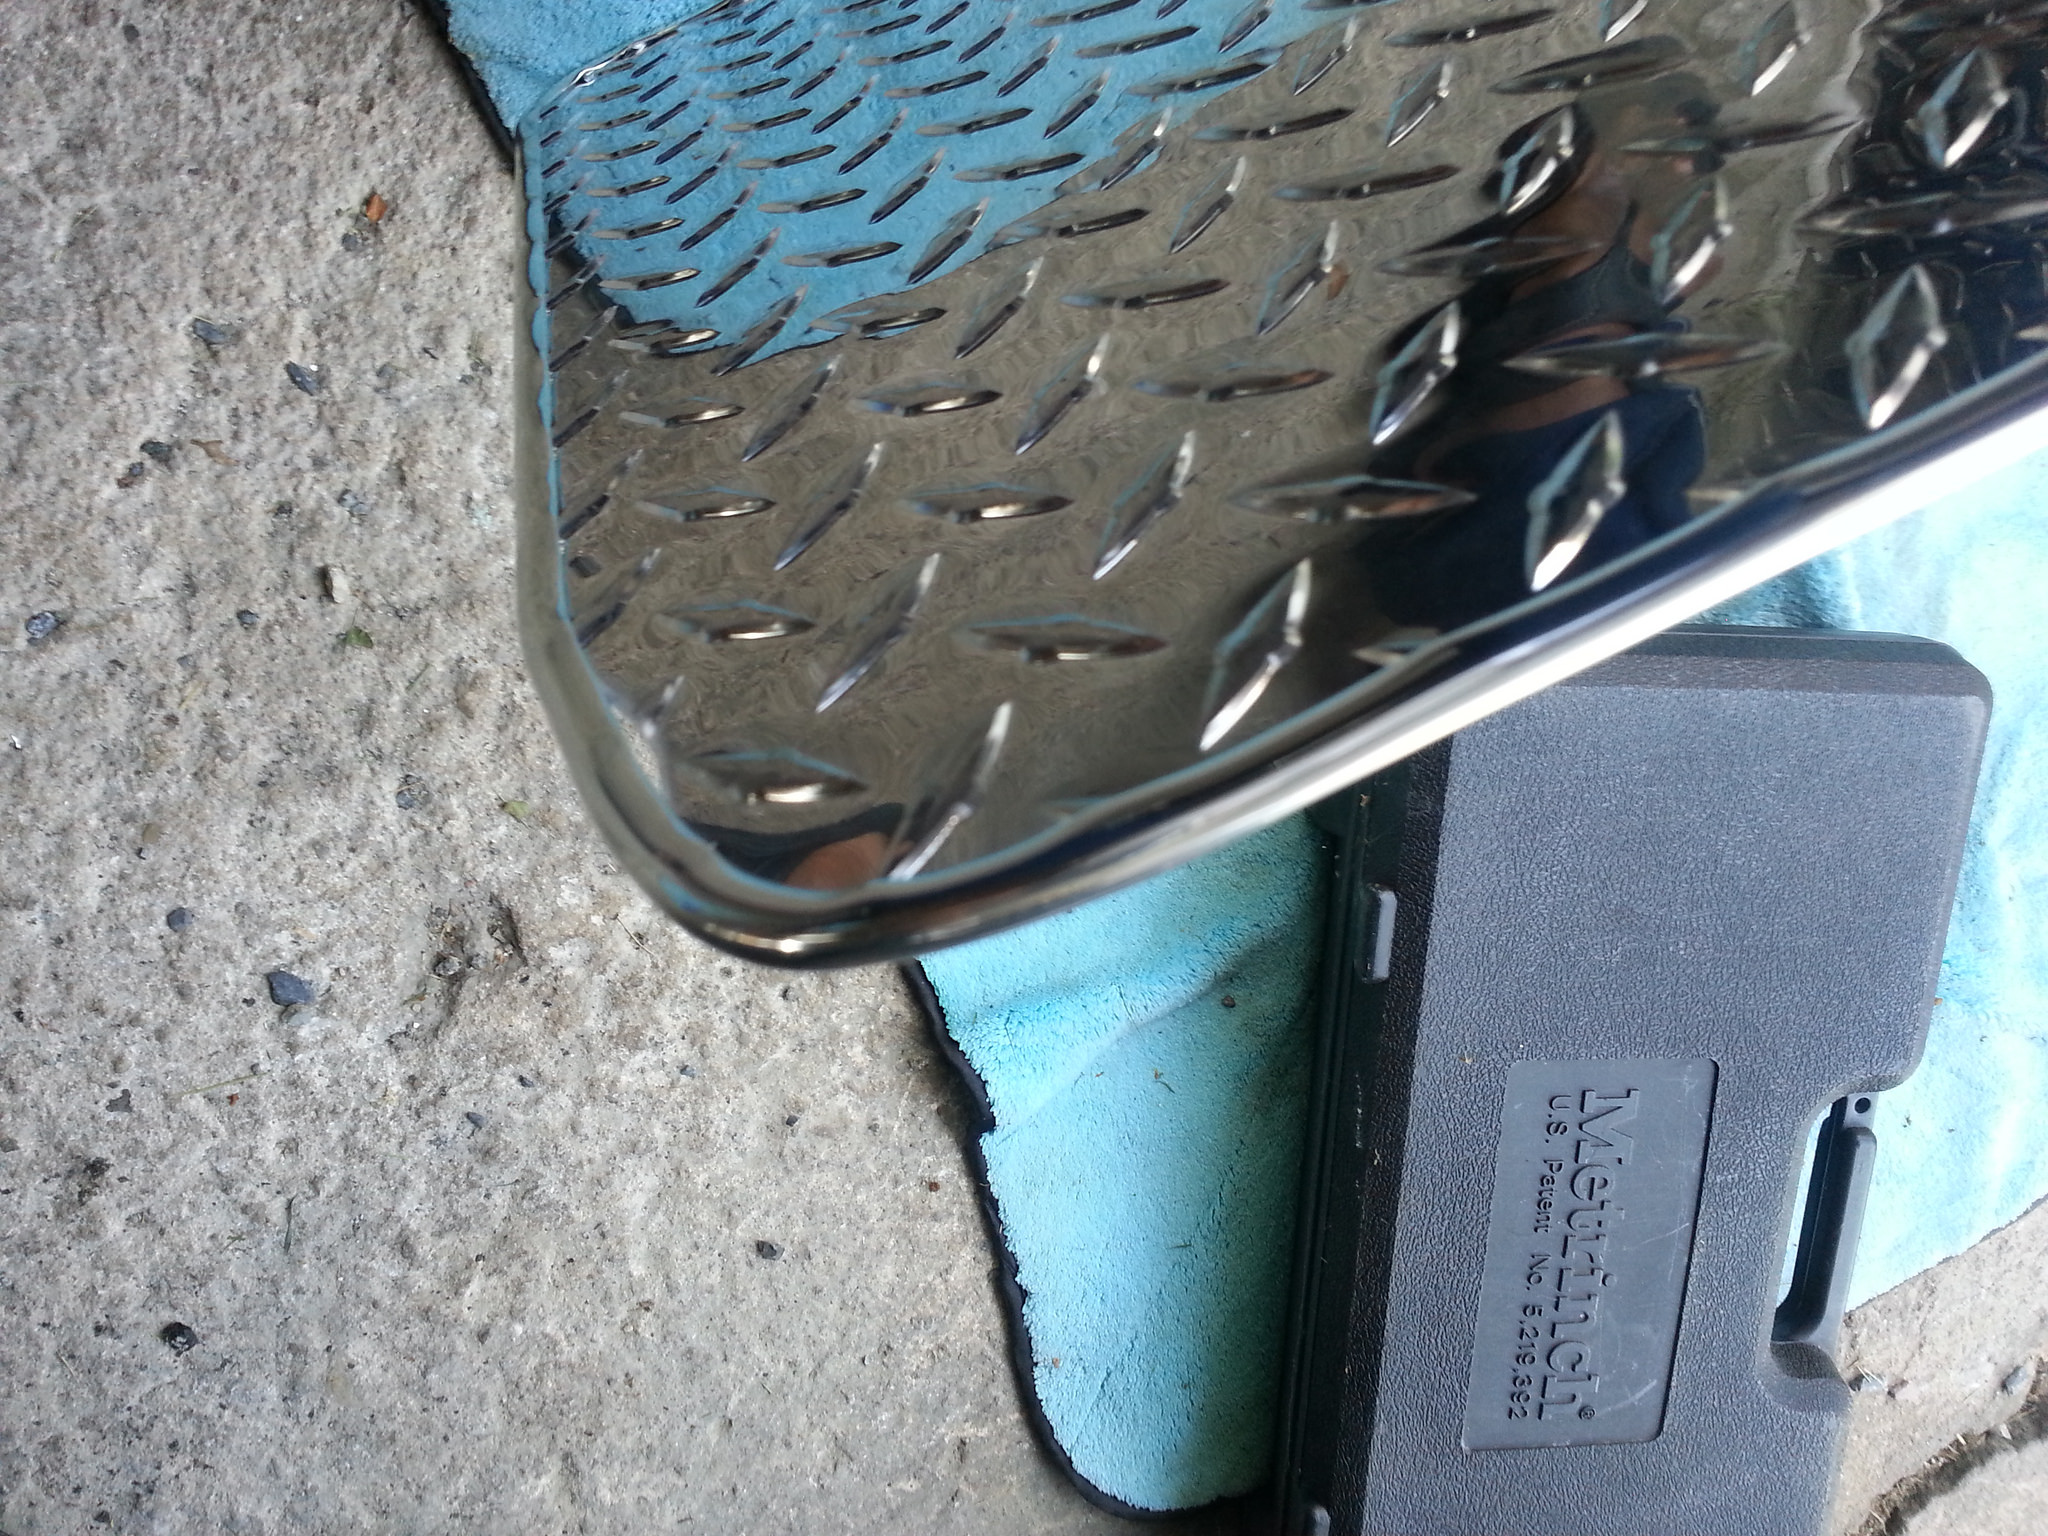
Bought the diamond plated floor mats for the car and they look awesome, but the edges are sharp and they are starting to actually cut into the factory carpet from people’s feet rubbing on the mat. So I bought some chrome trim to put around the edges to make it smooth so they dont cut into the carpet…..
BEFORE:
AFTER:
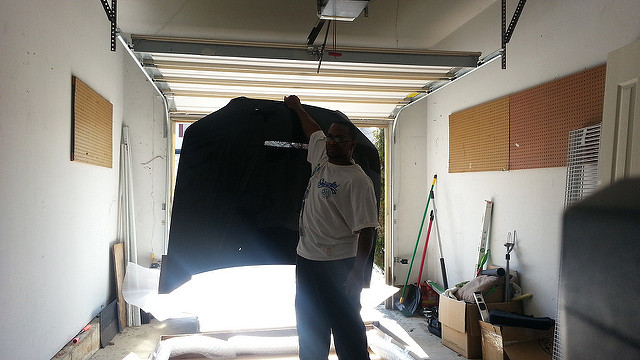
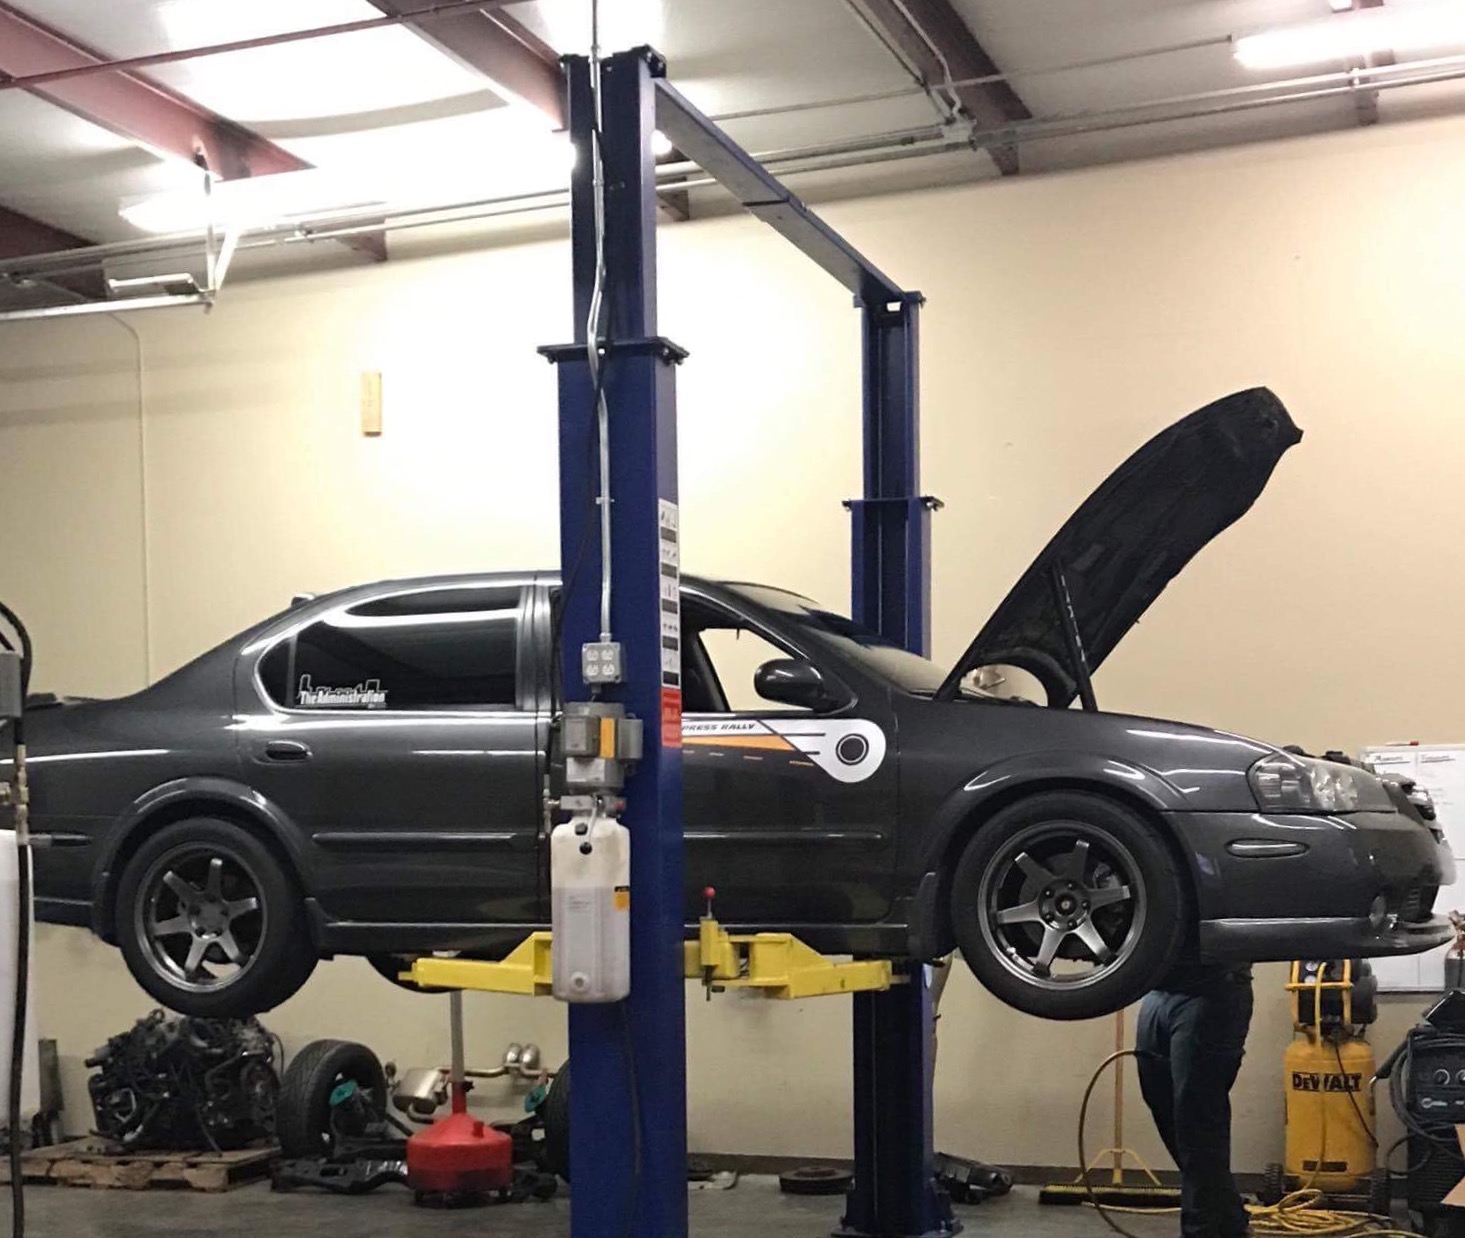
Took the car to the shop 3-27-13 to get all the upgrades!
They got both motor mounts on the pass and trans side done.
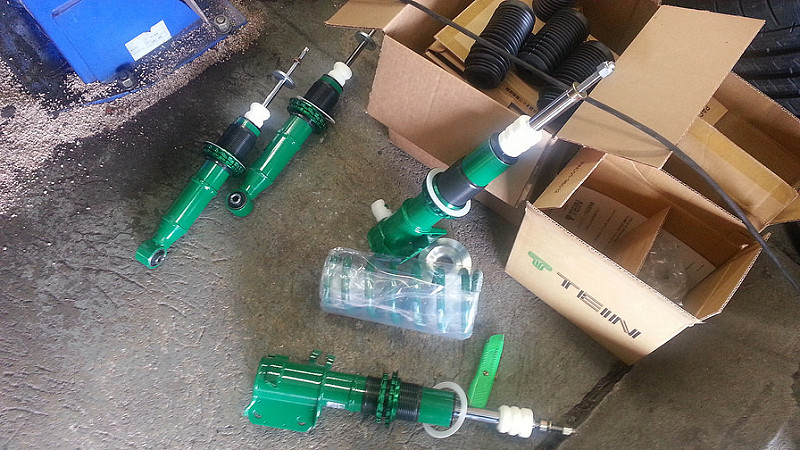
The Tein Coilovers were getting installed along with the EDFC
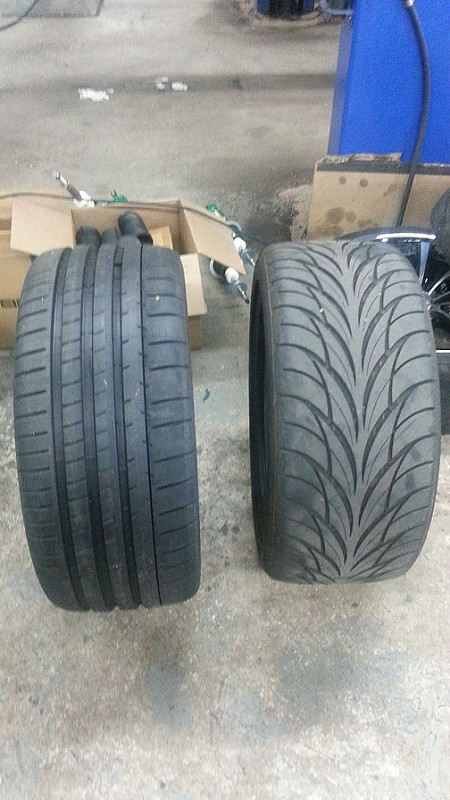
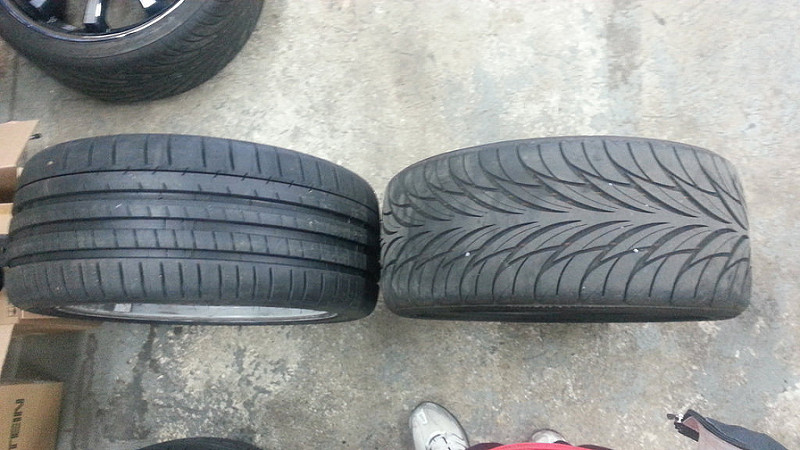
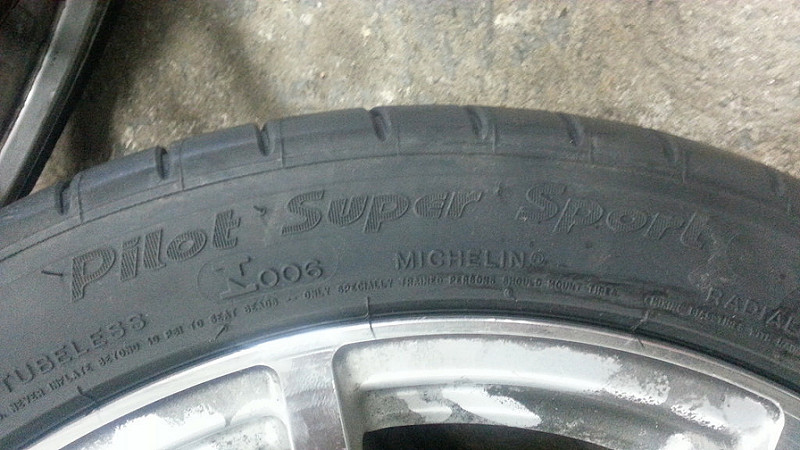
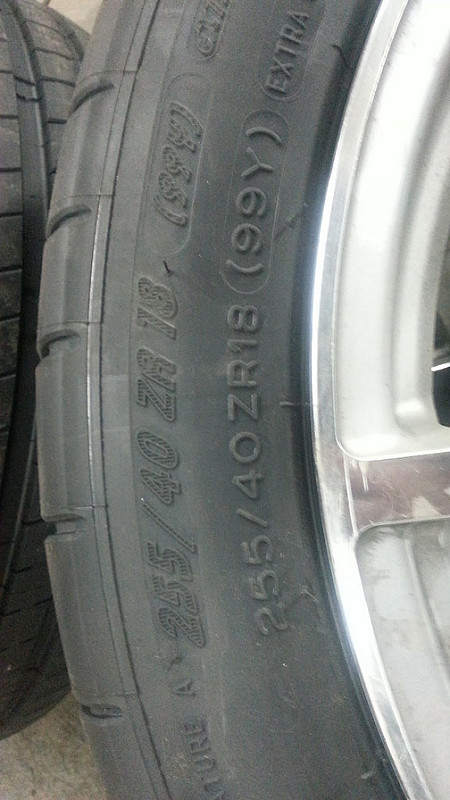
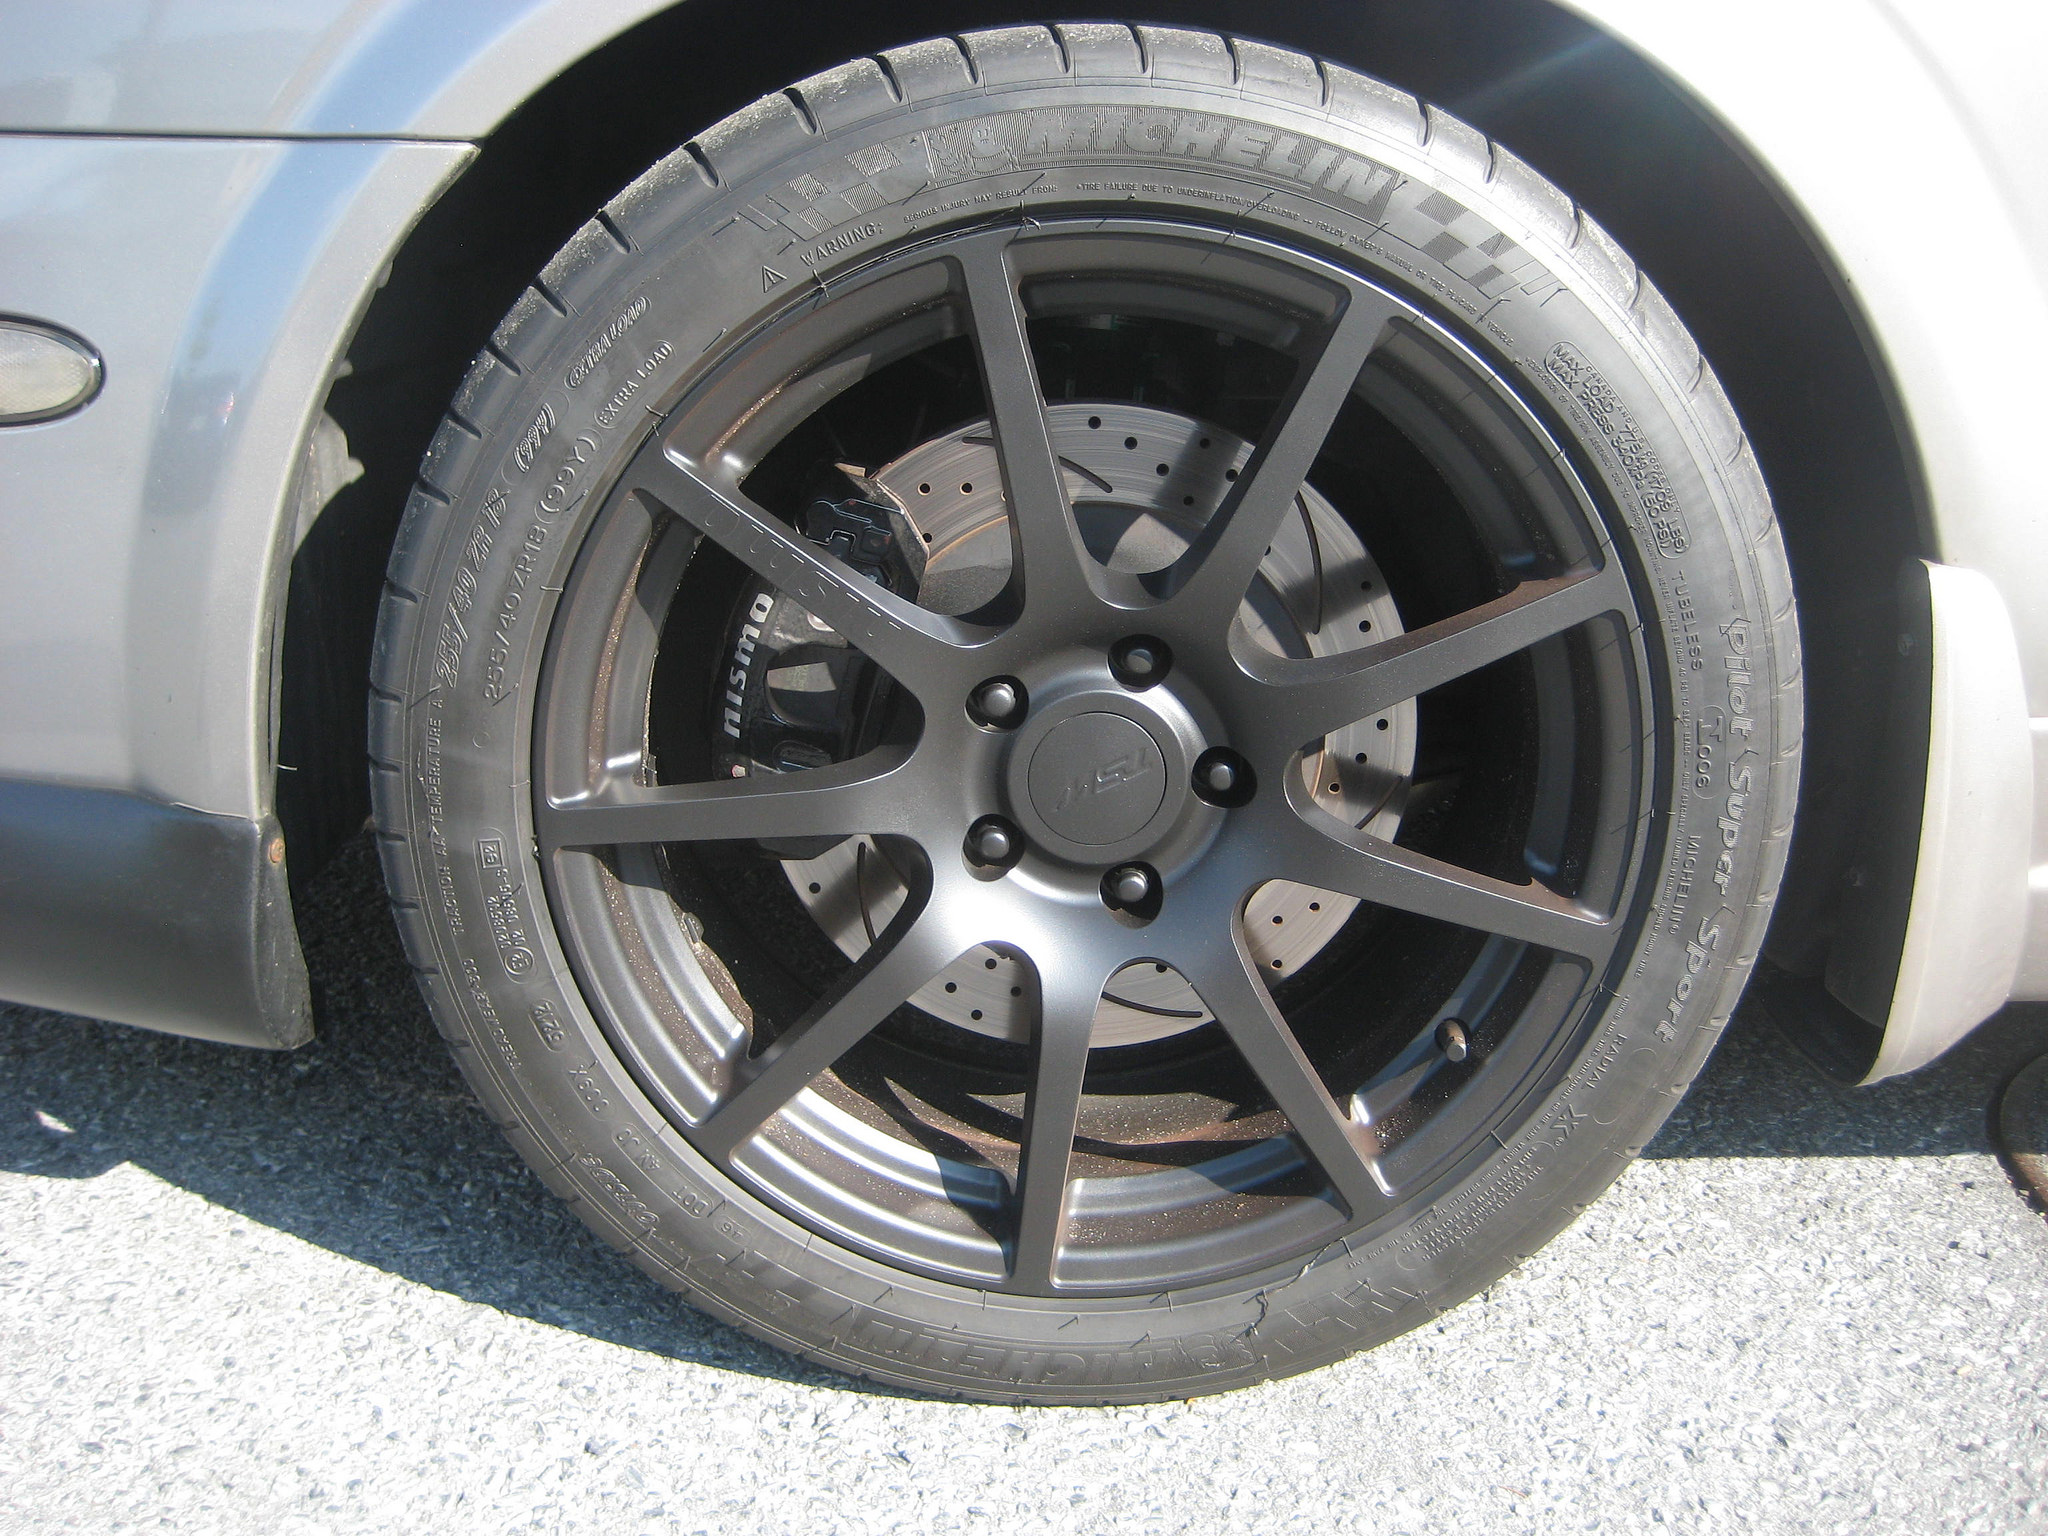
The new Michelin pilot super sport 255/40 18s are in and mounted
Here are they next to the Federal 595SS 245/40 18s…
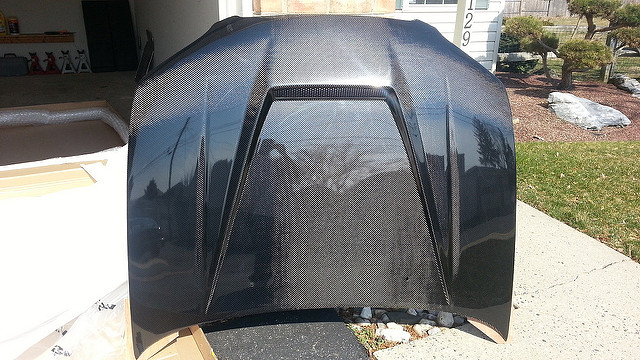
I noticed that the Michelin’s have a MUCH softer and stickier compound thatn the Federals. I can’t wait to try these bad boys out!!! All that is left for them to do is finish the install of the Tein Coilovers and EDFC and install The VIS hood with hood pins and we are good to go!
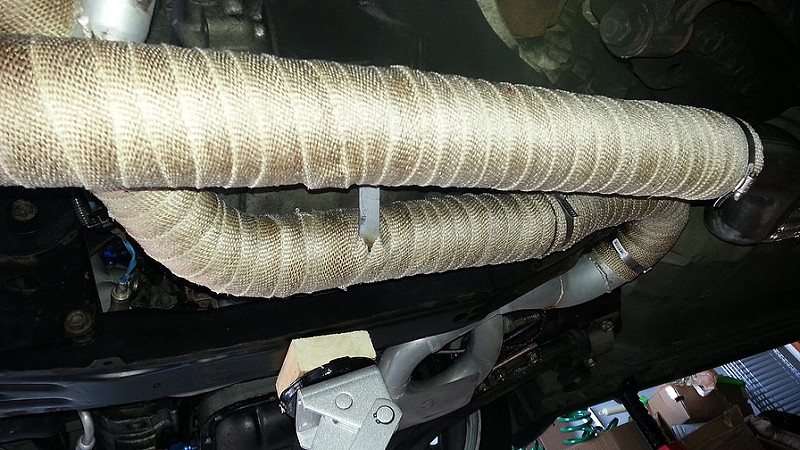
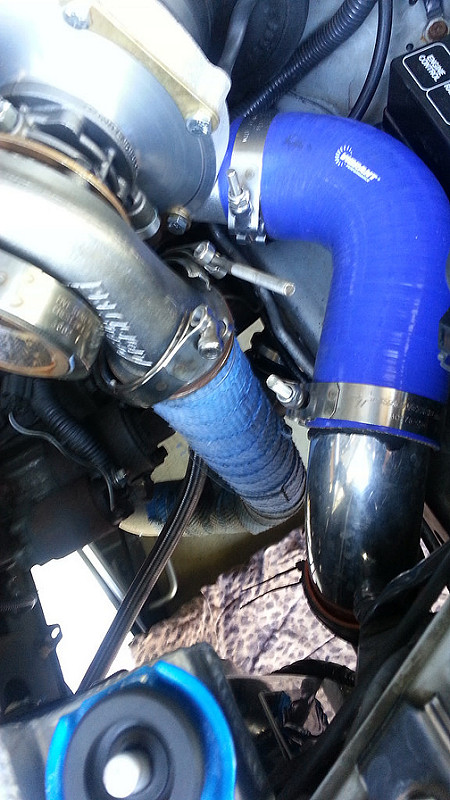
Put in some home time work on the max today….wrapped the 3″ Downpipe and also wrapped the feedpipe but it was still on the car….what a PITA!! Also put turbo blanket on.
3″ Downpipe before:
AFTER:
Feedpipe before:
AFTER (wrapped all the way back to the ypipe):
More shots:
BLUE WRAP BEFORE….
I used heatshield inferno wrap. Said its good for 2000 degrees continuous and 30000 degrees peak. Stuff is gonna be awesome! I used 2-50′ rolls. Let them both soak in water before I applied the wrap. It was fairly easy.
Tomorrow going to attempt to install these hood pins and also change the oil and get a fresh batch in there.
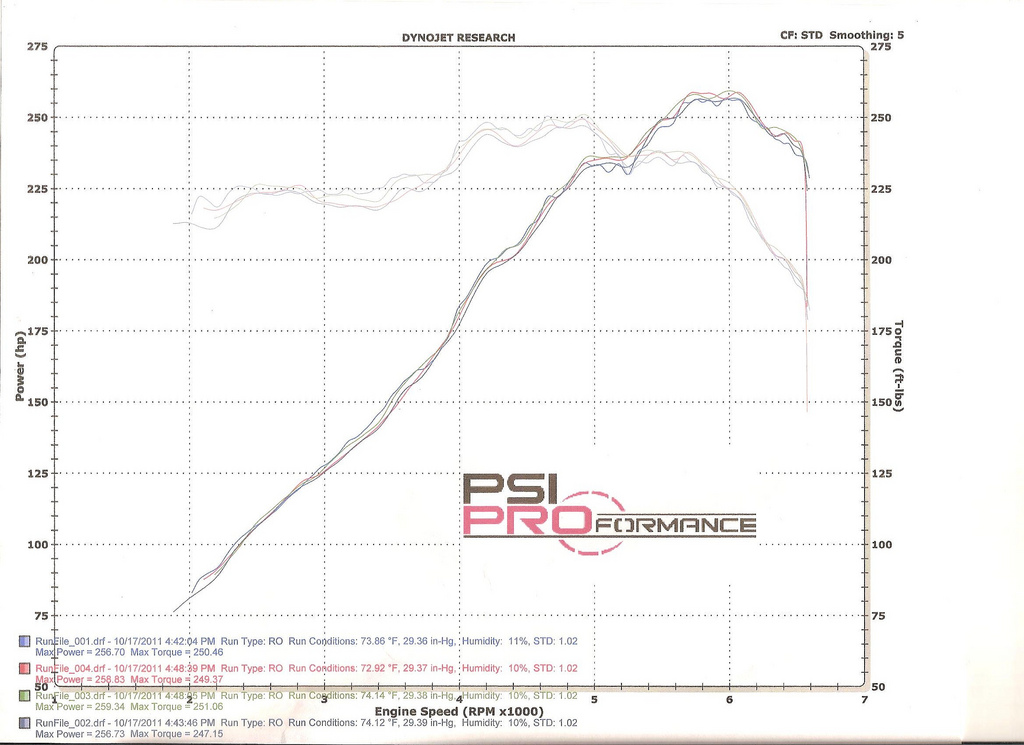
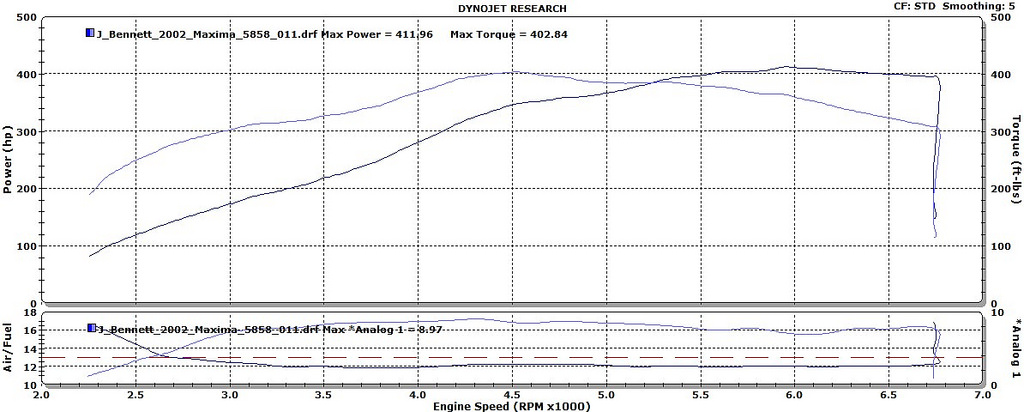
Went to Moores Automotive in Fairfax, VA and got the Maxima tuned after the 3″ downpipe and smaller PTE 5858 ball bearing turbo .64 A/R.
411WHP & 402FT-LBS @ 9PSI
The old 6266 spooled too late for my setup. Now the thing pulls at 3000rpm where the old one was just starting to spin. Its great on the highway cruising about 60mph in 6th gear and dont even have to downshift, I just step on the gas and the turbo starts to whistle and then its off. It feel like downshifting to 4th in an all motor maxima…..yes it pulls that hard. The only thing Im going to have to do is get new coilovers. The Teins are really not good at aggressive driving….things bounce too much and are all over the place when full spool hits. Otherwise they are REALLY comfortable…great for all motor people. Keep in mind I have harder springs for the Teins too….maybe D2s next…who knows.
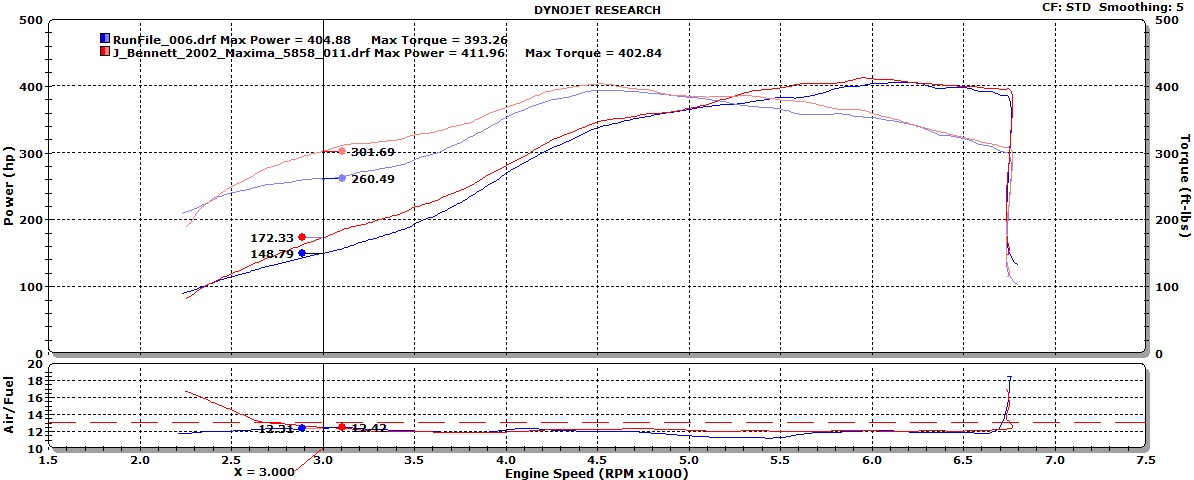
I put a graph comparing my old 6266 dyno vs the new 5858 dyno:
Picked up lots of area under the curve like I wanted and the torque curve got flattened out a bit as well. You’ll notice at 3000rpm I picked up 40ft-lbs and 24WHP ALONE!!! This FEEL GREAT!!!
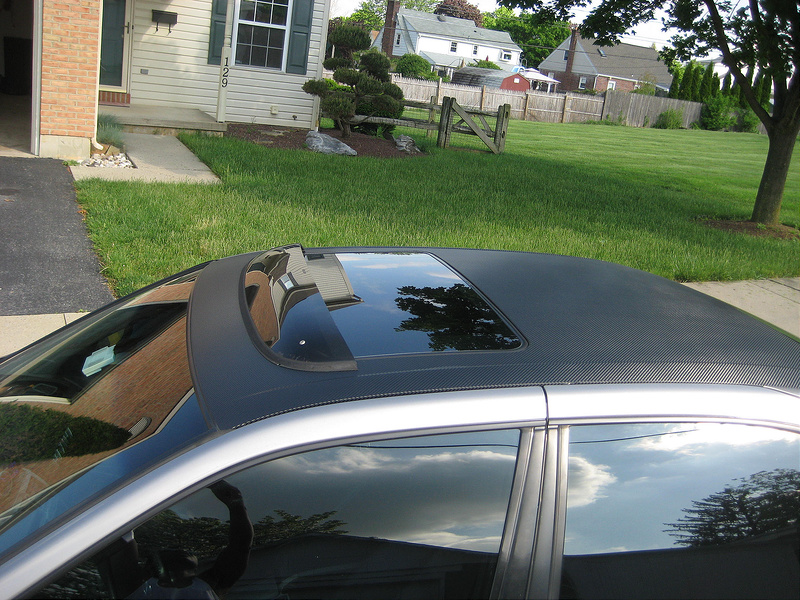
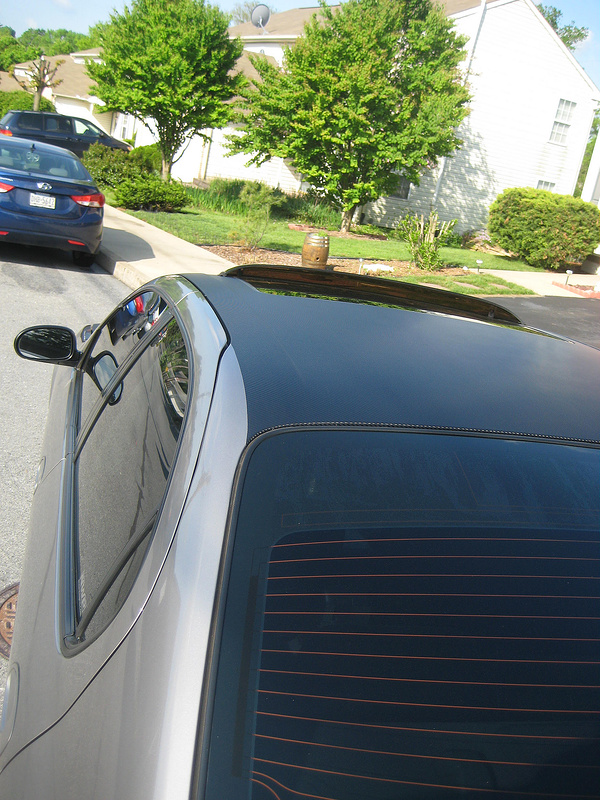
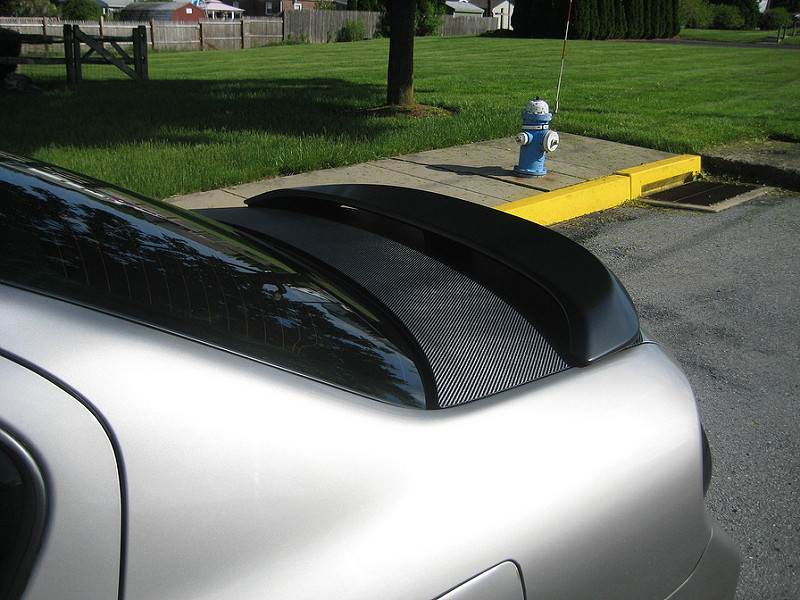
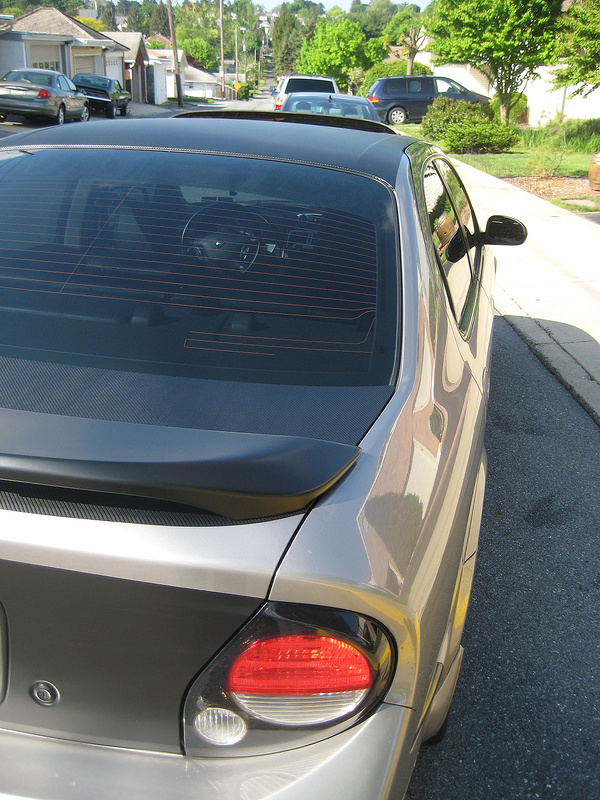
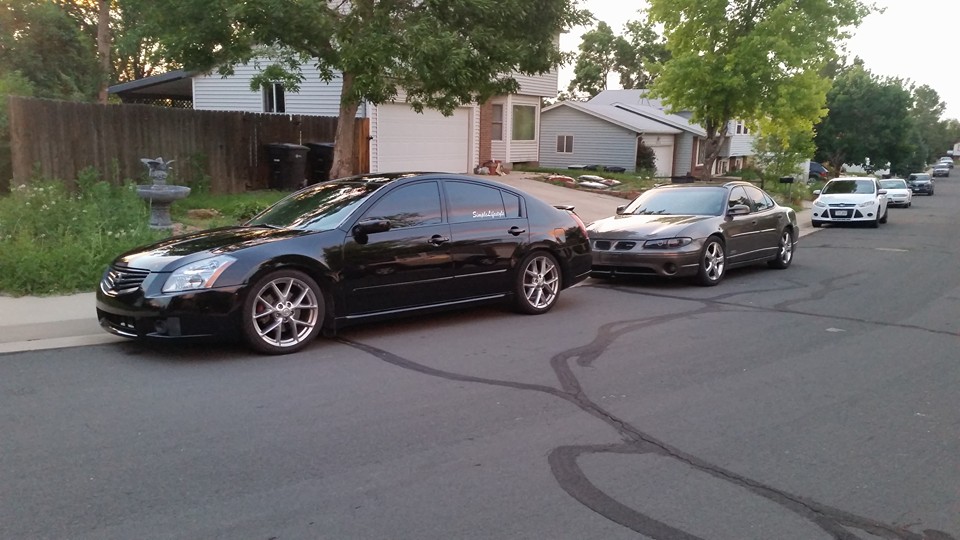
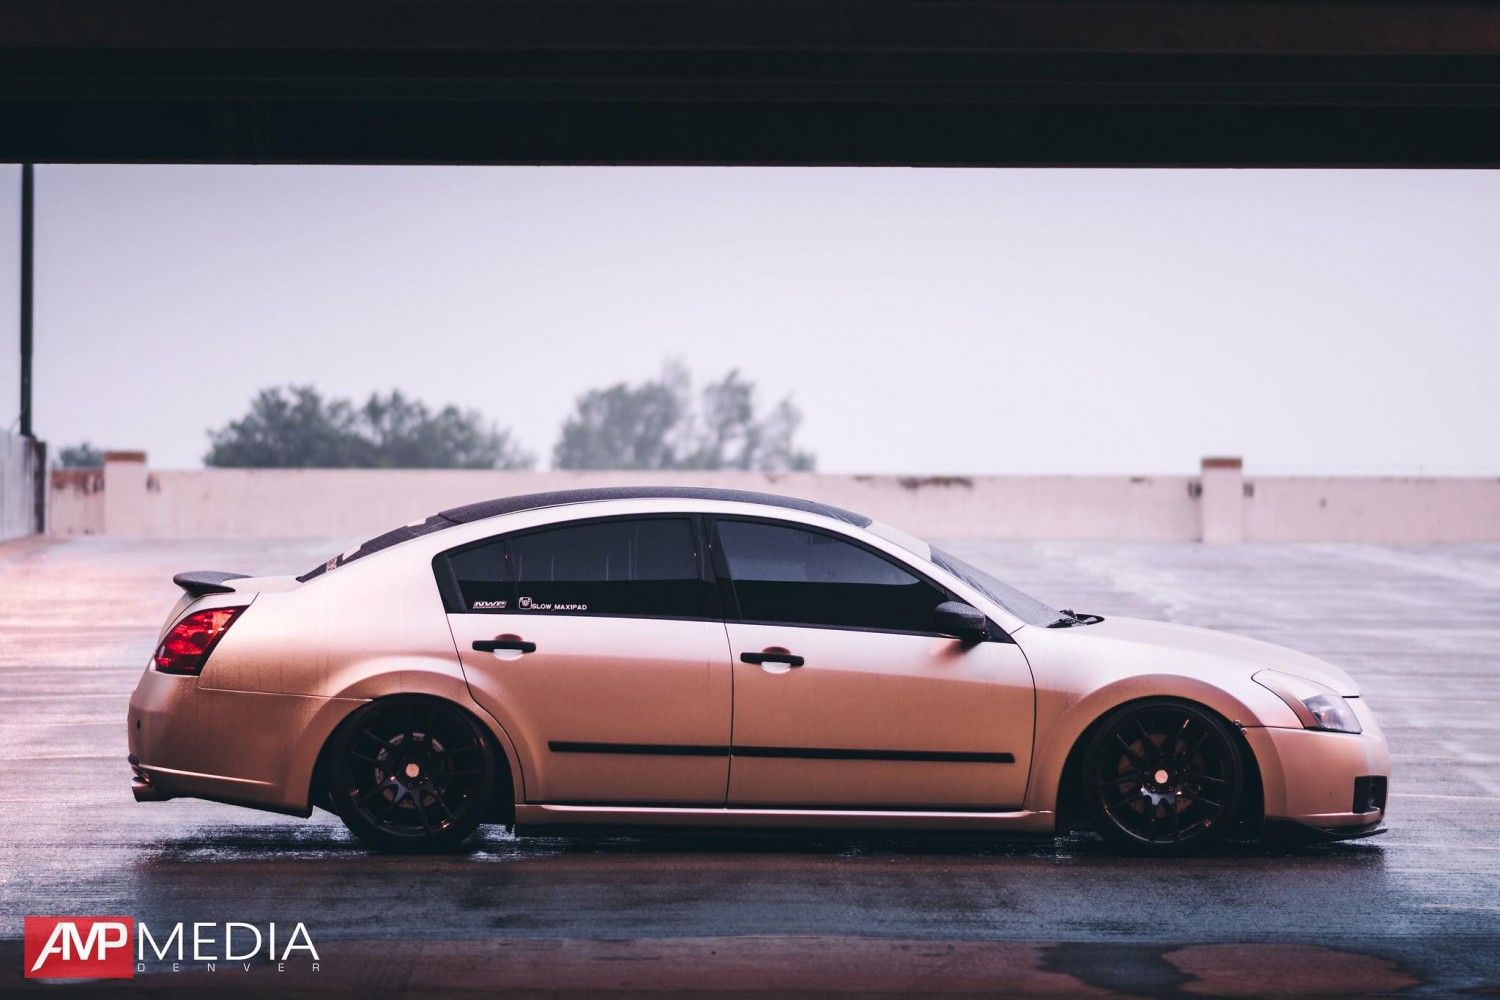
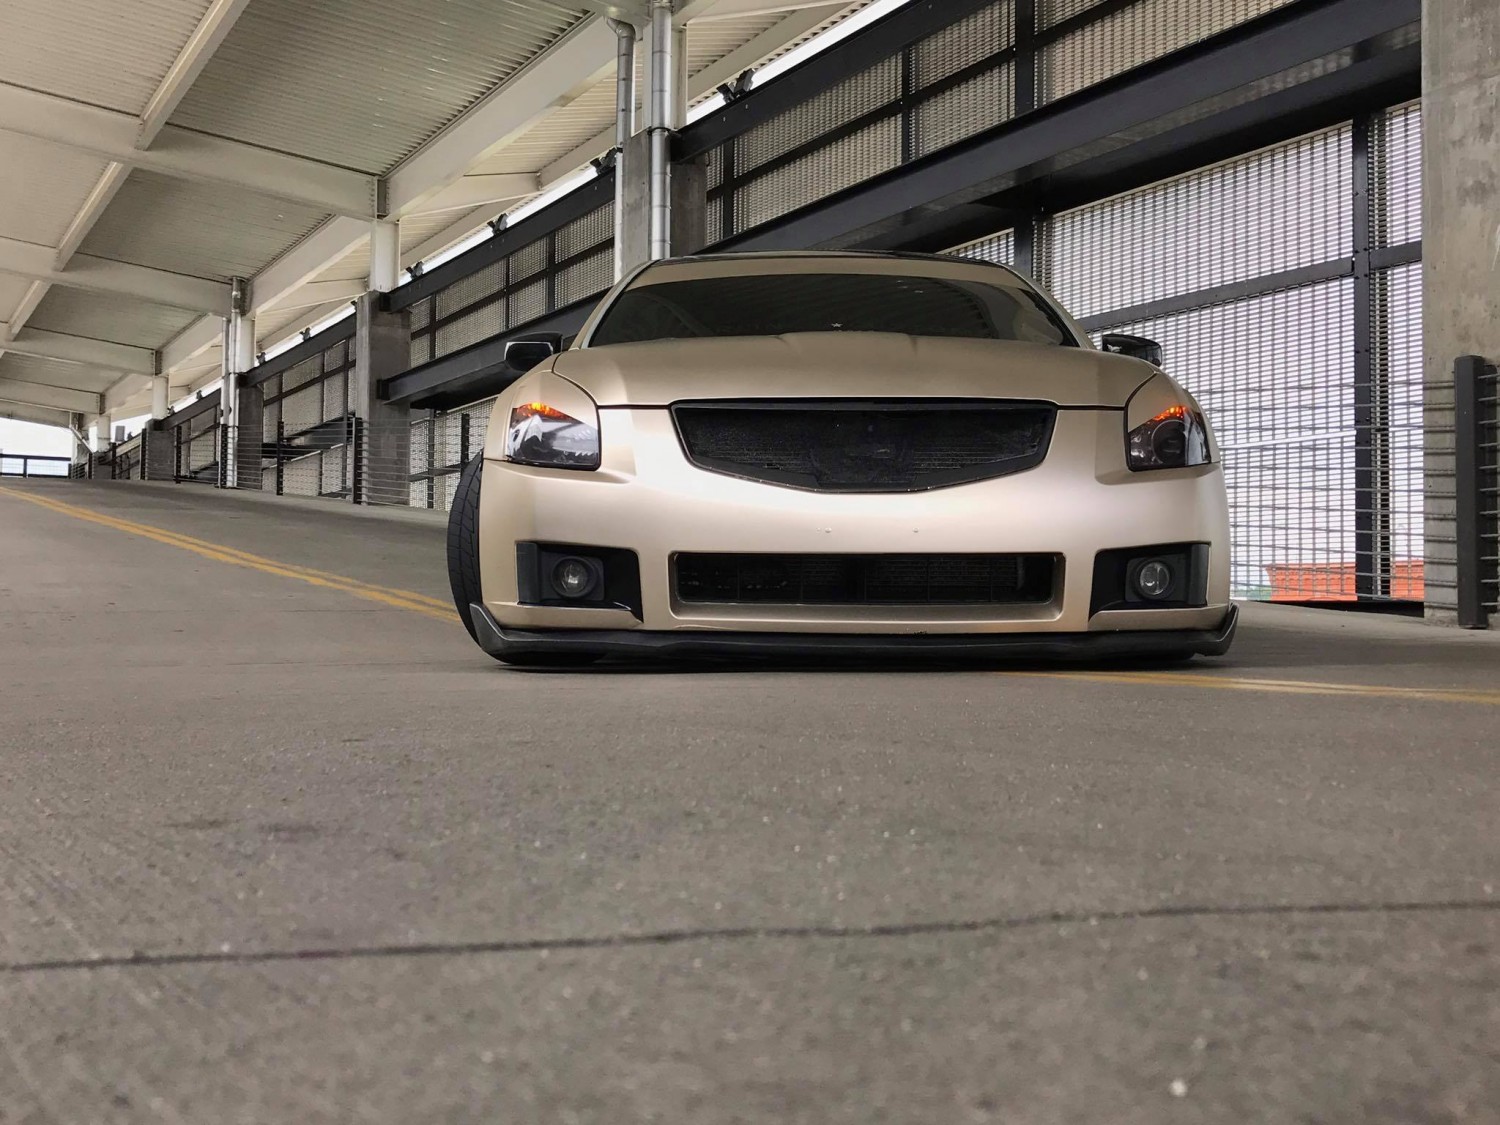
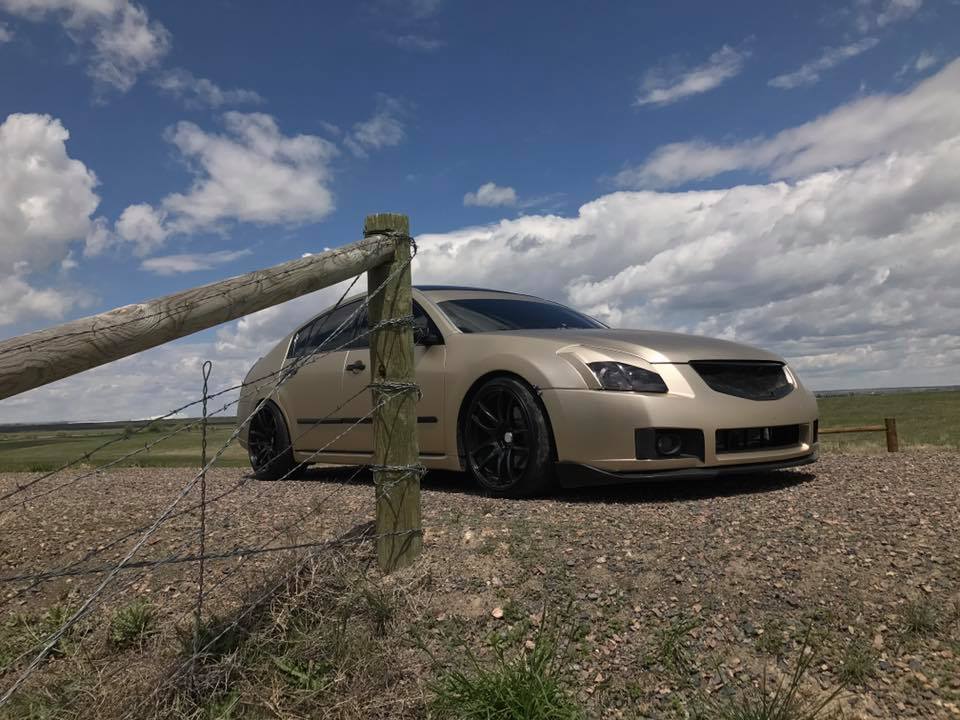
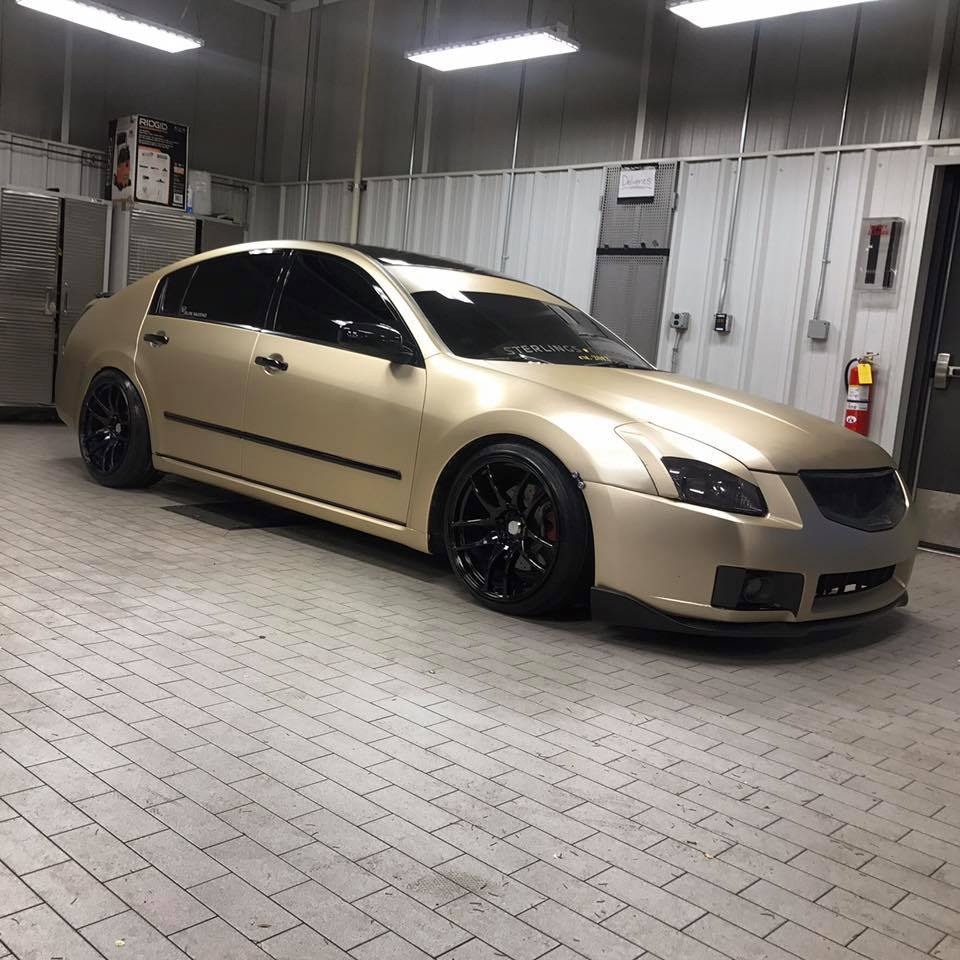
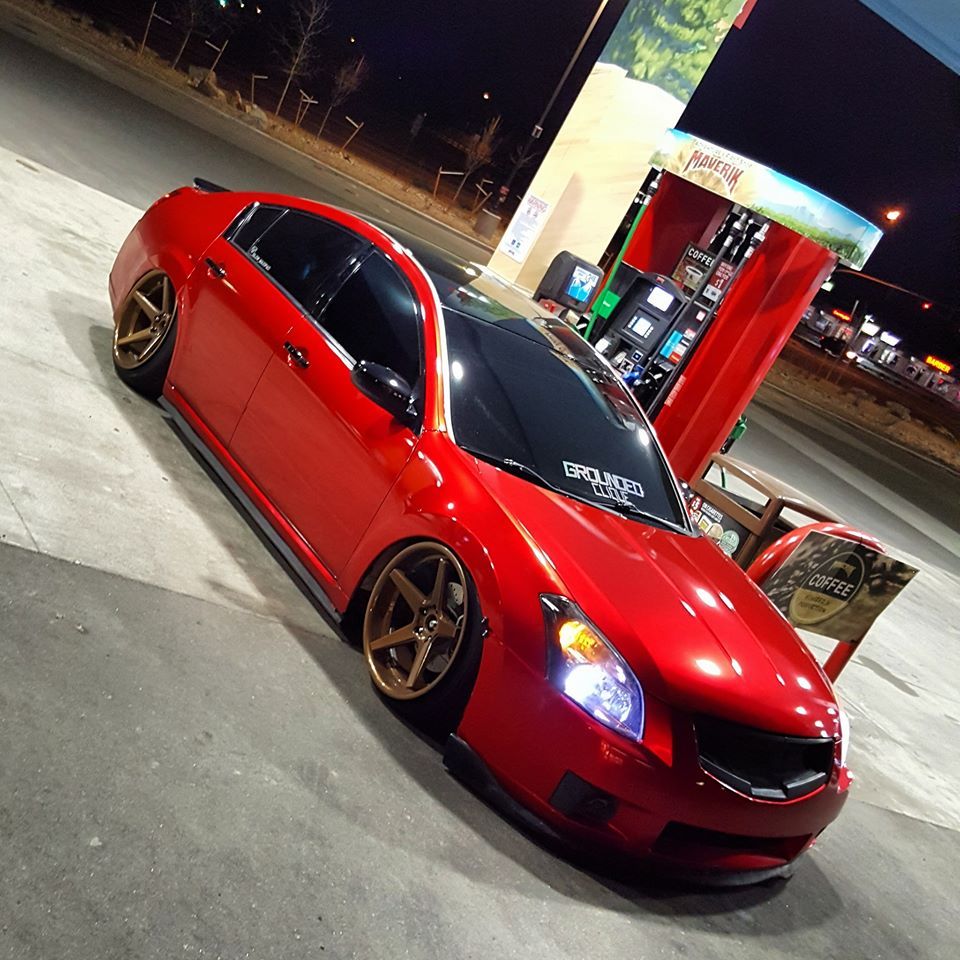
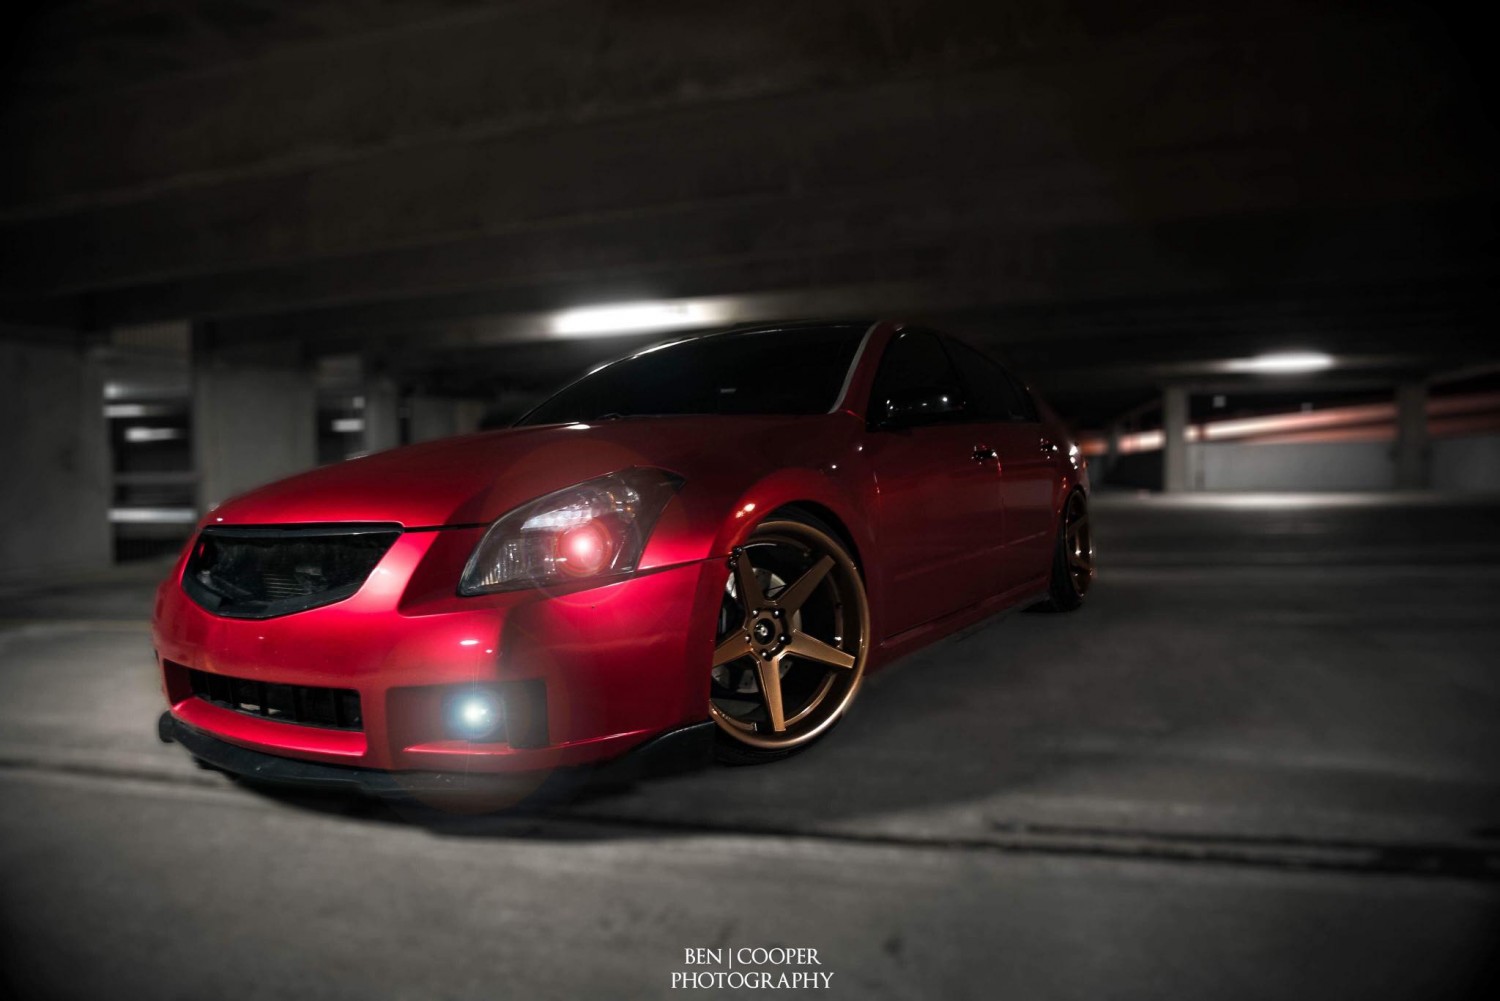
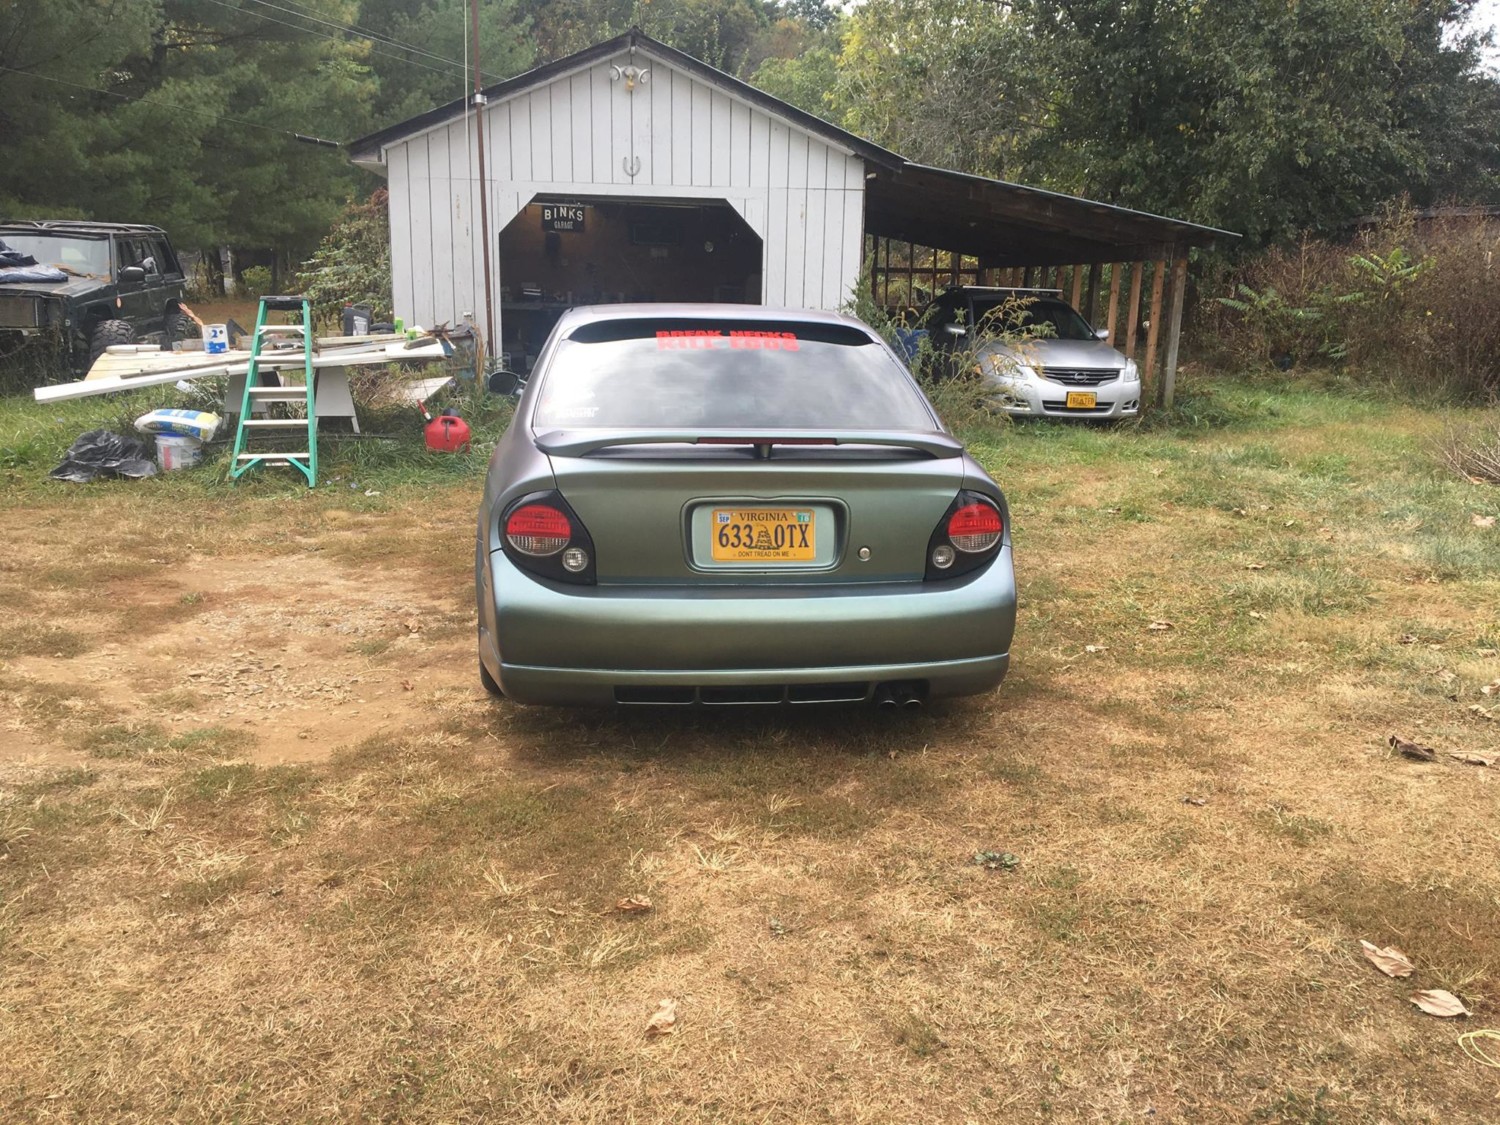
Redid the whole car……a Mix of Plastidip and Carbon Fiber Vinyl wrap:
Was getting misfires when I was on the dyno at Moore Automotive and was recommended I replace the PTE injectors…so I finally got around to it. Car was running like ***, lean and hicupping…stayed out of boost (as much as I could)
Replaced my GARGAGE 650cc Precision injectors with Fuel Injector Clinic 650cc injectors. The shop that installed my PTE injectors cut my stock conector off and wired in the PTE connector so I had to cut those off and solder in the connector for the FIC injectors…PITA!
Year: 1997 Model: Maxima Color: White Transmission: 5-Speed Manual Trim: SE
Highlights: Car ran 13.53 @ 101.32 mph on July 17th, 2007 at Champion Dragway, New Zealand
I purchased the feisty 4 door sedan known as Maxima, back in 1997, and basically its main duty was to be a work car and daily driver. It was not long after owning the Maxima that I soon realized, ” hey this car is kinda quick!” And having the 5 speed manual transmission in SE trim really made all the around the town driving very enjoyable. I’m sure I misjudged the cars speed and power by an initial seat of the pants dyno, lol, but the car was certainly quick and felt eager to boogie through the first 3 gears. For several years I kept the car stock, and it was only until I came across the Courtesy Nissan website that I decided to do my first two maxima modifications.
Mod List:
Engine Mods
K&N Filter
Frankencar Midpipe
2000 Upper Intake Manifold (A33)
2000 Lower Intake Manifold (A33)
2000 Fuel Rail & Injectors (A33)
2000 Rear Coils (A33)
Stephenmax IACV Adapter Plate
Cattman Headers
Custom Enterprises Polished Straight Racing Pipe
Cattman Catback
Unorthodox Racing Underdrive Pulley
Technosquare Upgraded ECU
Greddy Emanage Ultimate
Greddy Emanage Ulitmate wiring harness
Courtesy Nissan Short Throw Shifter
Odyssey PC680MJT Lightweight Racing Battery
Nissan 300 ZX Fuel Filter
Castrol Formula R Synthetic 5w-30
NGK Platinum plugs – PFR5G-11
Nismo Oil Cap
Nismo Radiator Cap
Exedy Racing Clutch (Stage 1)
Raxles Hi-Performance Axles
Redline MT-90 Manual Transmission Lubricant
Eibach Prokit Springs
KYB AGX Shocks
KYB Dust Boots
Genuine Nissan Rotor
Wheels SSR Competitions ( Anthracite w/Mach Lip )
16 x 7.5 Nissan Silvia S14 OEM factory wheels 16 inch (daily driving duties during drag season)
Tires Toyo Proxes T1R 225/50/16
Yokohama Avid S306 205/55/16 (daily driving during drag season)
Hoosier Drag Radials 225/50/16 (upfront on drag days)


")


")


")