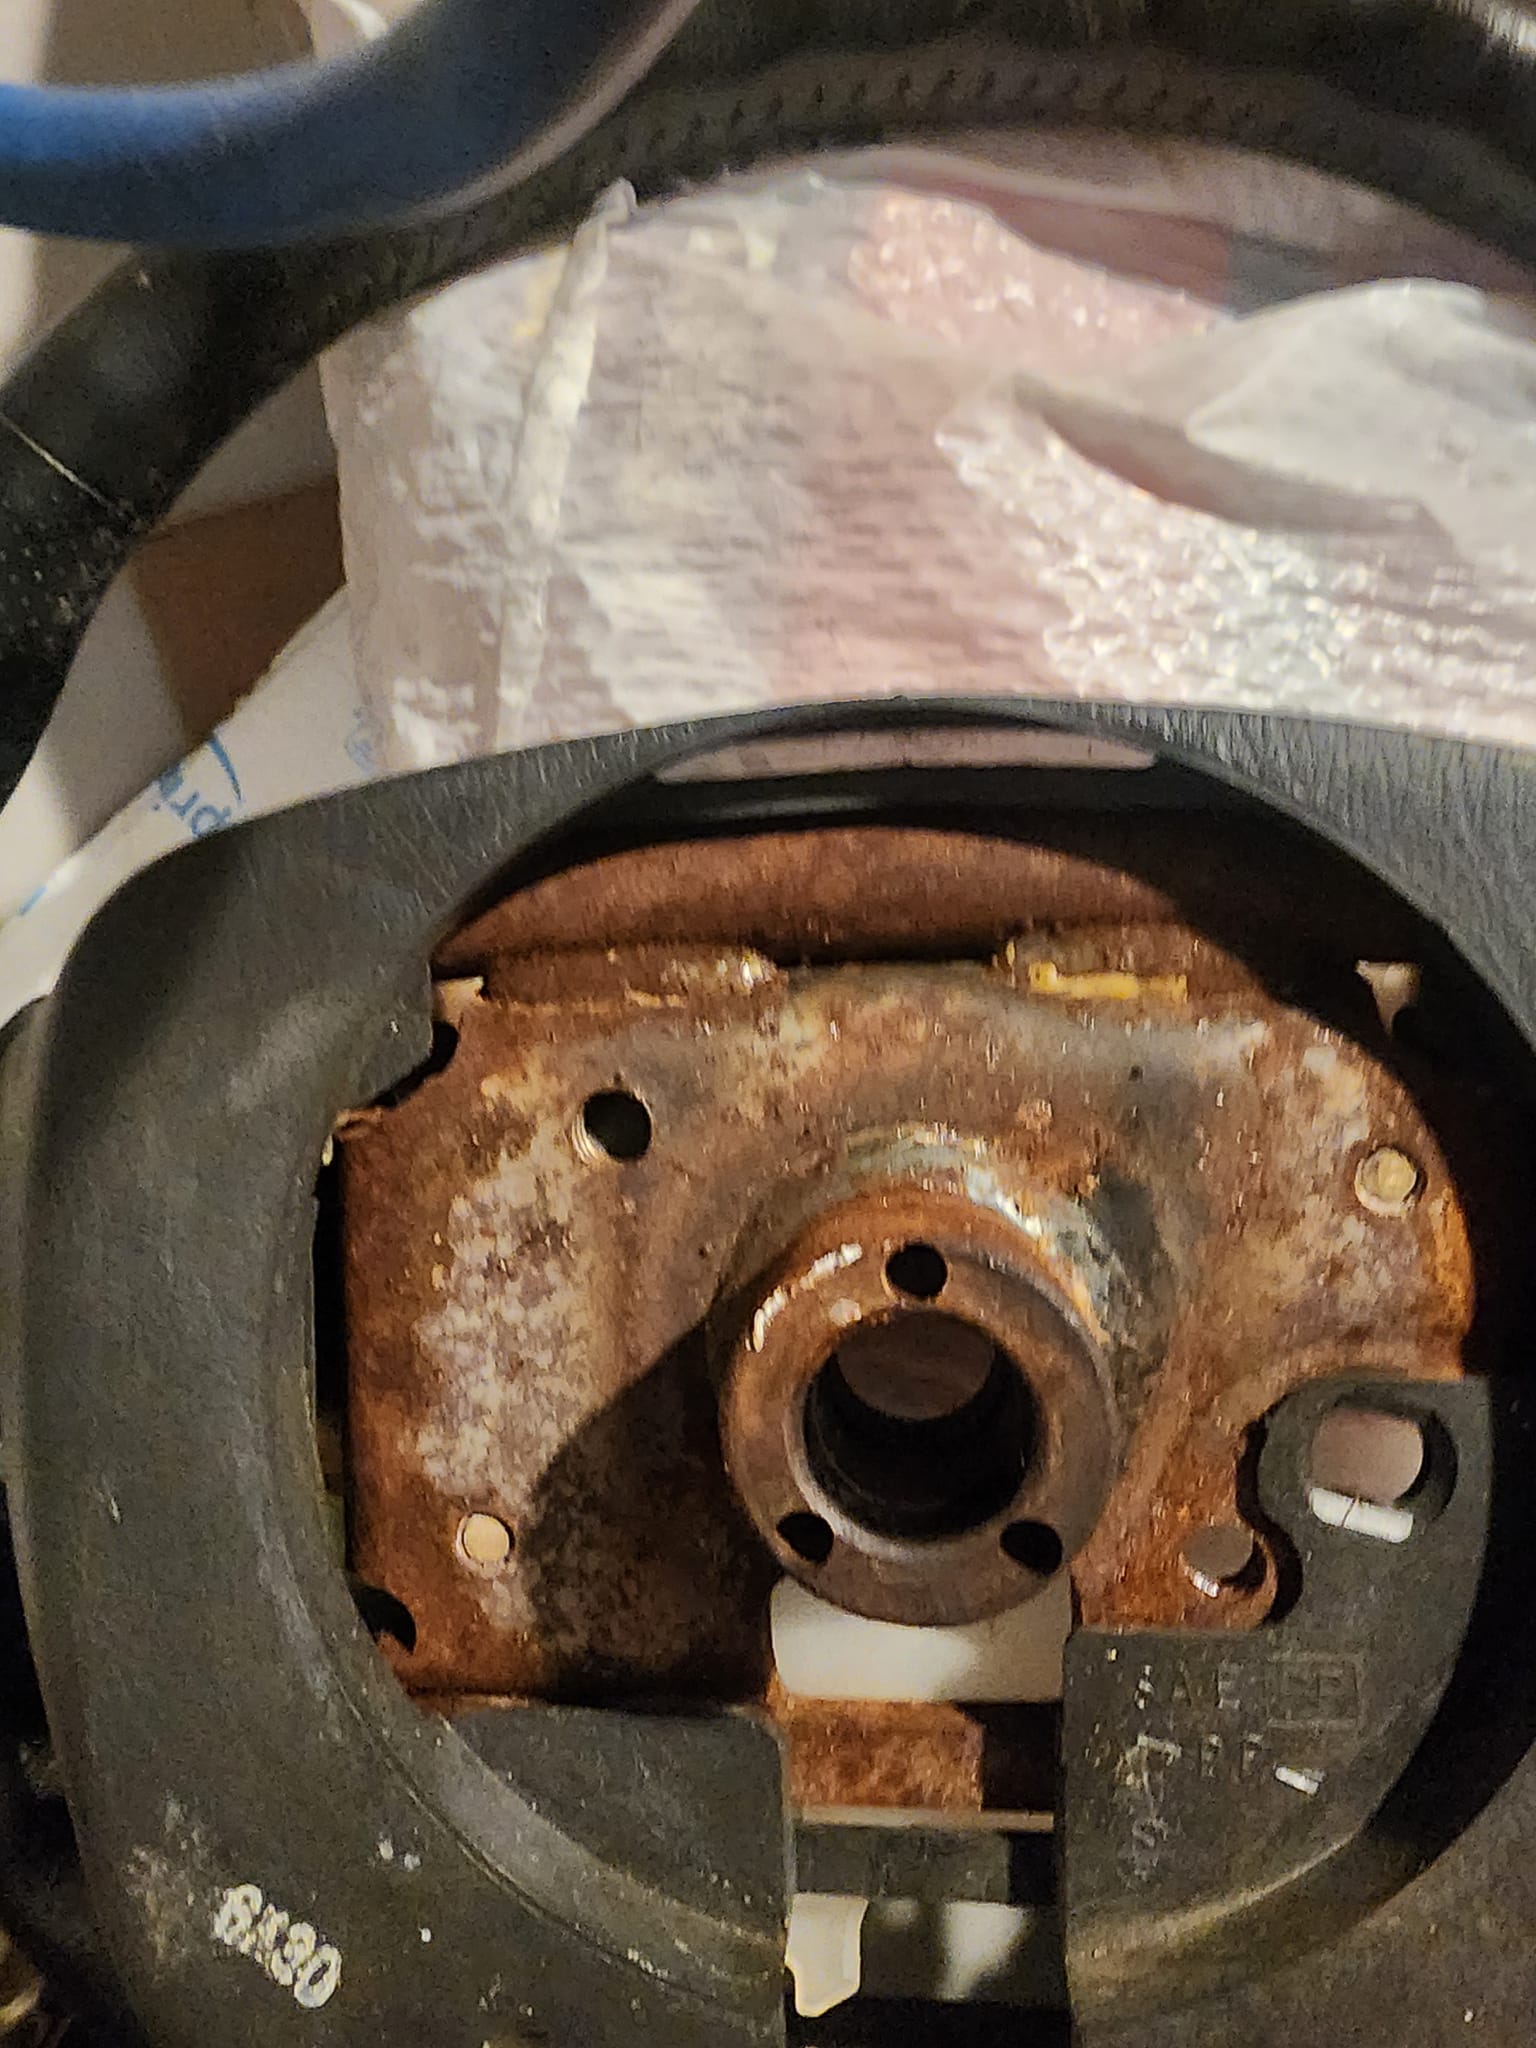
For all 4th generation owners who swap to 8th generation steering wheels and find that the turn signals don’t turn off after a turn, here is the reason why. The 4th generation wheels have holes drilled for the combination switch. To make the switch work on the 8th generation wheels, you need to drill the holes for the switch.
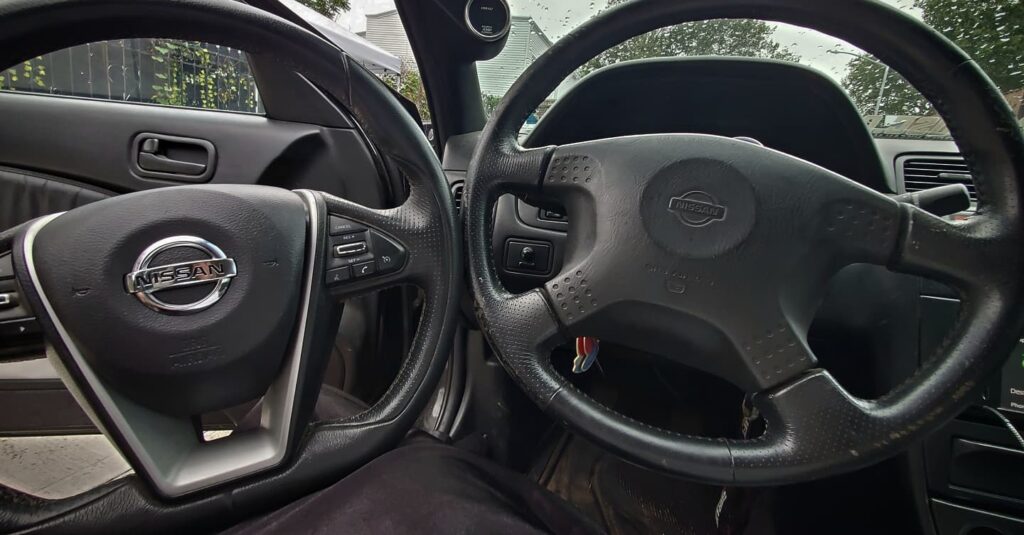
4thgen Steering Wheel
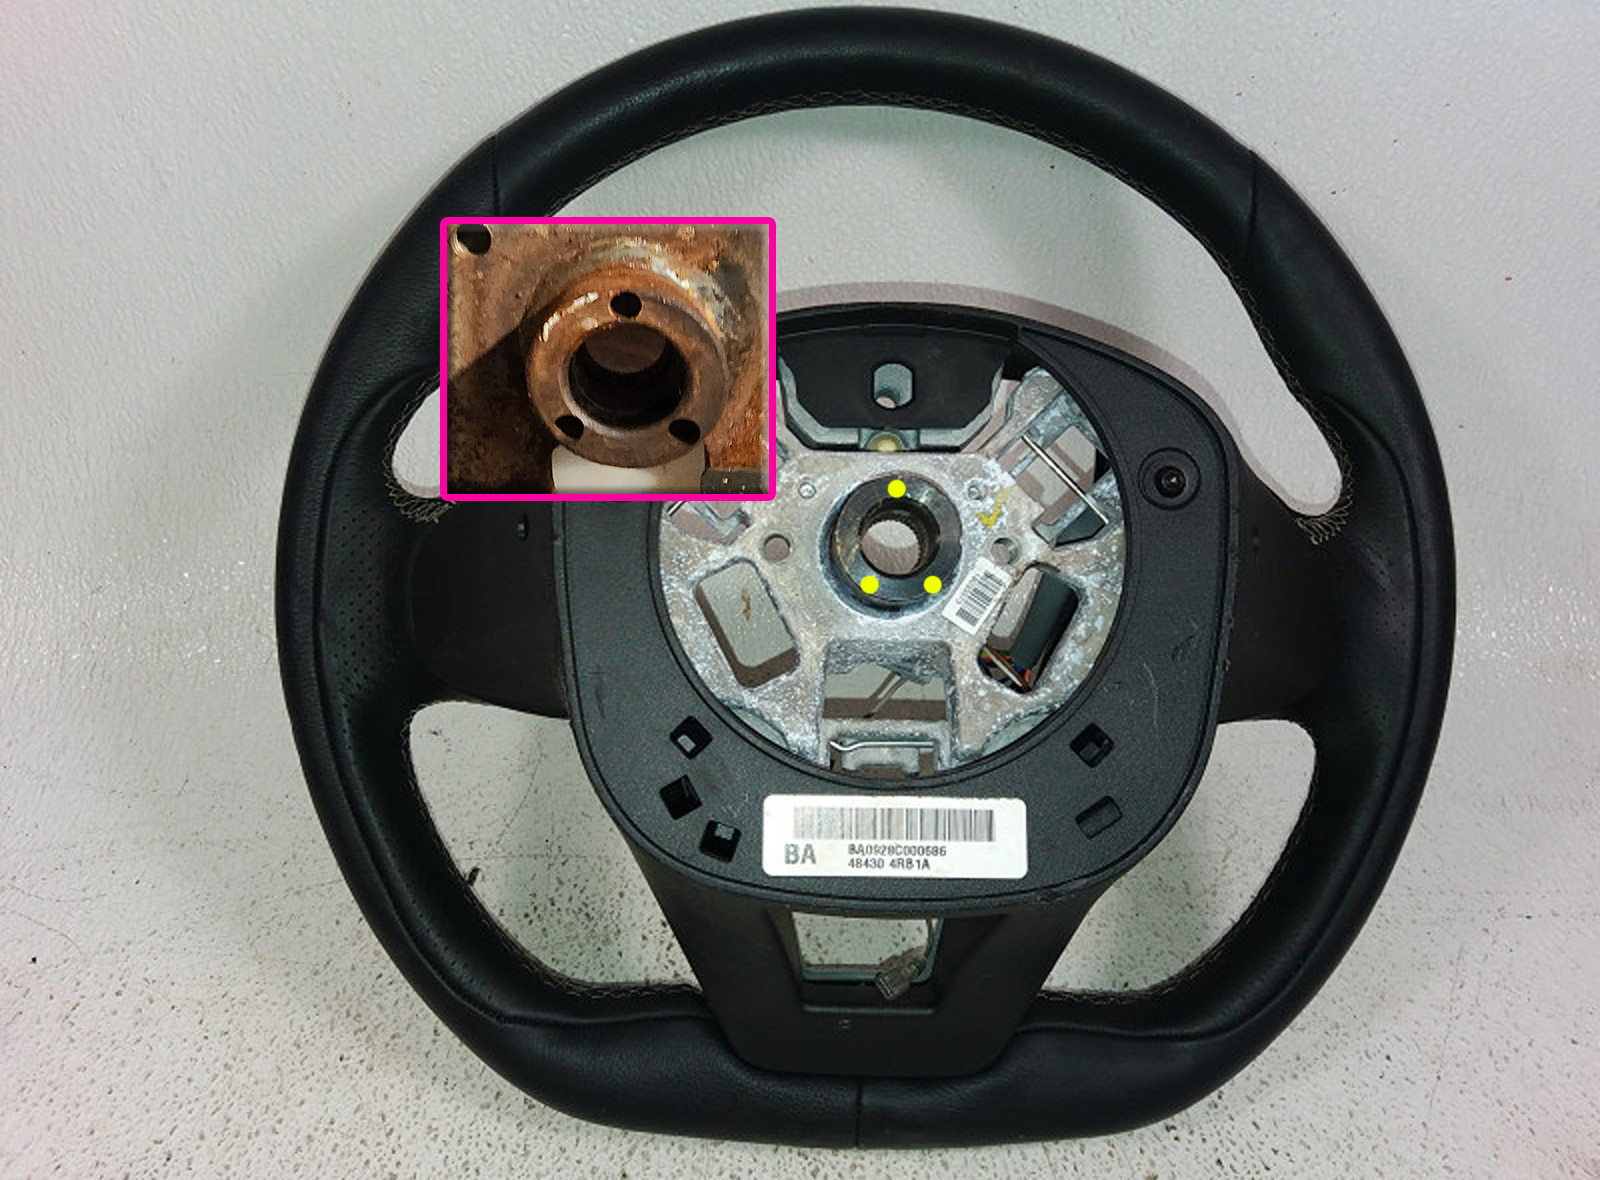
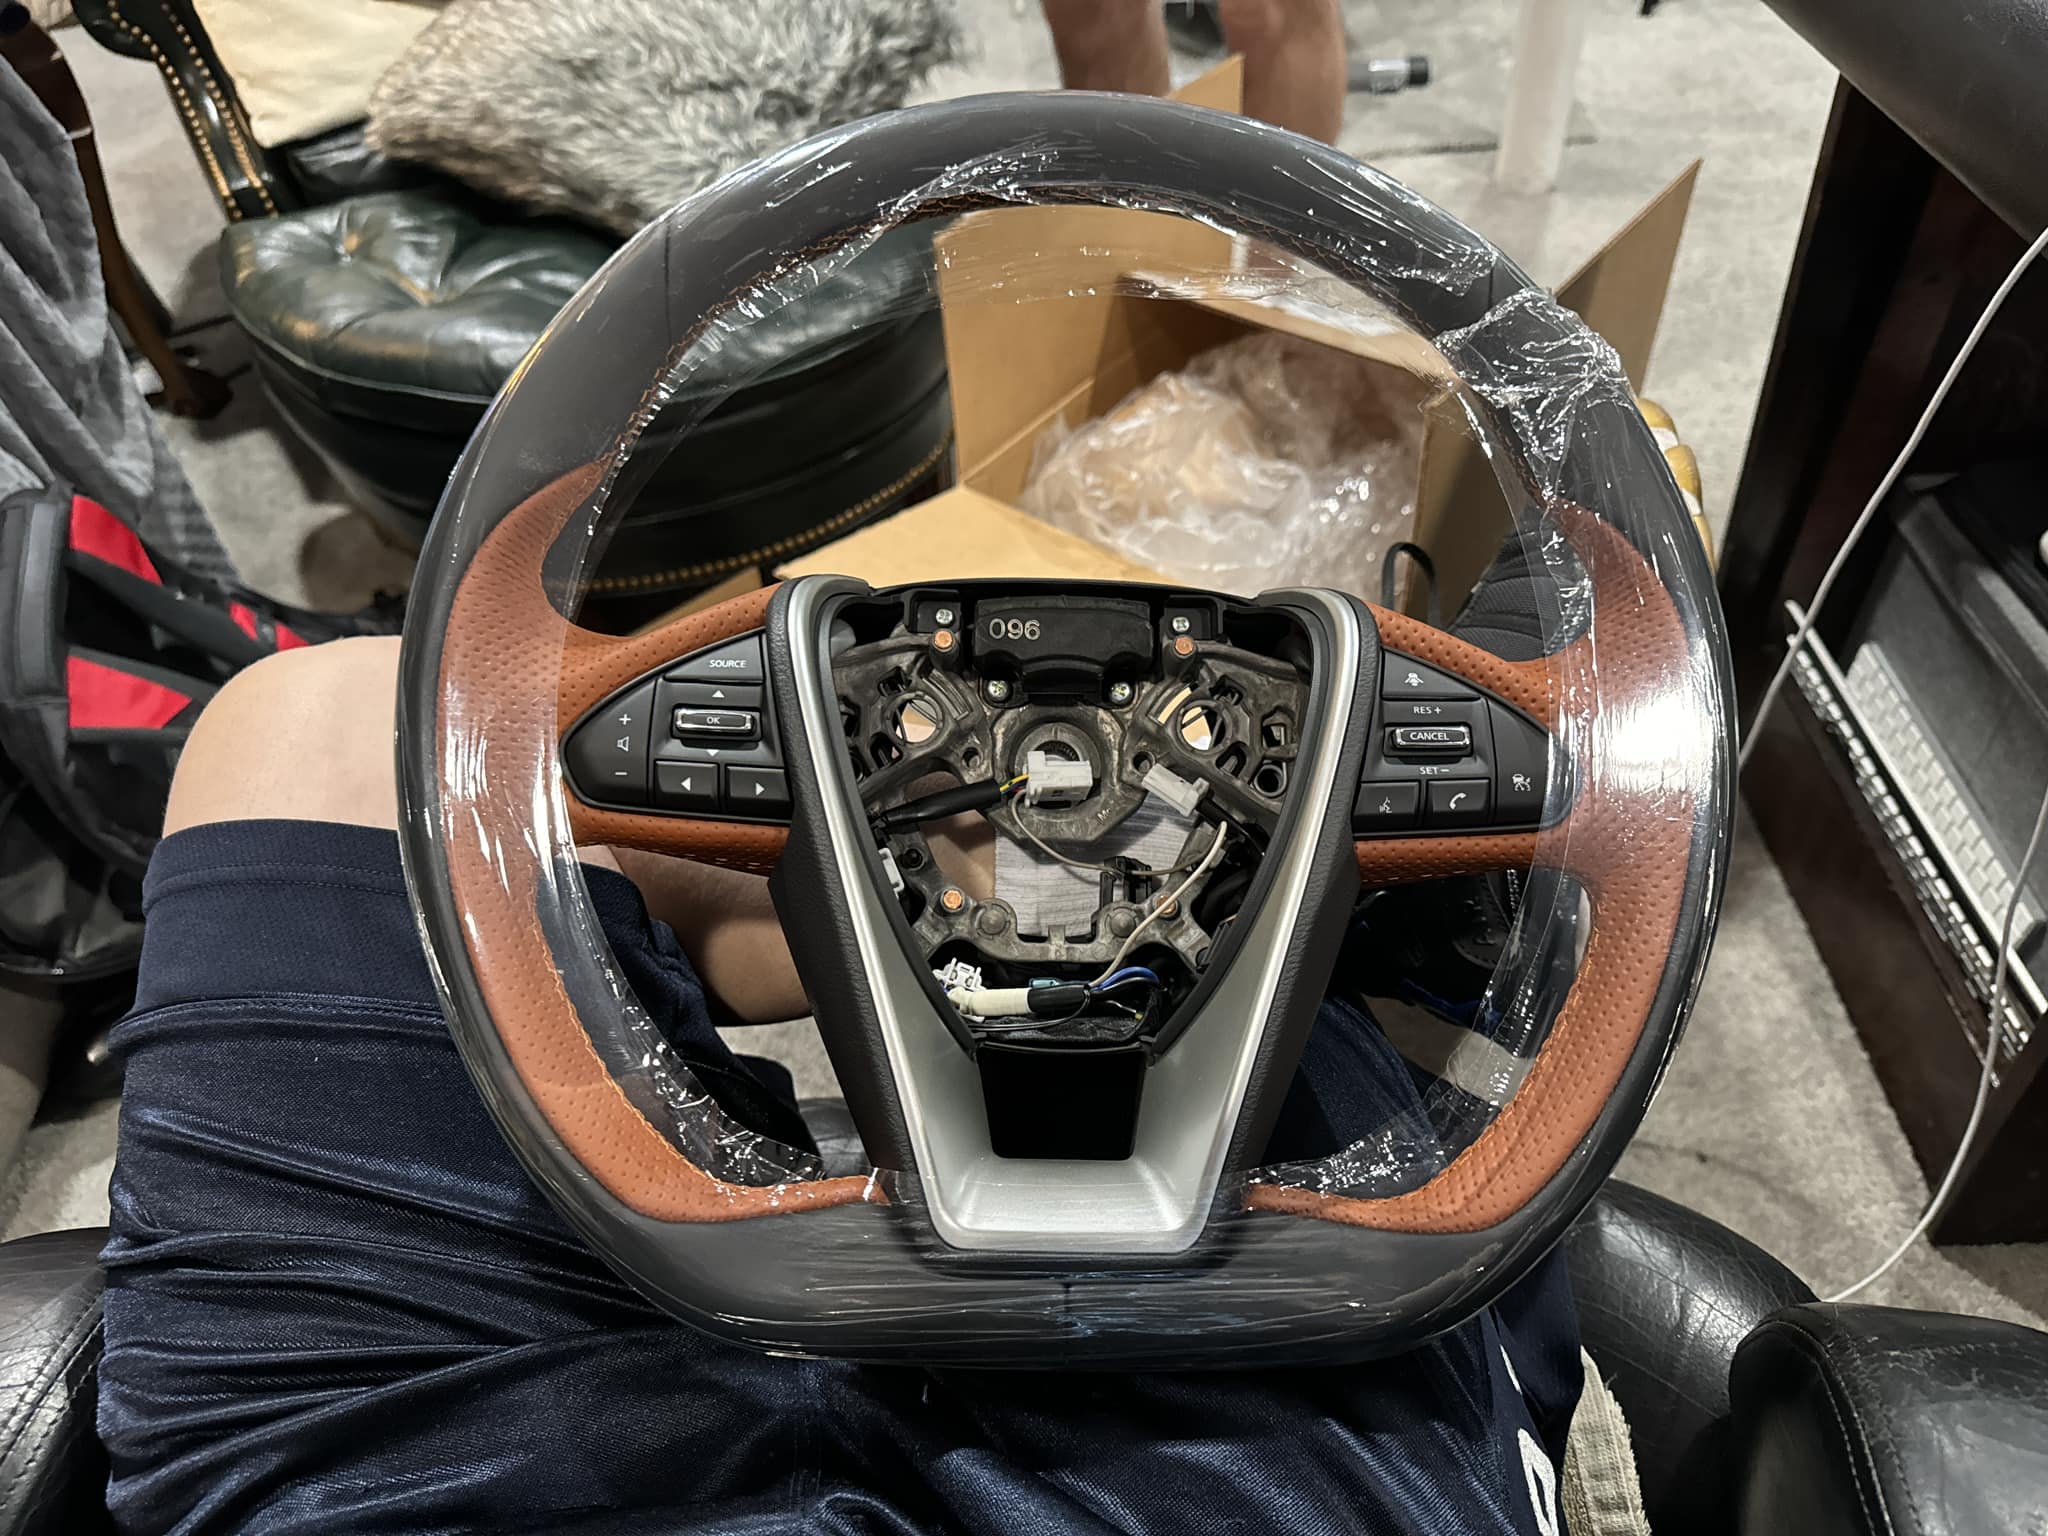
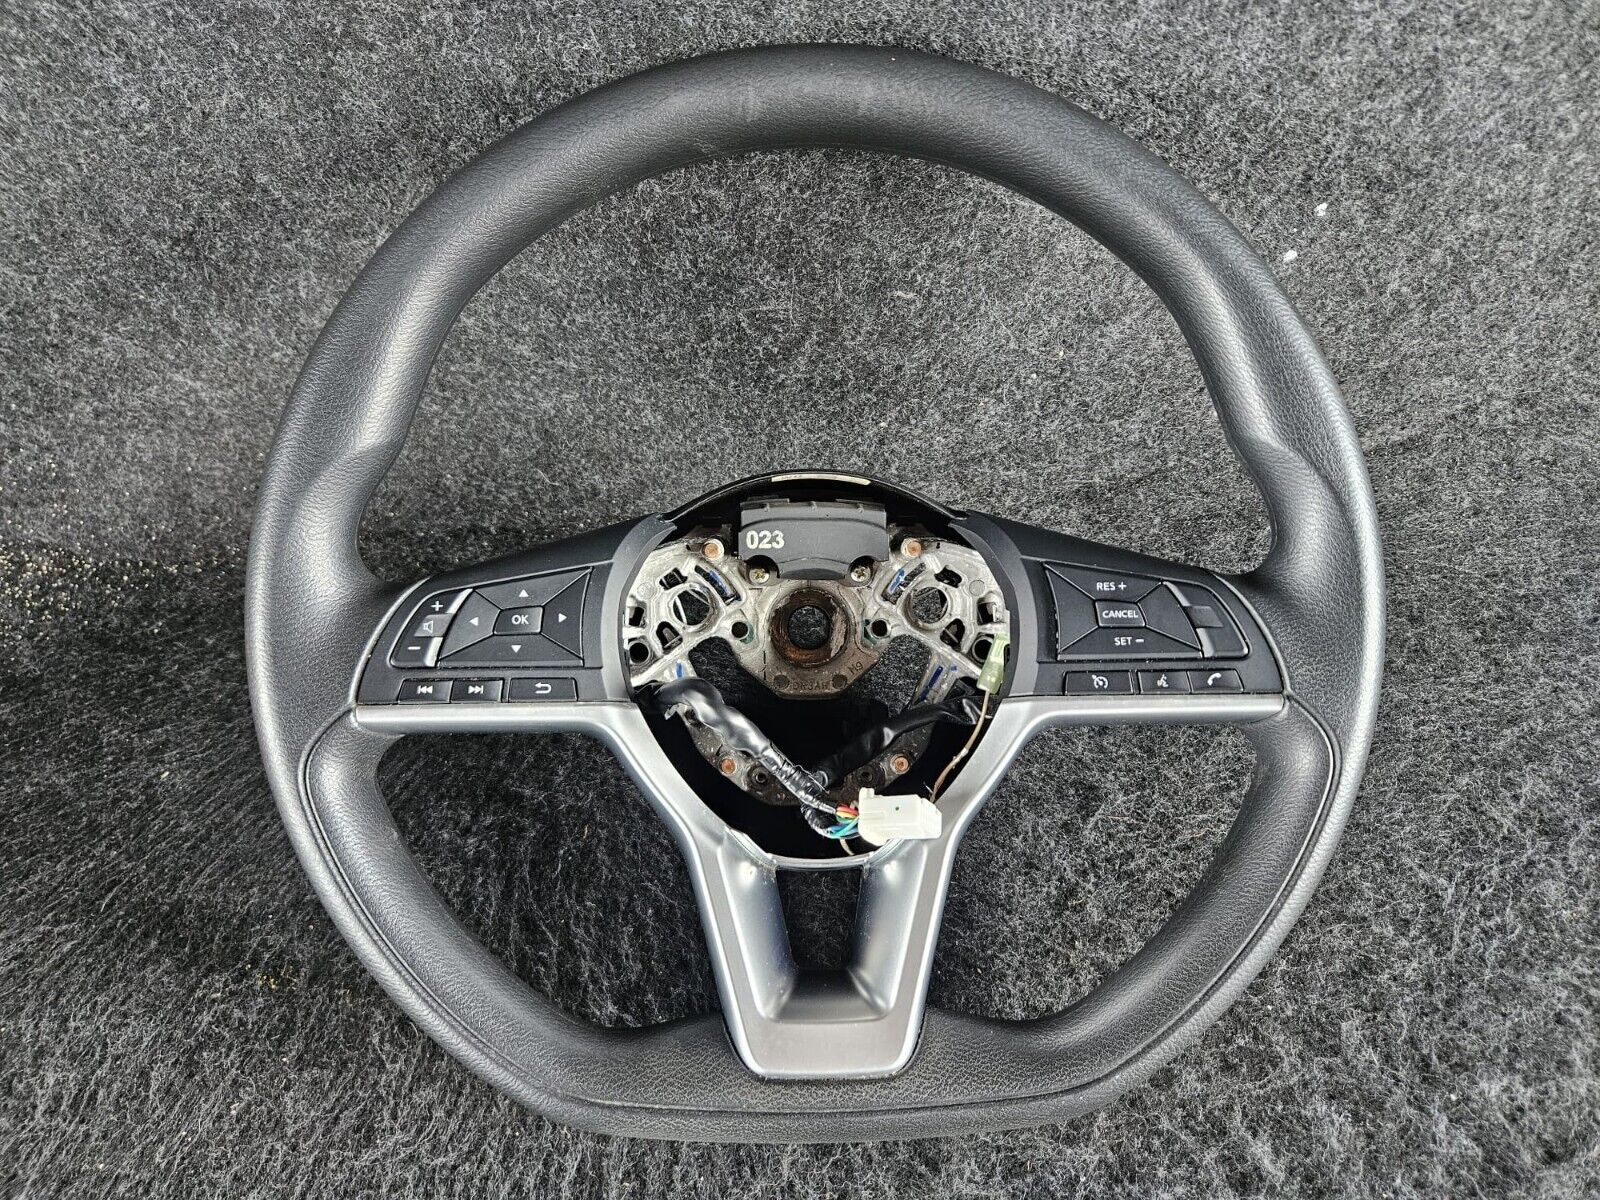
8thgen Steering Wheel
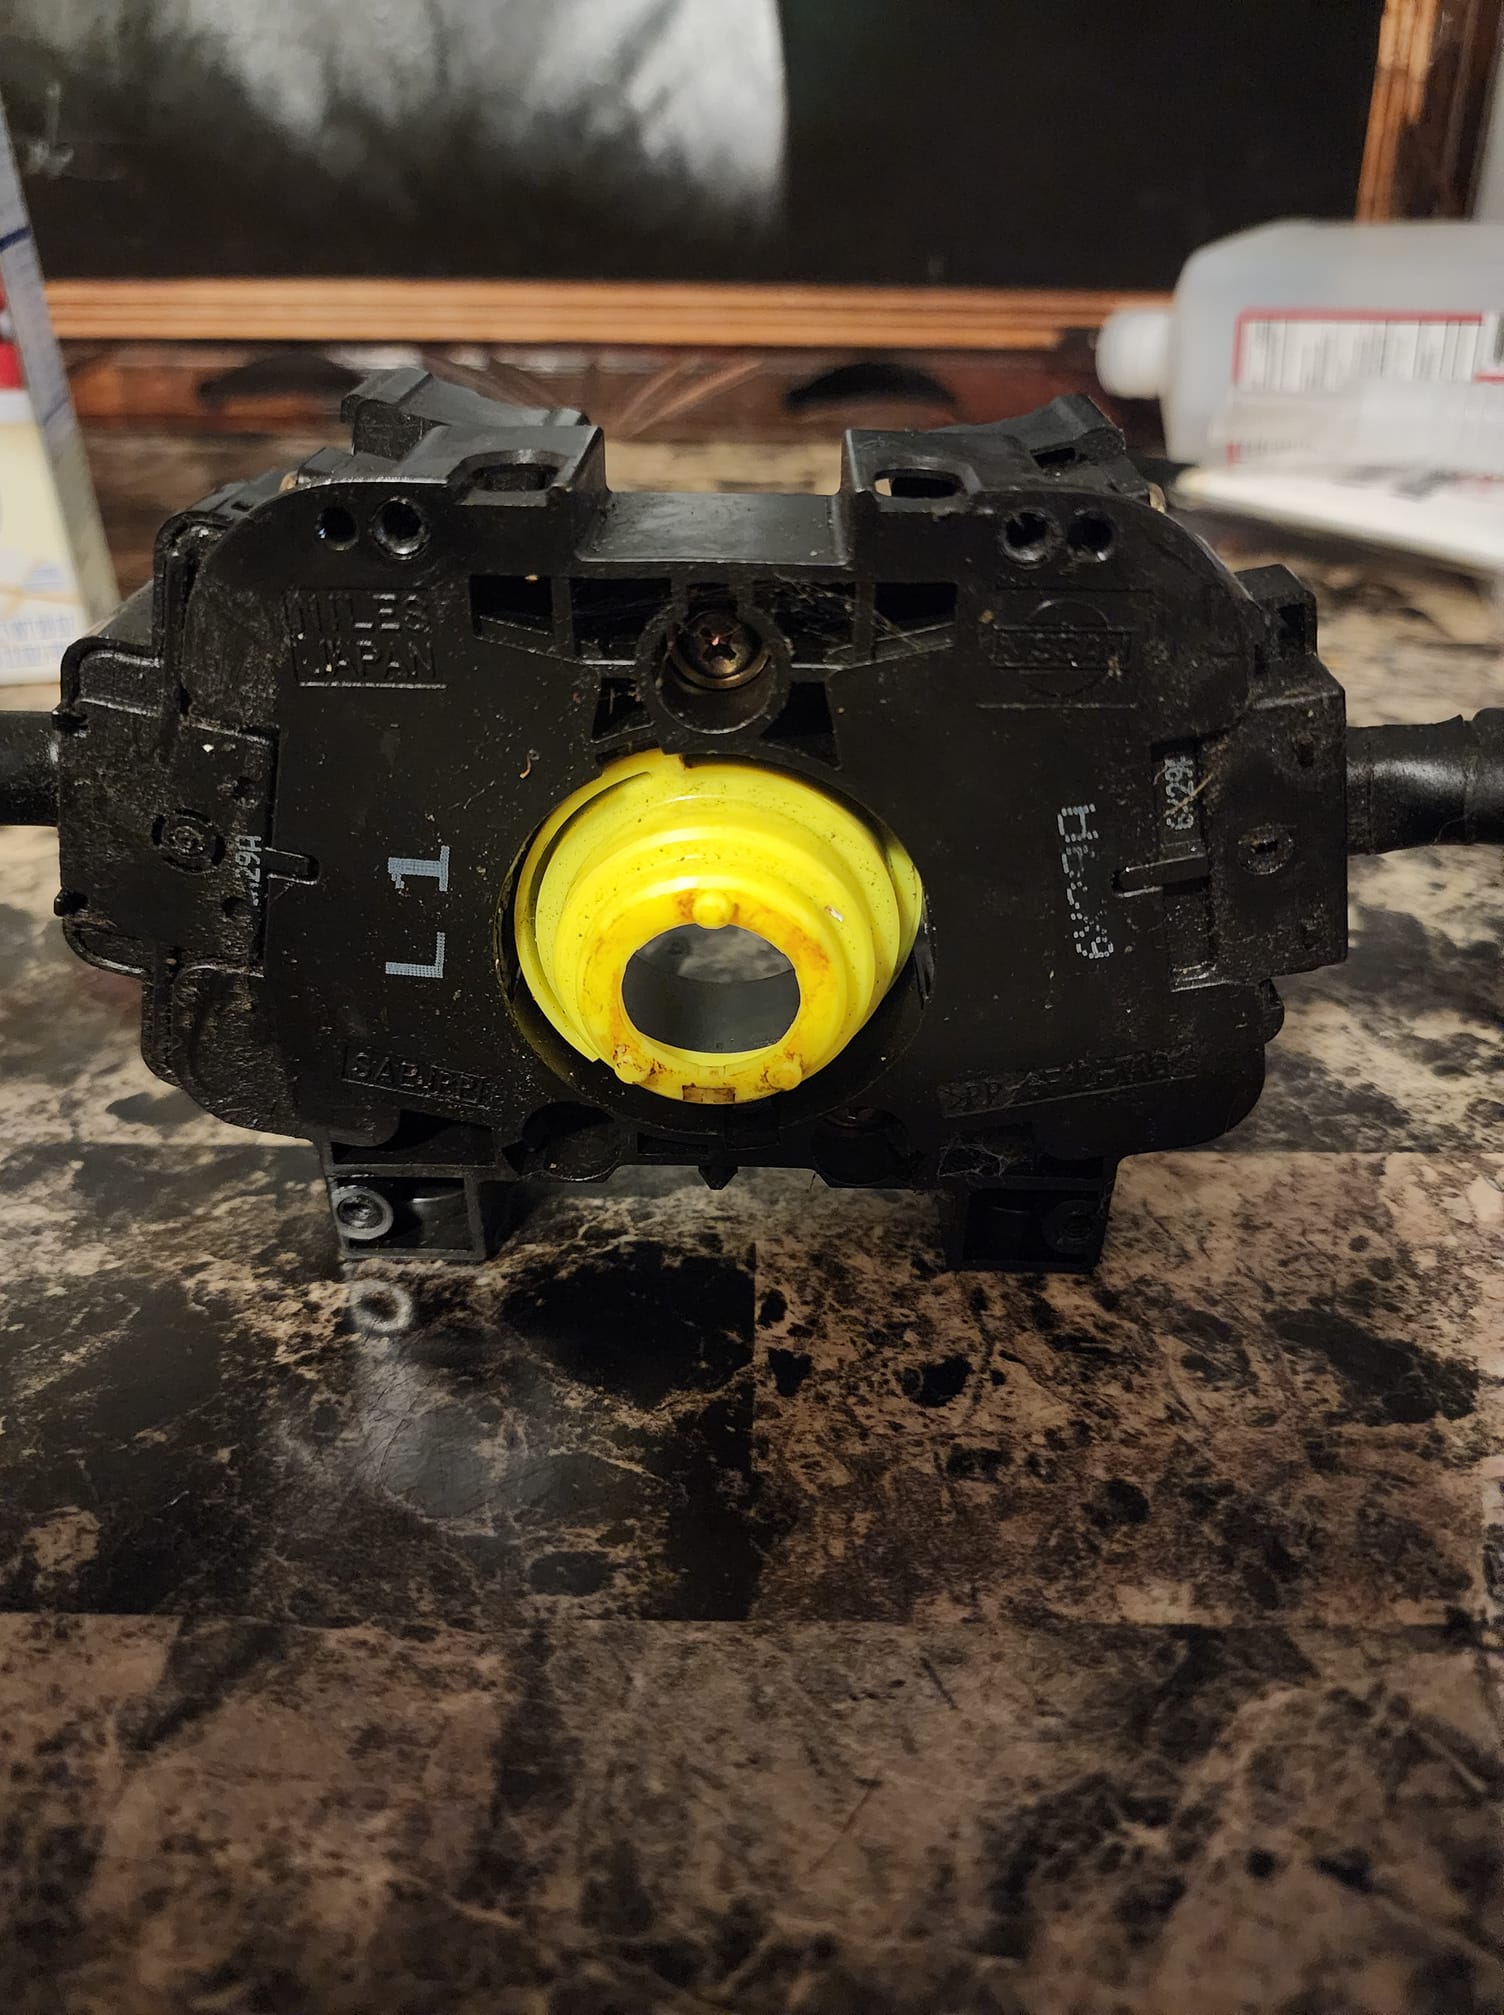
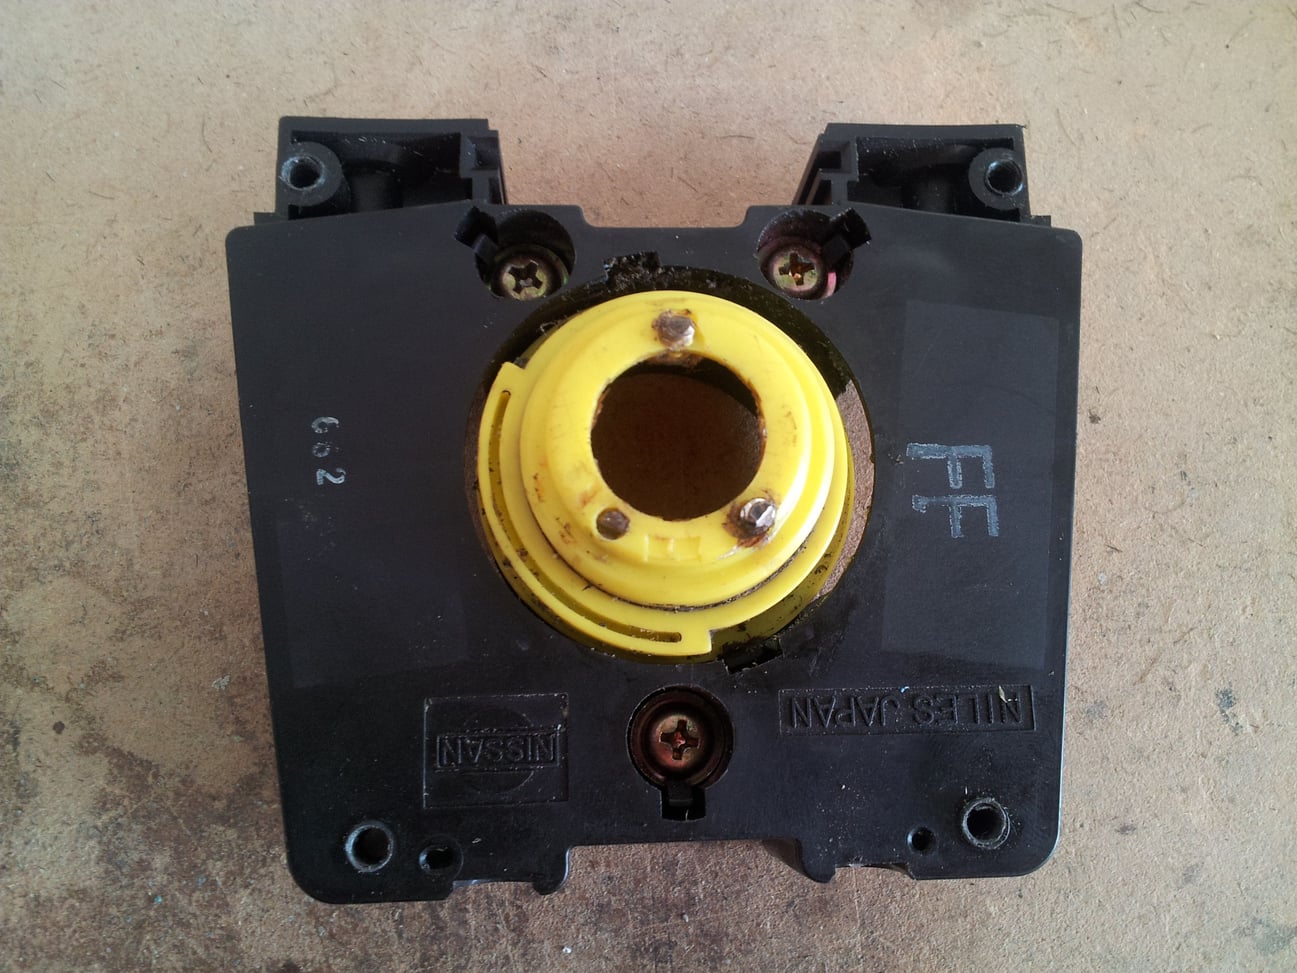
Here’s a picture of the combination switch. The nubs need to fit into the holes on the steering wheel for the switch to function properly.
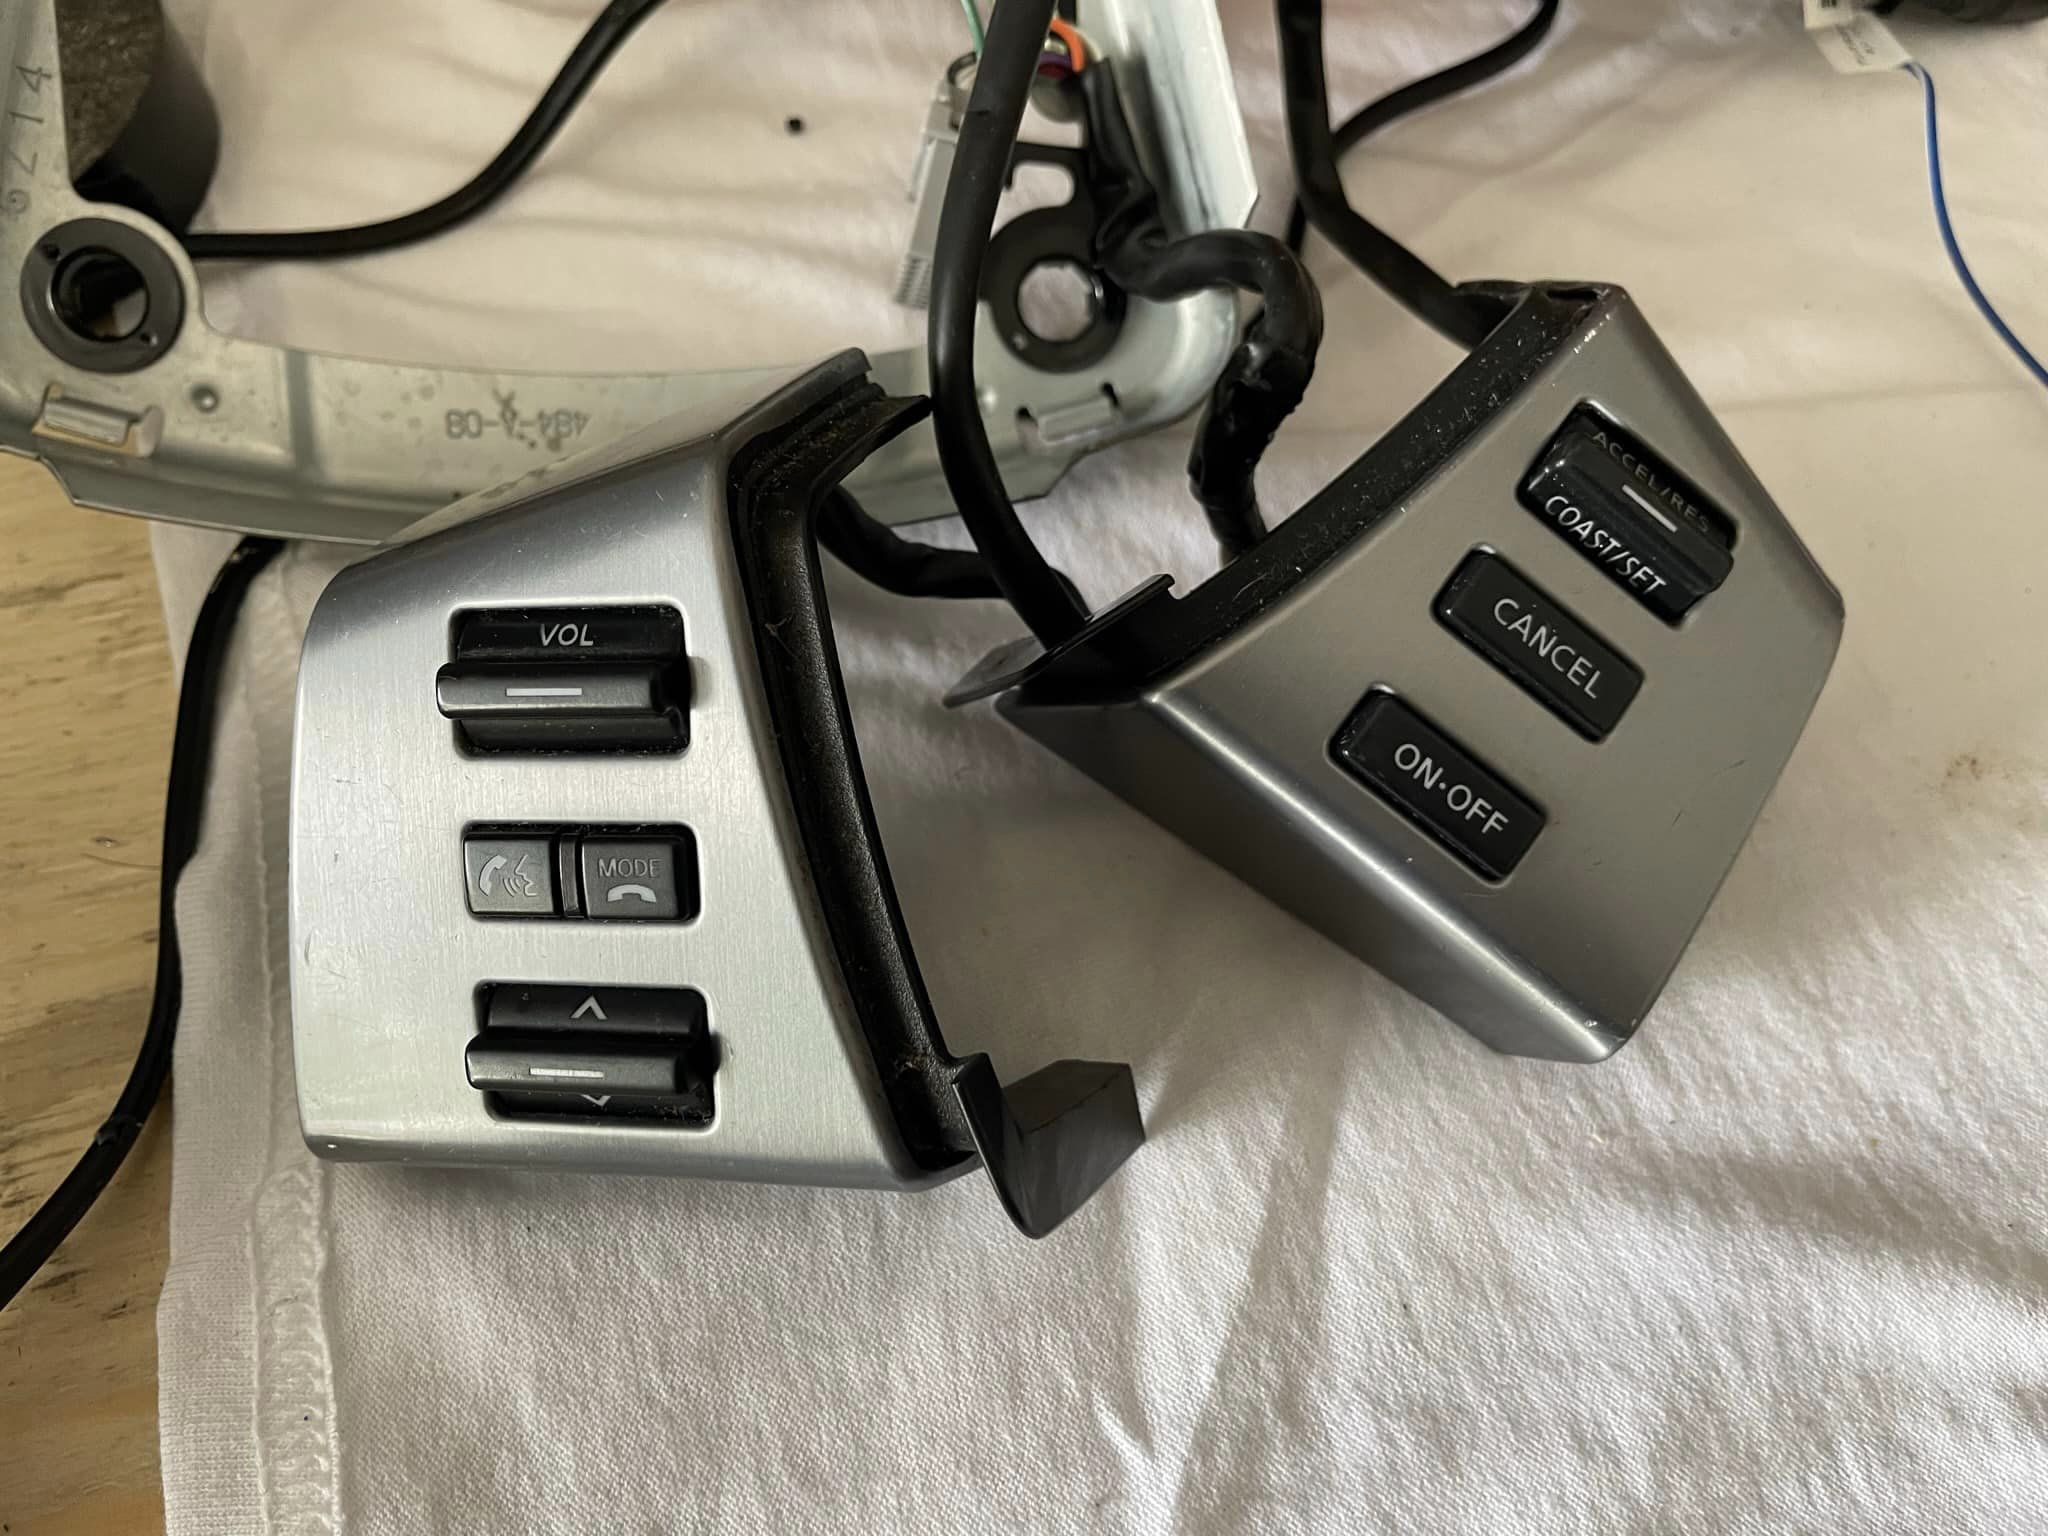
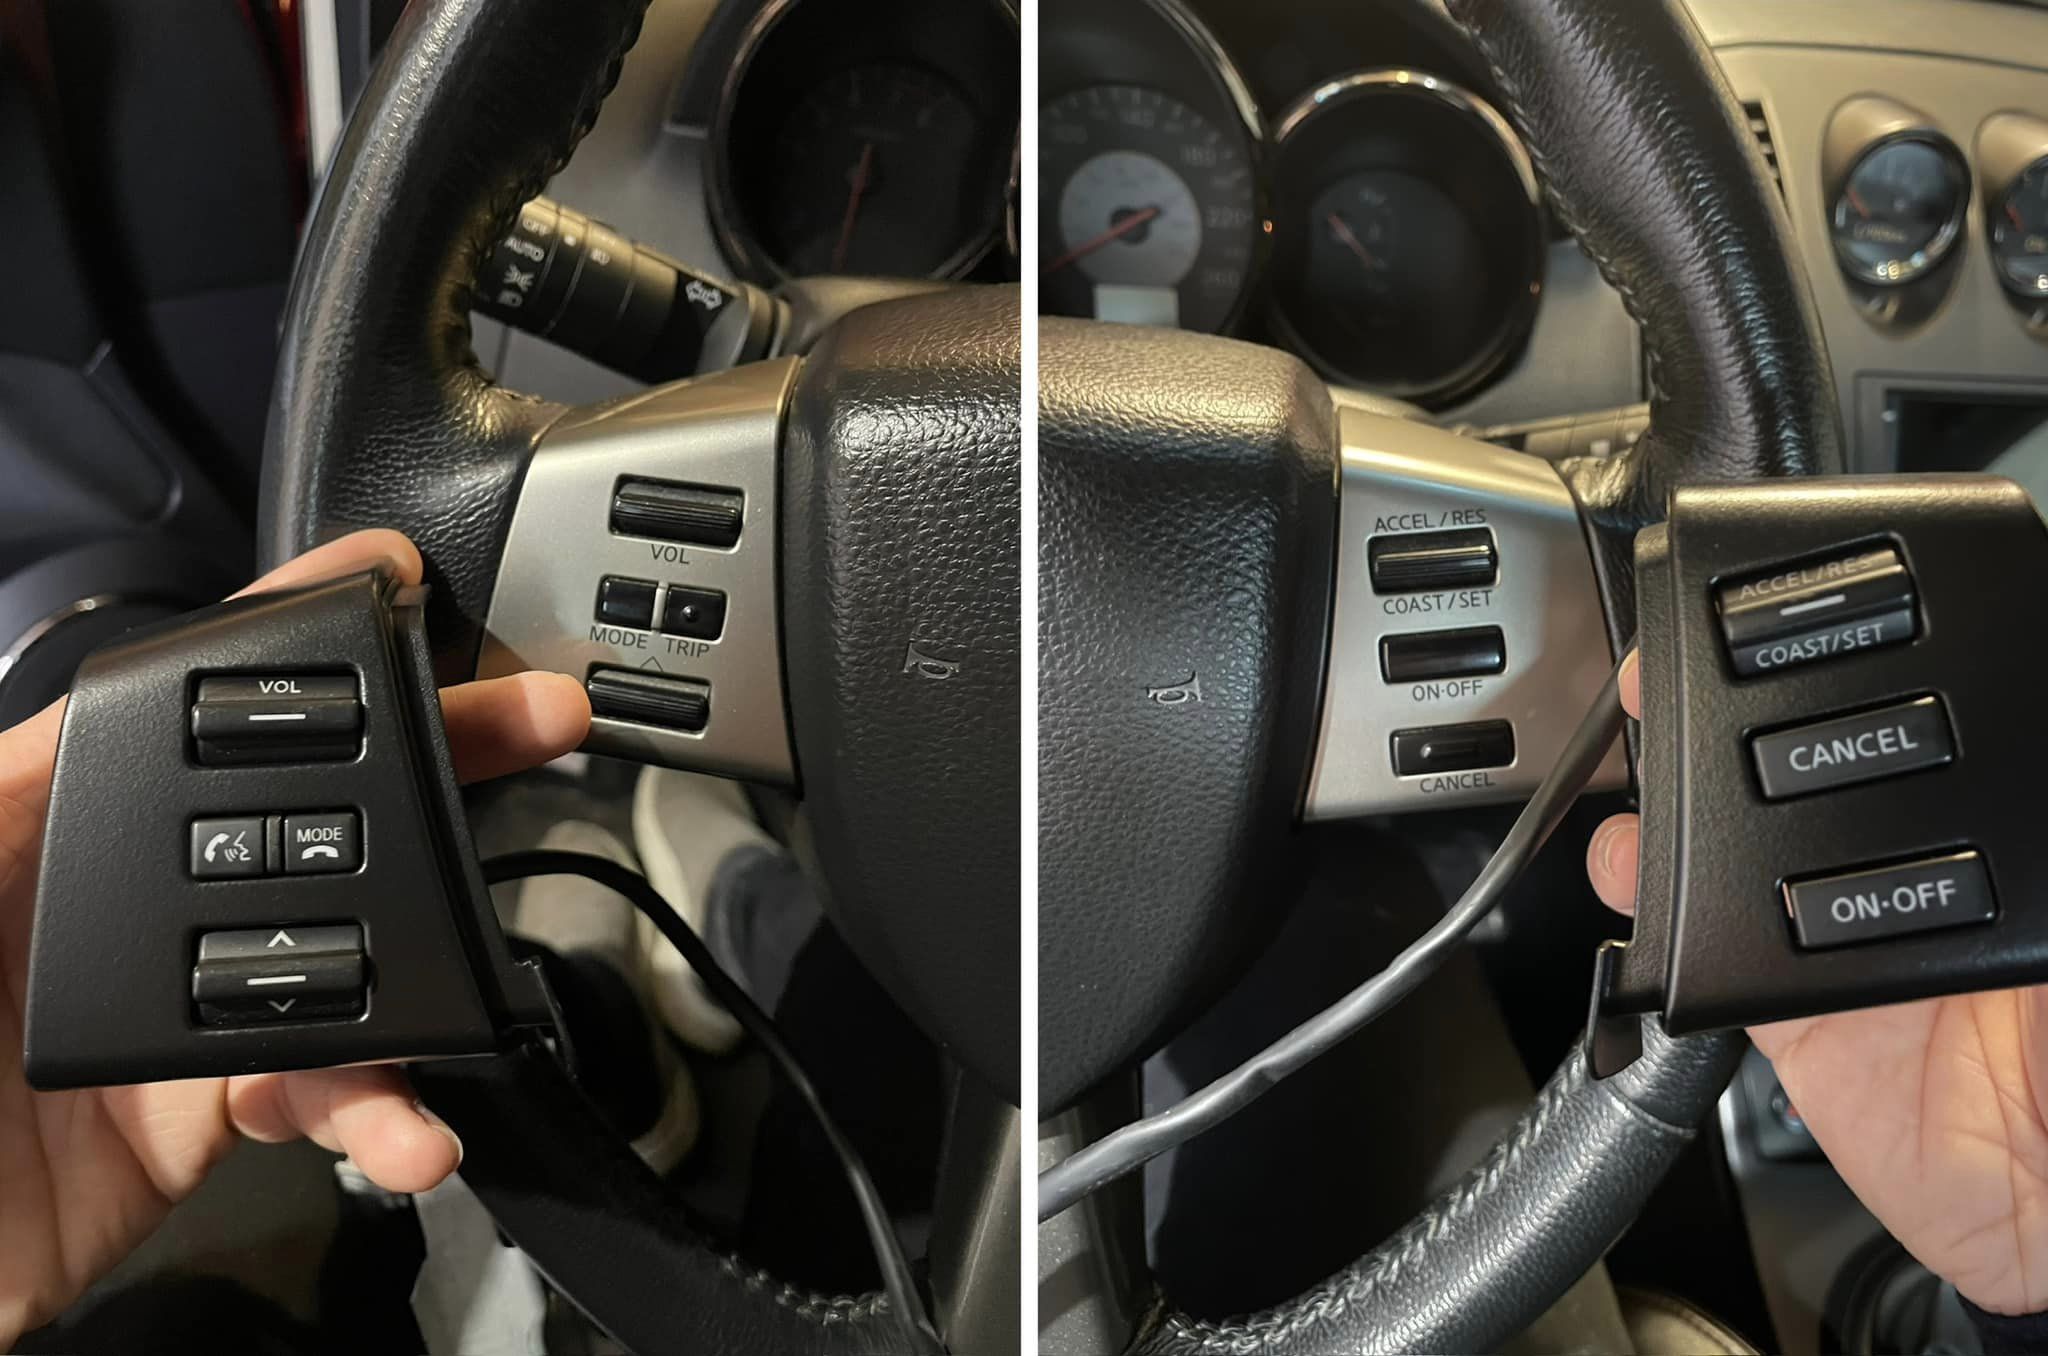
Swapped out the stock steering wheel controls for 06+ maxima ones. Because of how it’s wired I lose the trip button but gain a button for the radio. For the buttons to illuminate I’ll have to get a clock spring out of a maxima and run the wires for the illumination pins.
This thread might be quite old, but it seems the issue was never resolved on the forum, so here’s some helpful information. The component in question is definitely the culprit. It fails, though I’m not sure exactly why or how. Once it does, your turn signals won’t cancel automatically anymore.
For replacement, start by removing the airbag: Unscrew two T-50 safety torx on each side, disconnect two connectors, and remove the 19MM center nut. Remember to mark the alignment—there’s a small dot, just make a mark so you can realign the steering wheel properly on the spline assembly during reassembly.
Alternatively, keeping the steering wheel straight or level while disassembling is also effective. You’ll also need to remove the underdash panel (two Philips screws, some clips, and disconnect the buzzer) to access the six Philips screws that hold the steering column shroud together. After removing that, use four Philips screws to detach the rotating ring and let it hang. Then, remove the blinker and wiper stalks with two Philips screws on each side, followed by three Philips screws to take out the broken piece directly in front of you. Replace it, reassemble everything, and you’re good to go.
A few notes:
These instructions are from memory, so there may be slight inaccuracies.
Be careful not to overtighten the 19MM nut, as this can make the steering wheel hard to turn. Avoid using an impact tool for this.
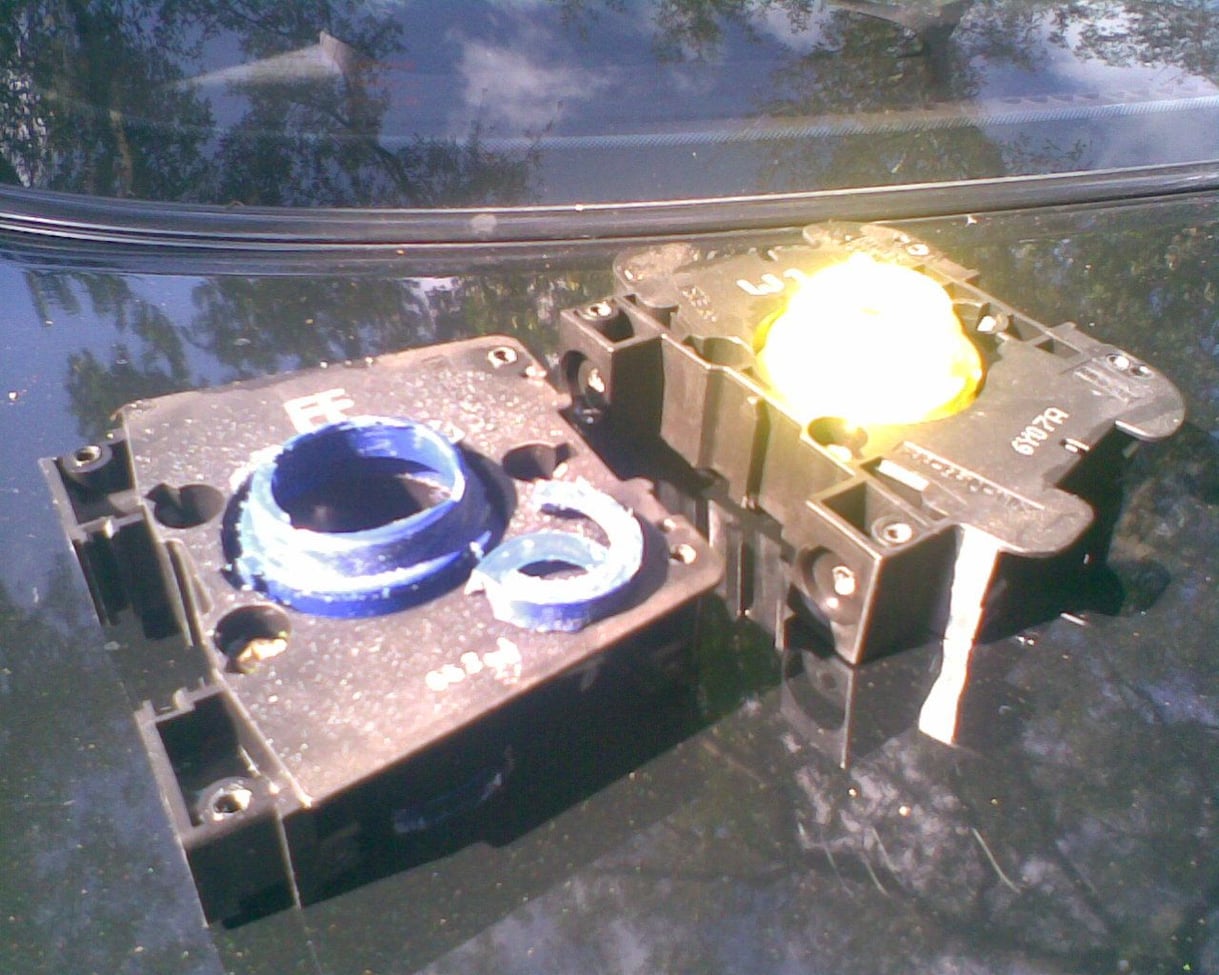
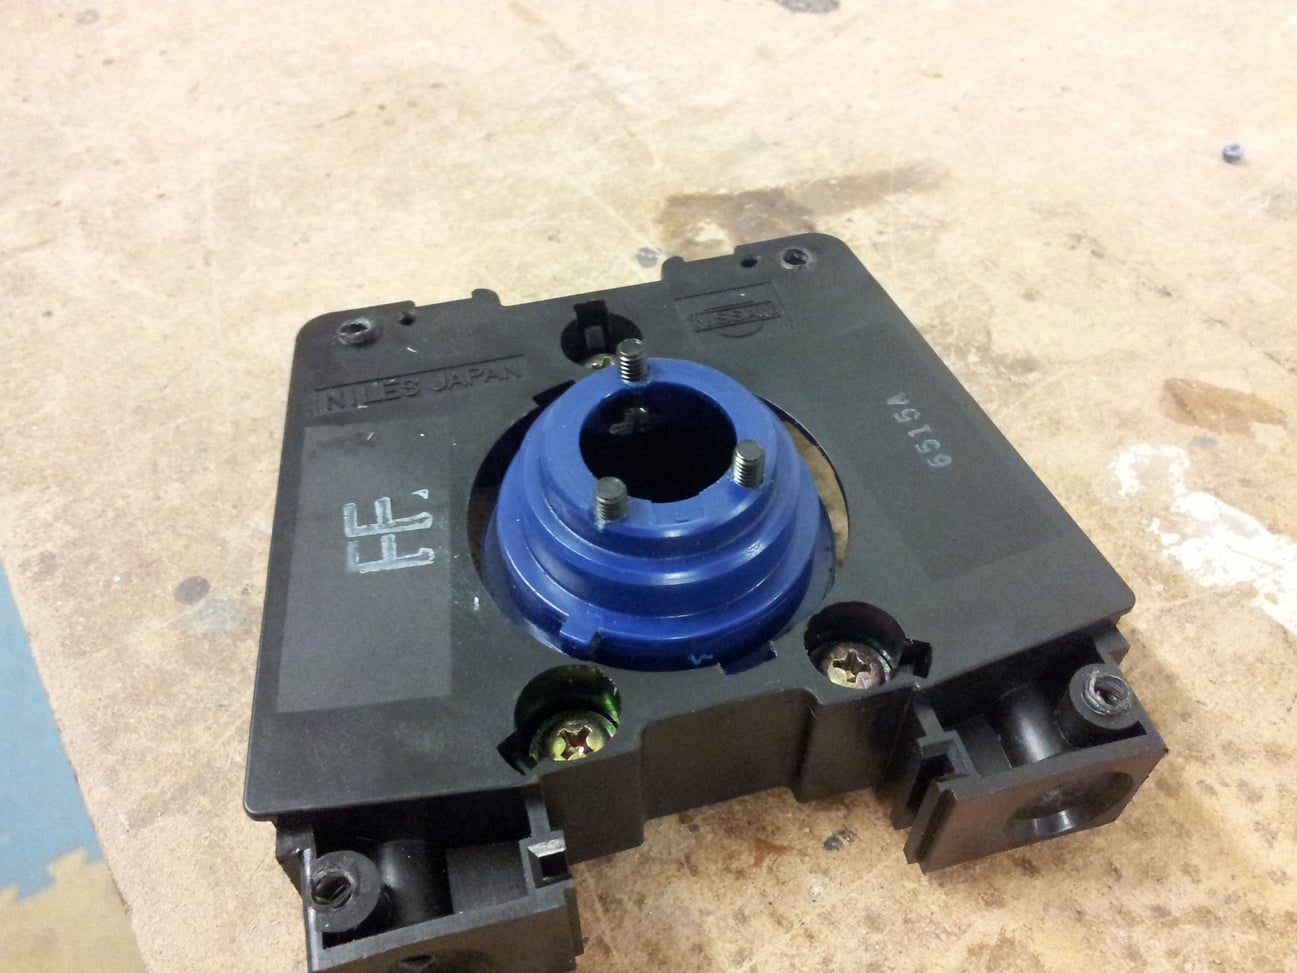
Attached are two pictures for reference. The yellow one is for the Maxima, the blue for the i30. They differ slightly.
For my i30, I adapted a yellow version with metal studs which lasted over 100,000 miles before failing. It’s best to get the correct part specifically designed for your vehicle.
Update 1:
The component is known as a “combination switch.” The Haynes manual provides instructions on how to remove it.
Update #2:
I’m not quite sure how I managed to mess this up twice, but I sheared off the nubs again—likely because I over-tightened the 19MM nut, which pushes the assembly down the shaft, causing it to encounter resistance from the bearing assembly. So, when replacing this, only tighten the nut enough to secure the wheel and no more! My nearest junkyard is an hour’s drive away, so instead of getting a new part, I chose to drill holes and thread bolts to fix it. It might be a makeshift solution, but it works, and now my blinker self-cancels again. At 242,000 miles, I have no complaints.
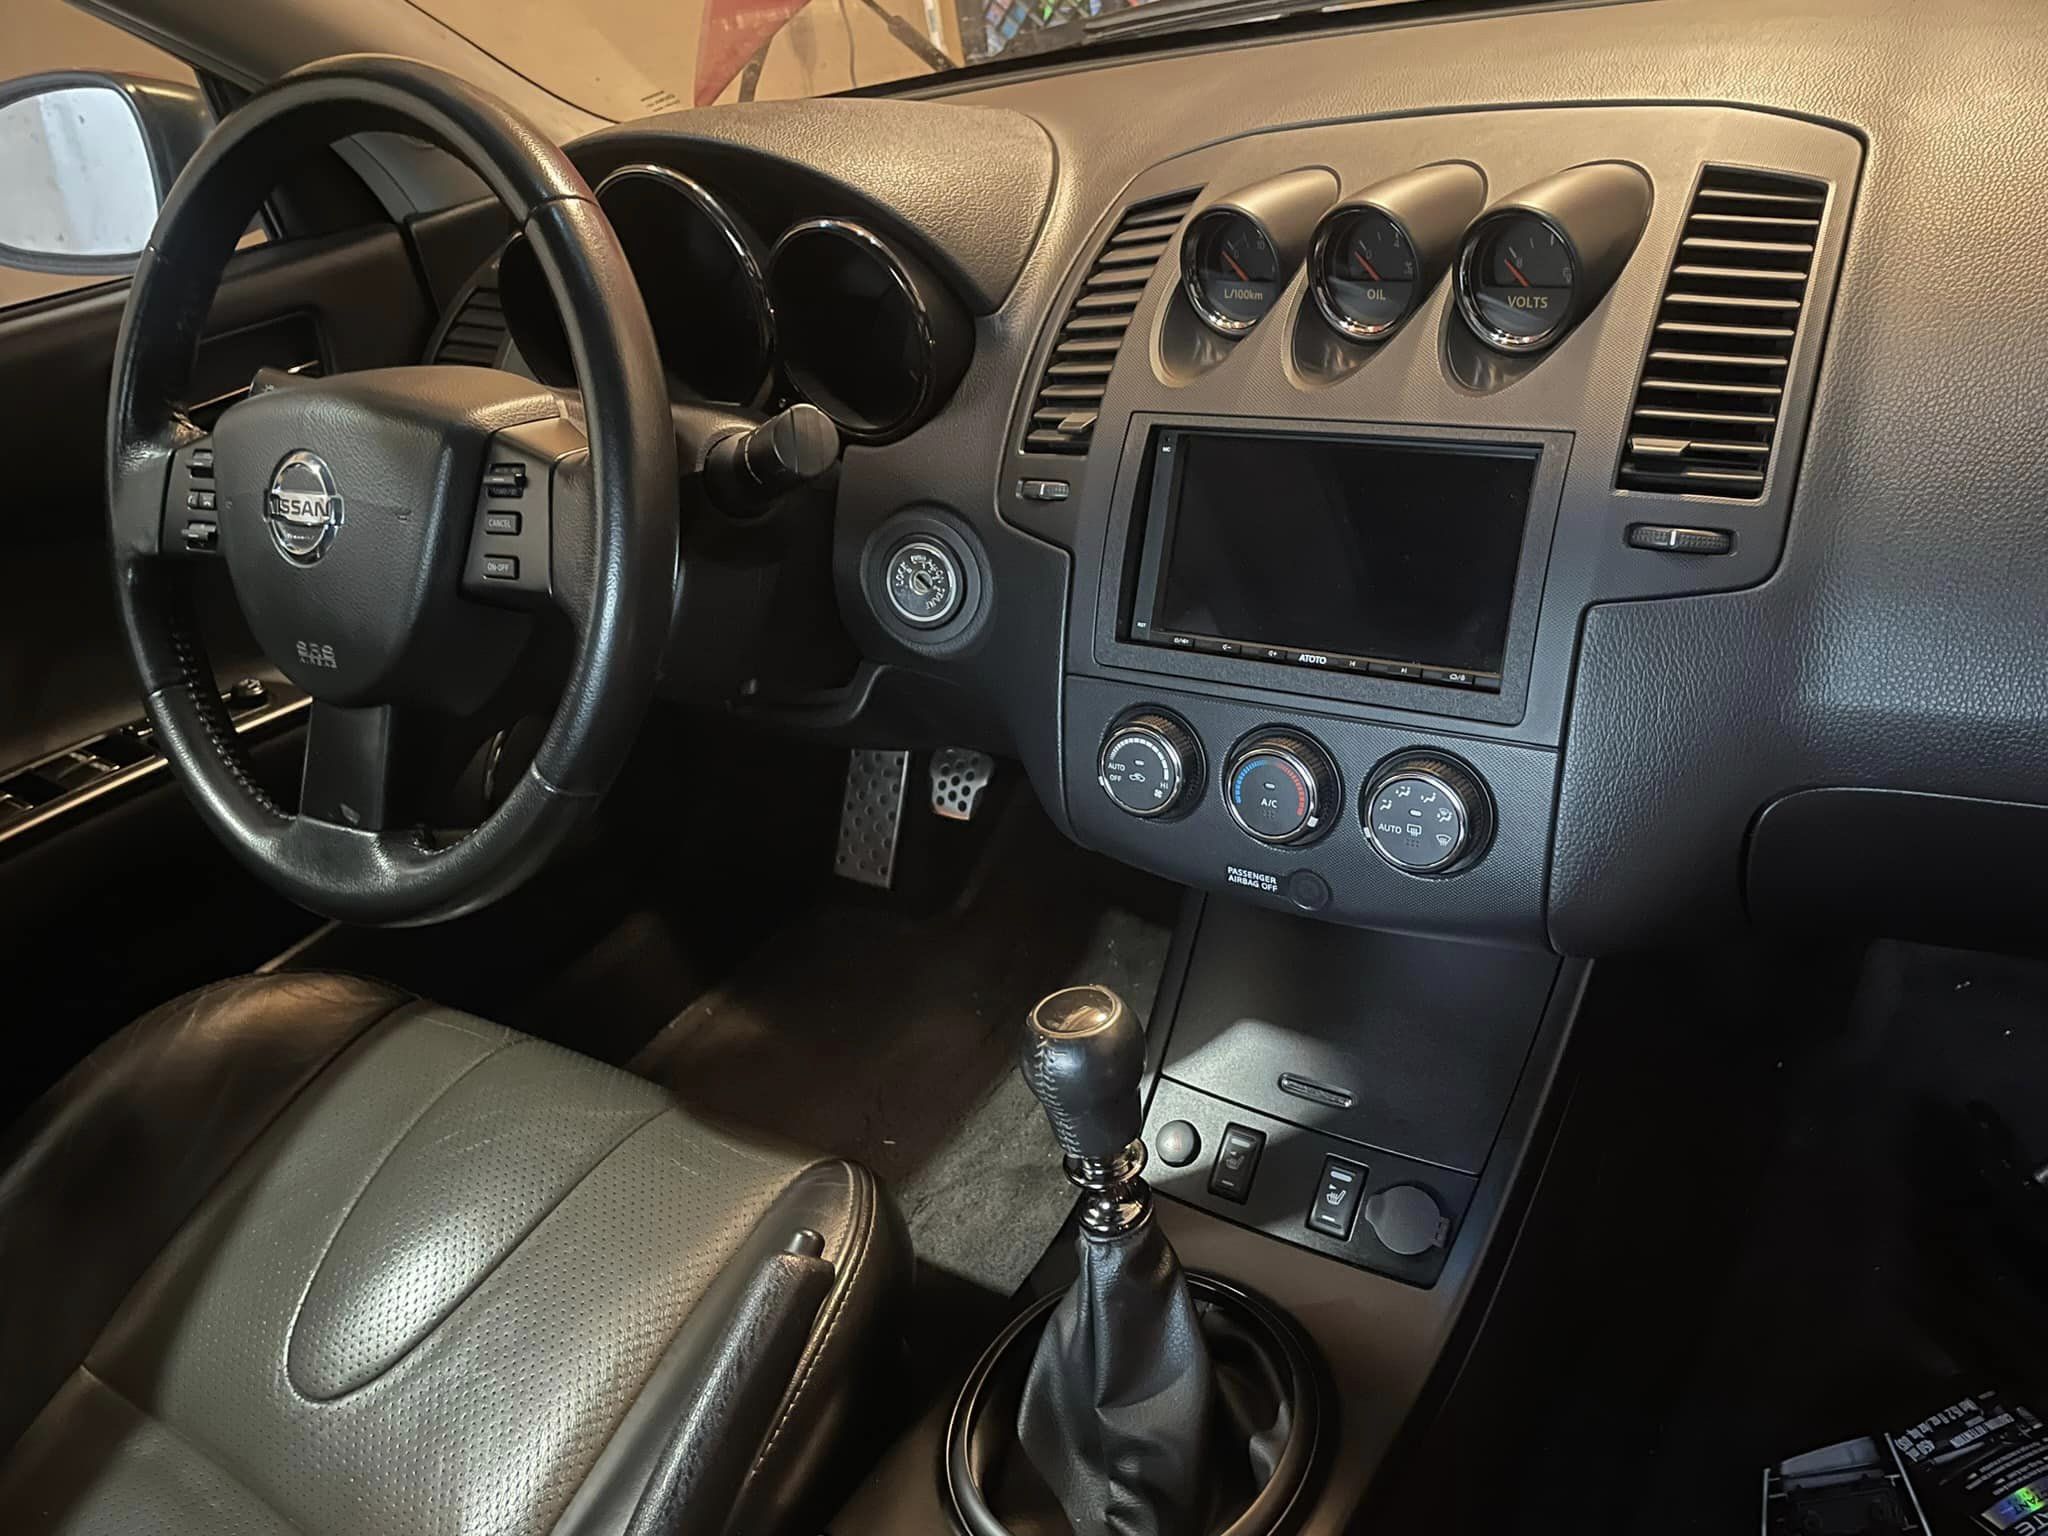
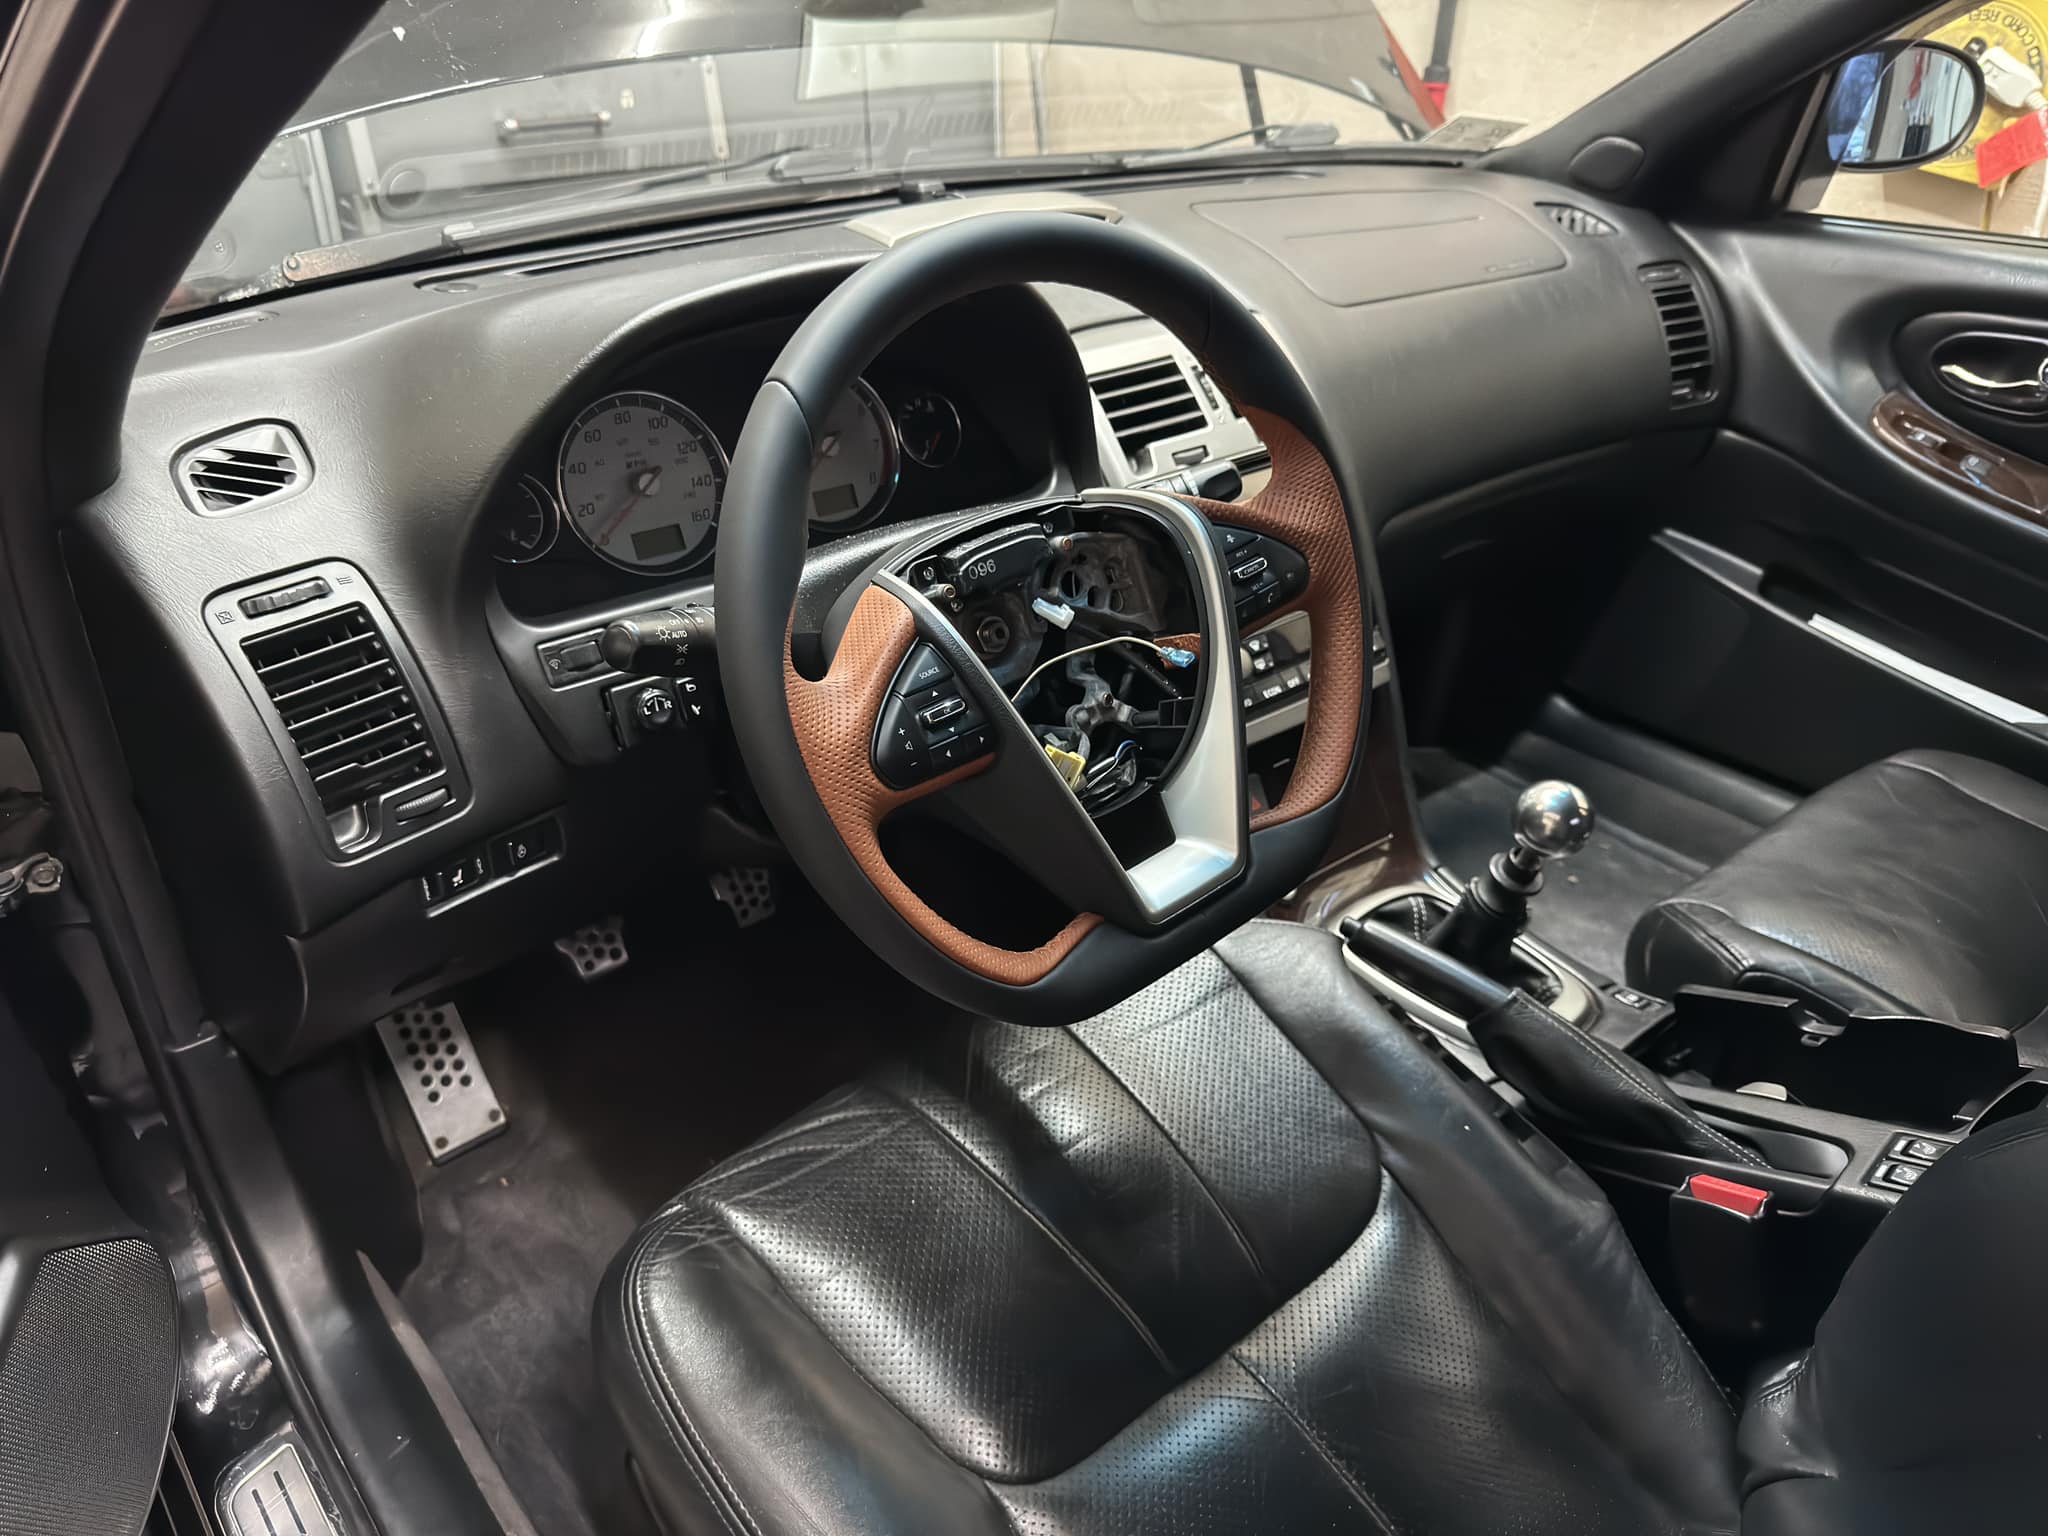
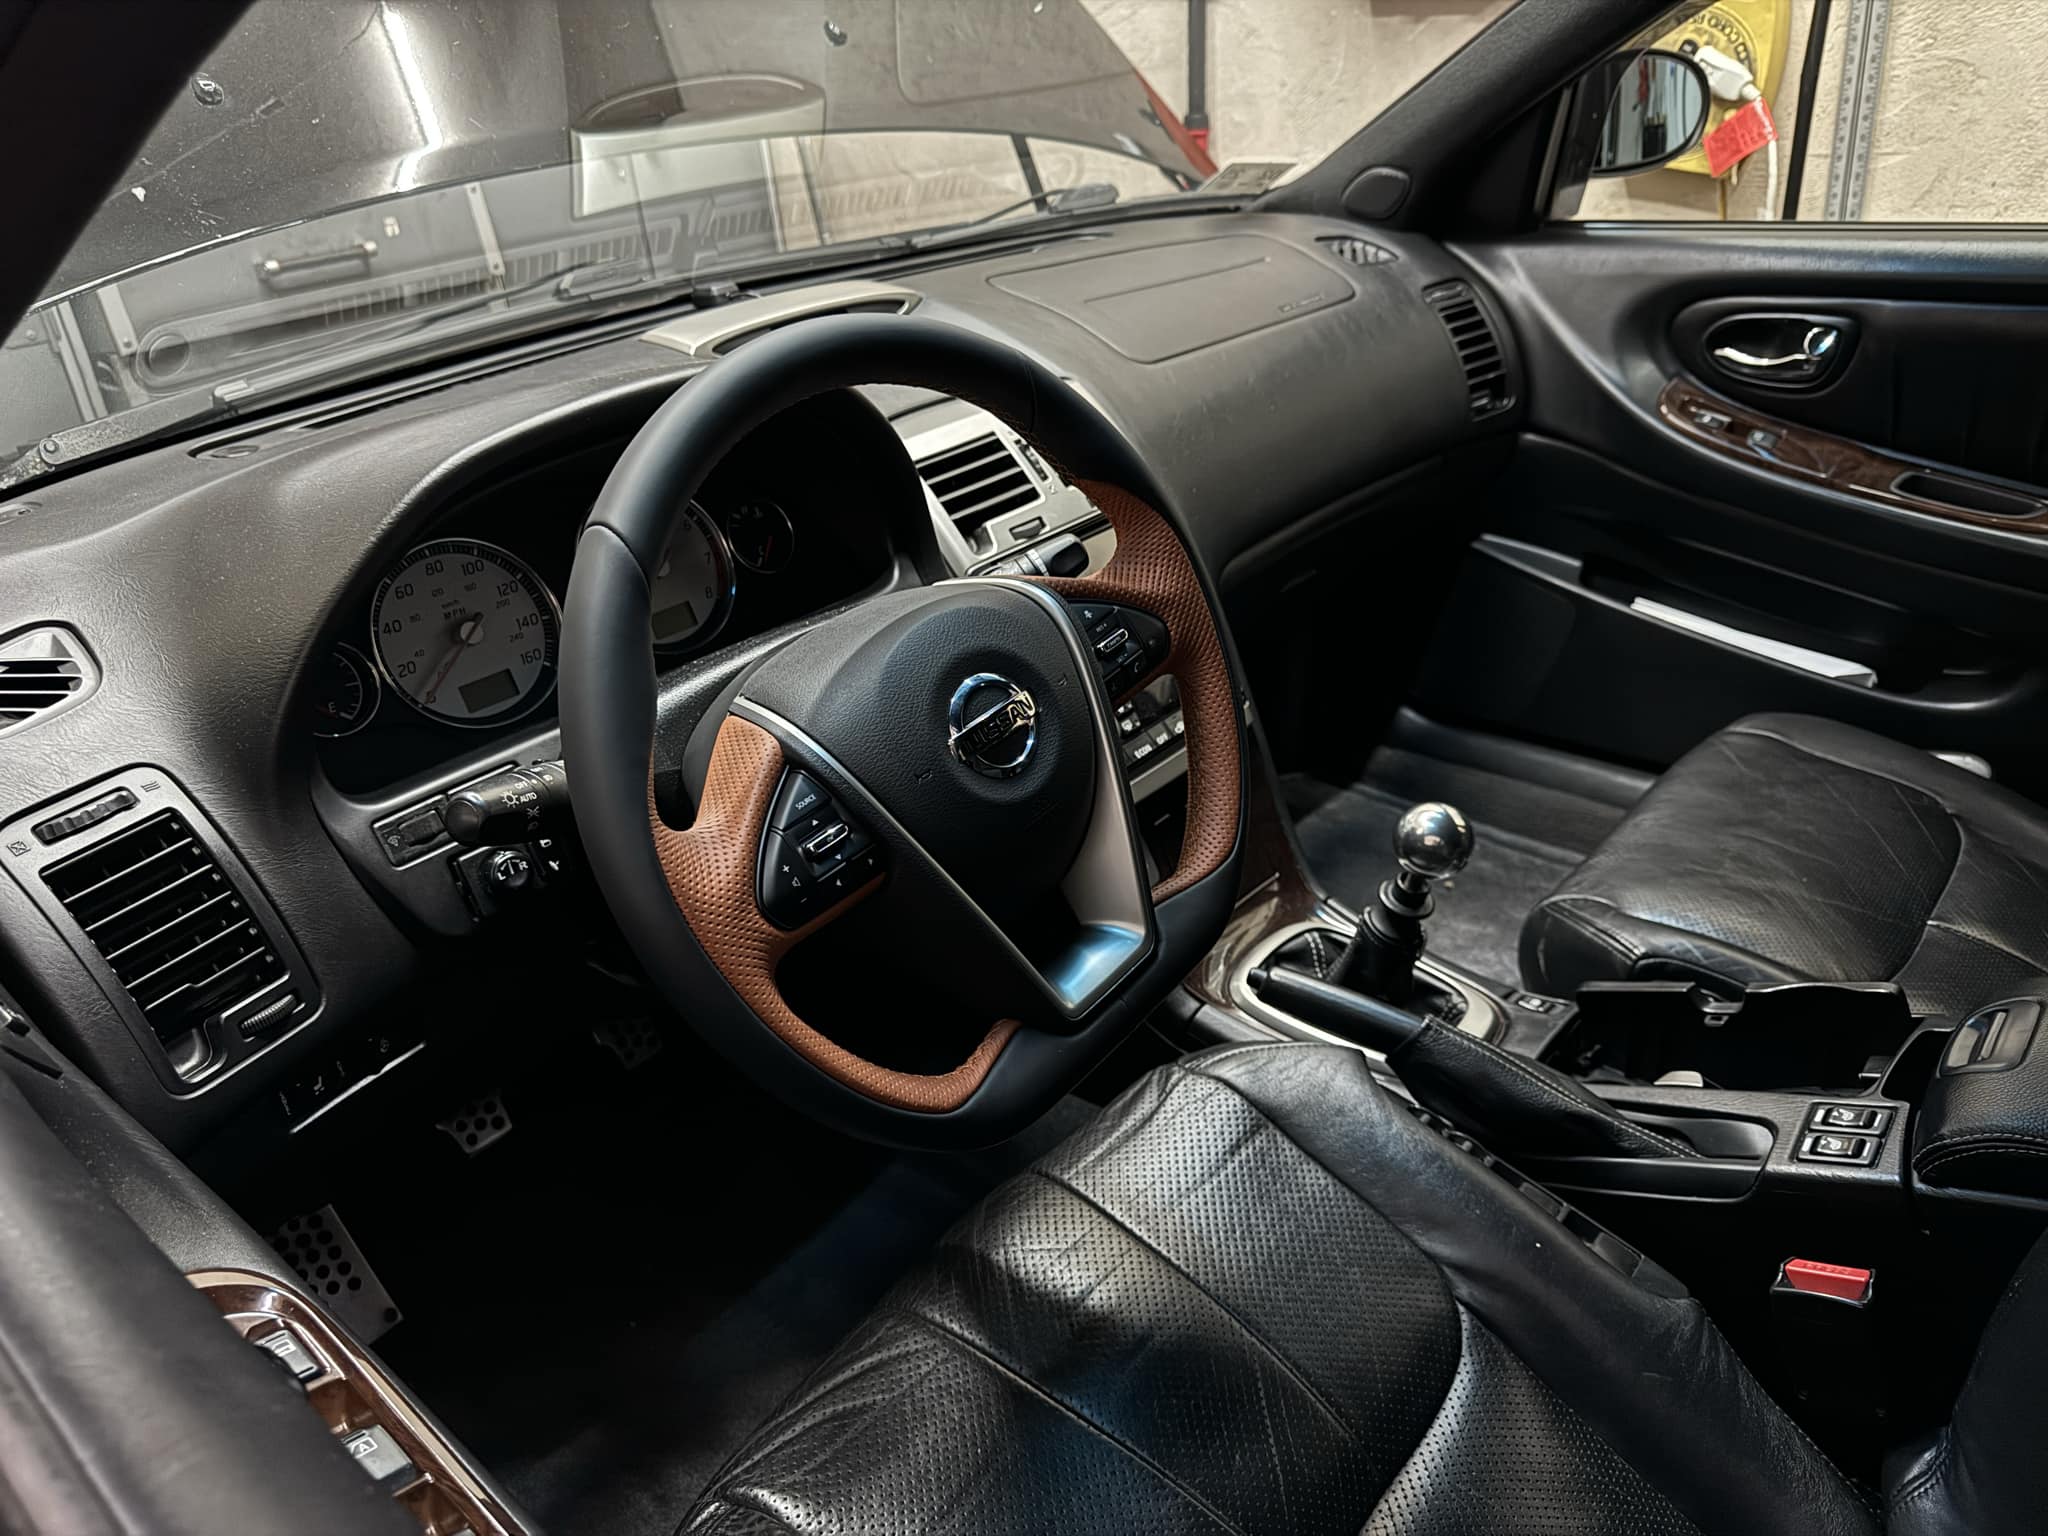
I was looking to replace the steering wheel on my 1998 4thgen Nissan Maxima. I looked at various options and came across an 8thgen steering wheel that fits perfectly and literally plug-n-play (for the fitment and airbag wiring). It feels and looks much better than the regular 4thgen steering wheel. It’s also a flat-bottom steering wheel.
Overall, I’m very happy with the results. It took me about 45-minutes to get everything set up and installed. The cruise control wiring is optional but does require additional wiring if you want to retain the ones on the 8thgen steering wheel. You also need to ensure you get the steering wheel with regular cruise control, not intelligent cruise control.
Installation Details:
This setup uses the existing 4thgen Maxima clock spring. The 8thgen steering fits perfectly with no issues. All you need to do is route the clockspring wires through the center of the wheel.
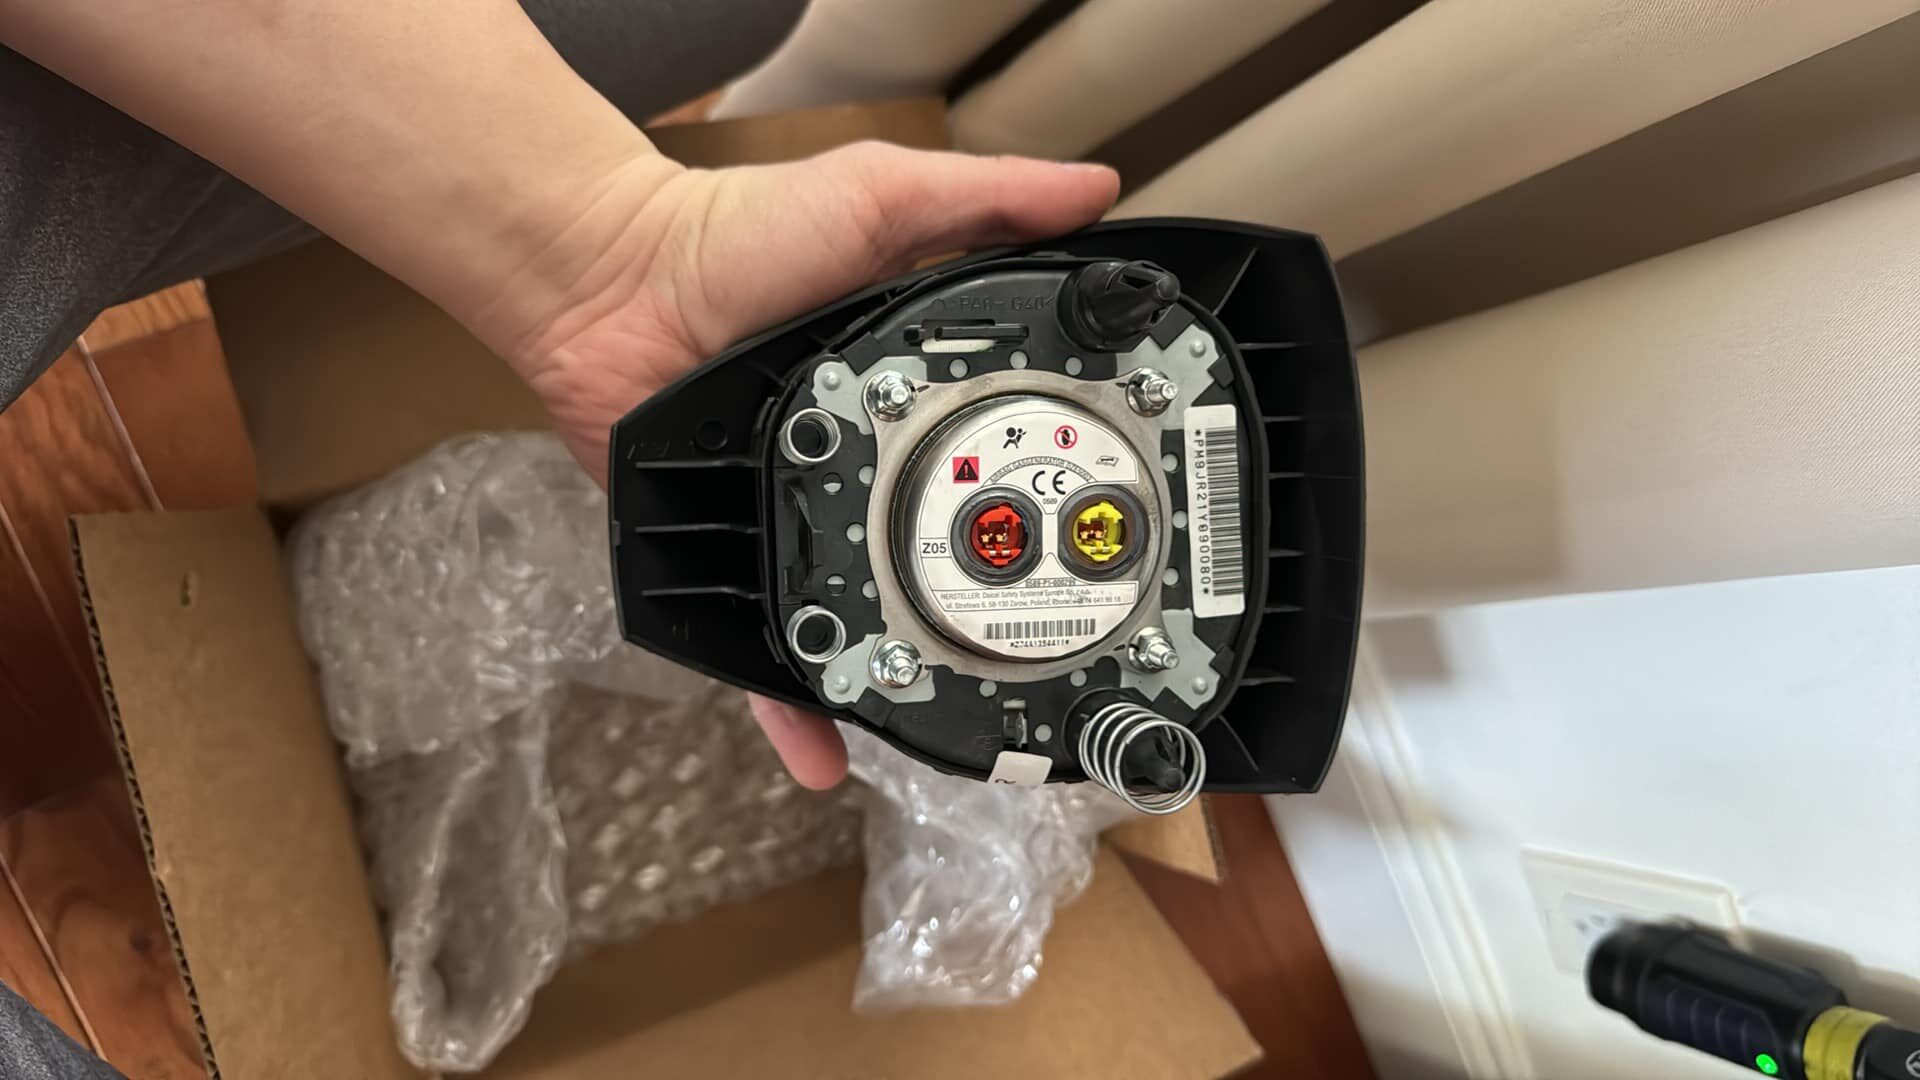
I recommend going with the 2016-2018 Maxima steering wheel and airbag combination. 2016-2018 have one airbag plug and the late 2018-2021 have two plugs. You need a single airbag plug for the 4thgen.
You cannot use a 2019-2021 airbag on a 2016-2018 steering wheel or vice versa. They have different mounting points. See reference photo in this post.
To retain cruise control, you need to get a steering wheel without intelligent cruise control. If you don’t care about cruise control (or will re-route your existing controls to a different location), then you are good.
The airbag wiring is very easy. I used a spare 6thgen Maxima air plug to make mines plug and play. Check my video in this post to see more info on it. The 4thgen airbag connector has two wires, making it super easy to make a plug-and-play harness. I tested this out and can confirm you don’t get any flashing airbag lights.
For the horn, you use your existing ground wire from the 4thgen steering wheel.
If you want to retain the heated feature, you will need to route the two extra wires. You can wire it up to a separate switch or an OEM timer-based switch.
The 4thgen did not come with steering wheel audio controls. You can make it work with an aftermarket device but will make the project more complex.
Working Features
100% Working Airbag (No Blinking Airbag Light)
100% Working Horn
100% Working Heated Wheel Function (If wired)
Total Cost: $280.00
Airbag: $180.00
Steering Wheel: $100.00
Regular Cruise Control vs Intelligent Cruise Control
2016-2018 vs 2019-2021 Steering Wheel Comparison
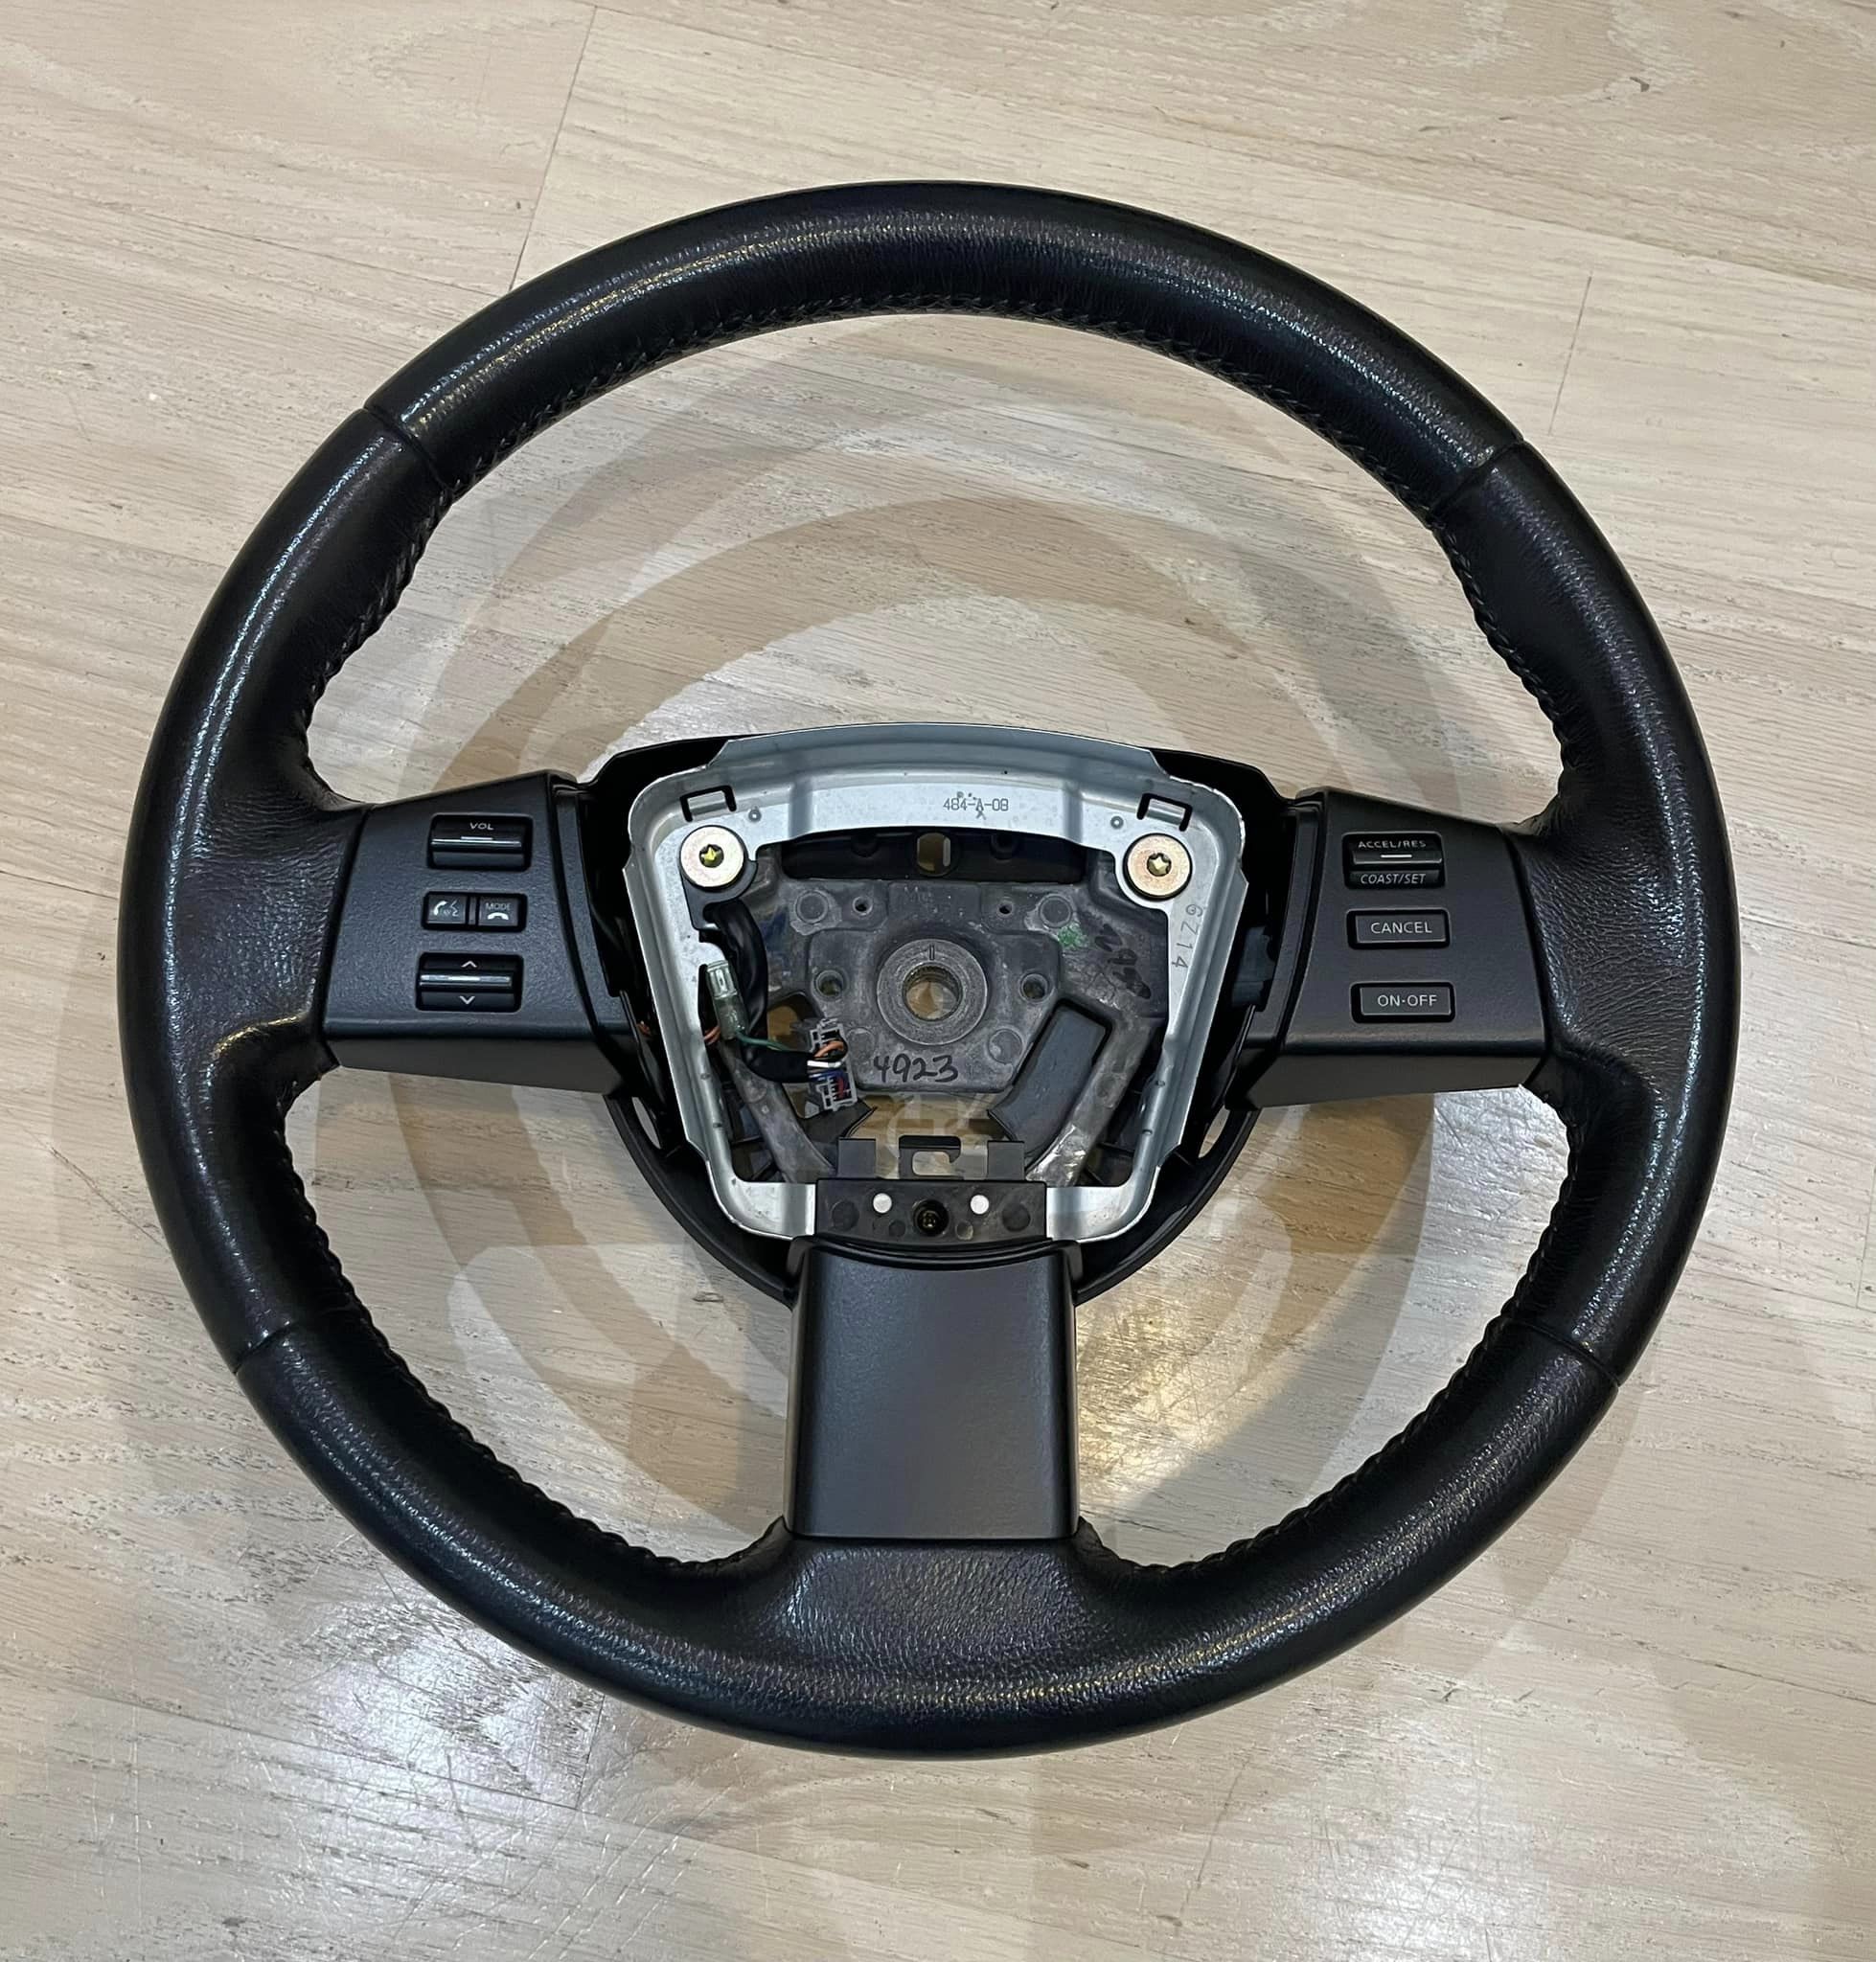
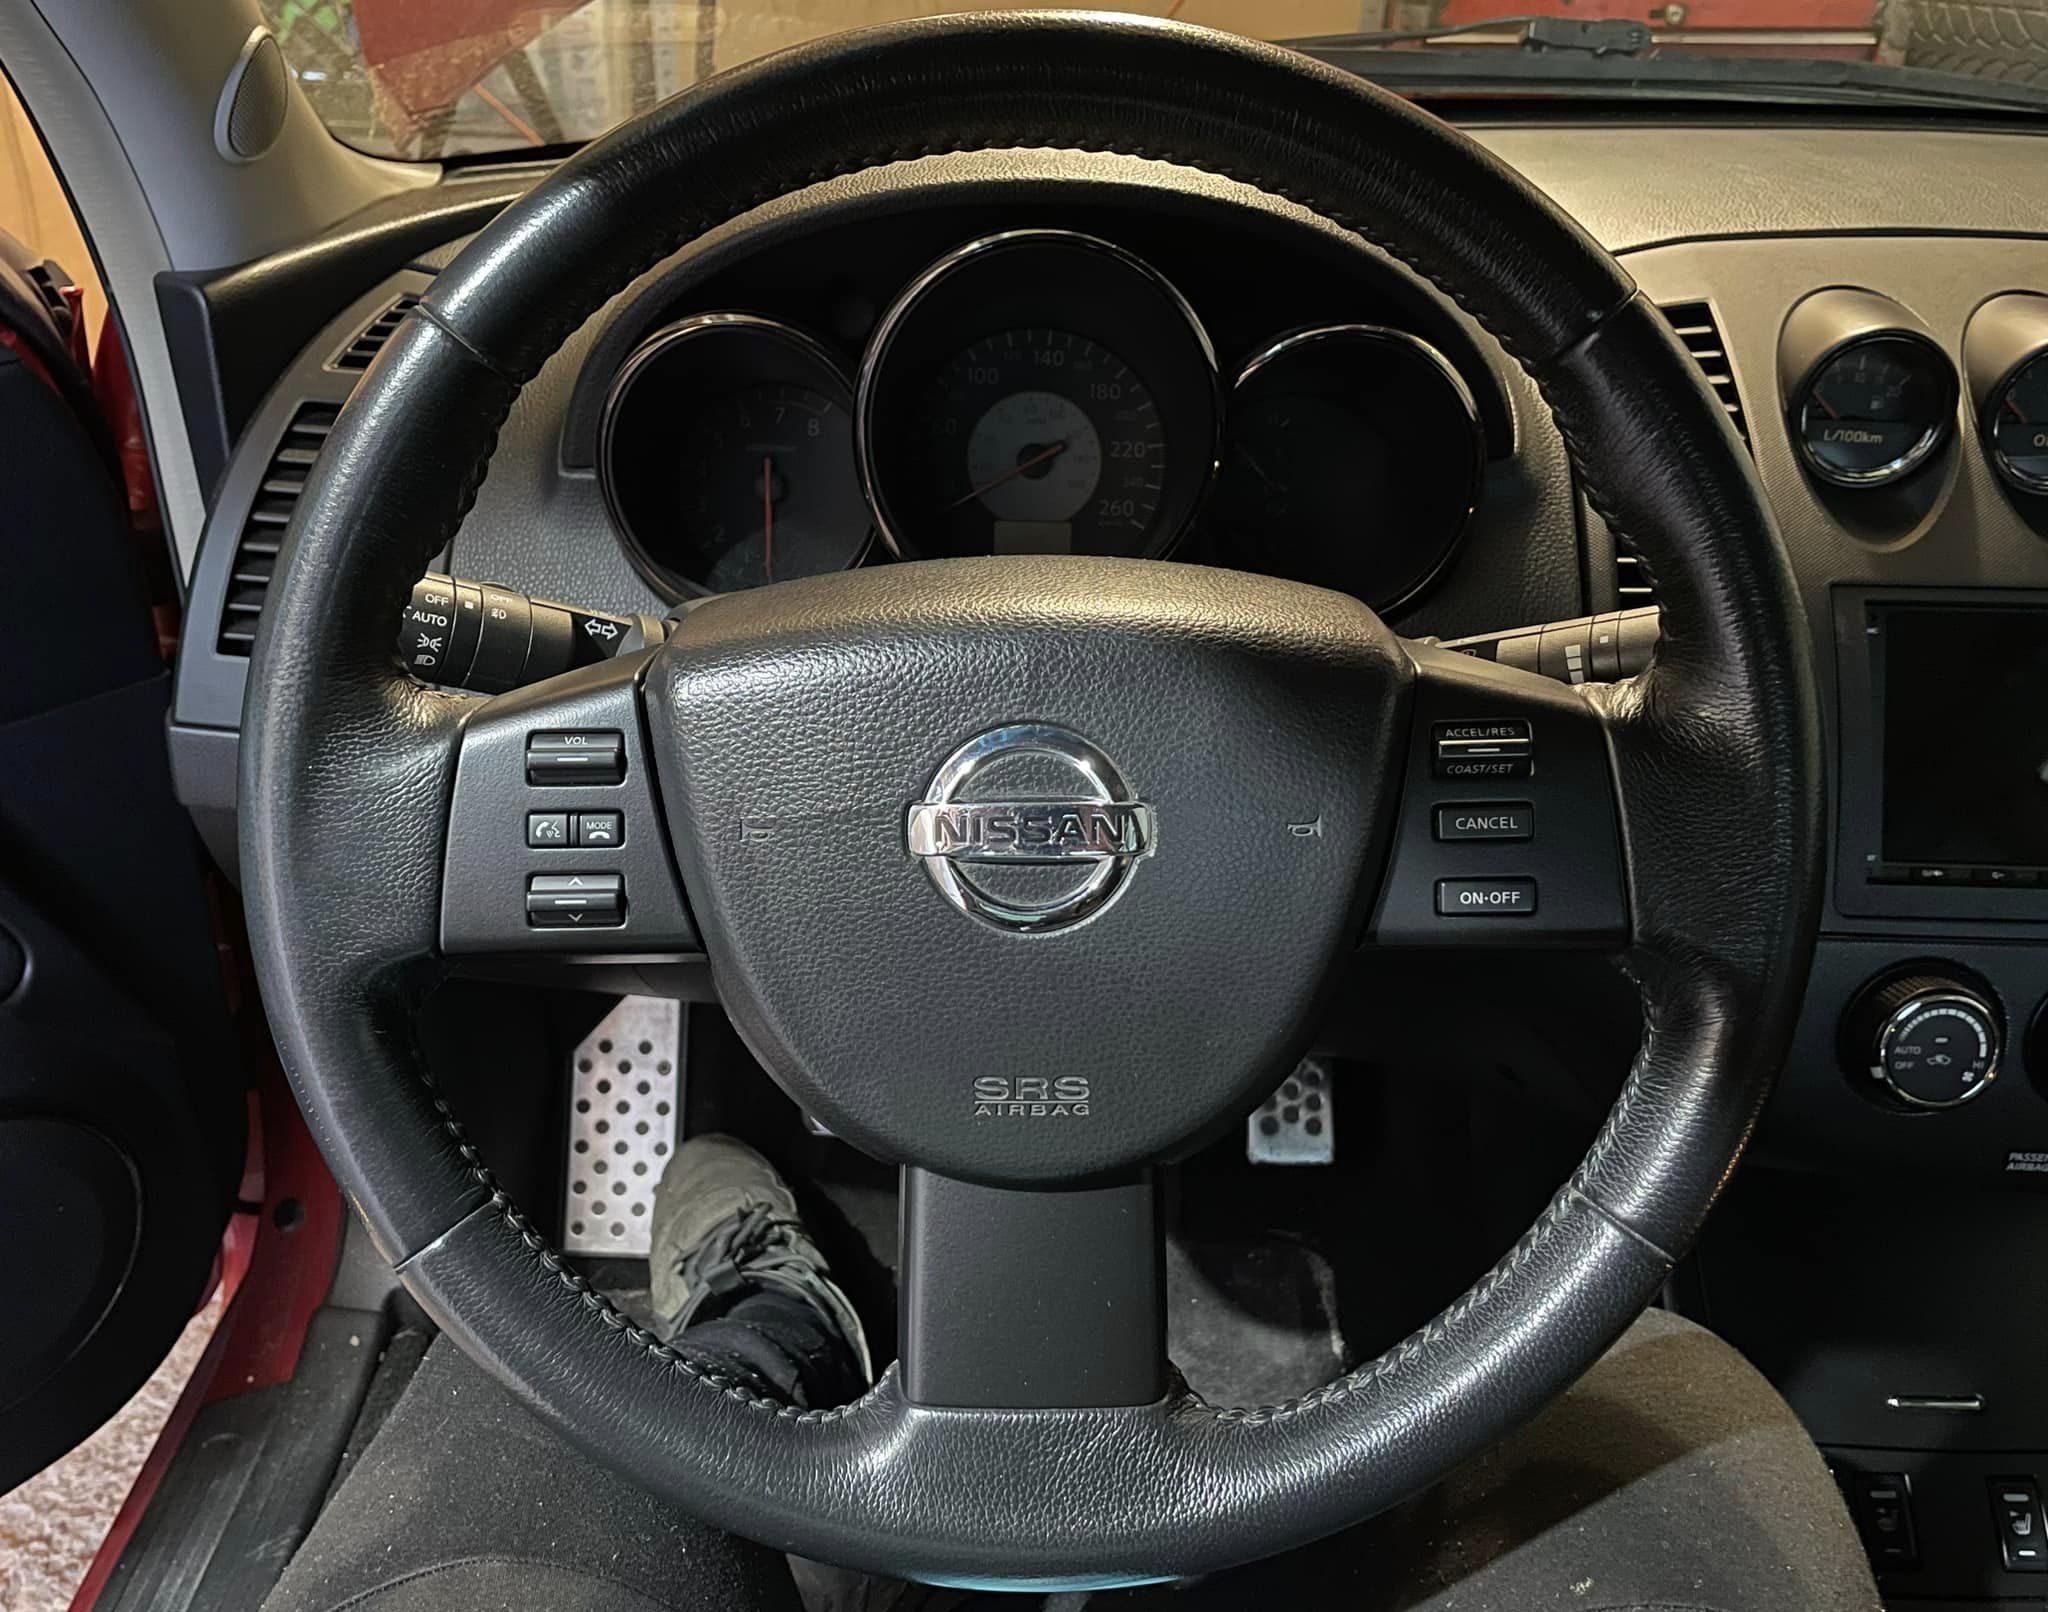
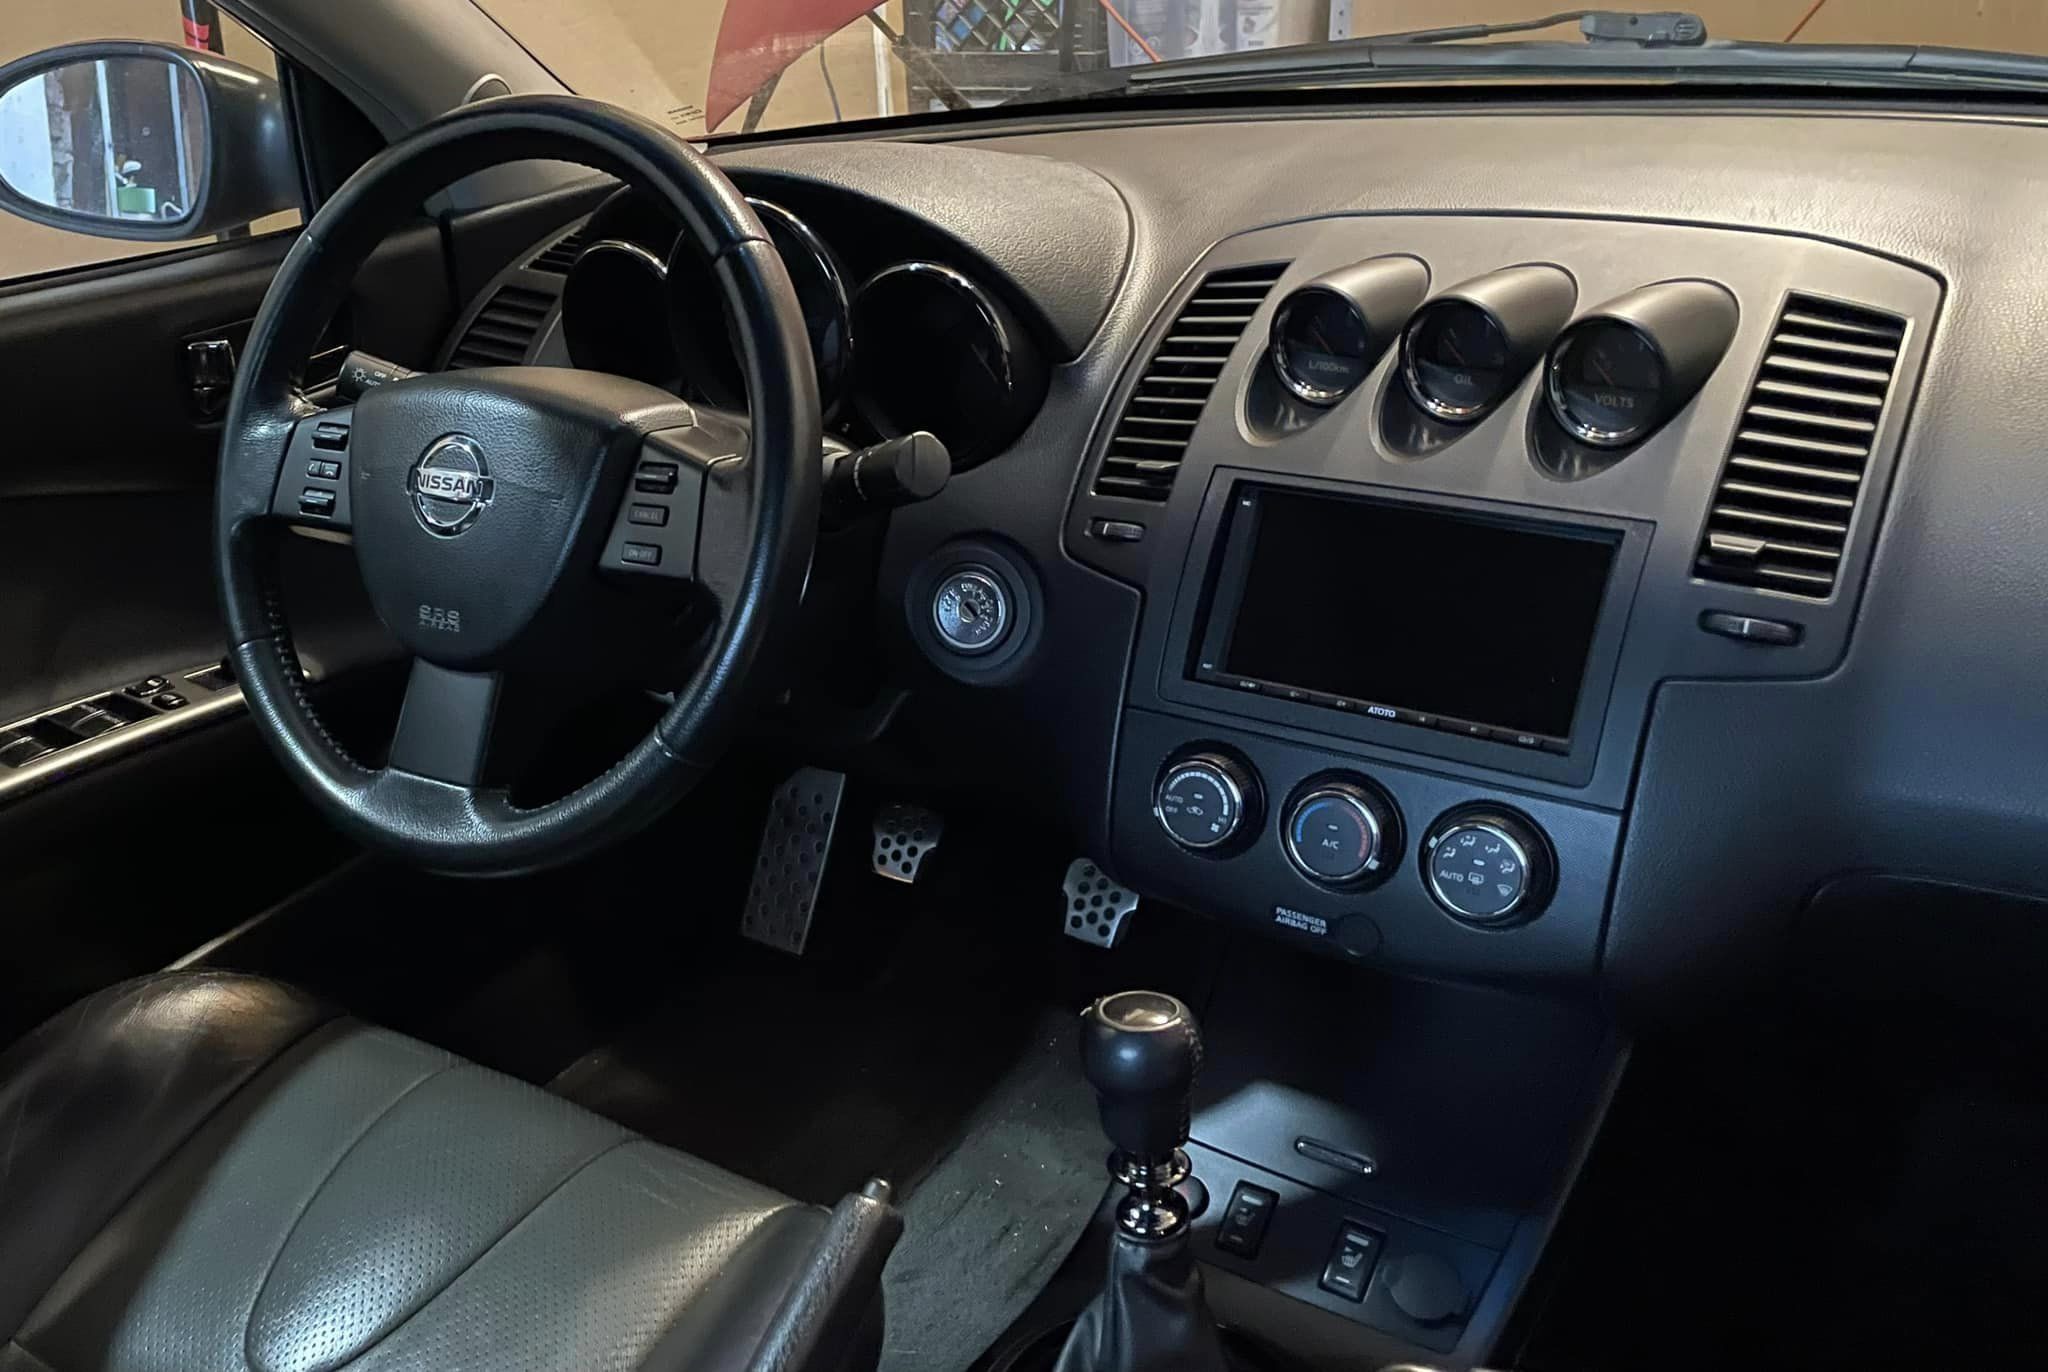
Installation Photos
Airbag Information
Horn Information
You need to attached the horn wire into the airbag as noted below.
Airbag Wiring
Disconnect the airbag connector on a 4th-generation Nissan Maxima. To do this, take off the plastic cover and cut the airbag plug as much as possible. Alternatively, you can obtain a replacement connector from a previously deployed airbag if you wish to keep yours intact for resale.
Step 2: Gently separate the white wires. Among them, you will find two distinct colors: one is red, and the other is brown.
Step 3: Connect the red wire to the yellow wire, and similarly, join the blue wire to the brown wire. Secure these connections by soldering them and then insulate with tape.
Step 1: Disconnect the airbag connector on a 4th-generation Nissan Maxima. To do this, take off the plastic cover and cut the airbag plug as much as possible. Alternatively, you can obtain a replacement connector from a previously deployed airbag if you wish to keep yours intact for resale.
Step 2: Gently separate the white wires. Among them, you will find two distinct colors: one is red, and the other is brown.
Step 3: Connect the red wire to the yellow wire, and similarly, join the blue wire to the brown wire. Secure these connections by soldering them and then insulate with tape.
Congratulations! Your airbag and steering wheel have been successfully modernized. Enjoy the upgraded features!
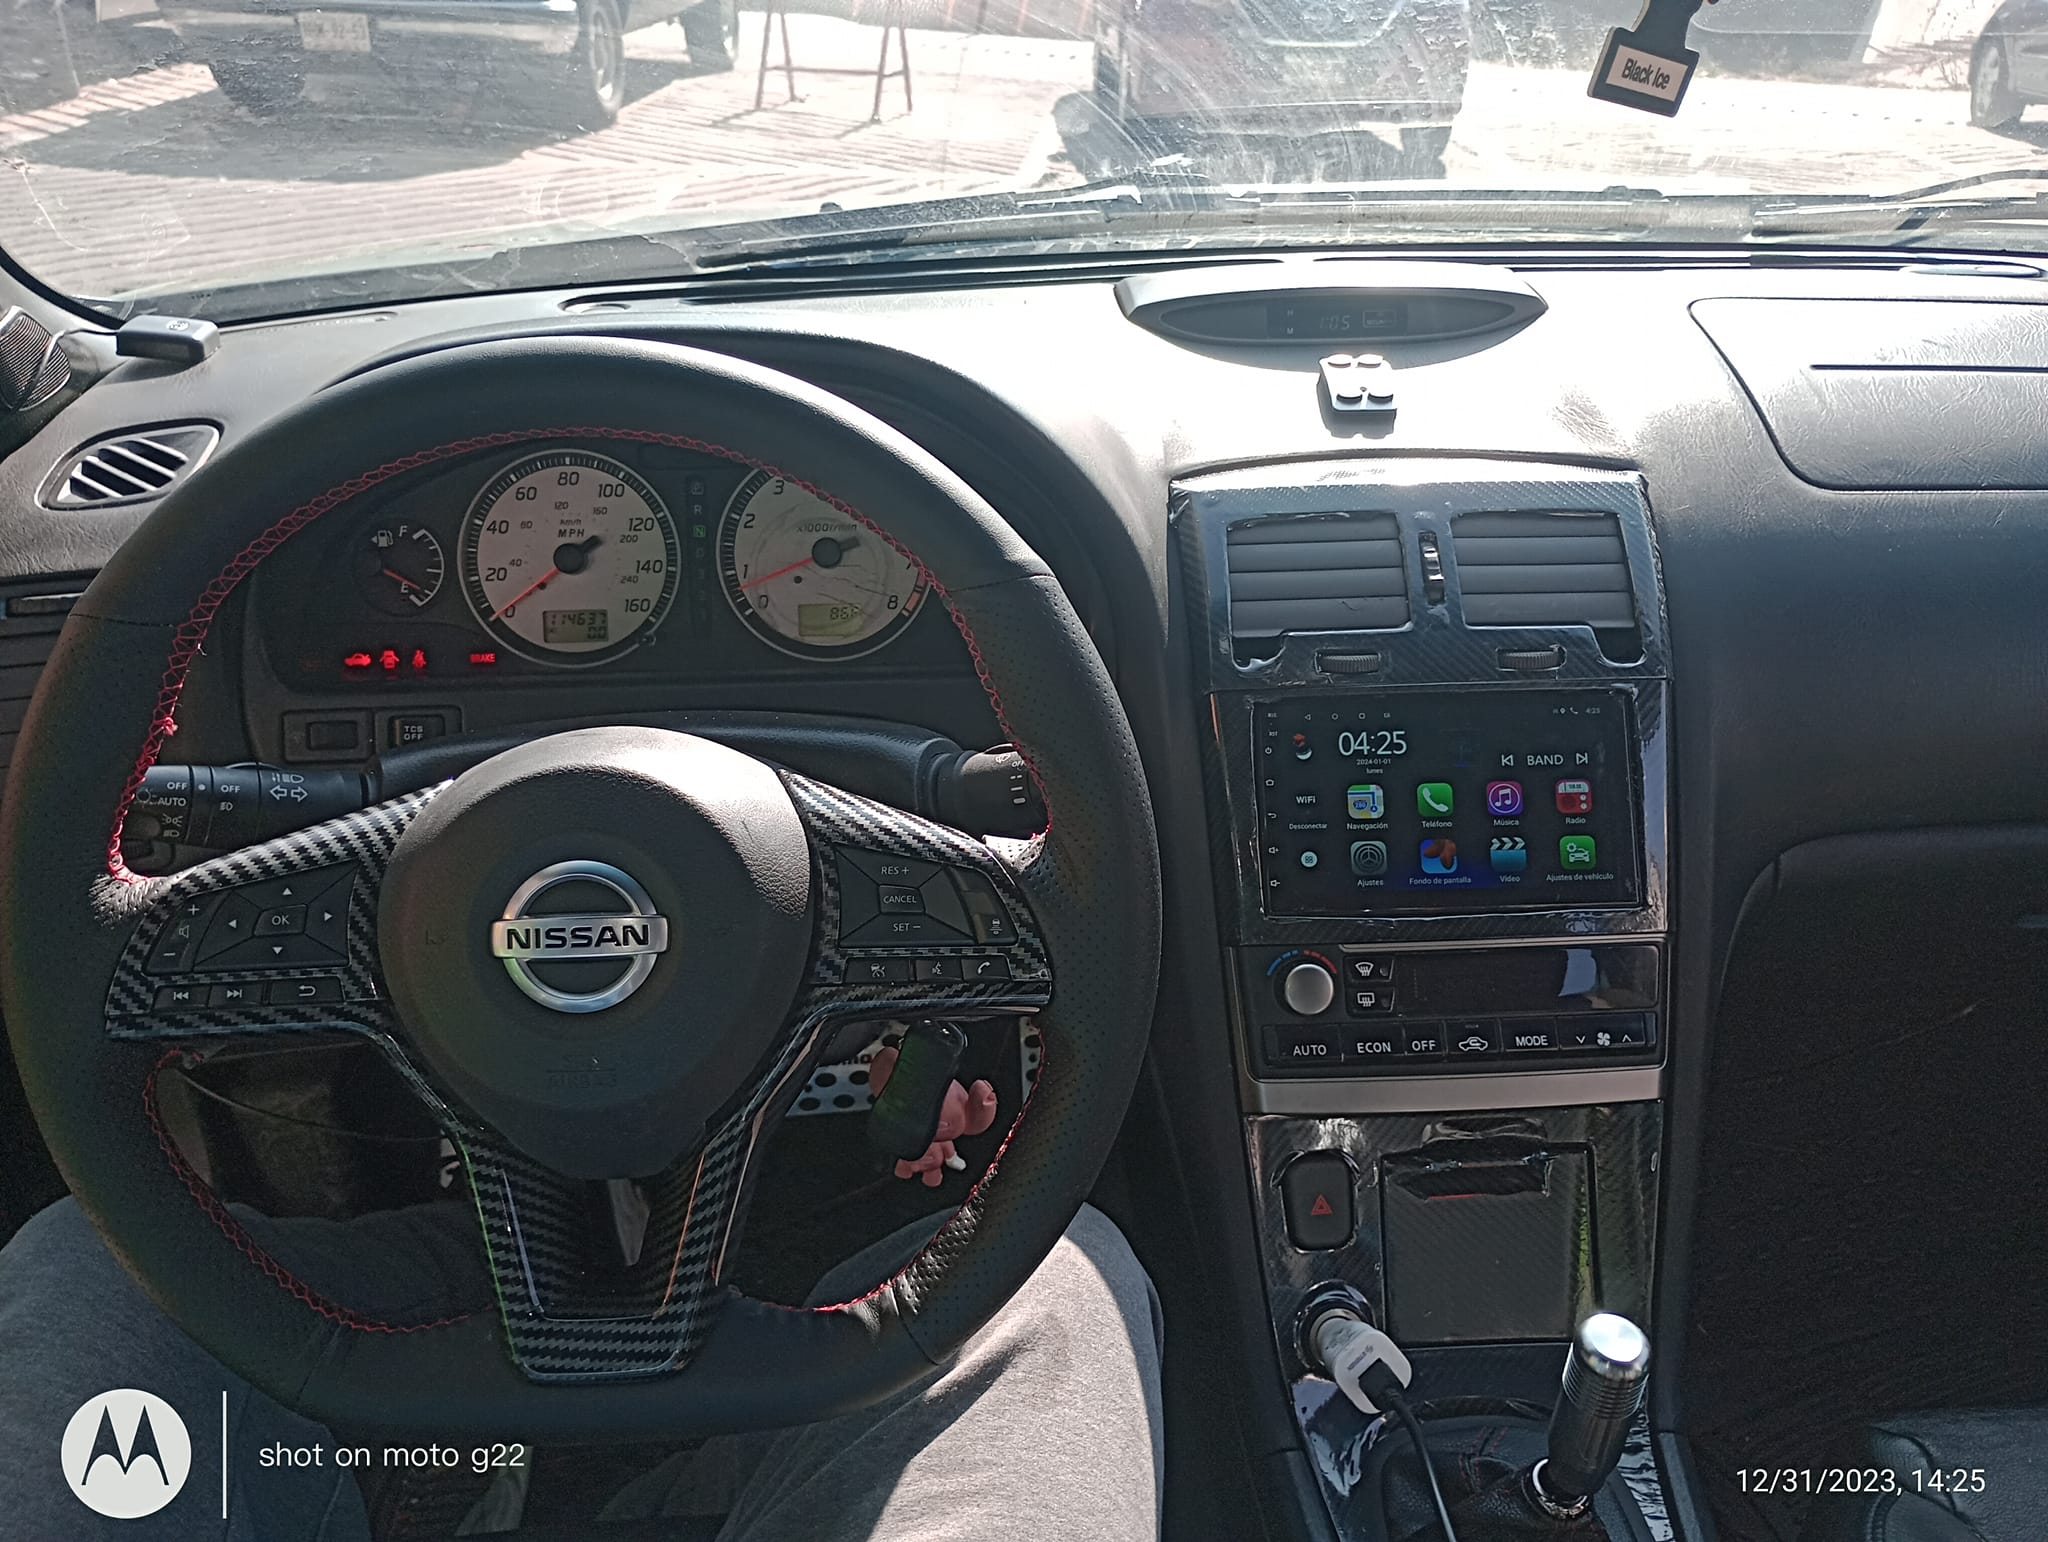
I’ve successfully swapped an 8th Gen Maxima steering wheel into my 7th Gen Maxima.
Notes:
Is the steering wheel plug and play? Do you gain/lose any functions: Steering wheel is plug and play everything works as intended including the heated steering wheel.
8th Gen Maxima Steering Wheel Swap Into 7th Gen Maxima


")


")


