Owner: Brandon B.
Model: Altima
Color: Red
Transmission: Automatic
Trim: Platinum


![]()


Owner: Terrance Herrera
Year: 2006
Model: Altima
Current Color: Smoke
Transmission: 6-Speed Manual
Trim: SE-R


![]()
")
Owner: Andre Nicholson
Year: 2005
Model: Altima
Color: Black
Engine: Gen2 VQ35DE
Transmission: 6-Speed Manual
Trim: SE-R


![]()

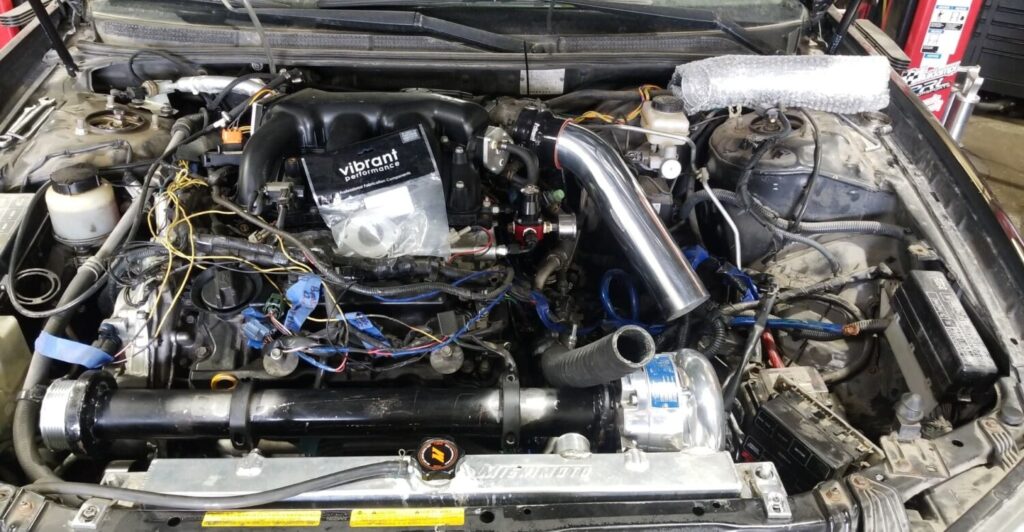
Owner: Redline Maxima
Year: 1996
Model: Maxima
Color: Redline Red Paint (AX6 – 350z color)
Engine: VQ30DE
Transmission: 5-Speed Manual


Exterior:
Performance:
Suspension & Wheels:
Interior:
![]()

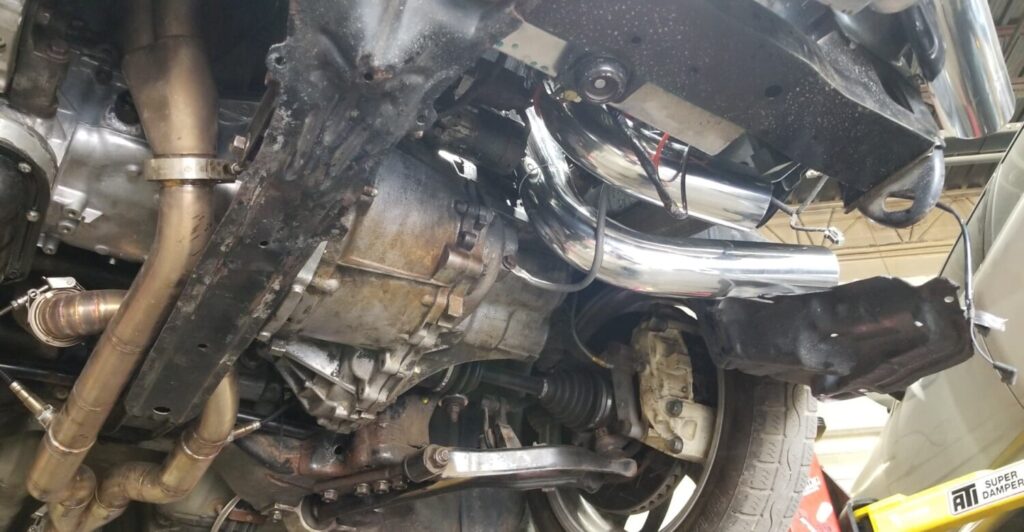
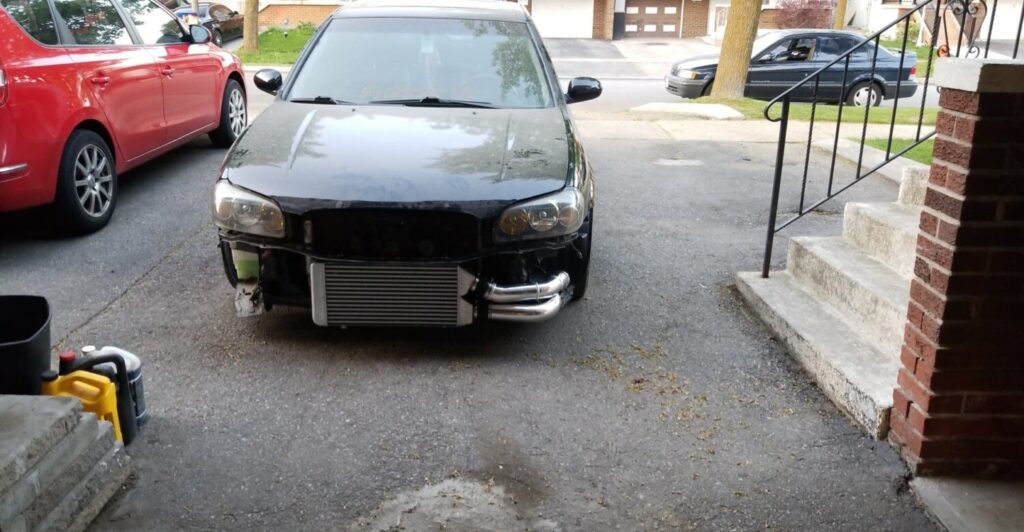
Owner: Ronny Parra
Year: 1999
Model: Maxima
Color: Black
Transmission: Built Automatic
Trim: SE
Previous VQ30DE Setup

New Gen2 VQ35DE Setup


![]()

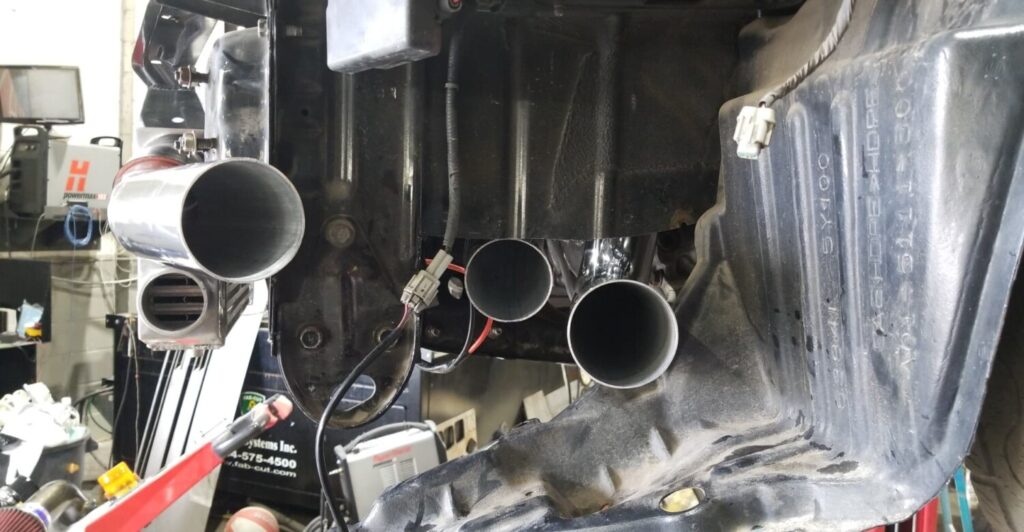
Owner: Andre Nicholson
Year: 2005
Model: Altima
Color: Black
Engine: Gen2 VQ35DE
Transmission: 6-Speed Manual
Trim: SE-R


![]()
")
Community Member Credit: Stephen Max
As far as the stock fuel system is concerned. The Maxima uses an airflow referenced system. The mass airflow sensor (MAFs, or MAF) sends a voltage signal to the ECU based on how much air is flowing through it into the engine. The ECU uses that information, along with engine rpm and O2 sensor voltage to determine how long injector pulses should be to achieve stoichiometric combustion. This is for cruising and light acceleration and is called closed-loop mode. Closed-loop refers to the feedback loop in which fuel metering by the injectors is adjusted based on whether the O2 sensors detect combustion that is either leaner or richer than stoichiometric.
If the throttle is opened beyond a certain amount, as sensed by the throttle position sensor, the ECU goes into a mode in which it ignores O2 sensor voltage altogether and uses only the MAF signal and engine rpm. This is the open-loop mode. Injector pulse widths are determined by a lookup table for each combination of MAF voltage and engine rpm. The values in the lookup table are based on engine testing and give about a 13:1 to 13.5:1 air-fuel ratio for the stock engine at wide-open throttle.
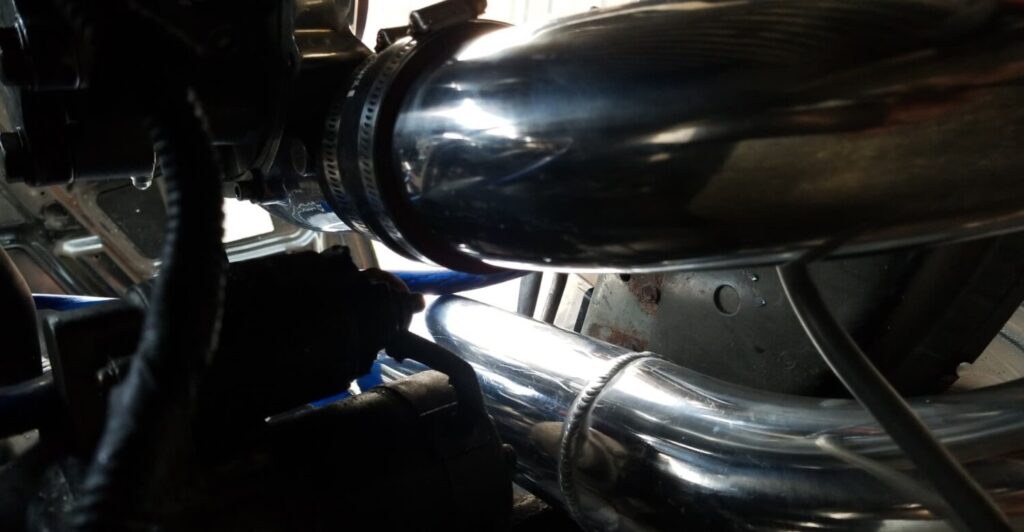
When you install the supercharger kit you are significantly increasing the air flowing into the engine. This is not a problem during cruising and light acceleration because the SC does not exceed the airflow beyond what the MAF is able to measure. At wide-open throttle, however, it is possible to exceed what the MAF can measure. Also, for the boosted operation, we want an air-fuel ratio that is lower than what is provided by the ECU as a deterrent to detonation. The method that the Stillen kit uses to provide sufficient fuel for the additional air is to provide extra fuel pressure based on manifold pressure. This is done with the fuel management unit (FMU), which boosts fuel pressure according to a ratio that is determined by the size of the disk inside it. It is possible to have a fuel pressure to boost pressure rate as low as 3:1 and as high as 12:1. The stock Stillen kit comes with a 6:1 disk in the FMU (it might actually be 8:1, I forgot which), meaning that the FMU raises fuel pressure 6 psi for every psi of positive manifold pressure. This is a fairly crude way to tune, but it is simple and effective. In most cases, it results in an overly rich AFR at mid-range rpm which leans out to an acceptable AFR at high rpm.
In order to supply the additional fuel, either the Vortech auxiliary inline pump should be used, or the stock in-tank pump should be replaced with the Walbro 255 LPH pump. The stock pump can not deliver enough fuel at a sufficiently high pressure to provide a rich enough AFR to prevent detonation.
![]()
")
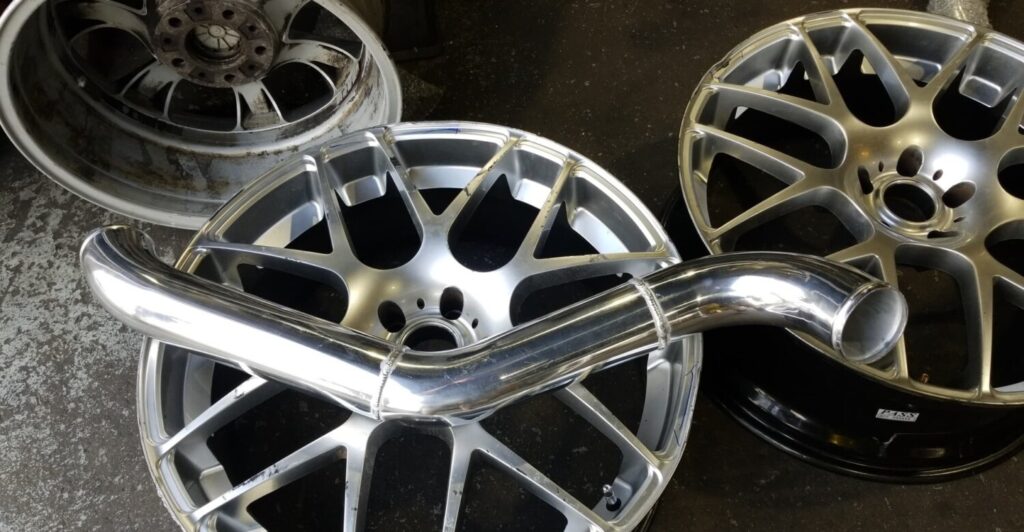
Owner: Terrance Herrera
Year: 2006
Model: Altima
Current Color: Smoke
Transmission: 6-Speed Manual
Trim: SE-R


![]()
")
Owner: Terrance Herrera
Year: 2006
Model: Altima
Current Color: Smoke
Transmission: 6-Speed Manual
Trim: SE-R


![]()
")
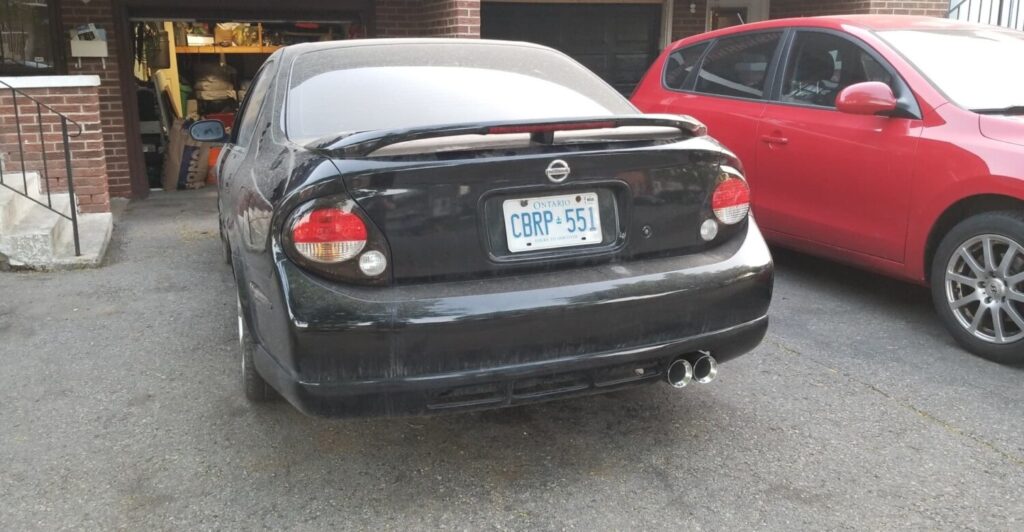
Owner: Rene S.
Year: 2002
Model: Maxima
Color: Black
Transmission: Manual 6-Speed Transmission
Trim: SE
![]()