Community Member Credit: LatinMax
Why Needed? If you want to gain at least 1 more lb of boost.
Parts/Price:
- K&N Filter 3.5″ Diameter Opening (#RU-1785) $52.00
- Rubber 90 Degree 3″ Pipe $5.00
- 3″ PVC 6-8 Feet
- 3″ ProFlex Coupling (Brand FERNCO)
- 3″ Silicone Hose


Remove the low-pressure SC pipe and cover the SC with some duck tape. (to keep shavings out of the SC) Also jack up the car and remove the passenger tire. Remove the wheel well cover and pull out the washer bottle. But first, pull out the fill neck. Just grab it and pull, it pops out (this has 2 10mm bolts that you will need to remove)
Take out the MAF and cut the 4 wires that go to the MAF. Make sure to cut all 4 wires staggered. (cut each wire 1″ than longer the next). Now cut 4 16-18 gauge wires that are 3 1/2-4 ft long. 3M Crimps connecters is what I used. Now when you get to the other end you will know that you are connecting the right wires. The stager from the MAF should match the stager of the new wire, plus your wire won’t be too thick to hide in the split loom. (do not plug in the MAF just yet)
You will have to modify your MAF some. Remove the 4 bolt (10mm wrench) and then you will need to grind the flange off. Make sure that you don’t grind out the screen. Cut the 3″ silicone hoses to fit over both ends of the MAF.
Before

After

Use the MAF to get an idea of how much bigger you will have to make the hole for the piping to go thru. You will also need to cut the bracket in the fender well for clearance. (clean out all the shavings i.e.: vacuum or blow it out)


Cut the PVC pipe to about 5 1/2″ (you may want to measure for your own fit. I had a custom front bumper that is deeper. So my PVC was closer to 9″) (a miter saw works well to cut PVC).

Assemble the PVC to the rubber elbow and then to the K&N filter (this way you can slide the PVC pipe up and down inside the filter to get it just right) (If you go too far into the filter take it out and cut again)


Trim the 3″ ProFlex coupling. Turn it inside out and trim it with a sharp (new) razor blade (I use a grinder or Dremel to grind off the lip in the middle).
Before

After

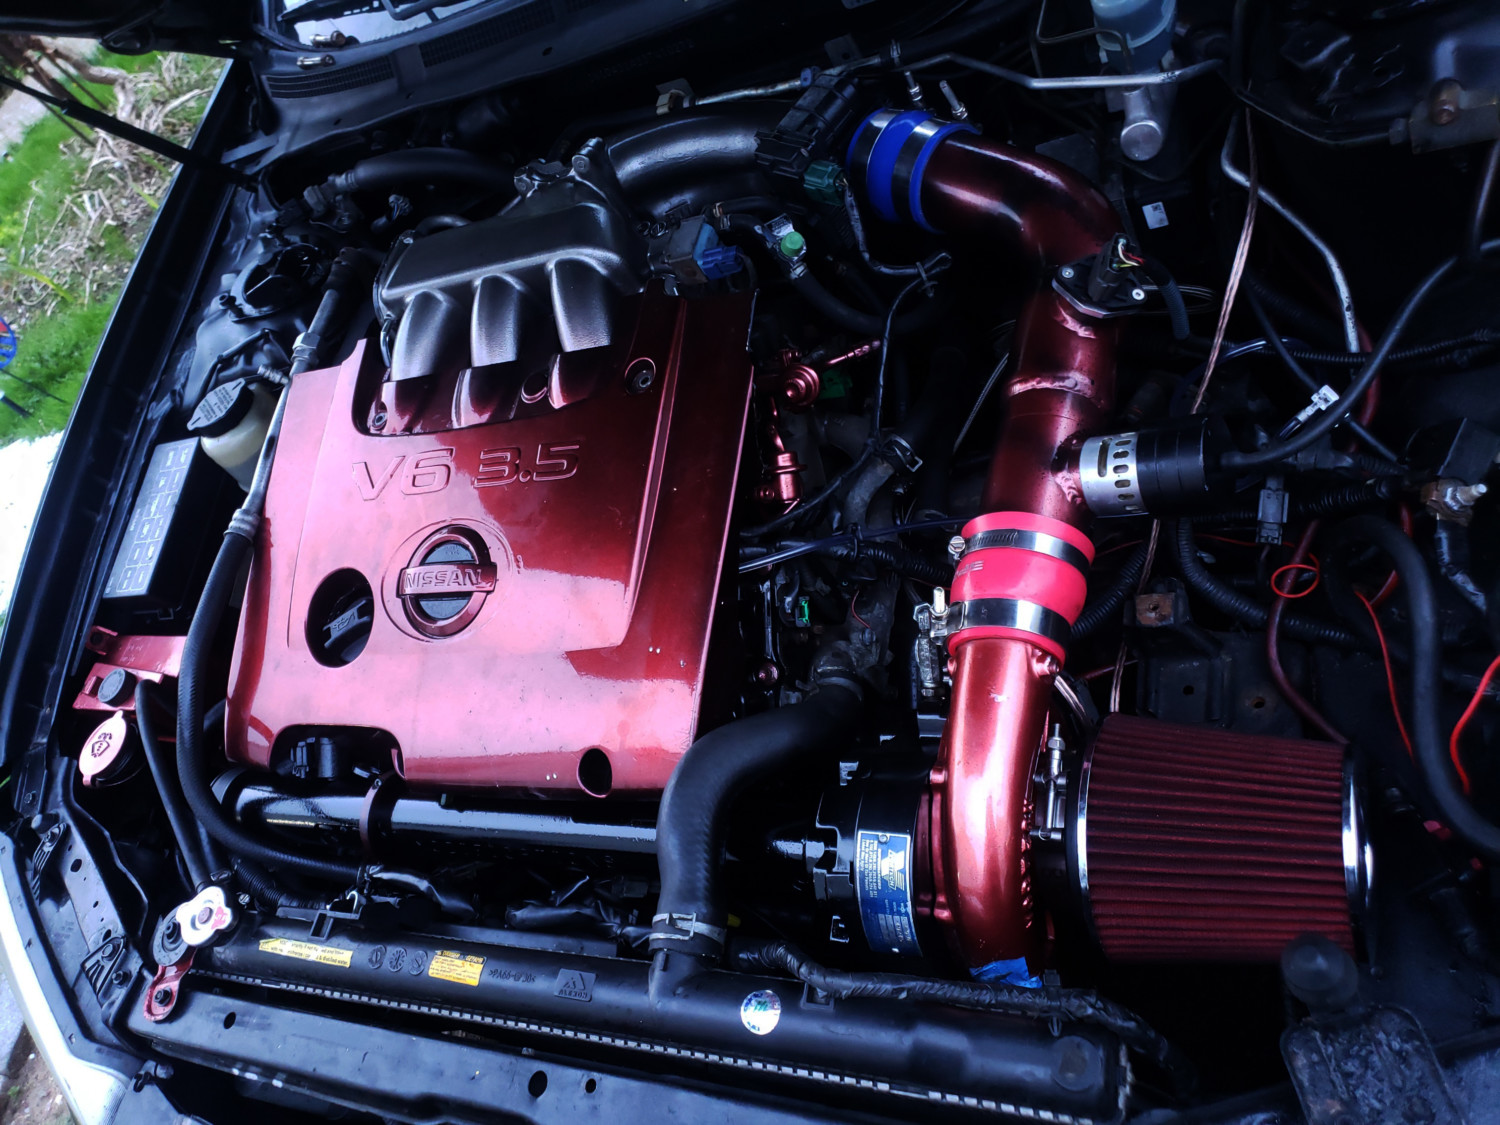
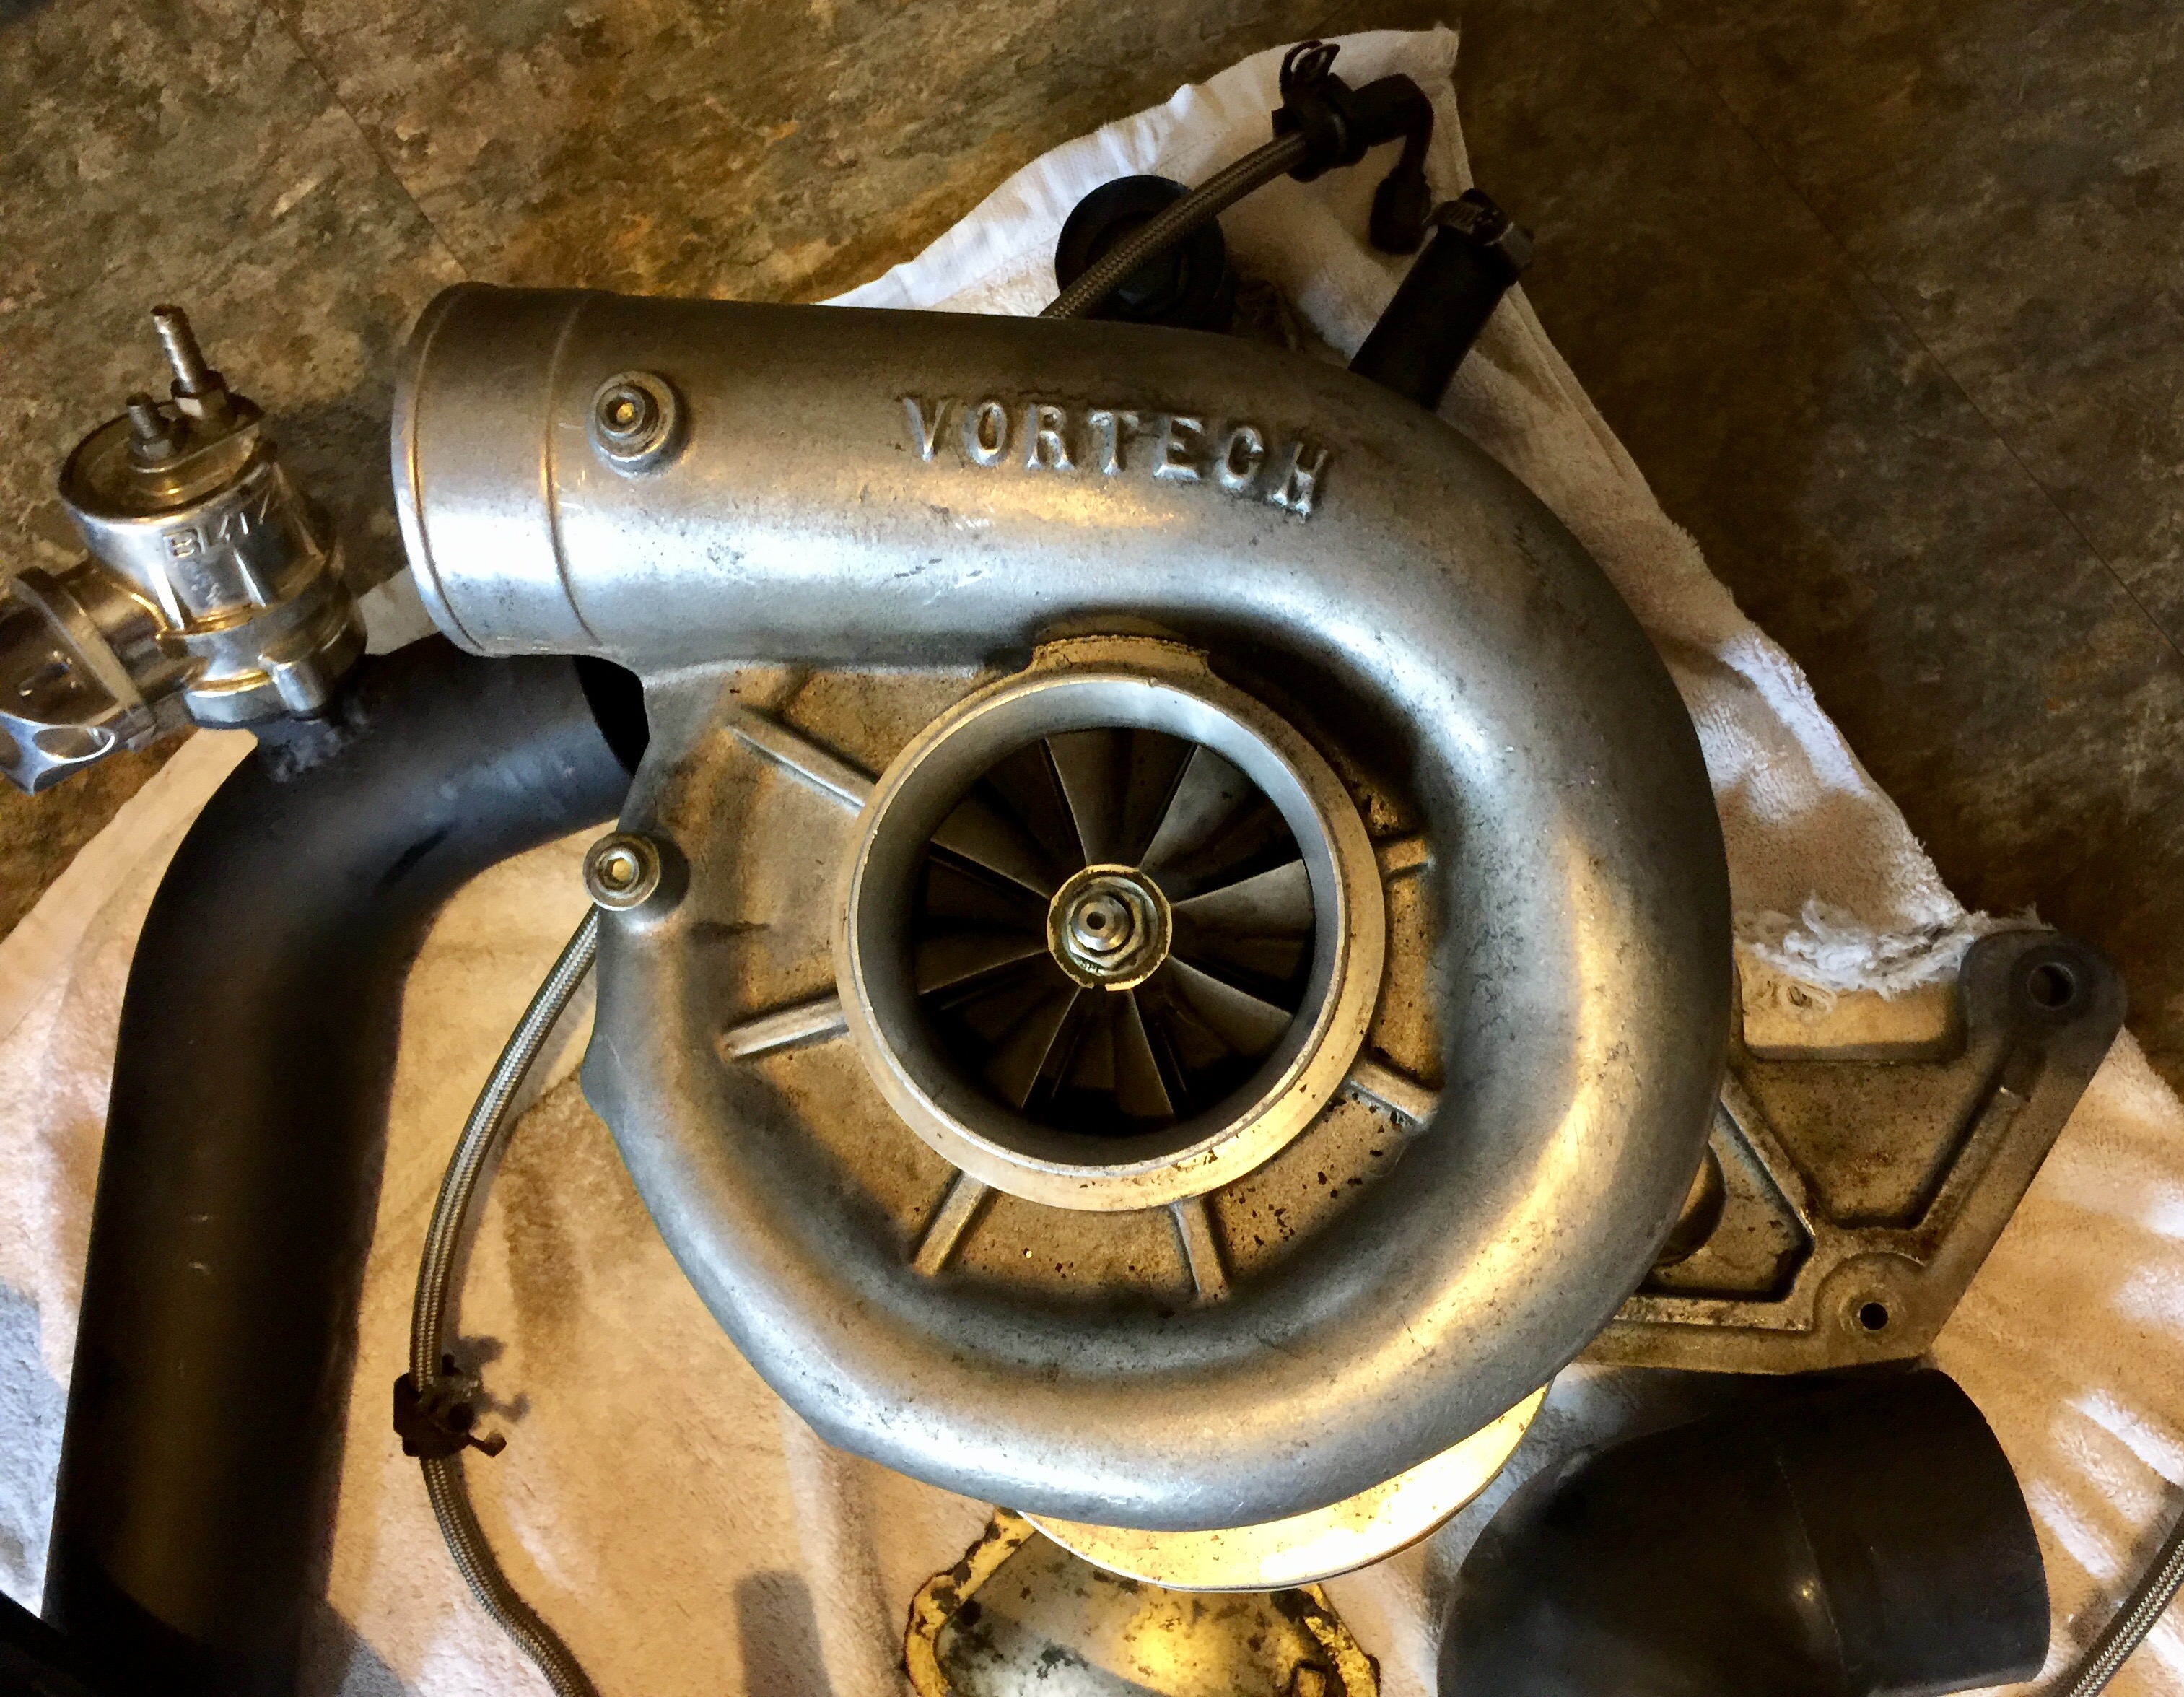
Remove the tape off of the SC and place 3″ ProFlex coupling on the SC and tighten it on there. Next, push the filter assembly thru the wheel well. Then route it so that you can place the washer bottle back in later.
Line it up with a 3″ ProFlex coupling that is attached to the SC. Mine did not go on really square (it seals just fine).


Tighten all the clamps up and place the washer bottle back in. You will only be able to get to the back bolt to the washer bottle and the filter will hold the rest in. Put your fill neck back in. Plug the MAF back in.


Start your car and feel for any leaks around your CAI.
Put the wheel well cover back on and your tire.
Test drive and see if you can feel the difference. Re-check your connections once again.
Happy Modding!
![]()


