")
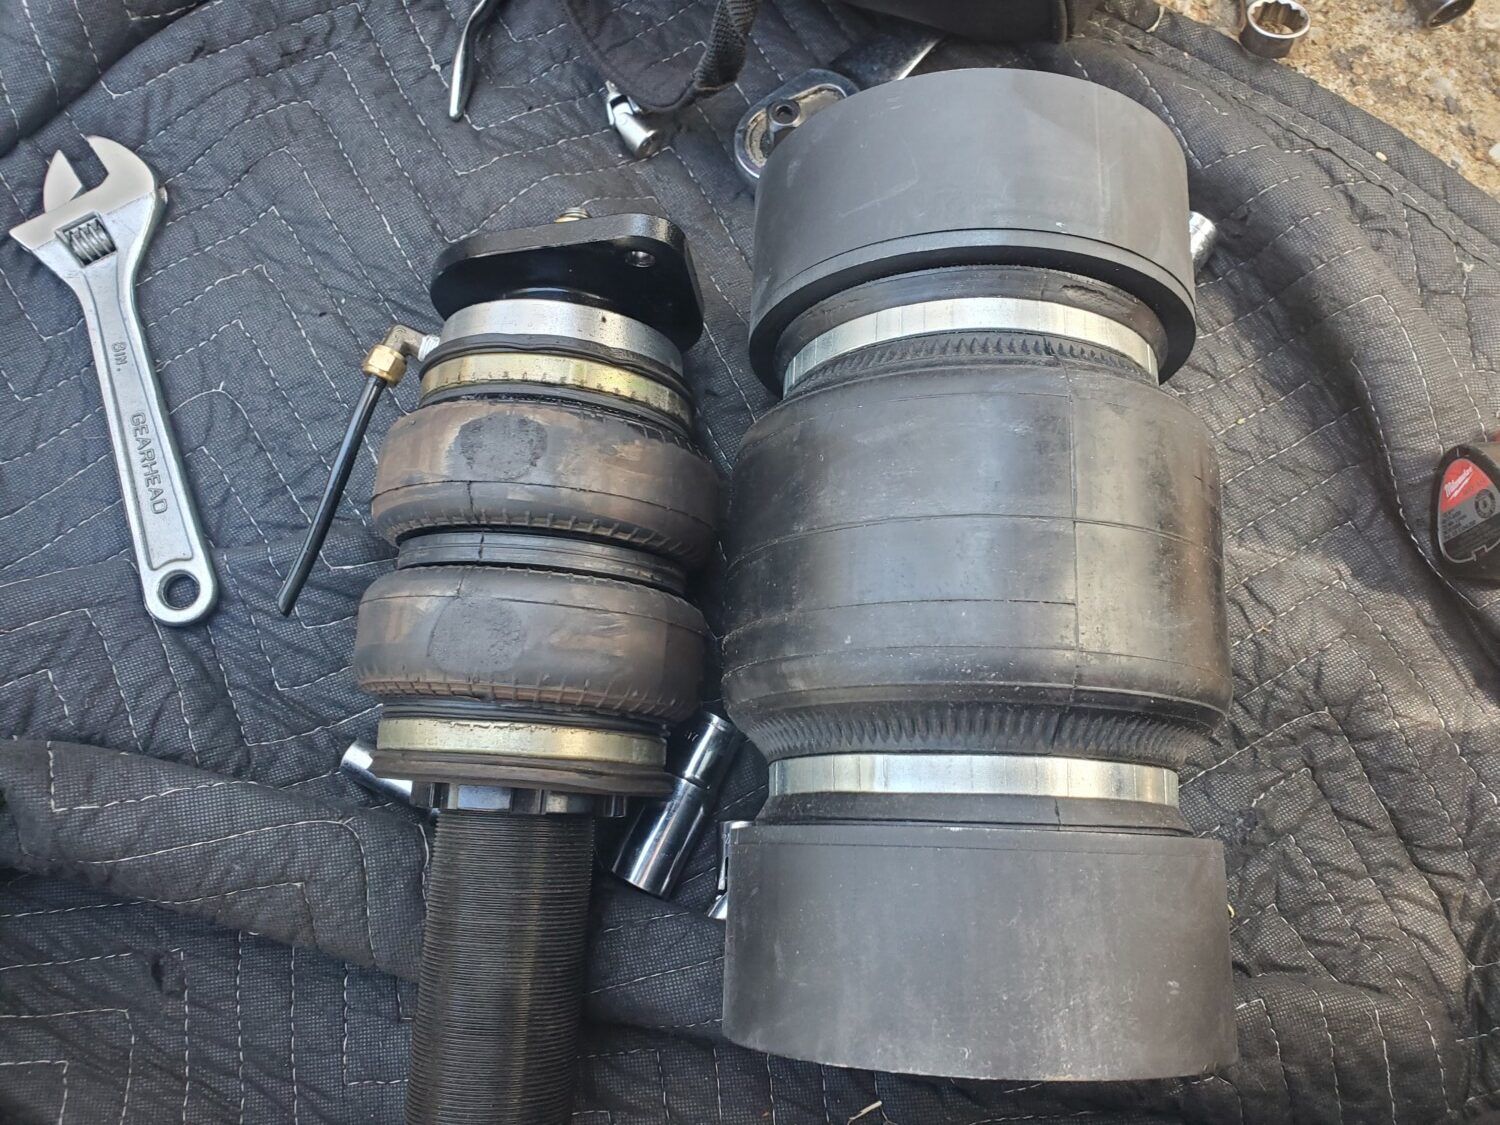
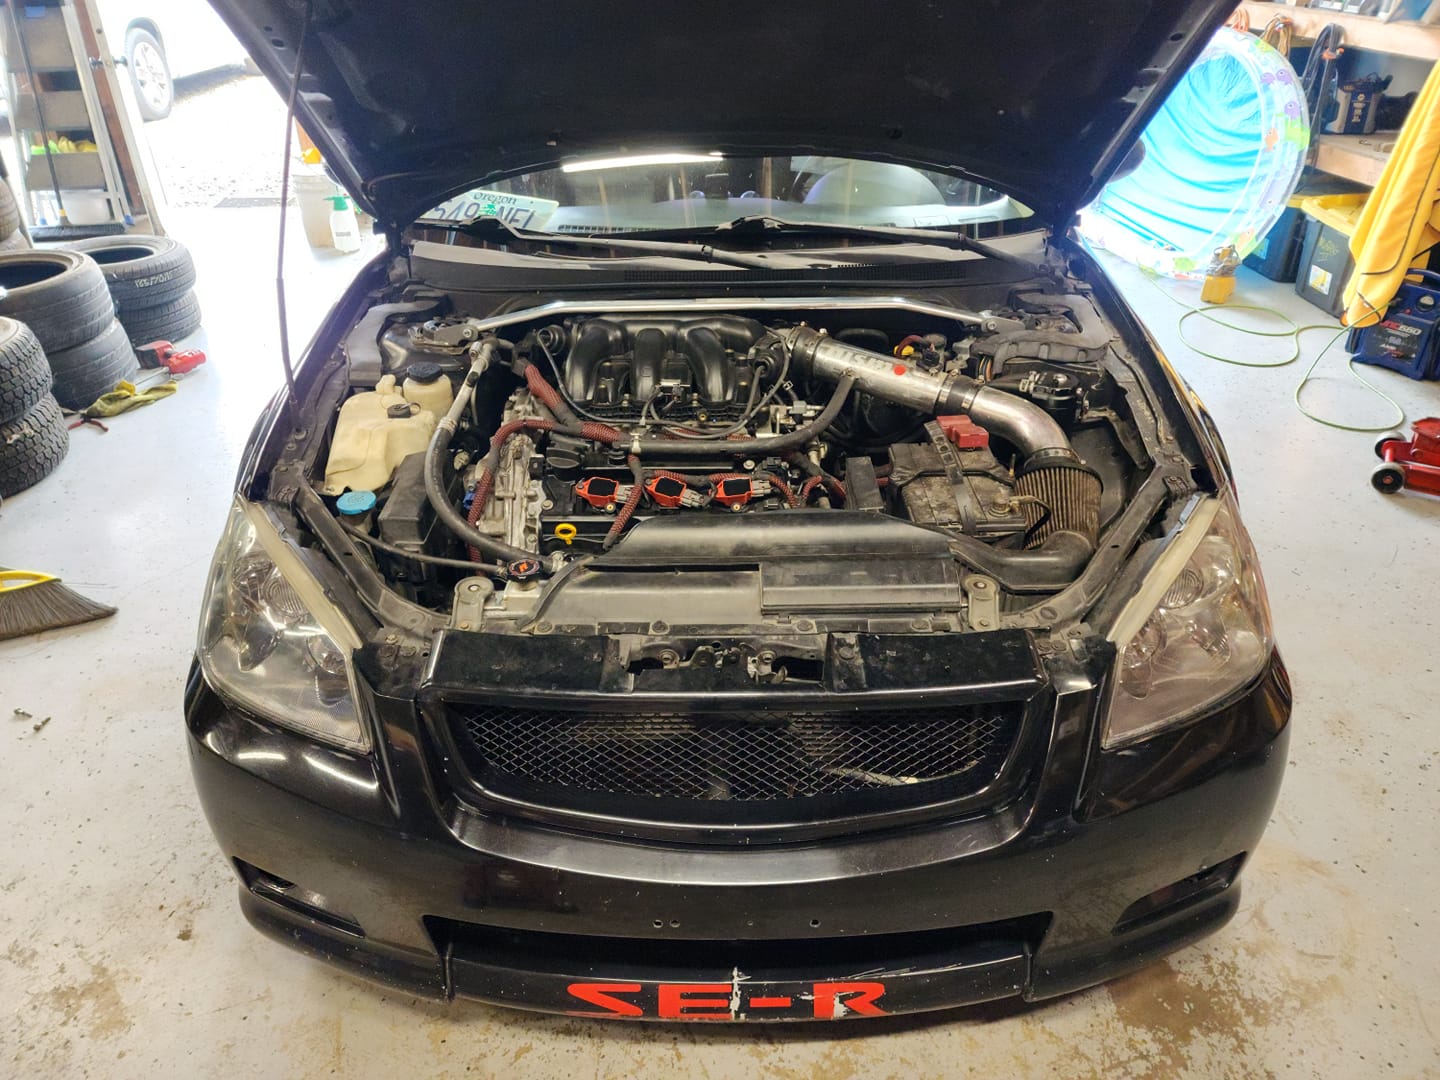
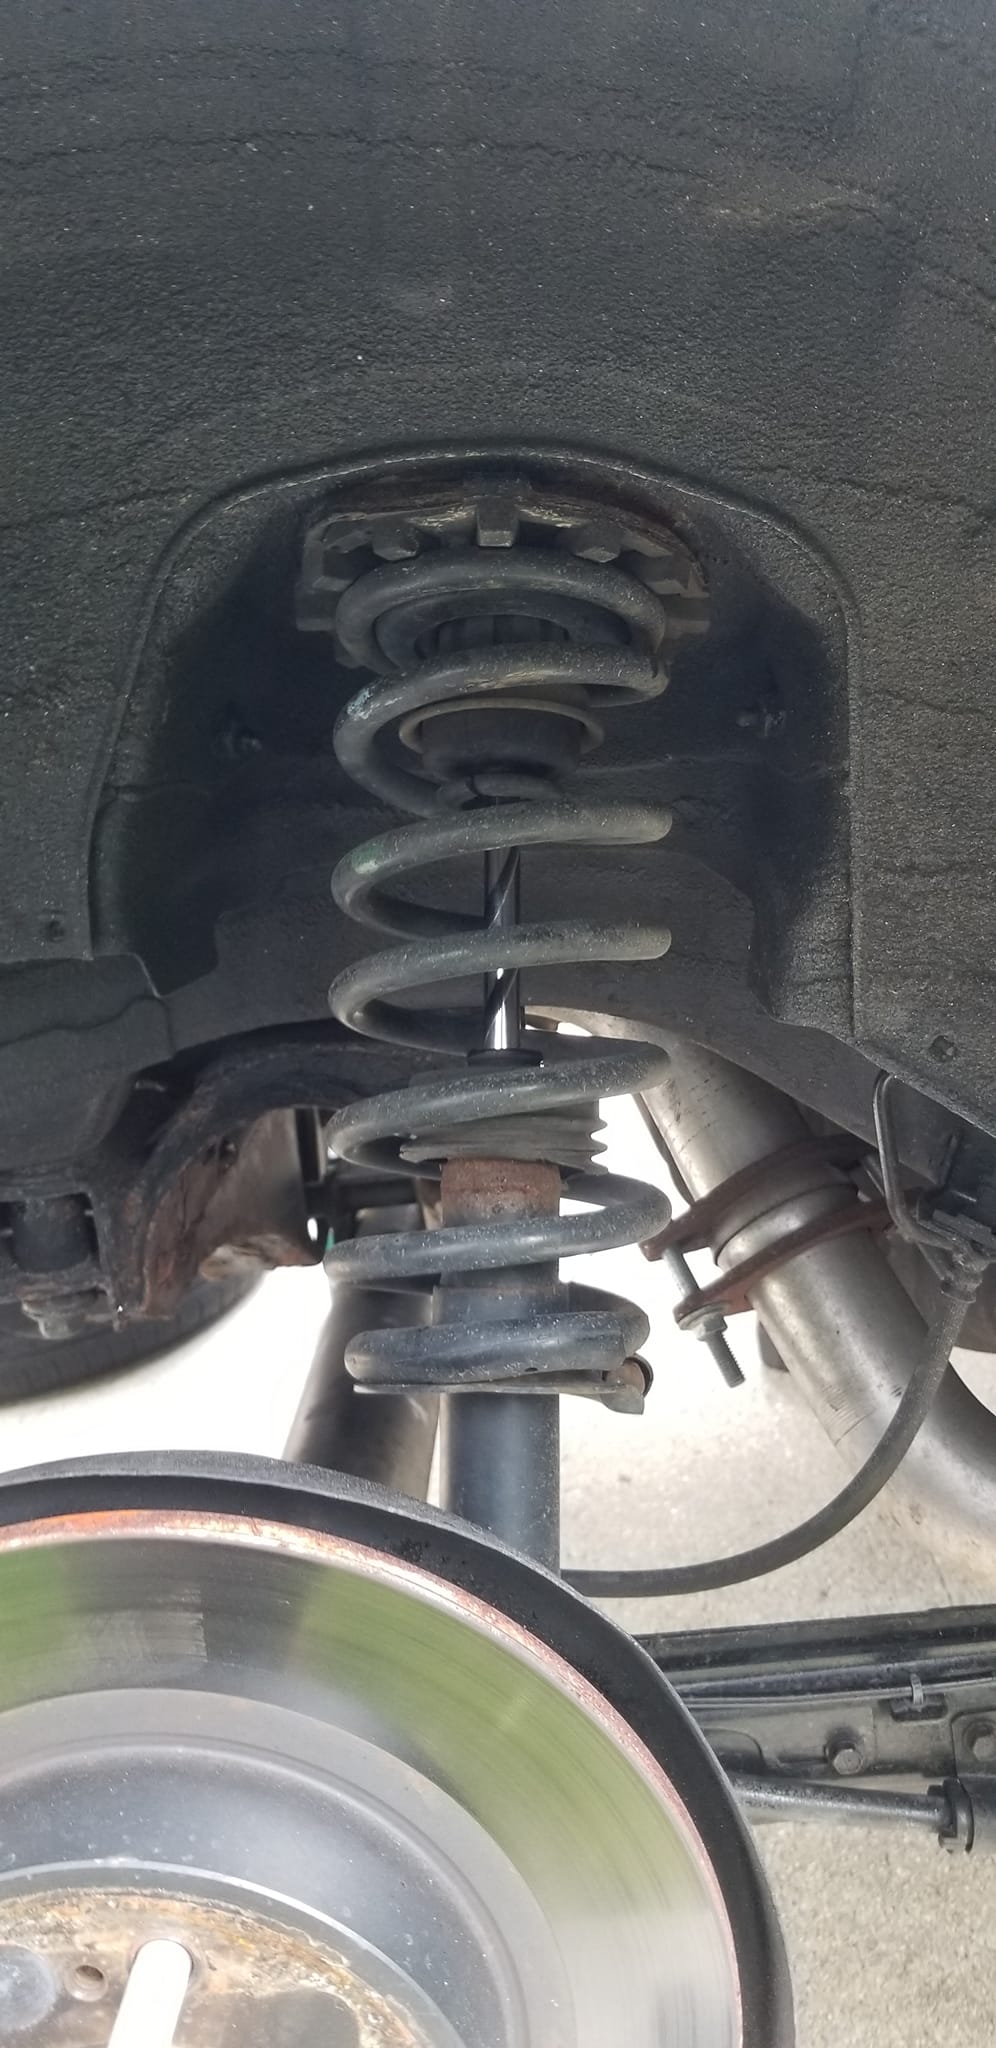
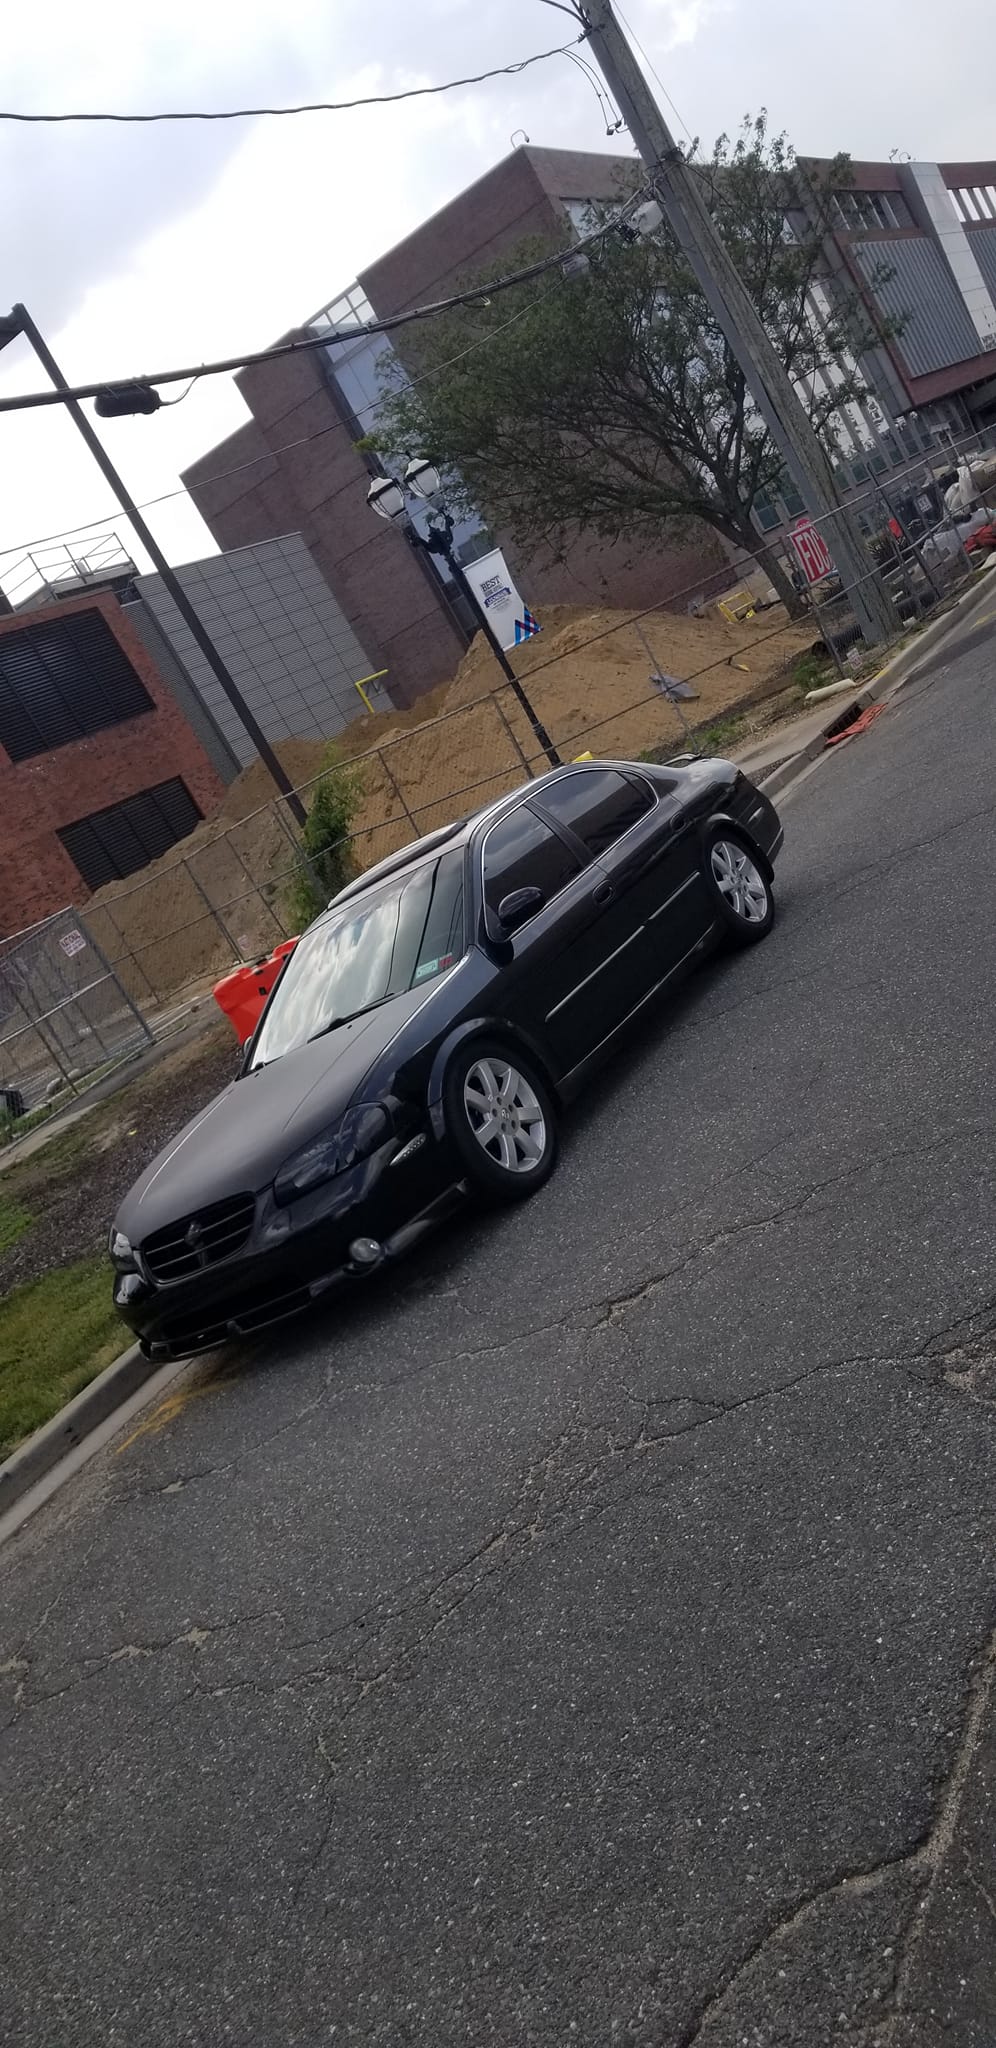
I finally decided to swap my rear Airtekk bags on my 2004 Nissan Maxima. The Airtekk Rear design is not great and rubs against the body of the car. Luckily, I was able to catch the issue before I go a leaky airbag on the highway. The Airtekk bags themselves are very slim and I couldn’t imagine getting an even smaller bag. Hopefully, they fix this in the future as every 6thgen Maxima would face the same. You would literally have to hammer the wall so much for the proper clearance (not worth it). The entire install took me around an hour.
Thanks to Rani and Ham for the info.
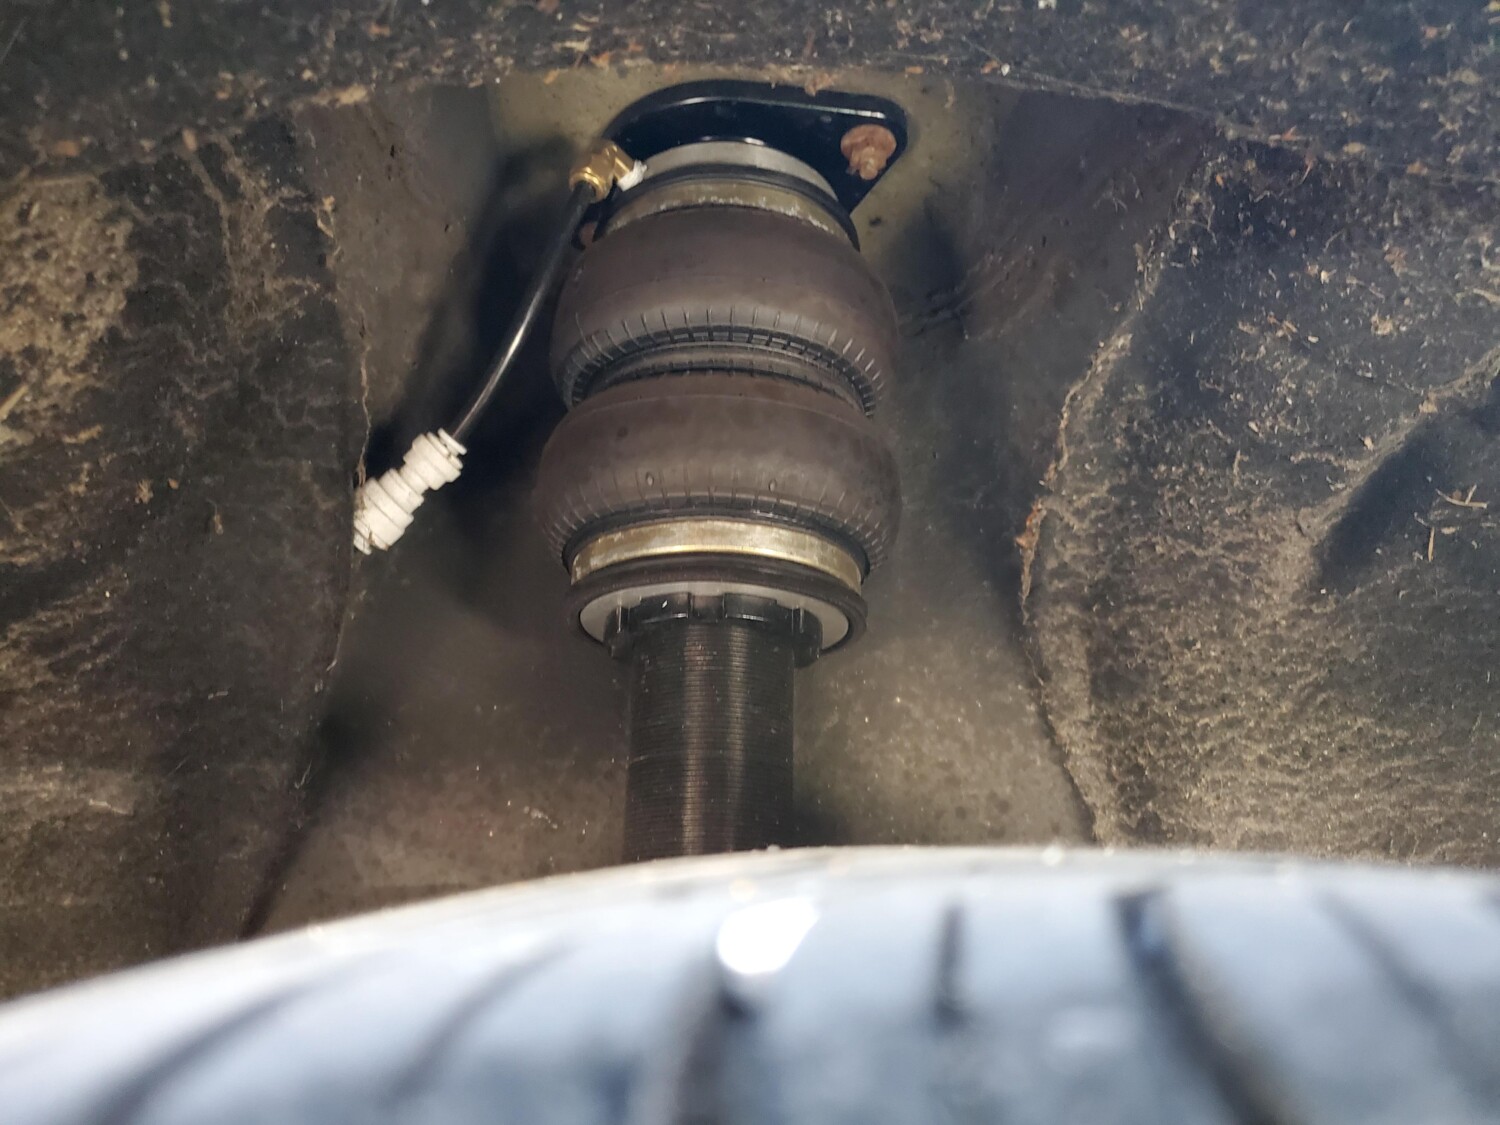
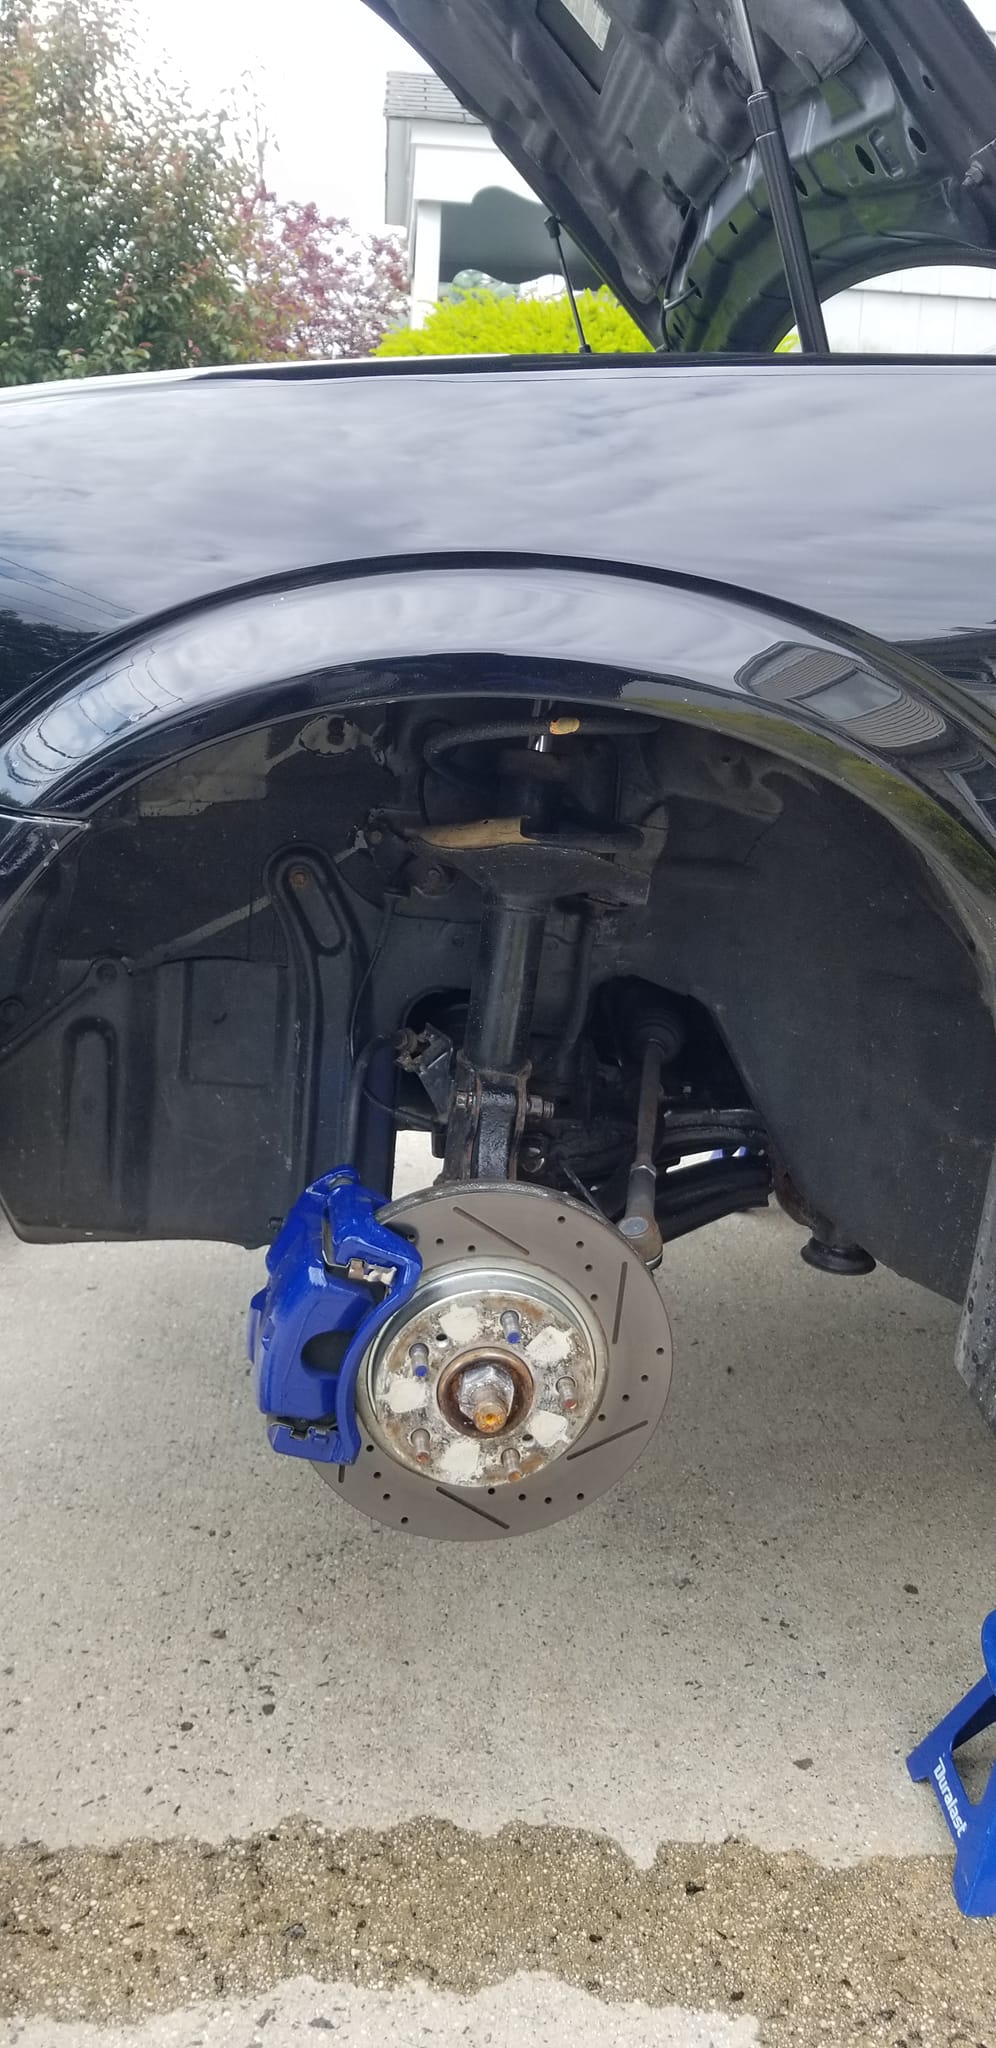
The Issue
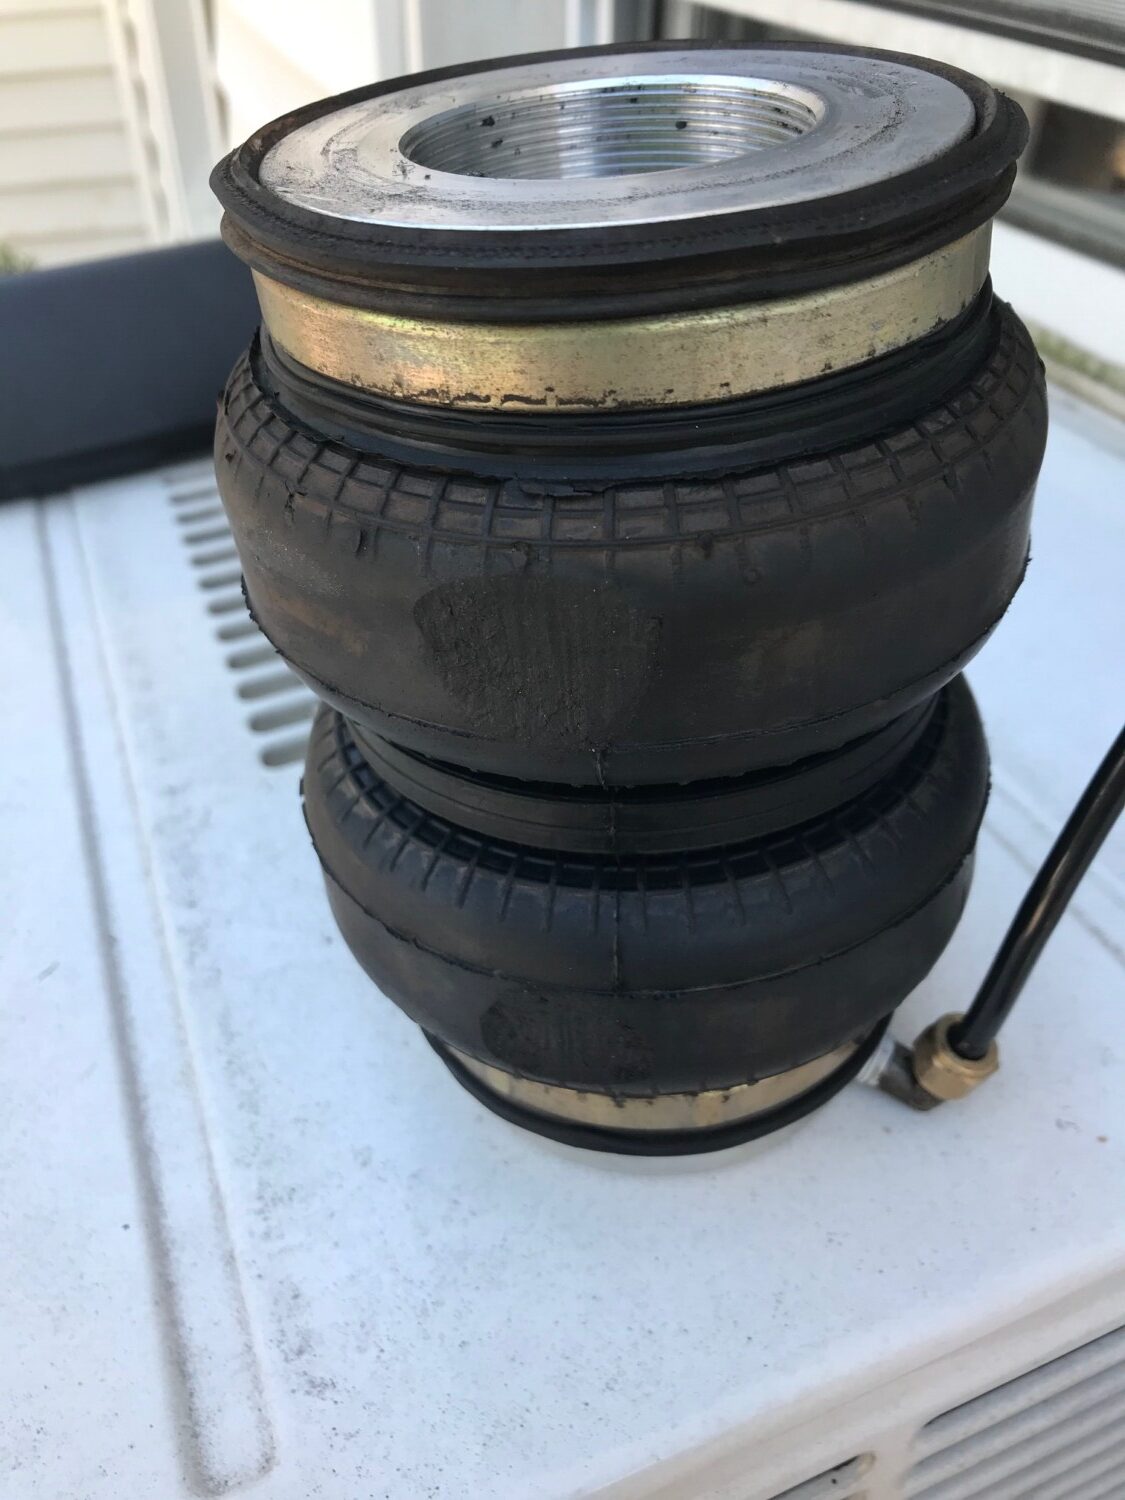
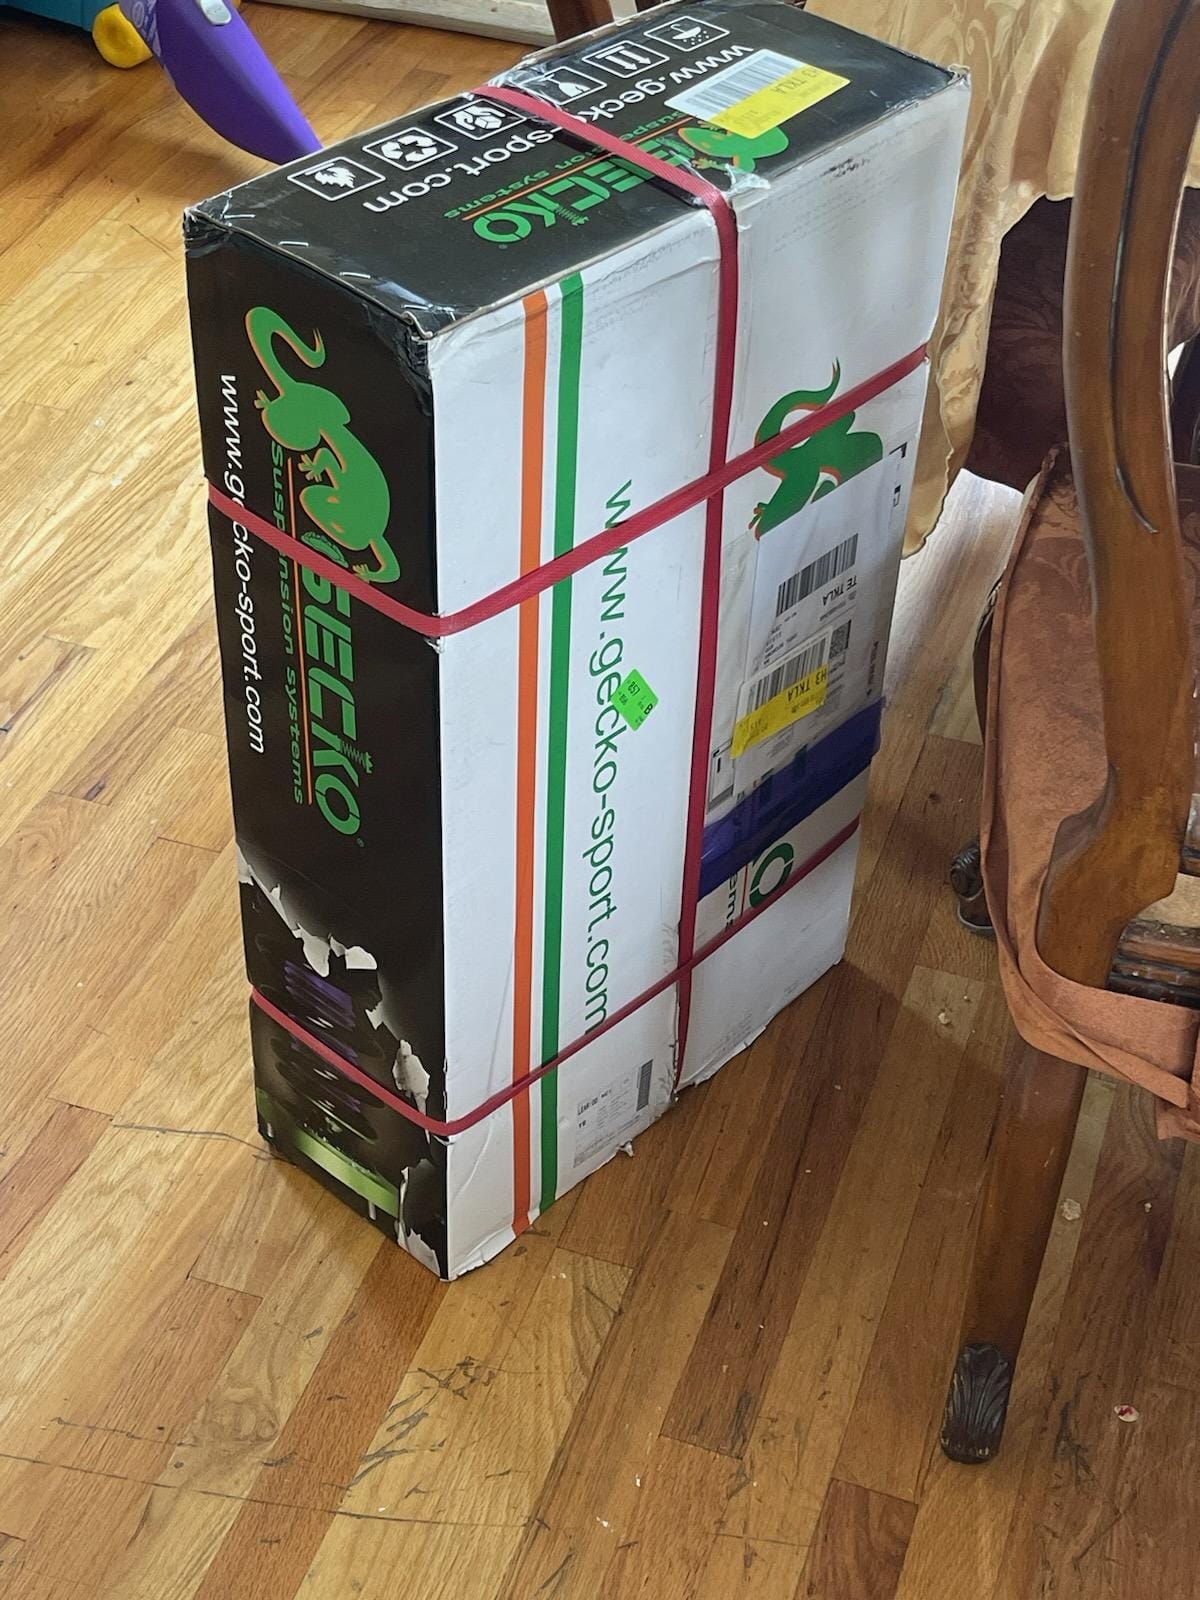
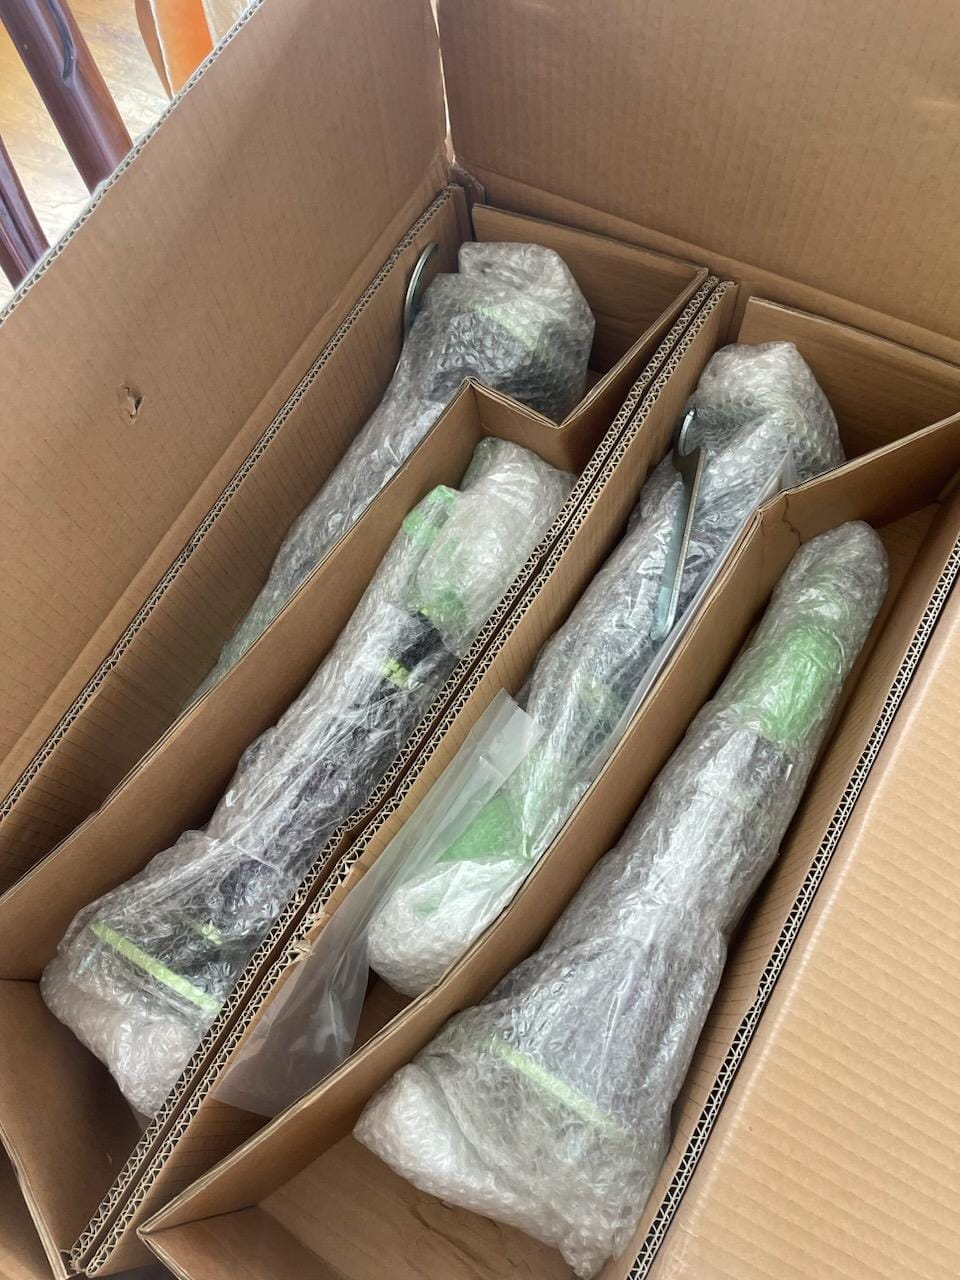
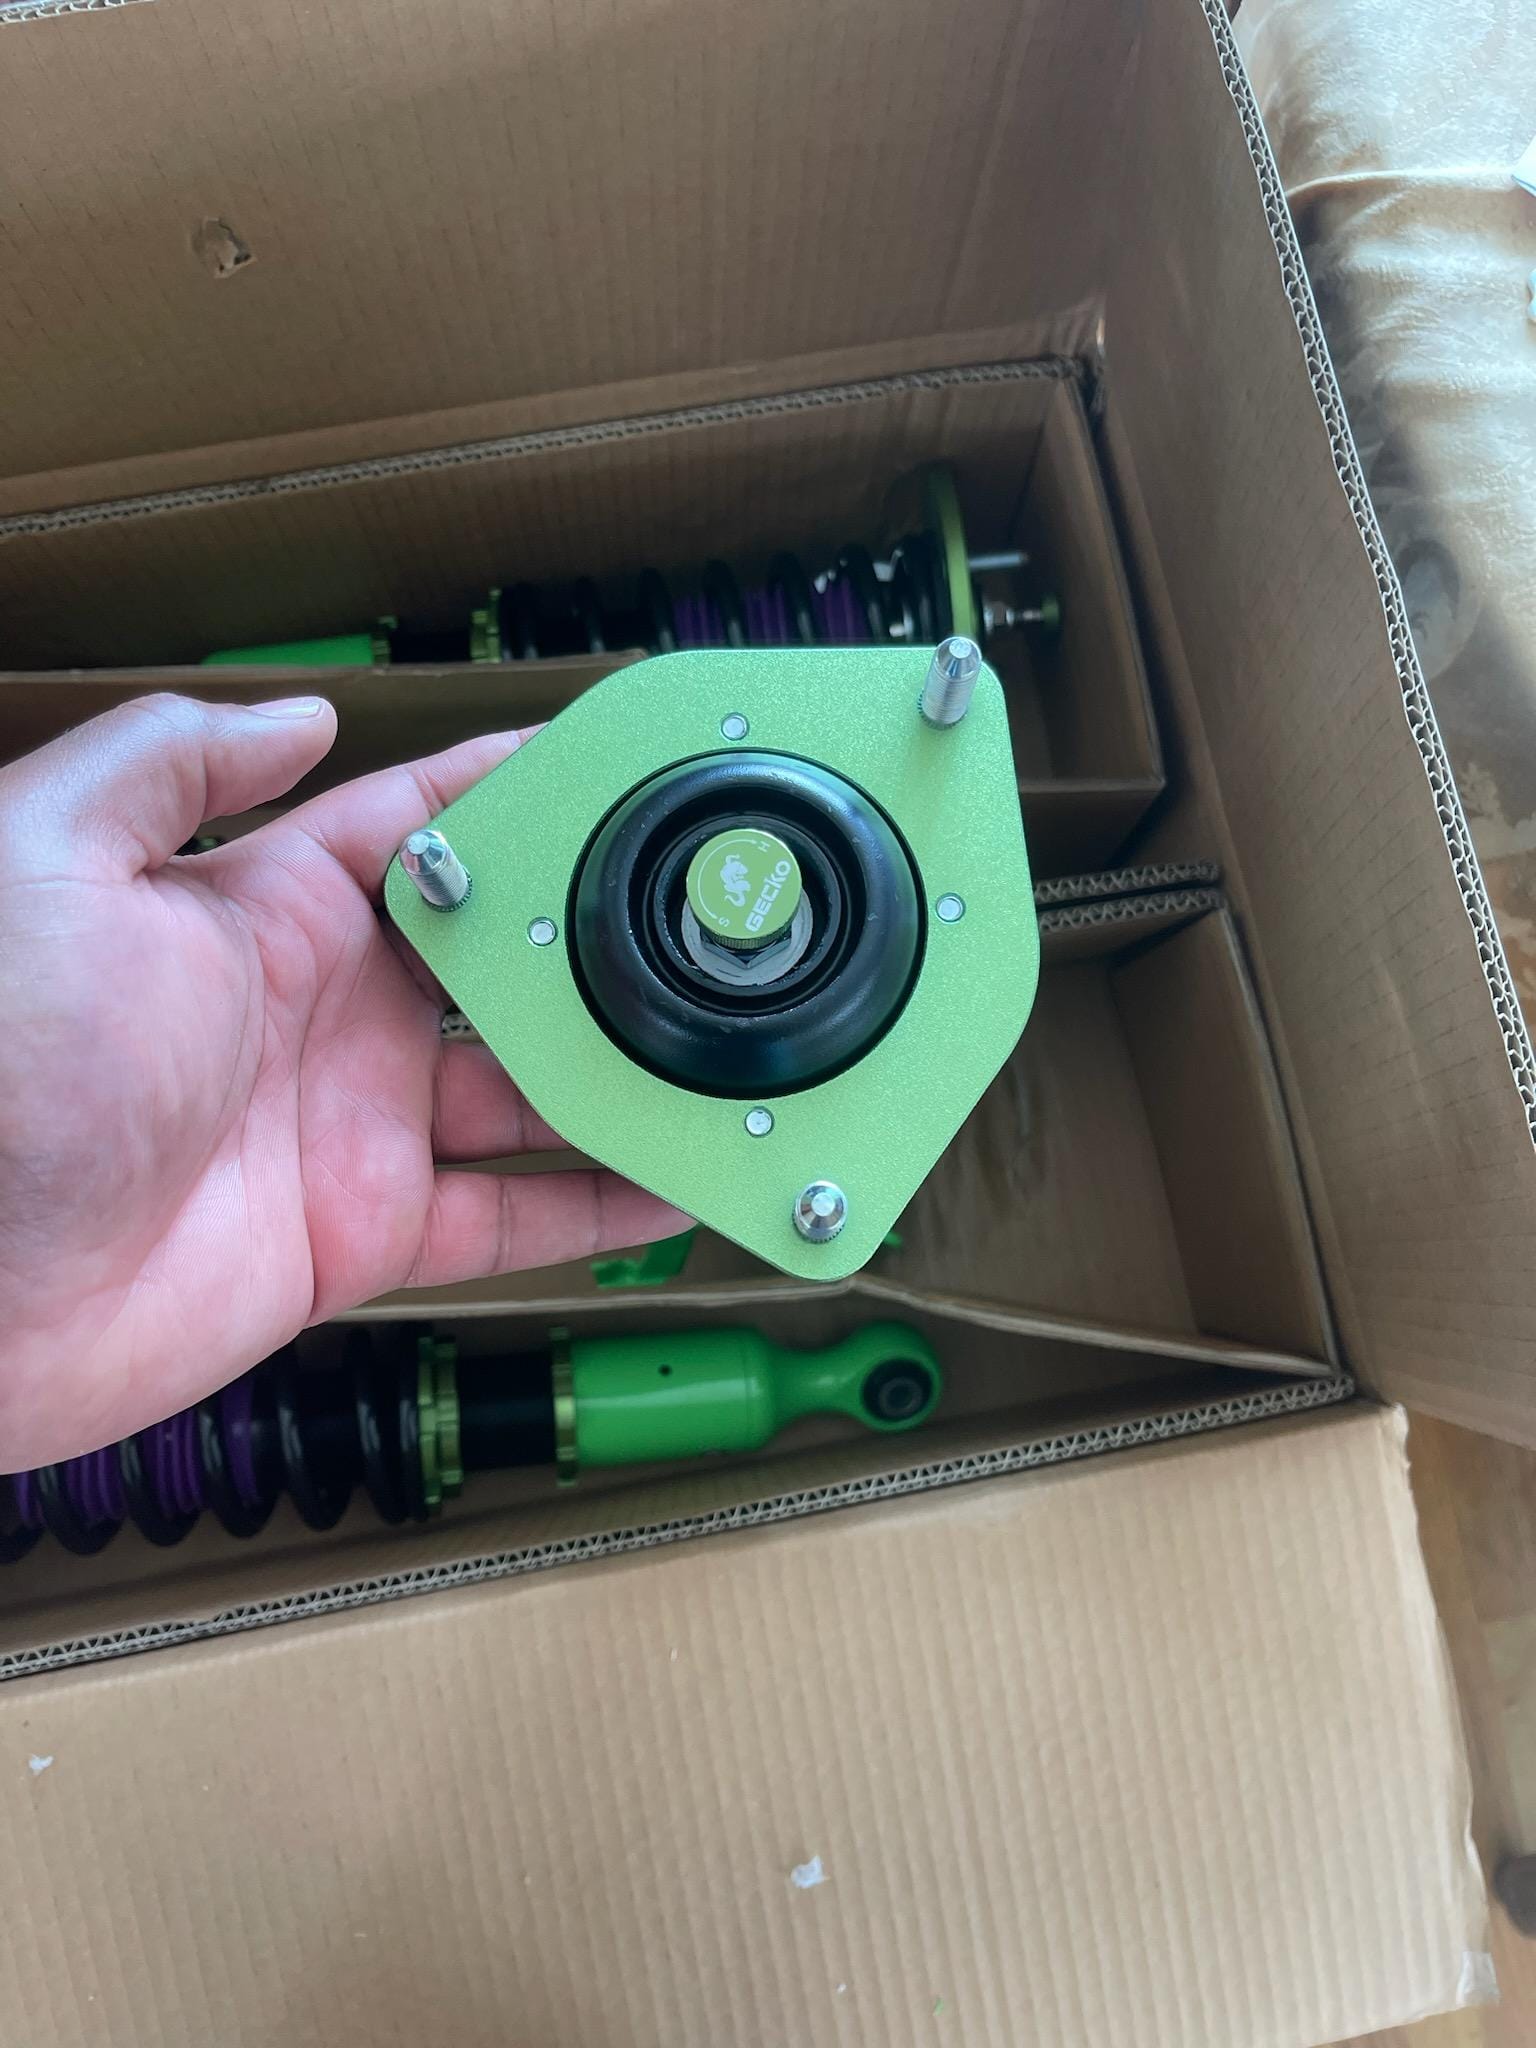
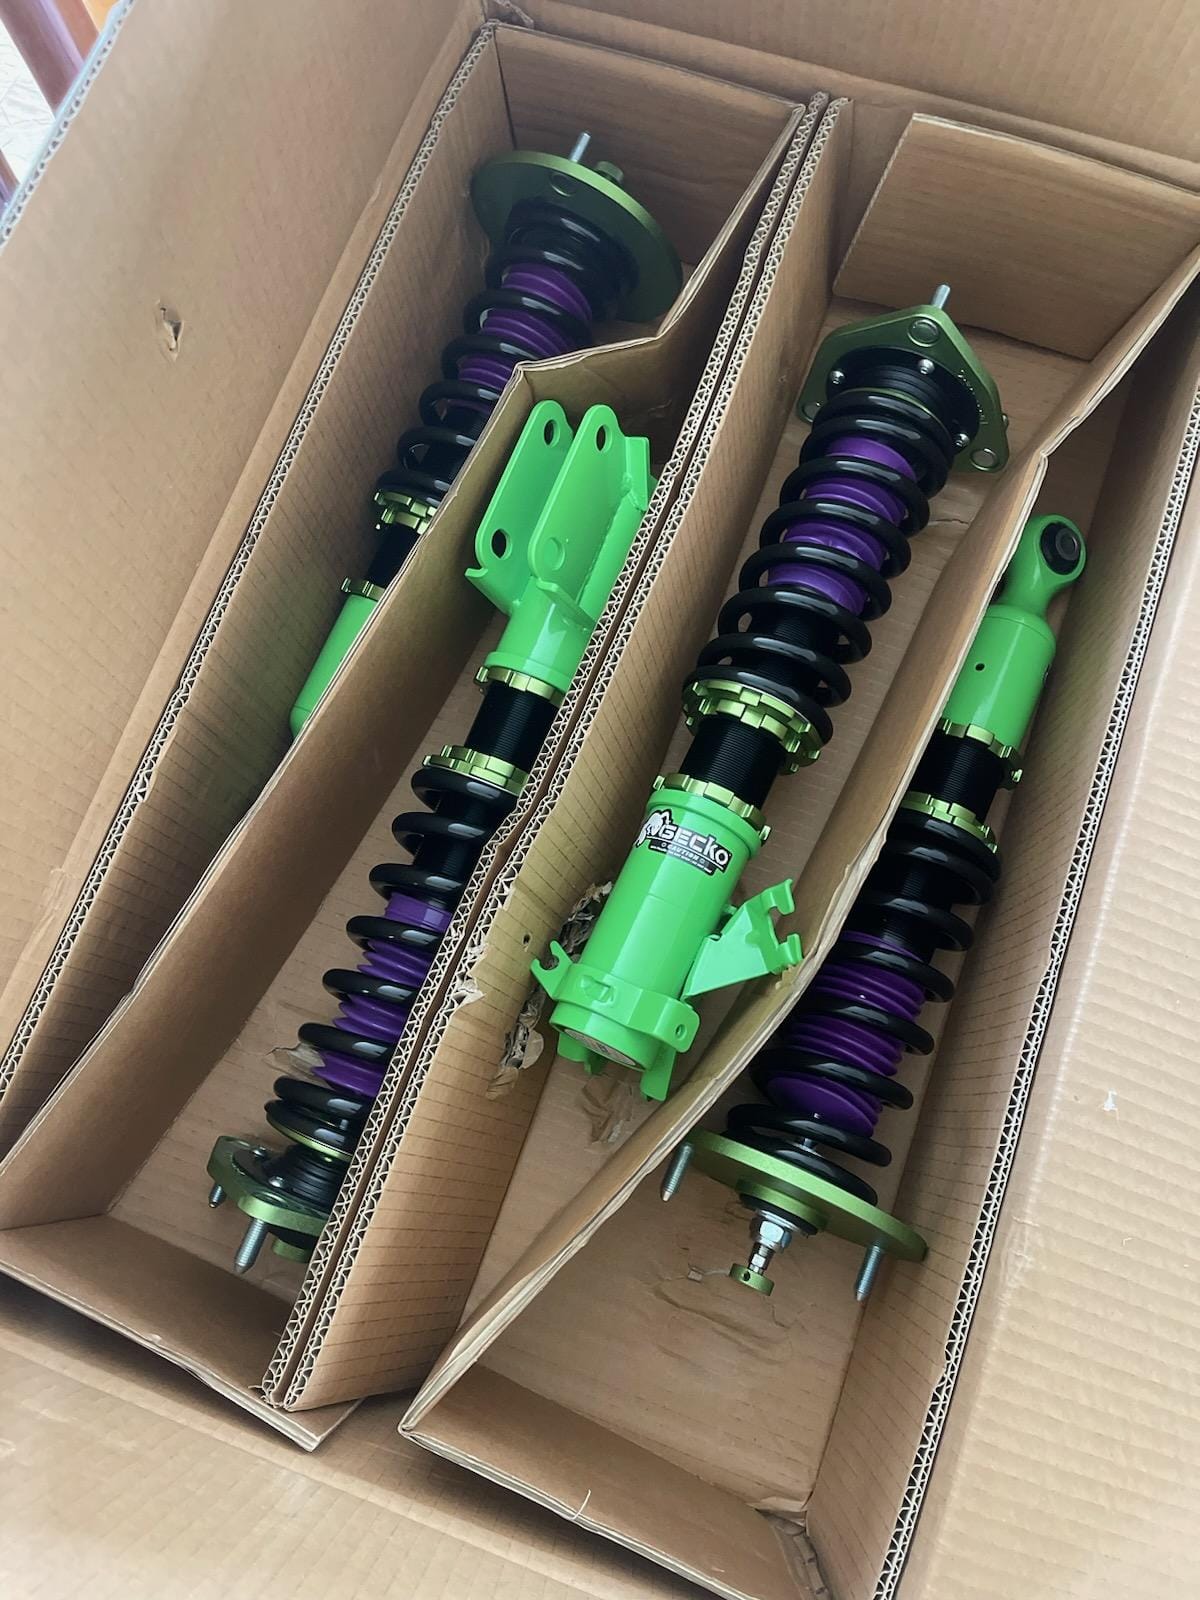
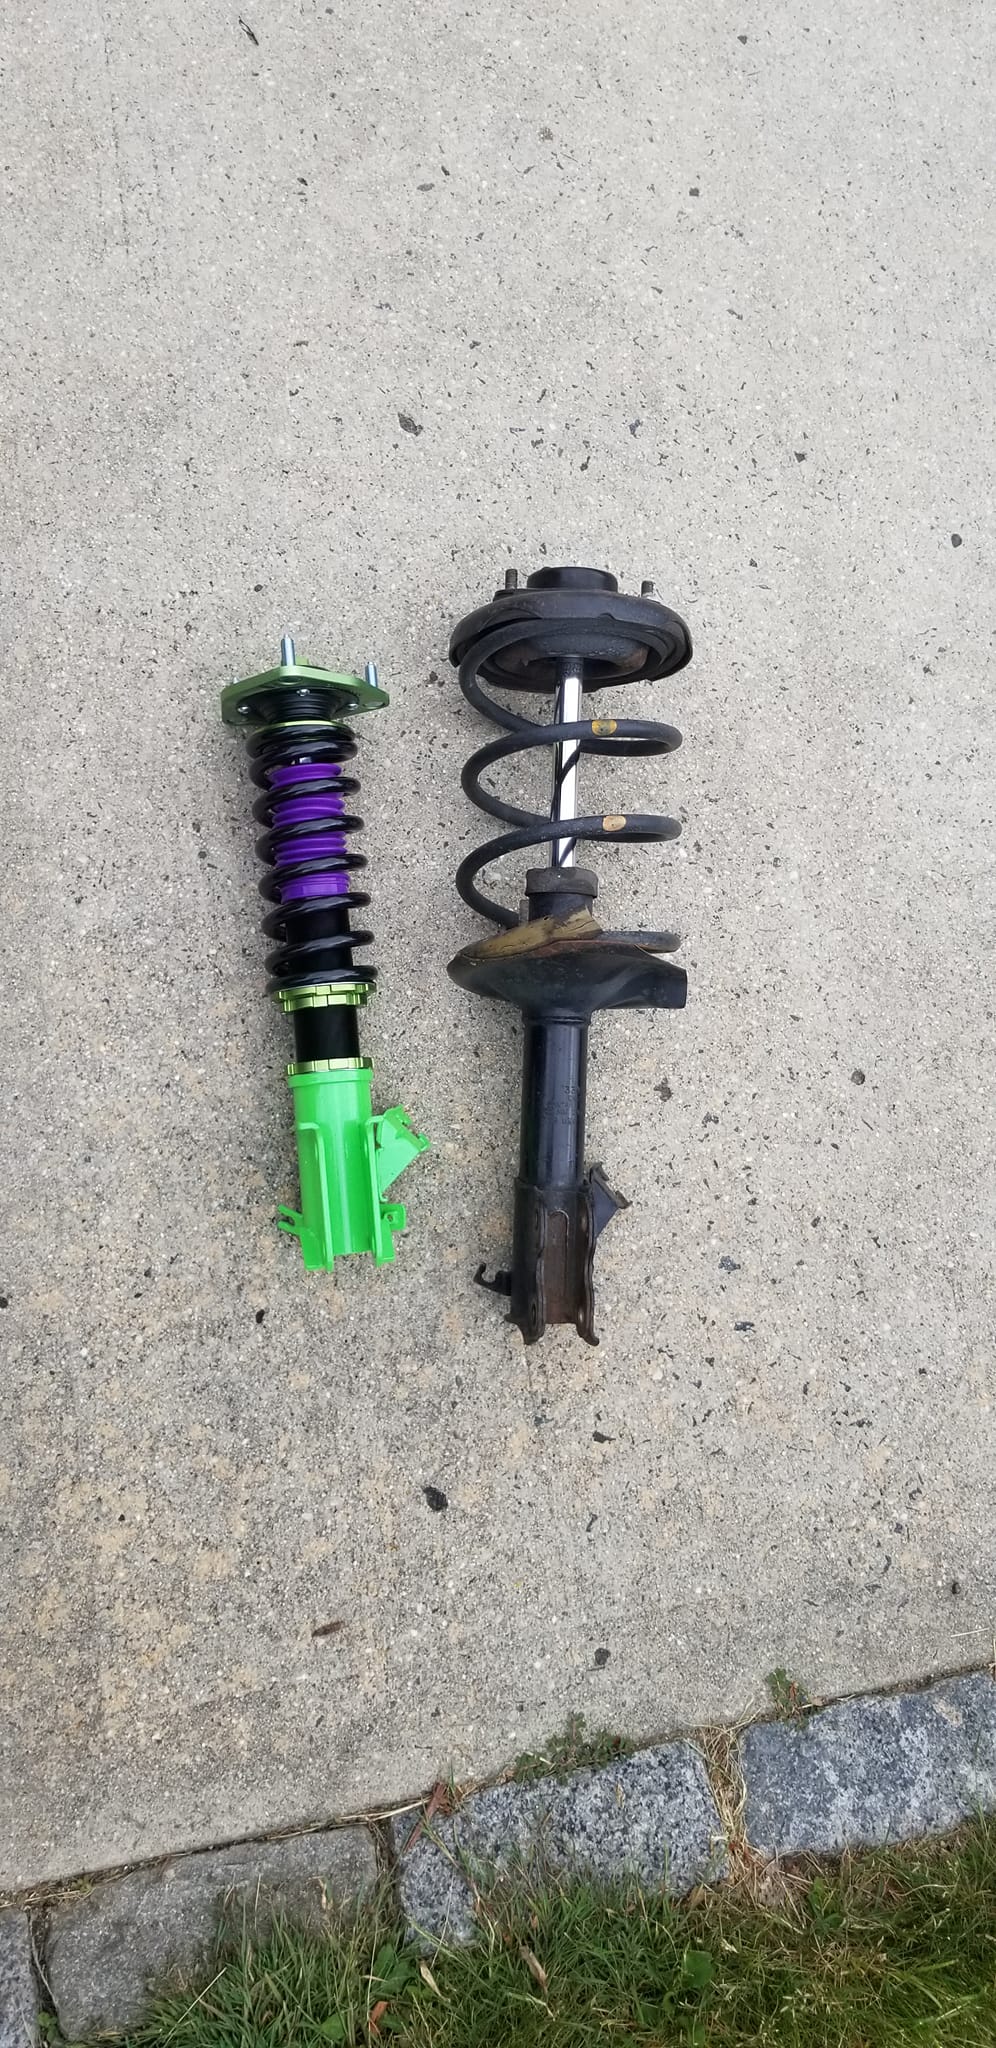
The Replacement Bags
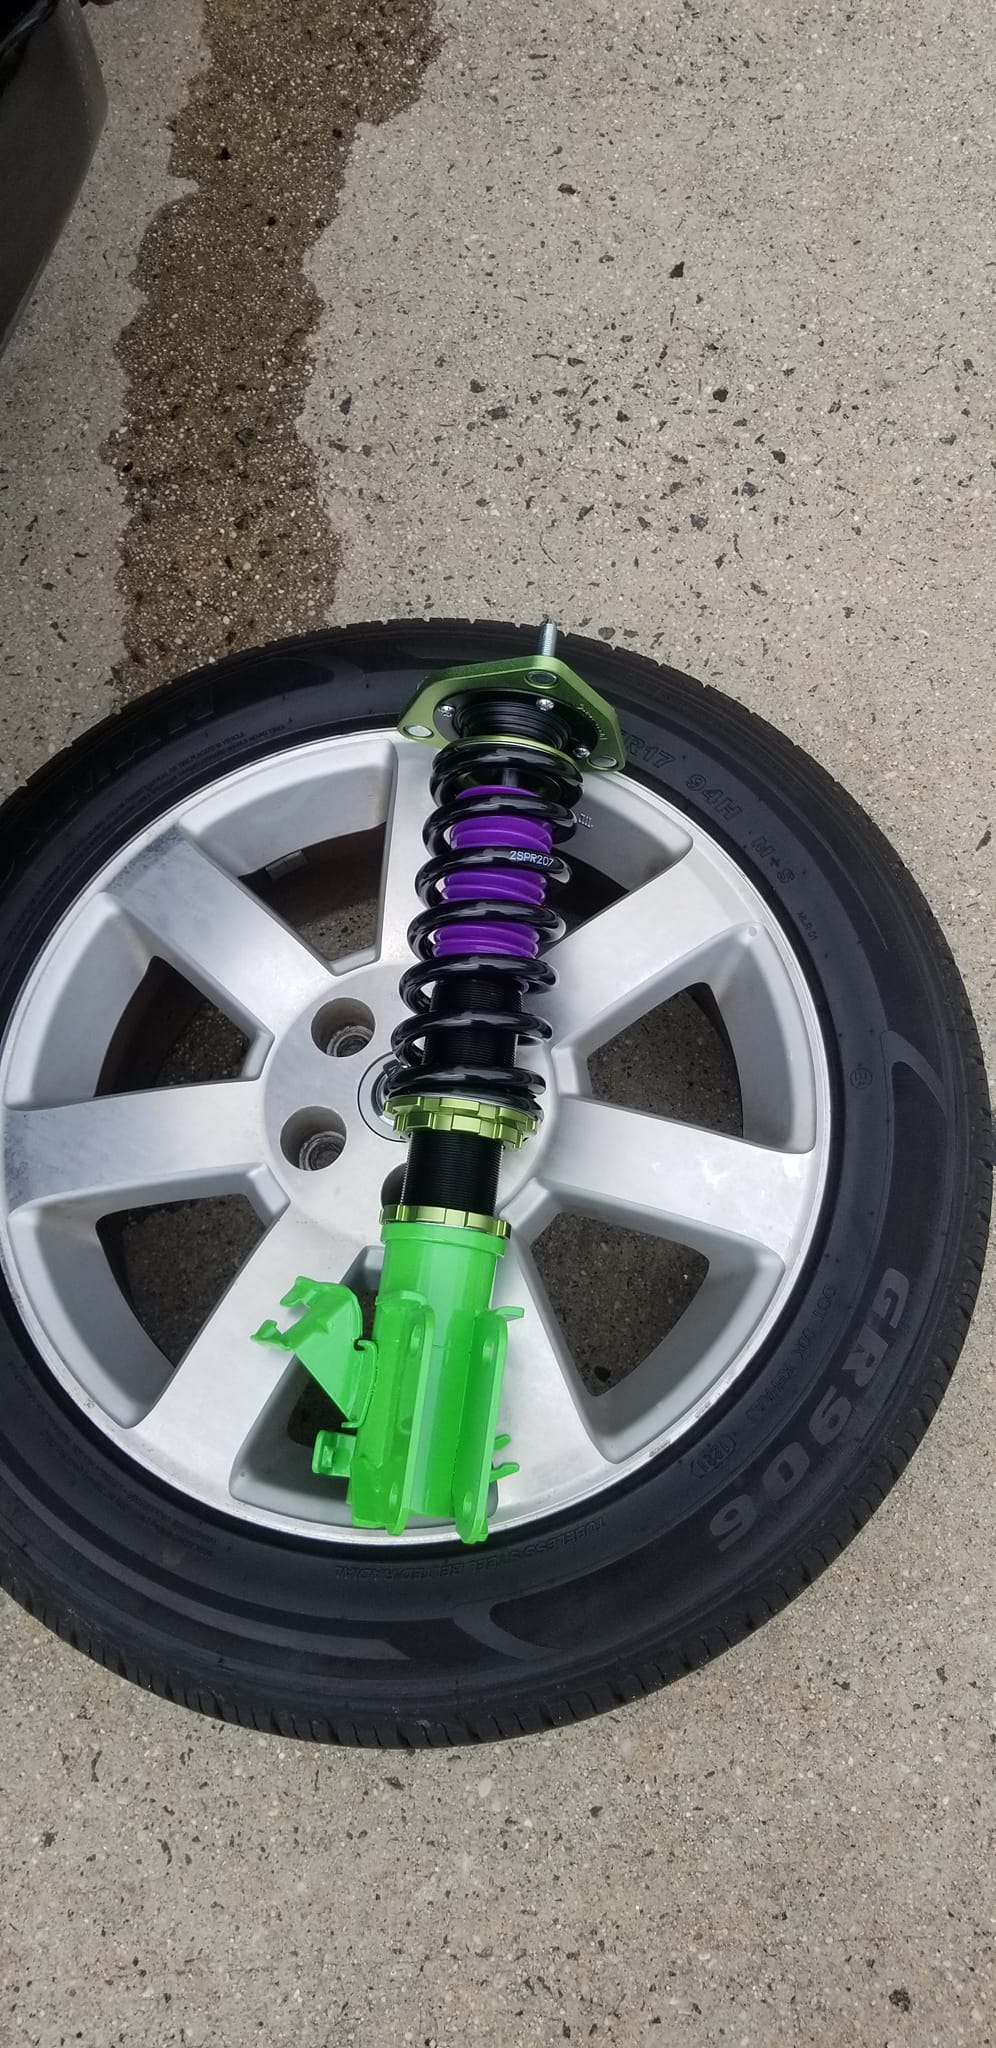
- Rear Bags: “Air House 2” By Universal Air Part # 02-2600 ($79 Each)
- Rear Brackets: You will also need brackets for the rear. You will need to call as they are not listed on UAS Website. You need two sets and they are $69.00 each. So $138 for brackets.
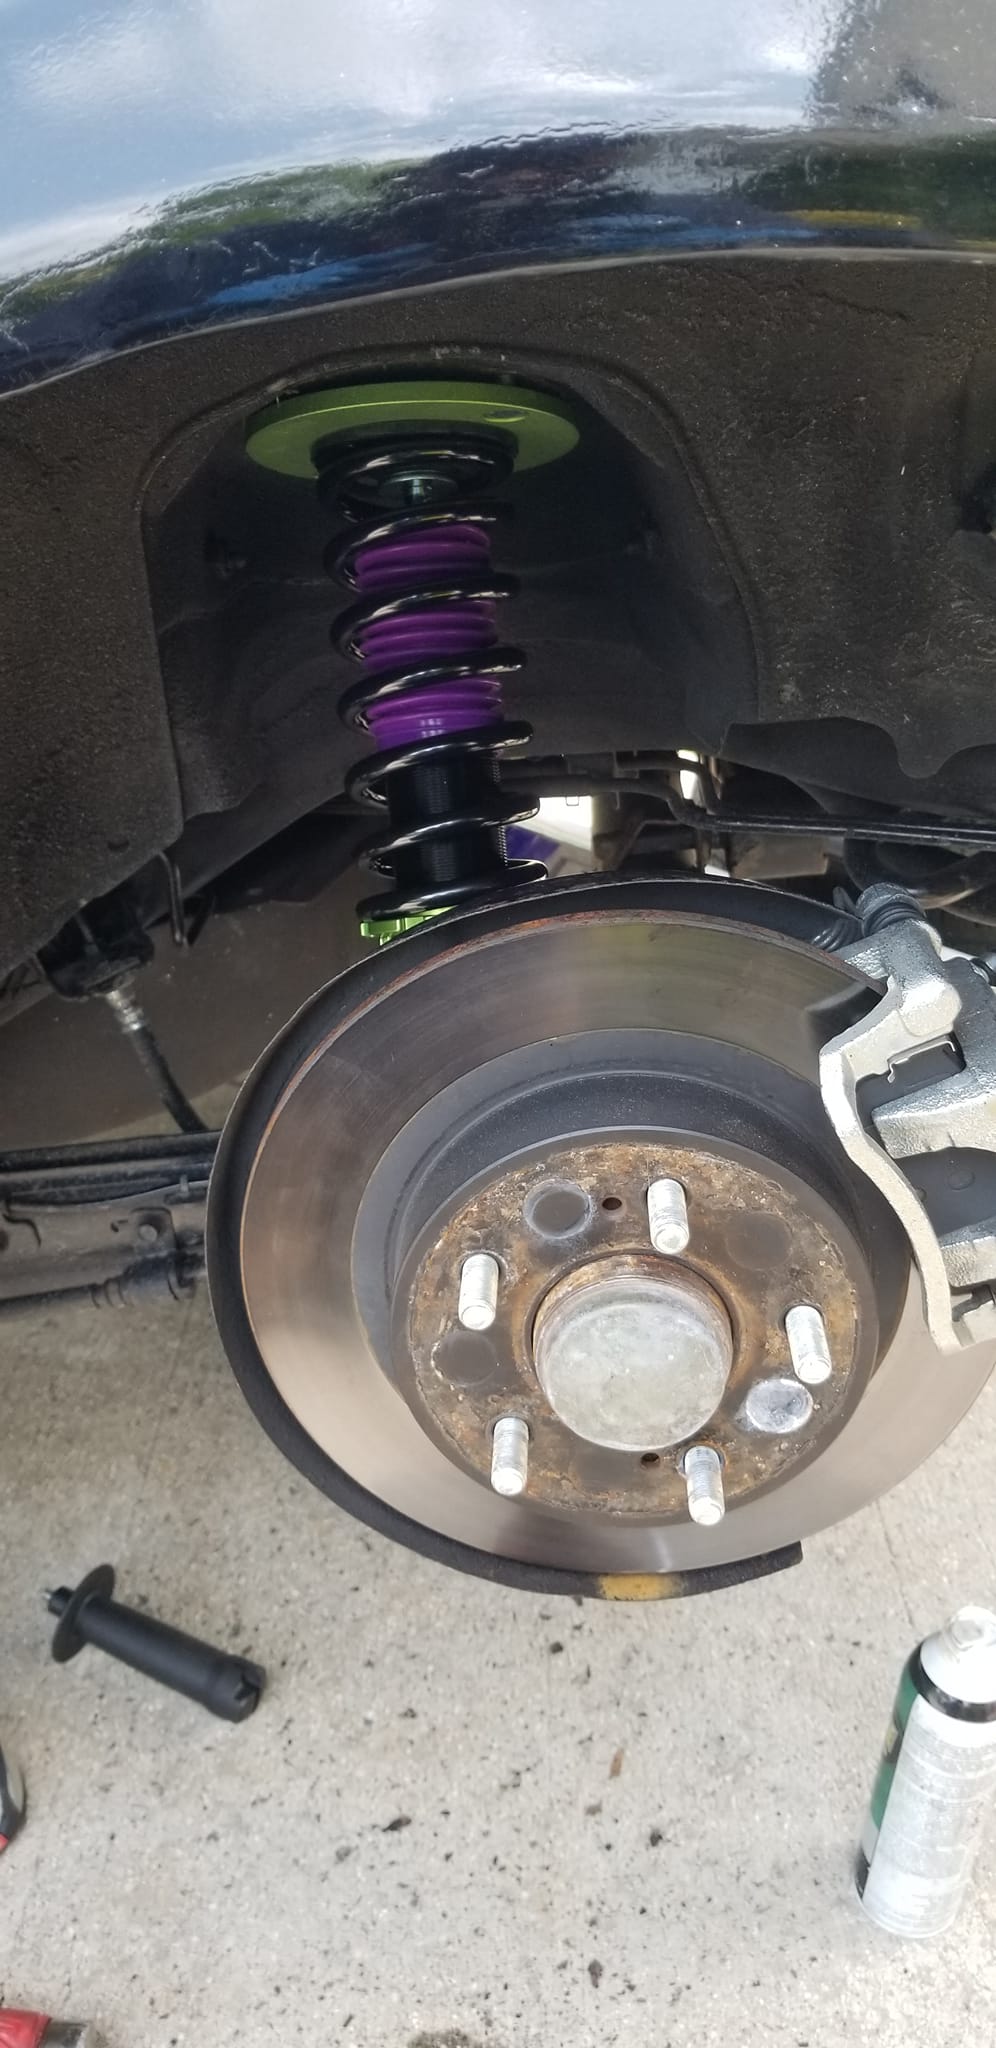
The Install
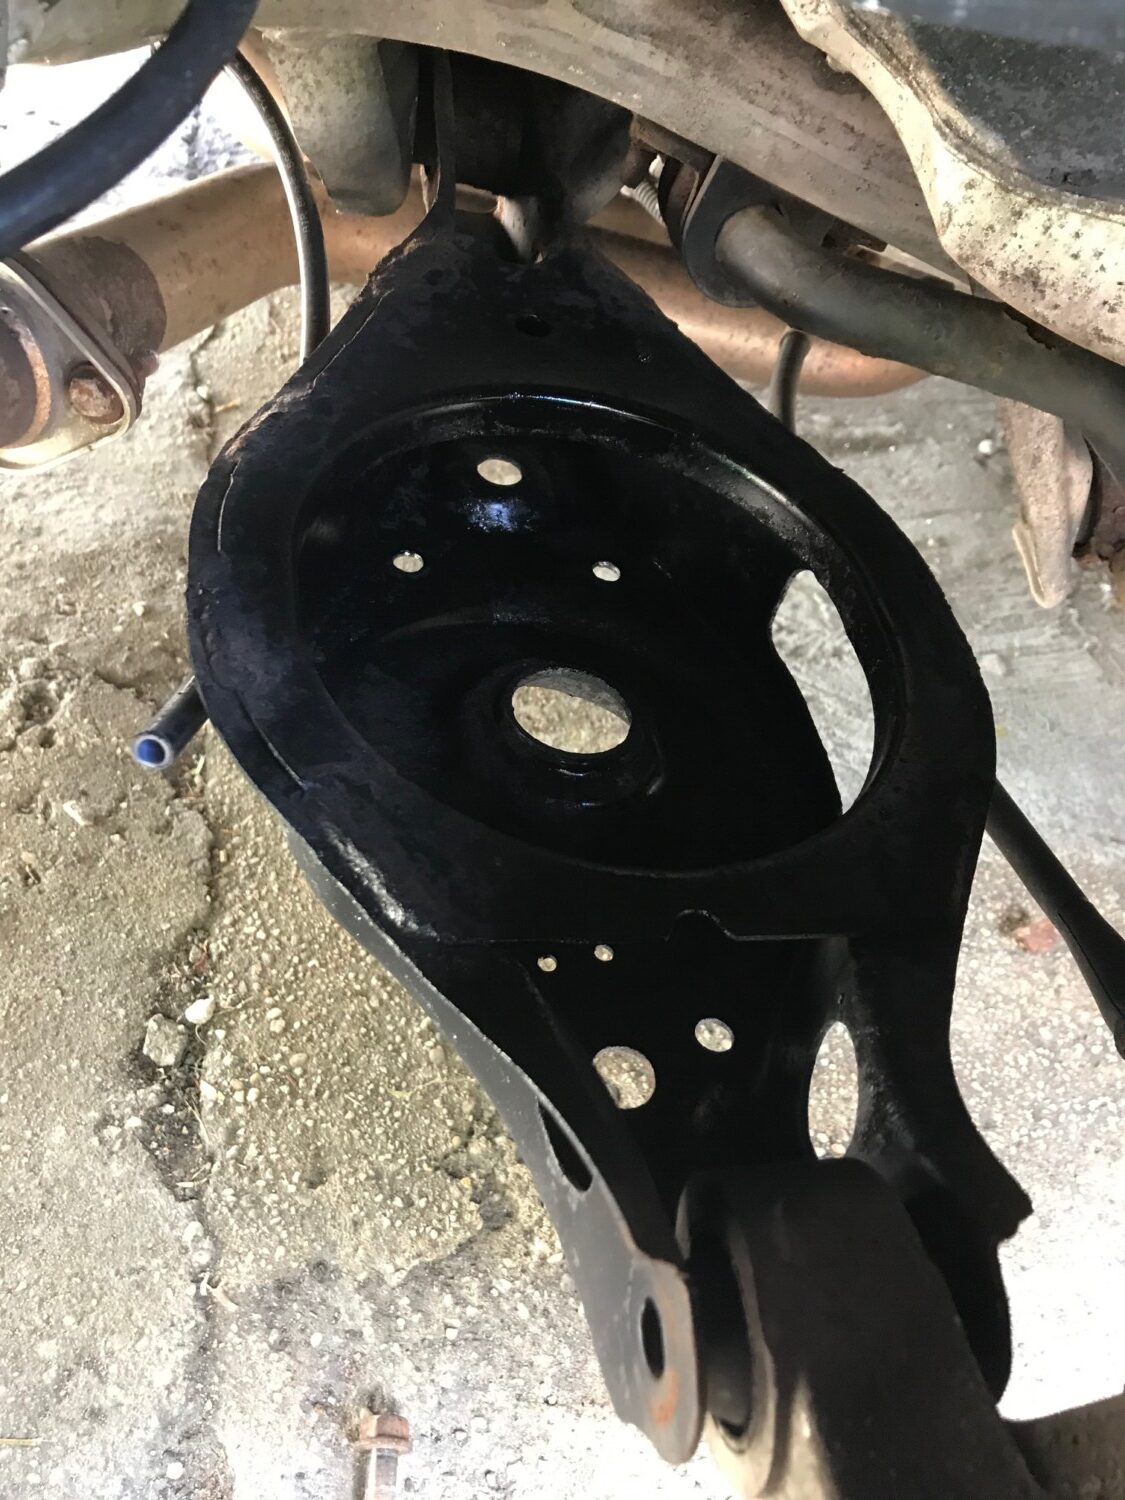
You need to remove the Airtekk bag from the strut itself and keep it without the bag. Otherwise, you don’t have a shock absorber and a terrible ride.


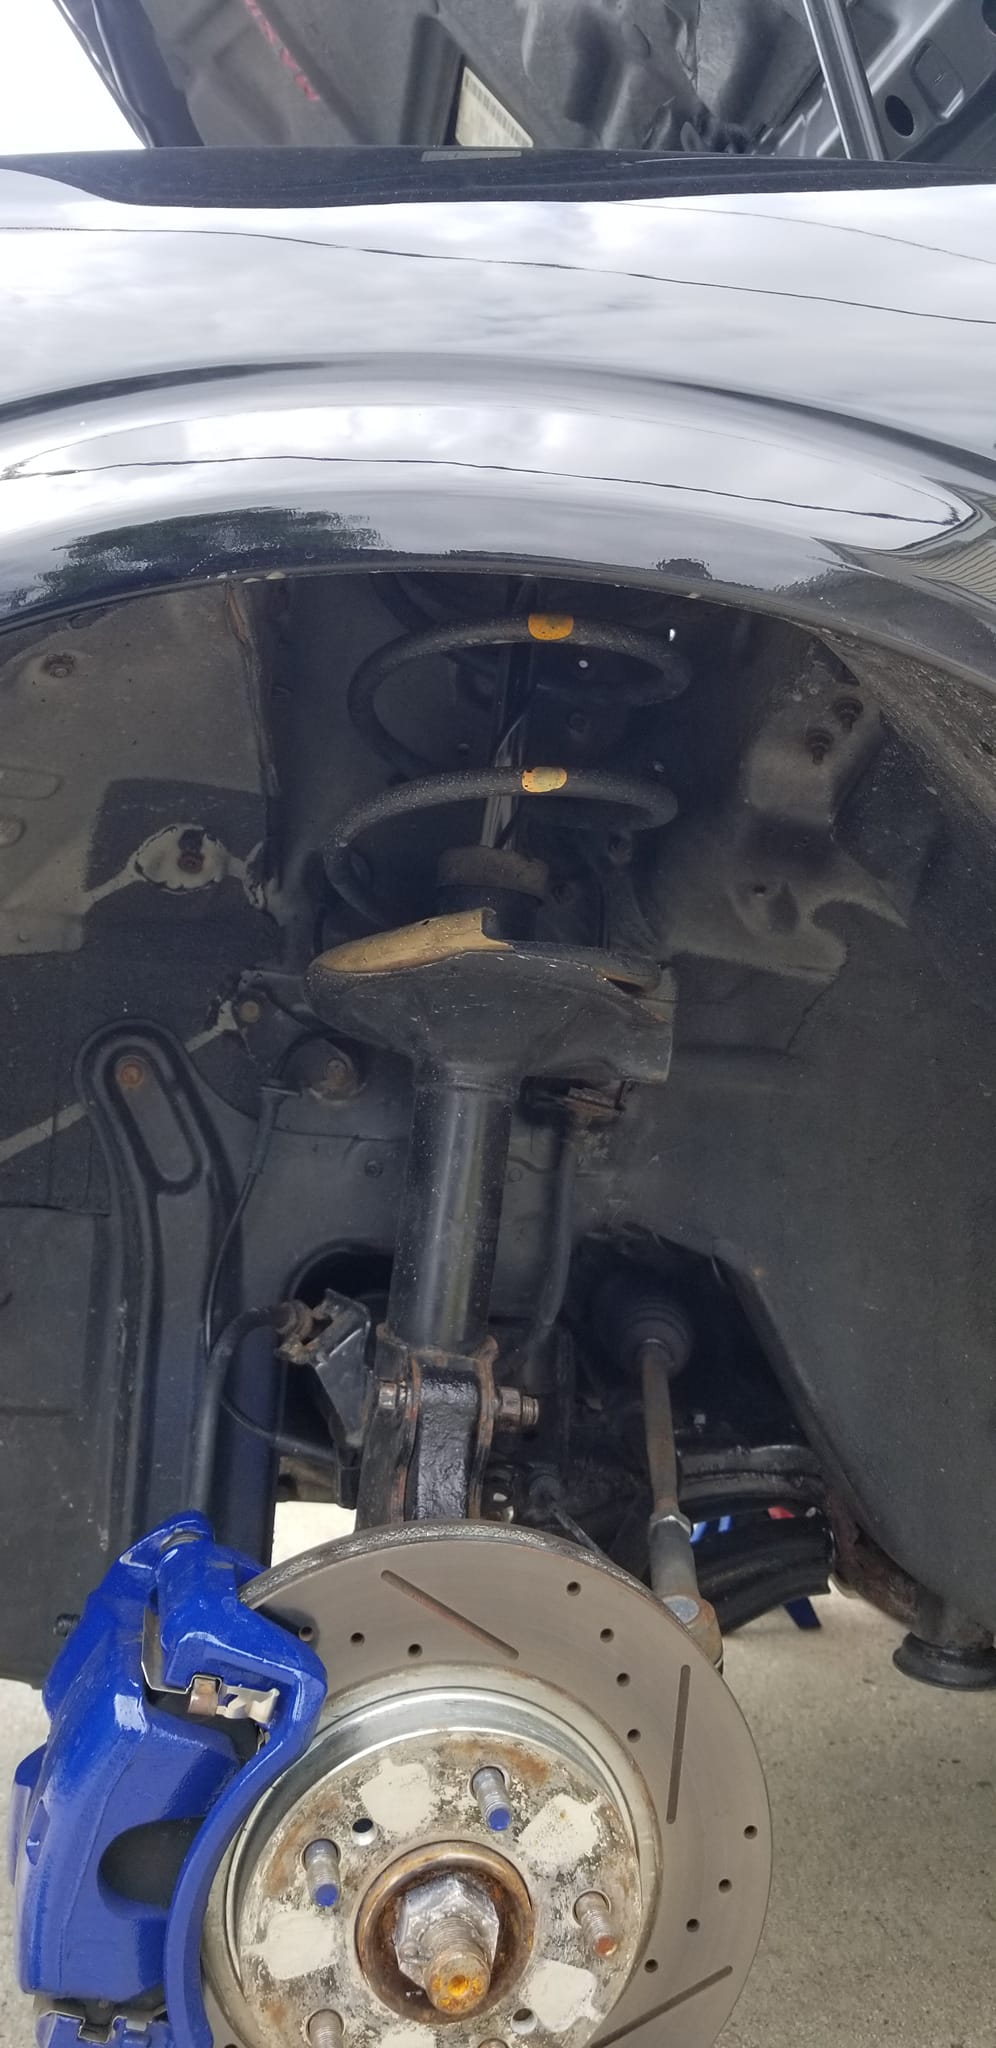
This is what the strut looks like installed. The top 2 bolts are 12MM.

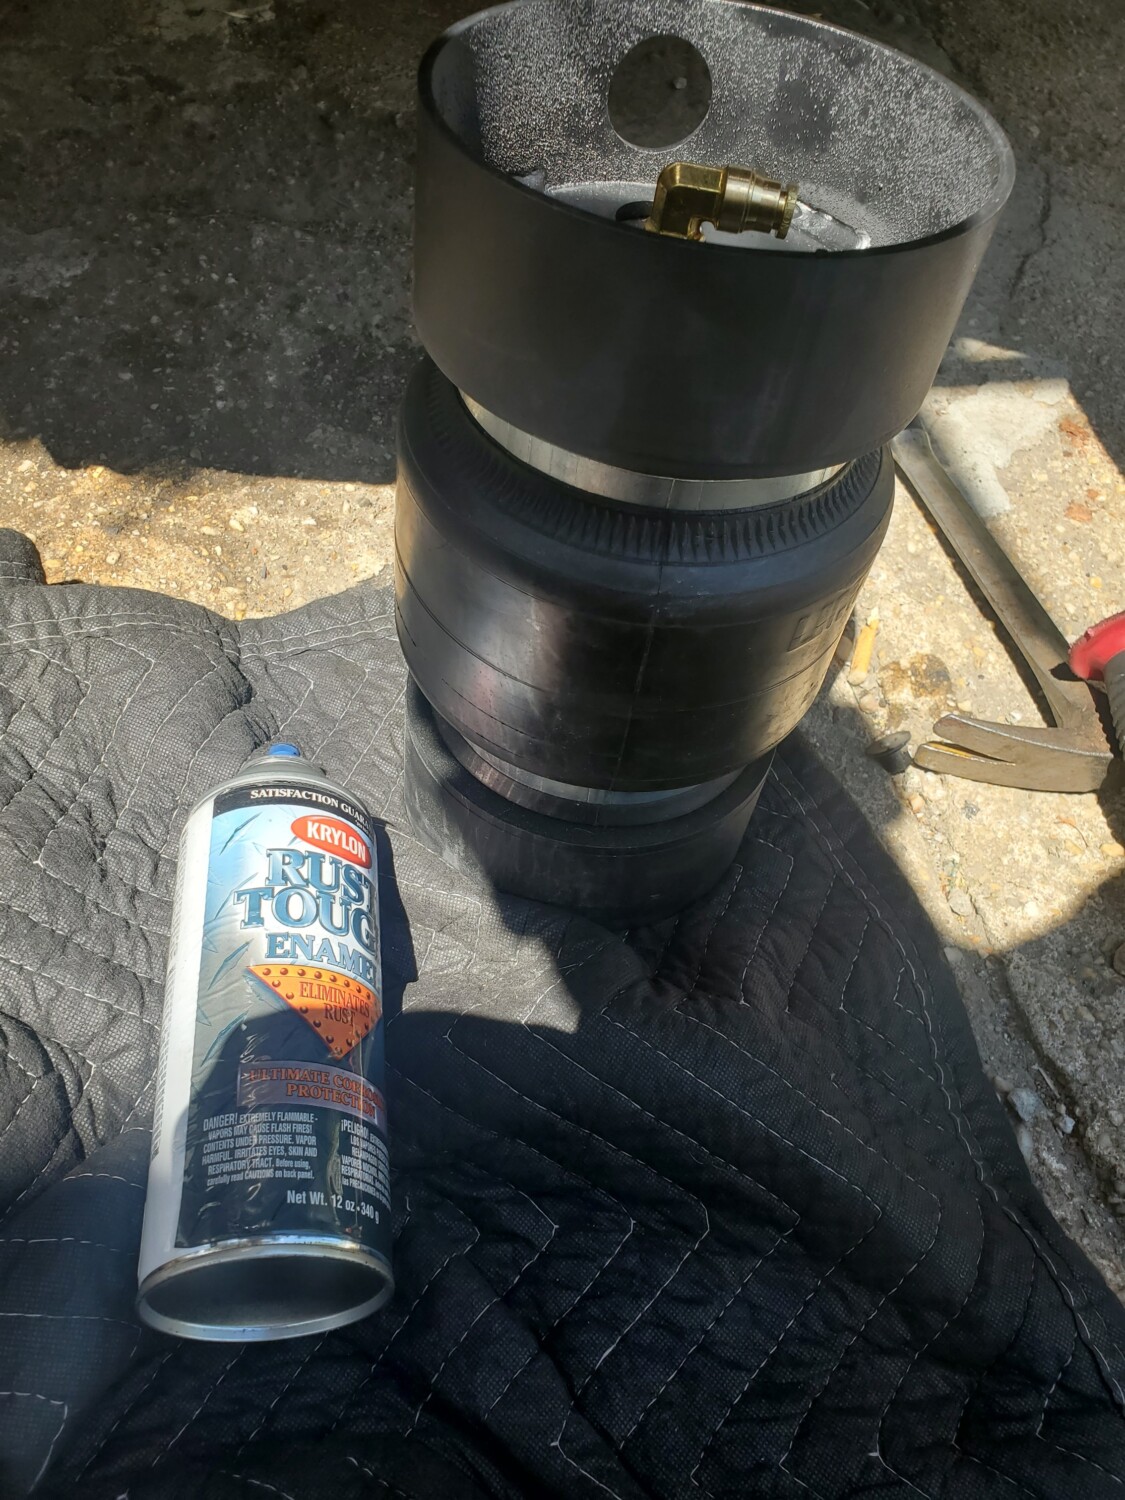
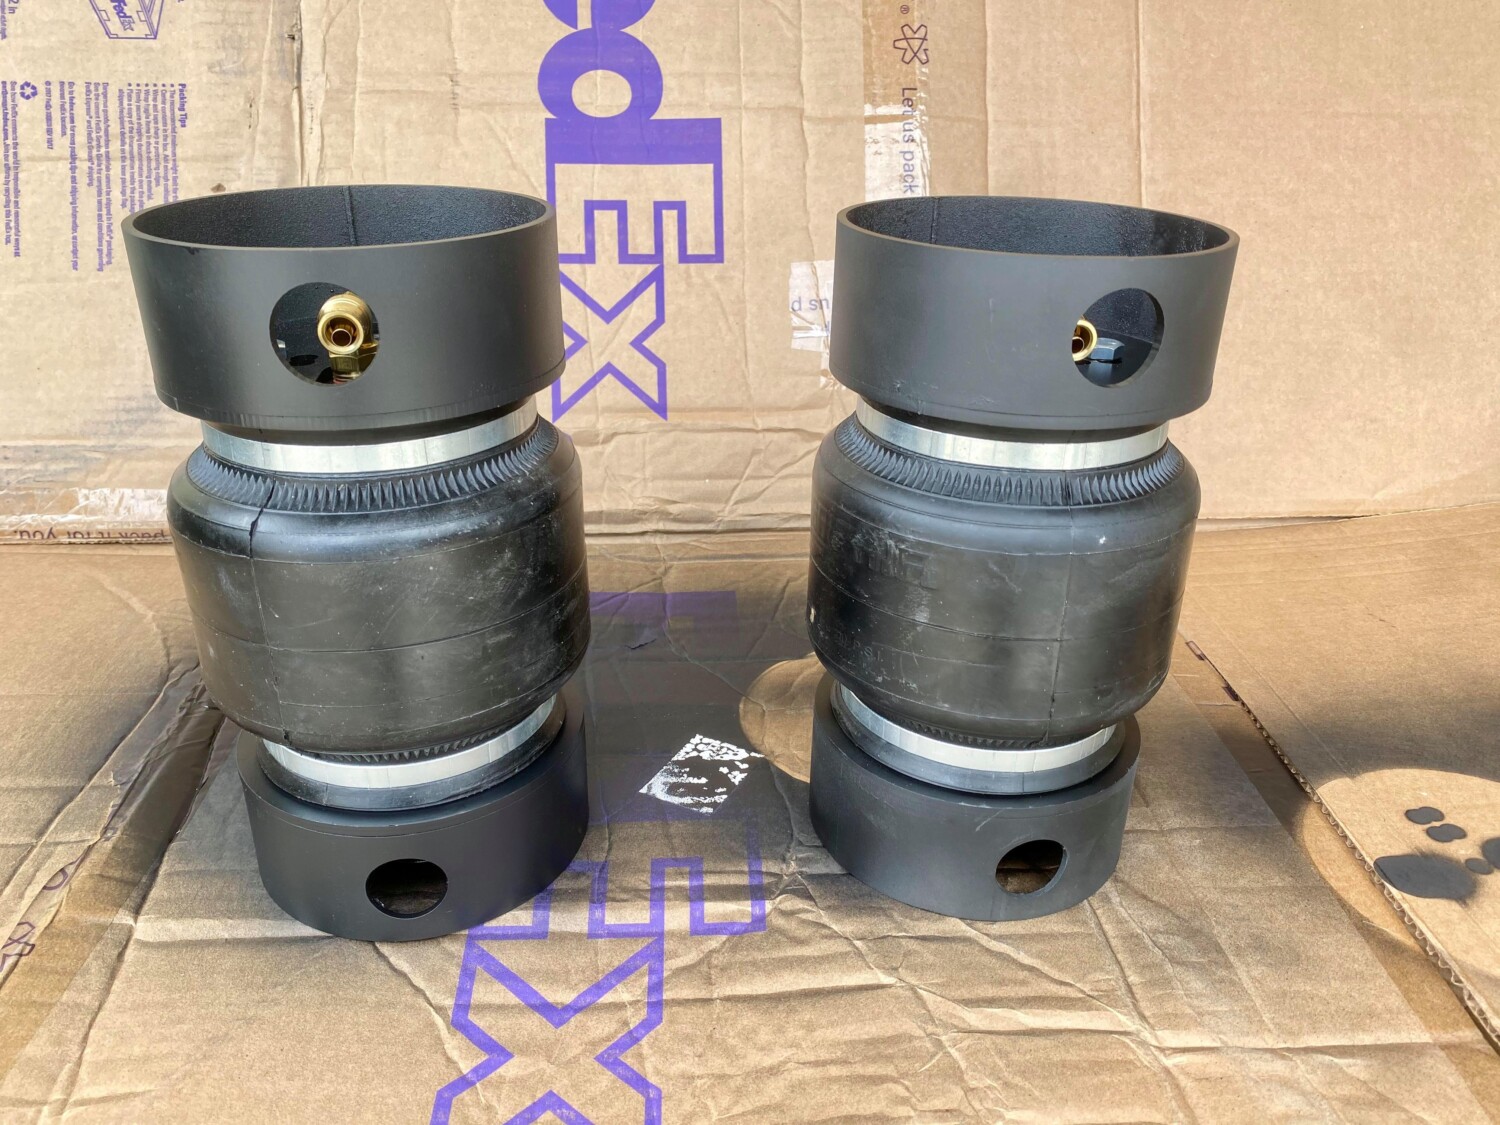
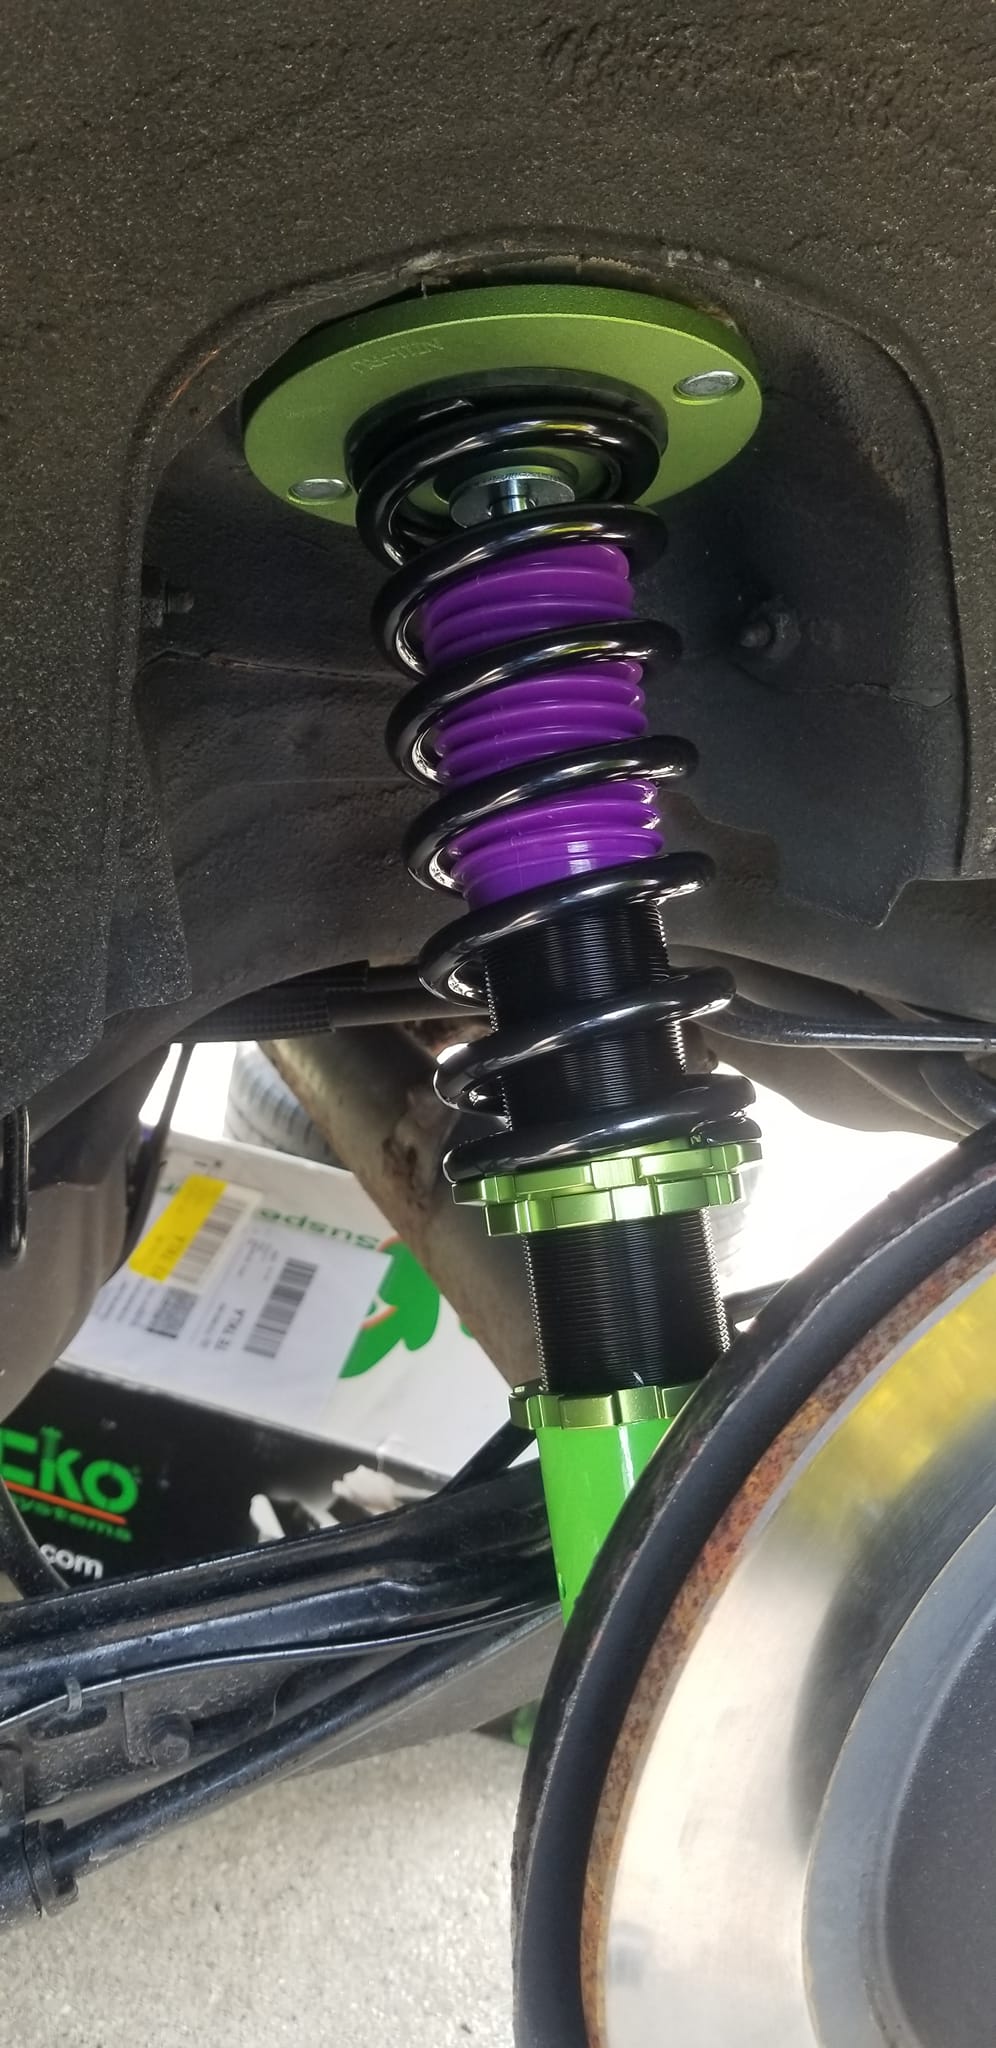
Added some black rust paint to give it a fresh look and also take care of the rust.

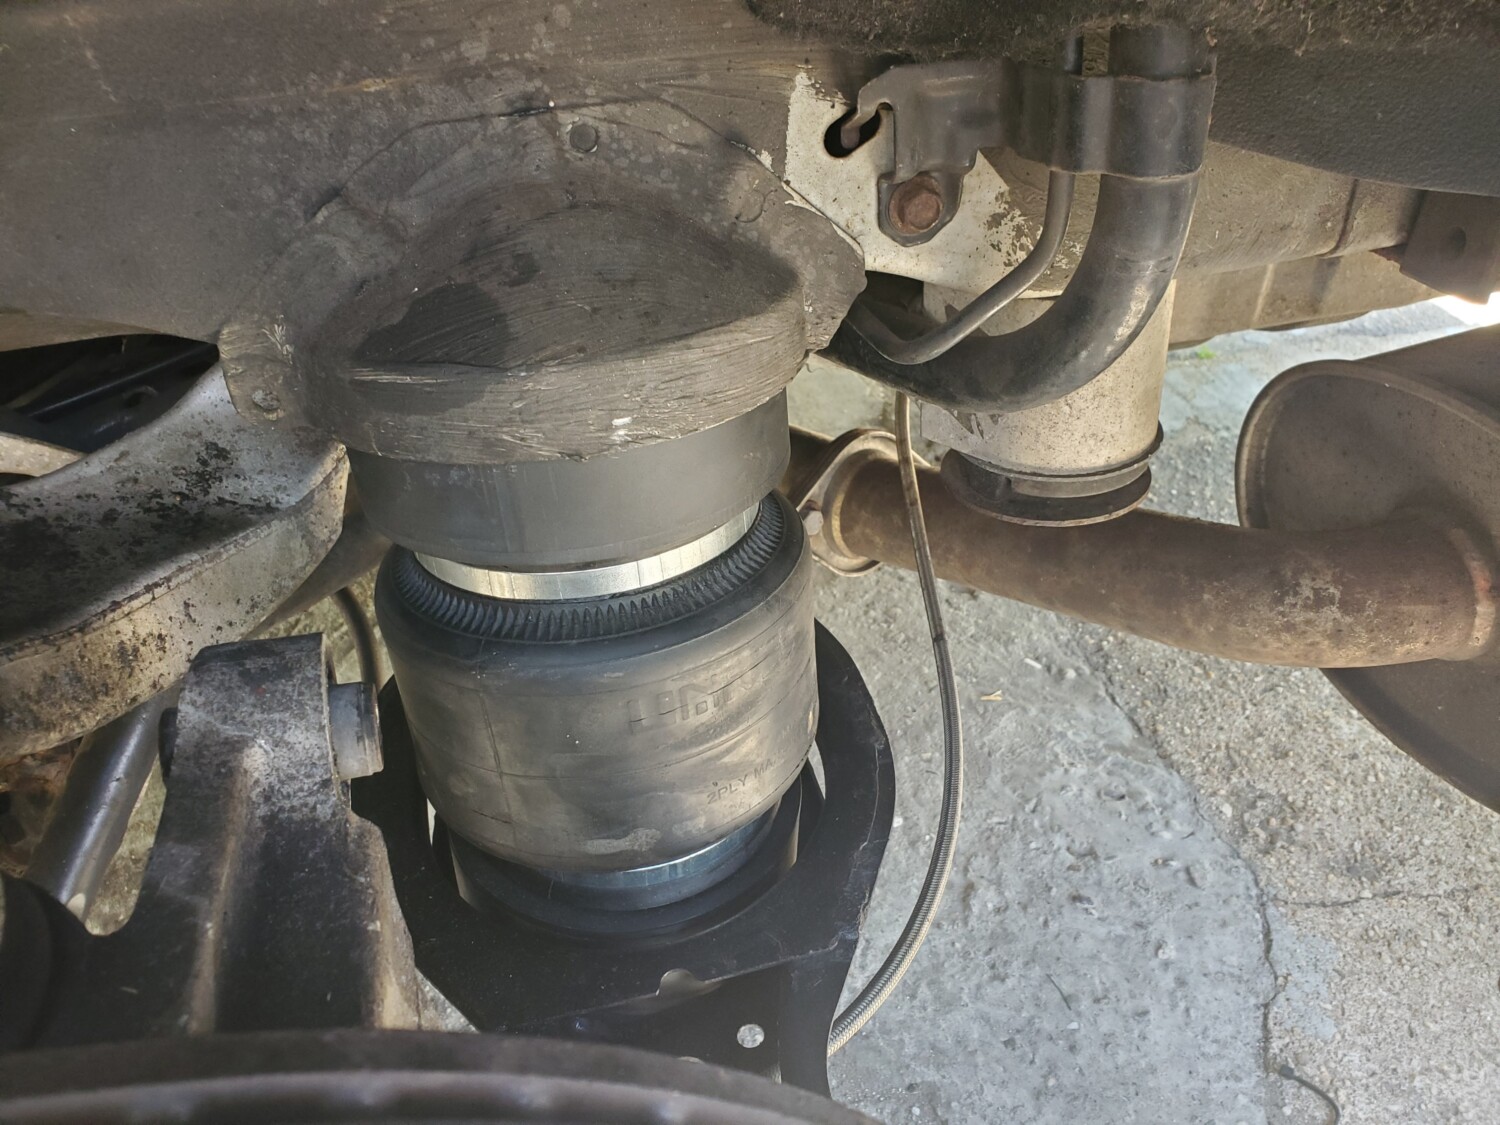

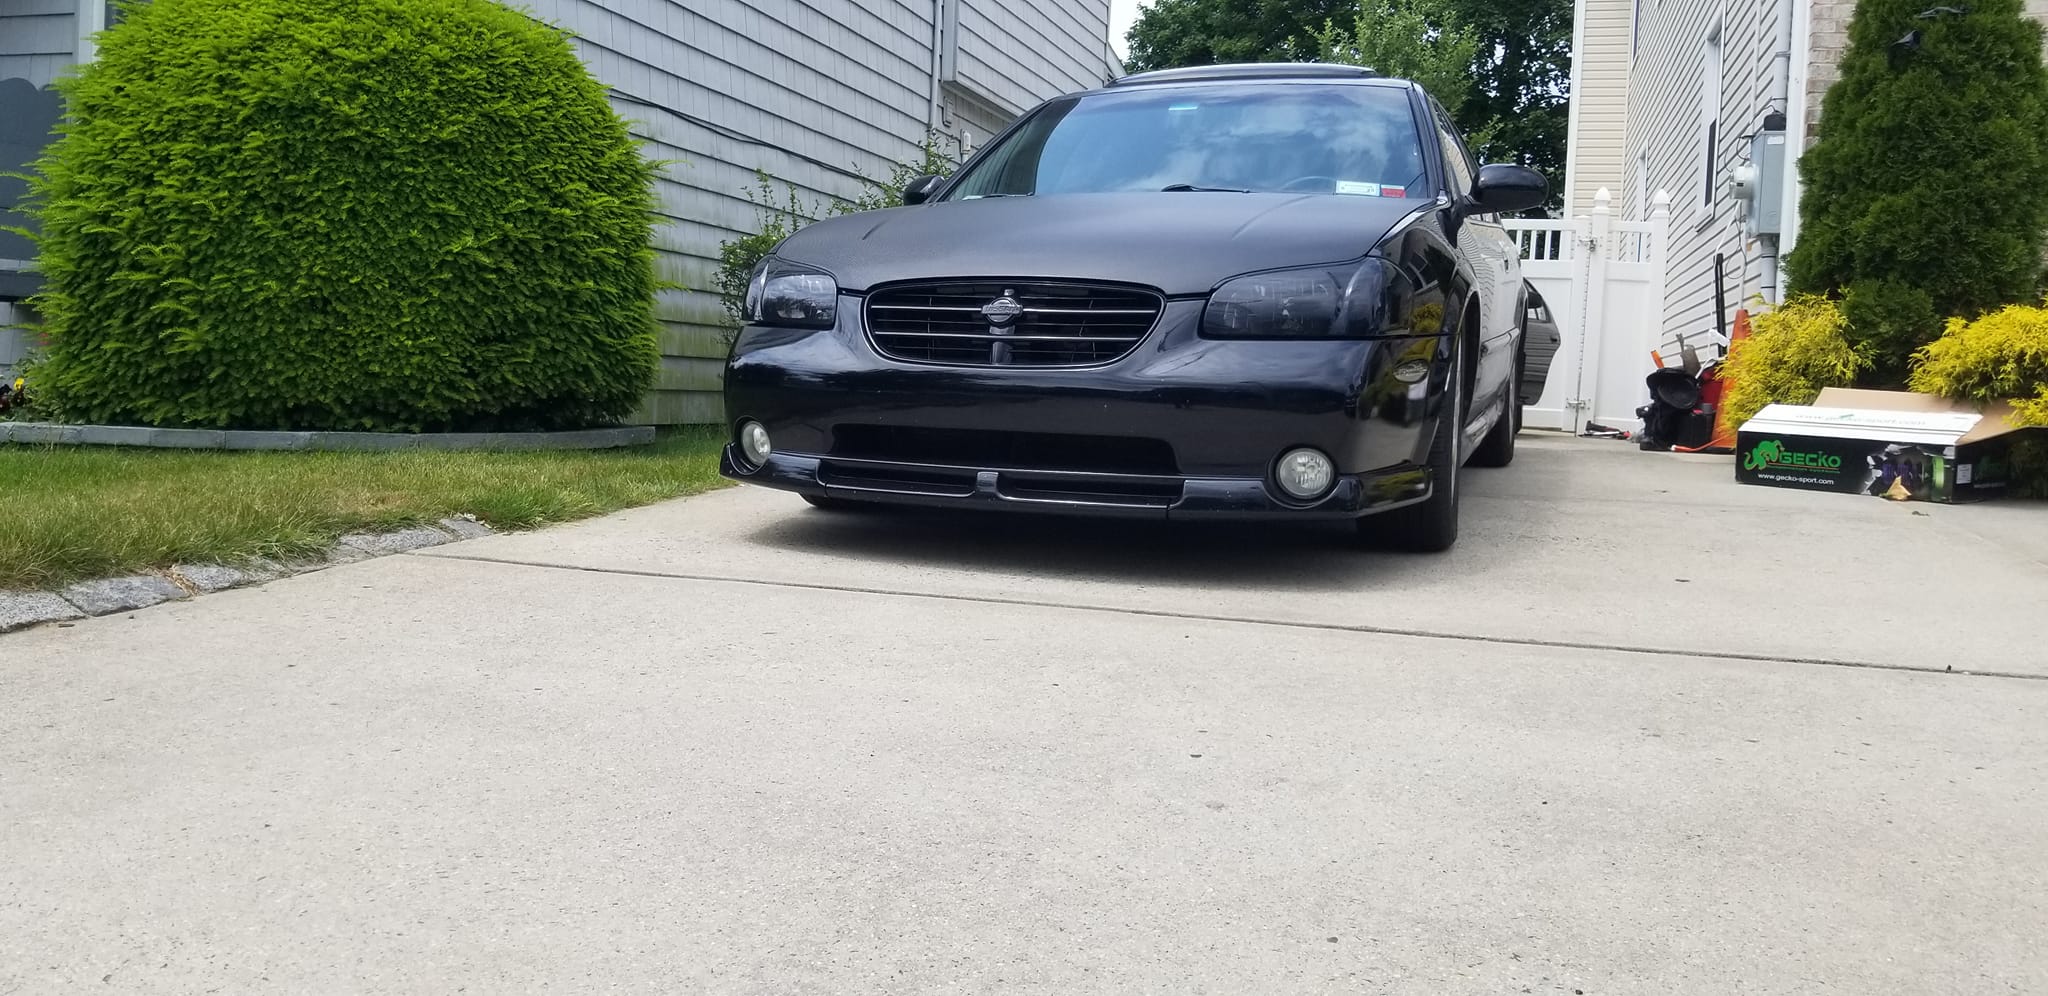
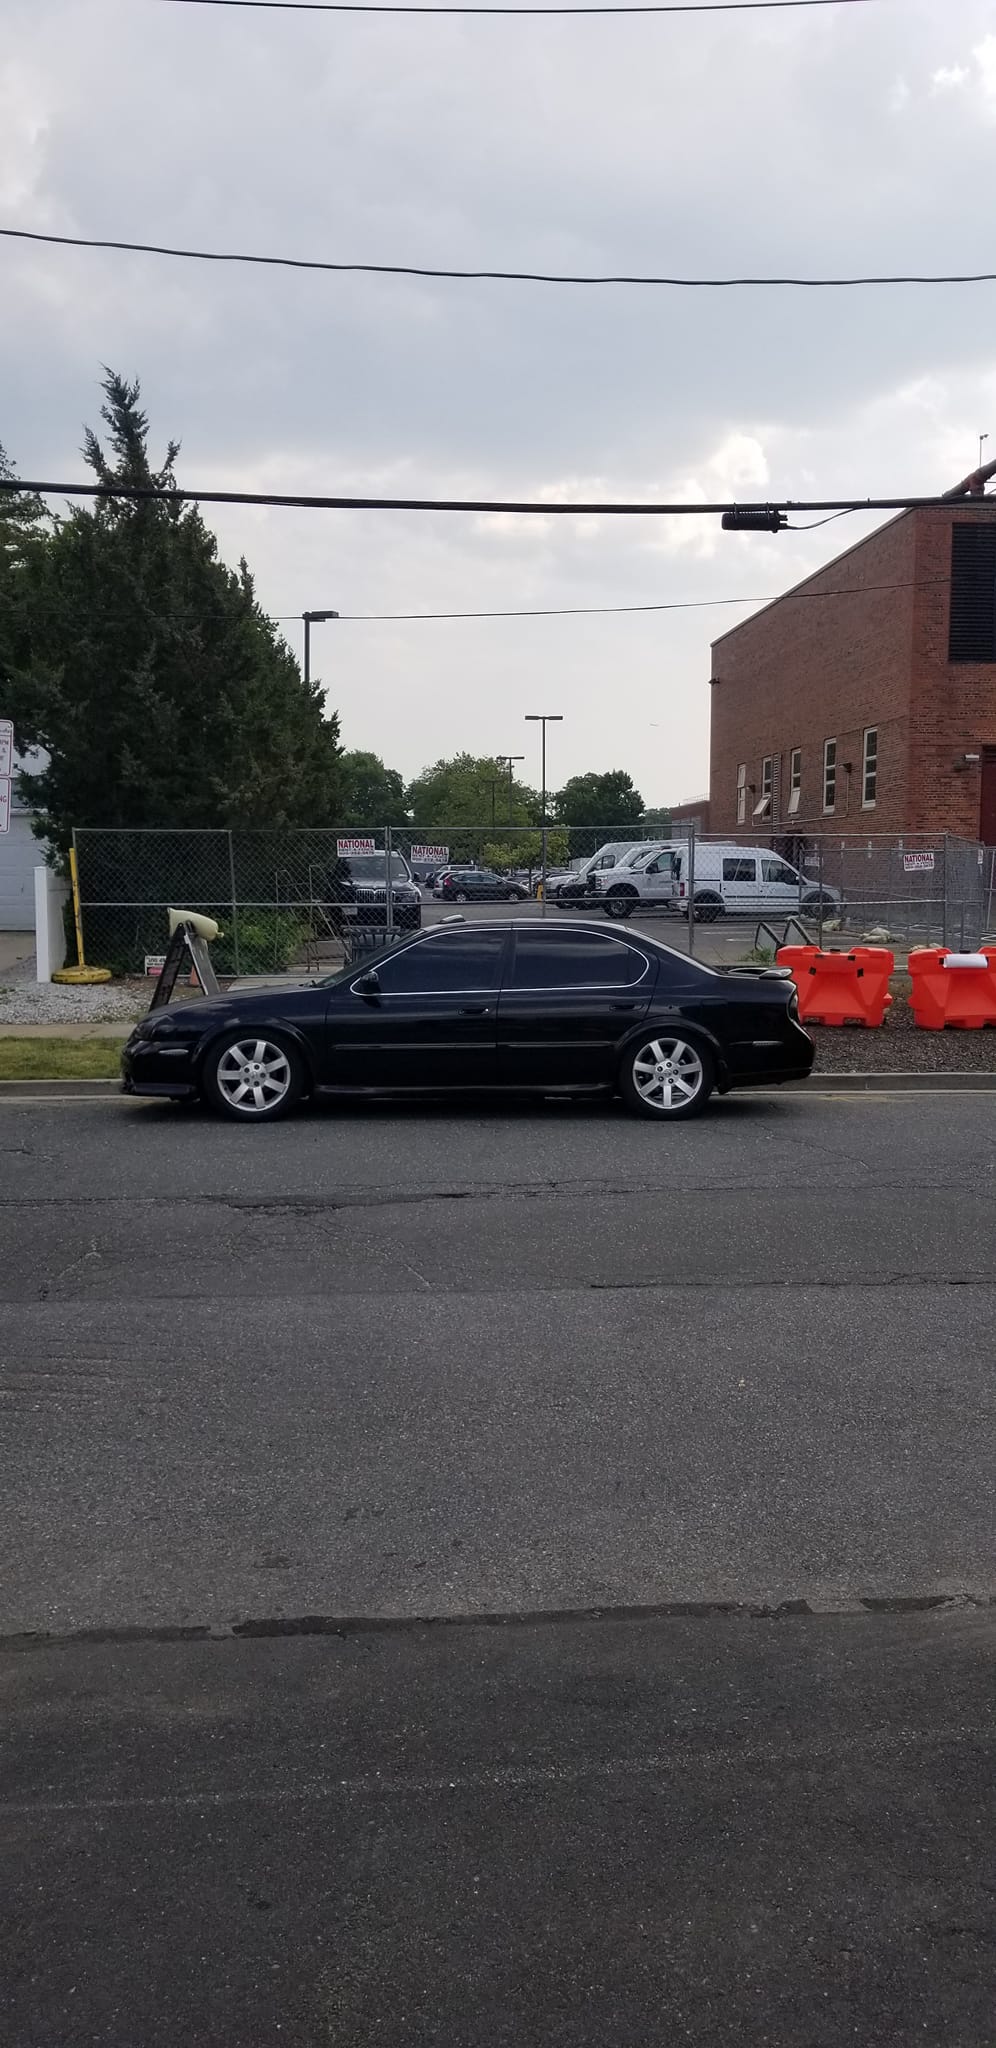
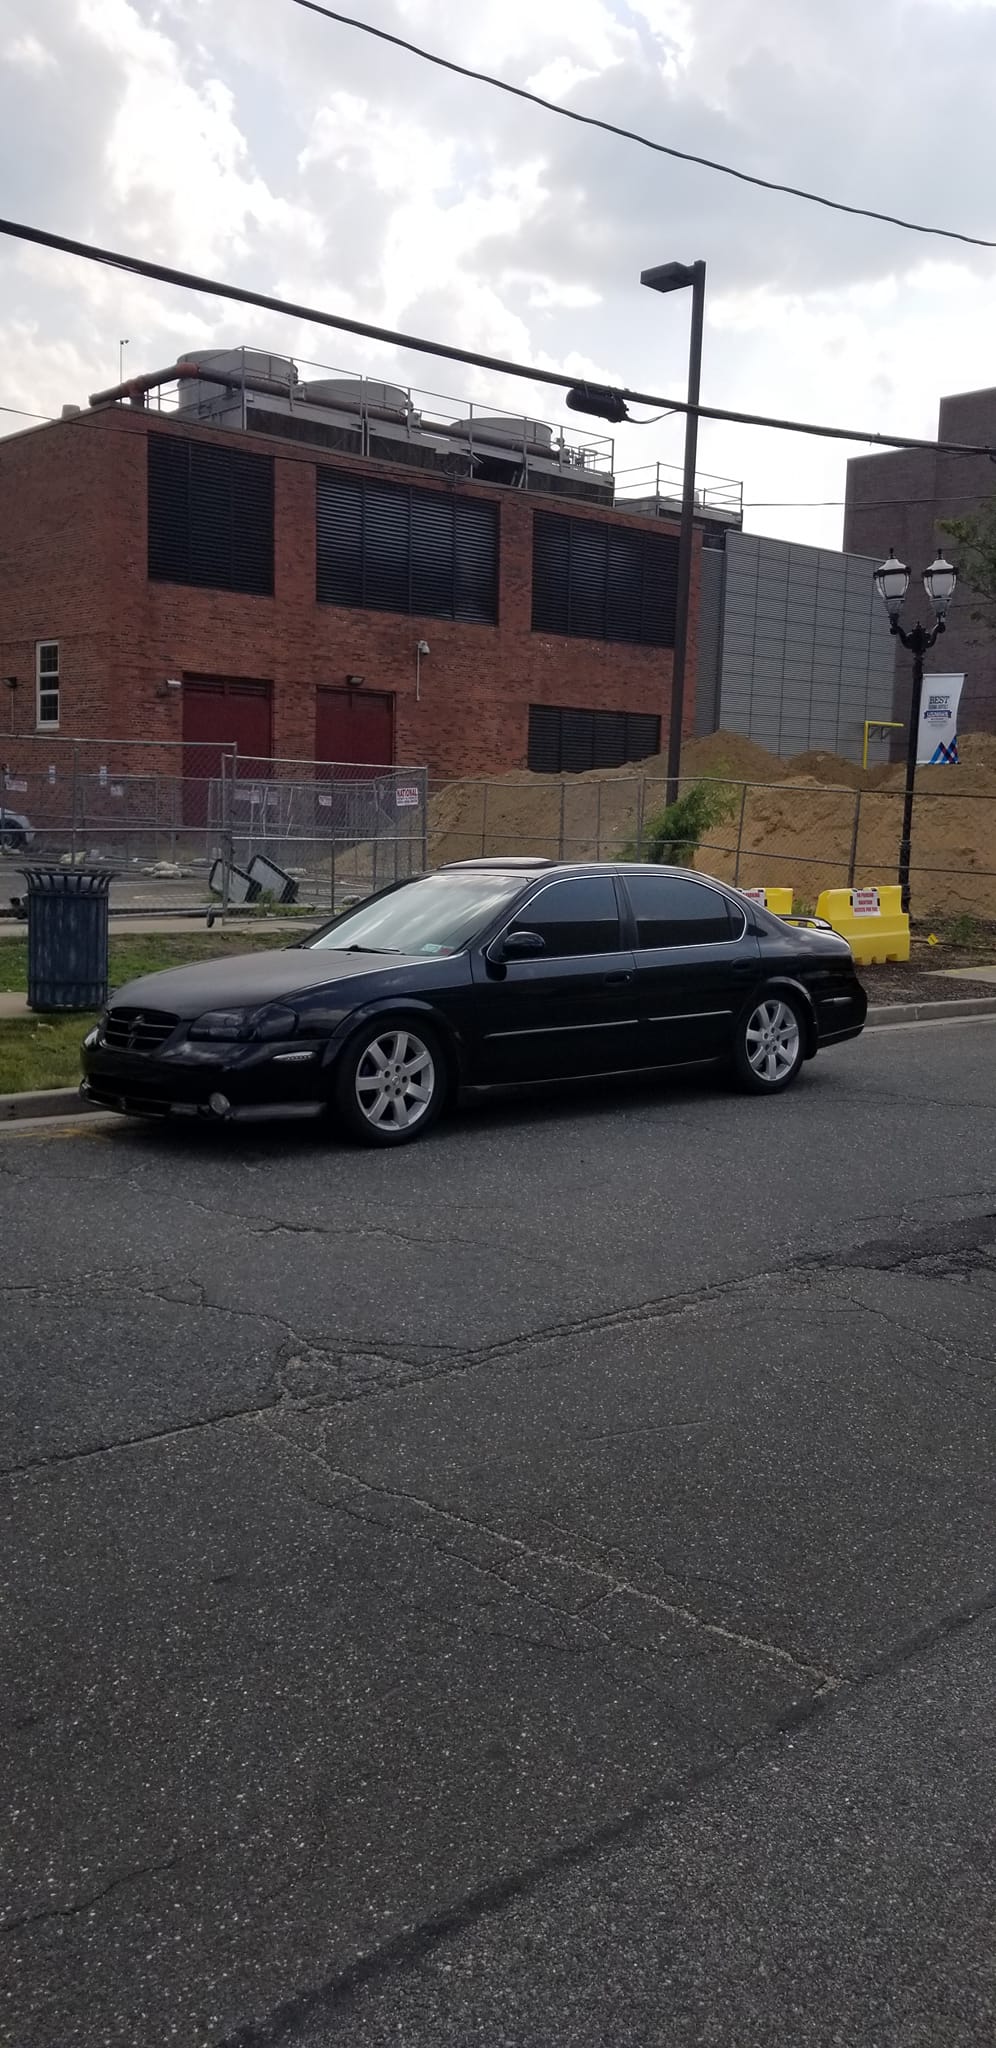
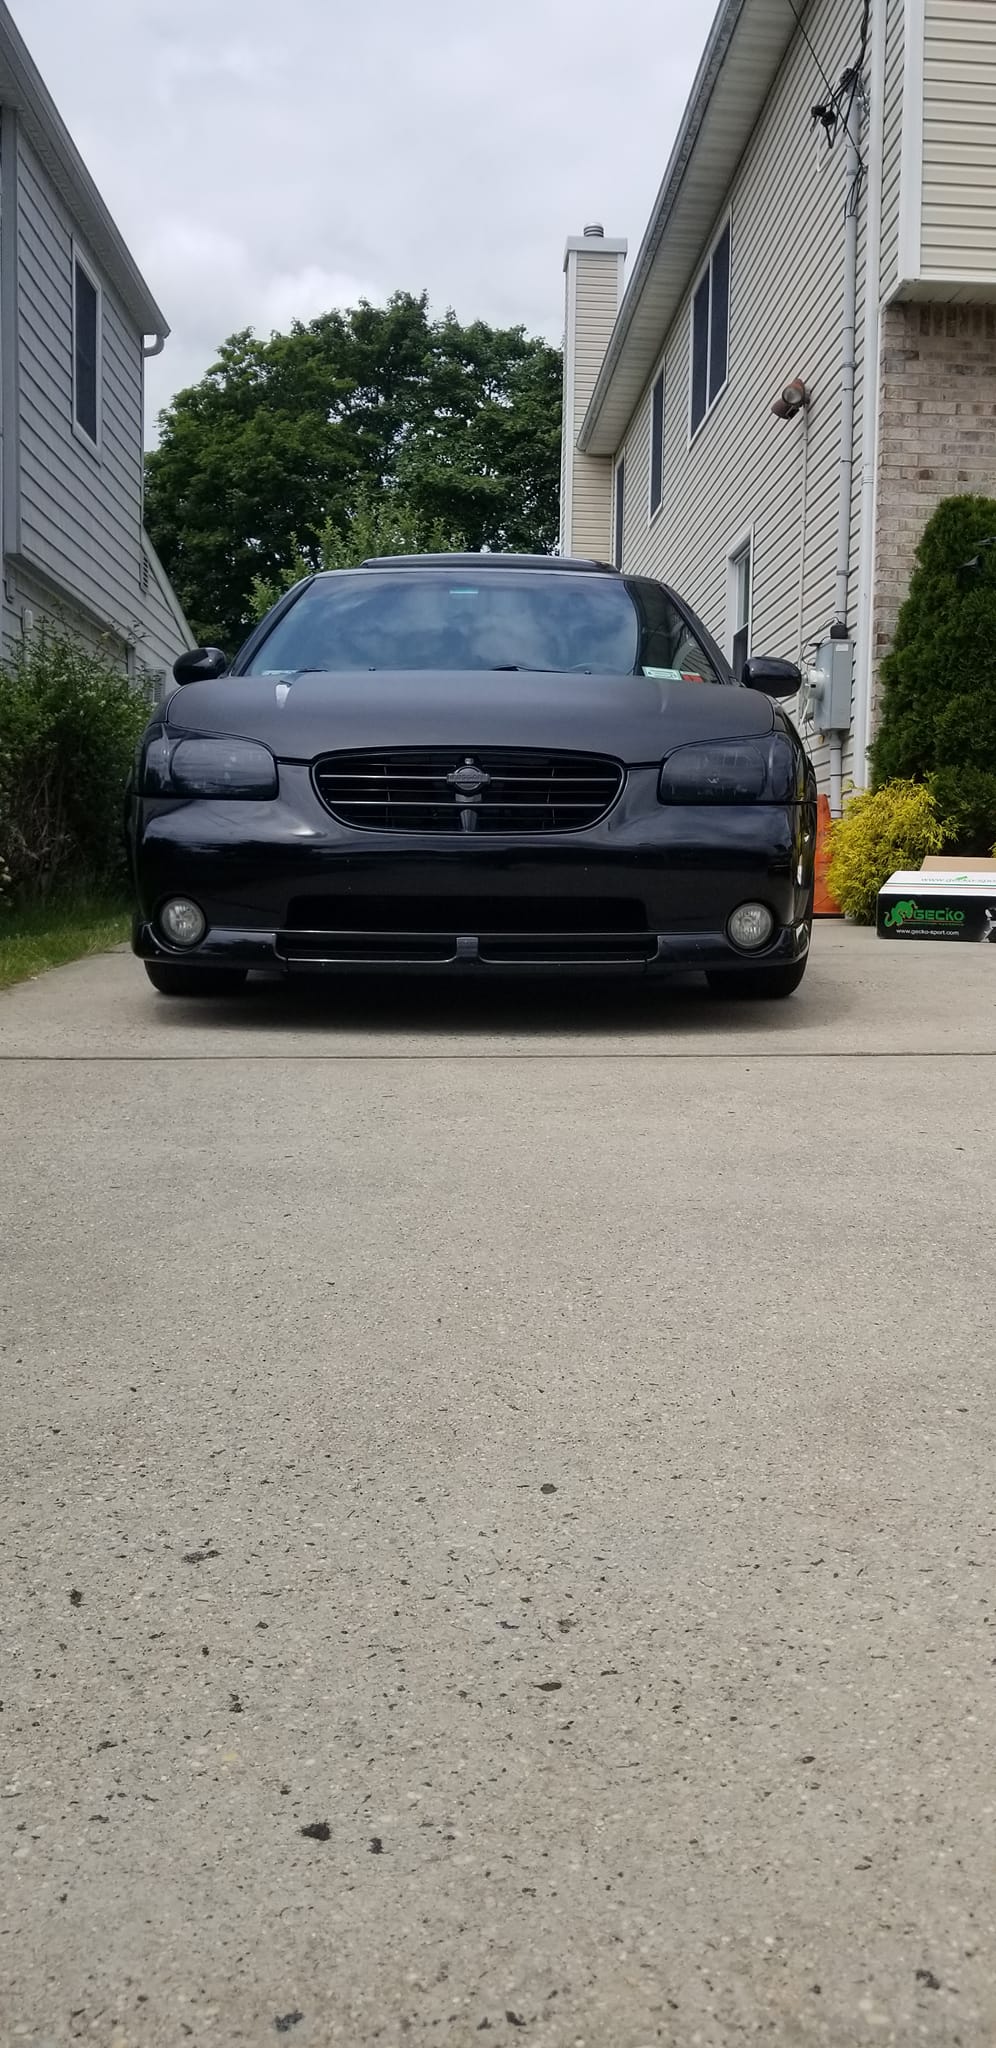
Final Product
Car rides so much better. It also sits great. I can go lower in the rear but decided to match it up with the front.

![]()
")


")


")